-
Schumacher Cougar SV -
Words & Pictures: Arn0
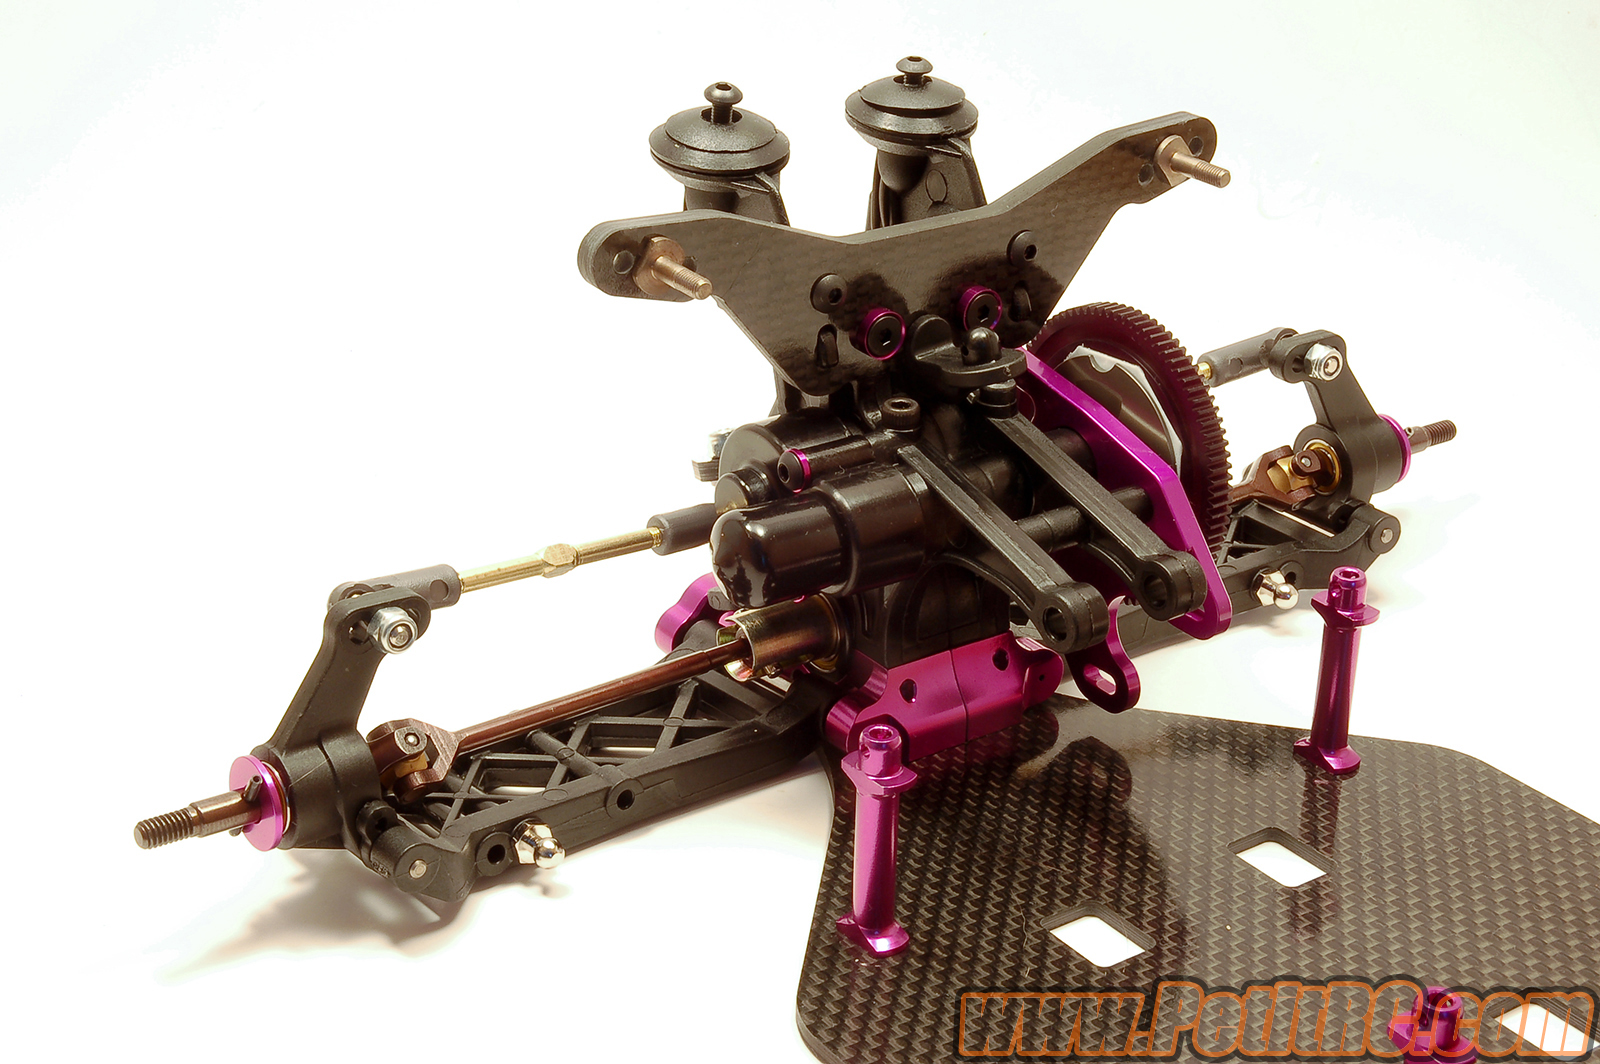
Rear
end and transmission installation
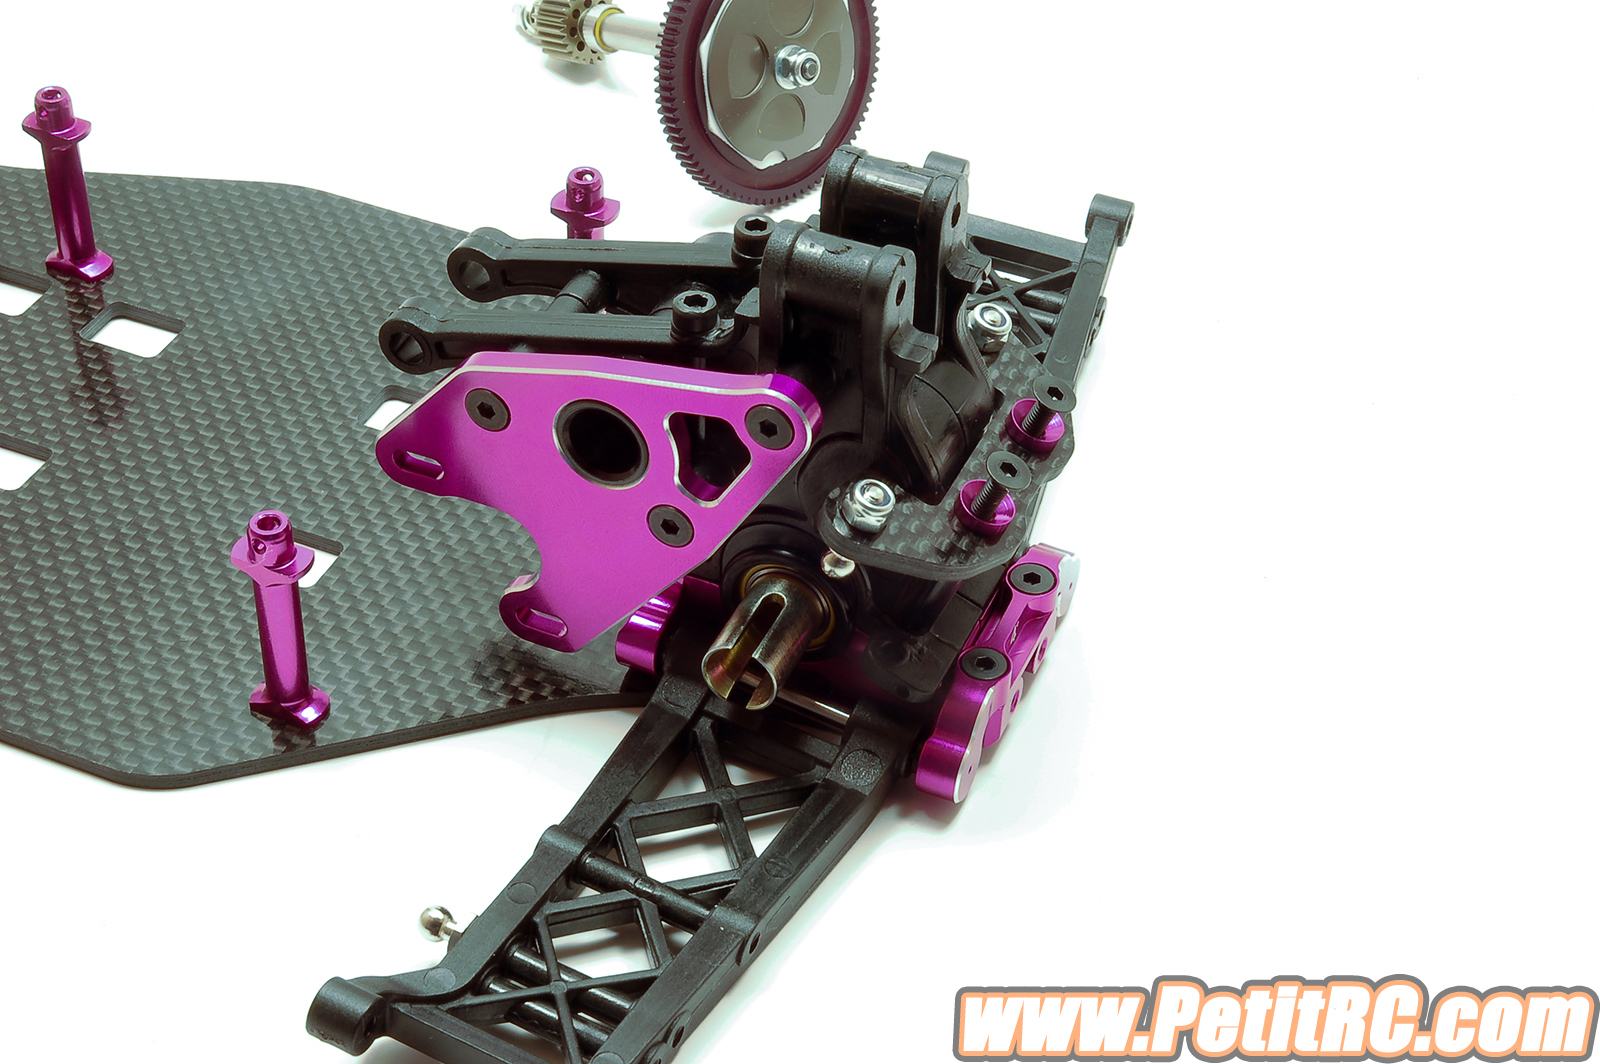
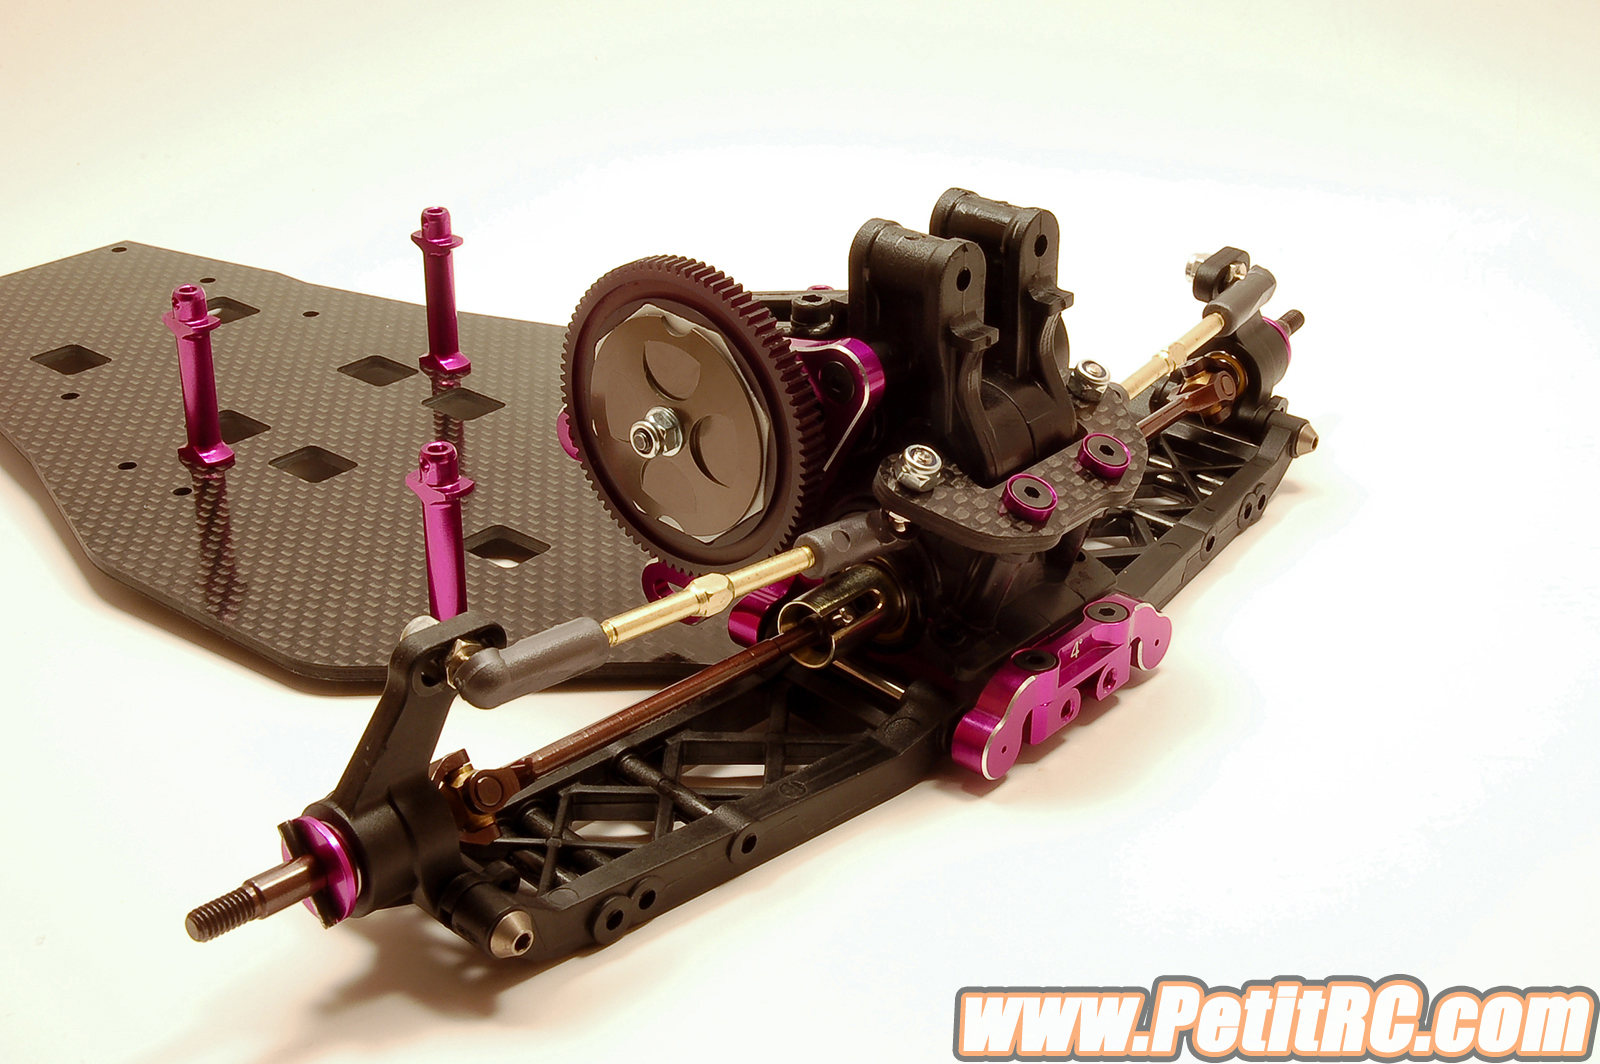
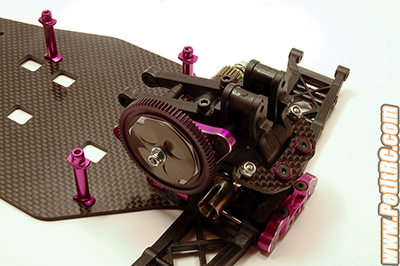
Putting
the transmission aside, the rear end is the next step for this piece
of engineering.
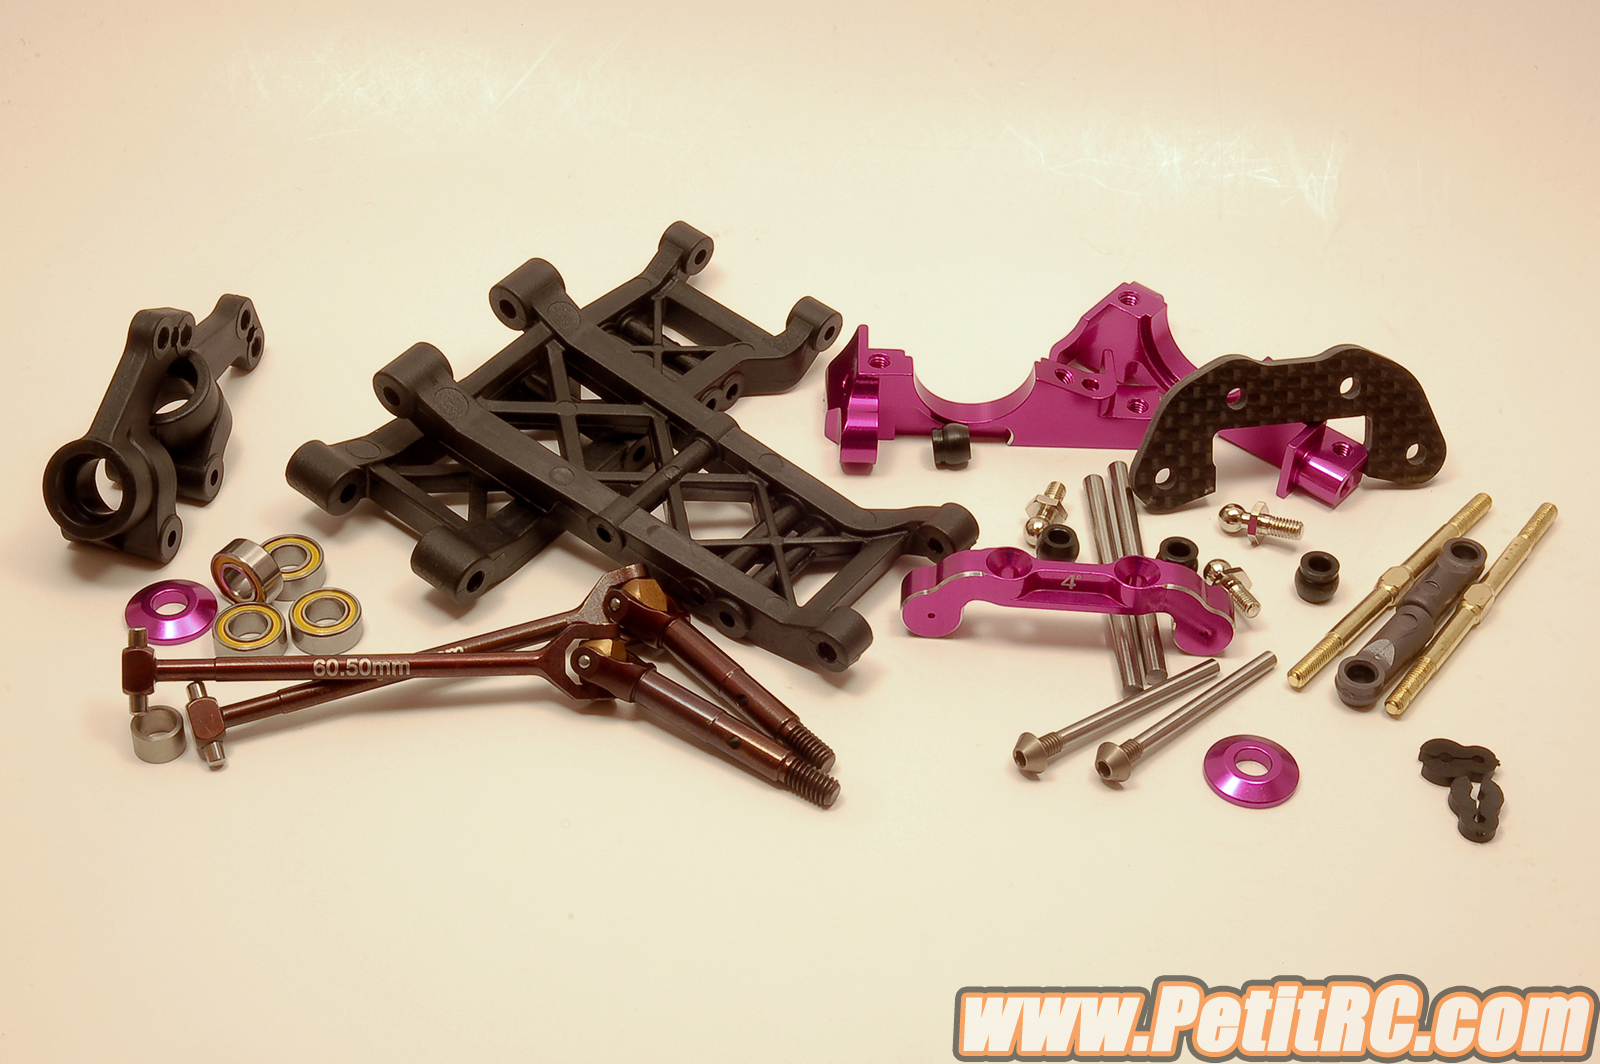
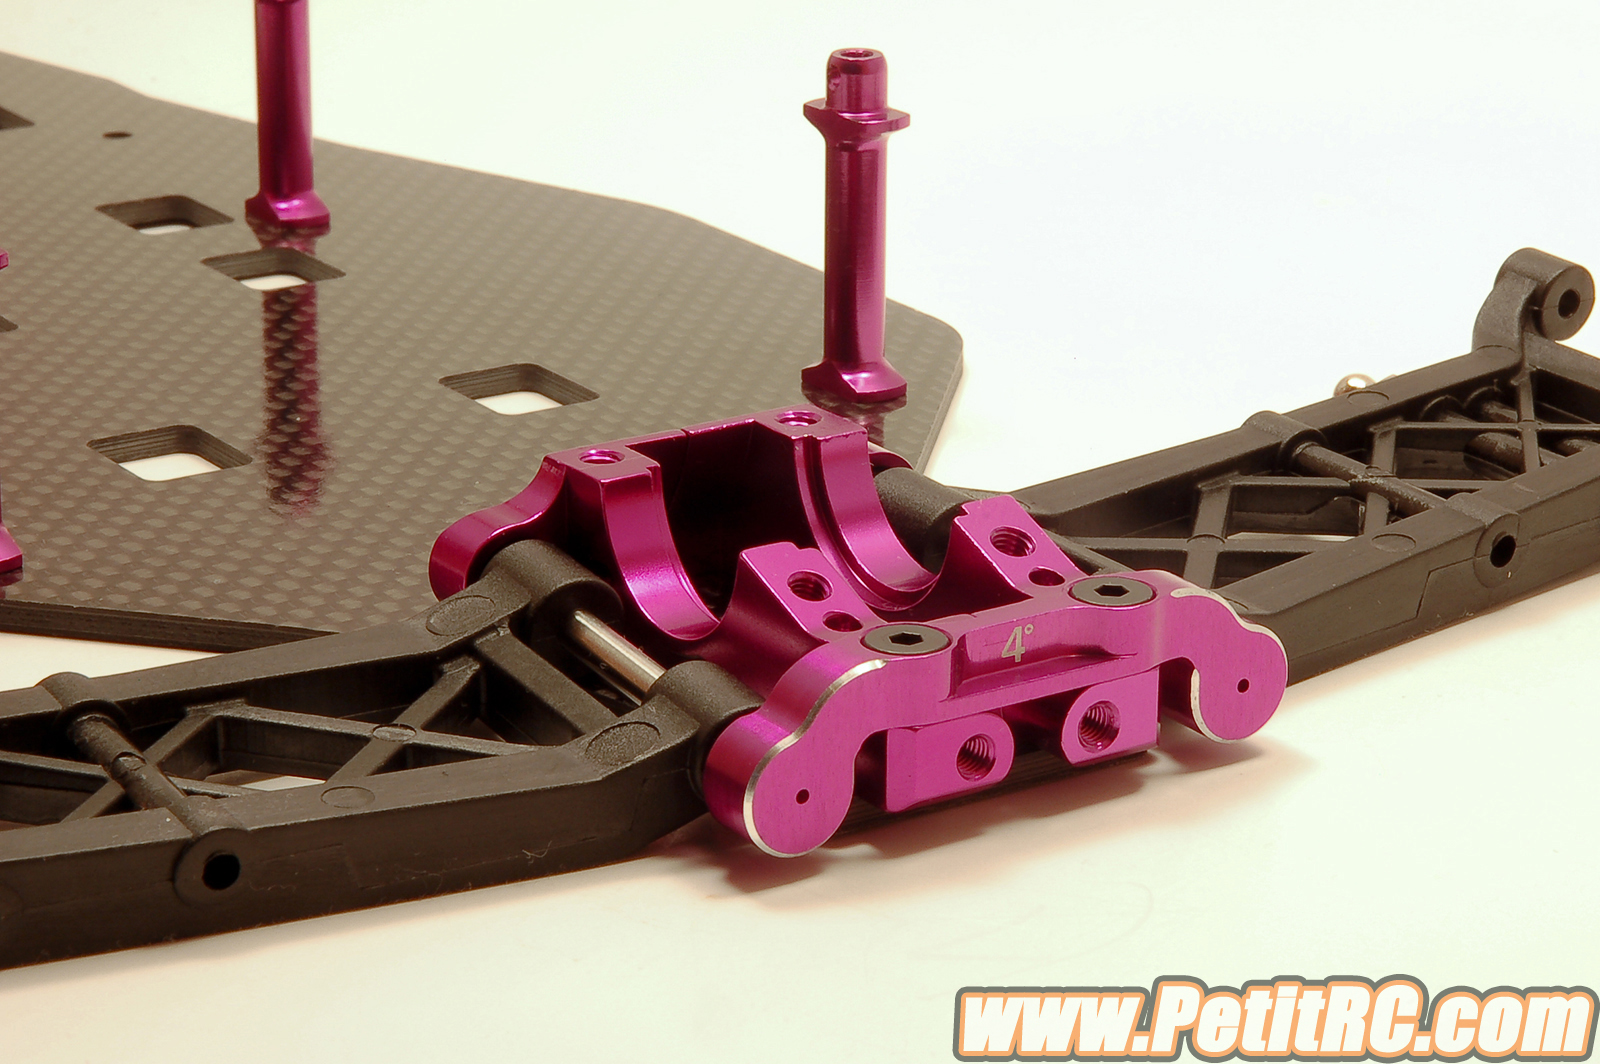
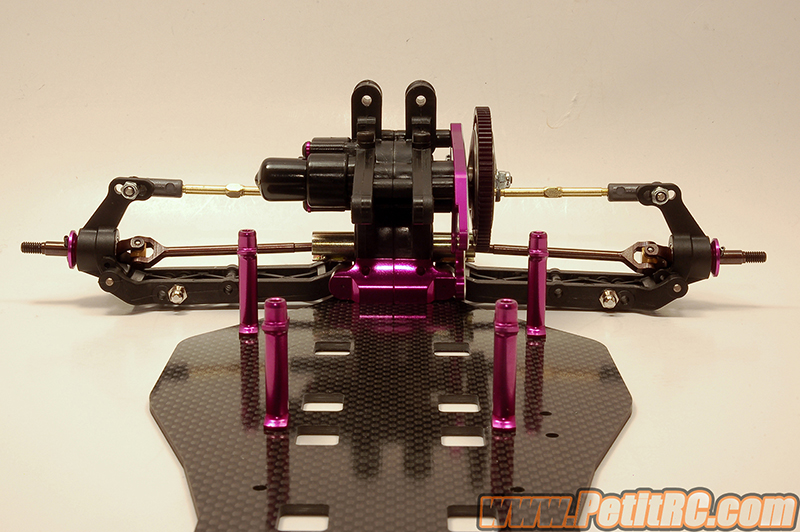
 Two
nice purple anodized aluminum parts make up the bottom of this rear end,
providing by default a three degree anti-squat angle. The hinges are
encapsulated by pivot spheres on each side and maintained by a third and
also nice purple anodized aluminum part which sets the rear toe to -4°.
By adding shims, you are able to set the anti-squat angle to your
convenience from 3° which provides more on-power traction, down to 0°
in order to absorb ruts, bumps and jumps. Two
nice purple anodized aluminum parts make up the bottom of this rear end,
providing by default a three degree anti-squat angle. The hinges are
encapsulated by pivot spheres on each side and maintained by a third and
also nice purple anodized aluminum part which sets the rear toe to -4°.
By adding shims, you are able to set the anti-squat angle to your
convenience from 3° which provides more on-power traction, down to 0°
in order to absorb ruts, bumps and jumps.
The stock assembly sets the
rear shock forward and the corresponding positions for the wishbones. If
you read the manual further, the shock can be mounted in a reverse
position. No, not shaft up and body down but backwards, on the rear on
the wishbones. To achieve this, you have to relocate the ballstuds to
the backside of the wishbones. This installation allows the car to be
more stable on bumpy tracks. So depending on the tracks of your local
area, you may go directly with this setting, otherwise, let’s stick
with the shocks on the front.
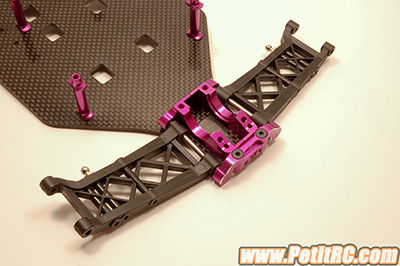
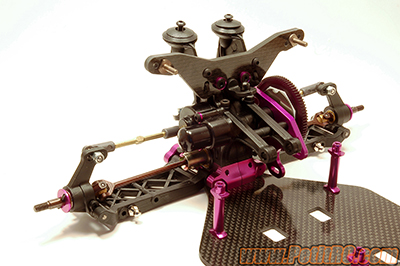
The rest of the rear
suspension is the same as the front end design, a double wishbone type
suspension with the camber links mounted on an angled carbon fiber
plate. This plate is screwed onto the transmission casing with a 2mm
spacer in between. That means you can play with both the 1mm shim and
the 2mm spacer to adjust both camber change and roll center. To have
more droop, you need to use a Dremel or similar tool to remove some
material form the low desk as the wishbones' front edge touch the
chassis.
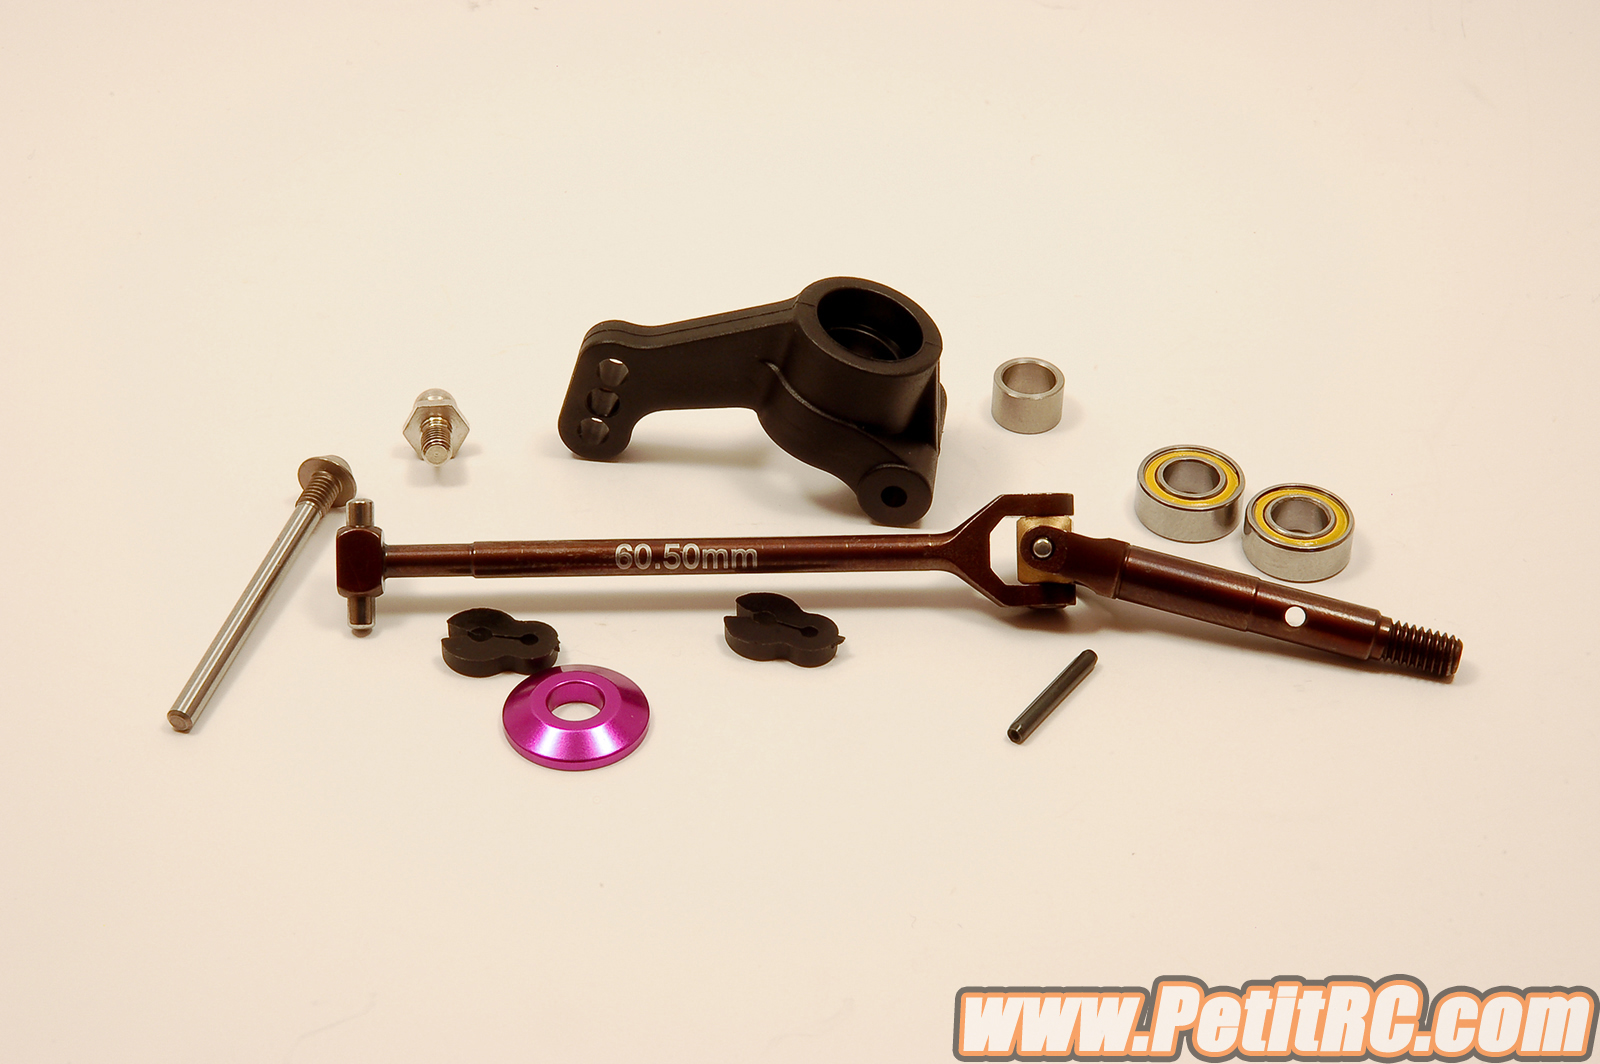
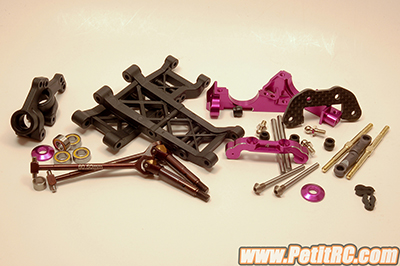
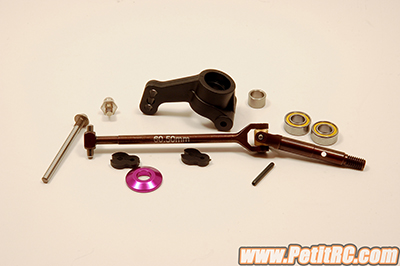
The rear hubs provided are
made of plastic, offering a 0° angle outboard toe and are symmetrical
right-left. The bearing fitting is good, not too lose nor too tight.
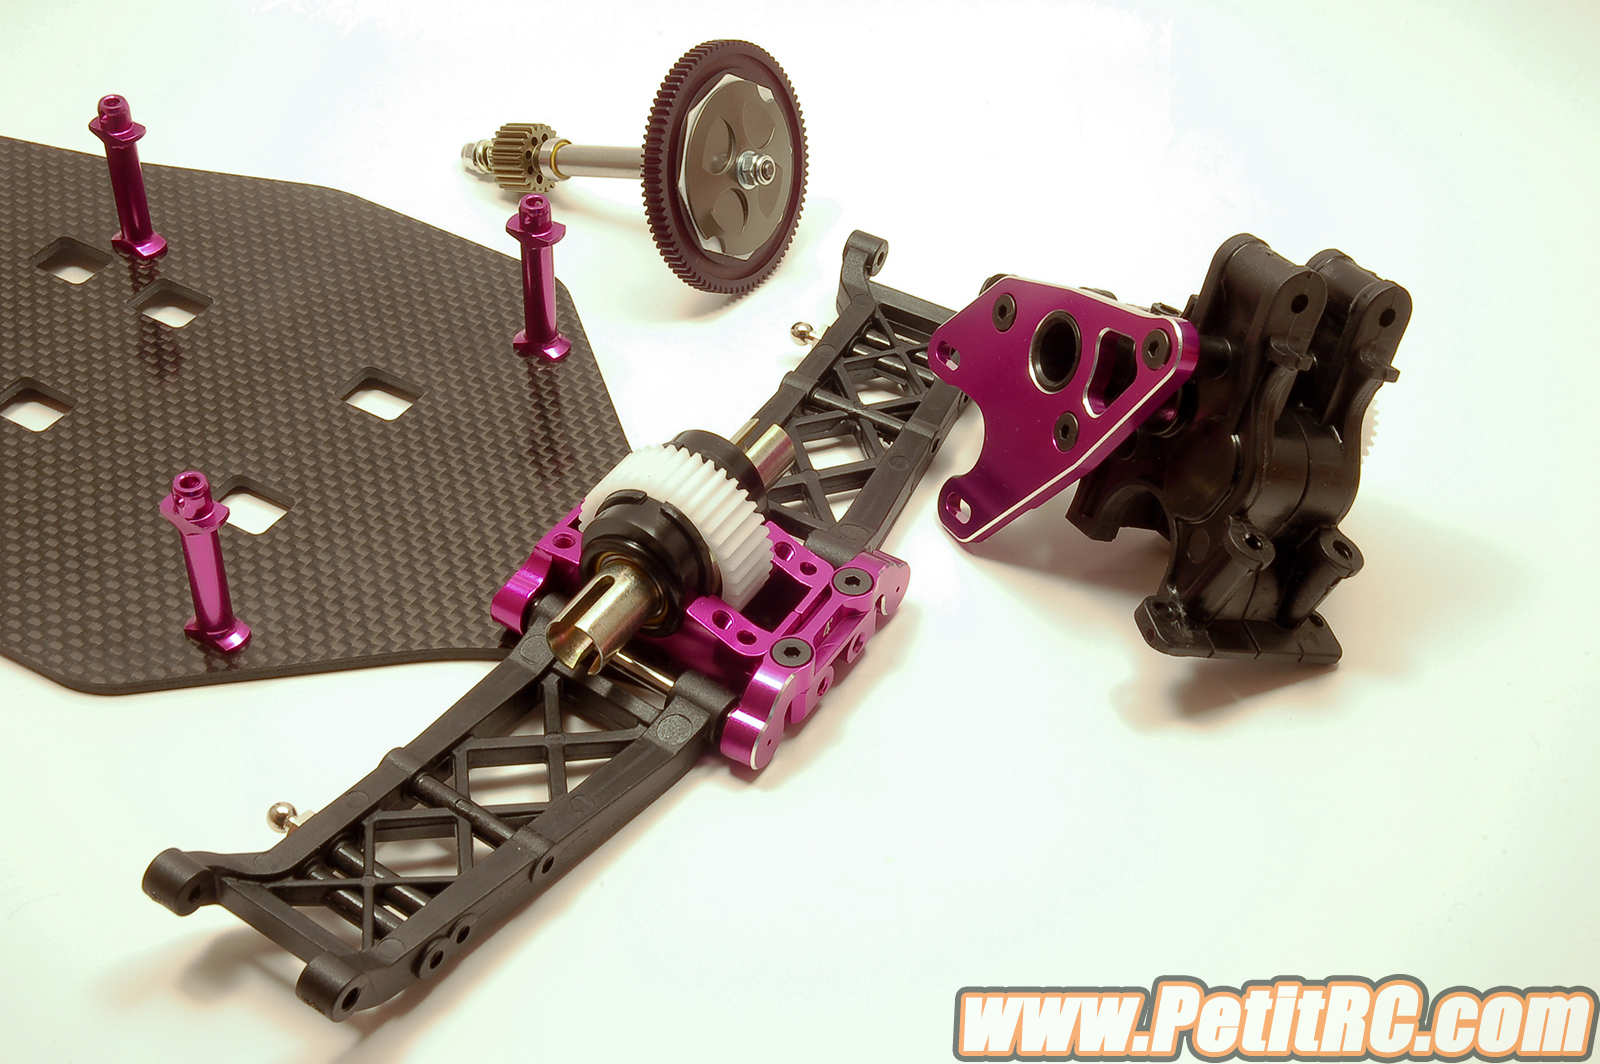
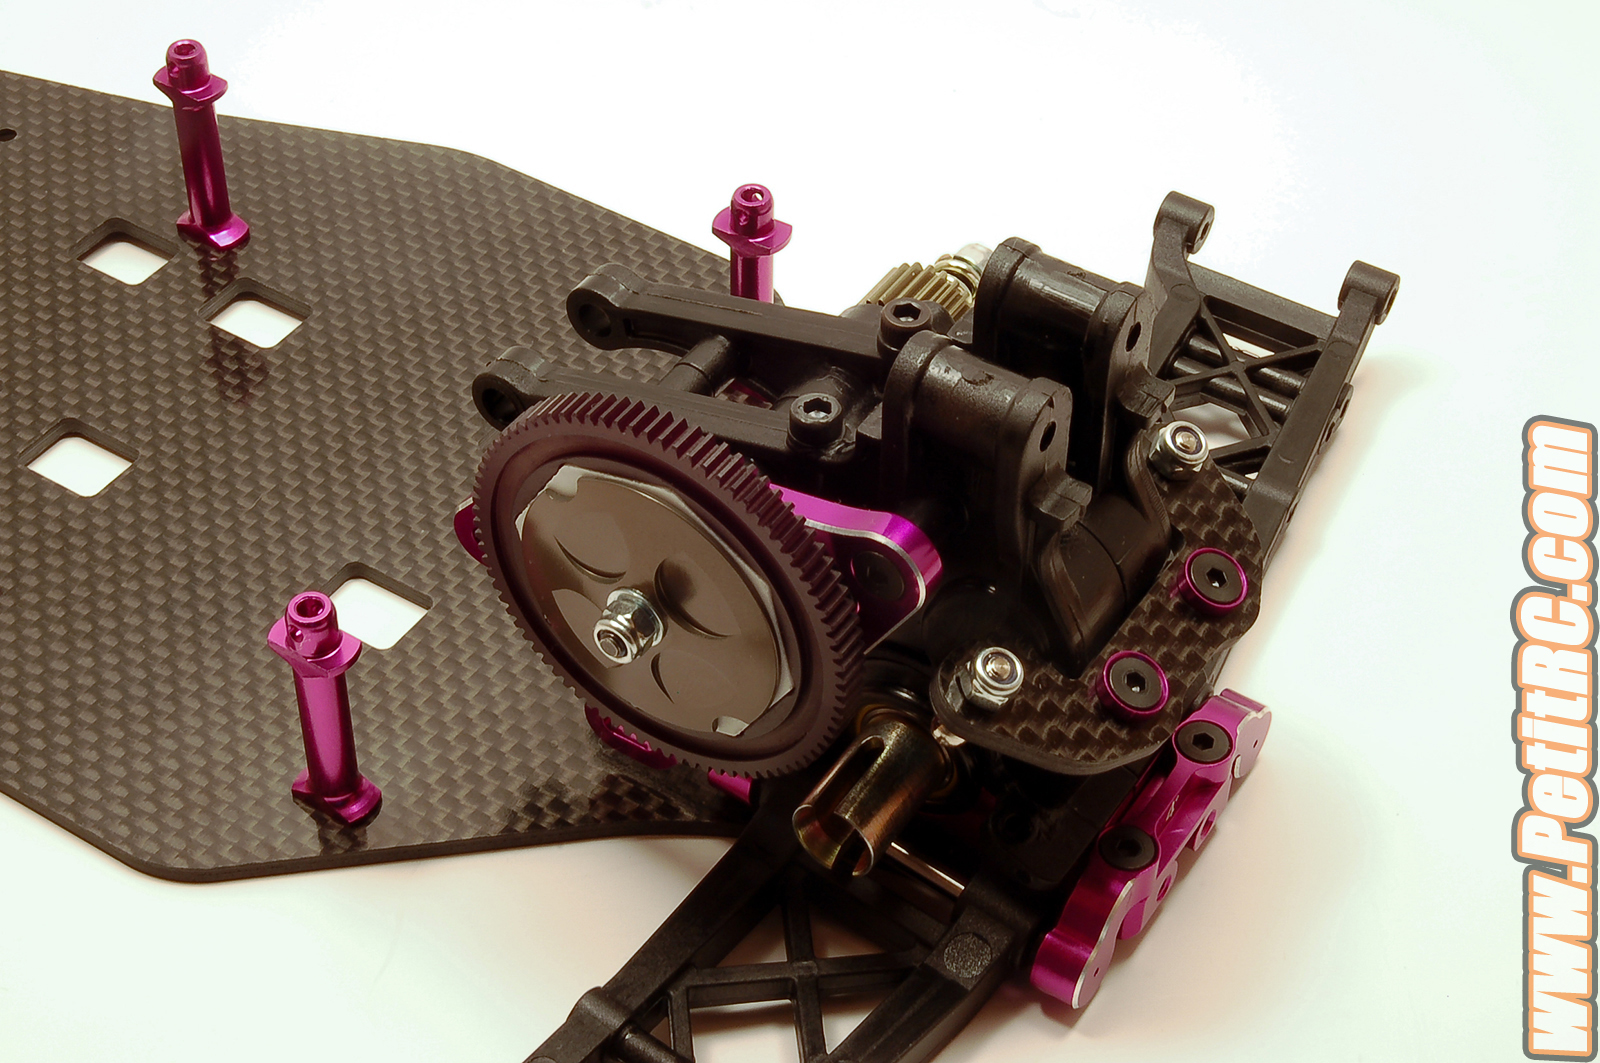
The assembly process starts
by installing the differential on the bottom. It is not indicated in
which way to mount the differential so, by installing it the wrong way,
the differential will be loose after some minutes of usage. Make sure to
install the differential with the setting screw on the same side as the
spur. Remember also to set it on the low position.
 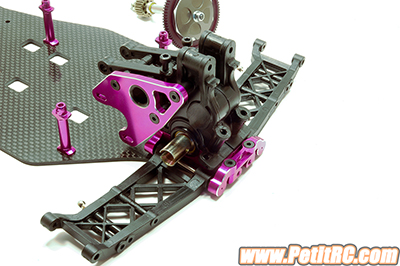
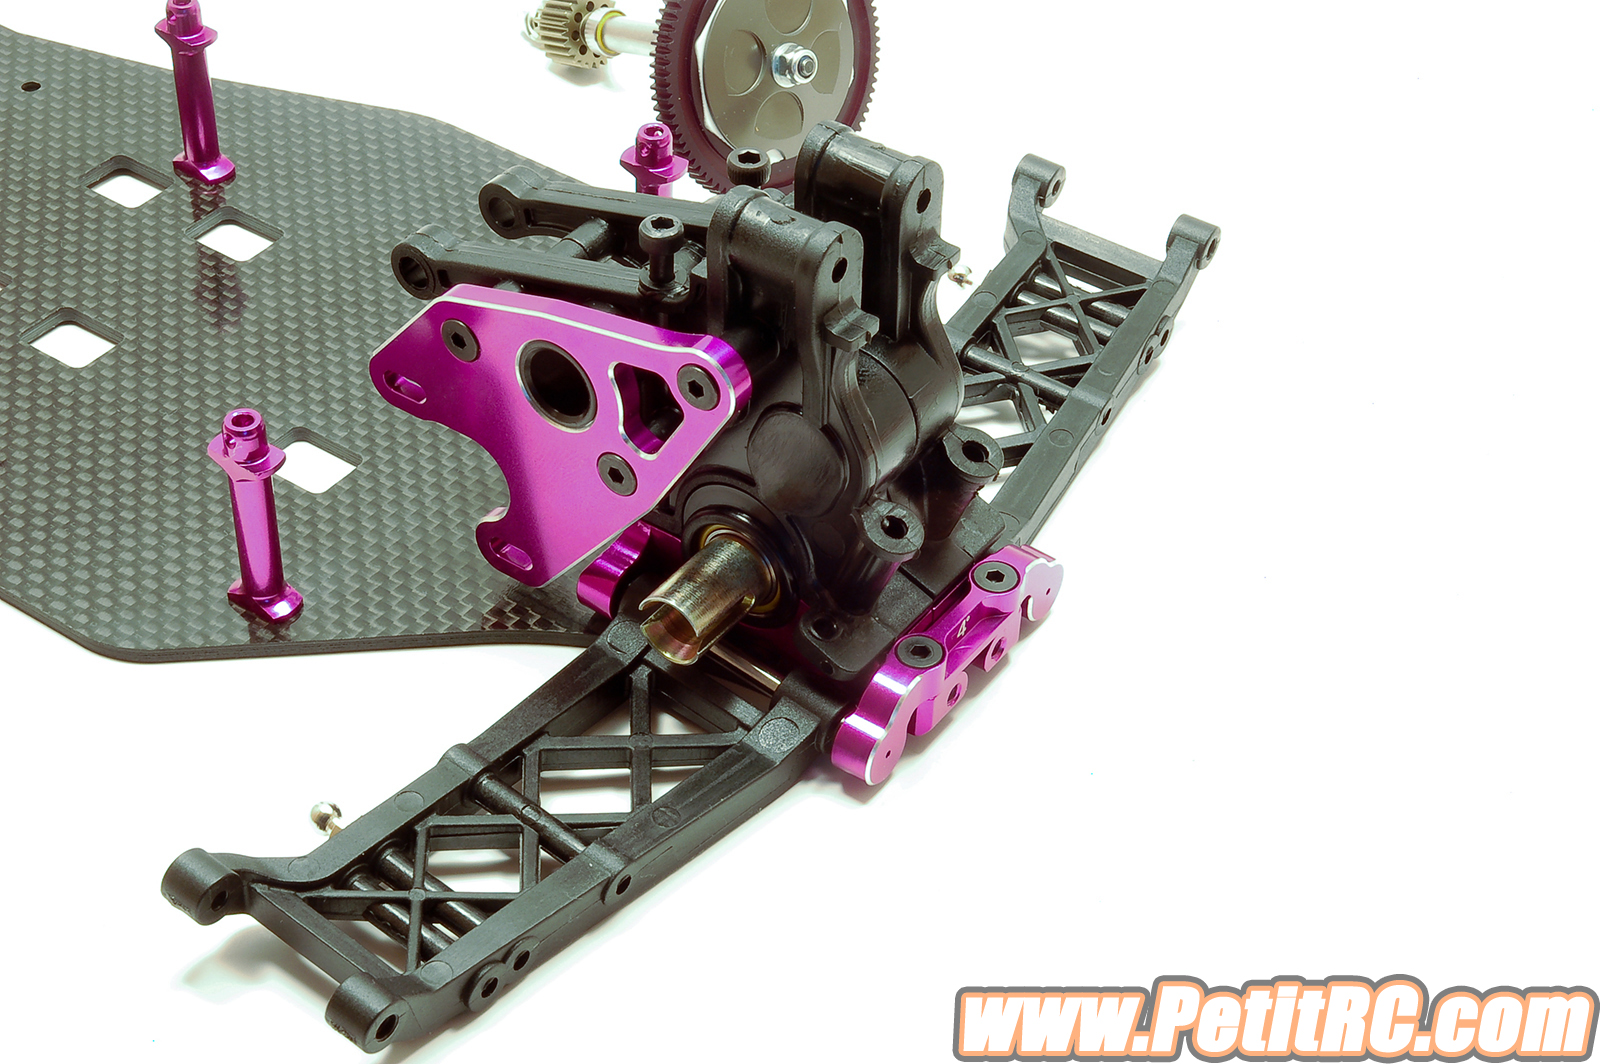
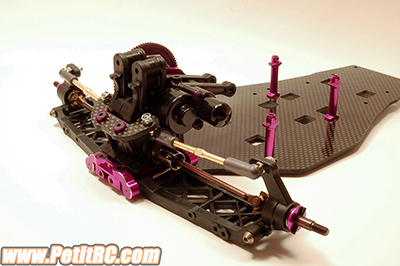
The next step is to install
the transmission. To do so, you may first loosen the three screws, if
not done earlier, holding in position the motor plate. Why do so?
Loosening the screws allows the gearbox to fit well when you will
tighten the four screws. Once done, tighten the screws you kept loose
and then install the shaft with all the others components.
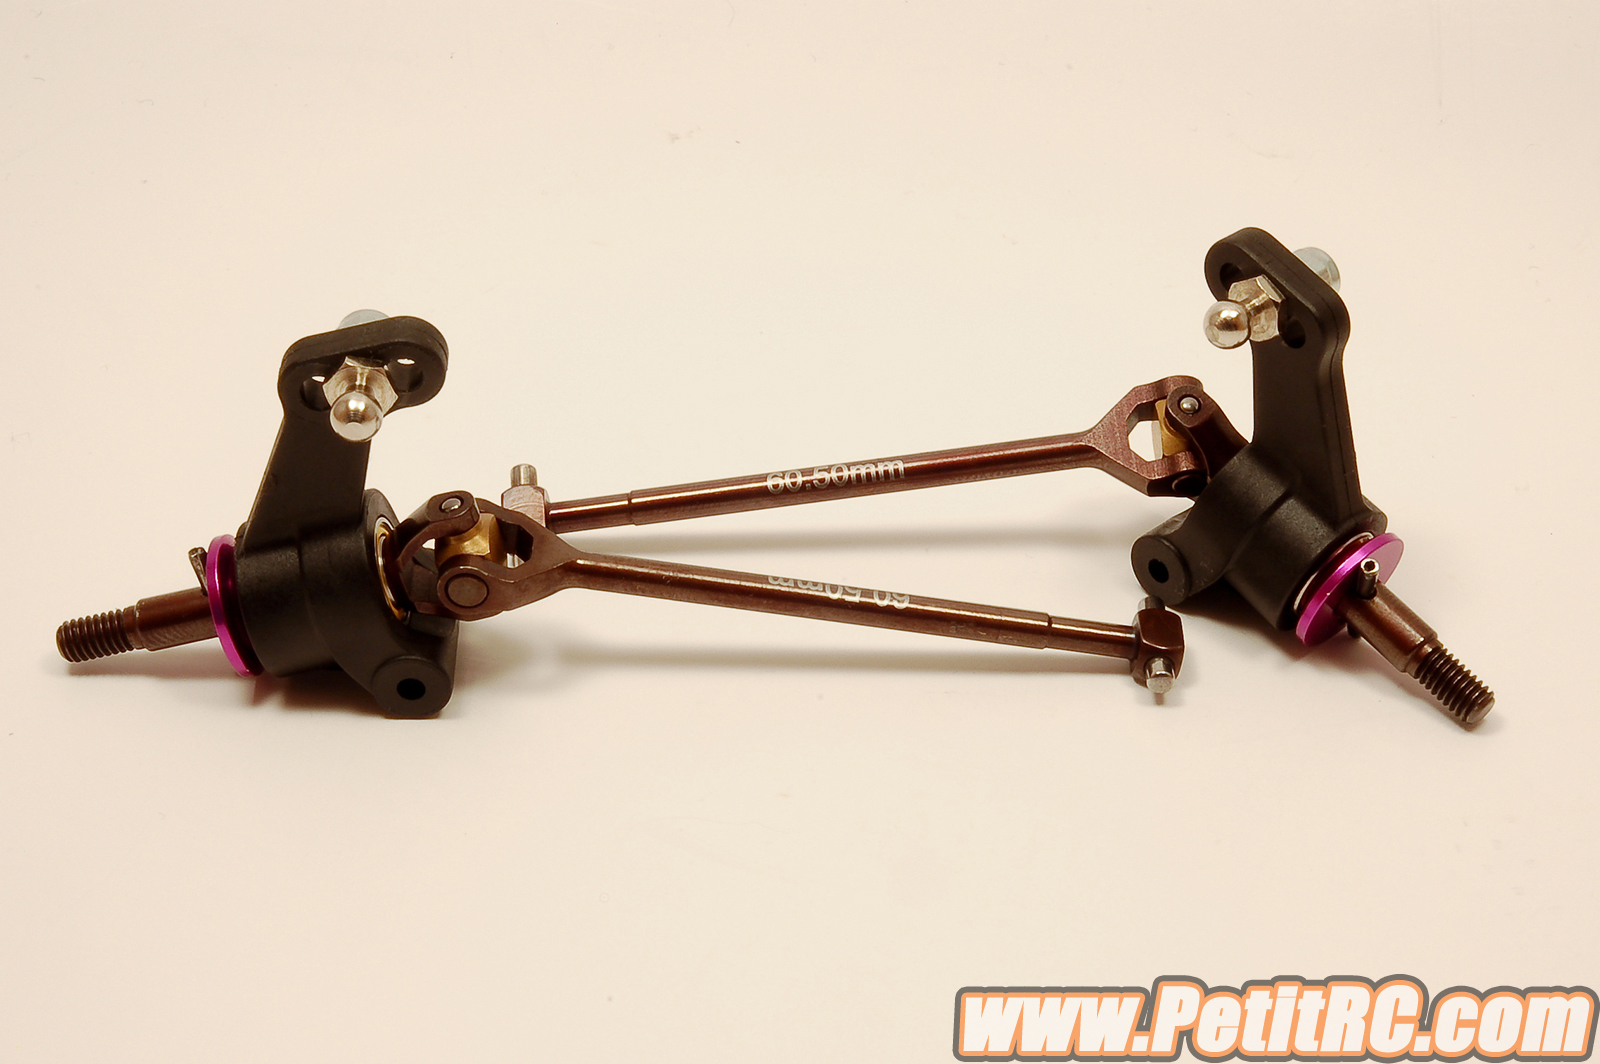
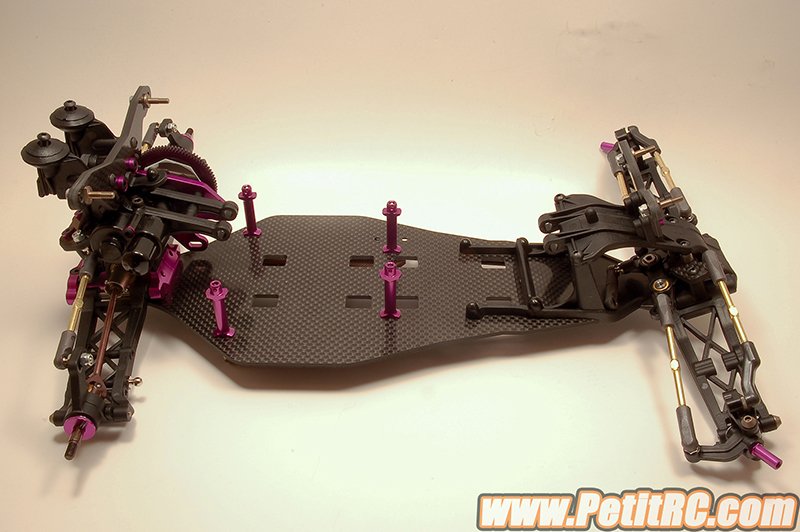
To finish with the
suspension, you have to set the turnbuckles and the rear hubs. The
latter can be spaced forward, center or backwards to increase the
wheelbase using some plastic clips and changes the weight distribution
between the front and rear ends.
 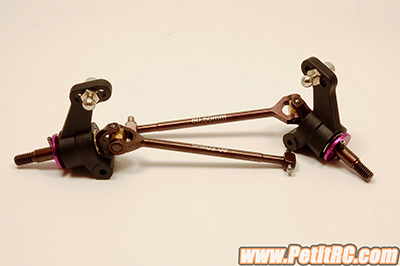
A
final comment about the rear wheel mounts: Schumacher uses some roll
pins and no hexagons - a really good point as you can use rims other
than Schumacher’s, especially if you are switching to the Cougar SV
and hence reusing your Associated or JConcepts rims.
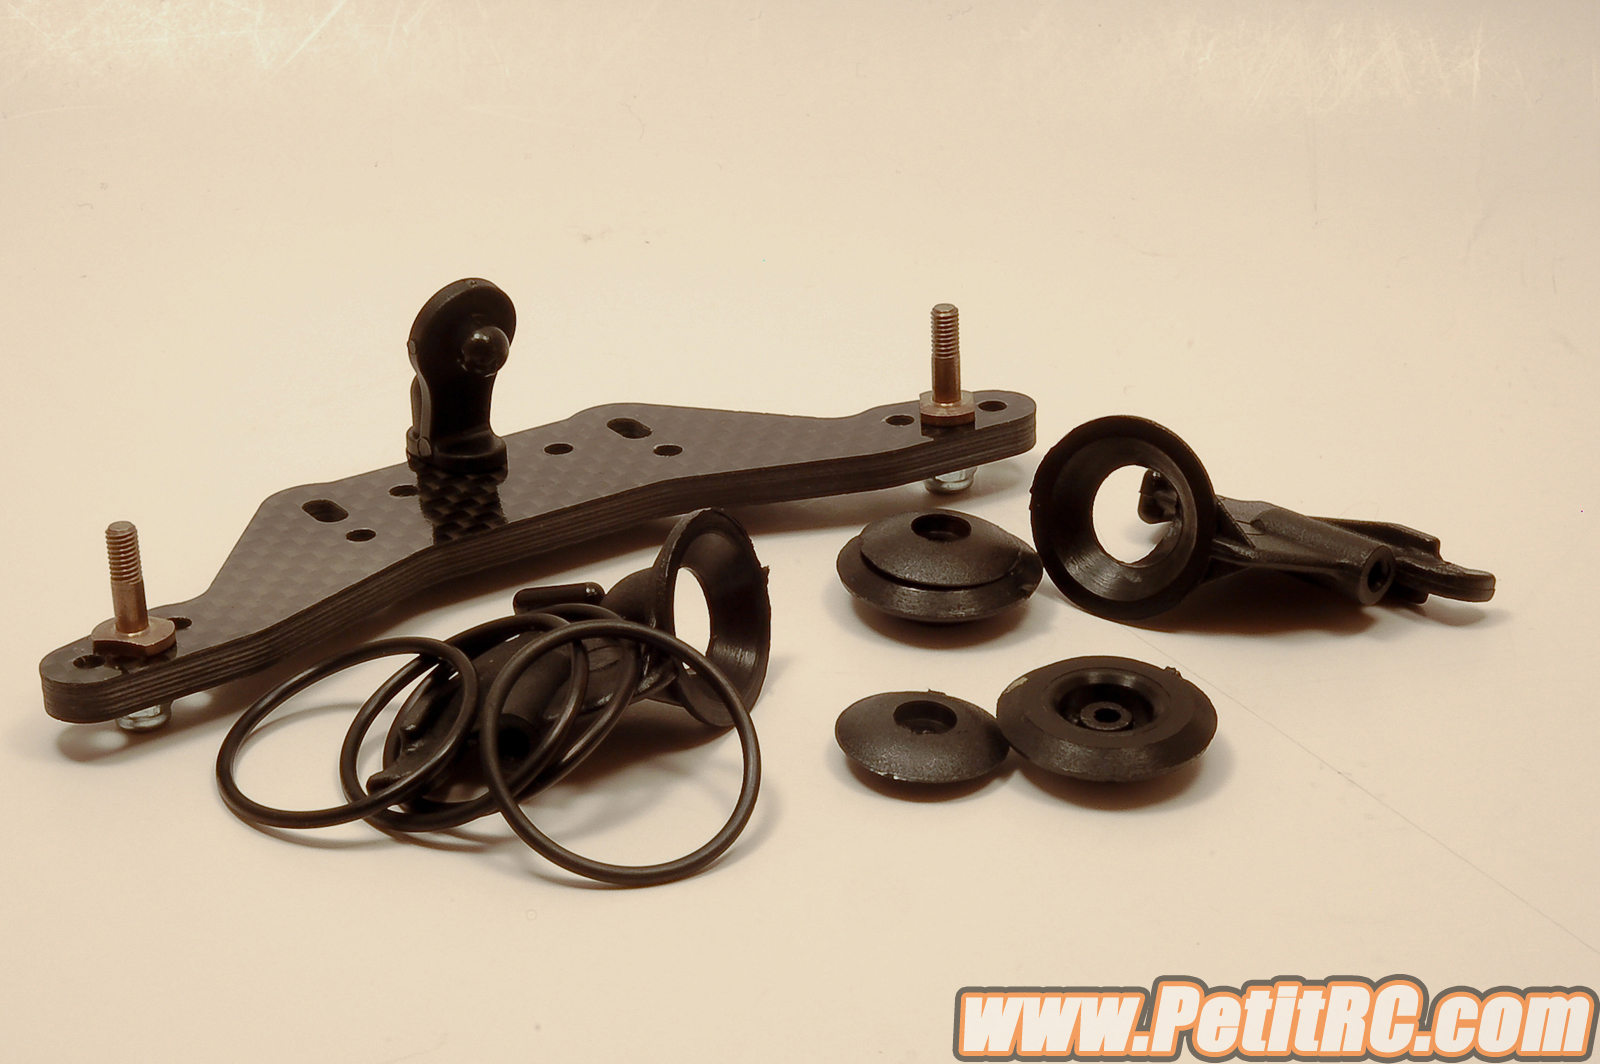
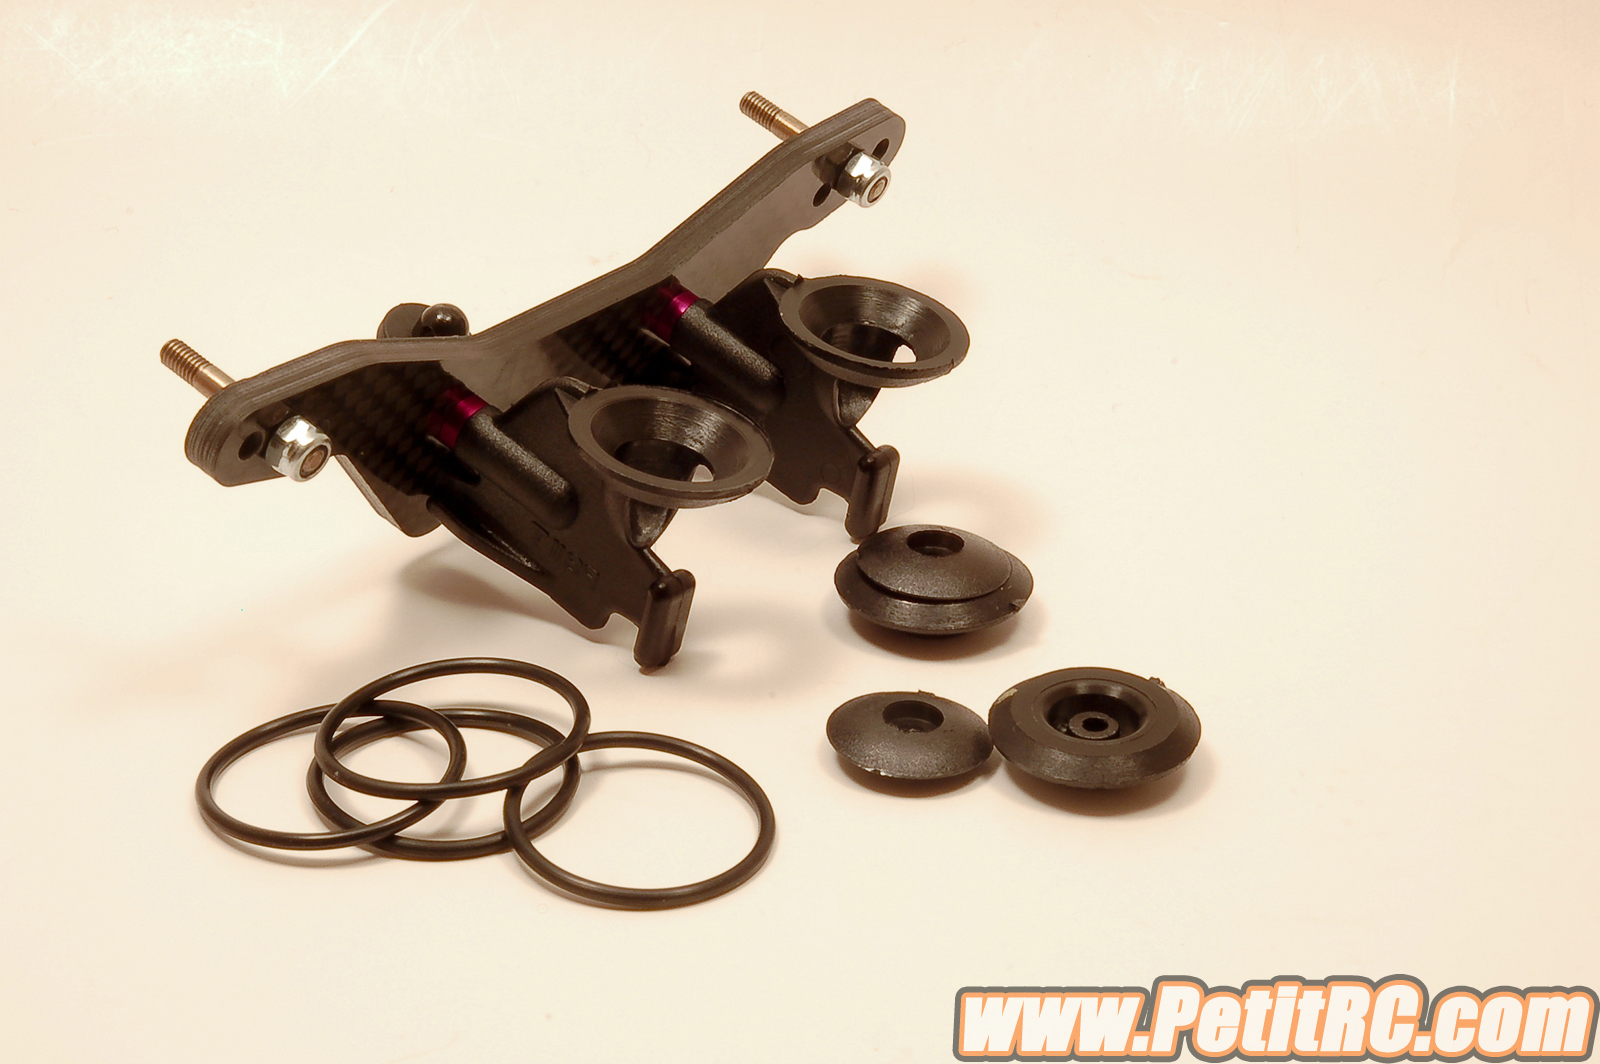
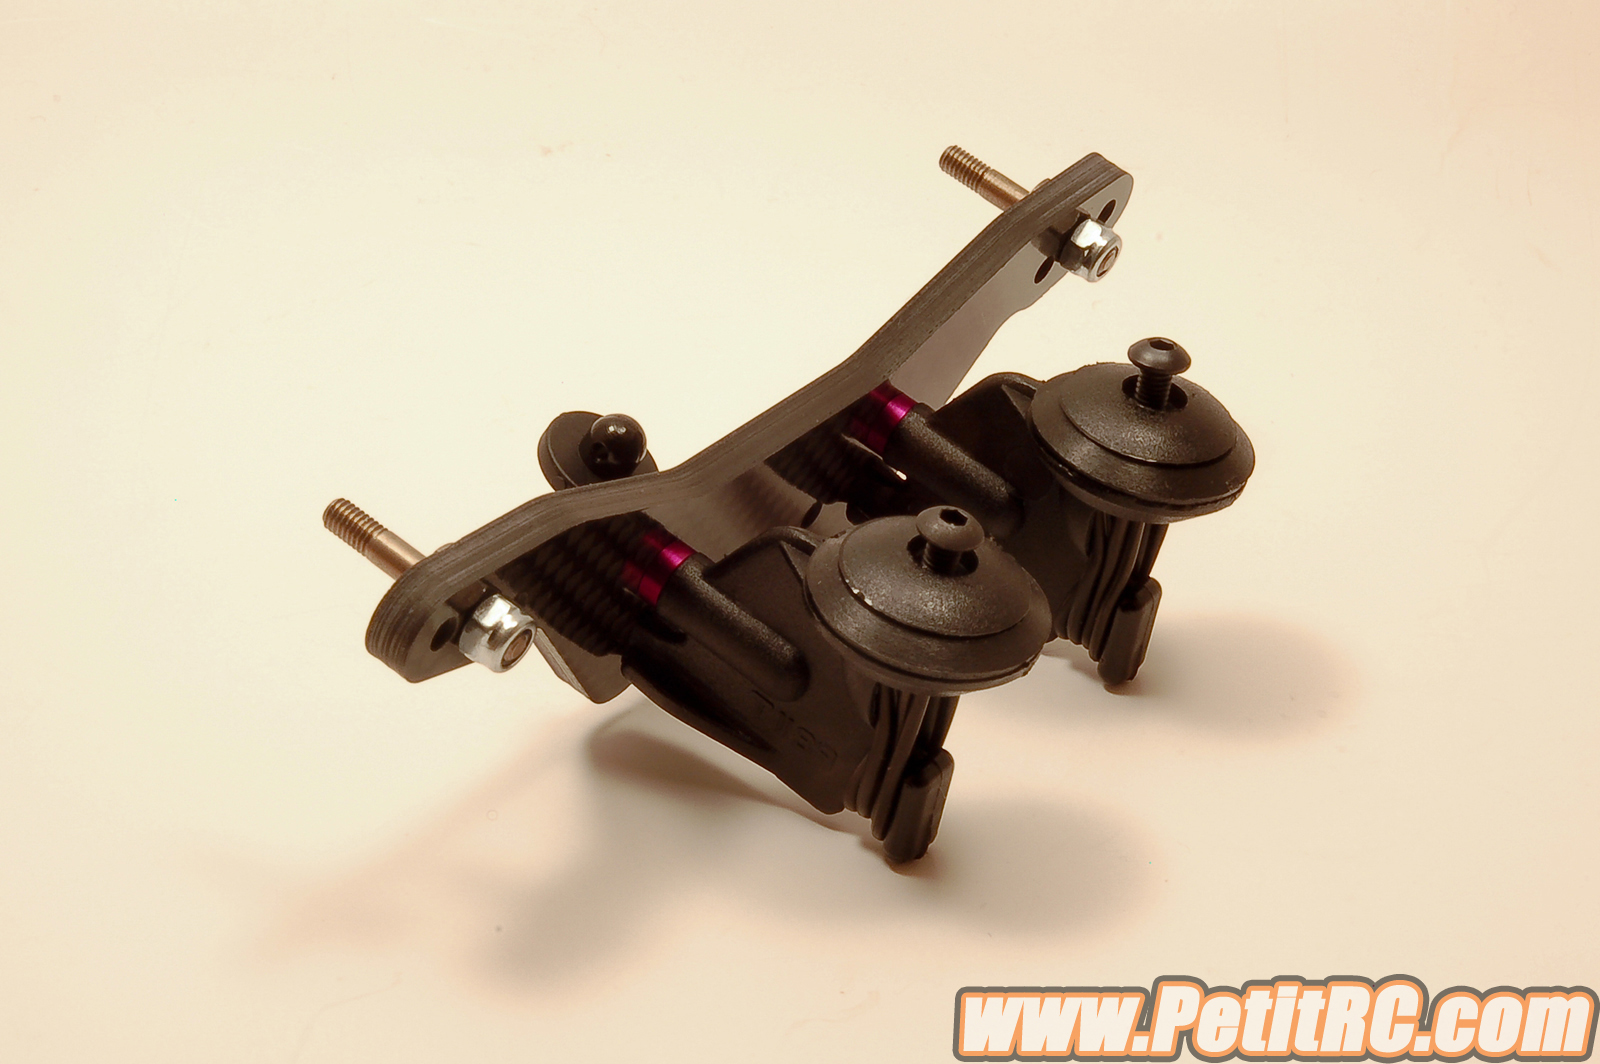
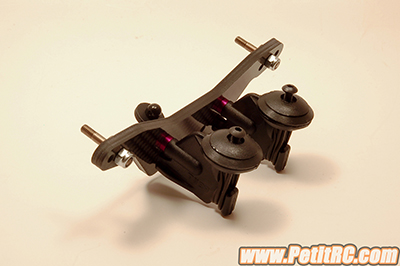
Wing mounts
These are probably the only
items on this newly designed car that are reminiscent from the past. The
wing mounts were designed in the last 80's, using o-rings to hold the
rear wing in place. This design is useful for when the car flips over
– the wing comes back to its designated position. The drawback is that
the o-rings may break at a certain point.
 
Some may consider here an
alternative solution for something less flexible offering angle
adjustment to generate the wanted downforce. So, this is probably one
detail some competitors may want to work on.
|