-
Schumacher Cougar SV -
Words & Pictures: Arn0
Steering
 With
the first part of the build-up, it is time to discover a bit more about
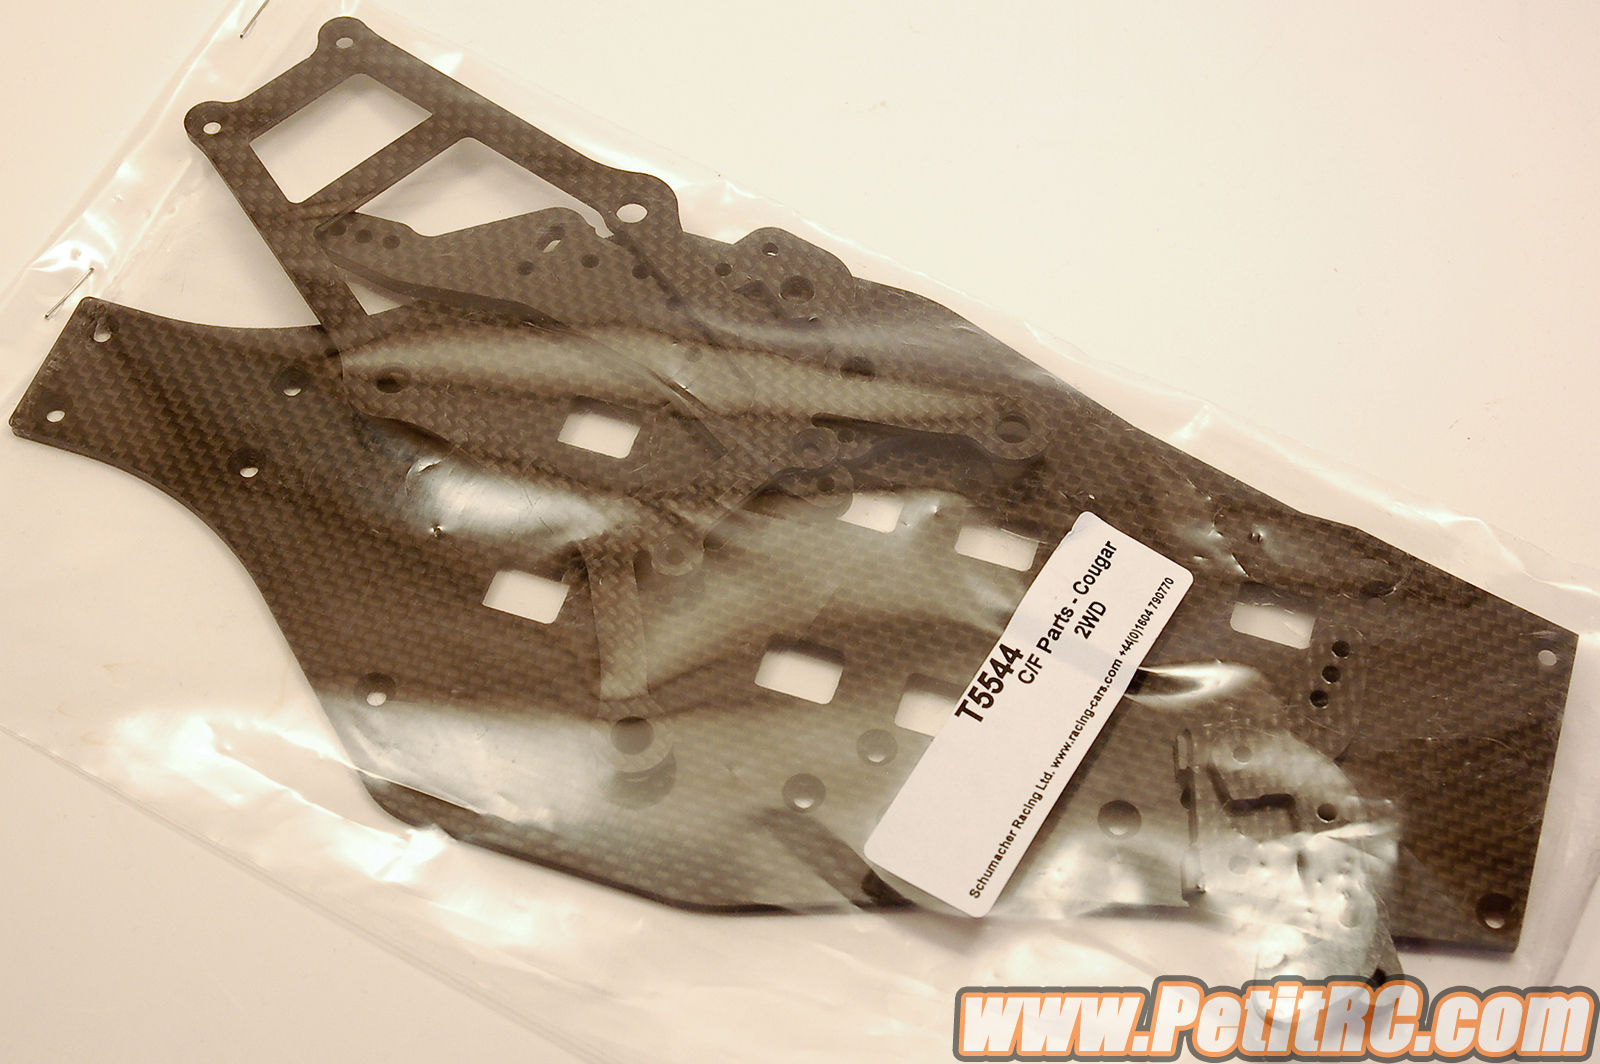
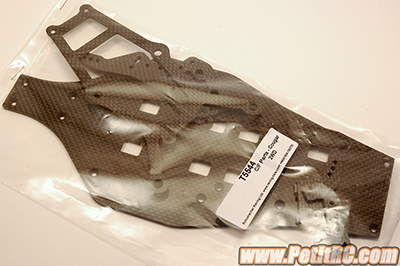
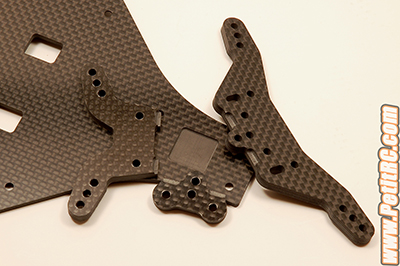
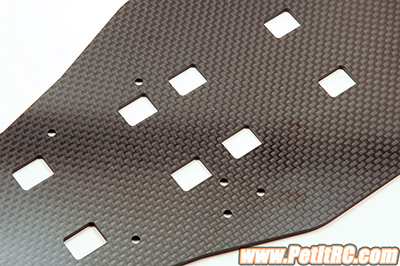
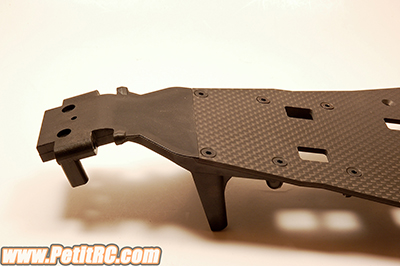
the car's parts and especially the carbon fiber ones which include the
chassis, both front and rear shock towers and upper links mounts, a
bracket as well as the top desk-battery holder. This last component and
its teammate the low desk, are both made from 2.5mm carbon fiber while
as the upper link mounts are a bit bigger machined in a 3mm thick plate. With
the first part of the build-up, it is time to discover a bit more about
the car's parts and especially the carbon fiber ones which include the
chassis, both front and rear shock towers and upper links mounts, a
bracket as well as the top desk-battery holder. This last component and
its teammate the low desk, are both made from 2.5mm carbon fiber while
as the upper link mounts are a bit bigger machined in a 3mm thick plate.
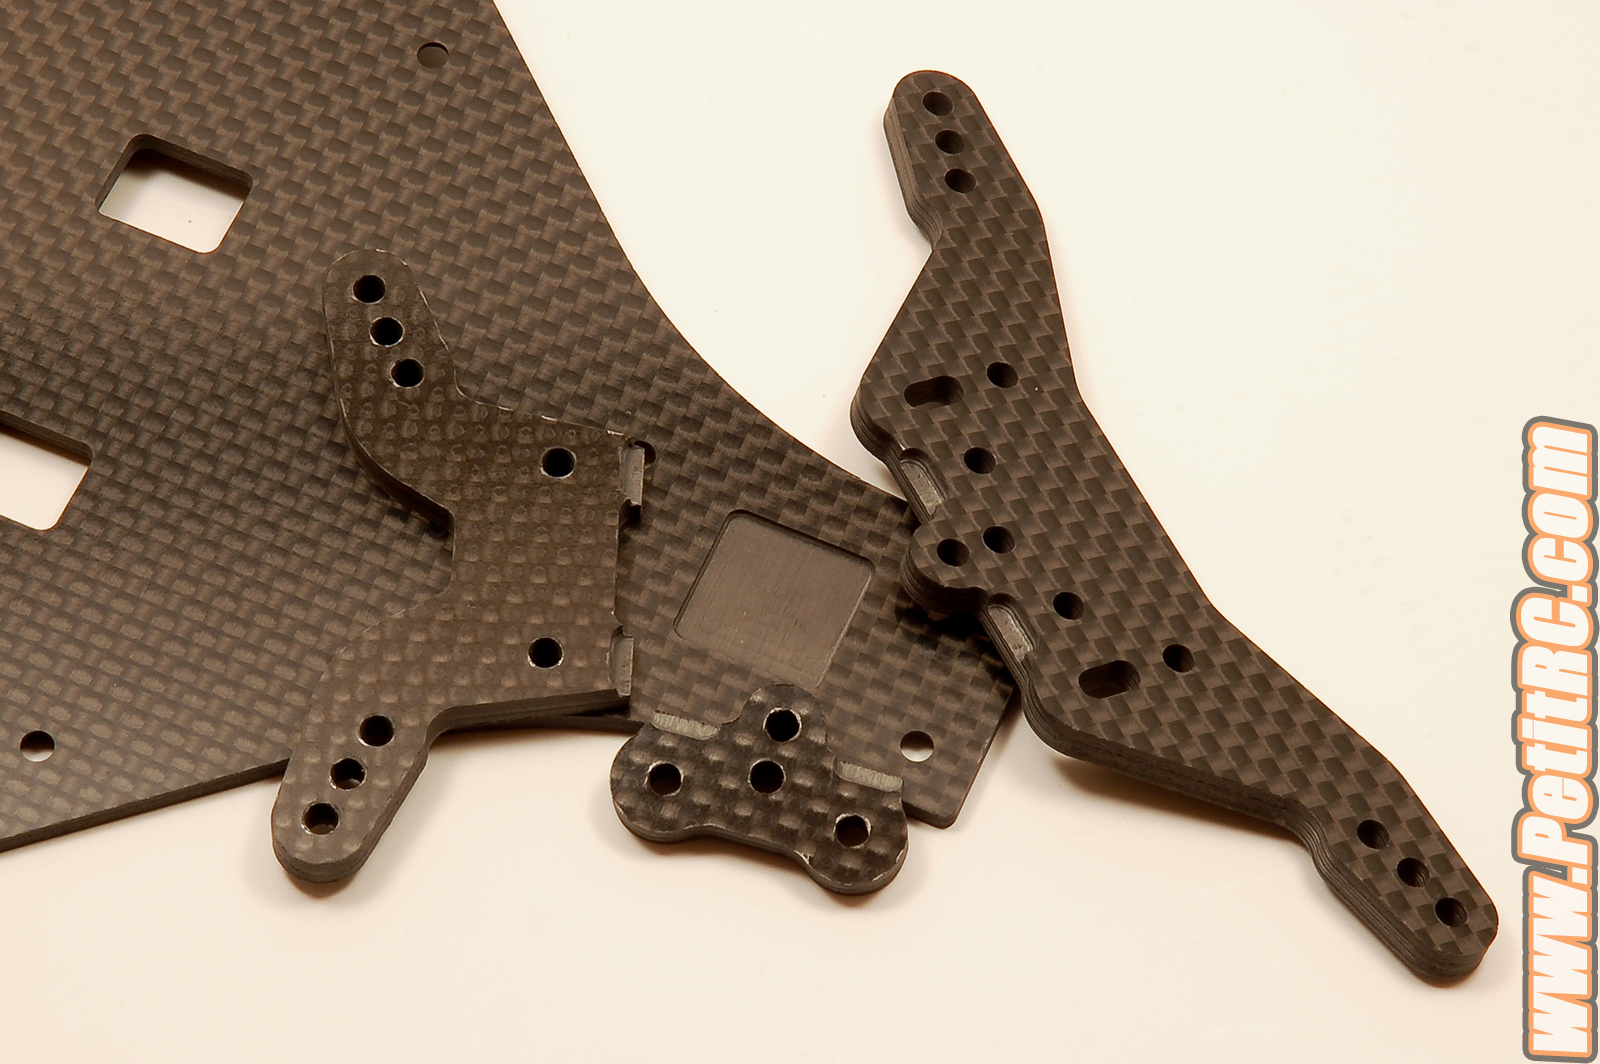
These upper mounts are the
39mm wide ones for the front end and 40.5mm located on the rear of the
car. Some optional parts are available with 34mm, 44mm and 49mm for the
front ones and 45.5mm and 50.5mm for the rear. There is potential to get
some more value in between each but if you count the number of
possibilities to set up the car, well, that might be enough.
The shock towers and the
bracket are the thickest carbon fiber parts at 4mm. The chassis and the
towers have machined areas to obtain some specific clearances to install
the gearbox and set the towers on their dedicated supports.
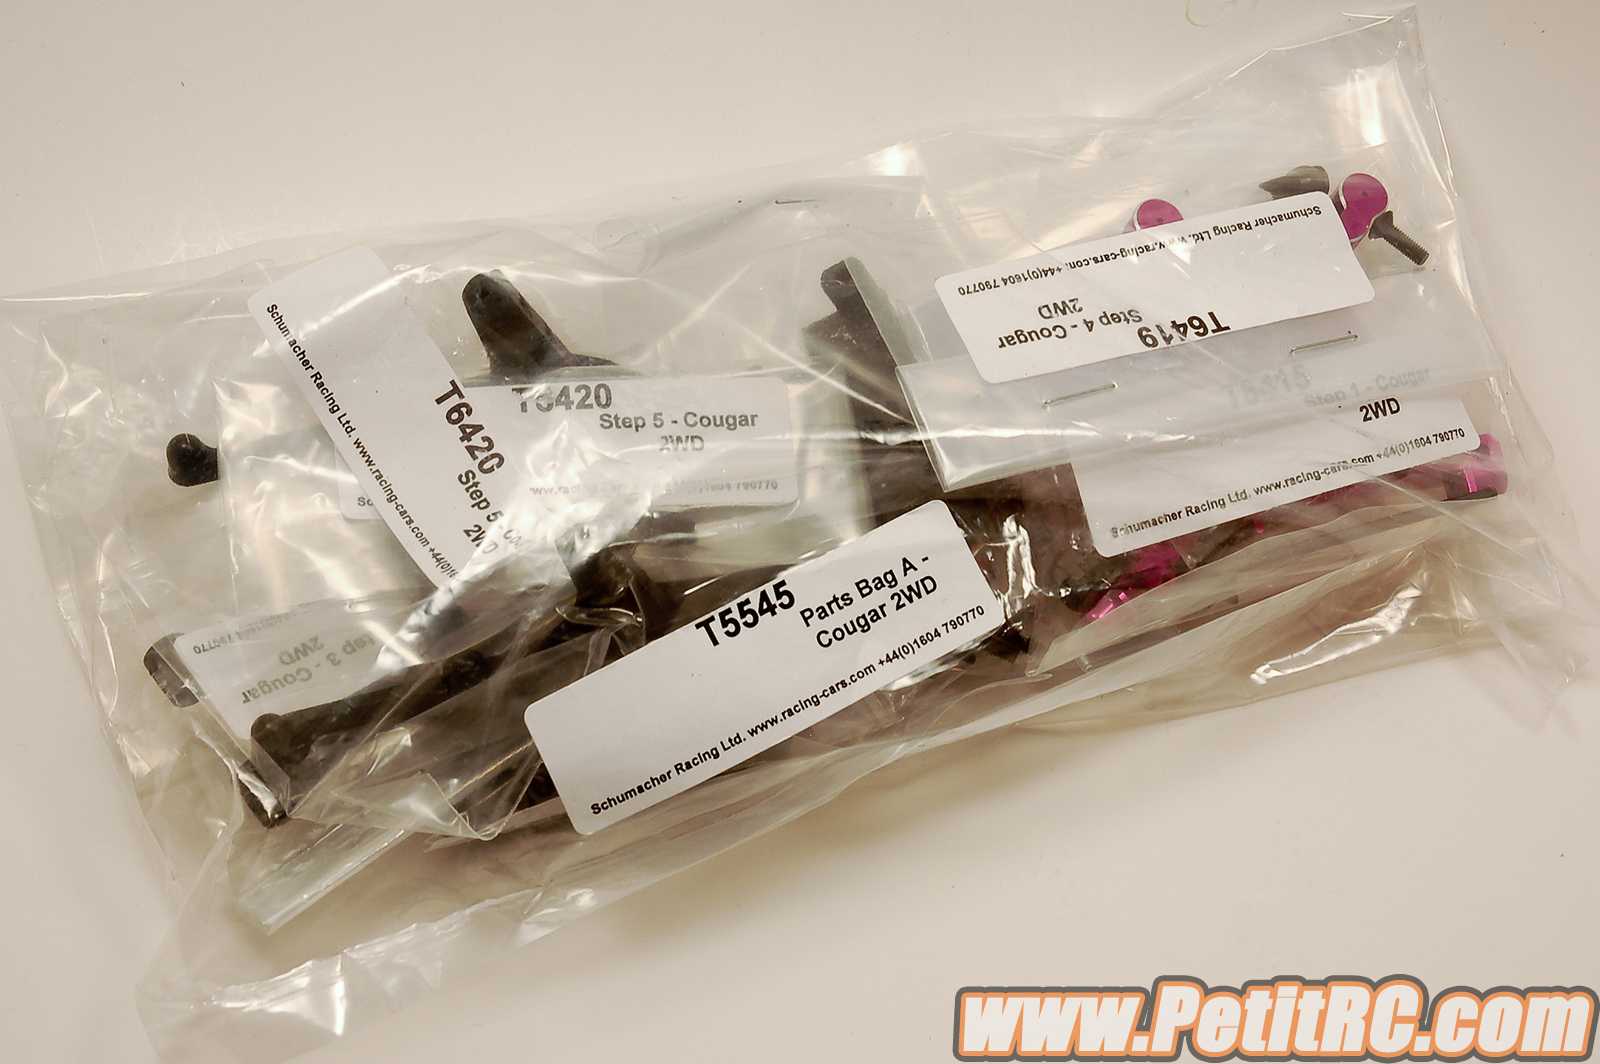
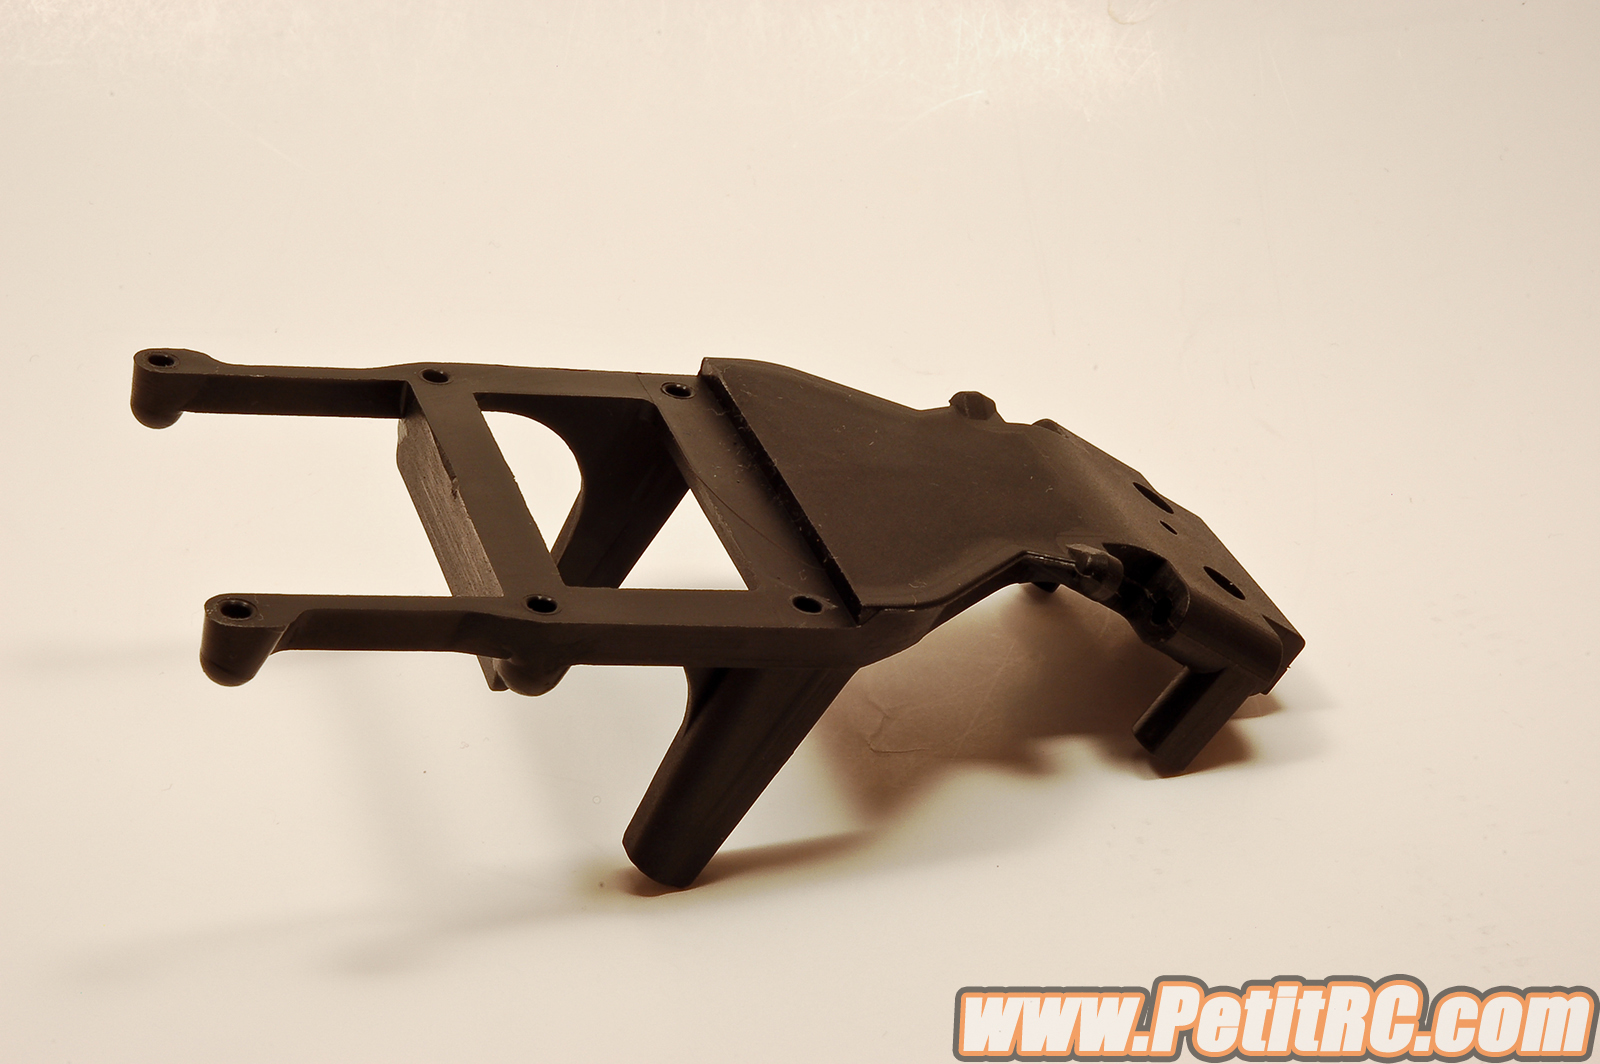
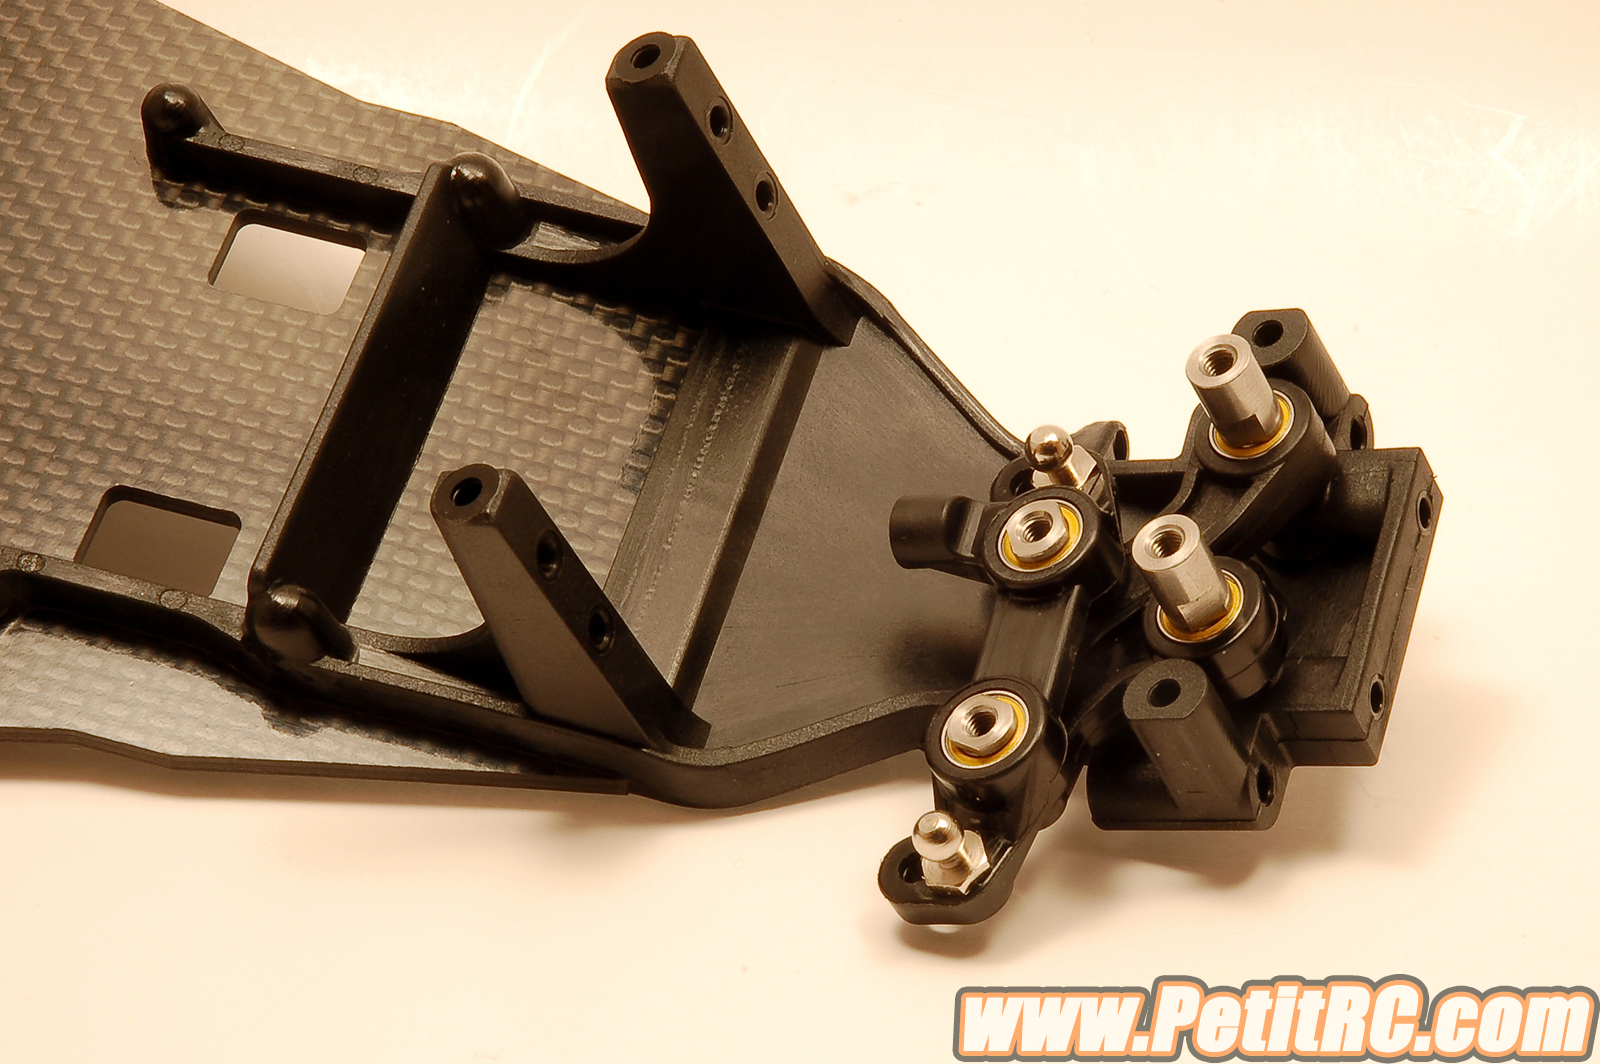
On the other side, there is
also some plastic parts as a well designed and molded front bottom
plate. This bottom plate has a step that, once linked with the low desk,
makes a completely flat assembly with the low desk. Some steering
components get a bit of flash but nothing major and a quick cut with an
x-acto will allow the removal of this excess of material.
 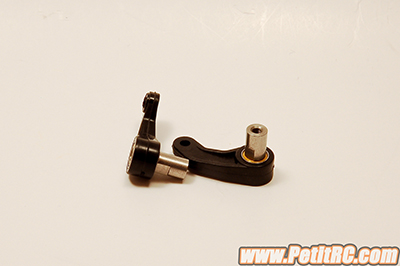
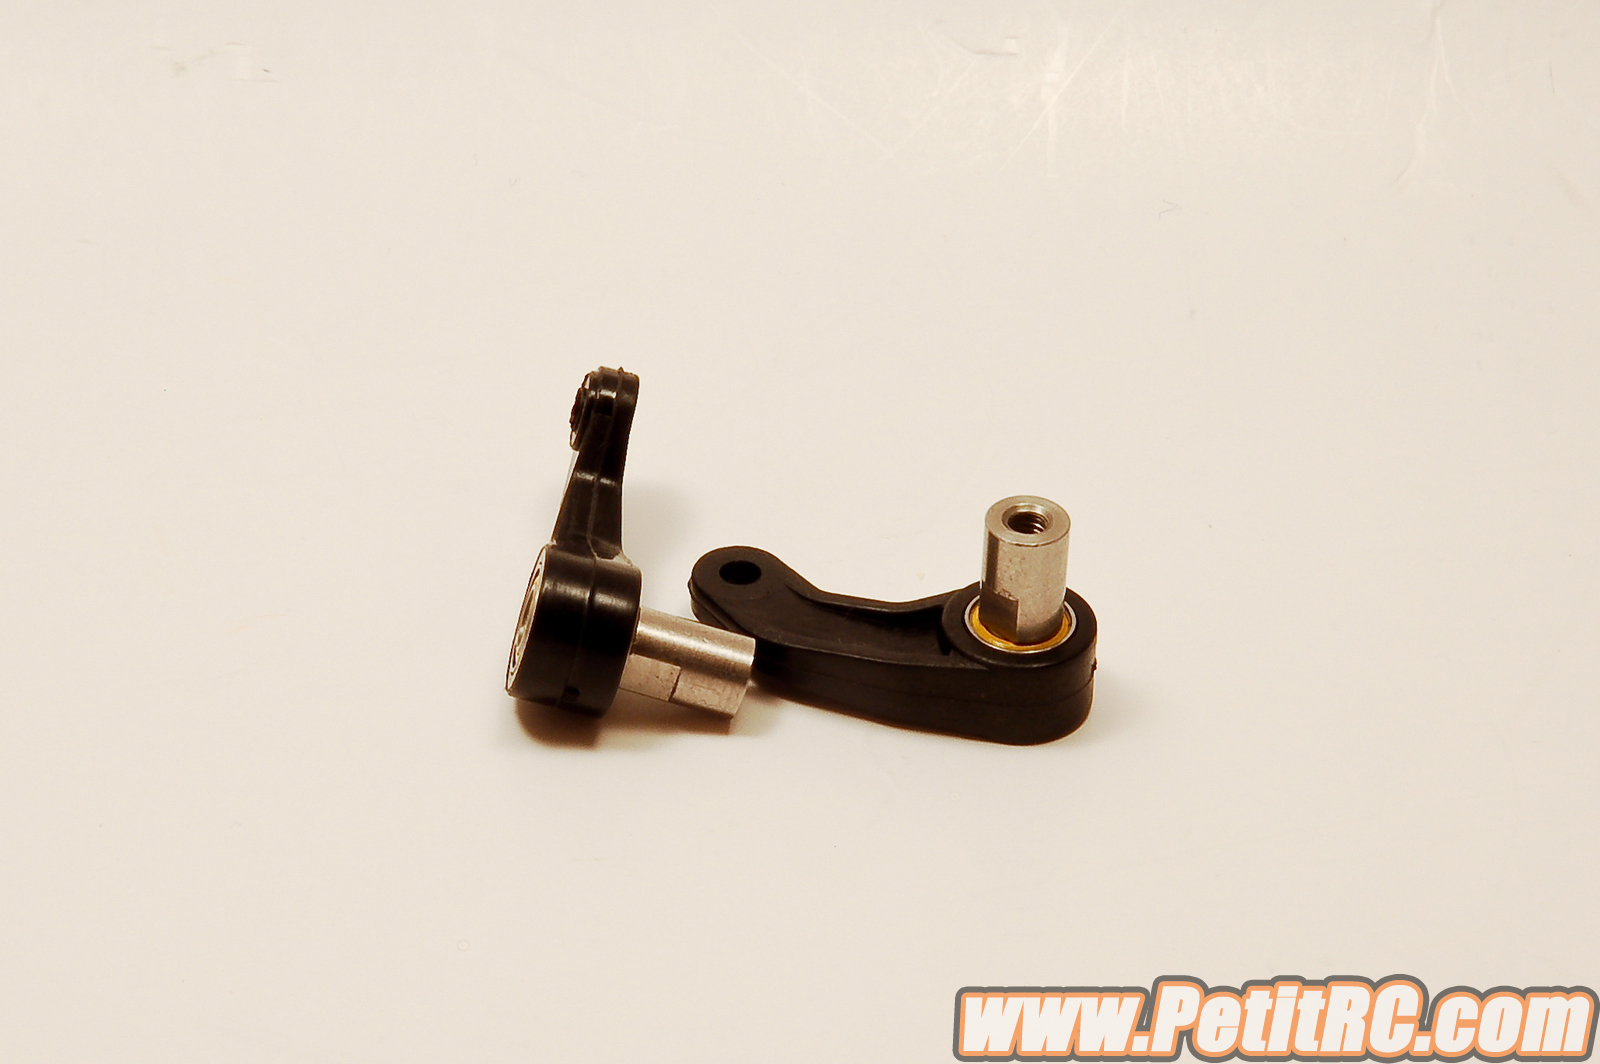
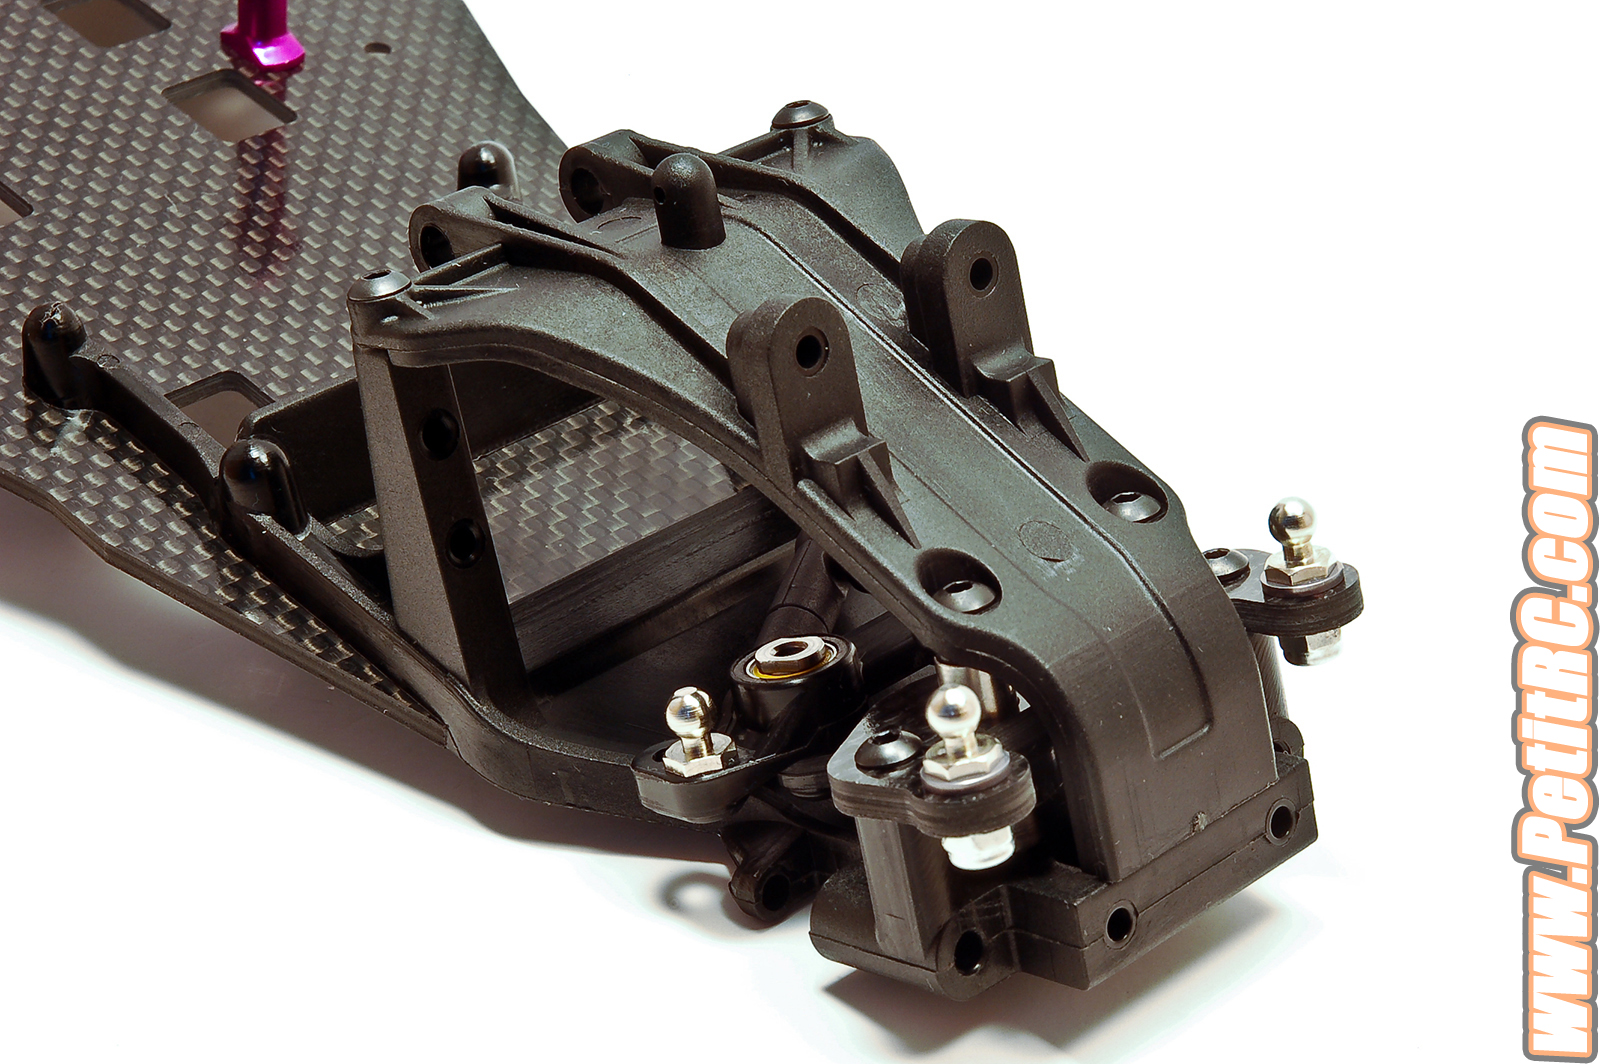
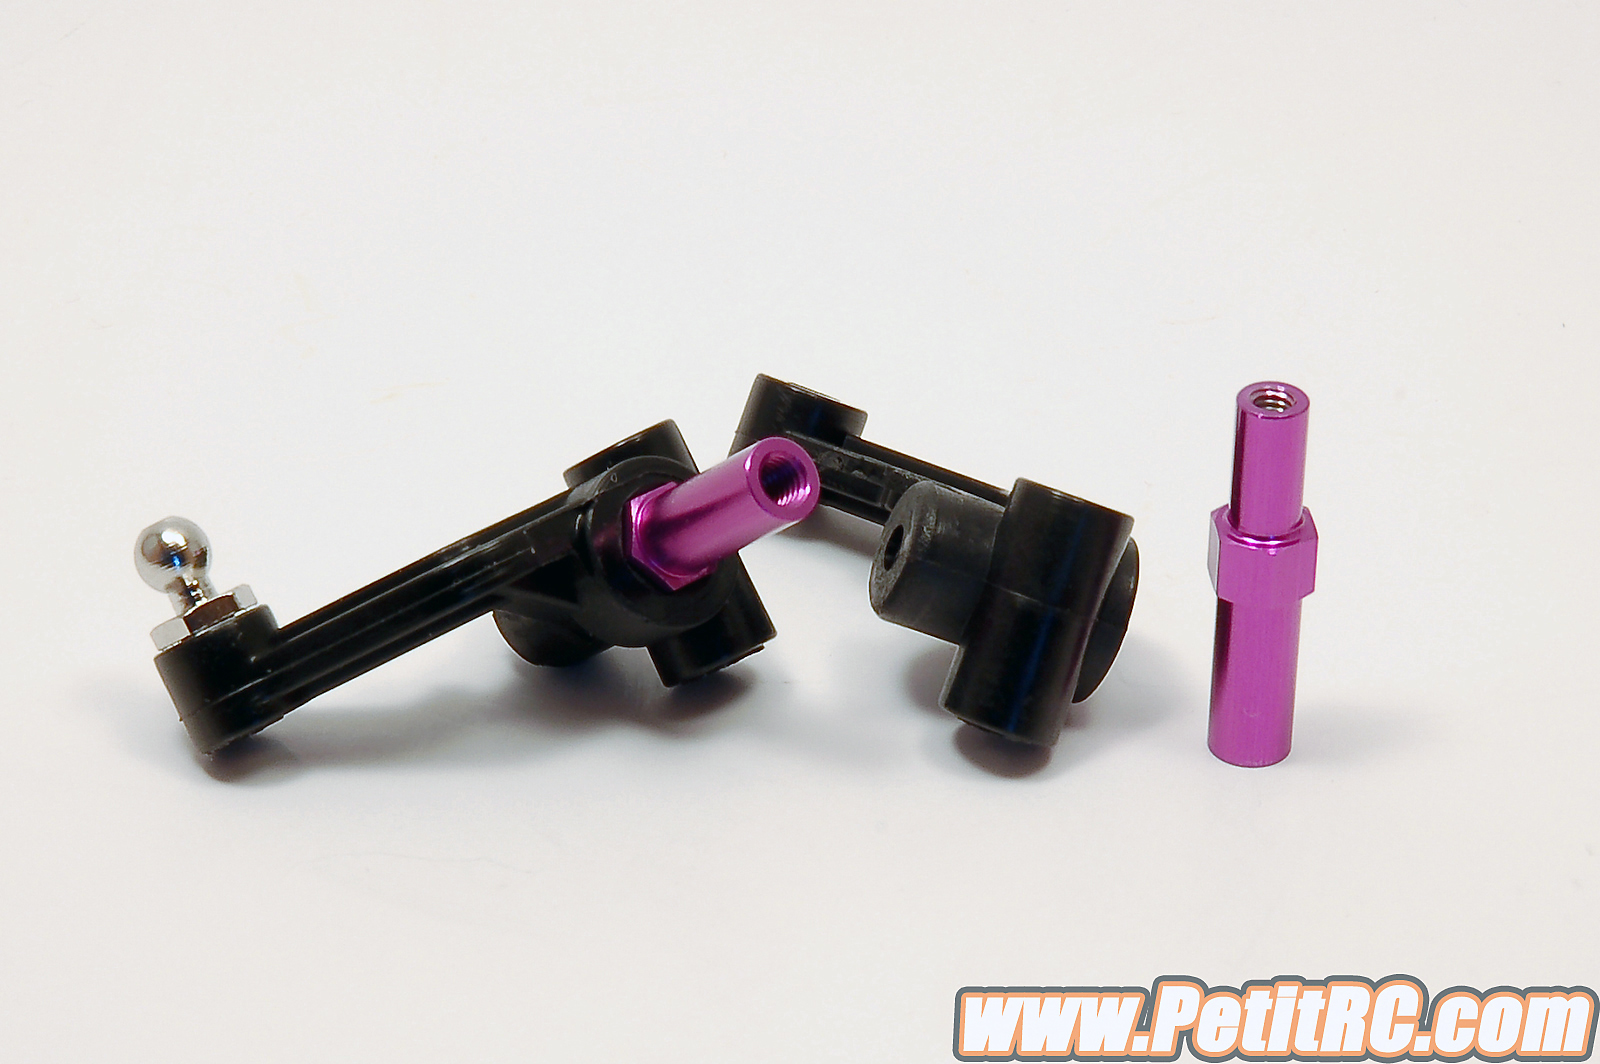
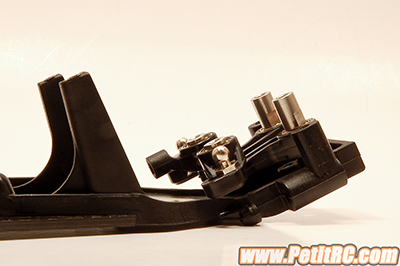
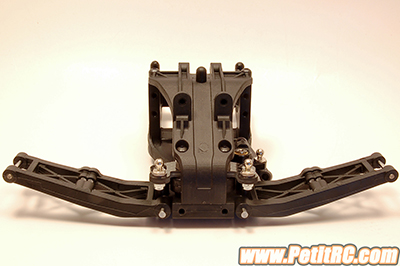
As this is a competition
car, the steering is equipped with four rubber sealed ball bearings to
guide around two small metallic posts, the little arms supporting a
rack. The ball bearings are not tight mounted as there will be some load
applied and no high revolution. The metallic posts are secured with two
long screws and two thin washers, make sure of a sufficient clearance
with the bulkhead. There is no mention of thread lock here, a little
drop won't hurt to avoid any loss of parts within in the assembly while
the car goes around the track.
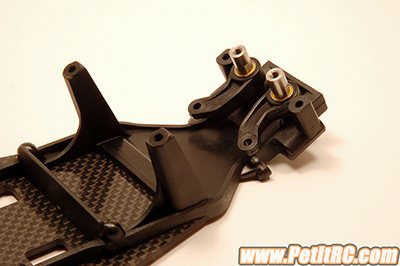 
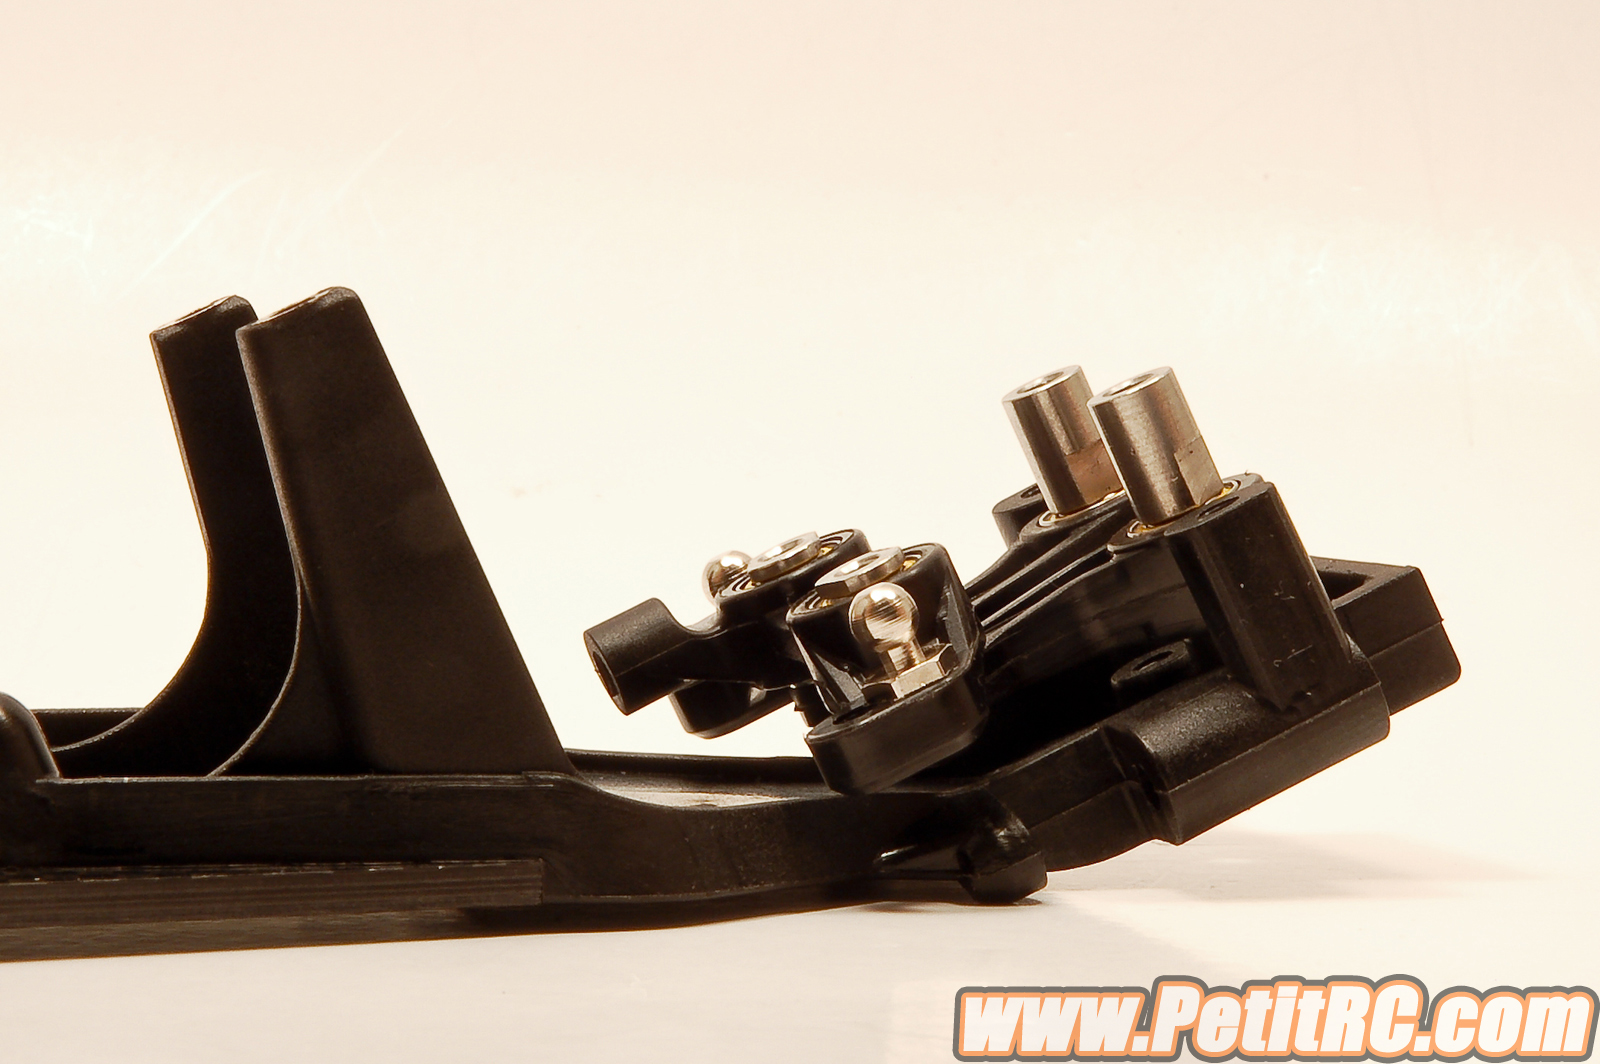
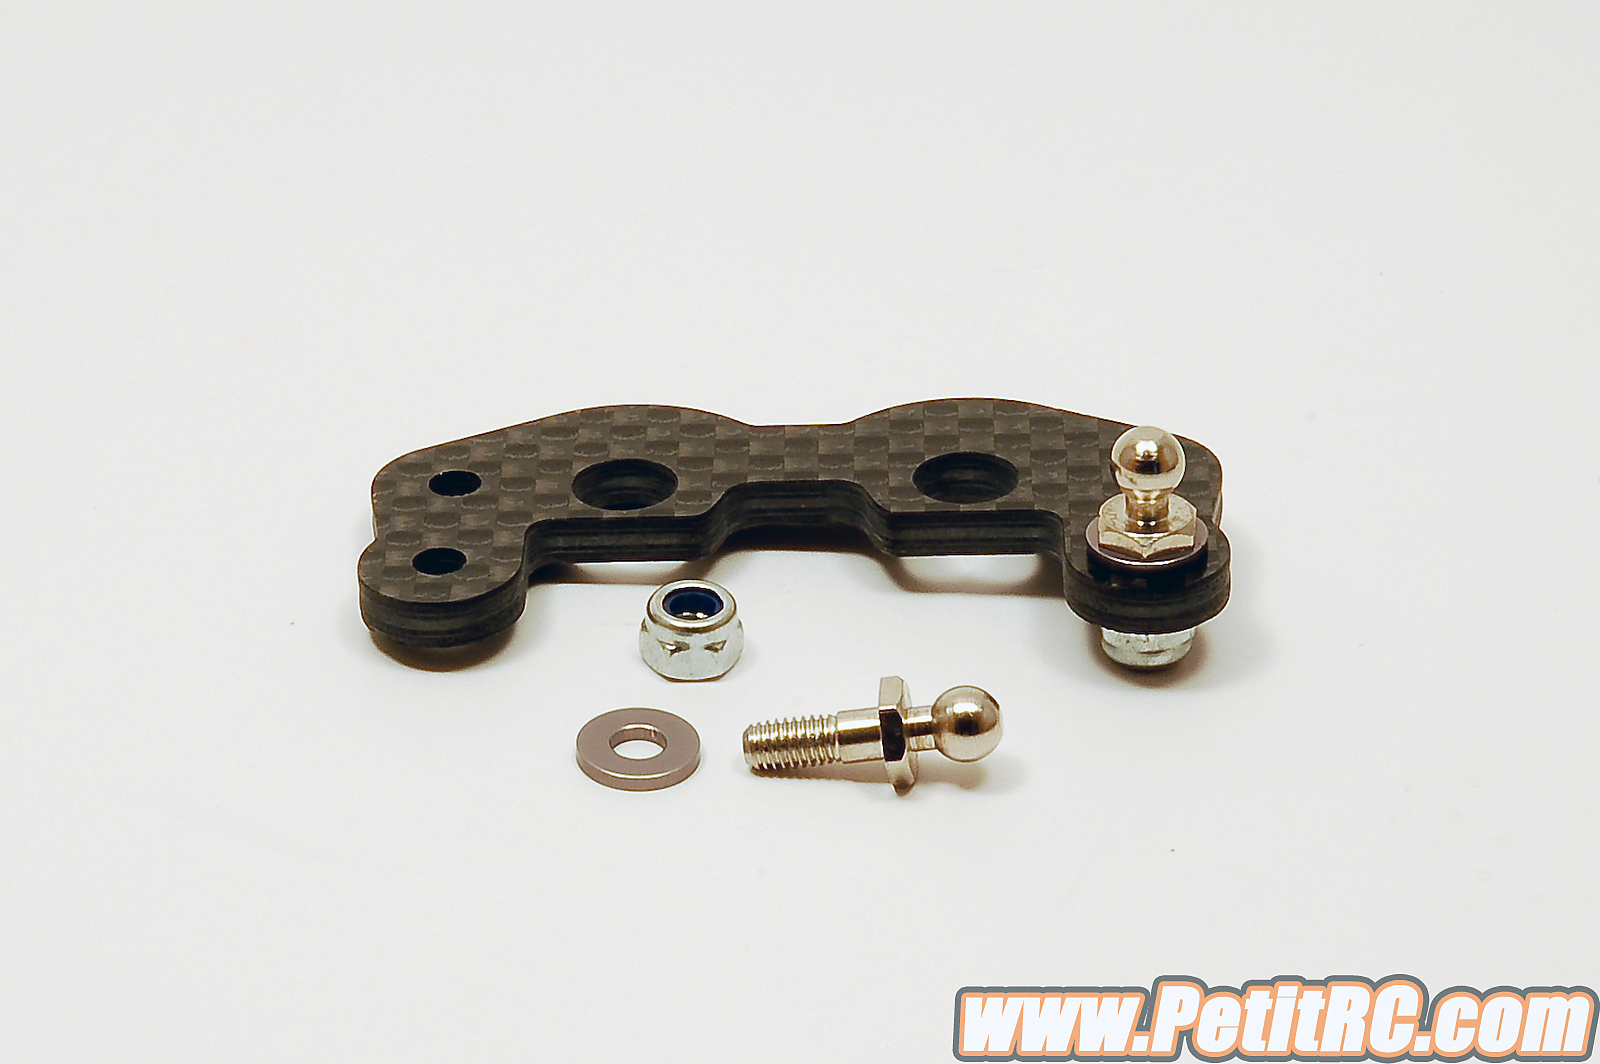
The rack itself is set with
another four sealed ball bearings, the exact same as the arms, and again
two posts support this item. The Ackerman effect can be adjusted by
moving forward or backward the ball studs on the rack. Once all
together, the steering system sits very low on the car, that's pretty
impressive. And it is smooth, super smooth! Well done!
|
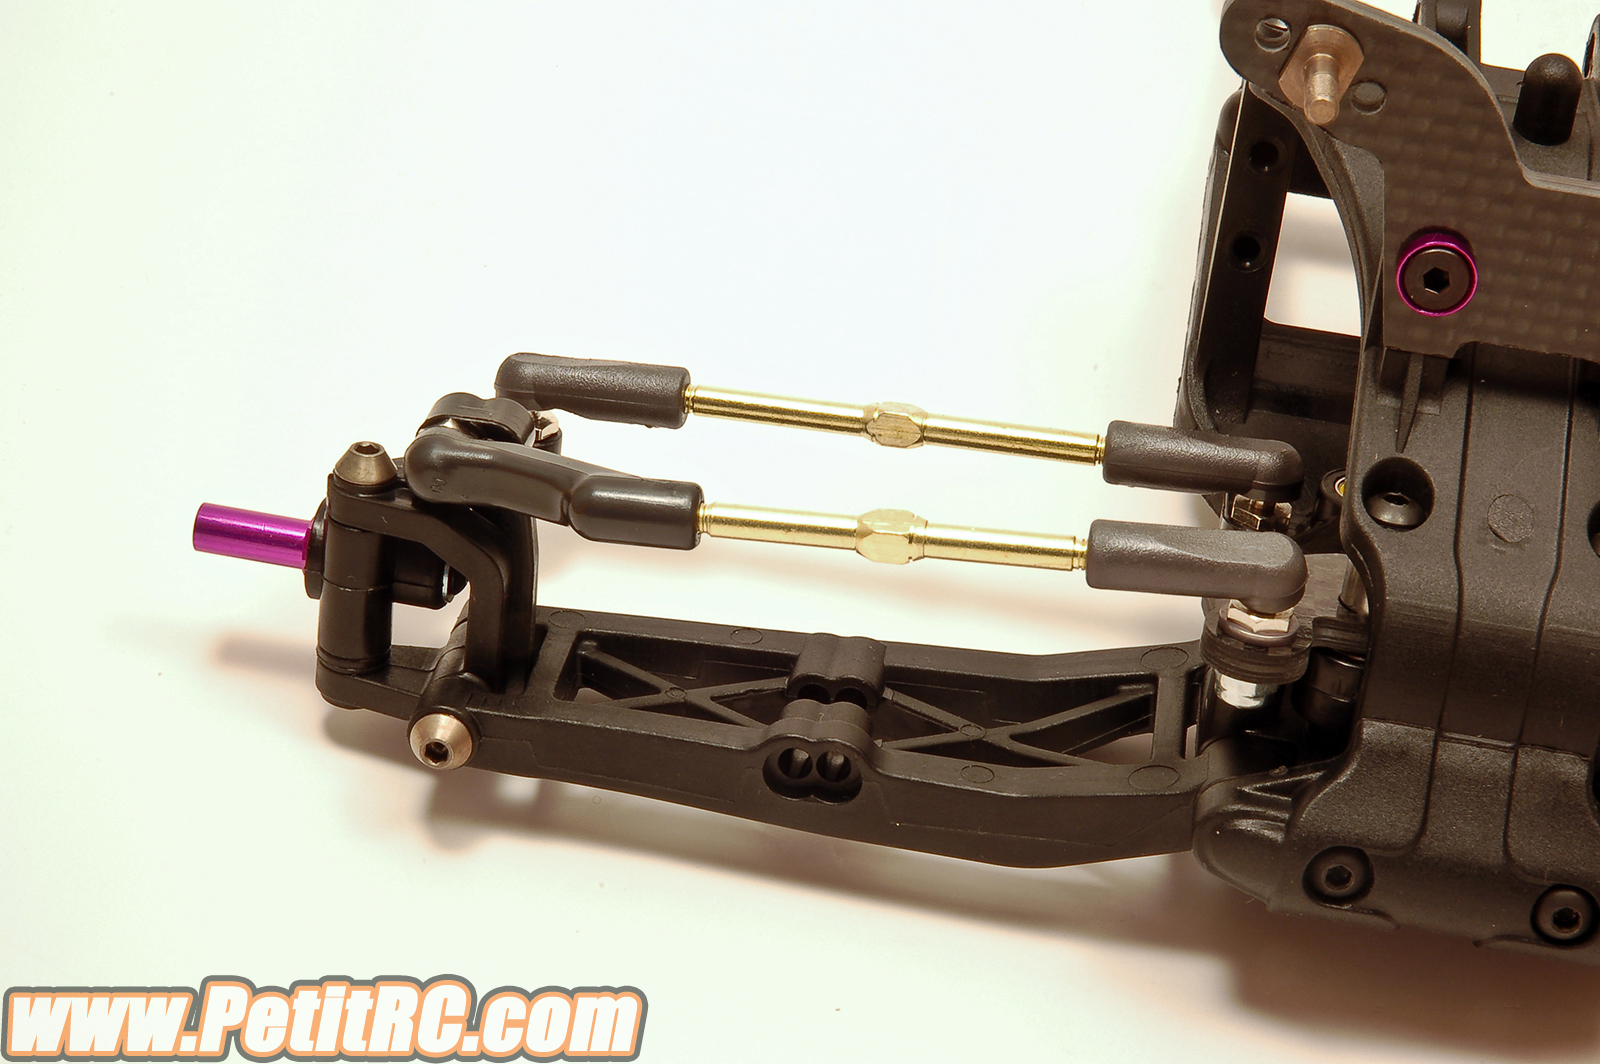
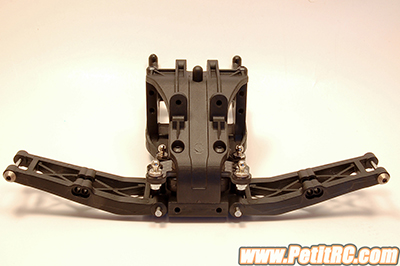
The steering rack in position
|
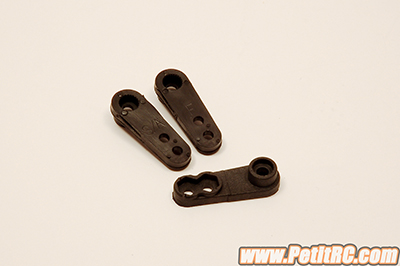
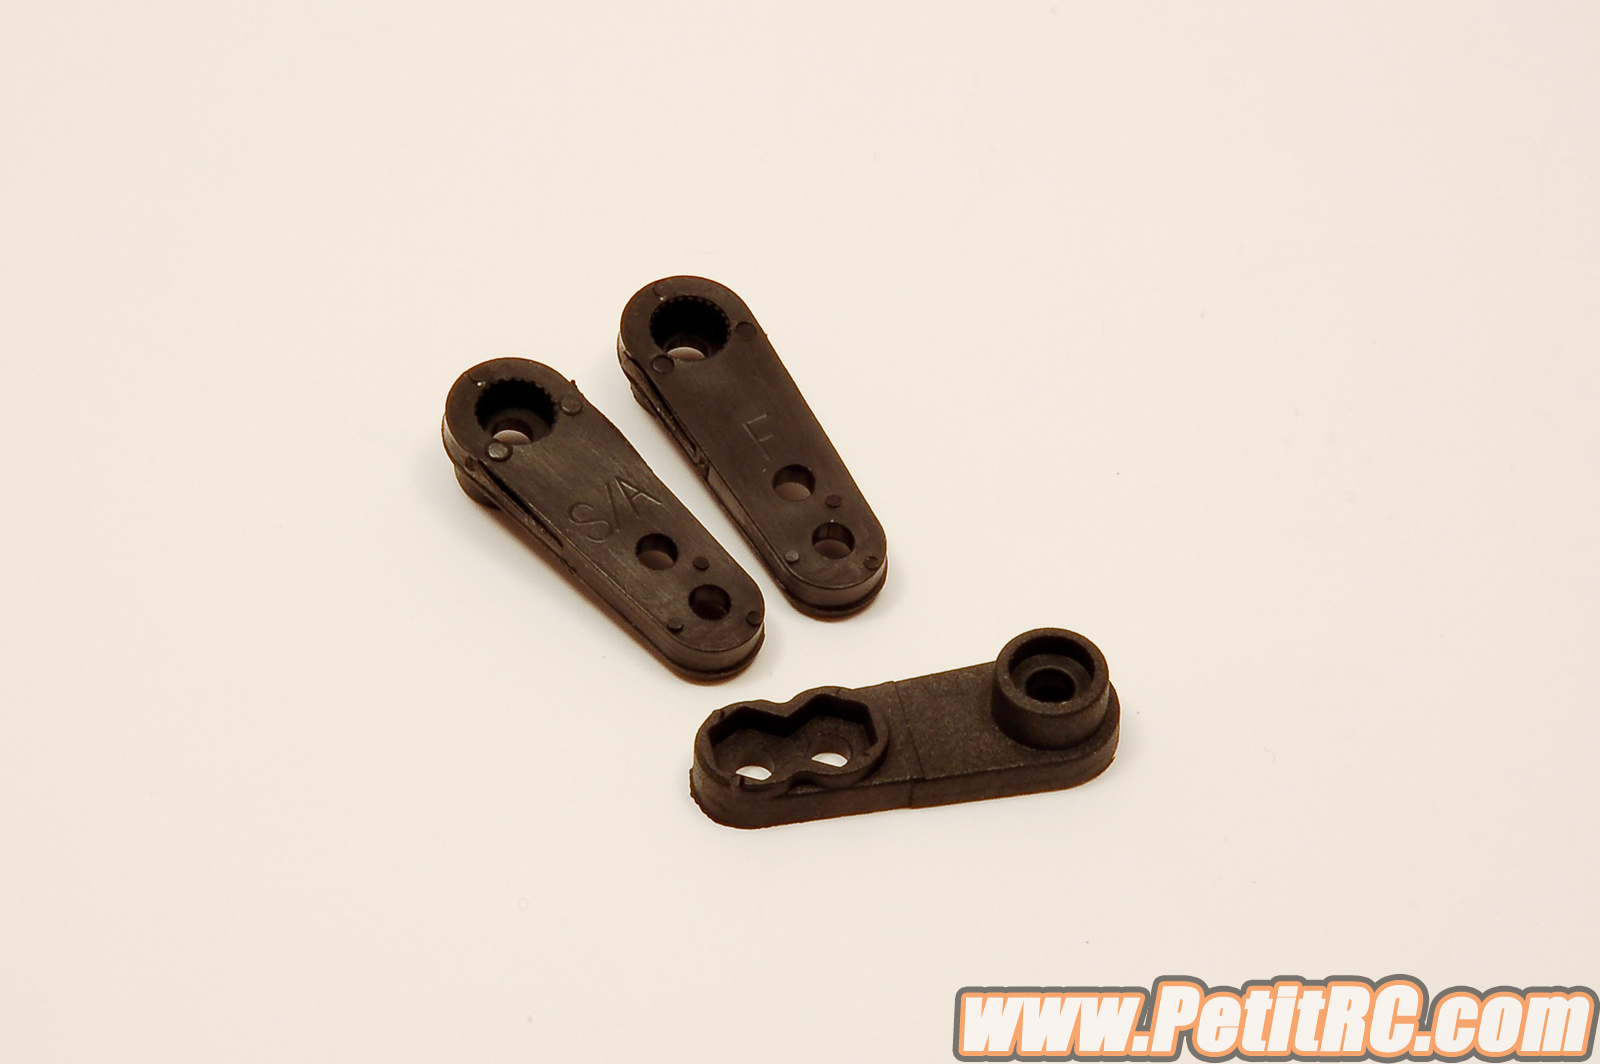
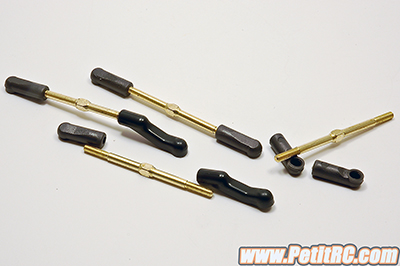
Three horns to match all brands of servo but no servo saver
|
To get the steering fully
done, you may install a servo and some additional linkages. You must set
the servo to neutral when setting the horn as it won't be possible once
the front end is completed. The manual is well detailed for this section
and various horns are provided depending on which servo you use.
Strangely, there is no servo-saver in the kit. As a measure of
precaution, you'd better purchase one.
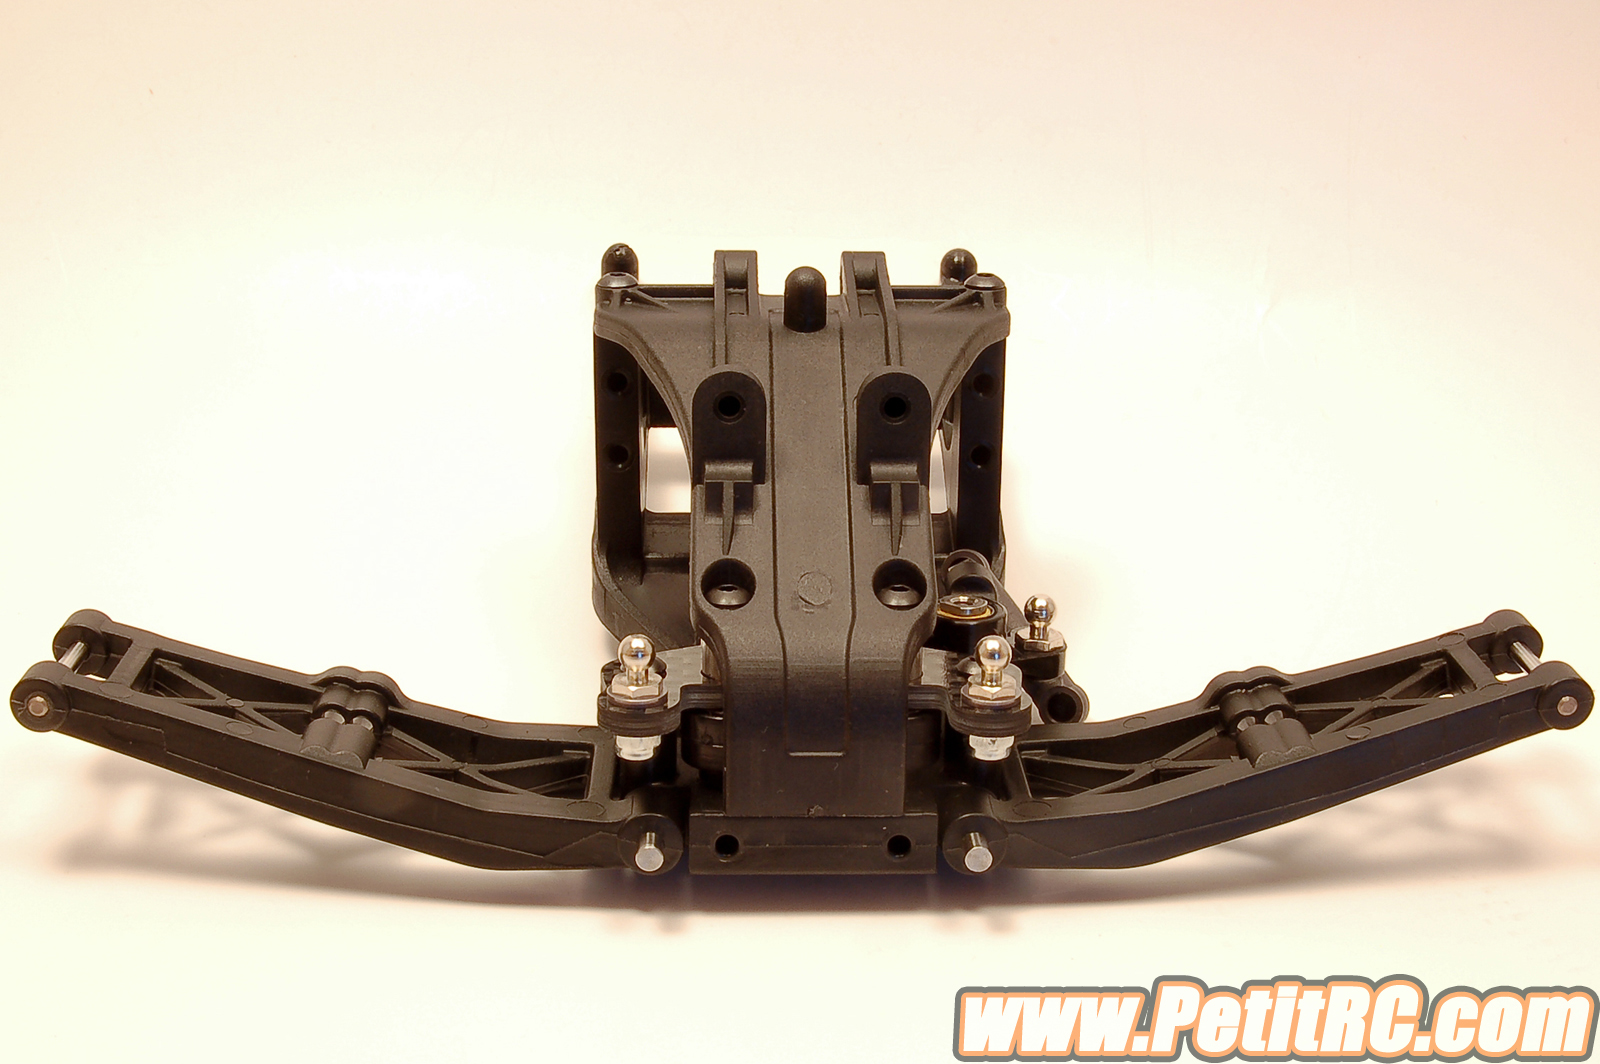
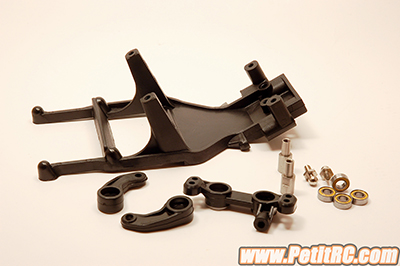
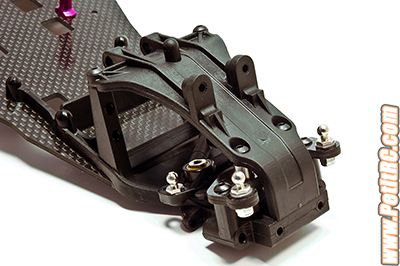
Front suspension
 Once
the steering is done, the following and logical step is the front
suspension. Some nice features are part of this car's extremity but as
is standard, this front end is a double wishbone type, as the SV is a
racing car. Once
the steering is done, the following and logical step is the front
suspension. Some nice features are part of this car's extremity but as
is standard, this front end is a double wishbone type, as the SV is a
racing car.
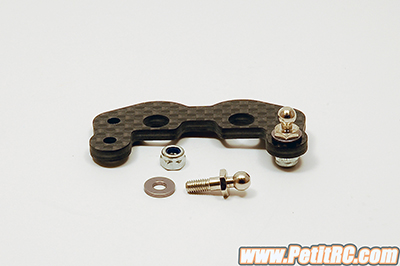
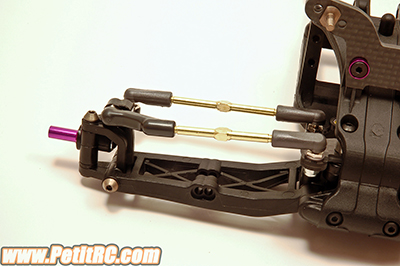
The front link mount sits on
top of the steering posts, evidence here that every part was fully
considered in the design to move components as forward as possible. The
front bulkhead finishes the car nose with two pairs of screws. All parts
need a little clean up once they have been removed from their molding
support. The link mount receives two ball studs adjustable with some
shims, one on each side is included in the kit so be sure to get some
more to raise the ball studs. This setting will affect both the roll
center and the camber change.
The following step is
related to the front end's mobile components such as wishbones, hub
carriers and turnbuckles. Interestingly, the front wishbones can be
mounted on either side as a tuning option. As others cars on the market,
switching A-arms has an effect on the geometry of the vehicle by
increasing the wheelbase of 1.5mm and hence changes the weight
distribution slightly but also affects the Ackerman effect, giving an
easier car to drive.
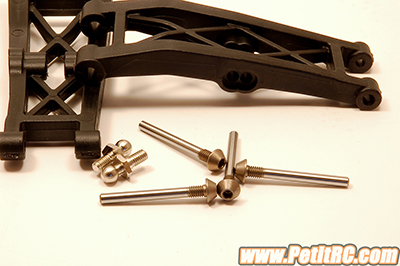
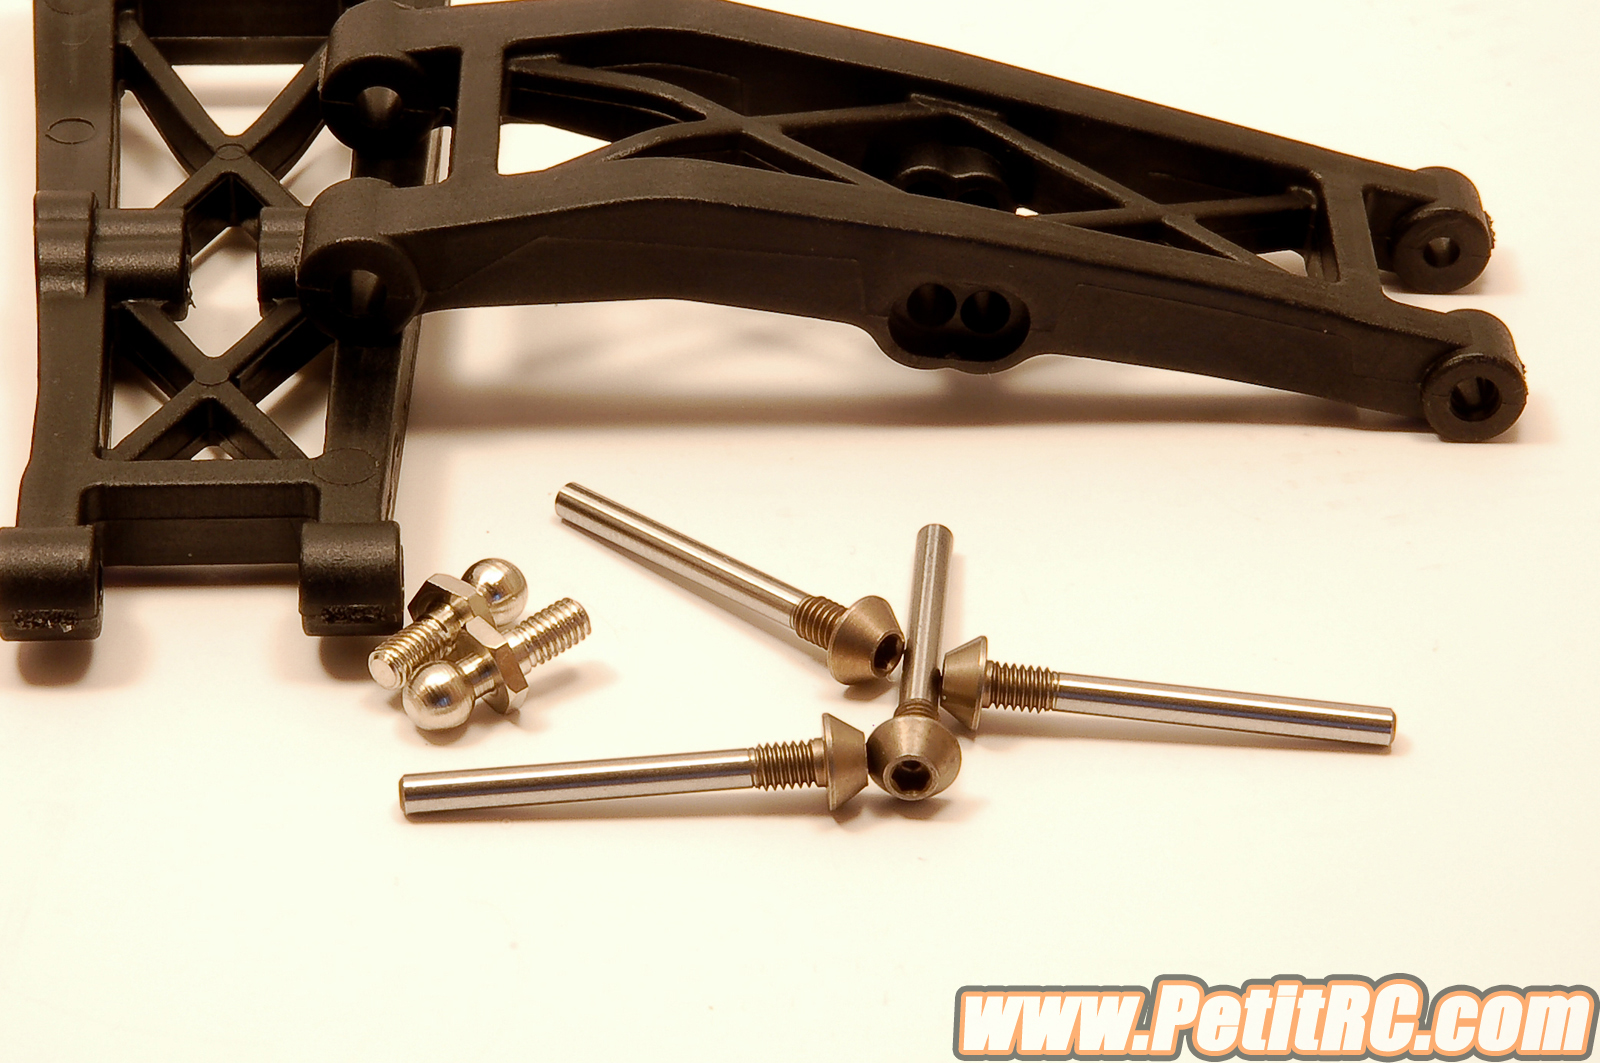
The threaded hinge pins
to mount hub carriers with A-arms |
The front axles allows
you to use different brands of rims |
 |
 |
Front wishbones as per kit |
Front wishbones flipped |
As a standard advice, make
sure suspension moves freely under gravity; mounted per the manual, one
of the wishbones was slightly tight, but when flipping the A-arms,
everything what perfect. So use a file or fine sandpaper if needed to
remove some material from both wishbones and from the bottom plate to
obtain a free suspension. A small bumper will secure the hinge pins in
position and will also protect part of the bottom from impact.
The outer hinge pins
connecting A-arms with yokes are threaded near the head screw - this
item is already used on the Cat SX but it is always nice to get them
instead of those e-clips that tend to get loose at one moment or
another.
Here the assembly is fully
secured and easy to remove in case of necessity. The exact same
procedure applies for the hub carriers and the yoke as one was a bit
tight but that was really minor.
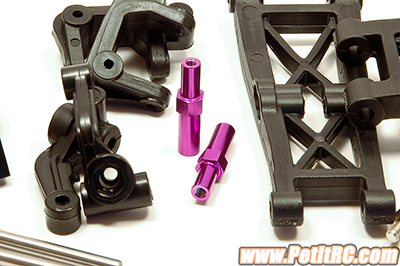
 The
hub carriers are fairly common which is good and are featured with two
possible height adjustments (high and low), allowing to change the roll
center and the bumper steer, so remember every time to properly set the
shim under the ball stud. For racers who have spare rims other than
Schumacher’s, those will fit on the axle as long as you can use the
screw and not a nut. The
hub carriers are fairly common which is good and are featured with two
possible height adjustments (high and low), allowing to change the roll
center and the bumper steer, so remember every time to properly set the
shim under the ball stud. For racers who have spare rims other than
Schumacher’s, those will fit on the axle as long as you can use the
screw and not a nut.
The last two items to have a completed
front suspension are the turnbuckles and the shock tower. The latter
have been already mentioned and will be maintained using two 12mm long
screws. There are three top damper positions, a regular feature stronger
than a screw. Regarding the turnbuckles, they are made from steel and
are gold plated. As many racers switch them for titanium components,
that’s not really a matter, they will do the job for the first runs
Once together, this front end is real
specific, open spaced, with a servo located more forward than standard.
|