|
- X-6 CUBED ASSEMBLY INSTRUCTIONS -
Previous - Table of Content - Next
BAG E - REAR SUSPENSION
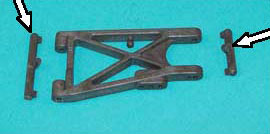
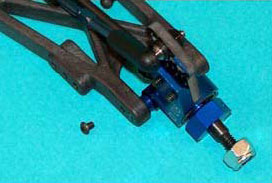
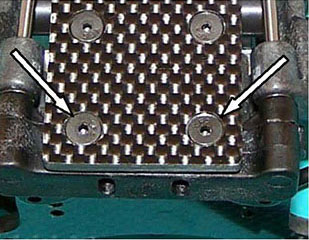
E1) Take the rear control arms (XF3012) from Bag E and remove the gurfelmurgles (arrows). Many drivers touch the arms with a file here.
E2) We'll do the right side first. Take the C.V.A. out of the hub. The bearings can stay in the hub, though we suggest you clean and inspect them now. Team drivers install the X Factory CF Hub Camber Plates (XF 9502) now.
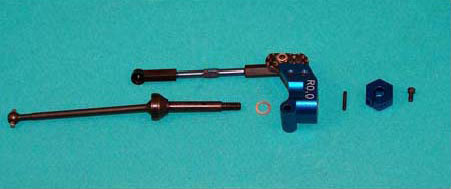
They use the lowered plates in many set-ups.
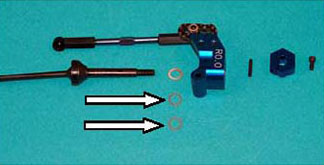 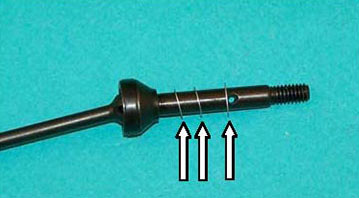
E4) Re-assemble the hub. The arrow shows the three shims. Repeat for the
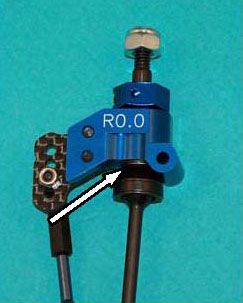 
E5) Again, the right side first. Insert a hinge pin you saved into a control arm from the rear. Consult the Set-Up Sheet and Tuning section to determine your hub spacing. Here we have the two shims on the rear for hubs forward. The shock mounting holes are on the rear of the arm.
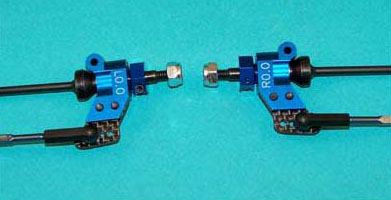
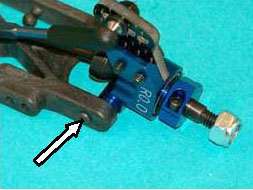
E6) Place the right hub (Marked R) on the hinge pin and continue sliding the pin forward. The two shims have remained behind the hub (arrows).
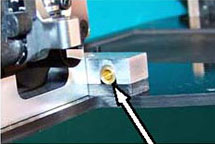
E7) Secure the hinge pin with the little 256 X 1/8" button head screw. Now where the heck is that little thing? If you lose one, they are XF 6053. Repeat for the left side.
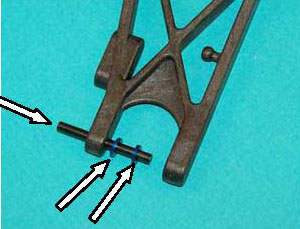
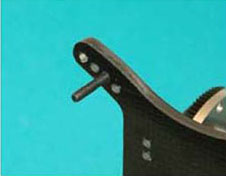
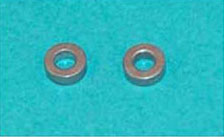
E8) Install a hinge pin bushing (XF 6142) in each side of the hinge pin brace.
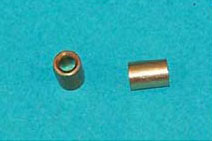  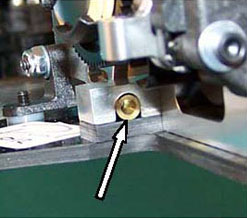
E9) Install the hinge pins (XF 6141) in the bushings.
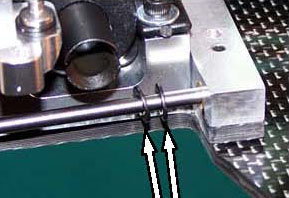
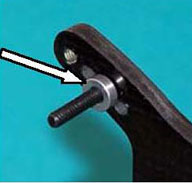
E10) Check the Set-Up Sheet and Tuning Section to determine how you will space your control arms on the hinge pin. Slide at least one thin shim over the hinge pin to prevent friction between the control arm and hinge pin brace. Here we have used two dialed Real Men Wear Black 0.030" shims.
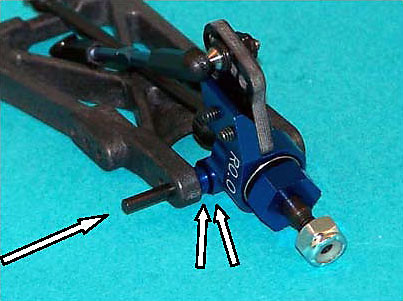
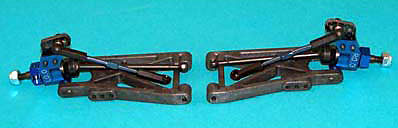
E11) Place the two control arms on the hinge pins. Shock holes to the rear!
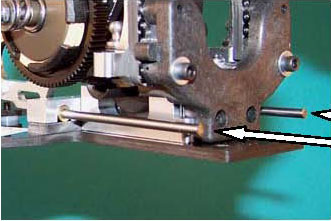
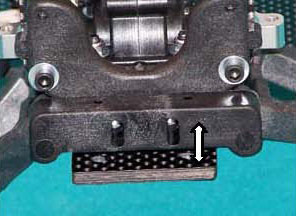
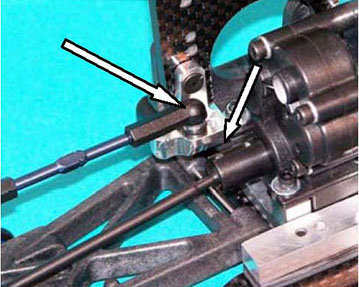
E12) Two Toe-In Bars (XF 3211) are in Bag E, marked 3 and 4. Check the Set-Up Sheet and Tuning Section to determine which bar you will use. Here we have used the 4° bar. Slide the bar onto the hinge pins. Notice the bar will move up and down.
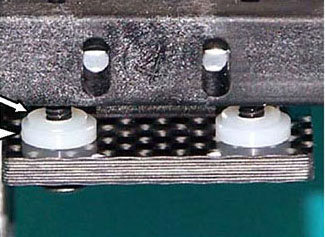
E13) Check the Setup Sheets and Tuning Section to determine how much anti-squat you will use, and select your Anti-Squat Shims (XF 3250) from the little bag. The two smaller shims are 0.030" thick, and four larger ones 0.060" thick, which allow you to make any combination from zero to 0.150". Each 0.030" = about 1 degree.
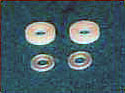
E14) Place the shims under the toe-in bar and secure with two 4-40 X 1/2" flat head screws saved from inst # 11. The photos show one of each shim, or
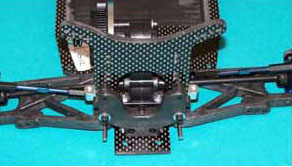
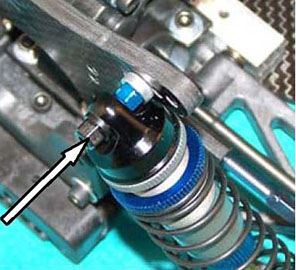
E15) Using the hardware you saved from the rear shocks, install the upper shock mounting bolt in the tower. Check the Setup Sheets and Tuning Section to determine how your shocks will be mounted. Here we are using the #2 hole. If you have Big Bore shocks, install a 0.060” spacer (XF 5702).
E16) Install the top of the shocks just as they were on the B 4.2.
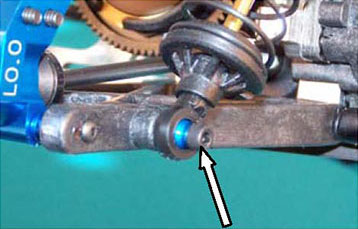
E17) Put the dogbone in the outdrive (short arrow) and snap the ball cup over the ball stud (long arrow), then bolt on the bottom of the shock.
Previous - Table of Content - Next
|
