The Build – Part 3
The rear suspension on the Team Associated B6D is similar to the B5M with, of course, a few changes. This is Part 1 of the rear suspension; we have to build the gearbox before final rear suspension assembly.
Build Notes:
▶ No build notes for this step.
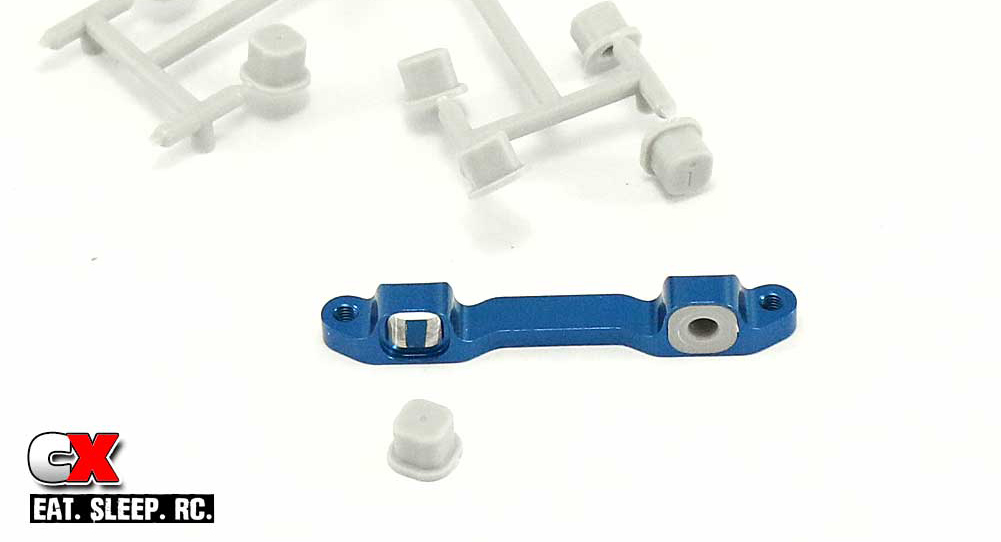
AE has included a bunch of inserts for the C mount. These blocks change the rear toe-in and anti-squat of the buggy. We’ll be starting with the 3-1 insert, the standard setting on most AE buggies. Clip these off the tree and press into the aluminum block as shown.
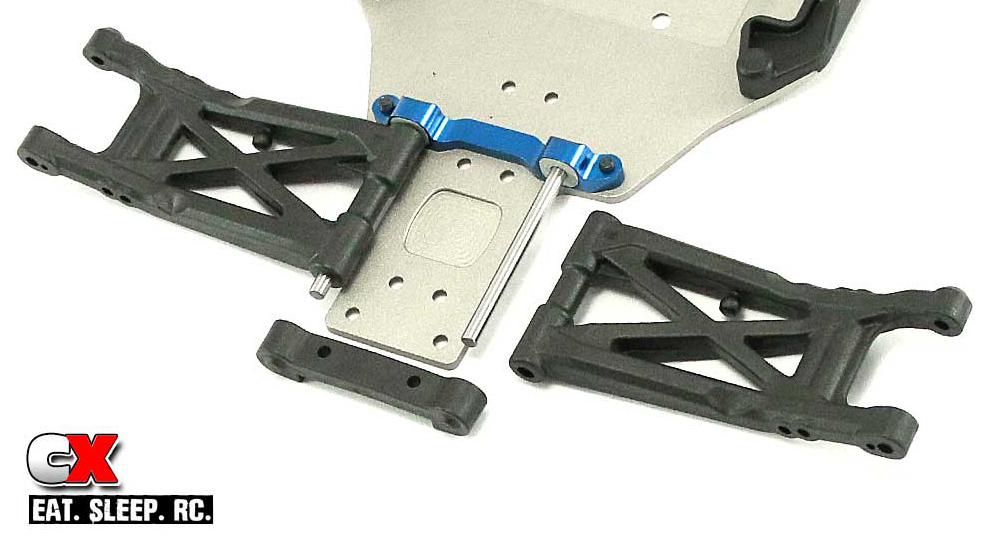
Attach the C block to the chassis; a light dip of threadlockers is suggested on these screws. Insert the hinge pins into the inserts, then slide the rear suspension arms into place. Note the orientation of the rear arms; the anti-roll bar ball should be towards the front. Slide the D arm mount into place over the hinge pins.
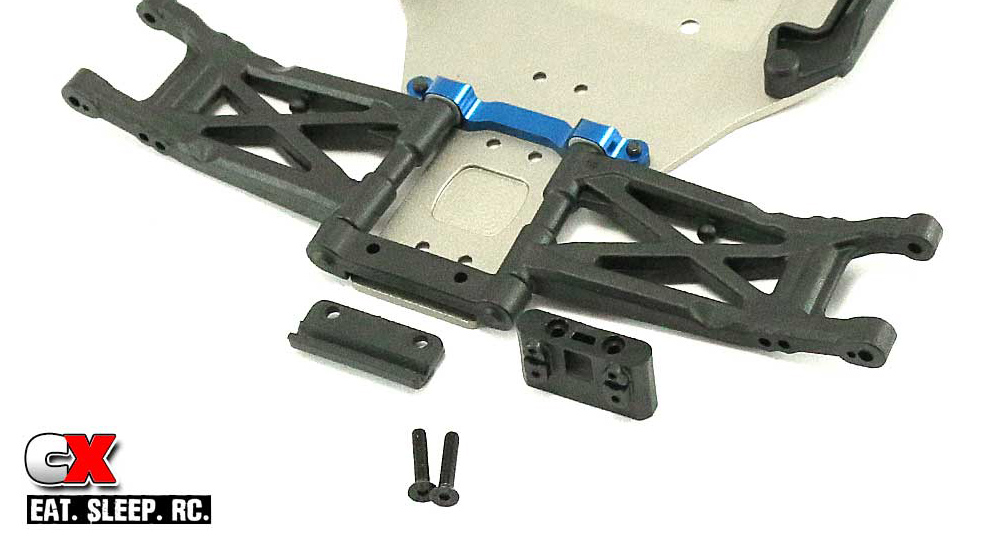
Team Associated has changed up the rear bumper and removed the gearbox brace from the tower – both wonderful fixes! Easily slide the rear bumper under the D arm mount and feed the two 16mm screws up through the holes in the bottom of the chassis. They will screw into the gearbox brace.

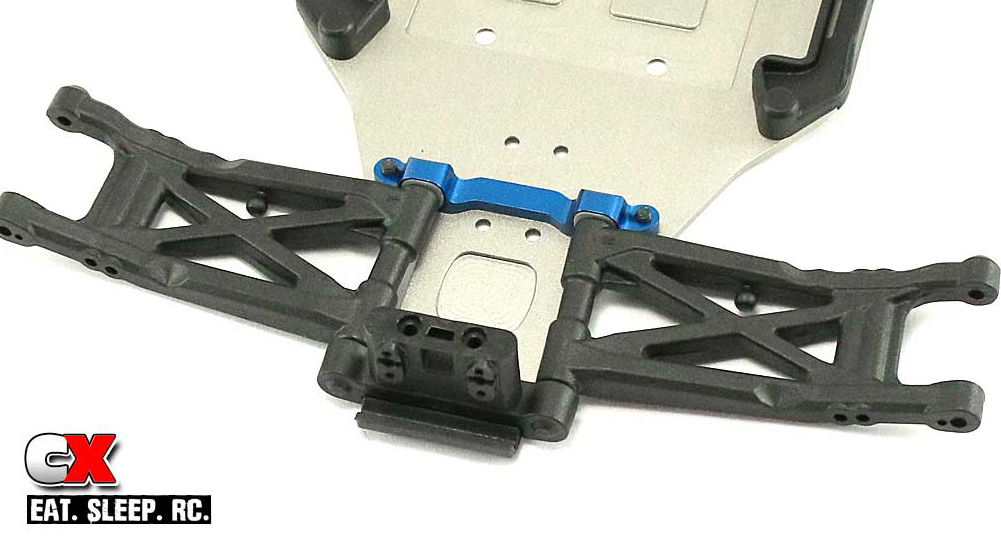
Here’s what the final assembly will look like.
Quick and easy – part 1 of the rear suspension done! Let’s build the gearbox and then it’s off to Part 2 of the rear suspension build.
