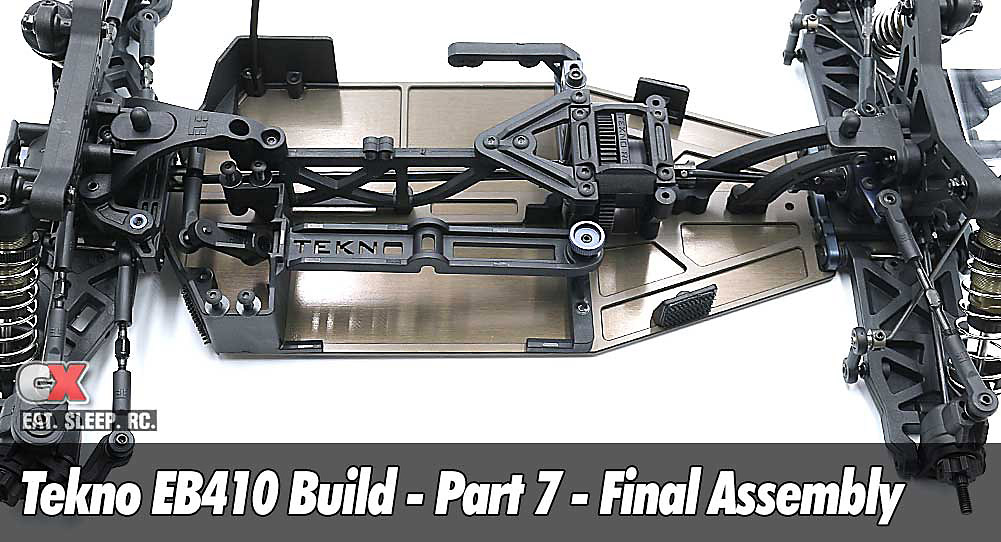
In this step of the Tekno EB410 build, we'll be
installing all the final parts to finish up the car; motor mount,
steering links, velcro body mounting, etc. We won't be showing the
electronics just yet; that will be in the reveal video.
Build Notes:
* Tekno's ballcups are directional, meaning the ballstud can only pop
into them from one side. There is a 'T' molded into the ballcup; during
assembly, make sure the 'T' is facing up and you'll be good to go. |
Step 1:
The first thing you need to determine before starting this step is if you're going to be using a standard or shorty steering servo. Tekno supplies a different mount for each.
Once you have that figured out, go ahead and attach that mount to the chassis.
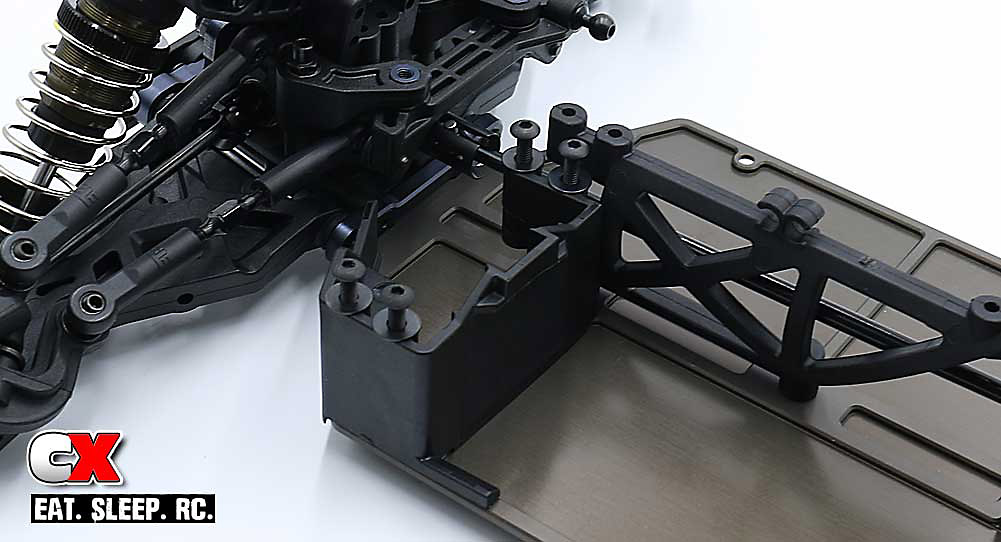
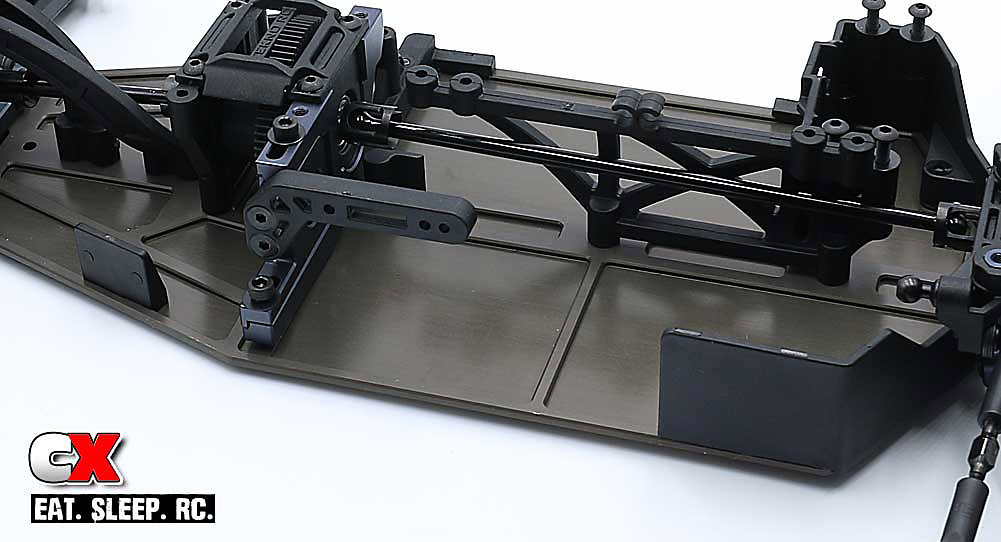
Step 2:
Attach the rear battery mount and Velco body-mounting tab.
Step 3:
If you're going to be using a fan, attach the fan mount to the motor
mount, then slide this assembly onto the chassis. Lock in place with the
pair of M3x10mm screws.
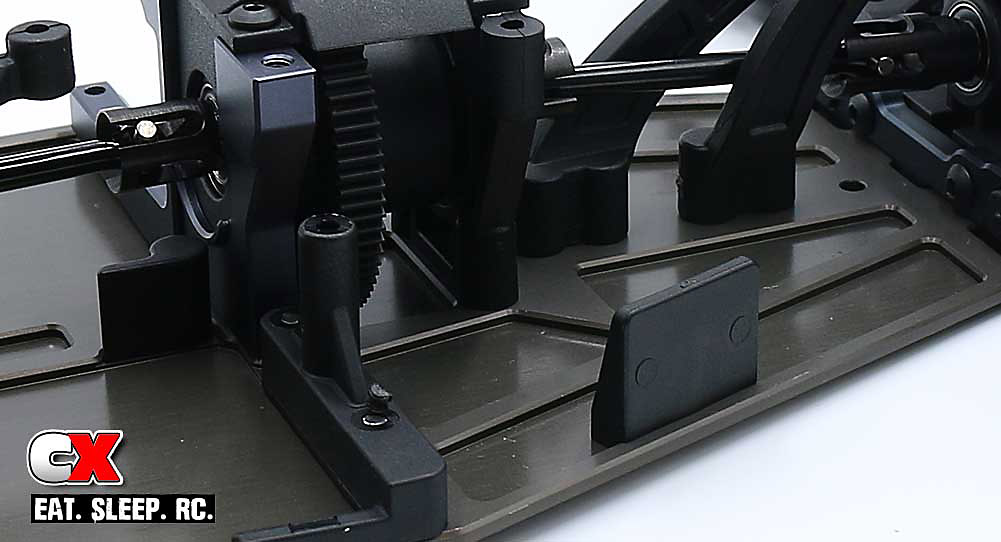
Step 4:
Attach the front dirt shield and rearward Velco body-mounting tab.
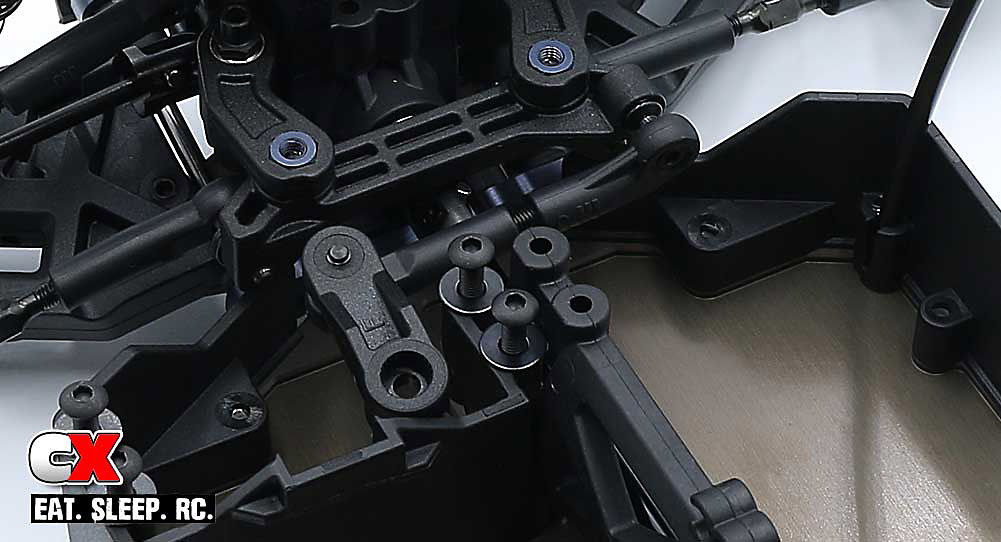
Step 5:
Build the servo horn. Tekno supplies different horns depending on the tooth count of your servo.
Build the drag link and attach it to the servo horn and ballstud on the steering rack.
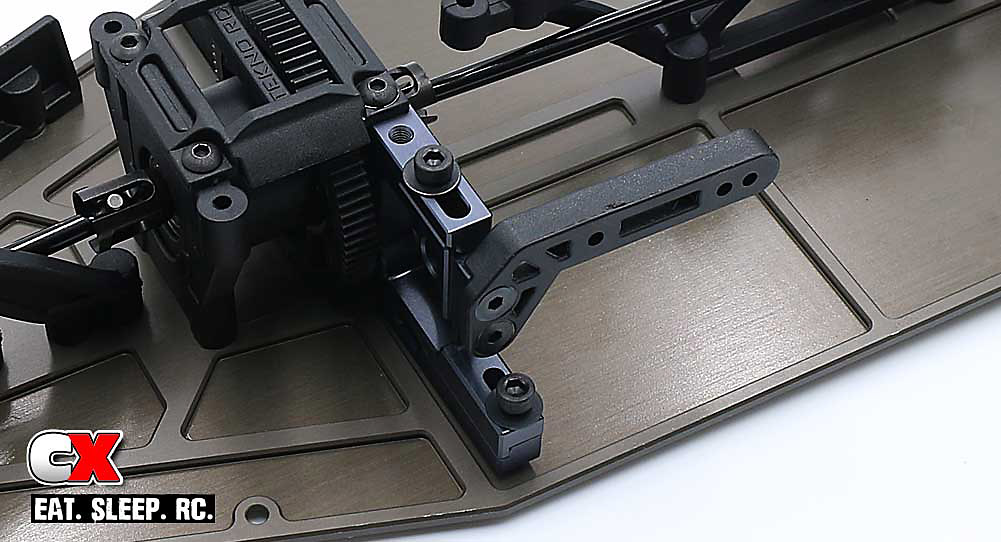
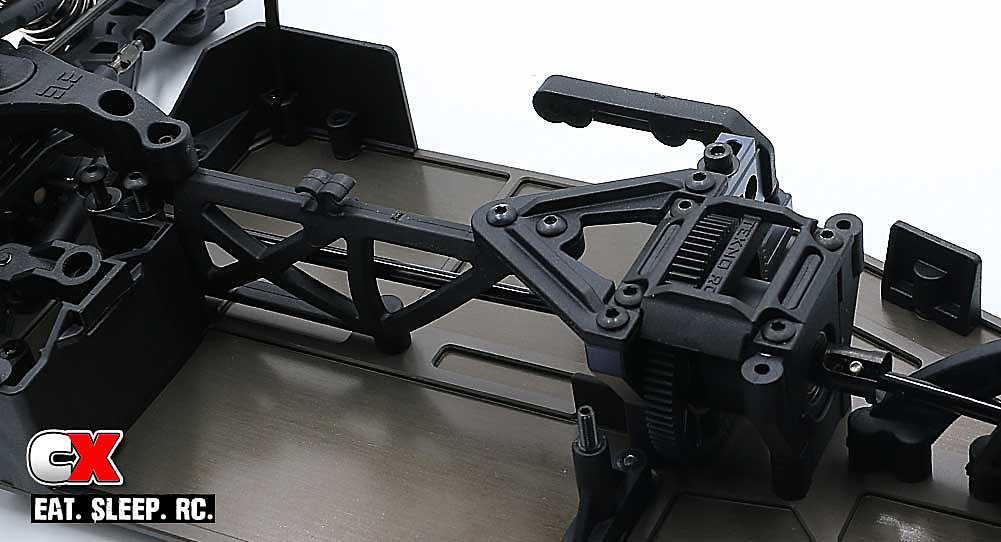
Step 6:
Attach the front body mount to the top brace and install that assembly to the front of the car.
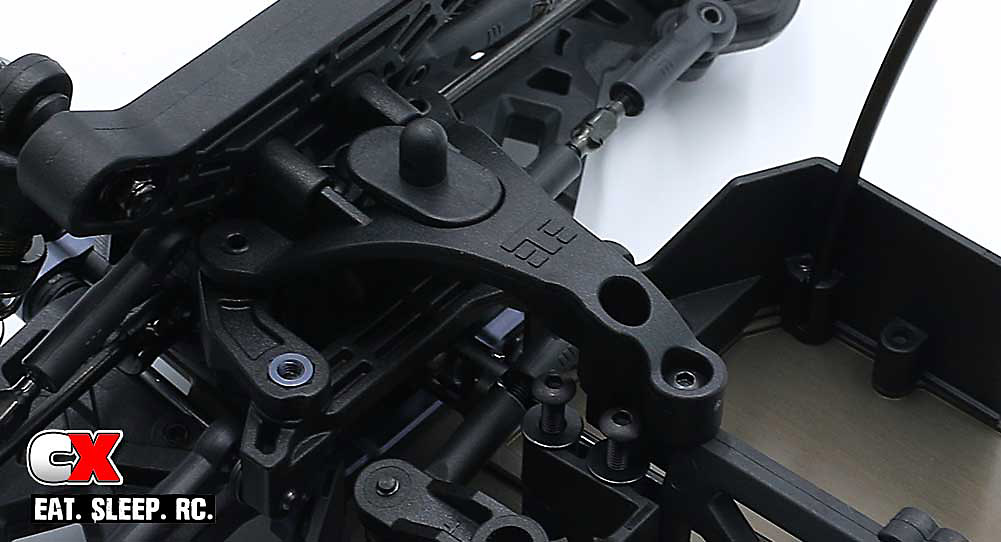
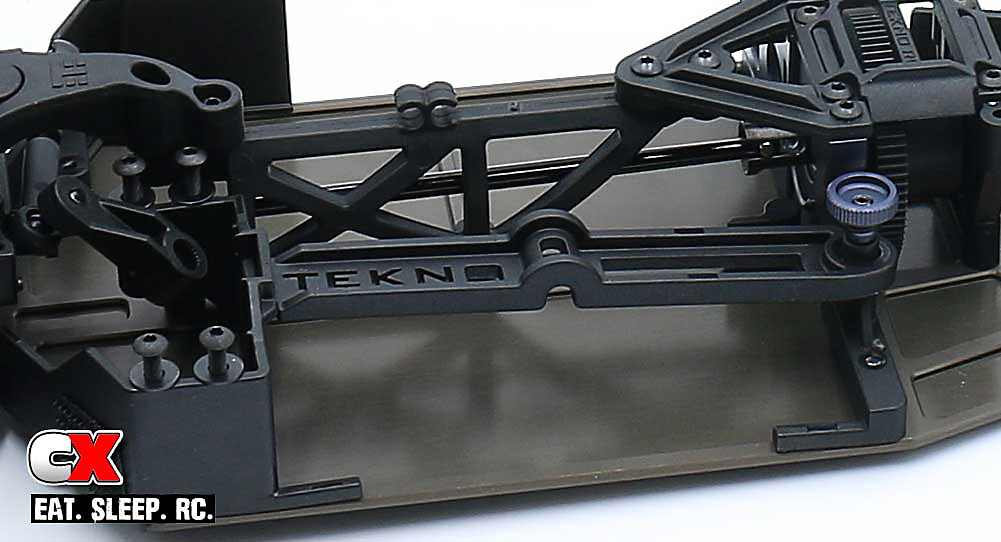
Step 7:
Attach the center top brace. A small dab of blue threadlocker is suggested on the M3x8mm screws feeding into the aluminum mount.
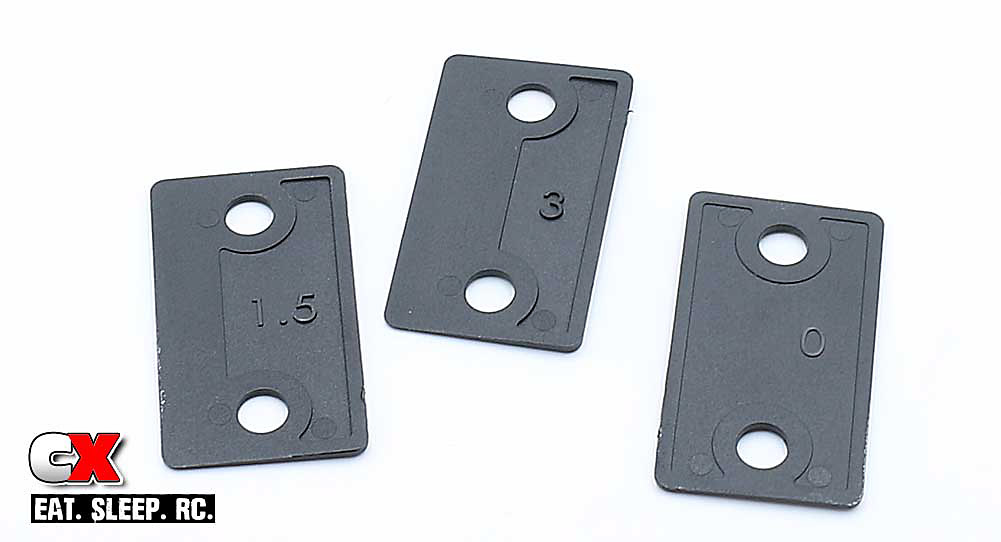
Step 8:
Tekno supplies three optional rear wing wedges; a 0°, 1.5° and 3°. These can be used to tilt the rear wing up for added rear grip. I'll be starting off with the 0° wedge.
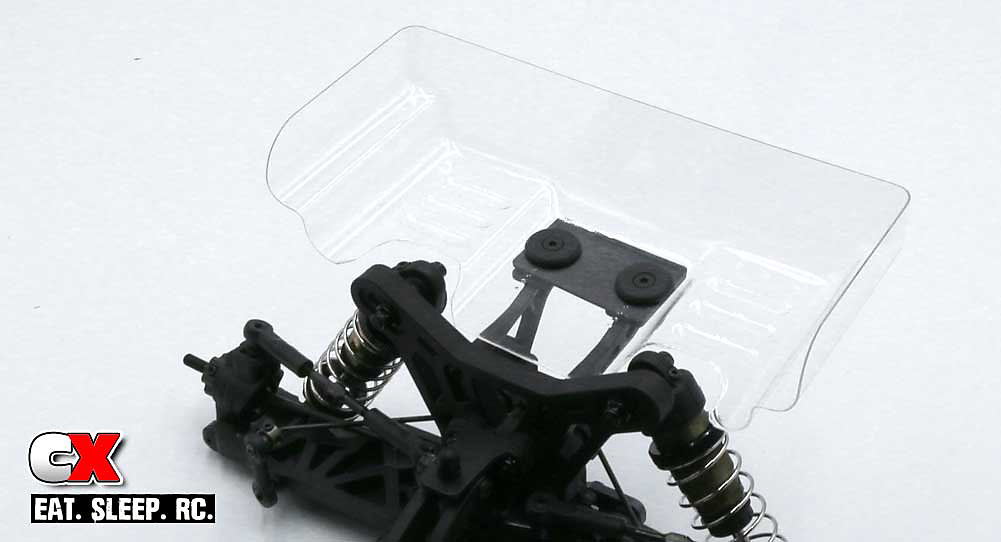
Step 9:
Drill a pair of small holes in the rear wing and attach it to the wing mounts (don't forget the wedge).
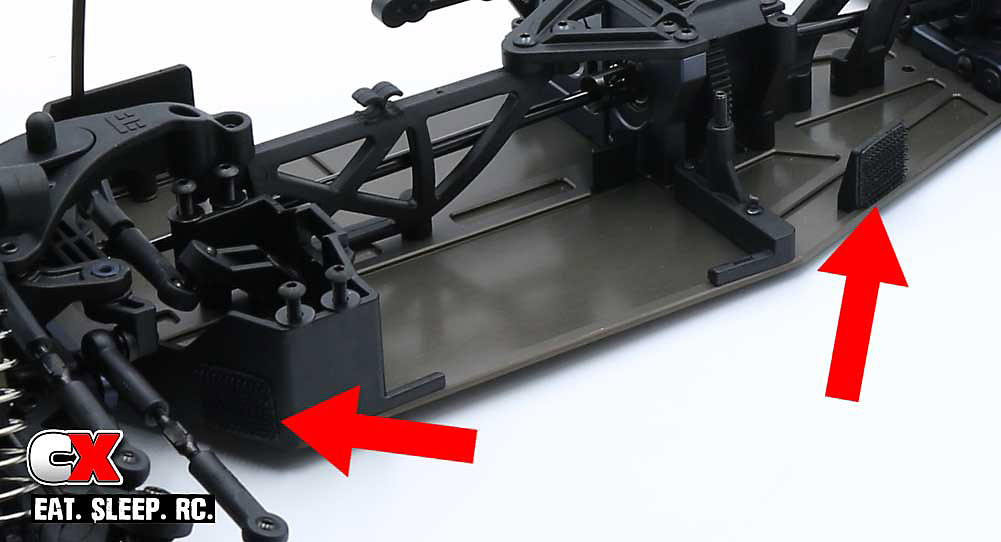
Step 10:
Tekno also supplies some Velcro to help keep the body on. The red arrows show the designated places for it to go (on both sides of the buggy).
After you paint the body, you can stick the other half of the Velcro to the body (there are markings as to where it goes).
Step 11:
Install the M3x18mm grub screw into the rear battery mount, insert the
battery strap and secure with the aluminum battery thumbscrew. Don't
forget to press the o-ring over the thumbscrew.
Boom - done and done! Your EB410 is now ready for electronics.
While we usually show the electronics installed in our builds, the EB410 was a special case and had the fellas over at R1 Wurks do the install for us. To see what they did, check out our reveal video.
Use the links below to follow each step.
- Opening Page
- Part 1 - Differentials
- Part 2 - Steering and Bulkheads
- Part 3 - Rear Suspension
- Part 4 - Front Suspension
- Part 5 - Chassis
- Part 6 - Shocks
- Part 7 - Final Assembly |