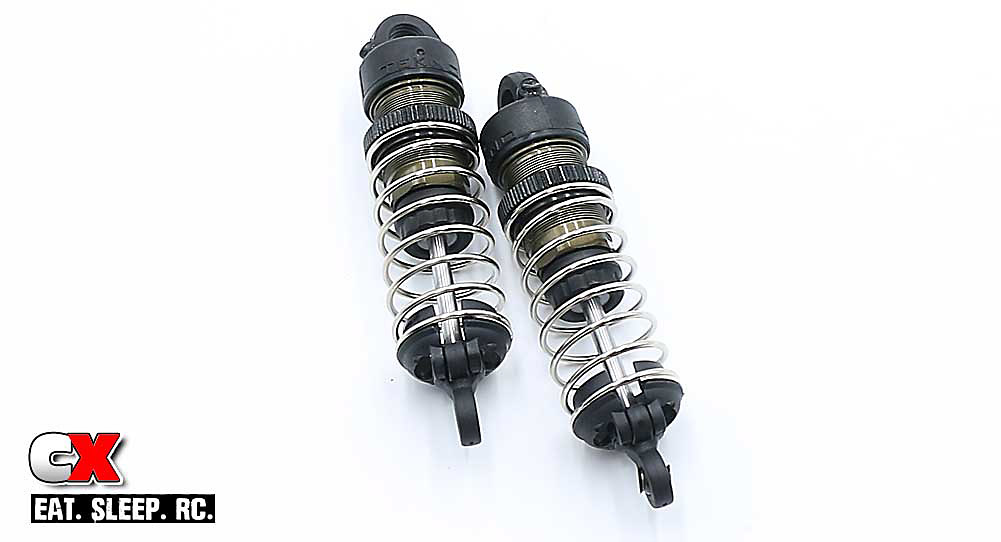
The shocks on the Tekno EB410 are fantastic. They
use 13mm hard-anodized bodies, 3.5mm shafts and a unique x-ring
cartridge that prevents leakage. Once built, these are some of the
silkiest dampers on the market!
Build Notes:
*
Since we'll be dealing with shock fluid, building the shocks can sometimes be a messy step. Make sure you have a clean, covered workspace
and plenty of rags or towels on hand to clean up any excess fluid.
Motor spray (or similar) is also suggested to help remove any excess fluids from the shocks themselves.
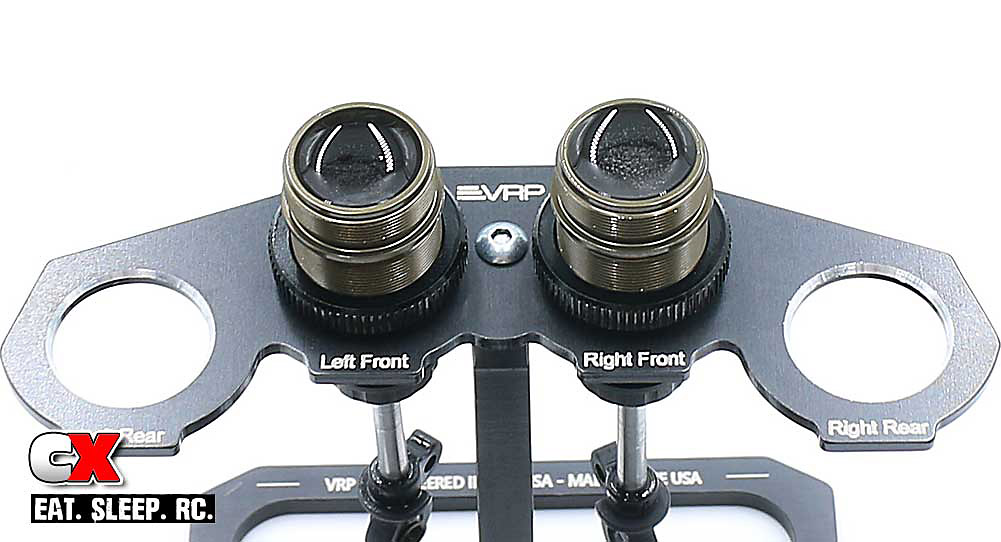
* You're going to need a shock stand handy for this step. I've used quite a few over the years, but the one from Vison Racing Products is probably one of my favorites. You can check it out here: VRP CNC 1:10th Off Road Ultra Shock Stand |
Step 1:
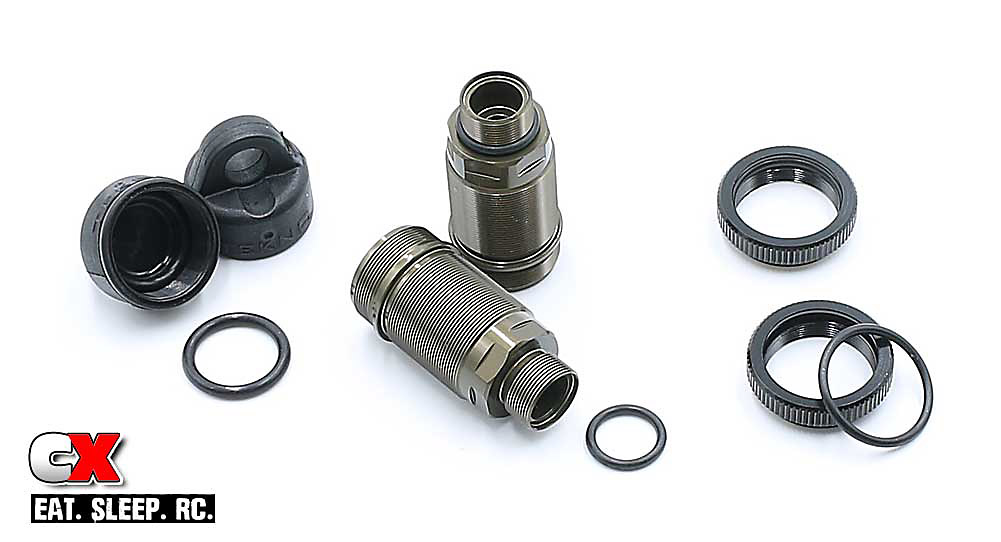
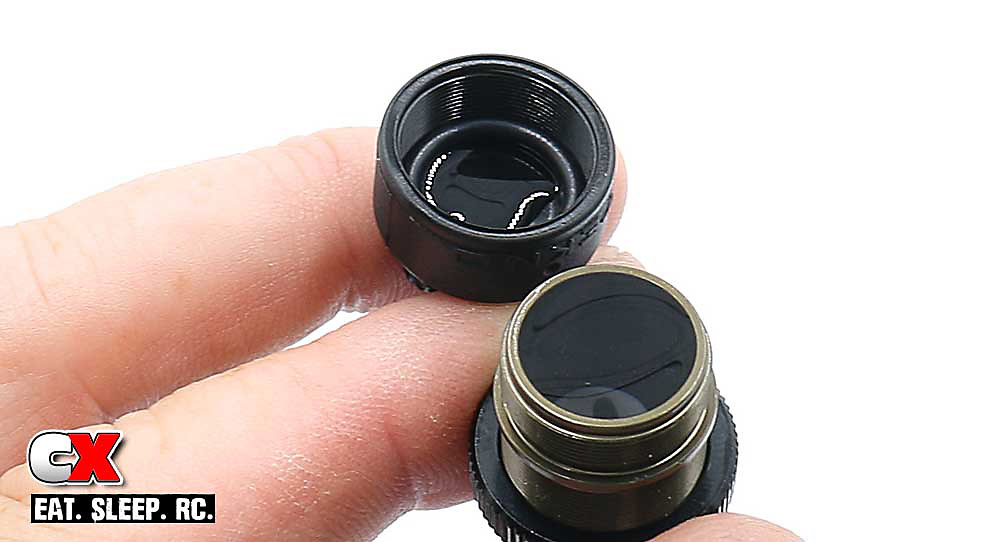
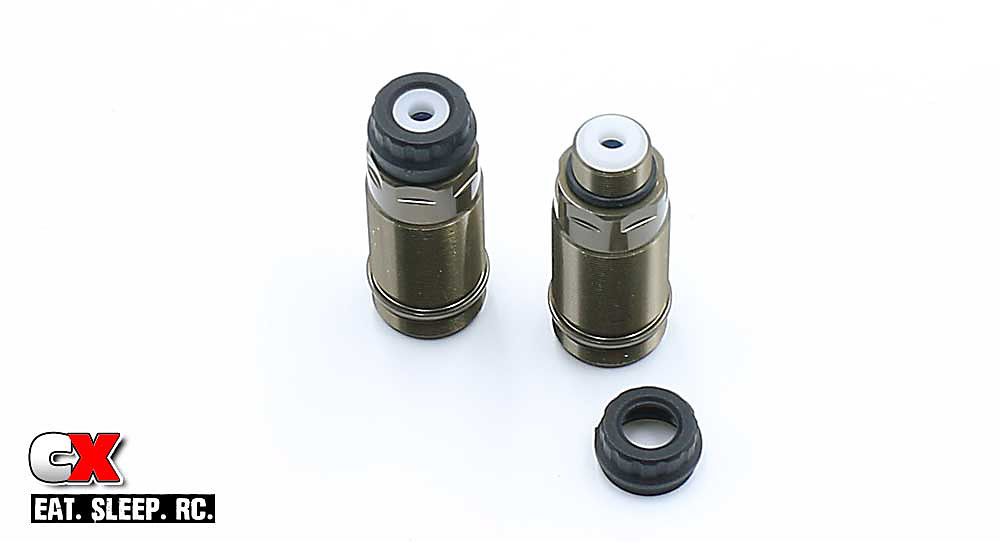
When it comes to shocks, my first step is to install all of the o-rings first; small ones on the bottom of the shock, mid-size in the caps and large ones in the threaded collars. This can become a challenge if you get any fluids on your fingers (then on the o-rings), so doing this first ensures a dry install.
Step 2:
Build the lower cartridges on the two front shocks. This consists of a
pair of the blue o-rings and the white spacer. Capture the parts with
the lower shock cap.

Step 3:
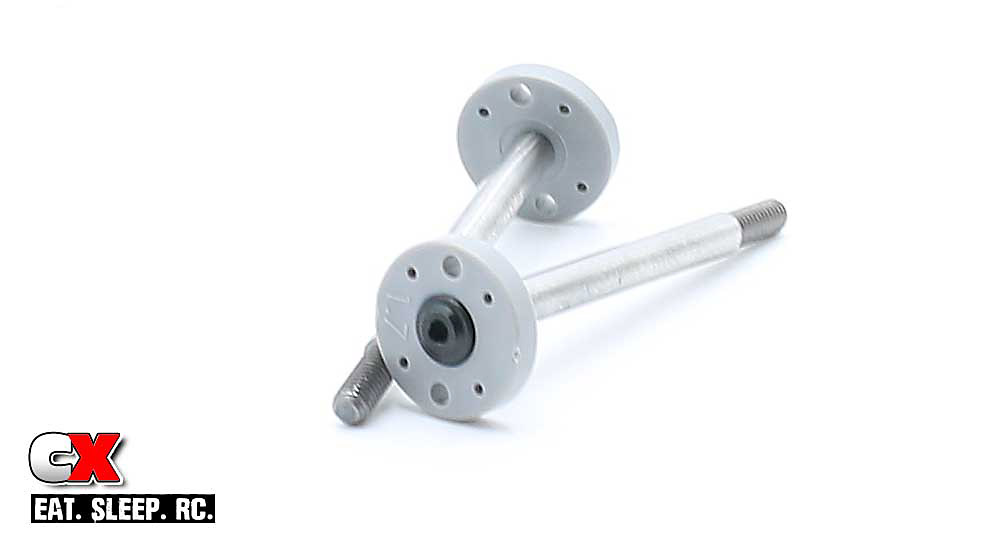
Attach the 1.7mm pistons to the front shock shafts. A very light dab of blue threadlocker is suggested here.
Step 4:
Place a small drop of shock fluid on the threaded part of the shock shaft and insert into the front shock bodies. Insert slowly so you don't damage the cartridge o-rings.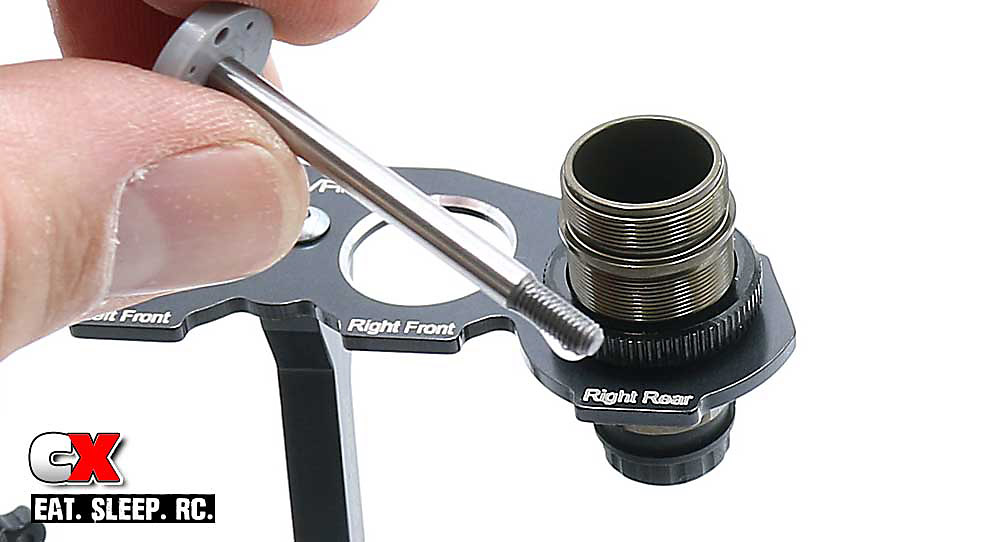
Step 5:
Pop an eyelet ball into each lower shock eyelet and thread it onto the shock shaft. Attach the threaded collars.
Fill the shocks with fluid until it's about 1-2mm from the top, then slowly plunge the shock shaft up and down a couple times. You should see air bubbles release from under the piston and start rising to the top. Set aside in your shock stand for a few minutes until all the bubbles are gone.
Step 6:
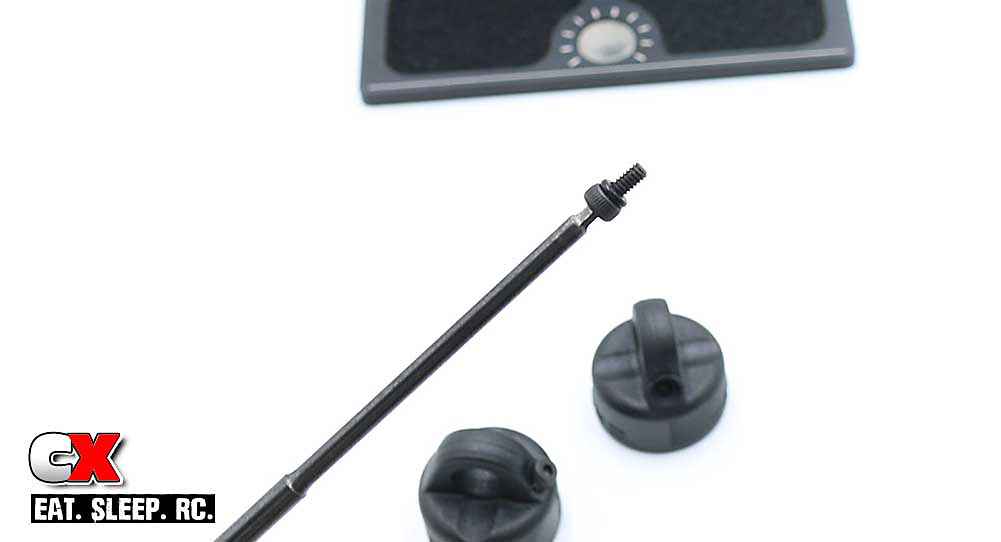
While we're waiting for the bubbles in the shocks do dissapate, let's pre-tap the bleeder shock caps.
Install the itty bitty, teeny weeny black o-rings over the M2x4mm
screws as shown. Thread the screws into the cap until they bottom out,
then remove.
Now, PATIENCE is key here when installing the little o-rings. I'll
warn anyone with chubby fingers – you're going to lose your sh*t trying
to make this happen. Get your kids, wife, mail carrier – ANYONE WITH
SMALL FINGERS – to help you out here if possible. Or, if you're like me,
I treated myself to a bowl of ice cream after completing JUST this
step.
As a tip, Trying putting the screw onto your wrench while working with the o-ring. It does make it quite a bit easier.
Step 7:
The bubbles in your shocks should now be gone. Fill the shock until the
fluid is level with the top of the body, then add 2-3 drops of oil into
the cap.
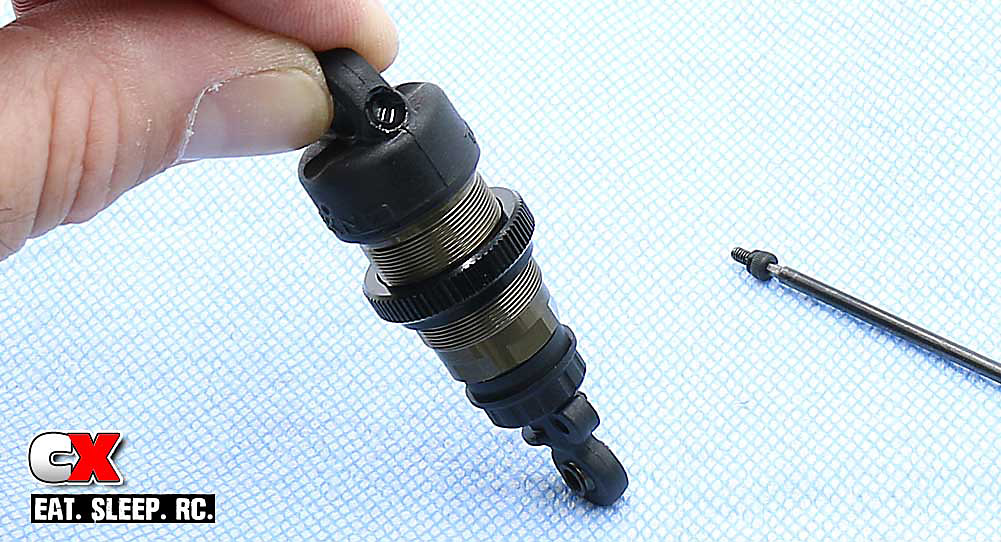
Step 8:
Screw the cap onto the shock and, on a absorbant base (like a towel or rag), compress the shock all the way. You should see some oil filter out through the bleeder cap.
While compressed, insert the bleeder cap screw.
Step 9:
Clean off any excess fluid on the outside of the shock (here's where the
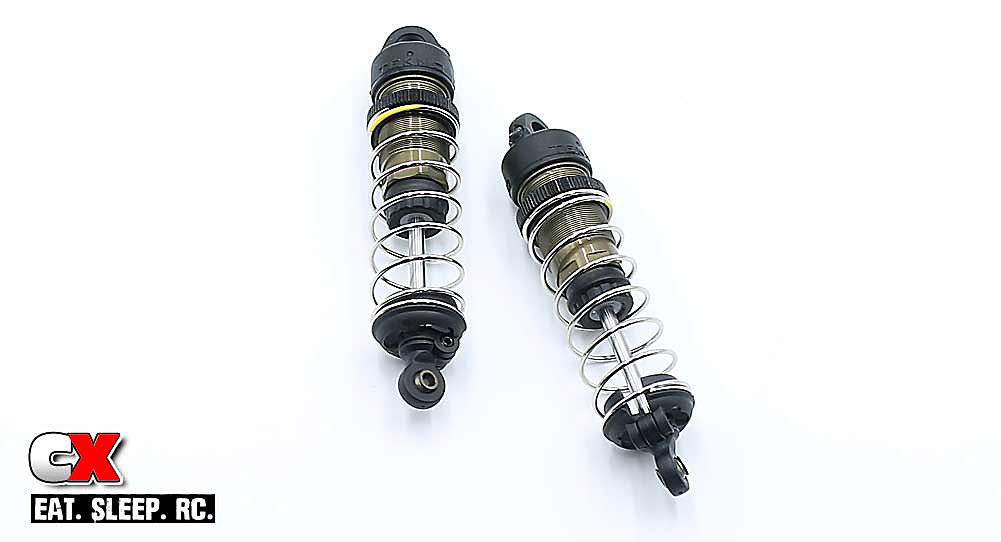
motor spray comes in handy). Slide the front springs onto the shocks
followed by the spring retainers. You'll notice the retainers key into
the rod ends; use the M3x8mm grub screw to connect them together.
Step 10:
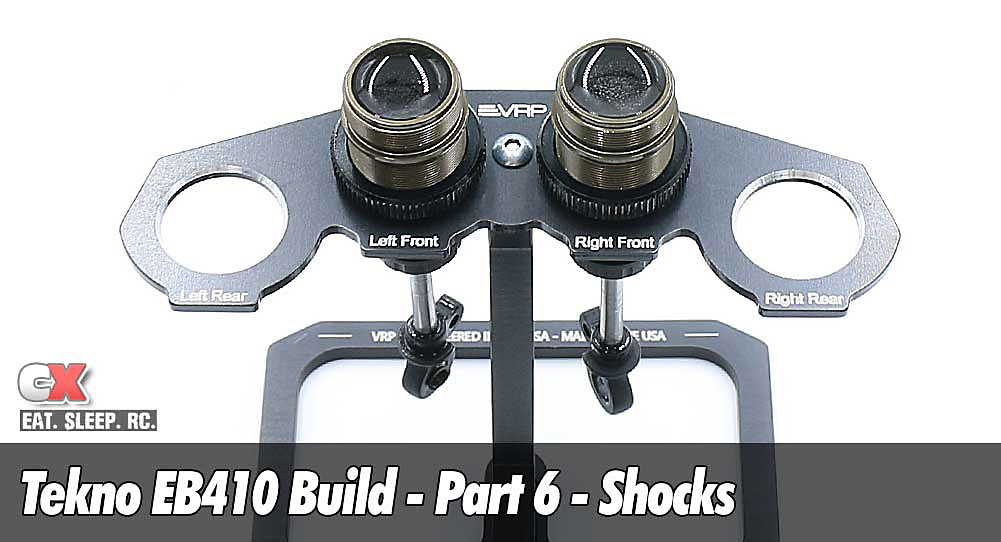
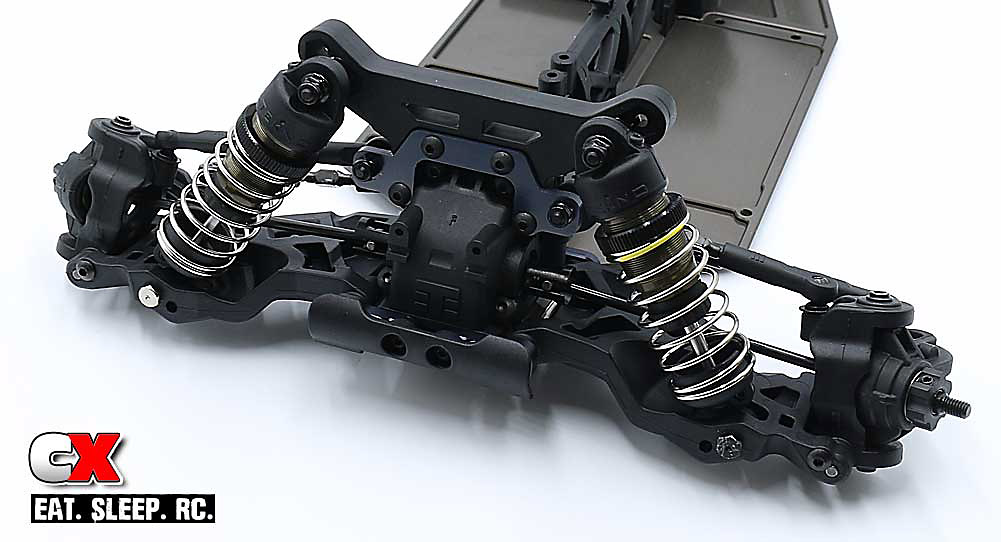
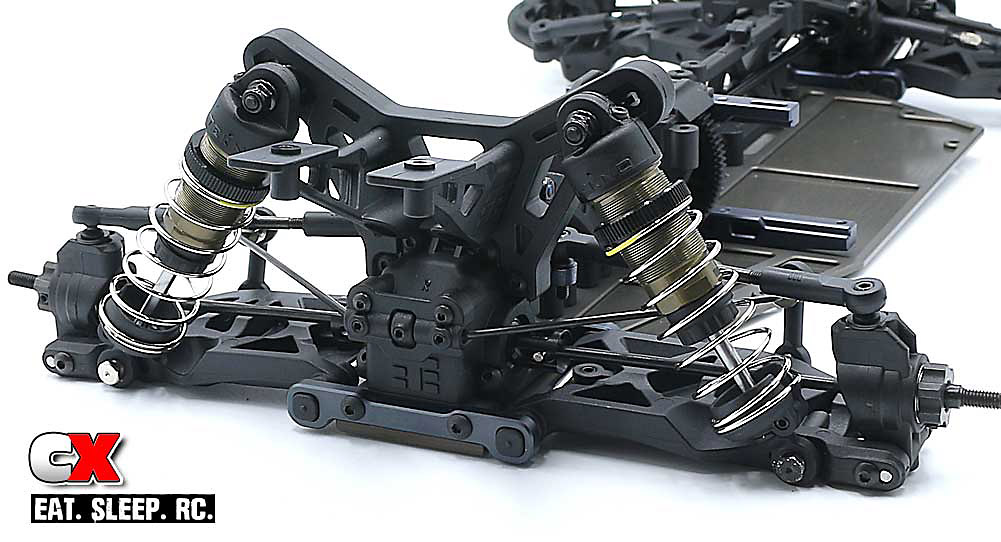
Attach the shock hardware to the front tower; third hole in from the top. Set the shocks in place and secure with the M3 locknut (up top) and the M3x18mm shock mount screws in the arm.
Note: Tekno supplies the EB410 with left and right thread shock mount screws. The black screw has right-hand threads; it goes on the left side of the car. The chrome screw has left-hand threads; it goes on the right side of the car.
This helps prevent the screws from backing out as the suspension moves up and down.
Step 11:
On to the rear shocks. The procedure is the same as the fronts; start by installing all the black o-rings.

Step 12:
Build the lower cartridges.
Step 13:
Add a drop of oil on the shock shaft and install. Pop an eyelet ball
into each lower shock eyelet and thread it onto the shock shaft. Attach
the threaded collars. Fill with oil and plunge up and down to remove any
bubbles. Set aside in your shock stand.

Step 14:
Add the baby o-rings to the M2x4mm screws and pre-tap the caps. Fill the shocks with fluid until it is level with the body, add 2-3 drops into the cap and assemble. Compress, bleed and add the M2x4mm bleeder screws.
Add the springs, retainers and M3x8mm grub screws.
Step 15:
Add the shock mounting hardware to the tower (third hole in), attach the shocks and secure with the M3 locknuts and M3x18mm shock mounting screws.
Again, Tekno supplies the EB410 with left and right thread shock mount screws. The black screw has right-hand threads; it goes on the left side of the car. The chrome screw has left-hand threads; it goes on the right side of the car.
Awesome job on the shocks! Set your almost-completed EB410 aside and let's get crackin' on the final assembly stuff.
Use the links below to follow each step.
- Opening Page
- Part 1 - Differentials
- Part 2 - Steering and Bulkheads
- Part 3 - Rear Suspension
- Part 4 - Front Suspension
- Part 5 - Chassis
- Part 6 - Shocks
- Part 7 - Final Assembly |