|
- Part 6 – Shocks -
Previous - Main - Next
The Build – Part 6 – Shocks
Team Associated’s T5M comes with their awesome Factory Team V2, Big Bore shocks. Featuring 12mm bodies and healthy 3mm shafts, these shocks are some of the best in the industry.
Build Notes:
> Shock building is messy so make sure you not only have clean up rags, but also a something down on the table first in case any shock fluid spills (and most likely it will).
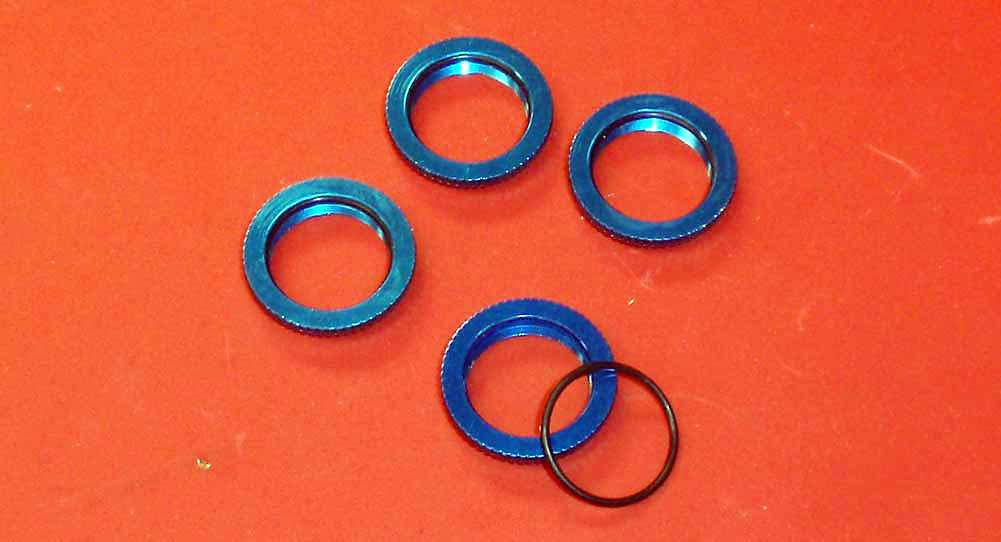
Step 76
If you’ve followed along with any of our other builds, you’ll notice that we always assemble the threaded collars first. This is because, once you get shock fluid on the o-rings, they can be a PITA to slip into the collars. Trust us when we say you want to do this first … always.
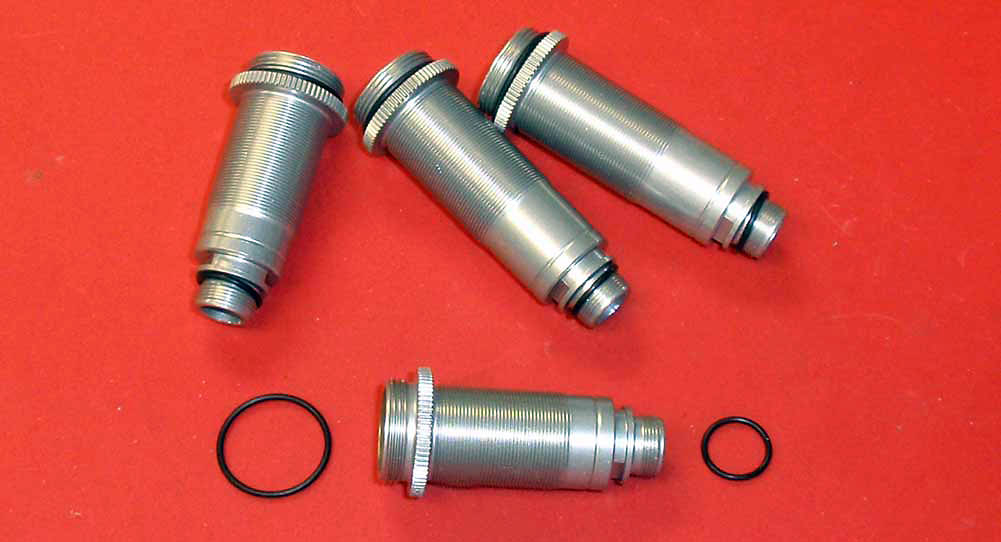
Step 77
We’ll go ahead and prep the rest of the parts as well. Slip a large o-ring over the top of the shock body and a small one over the bottom.
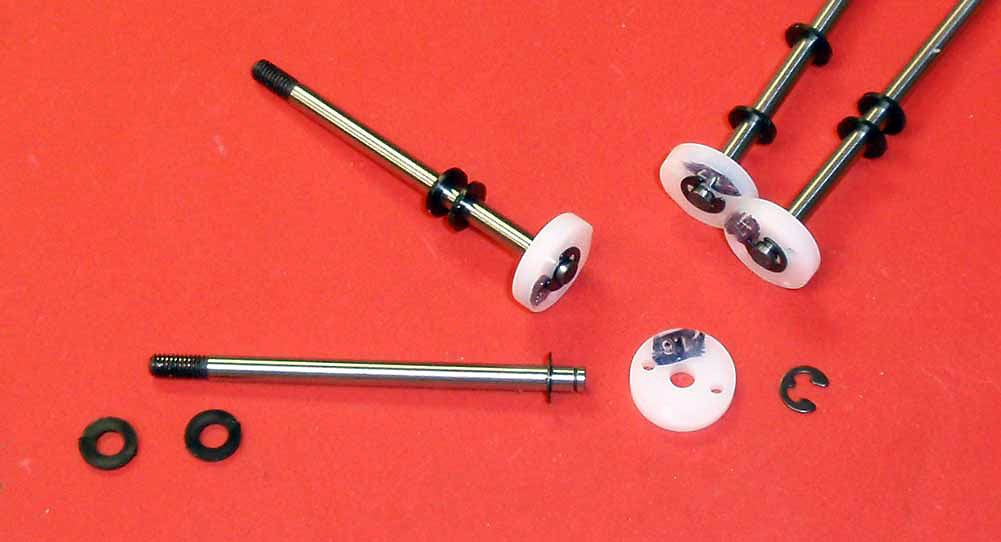
Step 78
Assemble 4 shock shafts. Note that the front shafts are shorter than the rears, so make sure you put the 1.6 pistons on the short shafts and the 1.7 pistons on the longer shafts. Add 2 .030 nylon spacers to each shaft as shown. I like to color the tops of the pistons (where the numbers are) with a black Sharpie to help me easily identify them. Yes, I like my Sharpies.
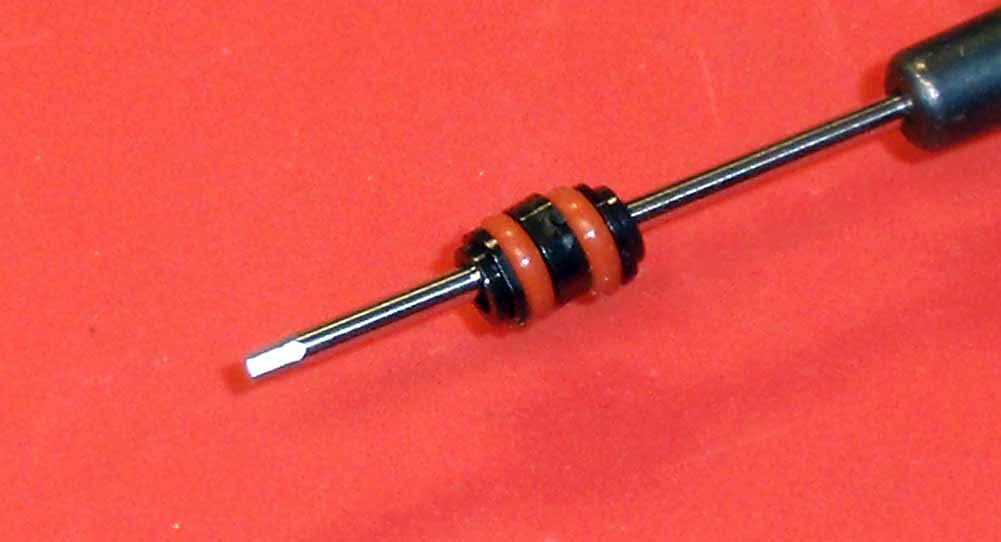
Step 79
I had a little difficulty getting the seal section built without an o-ring or spacer being dumb, so I tried this little method to get it all installed at the same time. I just applied a small amount of shock fluid to the assembly and it slipped right it without a hitch. Make sure the leading hat bushing’s lip faces INTO the shock and the final hat bushing’s lip faces into the bottom cap.
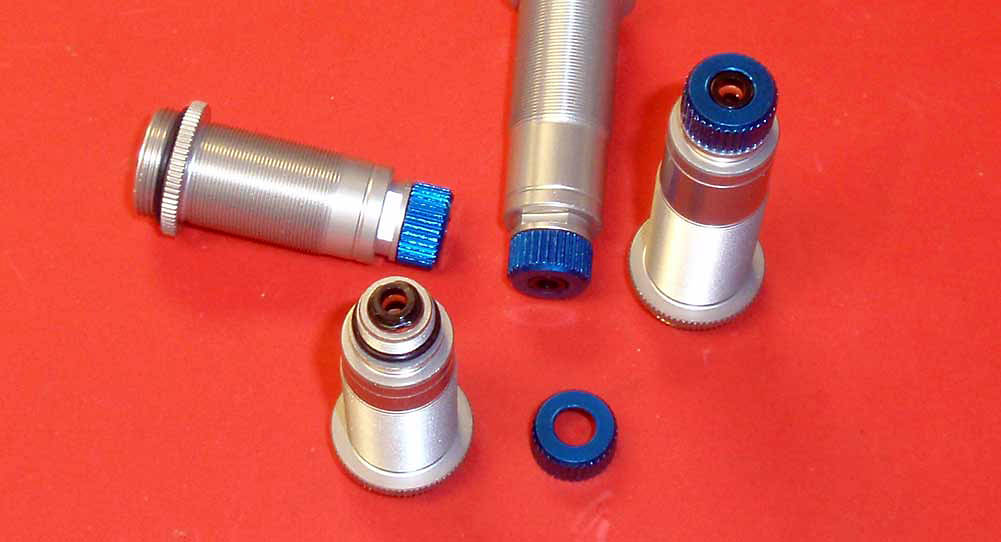
Step 80
Install the bottom cap, being careful that the hat bushing seats correctly into the cap.
Step 81
Place a drop of shock fluid onto the threads of the shaft and slide it through the assembled shock. Once through, install the shock eyelet and pivot ball. Plunge the shaft a few times to make sure the seals get coated with oil.
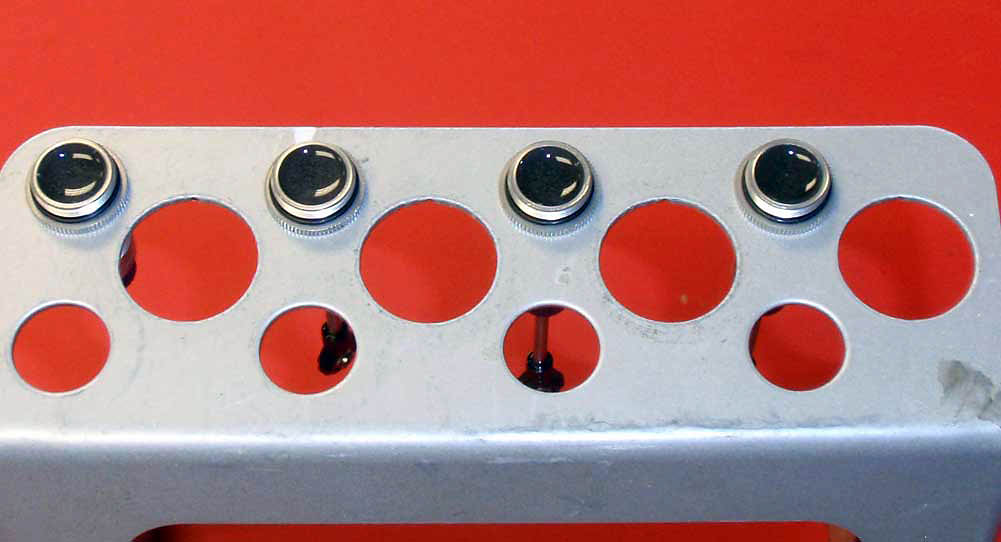
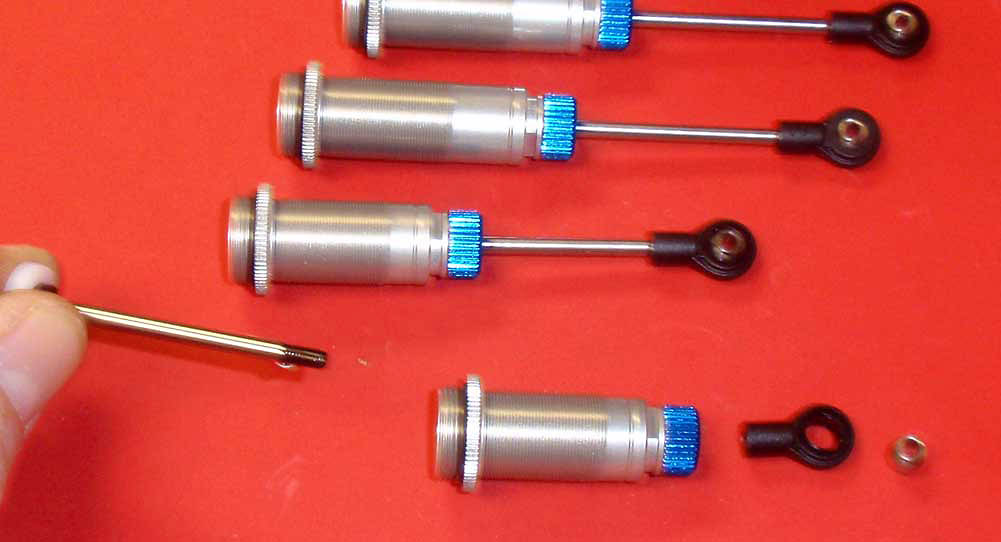
Step 82
Before filling the shocks with oil, make sure you have a suitable shock stand. I have a few different ones I use and added the links at the bottom. Fill the shocks with fluid (kit 35wt is a good start) almost all the way to the top. Plunge the shaft a few times to release any air bubbles from below the piston and place in your shock stand.
Step 83
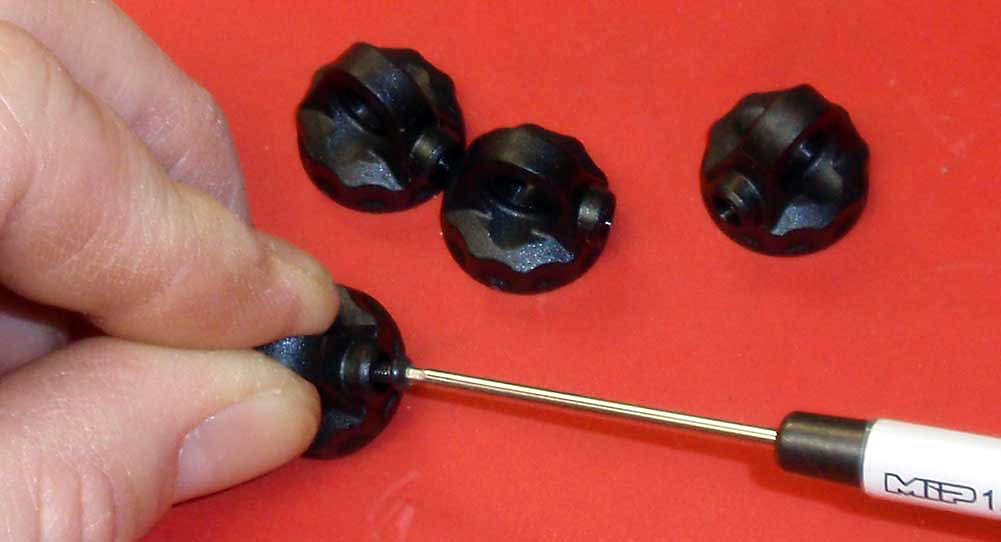
While the bubbles are rising out of the shocks, we’ll take this time to prep the shock caps. Start by a 4mm screw into each hole in the cap, then remove it.
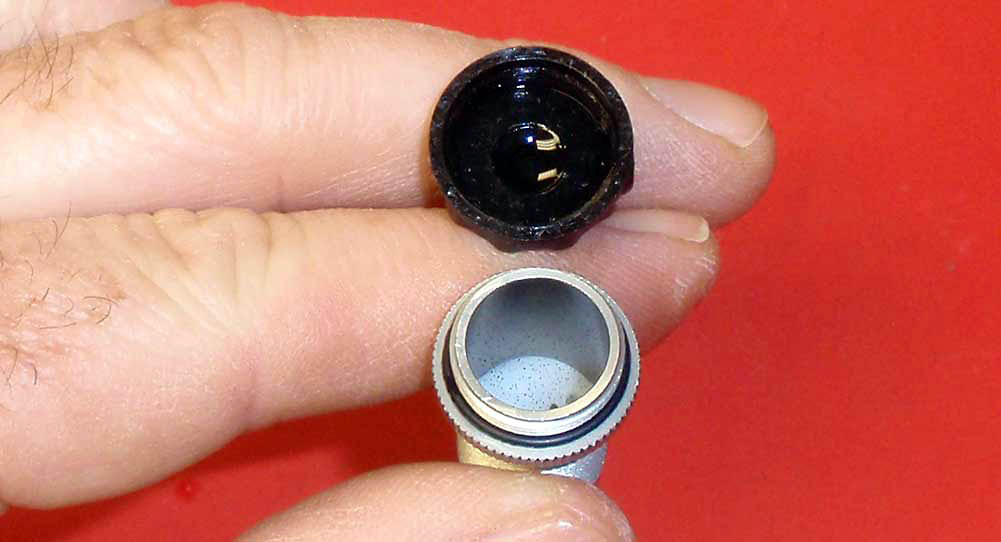
Step 84
Grab a shock from the stand and add more fluid until the fluid is flush with the top of the shock body. Place a single drop of fluid in the cap, then flip the cap onto the body and tighten down keeping the hole in the cap pointing up. Careful not to cross-thread the cap.
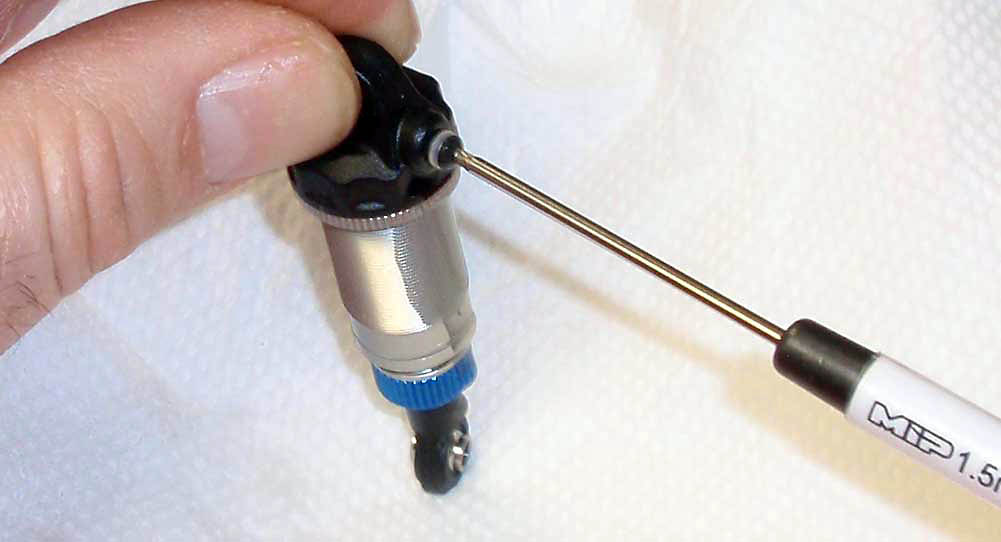
Step 85
While slowly pressing down on the shock as shown (hopefully you’re doing it on a paper towel!), you’ll see fluid start to come out of the hole in the cap. Once the shock shaft has bottomed out, insert the 4mm screw. AE includes small white washers in the shock bag but doesn’t show them in the manual; I like to use them since it appears to make a better seal.
Step 86
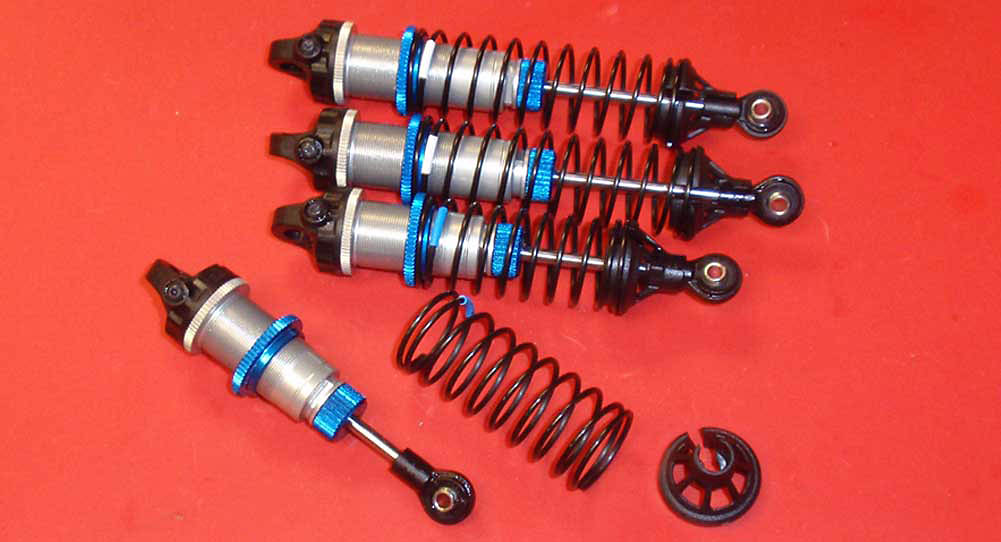
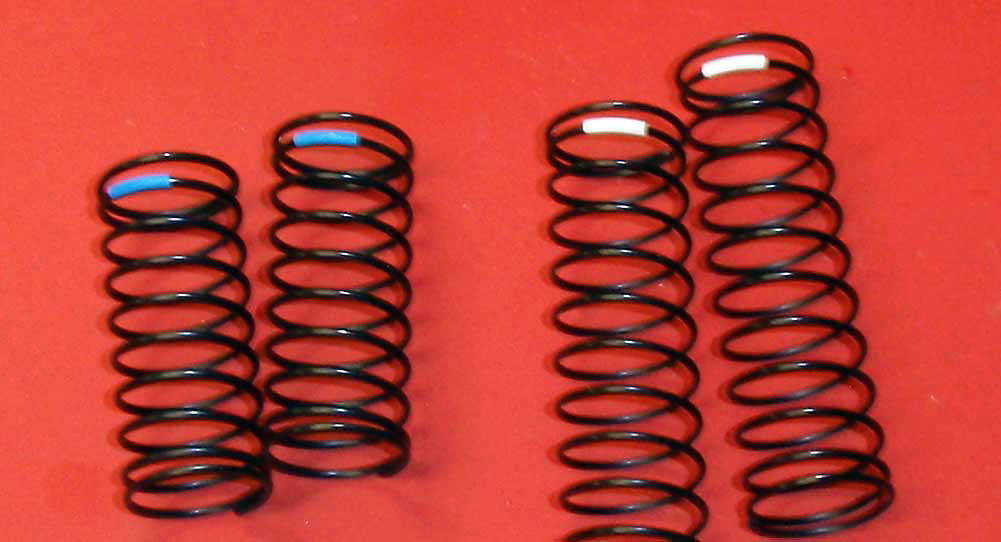
The T5M comes with 3.6lb front springs (blue) and 2.1lb rear springs (white). Slip the colored shrinkwrap onto the shock and heat it to keep it in place. A hairdryer, lighter or even a soldering iron will help with this … just don’t burn yourself!
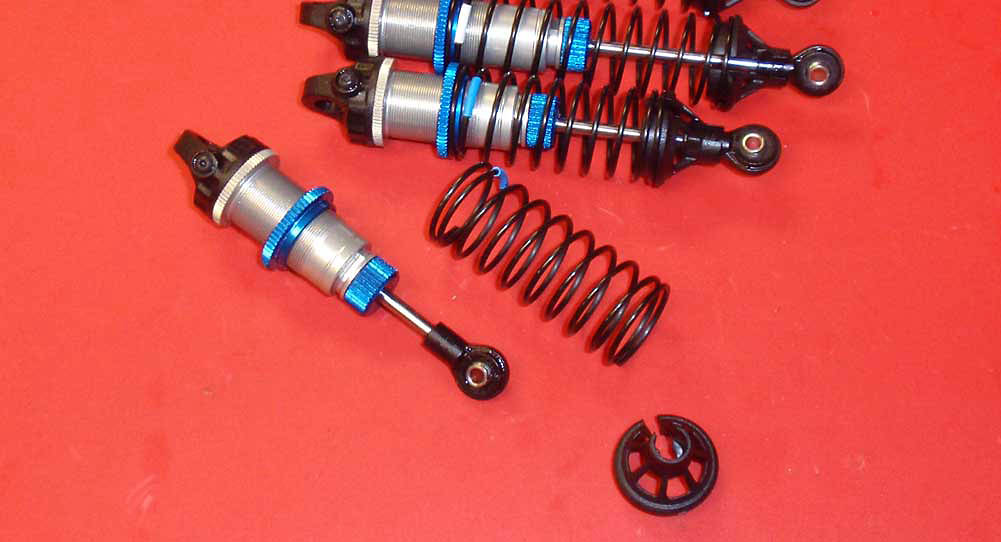
Step 87
Thread the collar onto the shock followed by the appropriate spring (blue on the front, white on the rear). AE also includes multiple height shock spring cups. Grab the 9mm offset ones (tall ones) and snap those into place under the shocks.
Step 88
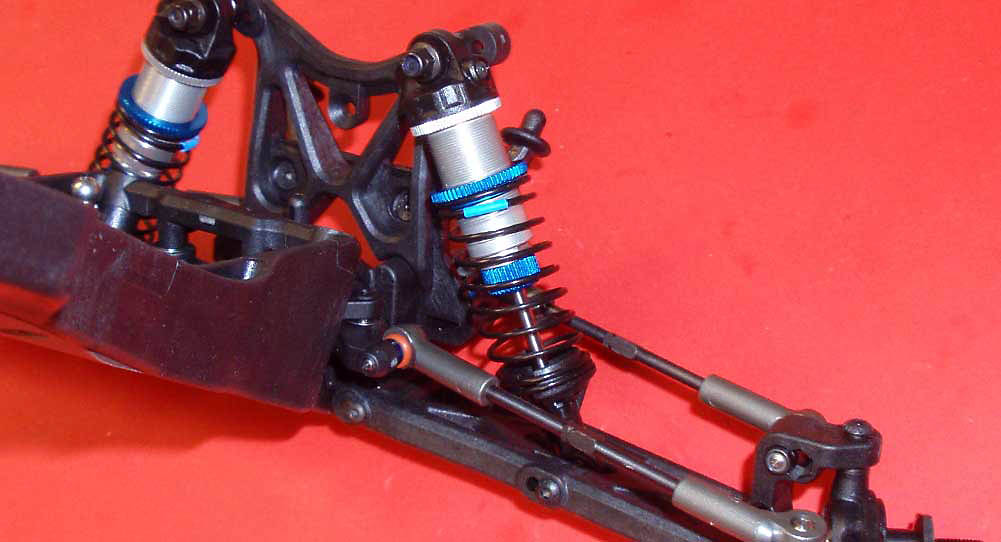
Set the shorter, front shocks into place and secure the tops with the M3 lockut. Secure the bottoms in the outer hole with the 22mm screw.
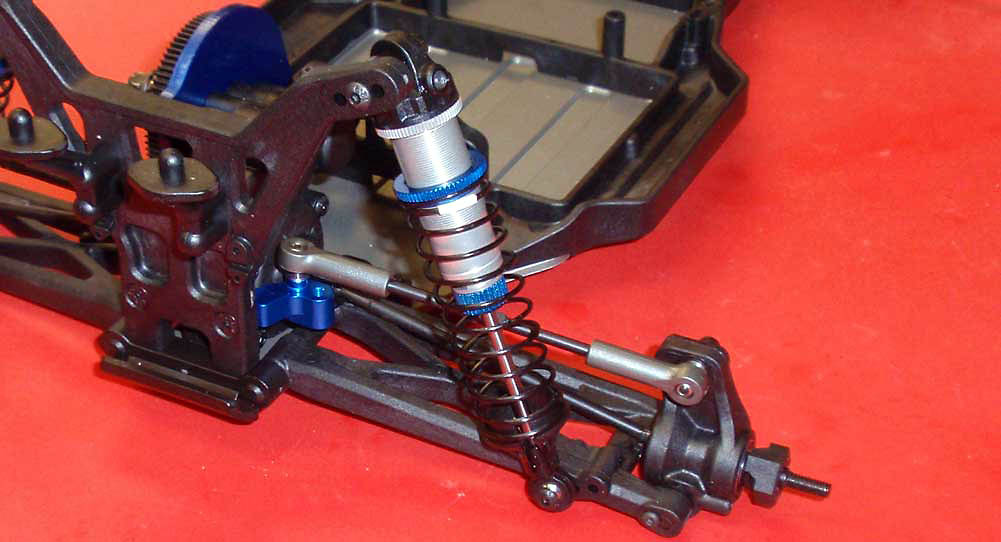
Step 89
Same goes for the rear shocks; secure the tops with the M3 locknut and the bottoms (in the inside hole) with the 12mm screws.
Looks good, right? Take a moment and compress the shocks a few times to make sure all is silky smooth.
Previous - Main - Next
|
