|
- Part 7 – Electronics -
Previous - Main - Next
The Build – Part 7 – Electronics
A truck as bad ass as the T5M needs to have some bad ass running gear. For this, we’ll be using the following stuff:
• Reedy RS1508 Digital HV Servo
• Reedy Blackbox 410R Competition Brushless ESC
• Reedy Sonic 540 Mach 2 7.0T Brushless Motor
• Reedy 5800mAh 65C 7.4V LiPo Battery
• Futaba 4PX Transmitter
• Proline ION T 2.2? Truck Tires
All of this is nice, high-end that will compliment the T5M perfectly. Let’s get to the install.
Build Notes:
> The first thing you might notice is the top-down servo install instead of mounting it from the bottom. Since servos come in many different shapes and sizes, this could cause an issue at some point. Thankfully the Reedy servo dropped in without a fuss.
> If you haven’t purchased a battery pack yet (or have some and not sure if they’ll work), you’ll be happy to hear that the T5M accepts a few different pack configurations including saddle, shorty and brick packs.
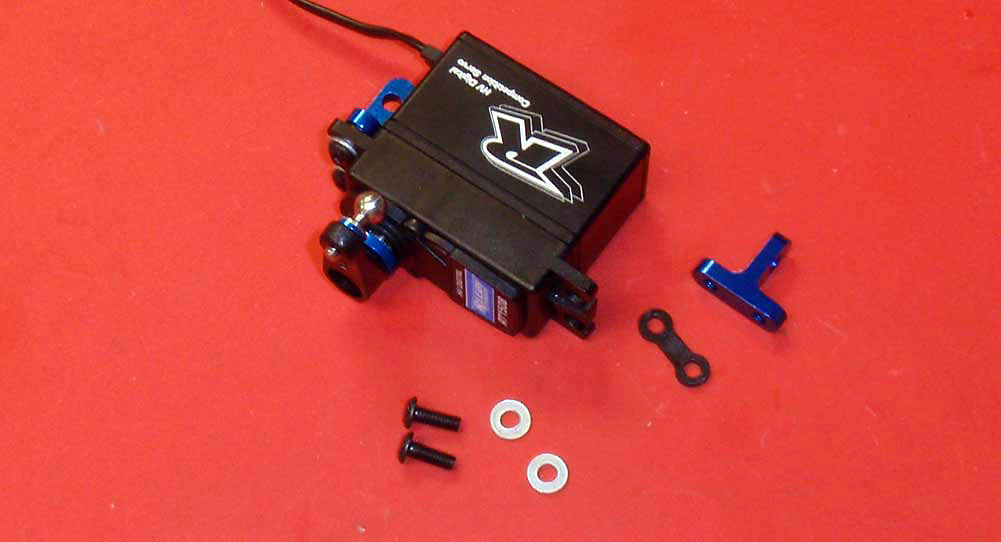
Step 90
Let’s start this build by prepping the servo for installation. Choose the servo horn that works with your servo (Airtronics, Futaba, Hitec or JR) and attach the blue servo ring and heavy duty ballstud. The servo mounts are a new design (unless you’ve had a B5 or B5M before), but they attach in much the same way. The instructions say to use a ‘gold’ washer, mine were silver.
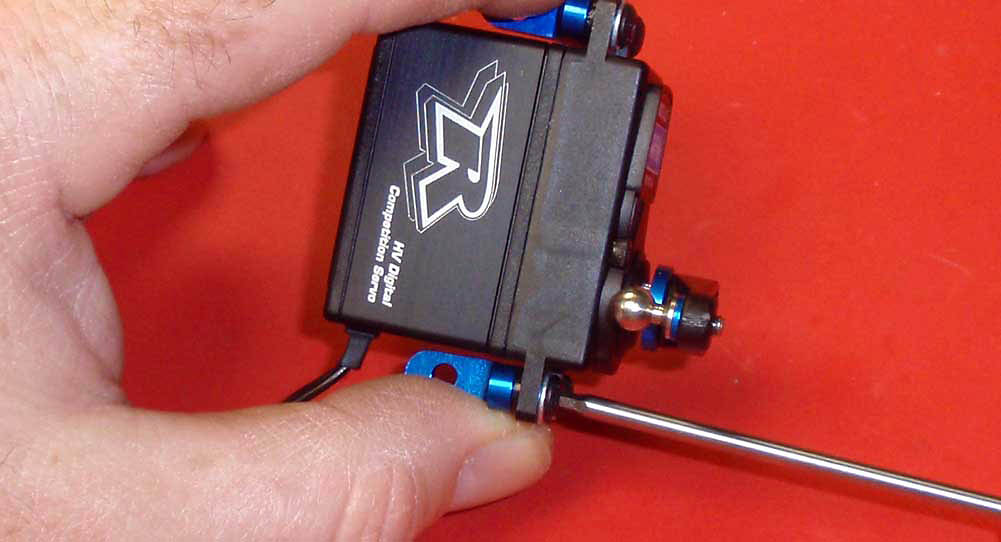
Step 91
I pinched the mounts tight to the servo before tightening down the screws. This made them equal on both sides and easier to install into the truck.
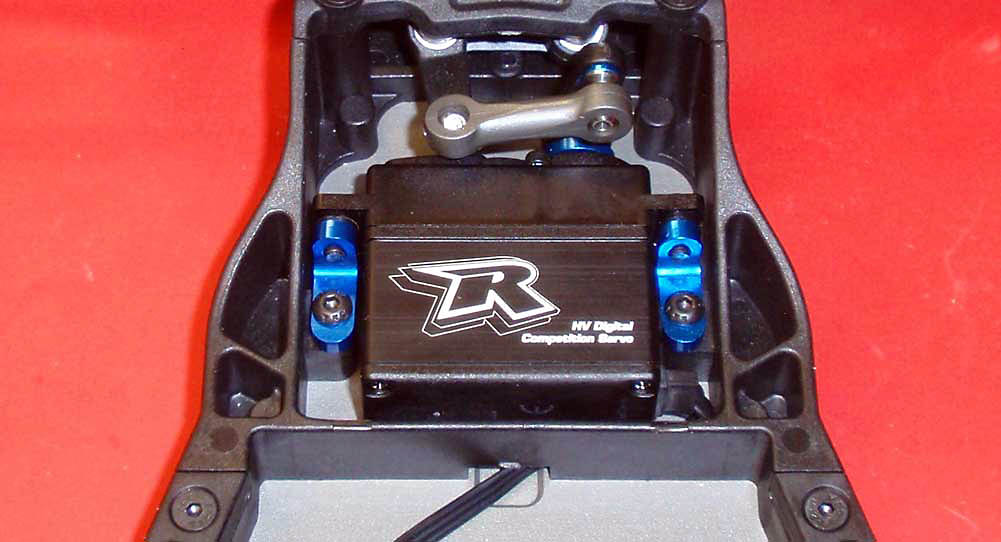
Step 92
Before lowering the servo down into its pocket, feed the servo lead through the opening in the plastic cross brace. Secure the servo with the pair of 8mm screws. Also new is the one-piece drag link, making this part of the build a no-brainer. Thank you AE, been wanting this for a long time.
Step 93
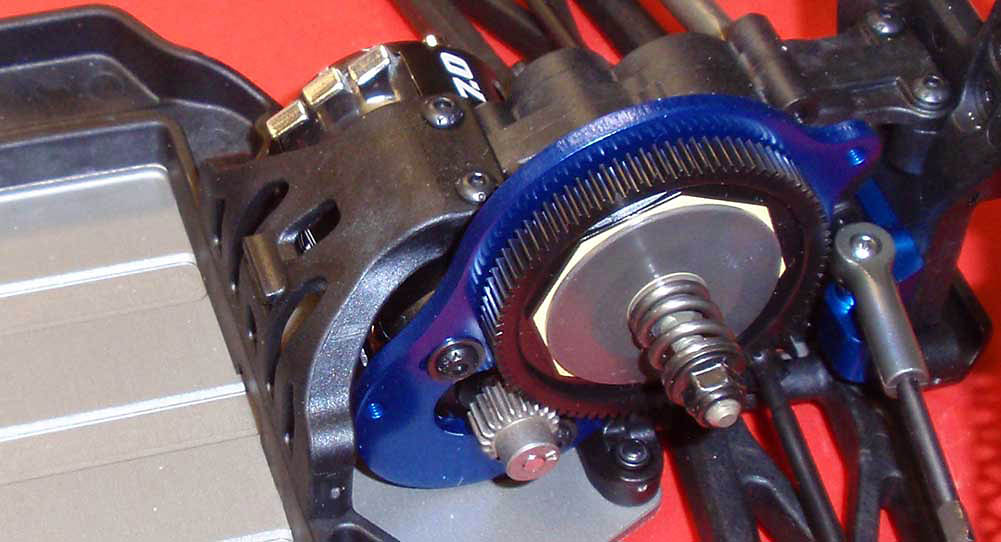
Align and attach the motor to the motor plate, but don’t tighten the screws just yet. Check the mounting tabs on the motor to make sure they are not interferring with anything. Now install the pinion, set the gear mesh and tighten everything down.
Step 94
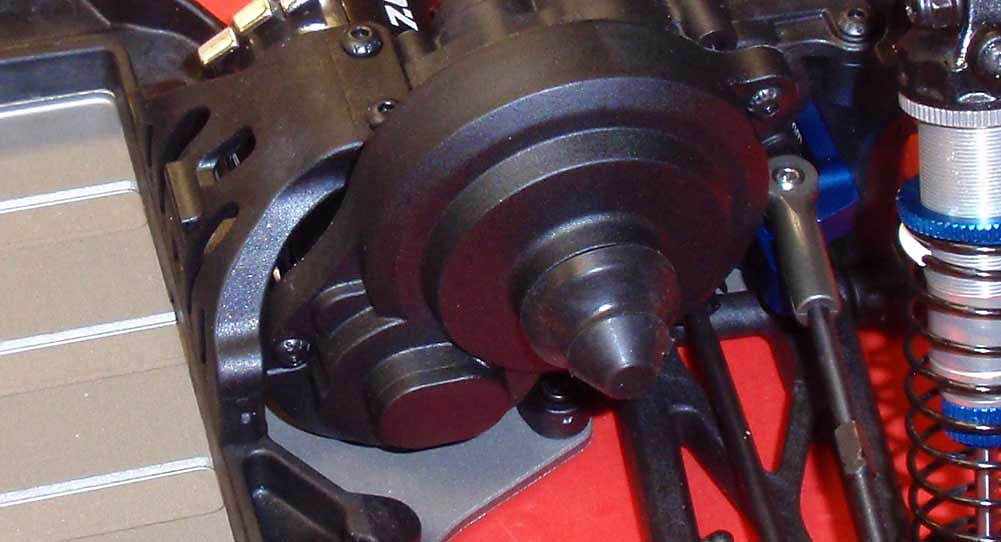
Attach the gear cover.
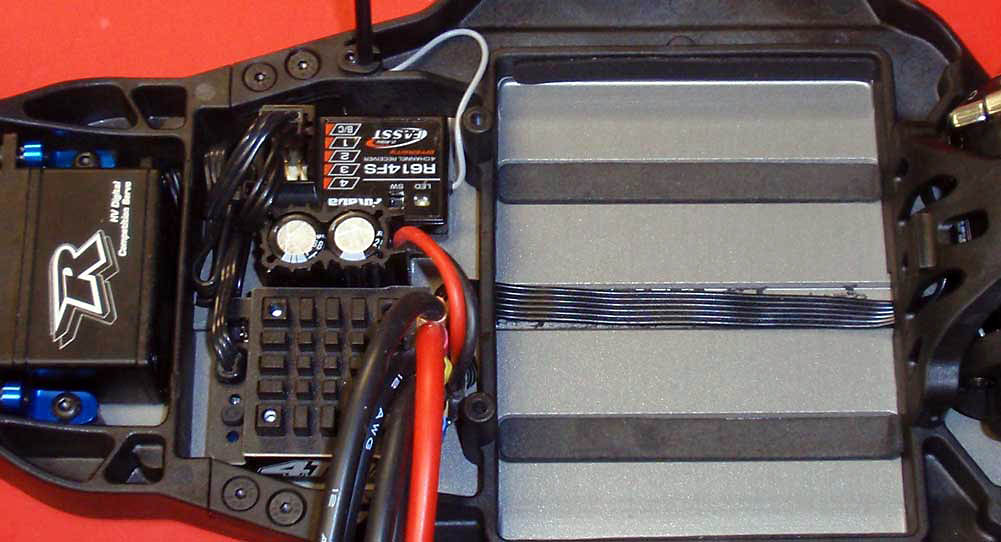
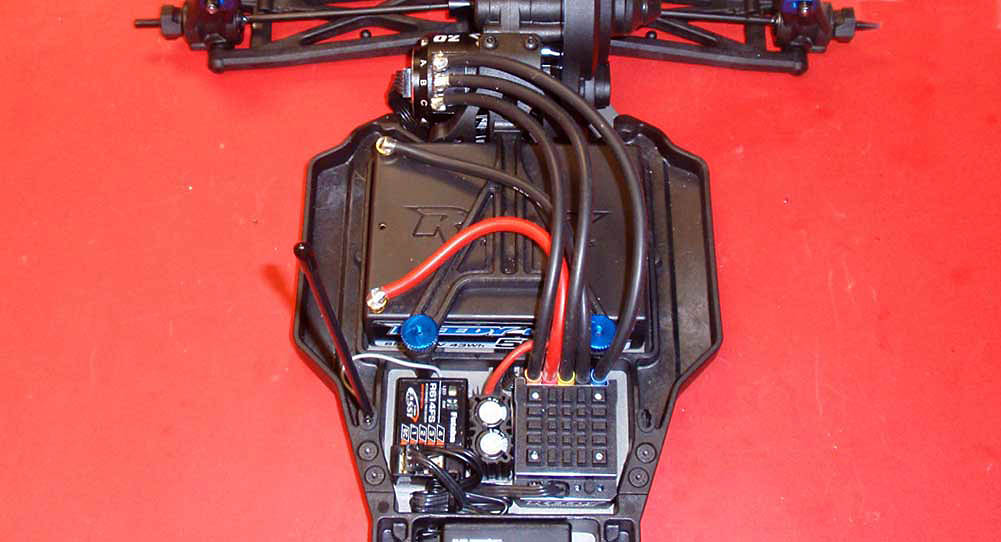
Step 95
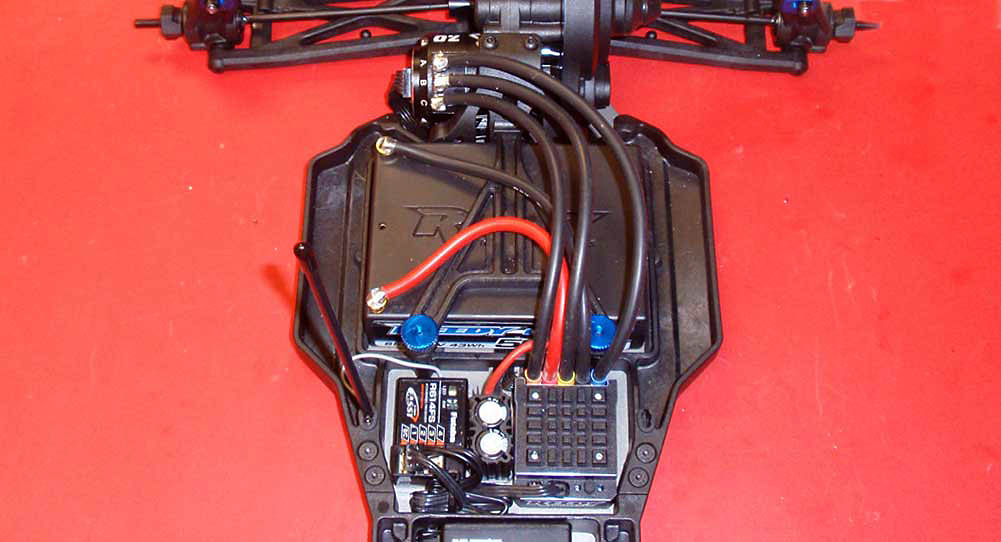
The section right behind the servo is for the receiver and ESC. You might want to do some test fitting to see how you want things to go, but remember that the battery strap thumbscrews attach to the back wall of this compartment. You might even build and install that prior to mounting the electronics. Once you get that situated, attach the sensor wire to the ESC and feed it down the center channel of the T5M. yes, that channel runs right to the motor, keeping the sensor wire out of the way and well protected. At this time you can also install the antenna system and foam pads under the battery compartment.
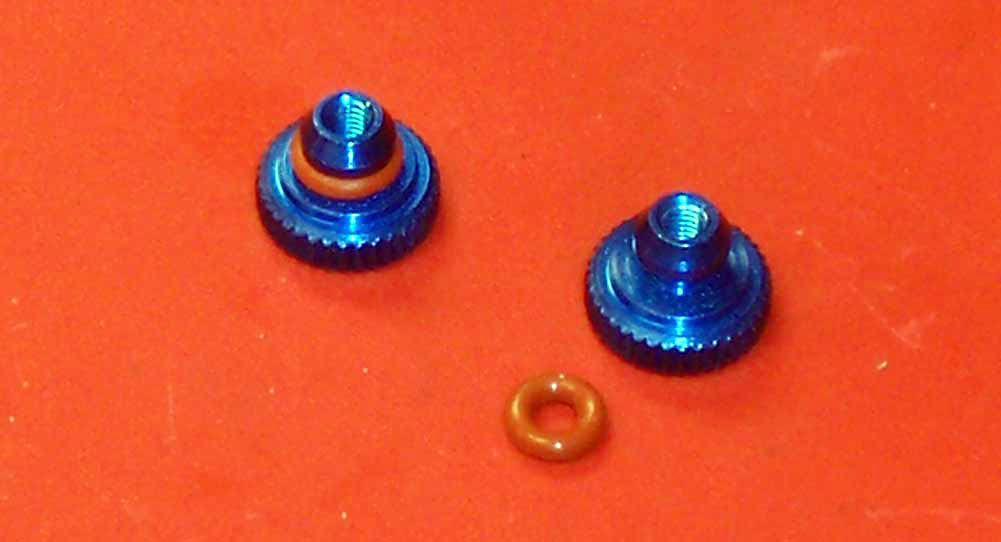
Step 96
Build 2 of the battery thumbscrews.
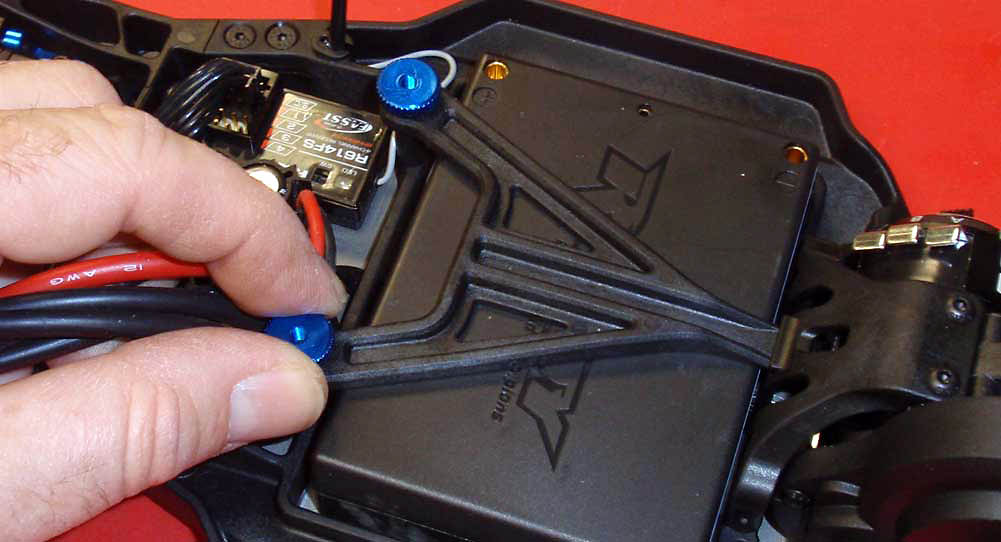
Step 97
We dropped our macho brick pack into the try and installed the battery strap and thumbscrews.
Step 98
Solder the wires to the motor and install the plugs for the battery. At this time you might want to turn everything on to make sure it’s all working before moving to the final step.
Awesome job. If you’re anything like us, we’re ready to just slap some tires and any ol’ body on it and hit the track! This thing looks great! Only one more step to get before it’s time to let it loose!
Previous - Main - Next
|
