|
- Part 3 – Rear Suspension Part 2 -
Previous - Main - Next
The Build – Part 5 – Rear Suspension Part 2
After installing the transmission, we’re headed back to the rear suspension of the Team Associated T5M to finish it off. A few cool features include the rear hub inserts that allow more adjustment just by changing mounting plates and a full set of CVA drive bones. On with the show.
Build Notes:
> The CVA build requires the use of black grease so you might need a few clean rags for this step as well.
> Pay special attention to the rear hubs when assembly. There is a left and a right side and could be easily swapped without noticing.
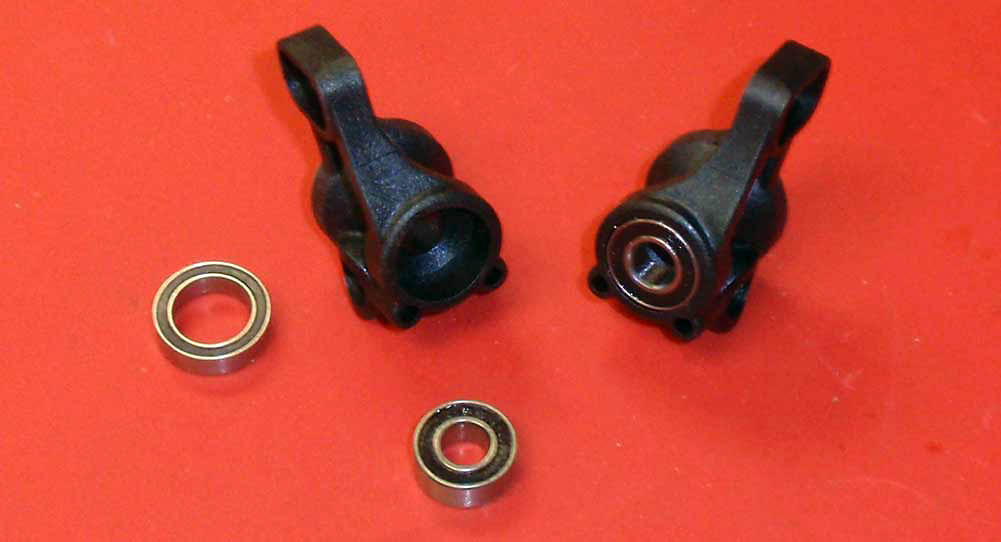
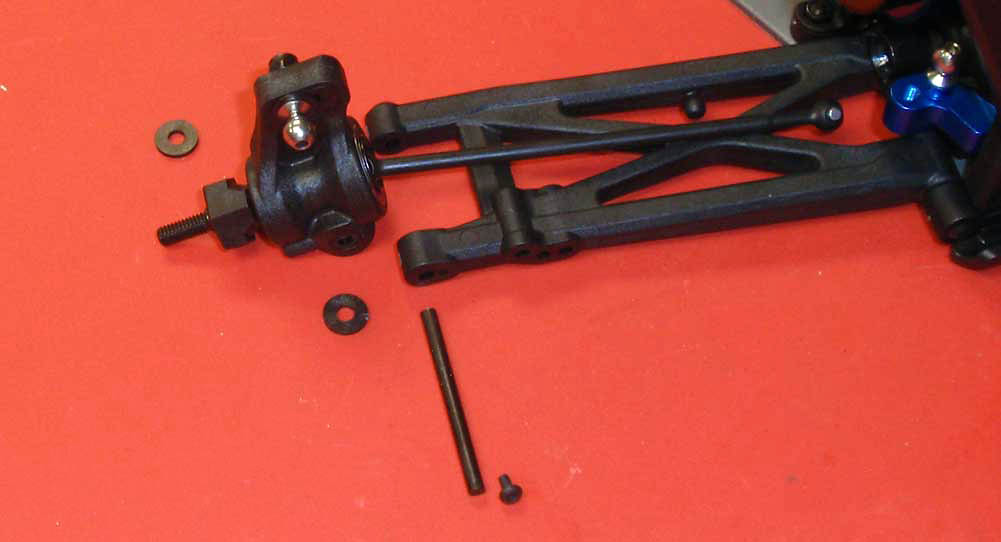
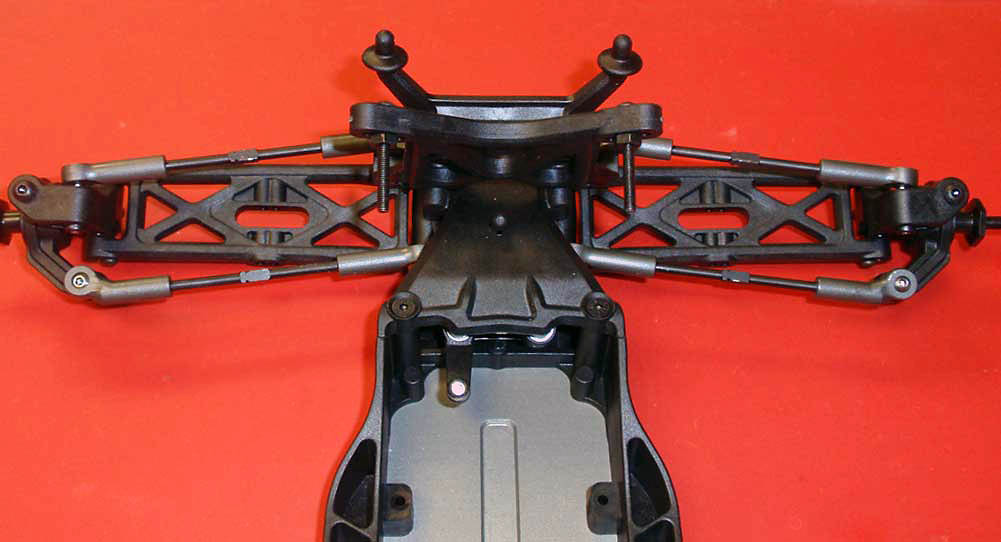
Step 63
Let’s start by pressing a 6×13 bearing into the front and a 10×15 bearing into the rear of both hubs. As you might notice, the hubs do look different. They are directional so you’ll need to make sure they are assembled on the correct side of the car. The one on the left is for the left side of the truck, the one on the right for the right side.
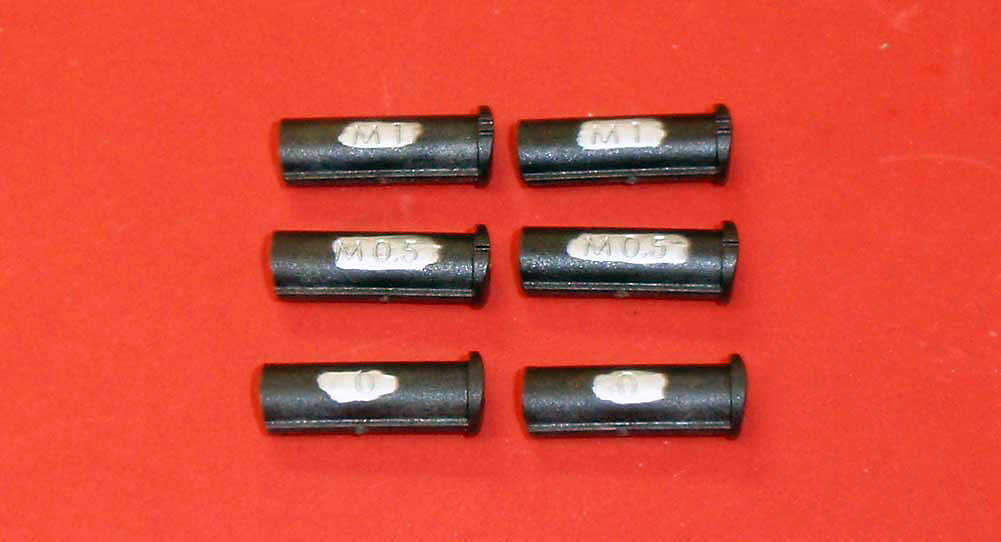
Step 64
Inserts are also used here to control outboard rear toe of the car. AE has supplied 3 toe inserts; a M1 (or 1°), M0.5 (or .5°) and a 0 (or 0°). We’ll be using the 0° hub per the manual. Again, a silver Sharpie was used to make things easier to read.
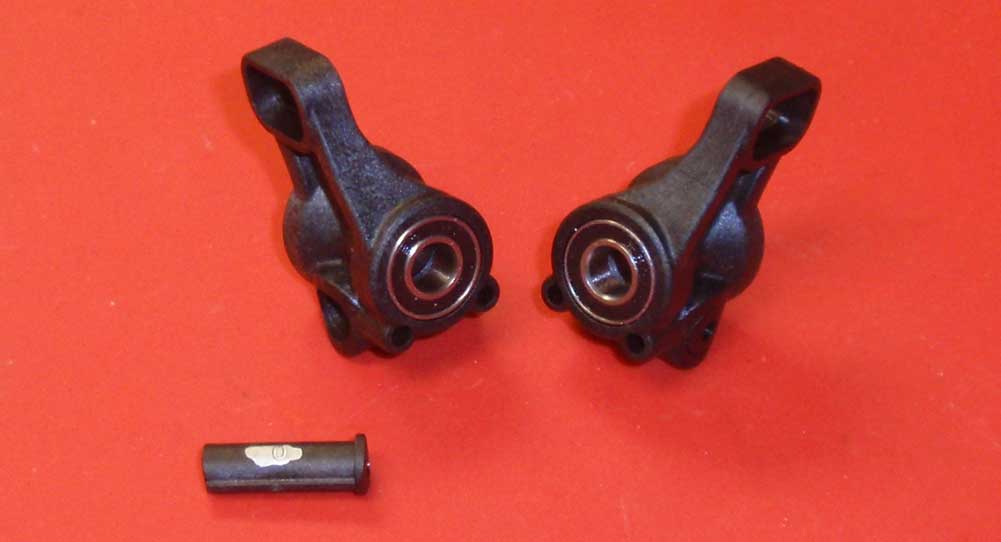
Step 65
Slip the toe insert into the rear hub. It can only be inserted one way so don’t worry about placing it in backwards.
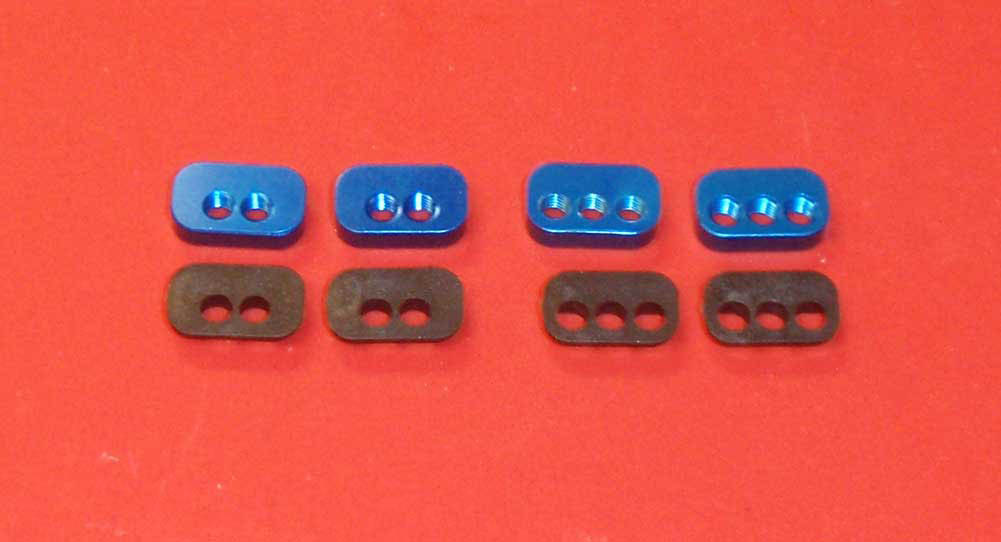
Step 66
We’ve lined out the rear hub inserts; 2 with 3 holes, 2 with 2 holes. The ones with 2 holes are ‘in between’ holes to the ones with 3. They can be installed with the holes to the top or bottom, allowing even more adjustment. We’ll be using the B insert (or 2 hole insert) with the holes up.
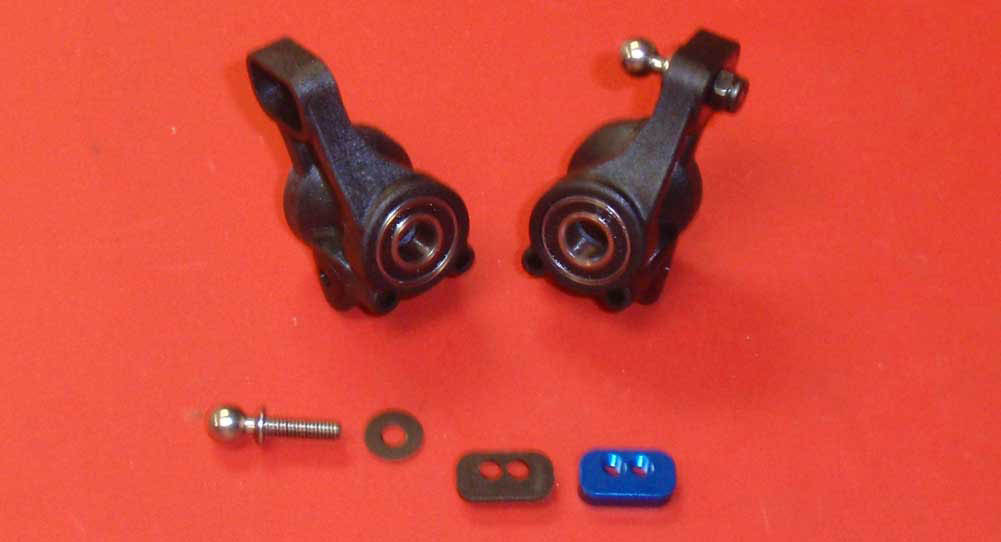
Step 67
Press the plastic and blue aluminum hub link inserts into the rear hub, making sure both hole-sets are up. Insert the heavy duty ballstud through 8mm washer and into the B hole (insert funny joke here) or outside hole. A drop of threadlocker will help keep the ballstud from coming out.
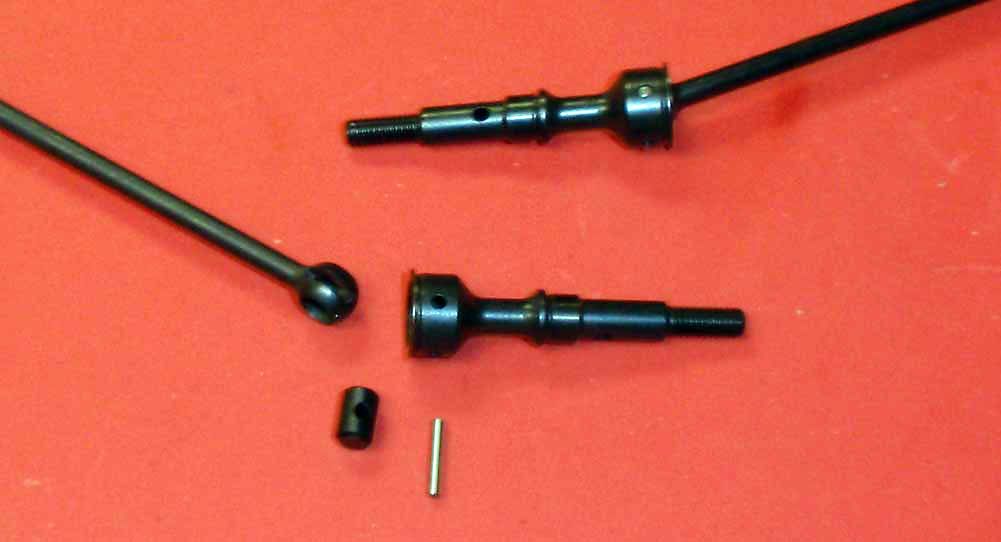
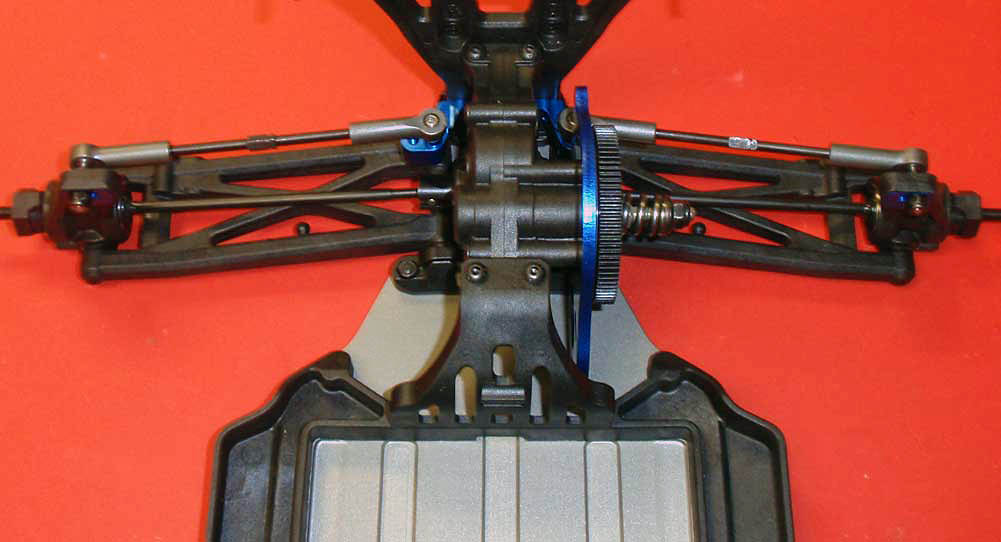
Step 68
Assemble 2 CVA drive axles. Use a small amount of black grease on the barrel during assembly.
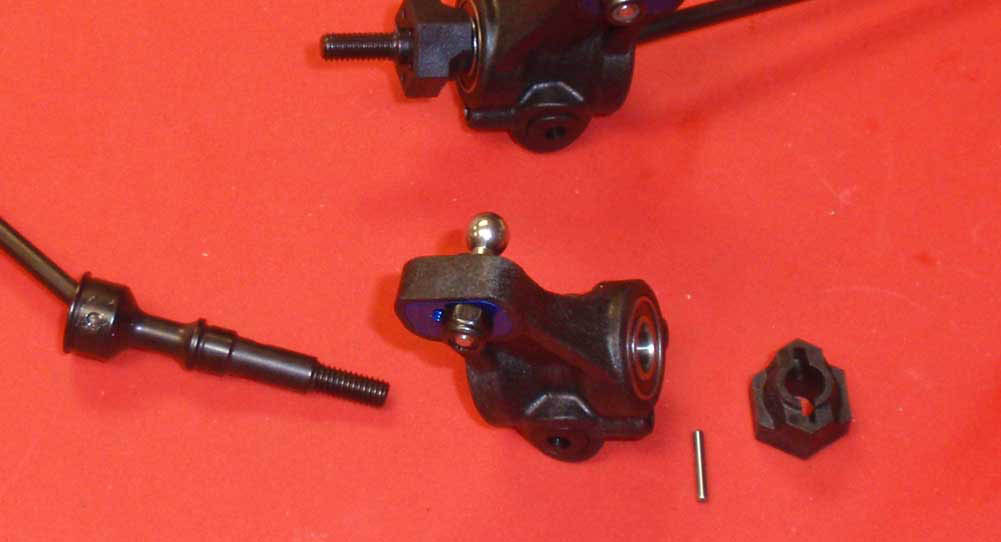
Step 69
Slide an assembled CVA through the rear hub assembly. Insert the CVA wheel pin followed by the rear wheel hex. Make sure you key the slot in the hex to the wheel pin.
Step 70
Before the next step, pay close attention to the orientation of the rear hubs. The ballstud should be facing the rear of the T5M. Slide the hinge pin though the arm, a rear hub spacer, the rear hub and another rear hub spacer. Secure with the 4mm screw.
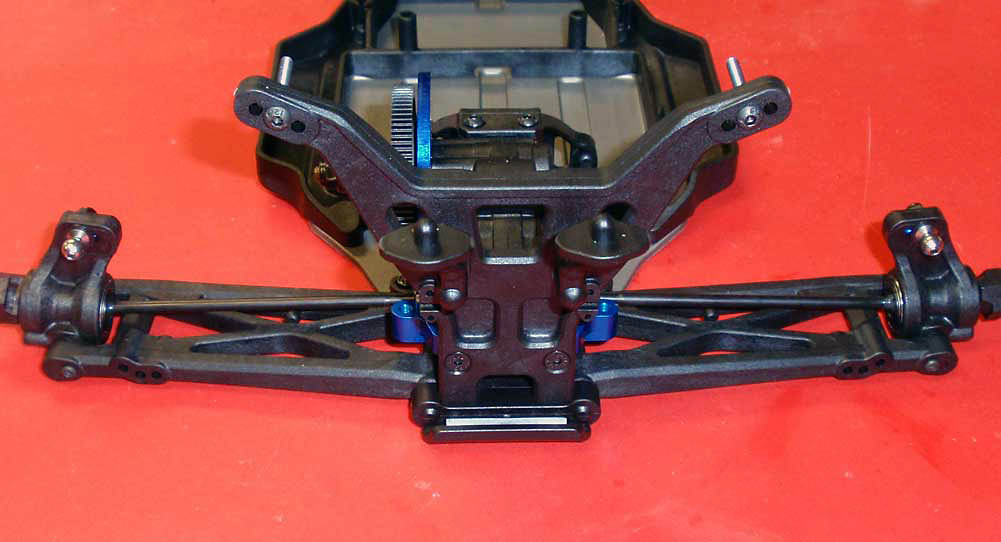
Step 71
Swing the hubs up and key the CVA bones to the diff outdrives.
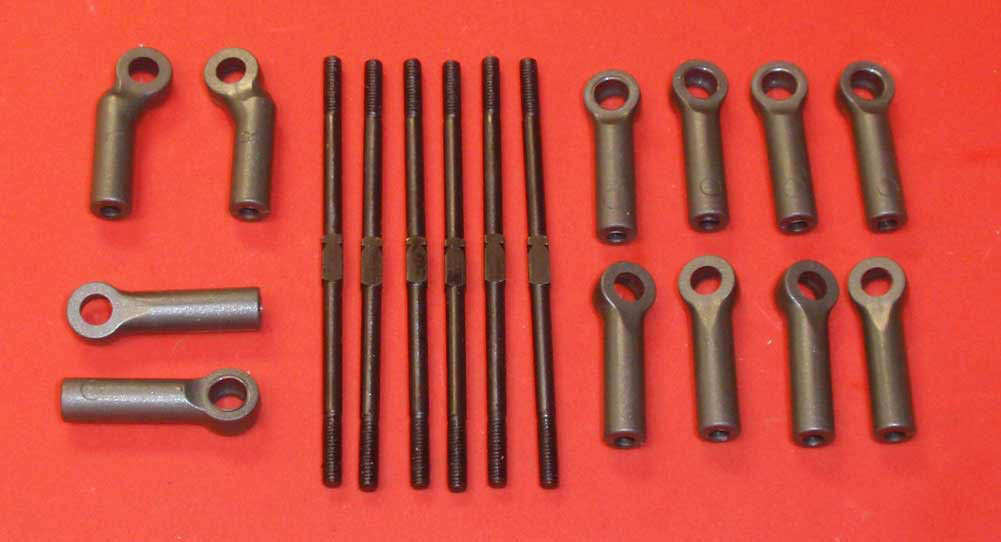
Step 72
Take a quick inventory of the turnbuckle pieces. The first thing you’ll notice is that all the turnbuckles are the same length! You’ll also notice that they are not blue titanium … that’s a bummer.
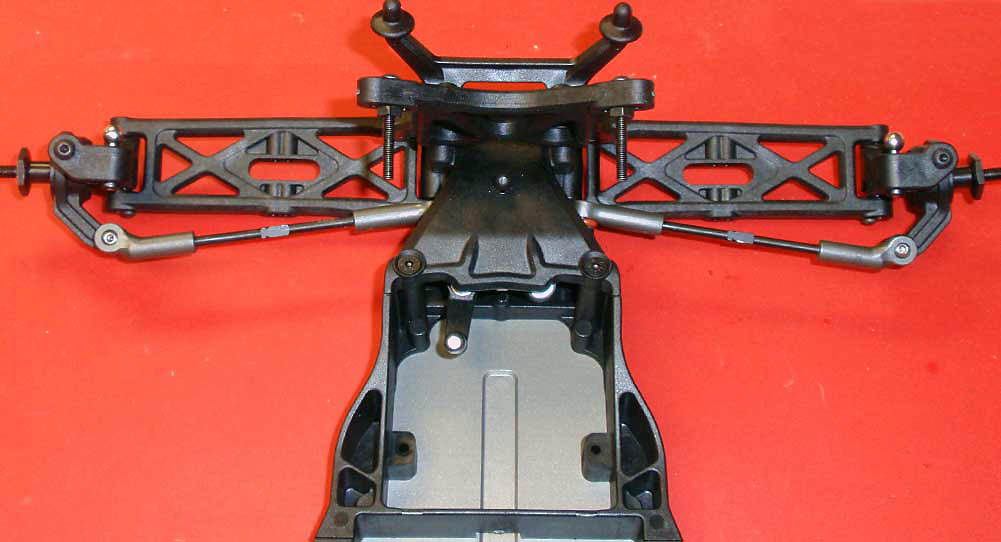
Step 73
Build the steering links per the manual (the lengths here are a good starting point). Pay special attention to the ballcups themselves as well as the ‘notch’ on the turnbuckle. After assembling 2, pop them into place.
Step 74
Do the same thing with the front camber links. The lengths here are good as well.
Step 75
Build a pair of rear camber links again paying close attention to the ‘notch’ in the turnbuckle. The lengths are good here. Before popping them on, make sure the drive bones are keyed to the diff outdrives.
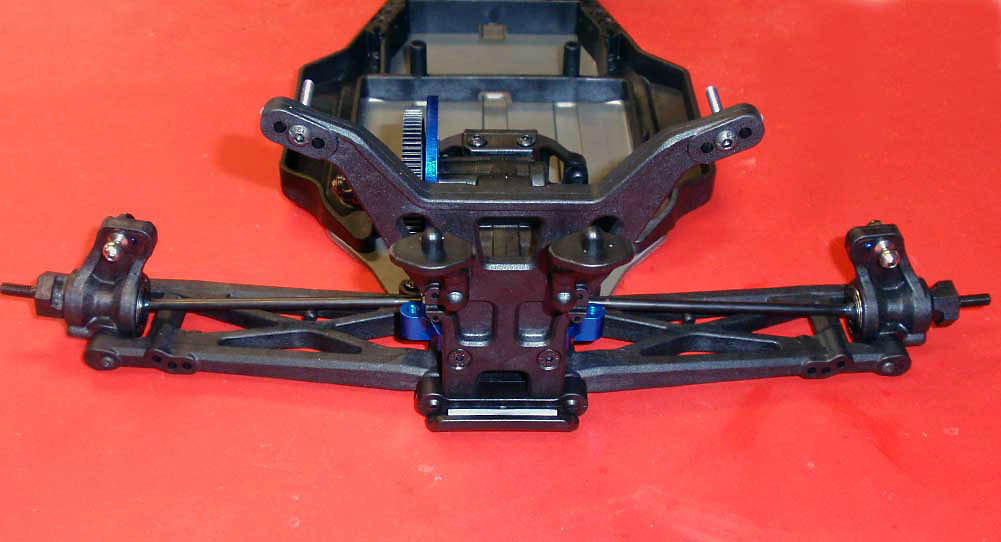
Give everything a spin and work those arms up and down to make sure there is no binding in the drivetrain or suspension. Booyah! Great job!
Previous - Main - Next
|
