|
- Part 4 – Transmission -
Previous - Main - Next
The Build – Part 4 – Transmission
The Team Associated T5M comes equipped with the same stellar 4-gear transmission that you will find in the B5M. Thankfully it comes loaded with a ball diff (I’m not a gear diff fan), high-quality bearings and the A-Team’s V2 slipper clutch system.
Build Notes:
> Since we’ll be working with greases in this step, you’ll want to have a few clean rags handy.
Step 42
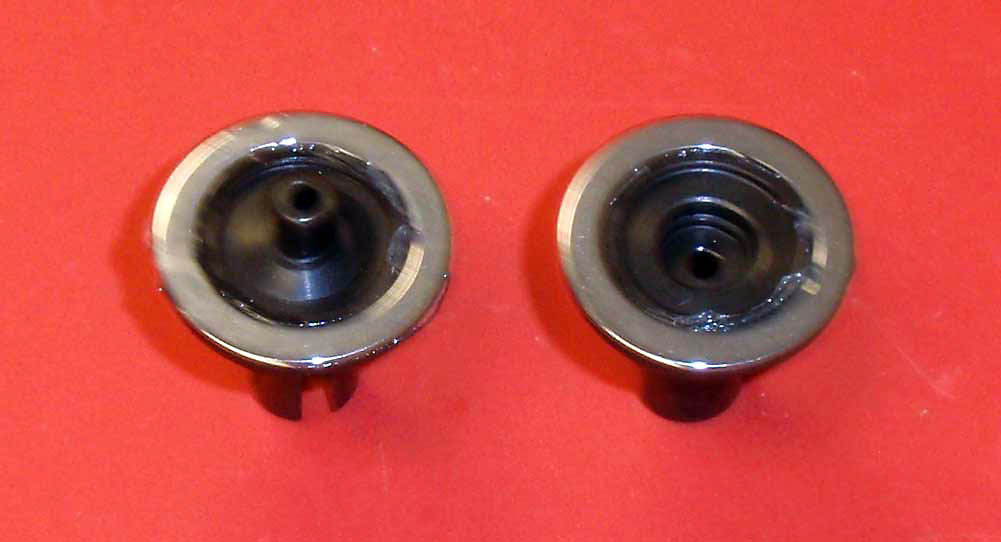
Let’s start by spreading a light coat of white grease onto the outdrives and setting the rings in place.
Step 43
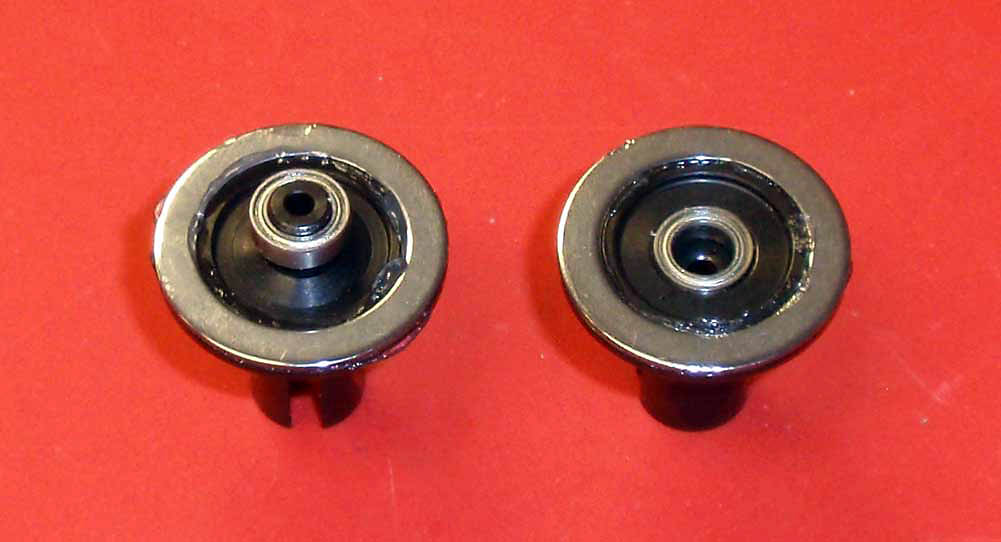
Place a 5×8 bearing onto each diff half.
Step 44
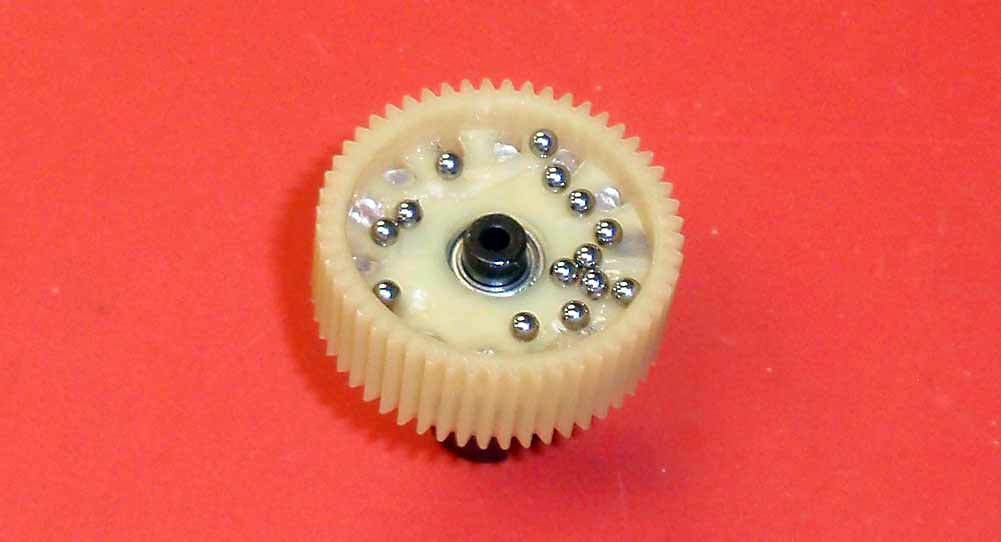
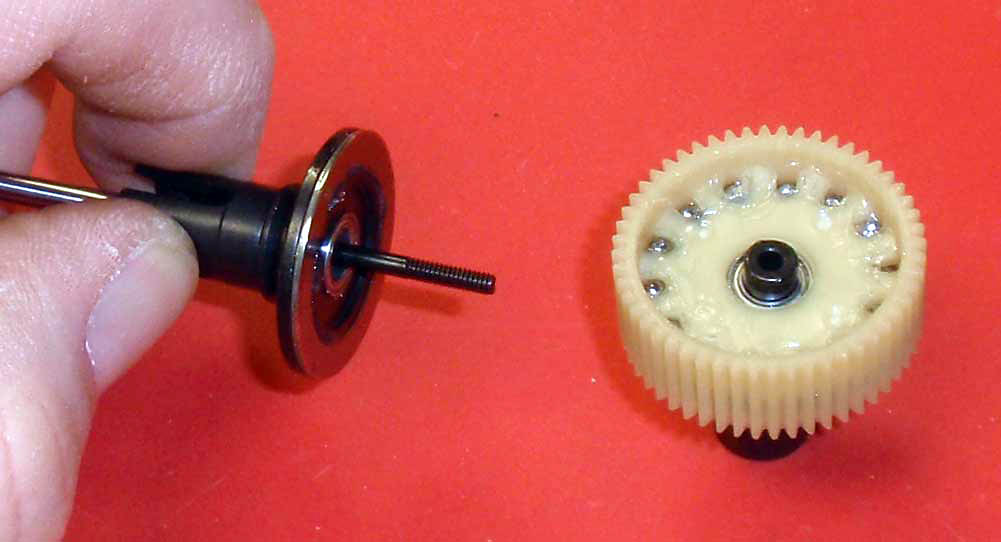
Set the diff gear onto the ‘male’ diff half side and press it over the bearing. Squeeze some white diff grease into each of the holes in the diff gear, making sure it actually makes it INTO the holes. Pour the carbide diff balls into the gear (as shown) and carefully press each one into a hole.
Step 45
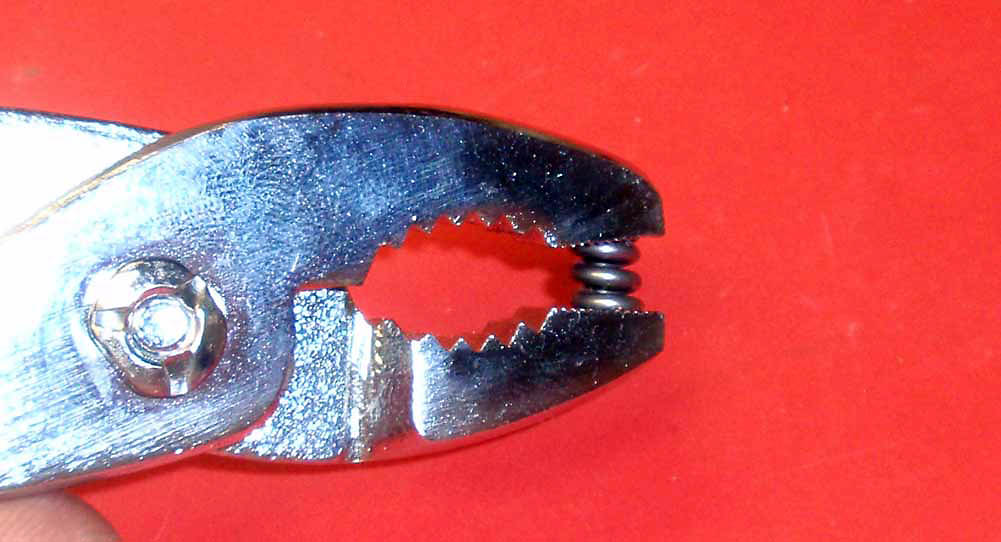
Pre-compress the diff spring. A couple good squeezes should do the trick.
Step 46
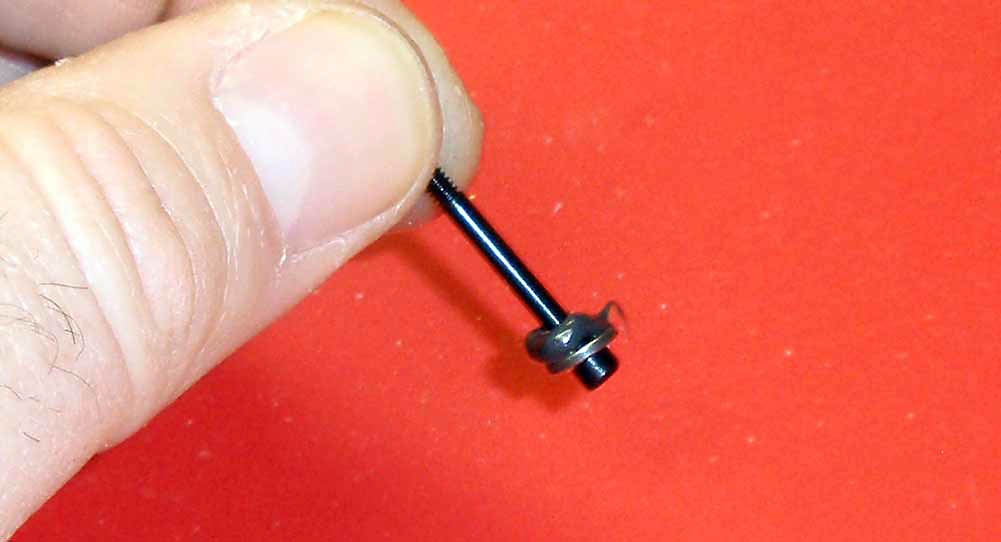
Slide a diff thrust washer over the diff screw and apply a bead of black grease to the inside of the washer.
Step 47
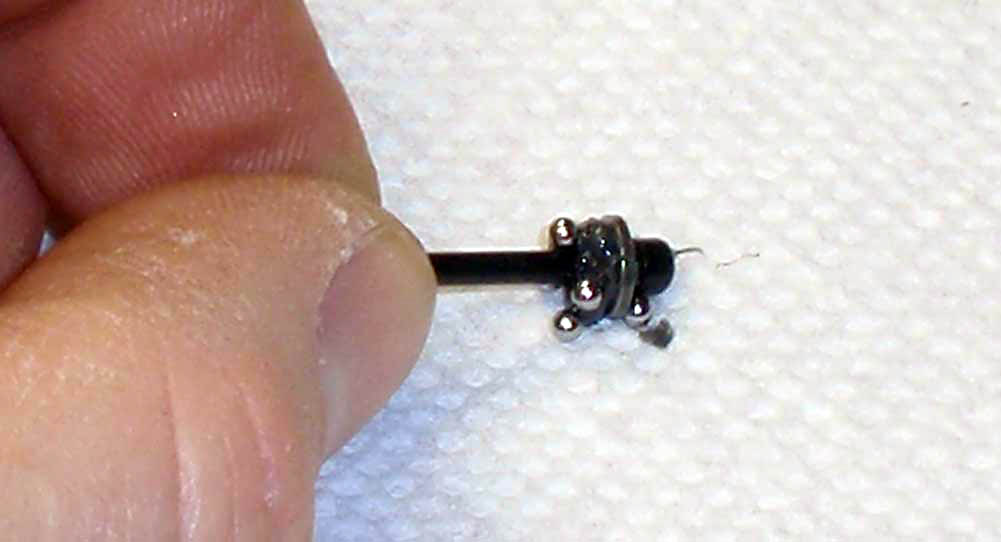
Pour the 5/64 thrust balls onto a clean paper towel. Carefully roll the diff screw assembly over the balls, letting the black grease pick the balls up.
Step 48
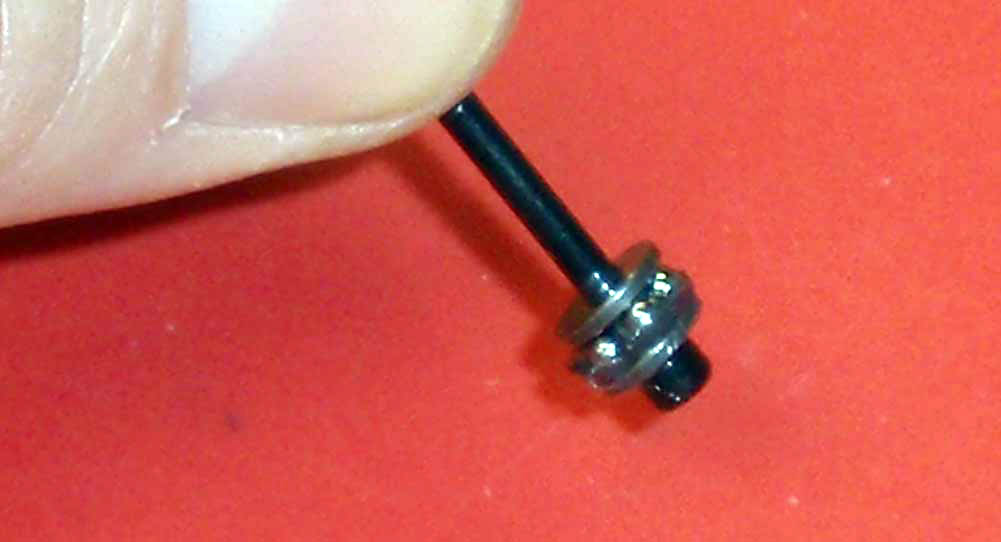
Slide the 2nd diff thrust washer into place and arrange all the balls into place. Your assembly should look like this.
Step 49
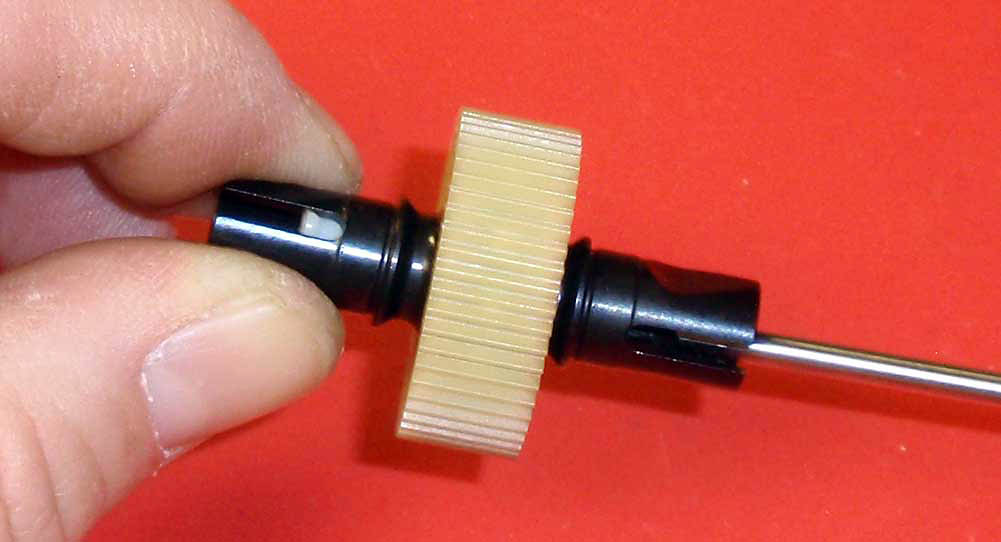
Slide the diff thrust screw assembly into the ‘female’ diff half and mate it to the ‘male’ diff half assembly.
Step 50
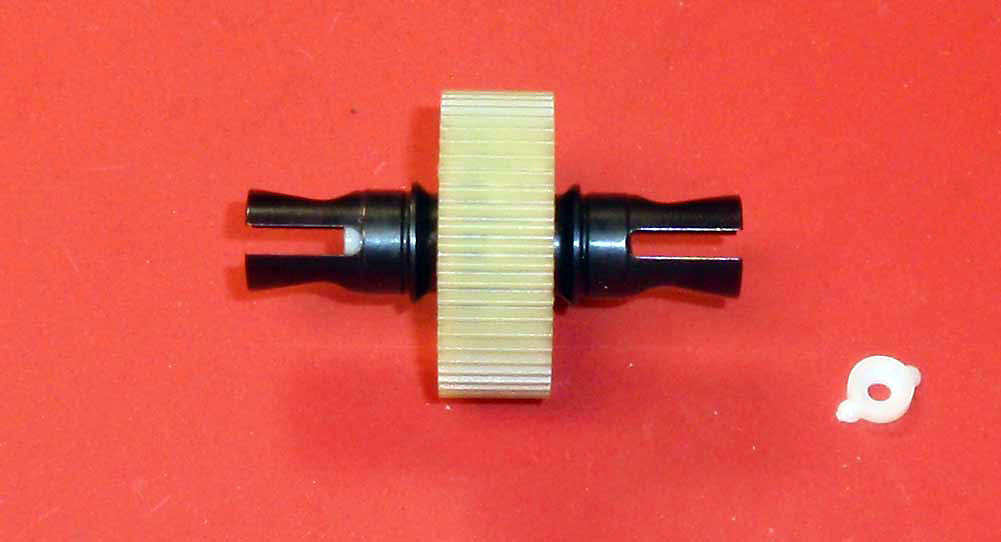
Drop the spring (from Step 45) and the locking t-nut into the diff half that is opposite of the diff thrust screw. Slowly tighten the screw until it has bottomed out, then back it off about 1/8 of a turn. During the tightening process, take a moment to ‘work’ the diff by rotating it a few times in each direction. This will ensure that everything seats properly.
Step 51
Once tightened, insert the diff screw cover into place.
Step 52
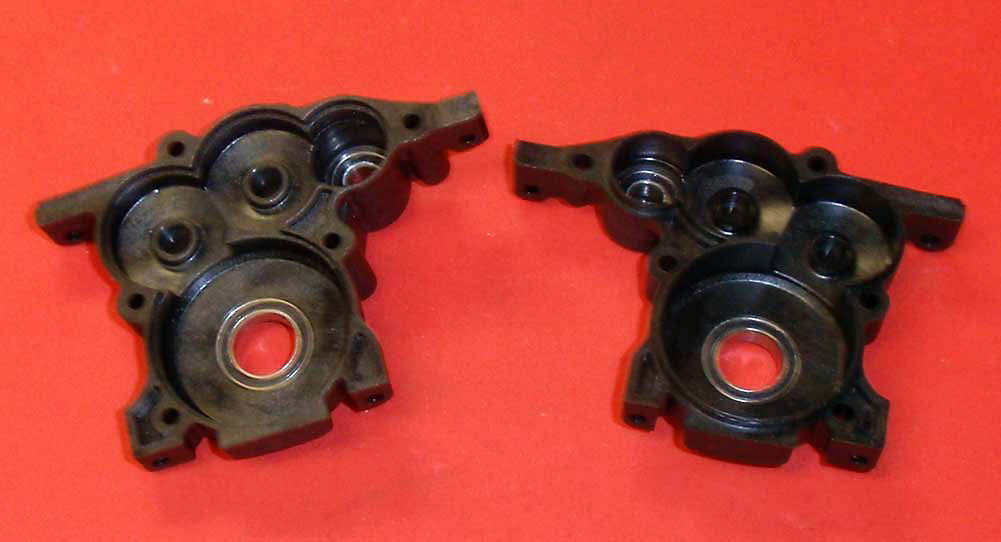
Grab both diff housing halves and insert the 10×15 lower bearings and 5×10 upper bearings. Press firmly to make sure they seat all the way.
Step 53
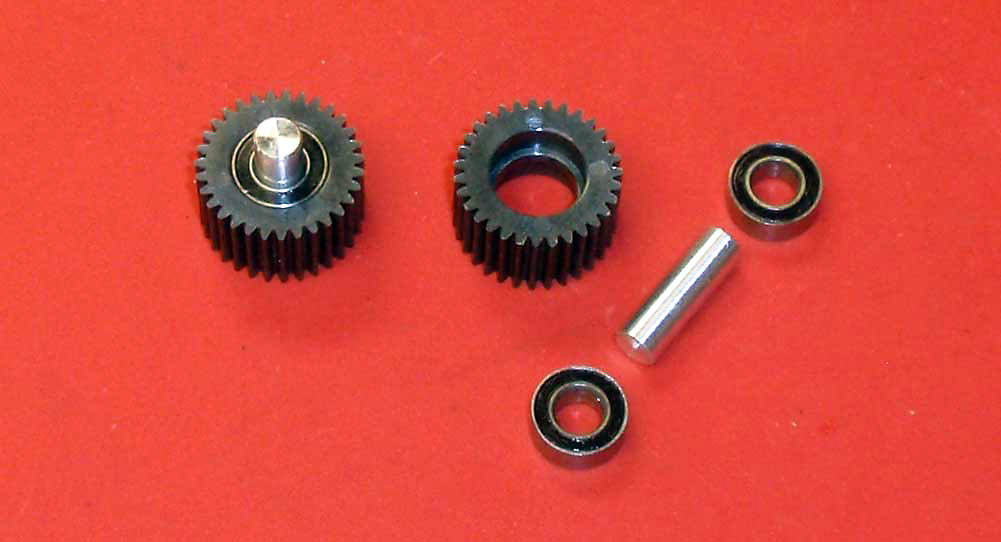
Assemble the 2 idler gears as shown.
Step 54
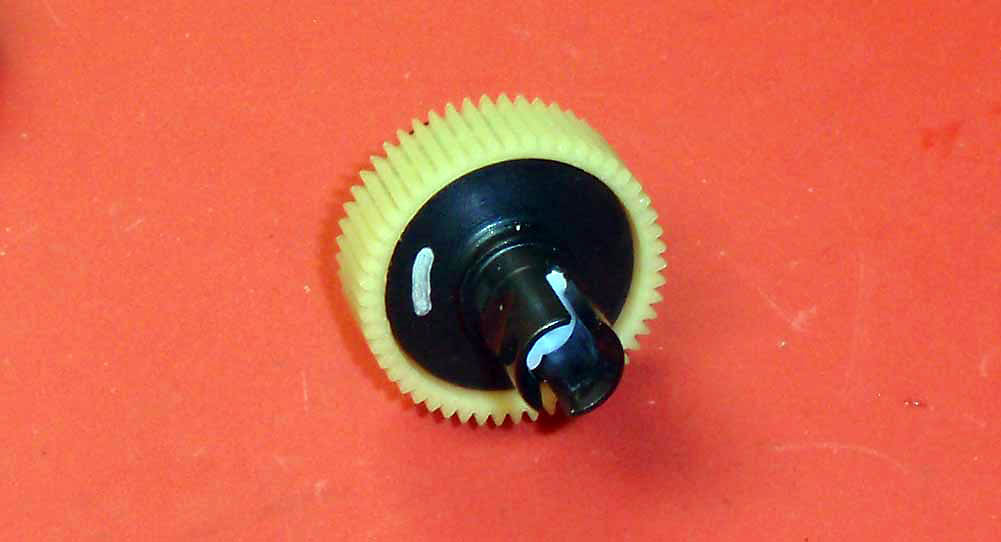
The assembled diff has to be inserted a certain way to ensure the screw doesn’t back out. To make it easier to see, I pulled out my trusty Sharpie and put a little-ish mark on the diff screw side. I guess a dot or something like that would have sufficed but, oh well.
Step 55
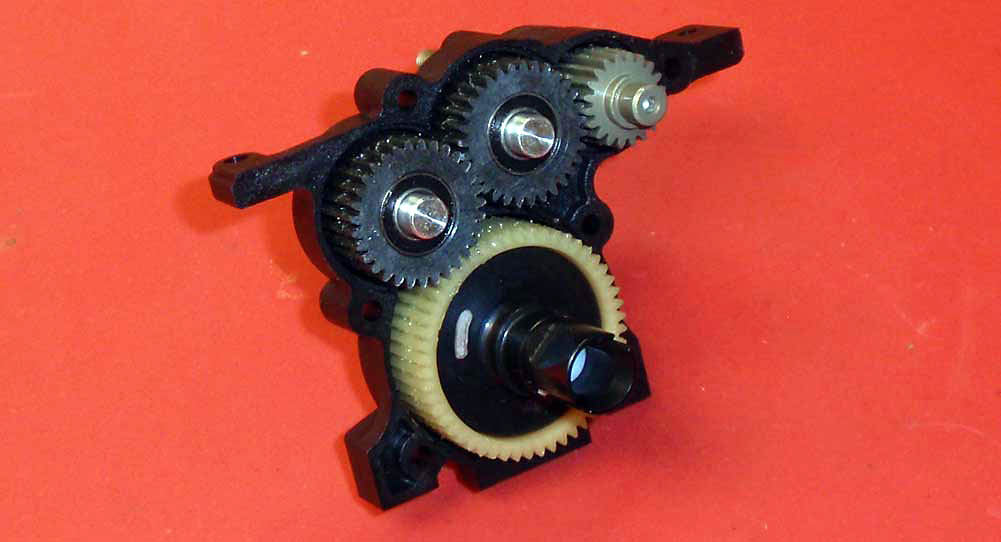
Insert the V2 top shaft into place, the 2 idler gears and the diff gear with the diff screw (or silver mark) facing out or away from the spur gear.
Step 56
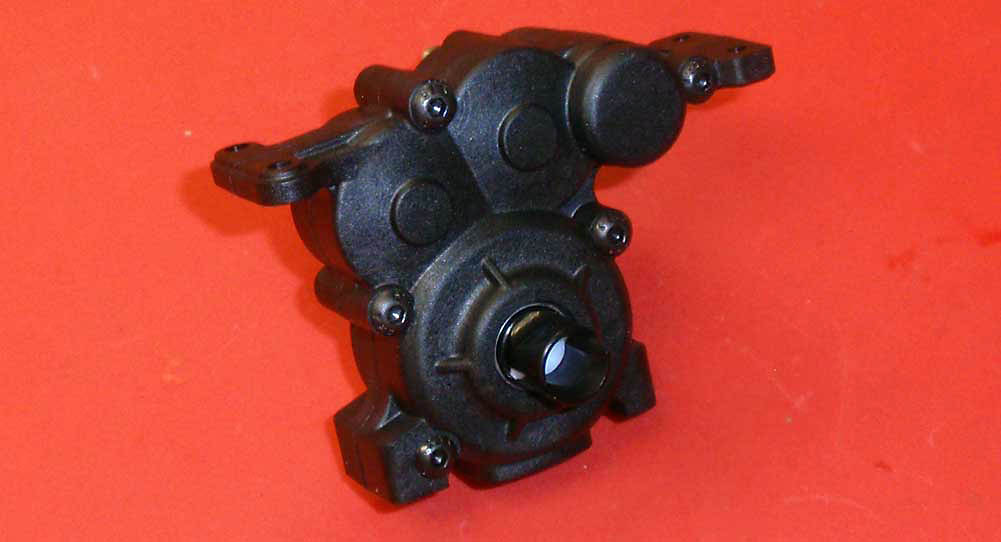
Align the other gearbox half and screw together.
Step 57
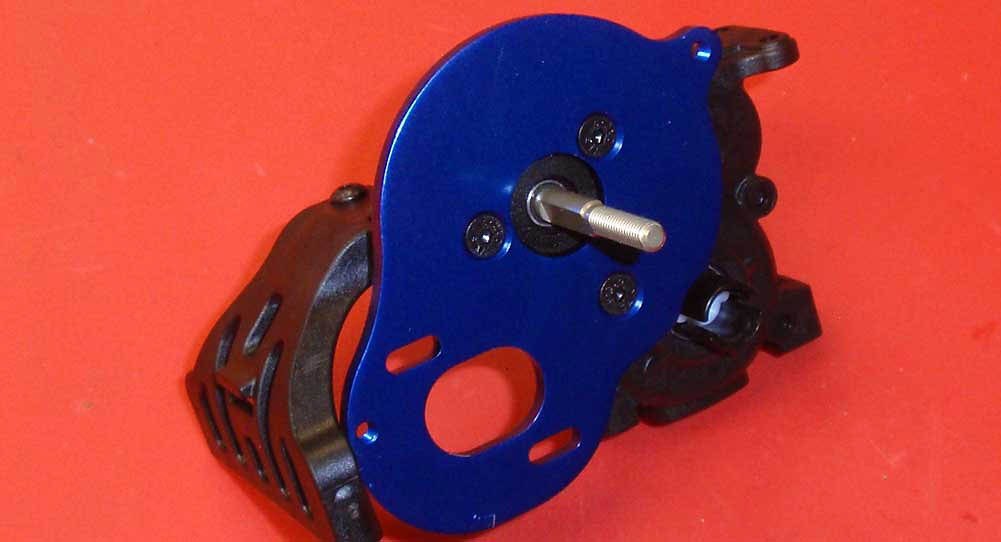
One of the nicest changes from older vehicles is the separate motor mount plate! Attach this and the chassis brace to the gearbox.
Step 58
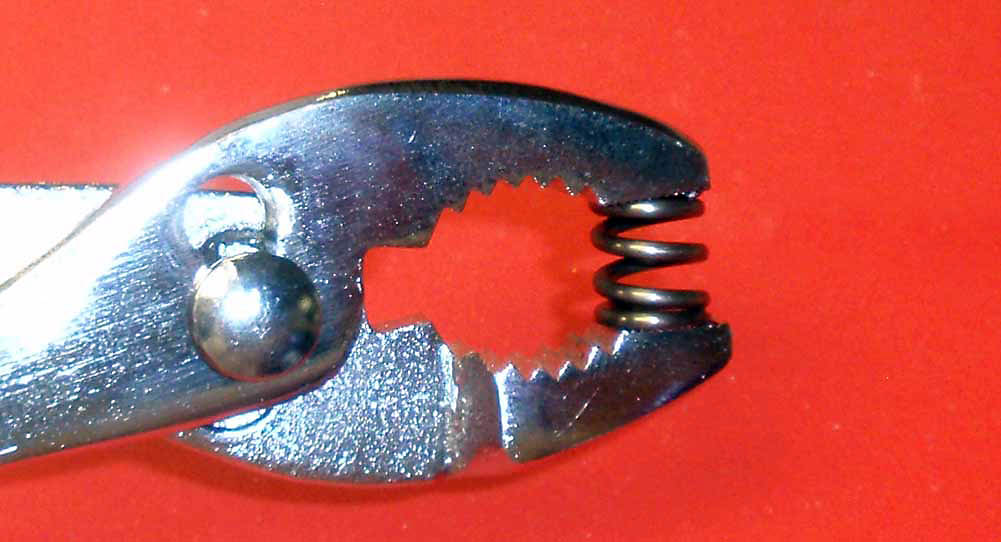
Pre-compress the slipper spring. Give it a couple good squeezes to give it a set.
Step 59
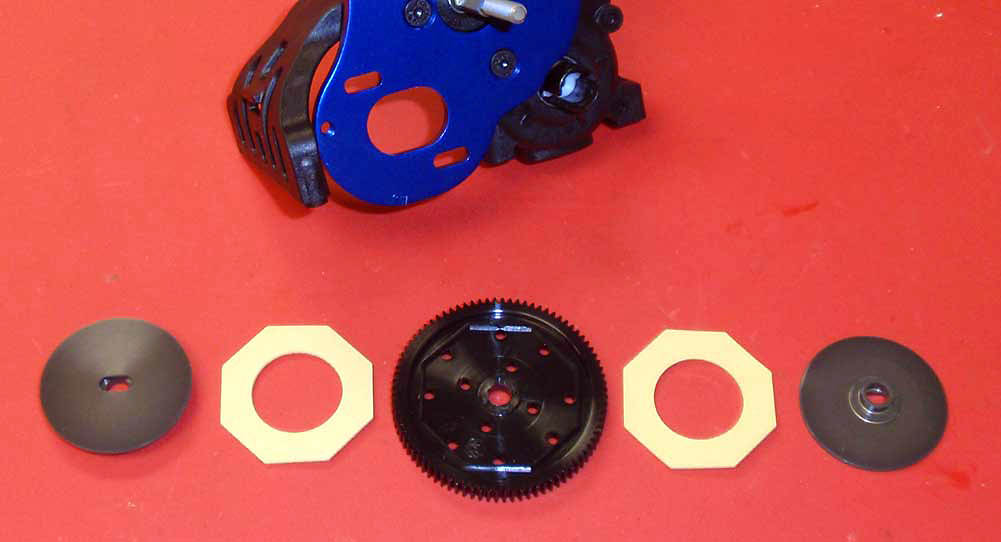
We’ve laid out the V2 slipper parts in order of assembly – slipper hub, slipper pad, 84T spur gear and the other slipper pad and hub. Make sure the slipper pads key to the grooves in the spur gear.
Step 60
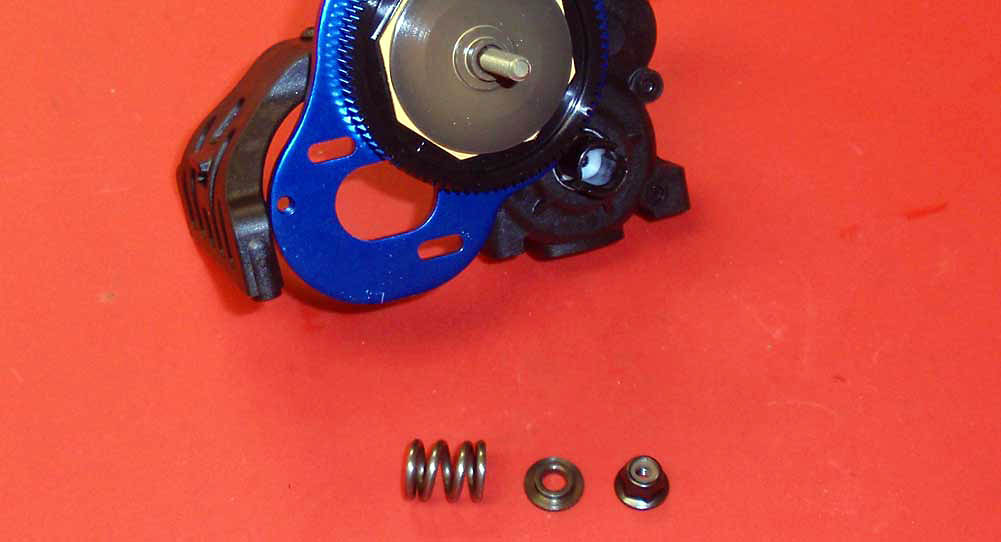
Once the slipper is attached, slide the pre-compressed spring onto the shaft followed by the spring retainer and M4 locknut. The flanged end of the spring retainer should face the spring.
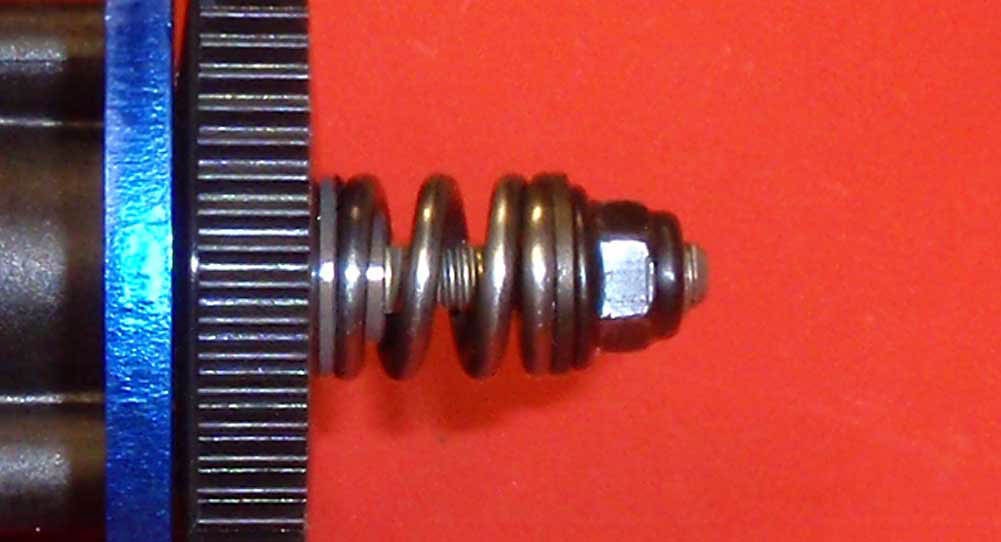
Step 61
Tighten the M4 locknut until about 1mm of shaft is sticking through it. This is a starting setting and might need adjustment during your first run.
Step 62
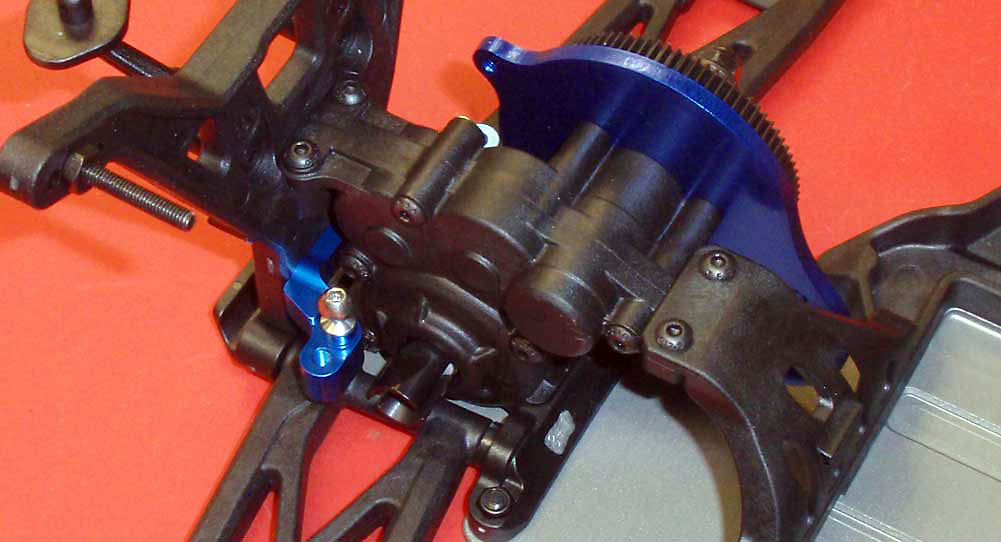
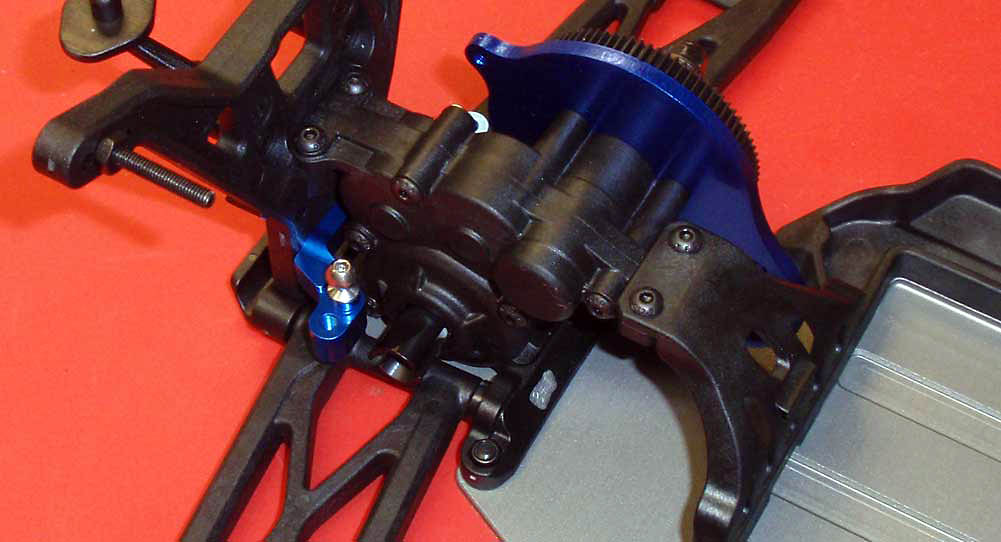
Set the transmission assembly into the truck and attach. I found it easiest to start the 2 18mm screws to key the transmission into place, then install the 2 10mm BHCS screws up top. That made it easier to install the 4 10mm screws from the bottom.
Excellent job on the transmission. Give it a good spin to make sure everything is operating freely. Next up – the rest of the rear suspension.
Previous - Main - Next
|
