The Build – Part 8
The final part of our Team Associated B6D build is installing the electronics. The B6D doesn’t have a sectioned chassis area anymore, so installing the ESC and receiver is much easier than it was before. We’ll be equipping our B6D with a full compliment of Reedy products!
Build Notes:
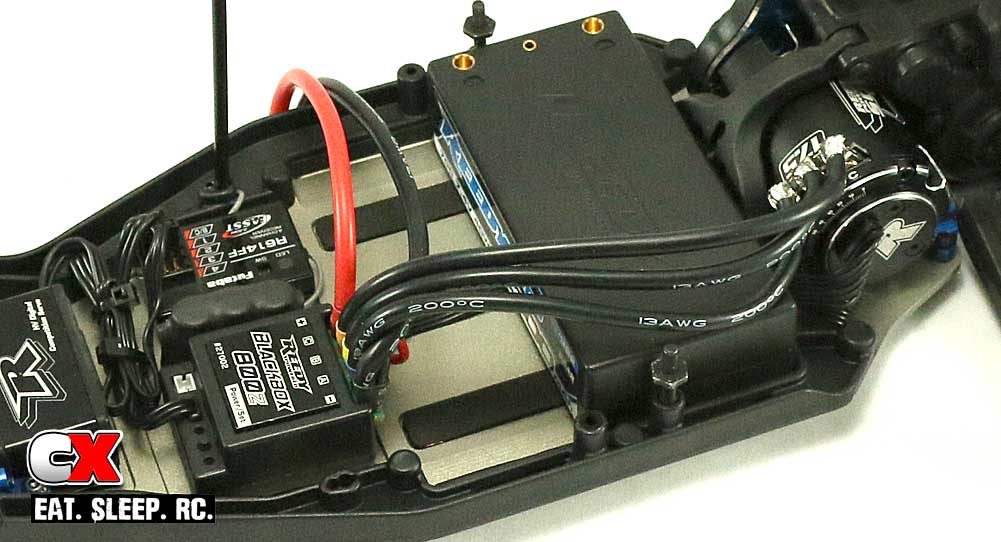
▶ There is still a channel that runs down the middle of the chassis for the brushless sensor wire, but to help keep it in place, I added a small strip of double-sided tape. This isn’t needed if you set your ESC right in the middle of the chassis, but seeing as I swapped the location of the ESC and receiver (per the manual), I needed a way to keep the wire in place.
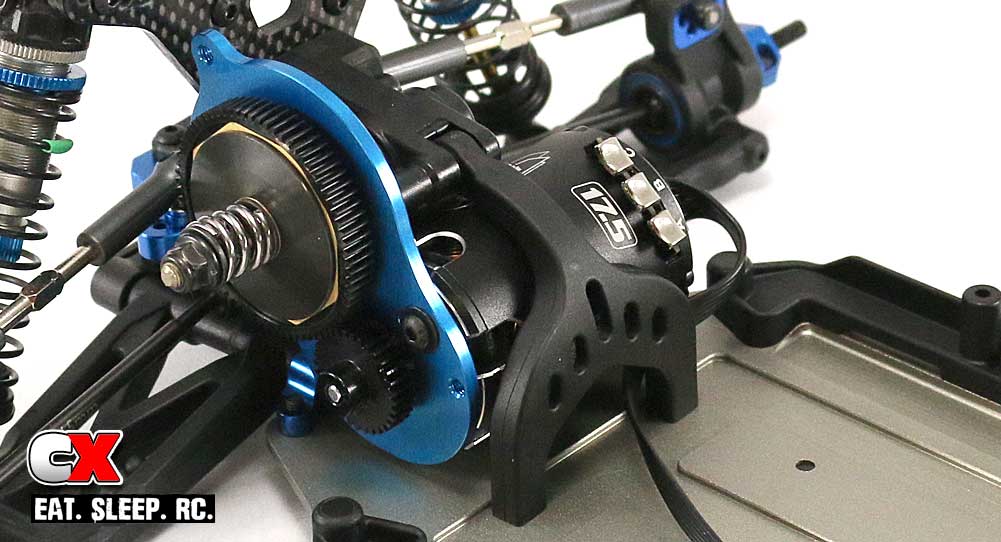
Install the motor. I would suggest attaching the sensor wire at this time as well and feeding in down the center of the chassis. Go ahead and install the pinion gear too.
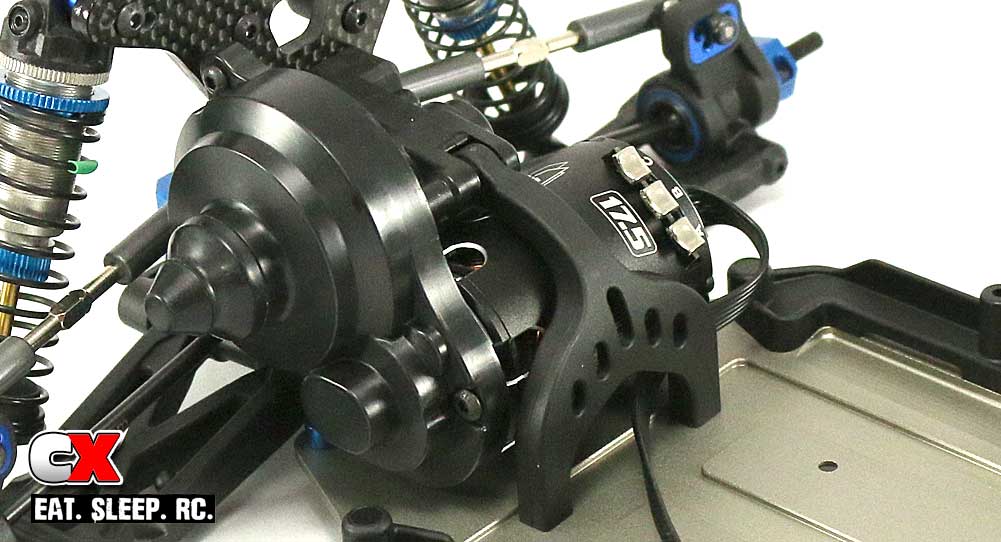
Attach the gear cover and ‘belt cover cap’. Belt cover cap … interesting.
Install the receiver and ESC and tidy up any wiring you have. I opted to swap the location of the ESC and receiver (per the manual) for a couple reasons, the biggest was to keep the ESC motor wires off to the side.
Attach the foam battery pads to the chassis, then place your battery in the chassis. Install the battery strap screws until the shoulder is level with the top of the battery.
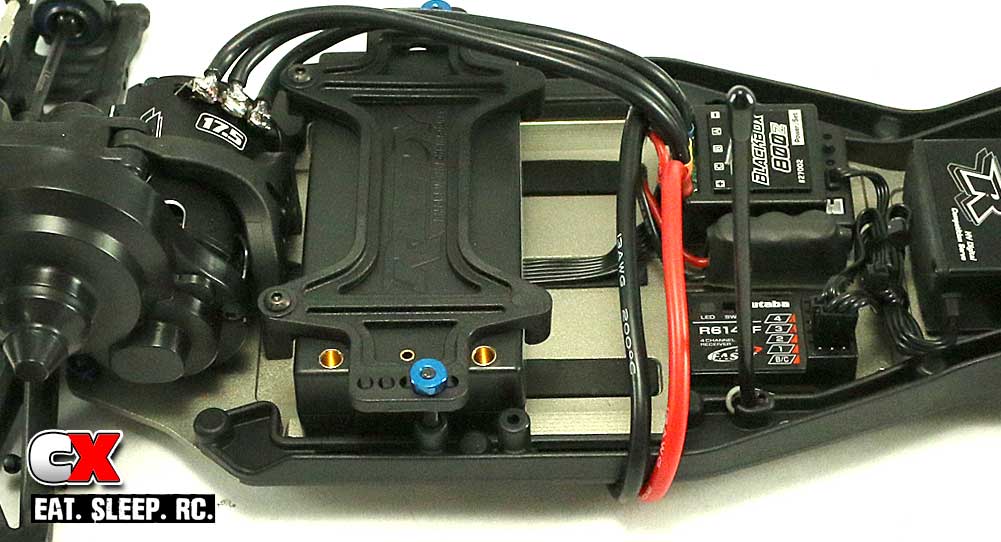
Set the battery strap in place (using the manual-specified second hole, then shift the battery forward until it is centered in the strap. Remove the strap and attach the rear battery stops. Re-install the battery strap and secure with the baby-thumbscrews.
I did leave out the body, wing and wheels/tires installation – those should be easy enough to figure out. I wanted to get the meat of the car done.
And with that, we’ve completed the build of the Team Associated B6D.
