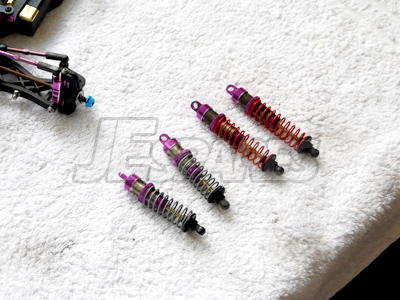
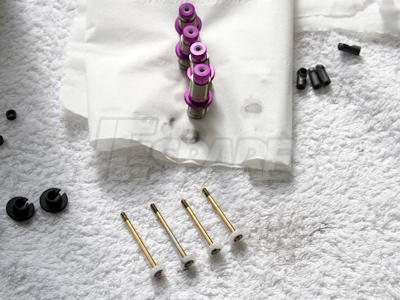
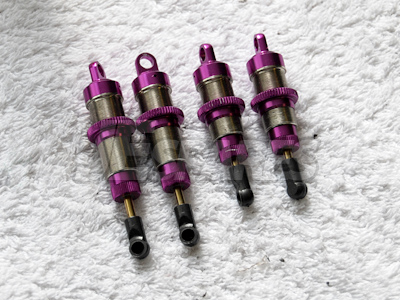
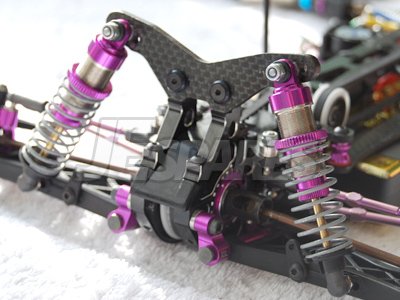
1. Remove shocks from car,
refit any nuts and bolts to retain any bushings, clean first if
necessary.
2. Remove spring retainer
and spring, clean if necessary.
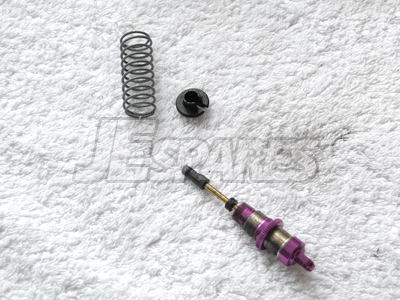
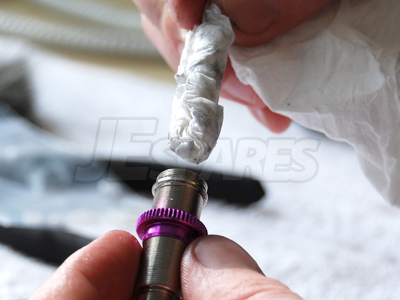
3. Using a dry paintbrush
and paper tissue/rag, clean the shock.
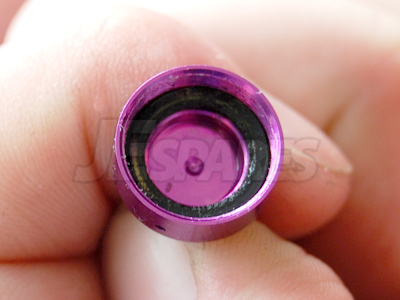
4. Unscrew shock cap and clean, tip the
oil into a waste oil container. Tech Tip: Notice that the shock
cap has a cut bladder inside, I recommend this as the uncut bladder
can burst which is a failure and will lead to some strange handling
characteristics on the track. Cutting the bladder will ensure
consistency and reliability.
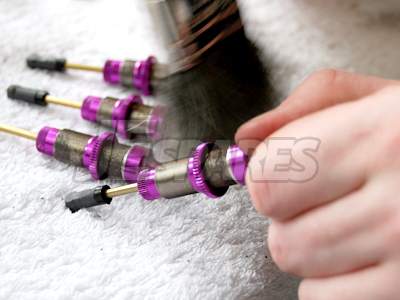
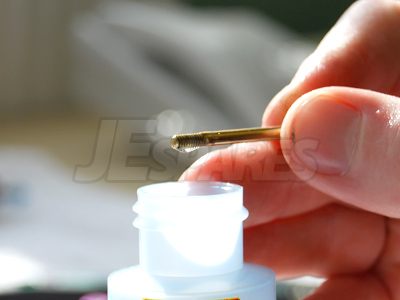
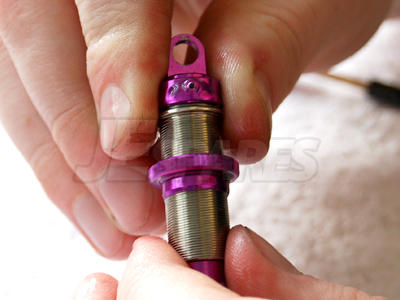
5. Unscrew shock rod end
and clean. Replace shock rod end if threads unwind too easily, this
should be tight. Pliers may be used for holding the shaft but ensure a
tight fit to ensure the shaft isn't damaged. Tech Tip: For easy
removal of shock rod ends and shock maintenance, we recommend a Shock
Shaft Vice.
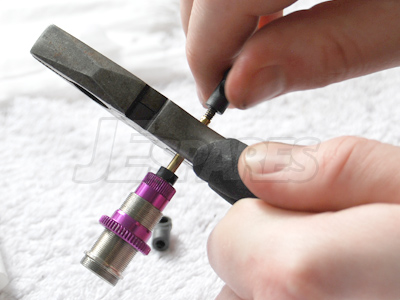
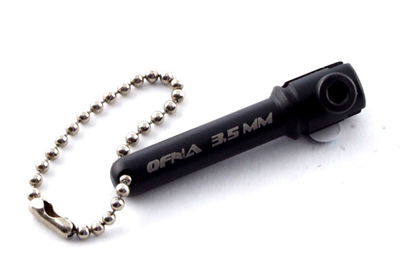
Shock Shaft Vice
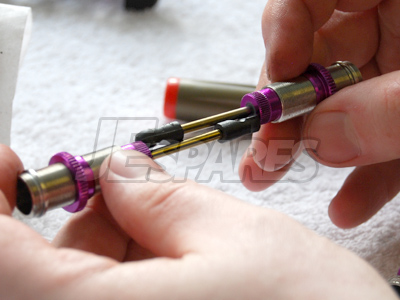
6. Push shaft and piston
out of shock body, wipe clean with paper tissue.
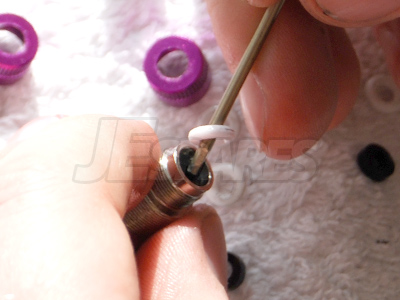
7. Open the o-ring
cartridge/lower cap, and remove o-rings & guides. Clean all parts
from cartridge, replace any damaged parts or any o-rings that look
worn, swollen or dirty.
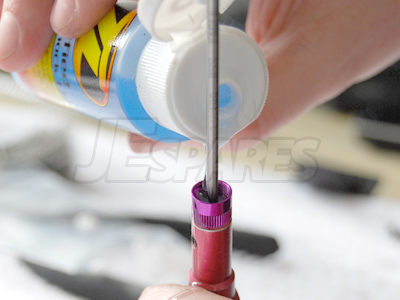
8. Check over the shock
shaft for bends or damage. A shock shaft should be straight to avoid
damage to the seals and prevent dirt entering the shock, leading to
further damage. Replace the shaft if necessary. Clean the shock shaft
with paper tissue to absorb any old oil. Motor/Cleaning spray can be
used on the shaft to remove oil and clean, ensure that pistons and
o-rings do not get sprayed.
9. Lubricate the o-rings
and guides with a light shock oil or Green Slime, refit the parts into
the cartridge/lower cap taking care not to damage the parts. Tech
Tip: Using a 2mm hex wrench, slide the cartridge over the shaft,
pour in a small amount of light shock oil and fit the o-rings &
guides. The shock body can also be placed over the shaft and you can
screw the lower cap/cartridge onto the body with ease.
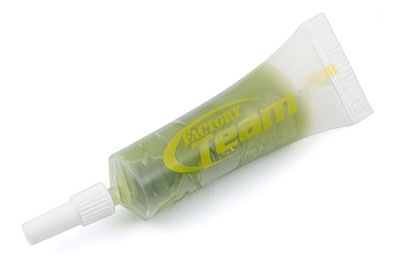
Green Slime

10. Lubricate the shock
shaft using shock oil as you did with the o-rings and insert the shaft
back into the shock body taking care not to damage the o-rings or
guides as you insert it.
11. Refit any external shock shims if
necessary and wind on the shock rod end. It is recommended to tighten
the rod end fully but it can be left slightly loose to achieve more
droop from the shock. Ensure that both shocks (front or rear) are the
same length with the rod tightened on.
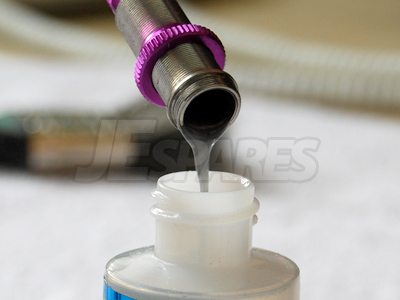
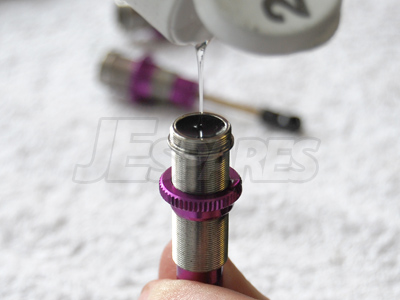
12. With the shock shaft fully extended, fill the shock with your
desired weight of oil to just below the top. Slowly pump the shock
shaft up and down to remove any air bubbles, tap the shock and let it
sit for a couple of minutes to let any air bubbles rise to the
surface. Once the air has escaped, top up the shock with oil to the
top.
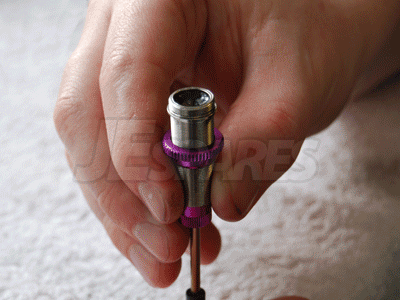
13. Refit the shock cap and point the
bleed hole on the cap upwards. Tighten the cap around half way on by
turning the shock body into the cap, ensuring that the bleed hole
points upwards. Air and excess oil will escape through the bleed hole.
Once the cap is screwed on half way you can set the rebound. For high
rebound, insert the shaft all the way into the shock body and for low
rebound, leave the shaft all the way out. Once you have this set,
finish off screwing the shock cap on. Excess oil and air may escape
through the bleed hole again, wipe this clean with tissue.
14. Repeat the steps for all the other
shocks. Test that the shocks have the same rebound by simply pushing
the shaft in, letting go and letting the shock shaft slide out. Match
up the left and right shocks to ensure they have equal rebound. Repeat
step 13 if the shocks do not match.
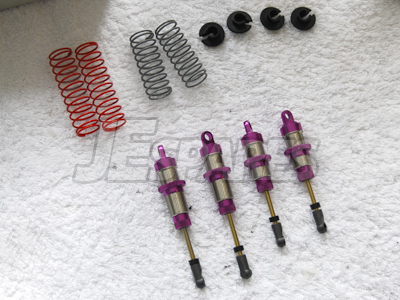
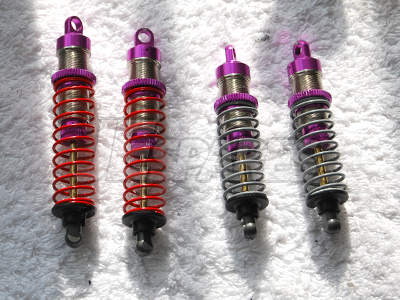
15. Re-fit the cleaned springs and
retainers onto the shock
16. Re-fit the shocks to
the car. Ensure that the top mount is not too tight as the shock needs
to hinge and move freely on the standoff. Fit the shock rod end to the
wishbone. Check the cars ride height and adjust the shock if required.
|


