1. Remove the differential
from your model.
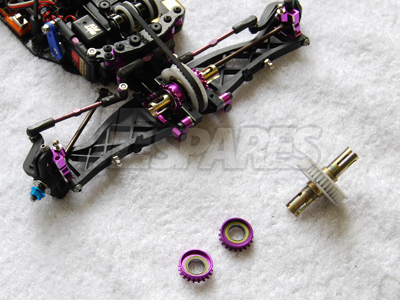
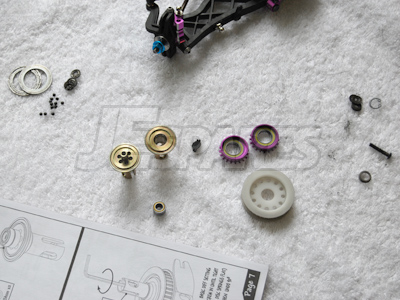
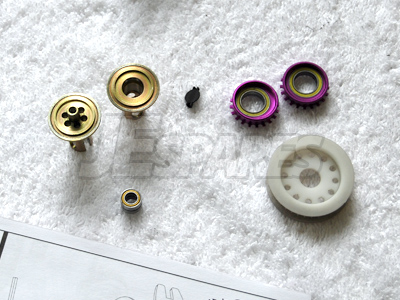
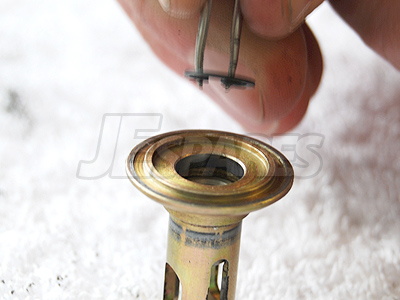
2. Disassemble your
differential completely and place all the parts on your work surface
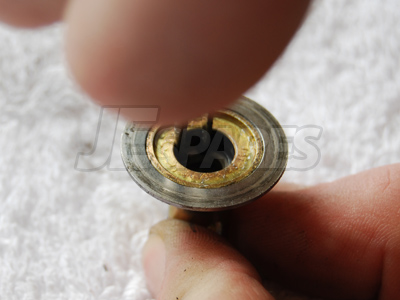
ready for maintenance. In the photo you can see that we have used a
pair of tweezers for removing the c-clip (model specific). These are
modified tweezers that have been sharpened on the ends to fit into the
c-clip holes and then bent slightly to reach inside the diff cup.
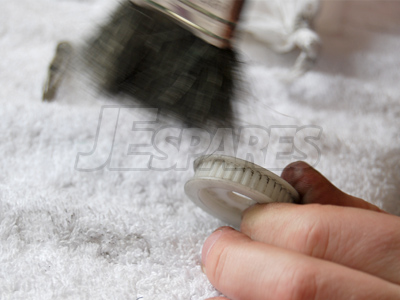
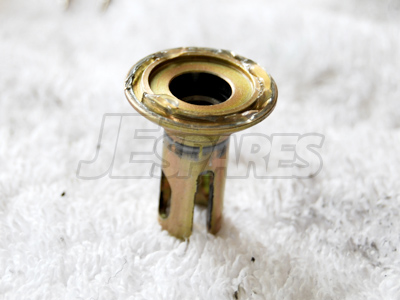
3. Clean all the parts of
your differential. Wipe clean all oil, grease and dirt from the parts,
a stiff brush comes in handy for the gear.
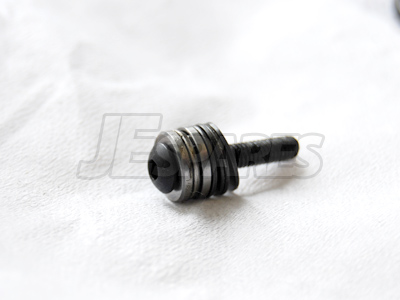
4. Once all of the parts have been
cleaned, you can now begin rebuilding the differential. Follow your
manual for the rebuild process as it varies from car to car. Tech
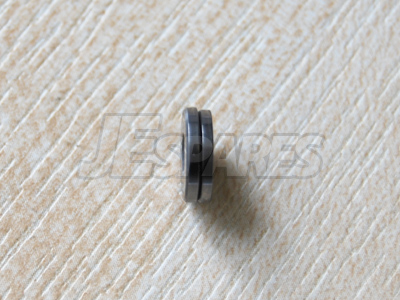
Tip: On the Schumacher CAT SX, the 2 thrust washers on the diff
screw are marginally different in size so check them with some
calipers or an accurate measuring device.
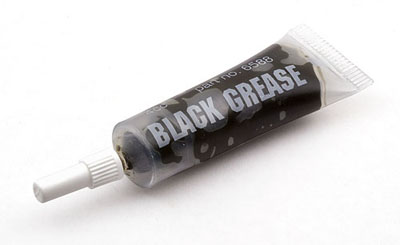
Team Associated's Black Grease for
thrust bearing
5. While rebuilding the
diff, remember the modified tweezers tip we showed you earlier in the
guide.
6. Team Associated's
Stealth grease works well on the diff plates. Use a similar amount as
shown in the photos below.
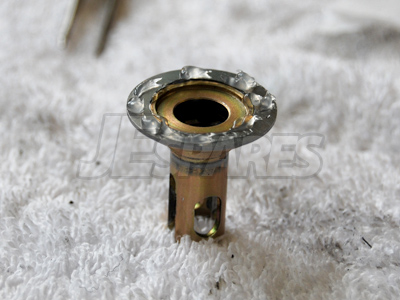
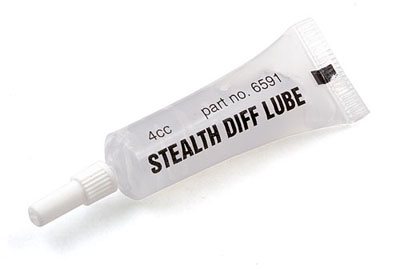
Team Associated's Stealth for diff
plates
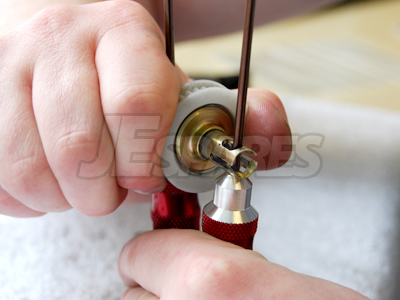
7. Once the diff has been
assembled, you can use two tools as shown in the photo below to check
the tightness of the differential by turning each driver in a
different direction.
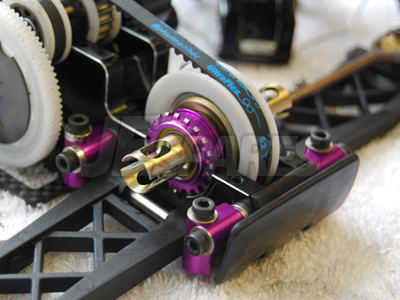
8. Re-install the
differential into your car and you're done!
|


