|
- Team Losi Racing 22 2.0 - Horizon Hobby - Build -
Rear suspension
Previous - Page 3 - Next
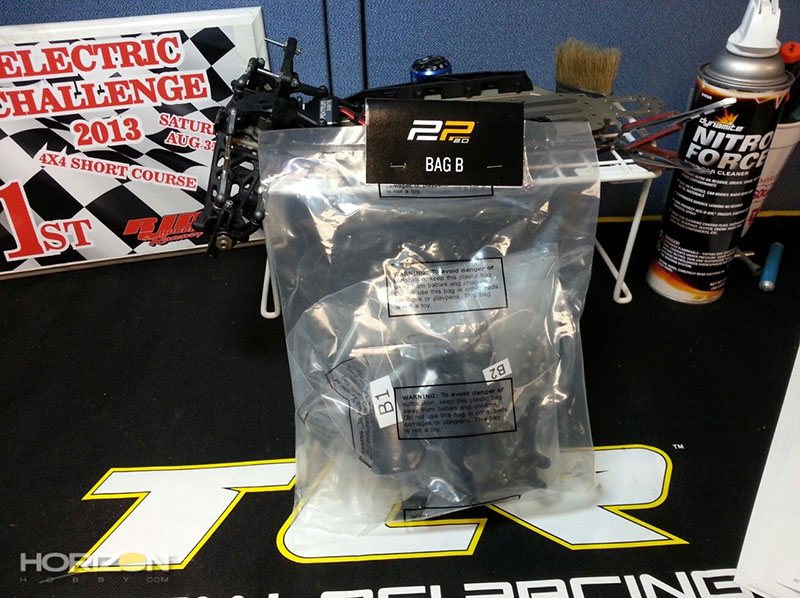
Bag B contains the rear suspension, A-arms, hub carriers and such.
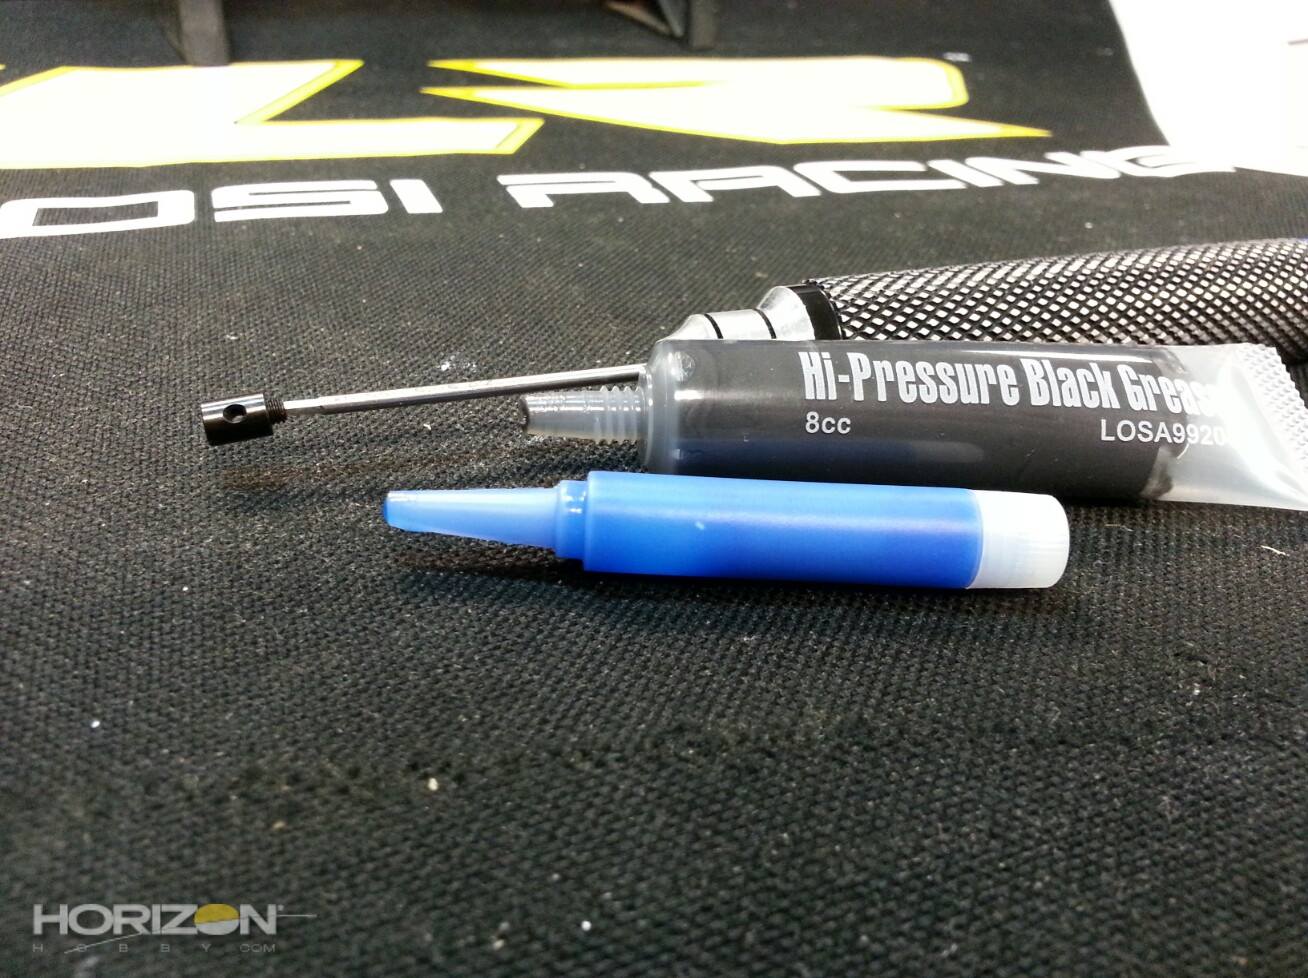
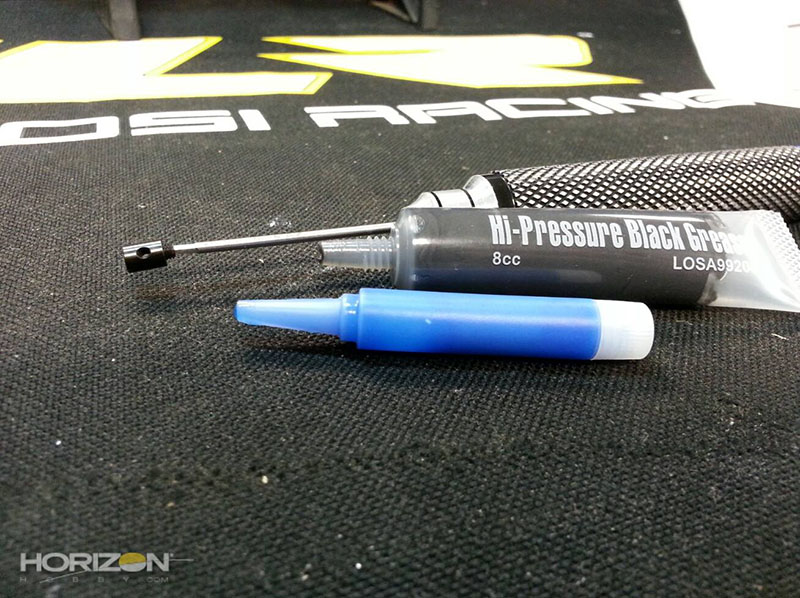
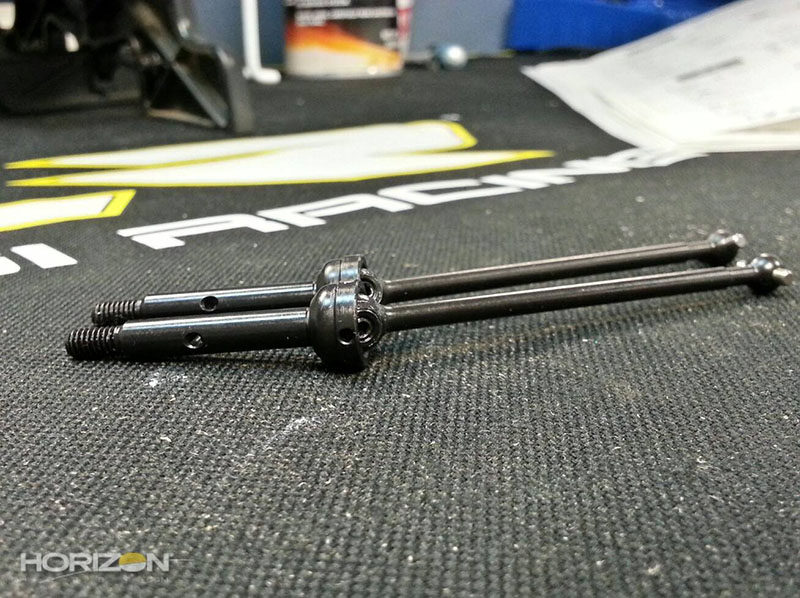
You start this assembly step by building the CV-Axles. You'll need to use some TLR-Lok on the setscrew and some Black Grease on the moving parts to reduce overall wear and tear.
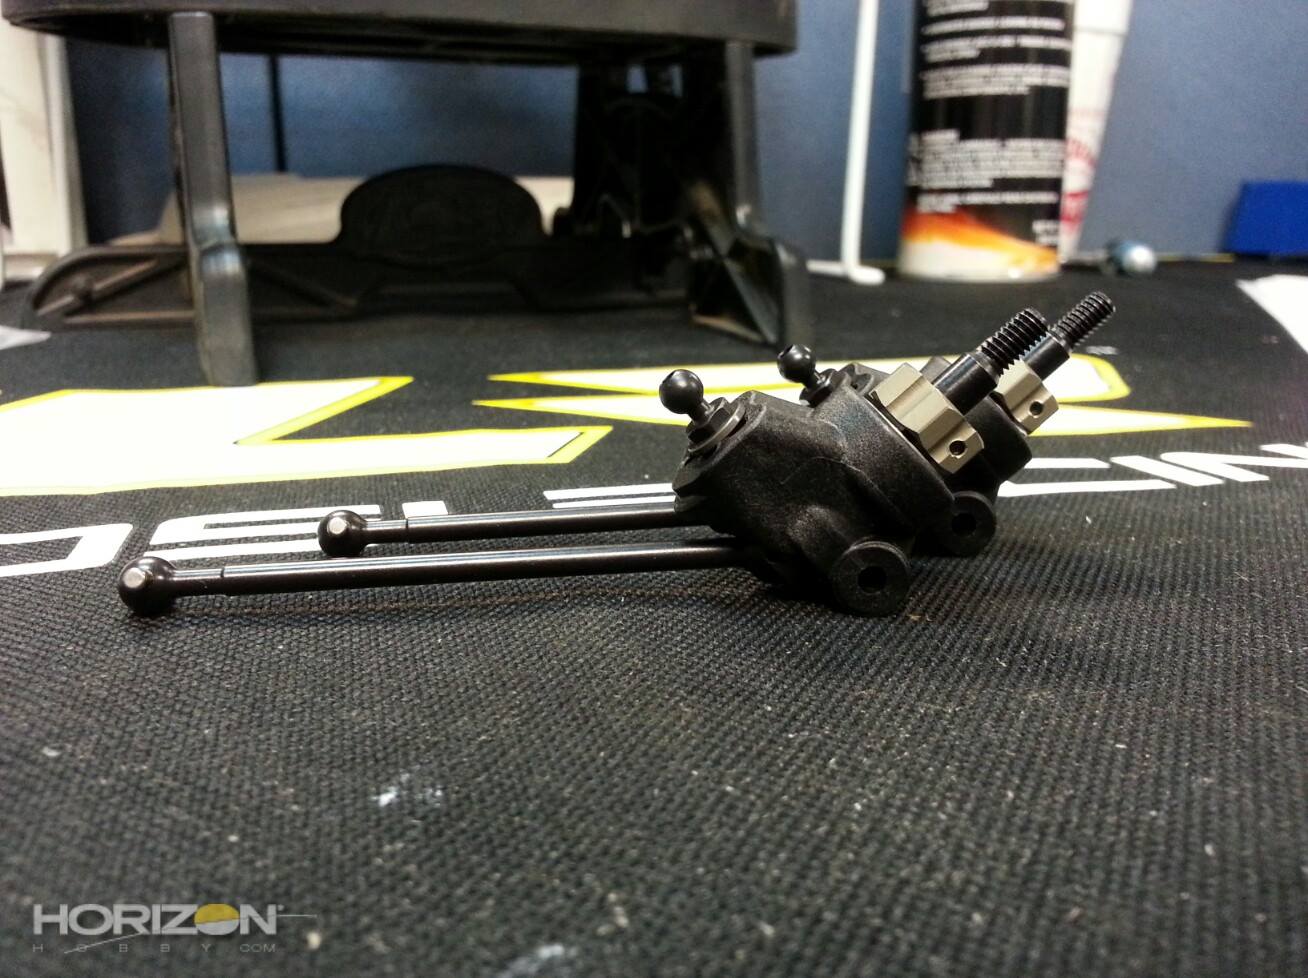
The assembled rear drive shafts.
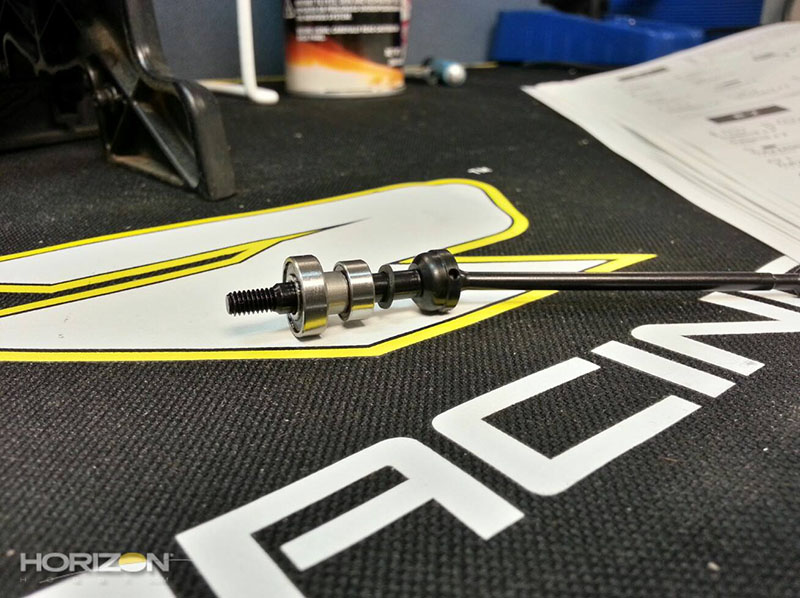
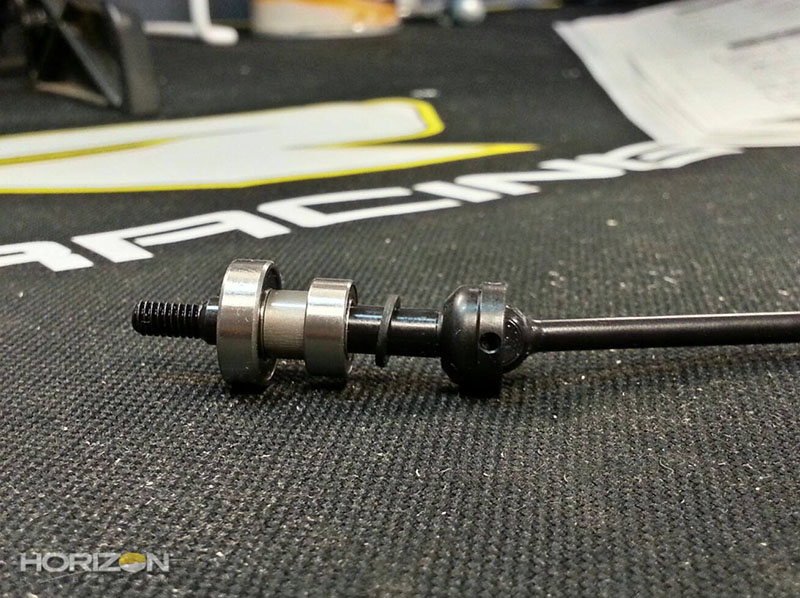
In our preview with Horizon Hobby he mentioned that there was a spacer on the rear axle to slightly change the rear track. Here you can see it behind the smaller bearing and closest to the ball-and-socket-joint.
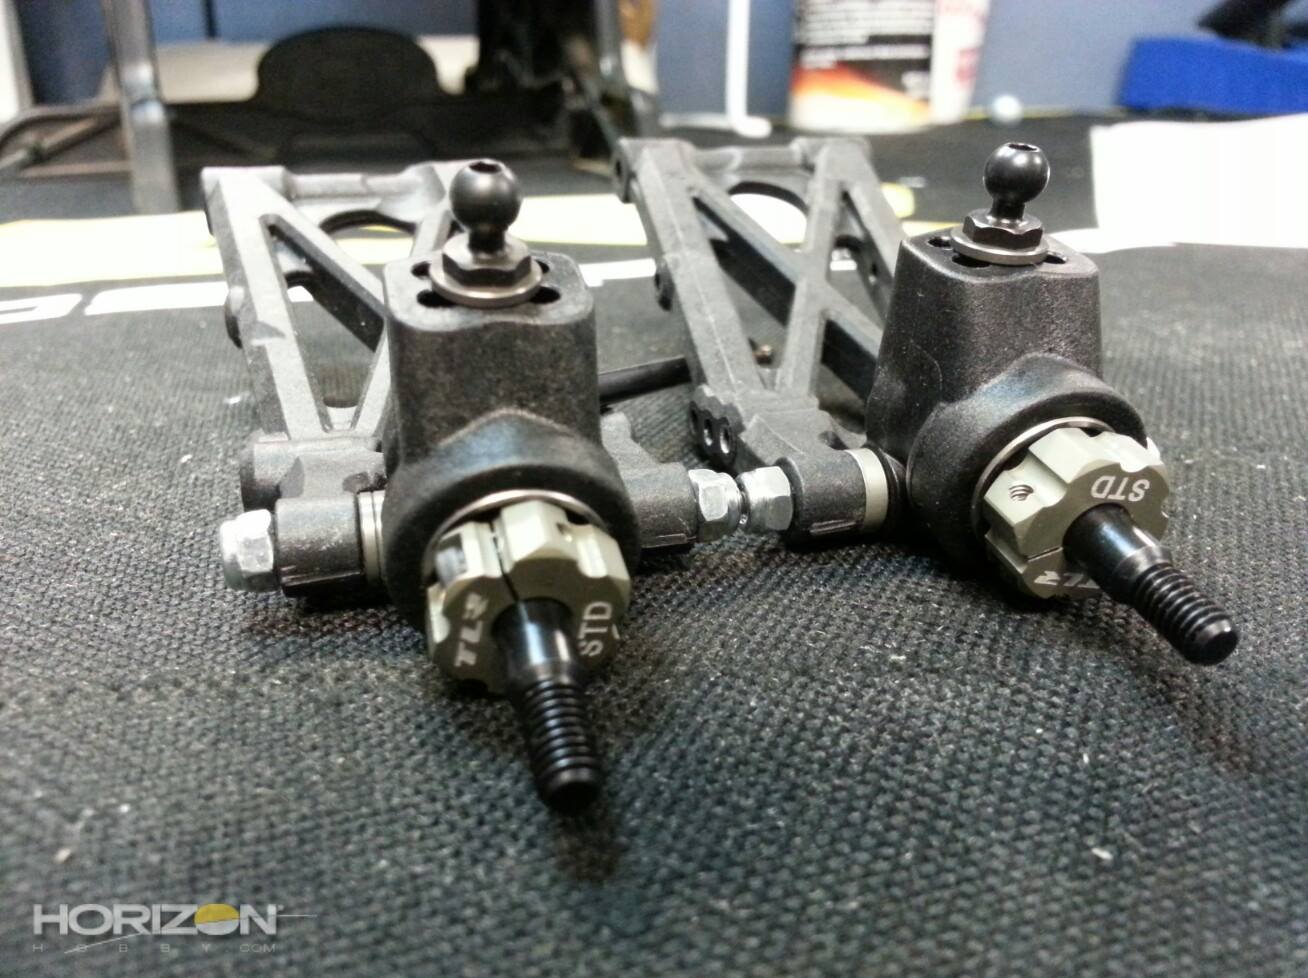
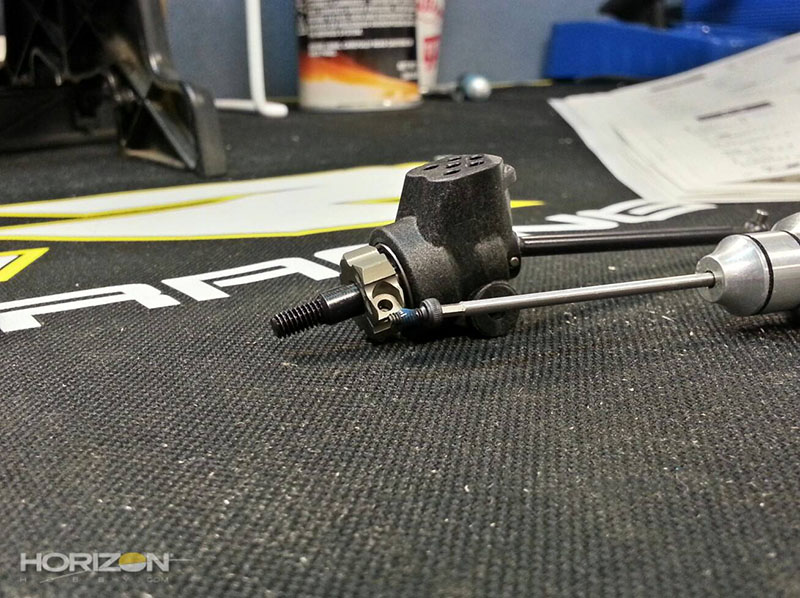
The 22 2.0 includes the aluminum rear hexes as standard equipment. The included hexes are the standard width and the optional .75 and 1.5 hexes will bolt right up. Again use a touch of TLR-LOK on the setscrew that holds the clamping hub onto the axle.
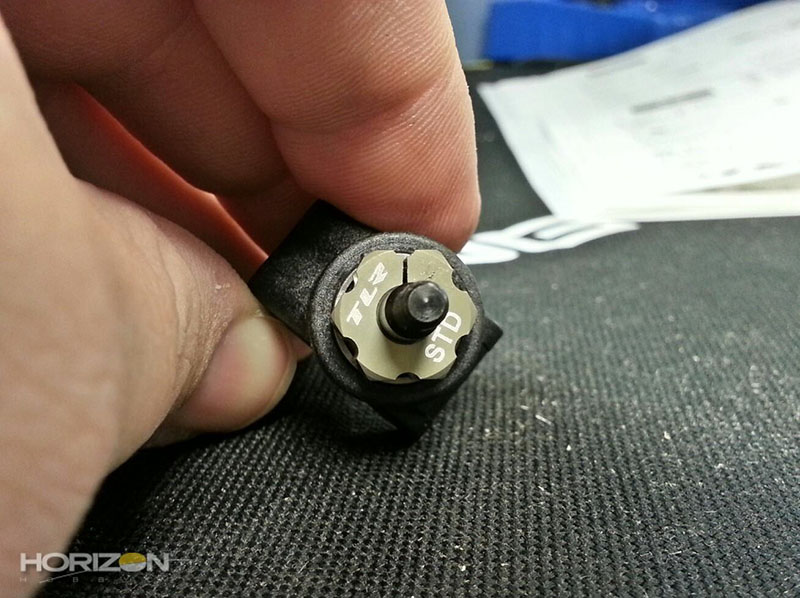
The rear hub carriers do not have any toe-in molded into them so you can use either one on either side of the chassis. Since the kit setup has you install the ball stud in the C-hole so you could really use these hubs on either side when built.

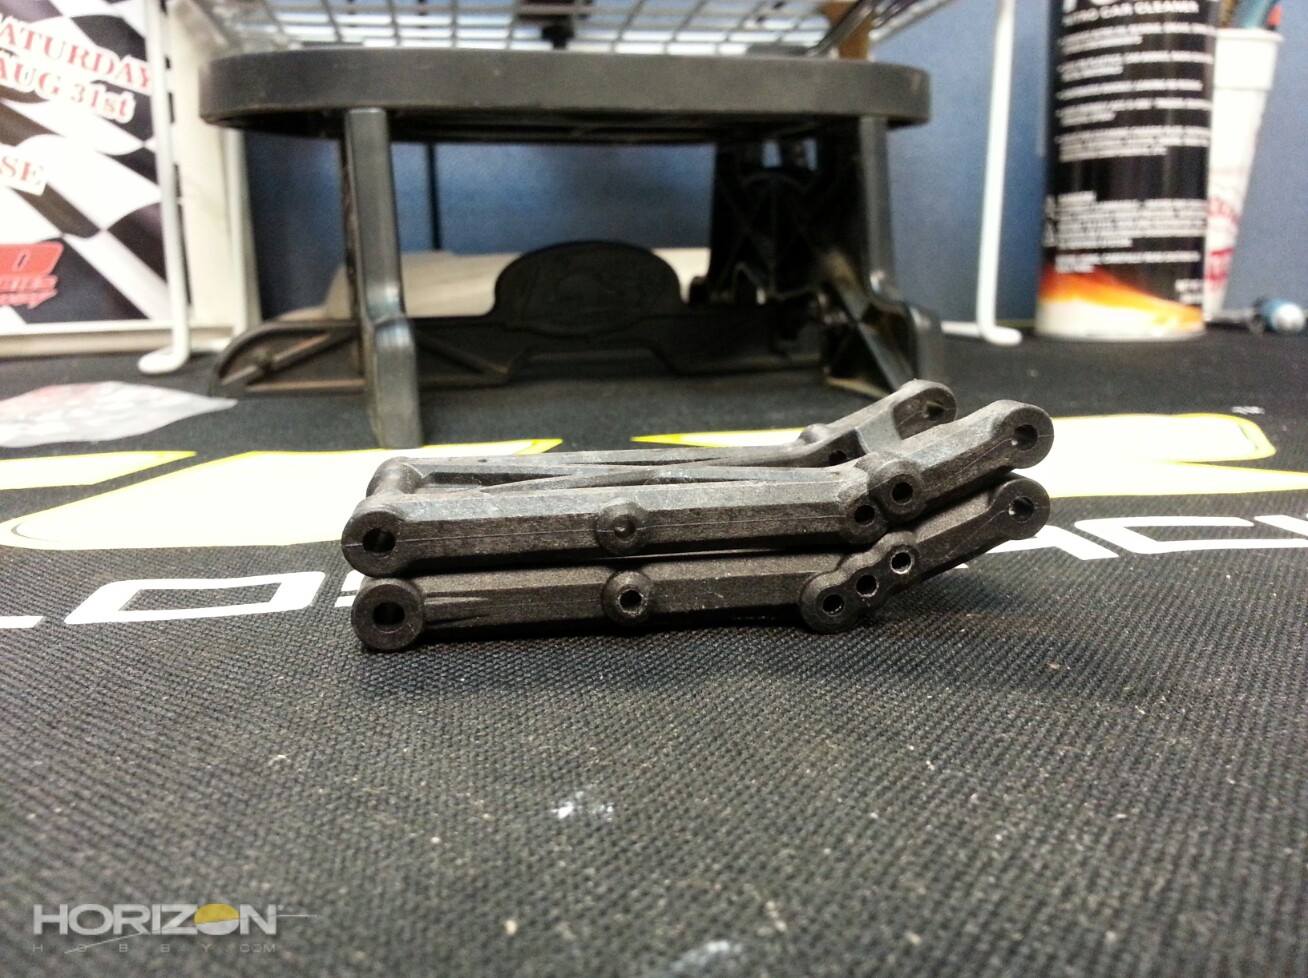
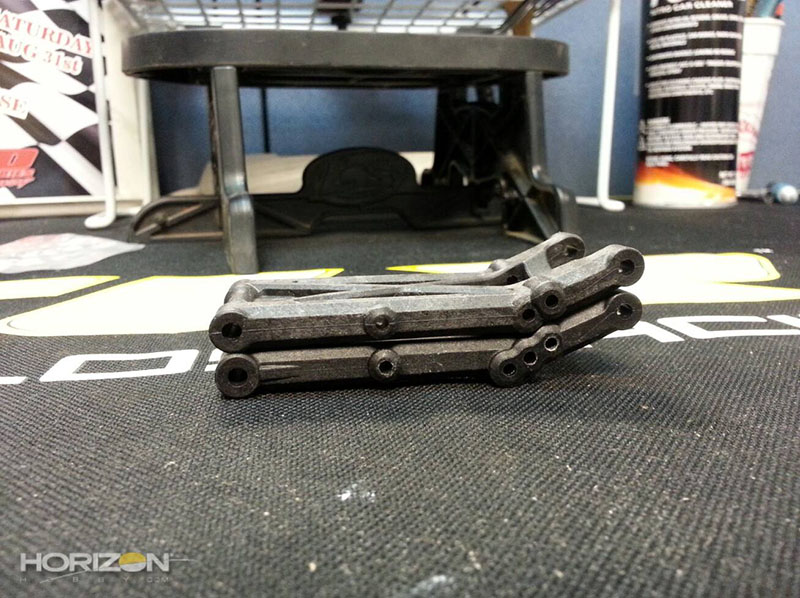
The 22 (top) and 22 2.0_ rear A-Arms. Here you can see the inboard hole that has been added to the 22 2.0.
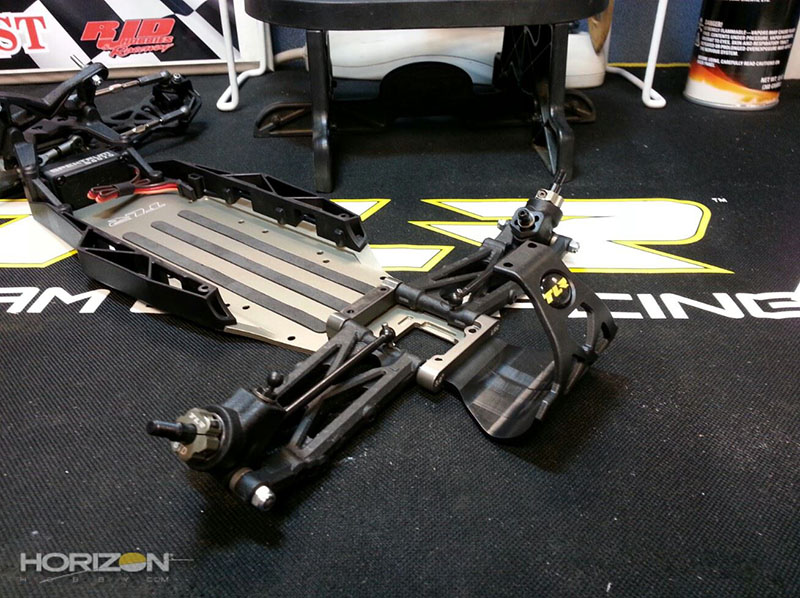
The rear hubs installed. The rear hubs can be spaced forward or reward by repositioning the included aluminum shims in front or behind the hubs carriers.

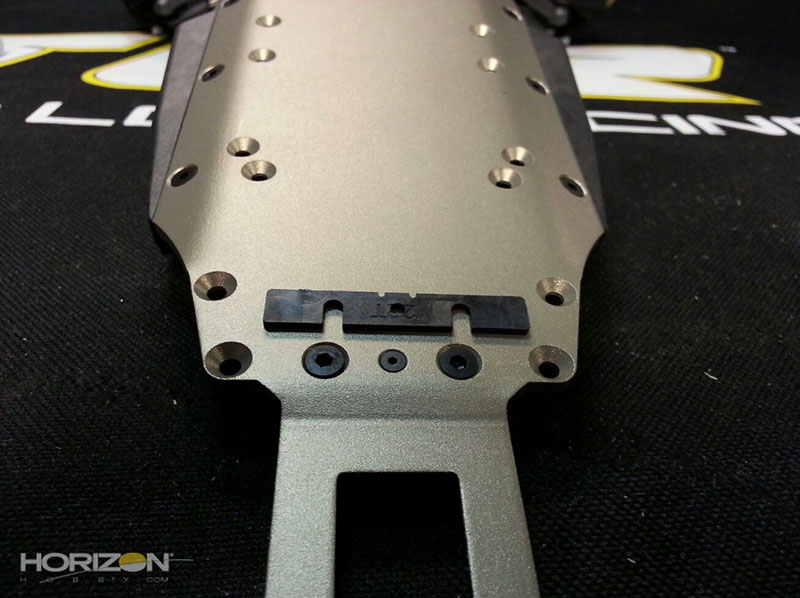
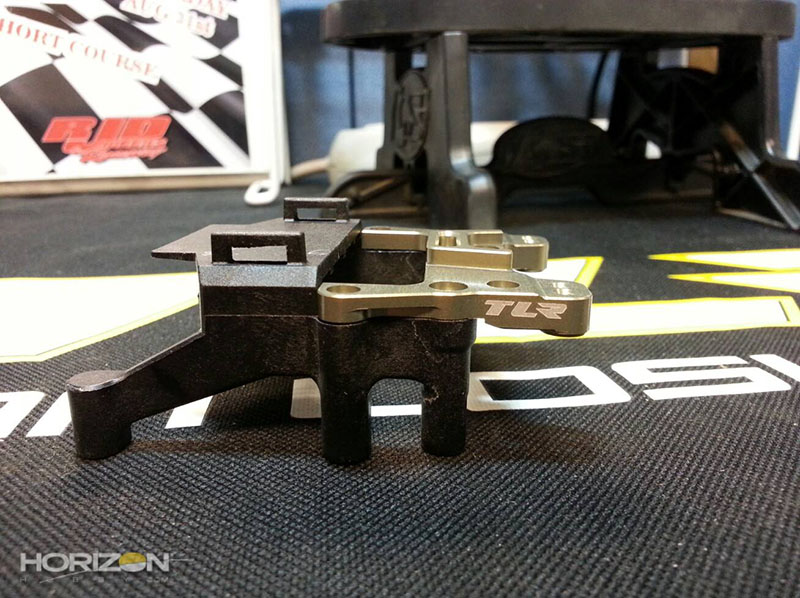
The 22 2.0 front rear suspension mount now facilitates a 2x8mm screw to hold the mount to the chassis. However it passes through the rear anti-squat shim. A quick mod allows you to slide the shim in and out easily.
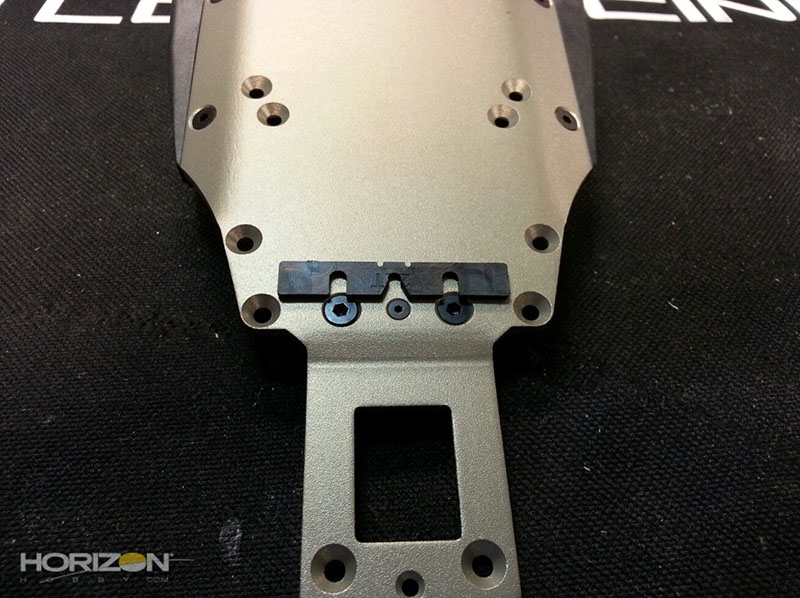
Simply notch out the hole on your anti-squat shim and you can now slide this in and out as before.
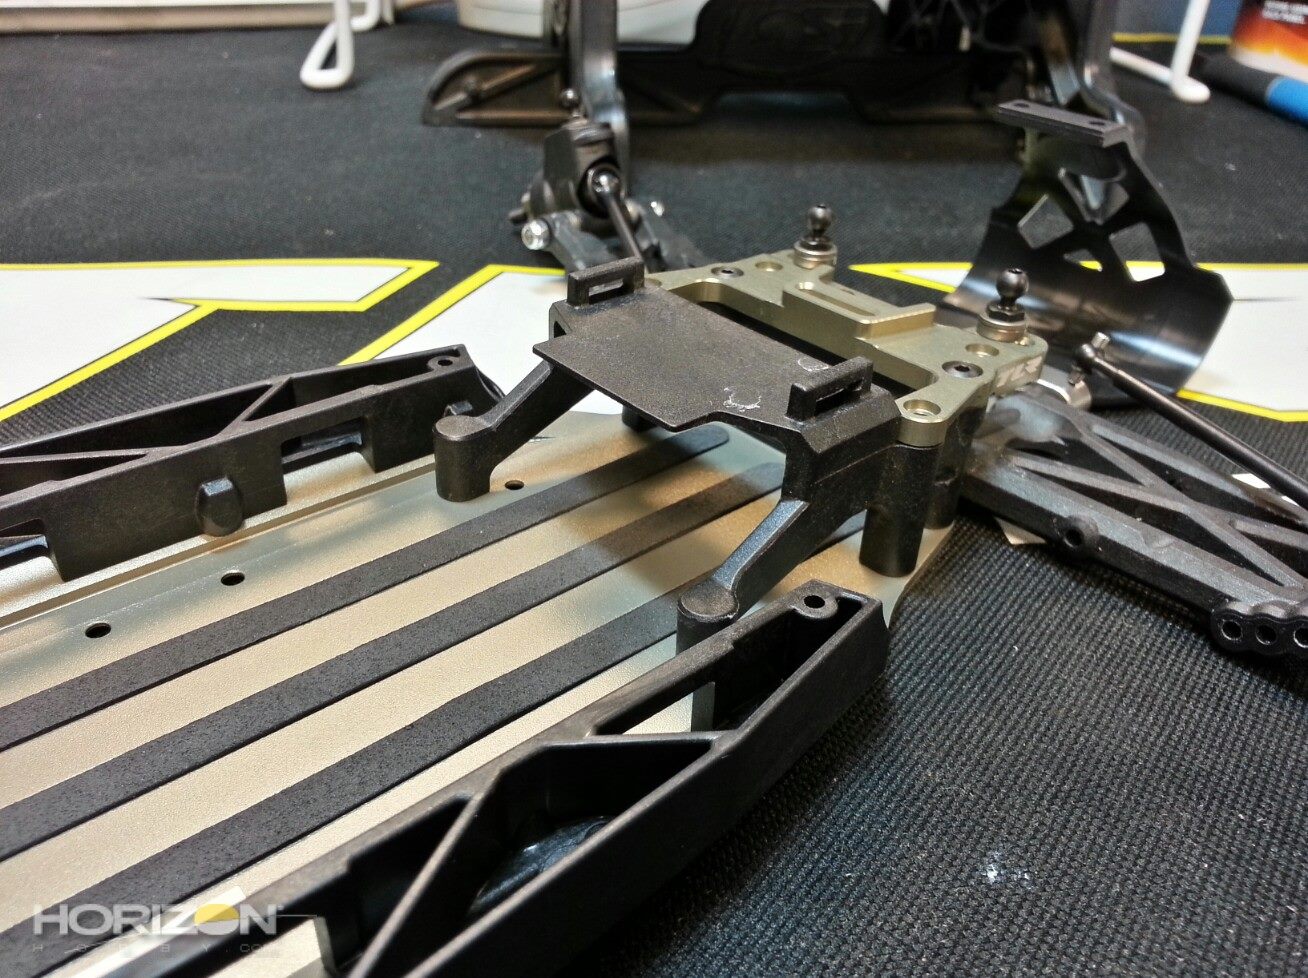
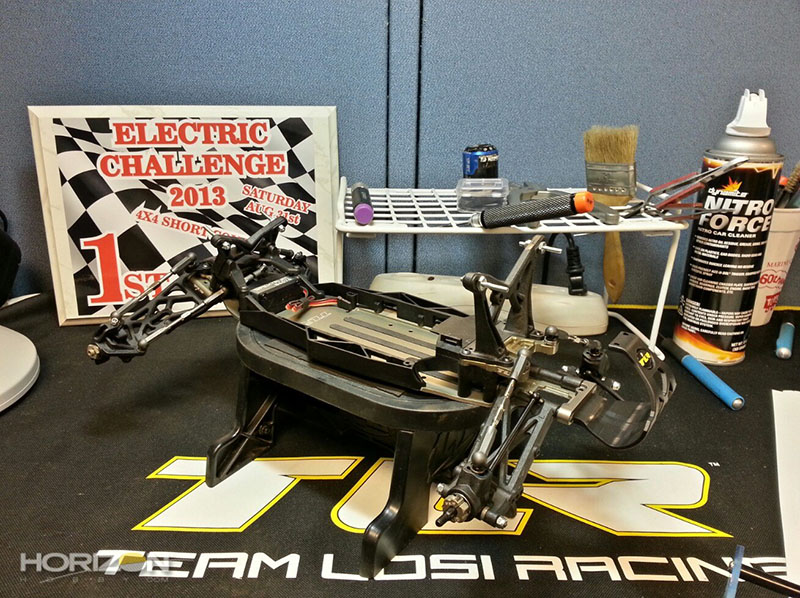
The rear suspension arms and mounts on the chassis. I have to say I really dig the TLR badge on the motor guard.
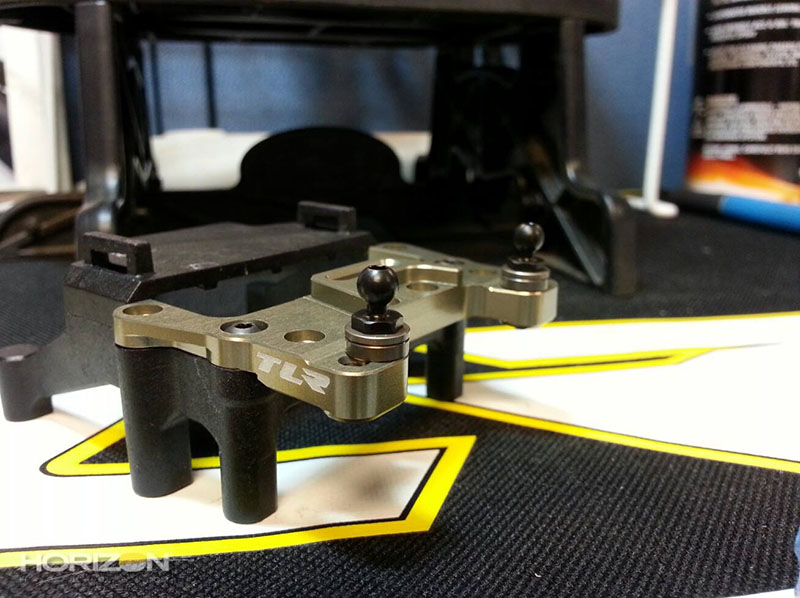
The 22 2.0 includes the aluminum rear camber block as a standard piece. This adds strength and weight in a key area. Plus, honestly, it looks super-trick!
The rear camber block with the ball studs installed. Again, Team Losi Racing included aluminum ball stud washers for setting the ball stud height.
Do yourself a favor and pre-thread the screw holes in the rear bulkhead before trying to install it on the chassis. This will save you a lot of headaches down the road.

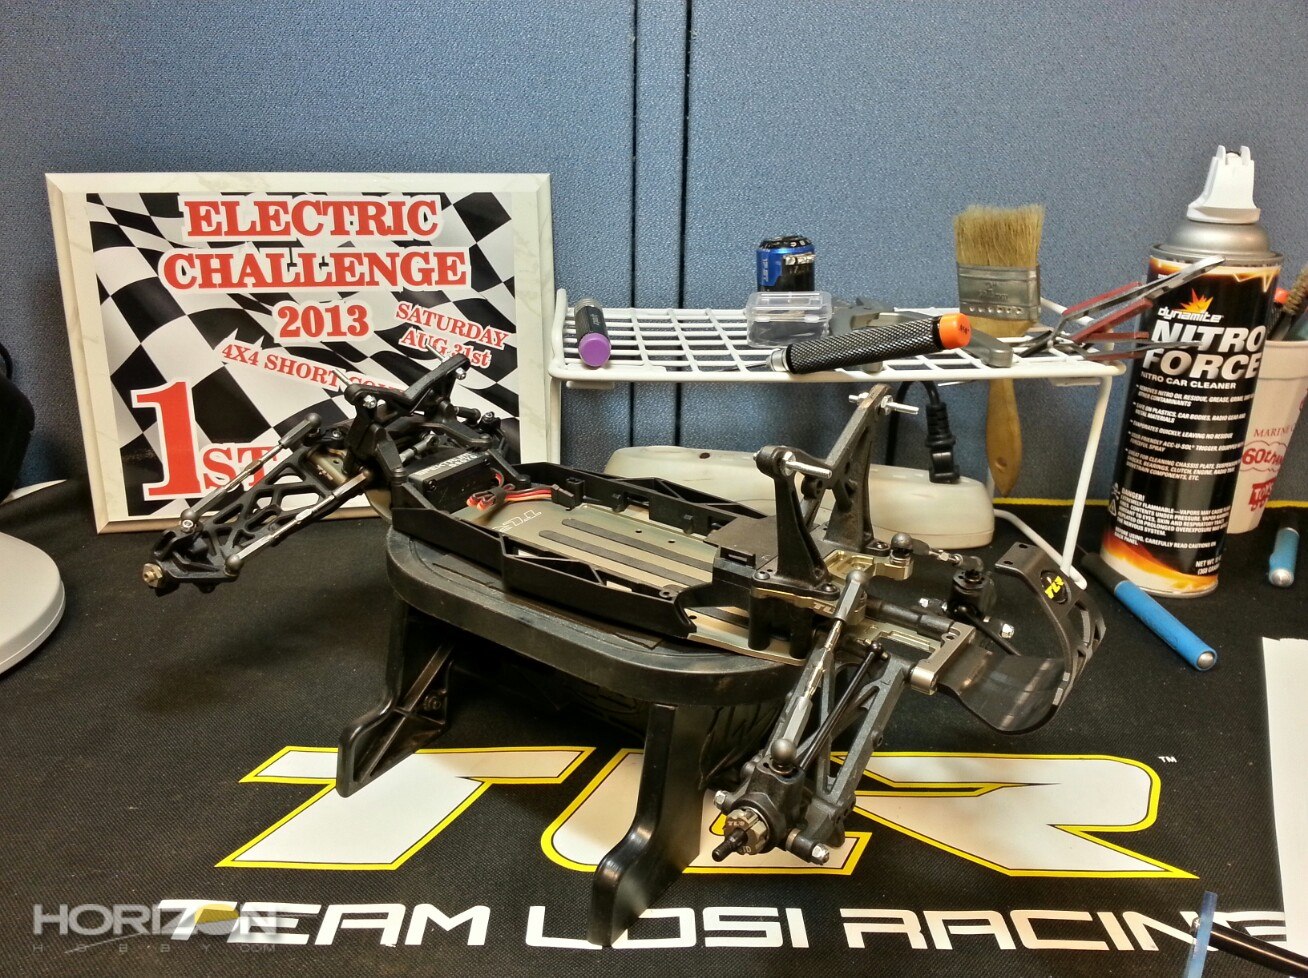
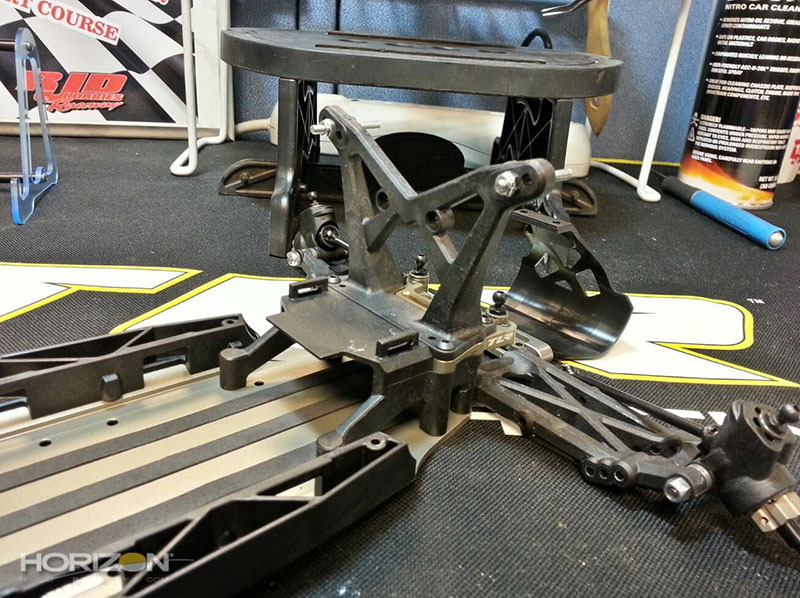
The rear bulkhead installed on the chassis.

The rear shock tower installed. Remember what I said on the front shock tower about getting the mounts installed in the right orientation? I discovered later that I installed the right-rear upper shock mount backwards. A quick flip-flop and I had it straightened out but these are the little details you need to pay attention to.
Bag B completed, now on to Bag C!
Previous - Page 3 - Next
Source:

|