|
- Part 1 – Steering -
Main - Next
The Build – Part 1
The first part of our Team Associated T5M build revolves around the steering. This ST features a bearing-supported, dual-bellcrank steering system that includes tuning features like Ackermann, bumpsteer and and toe.
Build Notes:
> In the later steps you may notice that I highlighted the molded lettering on the bulkheads with a silver Sharpie. This makes it much easier for me to identify which bulkhead I’ve installed; either the 25° or 30° part.
> The bearings for the entire kit come in one bag, so open the bag, get what you need for this step and set the other aside.
> Step 5 has you assembling with 22mm screws, per the manual. There were no 22mm screws in my kit, only 24mm ones. I used these without any issues.
Step 1
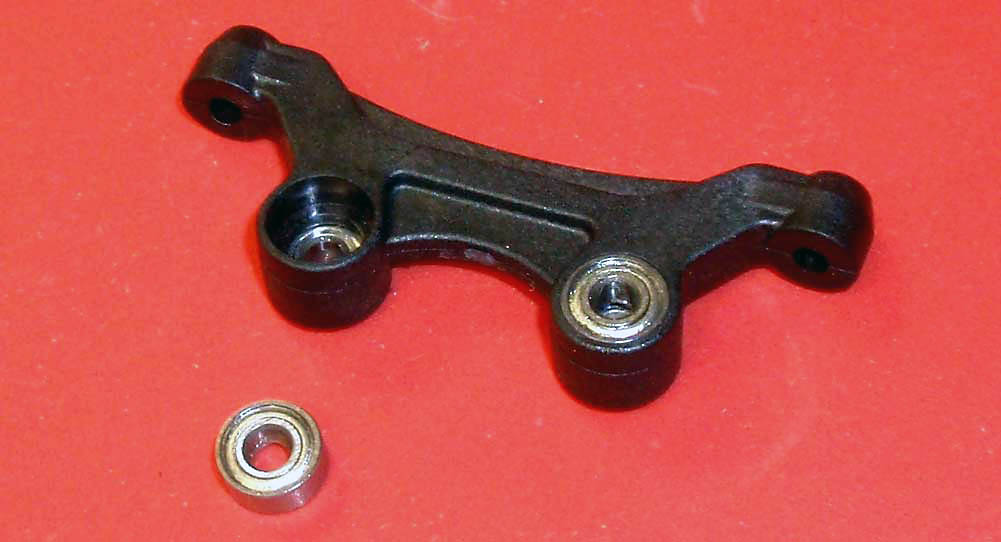
Start Part 1 by installing the 4 bearings into the steering rack.
Step 2
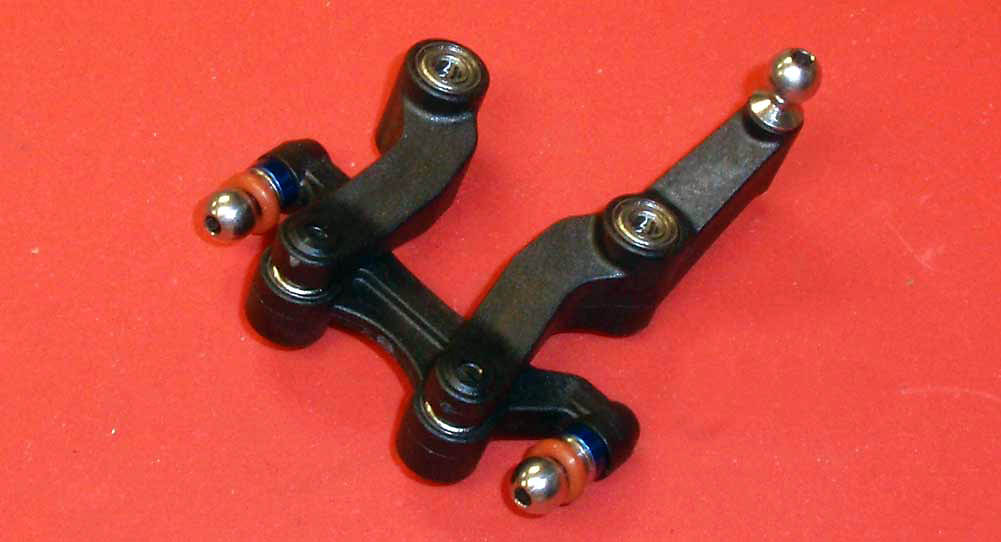
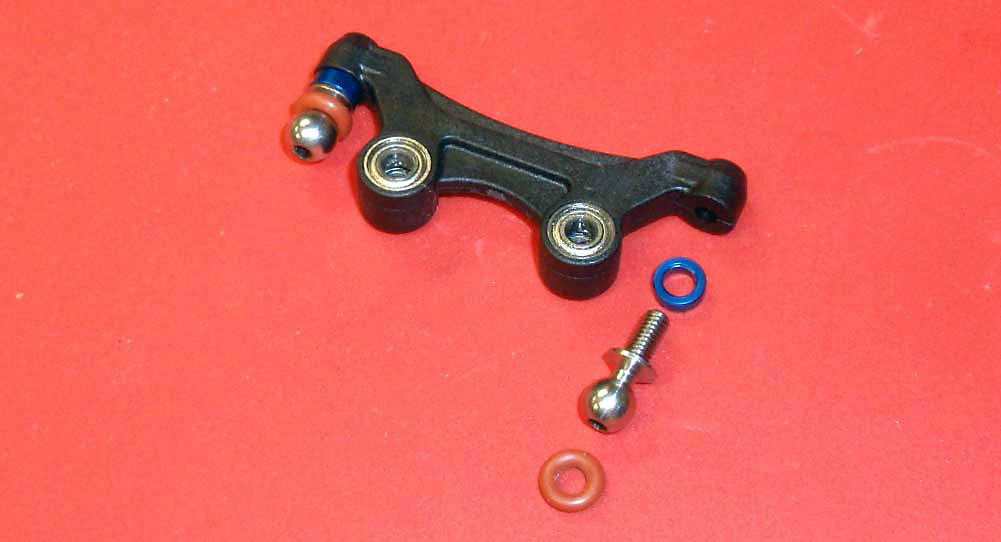
Next, slide a 2mm washer over the heavy duty ballstud and assemble. Slip a red o-ring over both ballstuds. This helps remove any slop the steering might have.
Step 3
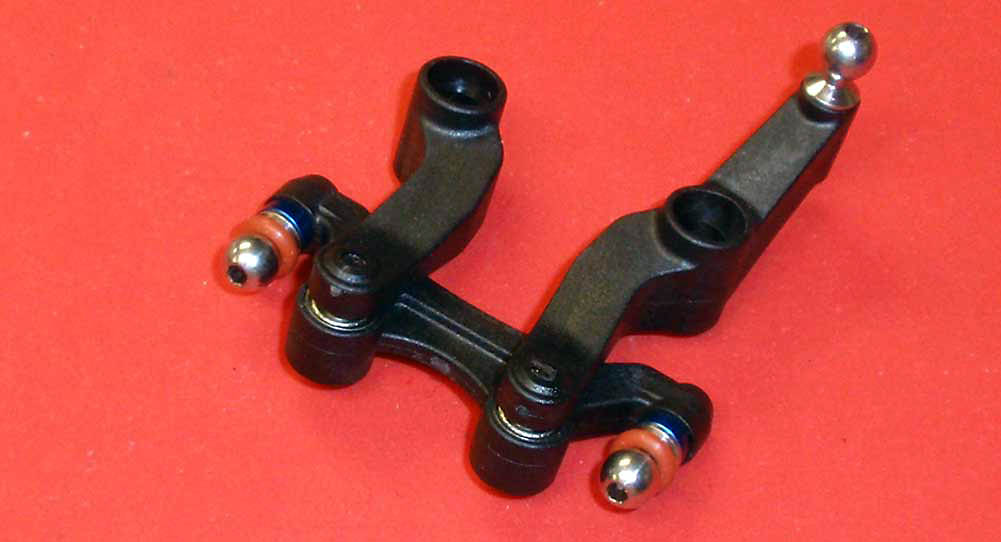
Attach the bellcrank arms to the steering rack as shown. Do not overtighten these screws; the bellcrank arms must move back and forth smoothly and without bind.
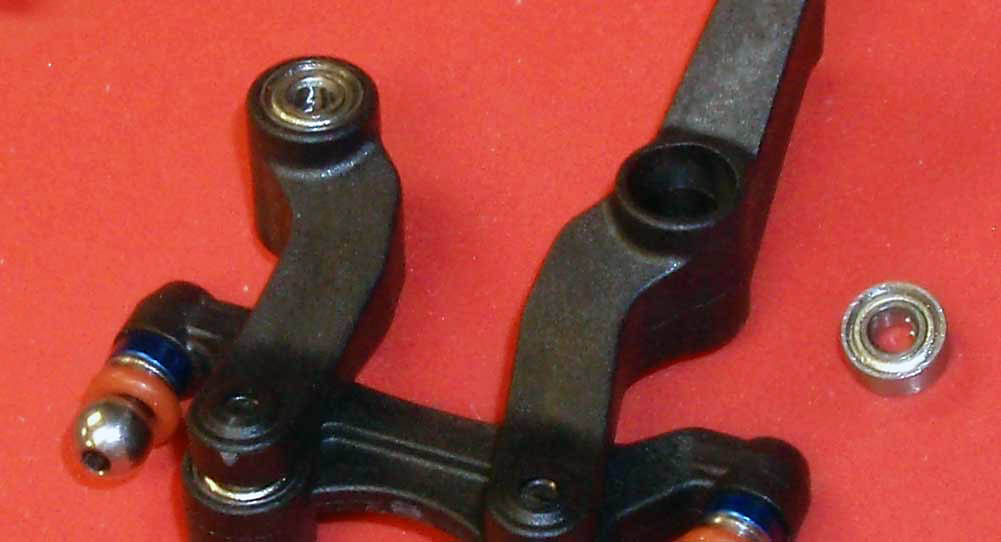
Step 4
Insert 4 more bearings into the bellcrank arms.
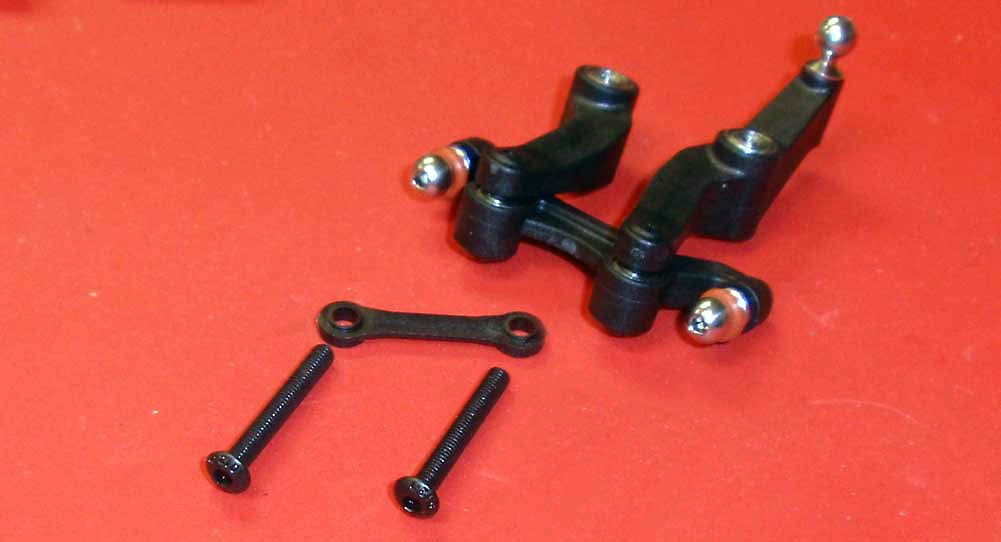
Step 5
Before assembly, look closely at the bellcrank brace. You’ll notice one side is flat, the other has a slight lip on it. This lip needs to face the bearings during assembly. So, slide the 2 24mm screws (see Build Notes above) through the bellcrank brace and up through the bellcrank arms.
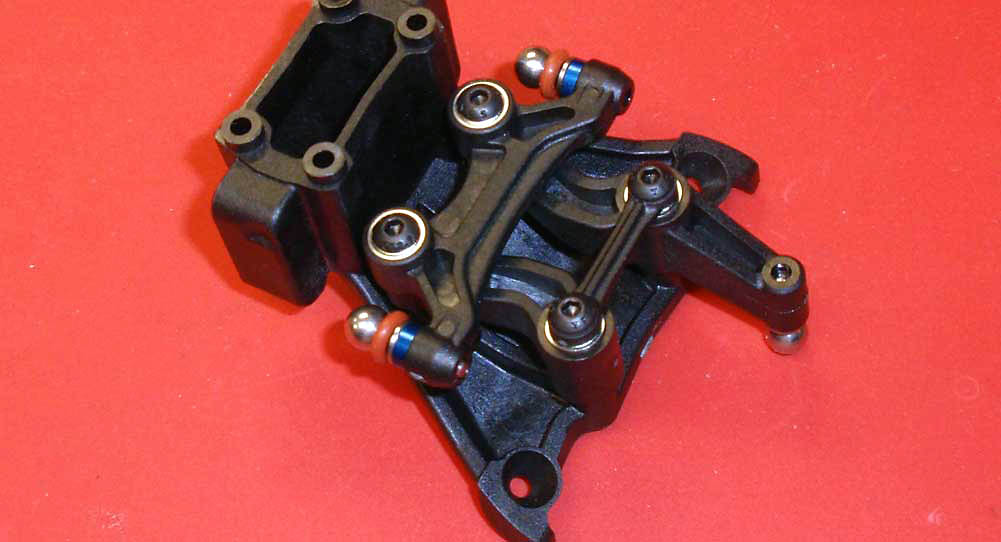
Step 6
Attach the steering assembly to the top plate. I found it easier to flip the top plate over and attach as shown. Do not overtighten; everything needs to swing freely.
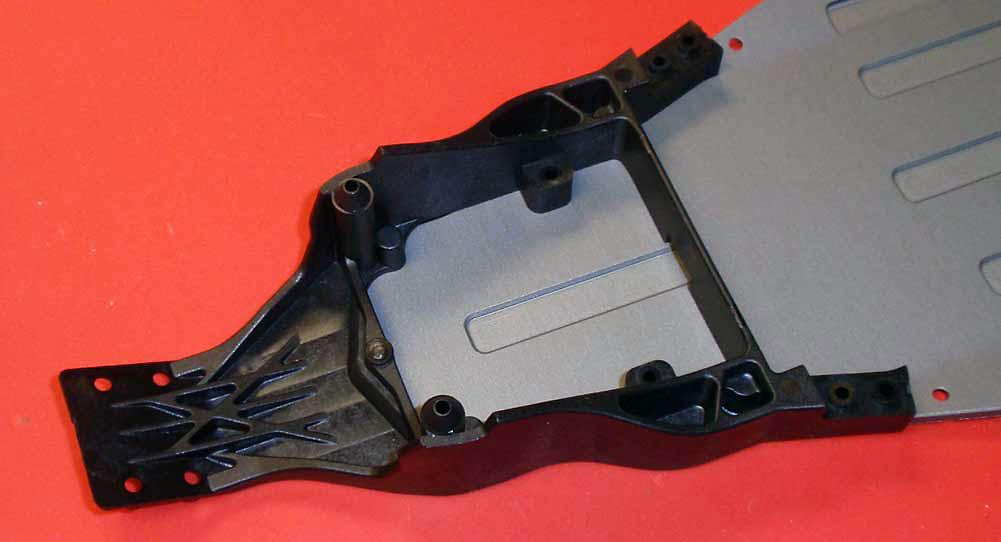
Step 7
Attach the front chassis plate to the chassis.
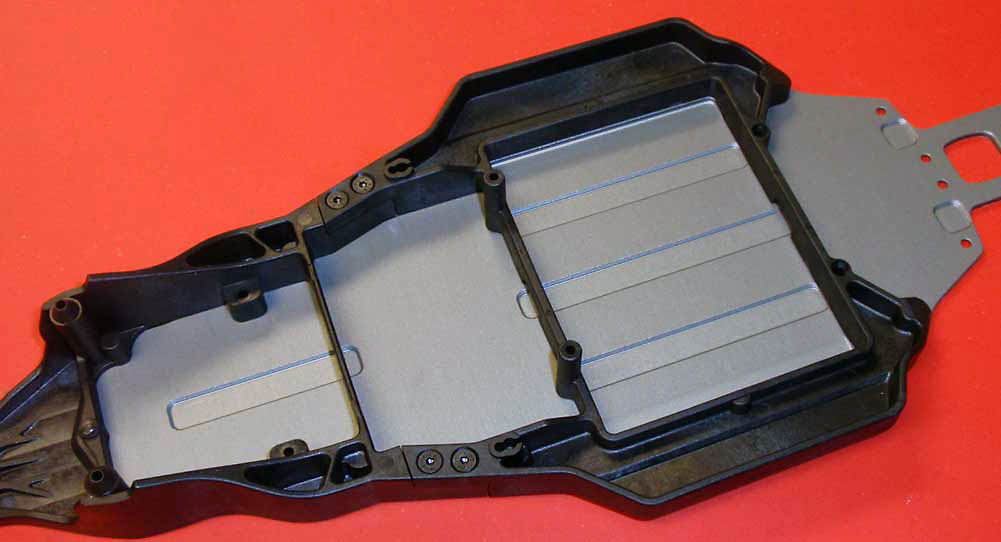
Step 8
Attach the center chassis plate to the chassis.
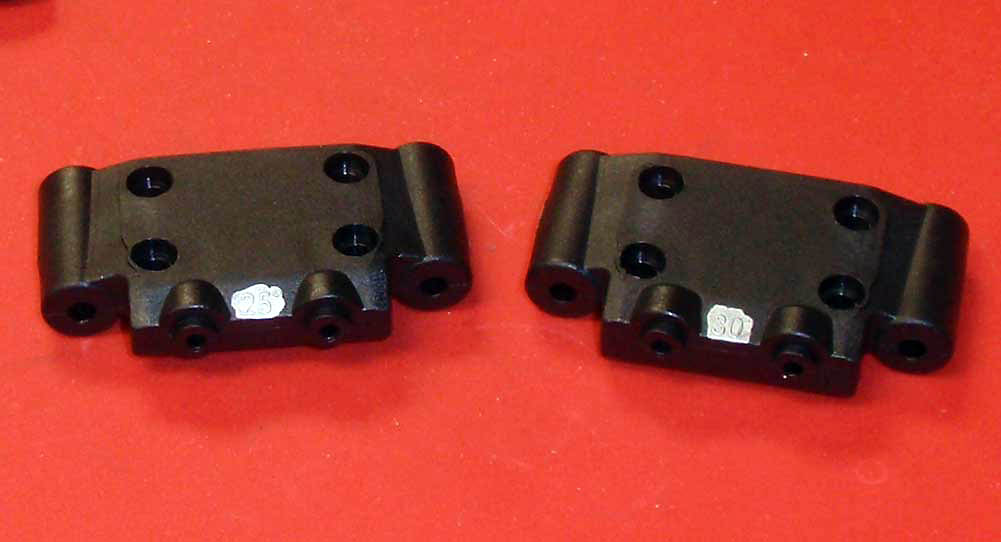
Step 9
Here are the 2 front bulkheads AE has supplied with the T5M. As mentioned in the Build Notes, I used a silver Sharpie to highlight the number for easy reference. The manual suggests using the 25° bulkhead (or 25° Kickup) during the build, so that’s what we did. You can read up a little more on Kickup on our RC Tuning Guide page.
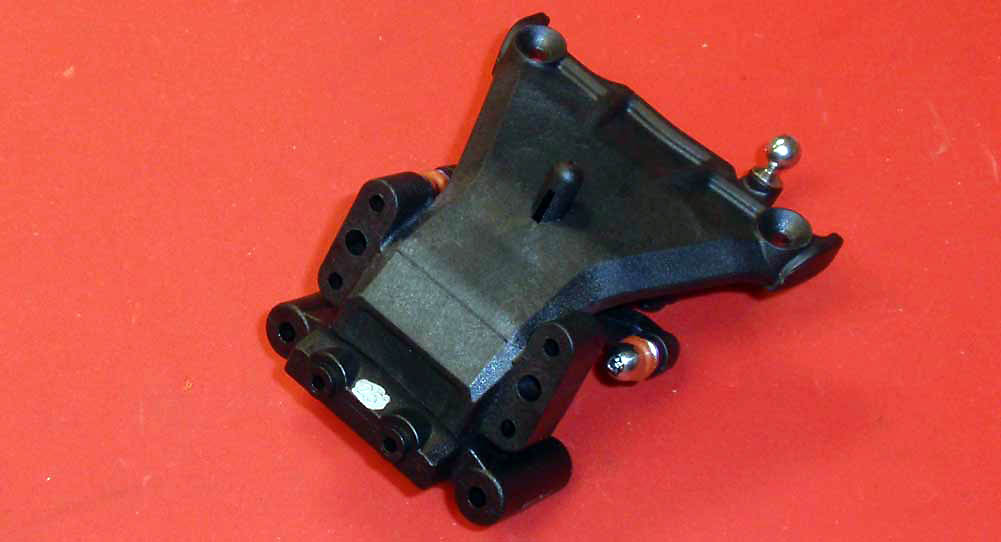
Step 10
Assemble the bulkhead and top plate. They are a press-fit so they should stay together easily.
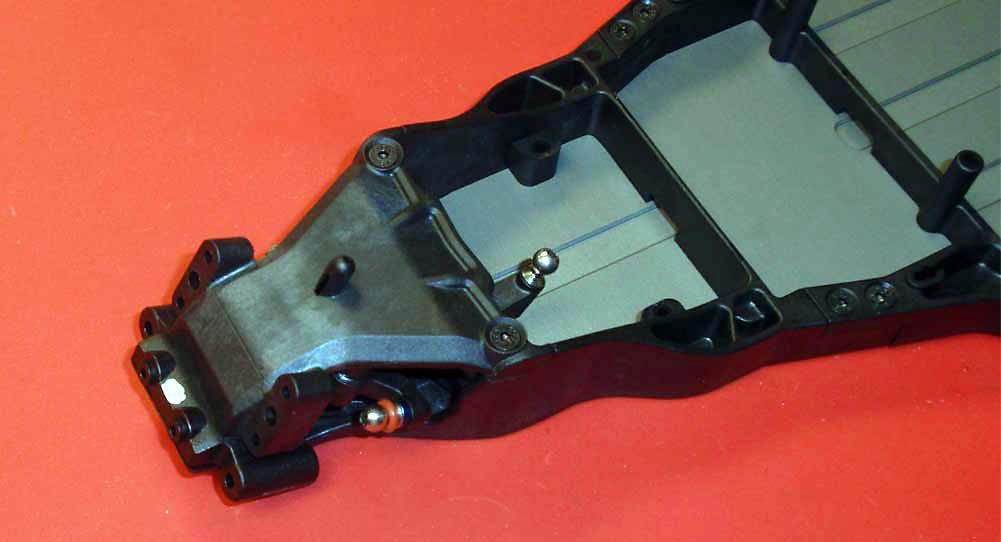
Step 11
Attach the top plate/steering assembly to the chassis. Swing the steering assembly back and forth a few times to make sure there is no binding in the system.
Great job!
Main - Next
|
