|
- #Seven - Team Associated RC10B7 Team Kit review -
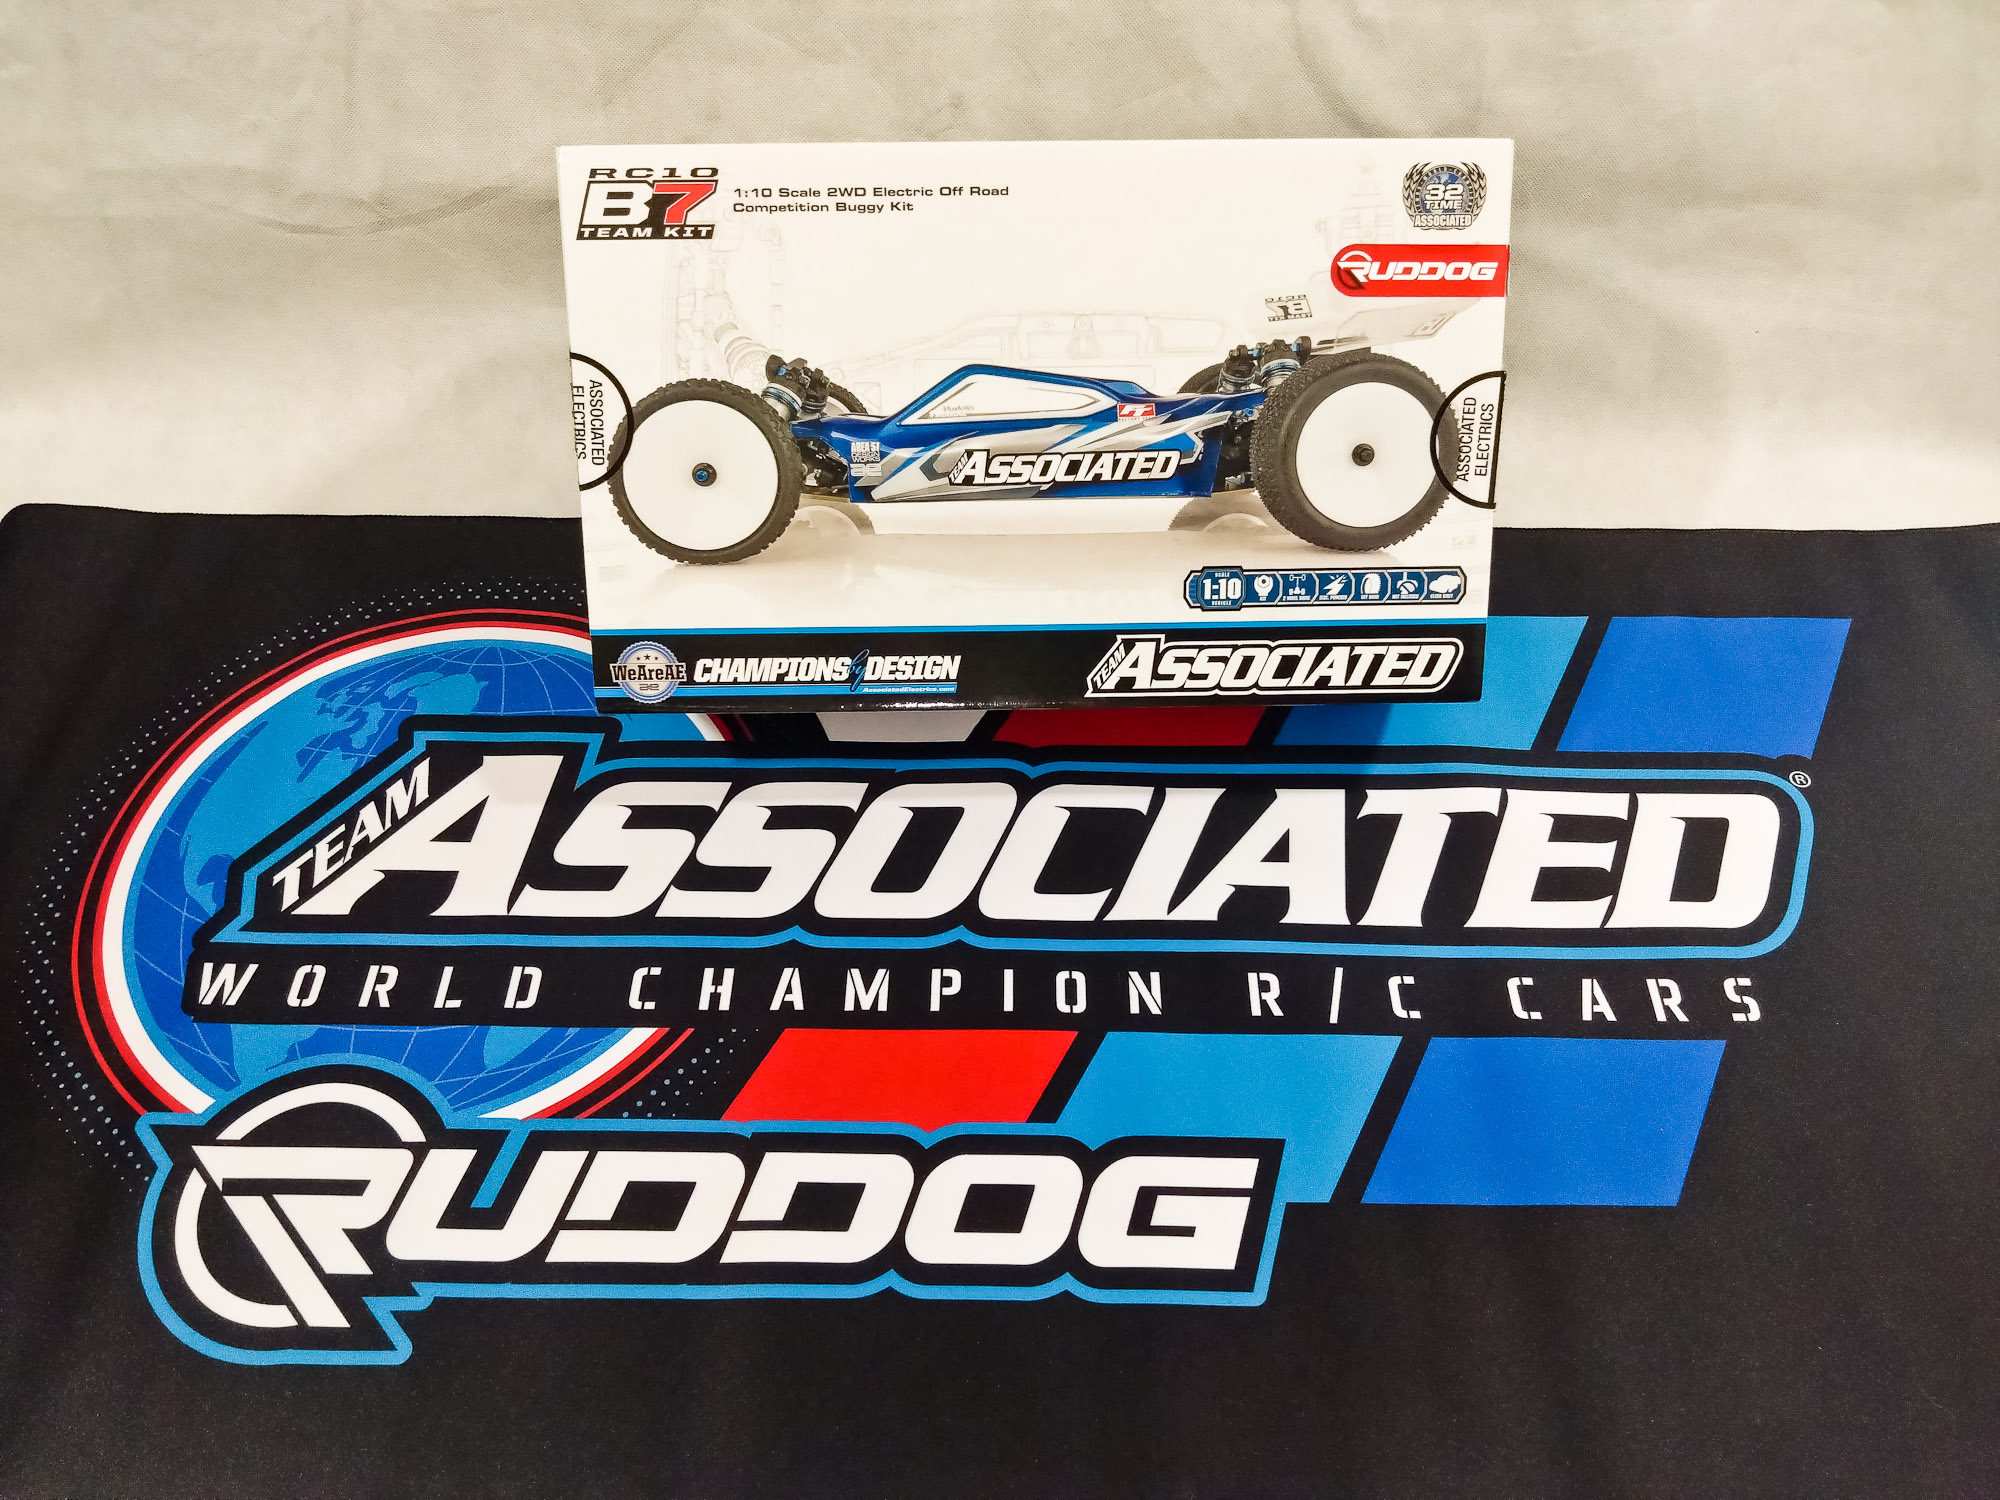
In the RC world, 2023 ended with a bang: Team Associated not
only introduced a new kit, but ushered in a new generation of 1/10th scale
off-road cars. Whereas the B6 introduced in April 2016 had mostly taken up
design clues from the Yokomo YZ-2 and to a large extent Team Associated's B4/5
suspension geometry, the B7 is a new approach: centralization of mass, lower
center of gravity, longer suspension arms, king pin inclination... some of the
design decisions carried over from modern touring cars, as described in an
entertaining and informative video series on the development of the RC10
platform and its culmination in the all new RC10B7.
While many things have changed with theB7, some have not: As
you would expect from an AE car, the box is packed with all necessary parts for
building a roller that apply to various surfaces, i.e. tires and wheels are not
included.
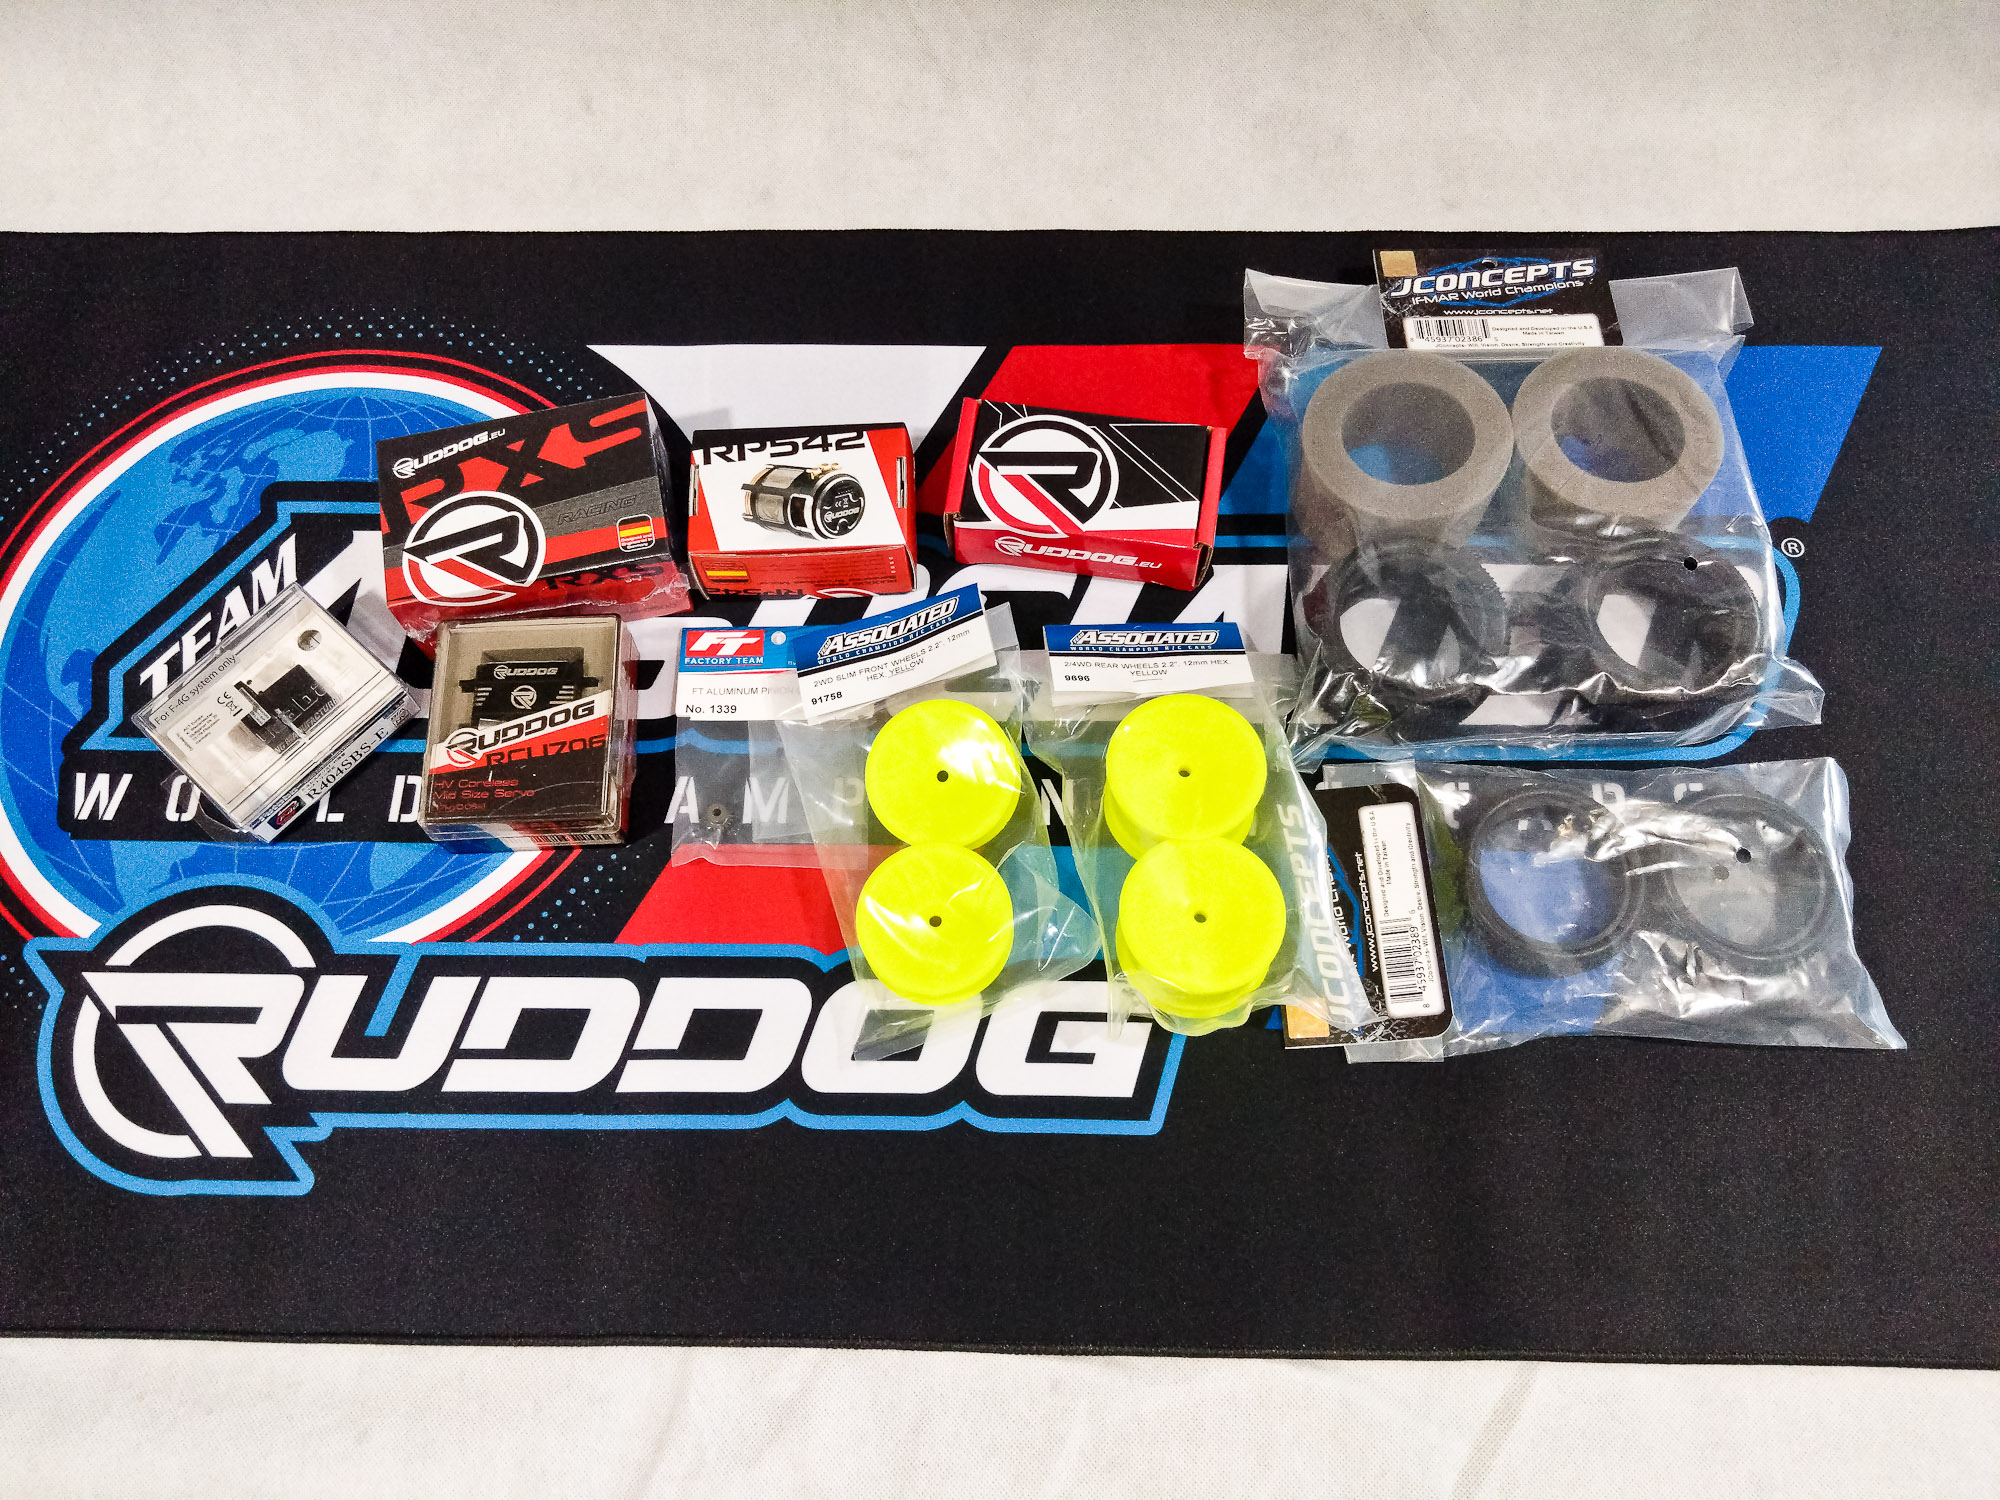
As the manual suggests, you'll need a radio system,
electronic speed control, steering servo, motor and pinion gear, shorty battery
and charger, paint, thread lock, and a set of wheels and tires. This time, I
went for race yellow wheels over practice white, because a fast
car needs fast wheels, right?
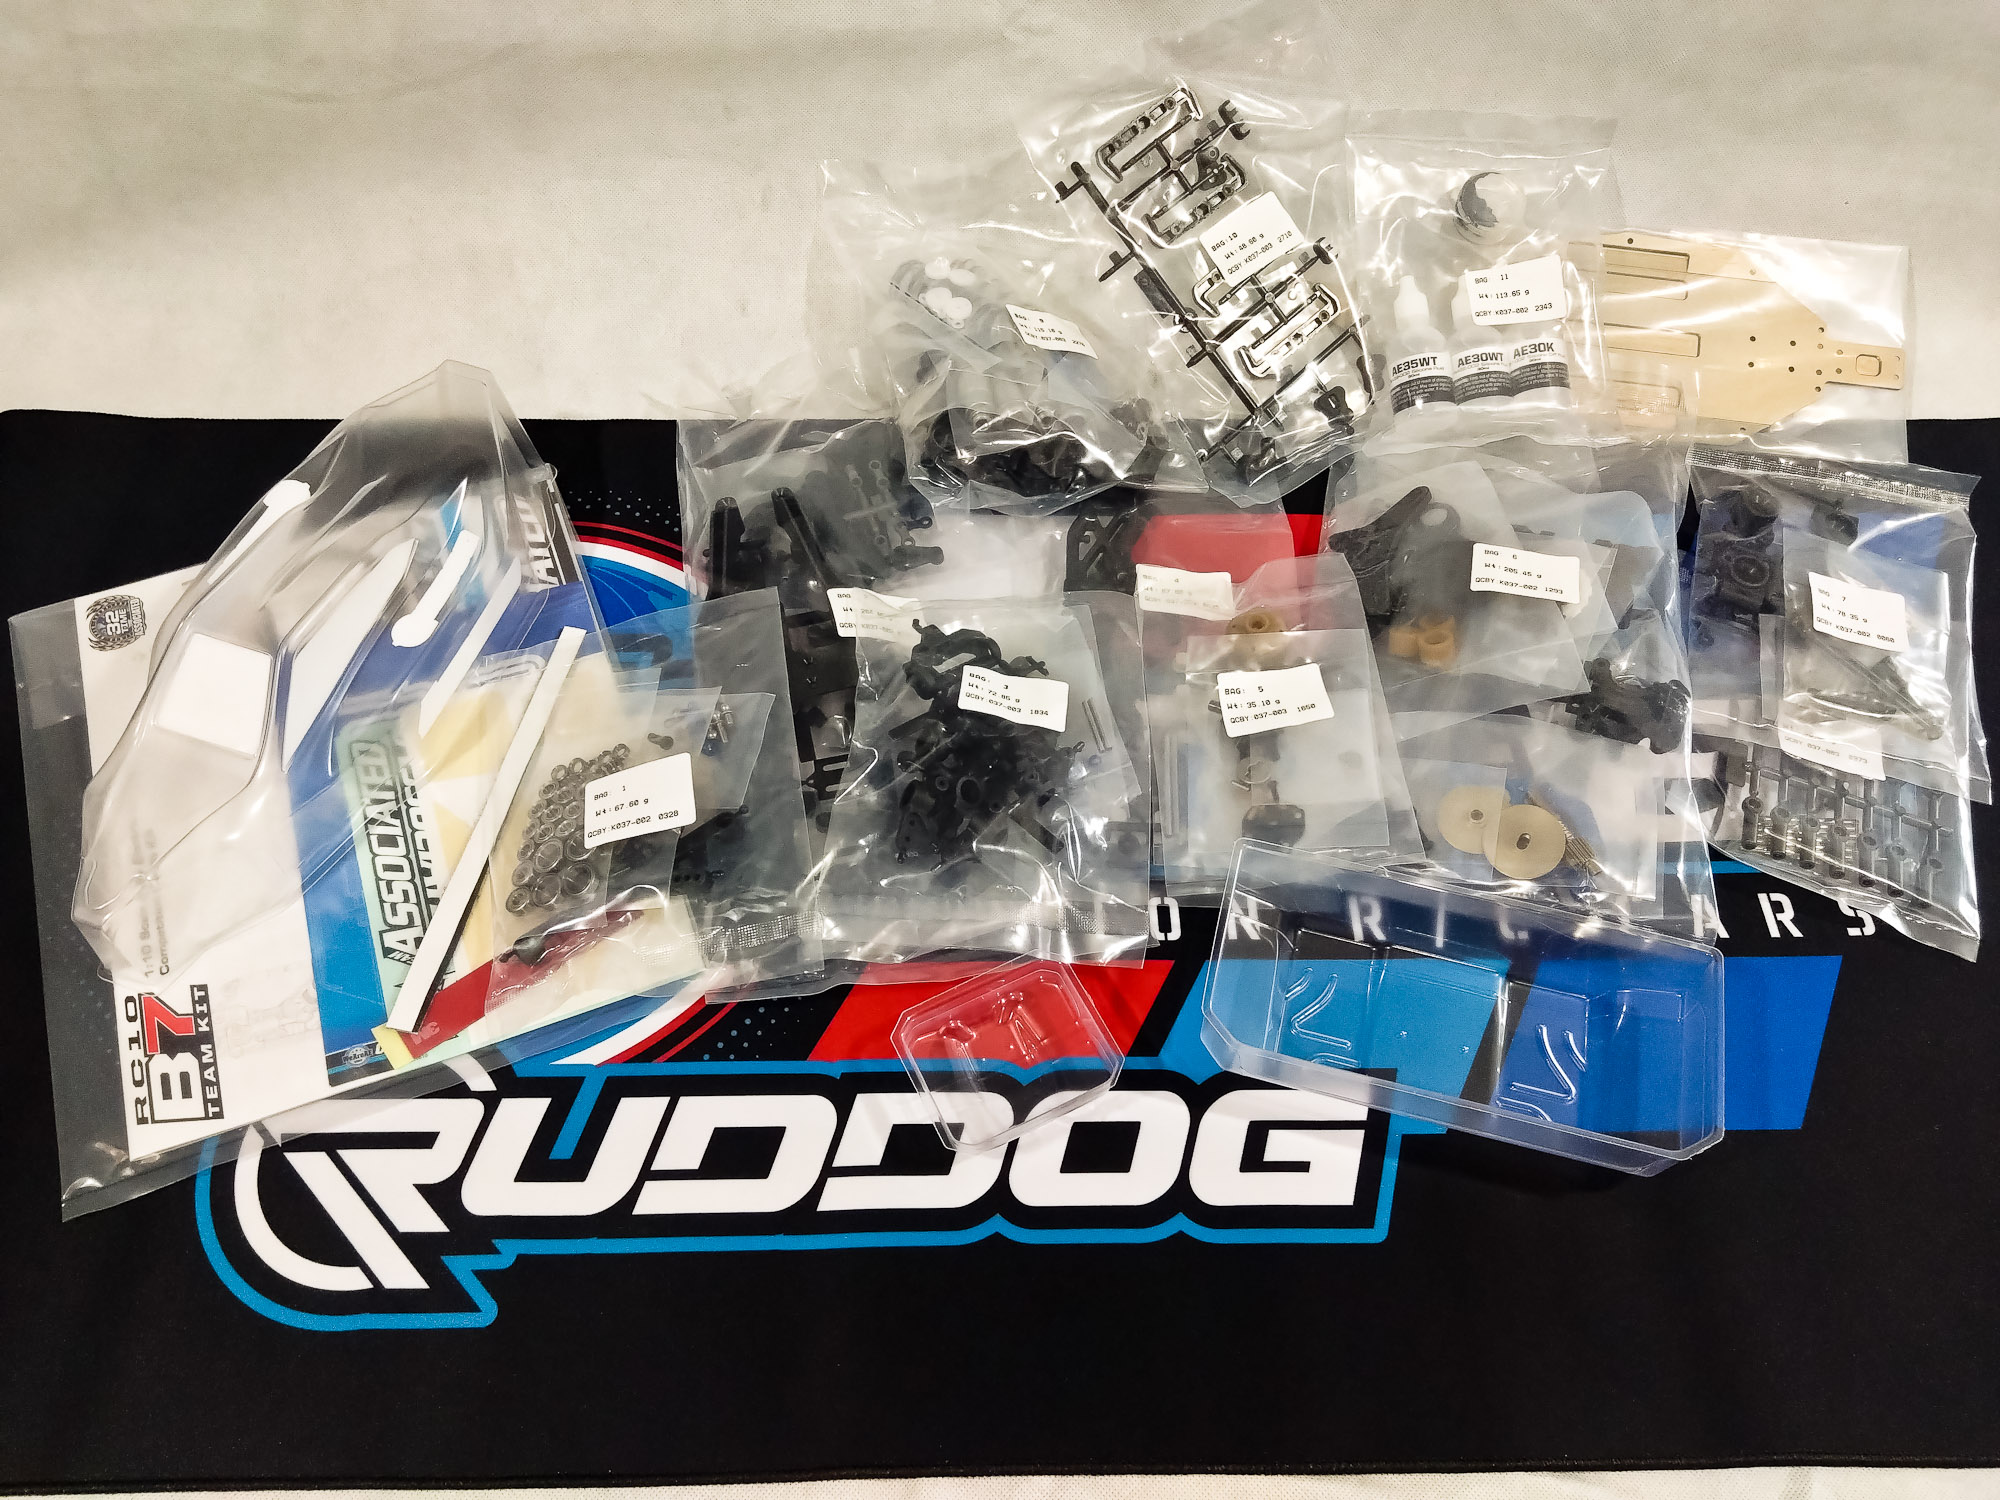
Along with the steering parts, the front ball stud mount and
a 1 mm front anti-roll bar, Bag 1 includes all the bearings plus two 8 mm x 5
mm bearings that are only used in the dirt version of the car. It's a good idea
to put a drop of bearing lube on every bearing before starting the built just
to be sure.
The touring car inspired anti-roll bar is much easier to
assemble and effective than the previous design. Other than its on-road
counterparts, it is not ball raced. The steering is one of the few parts that
carry over from the B6.4, and accordingly previous option parts are a direct
fit.
Bag 1 complete!
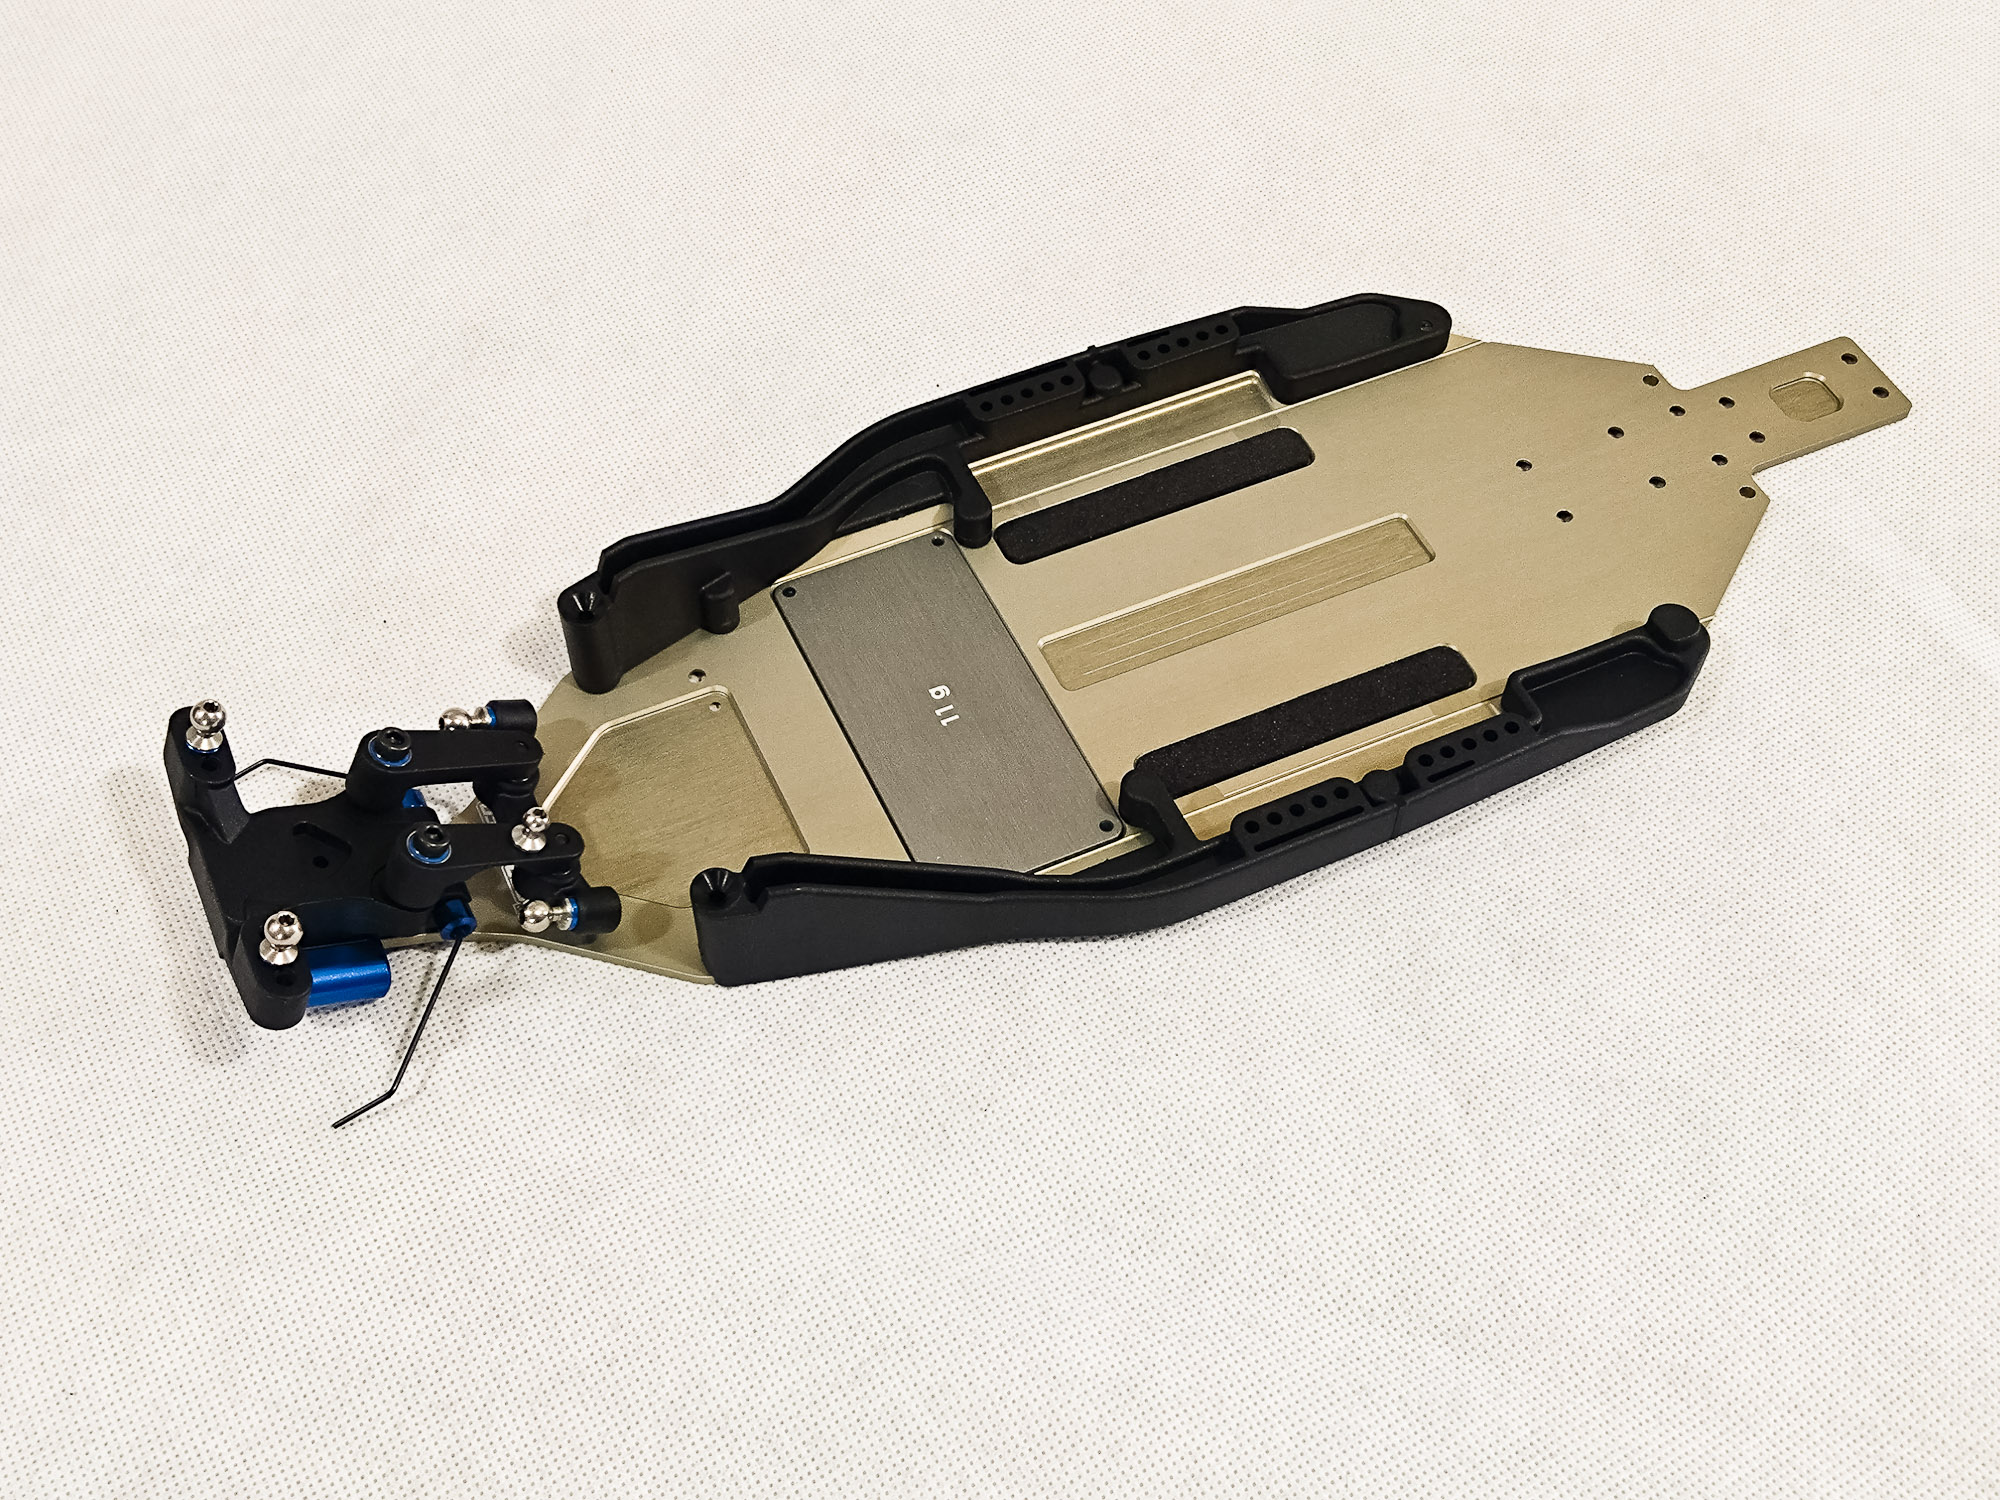
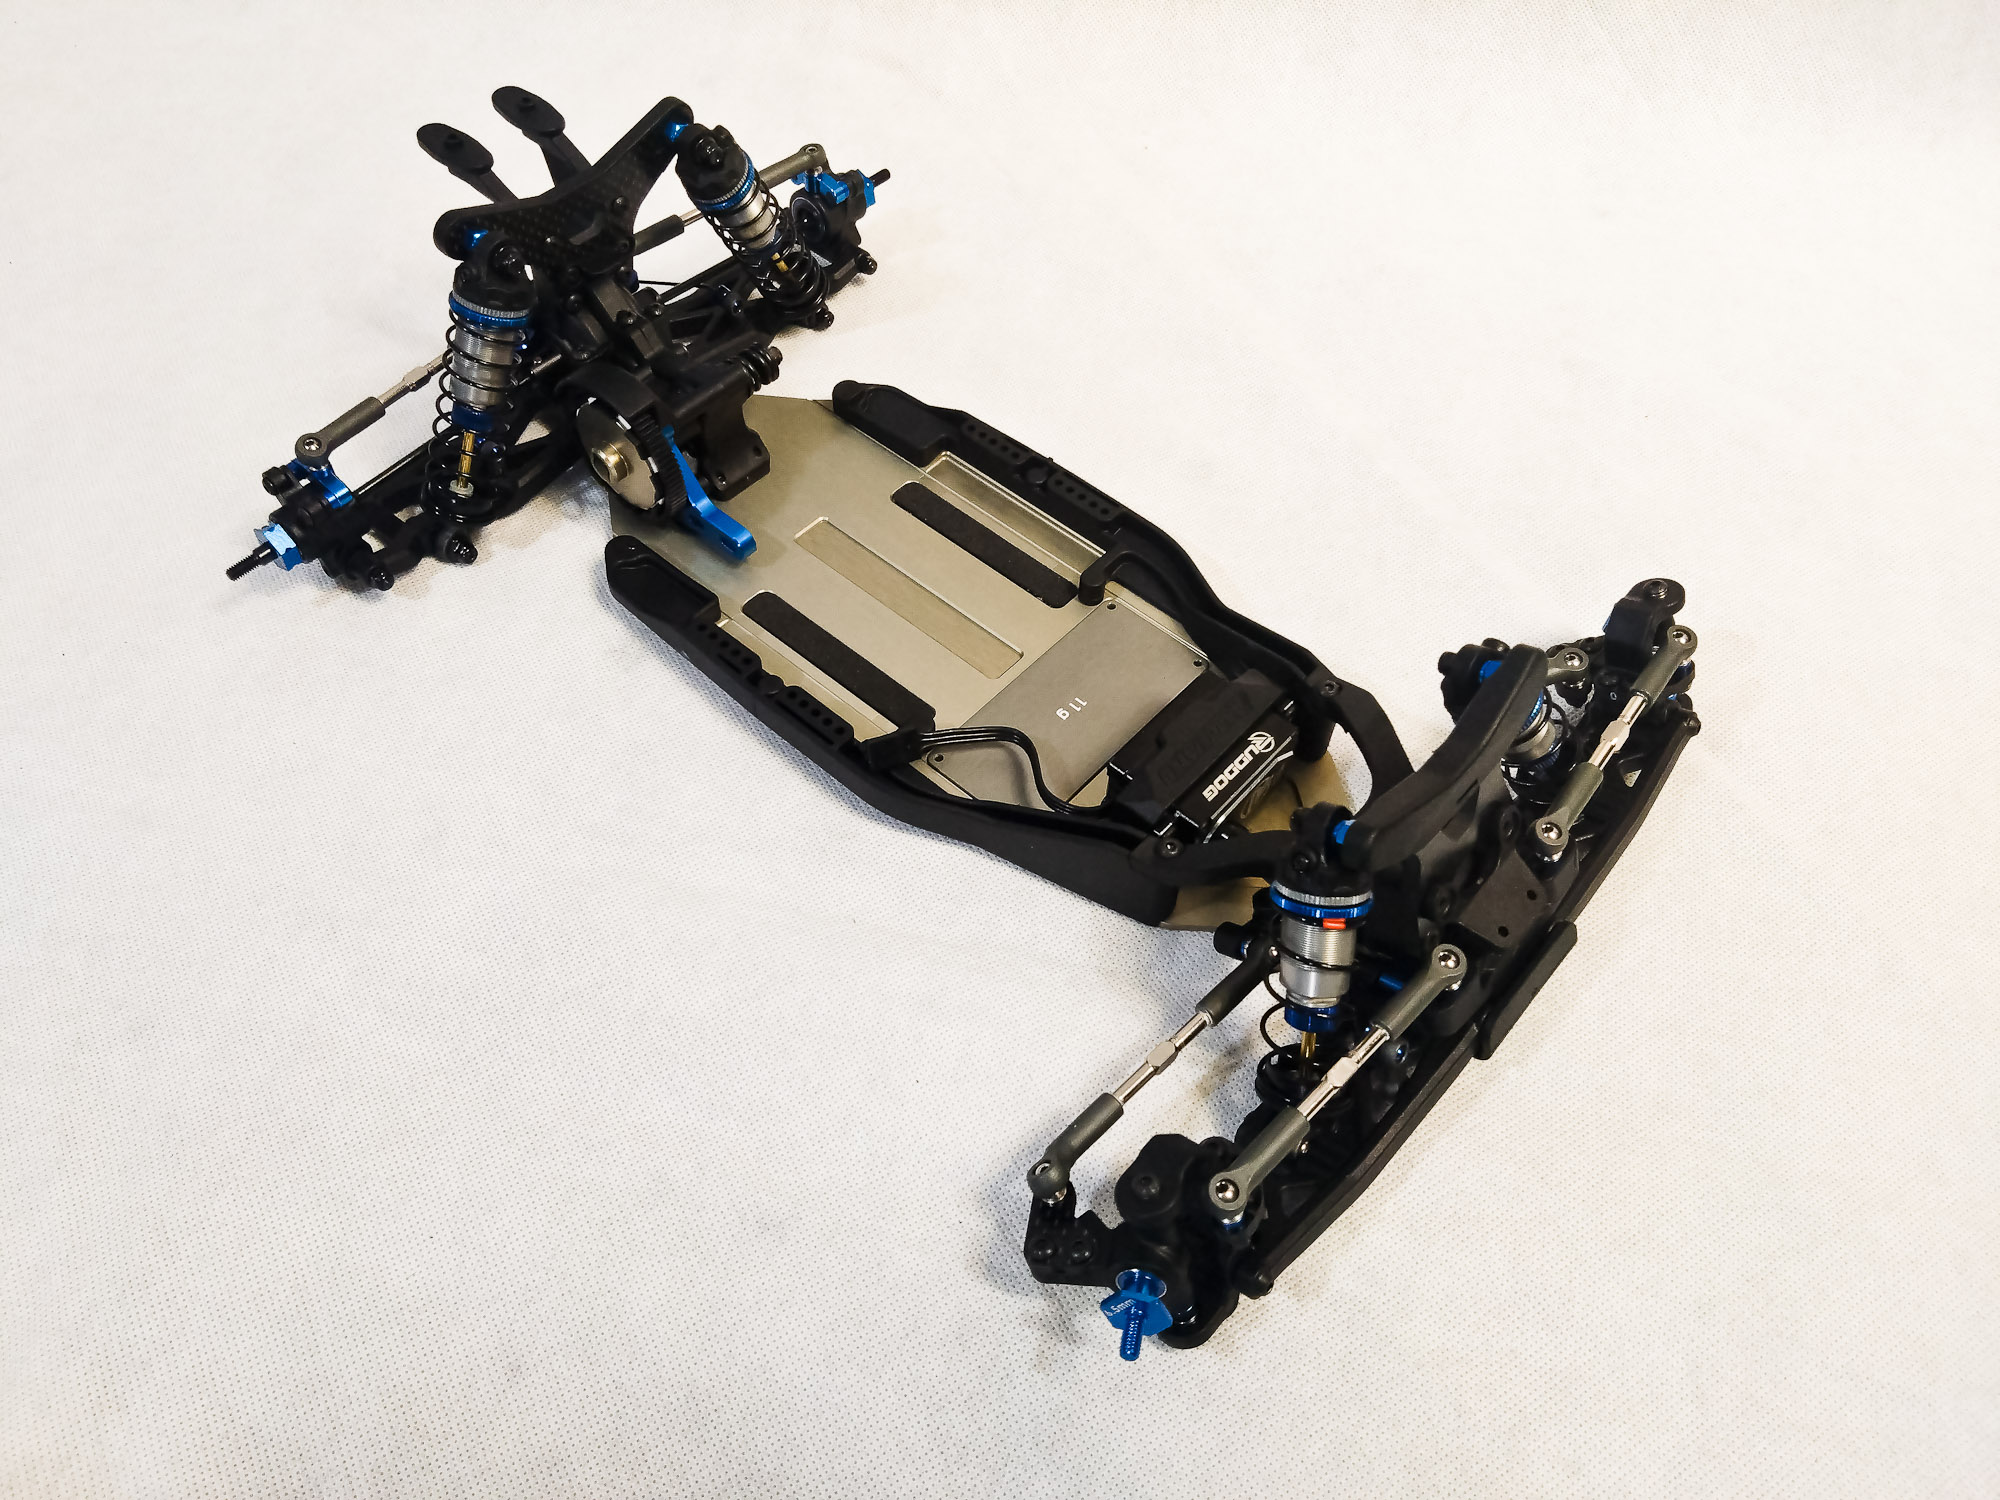
Self-adhesive foam strips are provided for padding the
battery compartment on the B7's all new chassis. As on its predecessor, there
are pockets for different weight options and a flat sensor wire. Both ends are
narrower than on the B6 series to accommodate the longer suspension arms.
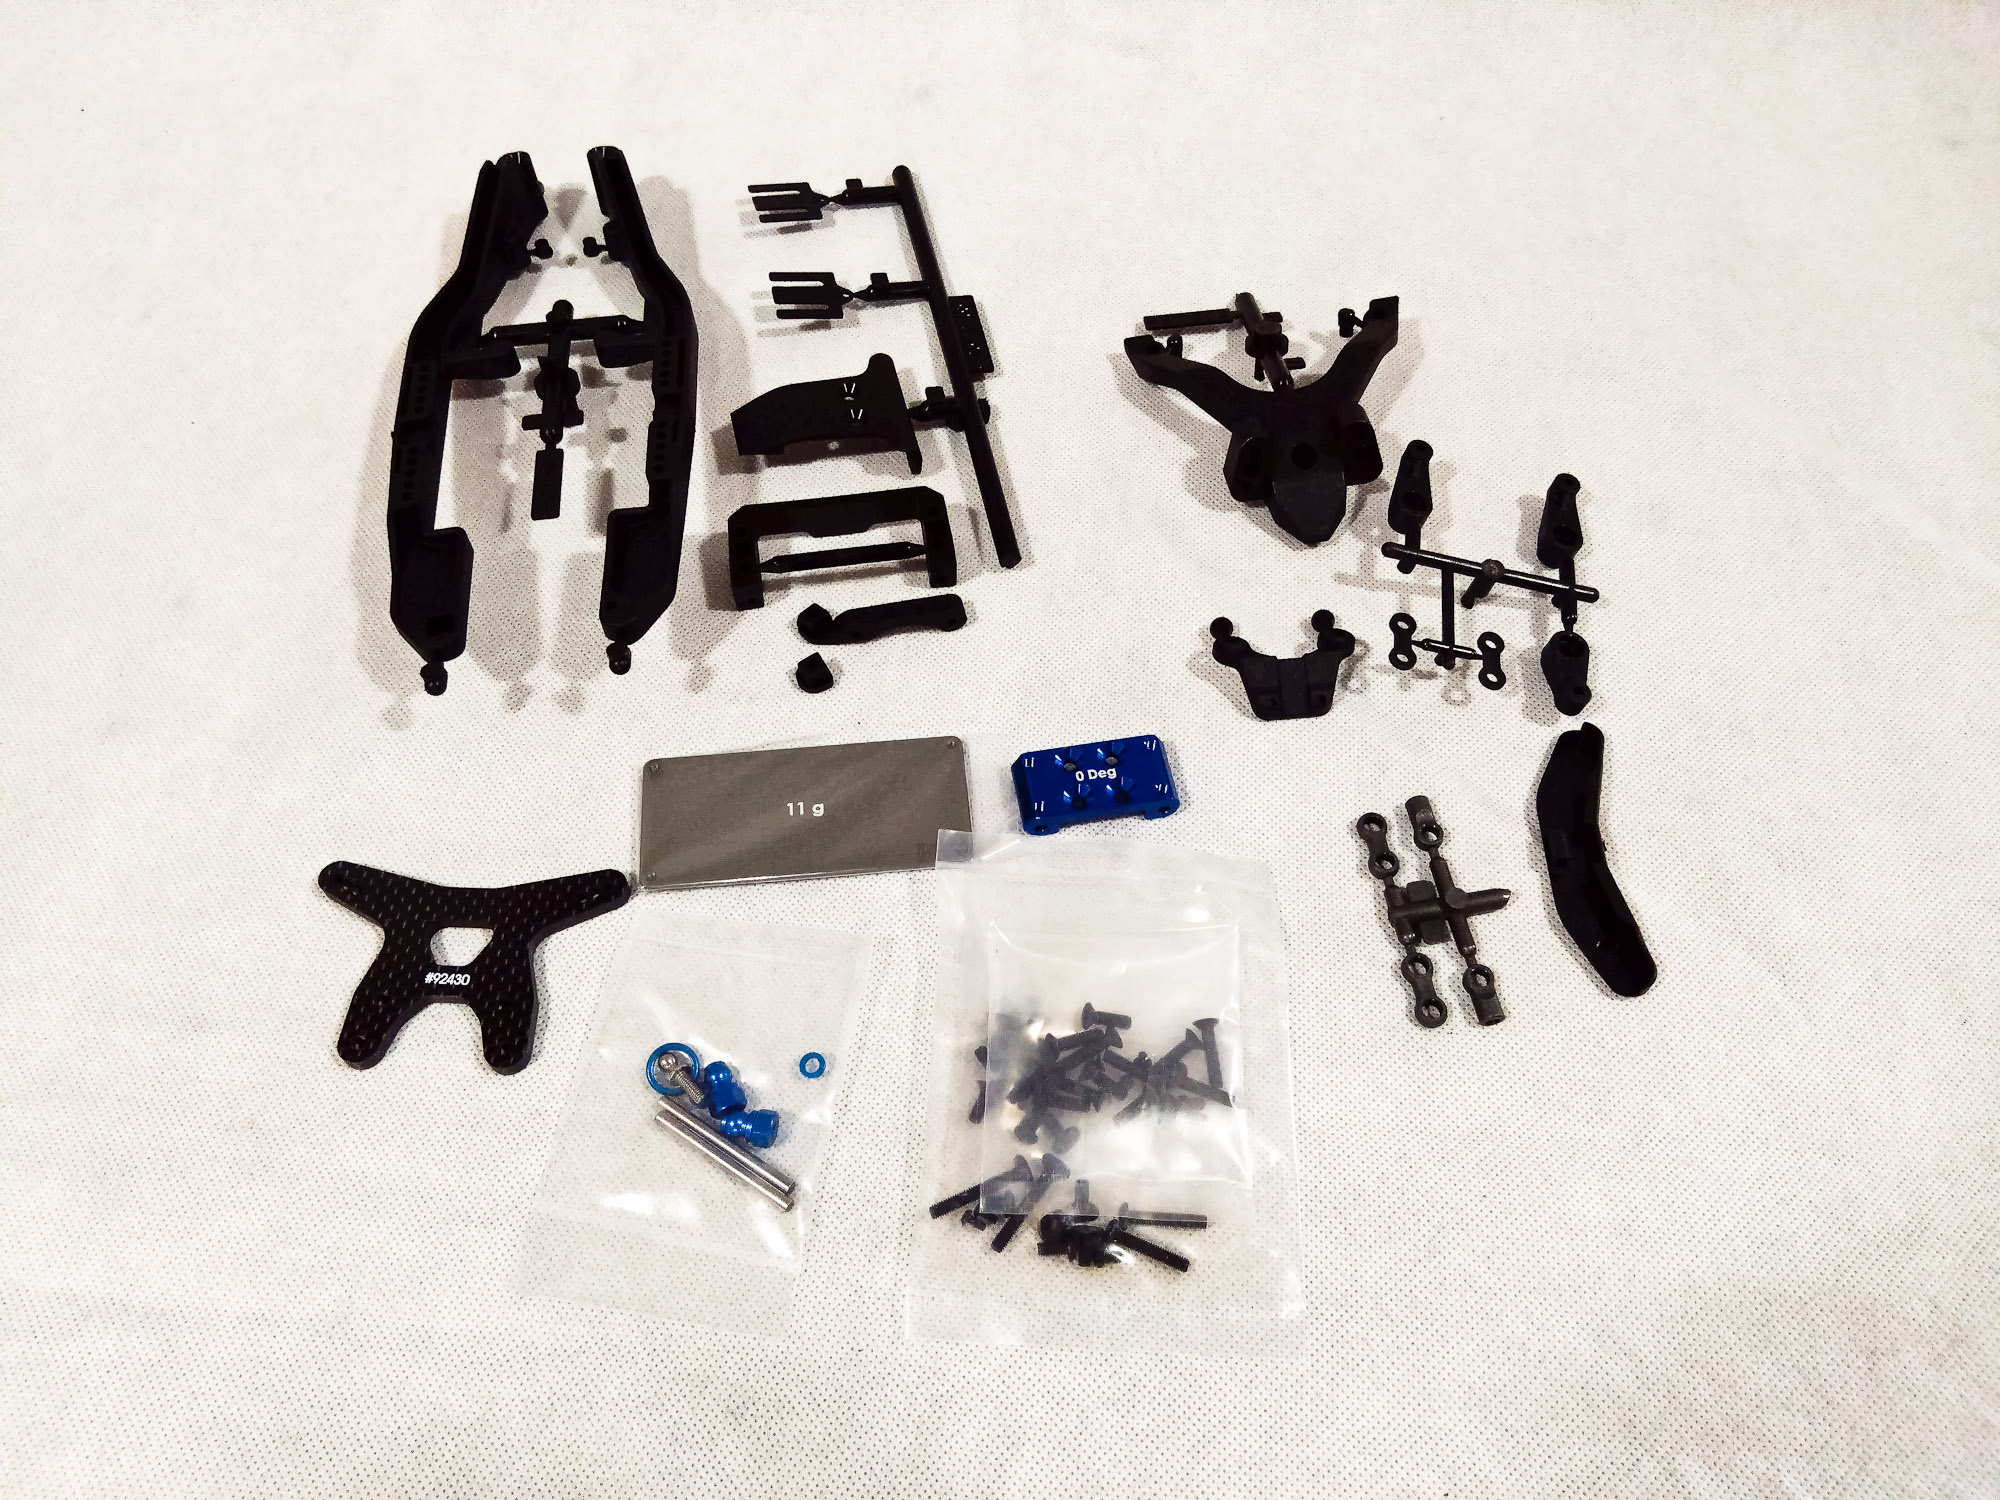
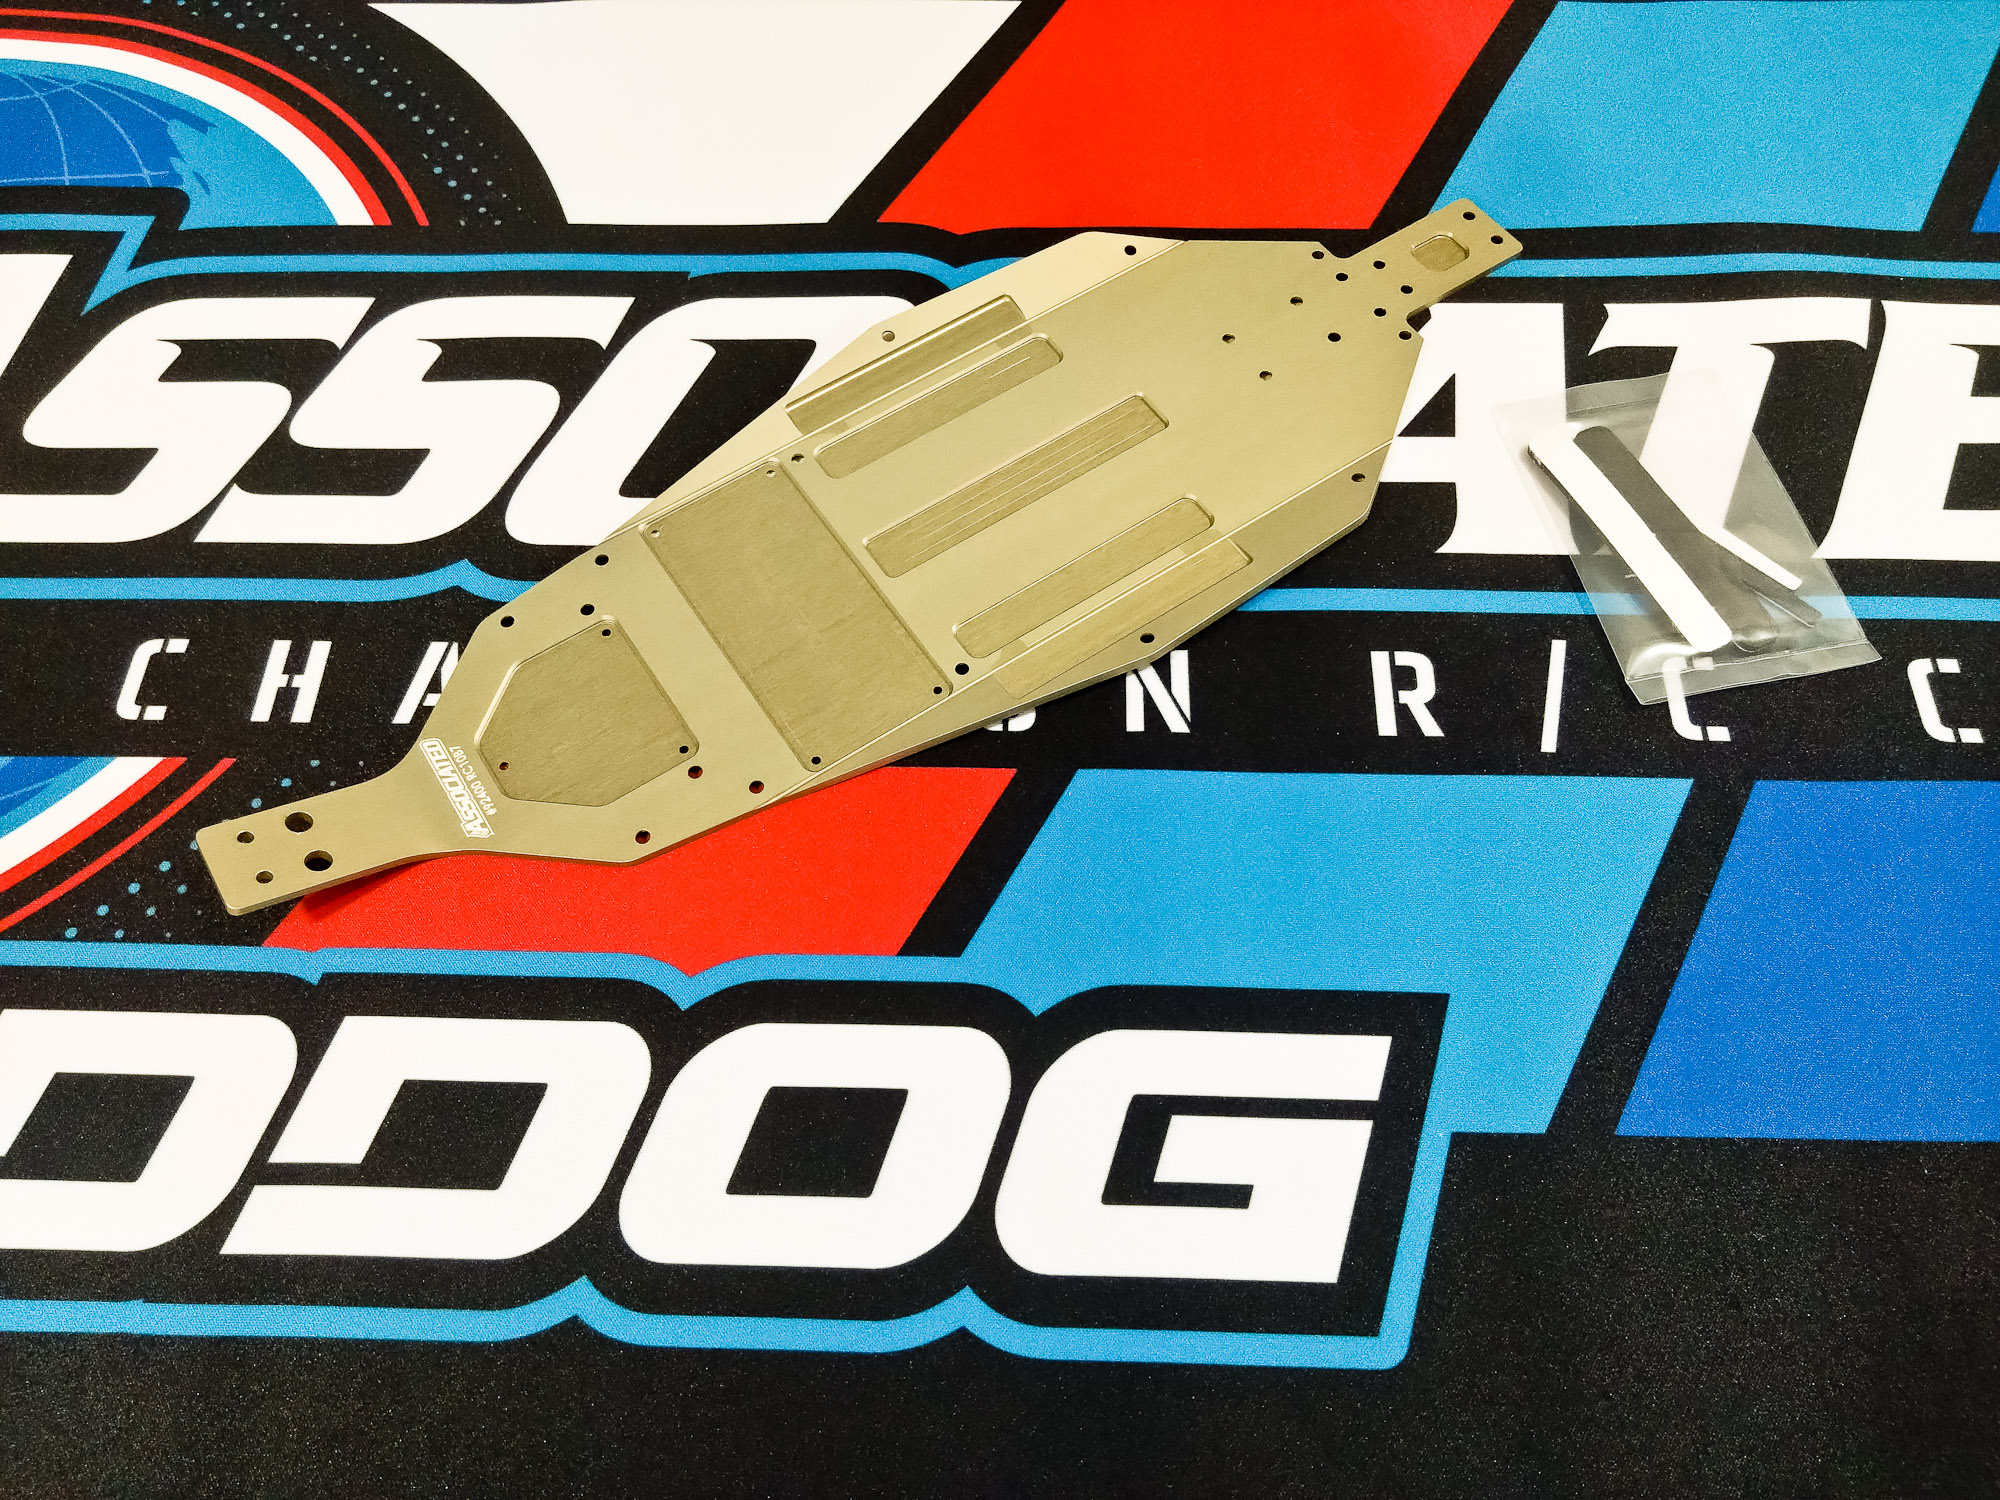
Bag2 includes the side rails, two bulkhead shims, a 0° front
aluminum bulkhead, servo mount, 11 g aluminum electronics plate, carbon fiber
shock front tower including cover, servo horns, front wing mount, top plate,
the required hardware, and the arms not seen shown in the picture.
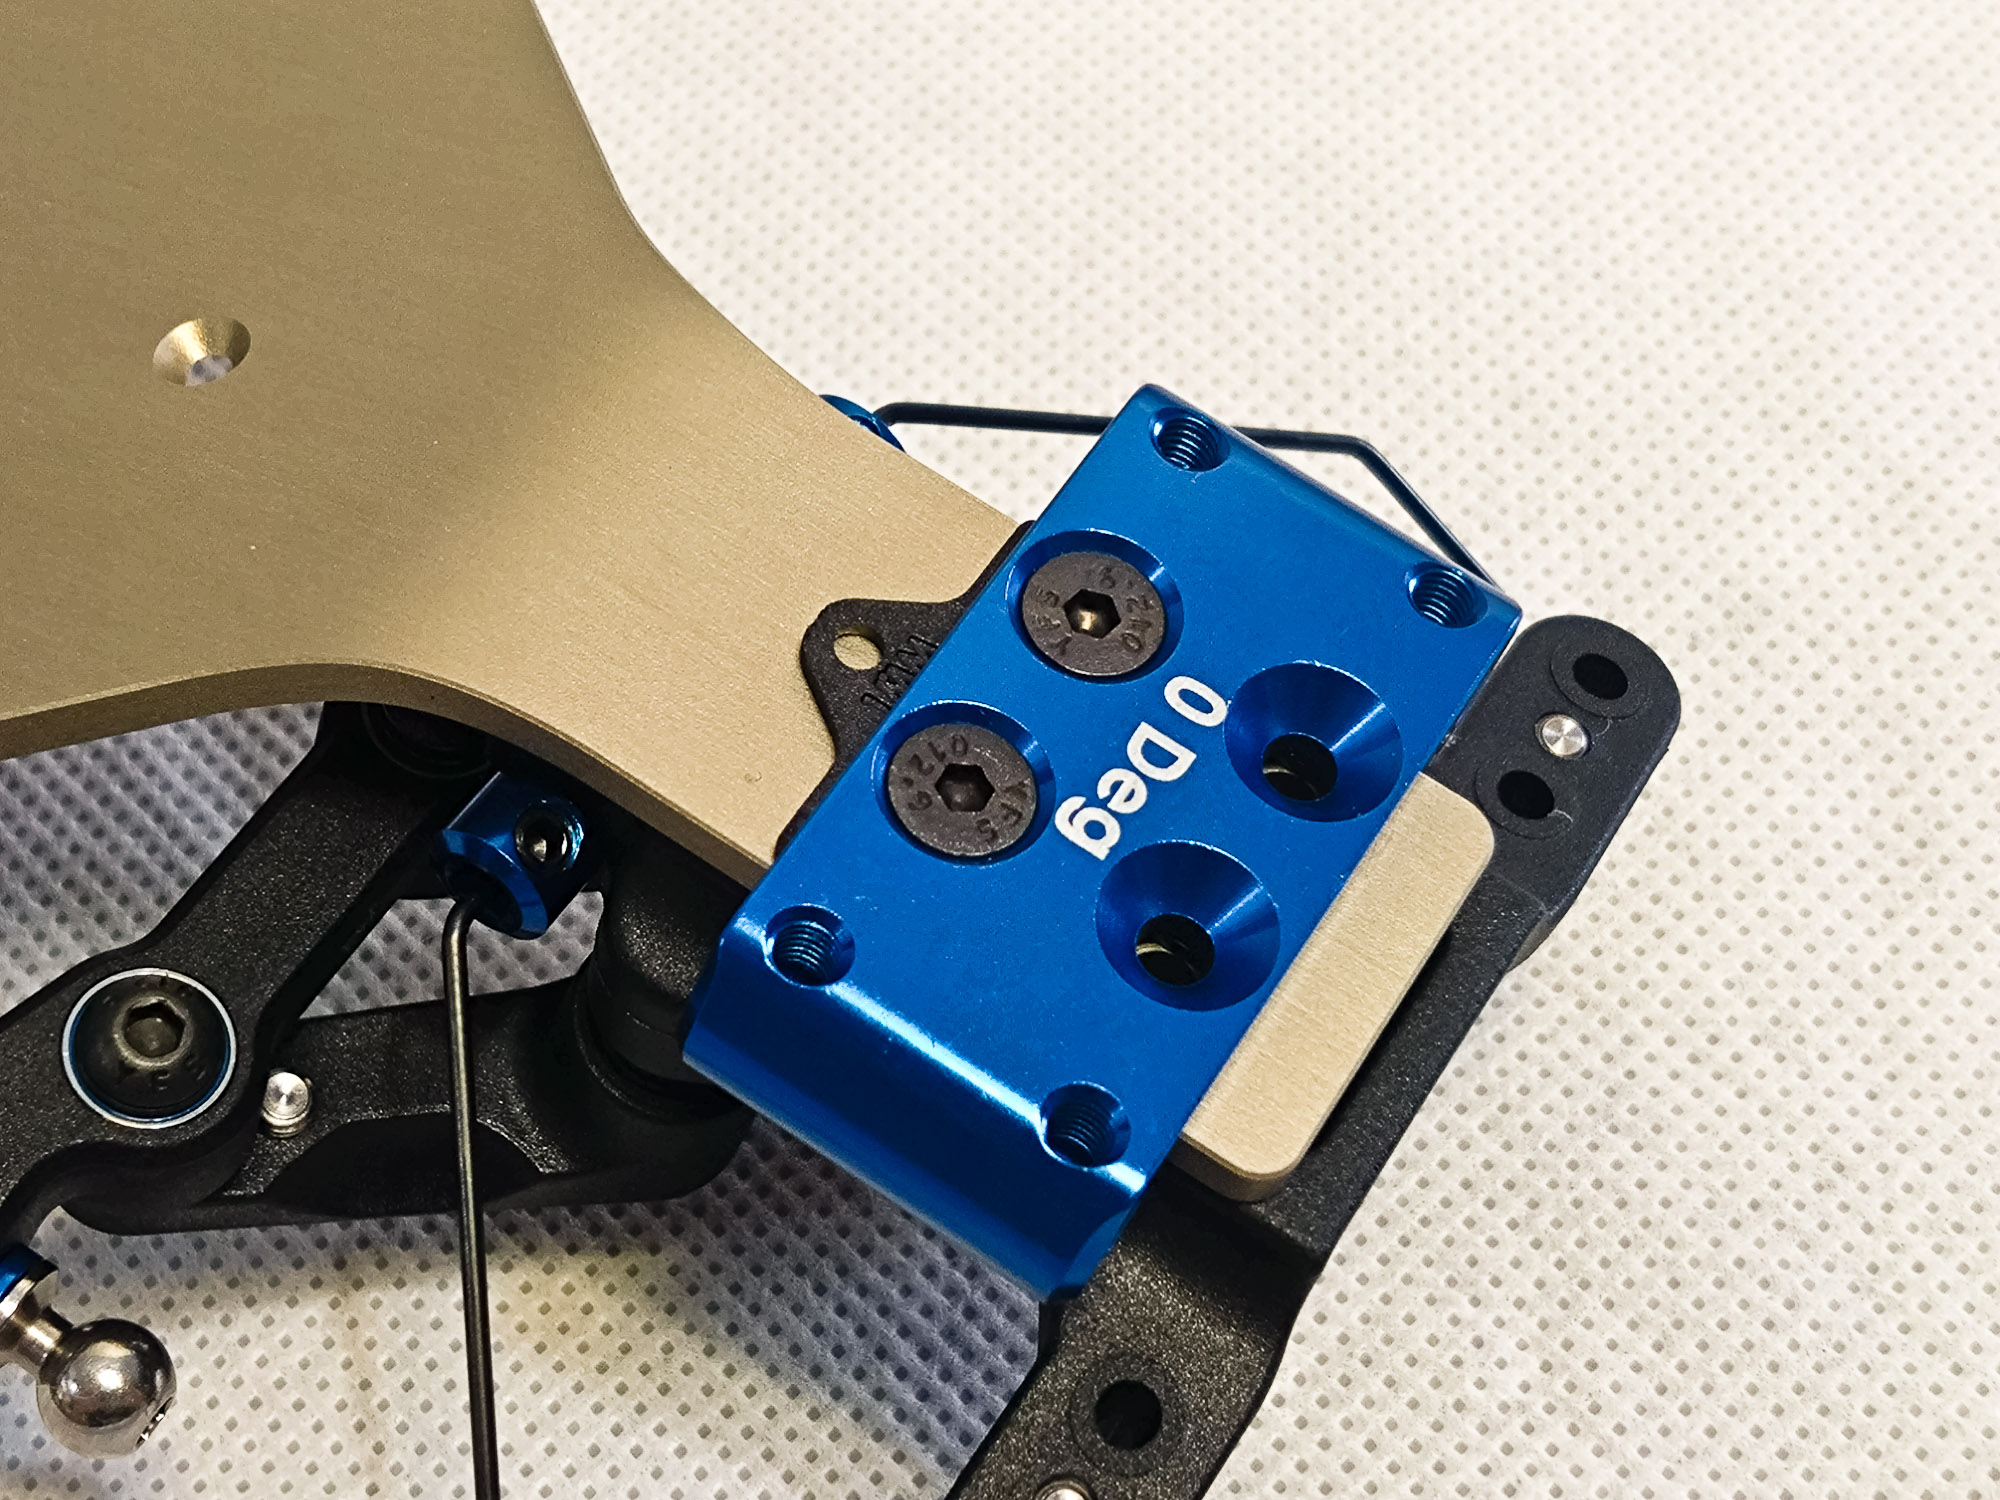
As before, the bulkhead is bolted onto the bottom of the
chassis. In the case of the 0° version, the mounting direction doesn't matter.
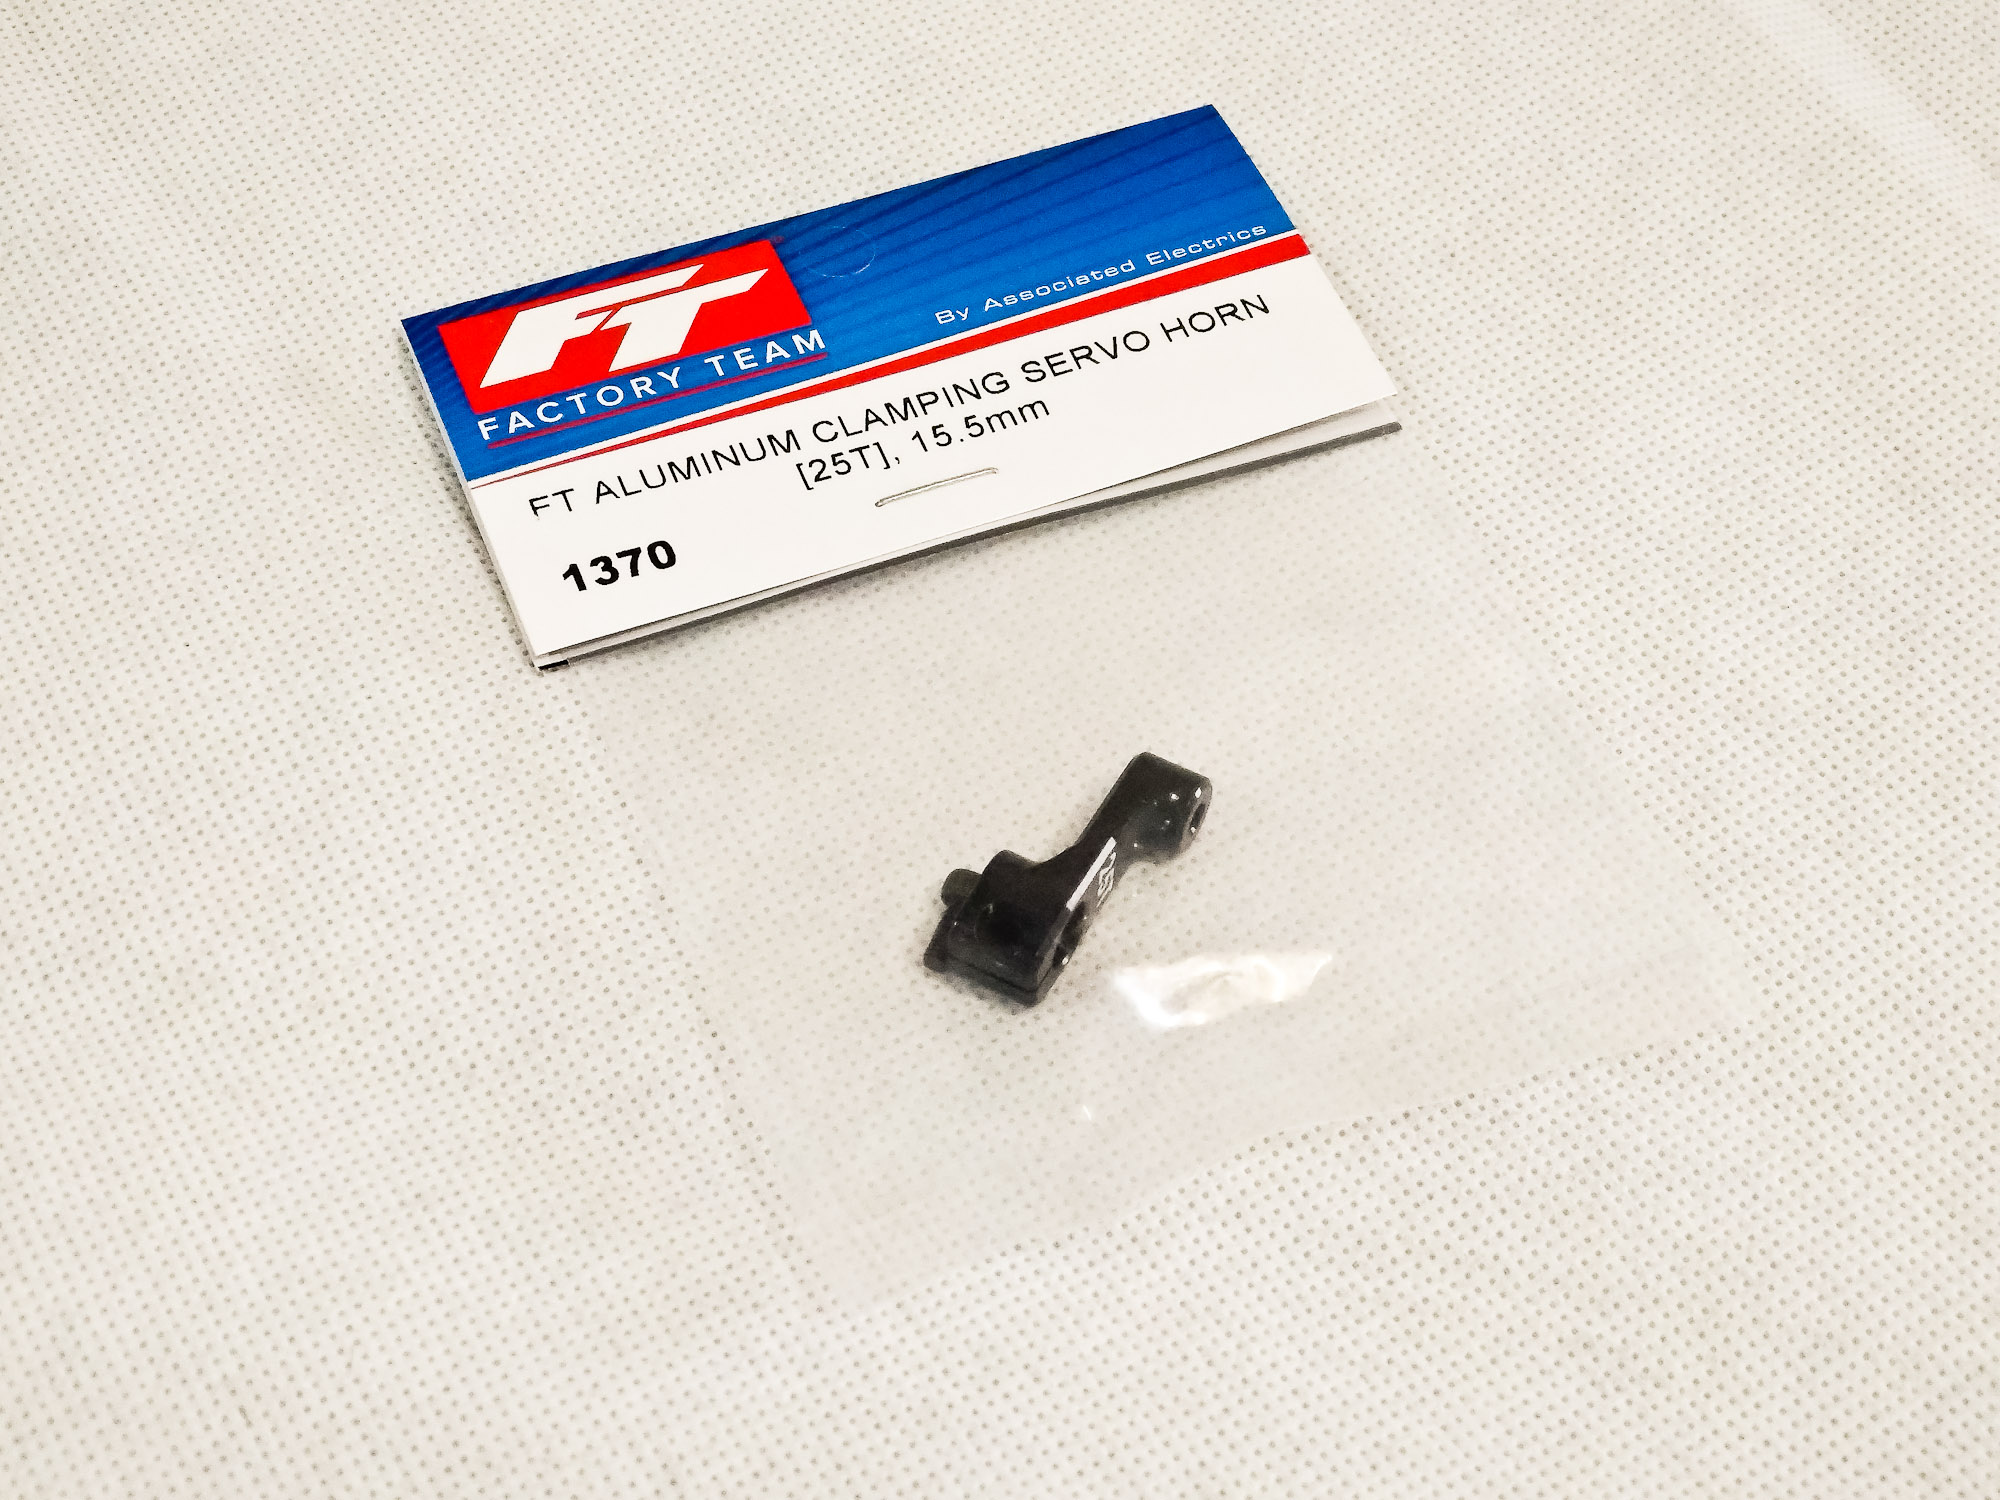
As I don't see any sense in using plastic servo horns in
off-road vehicles, I used the clamping servo horn #1370 to match the 25T spline
of the Ruddog servo.
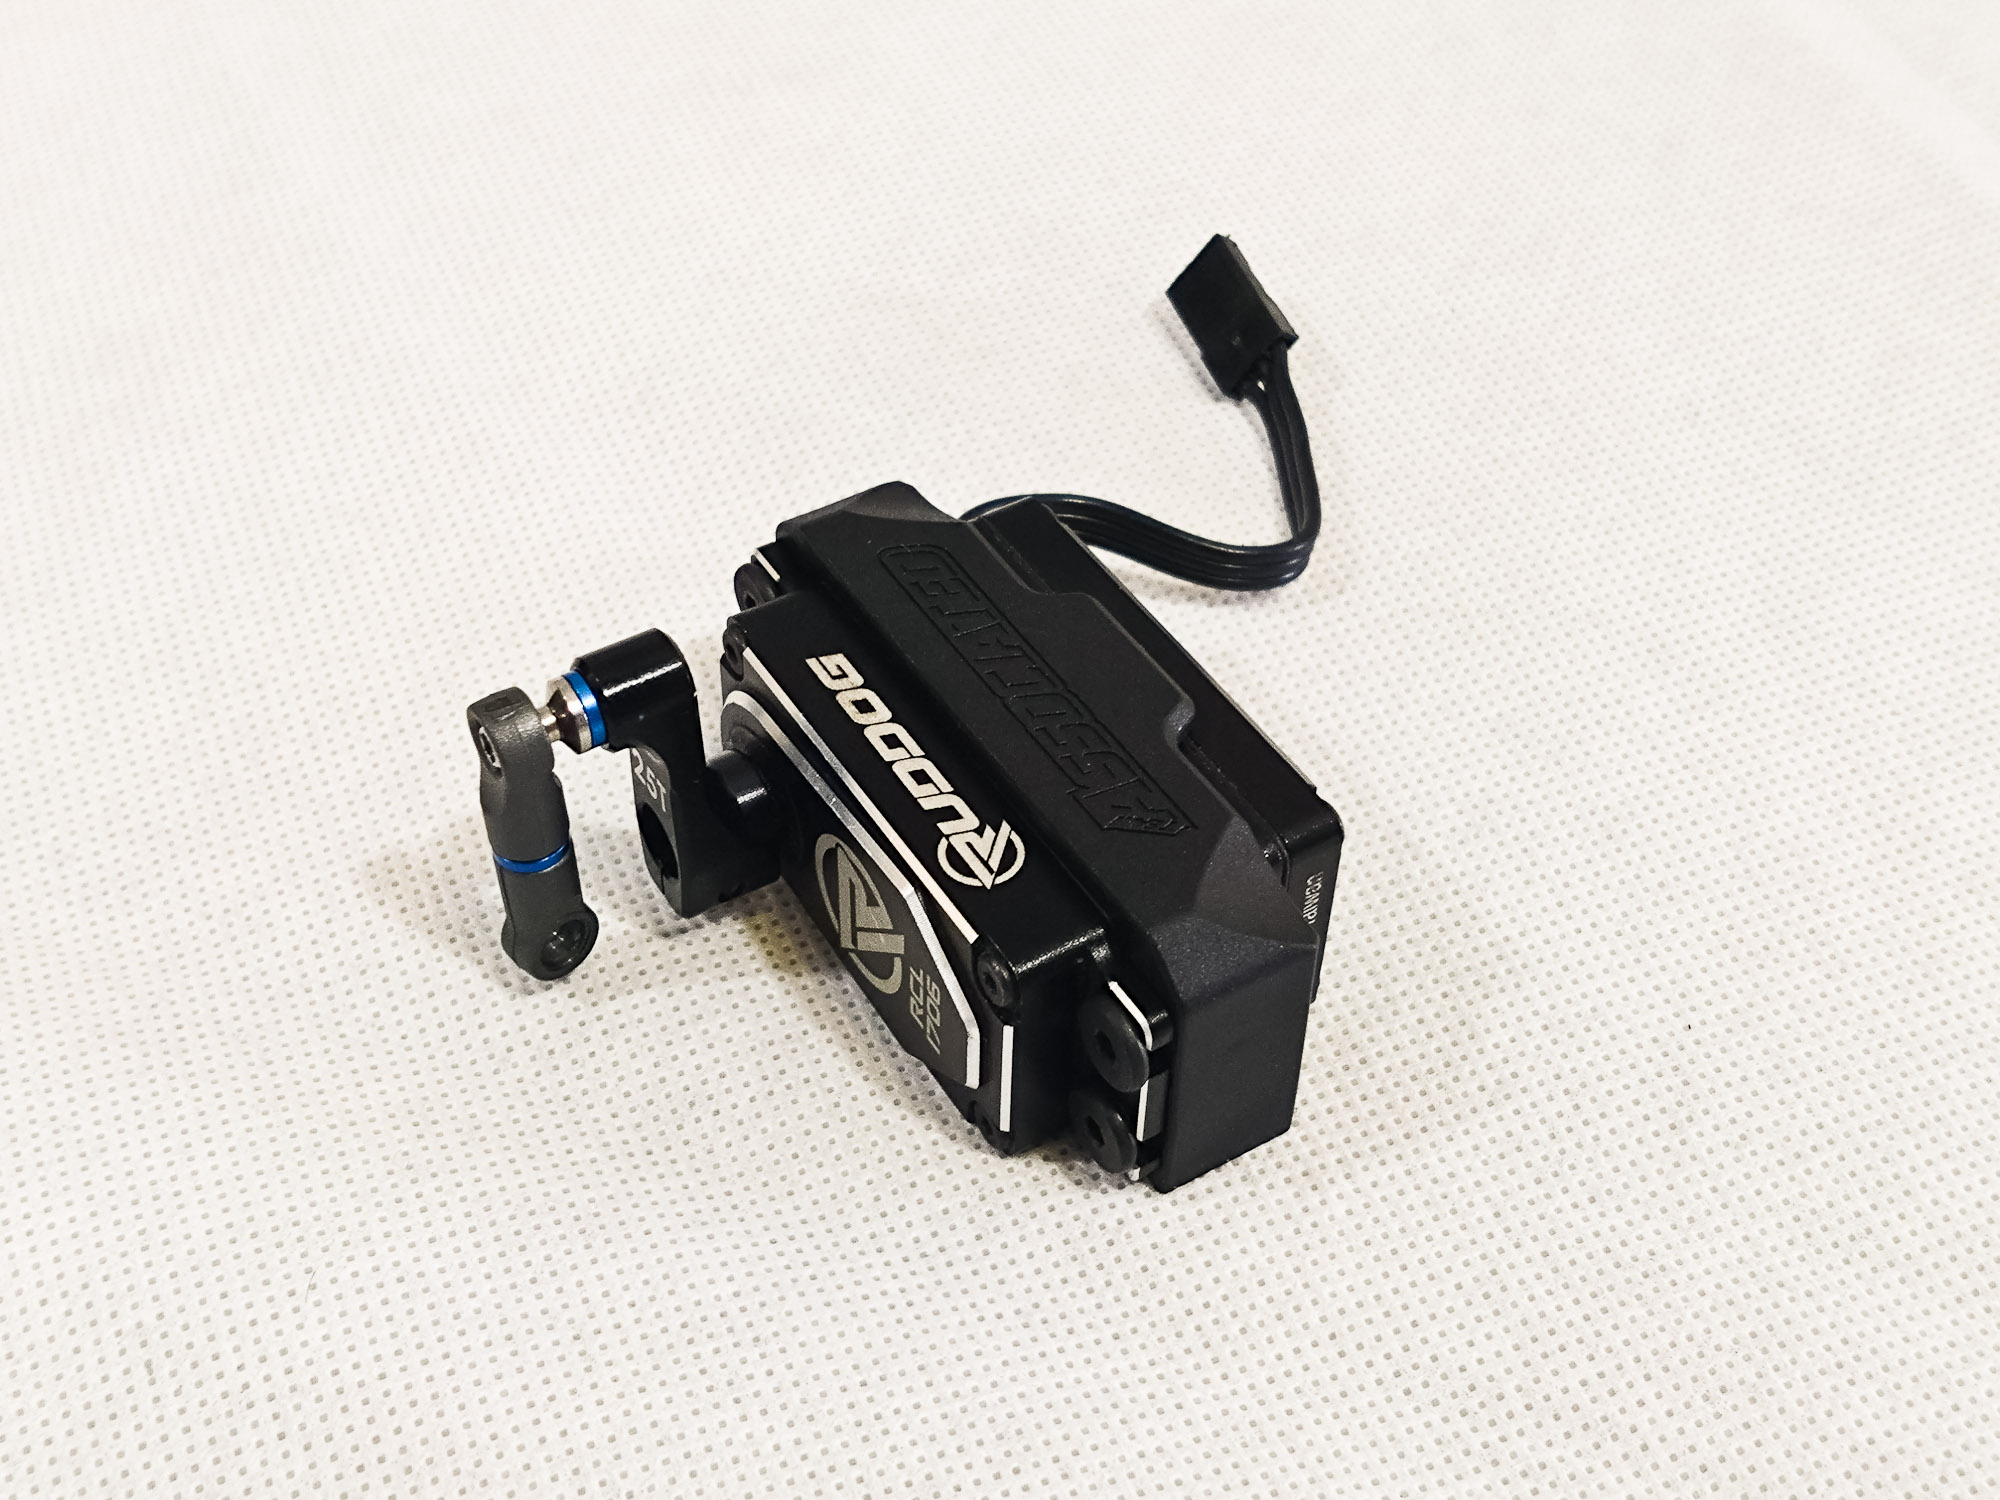
The mid-size servo fits perfectly into the servo mount. As I
later found out, the 1 mm spacer on the servo link was not enough to get full
throw in both directions, which is why there's a black 2 mm spacer in the last
few images.

Servo attached.
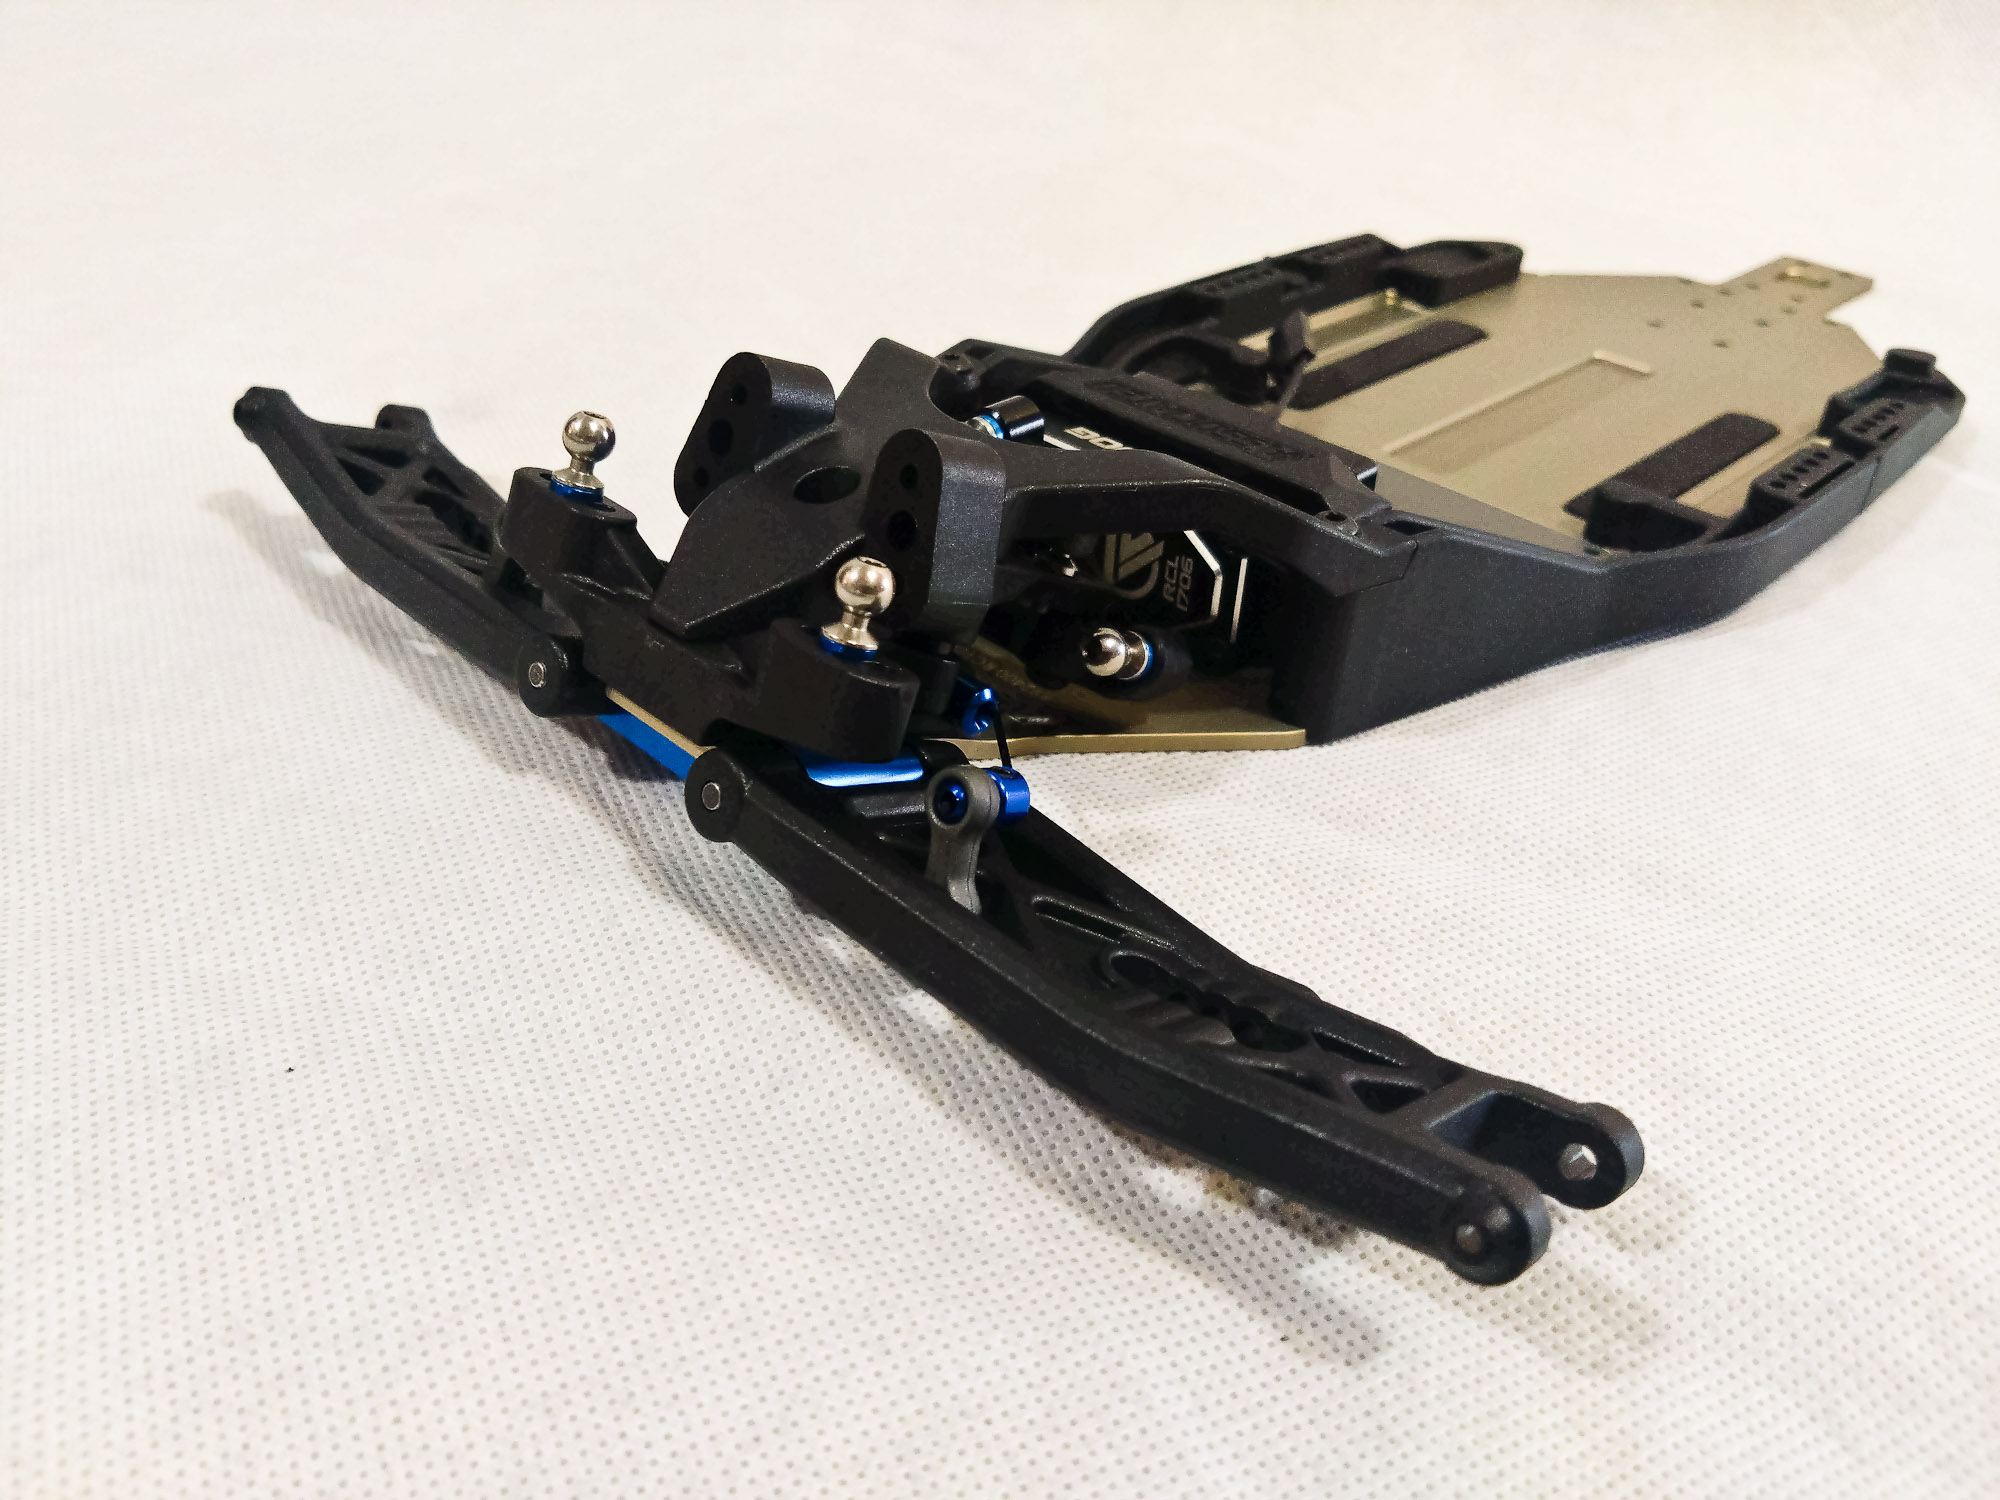
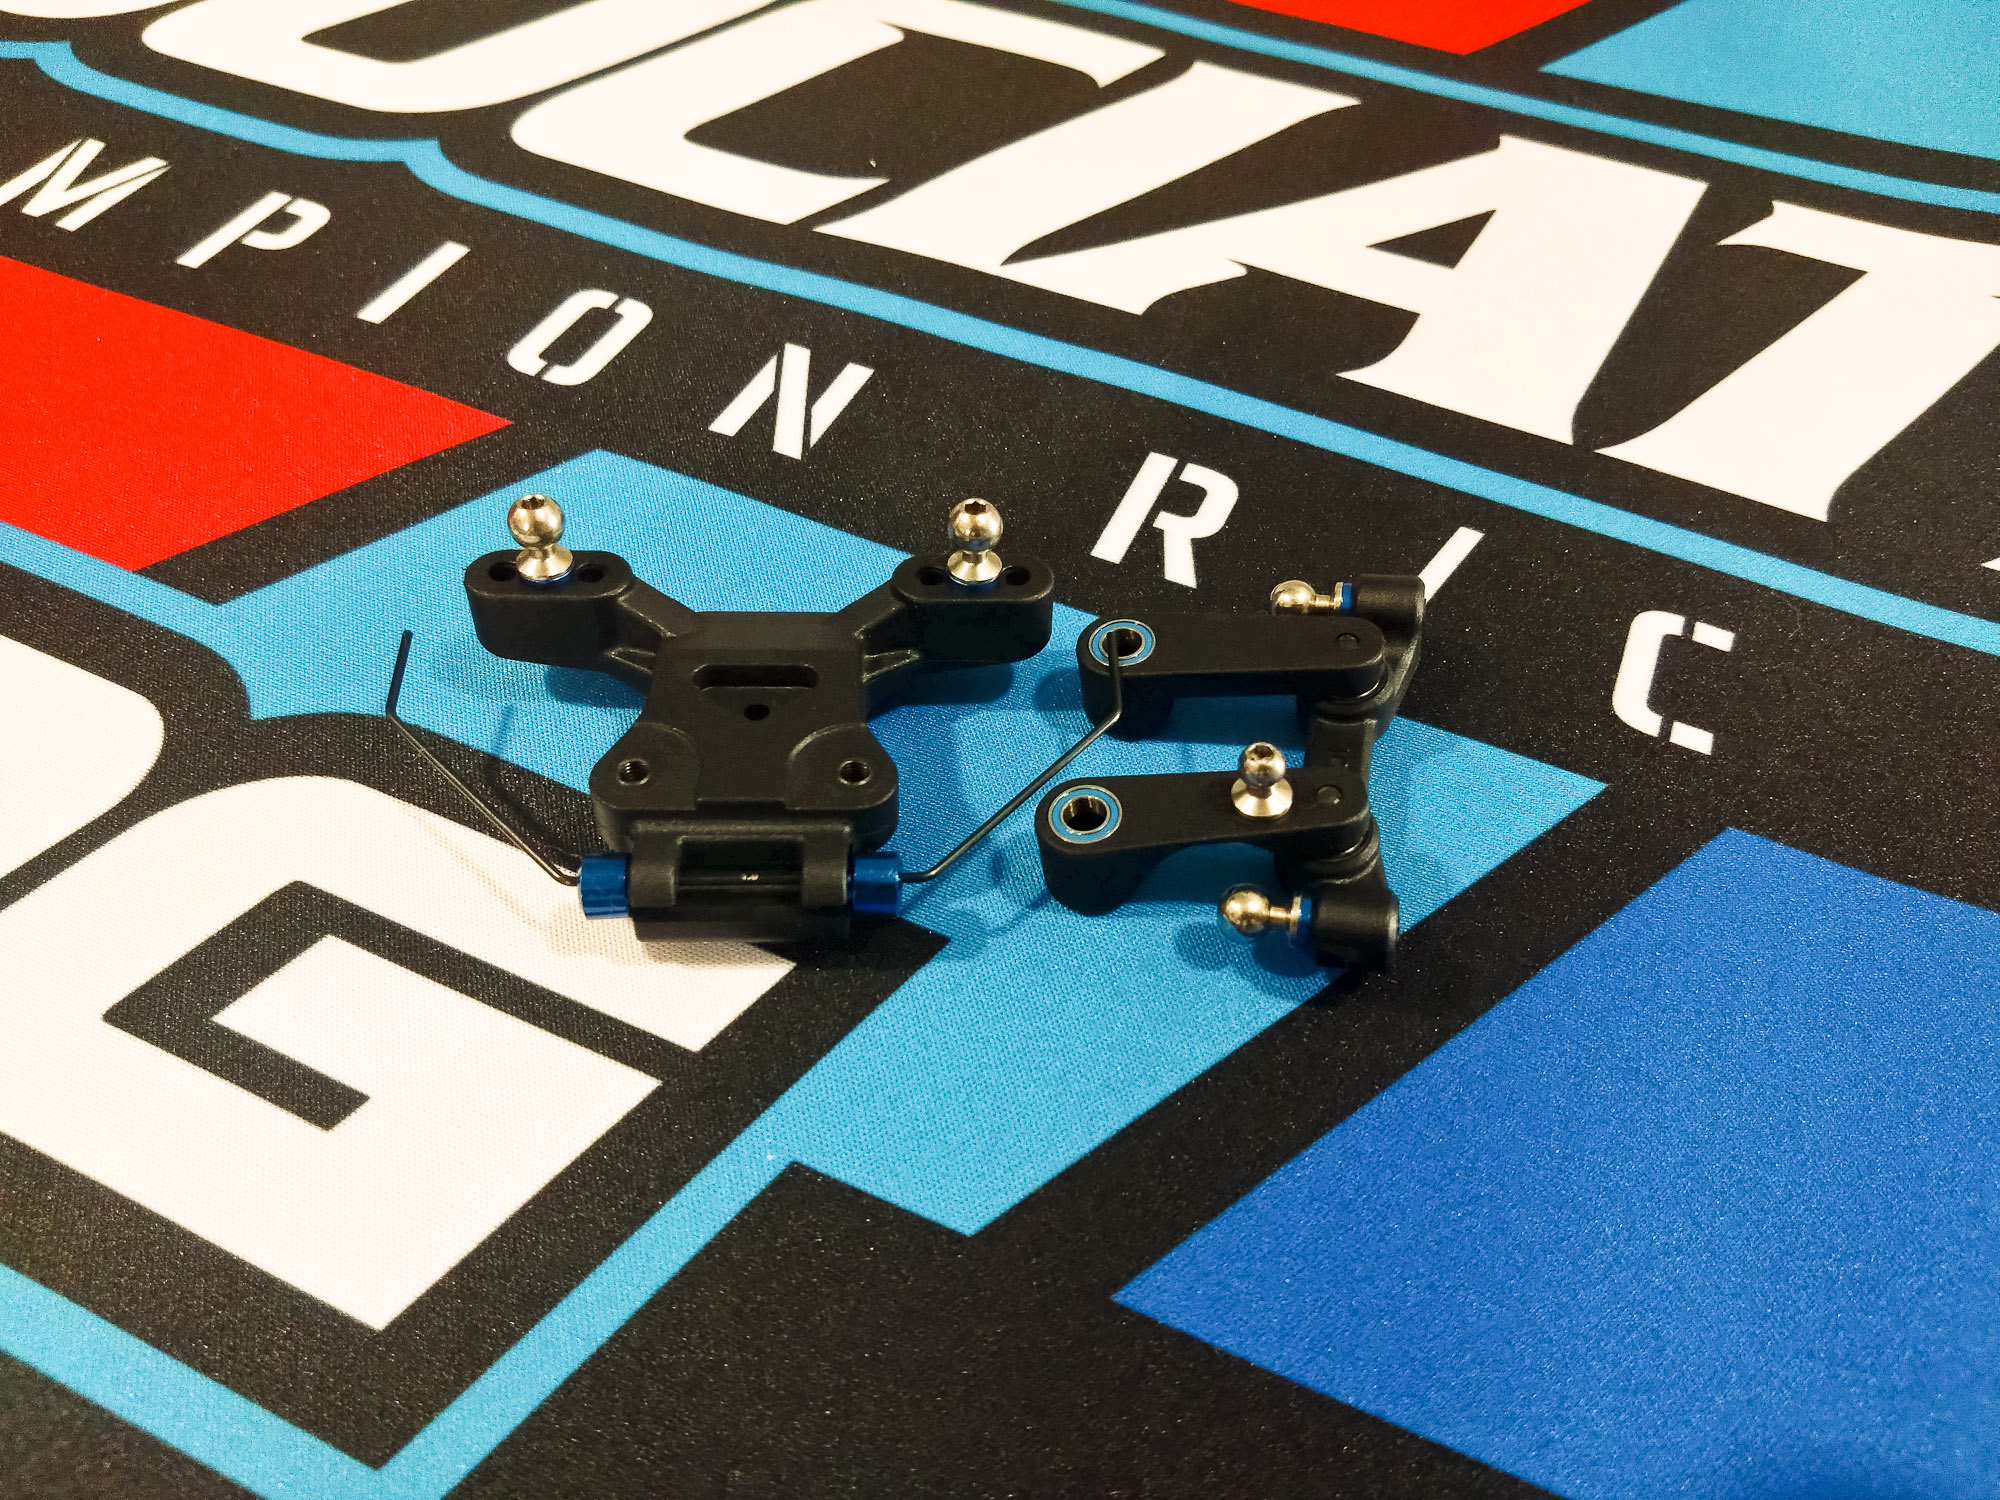
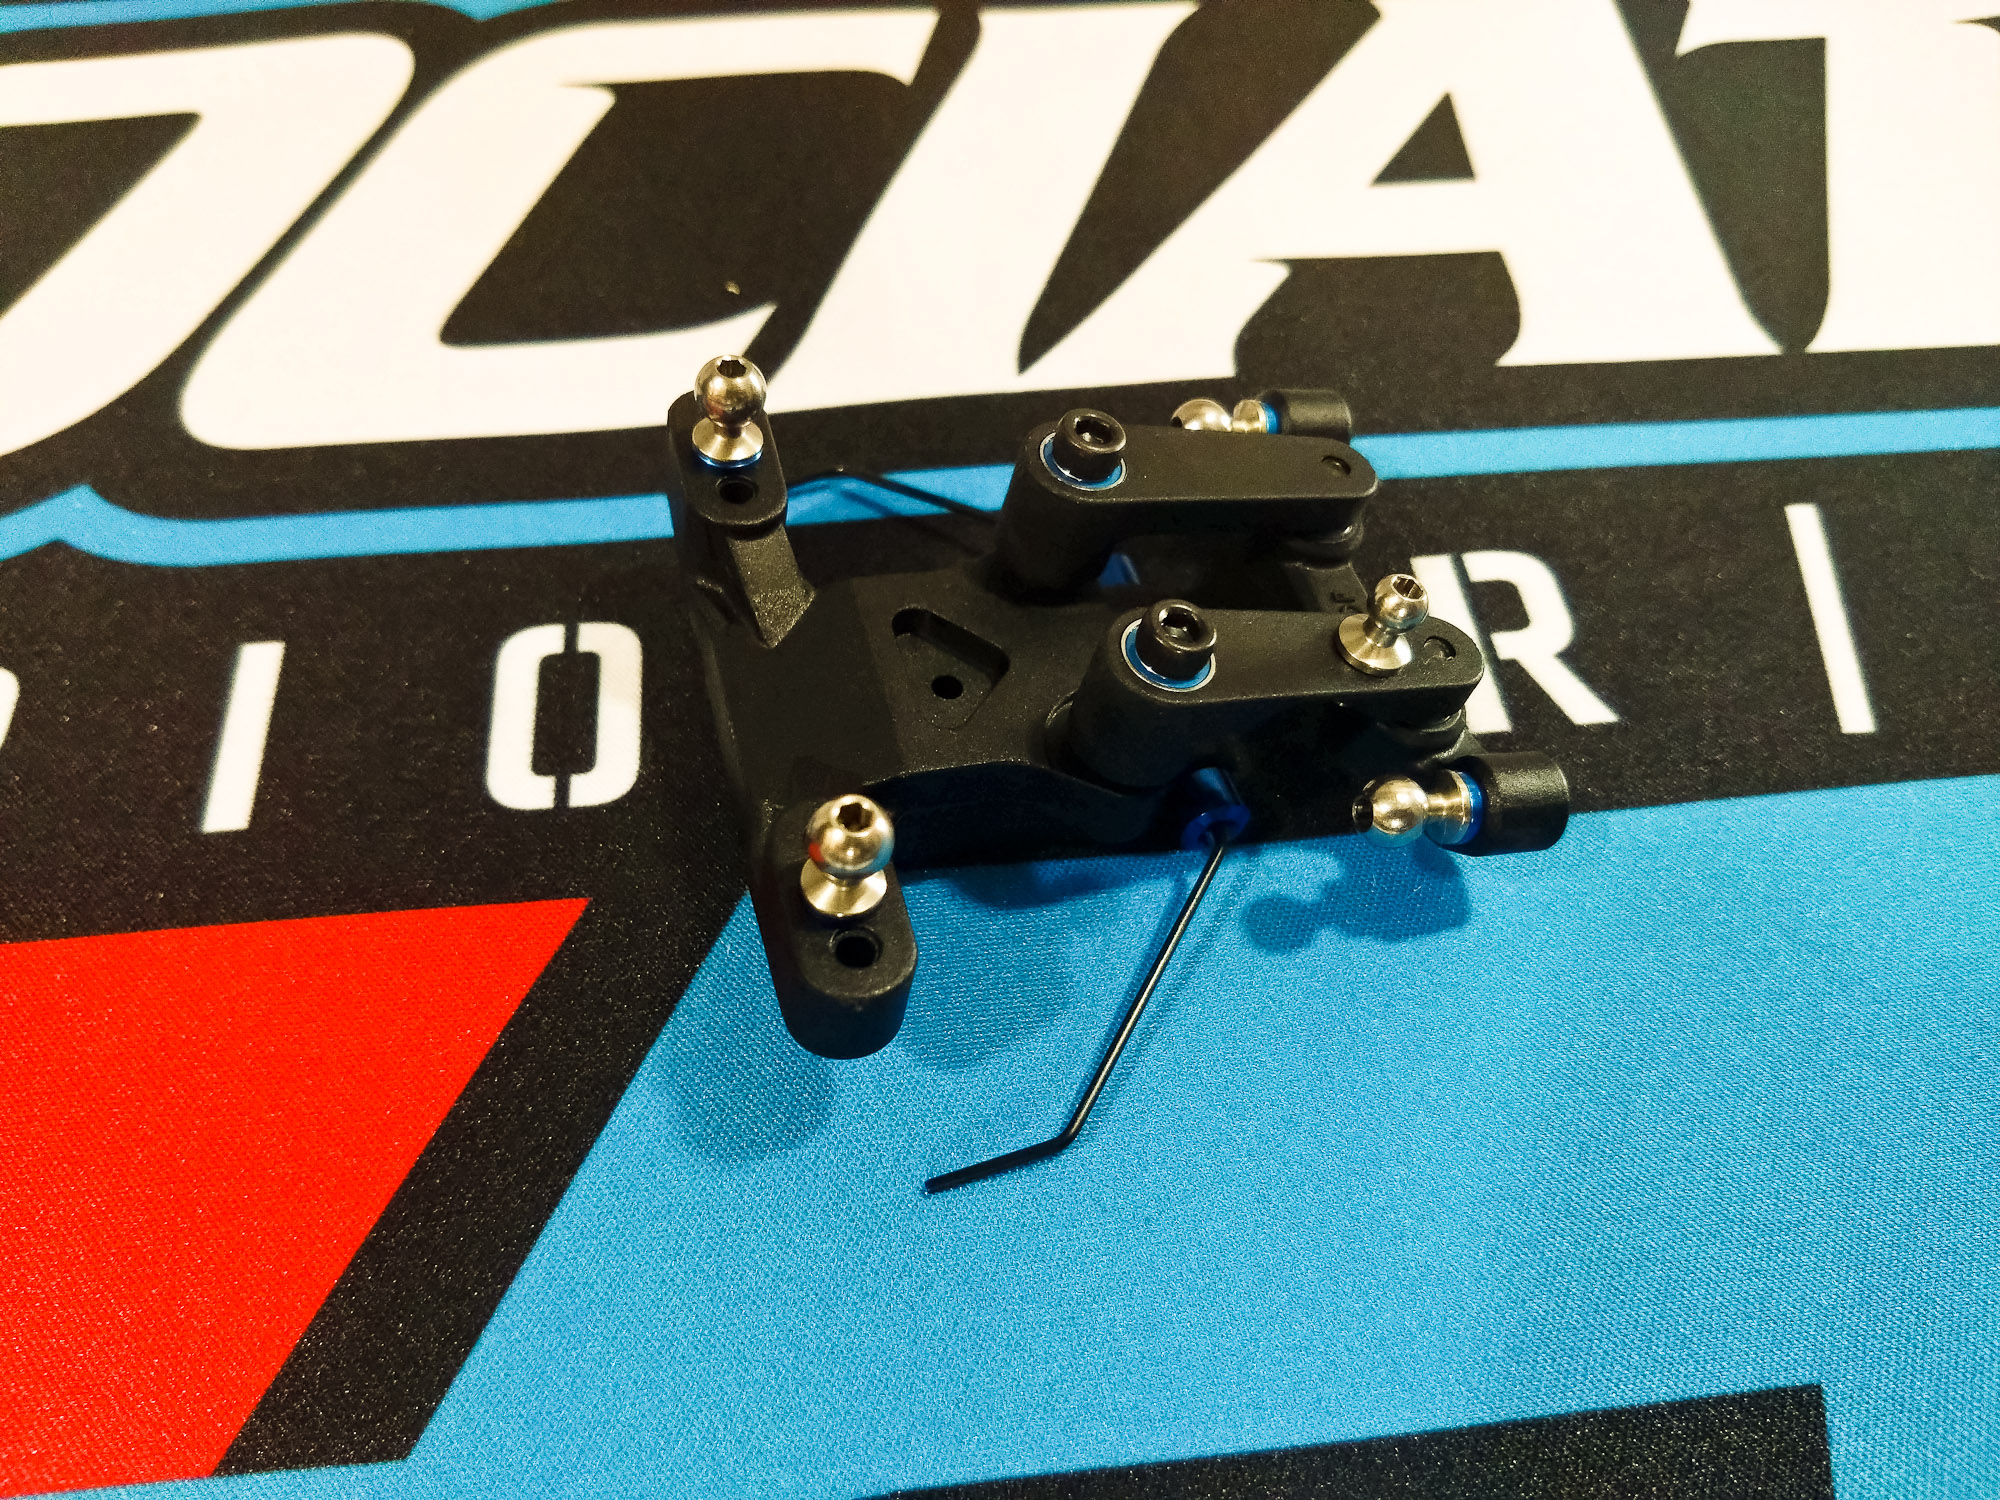
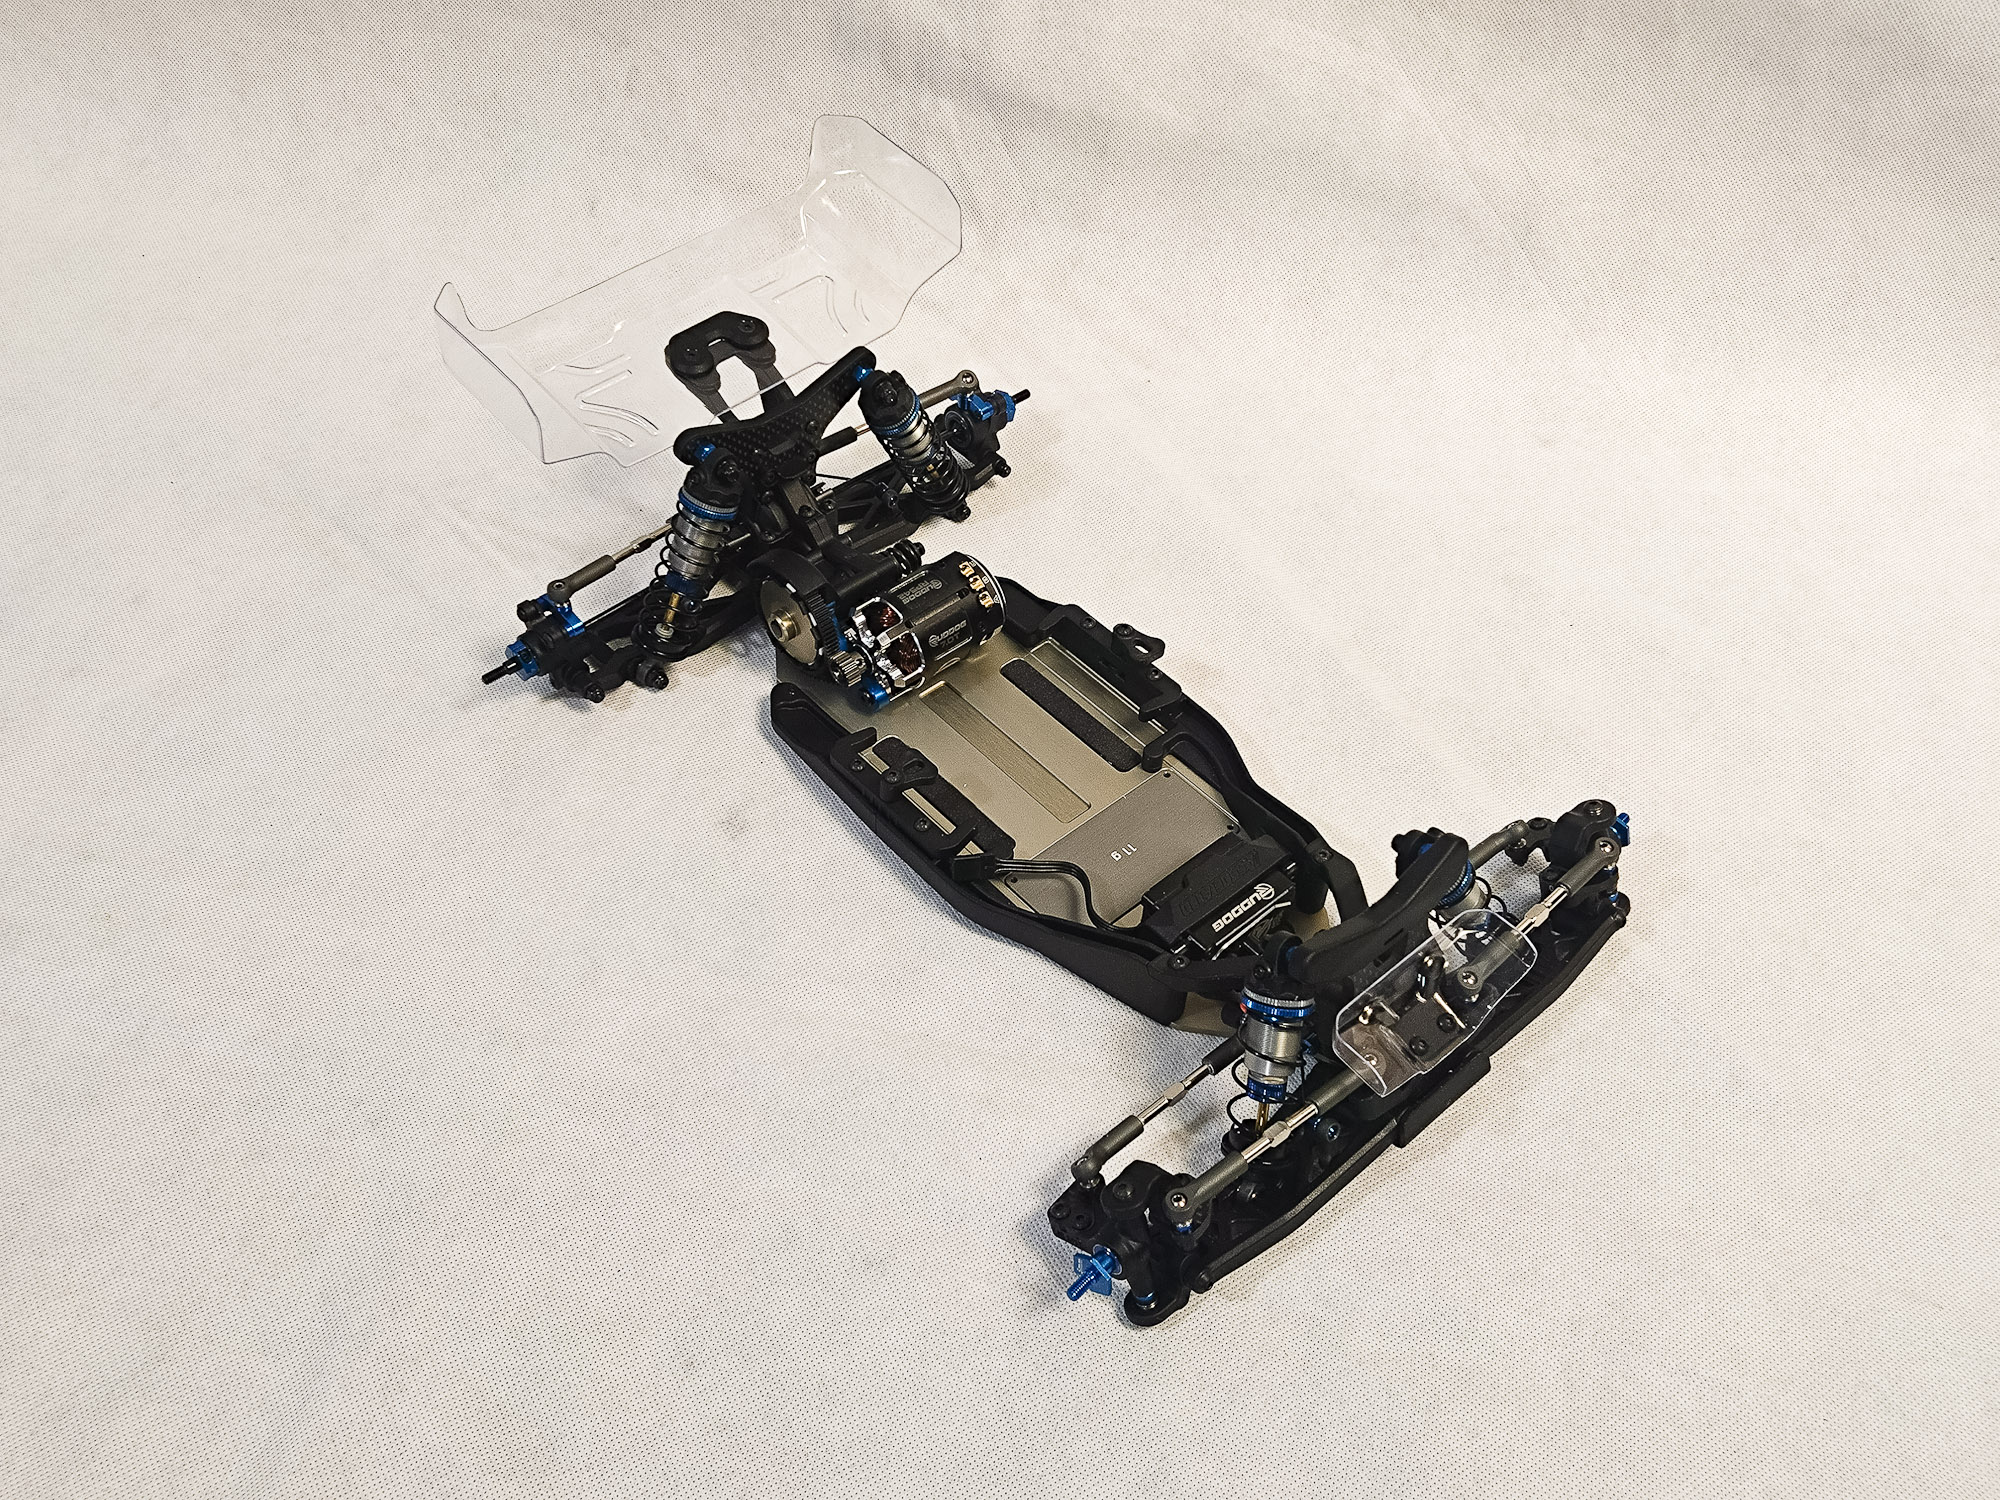
Top plate and front arms installed, anti-roll bar connected.
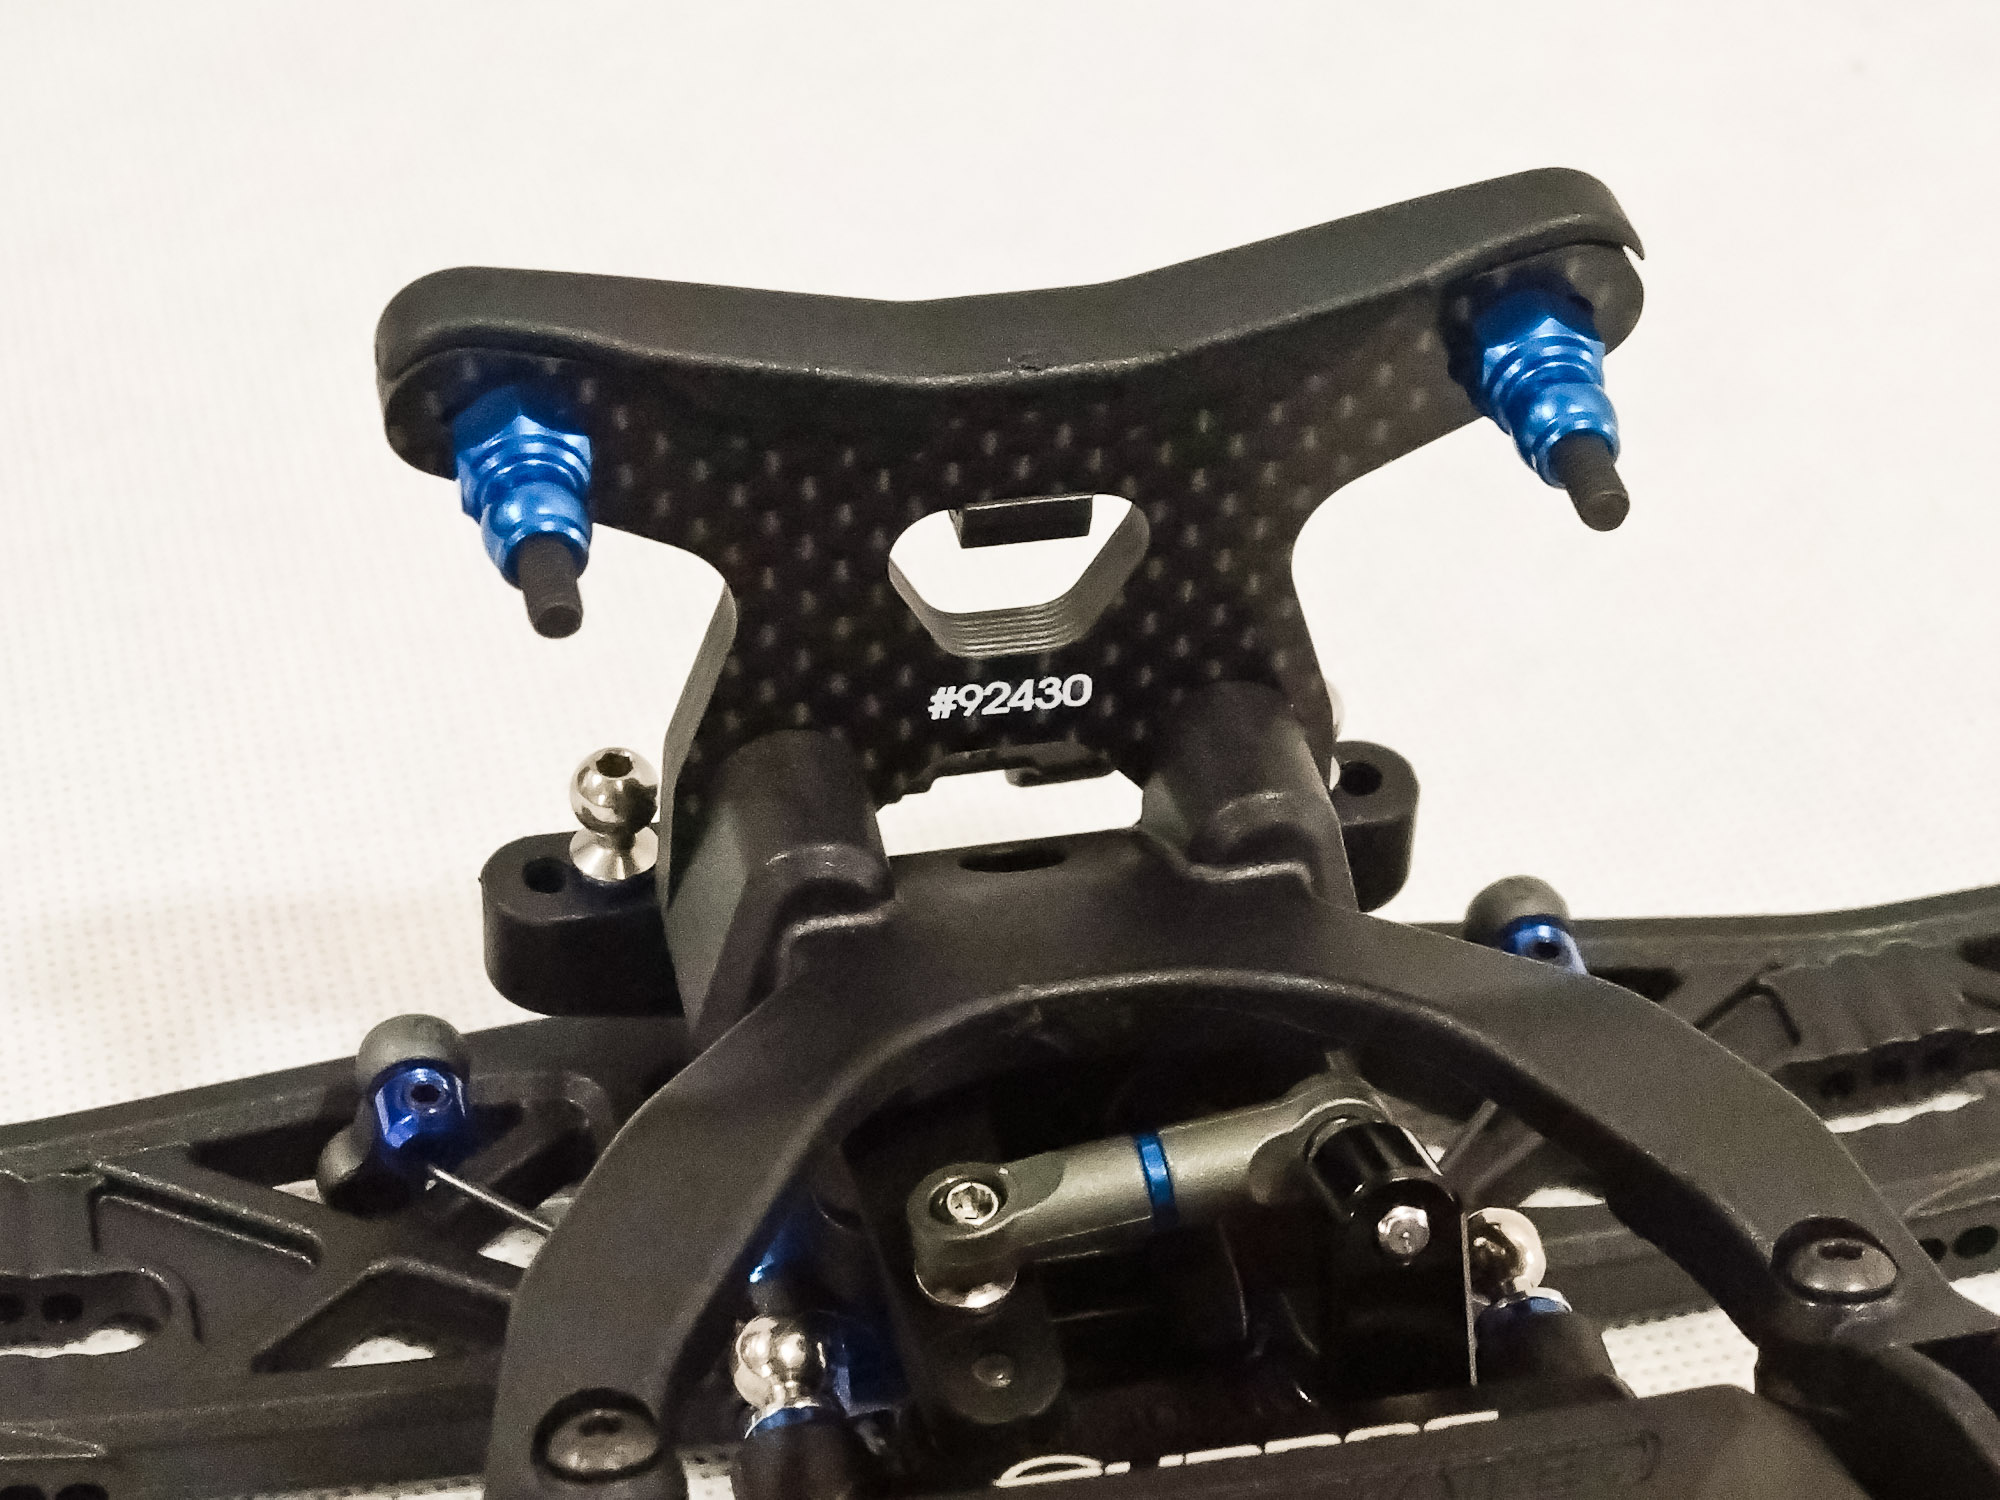
Front shock tower with clip-on cover.
Front wing mount. Excess hardware is used later for both the
front and rear wings.
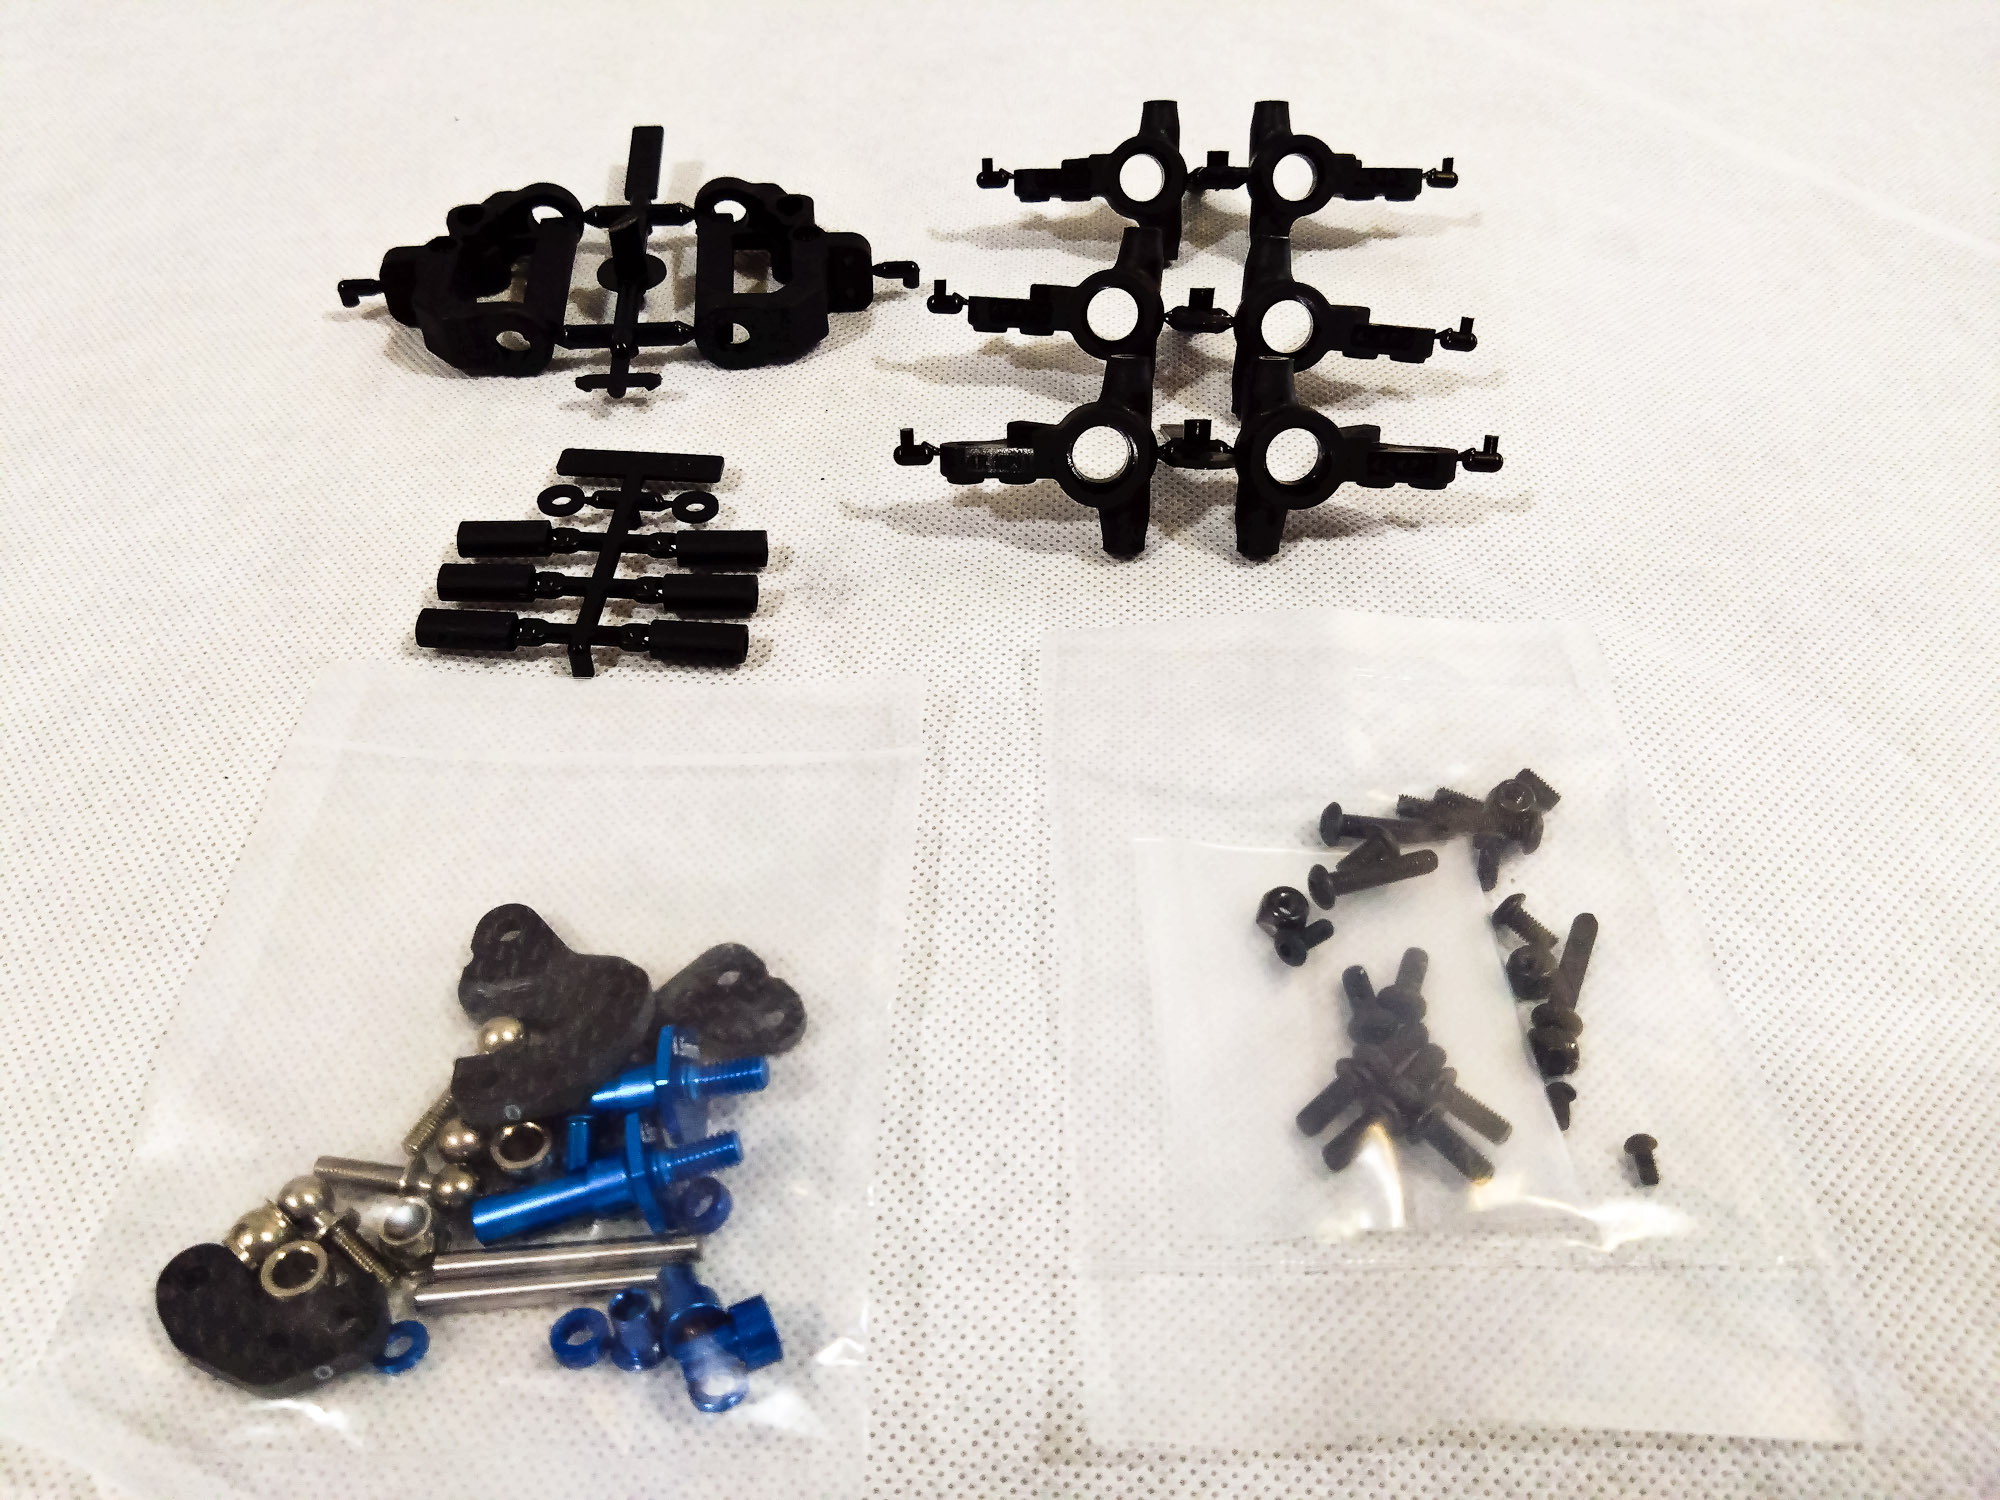
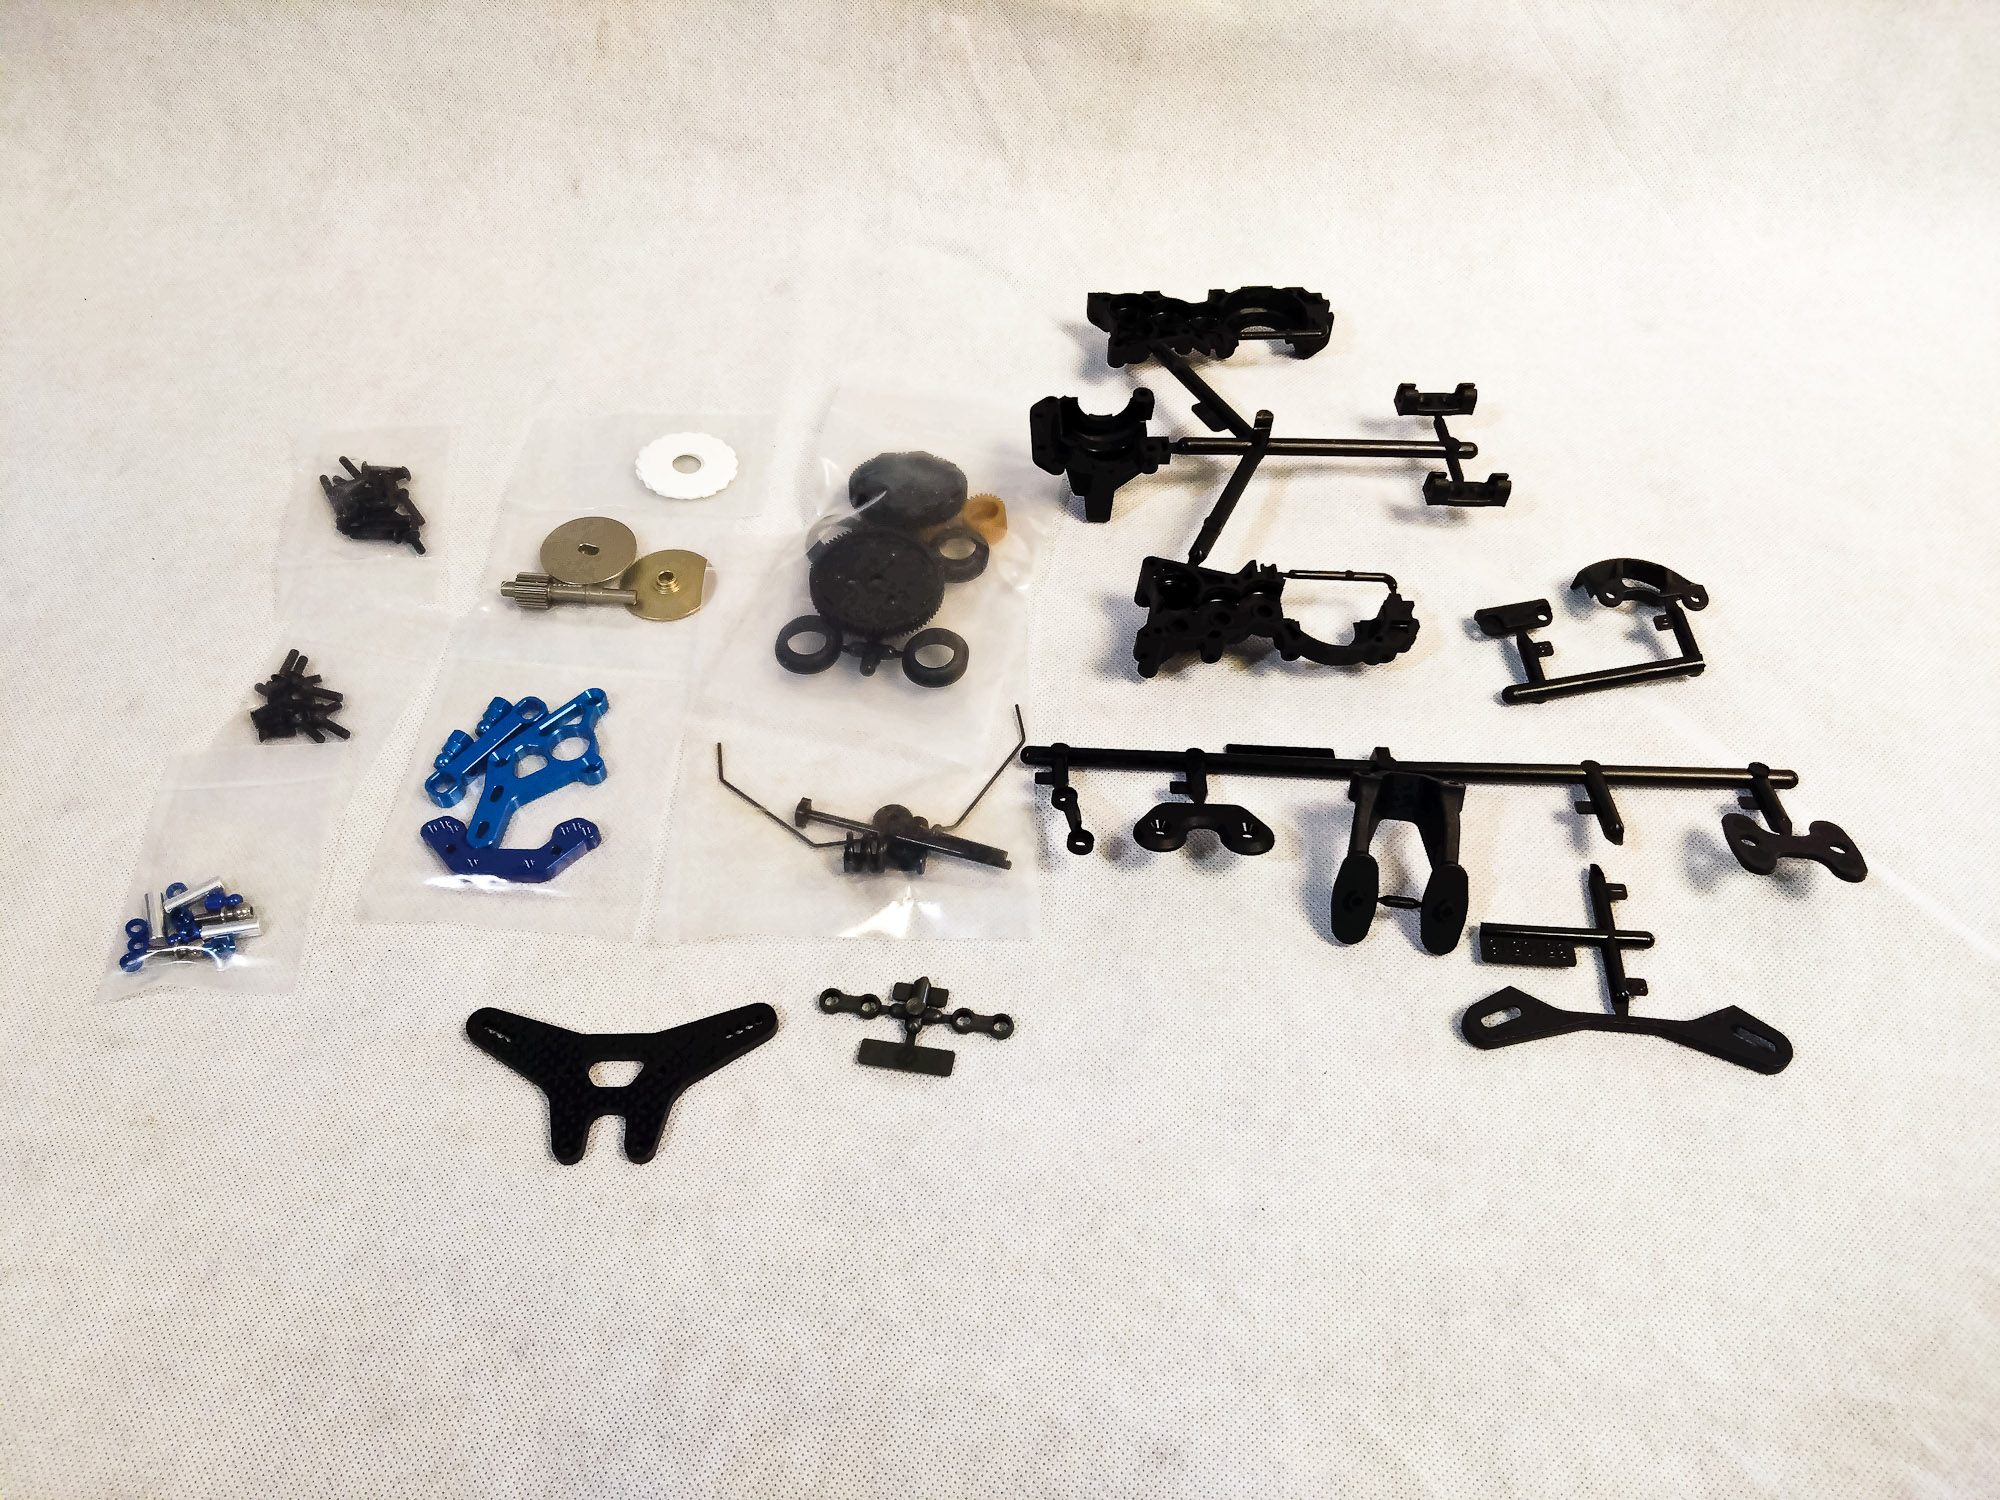
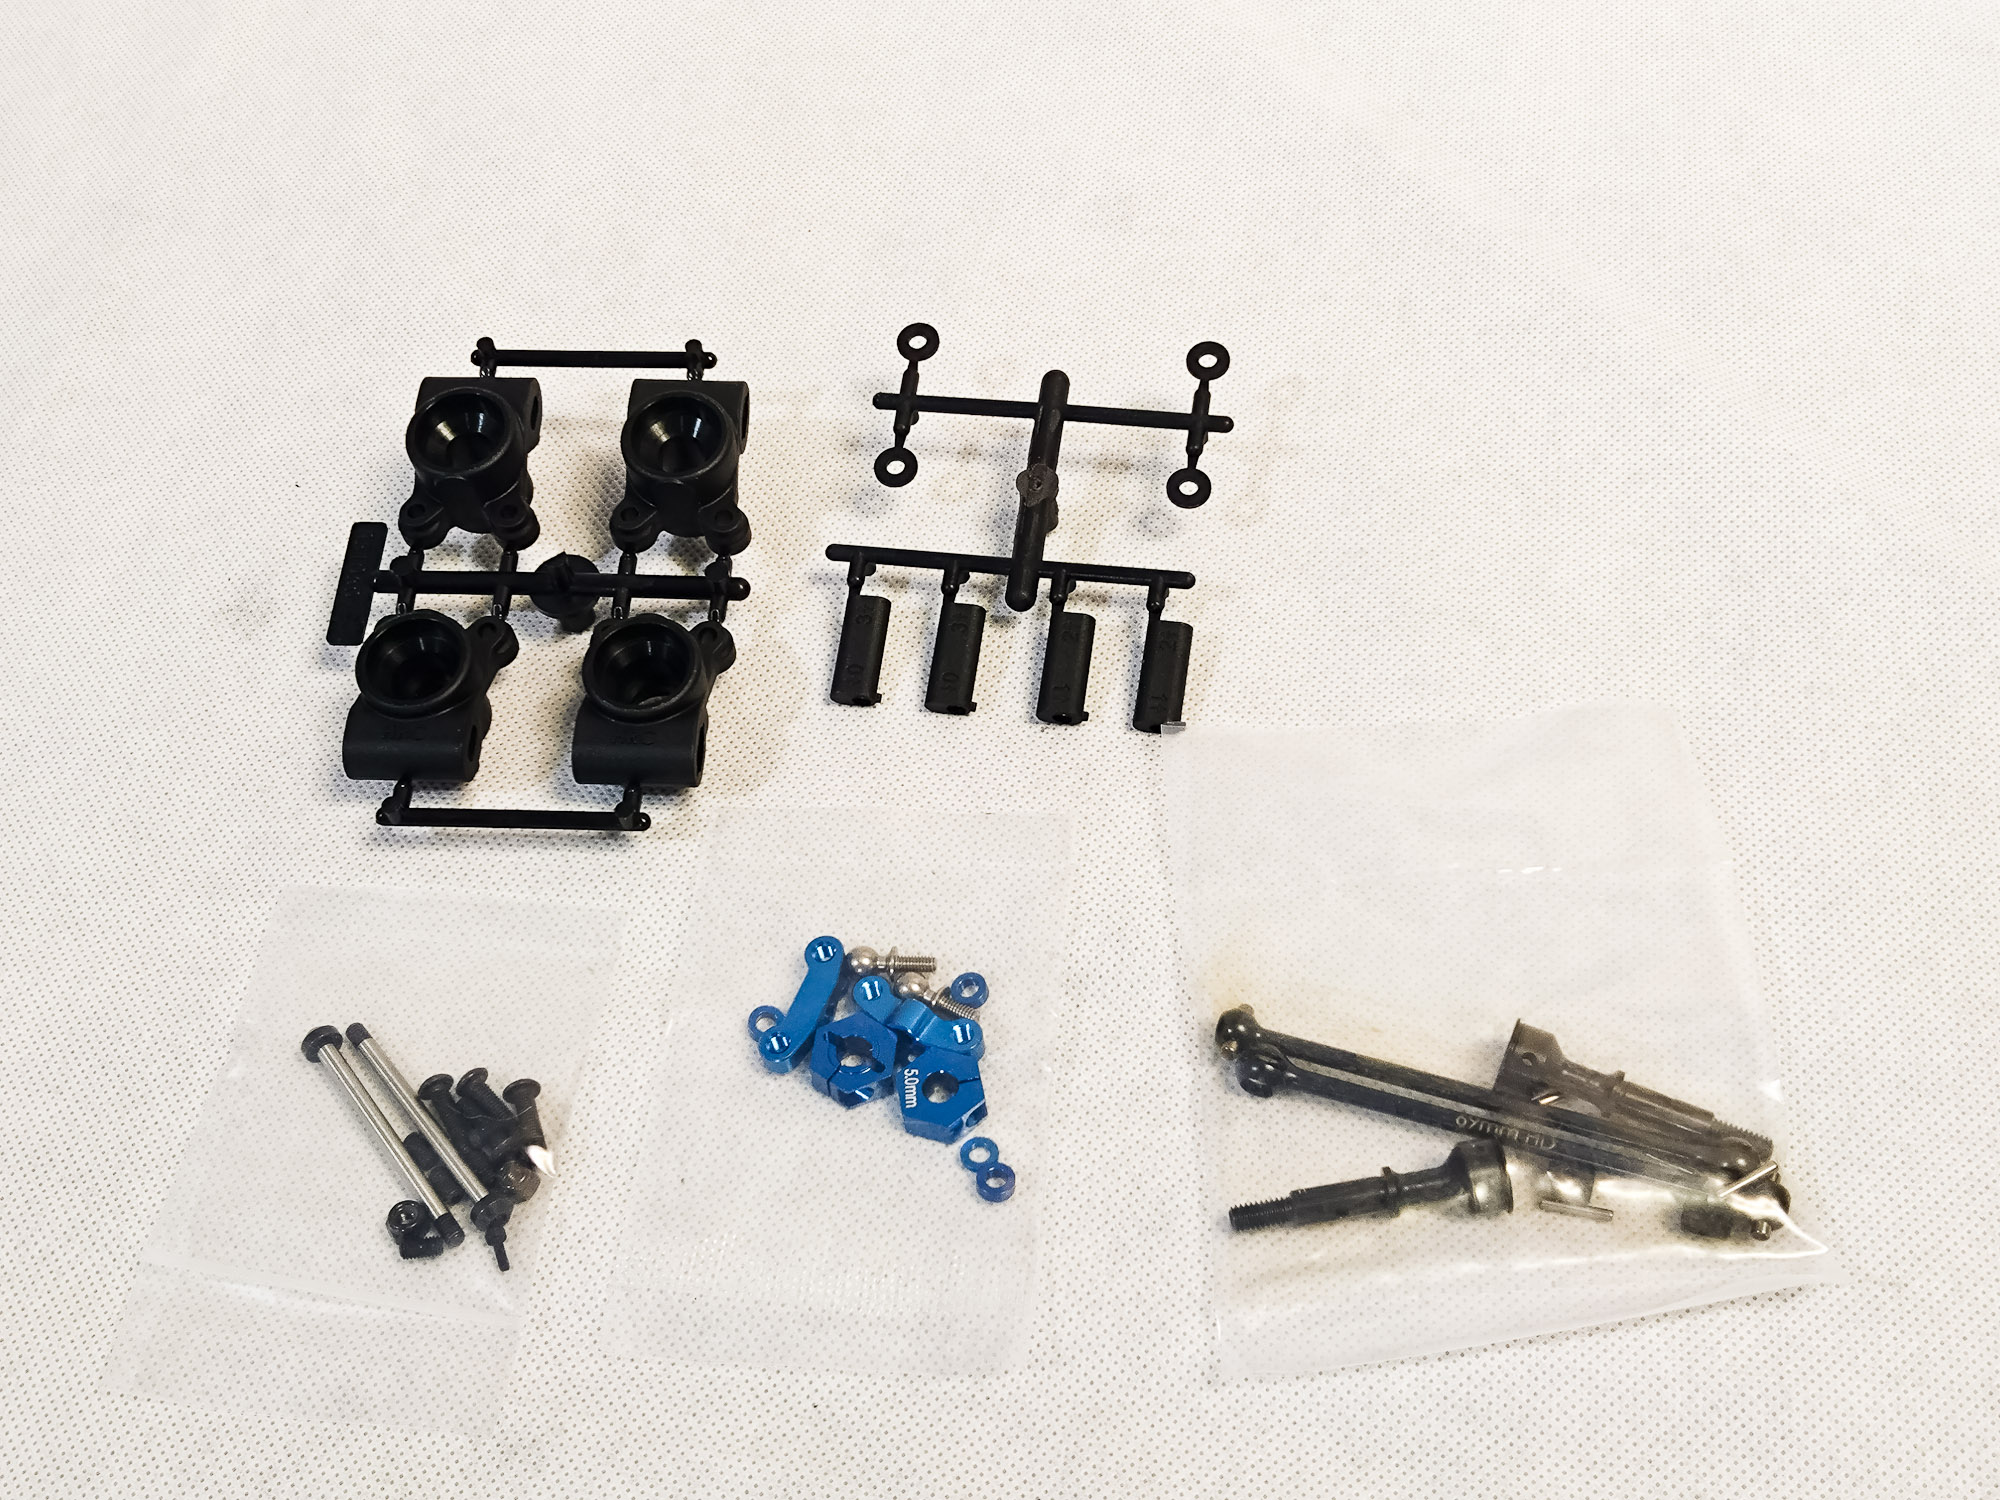
Bag 3 is all about the new K(ing) P(in) I(nclination)
steering blocks and highly adjustable new caster blocks and associated items
such as the front axles. Three choices of KPI steering blocks are included.
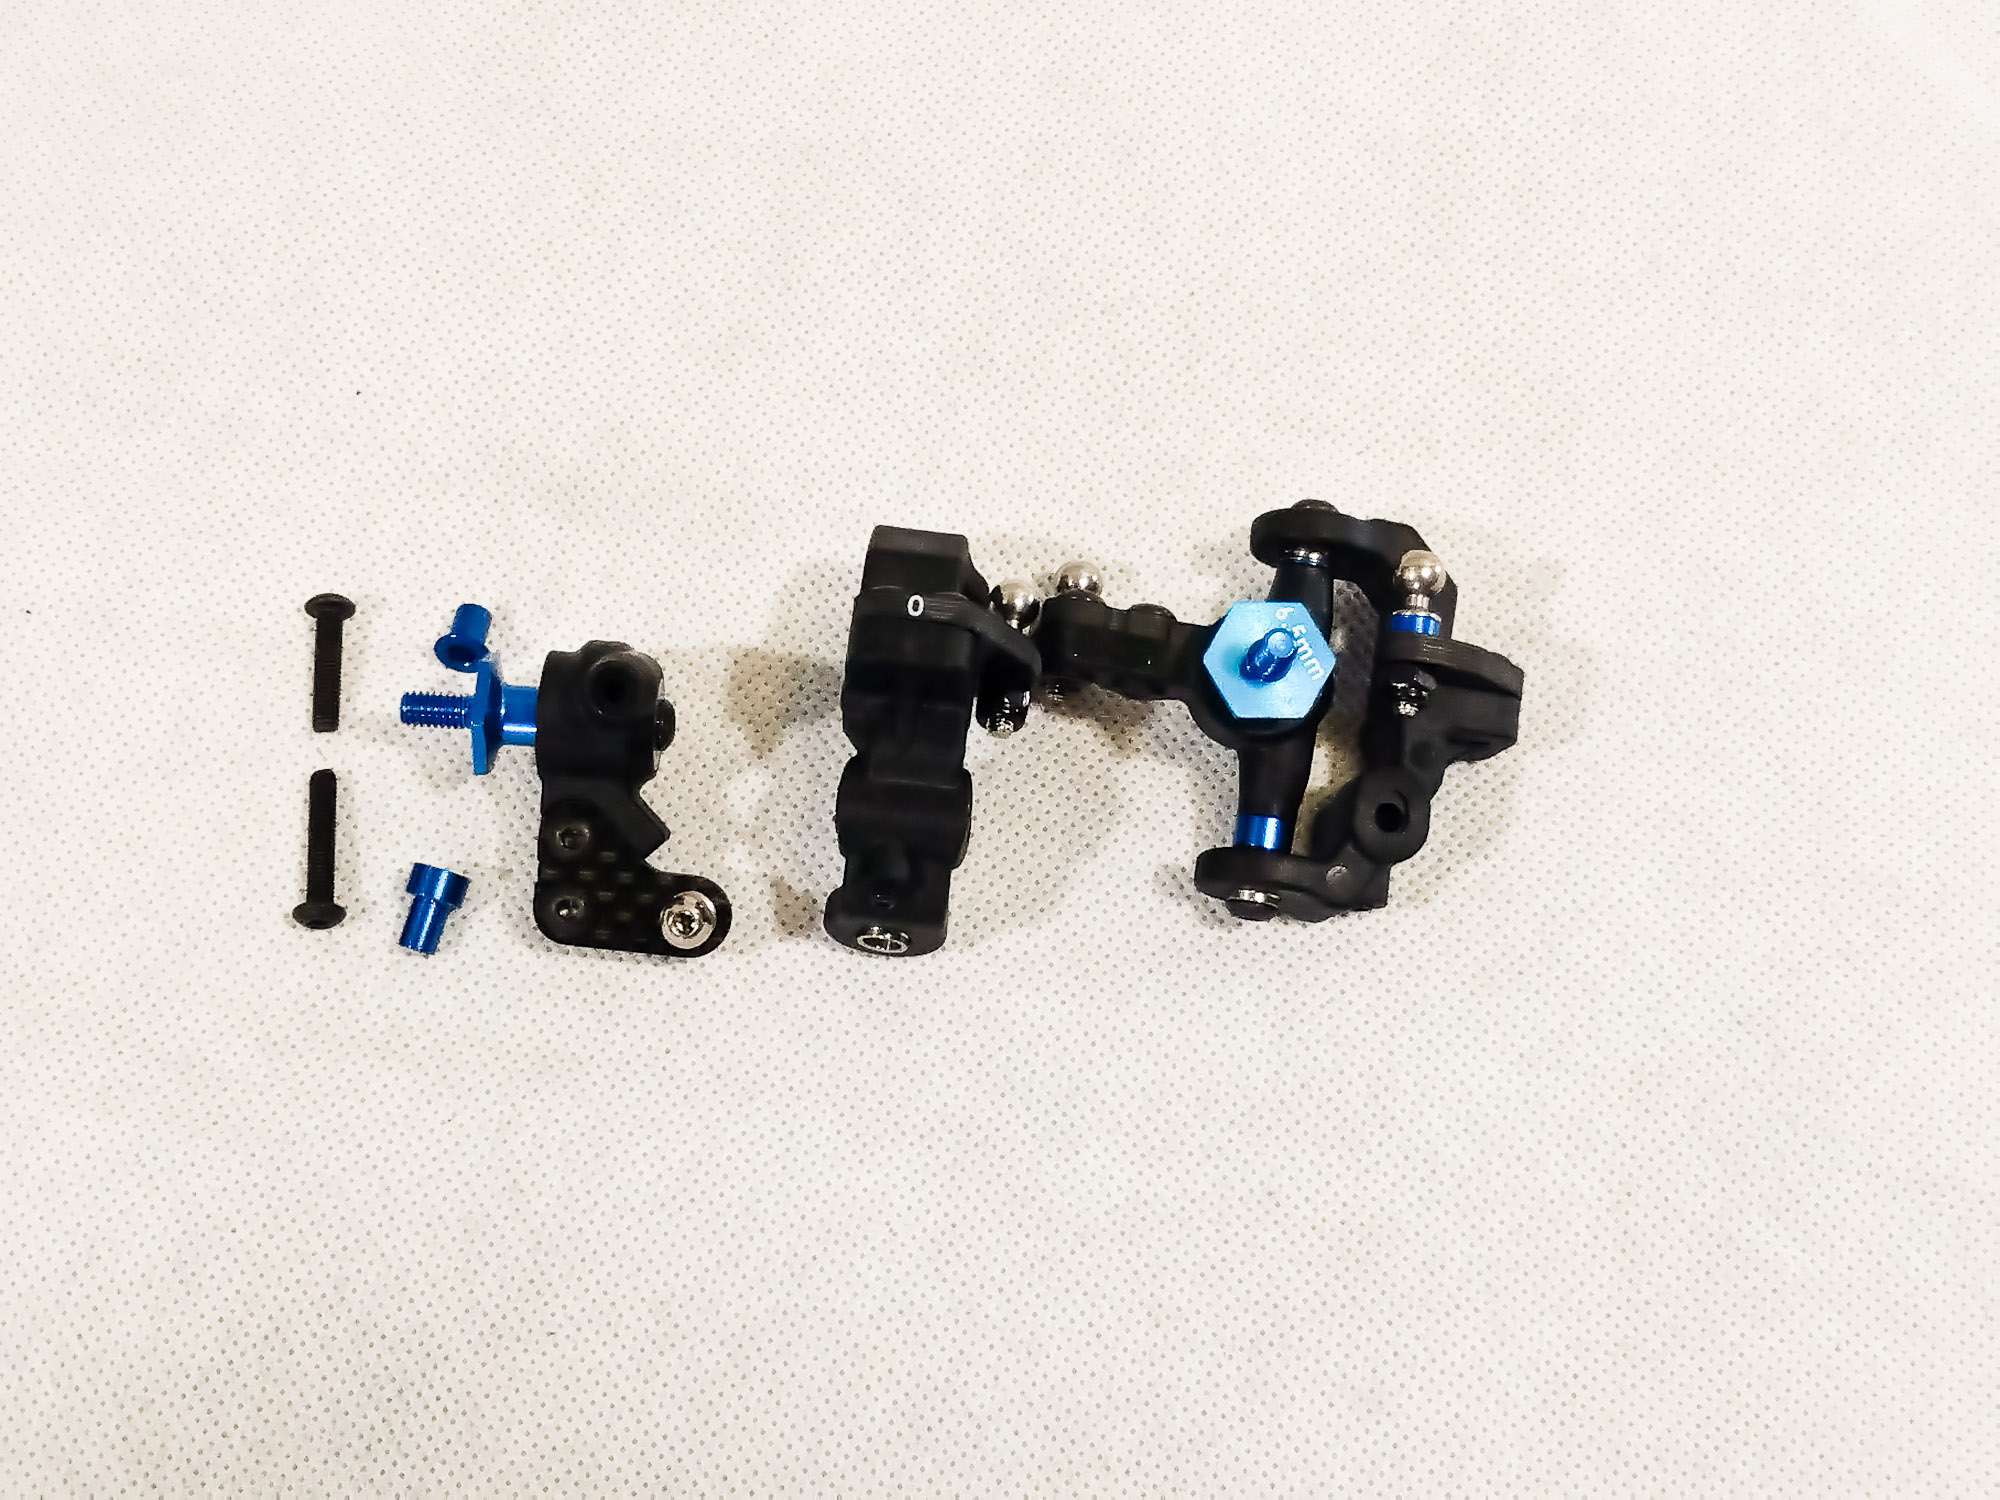
Caster block assemblies.
Bag 3 complete.

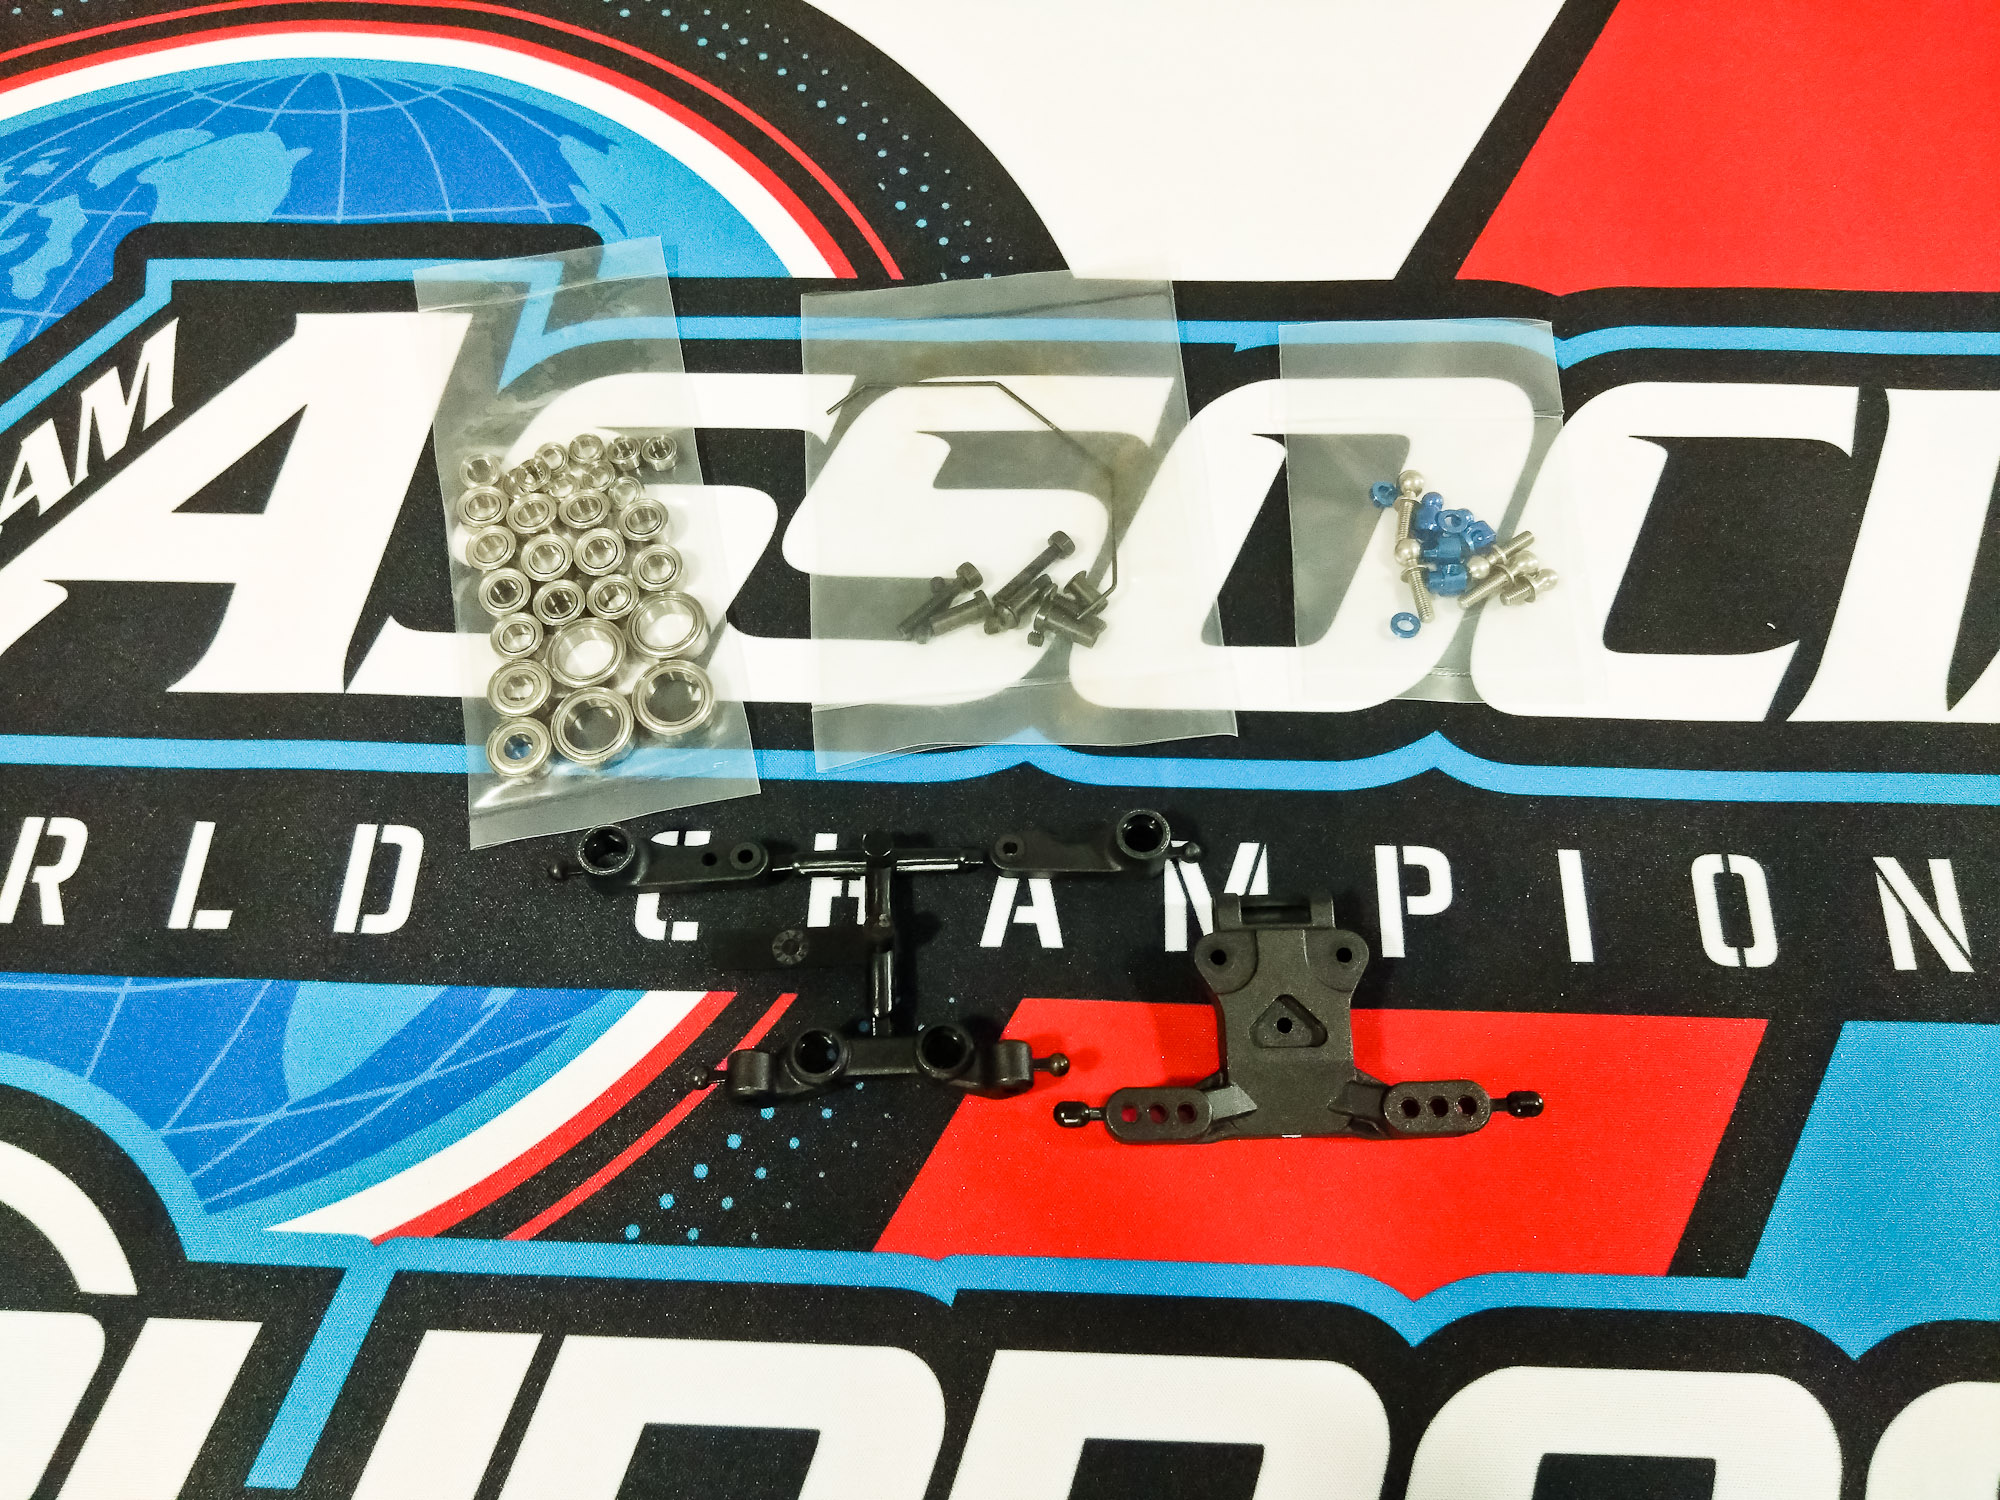
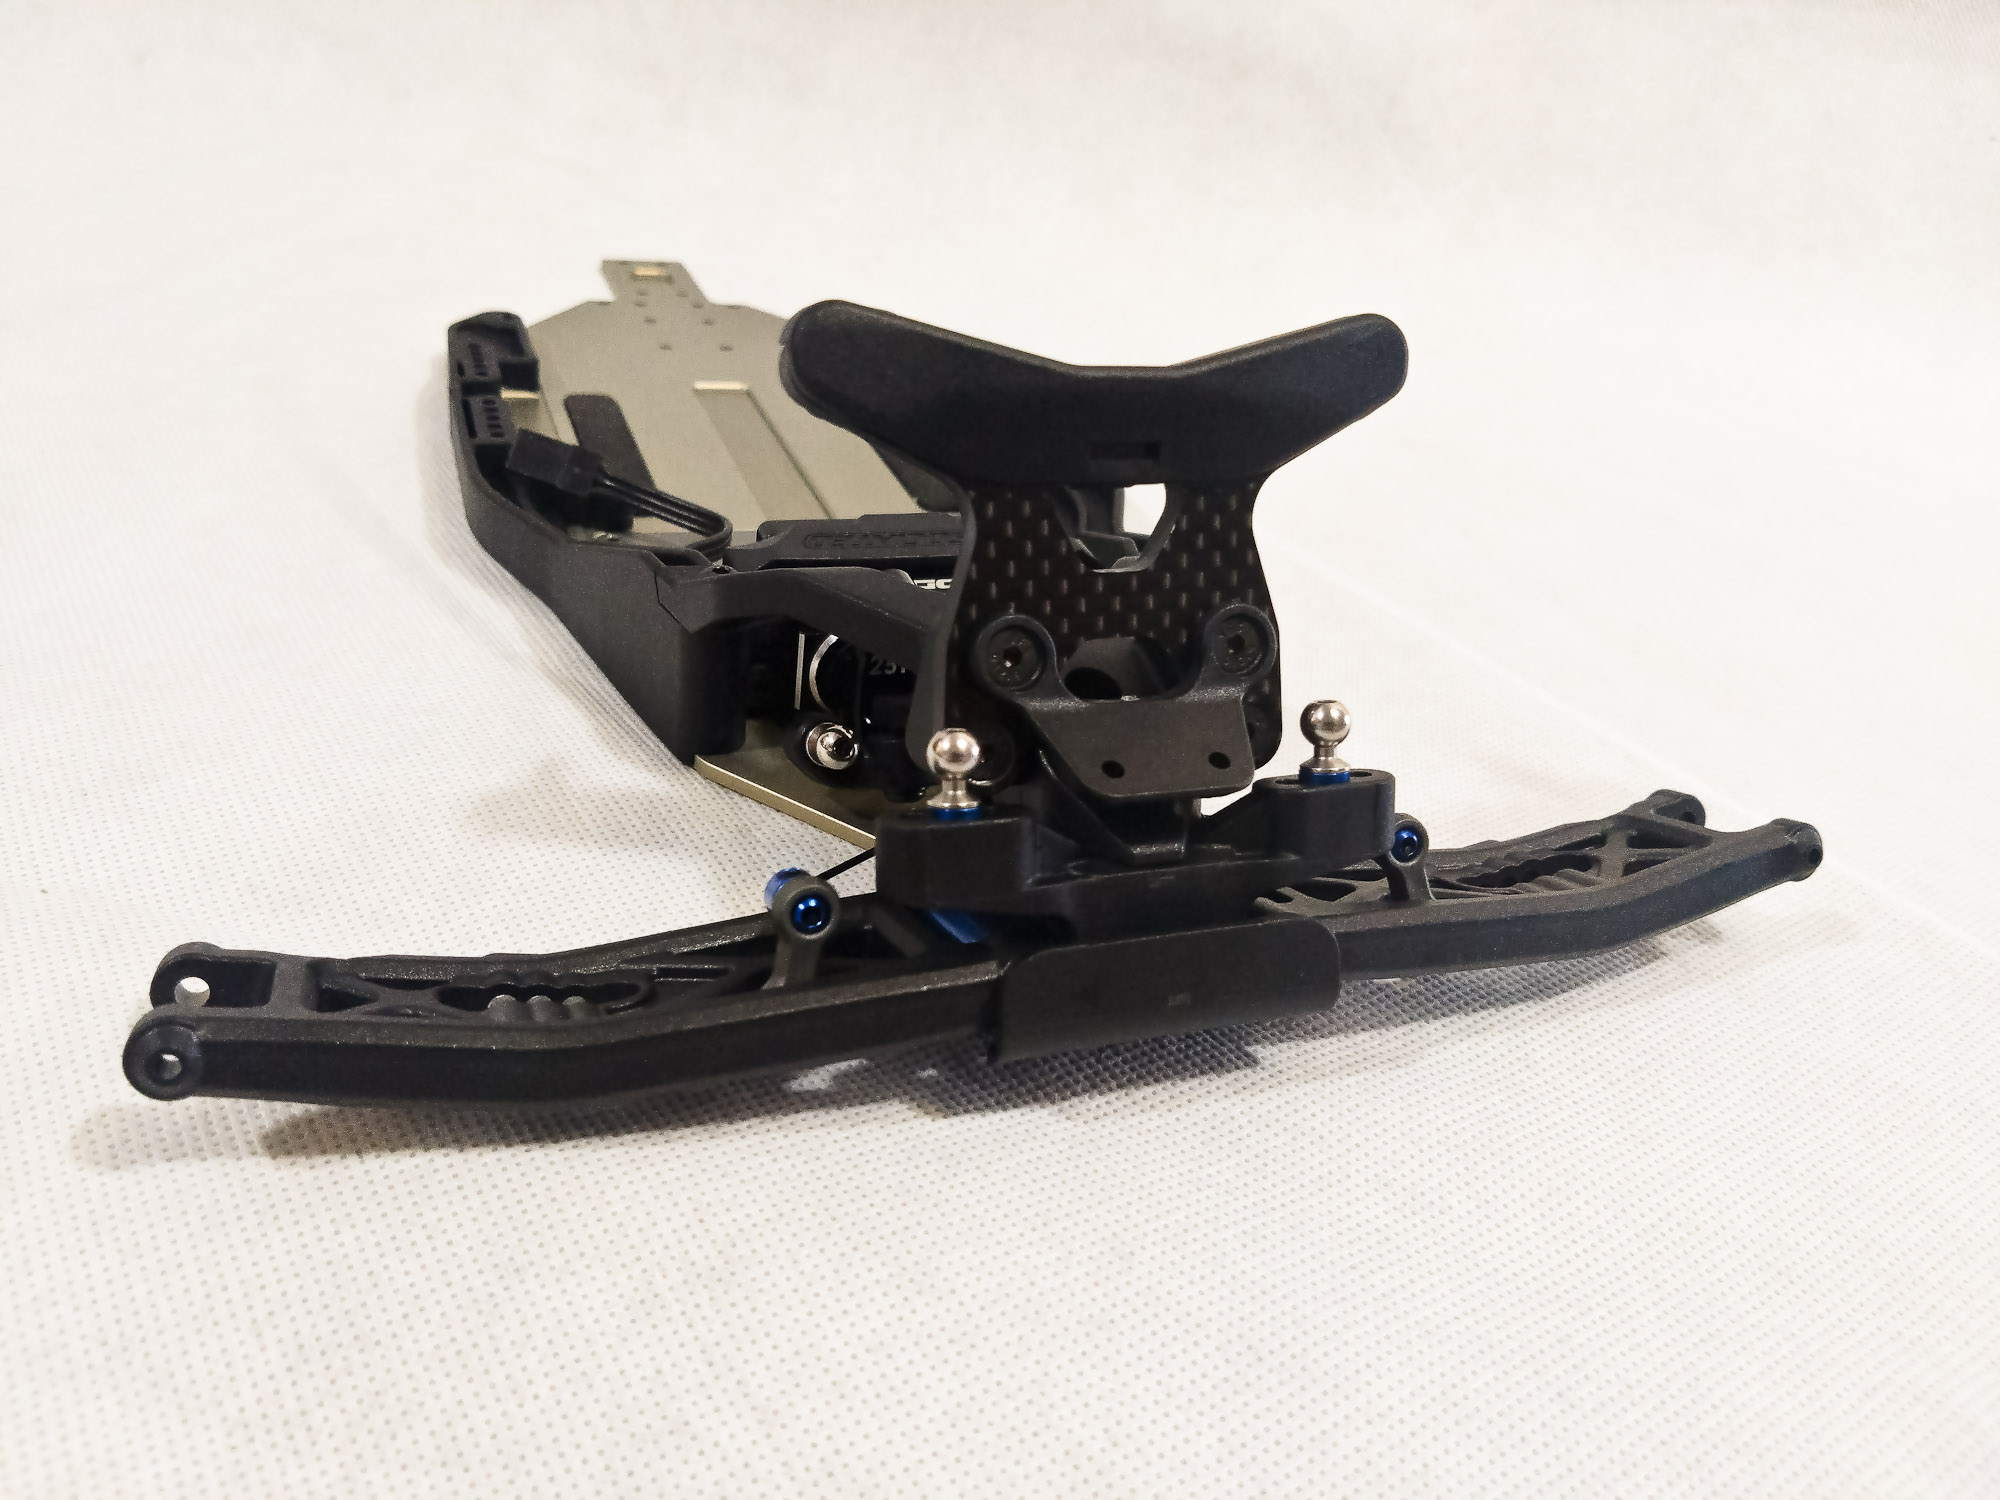
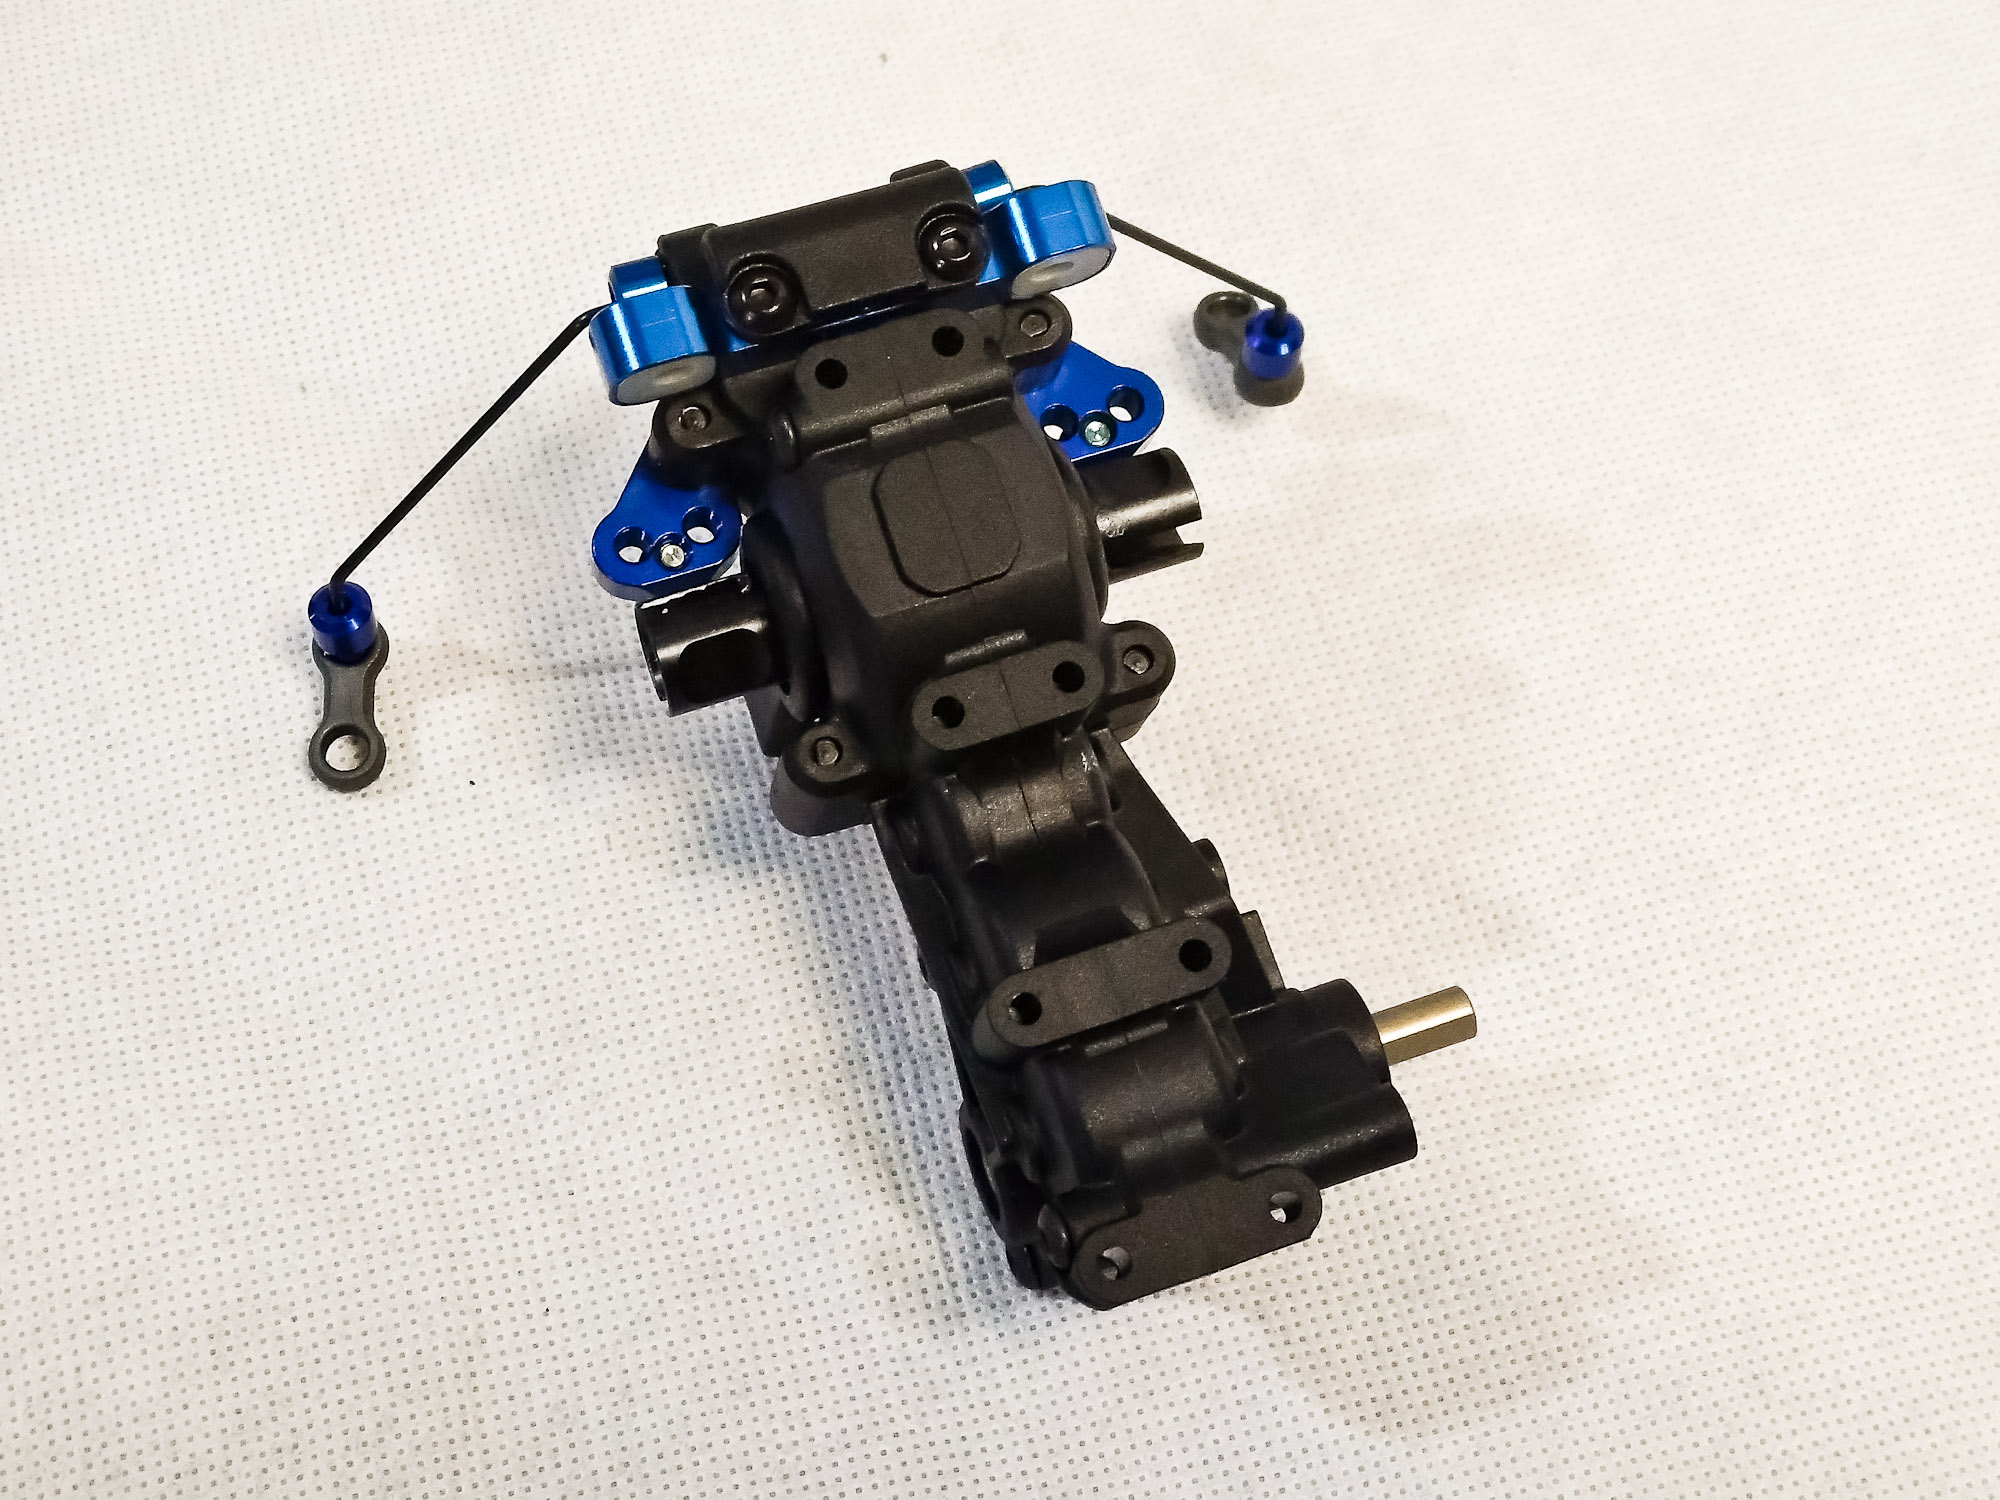
Bag 4, rear arms, C-block and pill inserts.
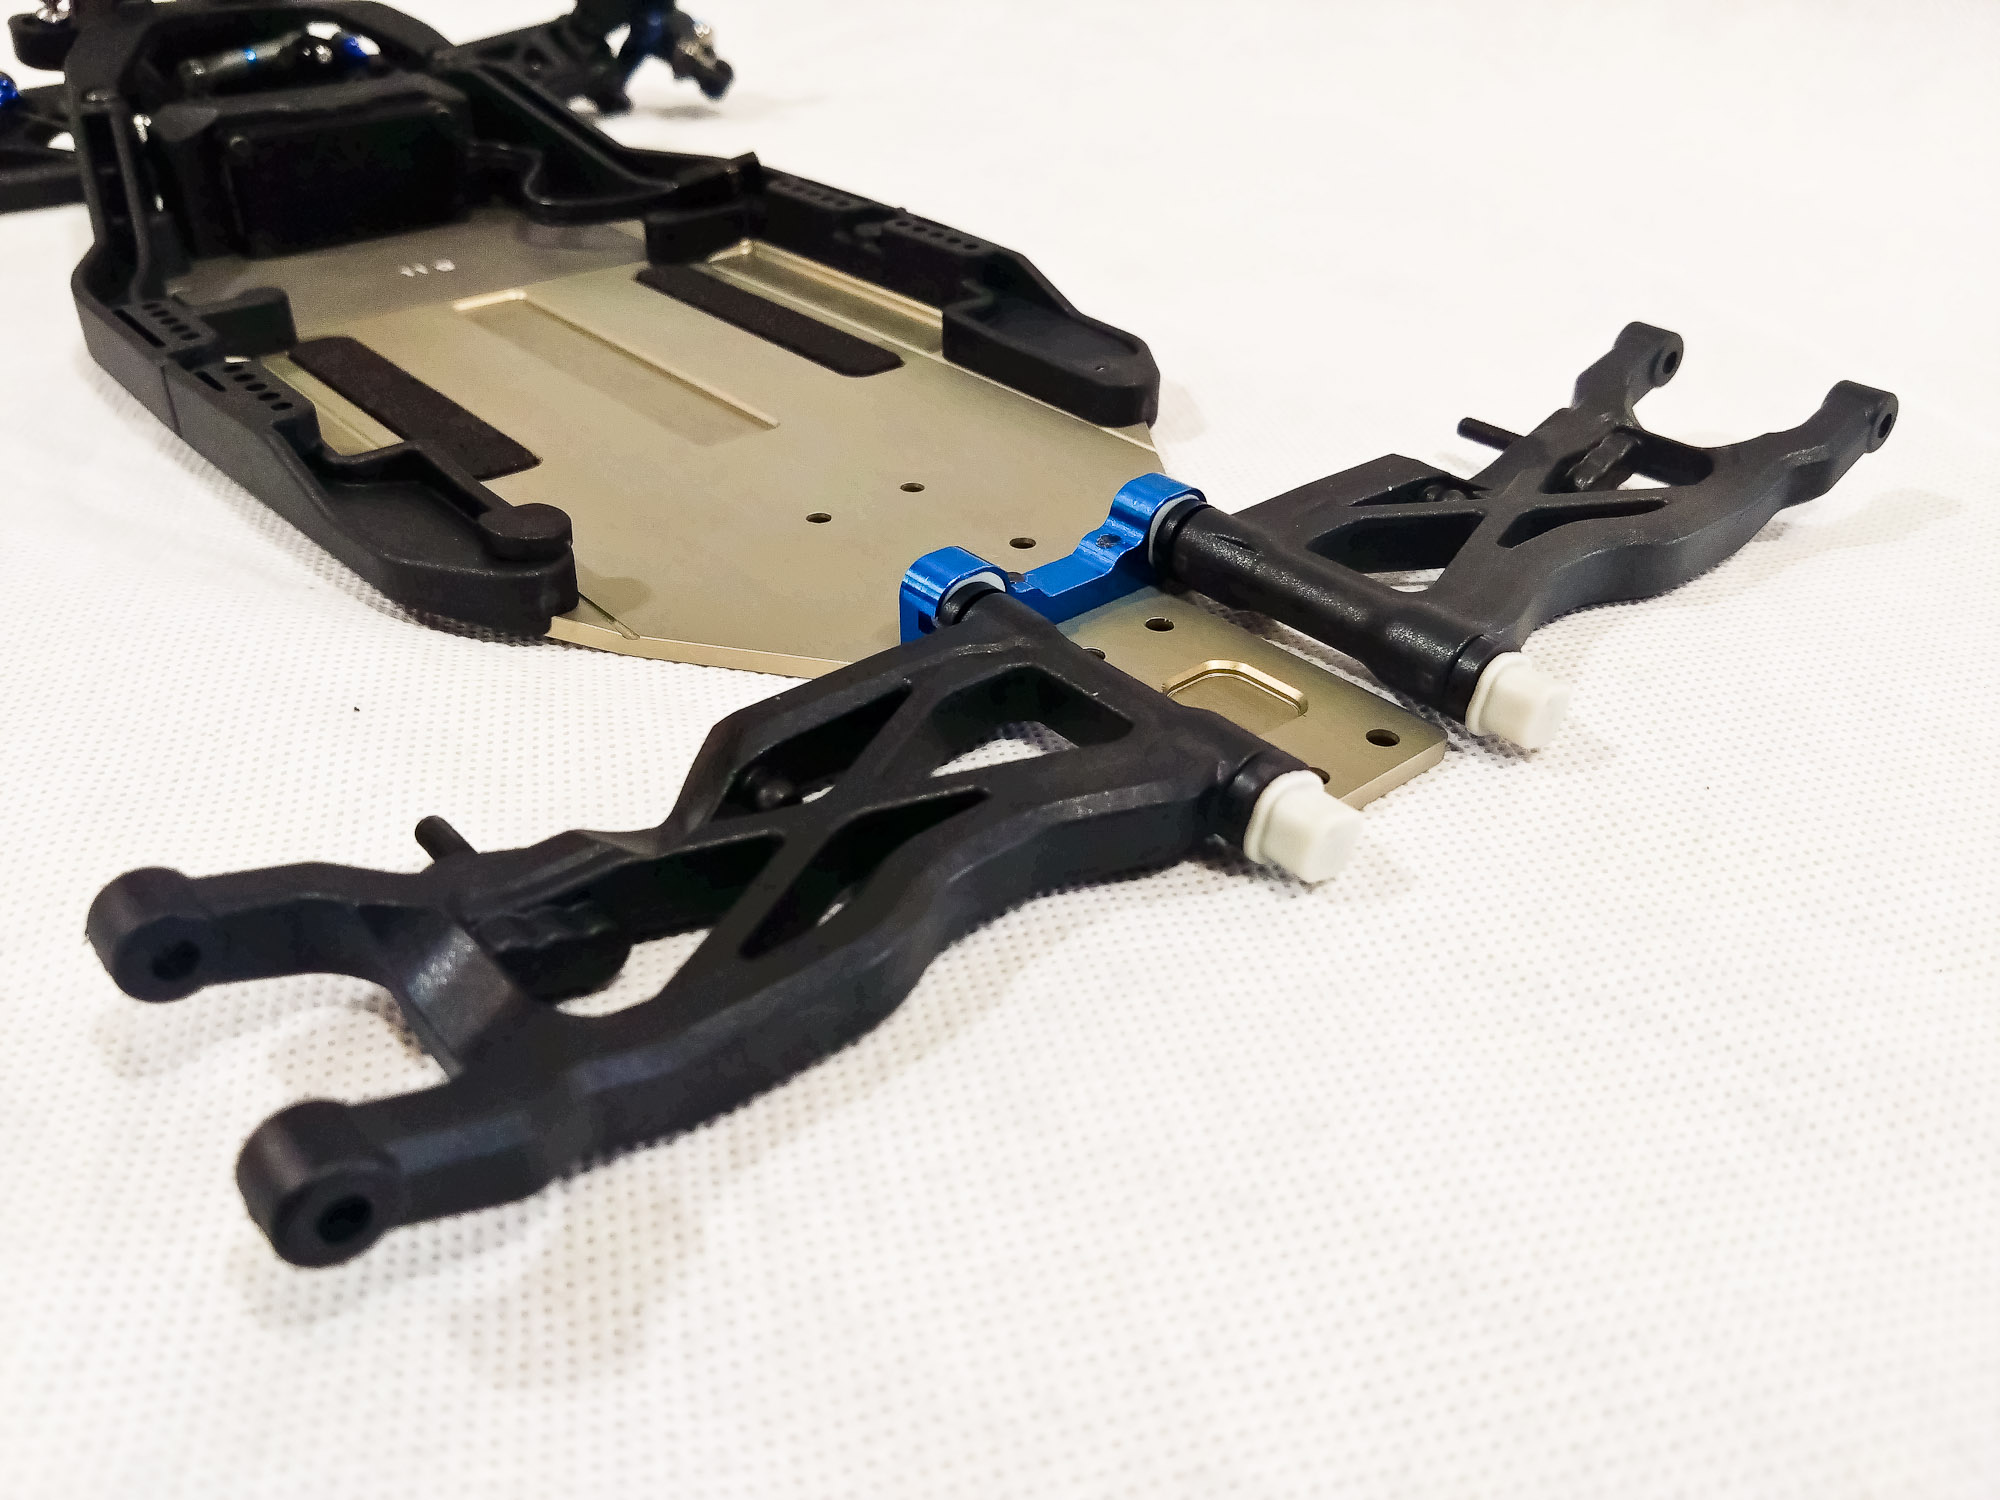
Bag 4 complete.

The new gear diff in Bag 5 has a larger capacity compared to
the B6 item and comes with an aluminum cover.
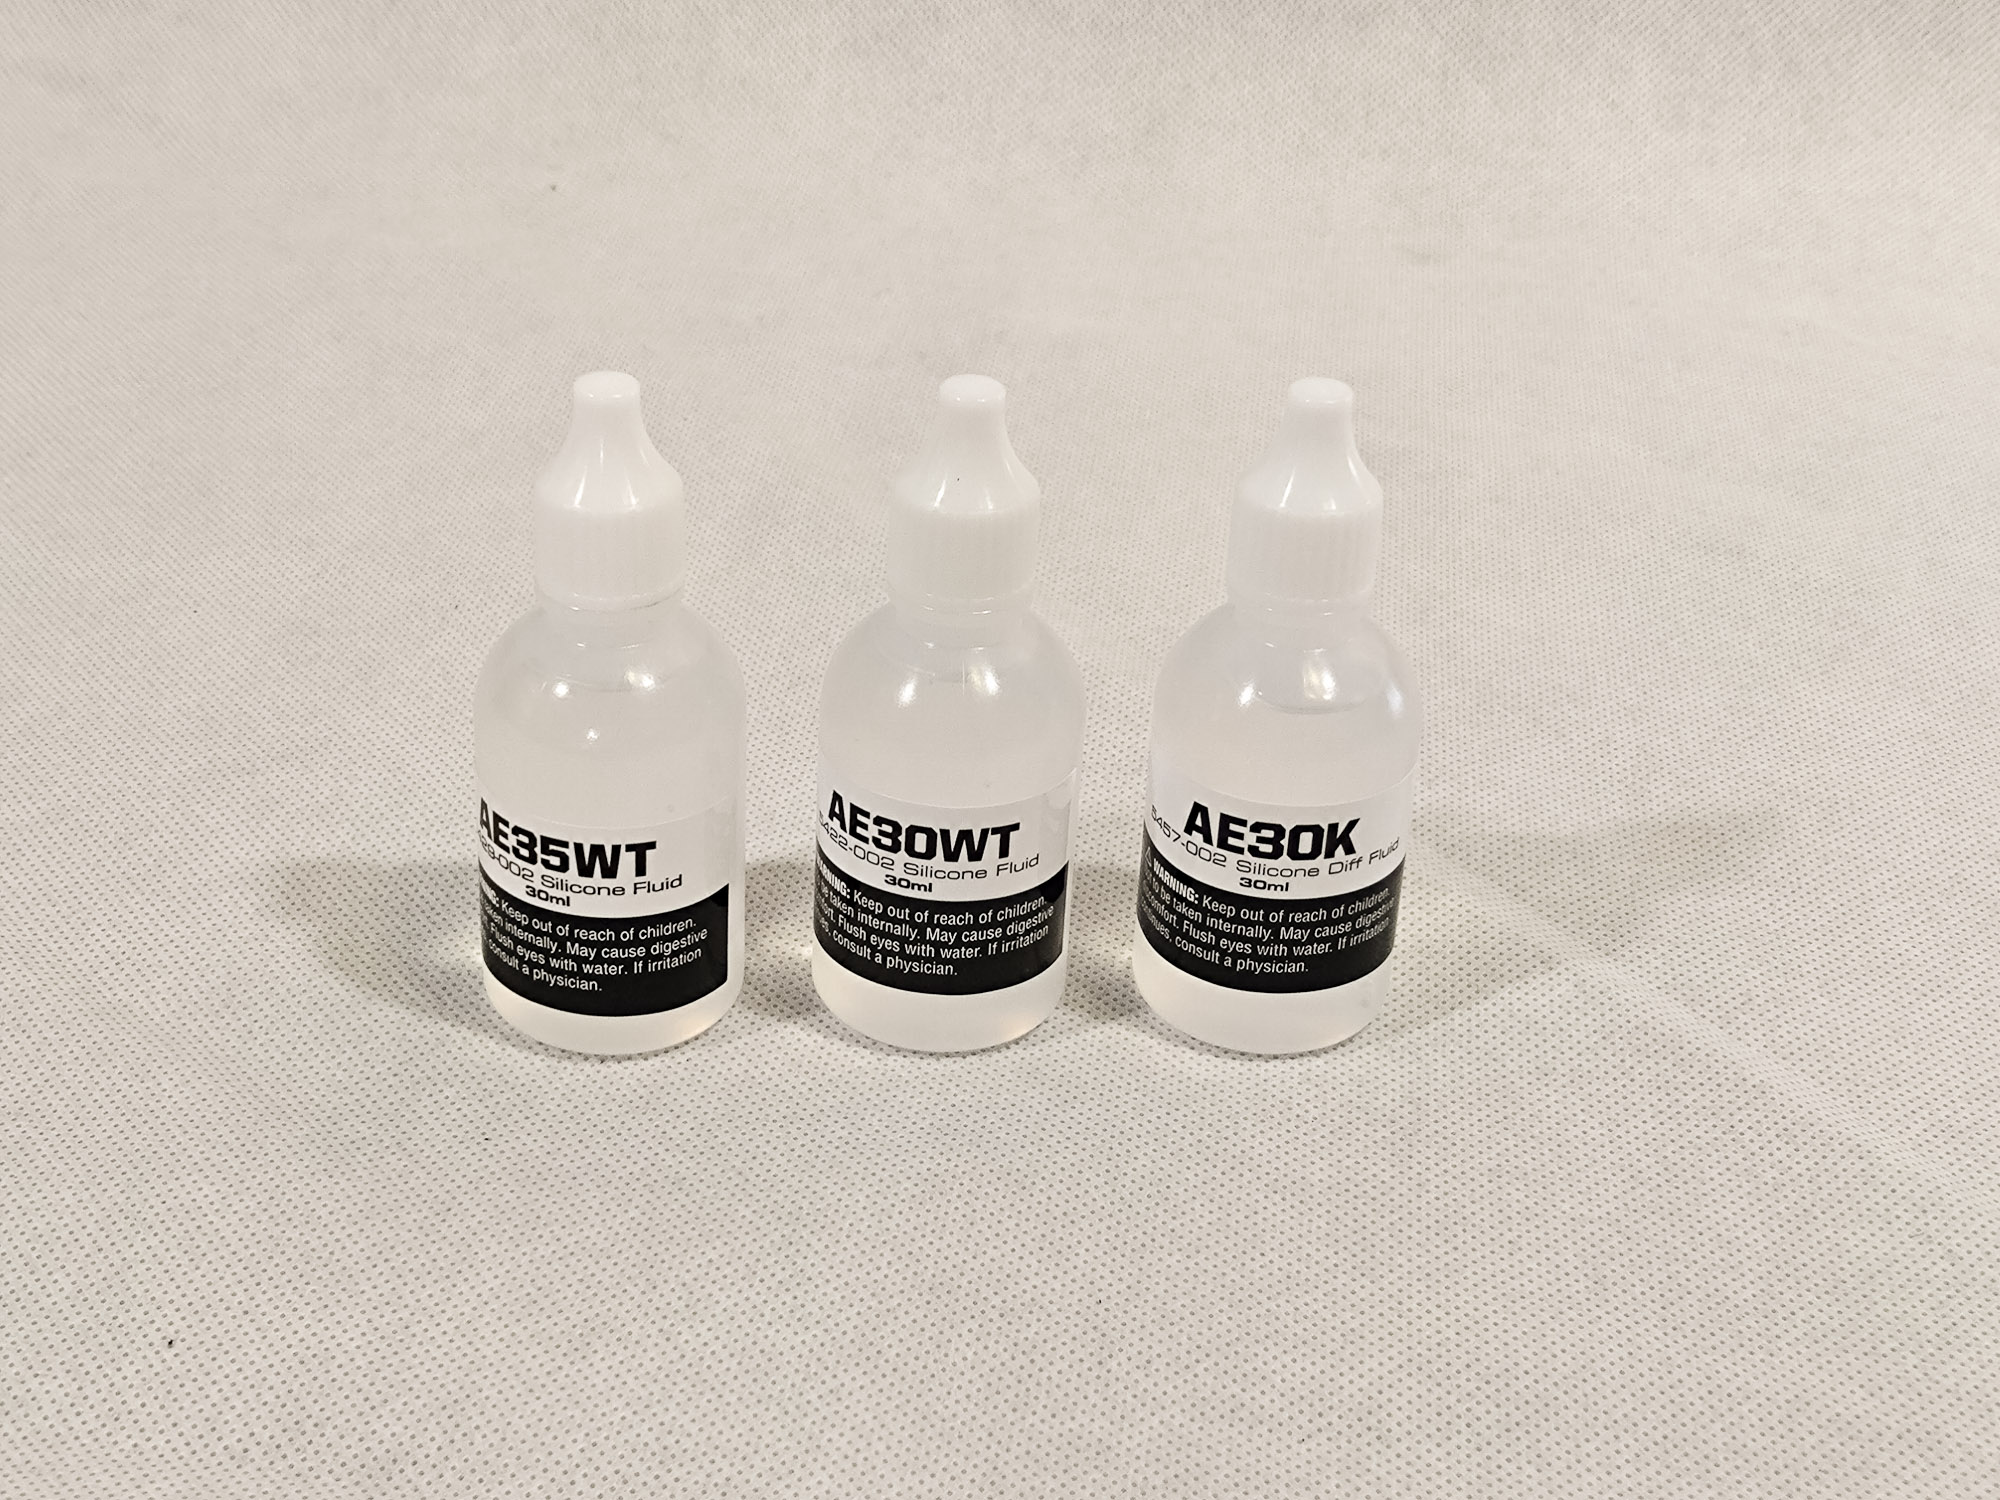
A variety of silicon oils is included for the shocks and the
gear diff.
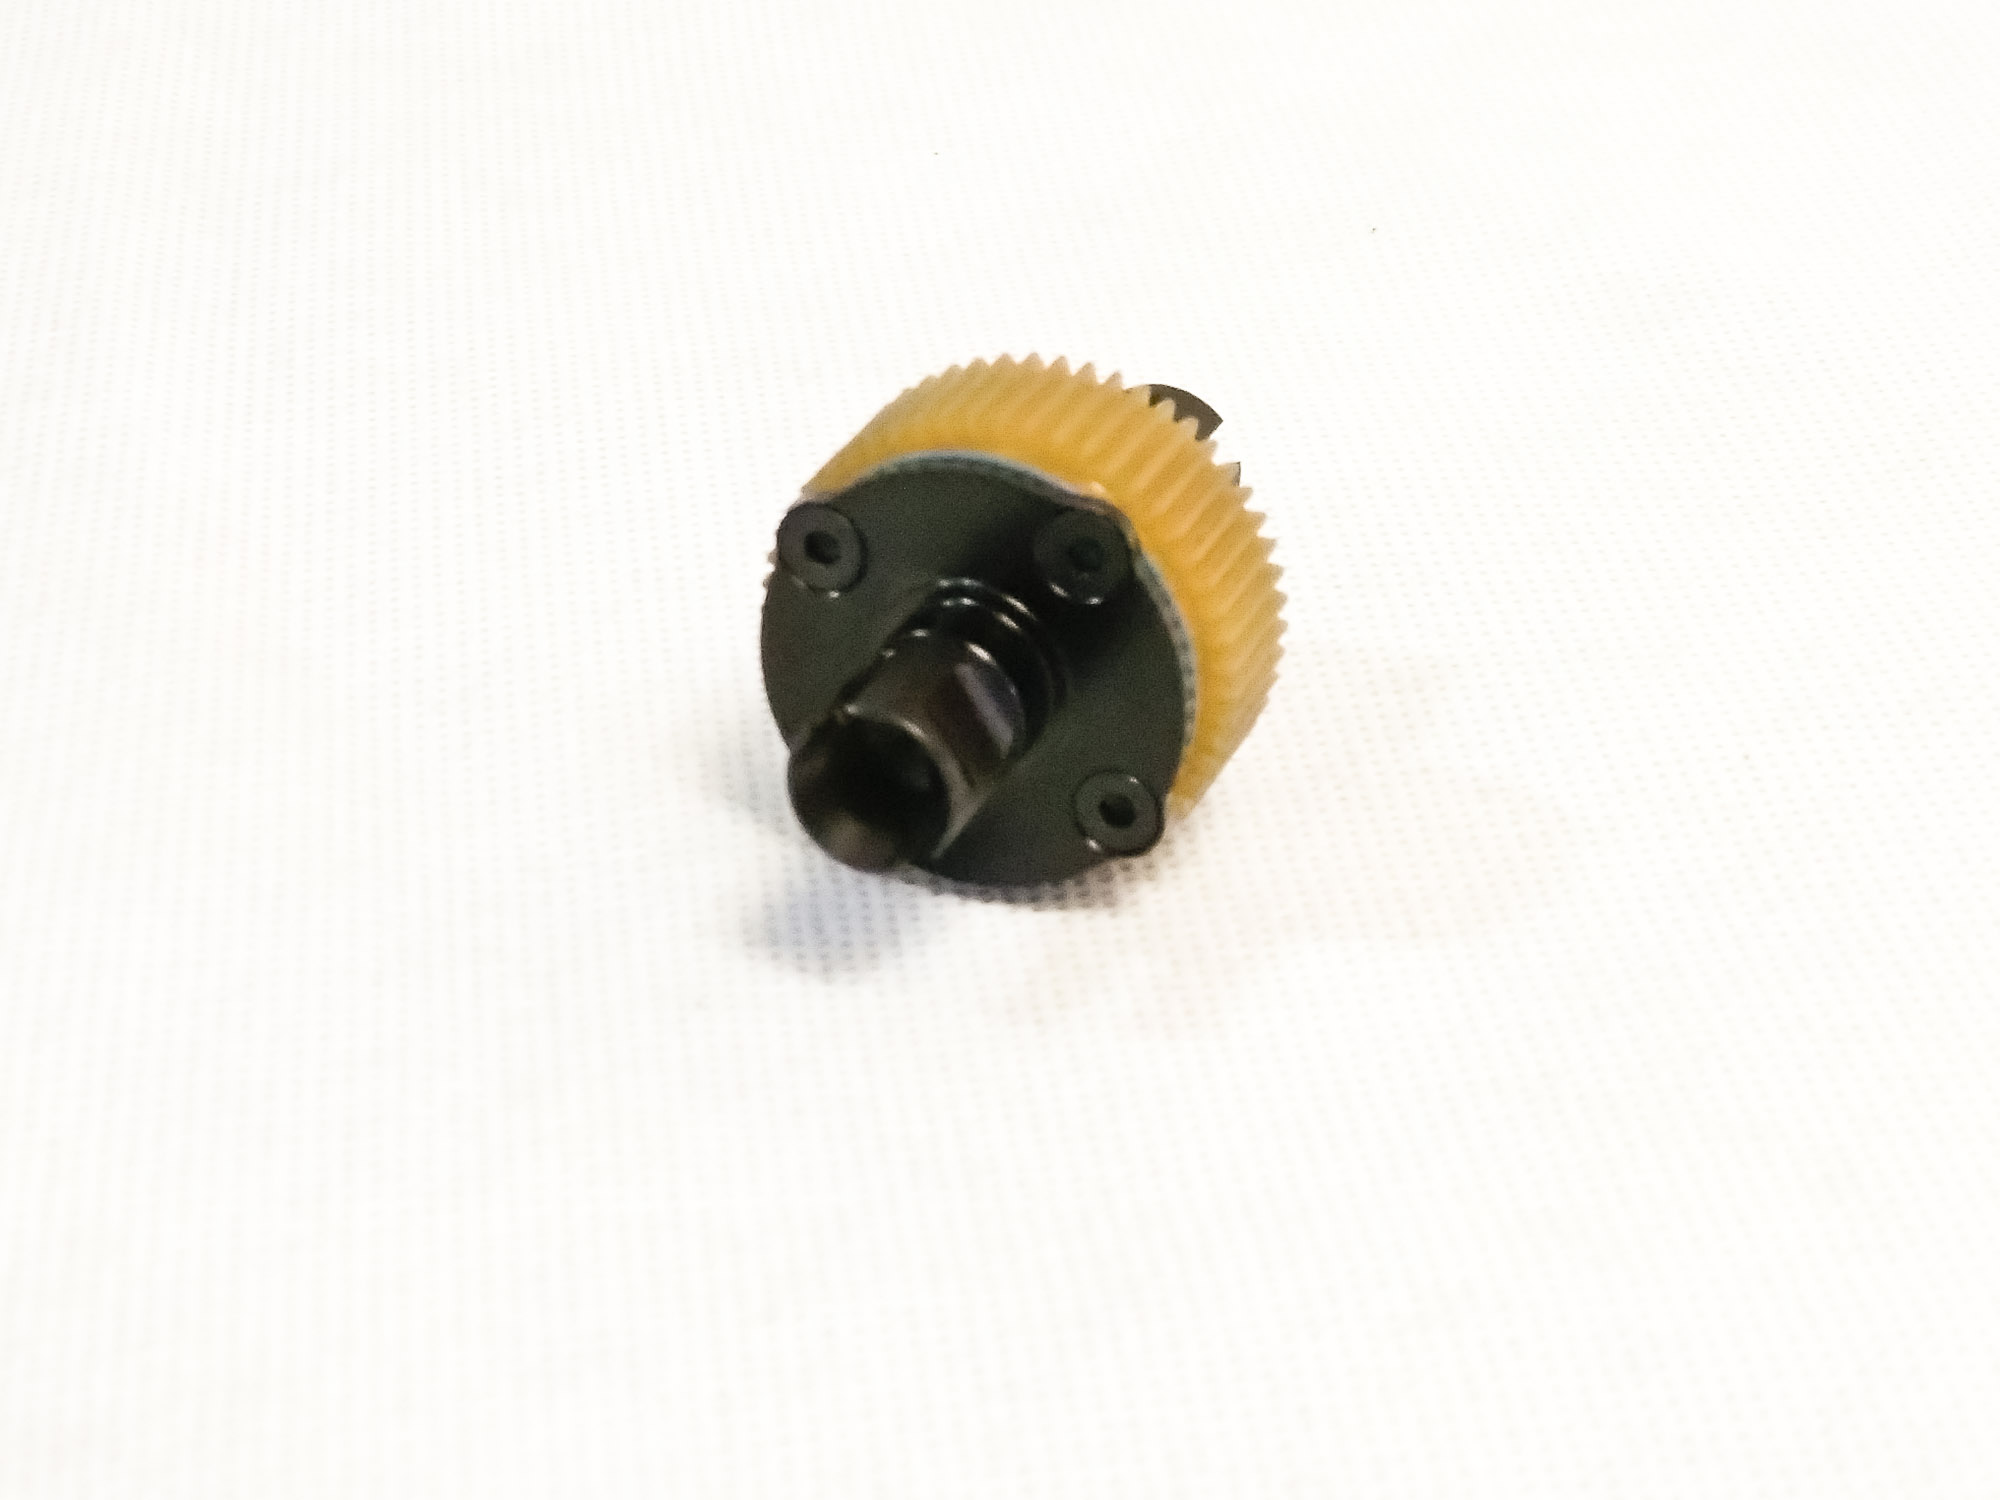
As often the case, the completed diff does not spin
completely freely at first. If it continues to be too tight, thinner diff washers should do the trick.
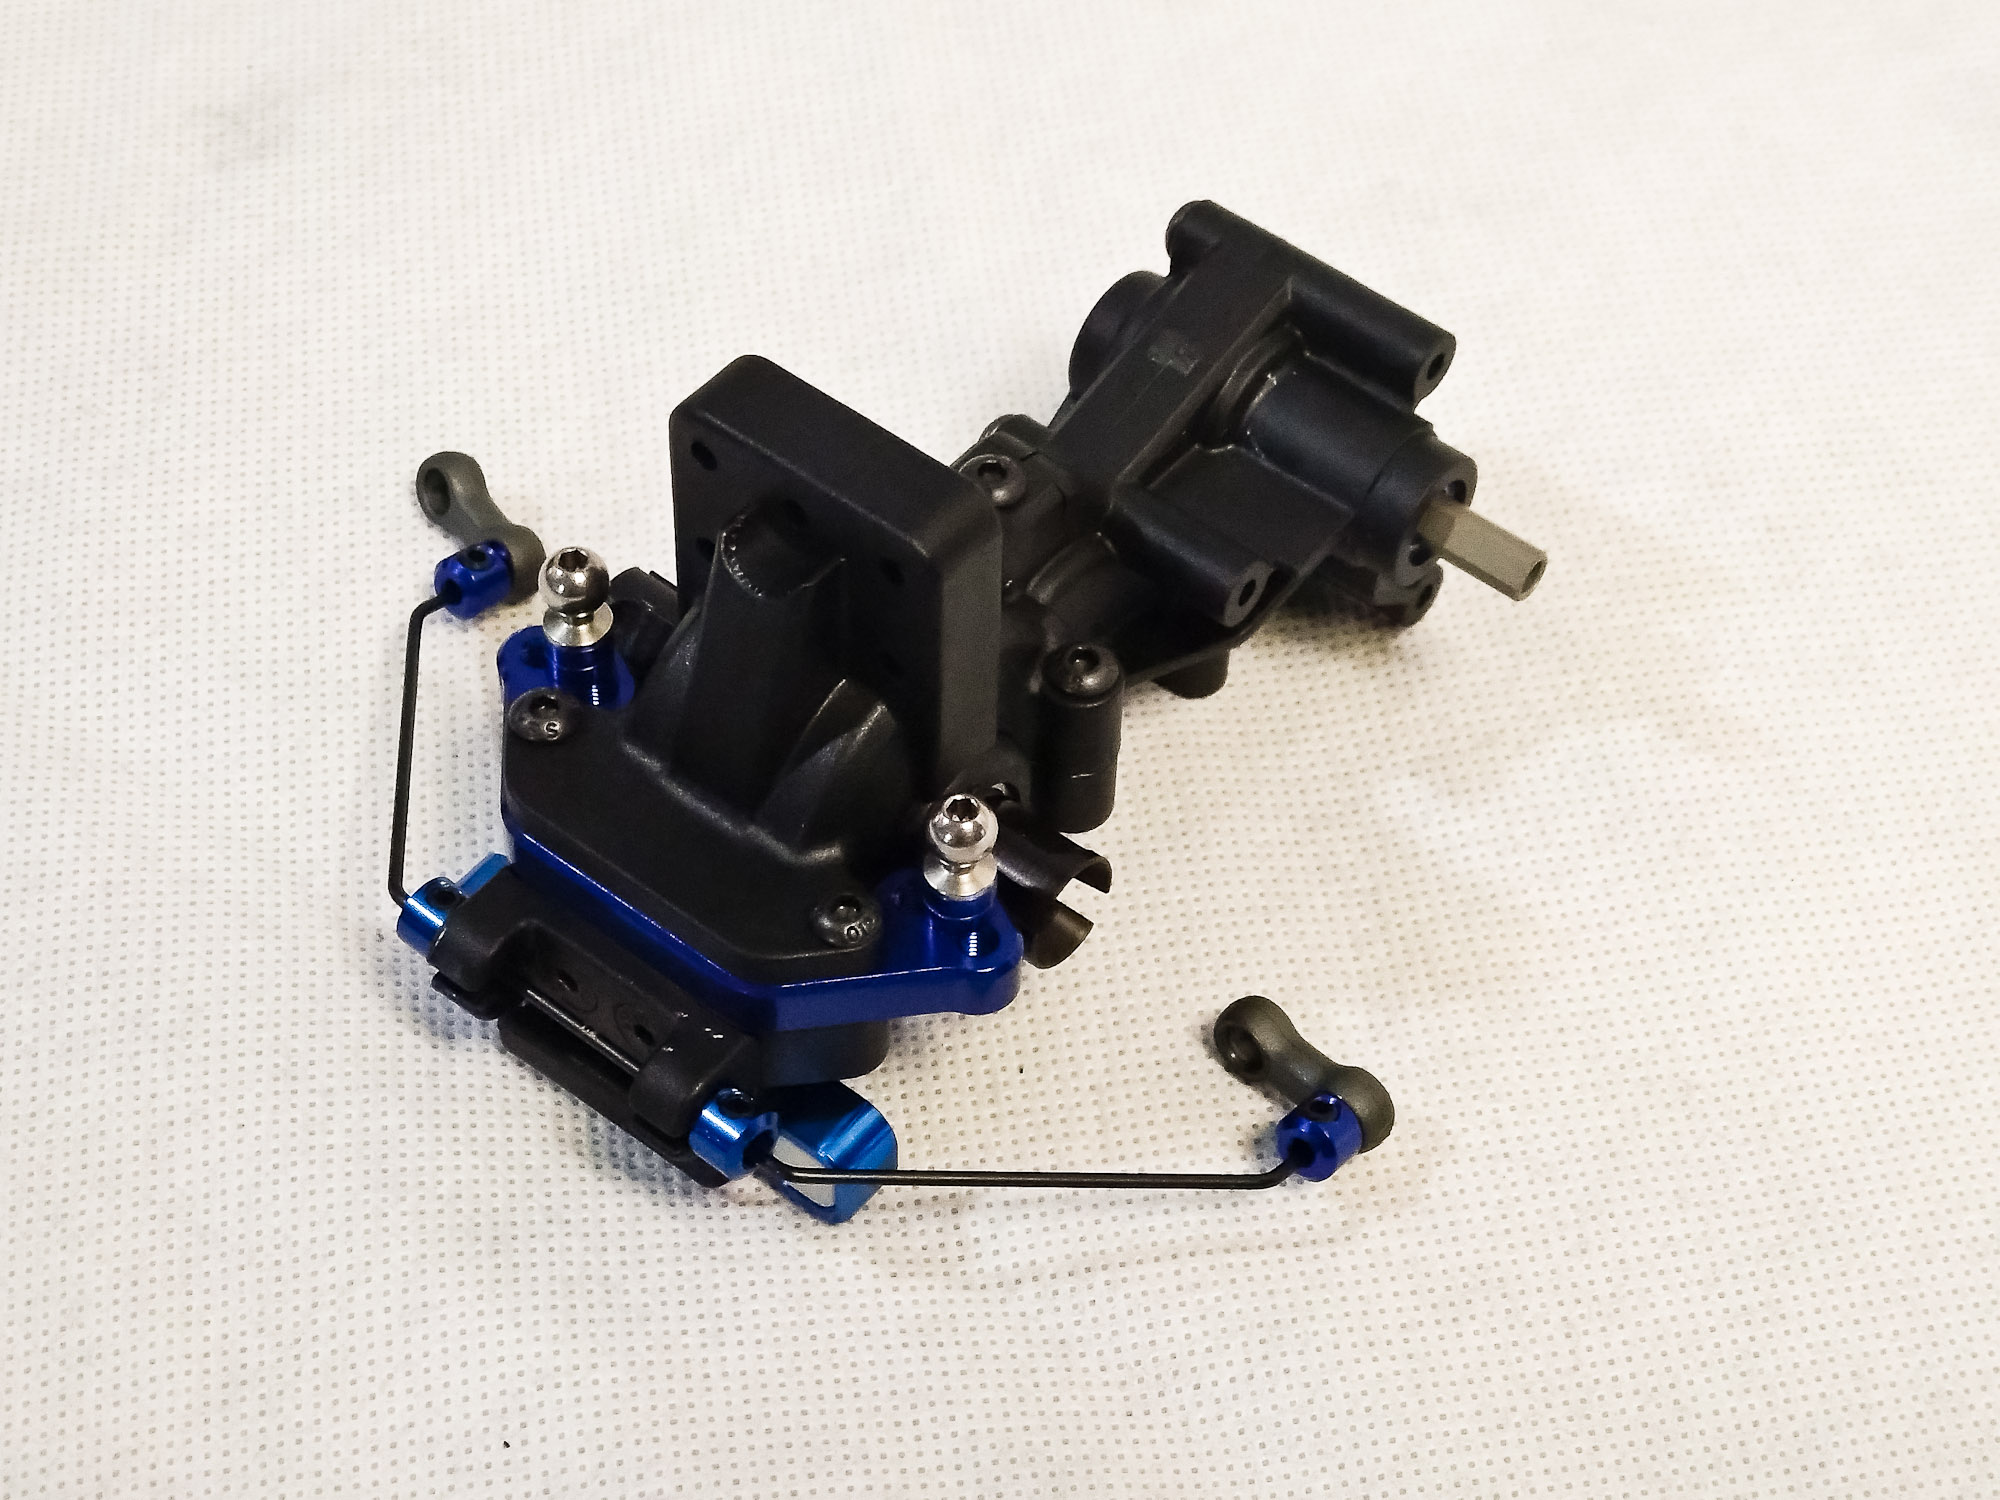
Bag 6 contains the gearbox parts, rear anti-roll bar, shock
tower, and wing mount.
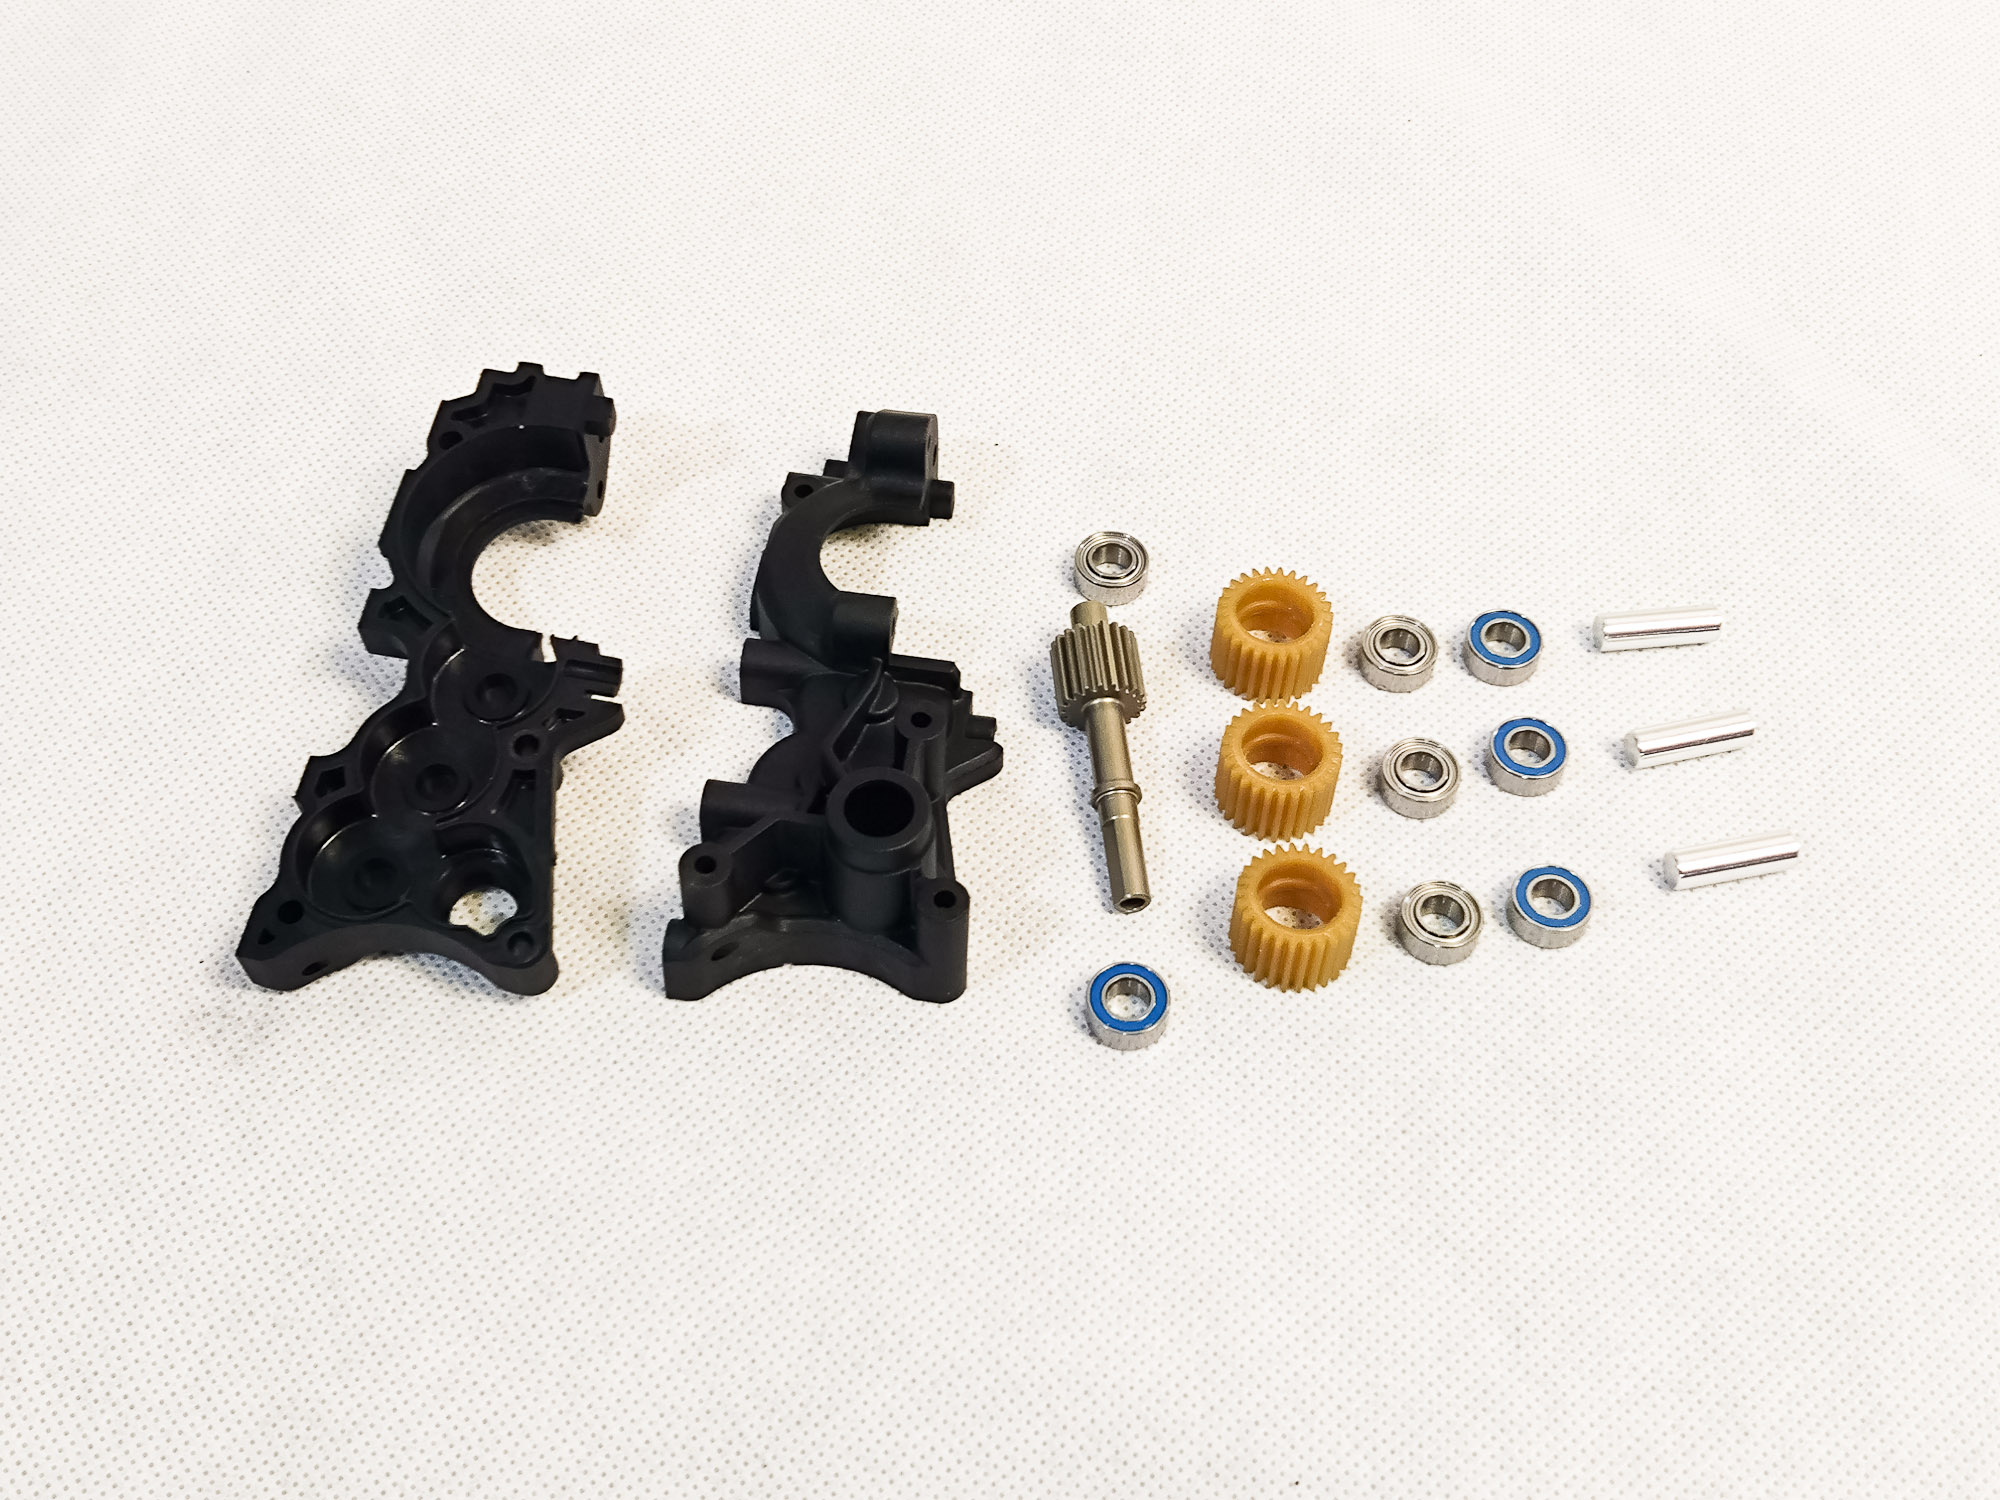
Three small idler gears are used to keep the center of
gravity low and push the motor forward by 8 mm.
Once assembled, the gearbox spins freely, as does the anti-roll bar if adjusted correctly. Maybe we'll see a ball raced option for the rear end at a later date, which should not be a major challenge.
The D-block and the optional rear bumper are attached from
the bottom with long screws that thread into the camber link. As has been
pointed out on the rctech forum, one of the gearbox holes is slightly off (0.2
mm in my case), which does not seem as a major issue to me. After checking the
assembled rear suspension, I used one 0.2 mm shim on one side and two 0.2 mm
shims on the other, and everything looks and feels just about fine.
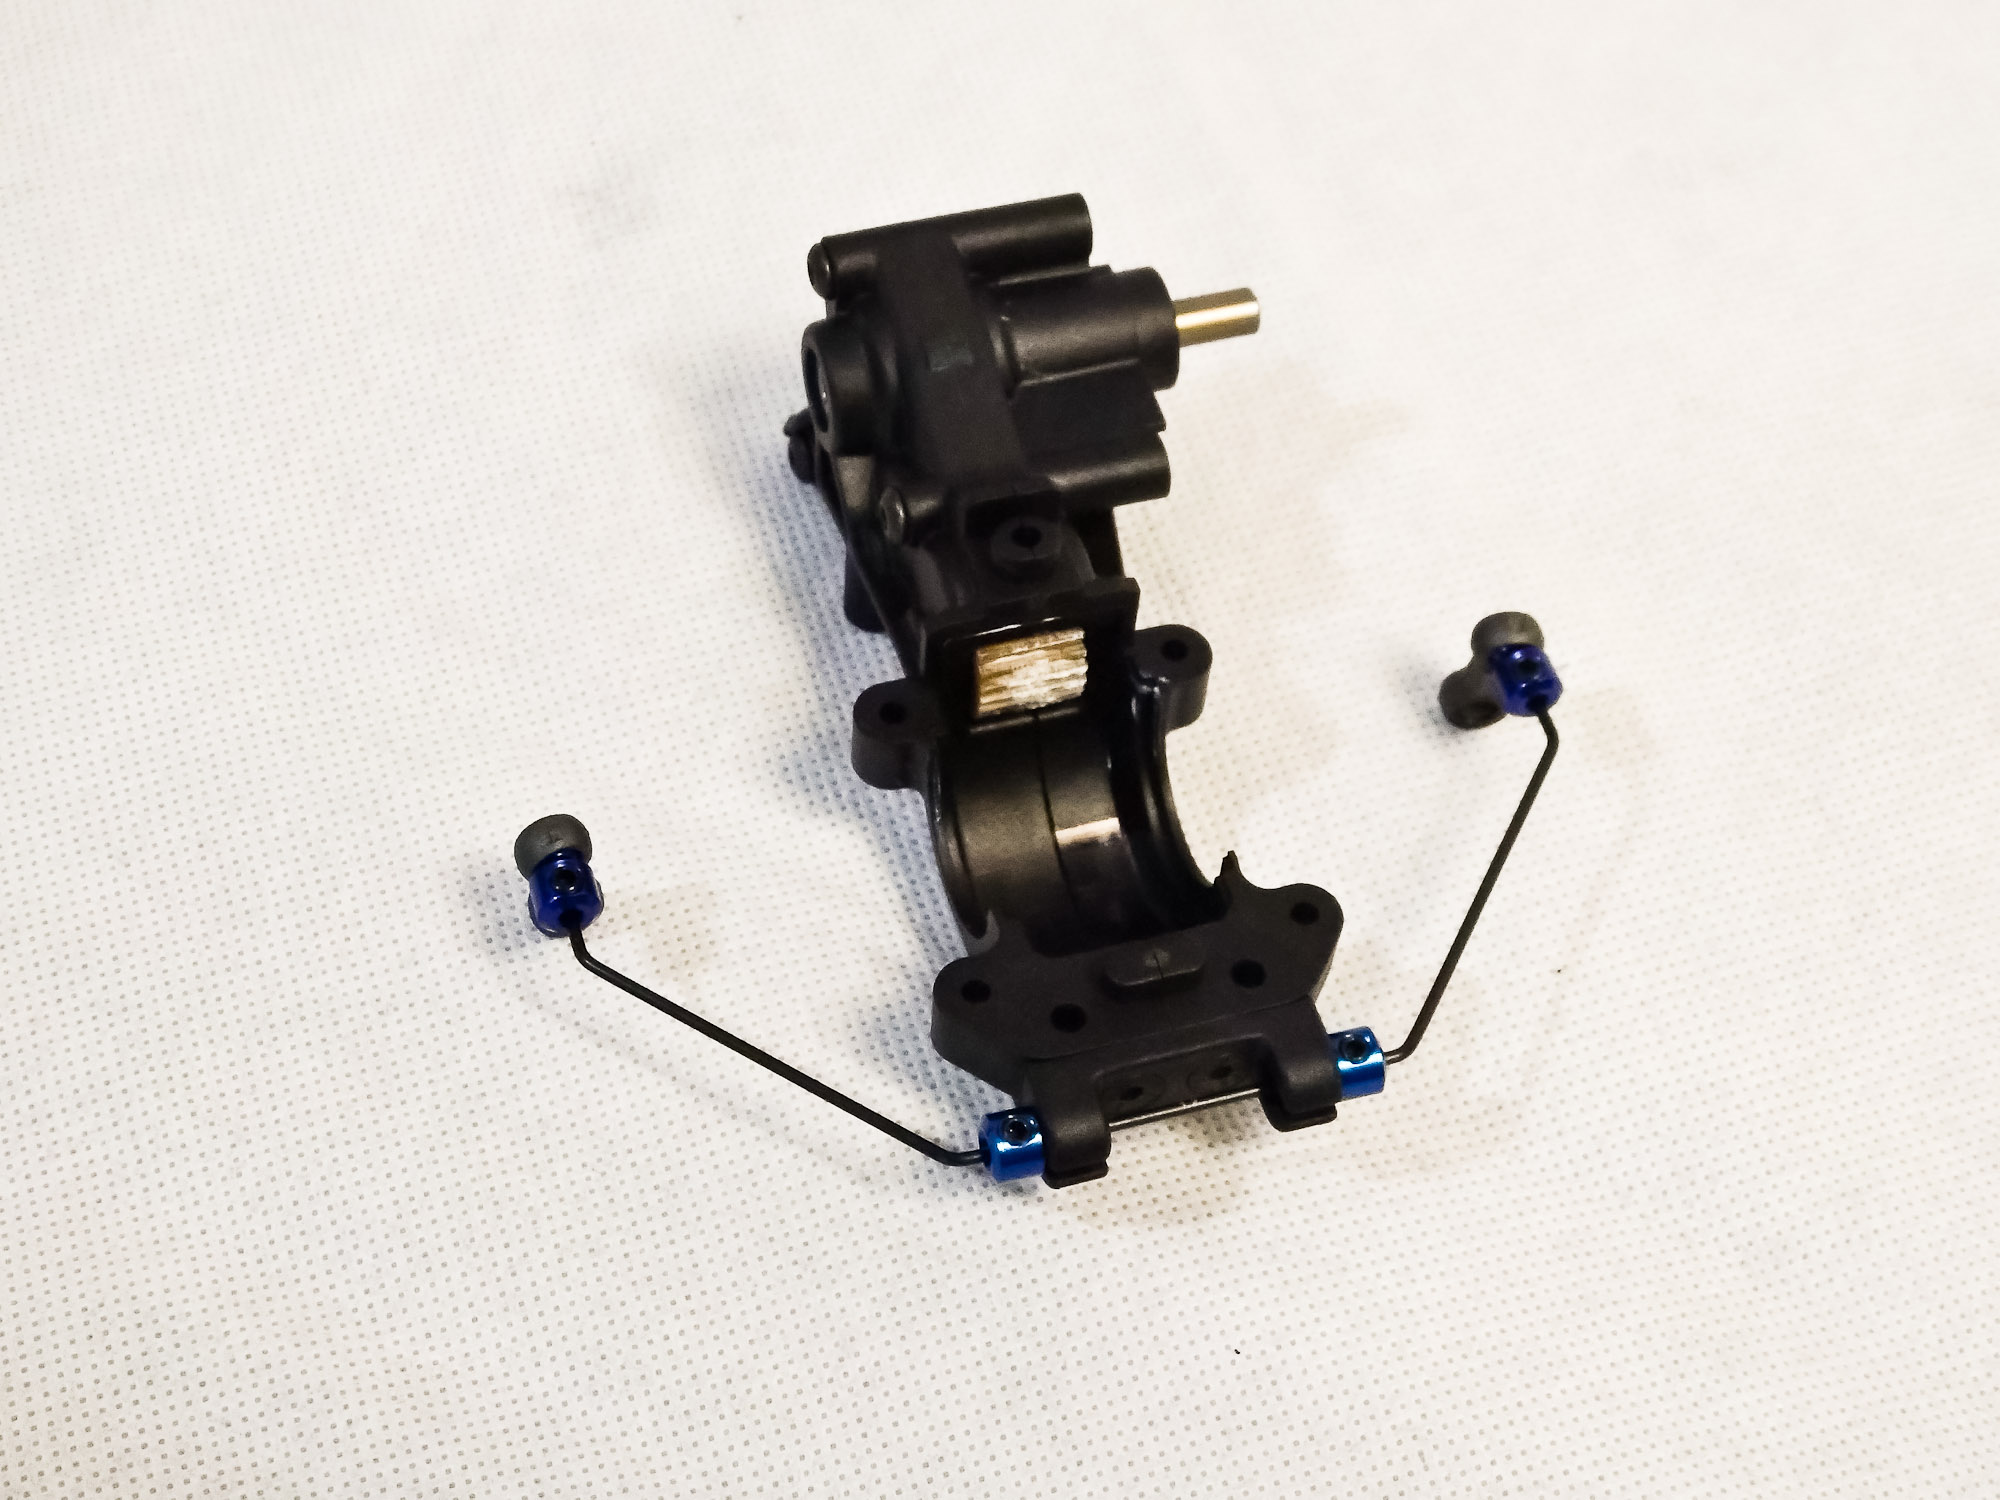
Gear box assembly from the top.
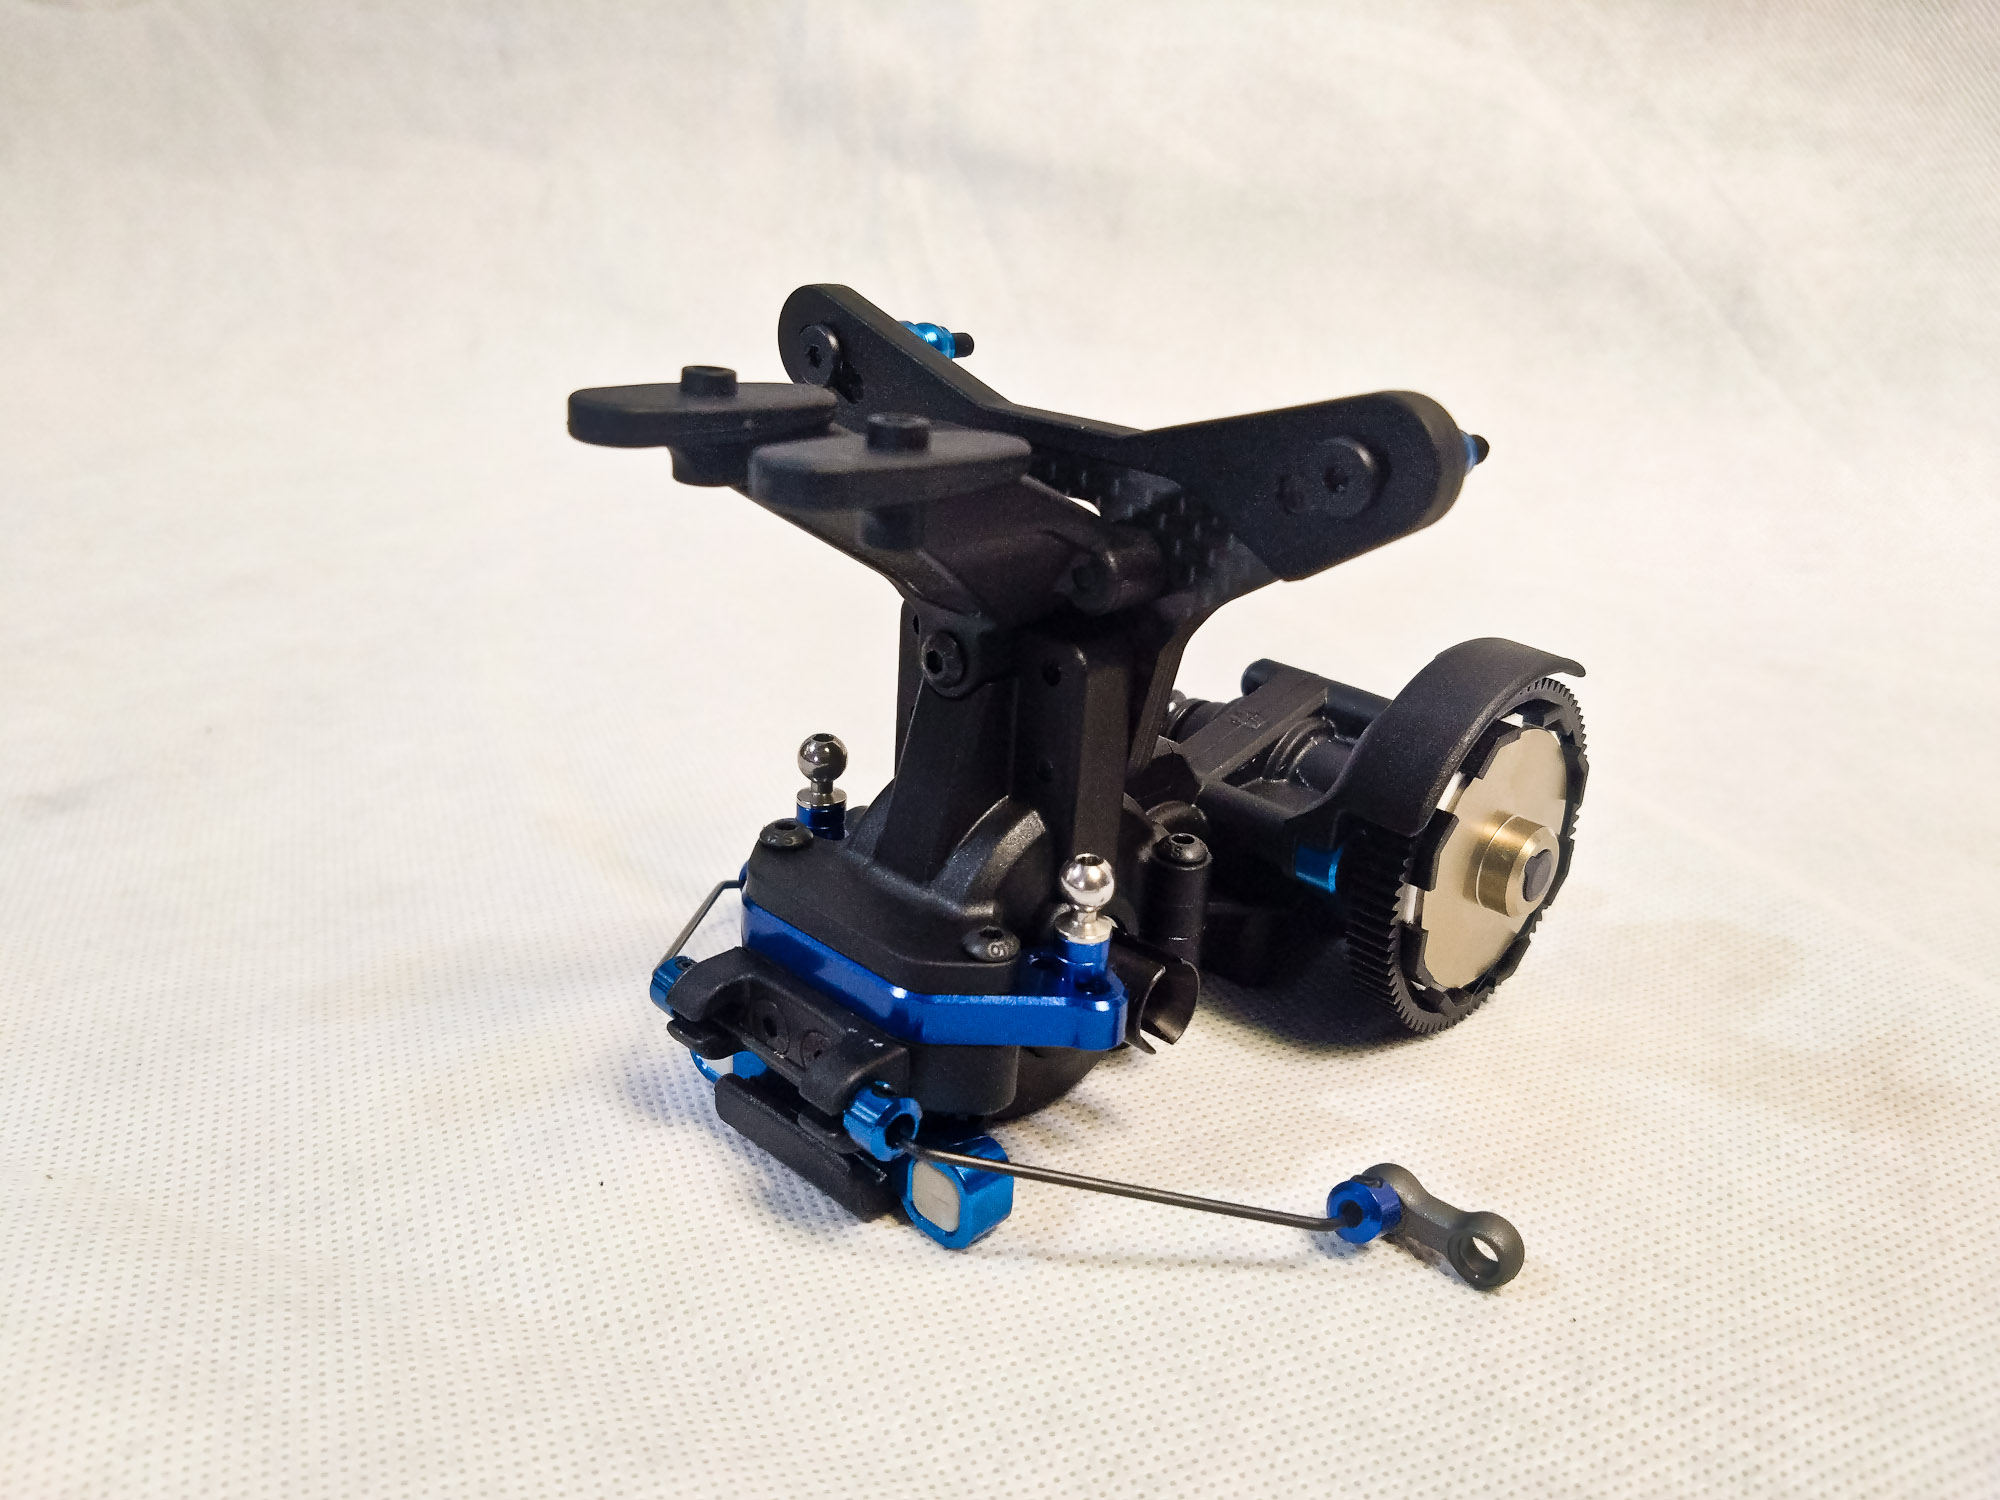
Gearbox complete with shock tower and wing mount. The wing
mount looks smooth and sturdy, a big improvement to the old two-piece item.
Bag 6 complete. In my bag, there were six 8 mm screws plus
two 10 mm screws, which fit perfectly to the second most forward pair of holes,
so no real issue there.
Bag 7 includes the rear hubs (normal and High Roll Center
versions), C(onstant) V(elocity) A(xle) driveshafts, wheel hexes plus hardware.

Nothing unusual here, using a 3 mm arm reamer helped with
the axle height adjustment inserts, though.

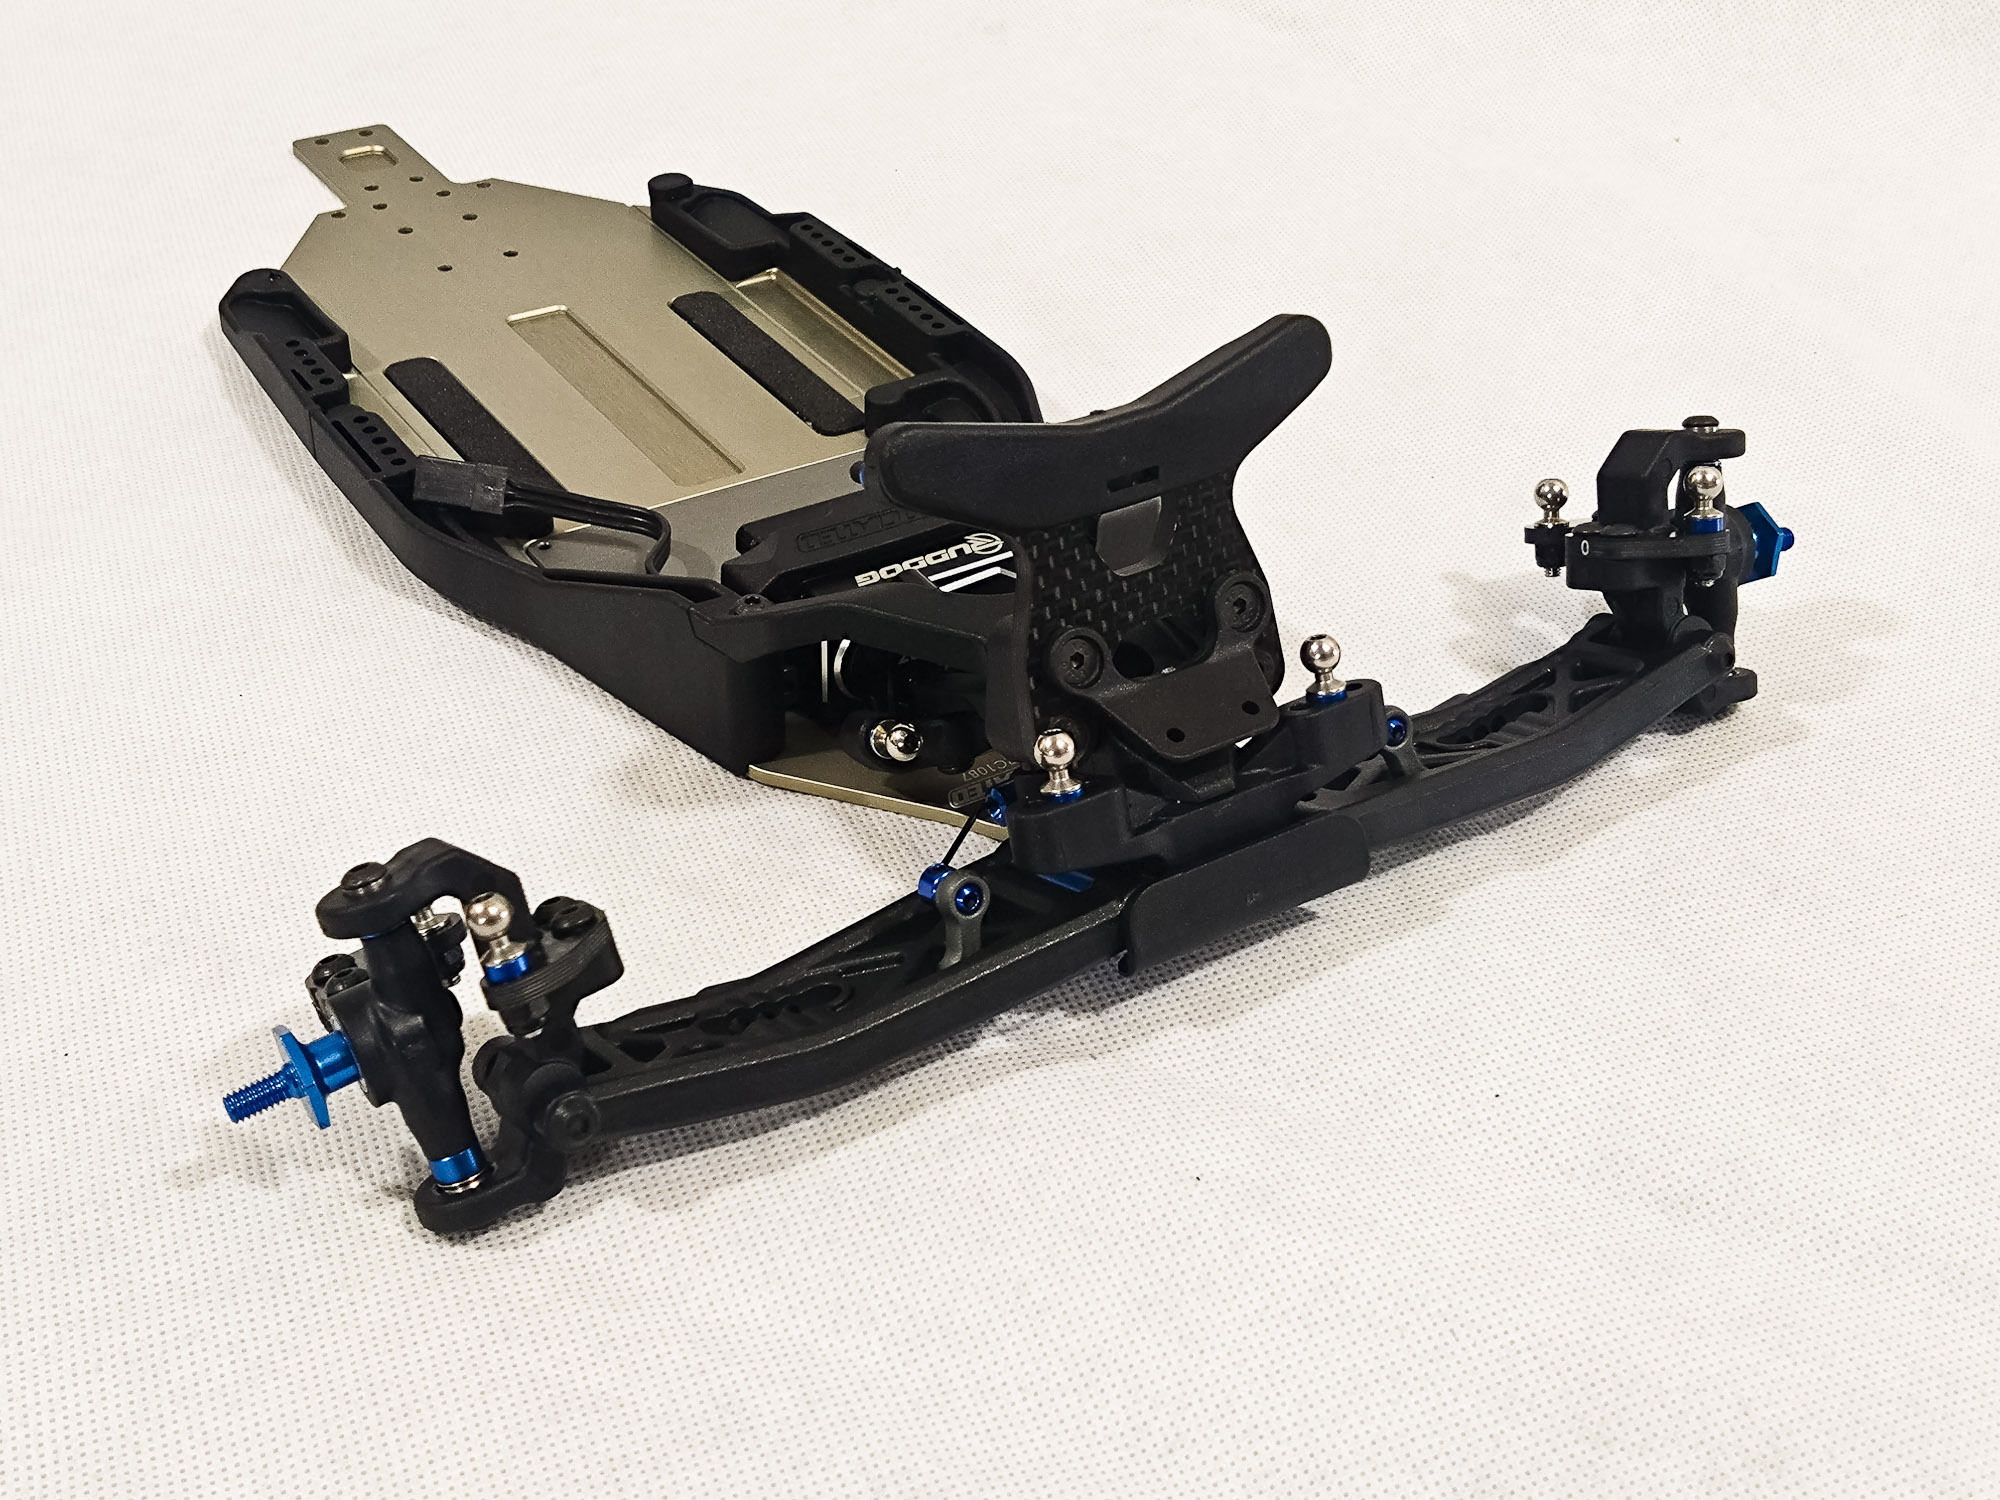
Turnbuckle time in bag 8. While I'd not recommend the
included tool for building the turnbuckles, it's perfect for building the
shocks later on.
Bag 8 complete, it's taking shape!
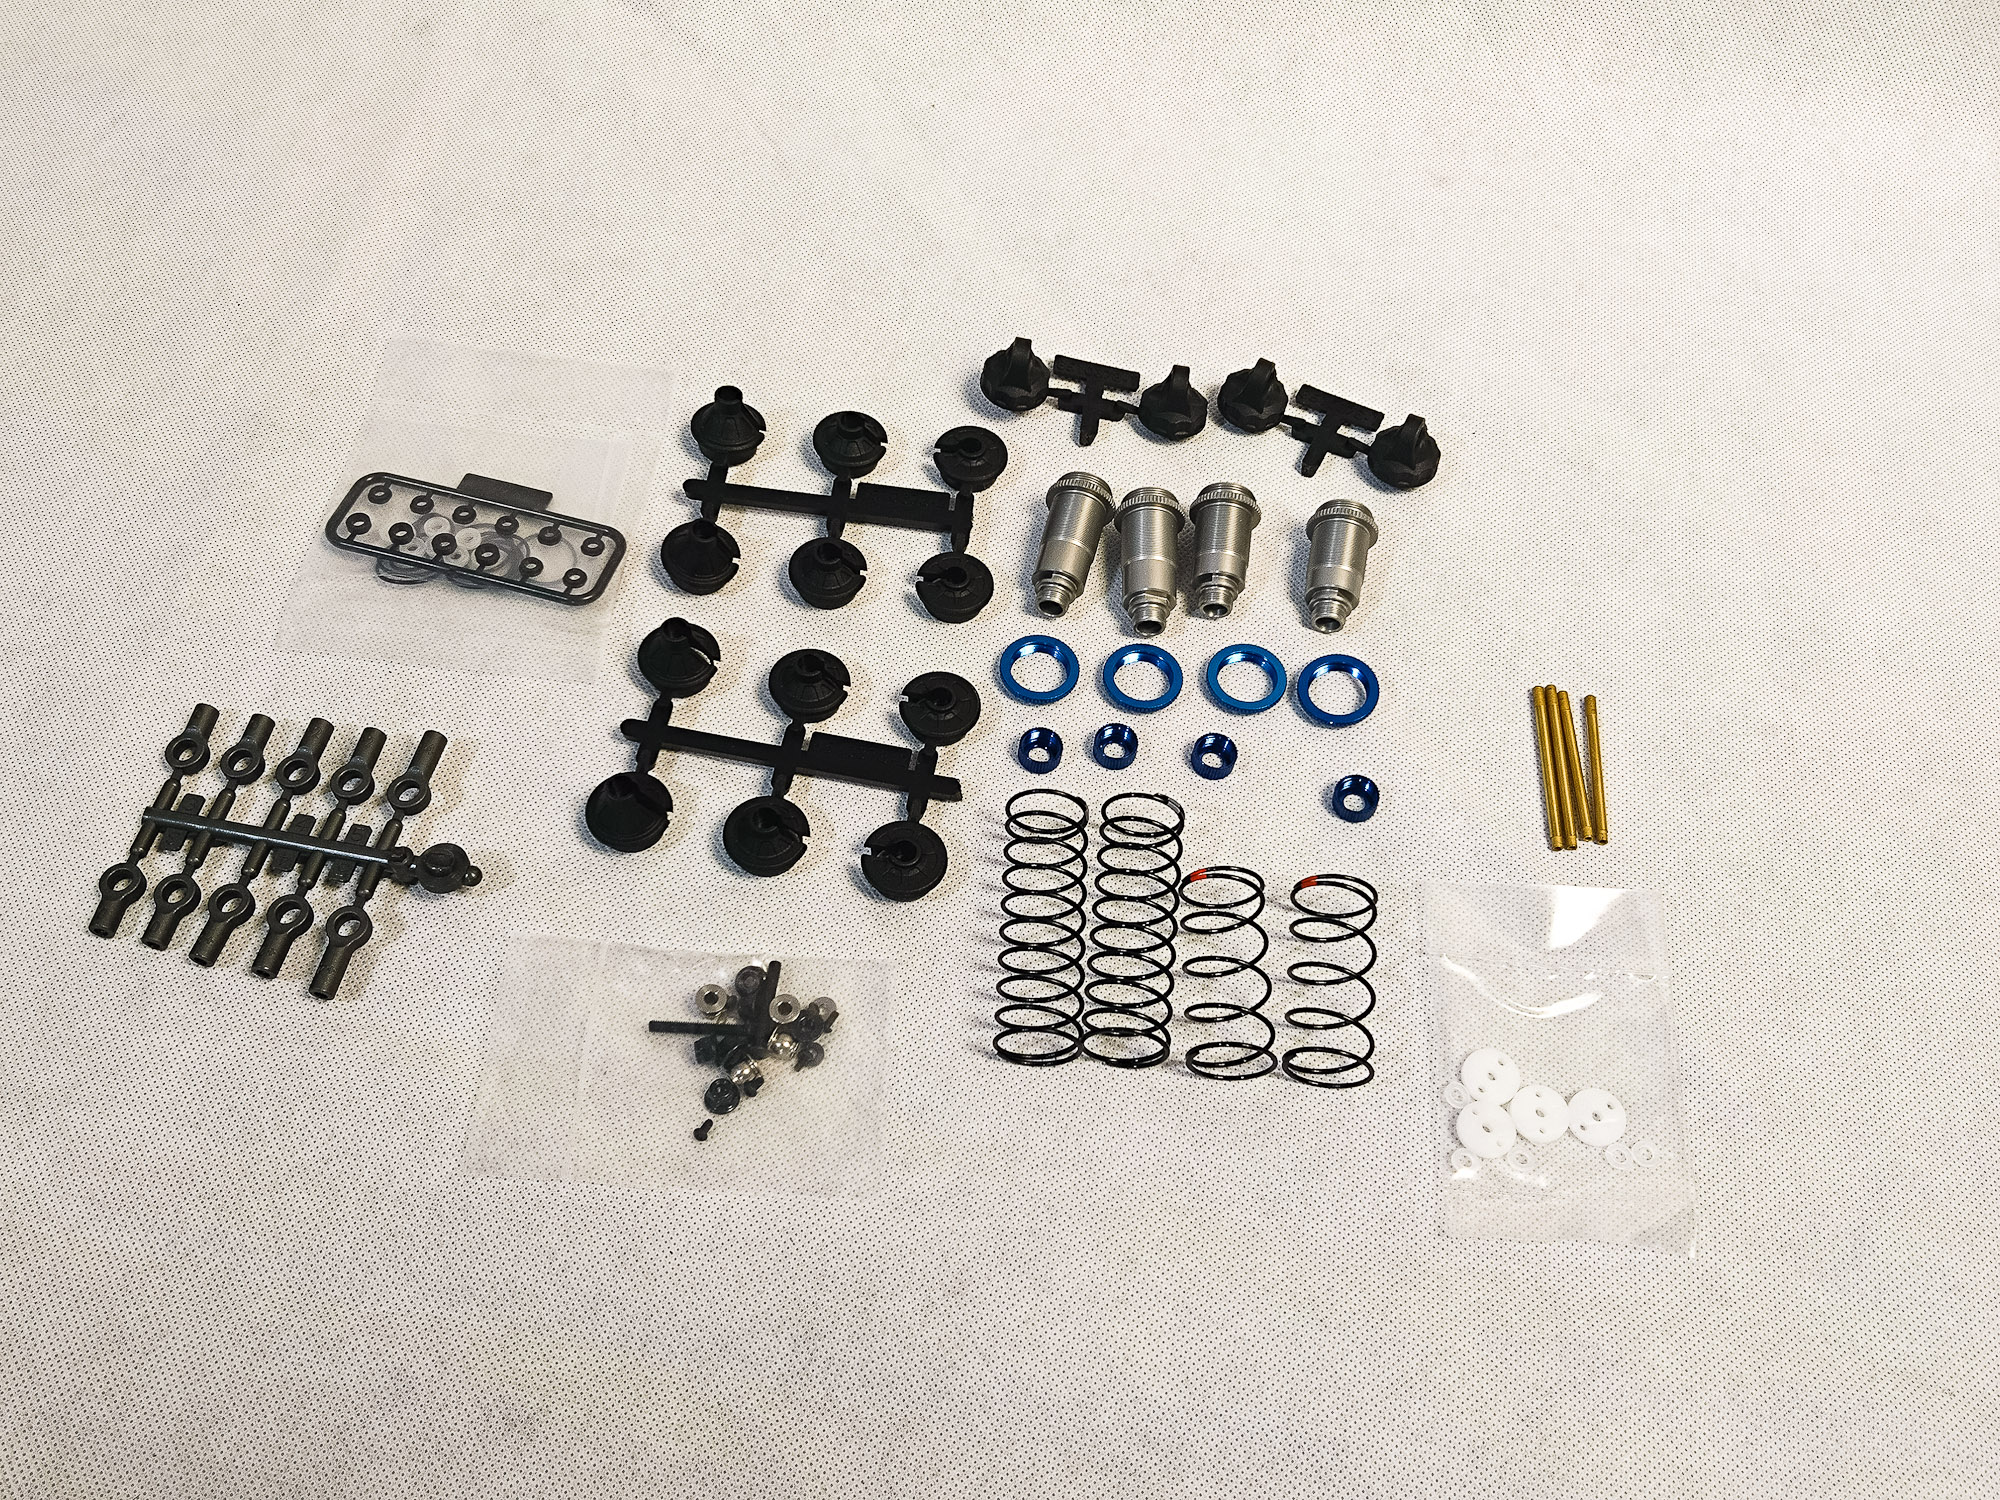
Bag 9 includes Team Associated's 13 mm shocks in their
standard version. If you want to get the best out of them, take your time and
polish the shock shafts with a rotary tool, metal polish and a microfiber
towel, and gently use an arm reamer on the shock hat bushings. If you want less
of a hassle, you can go wild on Factory Team goodness, including chrome plated
shafts and Kashima coated shock bodies.
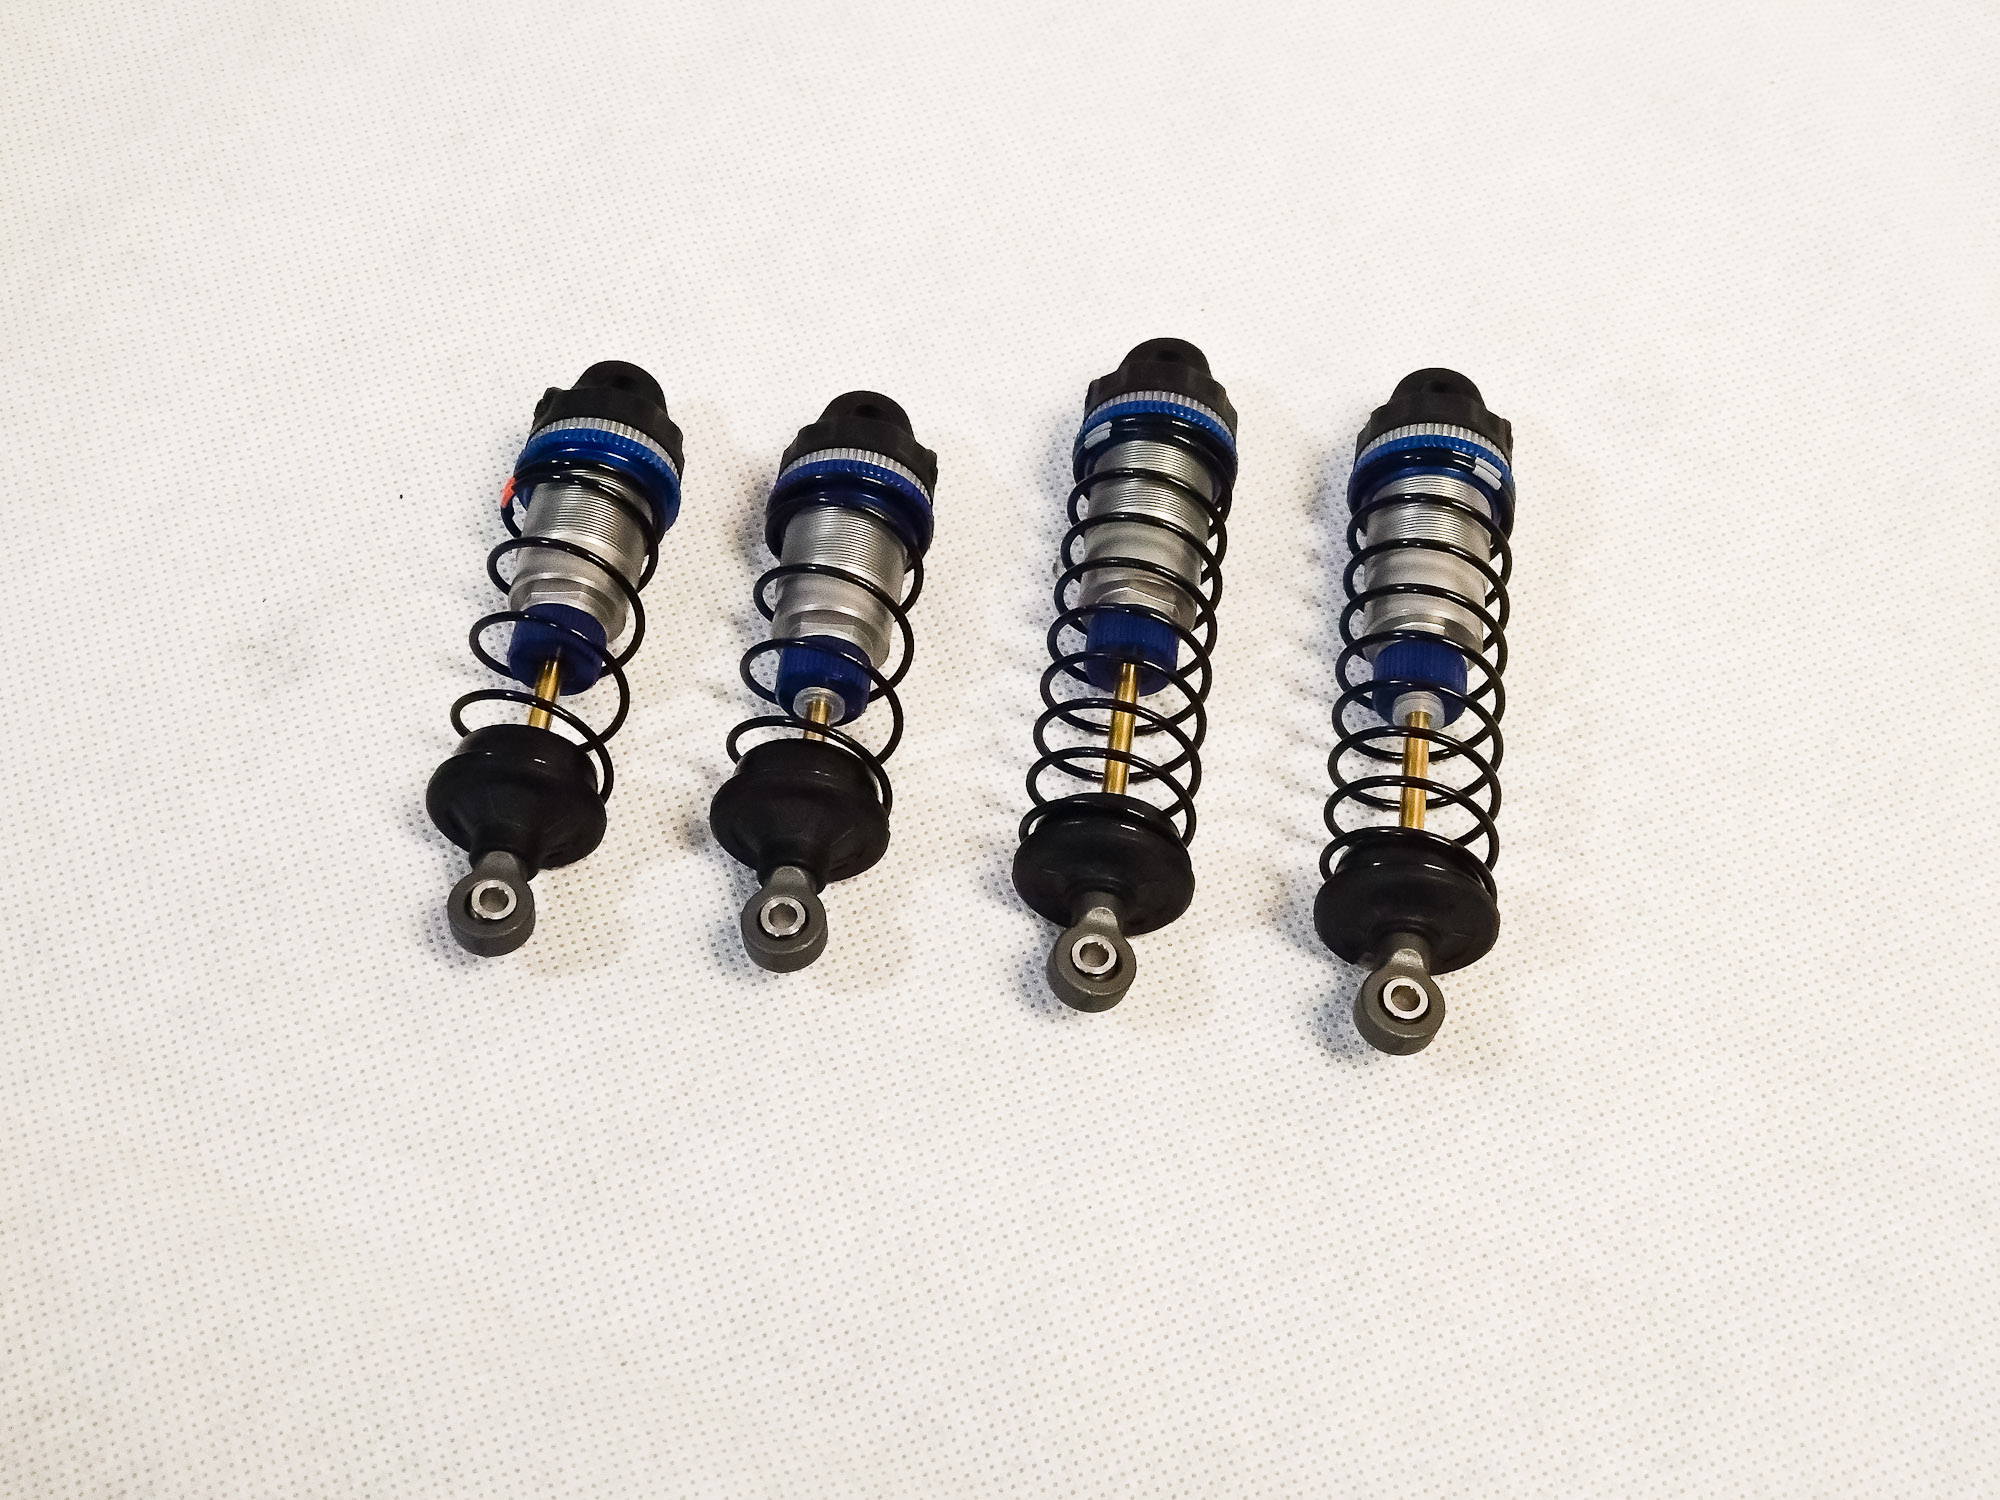
While the front shock package of orange springs 1.6 x 2
pistons and 35 wt oil is on the stiff side, the rear shocks with grey springs,
1.9 x 2 pistons and 30 wt oil feels very plush or rather reactive. As an
afterthought it occurred to me that switching shock oils front to back might
balance things out a bit more. Running softer shock oil in the front is common
with touring cars, and I tried it in the past in an 22 5.0 and really liked it.
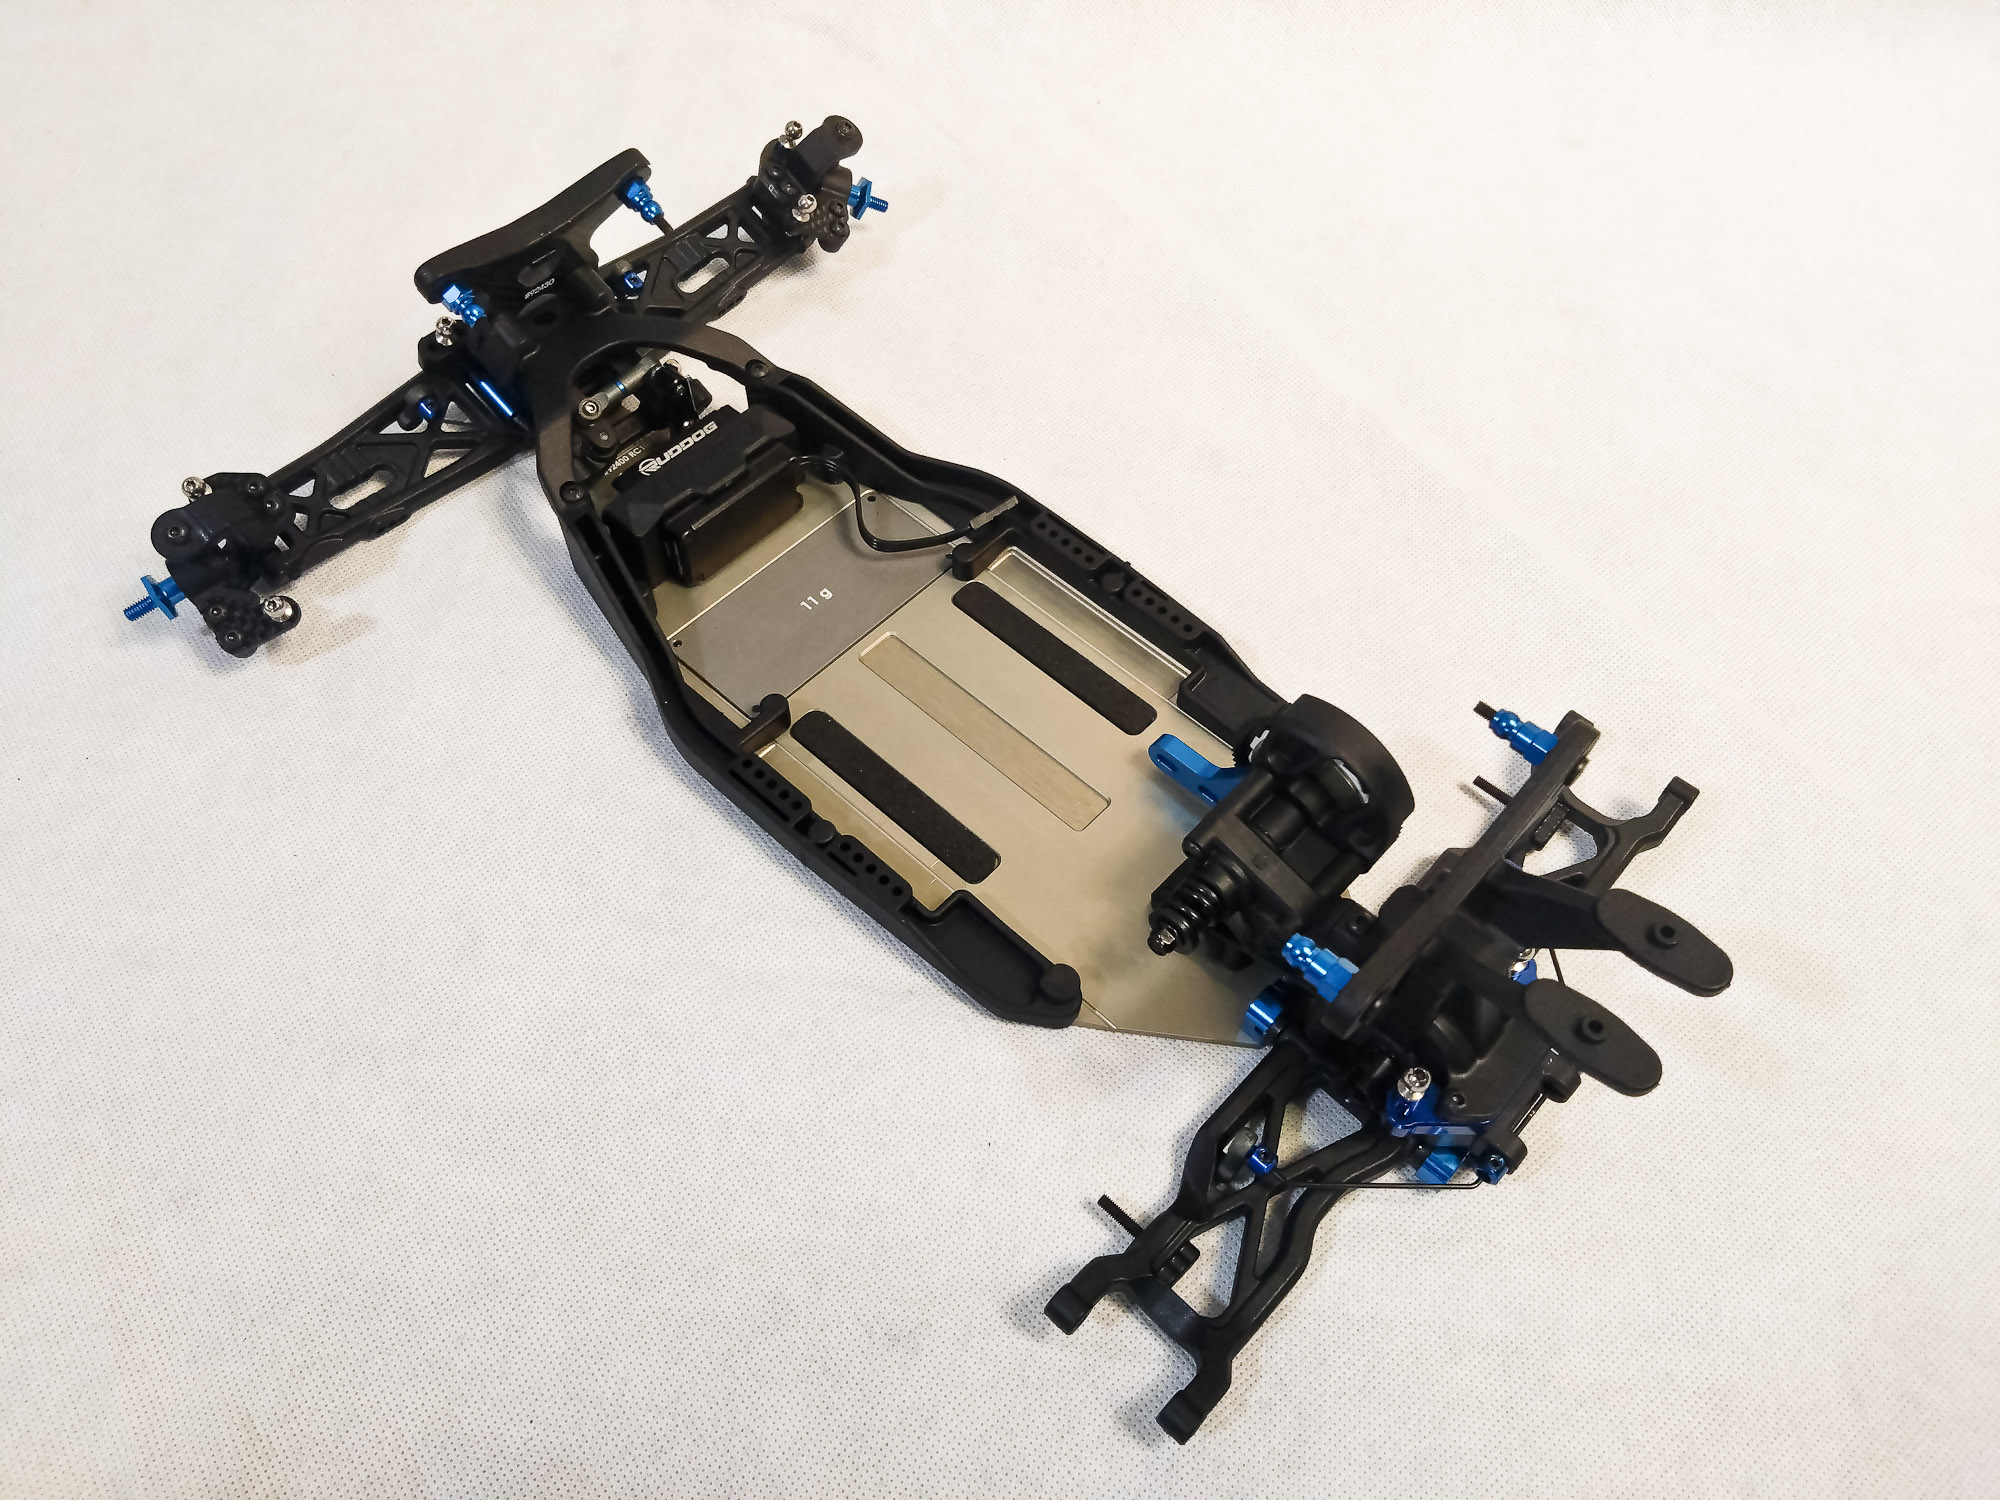
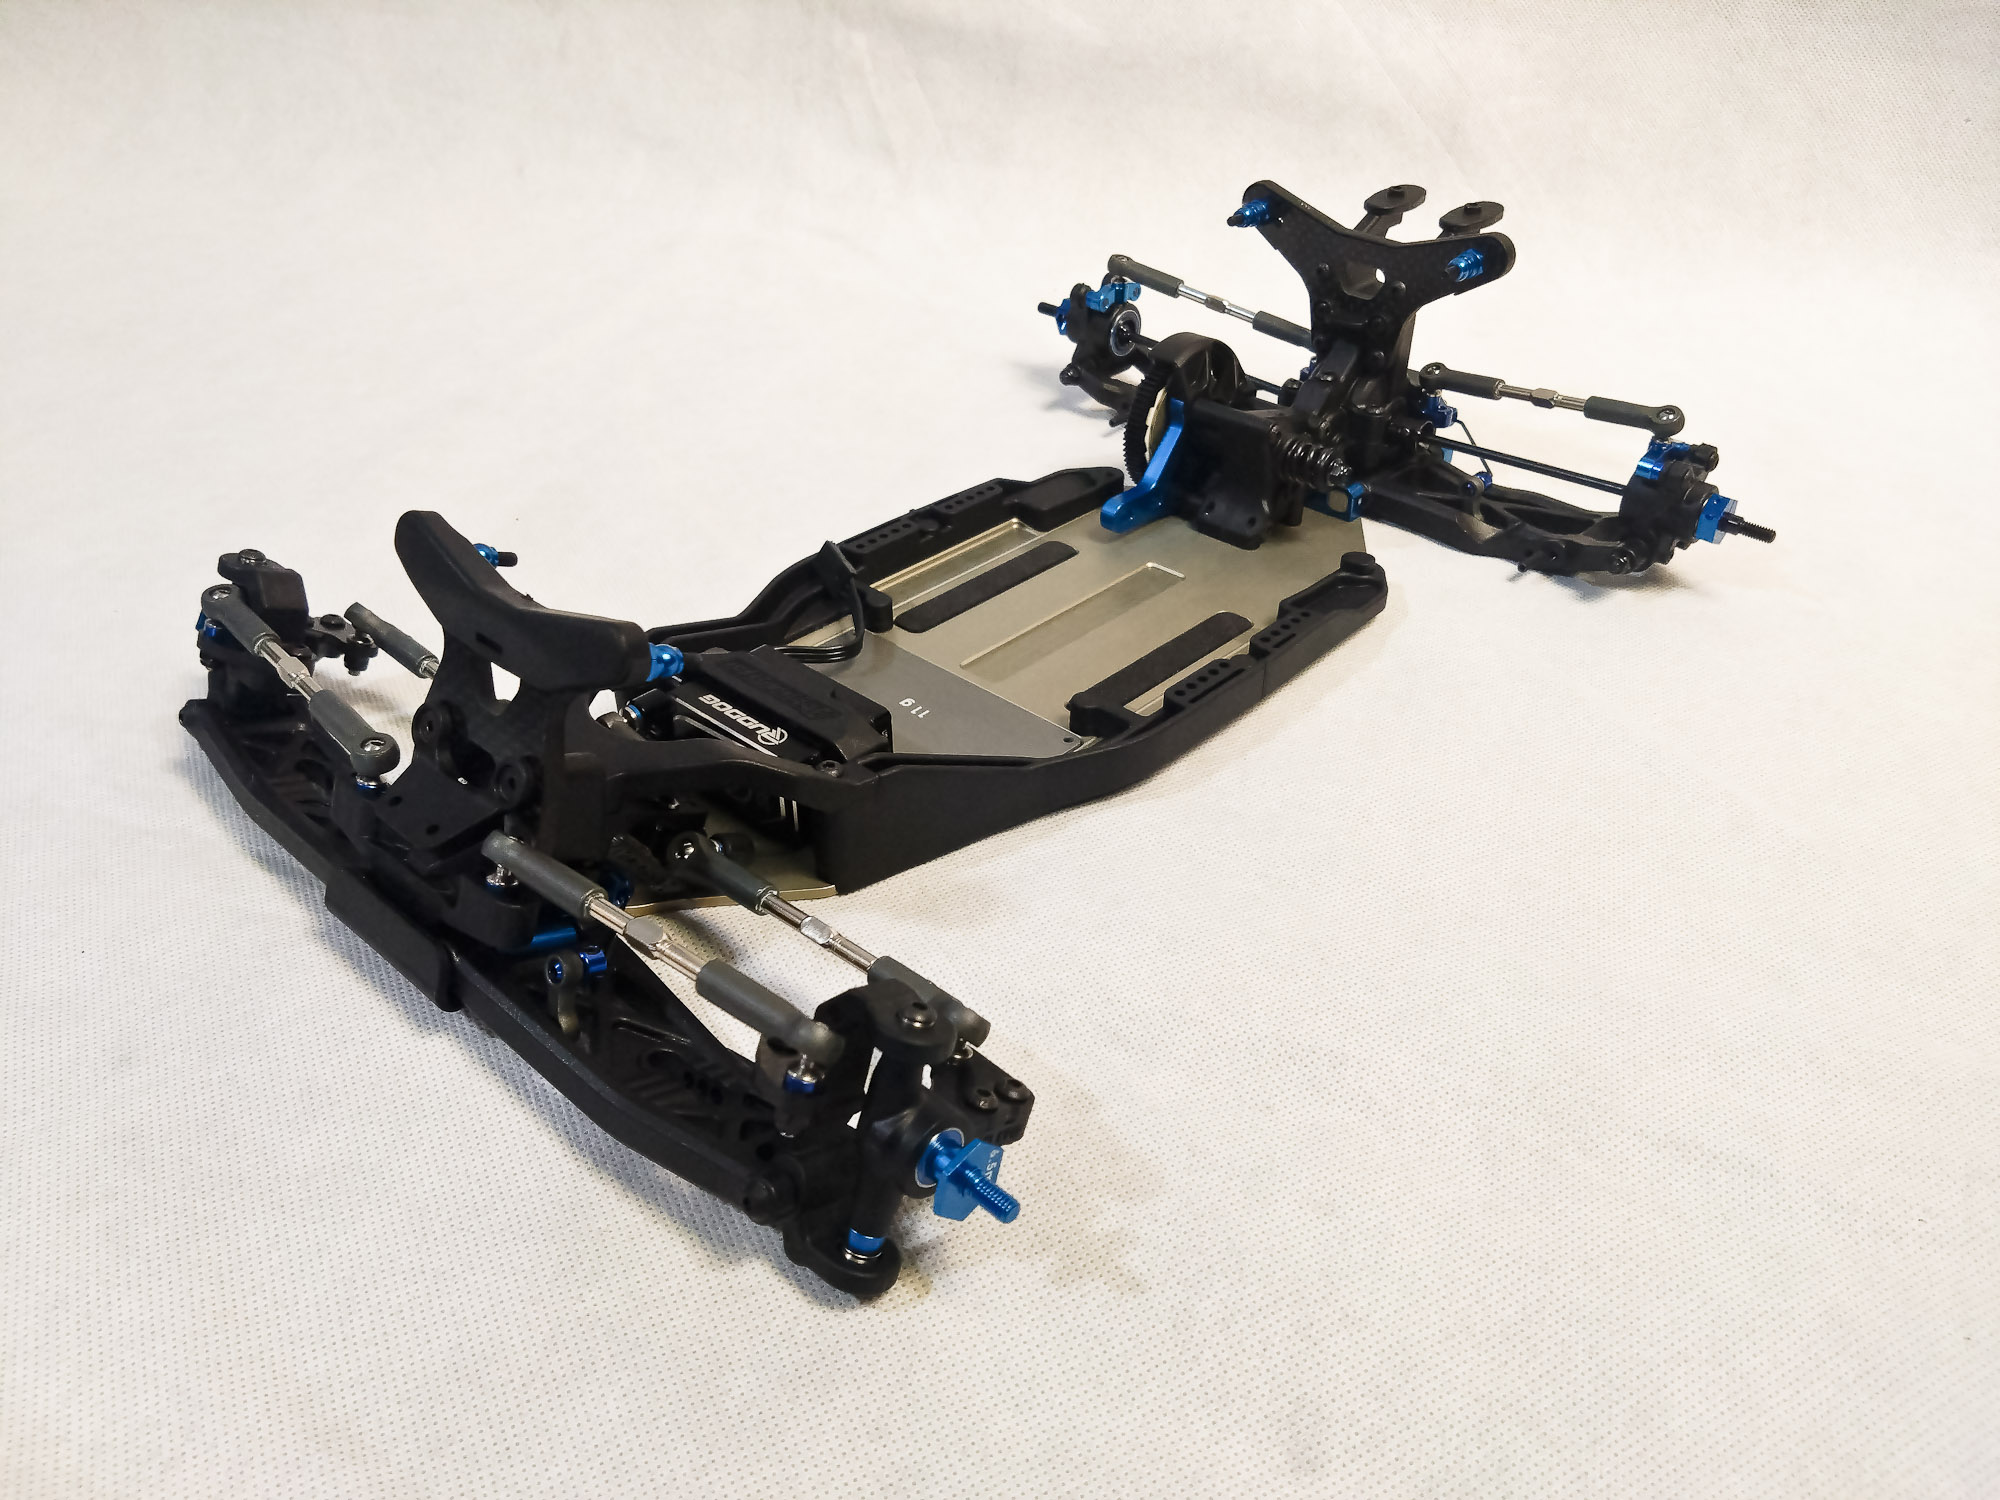
Roller almost complete...
Bag 10 includes the battery mount. Two sets of mounting tabs
(labeled Thumb Screw in the printed manual) are included for different types of
batteries, but unfortunately even the lower ones were too high for my Ruddog
4400 mAh LCG shorties. Instead of cutting the tabs, I flipped them upside down
and used some 2 mm spacers. I might want to switch to some 22 mm batteries
should the 4400 mAh batteries not be enough for 7 minute mains that are not
unusual in Germany.
With the front and rear wings attached, now on to
electronics installation.
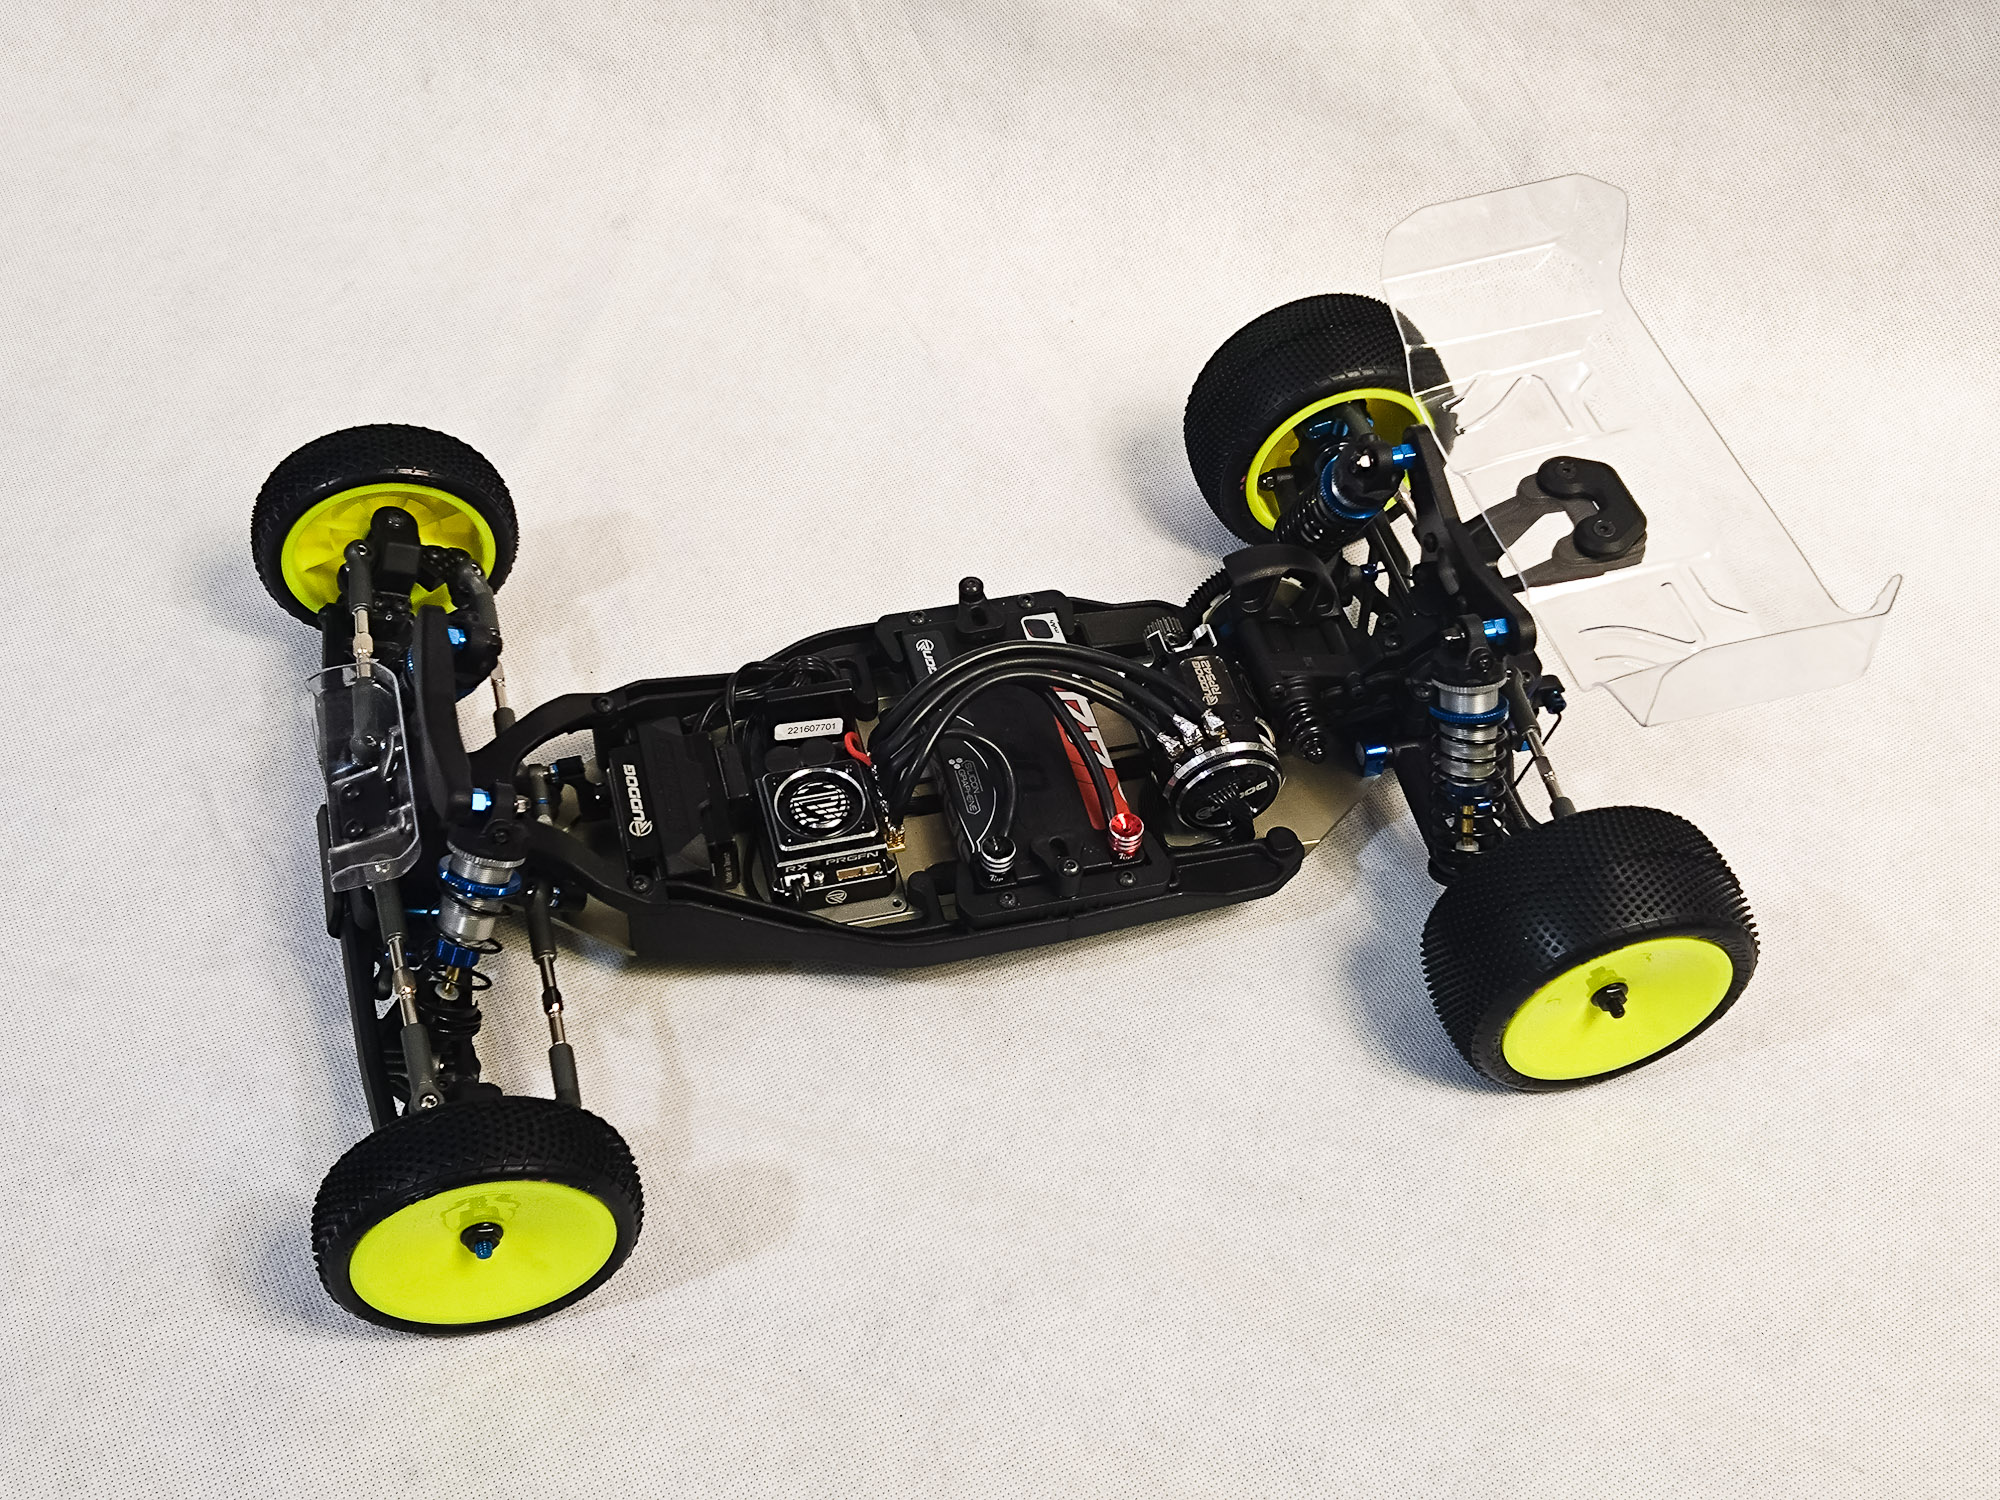
I really like the low slung design of Team Associated's new
beast. Well done, Kyle Klingforth, Billy Hayden and the rest of the team!
|