- On point? Team Associated RC10 B6.1 -
By Markus Schmidt
In the world of RC, 2 WD buggy without a doubt has been the most popular form of 1/10th scale off-road racing since the very beginnings. While there are always hot and trendy items like short course trucks used to be a few years ago, unlike 2WD buggy, trends come and go. One of the most iconic kits of the industry, the Team Associated RC10, has now evolved once again to provide avid RC racers with the ultimate platform available. So let's take a look at the A-teams latest shot at the crown of electric off-road racing!
As soon as the list of the B6.1's features became known, quite a few people on the internet wondered whether the new kit should have been named the B7 instead. Still, the overall concept remains the same and follows Yokomo's then-revolutionary YZ-2: one-piece aluminium chassis, reverse bell-crank steering, and, most importantly, lay-down transmission. Already the original B6 had taken the Japanese design a step further. Pockets machined into the chassis allow for fine tuning the car's weight bias, inserts on the rear hubs are used for adjusting axle height, and the bolt-down battery brace does away with the need for foam blocks and improves the rear end's flexibility. But there is always room for improvement. For racers of average talent, the lightweight carbon shock towers of the B6 occasionally proved to be too weak. Even though the old ones, including aftermarket versions, can still be used on the B6.1, the kit includes redesigned stronger versions, the front of which also comes with a plastic guard to protect carpet and the shock tower in one go. Shock mounting locations have been changed as the outer hole was rarely used if at all.
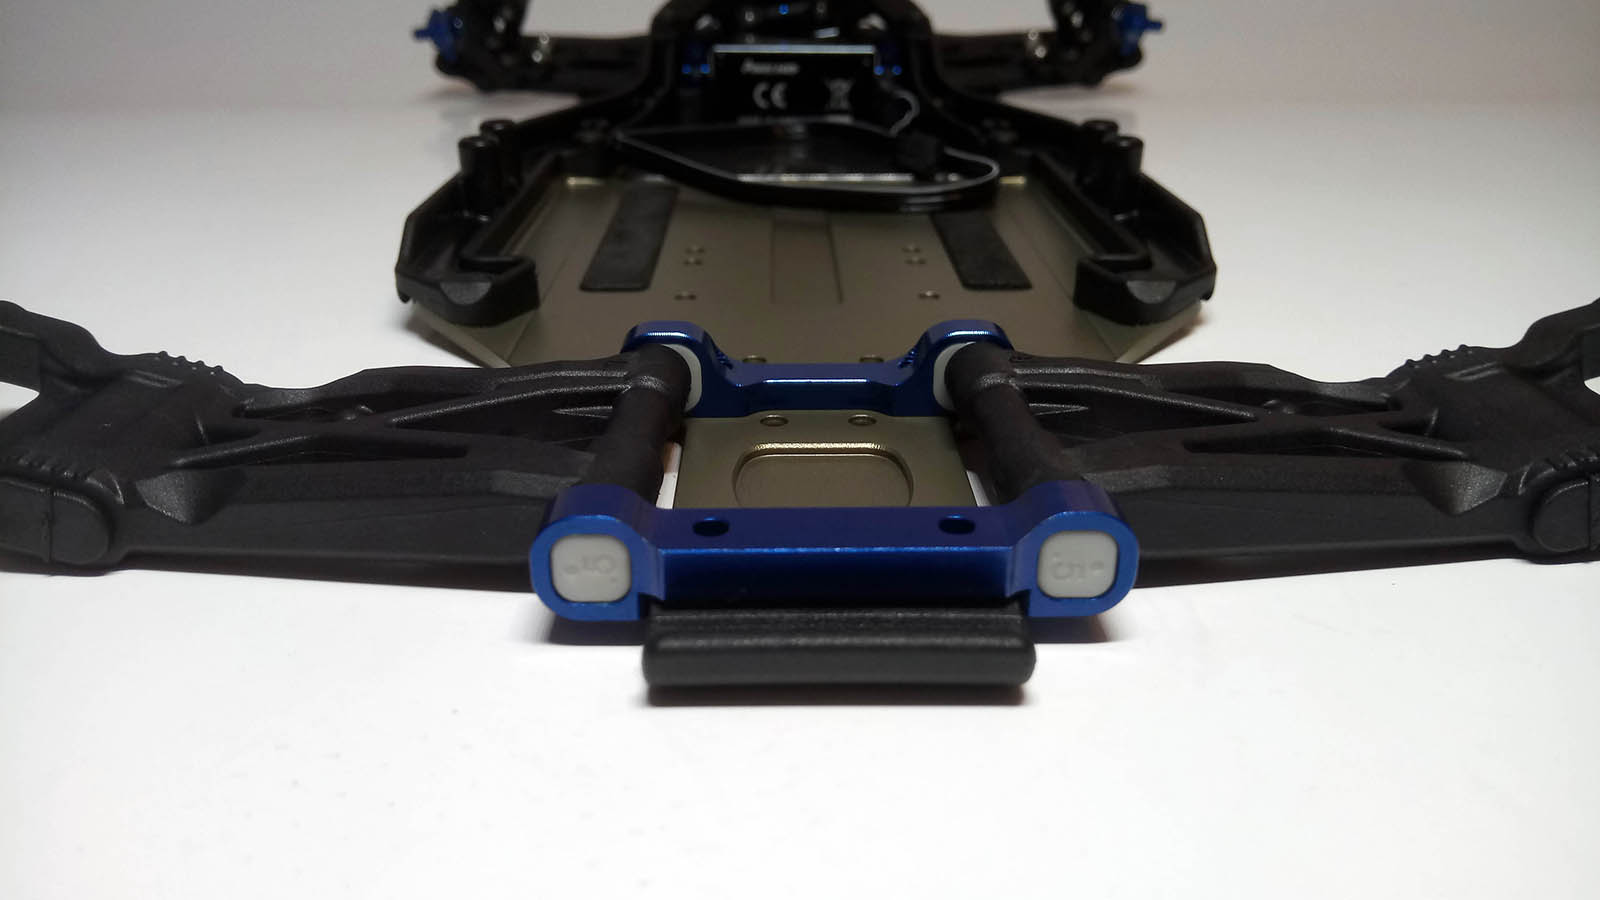
Two different trail options, (3 mm and 4 mm) are available in the kit. Learning from the issues the inserts on the fifth generation vehicles used to cause, Associated chose to include two pairs of steering blocks instead. The chassis is a tad shorter now to increase steering out of corners and make the car feel more planted. Bits and pieces have been added that used to be option parts before, i.e. oiled ball bearings, one-piece shock bushings, machined pistons, aluminium D rear arm mount, steel chassis weight, and front and rear sway bars. A new line of V2 big bore springs is to improve handling on today's high-grip surfaces and make the car more nimble. The battery strap now accepts a turnbuckle to replace the waterfall-style gearbox brace so that the battery can be placed fully to the rear against the motor.
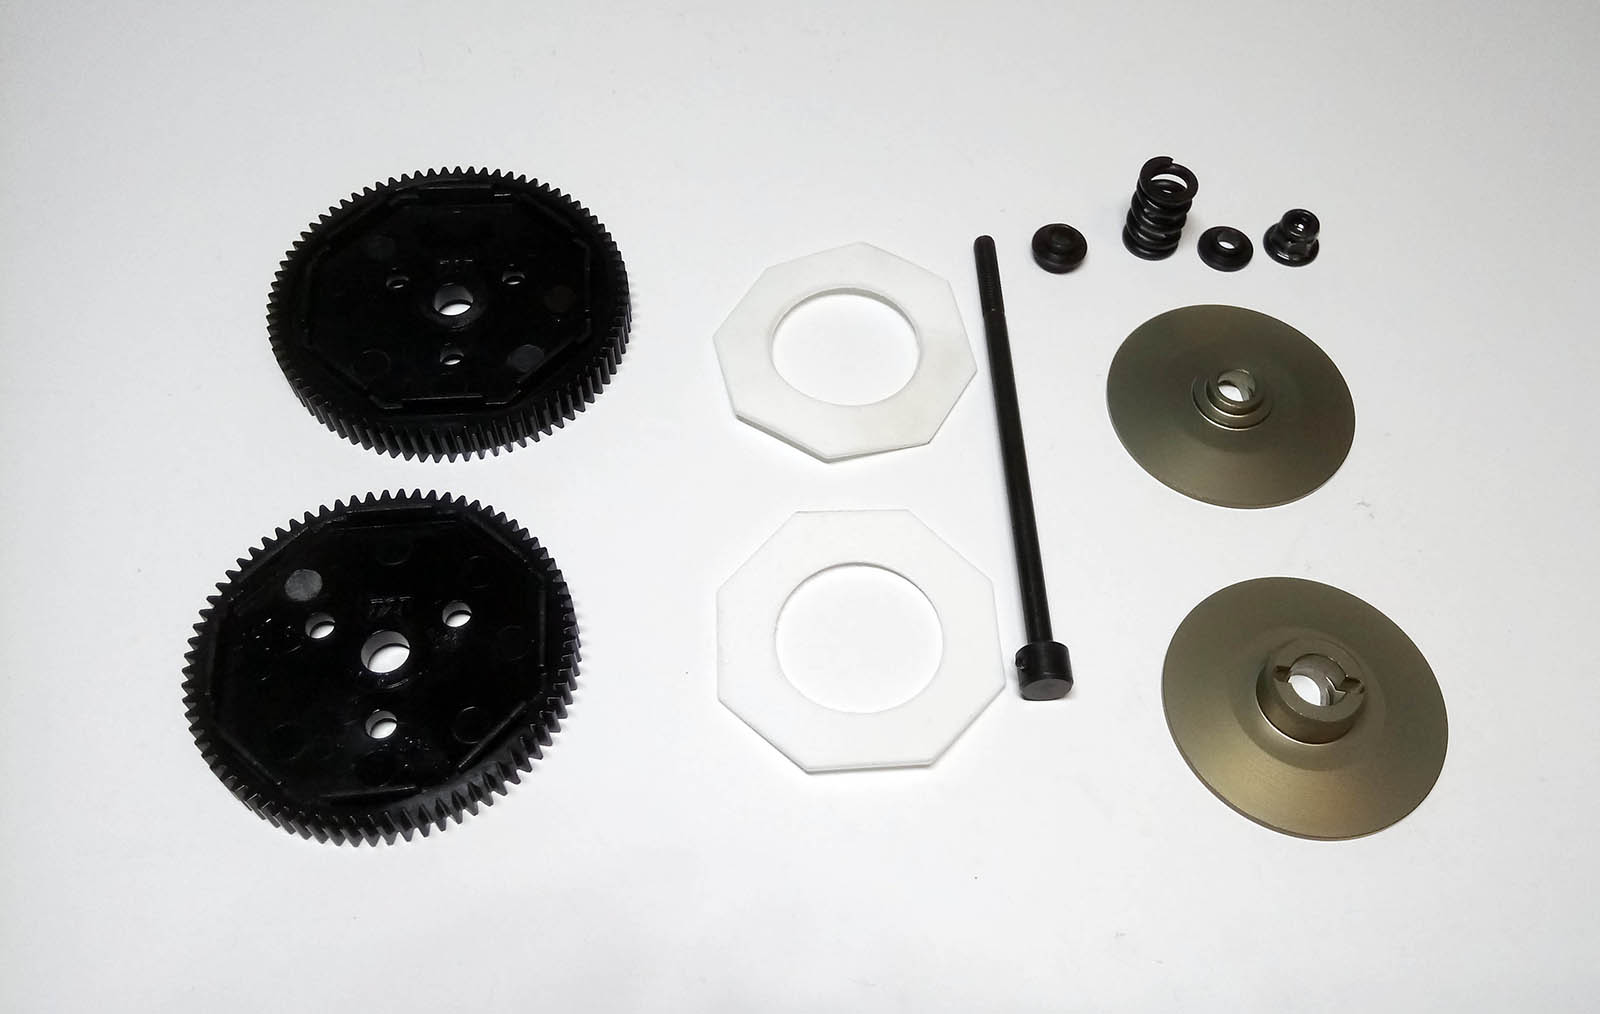
However, the most fundamental changes can be found on the rear end. The new rear arms now have inserts to offer yet more tuning options for the lower shock mounting position, and thanks to the revised aluminium C-mount, the motor can be moved further to the back with the optional so-called layback gearbox, which is included in the B6D instead of the more forward biased lay-down housing. Both gearbox versions feature new internals. The gear differential has been put on a diet and now has a plastic cross-pin and lightened outdrives. Also, access is now a breeze and only requires six screws to be removed. Diff height has been found to make quite an impact on how buggies handle on the race track, and accordingly can now be adjusted in four steps in 1 mm increments. An all-new slipper assembly improves left-to-right balance: No longer are the slipper nut and spring located on the spur gear side, but instead on the left side of the gearbox. Two redesigned spur gears are included in the kit to offer gearing options for various kinds of motors.
So how much of an improvement are all these changes? Unfortunately I cannot compare the B6.1's lap times to the old car. Although I was just as stoked when the B6 made its debut at the Nurburgring as I was when I first heard of the B6.1, I did not pull the trigger on it. Too few were the differences compared to my YZ-2 to justify a new kit, and as the previous two AE distributors in Germany seemed to struggle to meet the demand, I was not too eager to rely on their spare parts support. With Ruddog Distribution having taken over earlier this year, there should be no such issues. Sven Rudig's company has been one of my two go-to shops. I've been a happy customer for the better part of a decade, and I can't see why things should be different in the future.
But back to the B6.1! As the 6th generation of Associated's vehicles is new to me, my verdict can only be based on my experiences with other manufacturer's kits and older Team Associated platforms. Since the advent of the lay-down transmission, I have gone through the B5M with the original Redworkshop lowrider transmission, various iterations of Yokomo's YZ-2, an Xray XT-2, and the TLR 22T 4.0. The buggy that has impressed me most so far, however, is one that I did not even buy. Shortly after the TLR 22 4.0 had landed in Germany, I was able to assist a fellow racer dialling in his buggy at the track of my club, Panik Team Troisdorf e. V. After some minor tweaks to his set-up, the LRP 13.5 turn powered 4.0 was just about perfect, I had never before raced such a planted, controllable and responsive car before. As it seems, the stage is set for a new chapter in the classic duel between Team Associated and Team Losi (Racing).
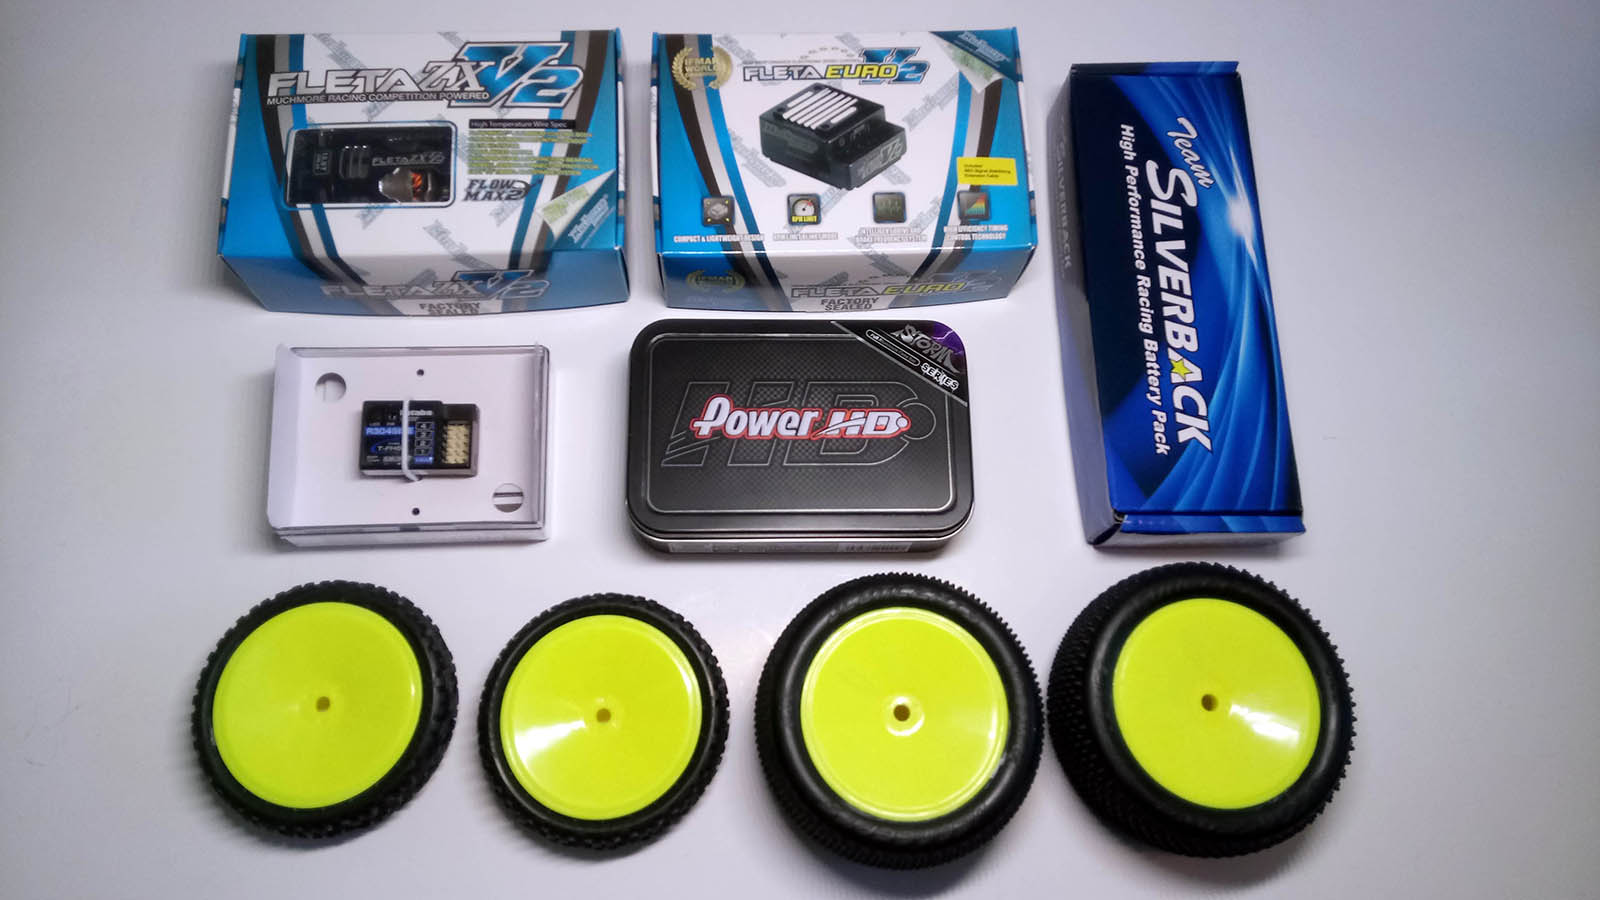
First things first: the built. As with every kit, I read the manual a couple of times to identify any unclear steps and to see what accessories would be required to complete the kit. In addition to the recommended 1/10th scale off-road standard tools (1.5 mm and 2.0 mm hex drivers, 5.5 mm and 7.0 mm socket drivers, needle-nose and shock shaft pliers, and body scissors), you'll need some paint for the body, wheels, tires, inserts, and of course an electronics package. After having used the same ESCs and servos for years, I decided to treat myself to some updates: The PowerHD Storm 4 has a full-metal case and is a fast and powerful unit, in particular at 7.4 V. To make full use of its impressive specifications, you'll need a state-of-the-art ESC with a powerful BEC, such as the tiny Muchmore Fleta Euro V2. As I'll be running 13.5 turn stock in the NORC series, the German regionals and hopefully the nationals in Hellenthal, the 13.5 turn Muchmore Fleta V2 was a natural choice. I've heard only good things of Team Silverback's LiPo batteries so far and could not resist to check out their latest 7.4 V 5200 mAh low internal resistance shorty battery called the Spiral G. Futaba's 4PV rounds out my electronics package. Unlike my previous review kits, I decided to build the B6.1 almost completely out of the box - an Exotek aluminium servo horn, some Radtec servo washers (AC-10024, very similar to AE27128), a 75-tooth spur gear (AE91810) and machined shock spacers (AE91494) being the few exceptions. Everything else, including springs and shock oils is what you can find in a brand-new kit. Of course, I had some extra springs, oils, and other items with me when I went to the track, but for the first couple of laps the car was to rely on Associated's kit set-up.
But first things first! Before going racing, I was looking forward to building a new kit - and I was not to be disappointed.
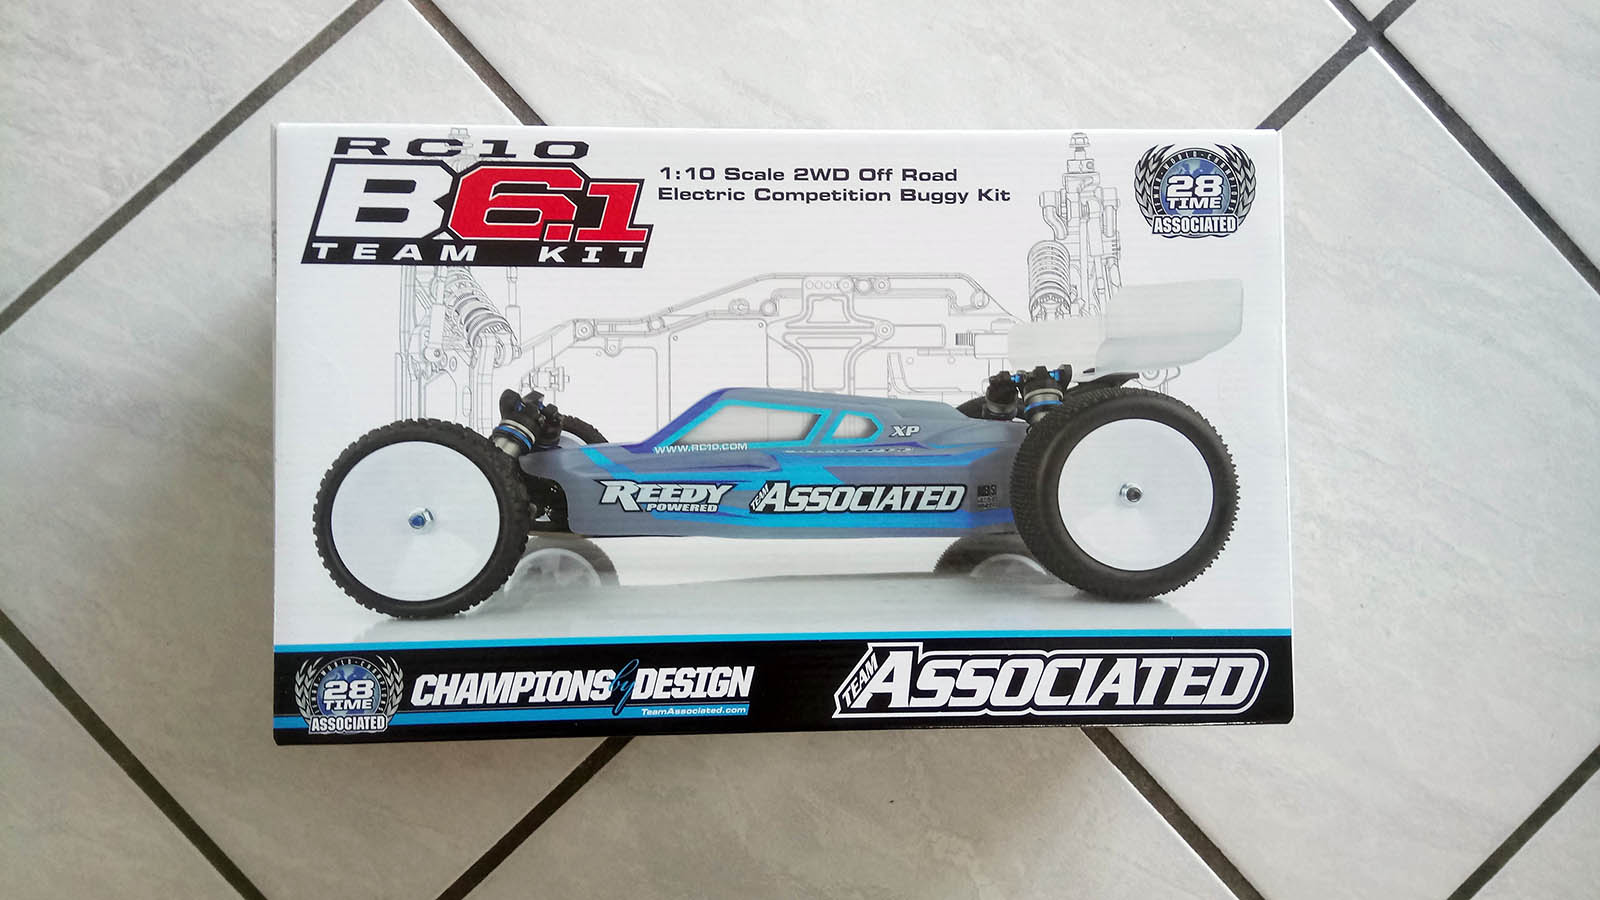
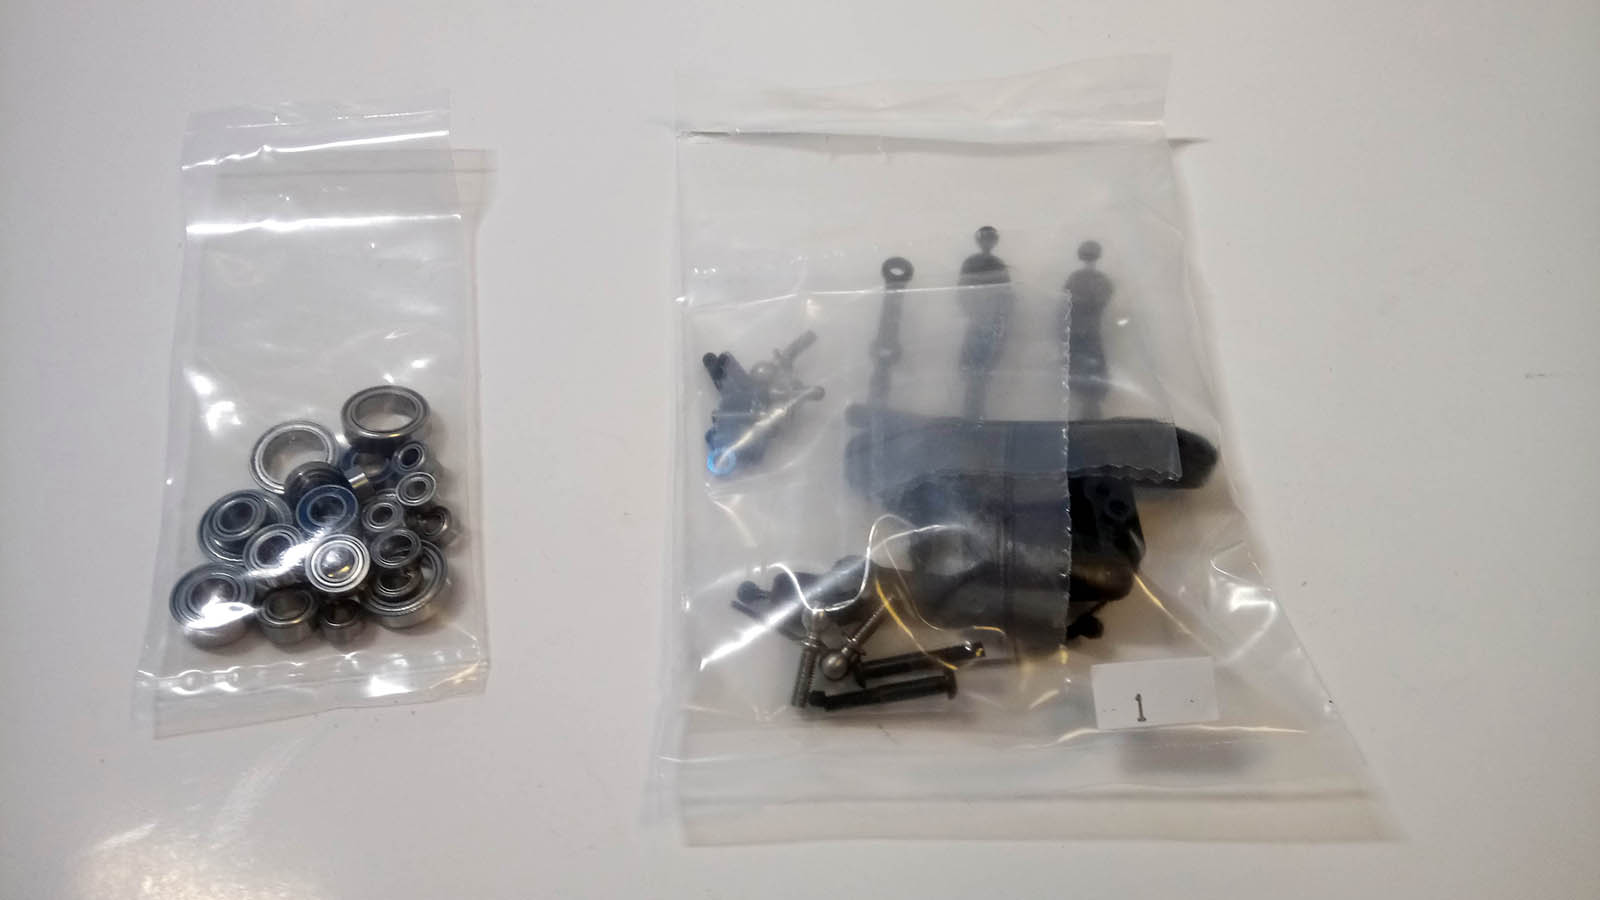
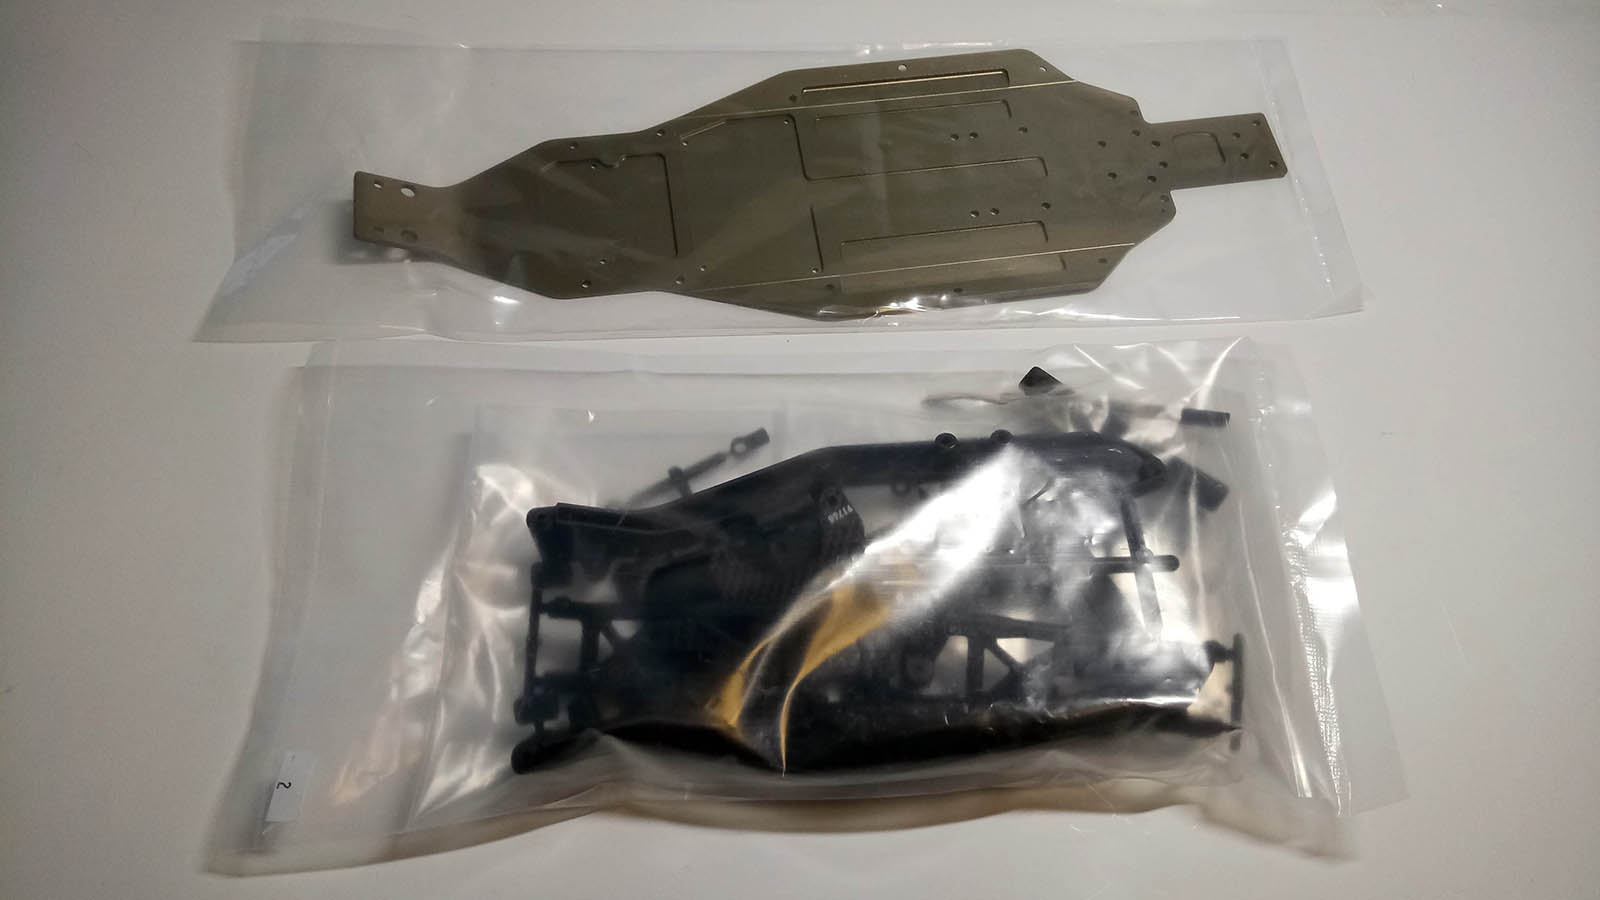
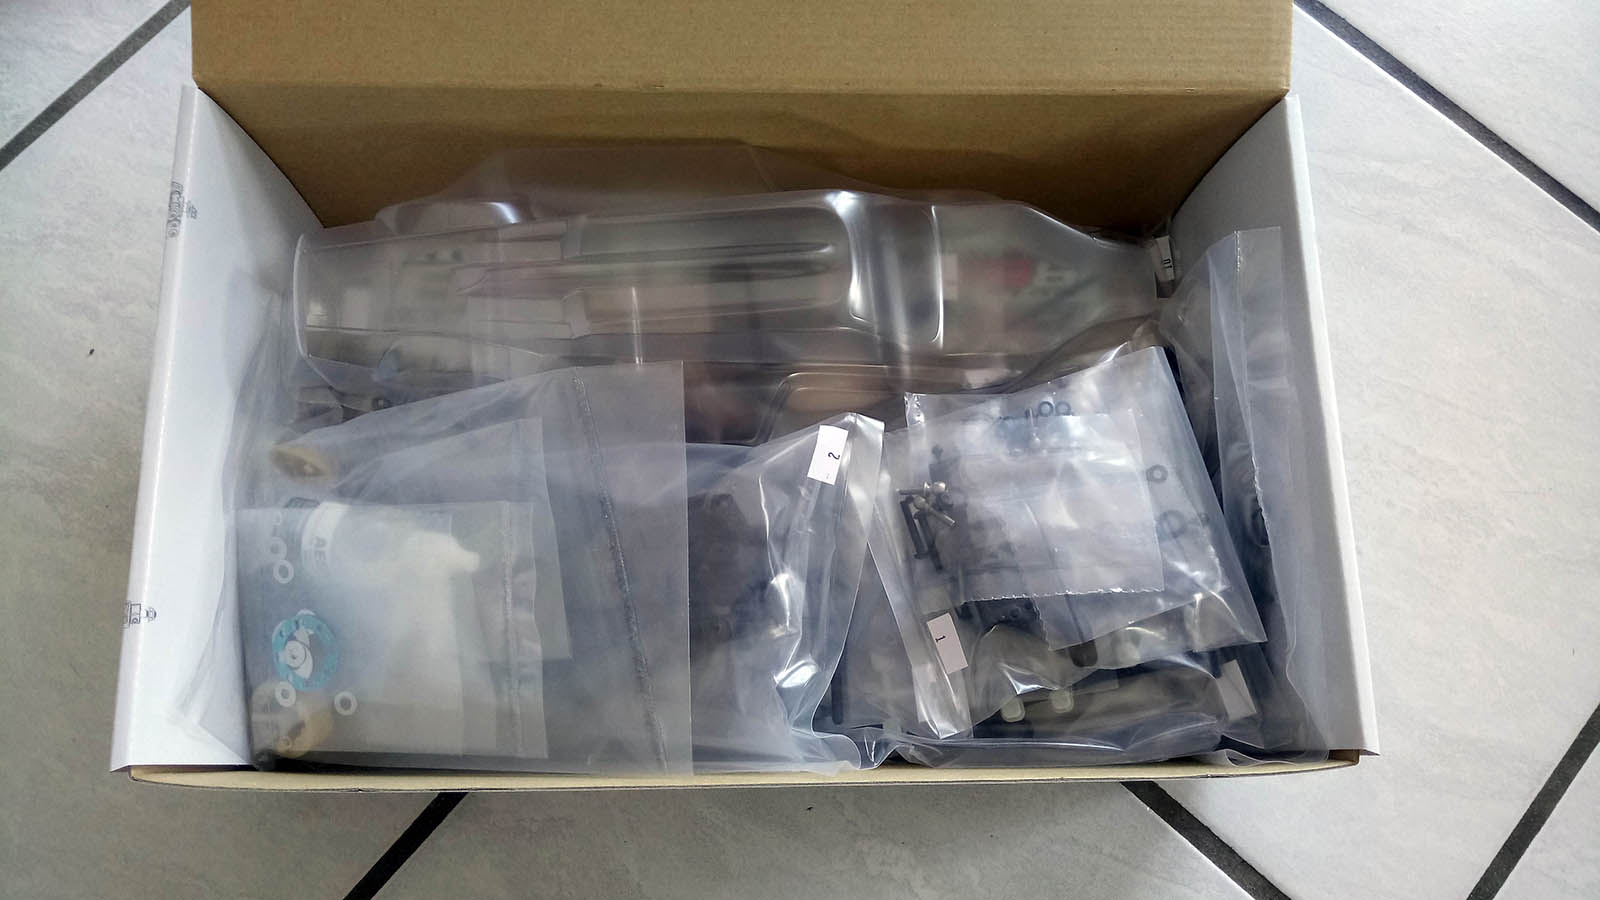
The kit comes in a nice cardboard box with many pictures of the finished product. It is a bit too narrow to accommodate the buggy, but can be used to transport tyres, parts and other items. Eleven bags numbered 0 to 10 hold most of the parts. All bearings are included in a single bag attached to bag 1, the chassis bag was not given a number, and the body is not in a bag to save space.
Before starting, you should always give the manual a read to identify possible issues or items you may have to buy to complete your model. Even before I could read it, fellow Yokomo/AE convert Daniel P. Hoffmanns informed me of two minor faults, but other than that, the 34-page manual is was you would expect from a kit of today's standards: black-and-white pictures, English language, a handy fold-out section for comparing screw and hardware sizes, and some valuable set-up tips.

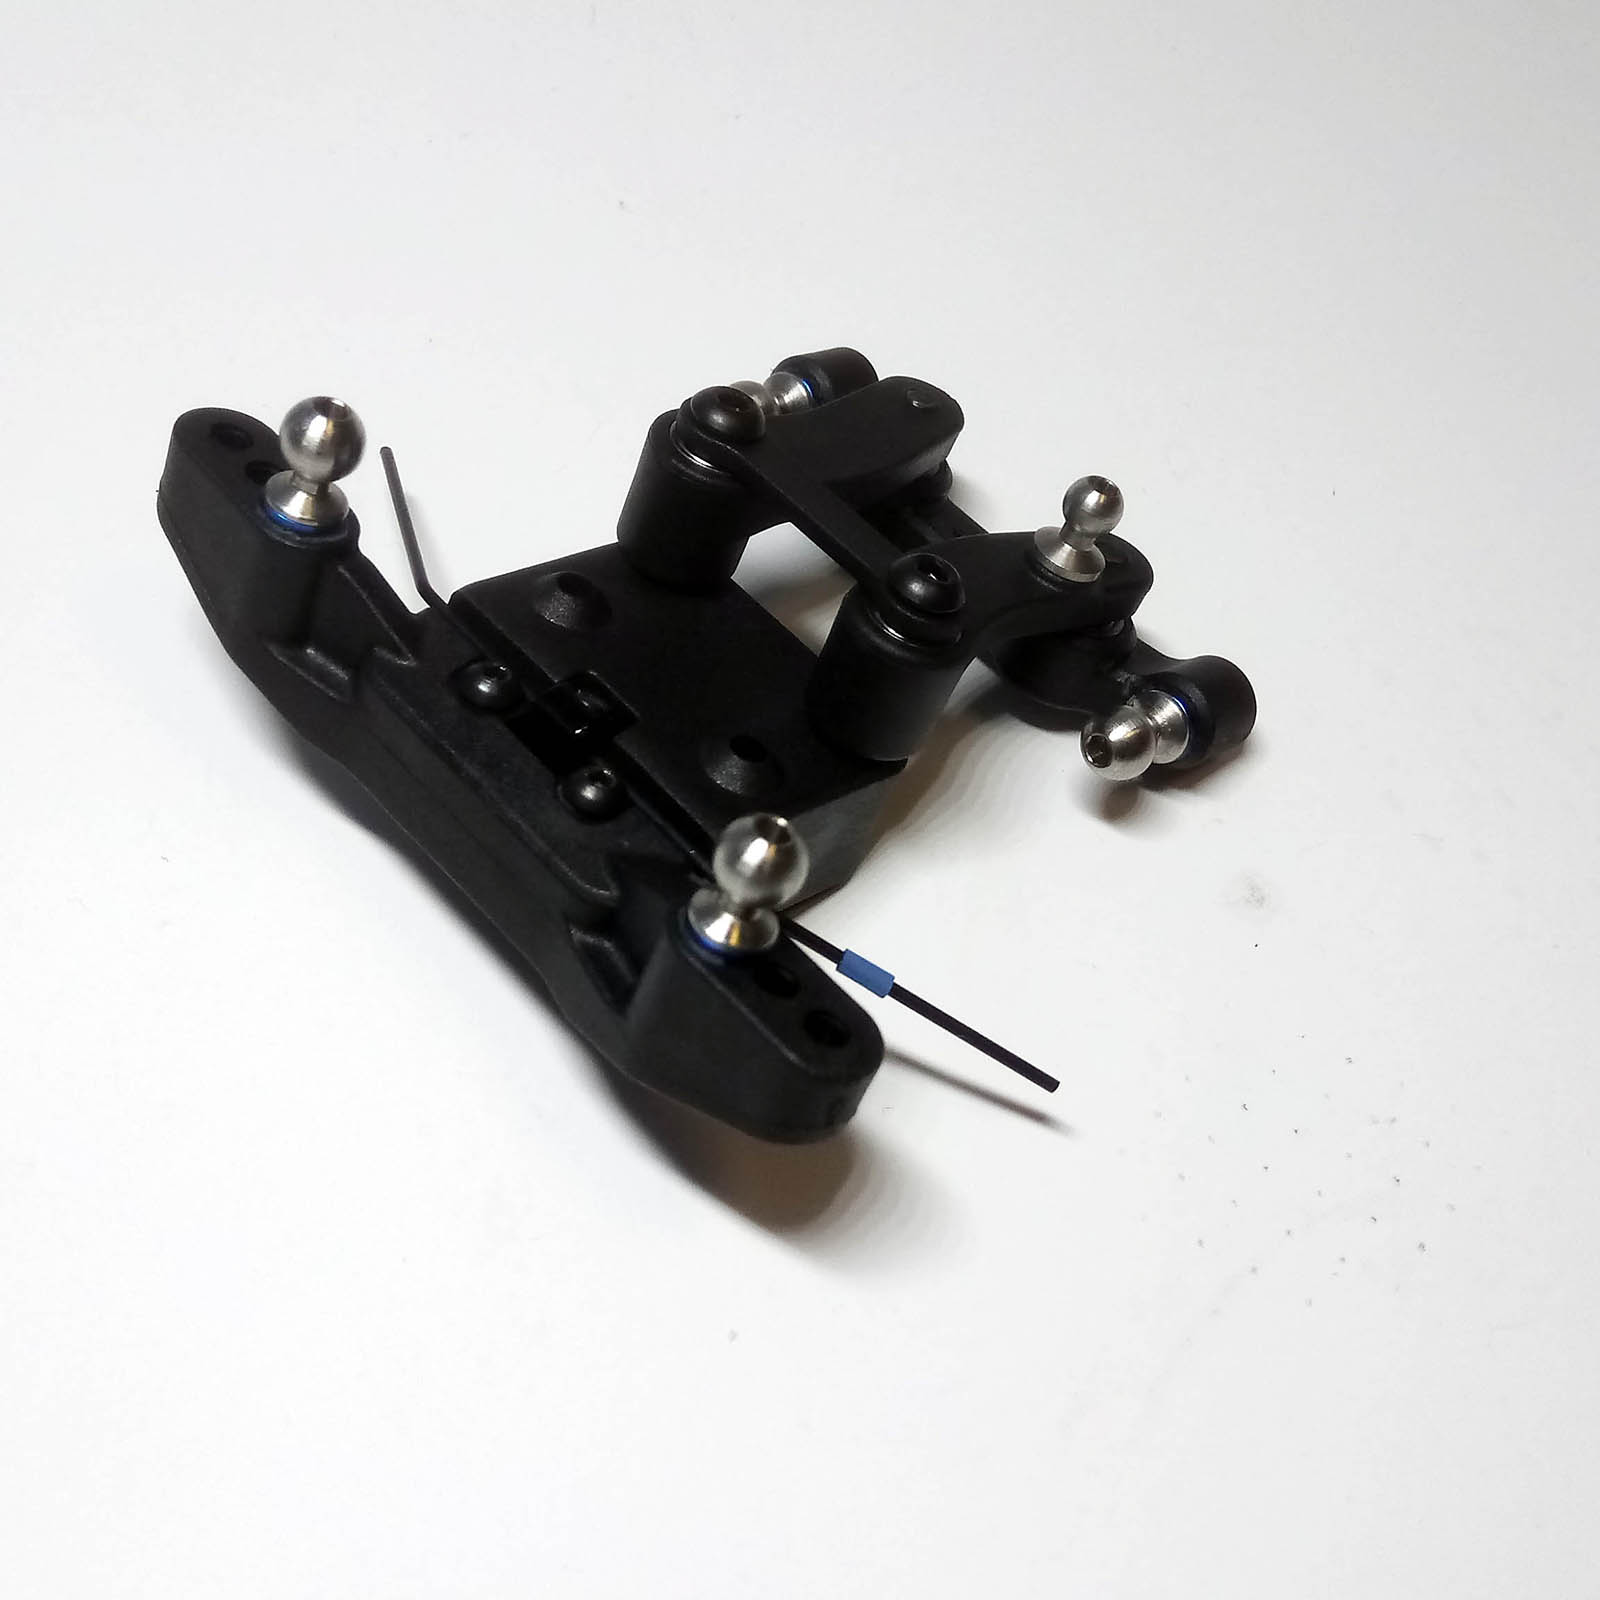
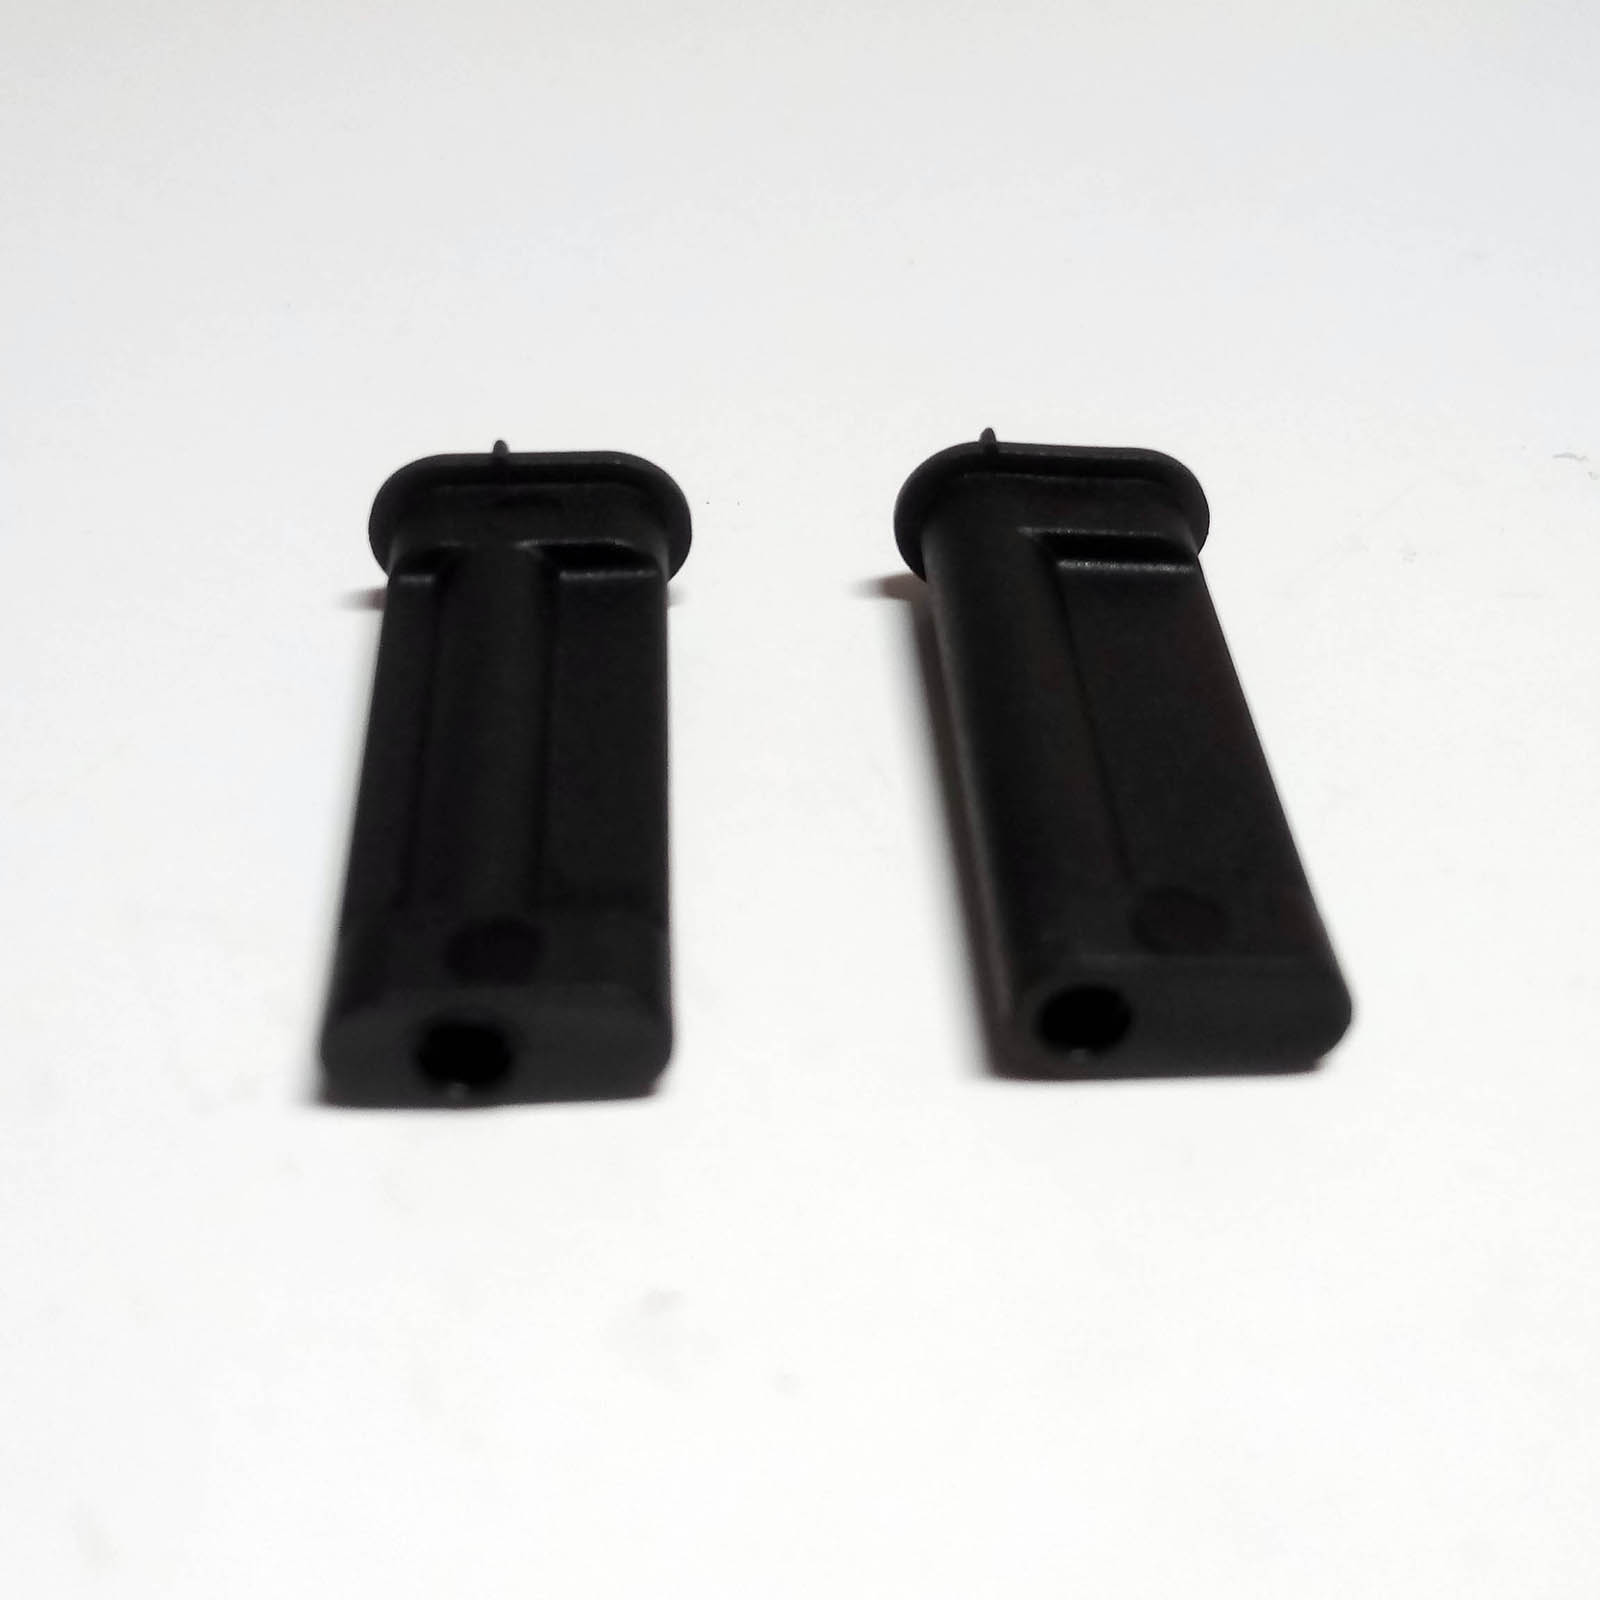
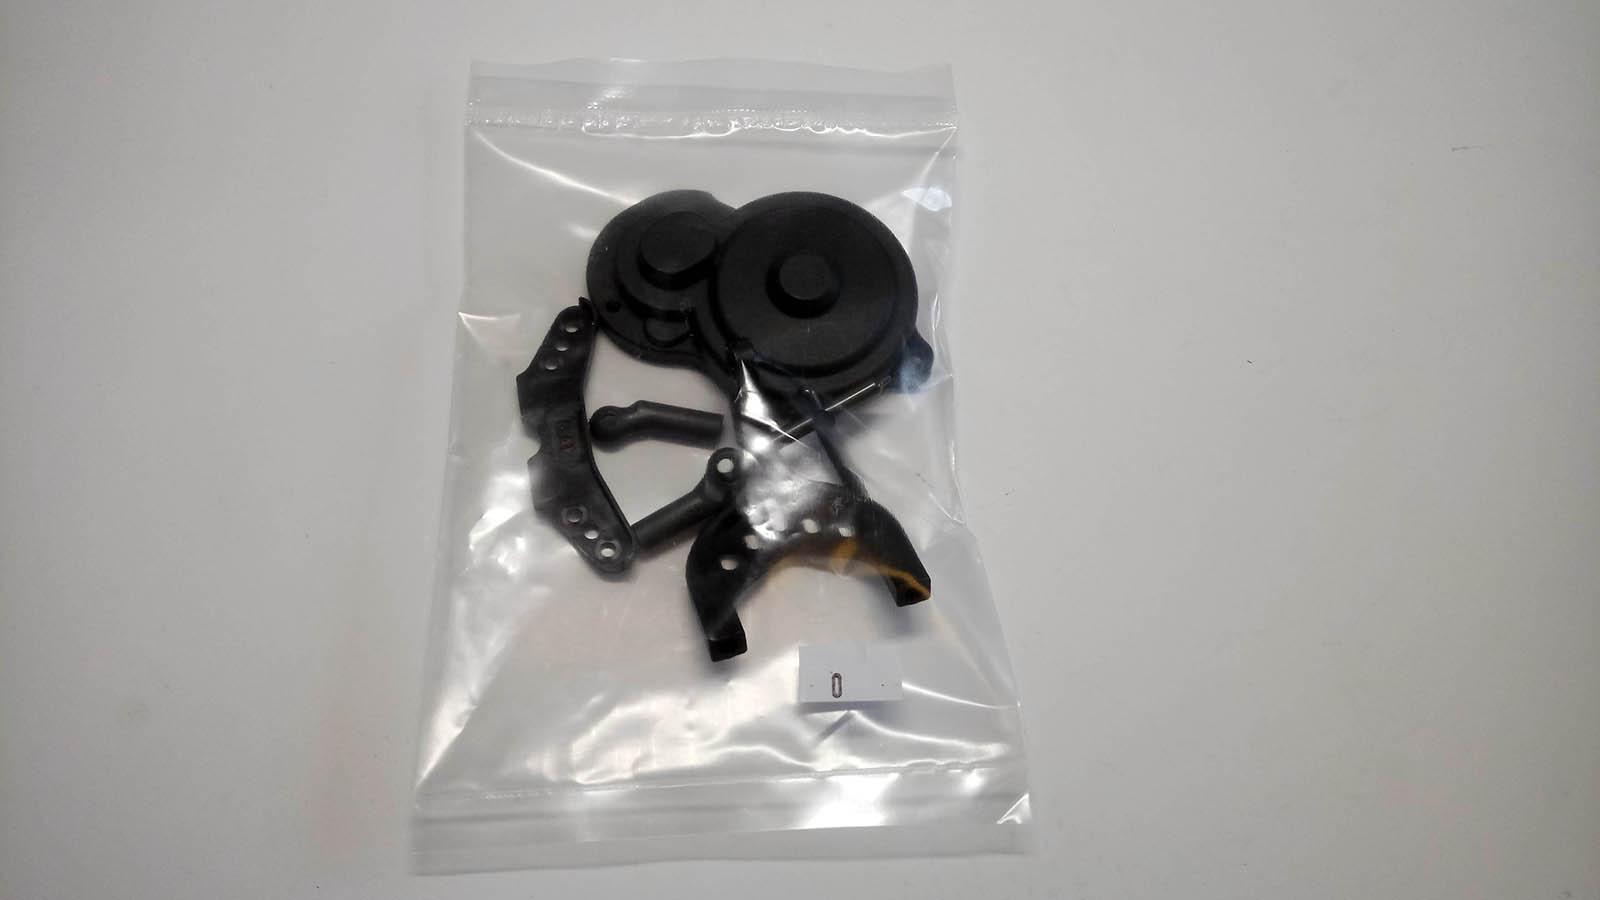
Bag 0 includes a couple of useful plastic items that are not used for the B6.1 out of the box, but come in handy if you want to use the optional flat front arms (shock tower guard) or stand-up transmission (gearbox cover). The actual built begins with bag 1, of course, which includes the steering assembly, ballstud mount, and front anti-roll bar. Eight ball bearings ensure smooth steering, the anti-roll bar is kept in place by an aluminium collar. All plastic parts have good finish and provide excellent feedback. I used chapstick on all screws and ballstuds that go into plastic, but I don't think it would have been necessary. Unlike my last TLR built, my hands did not hurt and I could used my Arrowmax honeycomb tools also when I screwed in the screws for the first time.
Just like the steering assembly, the B6 series front arm mount shares the design with the Kyosho RB6, and accordingly two kick-up settings (25° and 30°) are possible with the very same part.

After the arm mount and steering assembly has been mounted to the chassis, the steel chassis weight is bolted into the rear pocket. Aluminium and carbon fibre versions of this plate are also available for fine-tuning the chassis weight bias, and also steel and aluminium versions for the pocket below the servo.

Foam pads are included for the bottom of the chassis and the inside of the side guards. In the case of my Silverback battery, no pads were needed as the shorty pack fits the battery compartment like a glove. Servo installation is a straight forward affair. When mounting the front arms, make sure that they pivot freely on the hinge pins. I used a 3 mm drill bit to remove some material by hand, because the tiny screws securing the hinge pins would push the arms' plastic against the metal.
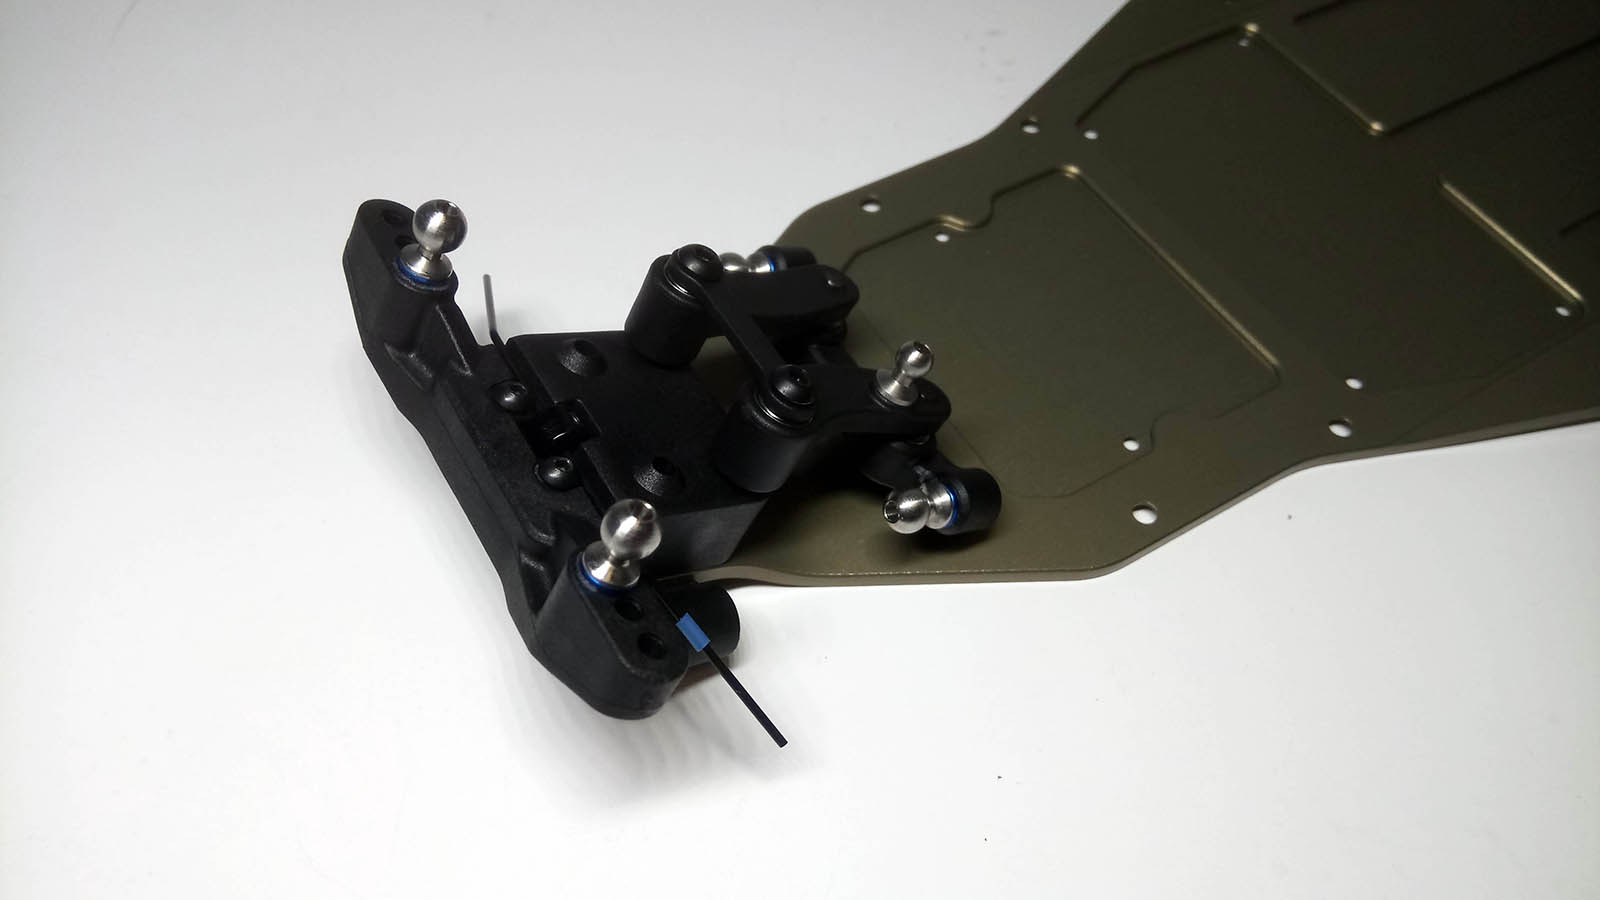
Now it is time for the first minor issue of the manual: If you are going to use the kit settings, you should install the shock tower before attaching the top plate to the chassis - thank you, Daniel! Otherwise you would have to remove the ballstuds before installing the shock tower.

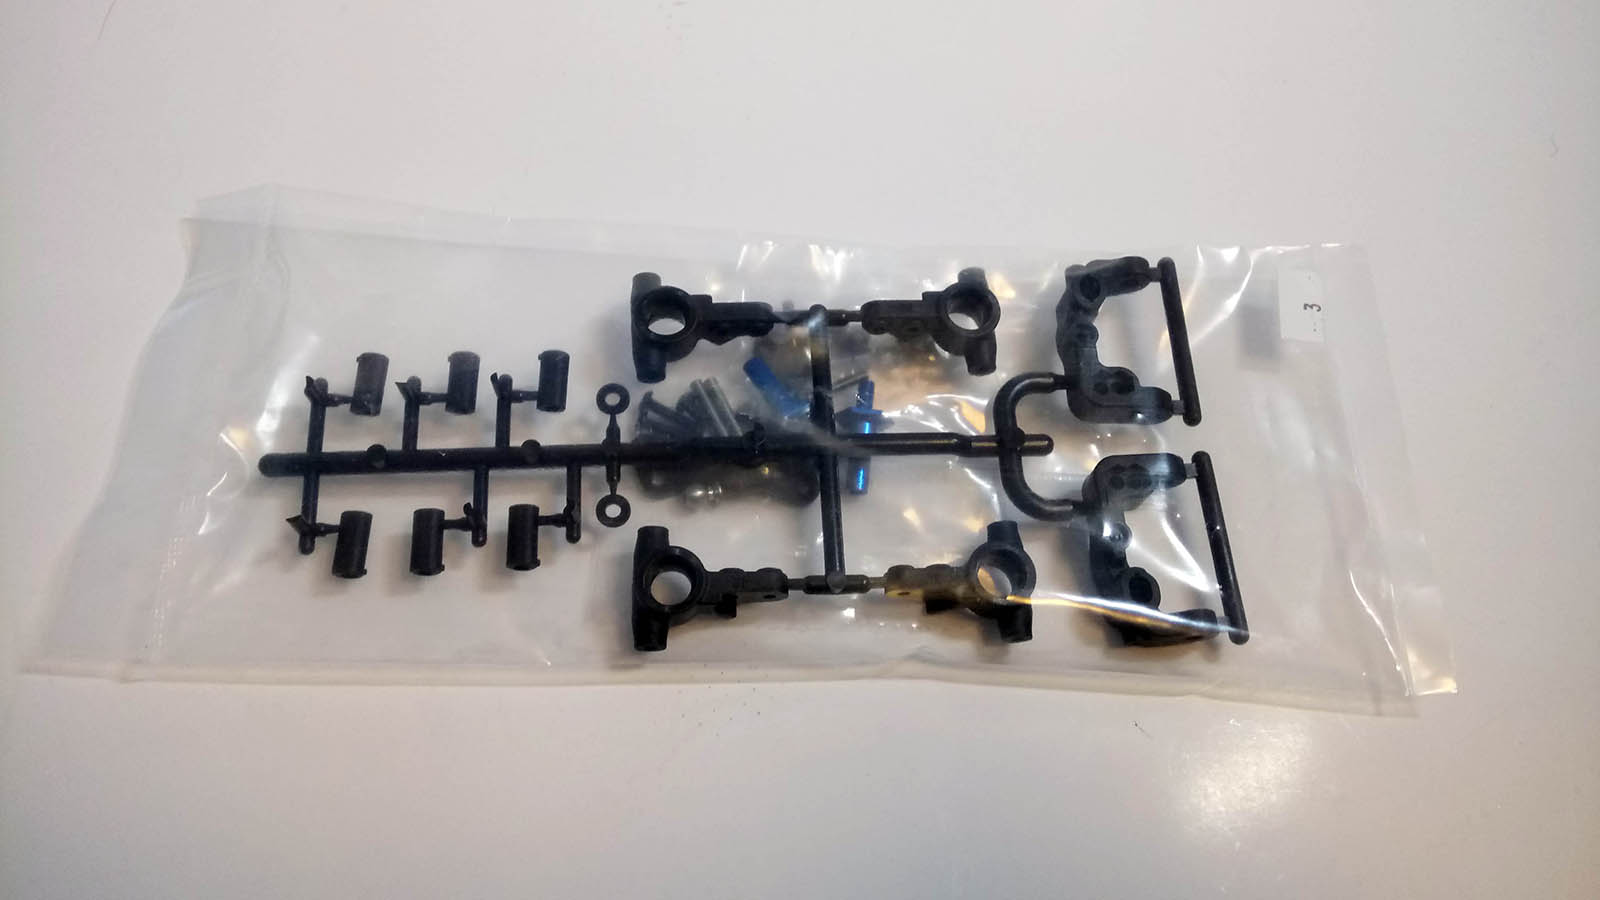
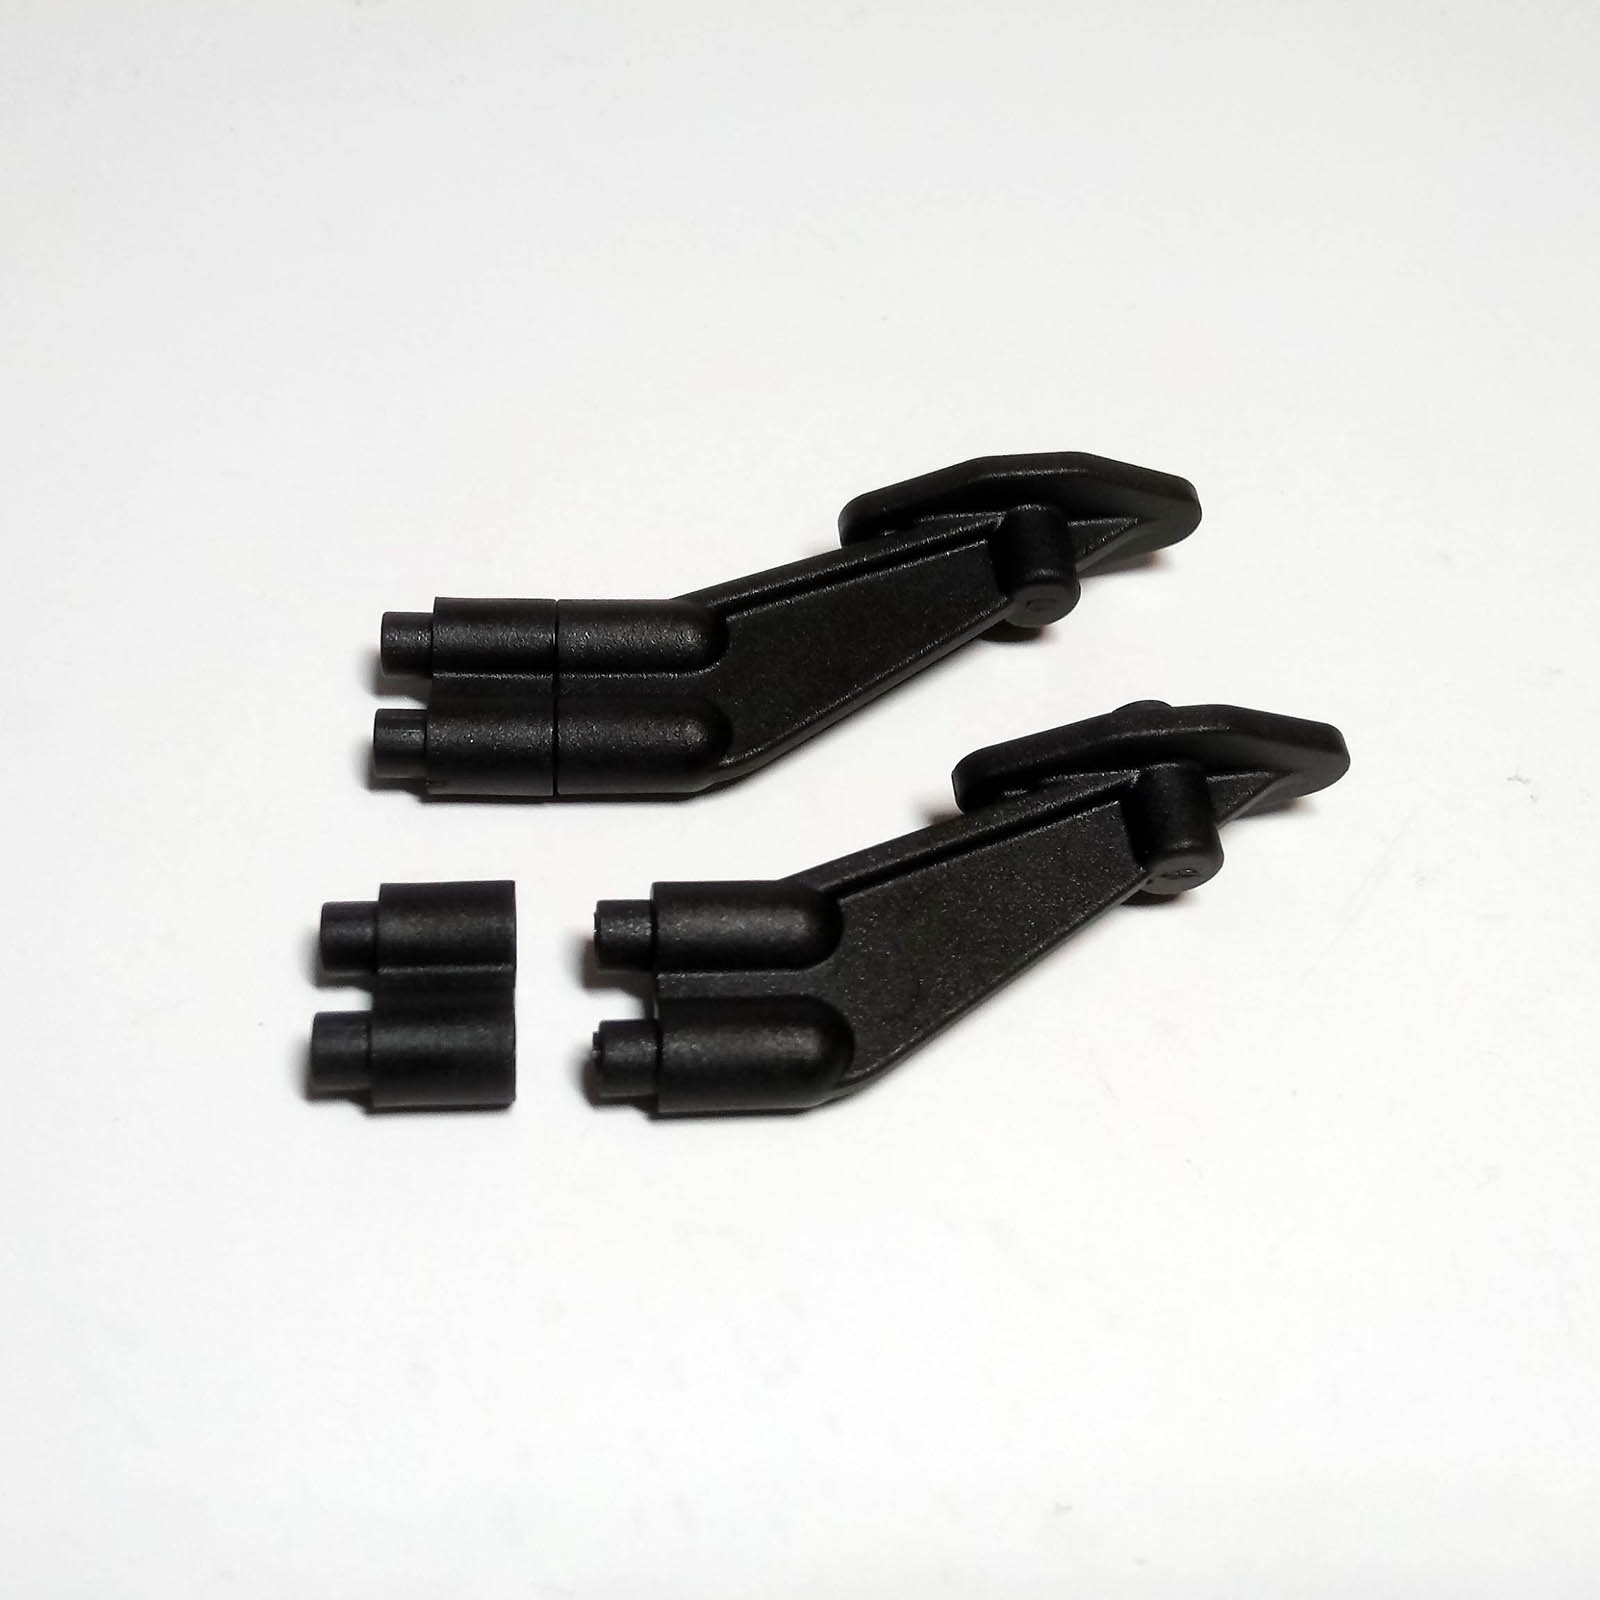
Bag 3 contains the caster blocks with three inserts for a total of five caster settings (actually ten if you take into account the two possible front arm mount positions) and two pairs of steering blocks, one pair with 3 mm and 4 mm offset each. The kit settings make use of the 4 mm blocks for calmer steering characteristics. Blue anodized aluminium front axles are included and spin on oiled ball bearings. If you want t play safe, titanium versions are available from Team Associated and various aftermarket suppliers. Axle height can be adjusted with various hat bushings, and with the kit supplied items, two positions are possible.

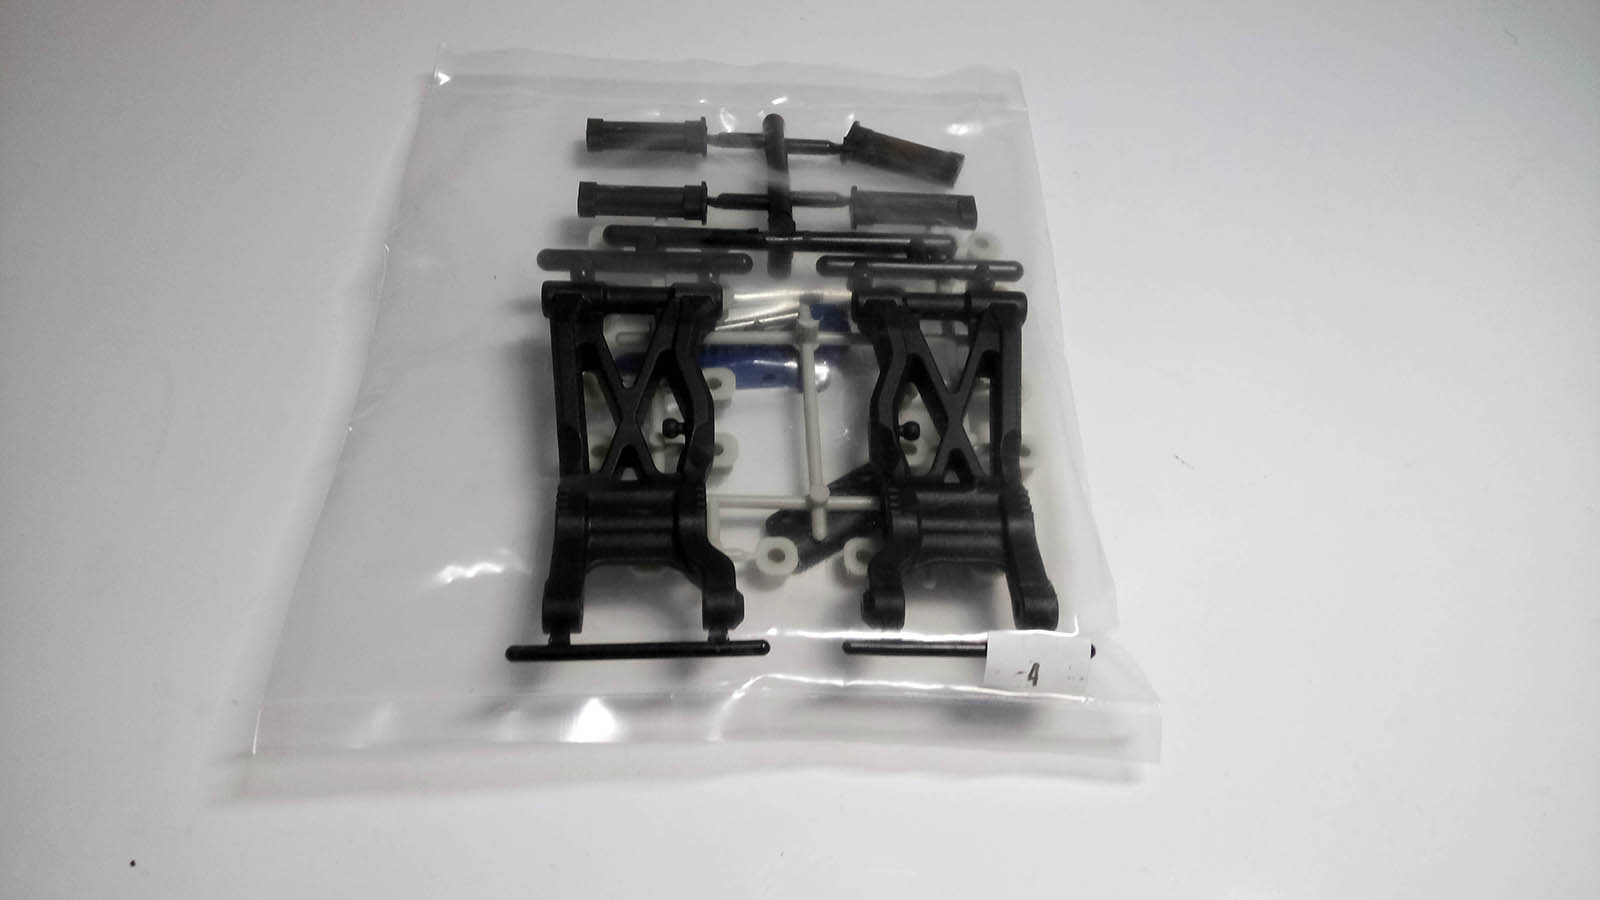
On to the rear end: Bag 4 includes all the parts needed for the lower rear arms, aluminium C and D blocks, and a full set of adjustment pills for a plethora of anti-squat and toe settings. Inserts in the rear arm make for a total of four finely-spaced shock mounting positions.
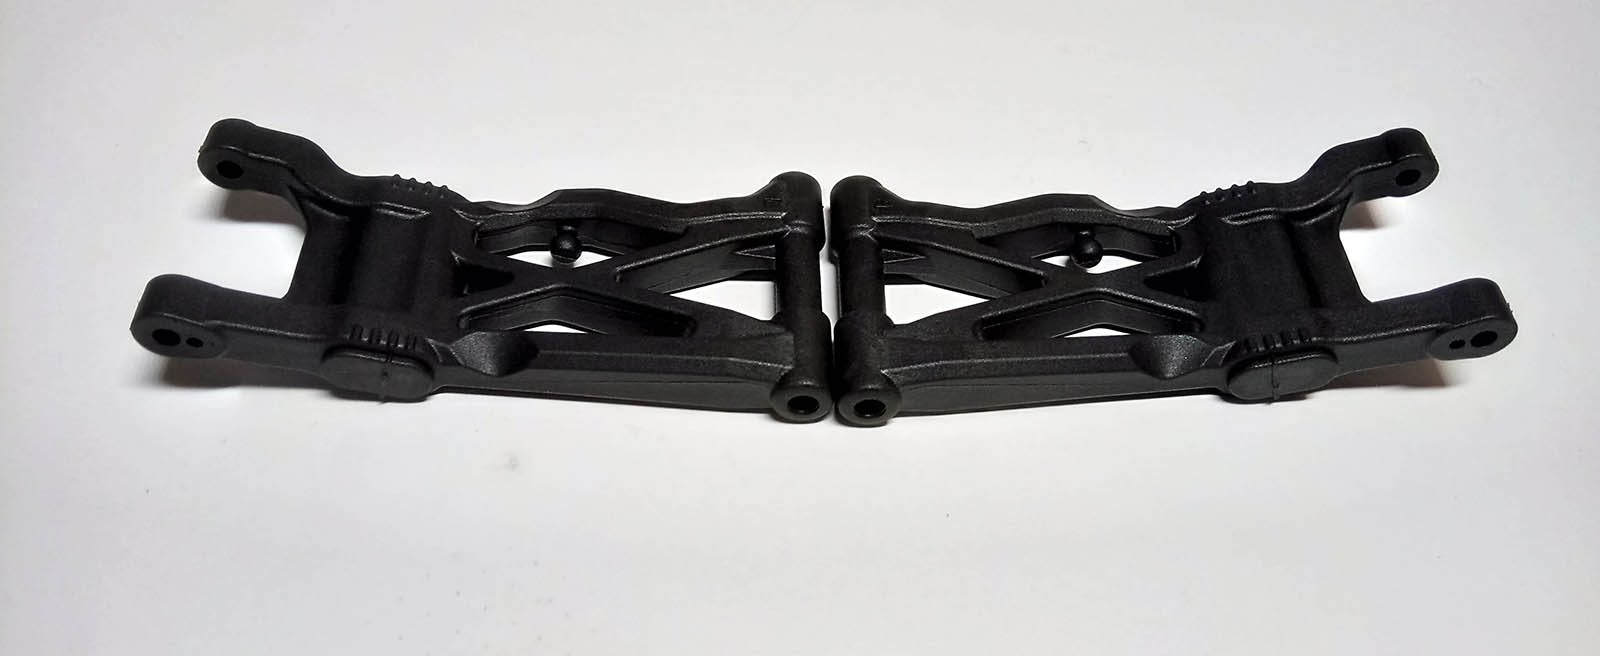
Thanks to markings, the position of these inserts can be easily identified from the other side of the arms
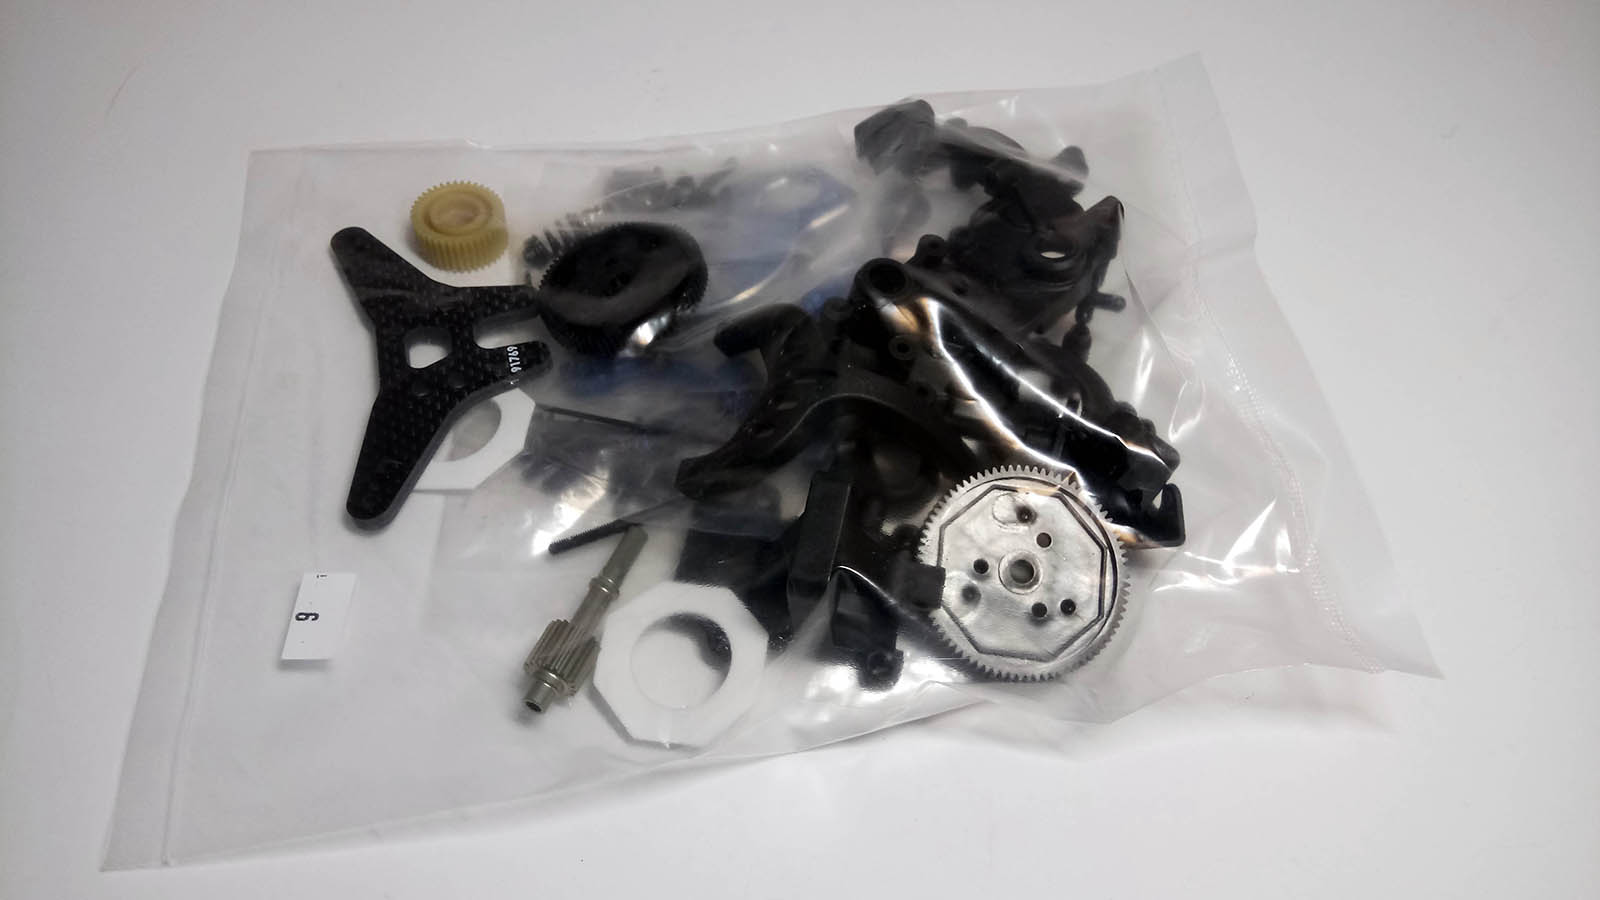
Low rotating mass is of great importance, and in particular so for stock racing. AE's revised gear diff now has a plastic crosspin, and some tiny O-rings to separate the spider gears from the diff shims, most likely to keep them under tension
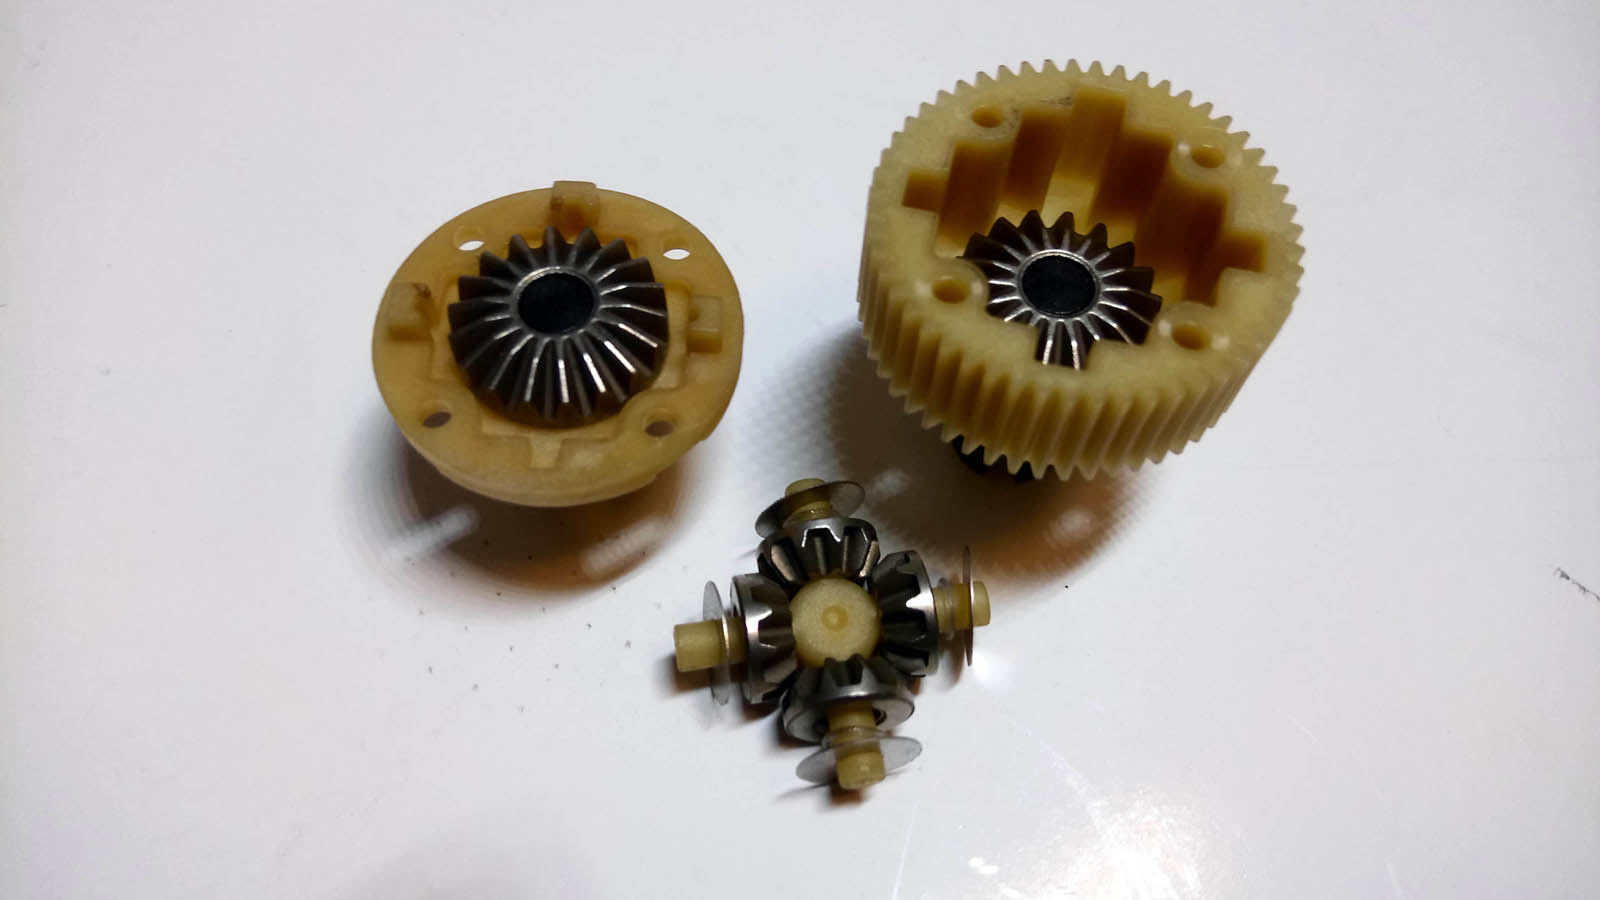
Also the outdrives have been revised to decrease rotating mass. Step 3 of bag 5 includes the second little fault Daniel identified: The manual claims that the M2.5 screws are 10 mm in length whereas they are only 6 mm long.

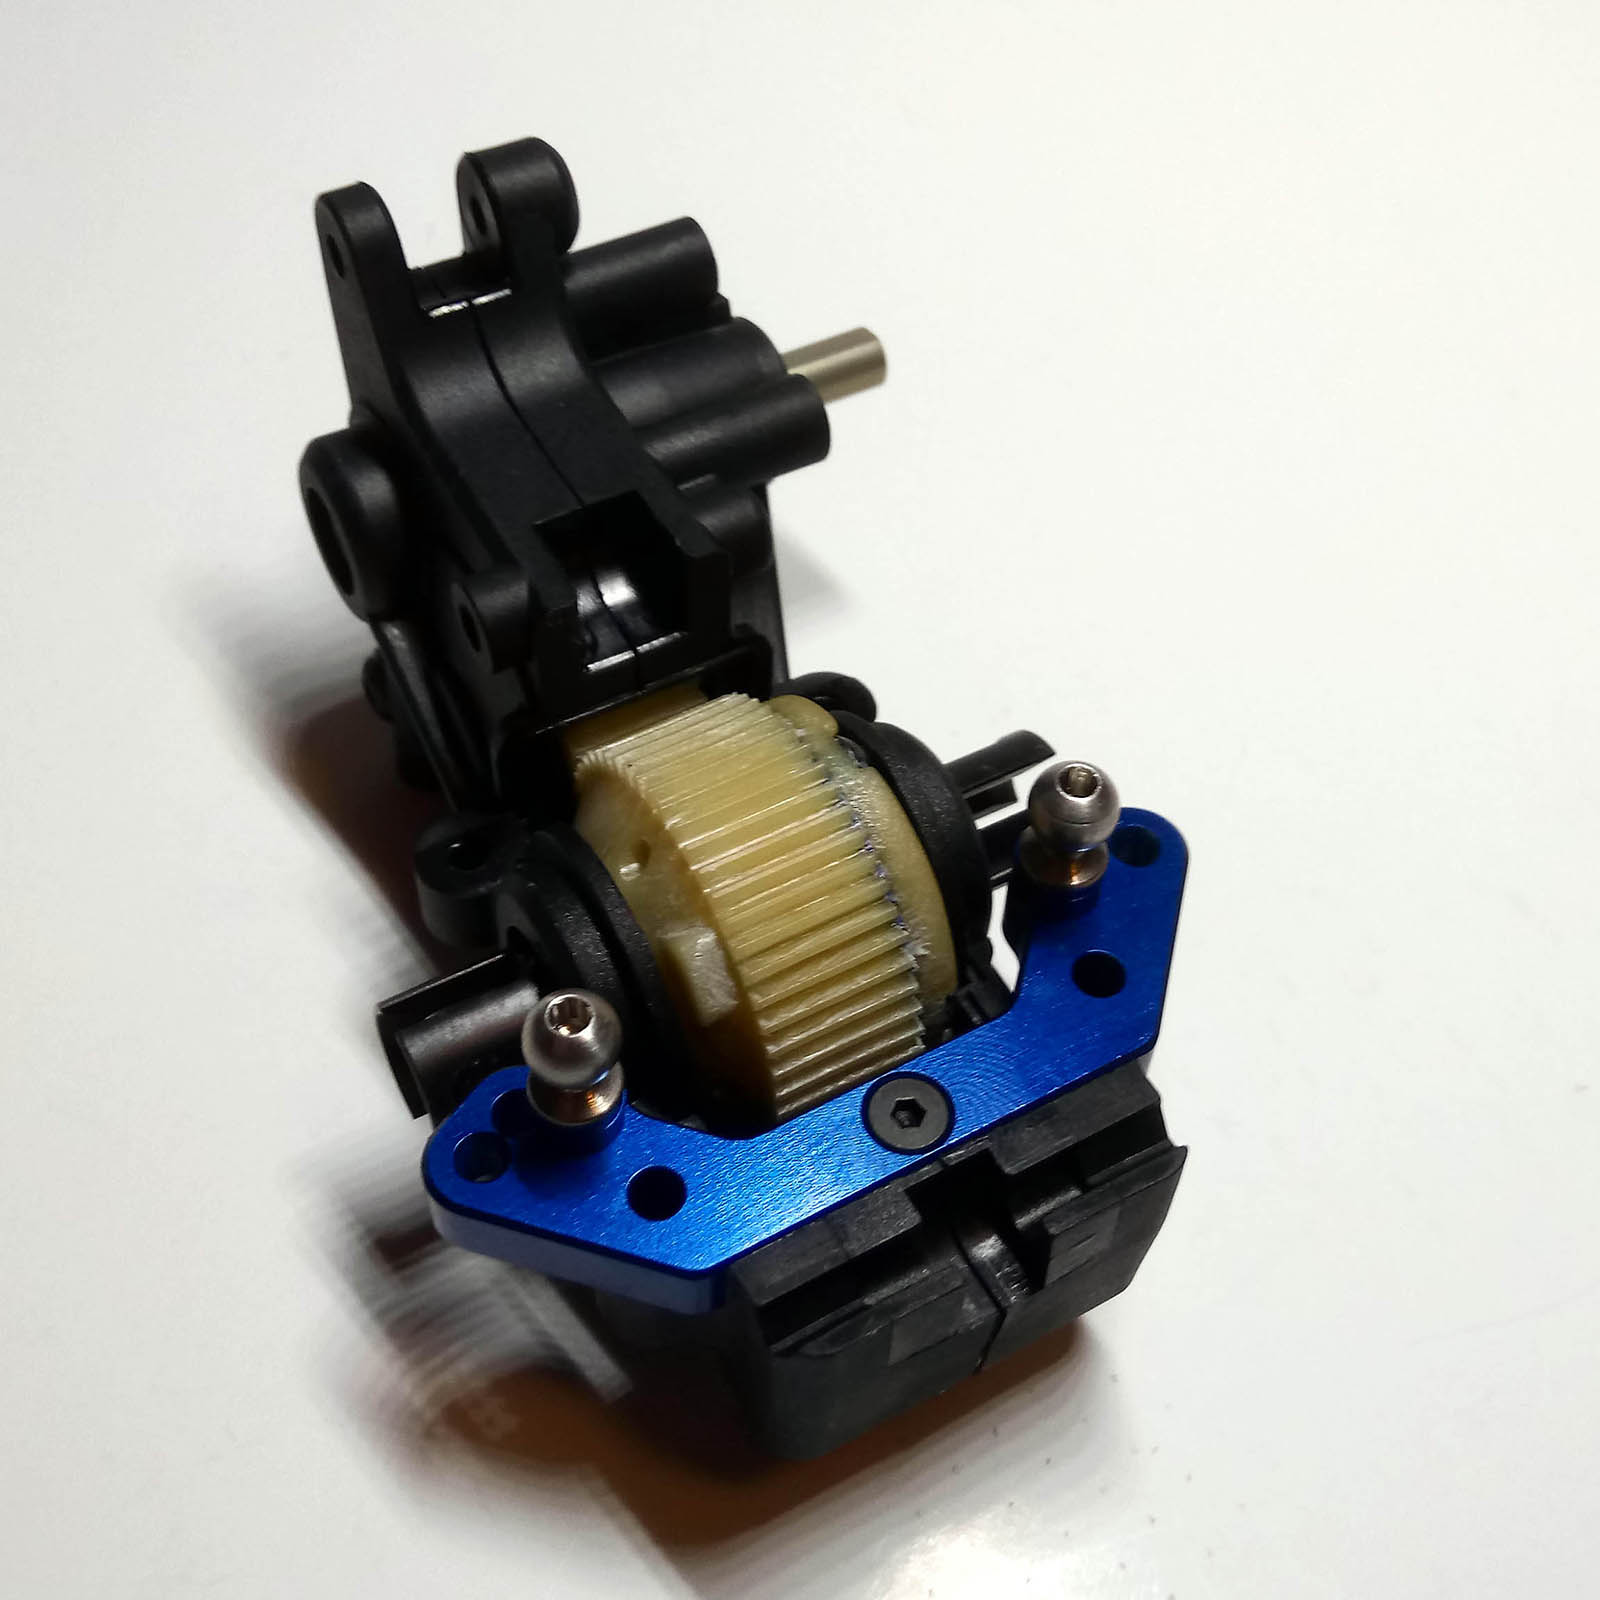
Bag 6 contains the most obvious and welcome change over the previous car, the gearbox with easy access to the differential and adjustable diff height. Two inserts per side offer a total of four different height settings.

The assembled gearbox with the revised ballstud mount. It is held in place by a screw when the top cover has been removed, which makes working on your diff even easier.
One of the biggest surprises to me was the slipper clutch assembly, and quite a positive one at that! Thanks to the hollow aluminium top shaft and the long top shaft screw, changing spur gears is just as quick as it used to be on the traditional slipper. White slipper pads are included instead of the usual brownish ones. Maybe it is just me, but they remind me of the ones of my old B-Max4.
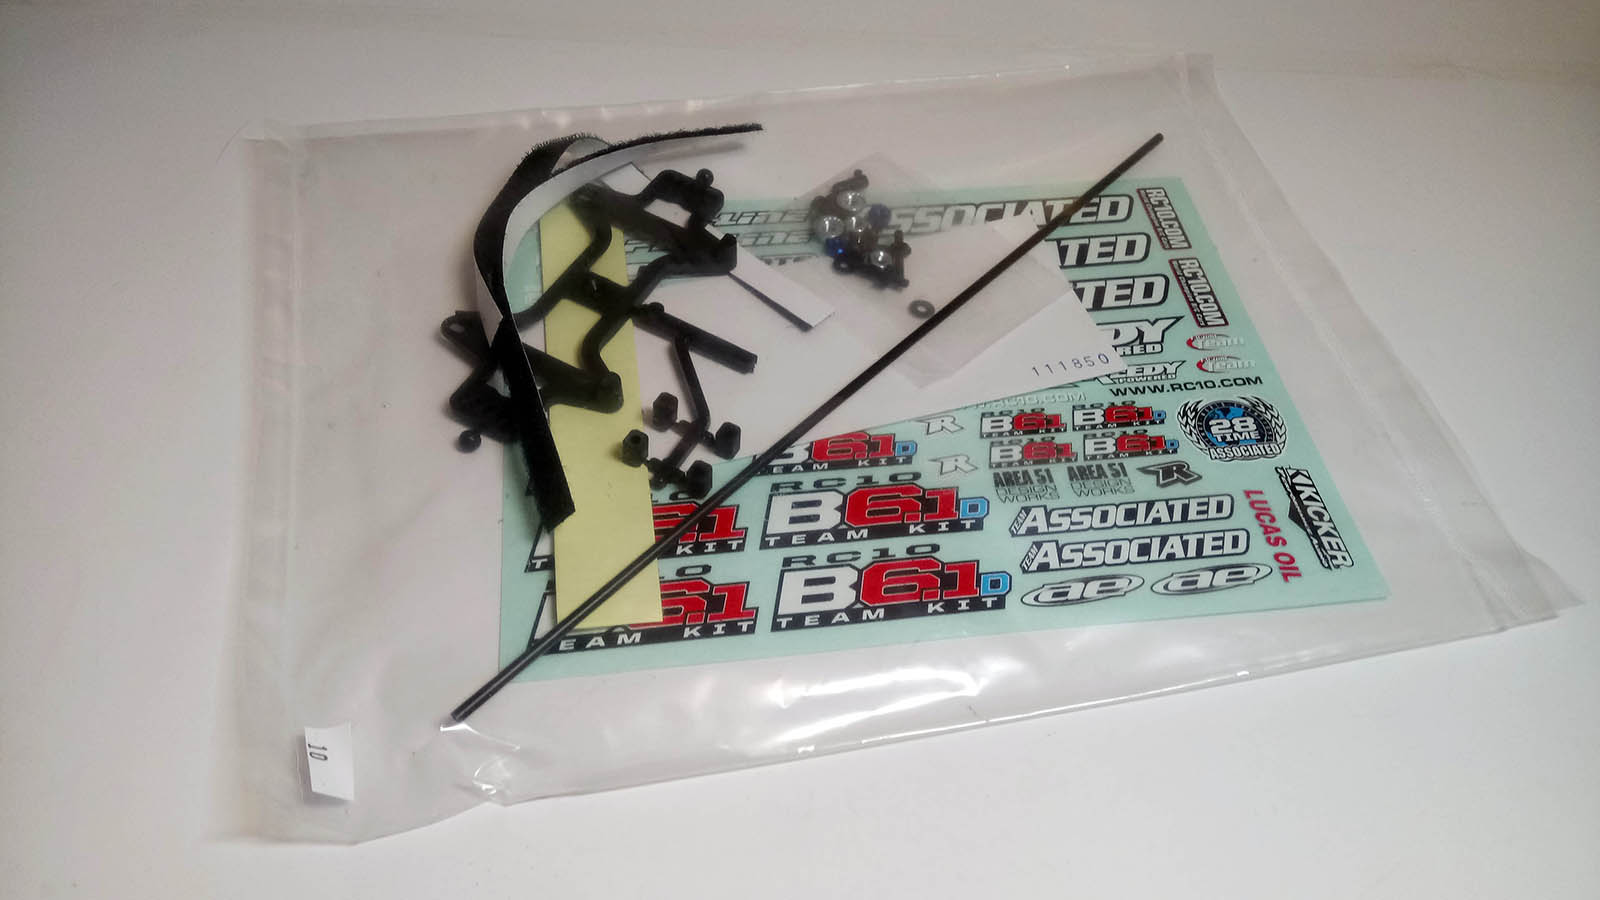
Another interesting feature can be found on the rear wing mounts in the form wing mount spacers. Of course, longer screws are also included in the kit.
As you can see, the slipper adjustment nut is now an M3 item sitting on the left side, Stock racers may wonder where to install a fan now, but for smaller versions several mounting positions should be possible.
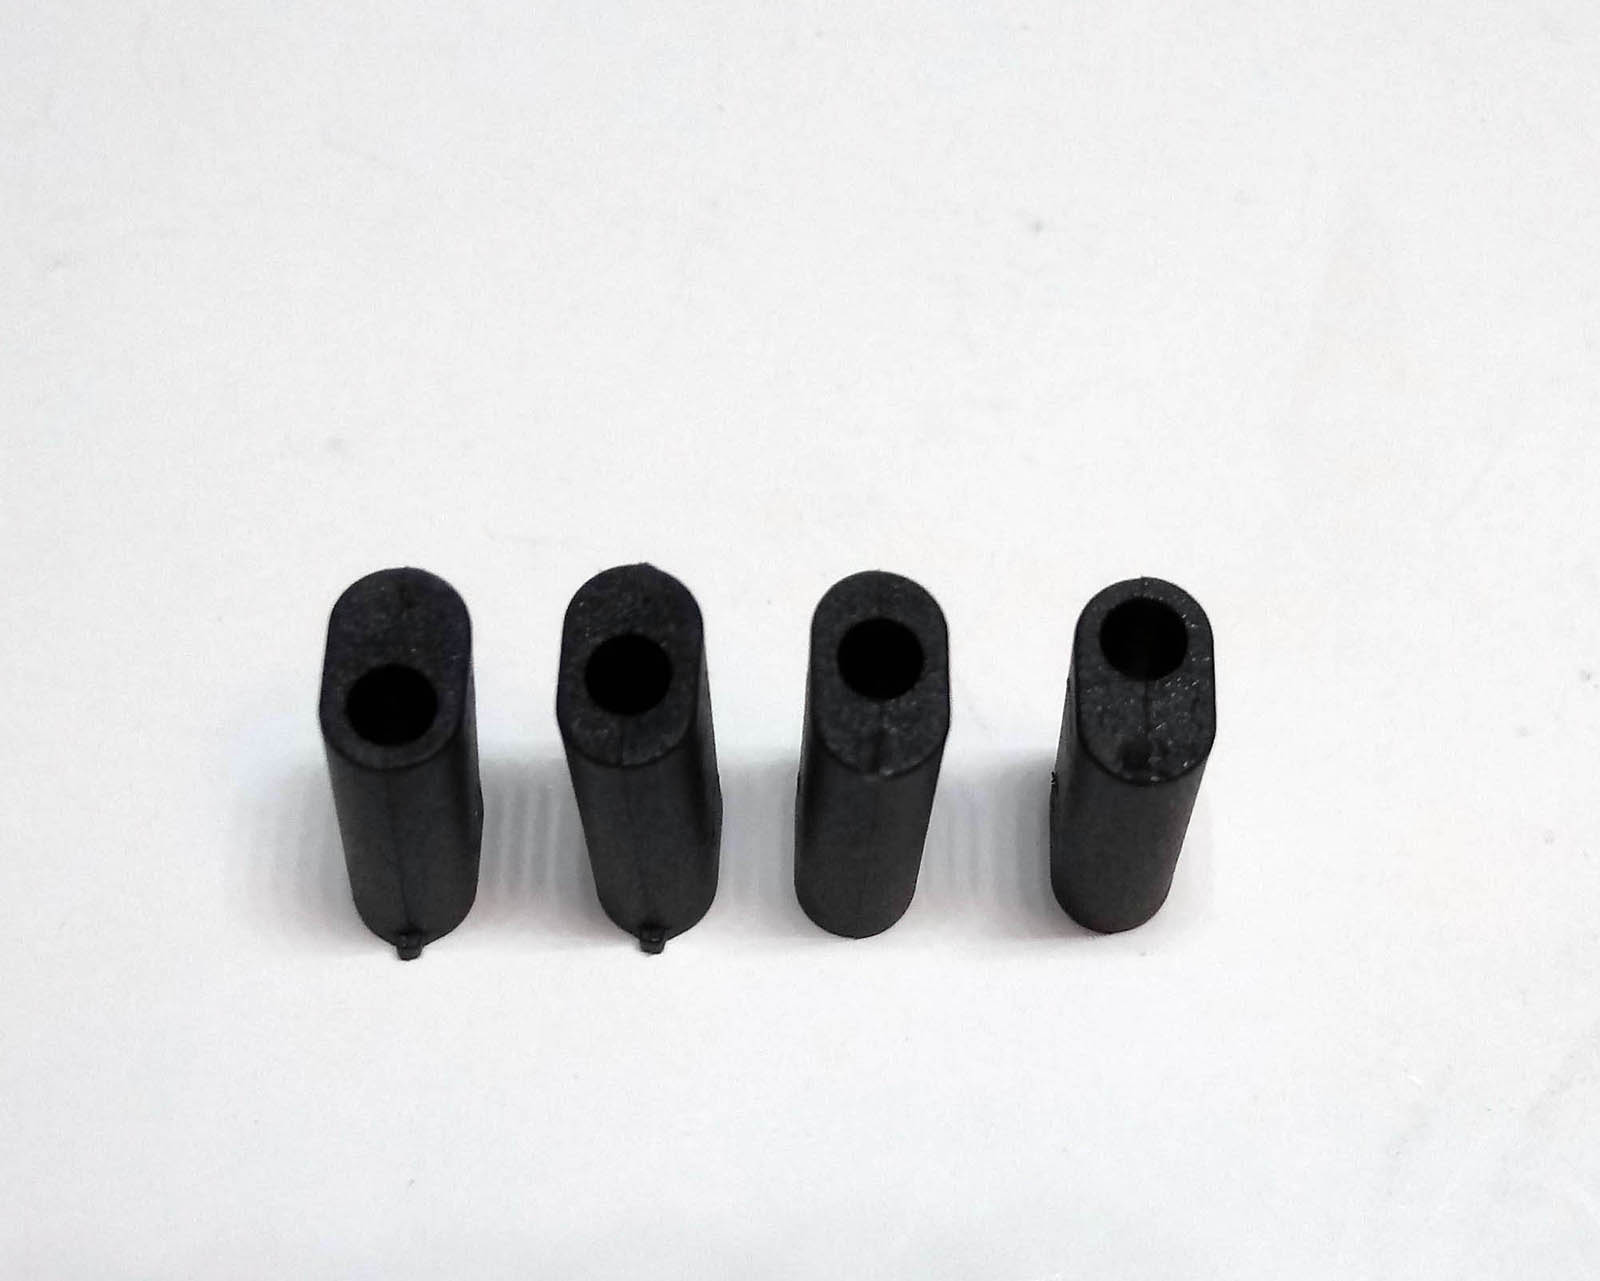
The hubs have not changed much from the previous cars. Where the B5 series sported toe adjustment features, the B6 has much more valuable height adjustment options, which lets you keep the CVA bones level throughout various ride heights. Again, two different inserts make for four different settings.
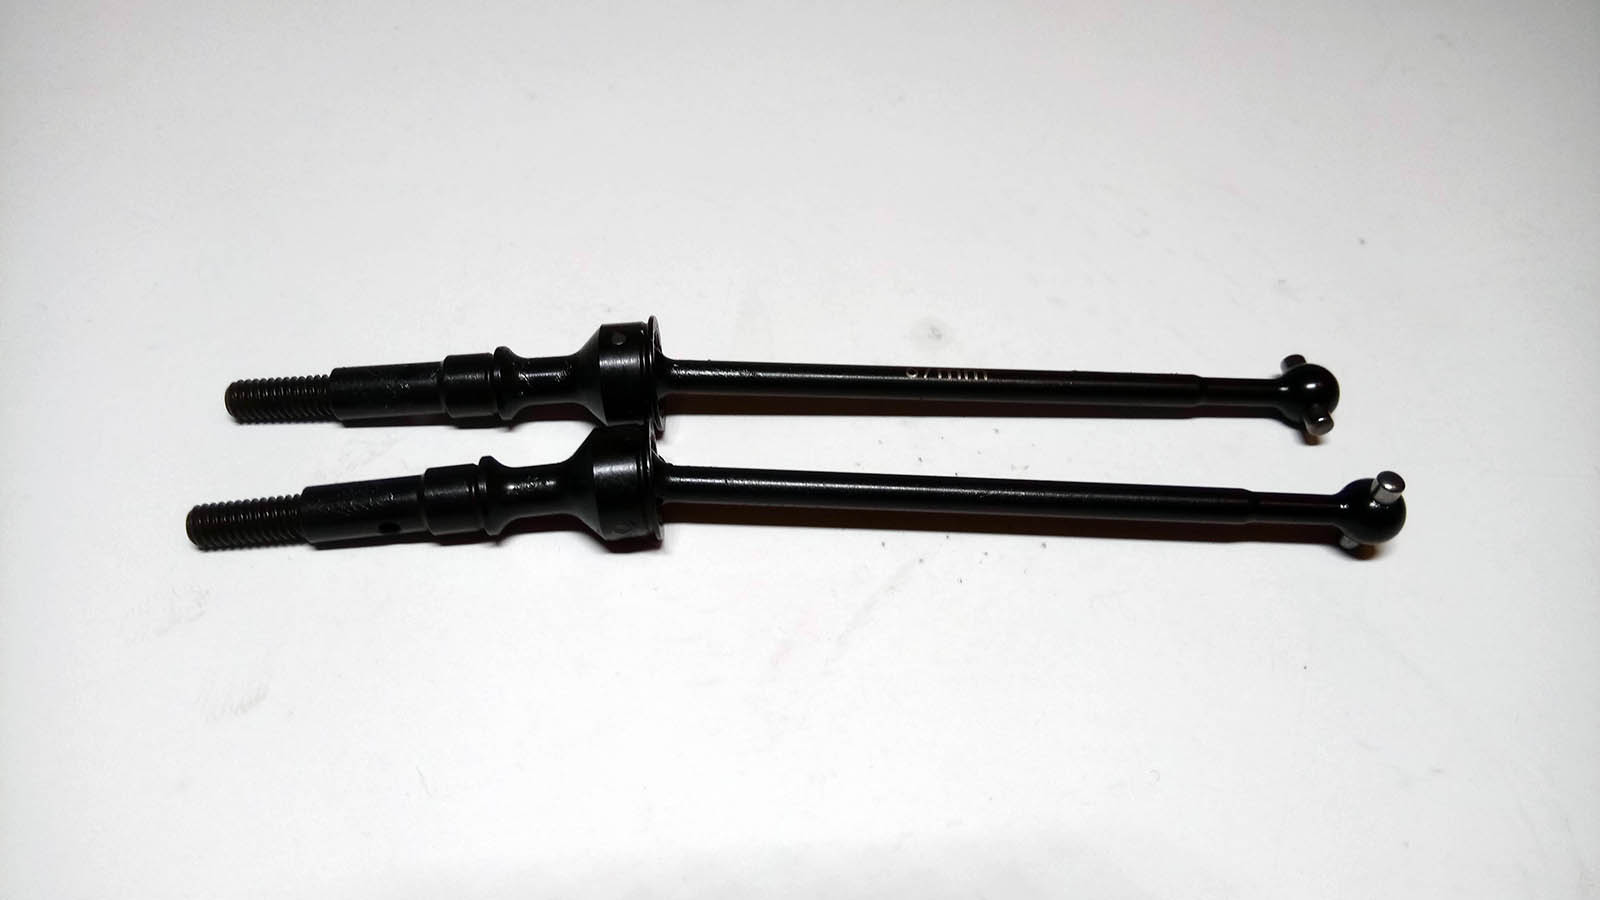
Also the CVA axles have various holes to make them compatible with optional 65 mm bones and the included 67 mm items. The pins are captured by the inner wheel bearings, so losing them while driving should not be an issue.
The rear end in all its blue aluminium glory! Clamping wheel hexes are a welcome change vs. the B5 series plastic pieces.
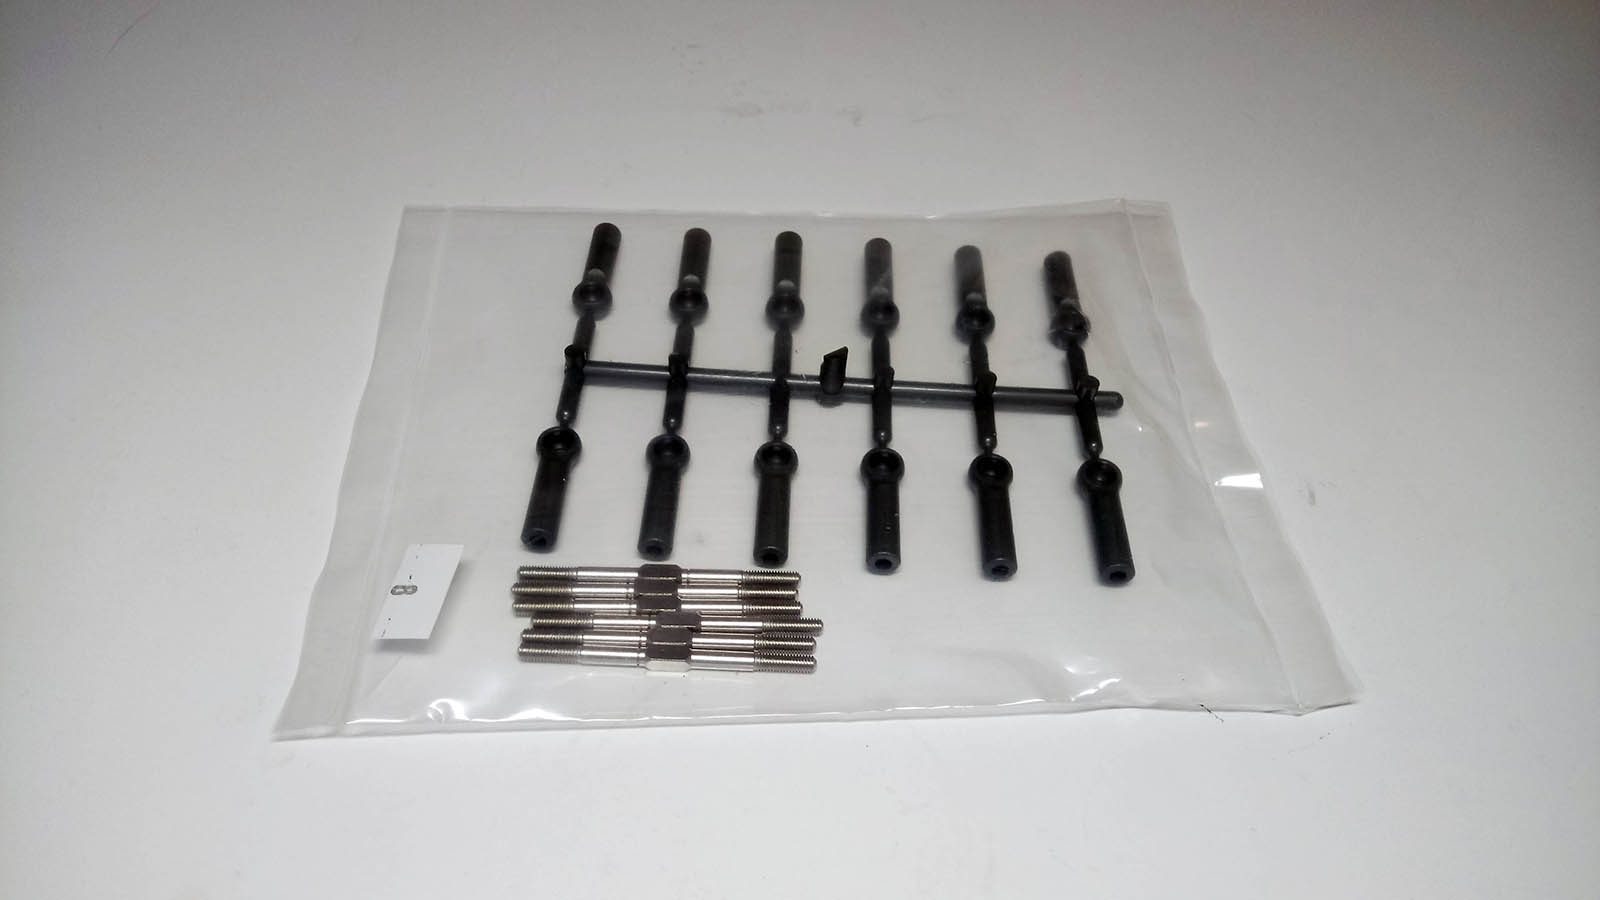
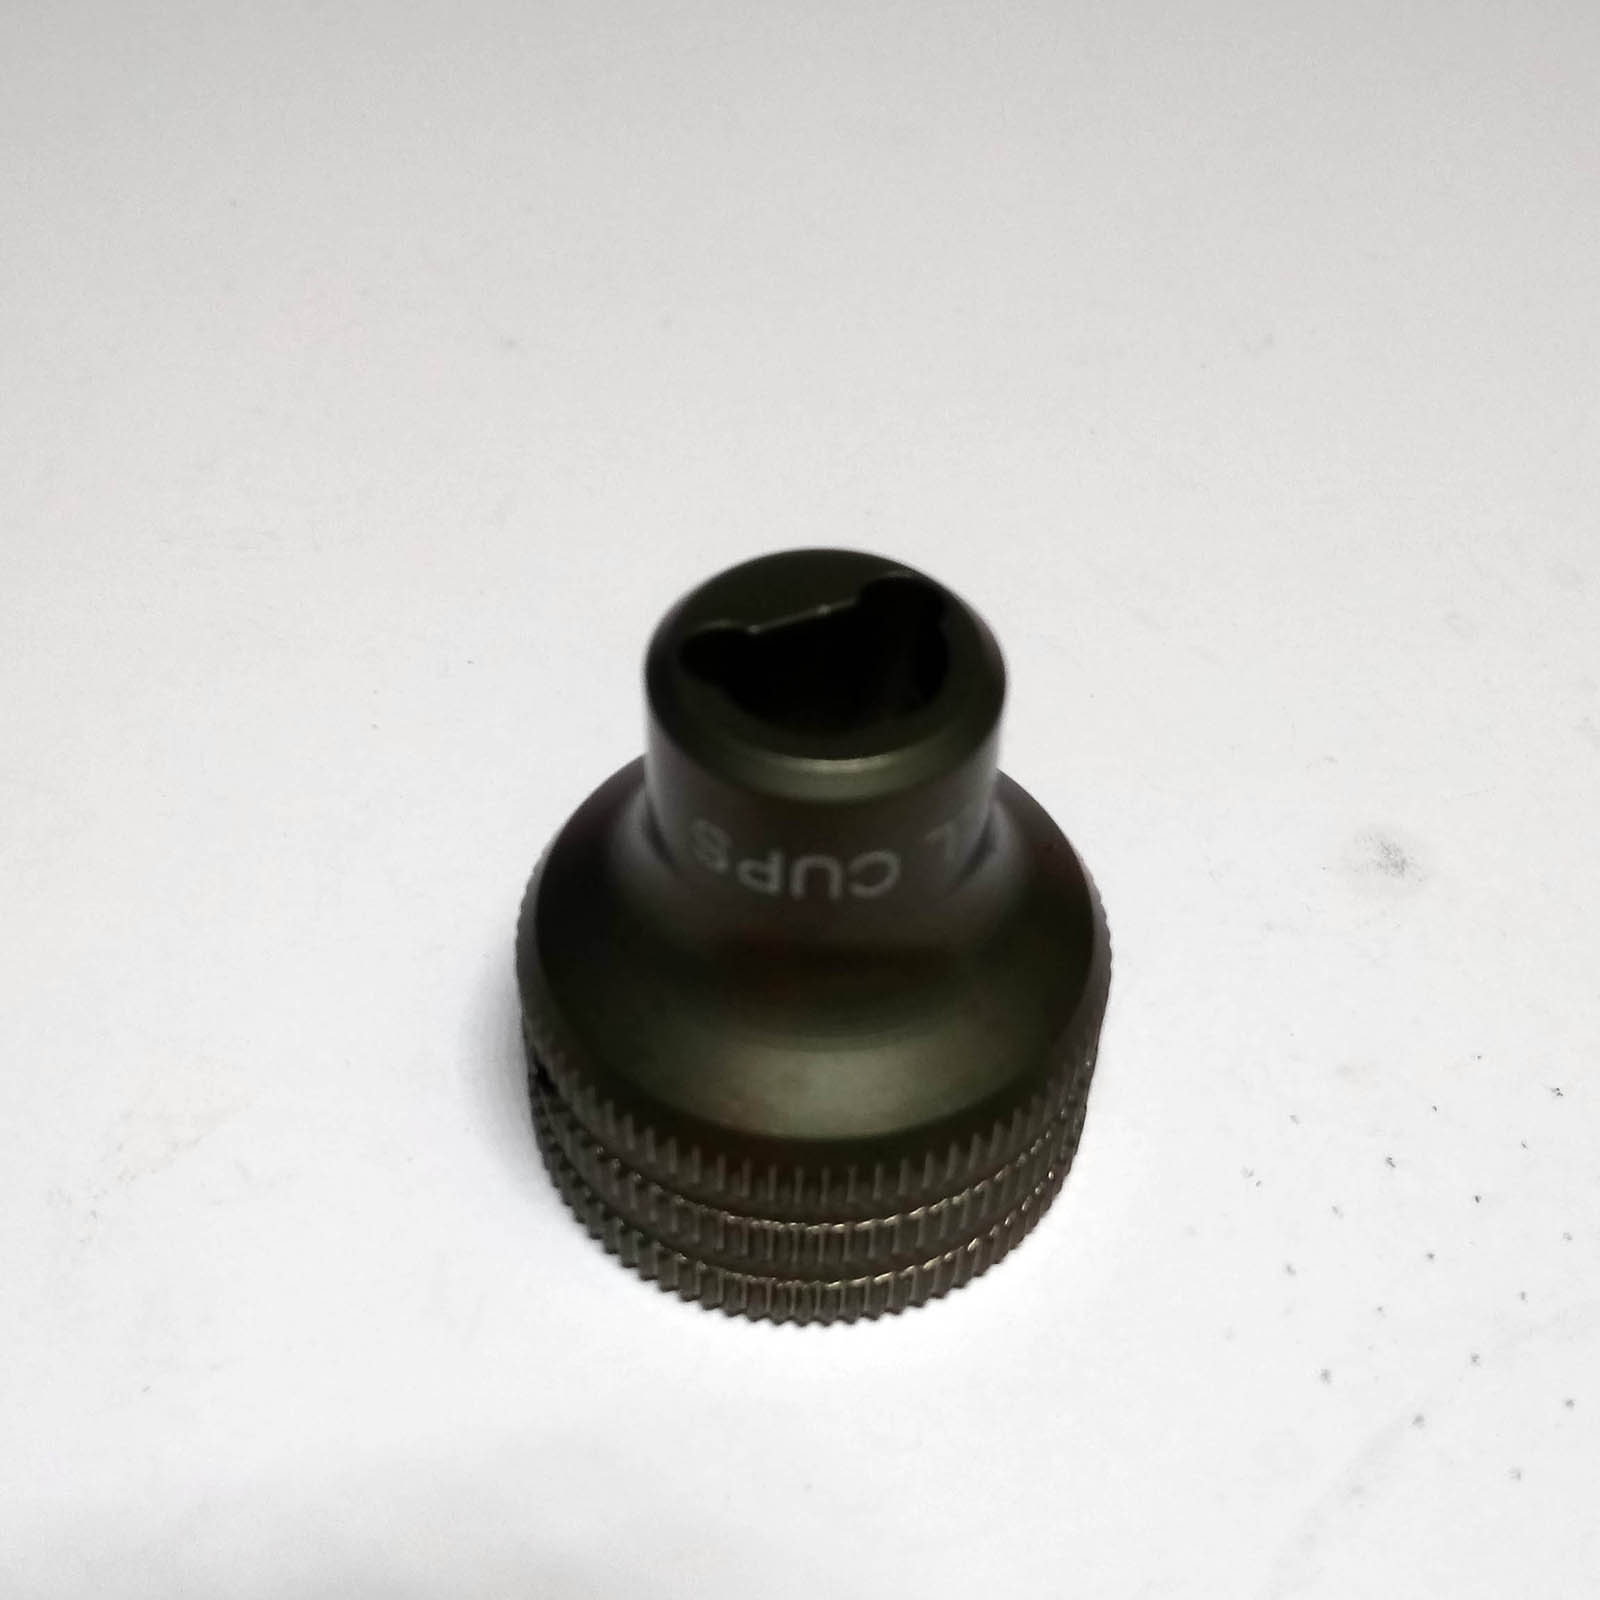
Bag 8 contains a bunch of identical turnbuckles and ball cups. I have to say that the kit turnbuckles really look nice, and the ball cups are the best of all the cars I built in more than twenty years of RC. I highly recommend using the #1579 ball cup wrench, which makes building the turnbuckles a breeze!
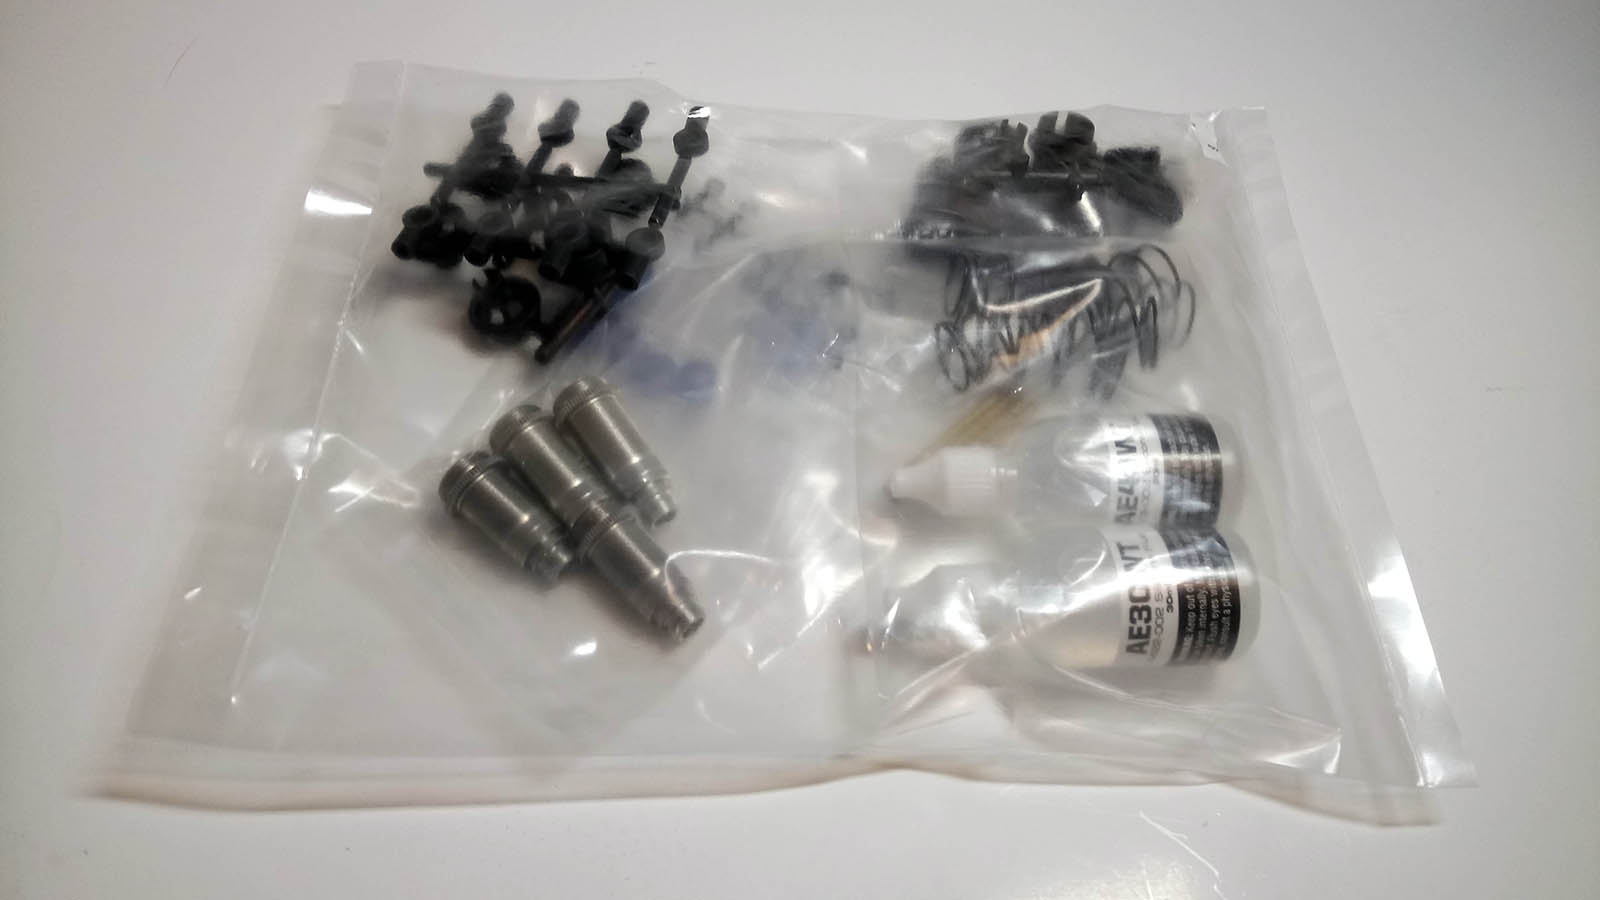
Shocking! We are almost done already. Once again, Team Associated surprised me by including 1.8 x 2 hole pistons for the rear shocks.
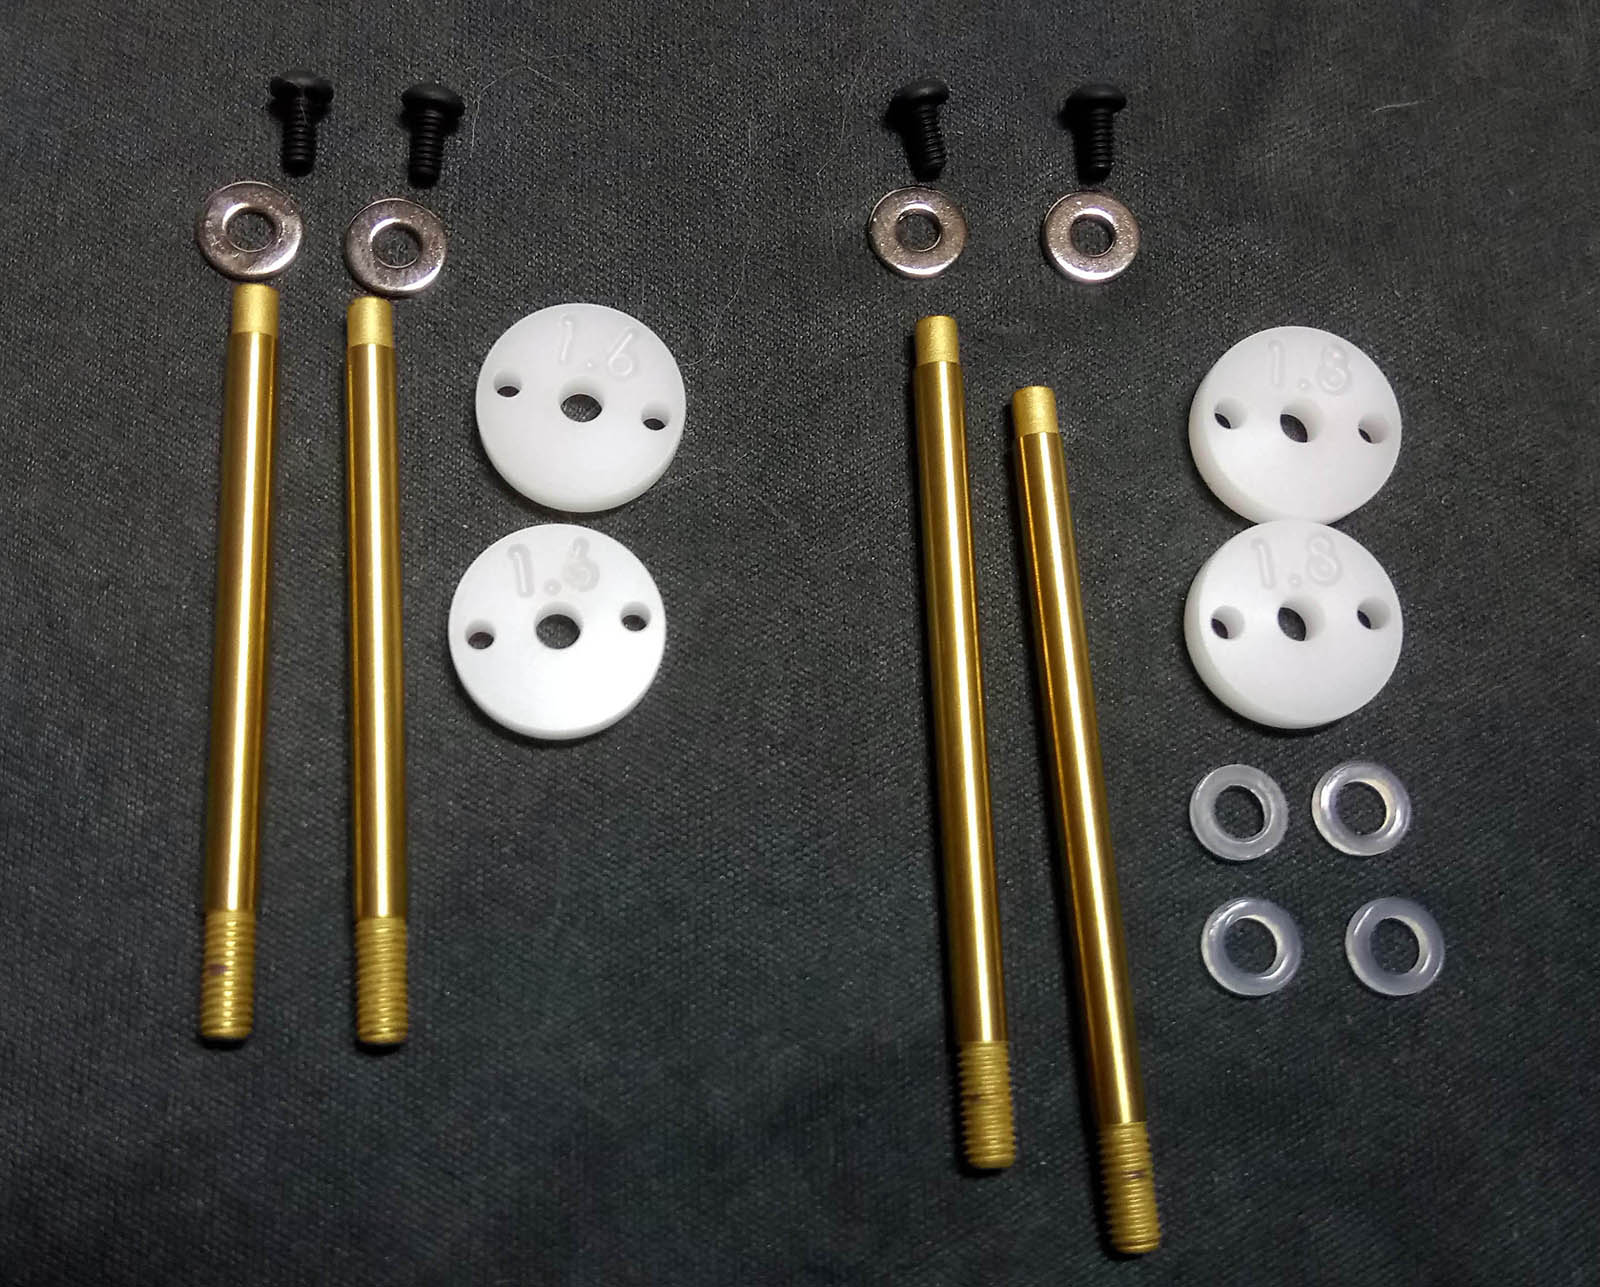
Machined pistons are included in the kit, but the spacers are still the moulded ones. As the machined option parts (91494) are relatively inexpensive and are more precise, I decided to install them from the get go.

After filling and bleeding the shocks as per instructions and installing the red and blue V2 springs, they felt pretty good on the workbench and my doubts about the 1.8 pistons disappeared. Associated do not include retail diff and shock oil bottles like they used to, but the 30 ml bottles are still more than enough to fill your diff and shocks several times. In my kit, two sets of medium spring cups were included and the low ones were missing. As I still had plenty of them from previous kits, this was not an issue for me, and I am positive that AE's customer support would have helped me out on short notice!

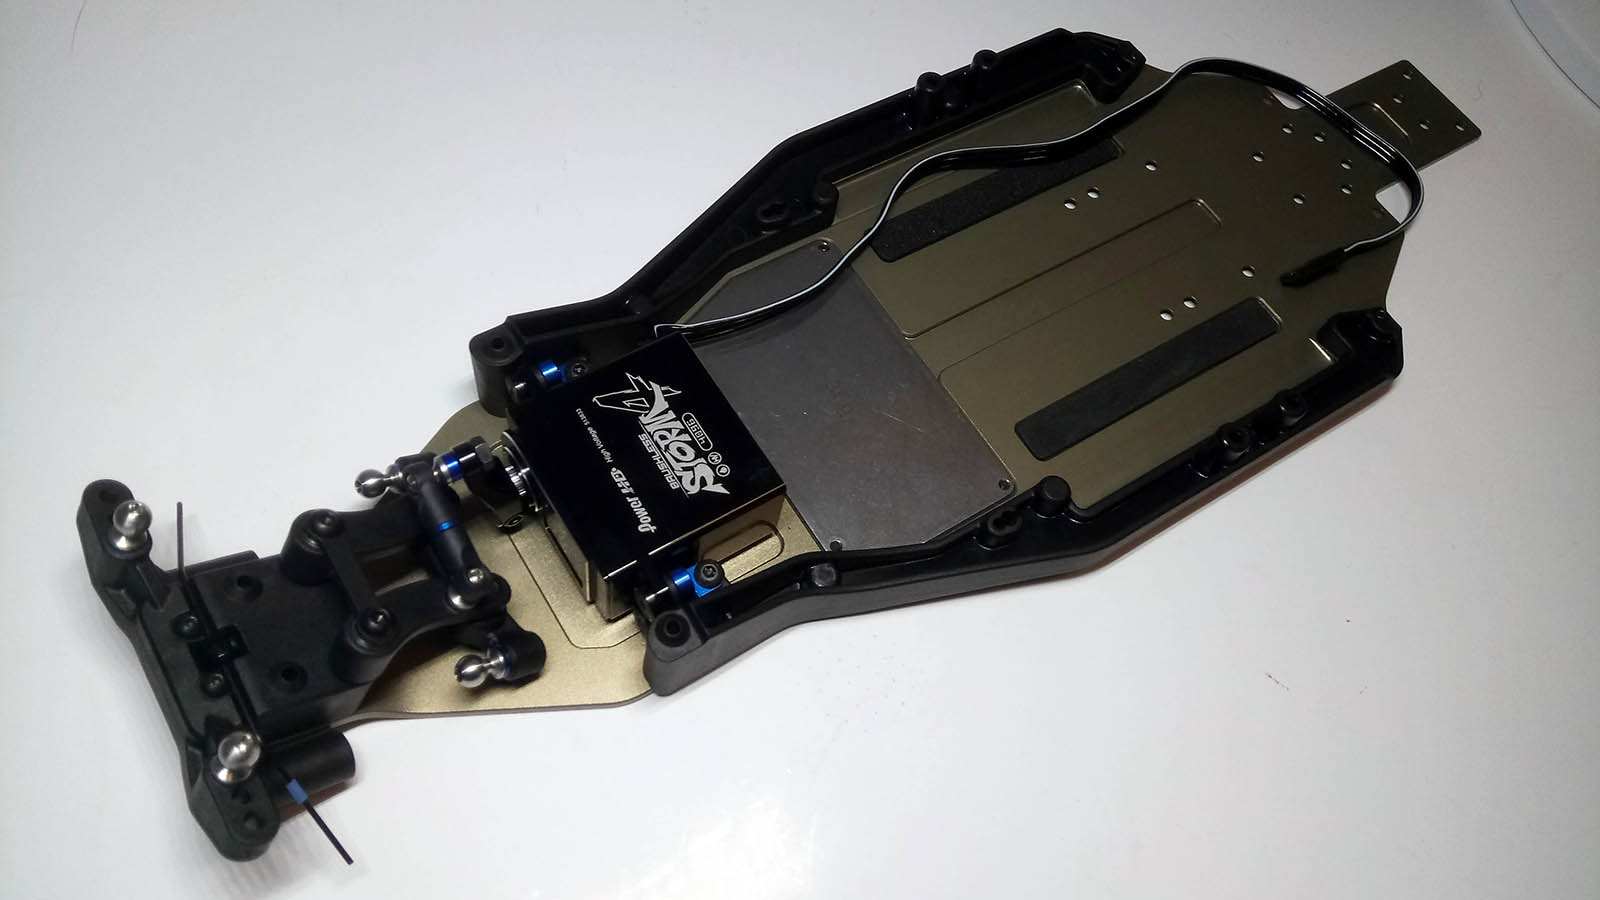
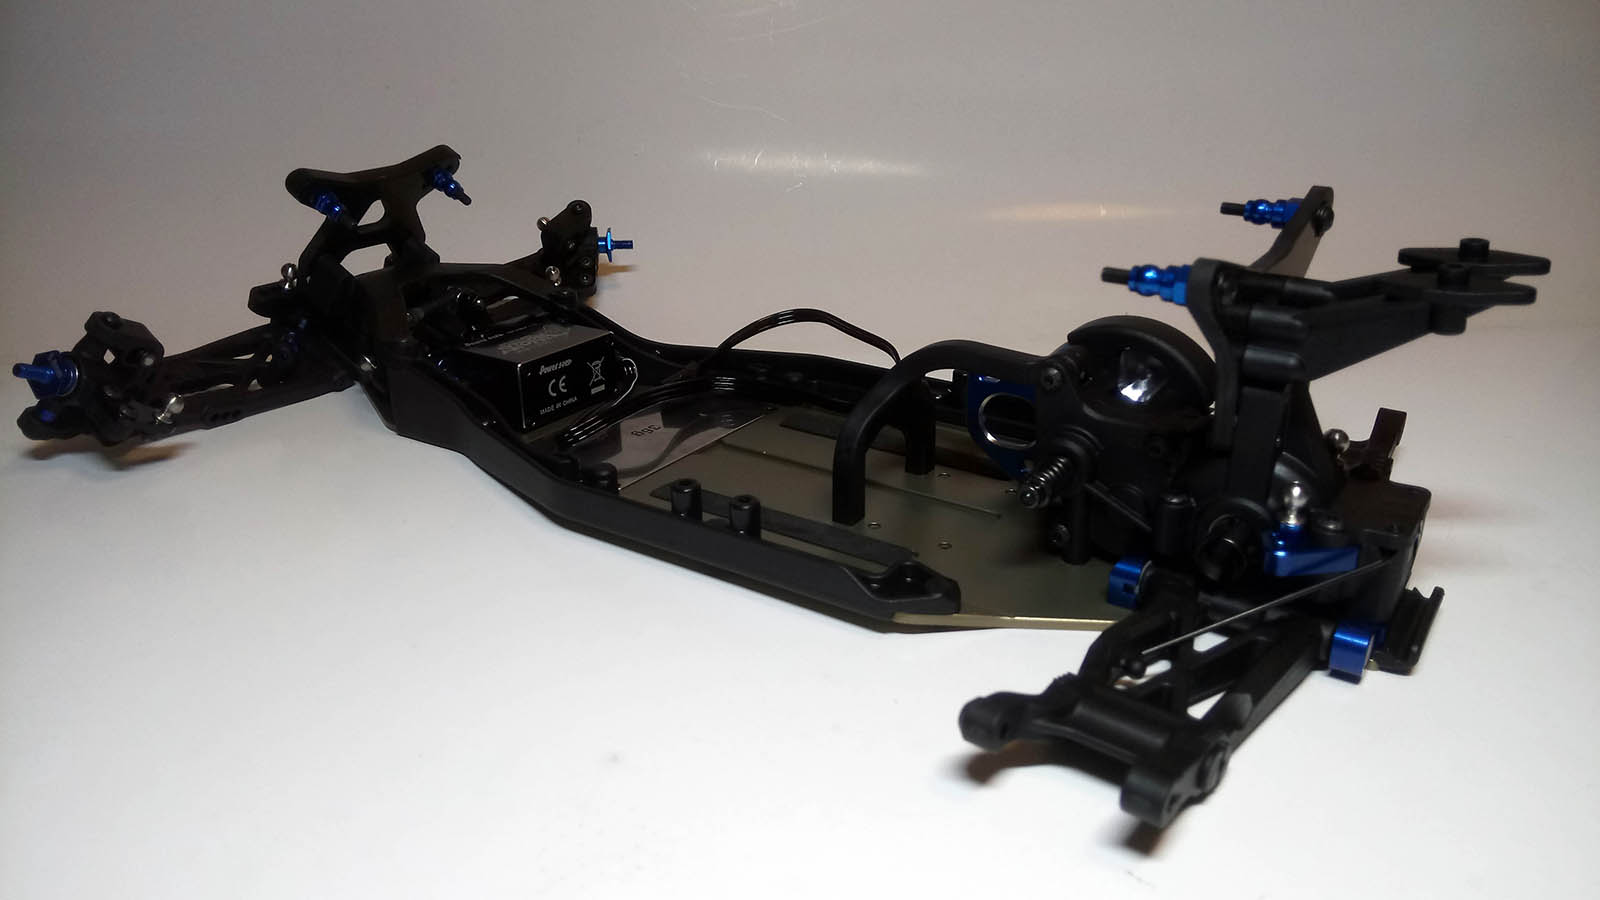
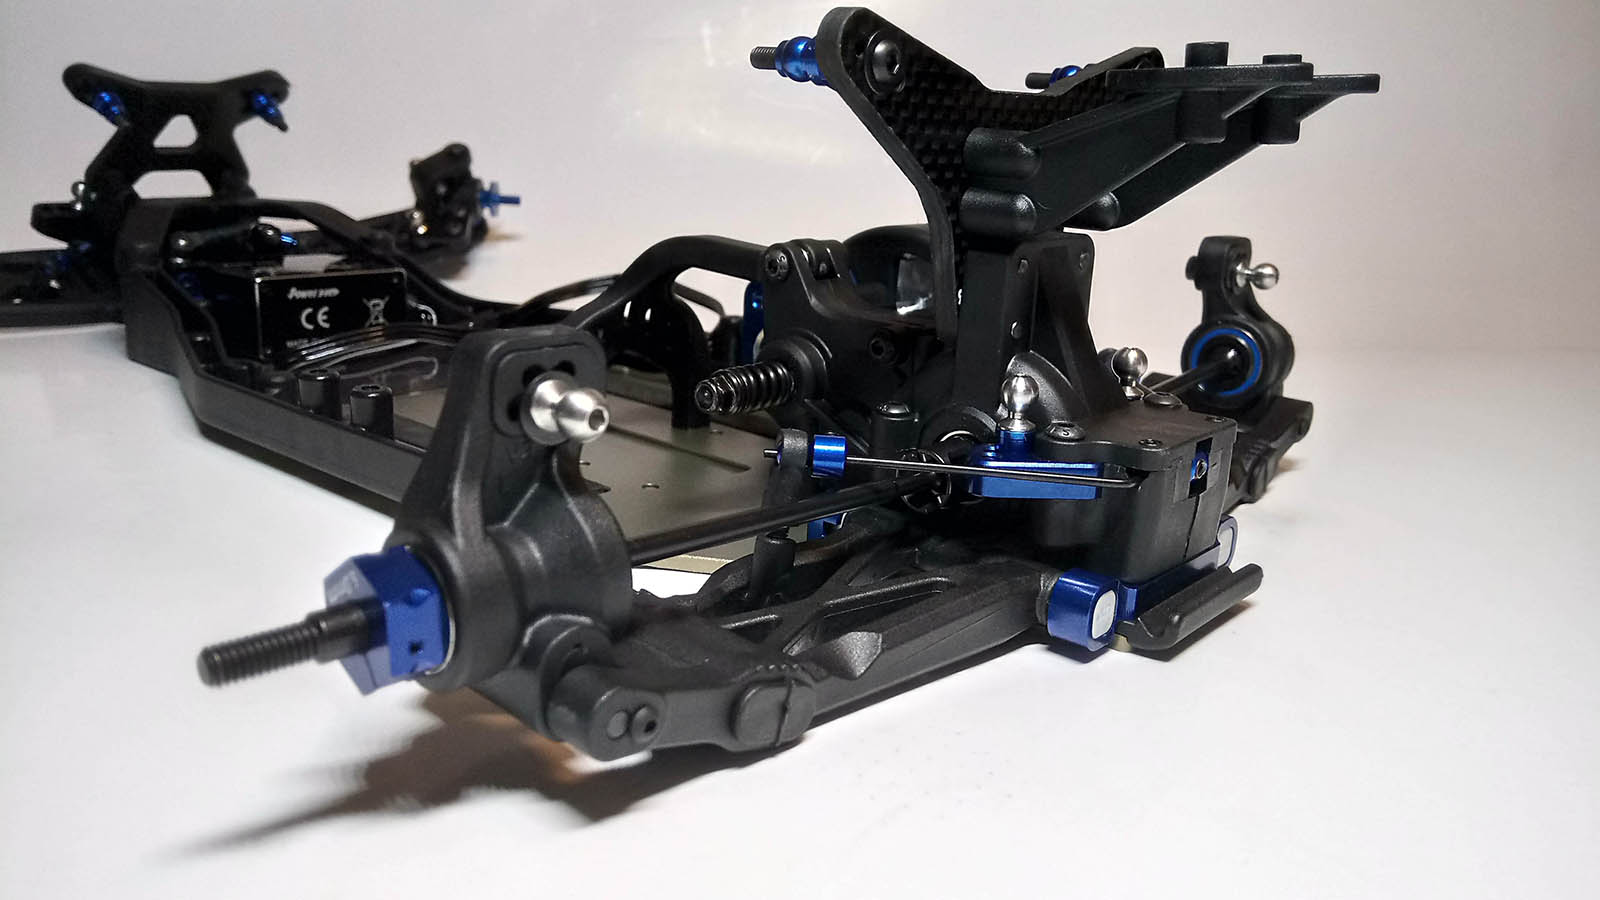
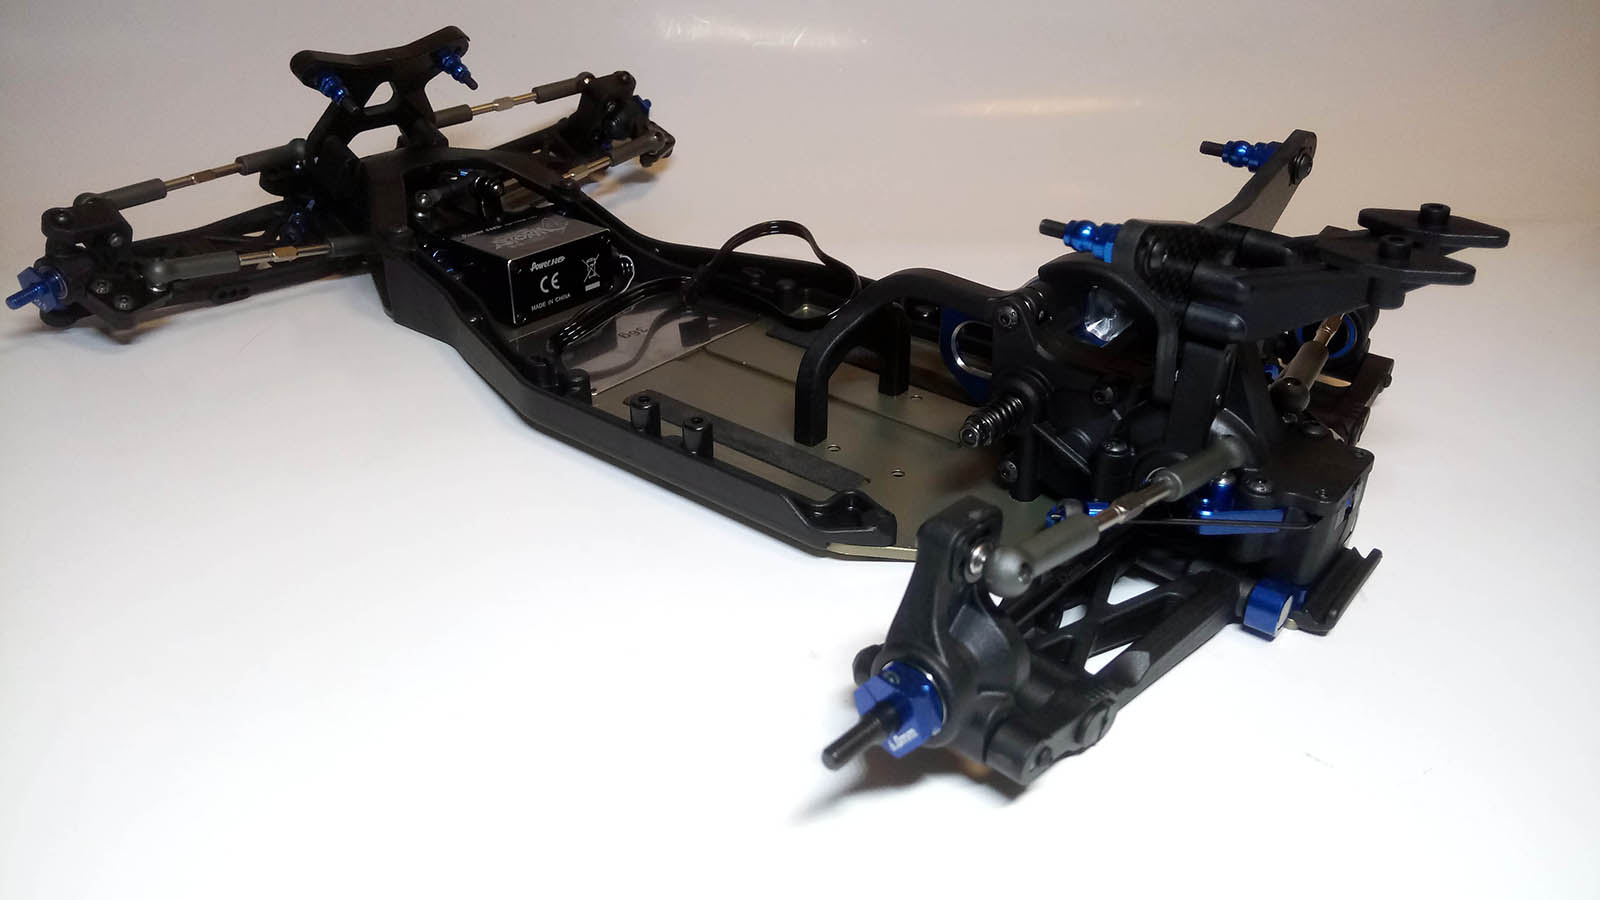
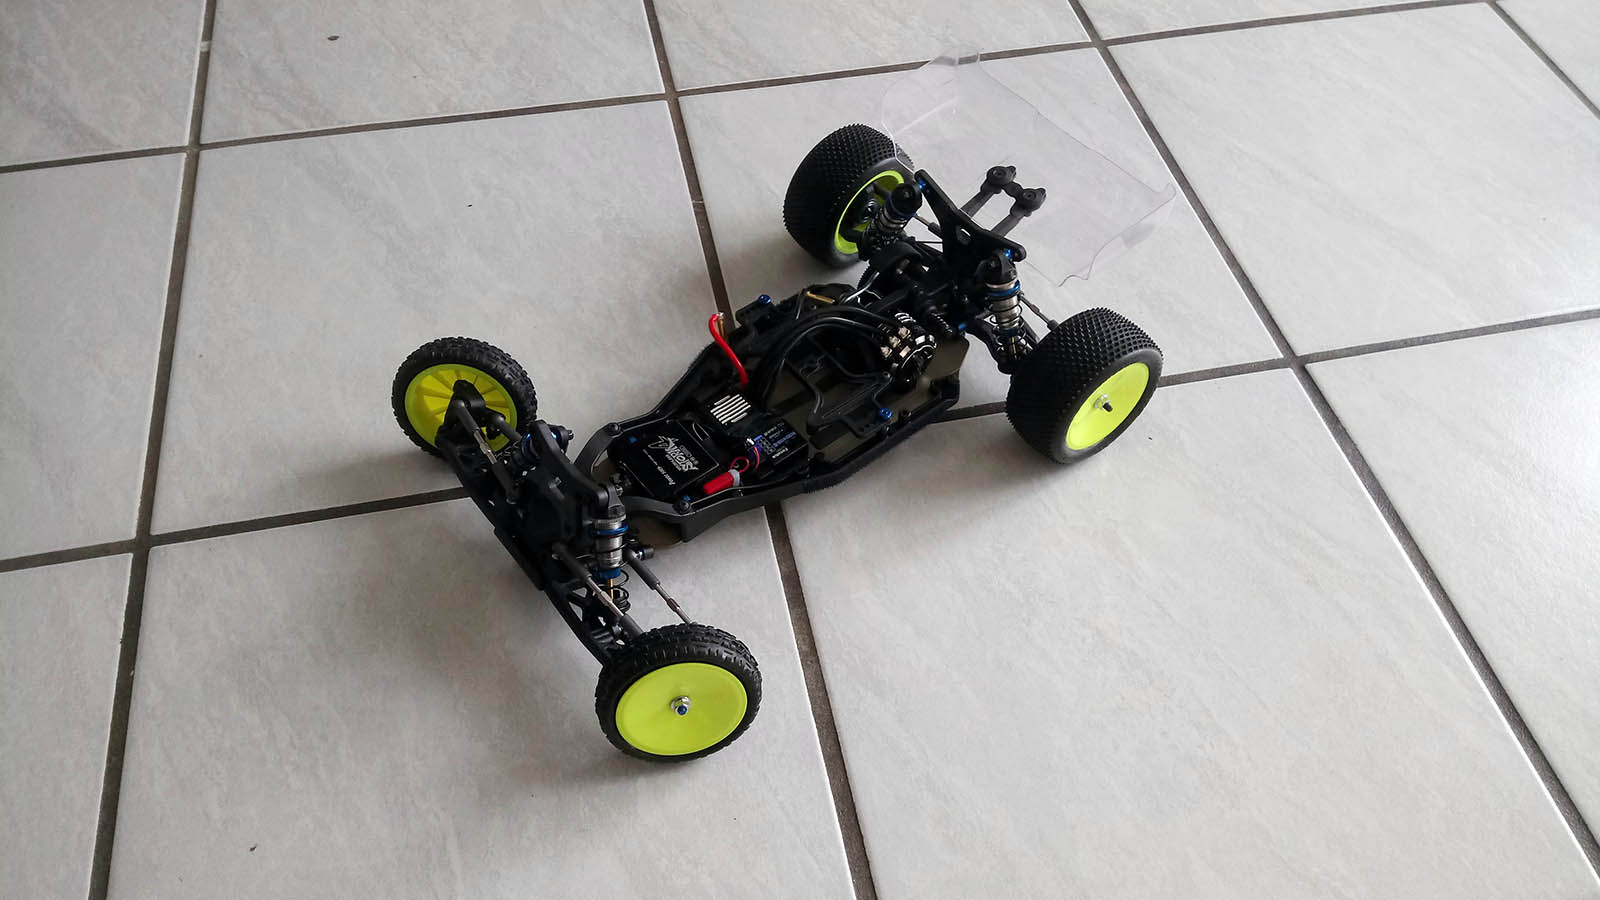
After installing the shocks, the rolling chassis is finished and almost all parts from the kit have been used.

With modern electronics, there is more than enough space between the full-size servo and the shorty battery pack.
All in all I am very happy with how the Team Associated RC10 B6.1 went together. Yes, the manual has room for improvement, and QC failed to notice that Bag 9 did not include all the correct parts, but apart from that, everything was brilliant: price point, scope of delivery, materials, fit and finish. If my first impression is not completely wrong, Team Associated has hit the nail with the B6.1 and it will be the kit of choice for many prospective carpet and Astroturf racers this season. I can't wait for the first roll-out!
Team Associated kits and parts available at:
Ruddog Distribution GmbH
Muchmore Racing, Radtec, Team Silverback, PowerHD, and JConcepts items available at:
Tonisport GmbH
How does it ride?
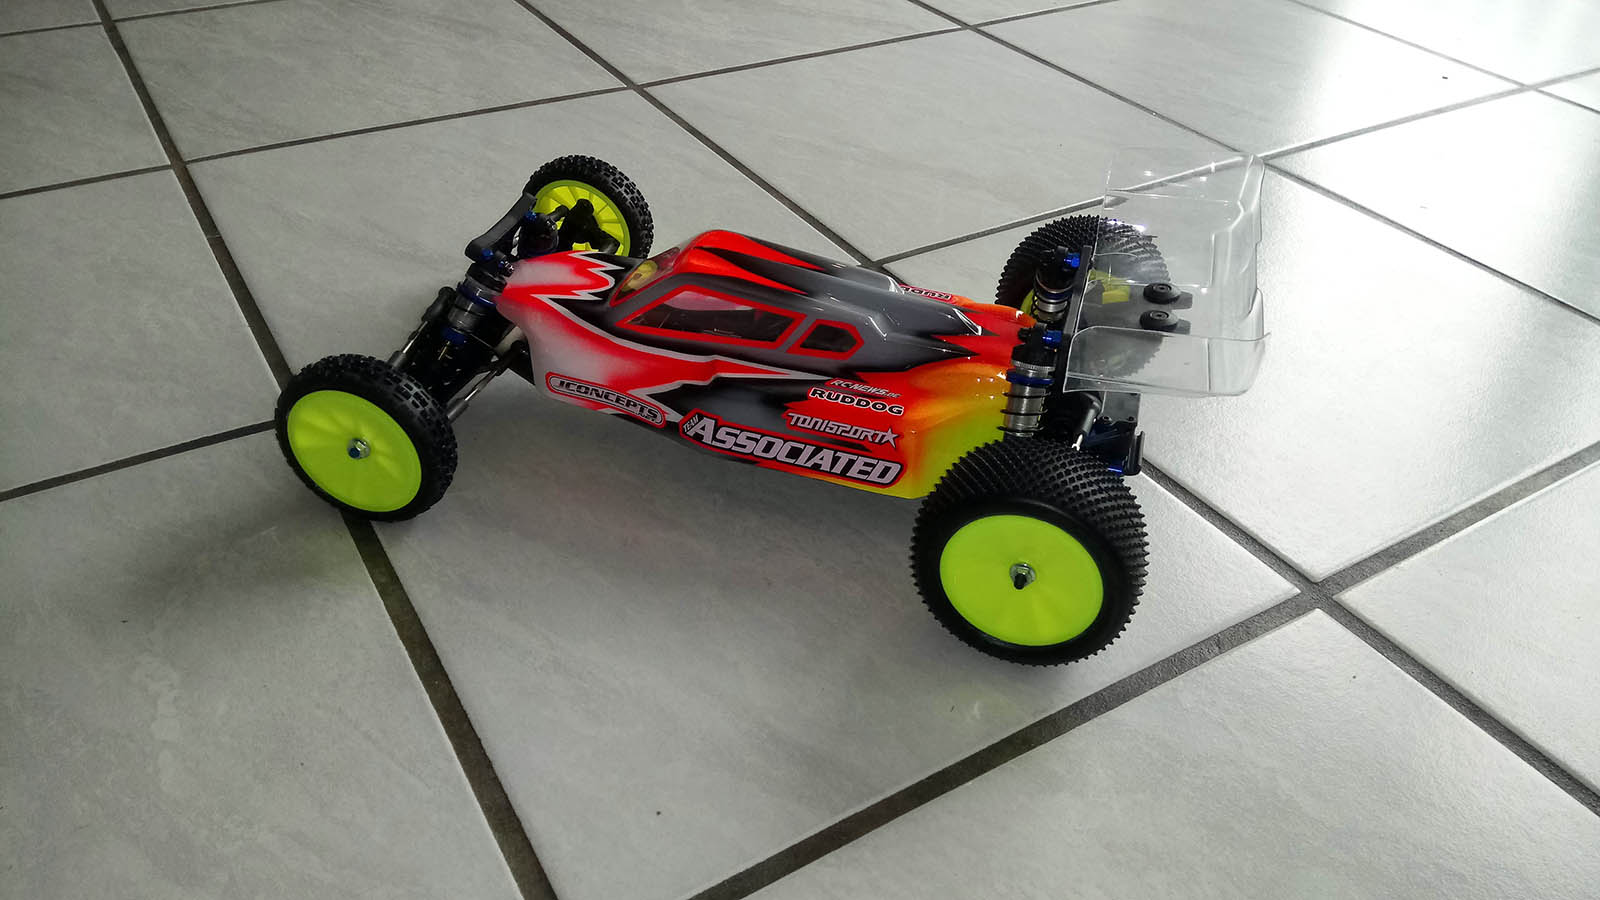
Having planned to drive the B6.1 for the first time at the Intermodellbau Dortmund hobby show, I was lucky to run a few batteries at Panik Team Troisdorf's outdoor track. From the get go, the car was planted and easy to drive, and with just a few additions to the kit set-up, it felt as good if not better than any other car I have driven on my home track. Hard front arms and the brass bulkhead helped with steering, and the JConcepts low-mounted front wing made it jump a bit flatter. Everyone around was impressed how well the buggy landed and in view of the 1.8x2 rear pistons, I was surprised, too. The kit set-up worked quite good with various tires, but as I did not have a set of Schumacher Darts with me to really push the car, the Proline Z4 Pyramids in combination withSchumacher LP Cut Staggers made it a bit twitchy in some spots that still were a bit moist - you should definitely use the same rubber on both ends of the car!
Before heading to Dortmund the week after, I adjusted the car to the Schumacher Cactus rear tires I was going to use for the Friday, i.e. I copied Neil Cragg's EOS B6.1 set-up minus the flat front arms and with all 4 gears in the diff. With such a solid basis, I could focus on fine-tuning and ended up with a blue rear anti-roll bar, blue springs all around, and 3,000 oil in the diff, which helped through the numerous tight corners. I tried both the full-size Silverback LiPo and a Reedy Wolf Pack 3300 mAh with a 56 g brass plate. With the flat battery, the car felt more reactive but still very controllable. Turning radius was perfect for every single corner, and although I am not a skilled driver, my lap times were getting faster throughout the qualifiers and the finals. Having qualified 3rd in the B-Main after losing a wheel and a bearing in Q1, I managed to finish 2nd in the first and second 7-minute final, the latter one being a close affair. In B3, I made too many mistakes. It had been a long day starting at 5:00 am, and my concentration was no longer there, and soon I was down to the dead last spot. To add insult to injury, my ESC faded after five and a half minutes because I did not have a fan installed and the many times of accelerating from a standstill clearly were hard on the tiny Fleta. As it was, I still managed to take the three spot and overall second in the B-main.
On the next day, things did not work quite as well. While MC Dortmund e. V. had hosted one of the most enjoyable races I ever attended the day before, most of the organisers on site had been replaced by other club members. As they did not inform the slightly detached pit area that they were ahead of schedule, I missed out on the best part of both practice rounds, which I would have needed to adjust the car to the JConcepts tires I was running this day. Again, I made too many mistakes, and when the ESC faded again because I had suspected the battery the day before and not installed the fan, I knew that it was not going to be my day. With the new tires, the car did not land as well as it had the day before. Thanks to my extensive collection of springs, this would not be a problem in Q1. While not as fast on the clock as the day before due to the slower tires, the B6.1 landed awesome with orange Racing Performer springs all around, and with the diff raised to make up for the lager tires, was quicker through the corners than before, but would occasionally hand me the rear end when I pushed too hard. When I left the racing line coming from the corner table to let the later TQ and winner Marcel Rottgerkamp pass, disaster struck. The tech inspection guy (who had measured battery voltage before the qualifier, but failed to inform the race director that I had passed) was busy watching the race directly at the track and obscured my sight to the corner table. I pushed my luck by pulling the trigger, but only heard an ugly noise. I still do not know what happened, but some obstruction on the right side of the track managed to shear off my right rear arm. When I was back in the pits to replace it, I noticed that although I had ordered some spares in advance, I had failed to click on the rear arms button. When none of the Associated drivers in my pit area had one either, I decided that I was just one of those days, packed my stuff together, and helped Daniel dial in his car for the remaining qualifiers and finals.
Conclusion
Although I was not impressed by day 2 of racing, it was not down to the B6.1 for sure. Considering the loud noise that the impact made, something had to give in this case. Other than that, the car took a lot of abuse throughout the weekend; it suffered uncountable crashes and tumbles without complaint. The B6.1 has it all: durable, easy to maintain, set-up and drive, and as Marcel Rottgerkamp proved at the Intermodellbau and the AE team drivers at the EOS finale in Andernach, it has all the speed and handling you need to win at any level of racing. To say I like the RC10 B6.1 would be a huge understatement. If you are in the market for a new Astroturf/Carpet 2WD buggy, the B6.1 won't disappoint!
------------------------------------------------
Bag content
|