|
- Xray X4F - ESC Installation -
by Stefan Schulz
The new X4F’22 is out now and I want to show you how I install my ESC perfectly.
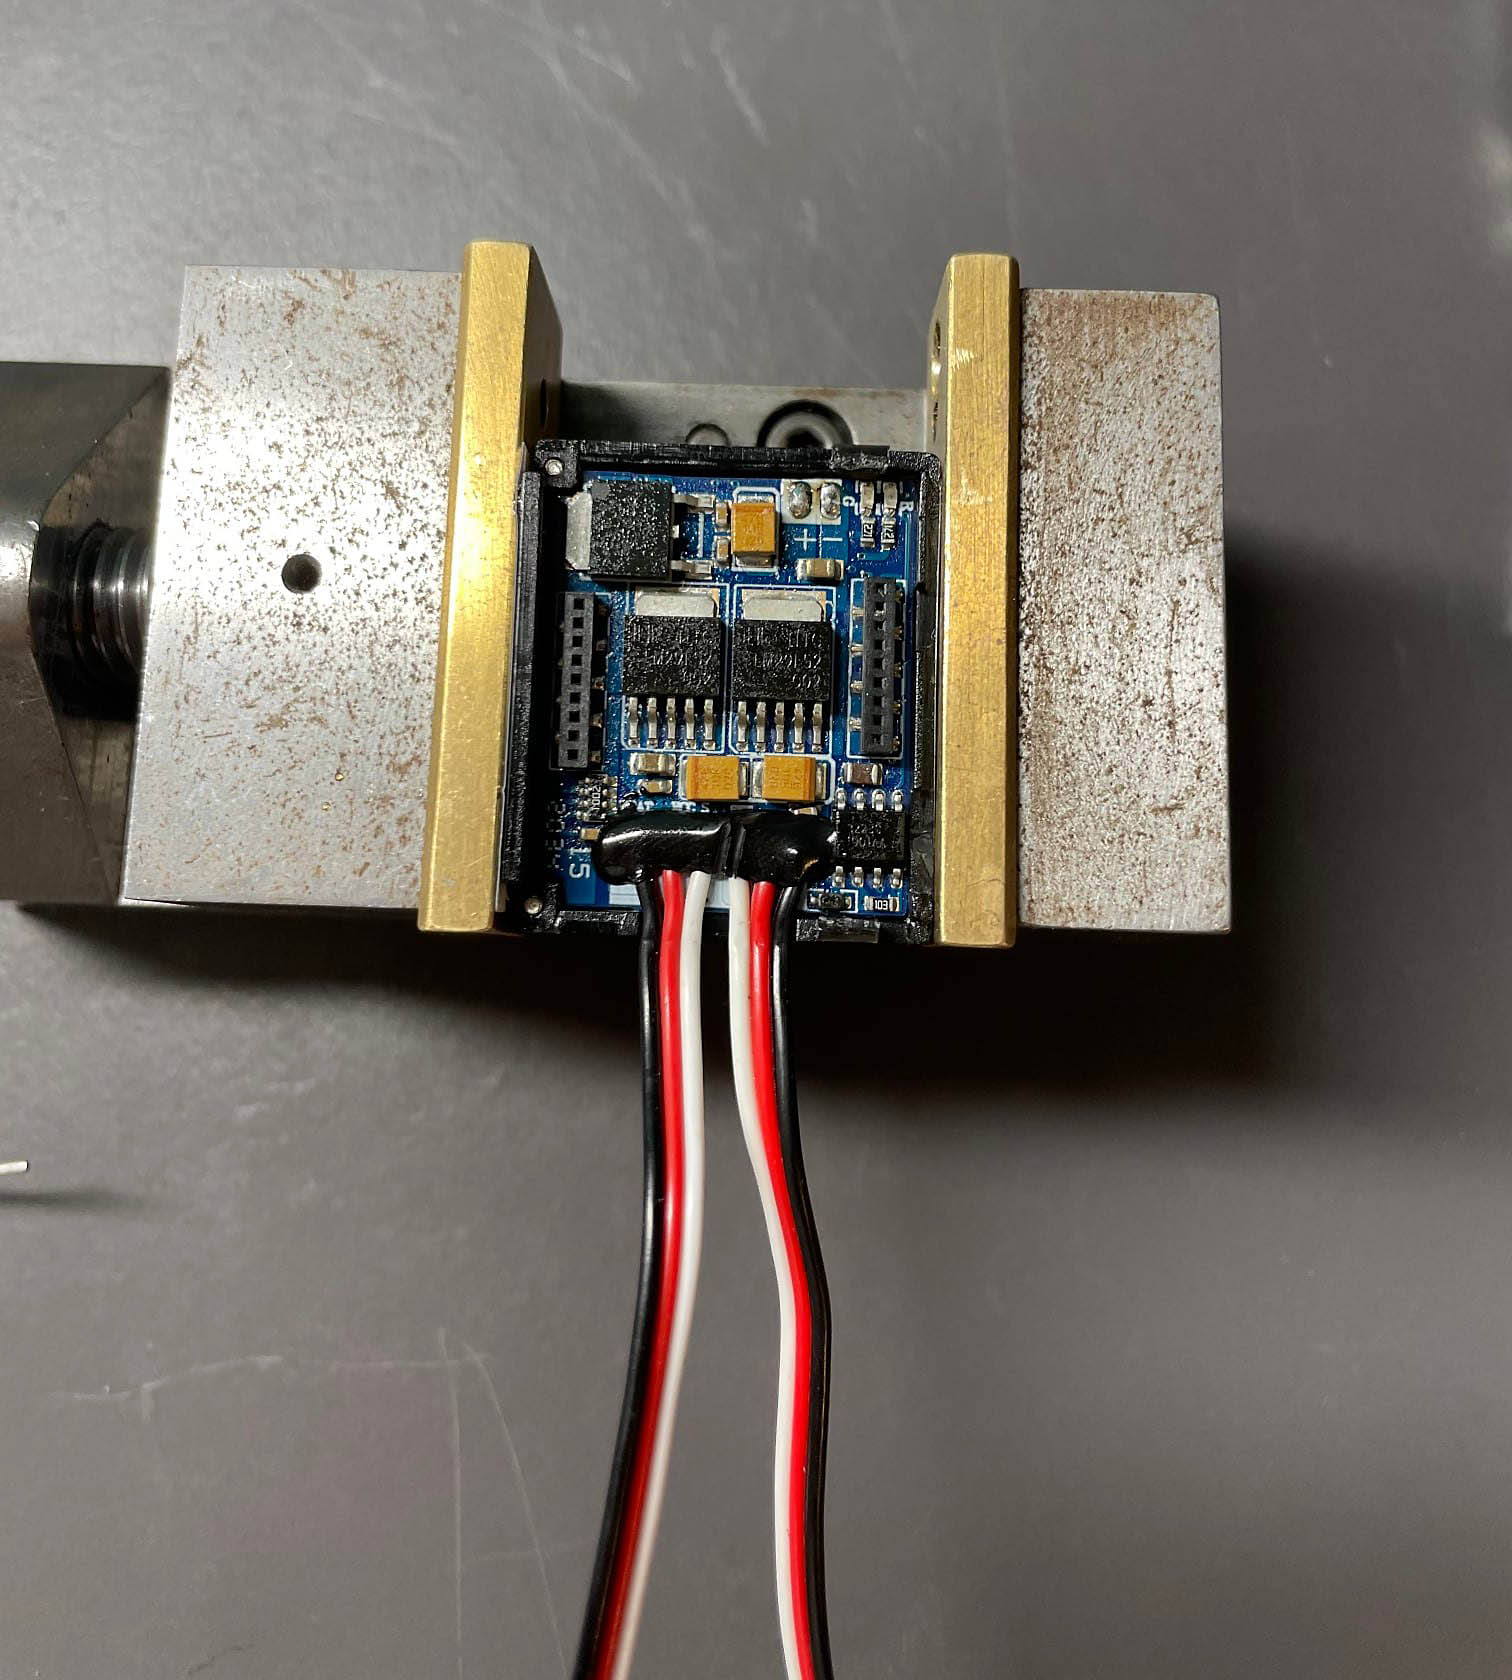
It is not so easy, because I open the ESC and soldered on the circuit board.
But for me with this way I show you, the ESC looks amazing!
I hope the pictures are easy to understand.
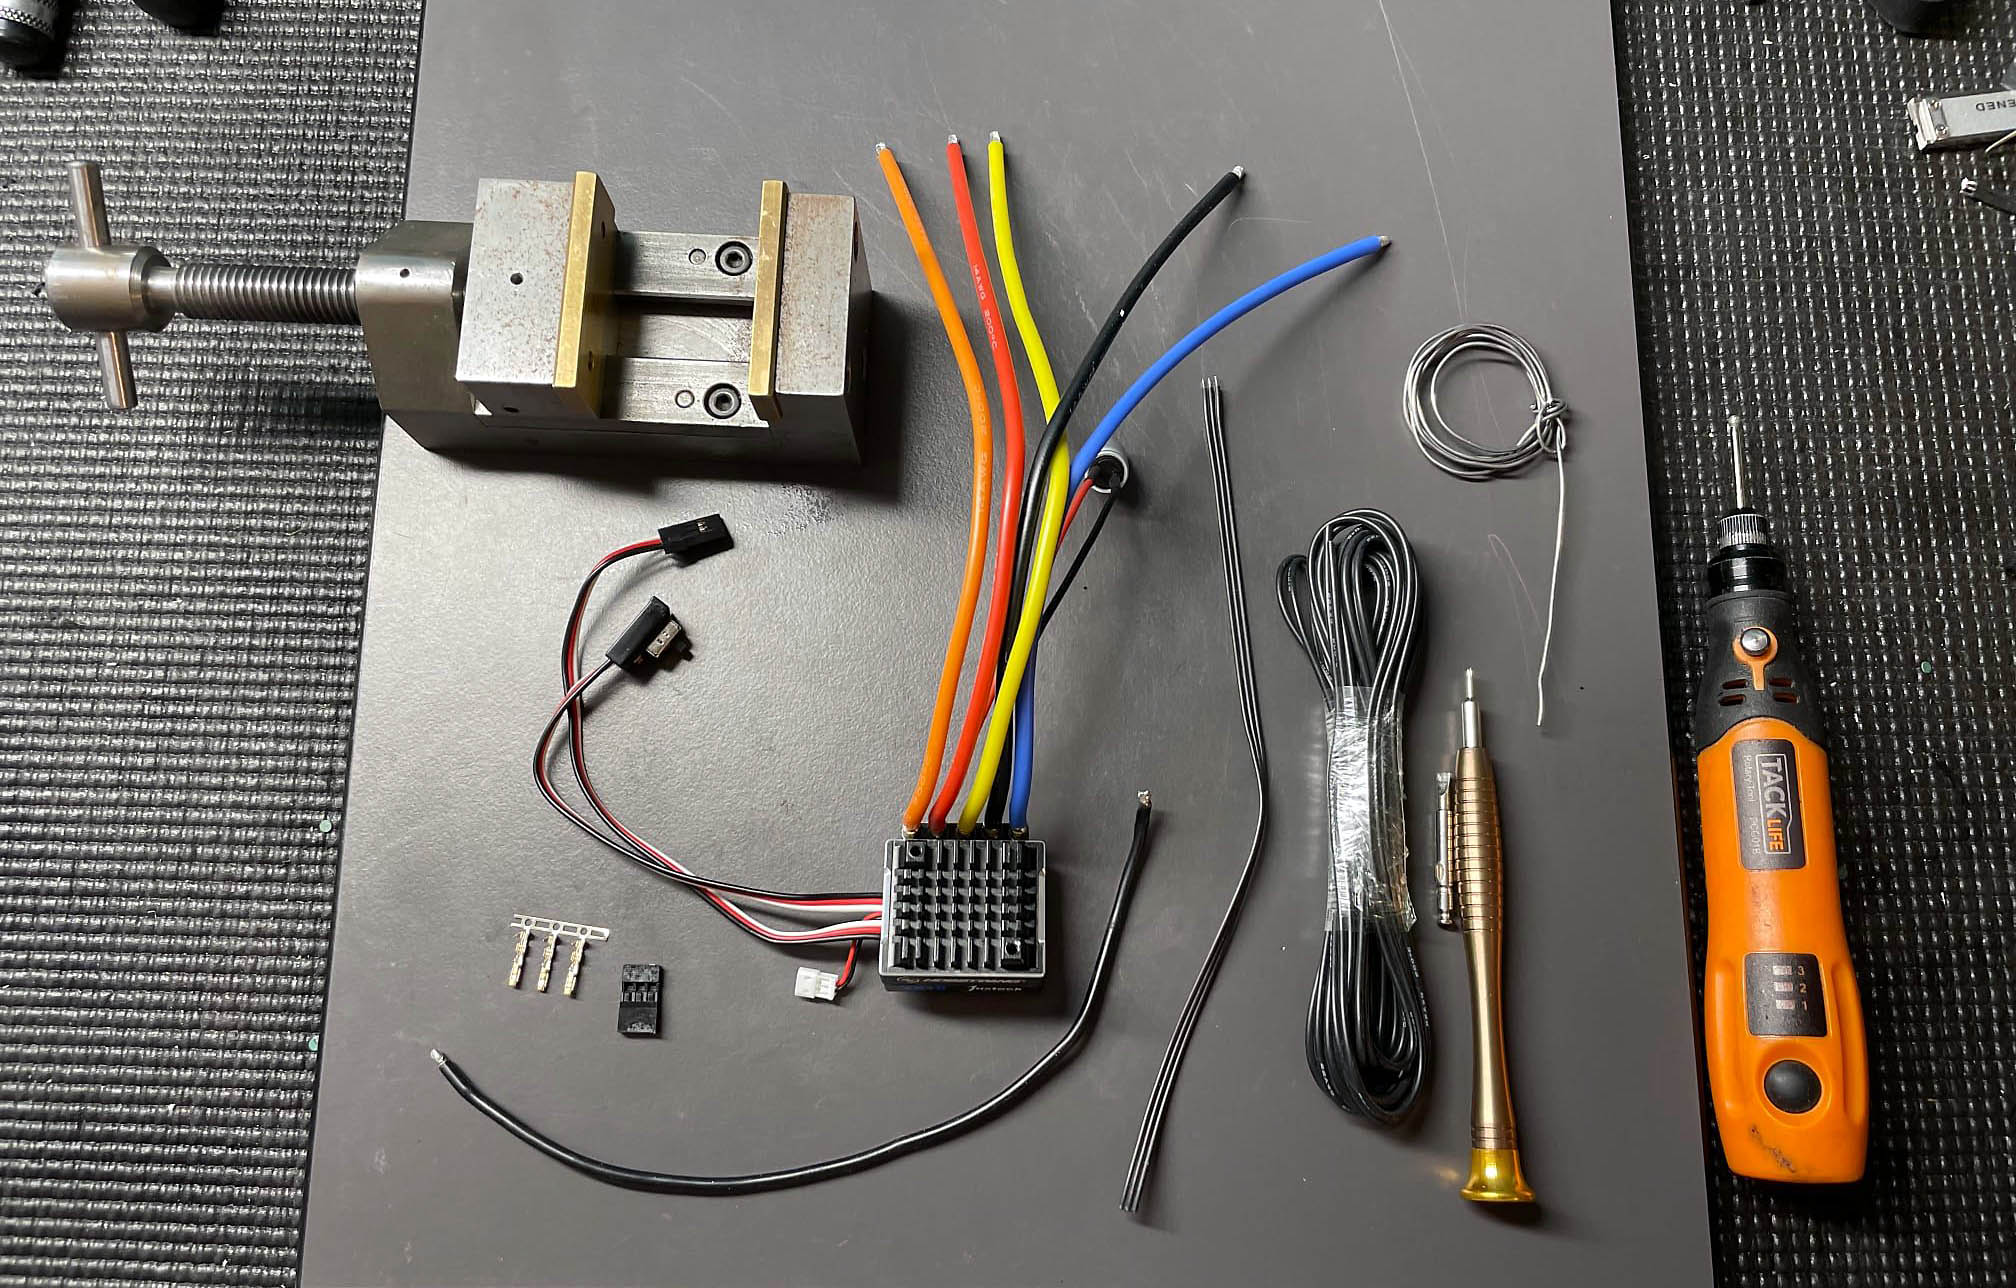
What you need is: -
Soldering Station
-
Small screwdriver
-
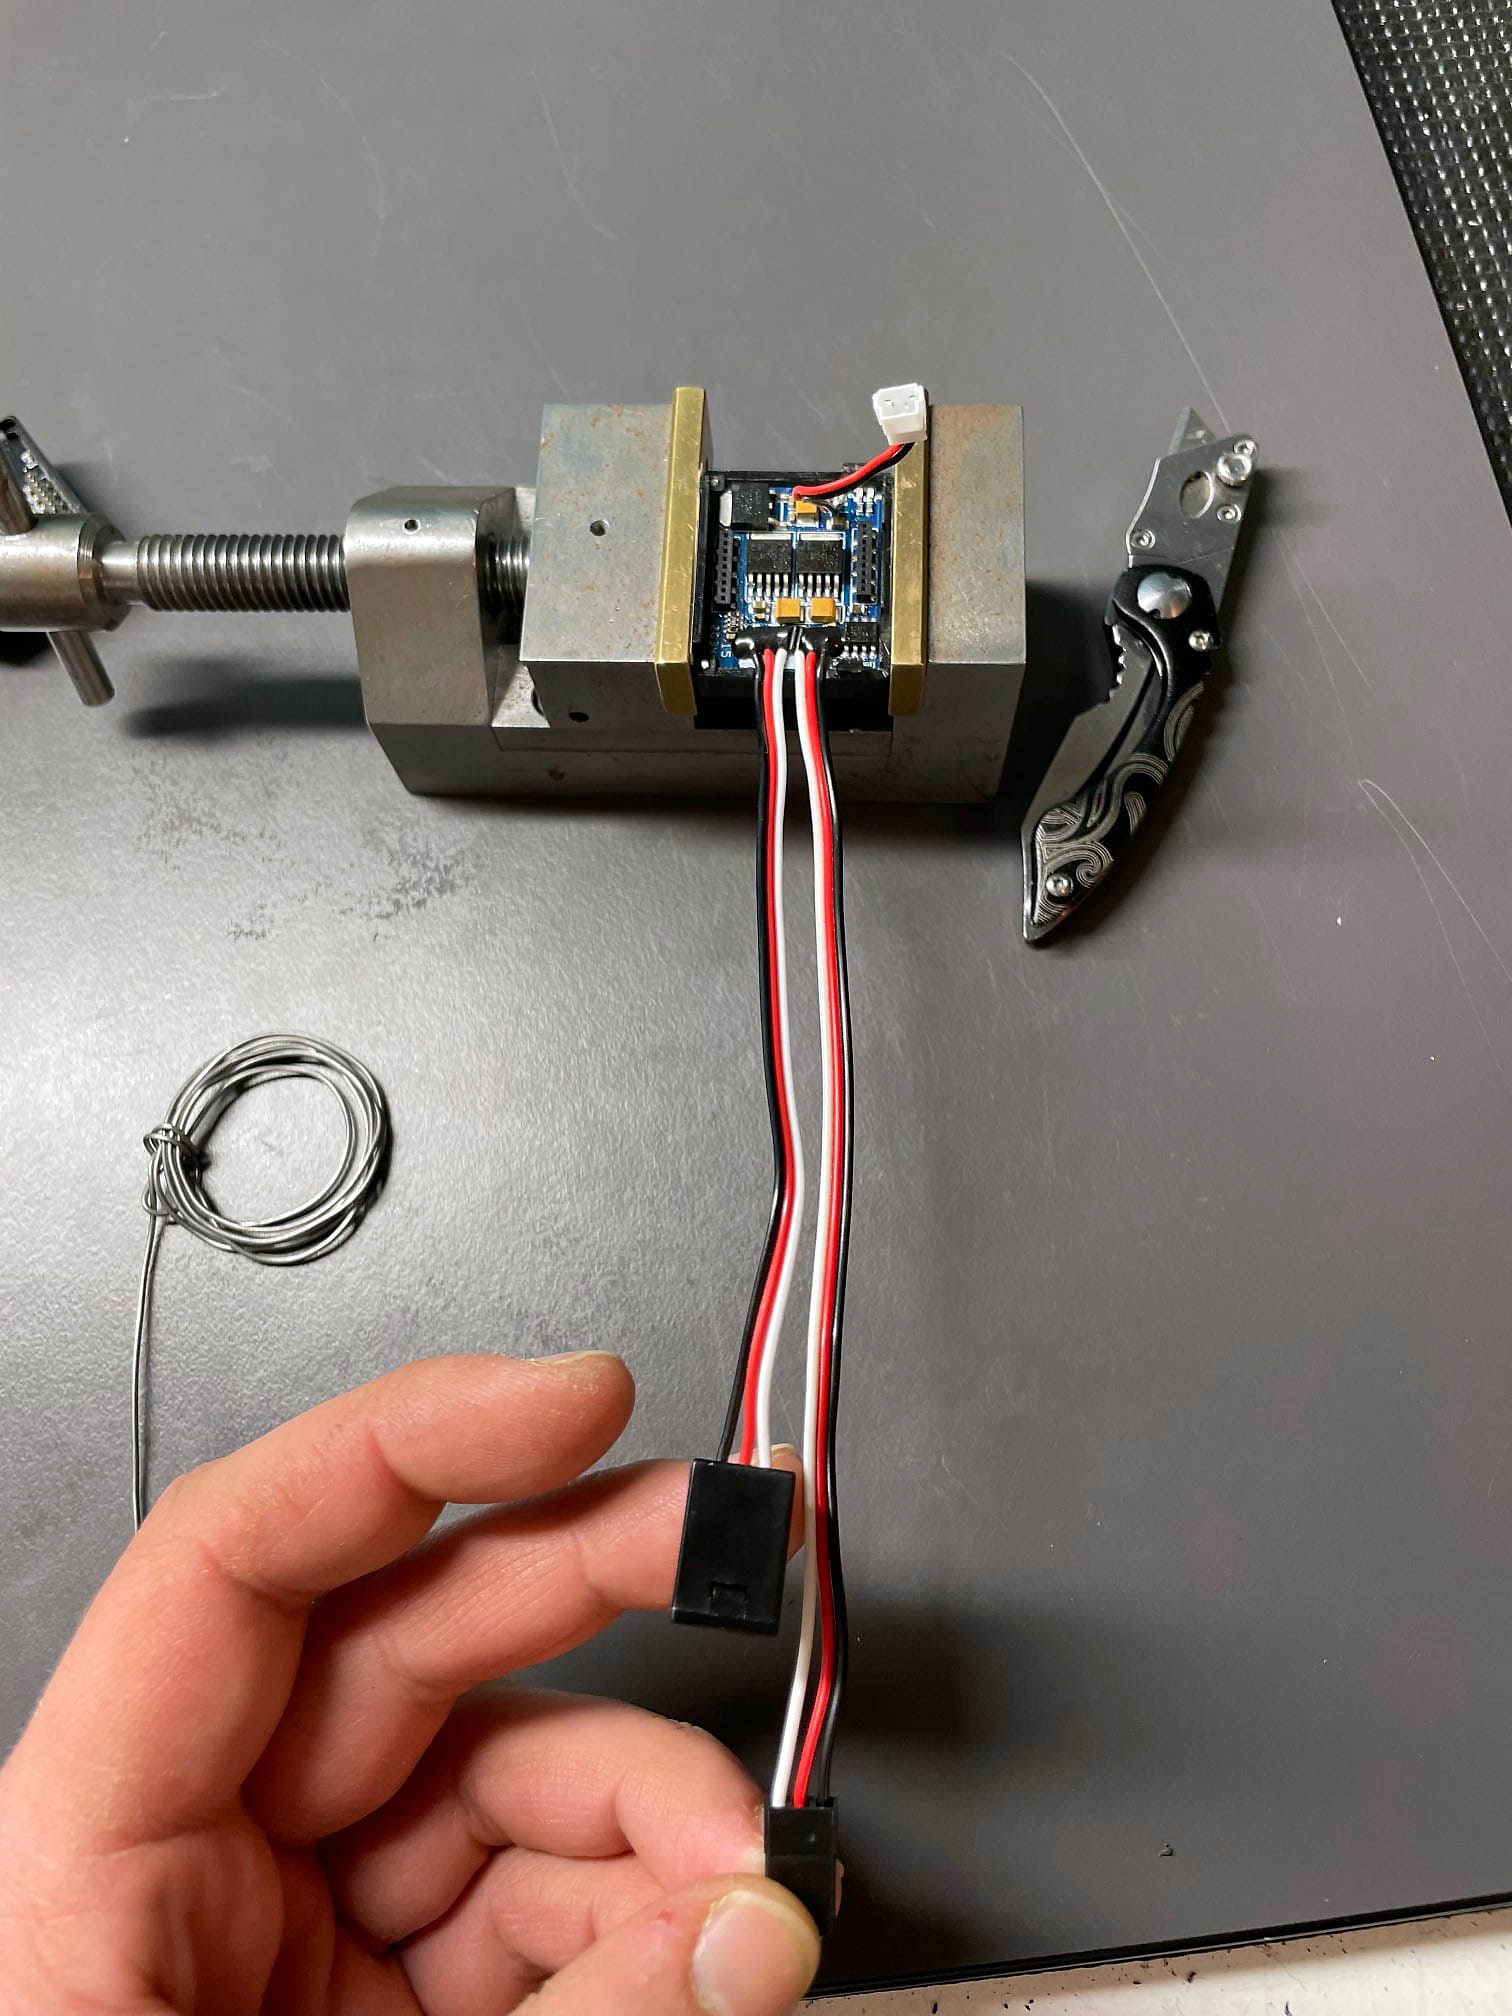
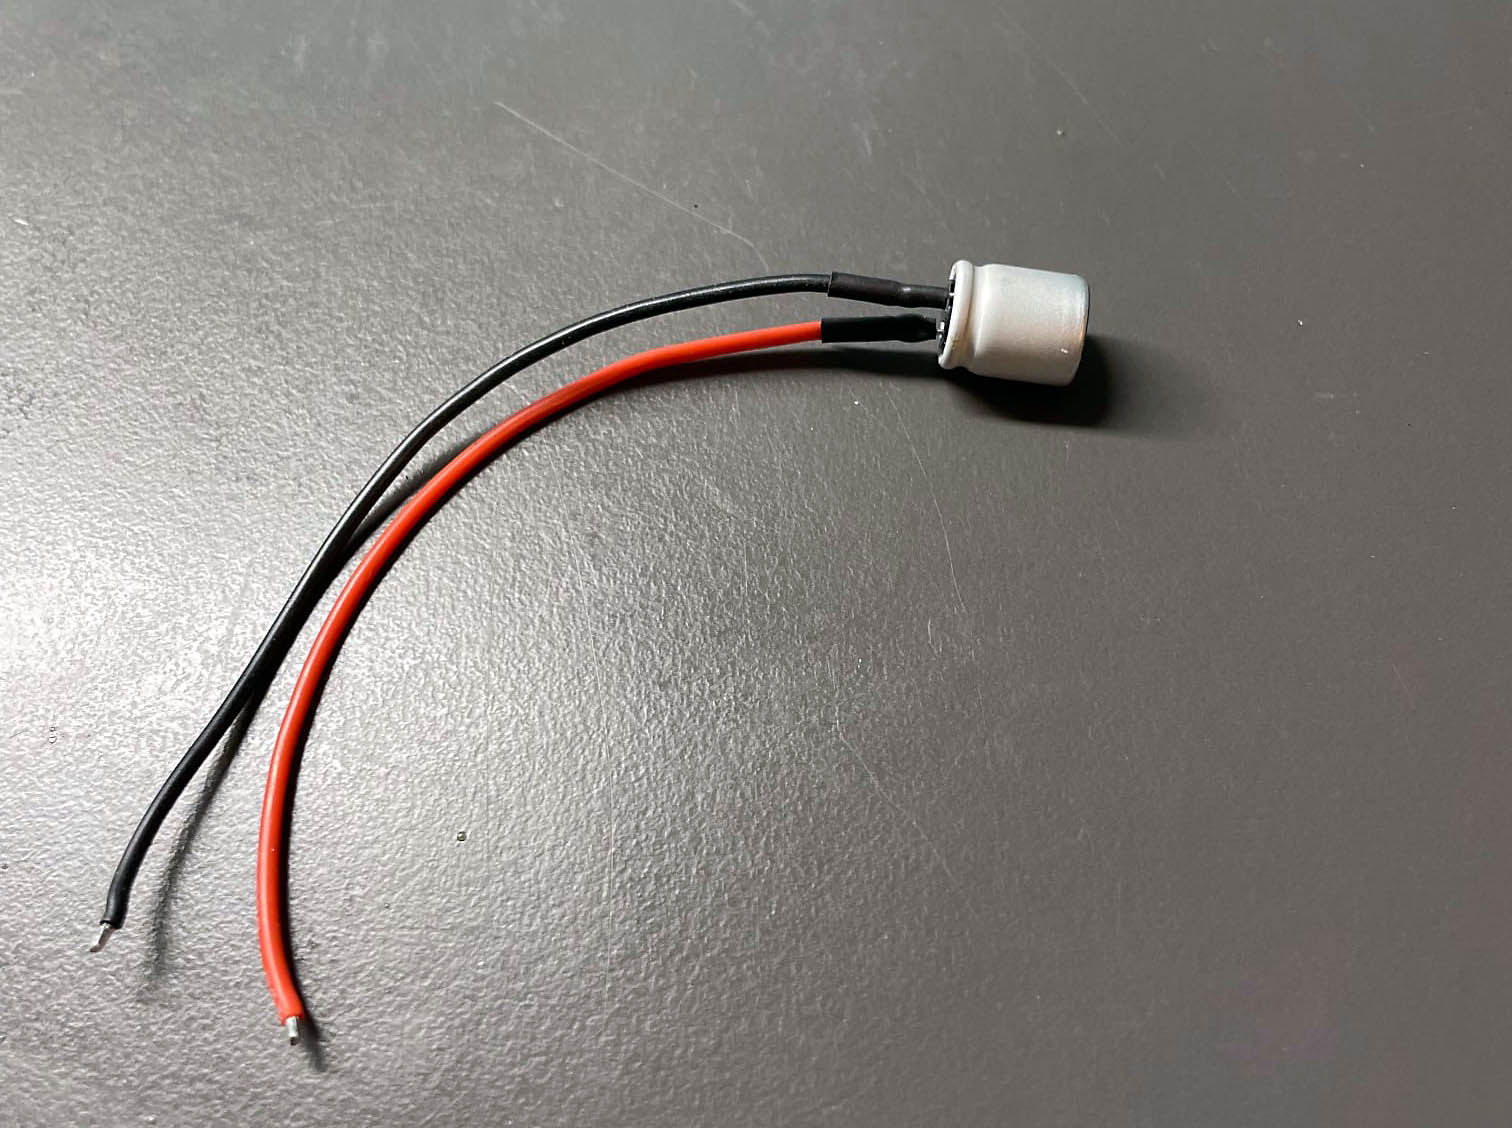
BEC wire
-
BEC plug
-
Wire for capacitor 22-24 AWG
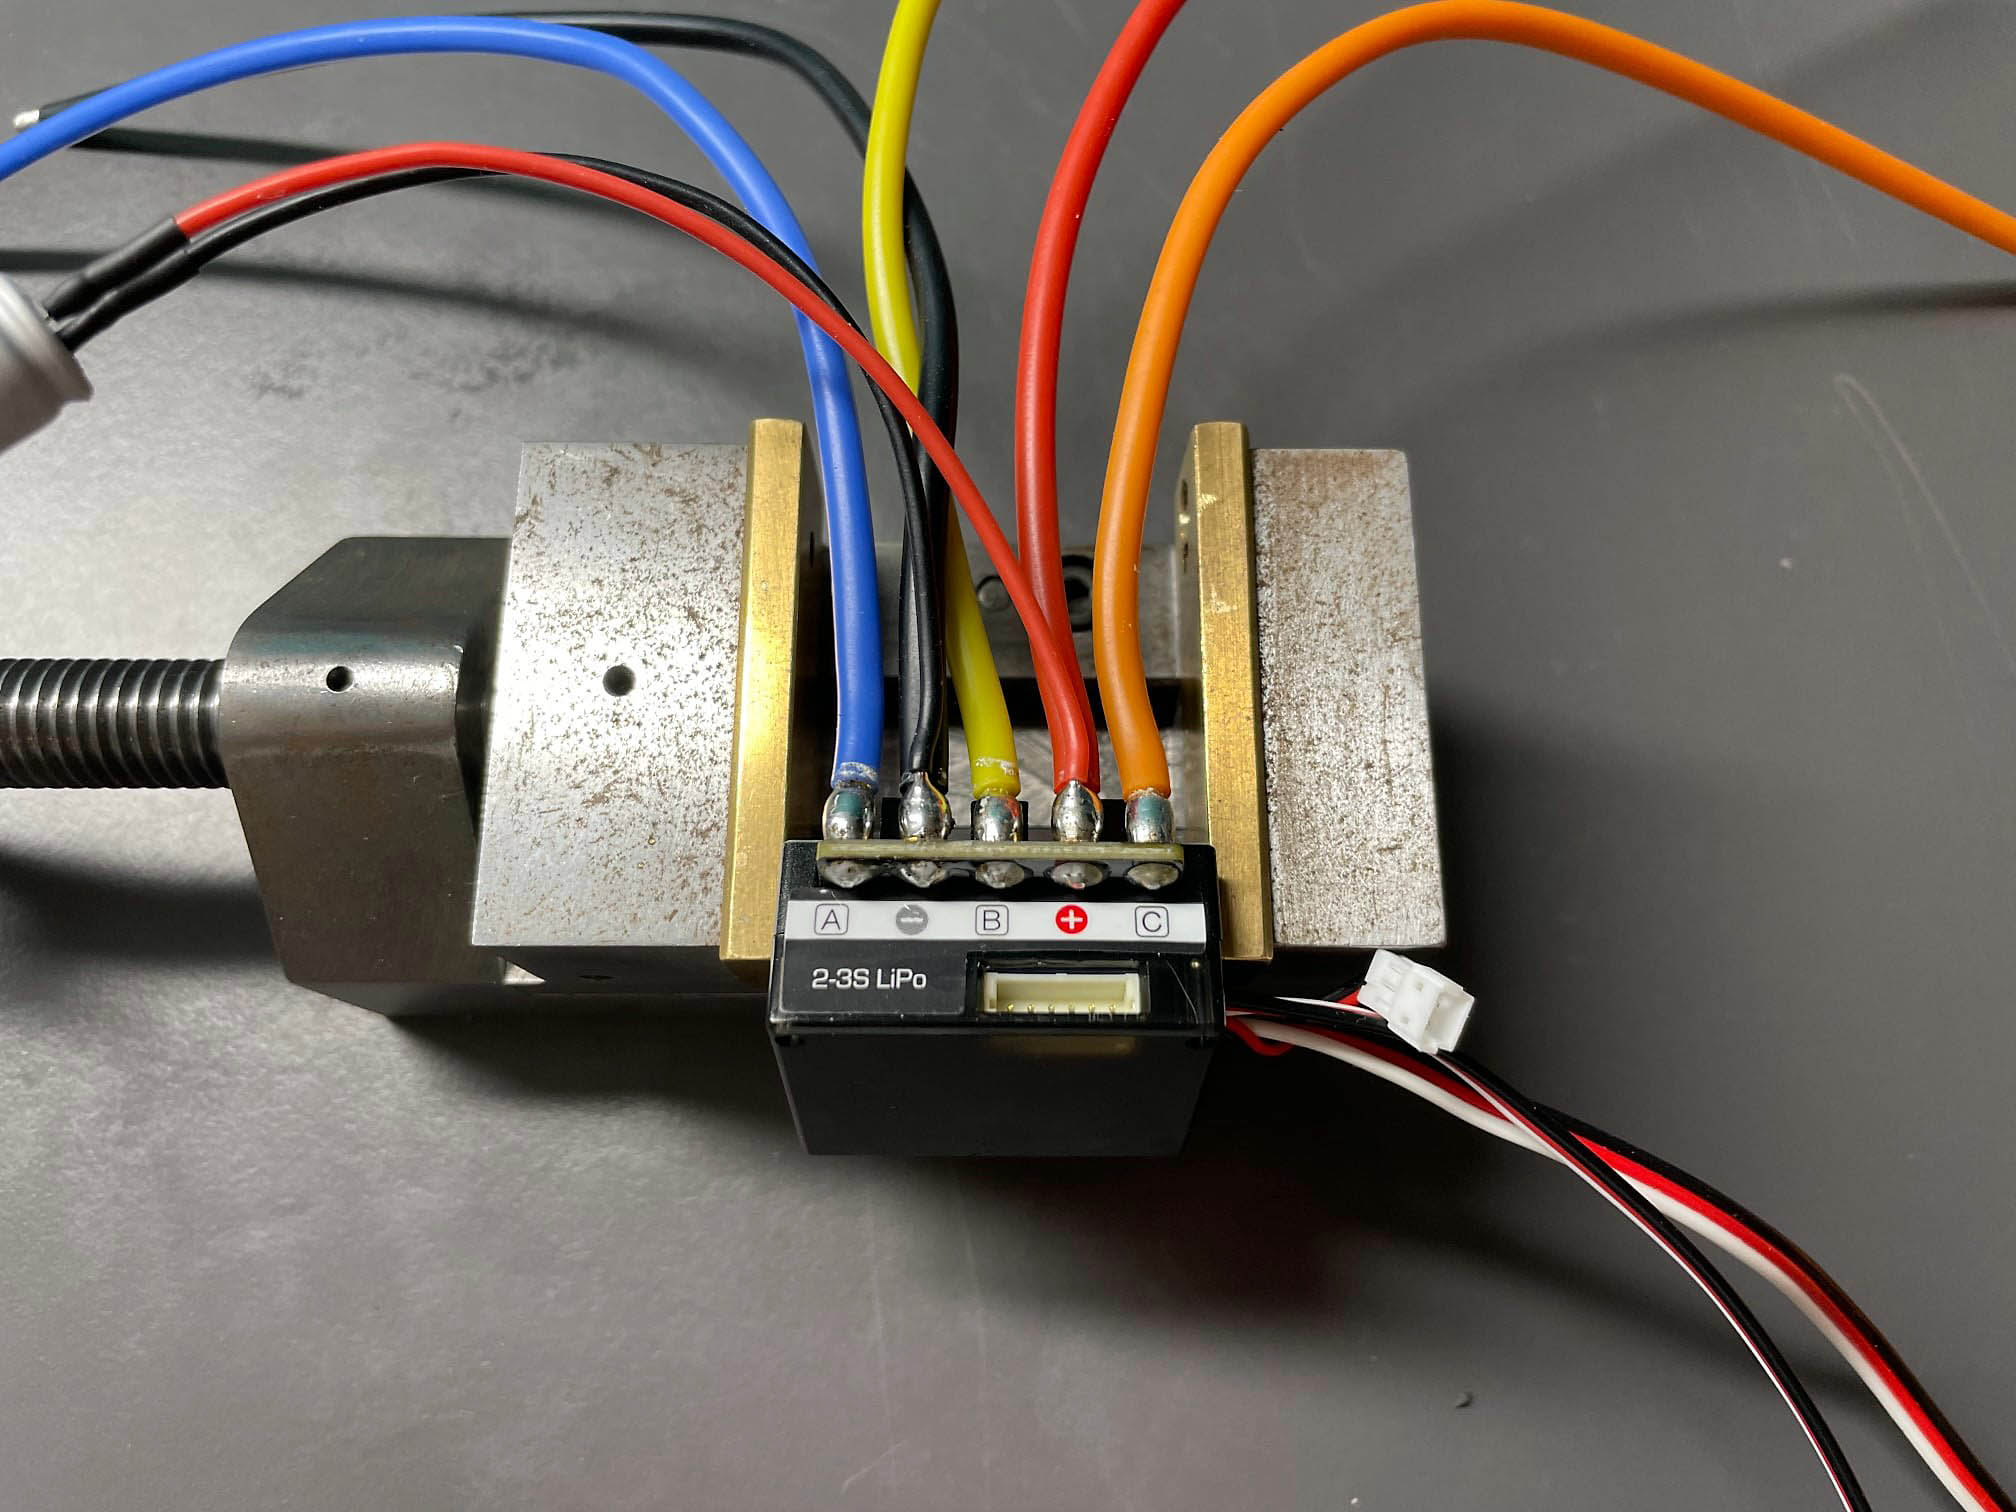
-
Wire for Battery and engine 16AWG
1. Provision of the Materials
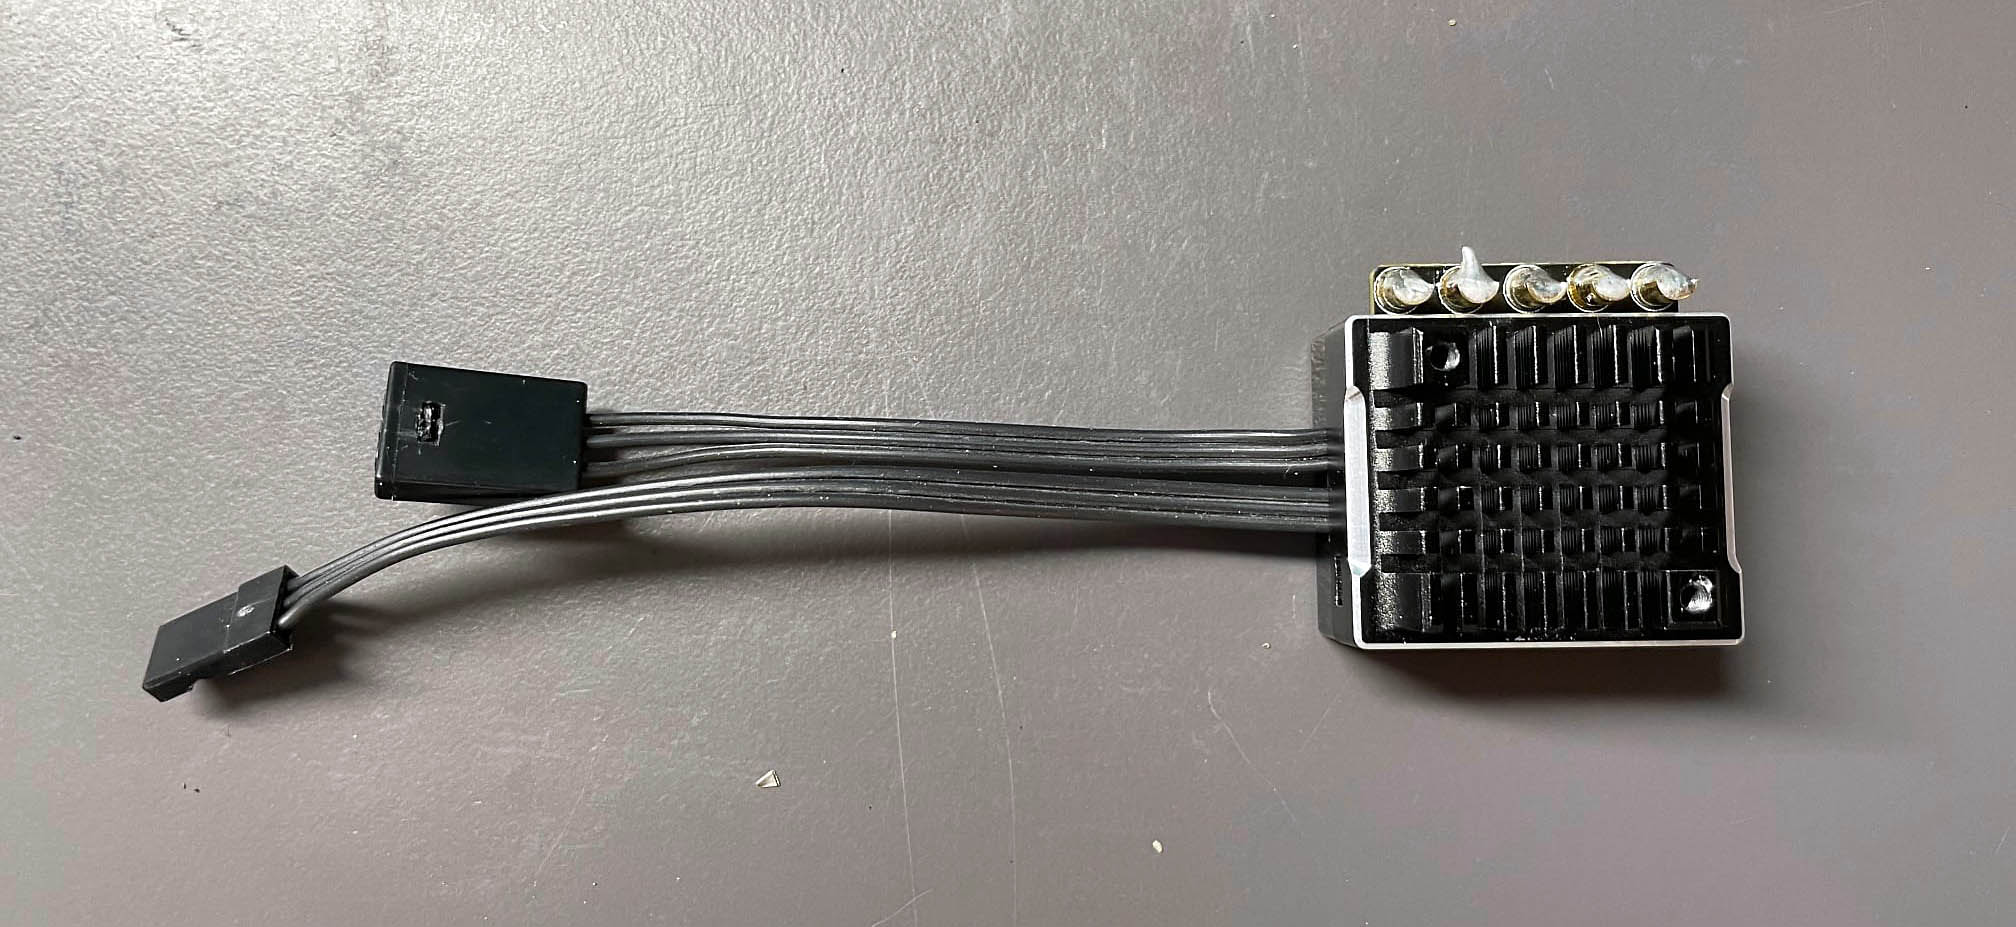
2. Remove cable
3. Clean solder joints
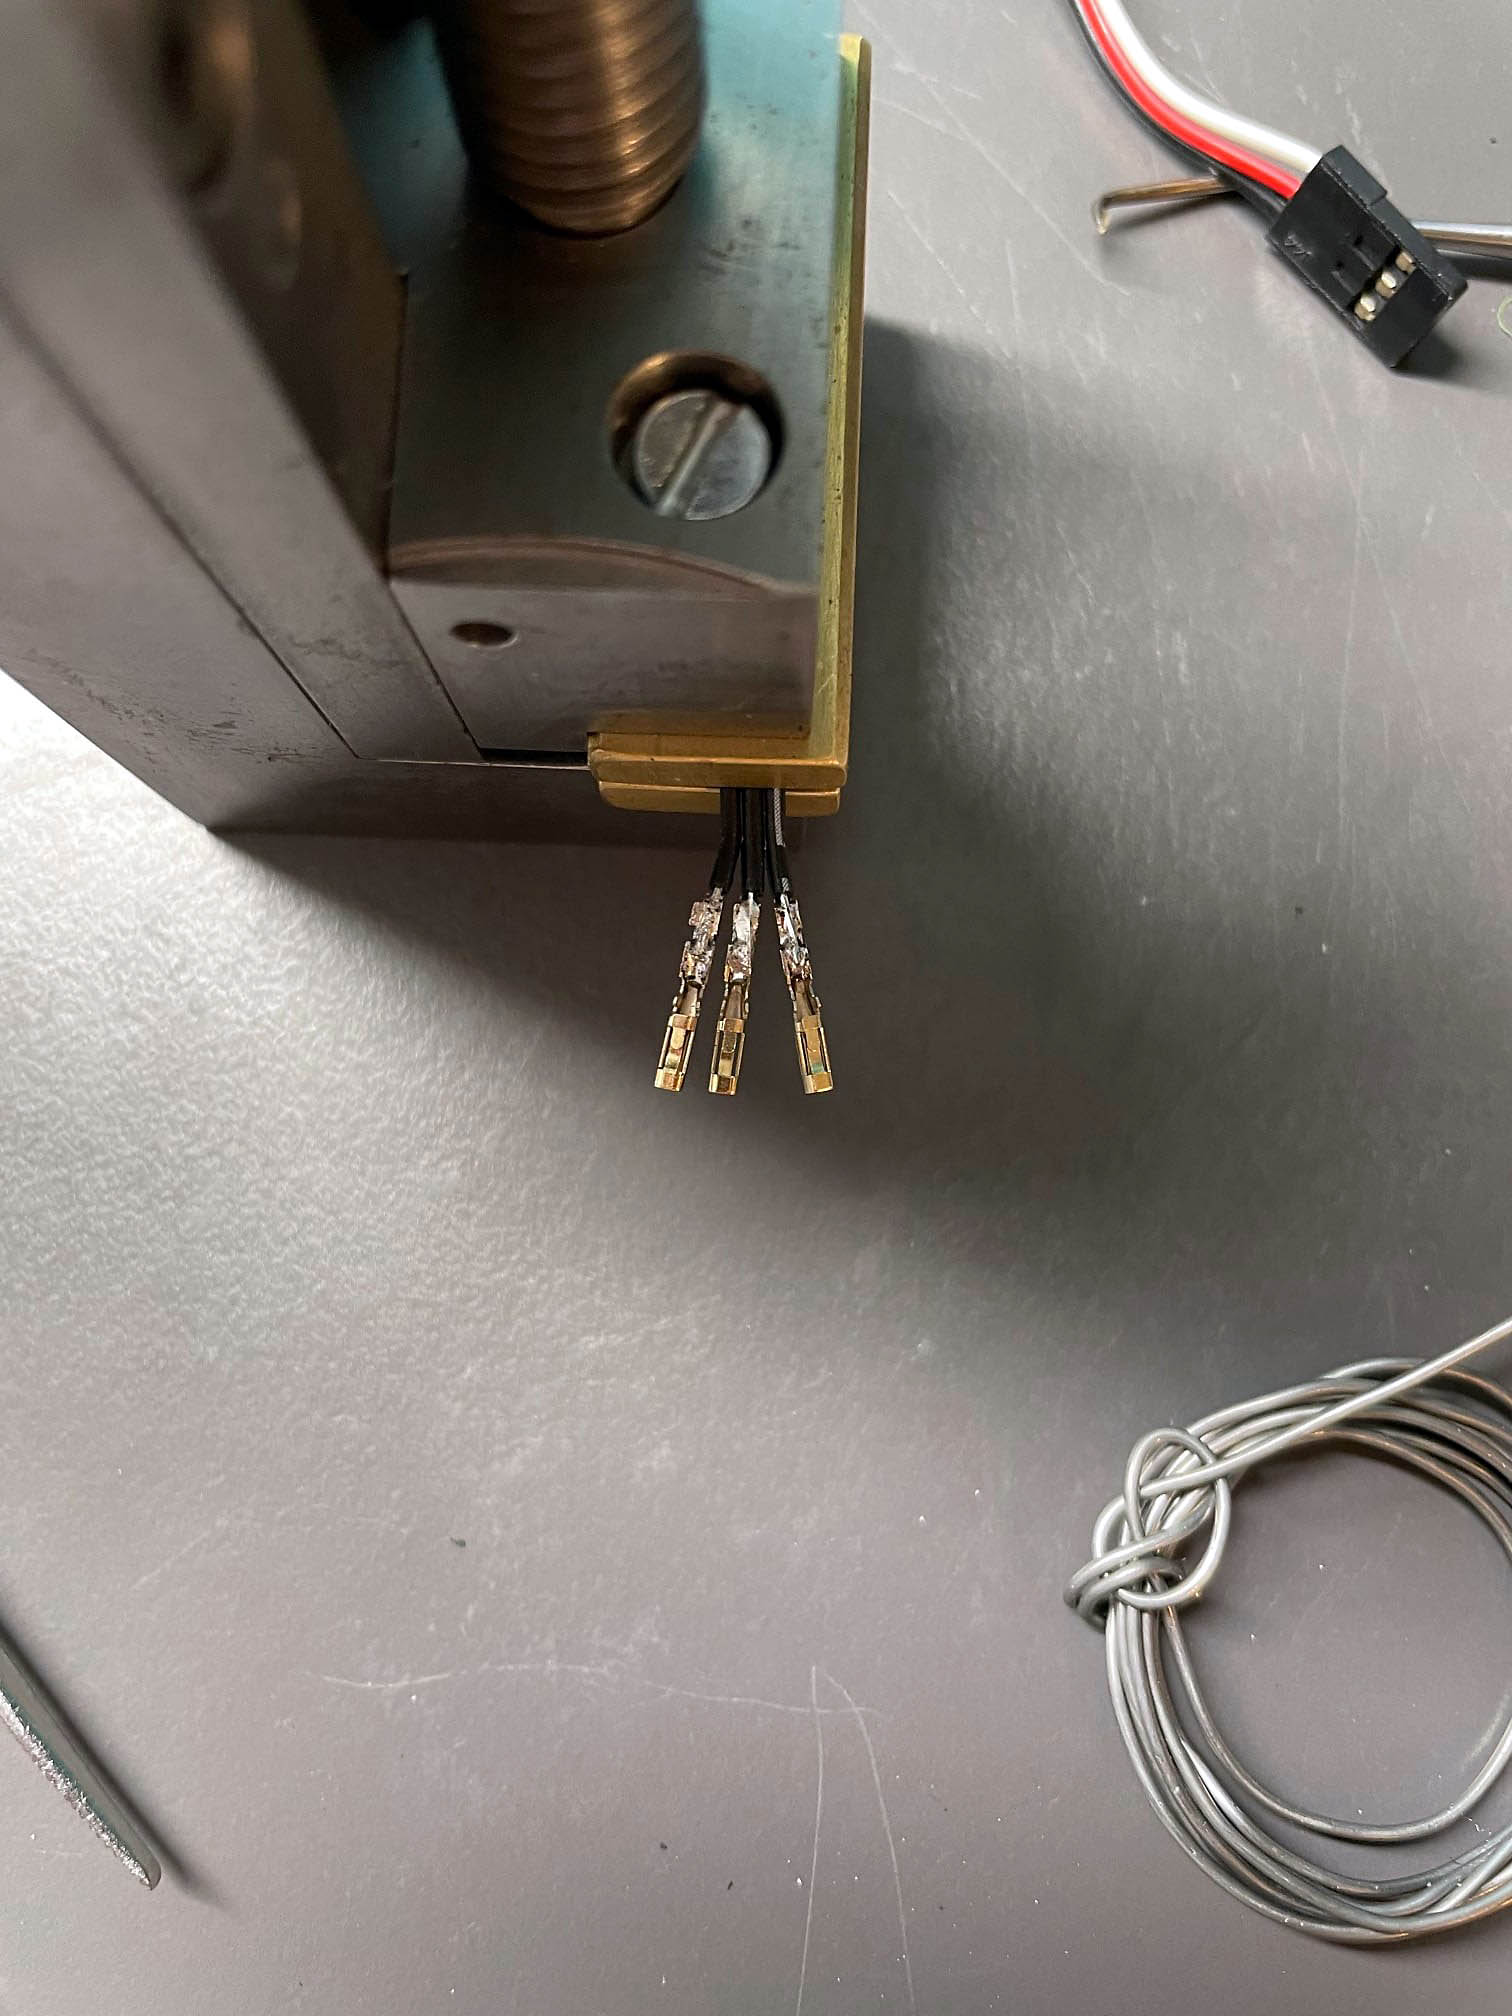
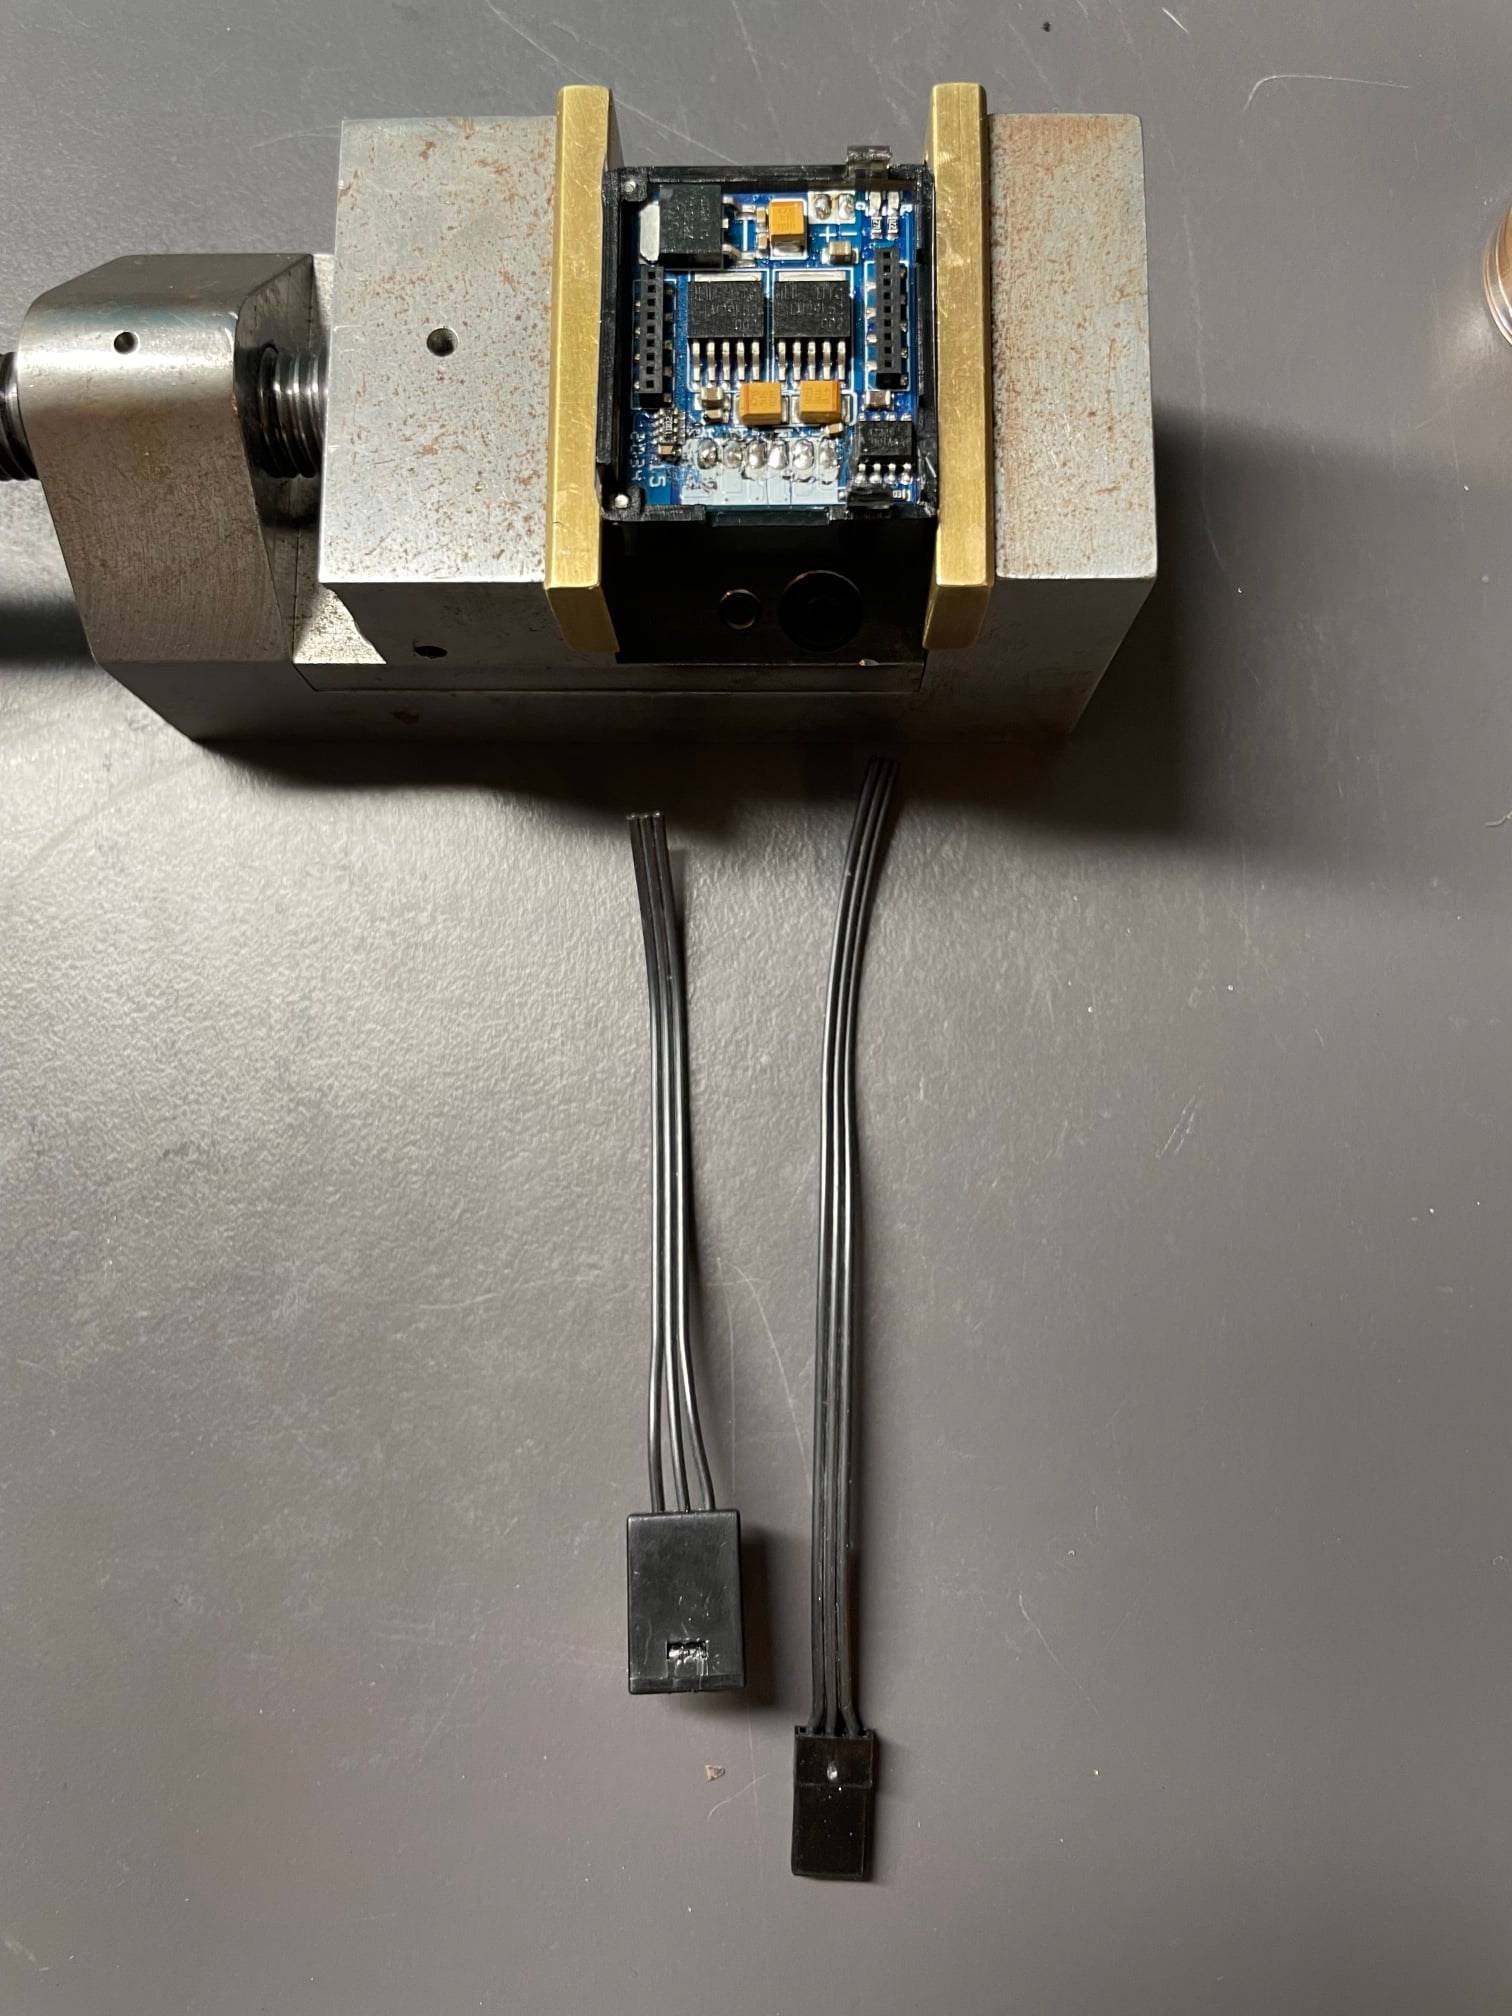
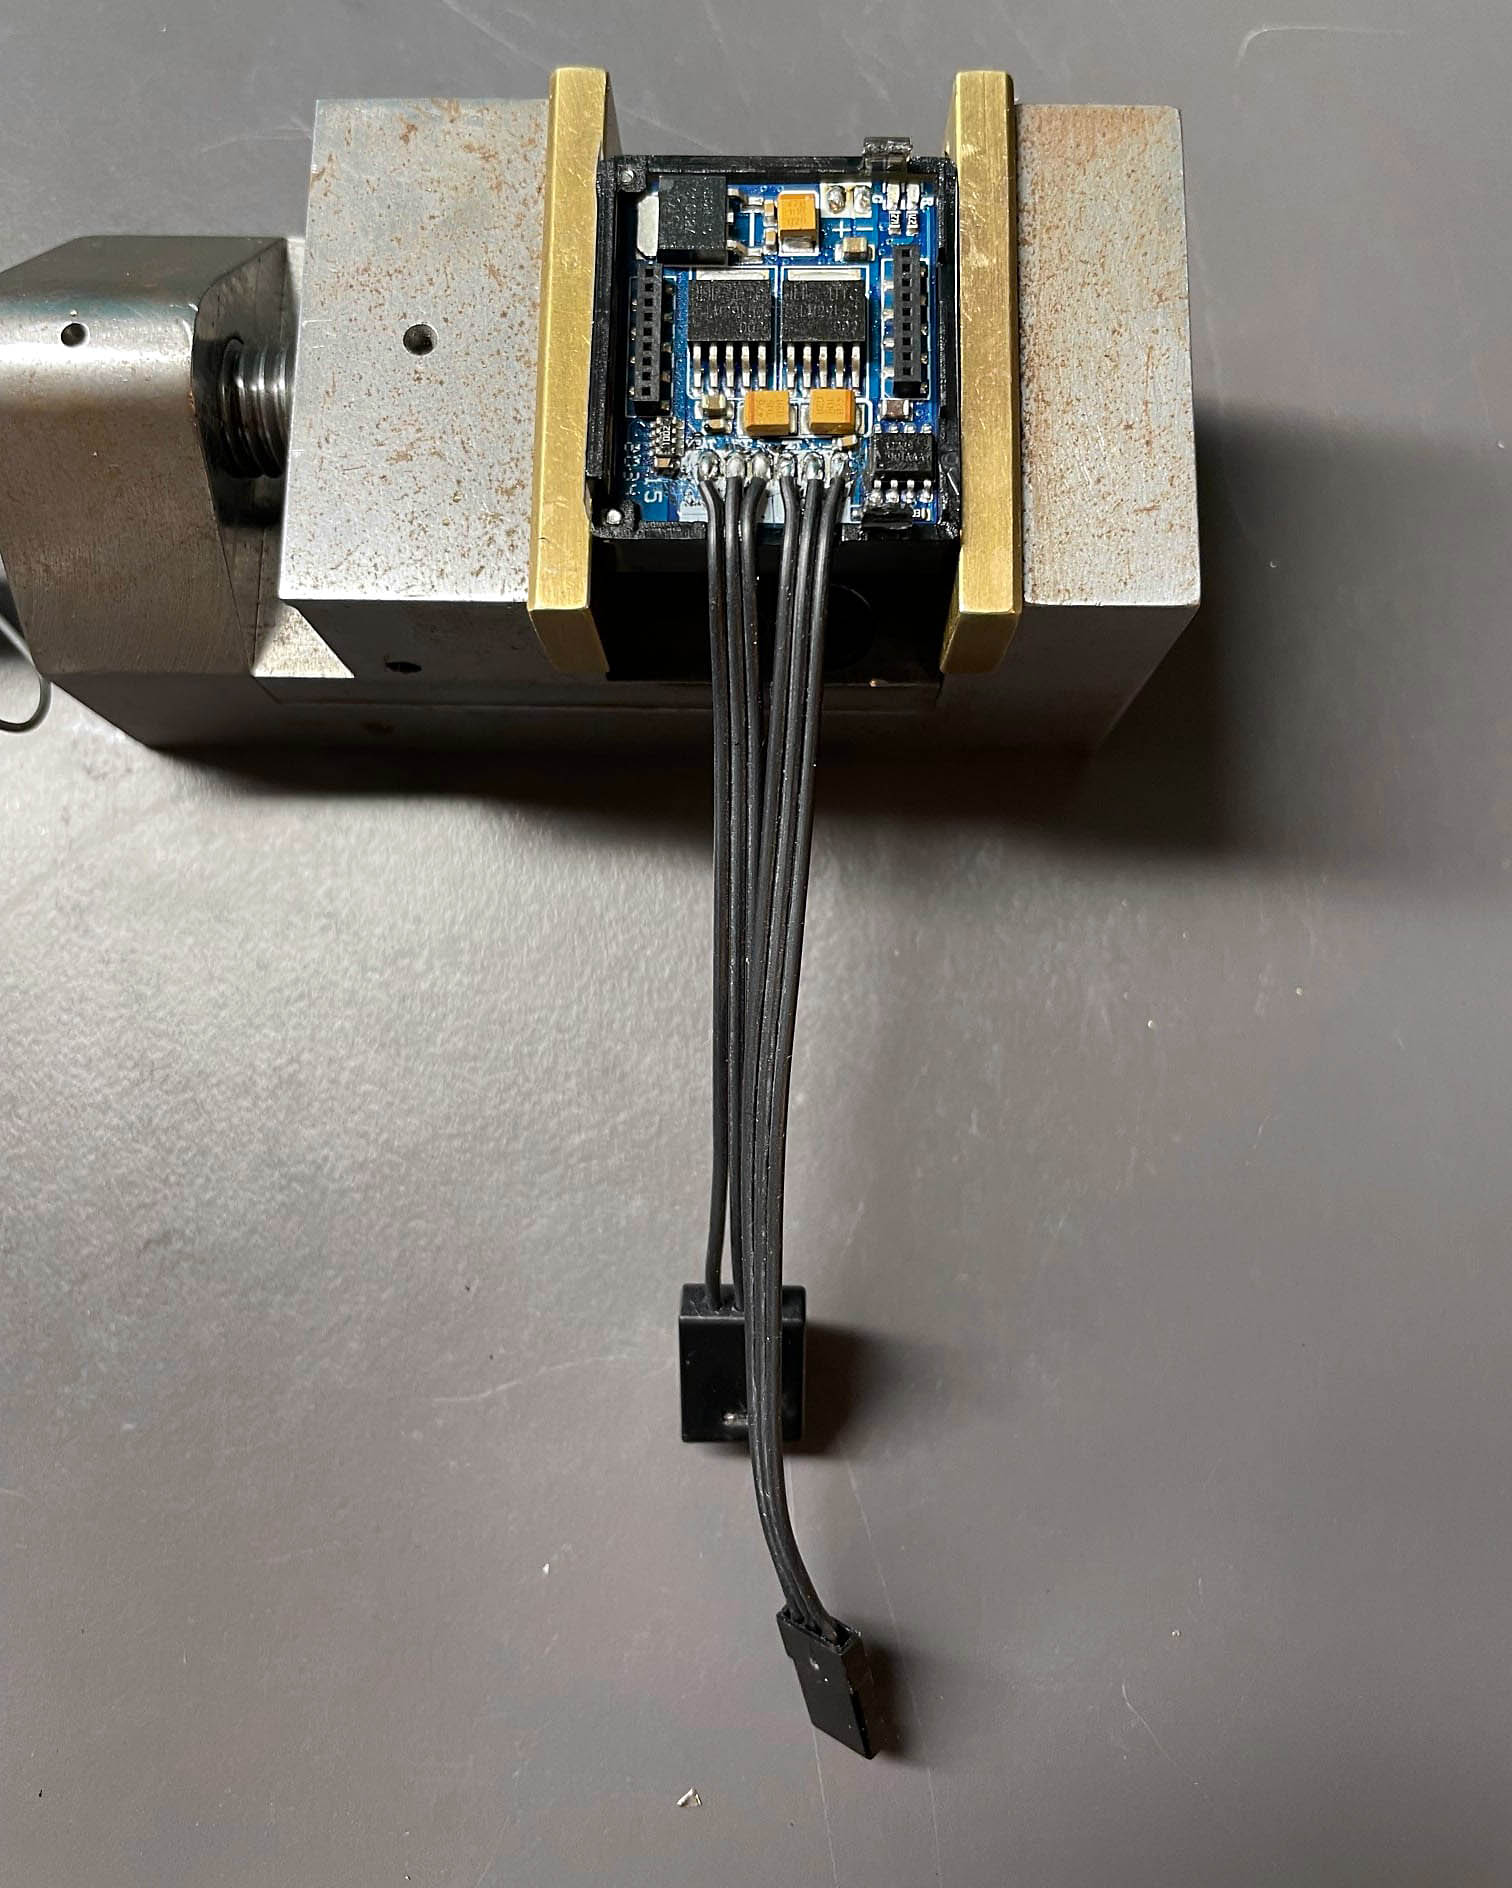
4. Open the housing with a screwdriver

5. Check the wire

6. Desolder the fan cable
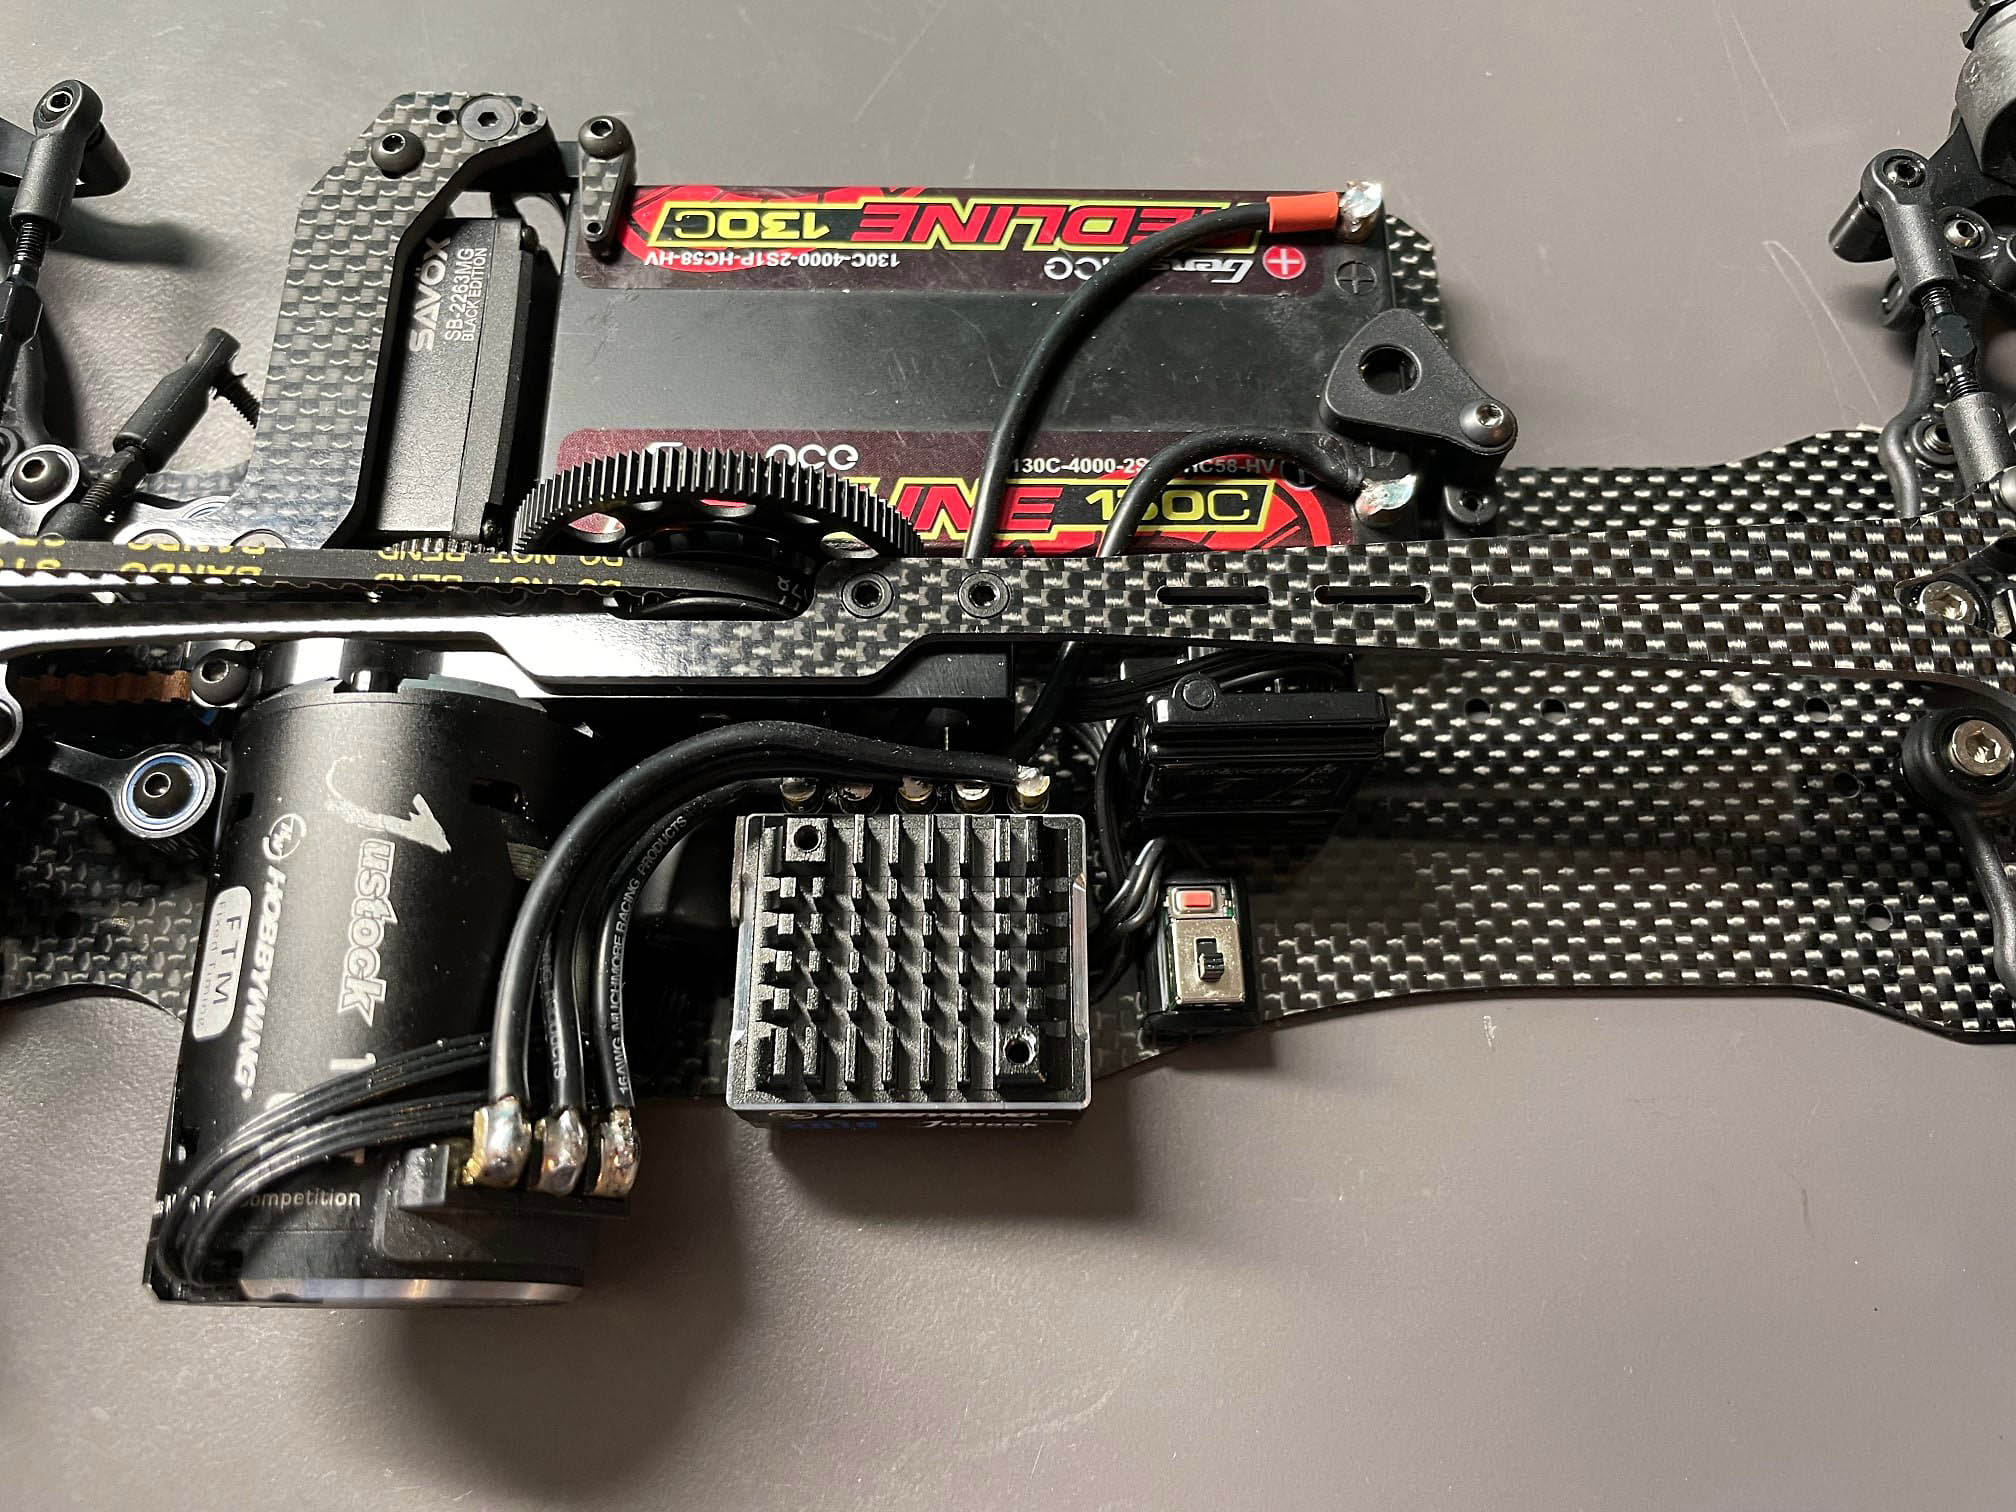
7. Distance protection from cable
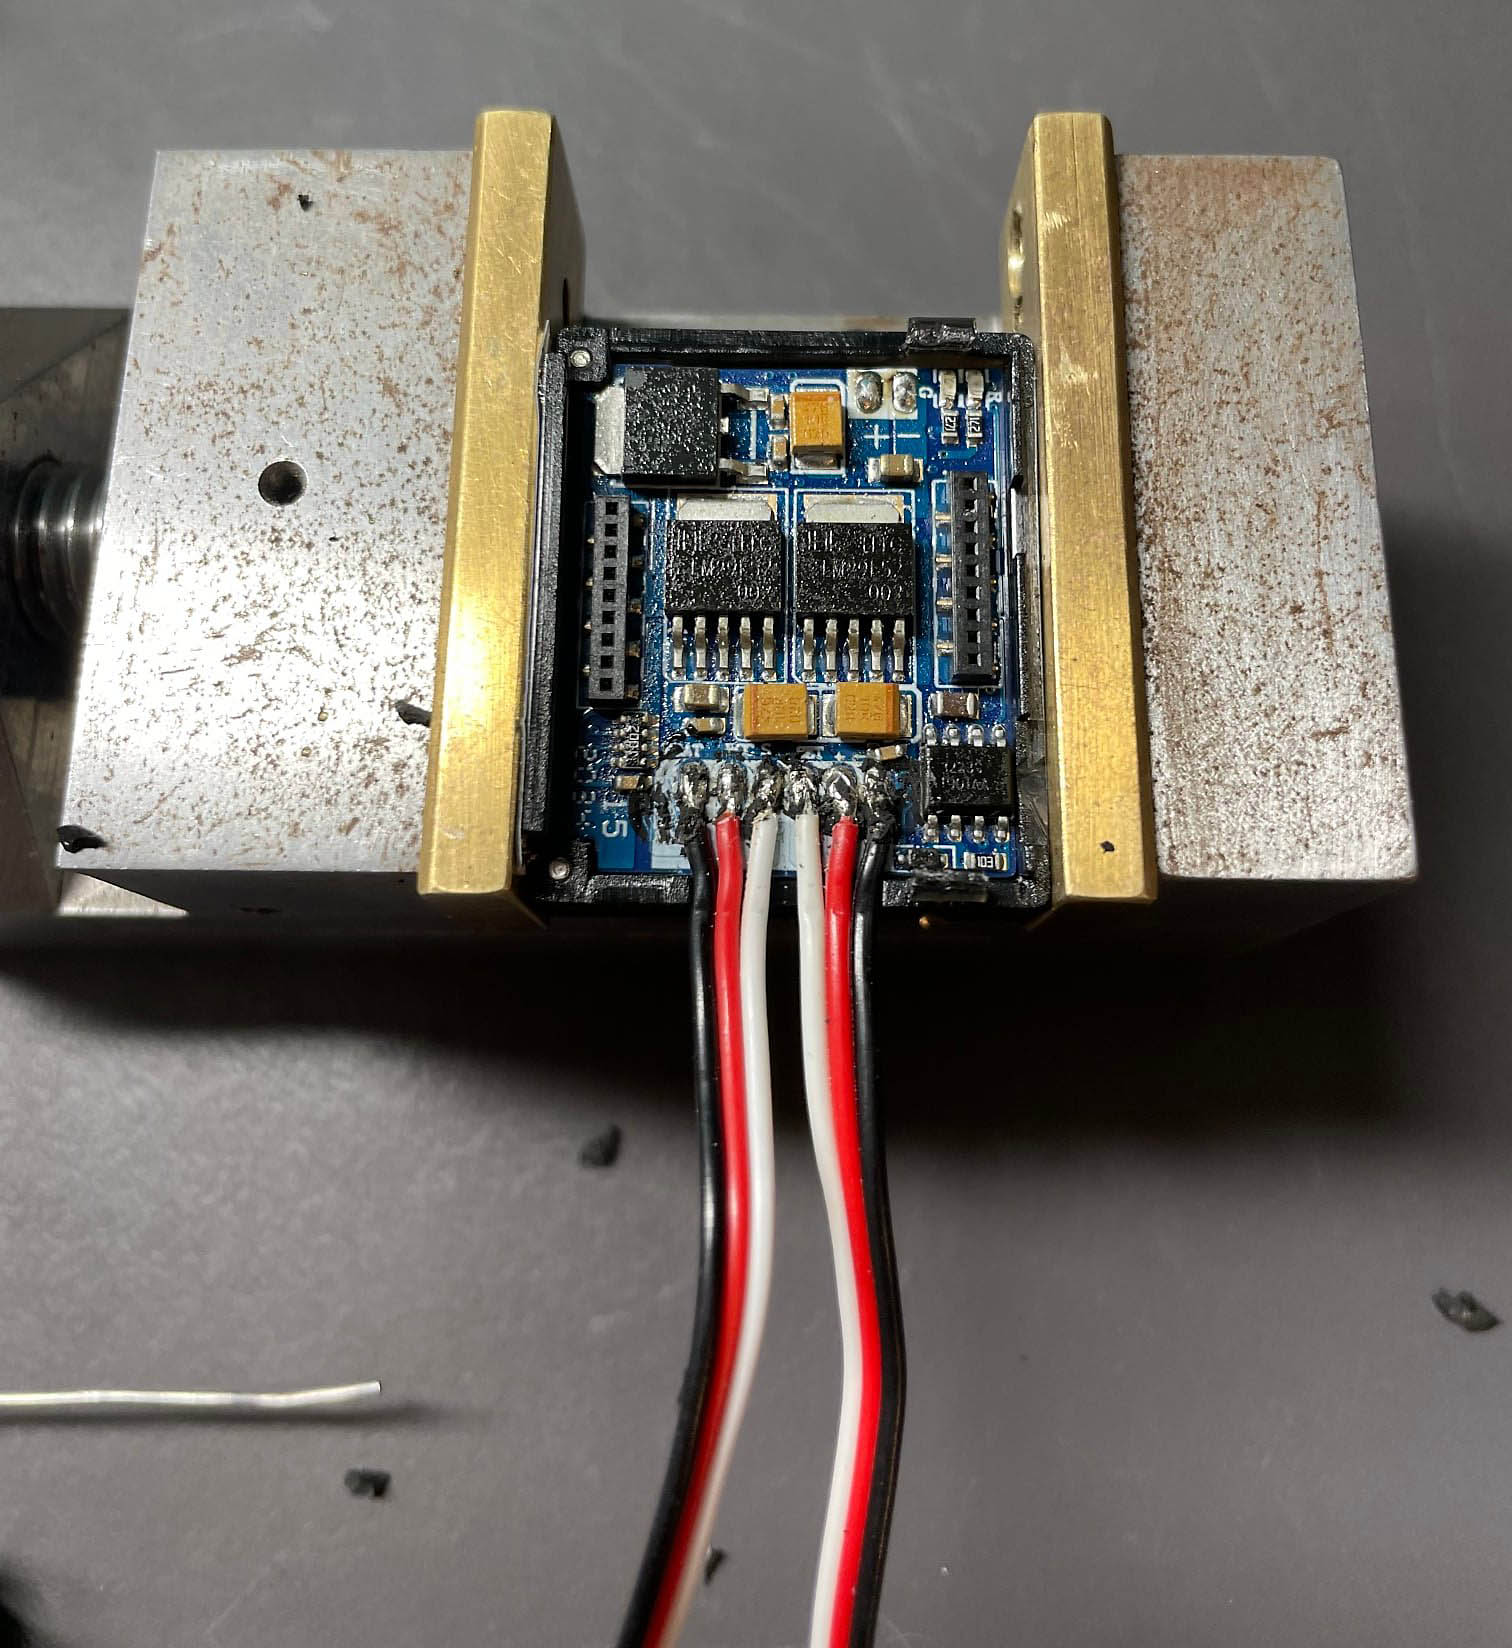
8. Make sure how the cable is properly attached
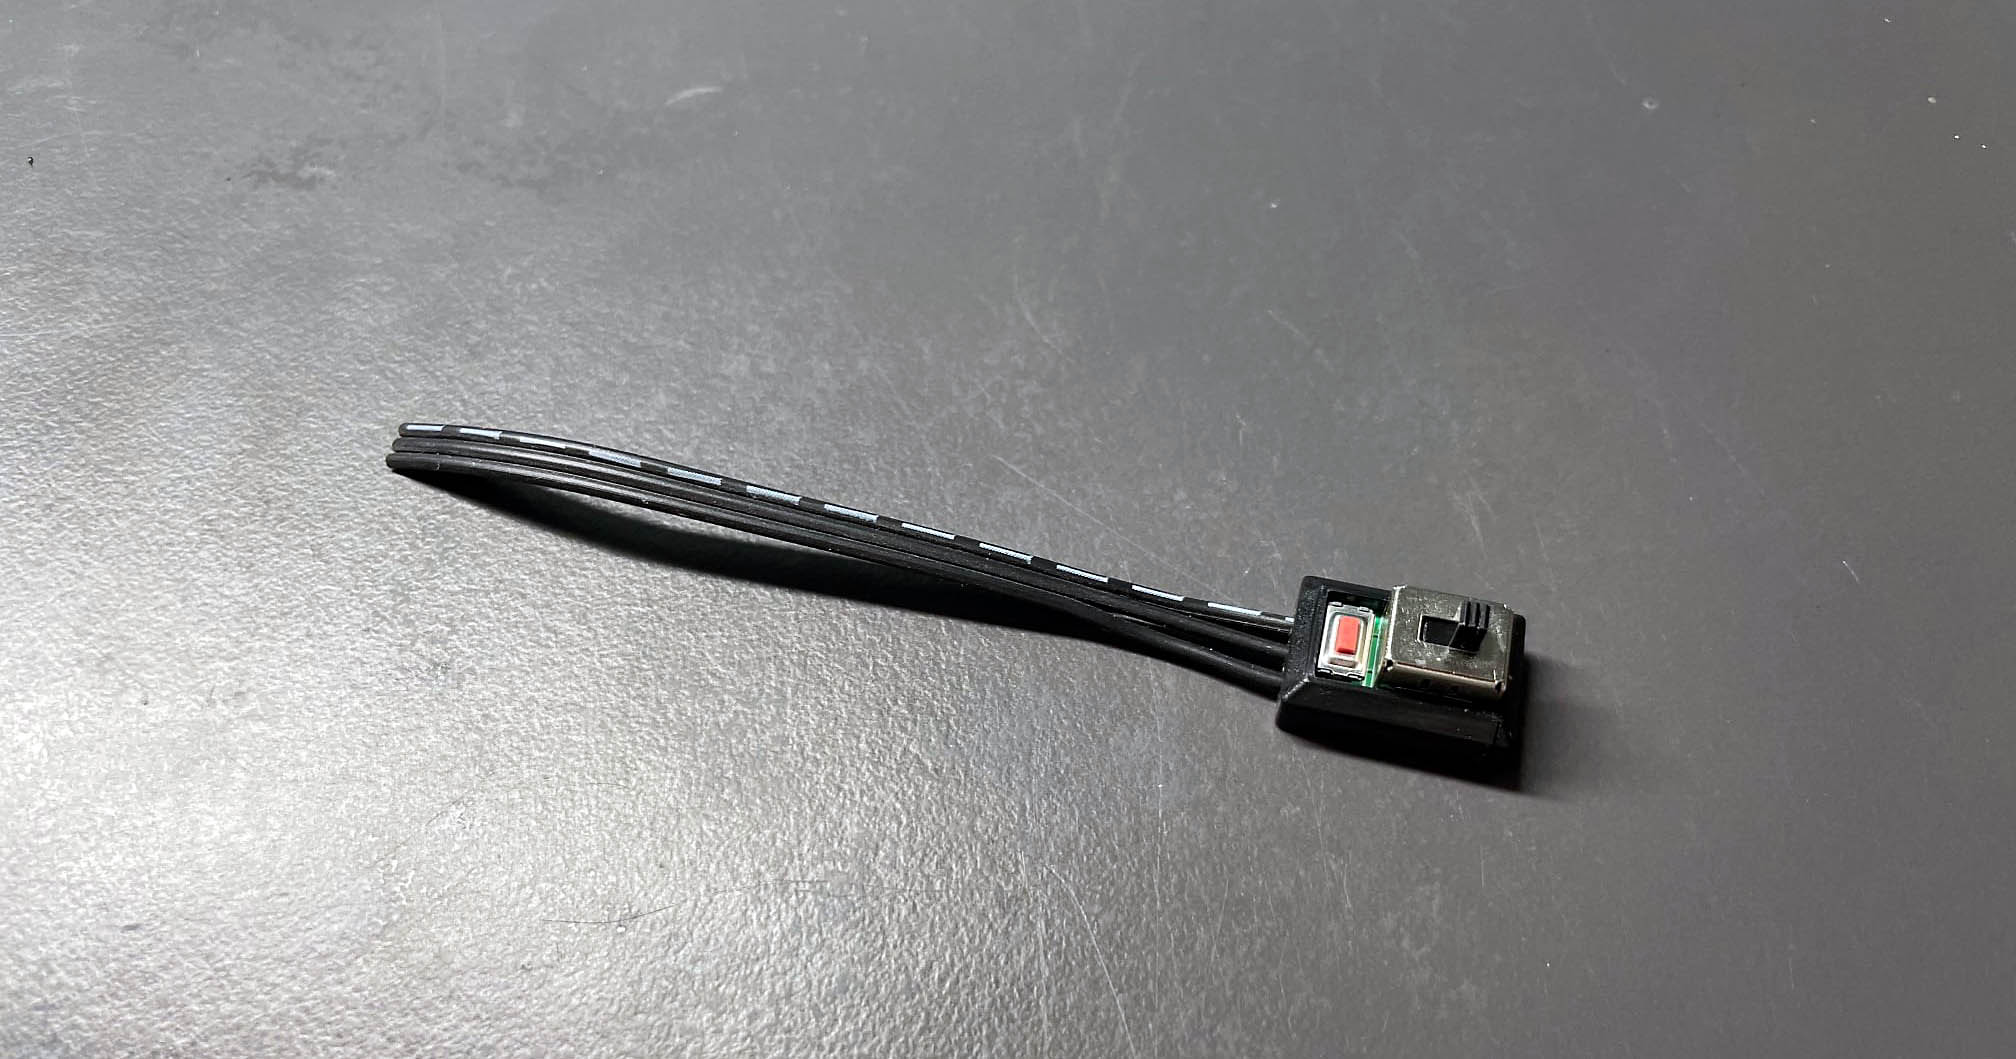
9. Use cable marked for white wire.
10.1. Wire for receiver
10.2. Wire for on/off switch
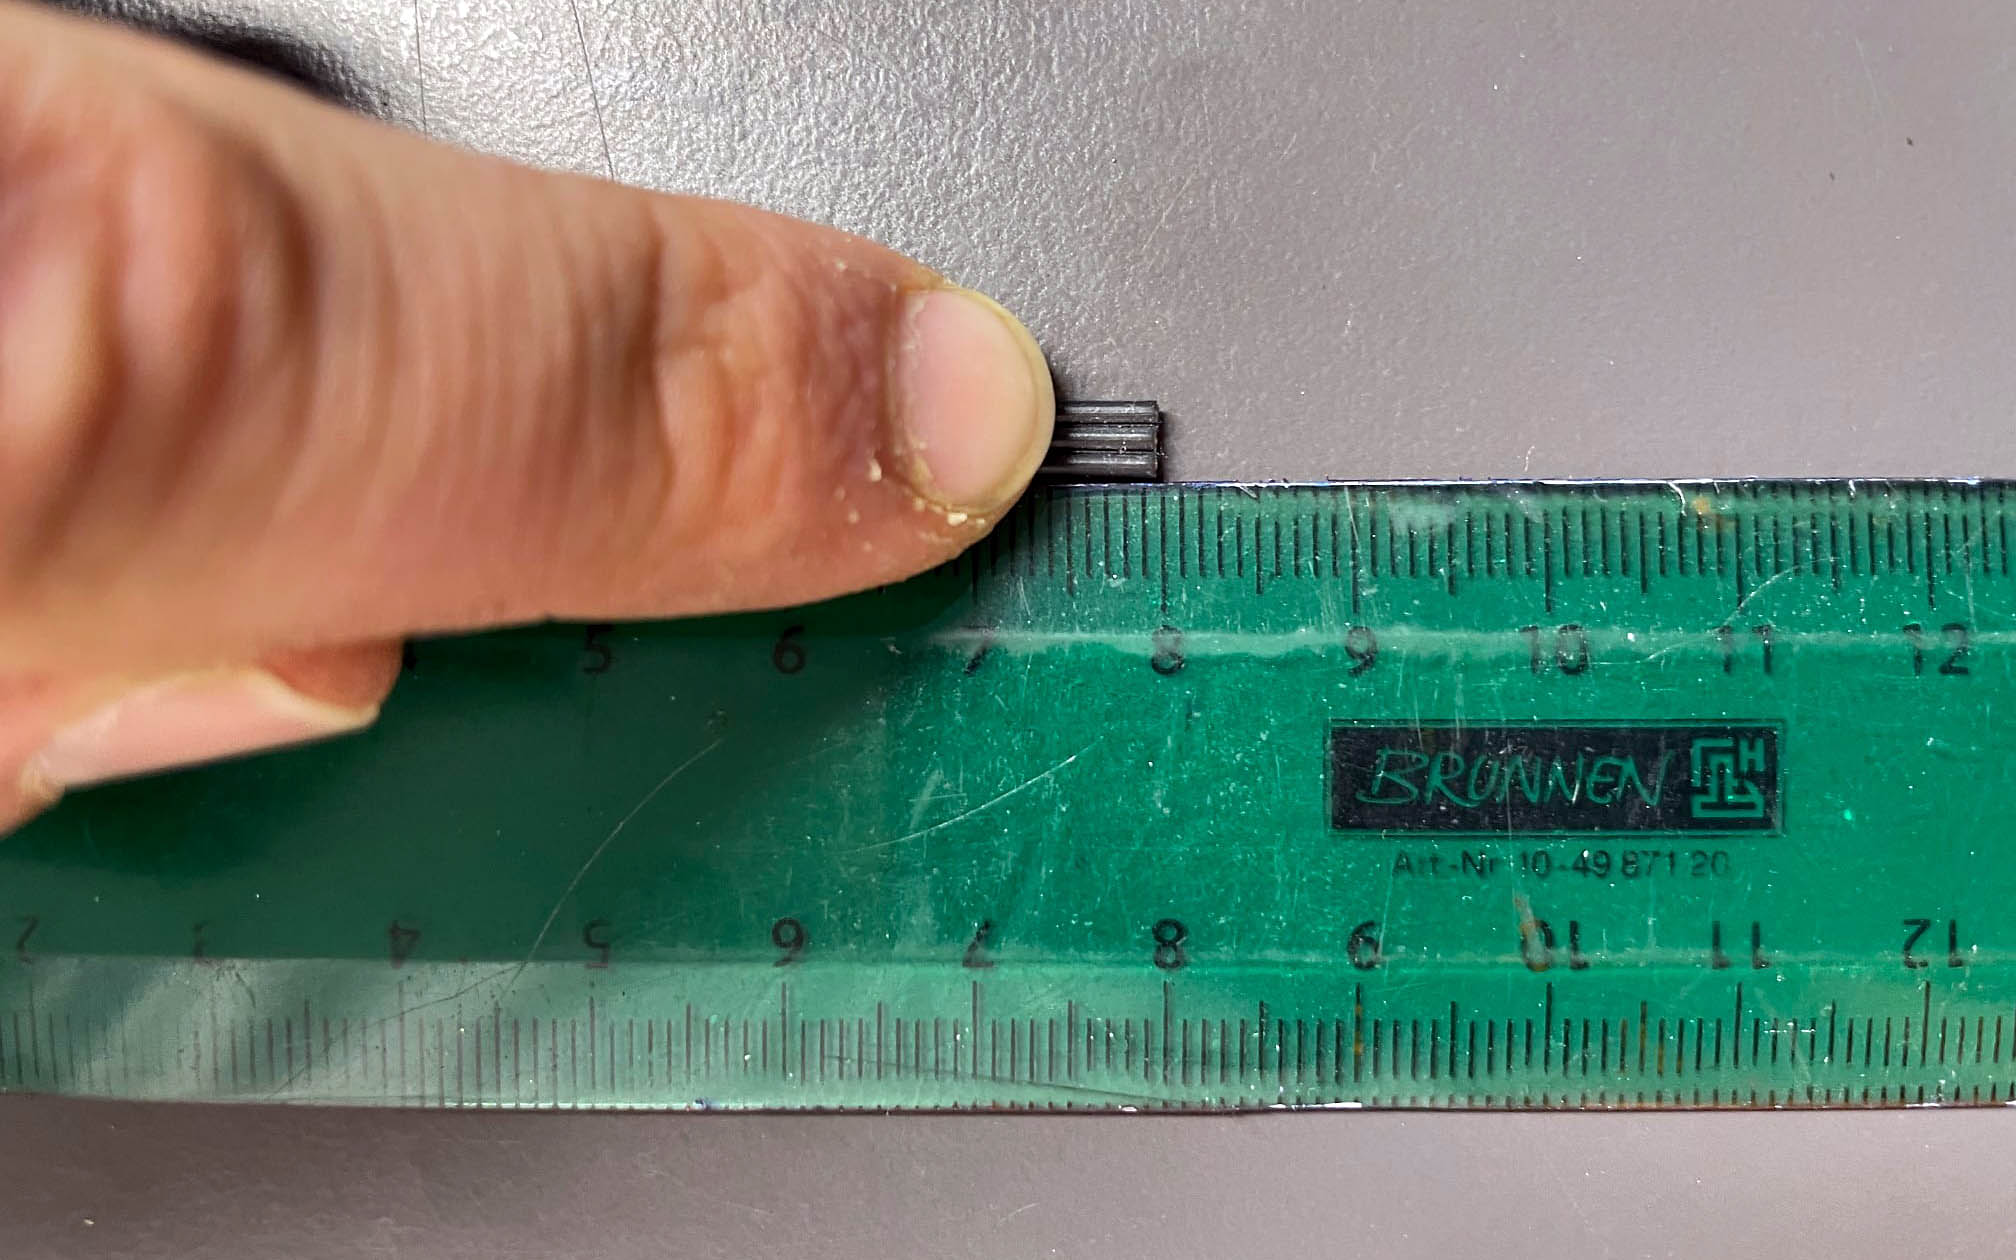
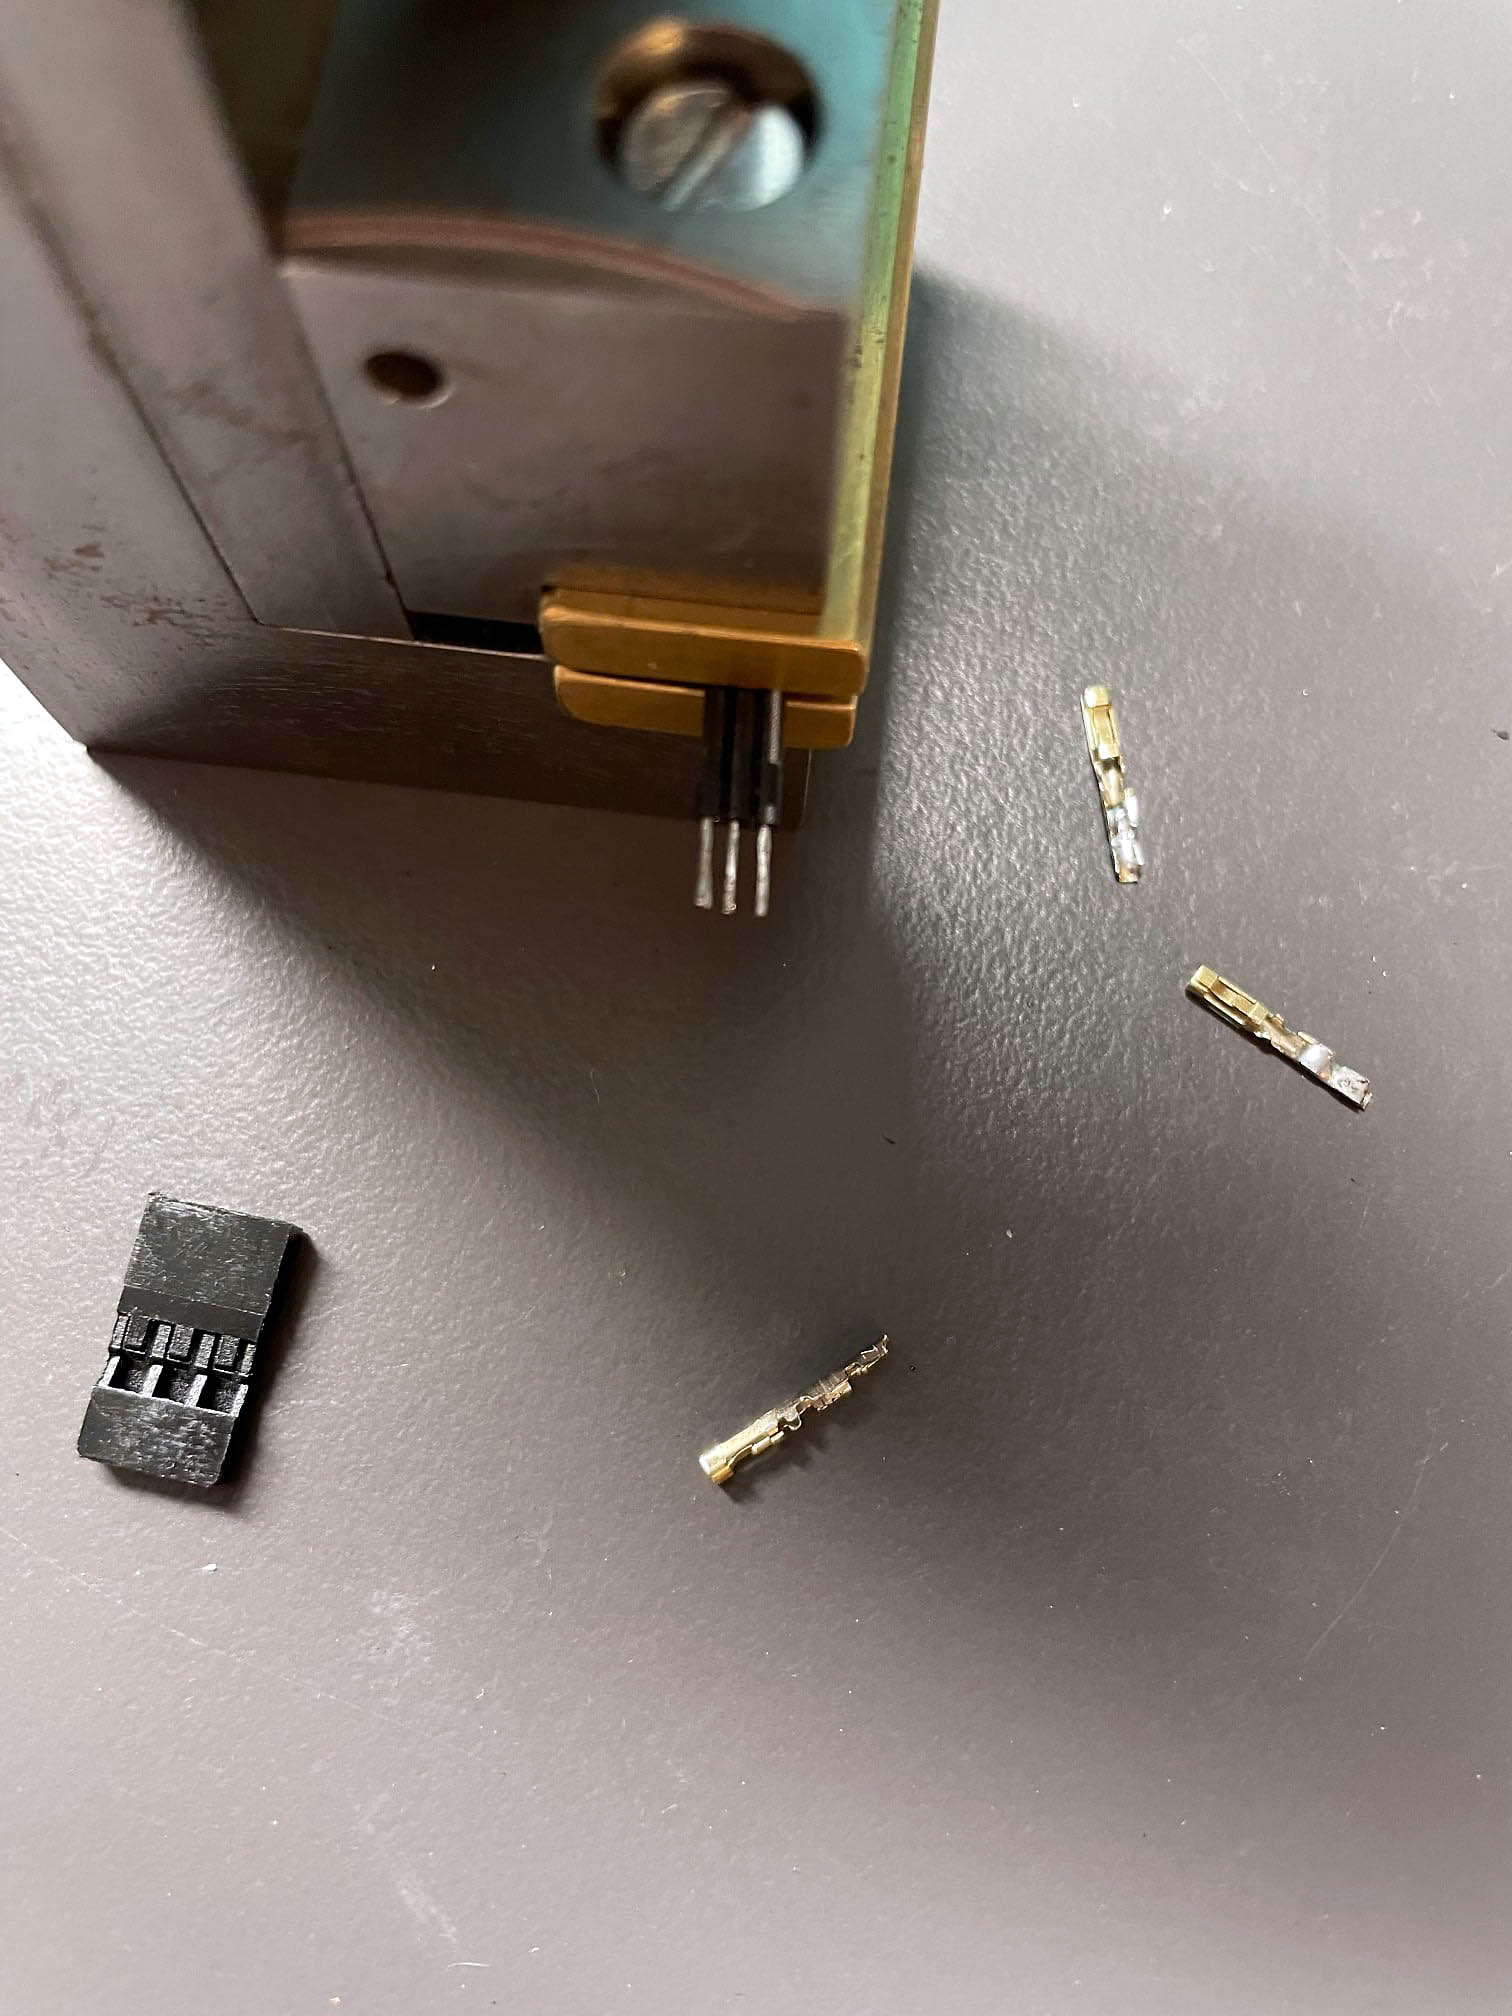
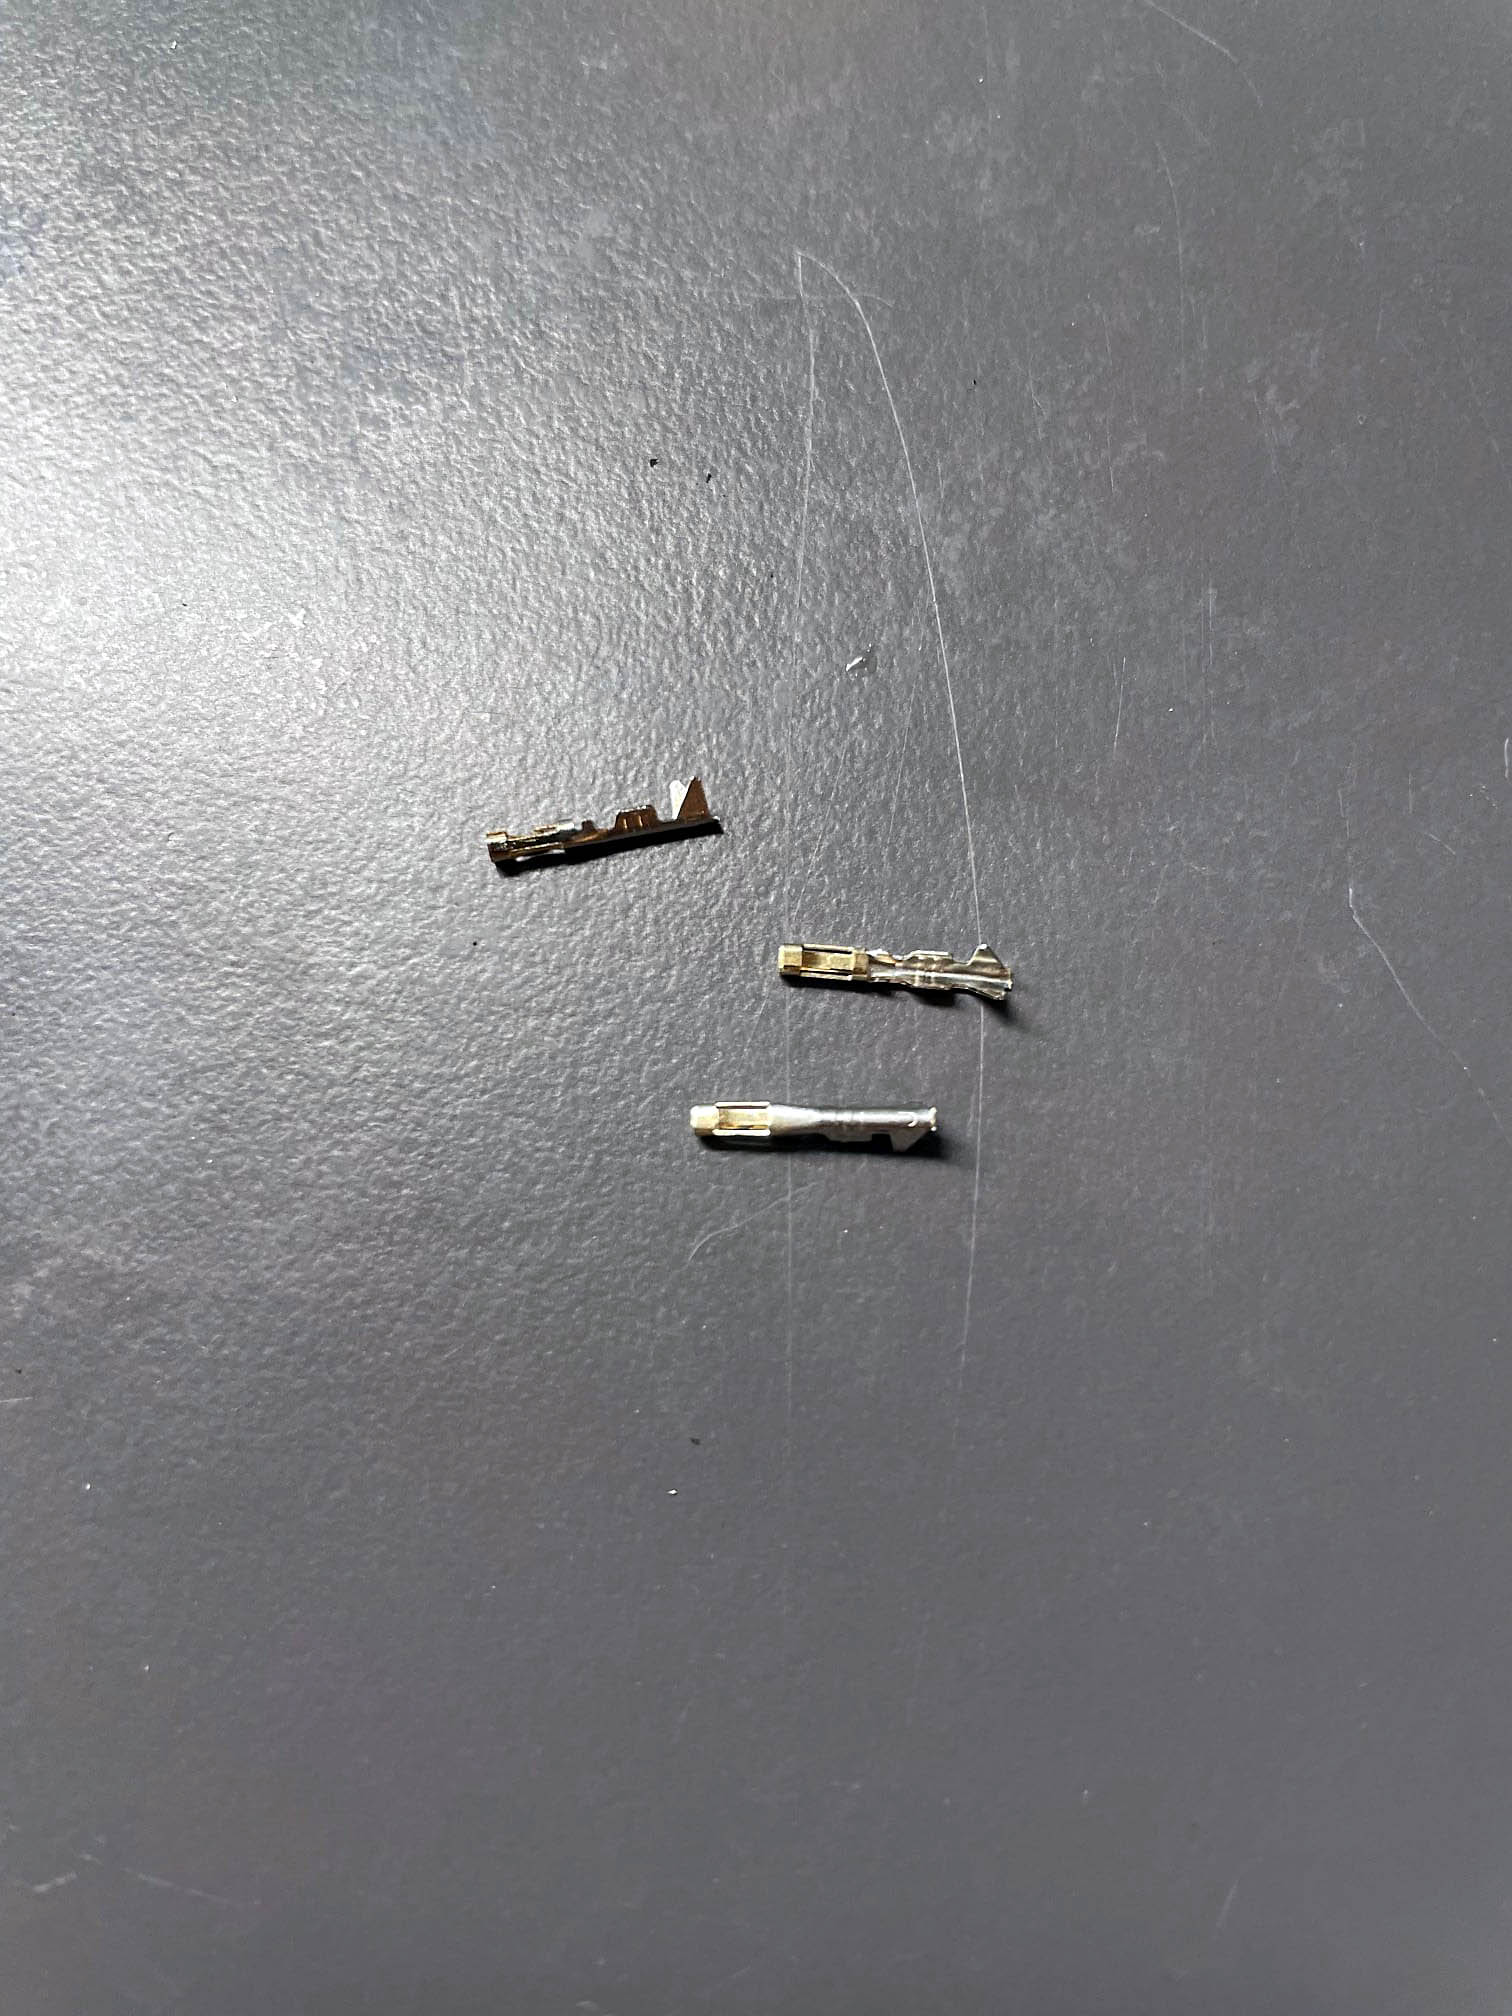
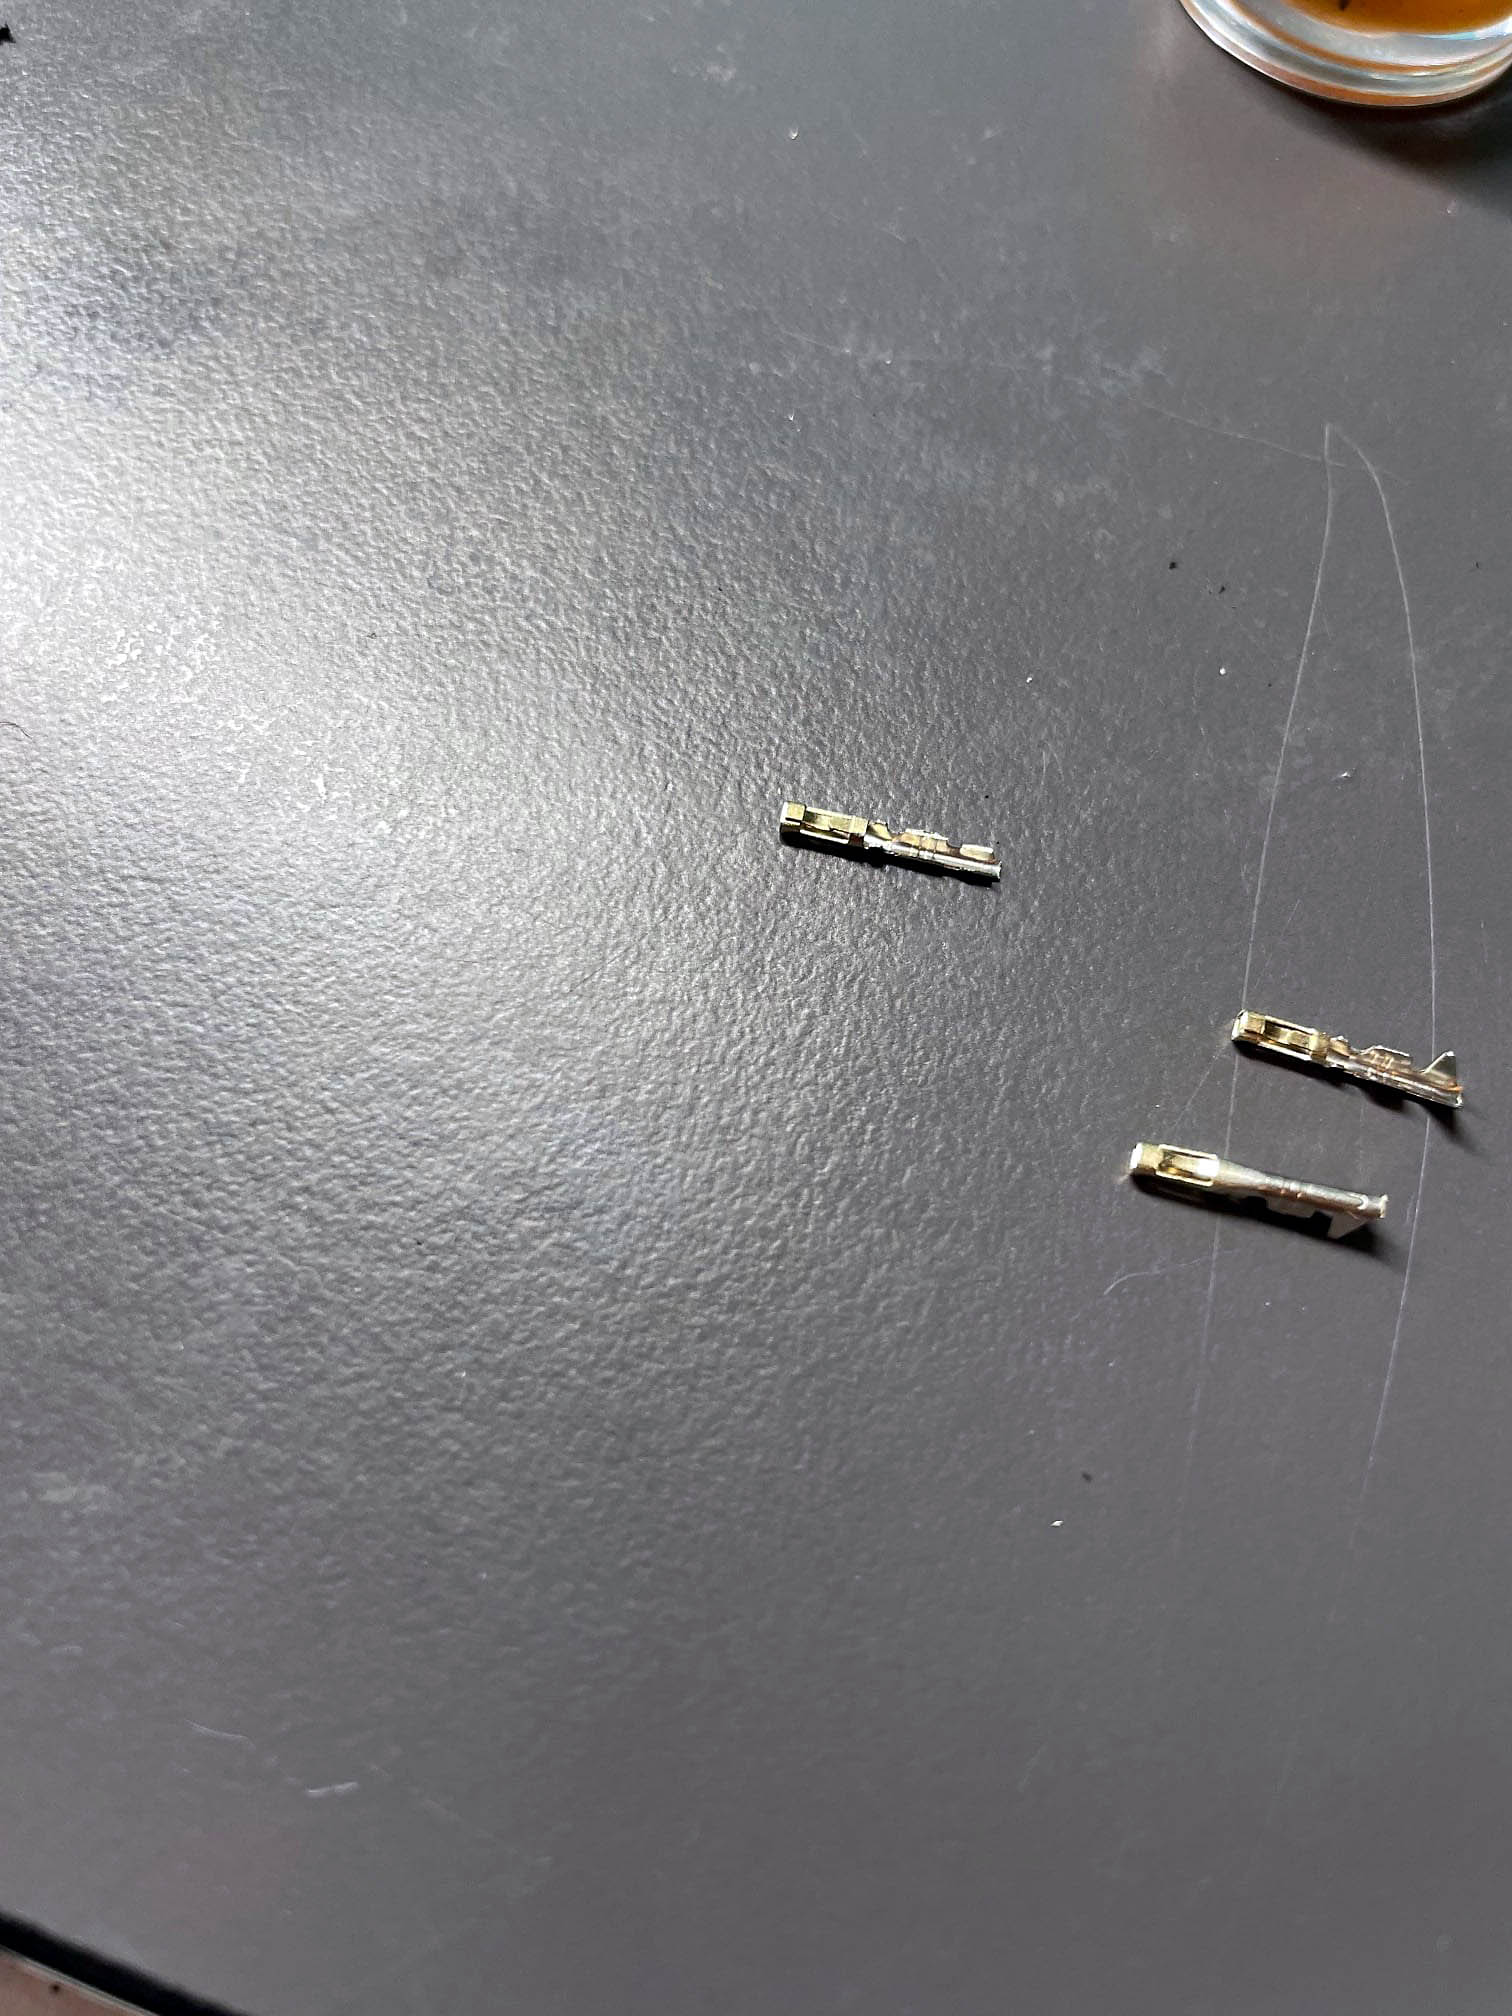
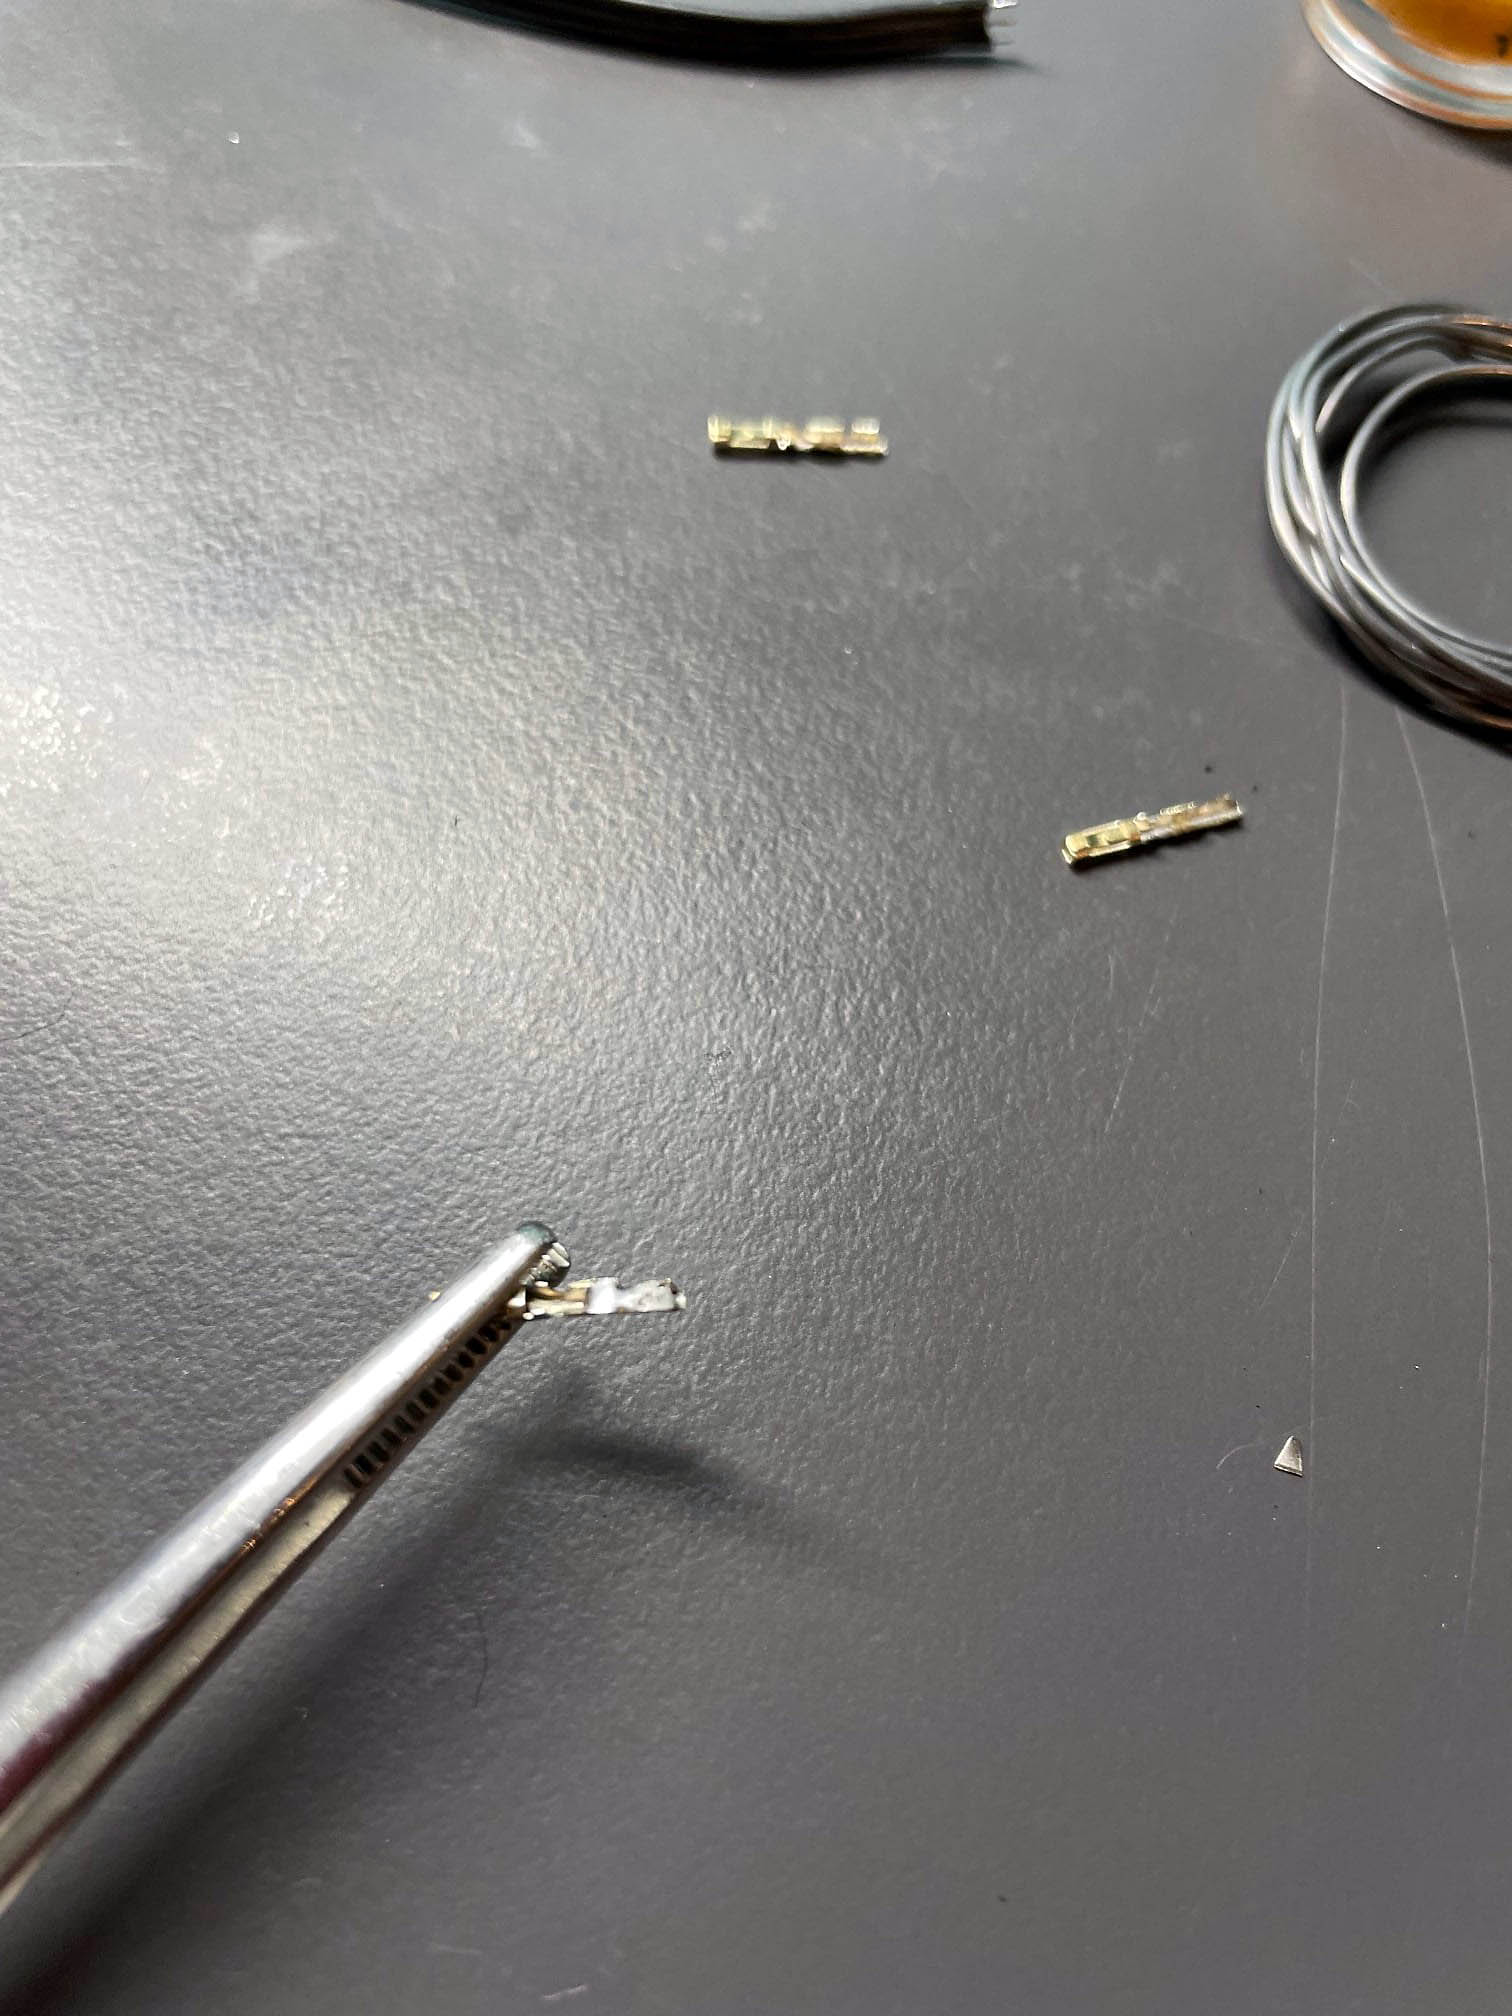
11. My way of soldering the plugs to the cable. Maximum stability
| 11.1 |
|
11.2 |
|
11.3 |
|
|
|
|

|
| 11.4 |
|
11.5 |
|
11.6 |
|
|

|
|
|
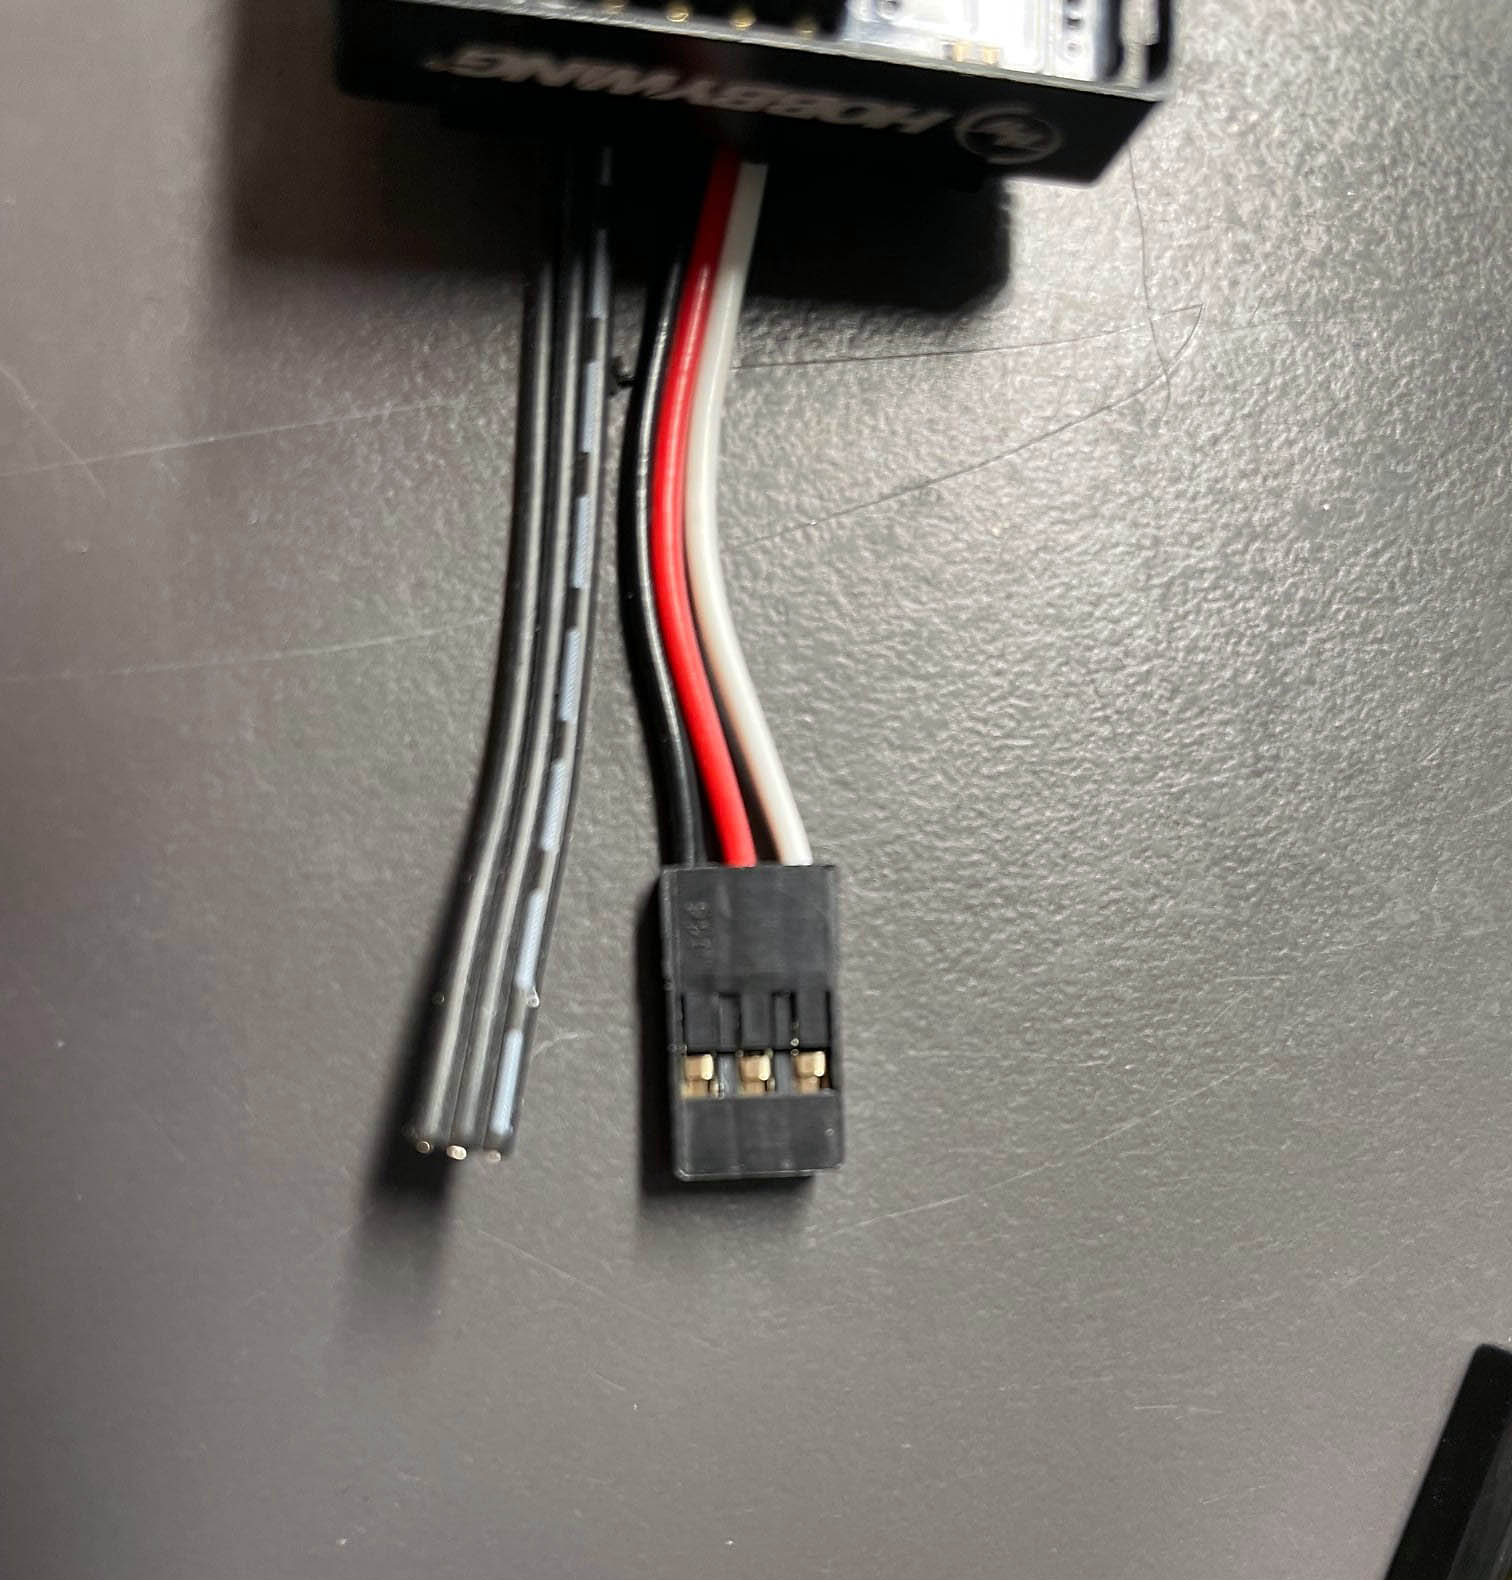
12. Soldering the connectors to the wire
13.1 & 13.2. Now the hardest. When opening the switch you need patience.
 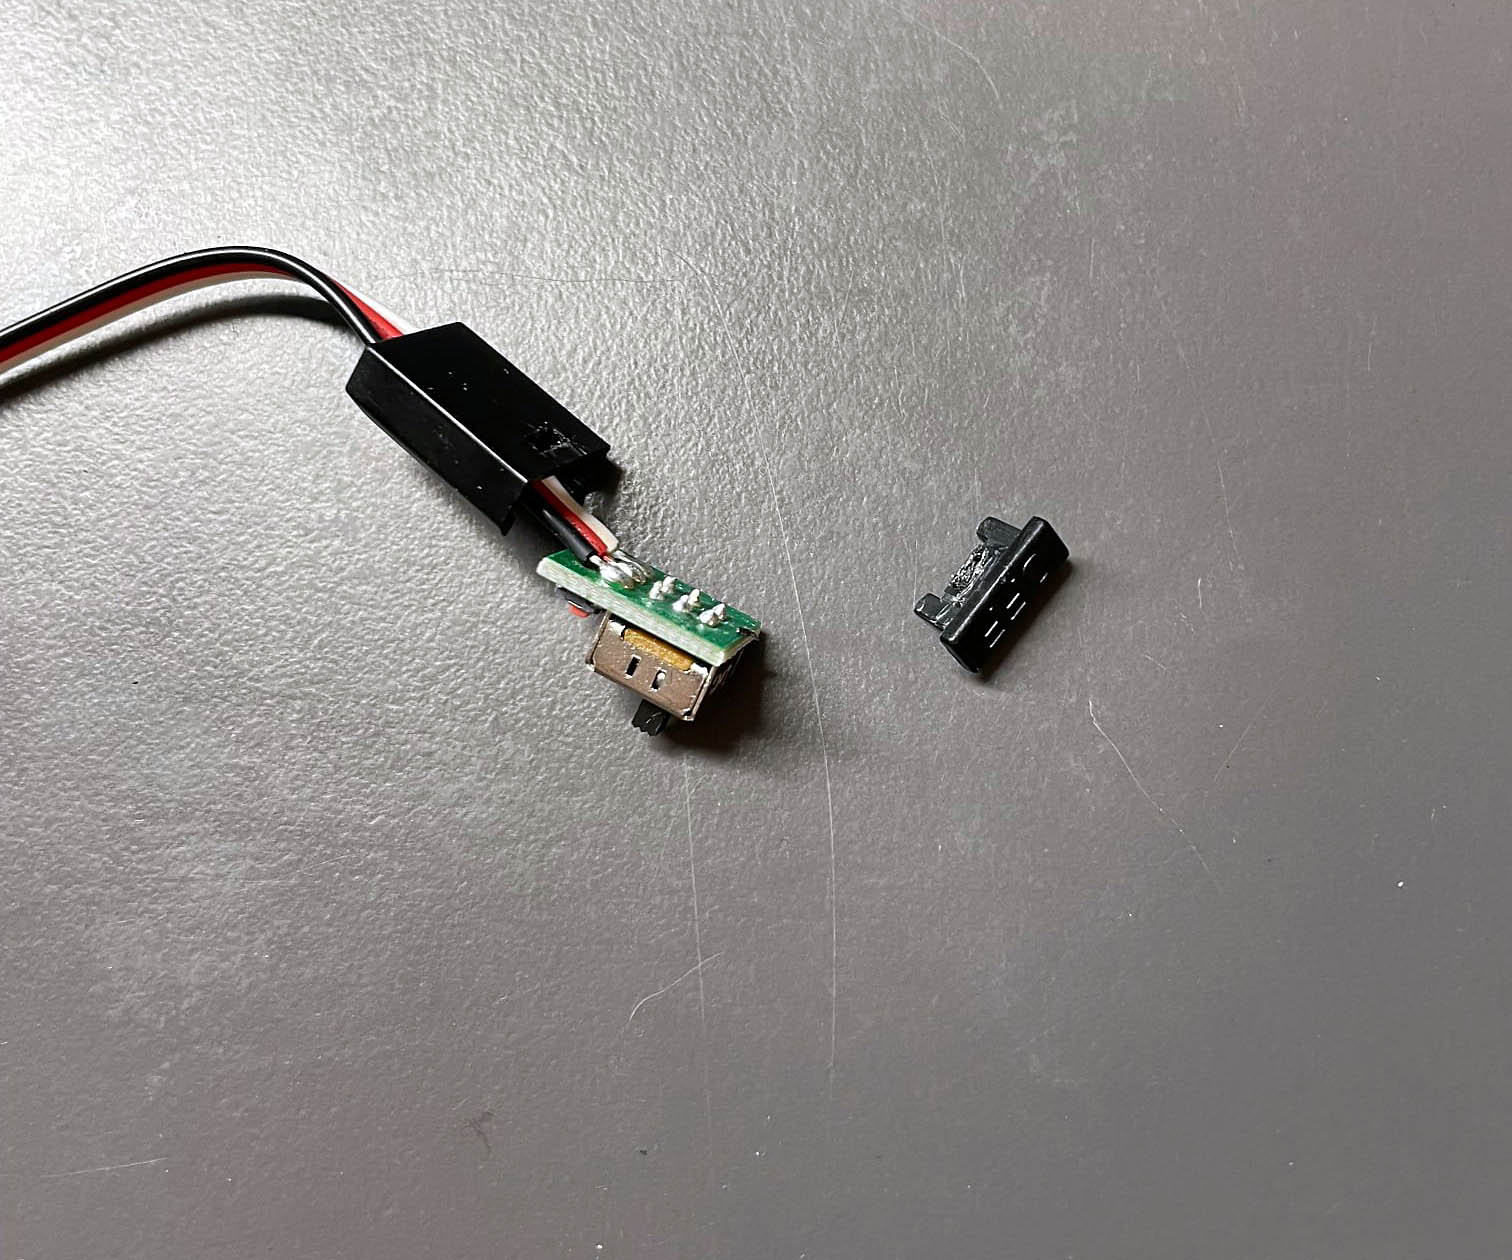
13.3. Replace the cable, pay attention to the orientation again.
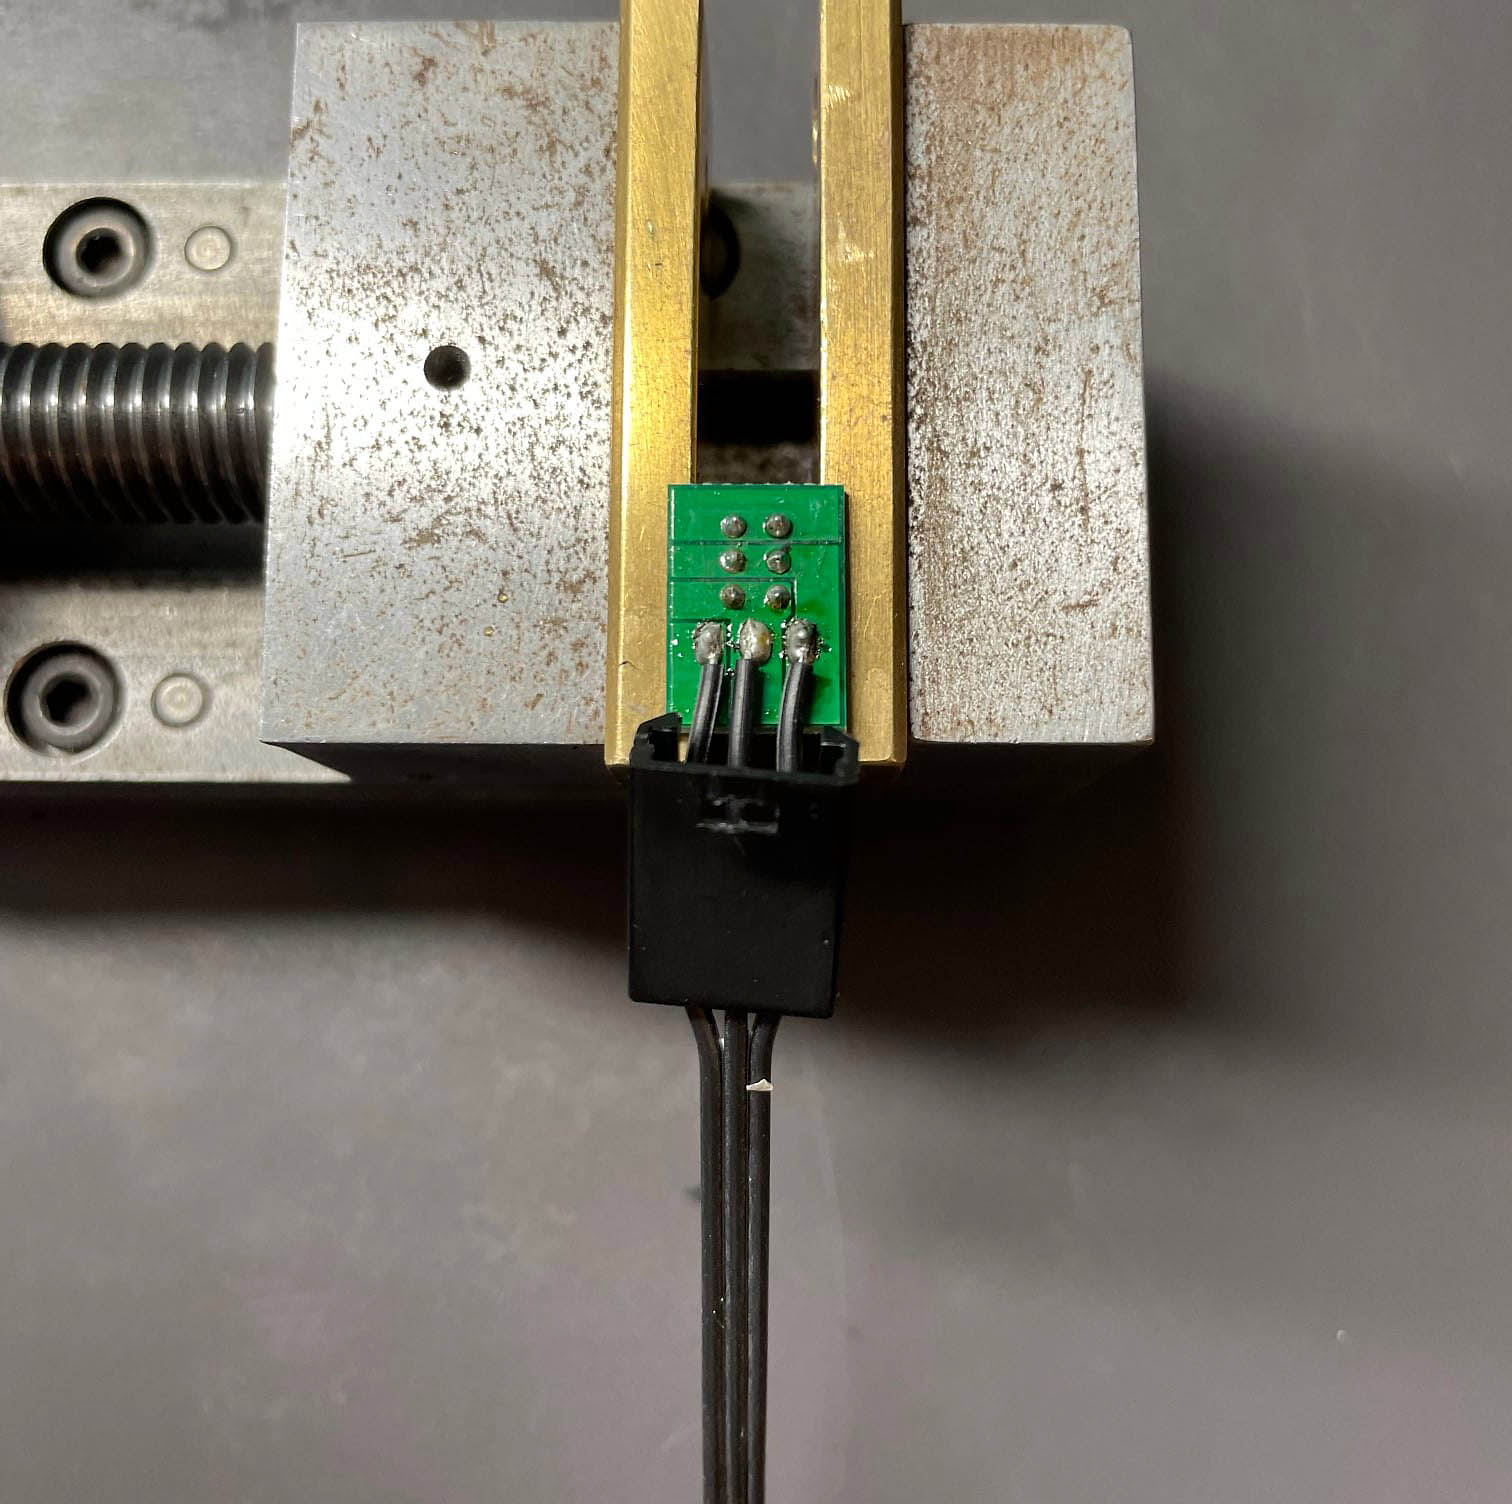
13.4. Ready to attach to the ESC
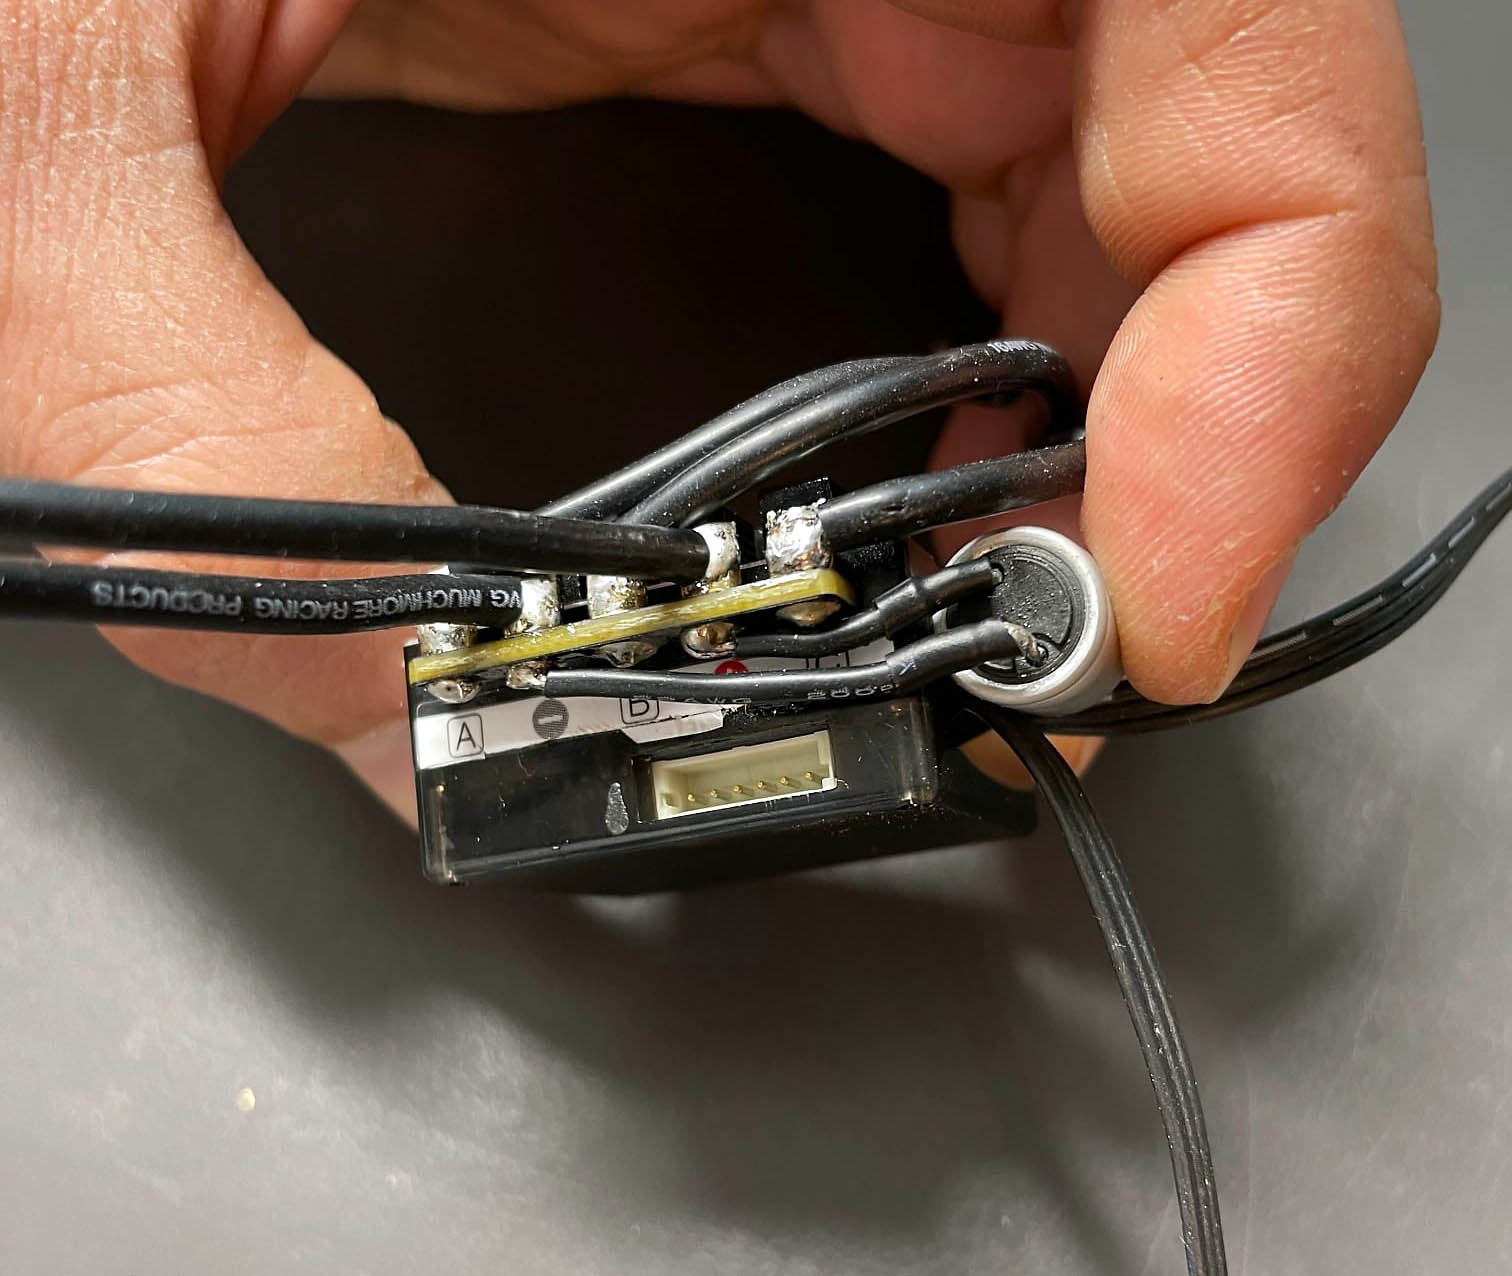
14. Lay the cables the way they were connected before. Important do not twist!
15. Soldering the cables
16. Screw the cover back on
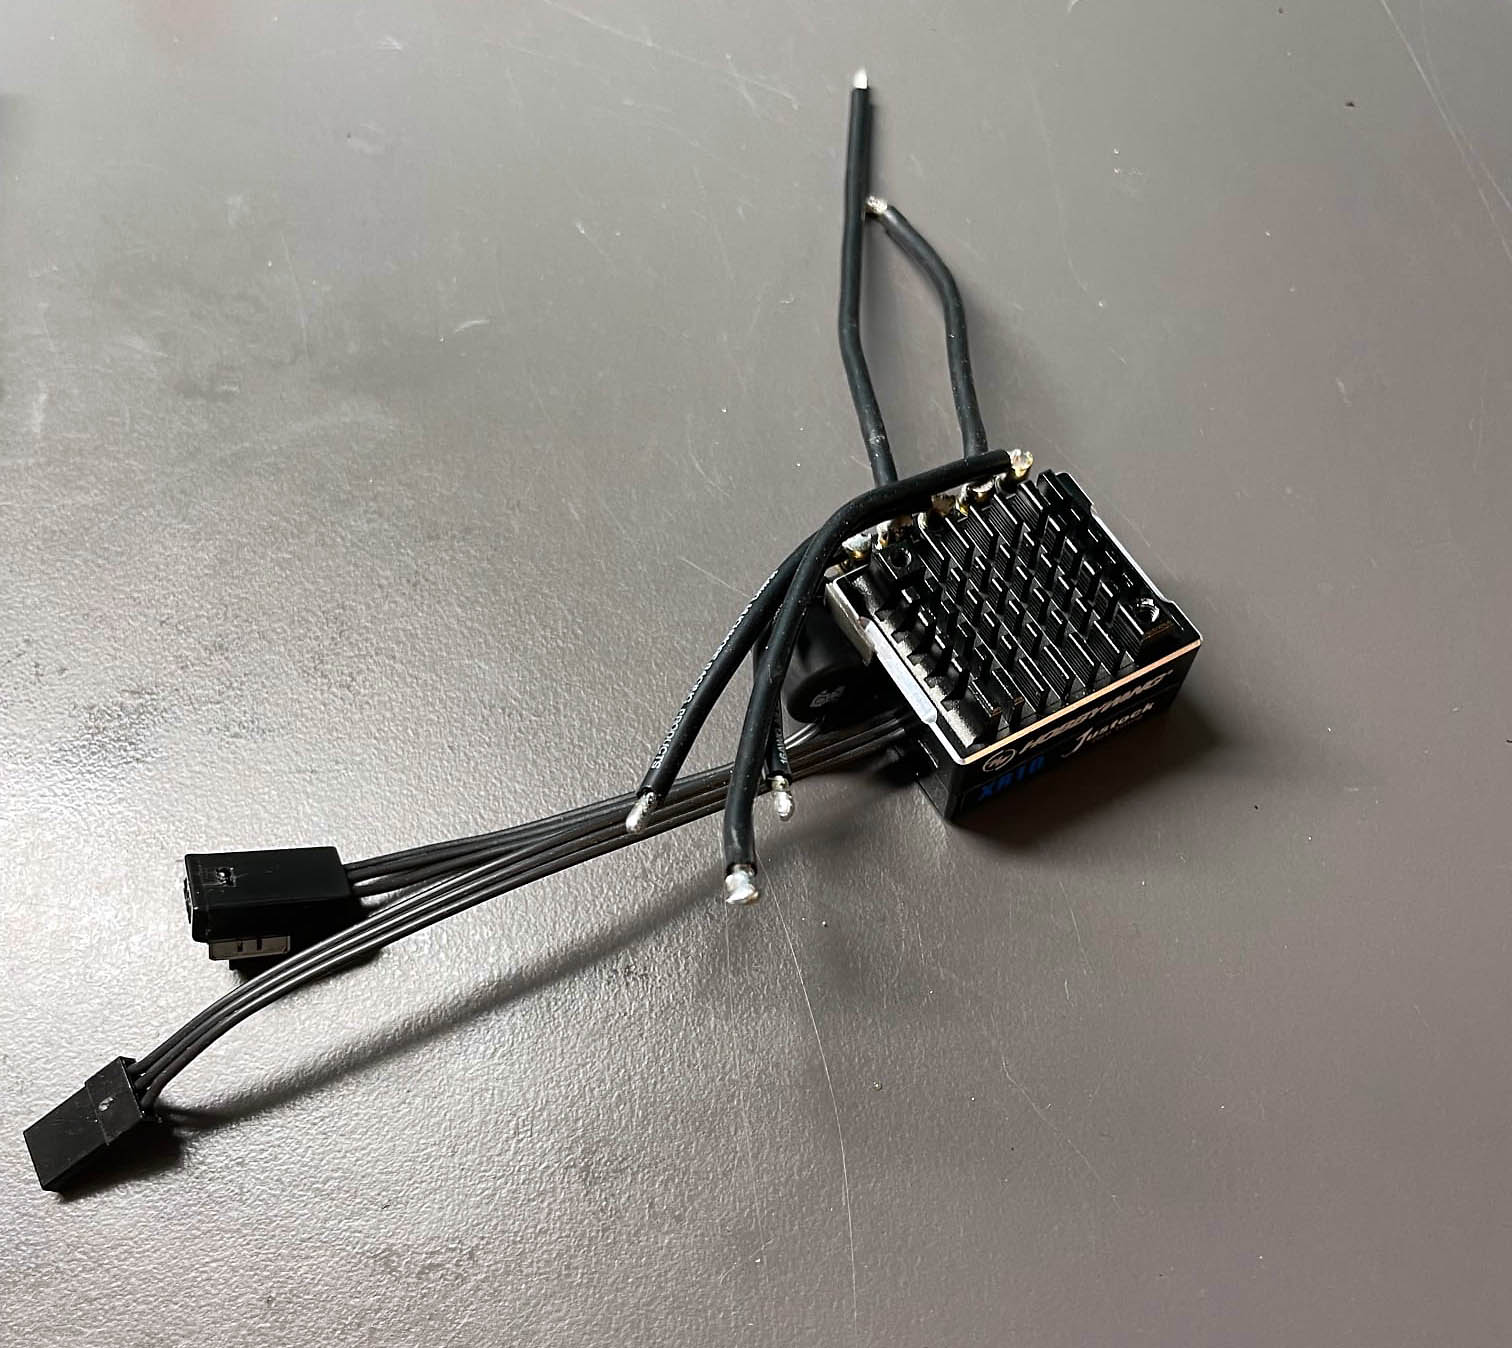
17. Now come the cables for the motor and battery with the appropriate lengths and positions
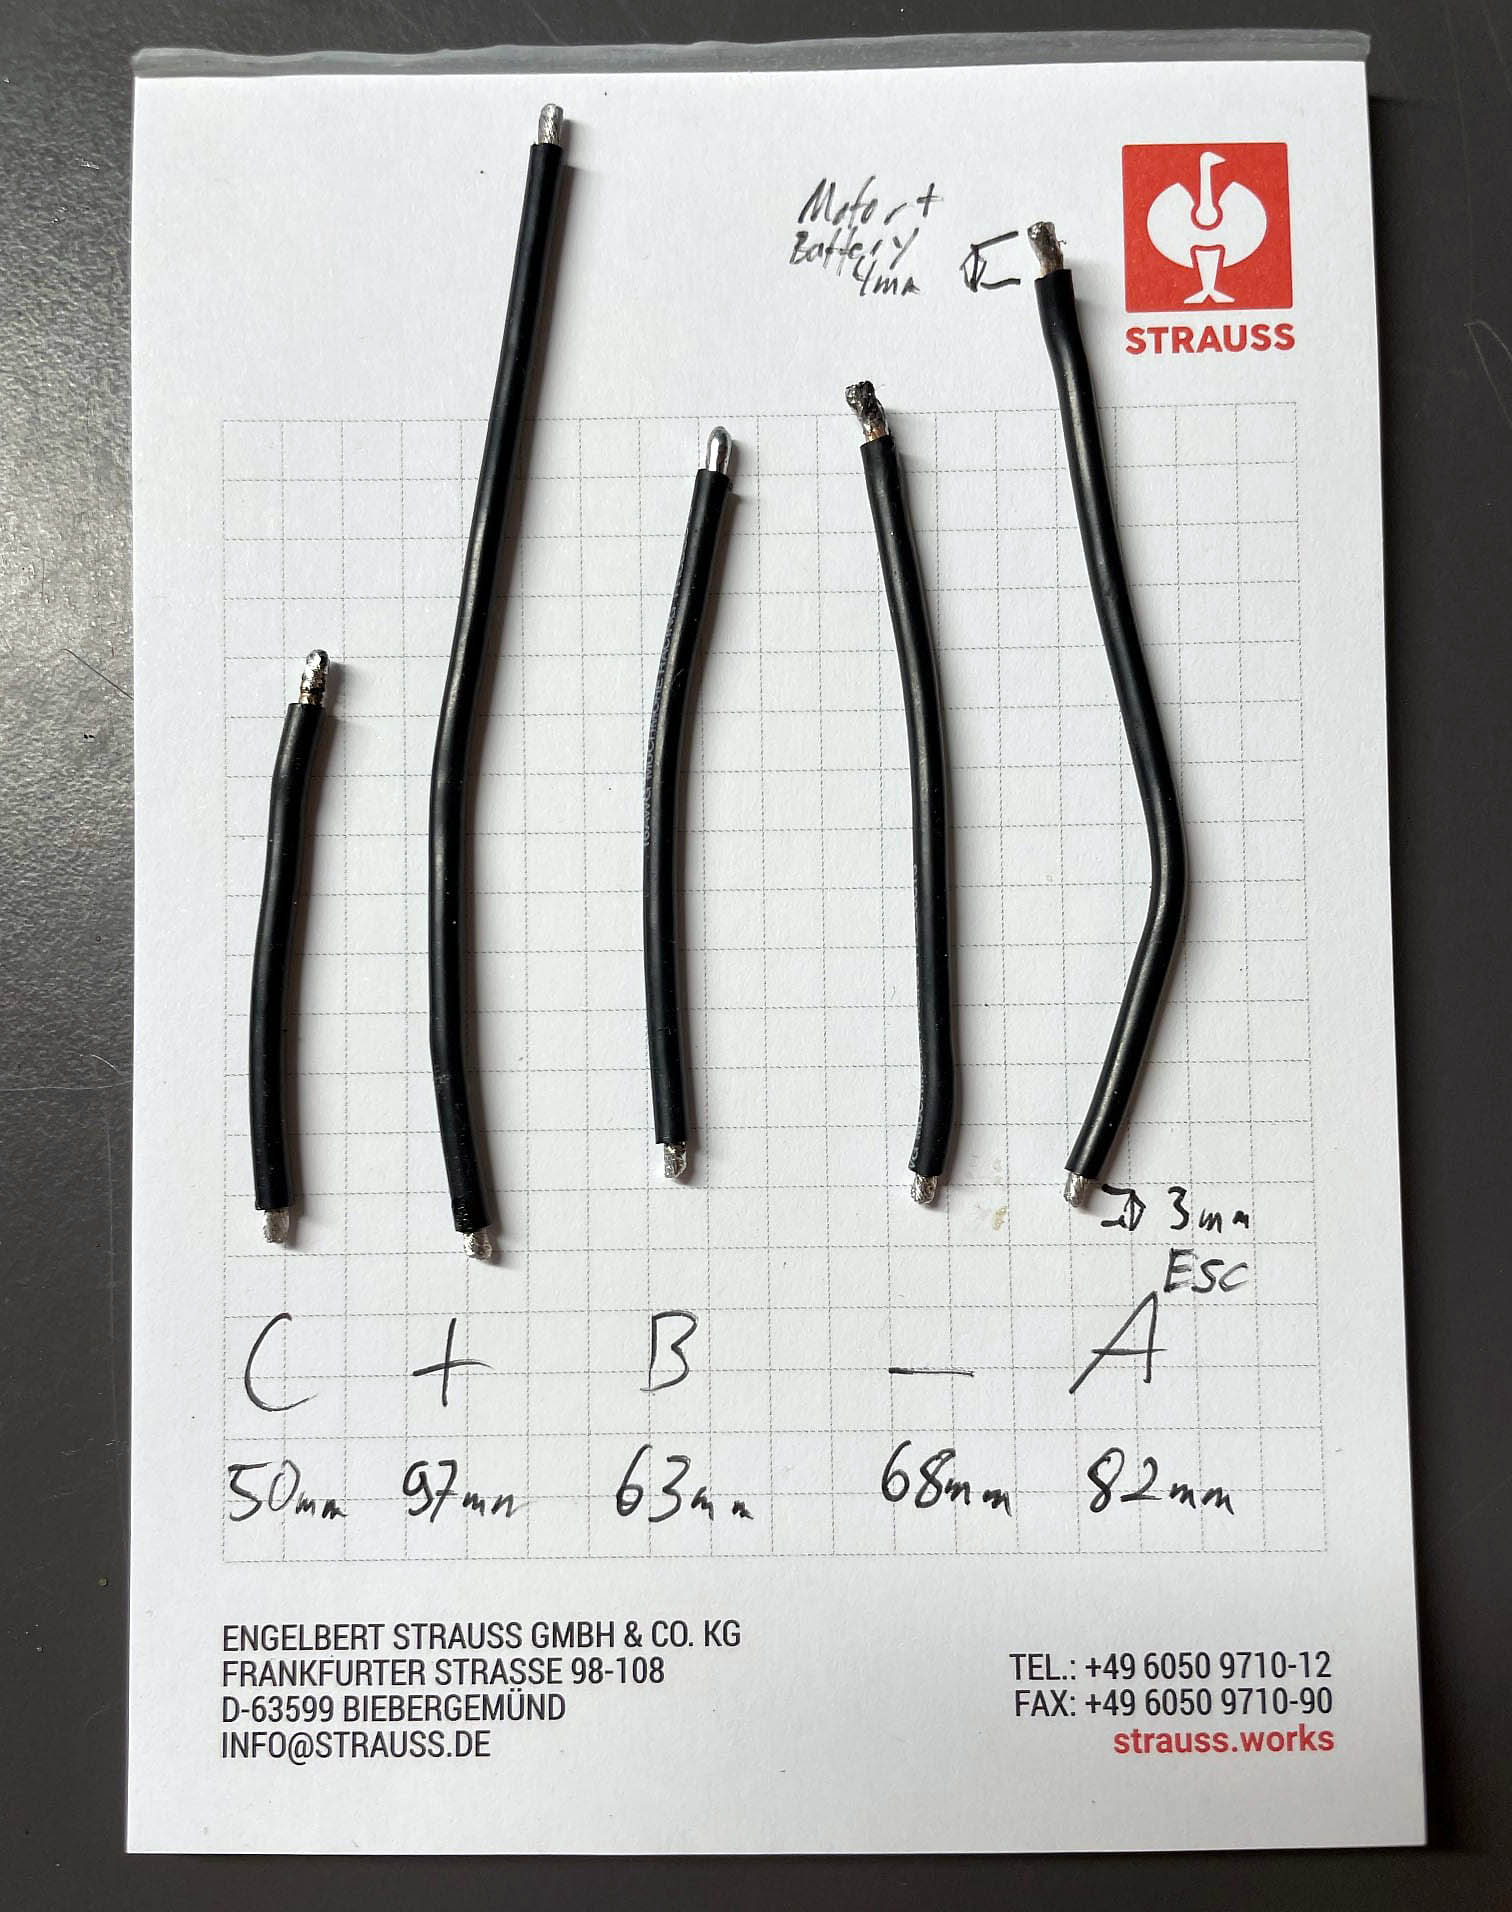
18. Pay attention to the angle of the cables


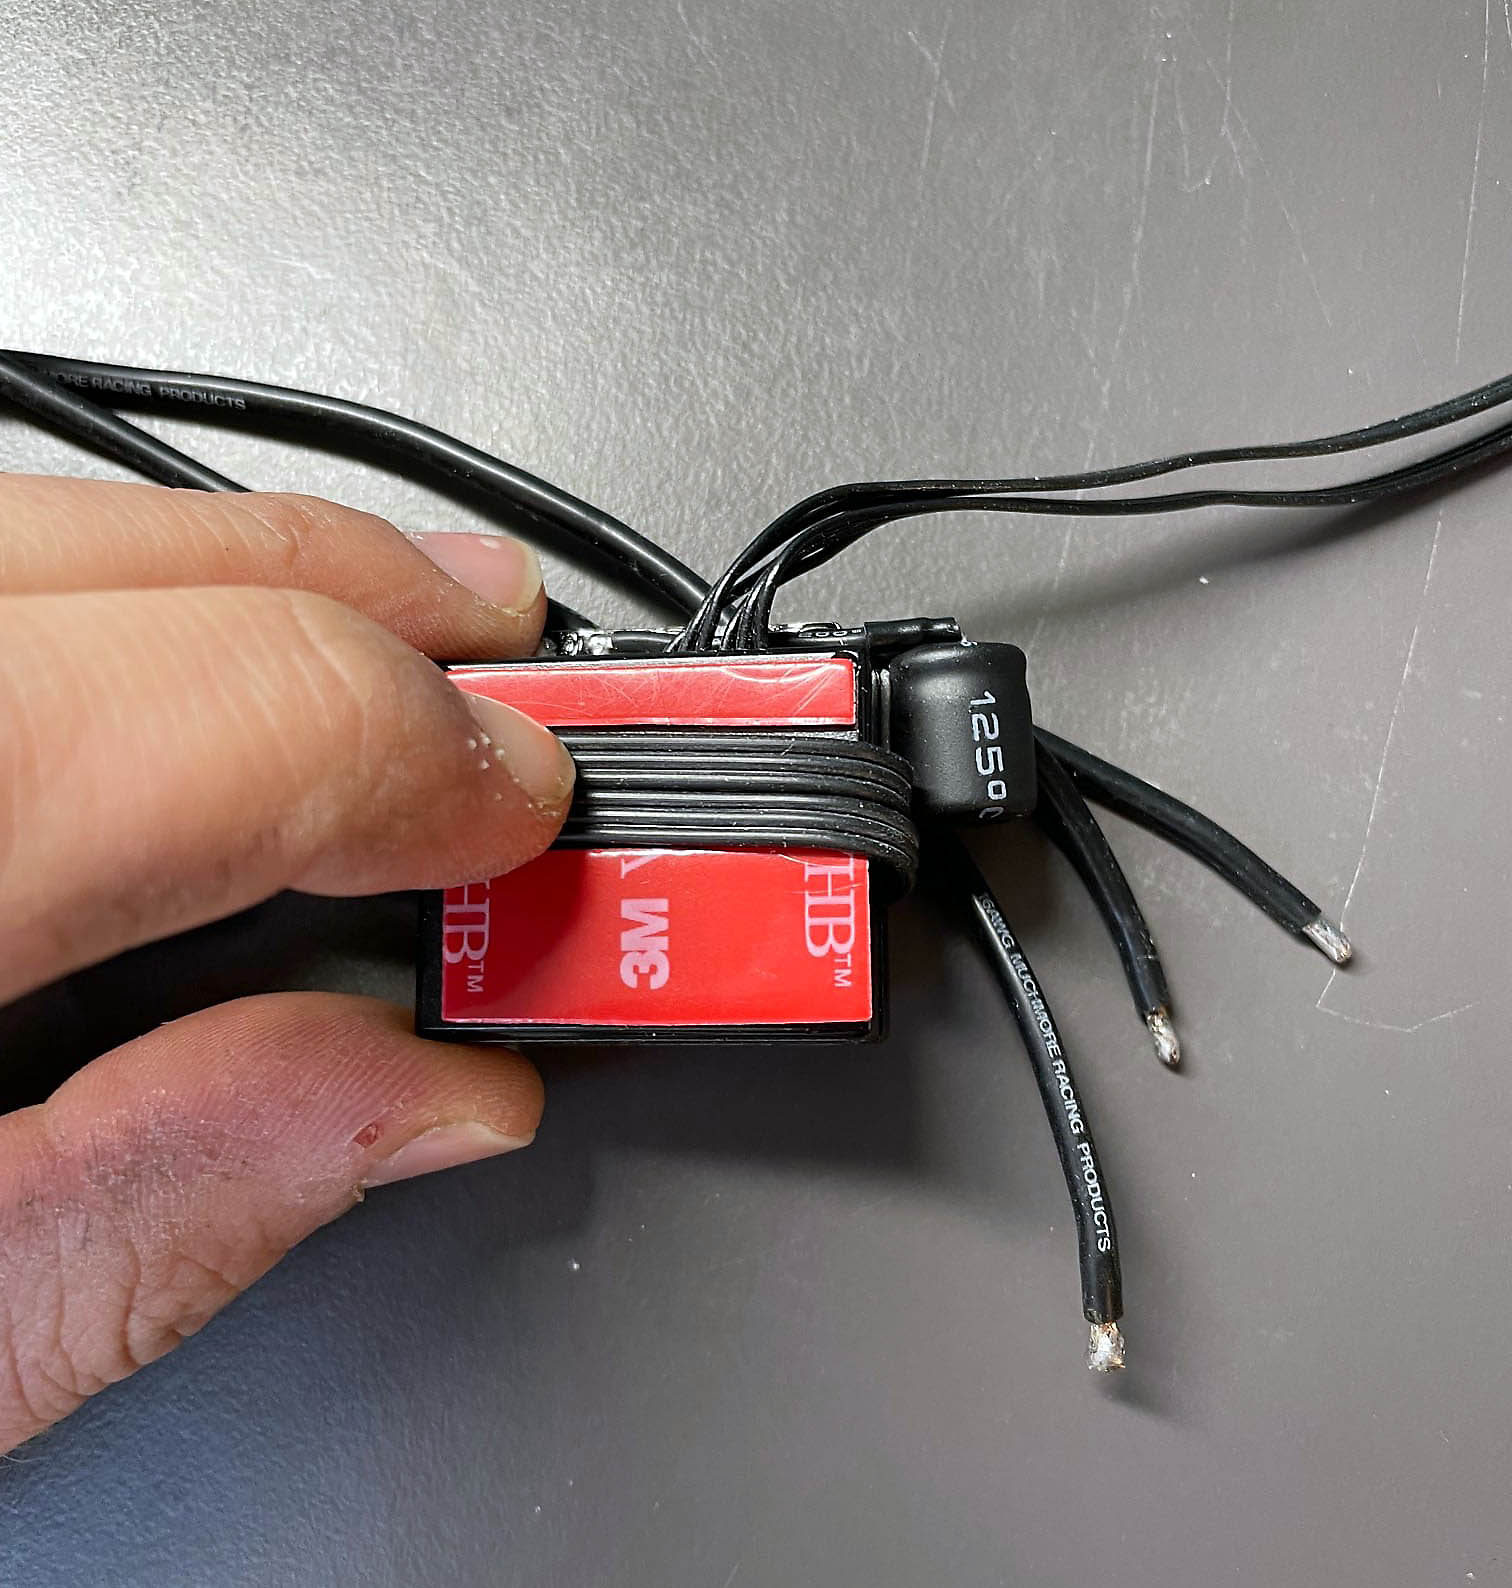
19.1. Now follows the replacement of the cable from the condenser
  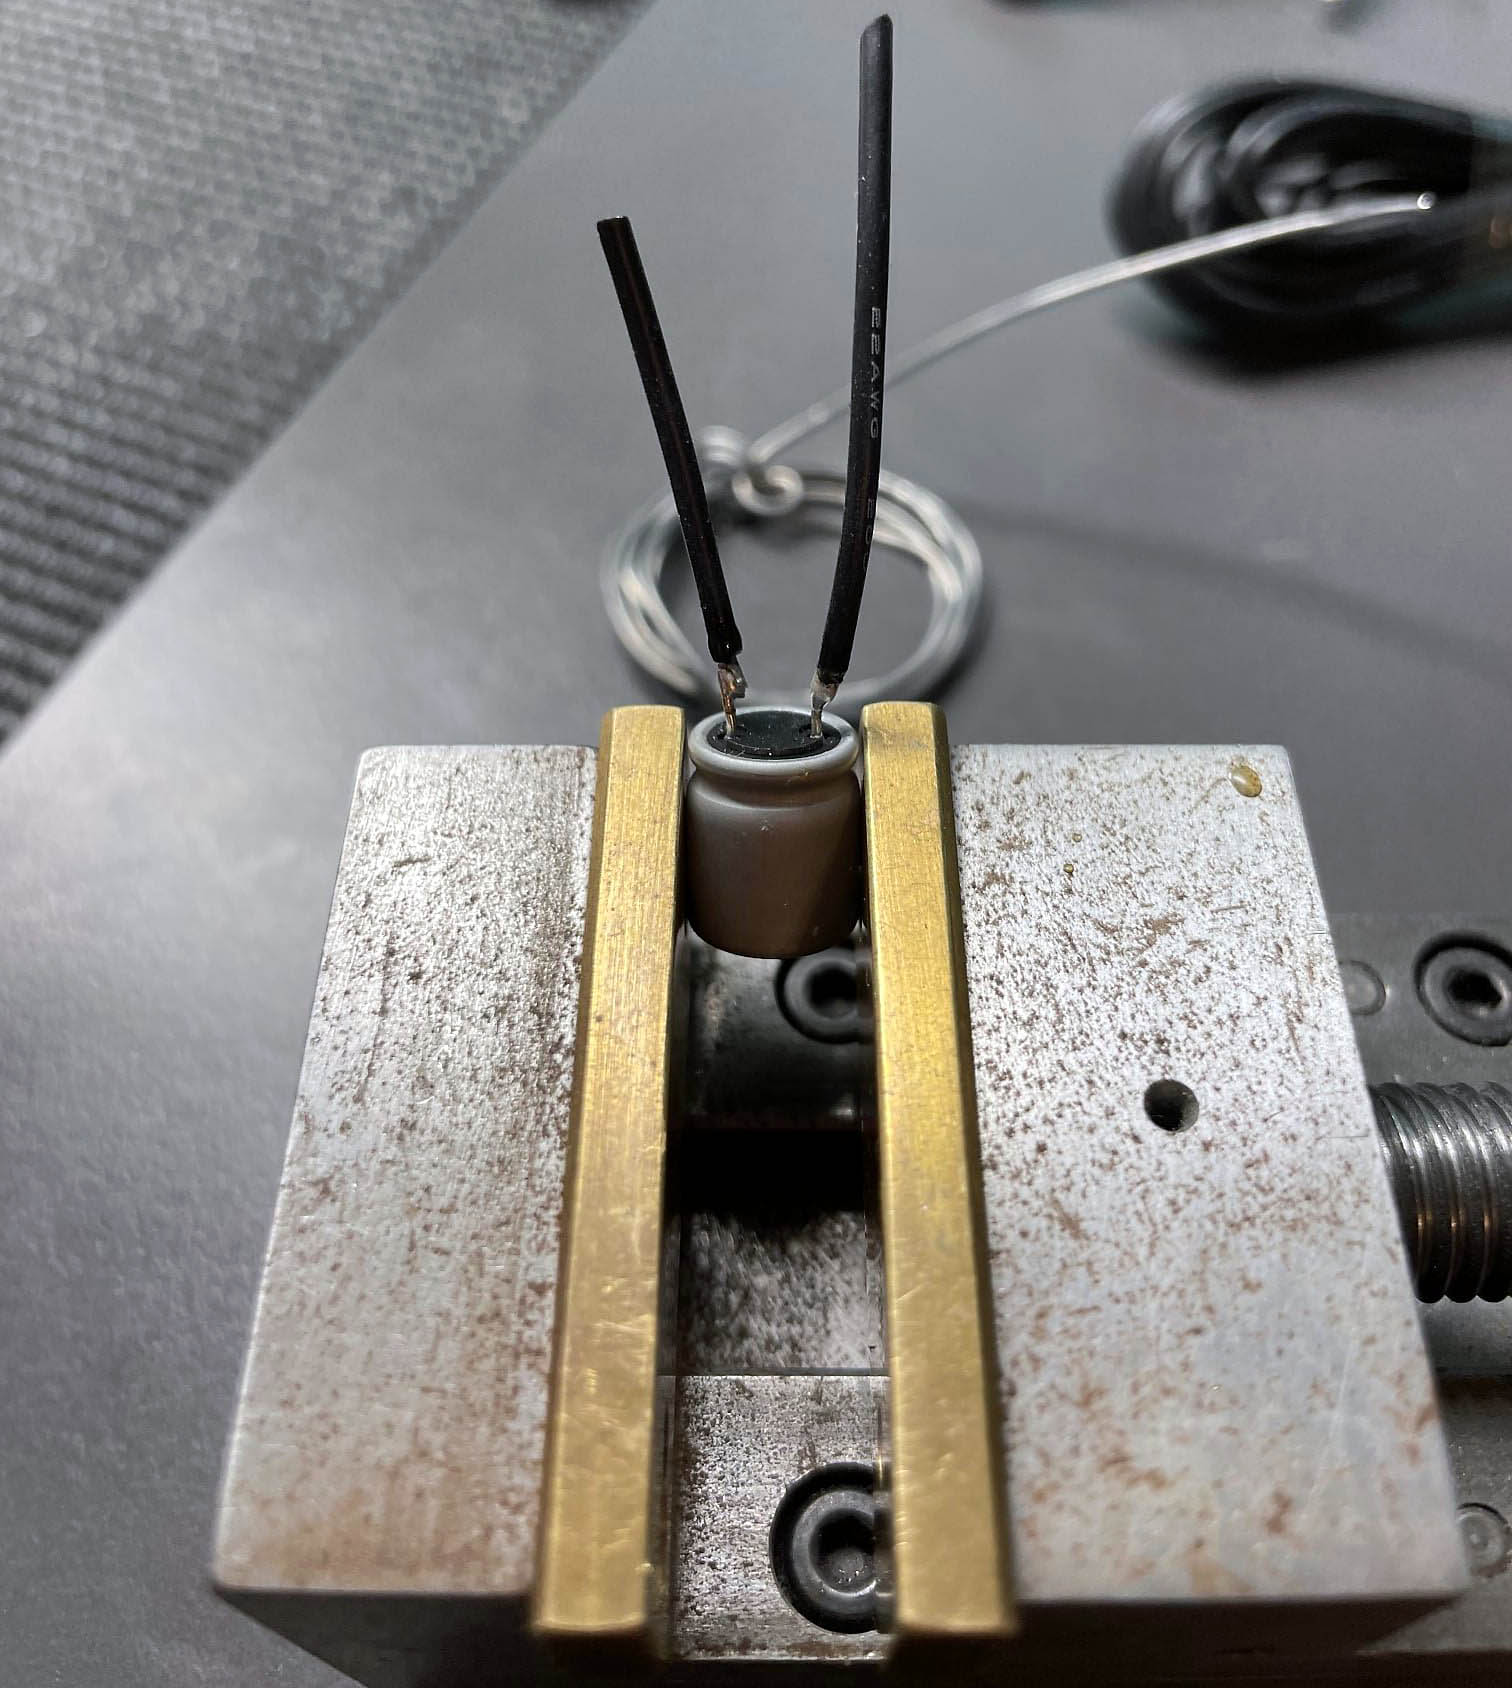
20.1. Now solder the capacitor from below.
20.2. Cover it with heat-shrink tubing to make it less visible
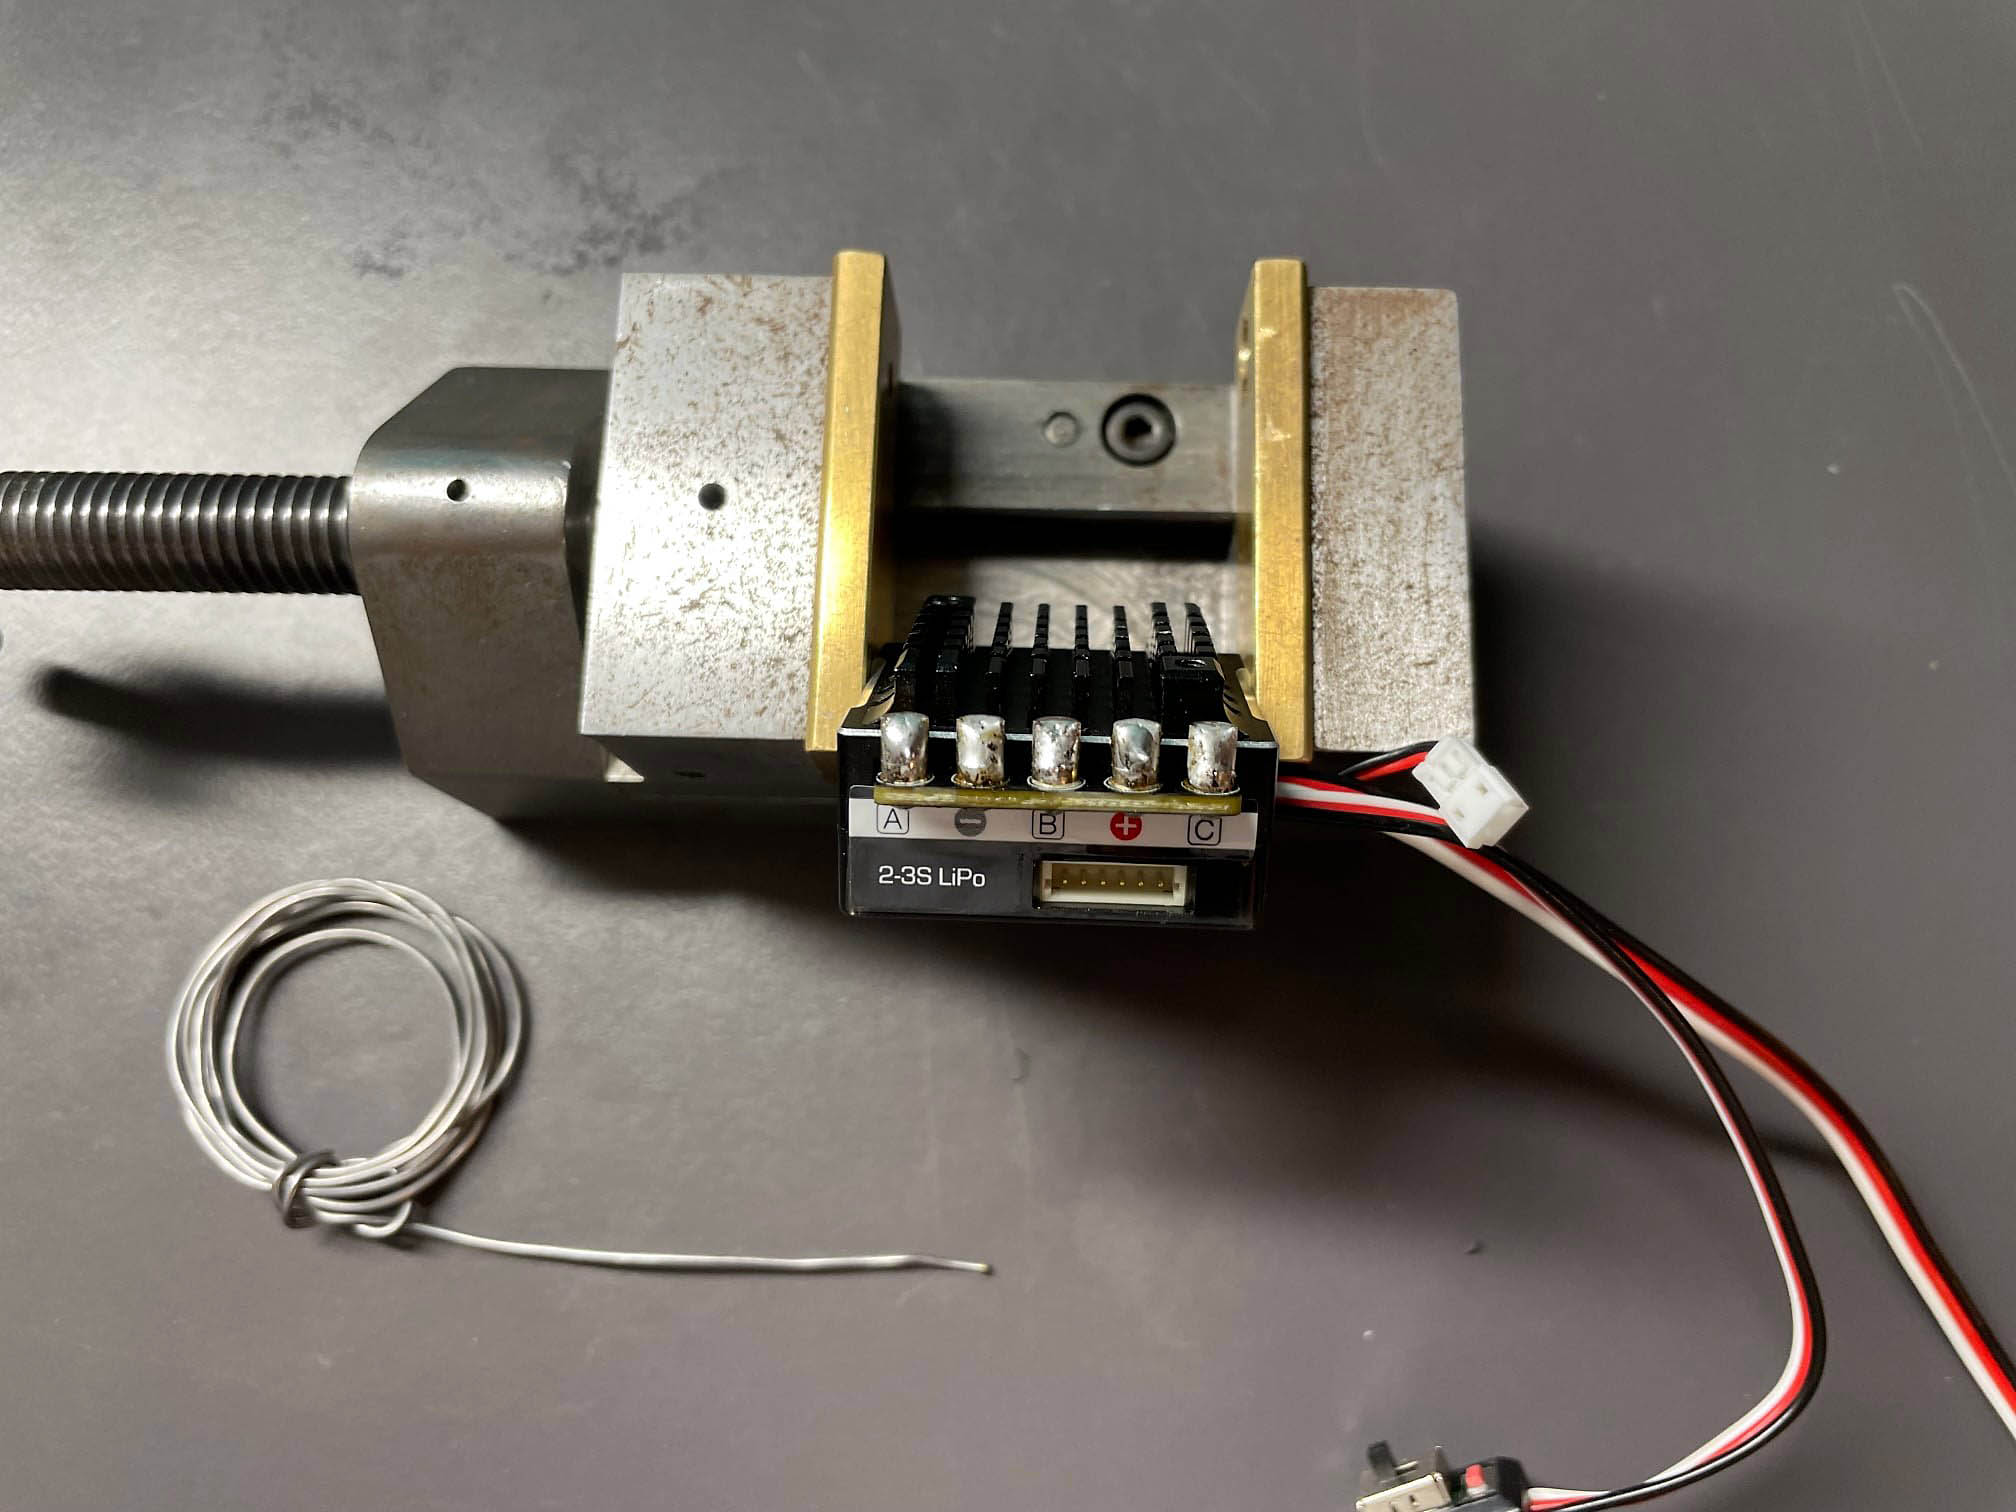
21. So the controller is almost done.
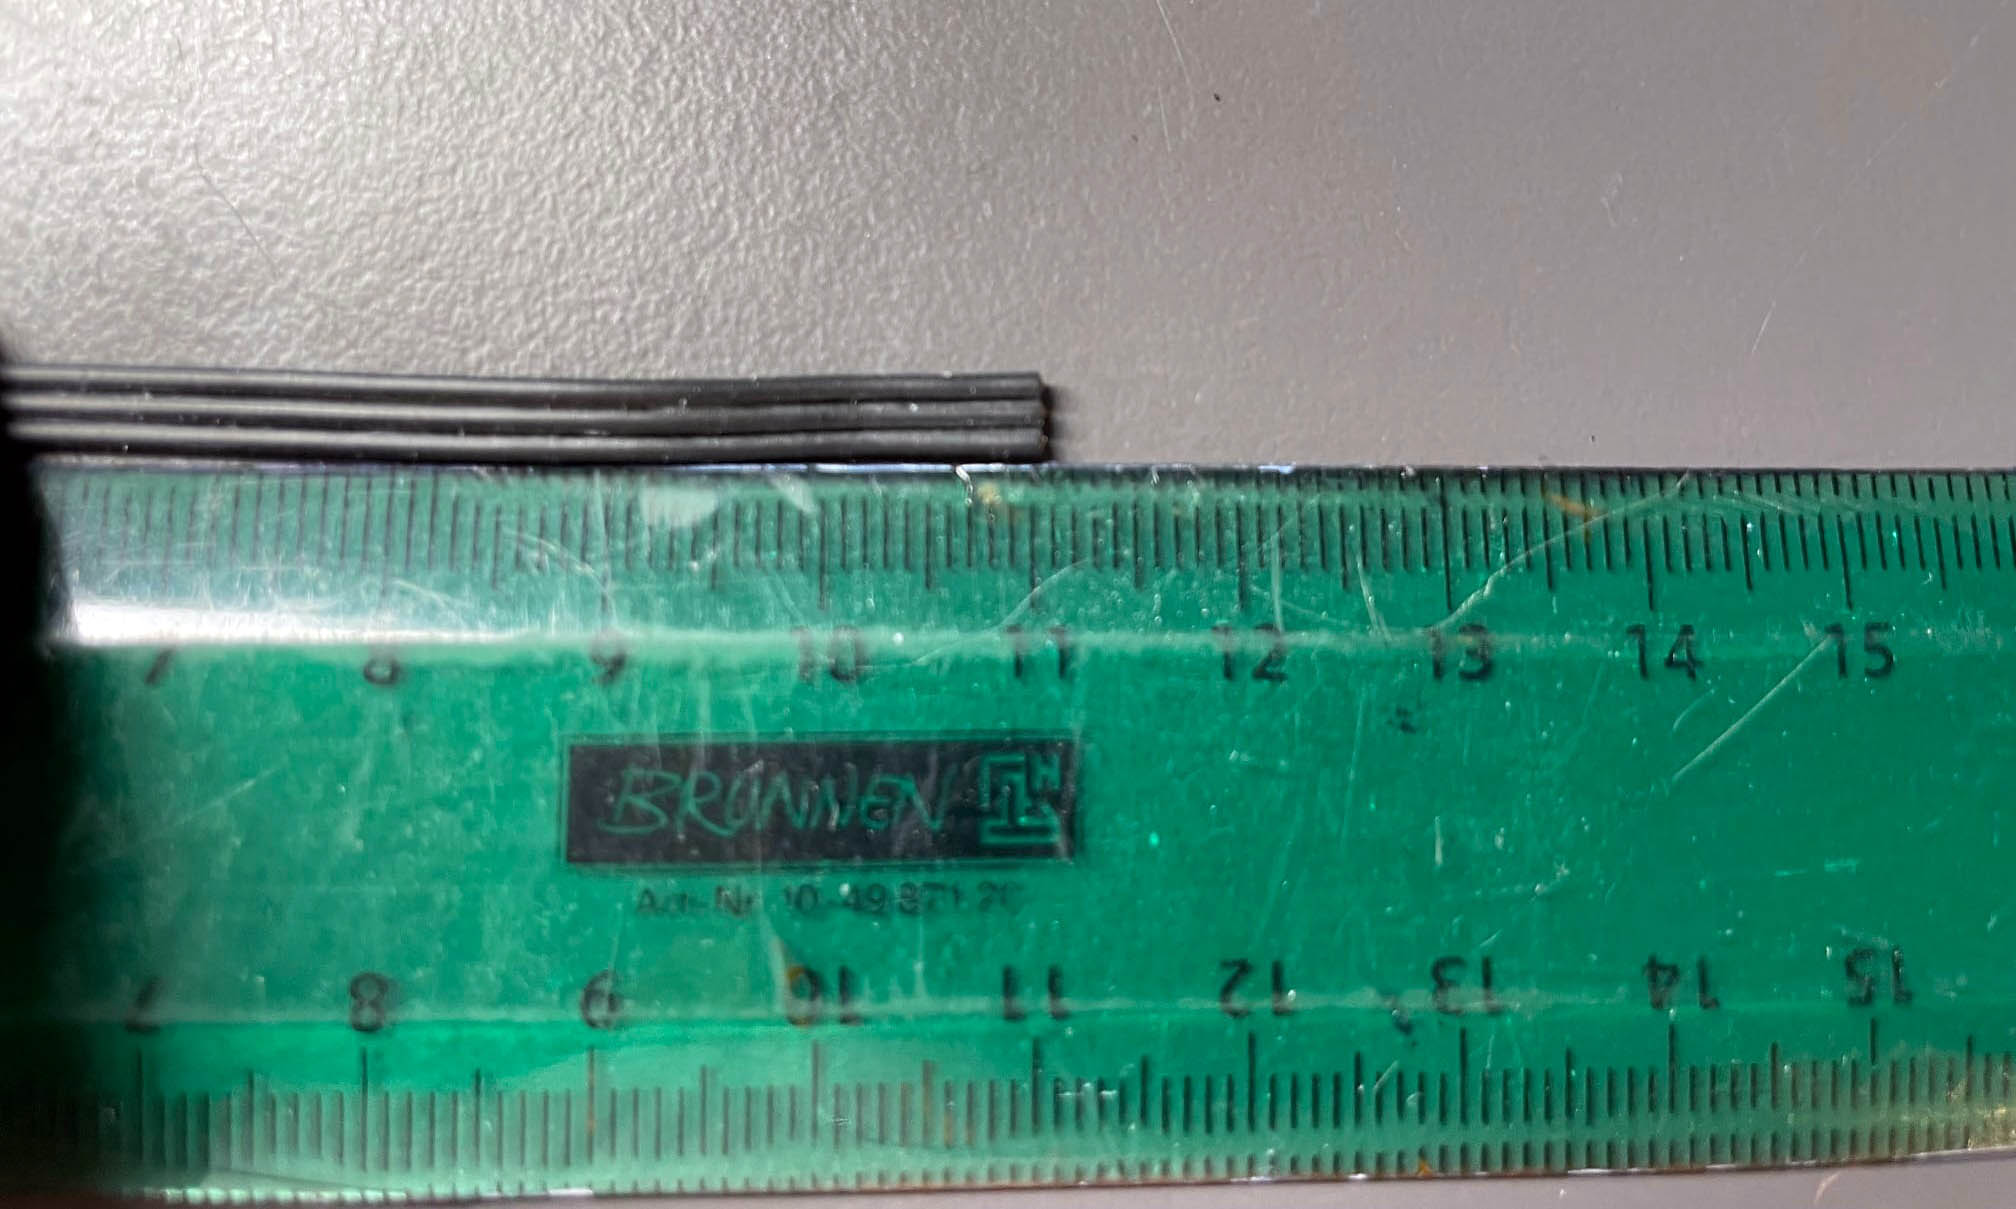
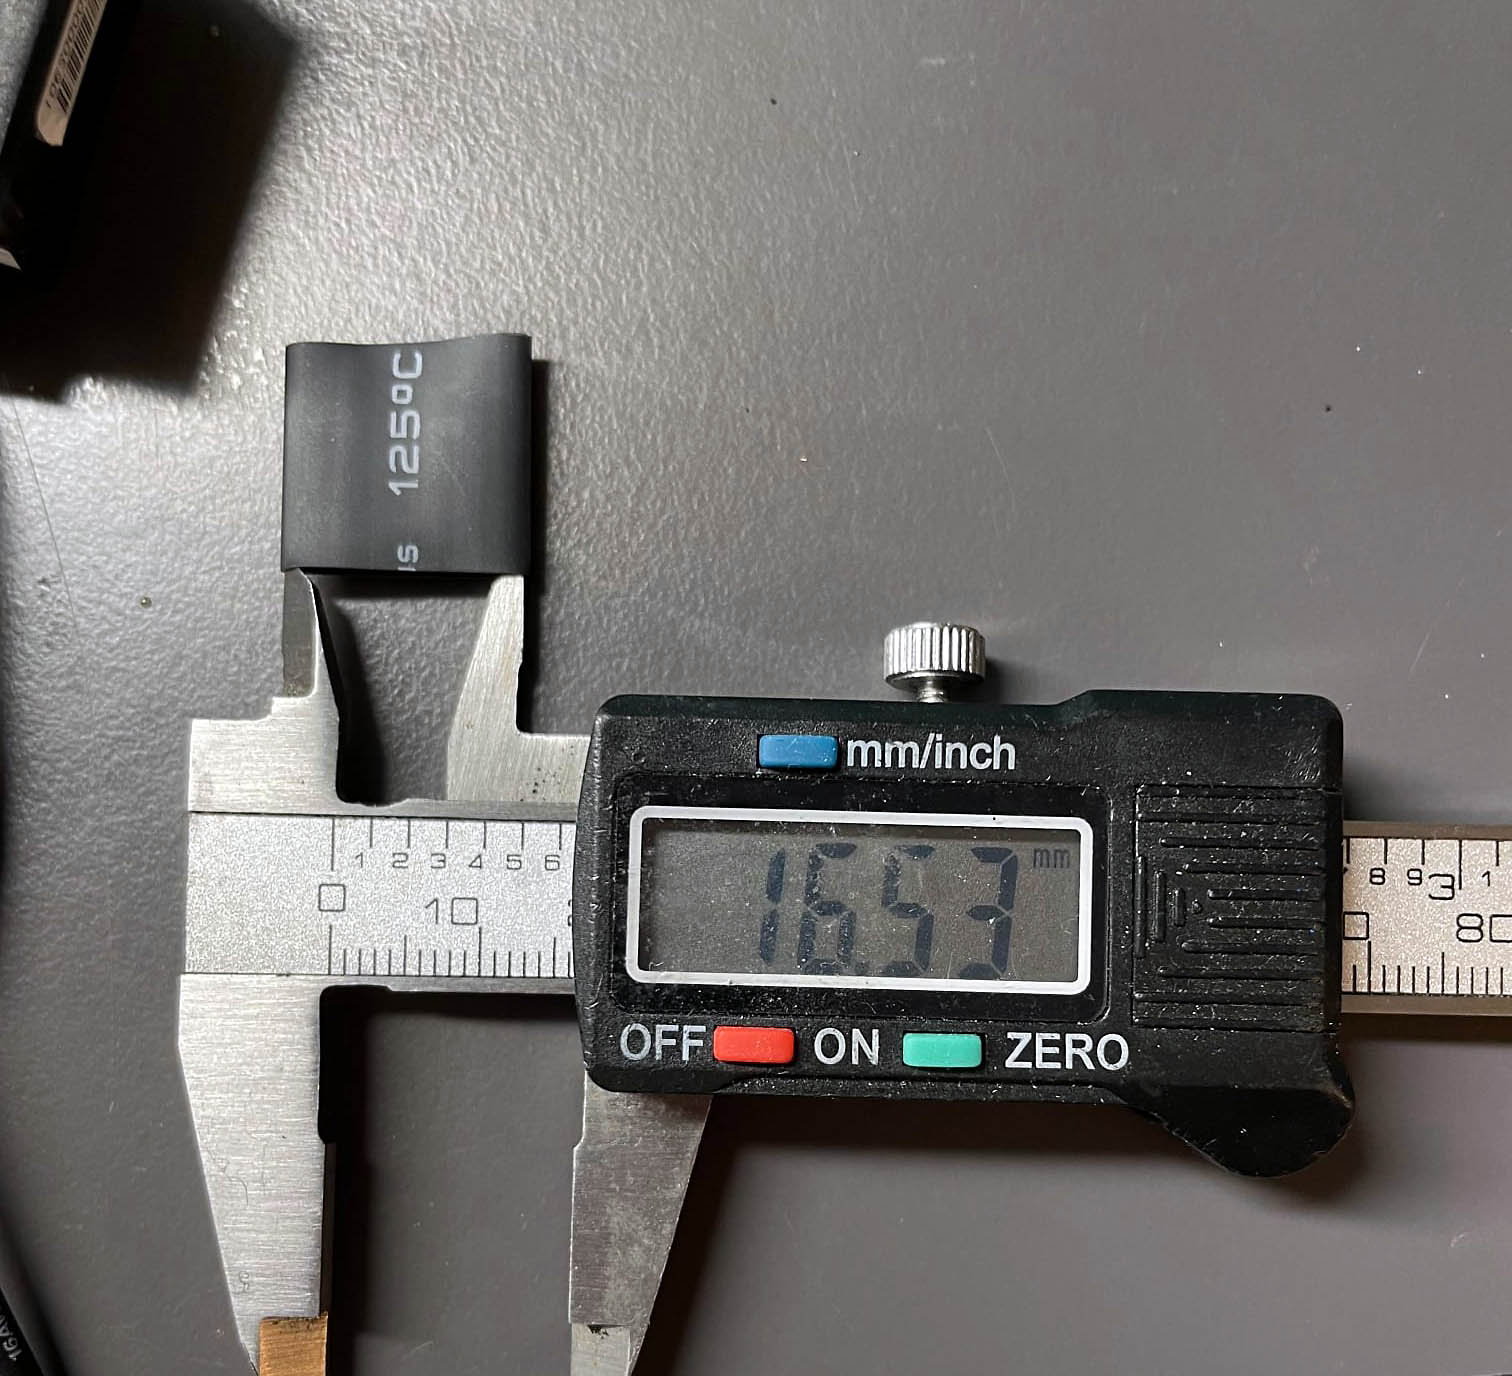
22. The length of the sensor cable is 115mm

23. Attach the double-sided tape so that the cables can lie between them. (Receiver and on/of switch)
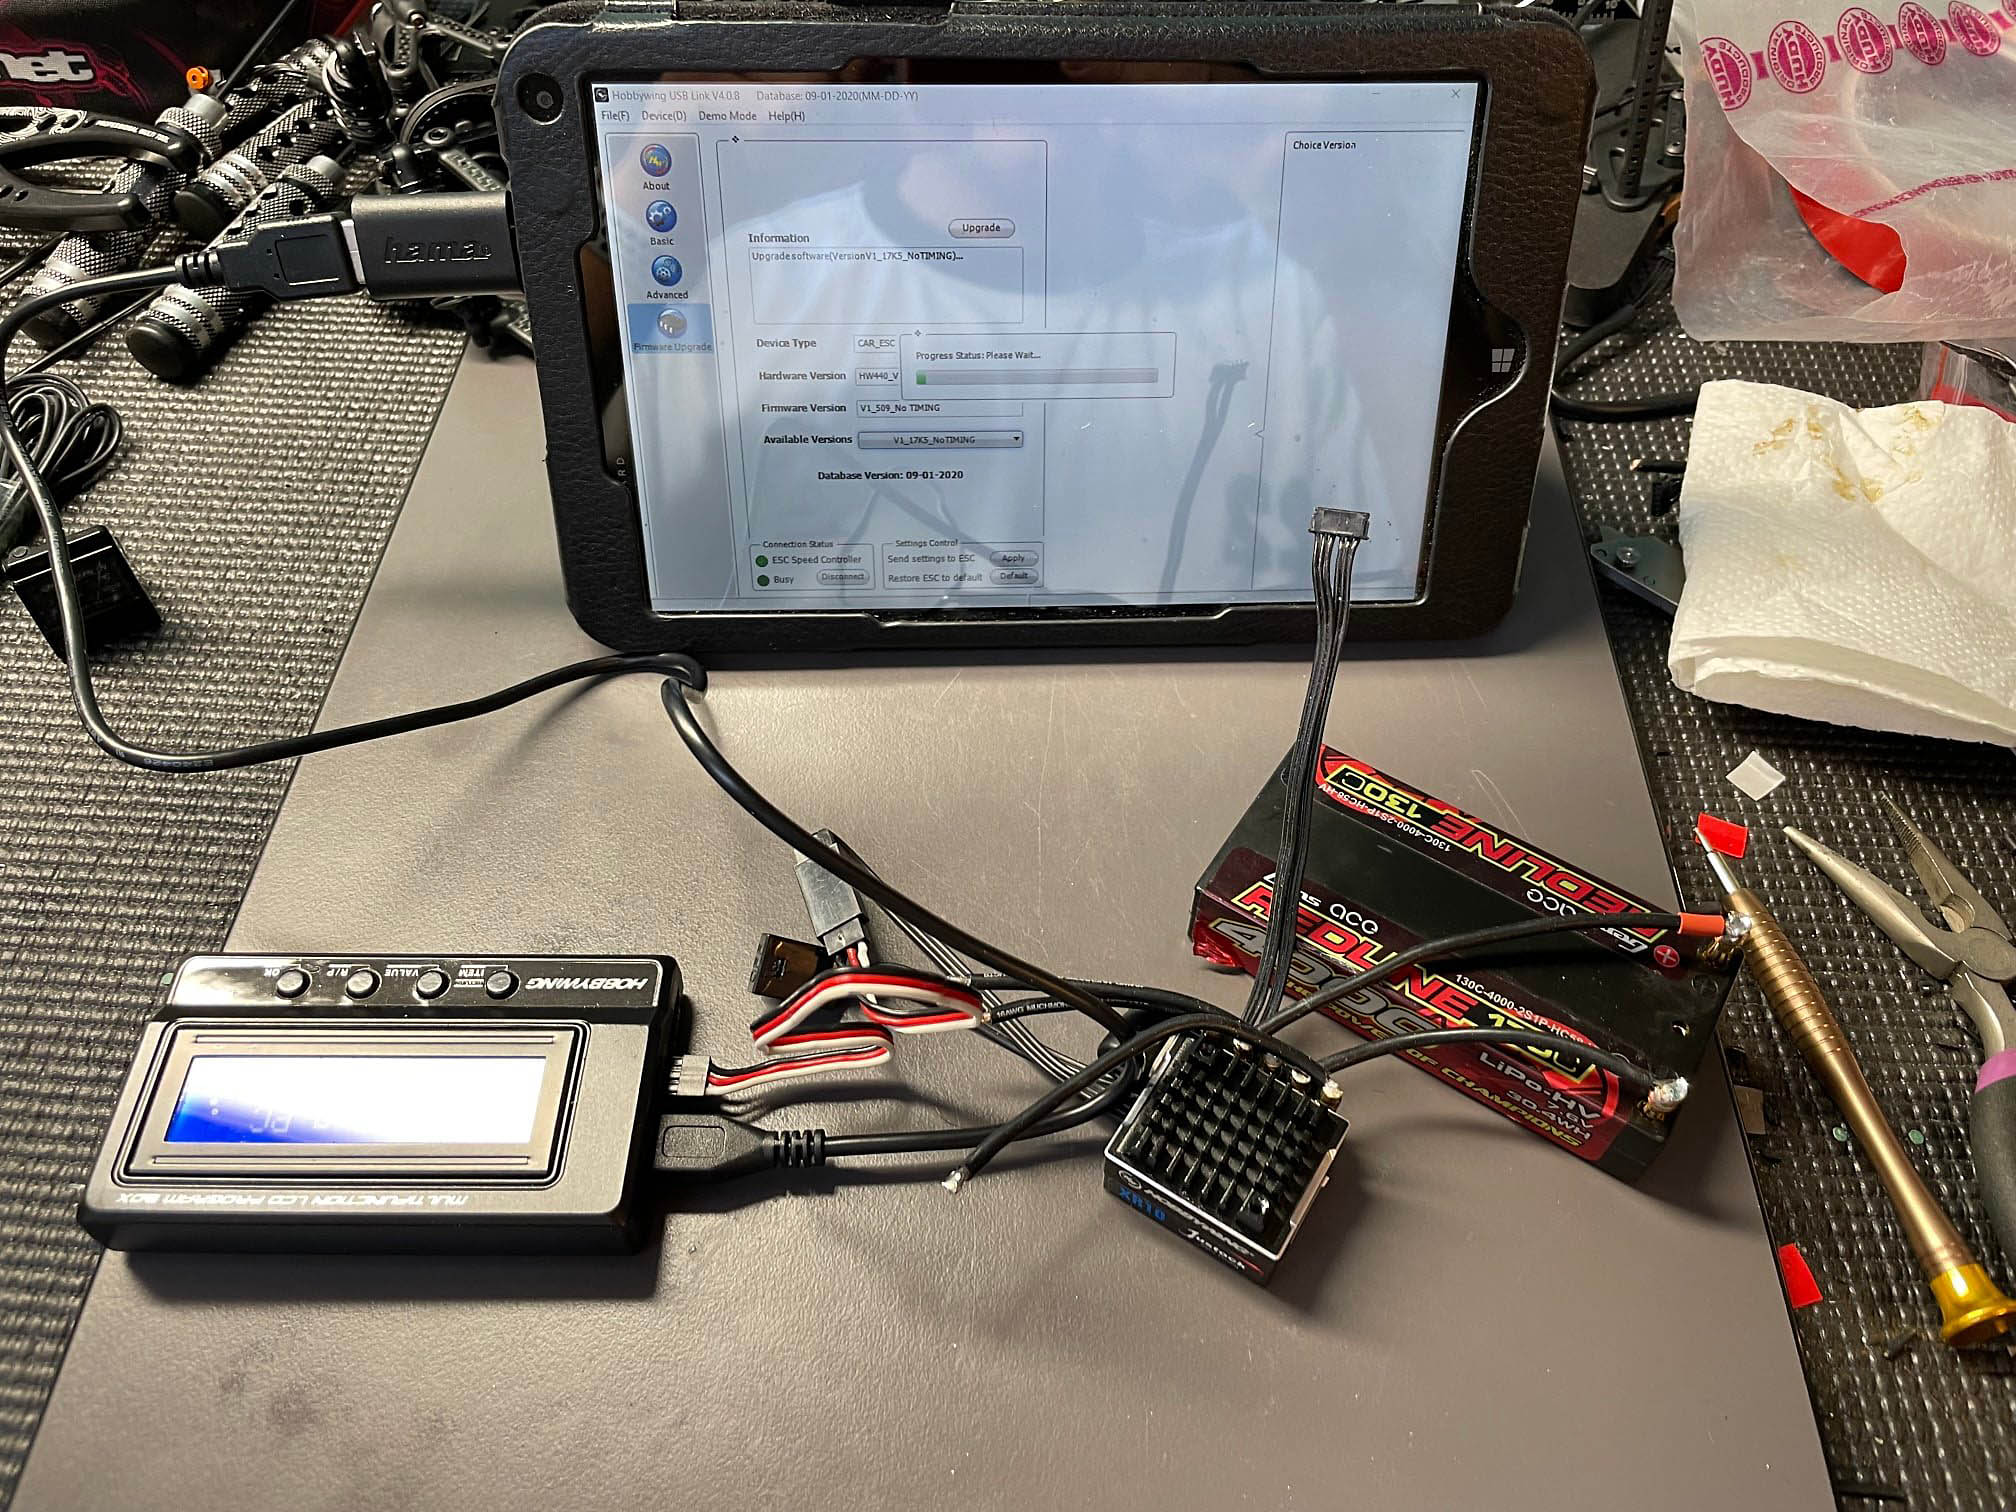
24. Make sure you have the right software on the controller.
25. This is the final position of the ESC

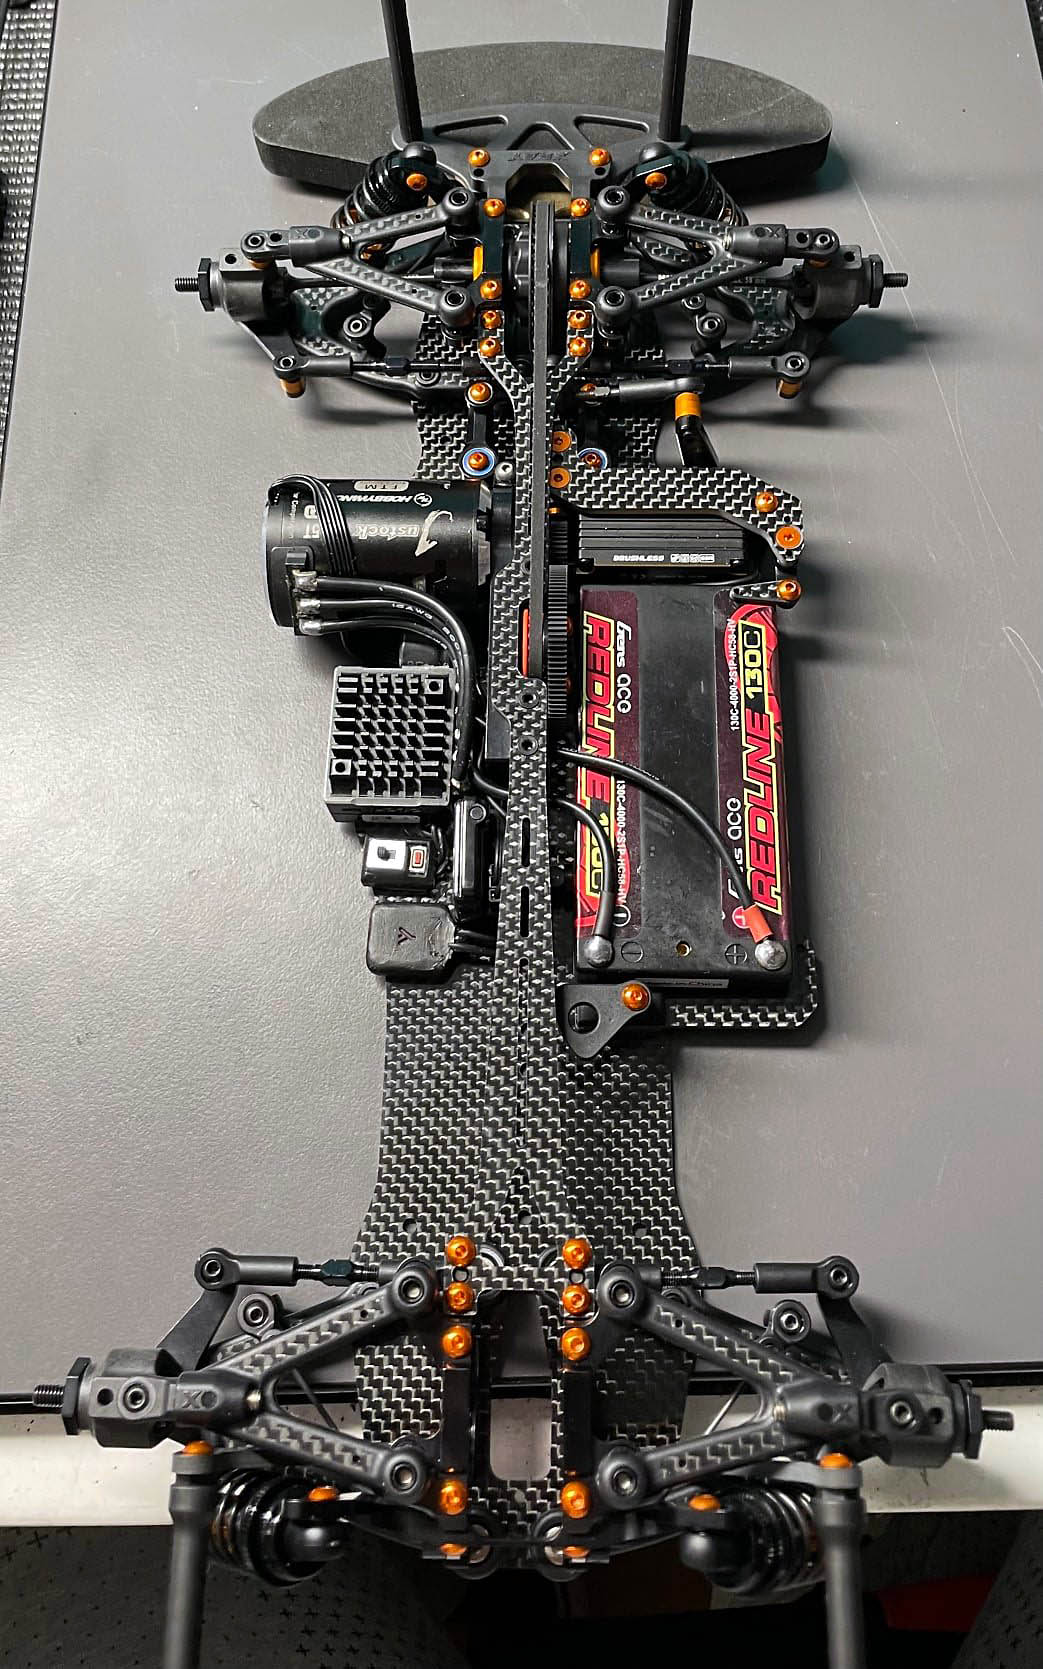
26.1. And done. Now the car can be driven.
26.2. Here's my car. This is how I will drive future races.
|

