|
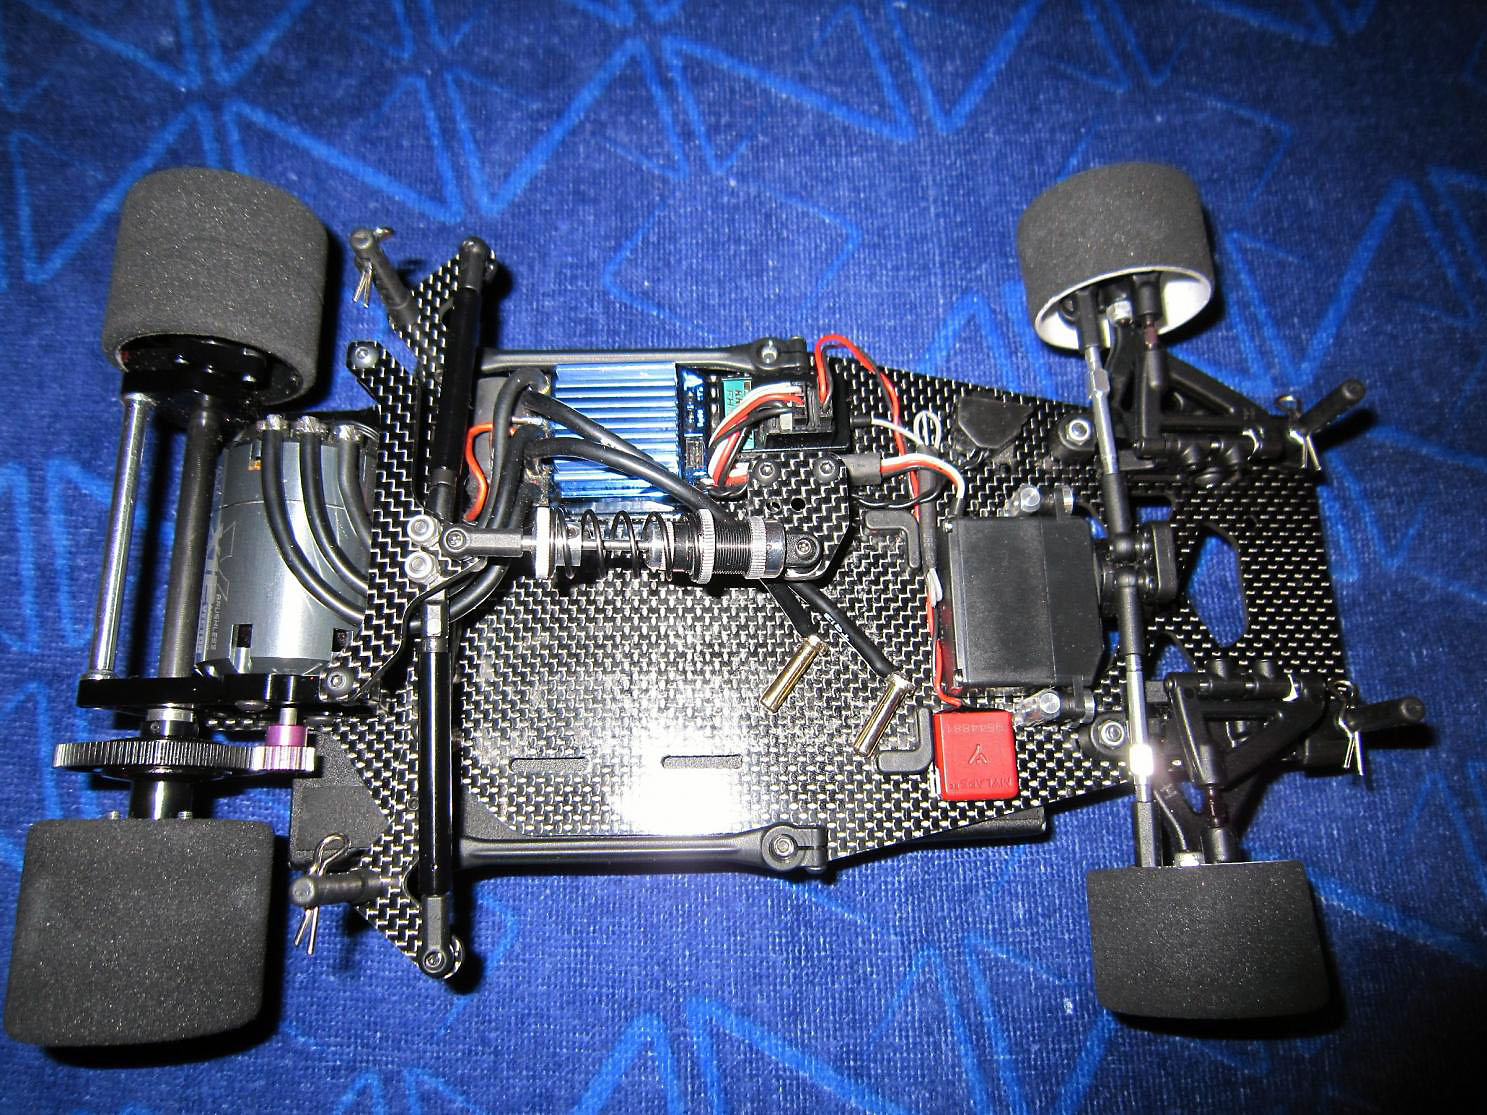
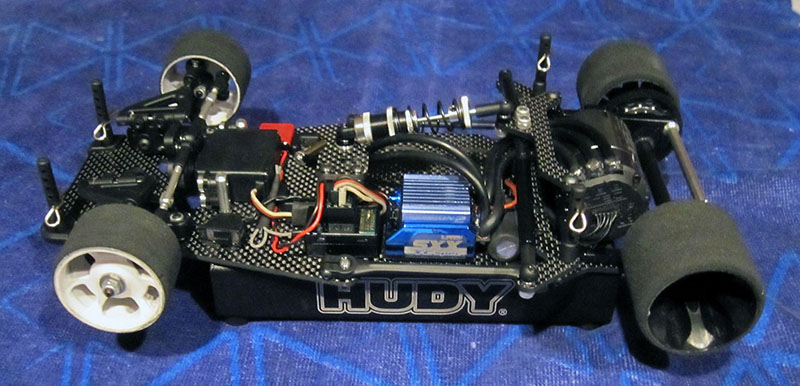
- Team Xray X12 - Alex C - Base Setup - March 2012 -
For those of you out there running Mod 1/12 Scale here is my base setup, feel free to utilize and provide any feedback ............ all the best!!!
The settings provided seems to work on a fast flowing technical medium to low traction carpet. I have not had the opportunity to drive the car in a high traction track yet.
A few build tips specific to the car are explained as per the following sections below.
Front End:- First thing I would recommend to polish both king pins with mothers polish.
- On both of the of the Composite Suspension Arm Front Lower Mounts I would remove a bit of the plastic that is molded into the arm. Reasoning for this is because on both Left and Right Arm you are going to add a total of 3mm spacers on both sides to take away camber gain on both arms.
- Additionally I would remove all shims as recommeded per the instruction manual and place them on top of the upper ball joint.
- Further I would preload the gold springs by at lease one .2mm shim on both sides. Thus with the car at rest you should have no droop in the front end what so ever.
- I would use the 5* Initial setting of the reactive castor block.
- On both steering blocks I would shim both links with a total of 3mm spacers to elivate unwanted bump steer in the car.
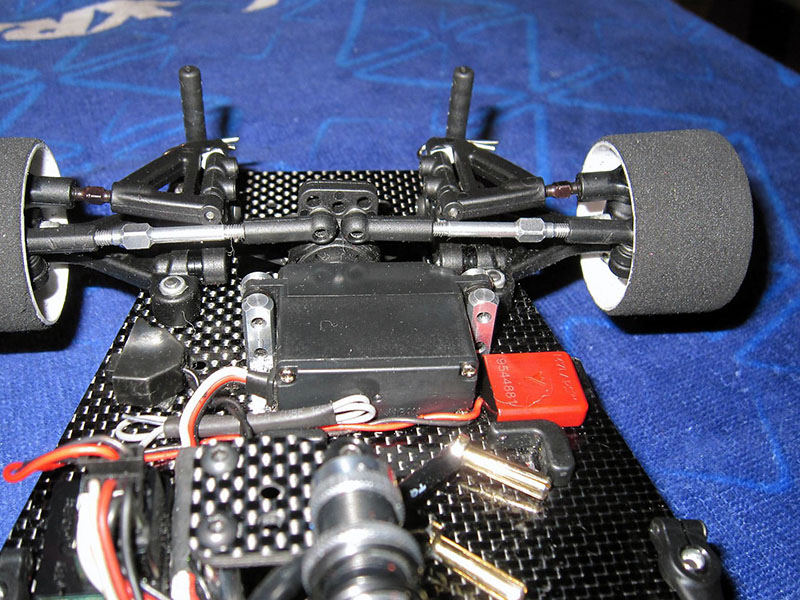
- Dependent upon which servo you plan on utlizing (KO Propo 951-ICS) preferably. I would mount the servo on the left most side of the chassis (same side as the battery).
- Additonally I would shim the servo in a manner in which both turnbuckles are about even or a bit forward in relationship to the front end. In other words the turnbuckles are angling back slightly.
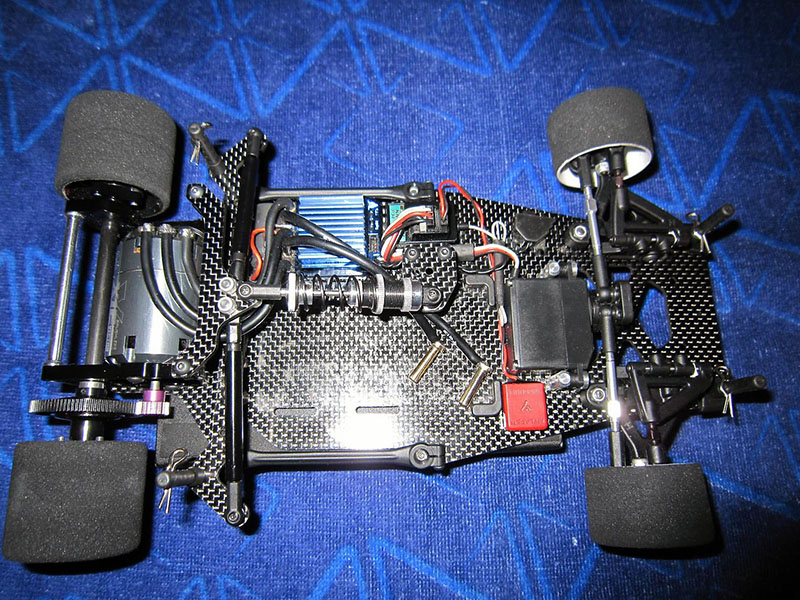
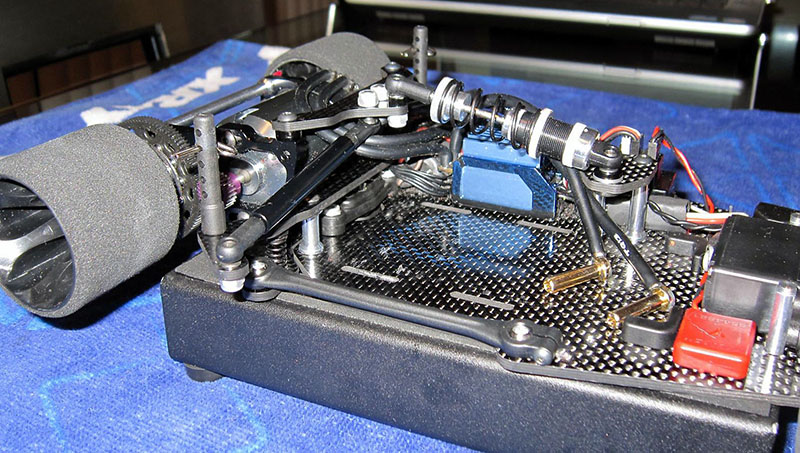
Center Shock- Plan on purchasing the NEW Black Shock Spring C=2.1.
- I would recommend to start with atleast Xray 700Cst for the center dampner.
- Shock build should be as per the manual, initial rebound set at 50%.
- Place atleast 2.5mm of shim on the front shock mount, and 4mm on the rear of the shock ball mounting to the rear upper pod plate.
Side Links / Center Link- Plan on polishing all of the steel pivot balls with Mother Polish yet again to fine mirror image.
Side Dampner- I would recommend to use 7K.Cst on the dampner and apply as mentioned per the manual.
Rear Pod Plate- Shim atleast 3mm of black shims on both sides of the upper pod plate, In order to provide an angled side dampner angle thus giving a more smoother softer side to side motion of the pod plate.
Final Setup - Front Spring "Gold" C=3.5 or Associated .20
- Front Ride Height 3.6mm
- Rear Ride Height 3.8mm
- Pod Droop 1.0mm
- Rear width 171.5mm
- Front Camber -1.5
- Toe Out .25 -.5mm out Right / Left.
- Parma Magenta Front 41mm
- Parma Magenta Rear 43mm
- Side Springs either Associated "Black" Springs or Xray Kit Silver Side Springs.
- The most important thing to remember is not to preload the side springs, just set them with the car ready to race and turn each screw down evenly just when they start to touch and provide a quarter turn.
- Check and set final left / right tweak.
Source:


|