- Horizontal Body Mount -
A trend has started lately with mounting the rear body posts horizontally. Several other touring car brands have been using this solution from time to time! XRAY currently don’t offer any optional parts to achieve this, however – you can easily build this with some simple DIY! Follow these simple steps, if you want to try and mount the body in this way! See a detailed description in each picture.
I have personally spent very little time testing with this type of mounting, but my impression was the following. The rear of the car stays flatter, the car is easier to drive on direction change (because of the body being unable to move upwards for example). But – I also felt less overall traction, it doesn’t feel like the rear tires are pushed into the ground as hard, and hence, I also noticed less tire noise. On a large, low grip track, it wasn’t faster – but perhaps it can work on higher grip, more technical tracks! Please provide feedback if you have any!
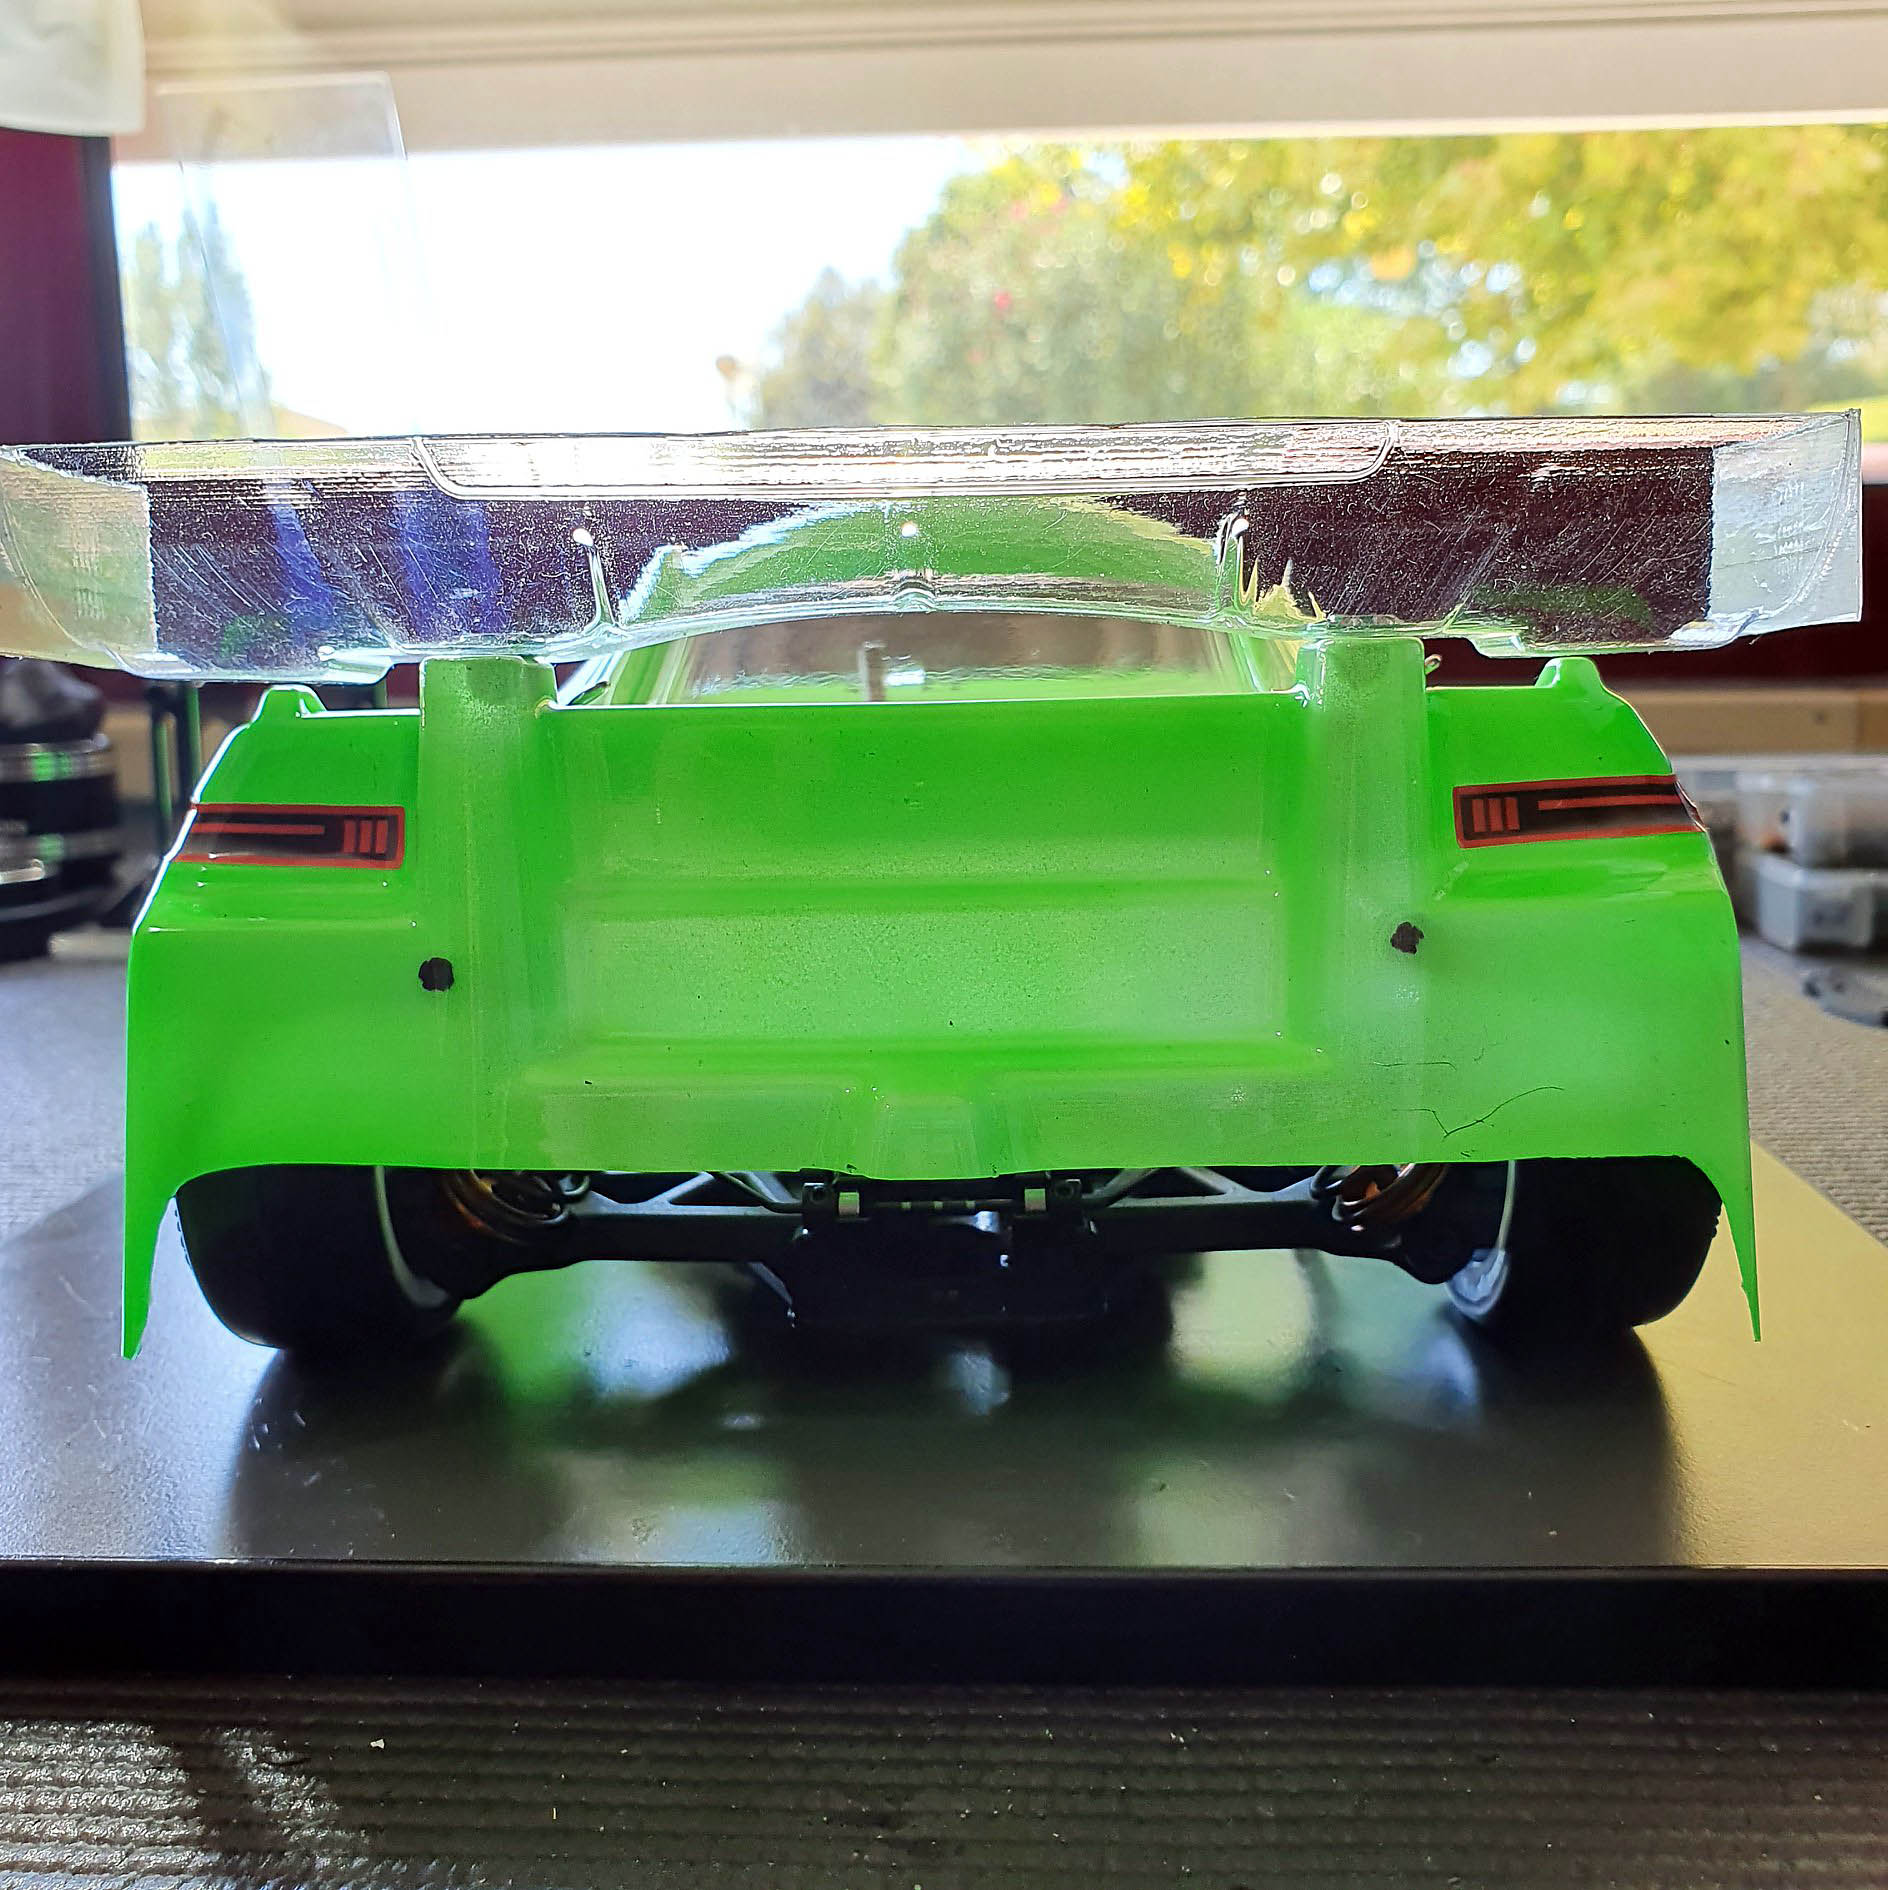
If you already have a body mounted that you want to use for this purpose, the easiest way to mark the holes is to use the body backstops (which a lot of people use) as guides. As can be seen here, I was able to easily mark the spots for the posts from looking from the rear (my body is see-through when put against a light, thanks to a thin layer of paint) and looking from the bottom of the car. Use a sharpie to carefully mark the spots. If you plan to drill slots in the towers, which I explain in the next steps, mark the holes 2-3mm lower than the center of the post, to be able to move the post both upwards and downwards.
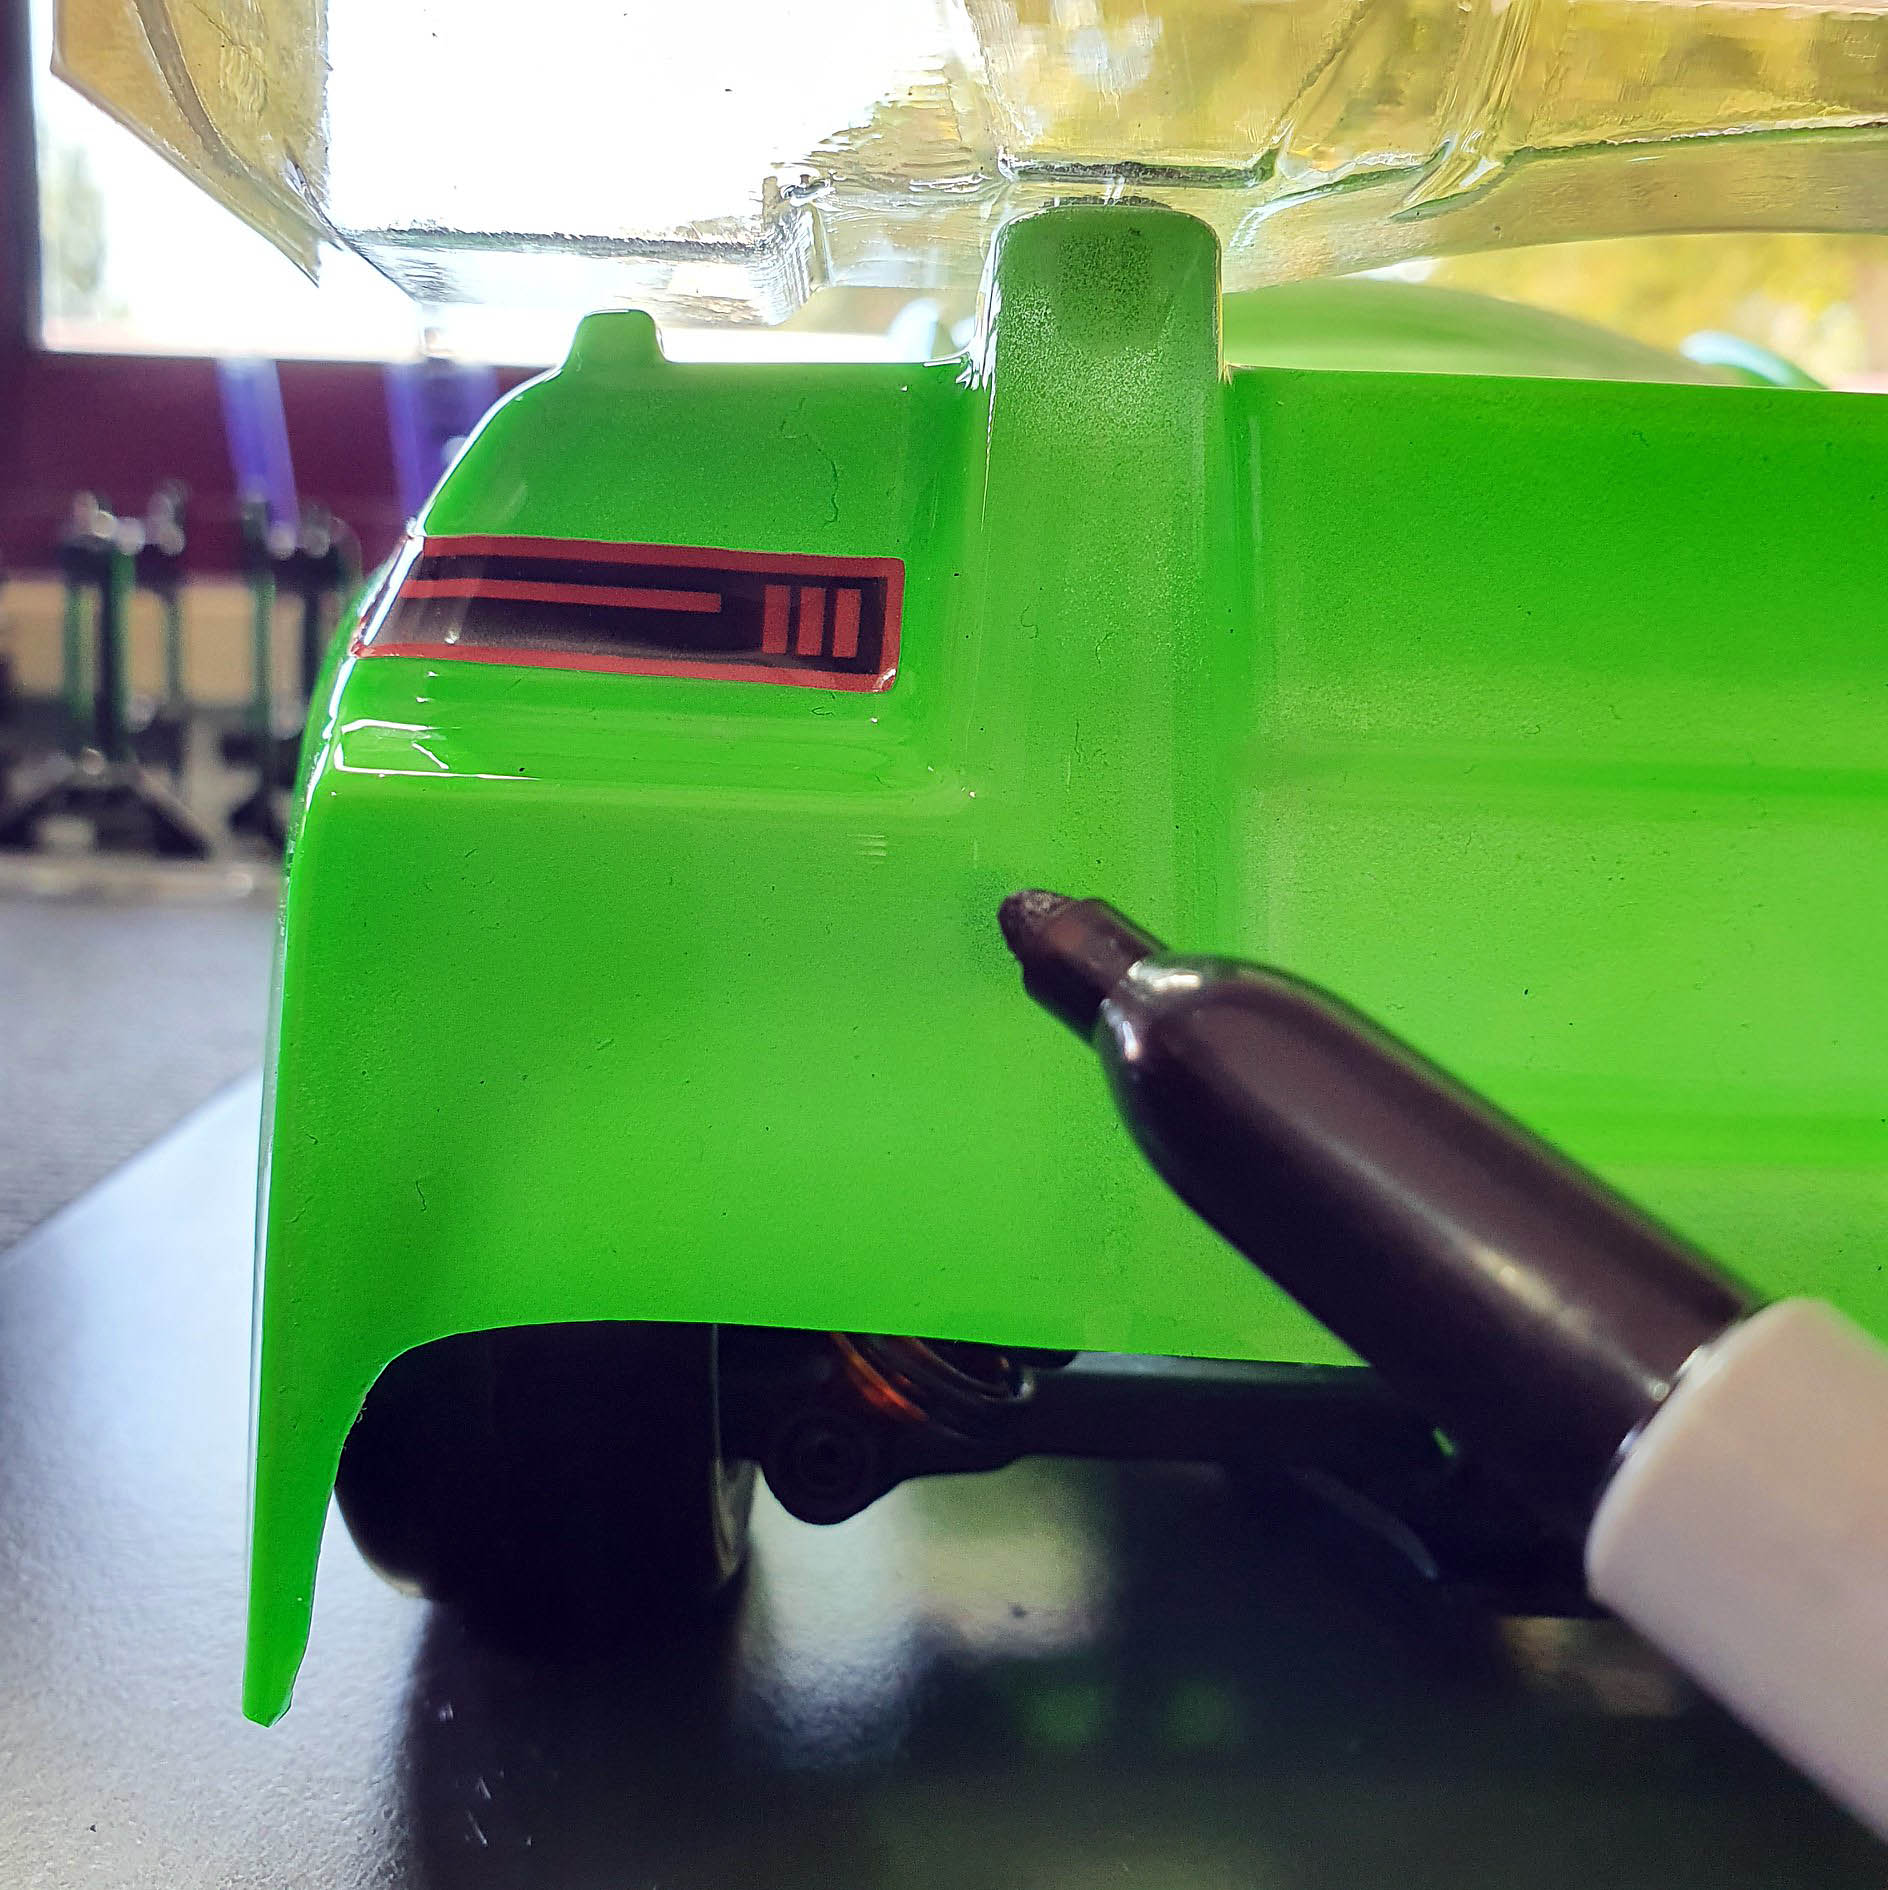
As can be seen here, I was able to easily mark the spots for the posts from looking from the rear (my body is see-through when put against a light, thanks to a thin layer of paint) and looking from the bottom of the car.
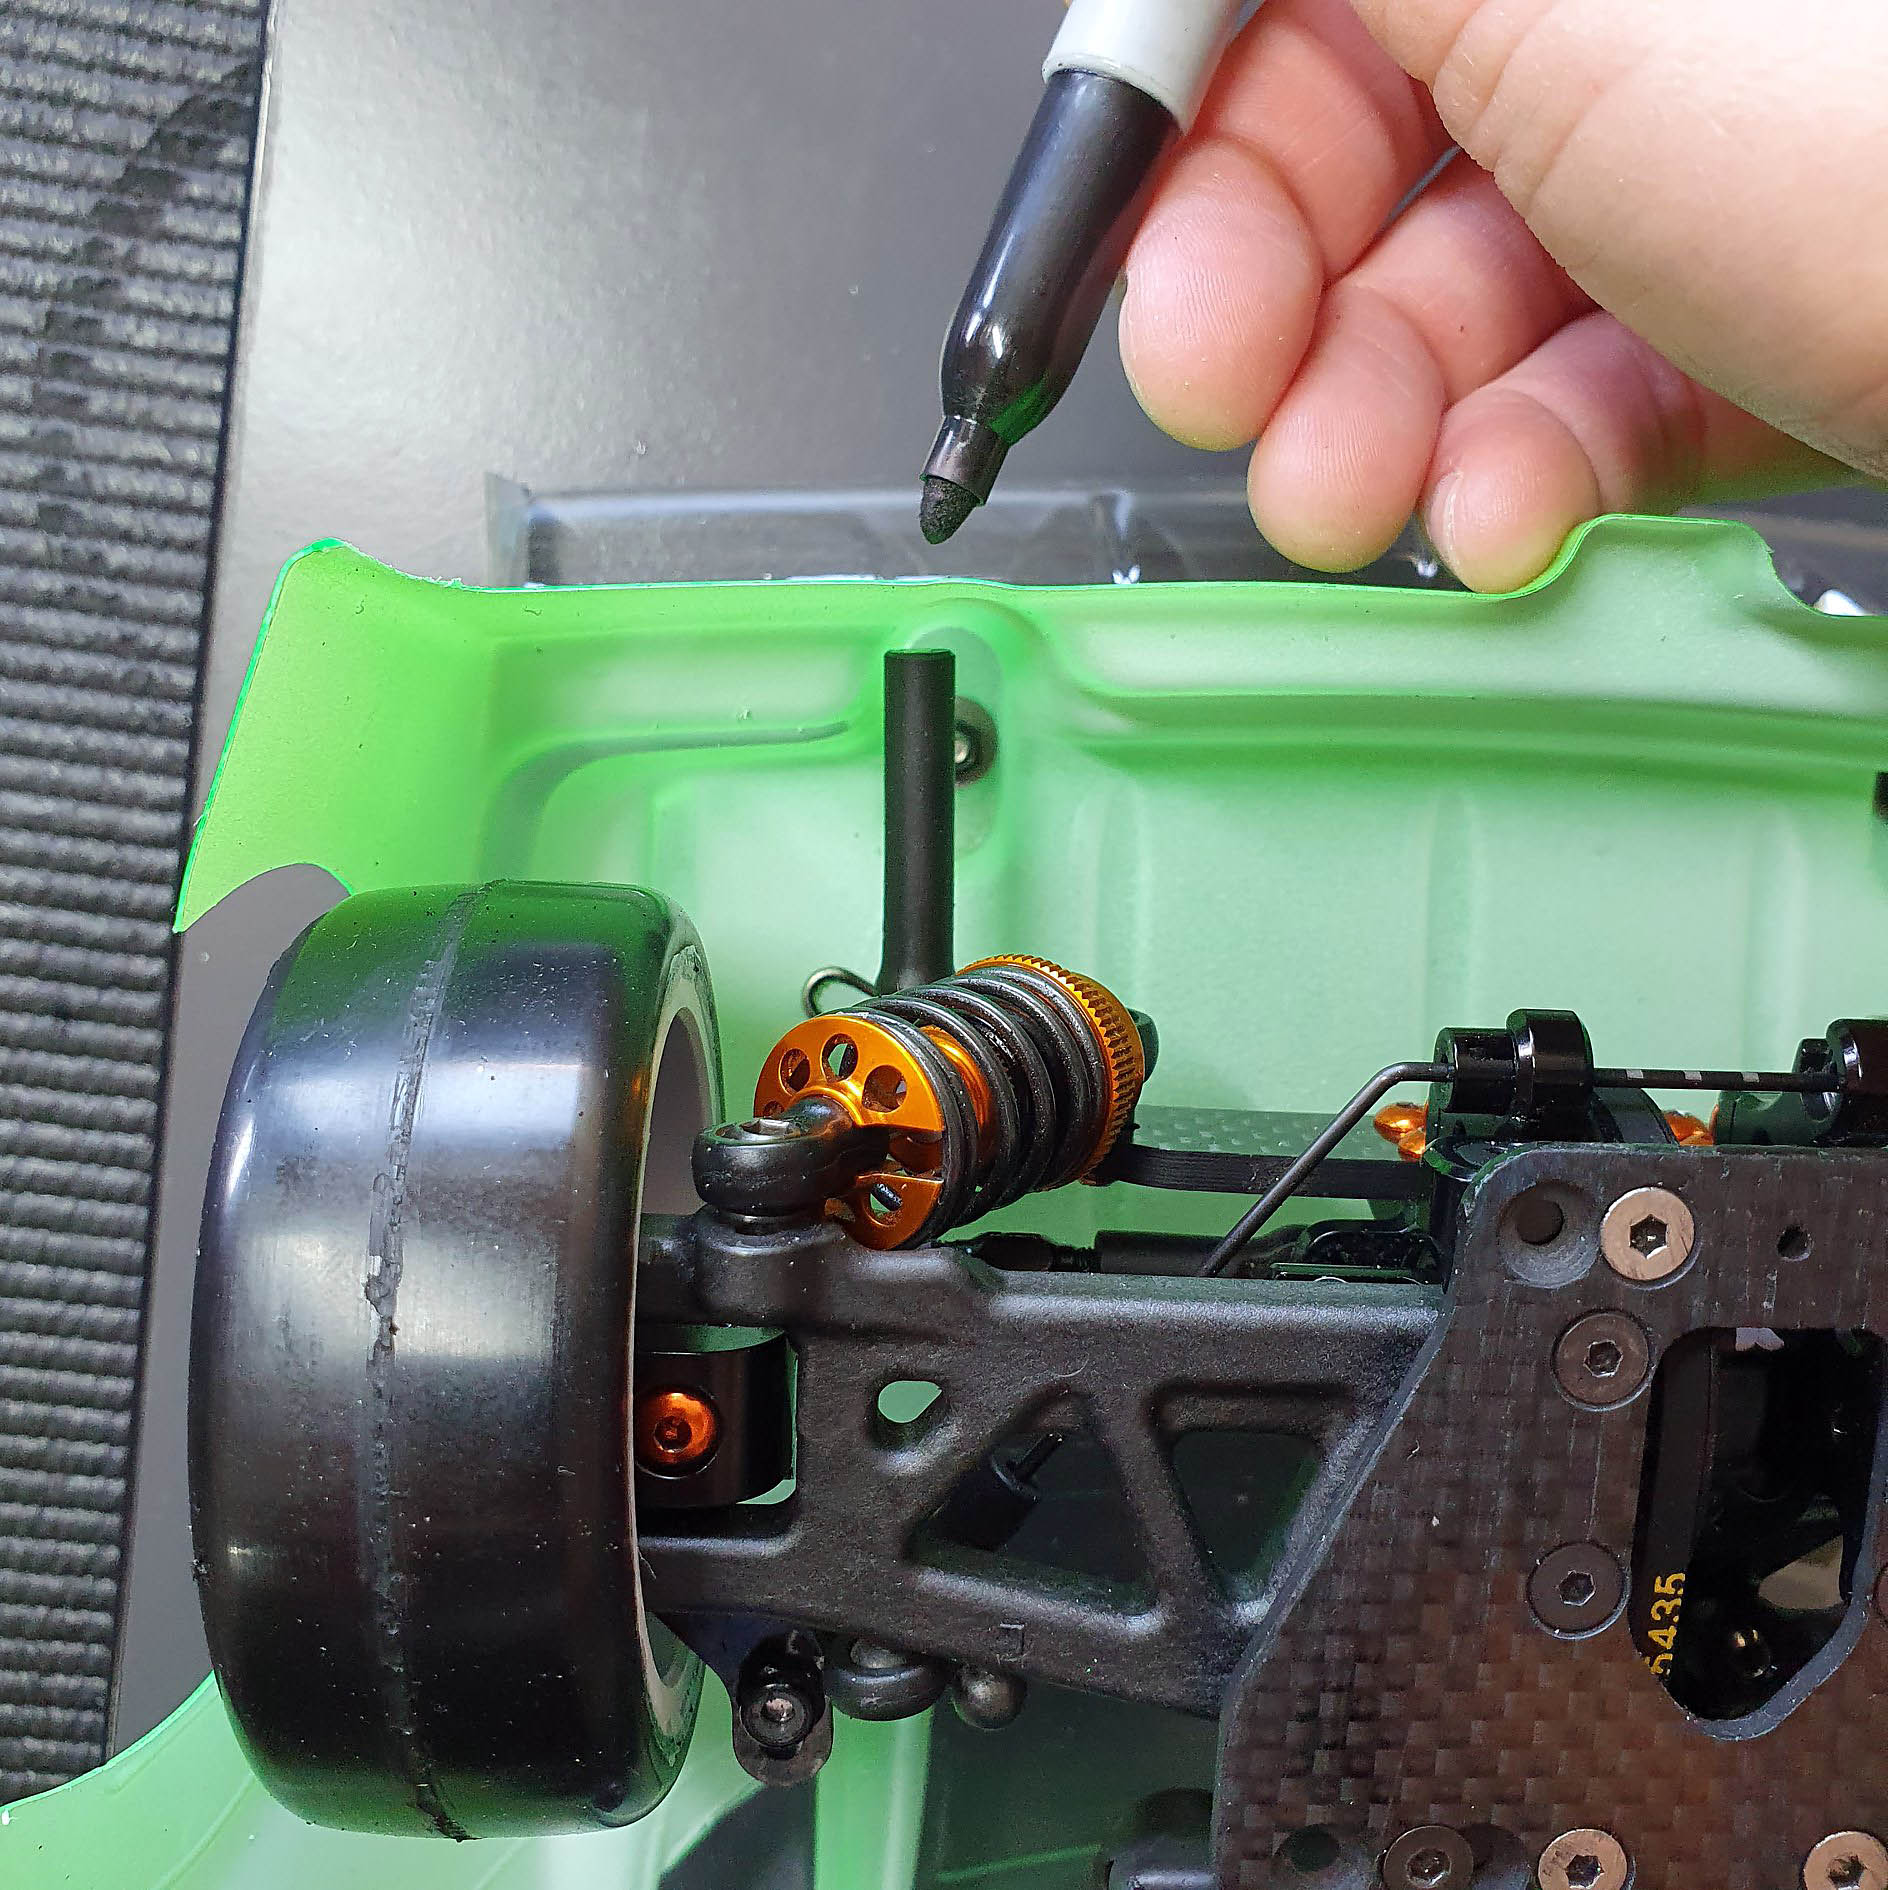
As can be seen here, I was able to easily mark the spots for the posts from looking from the rear (my body is see-through when put against a light, thanks to a thin layer of paint) and looking from the bottom of the car.
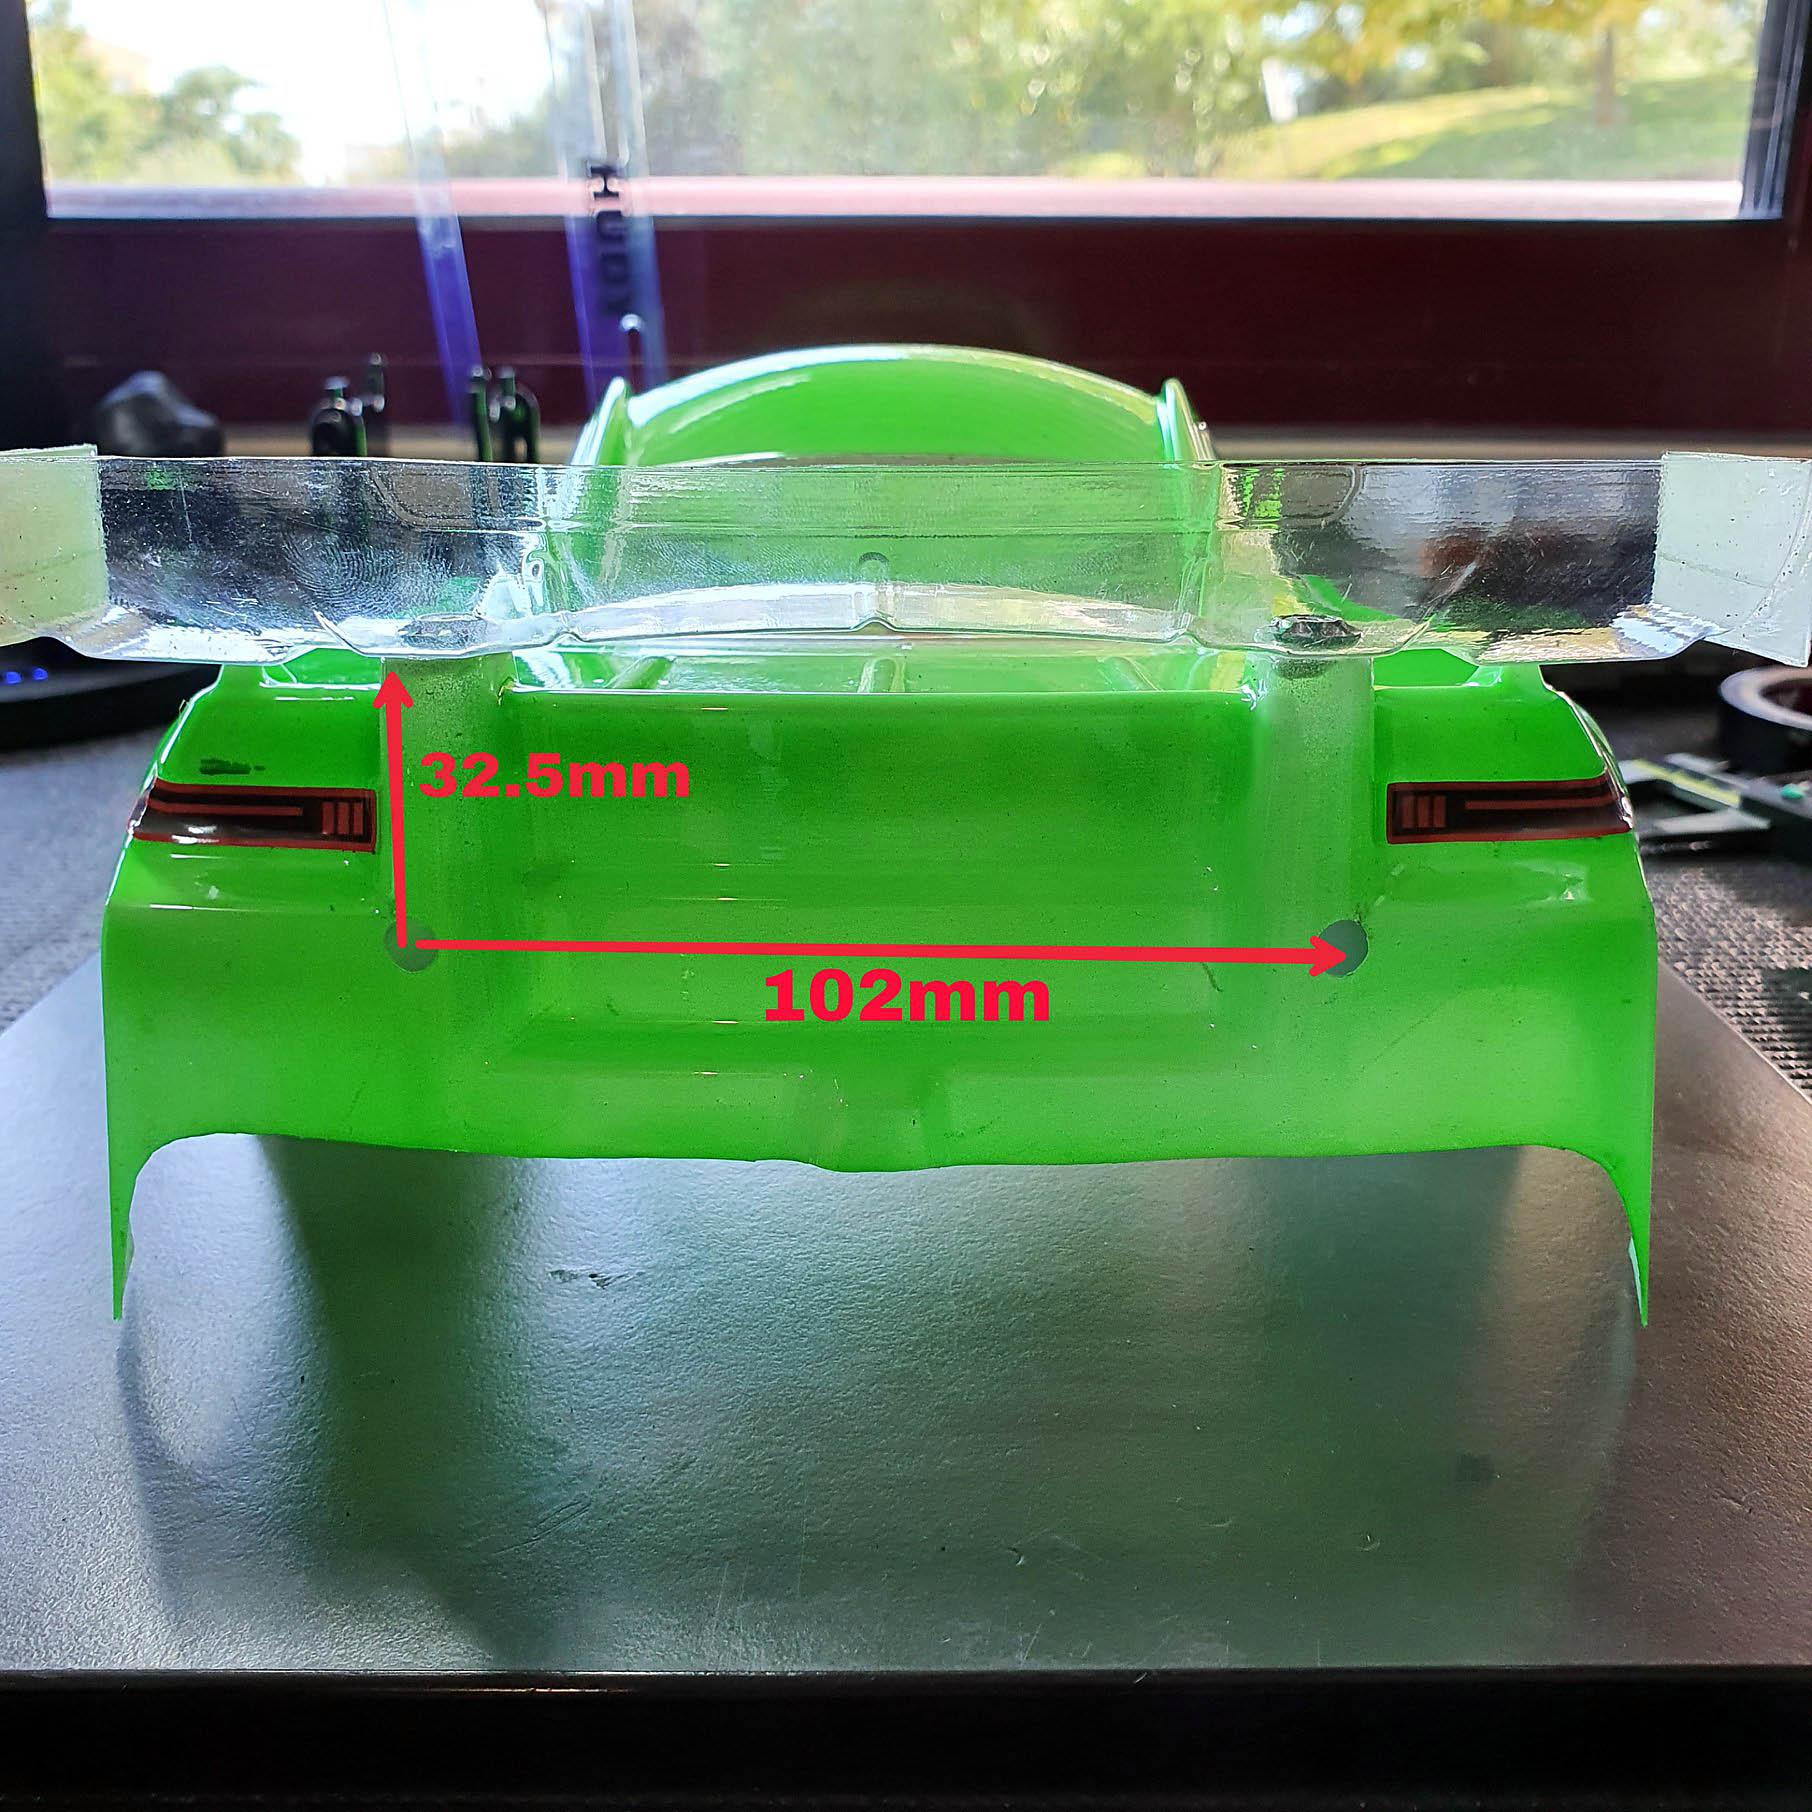
If you don’t plan to drill a slot for height adjustments, these are the measurements that I recommend for the Twister body, it should give you a good reference.
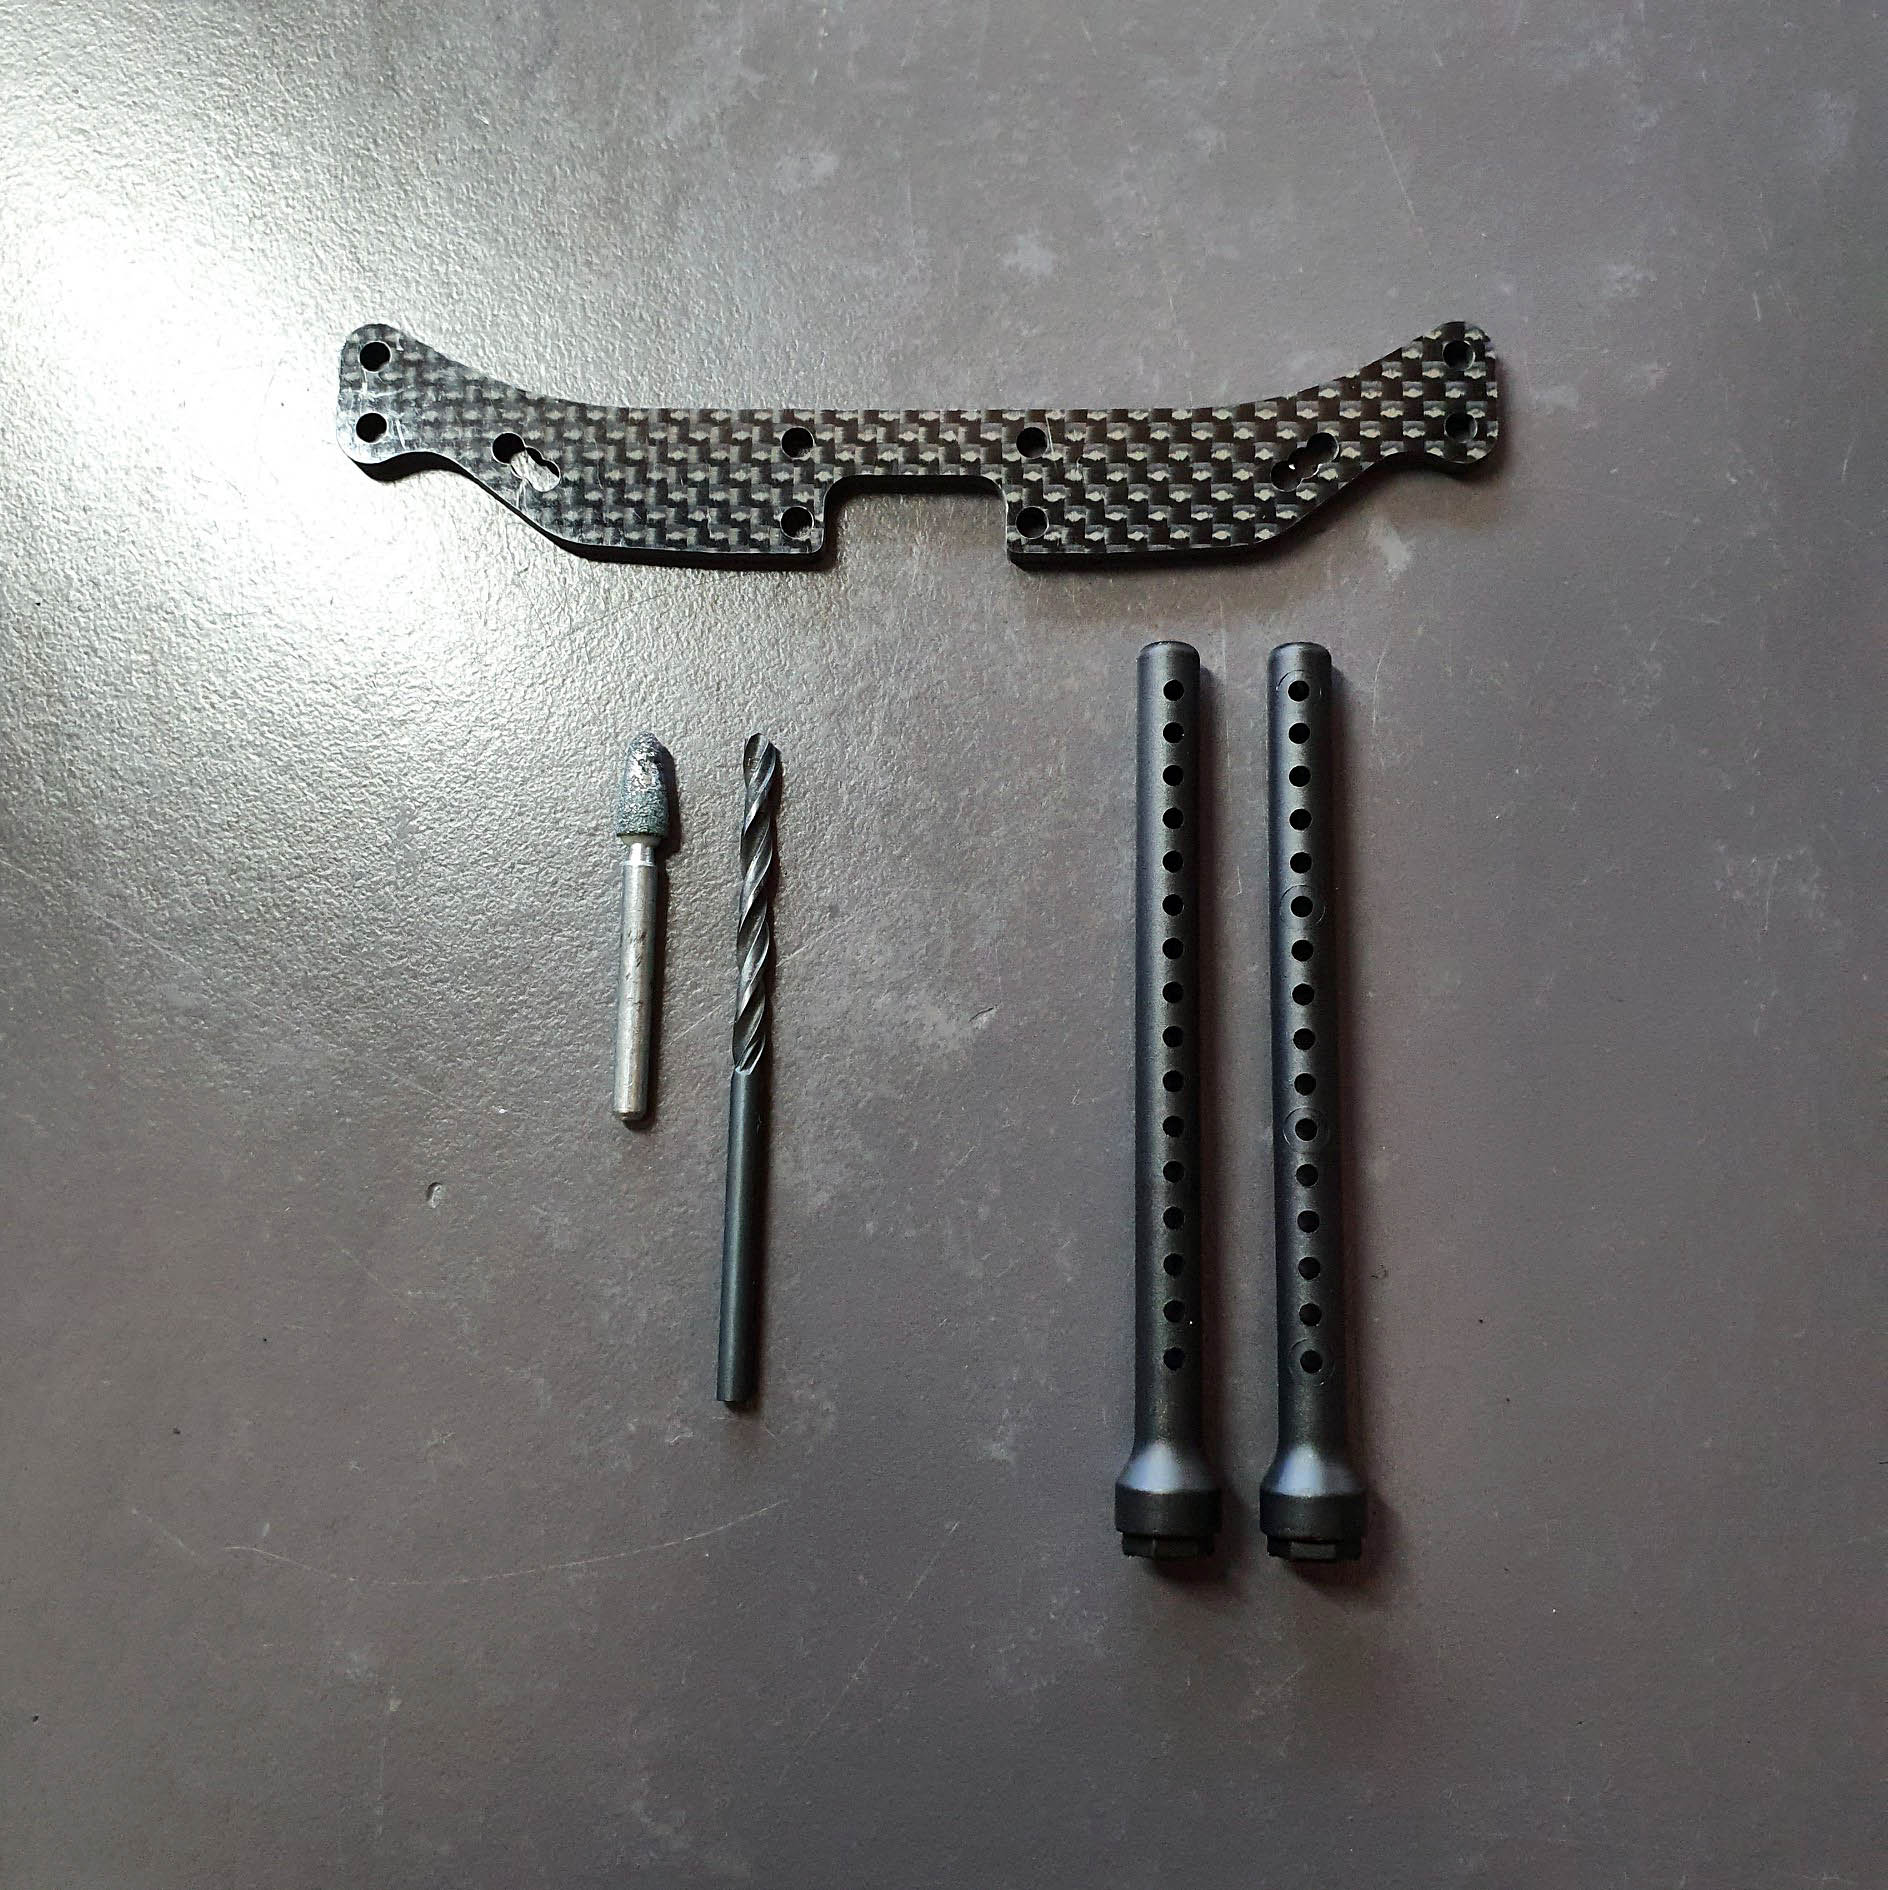
These are the items you’ll need next. A drill and a Dremel tool with the required bits. A rear shock tower which you’re willing to “sacrifice” for this purpose. Two front body posts for mounting the body.
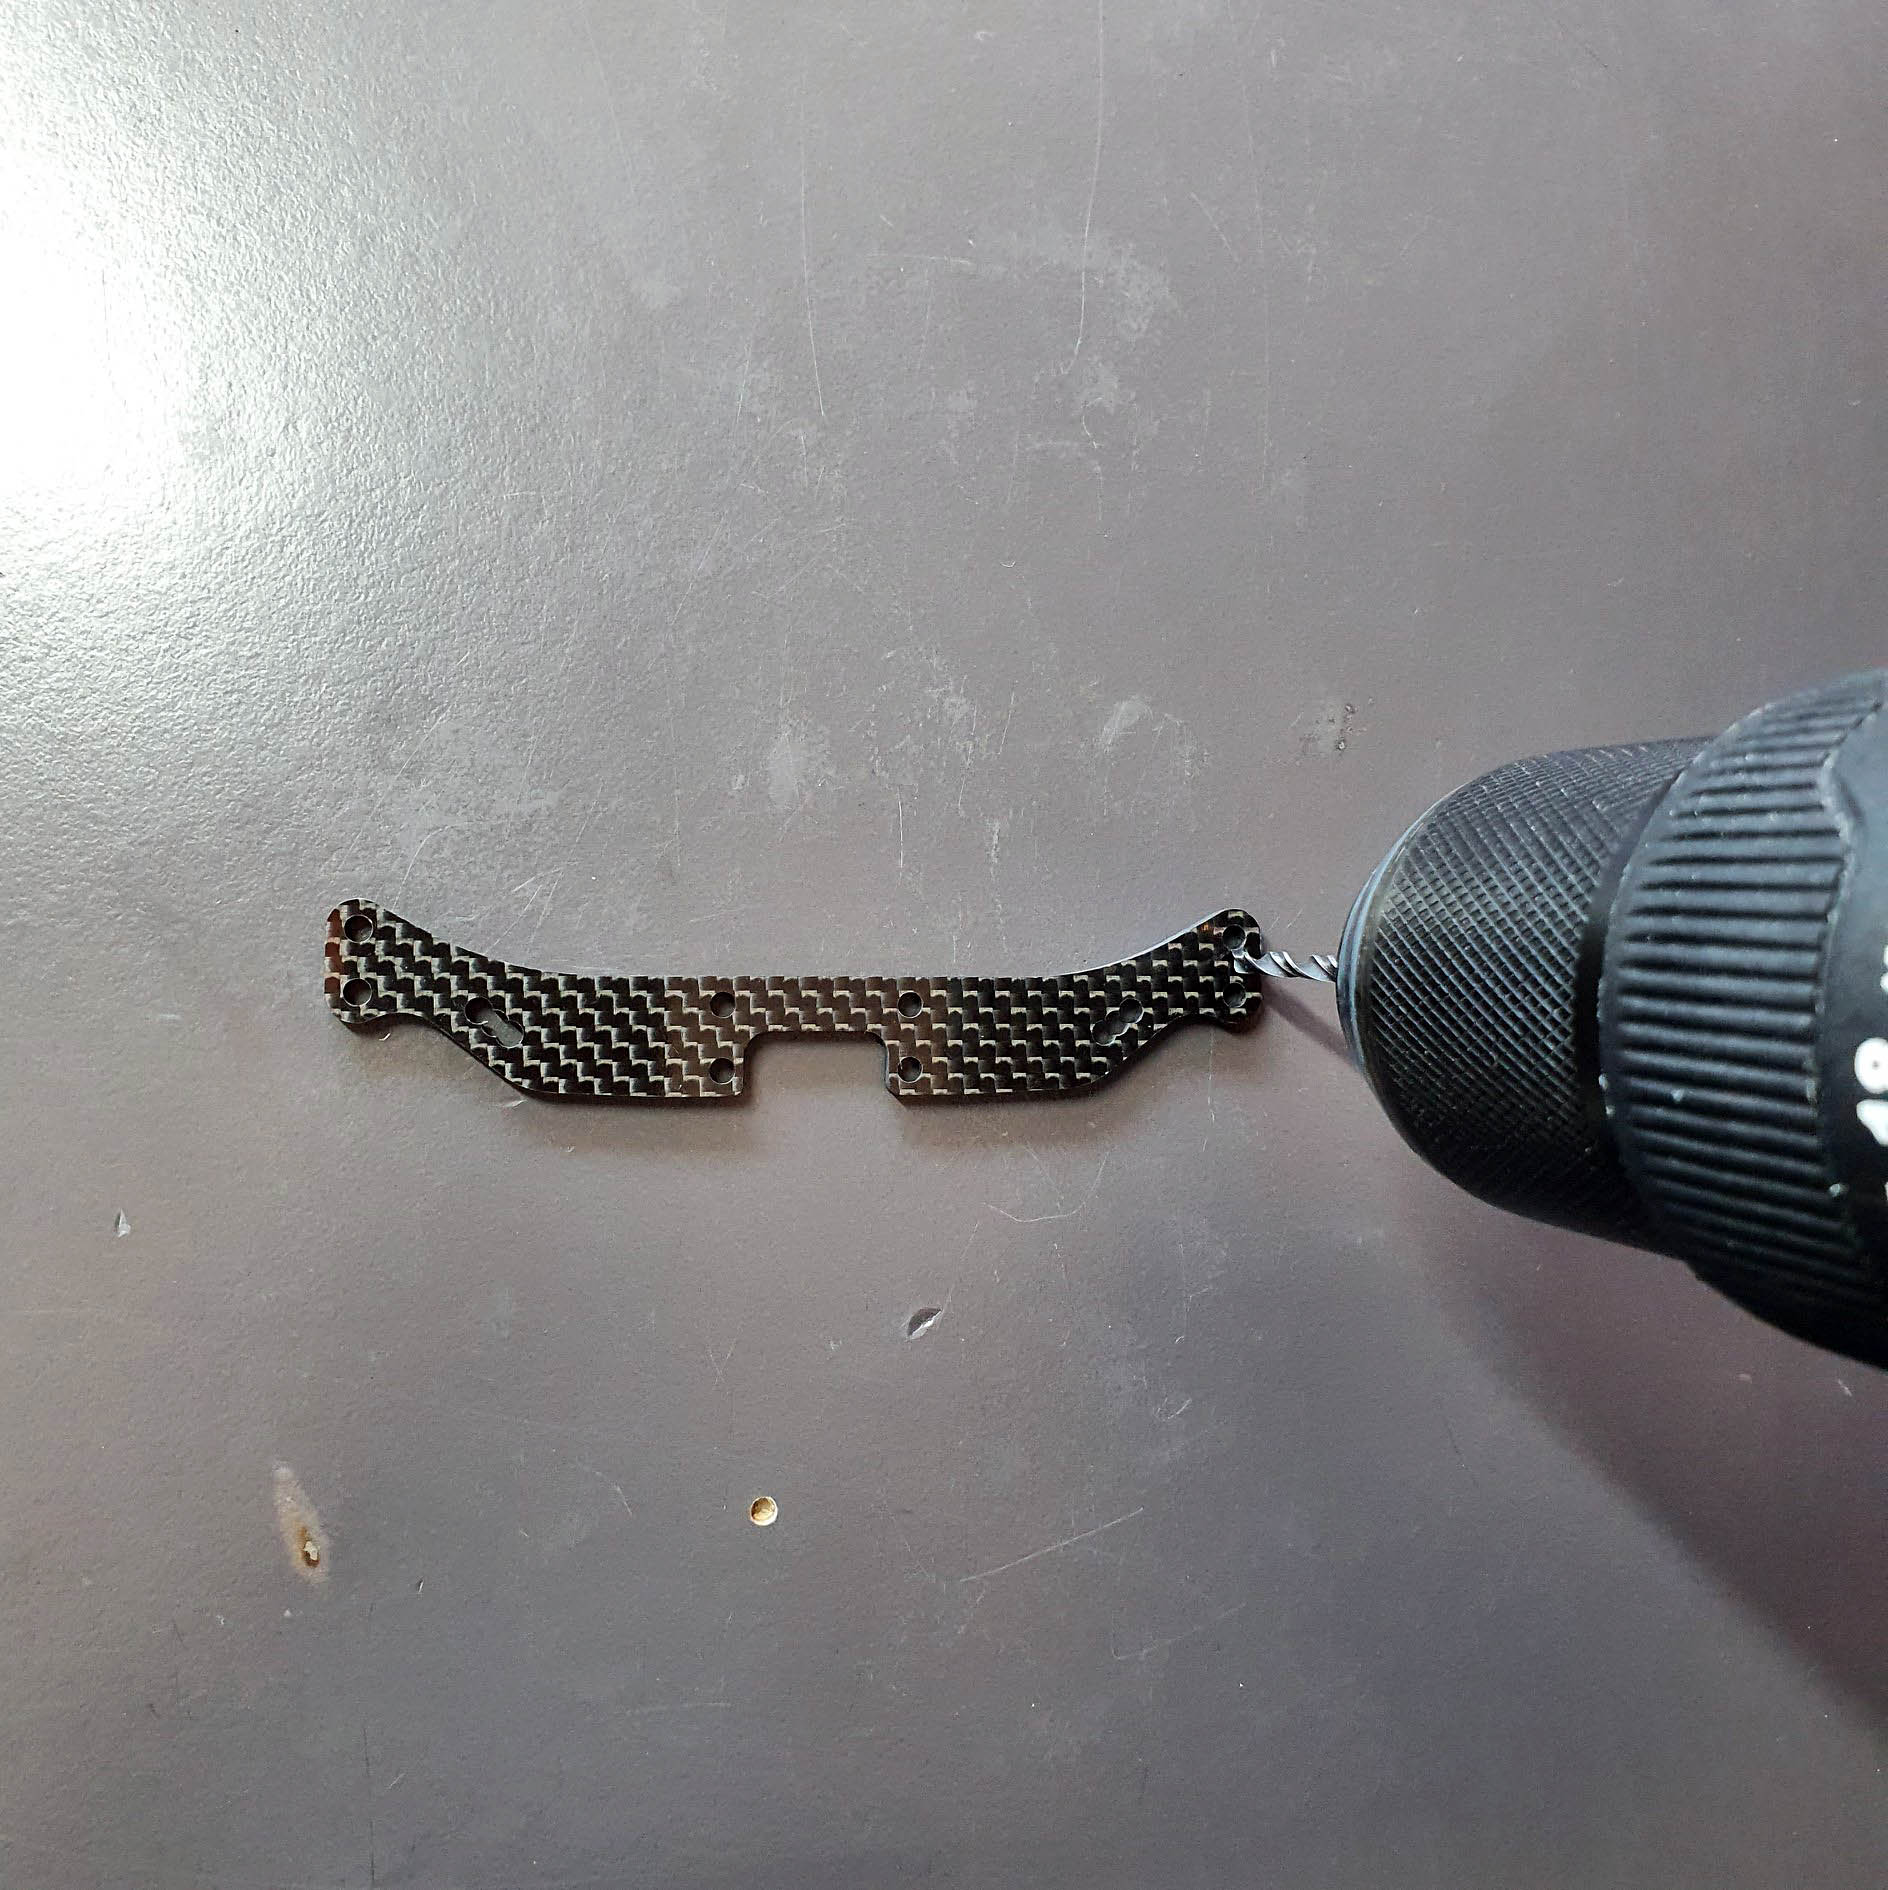
Start off by drilling a hole in between the two current holes on the shock tower.
Use a small sanding bit on a Dremel tool to cut it into a long slot.
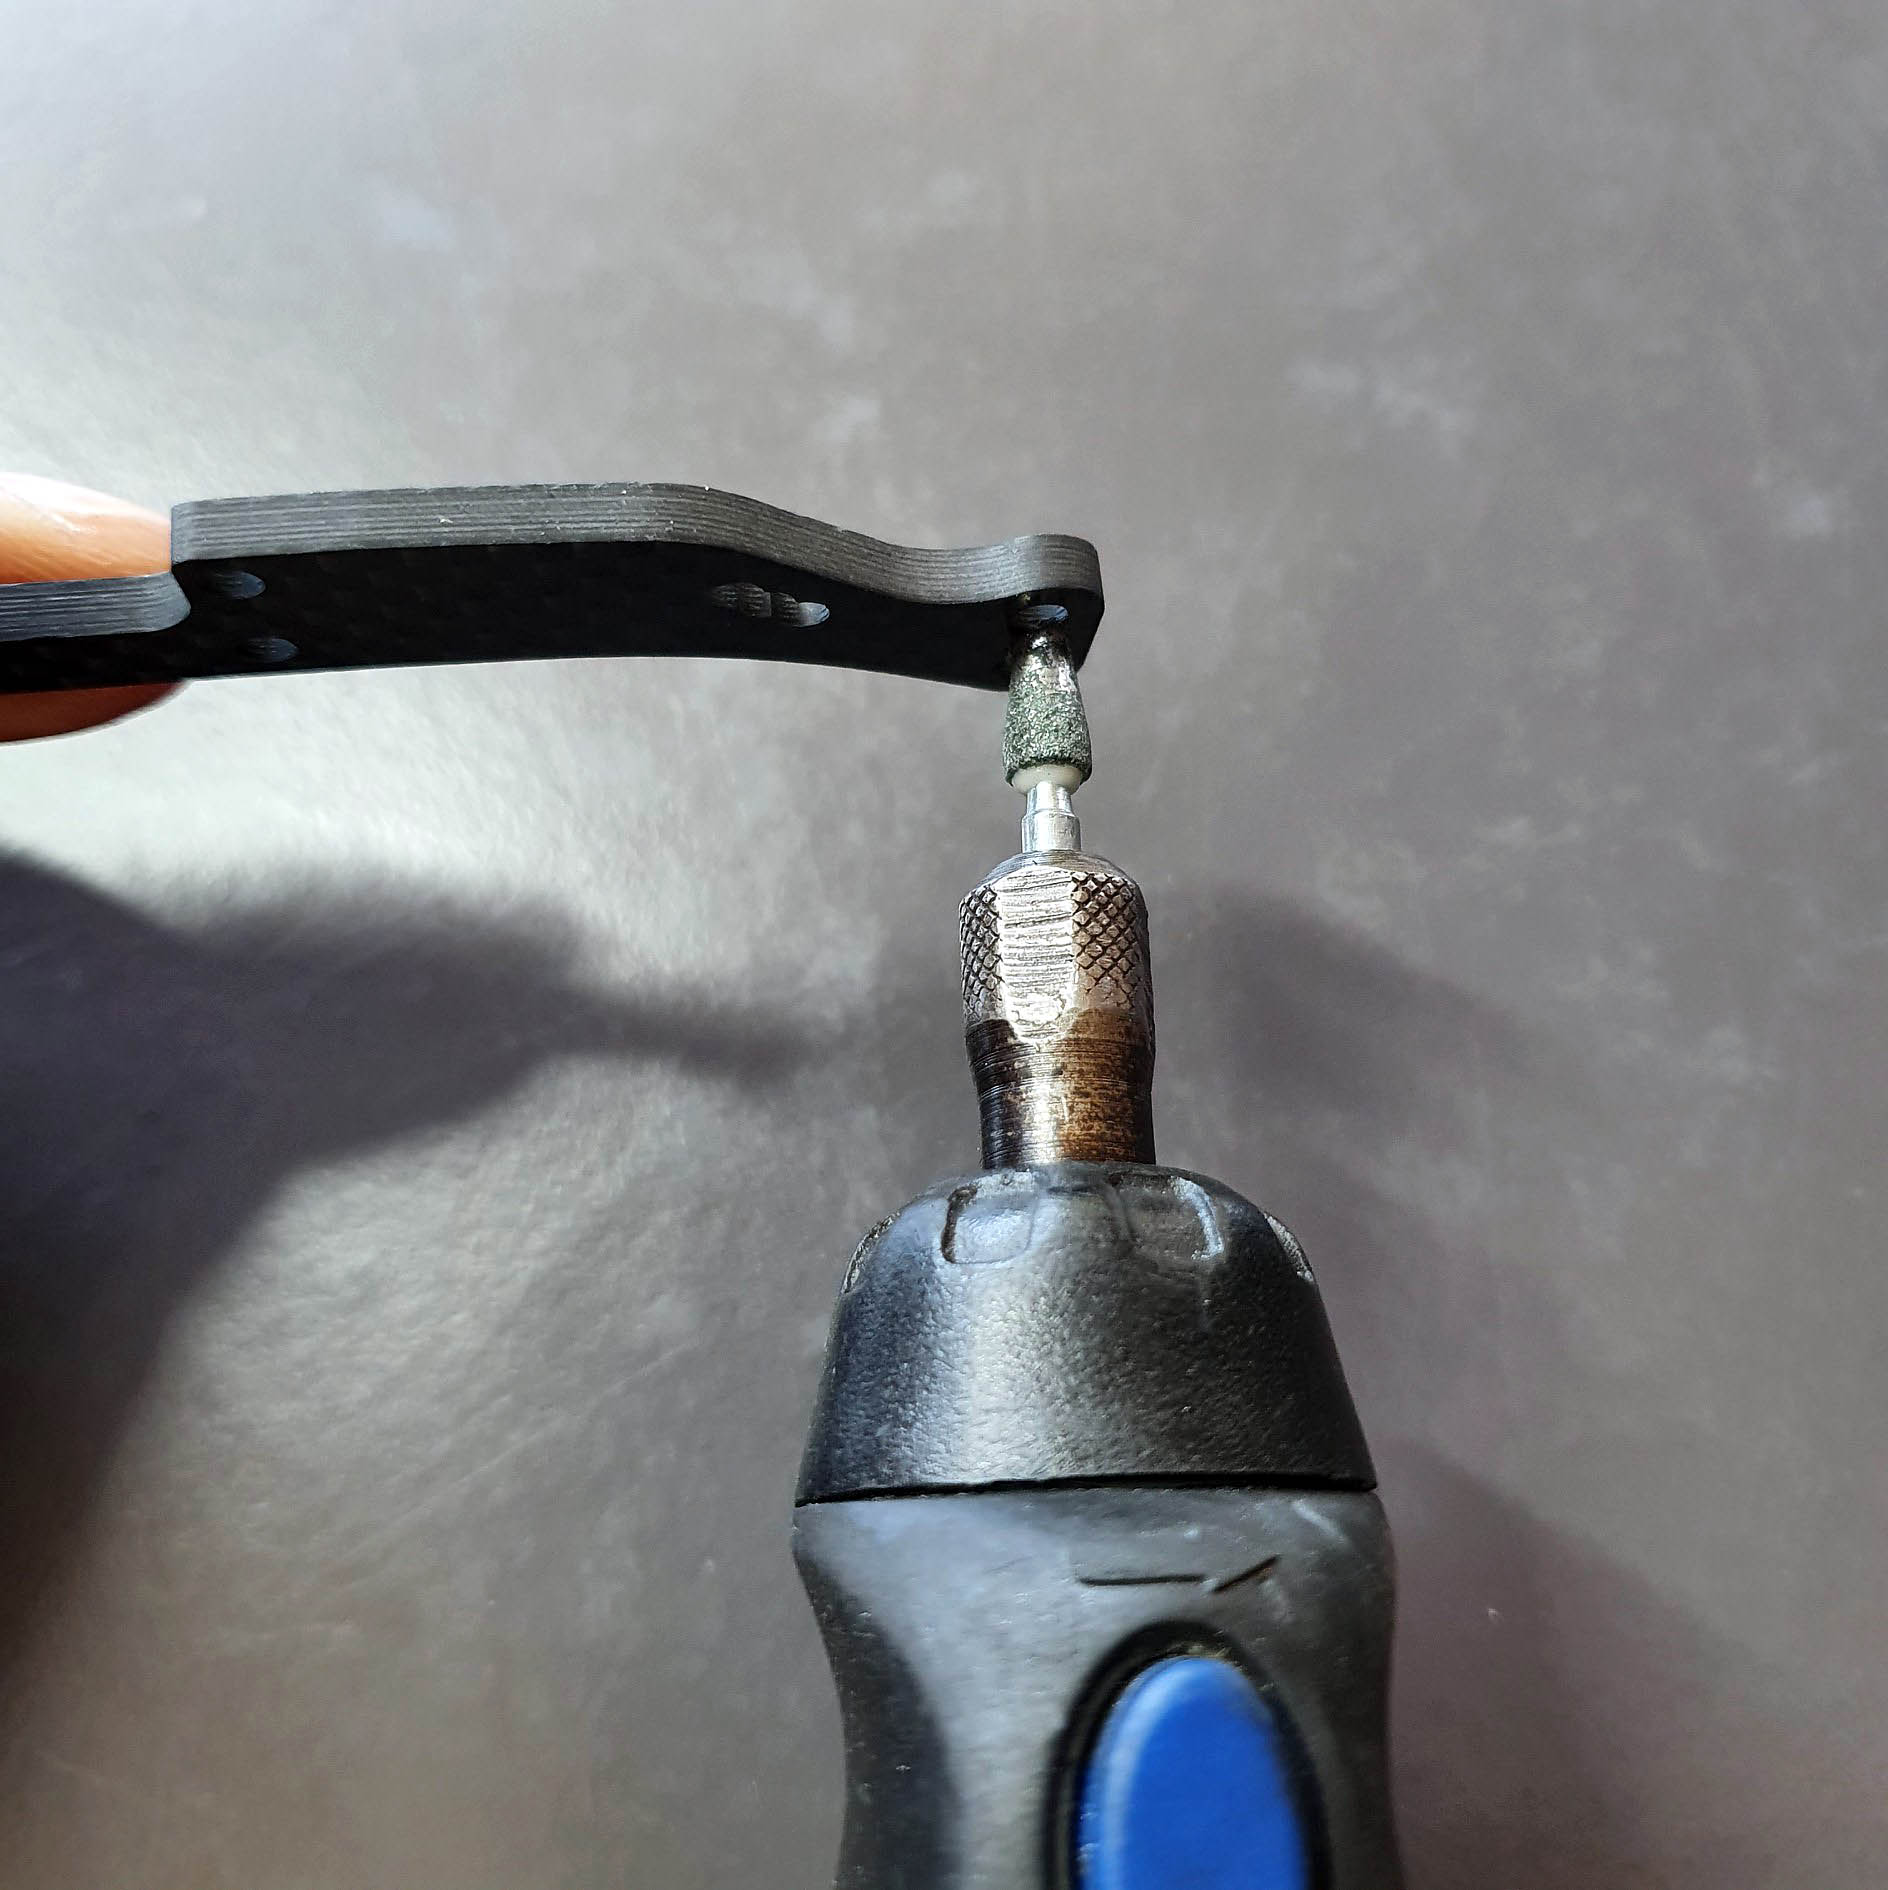
Once done, you now have a slot in which you can slide the body post upwards and downwards, for height adjustment.
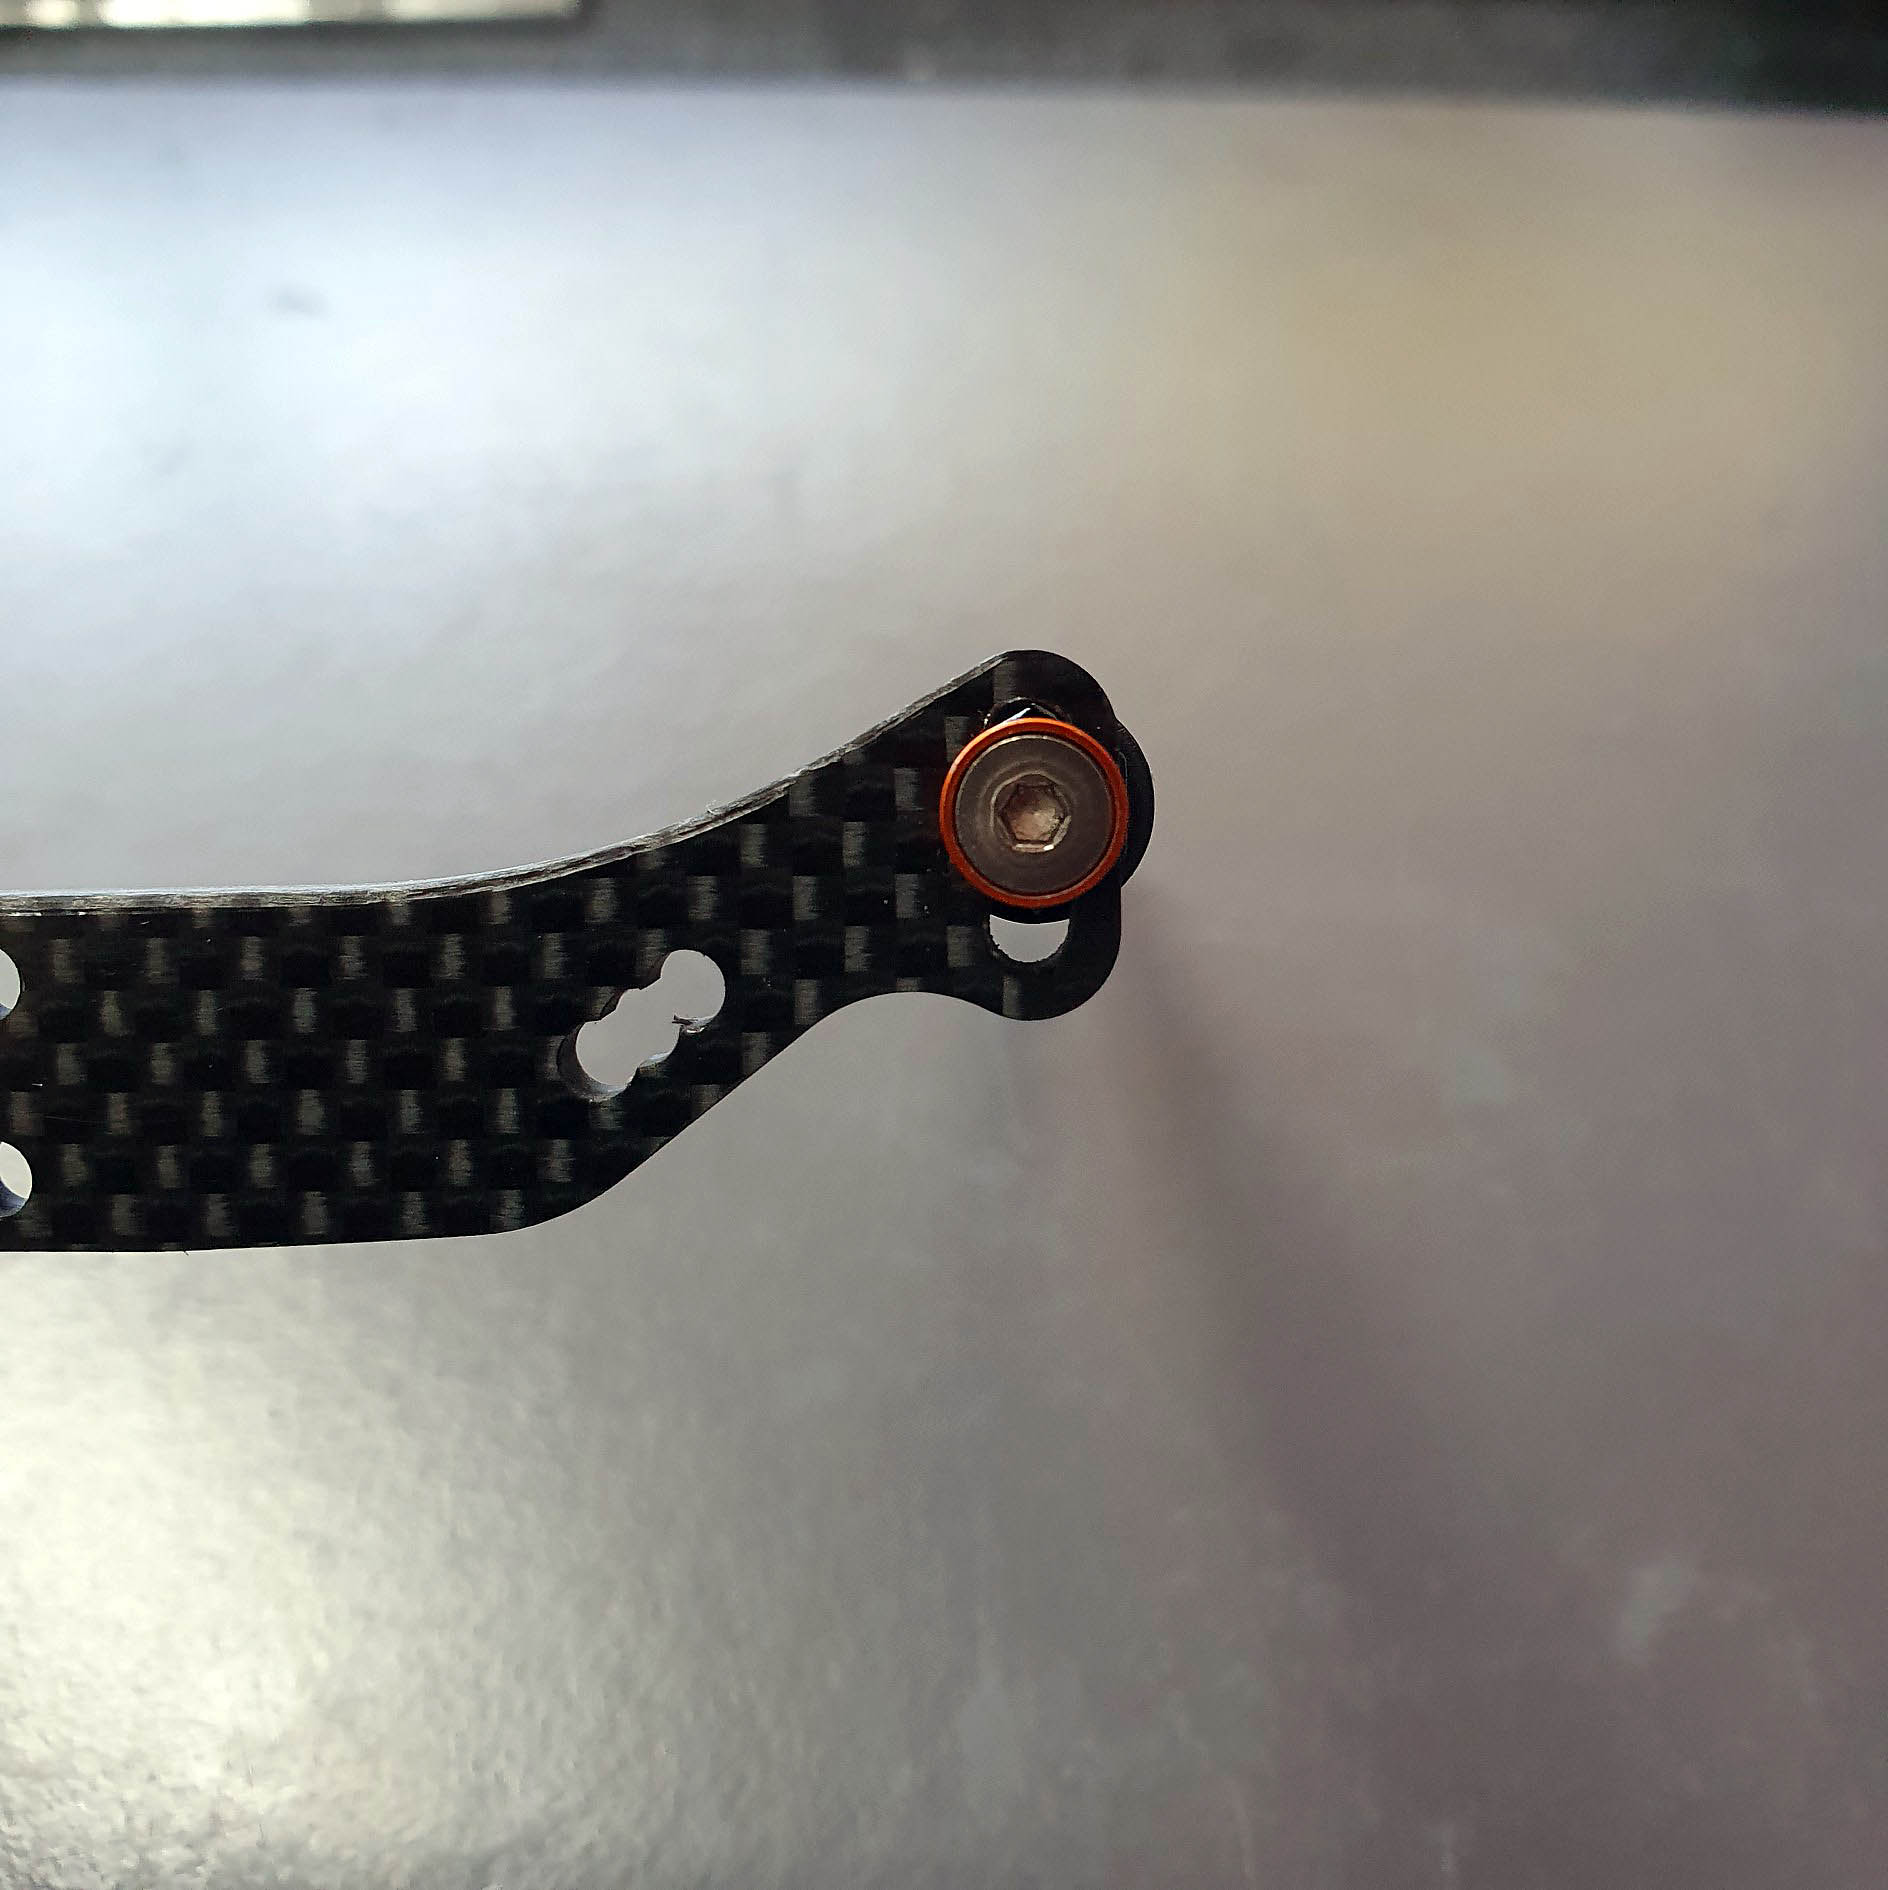
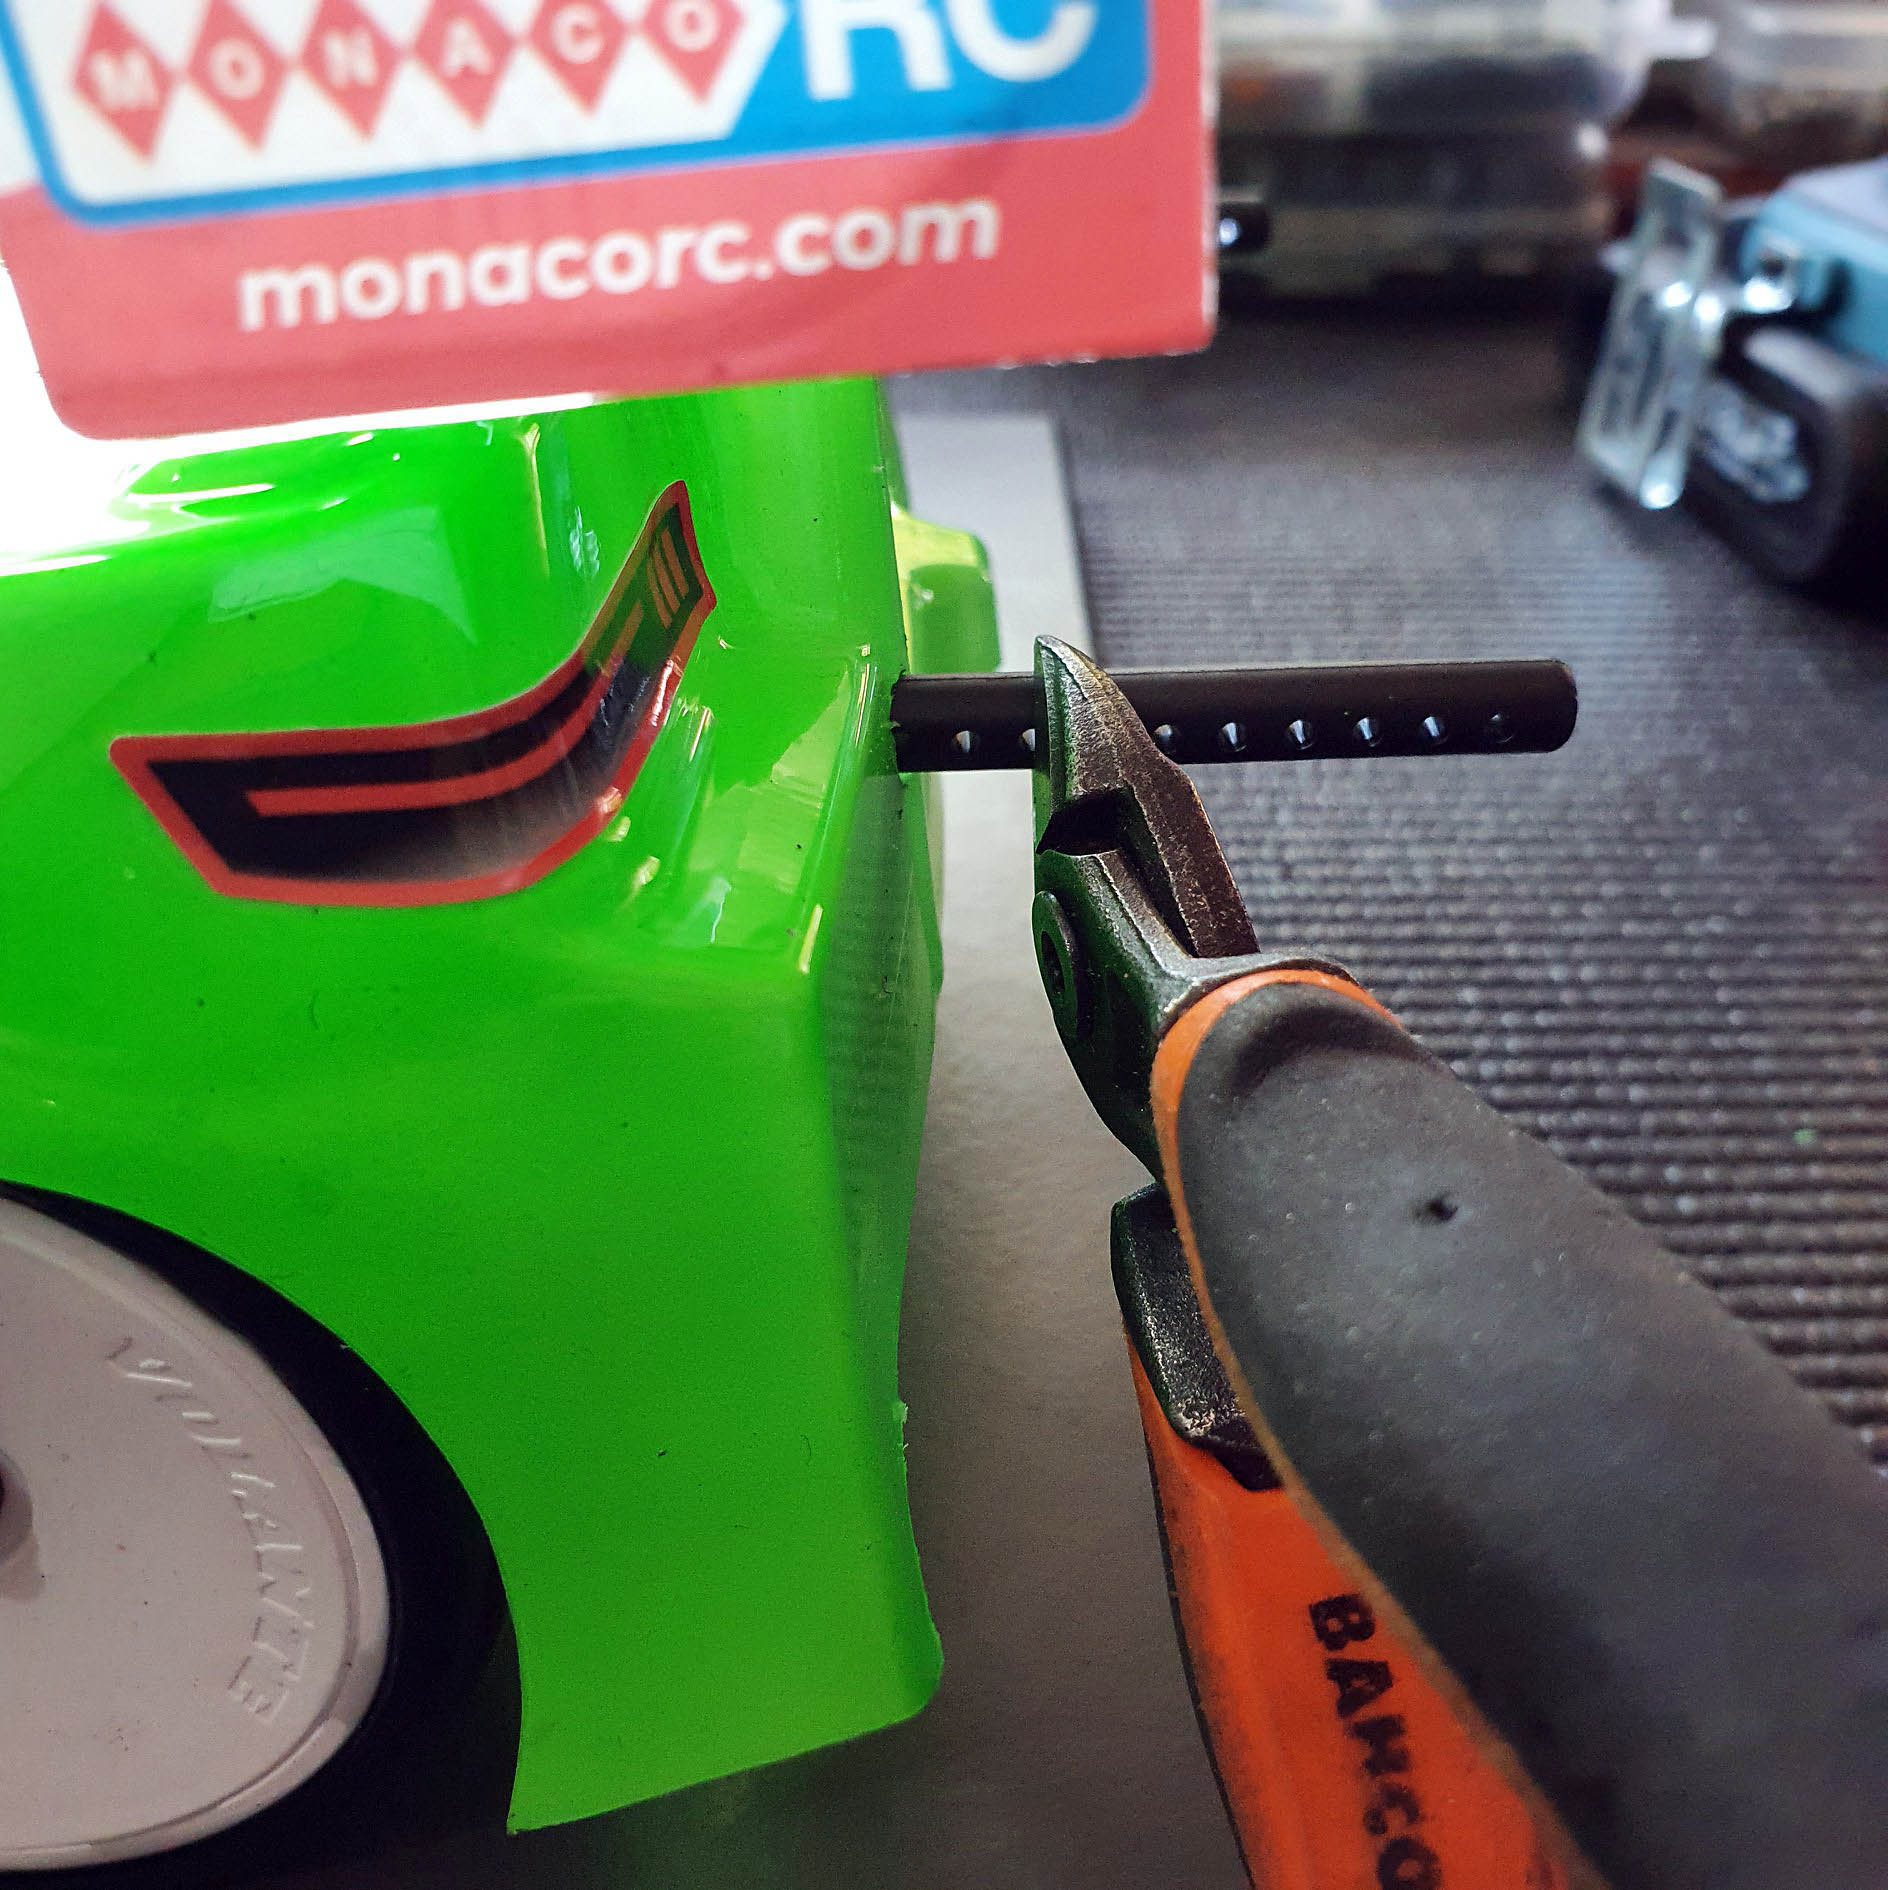
Cut the posts, and make sure that you’ll leave space for the outside clip.
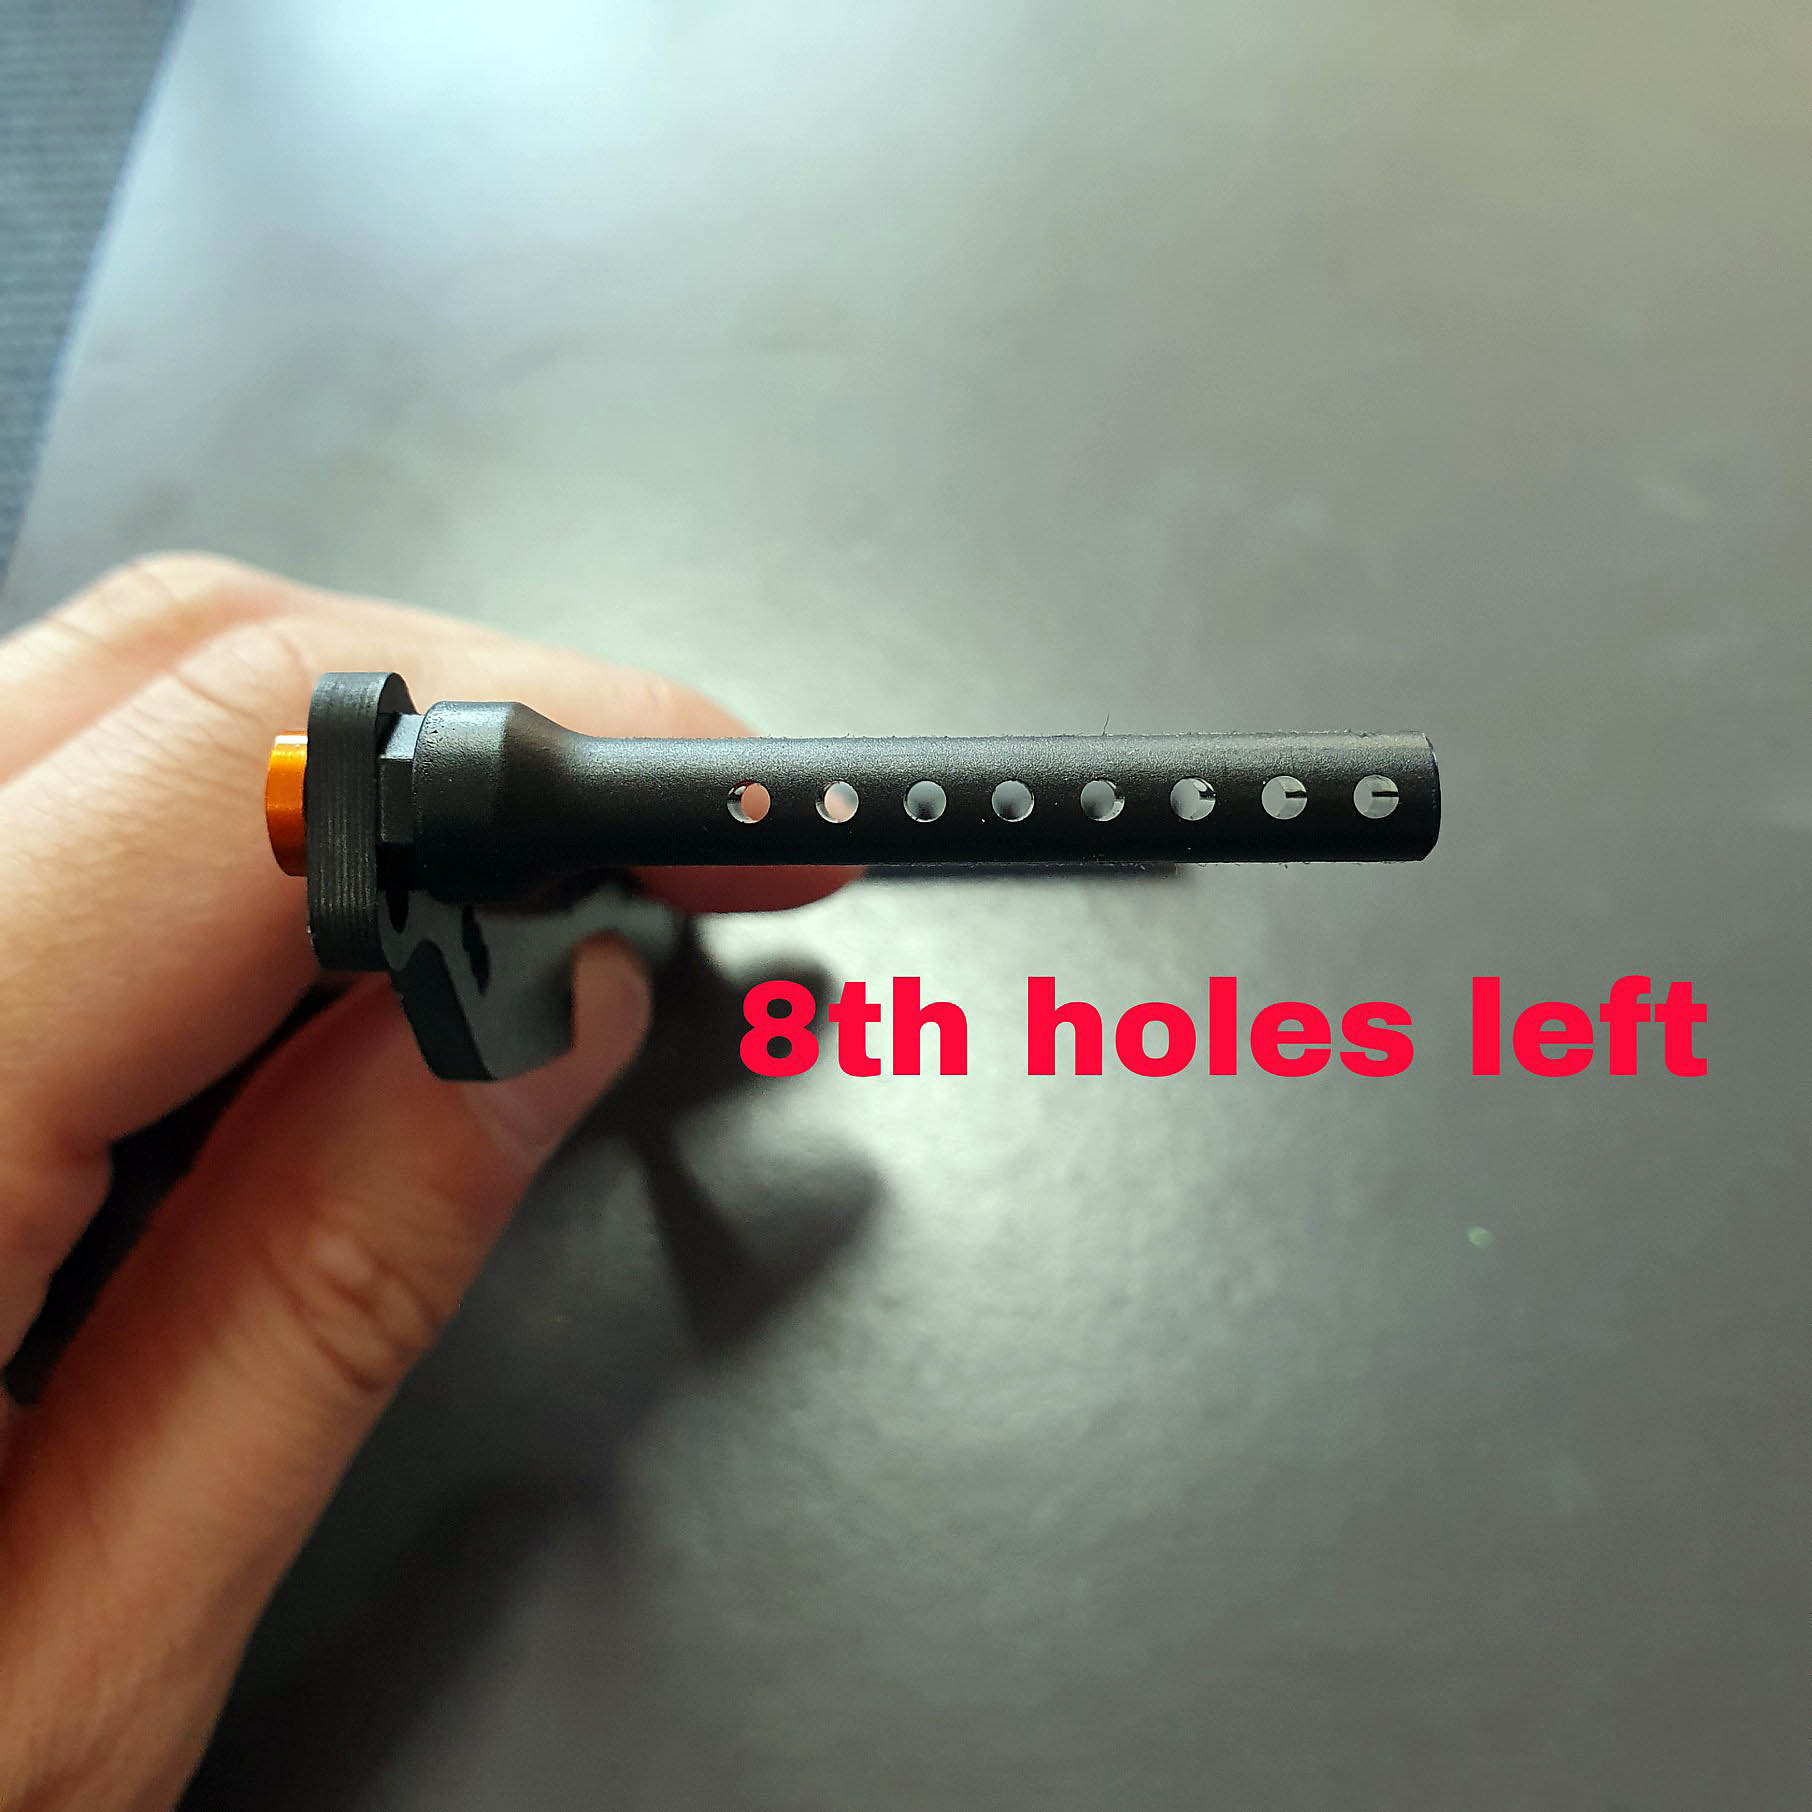
On the Twister body, mounted at 67mm, I recommend leaving 8th holes on the post.
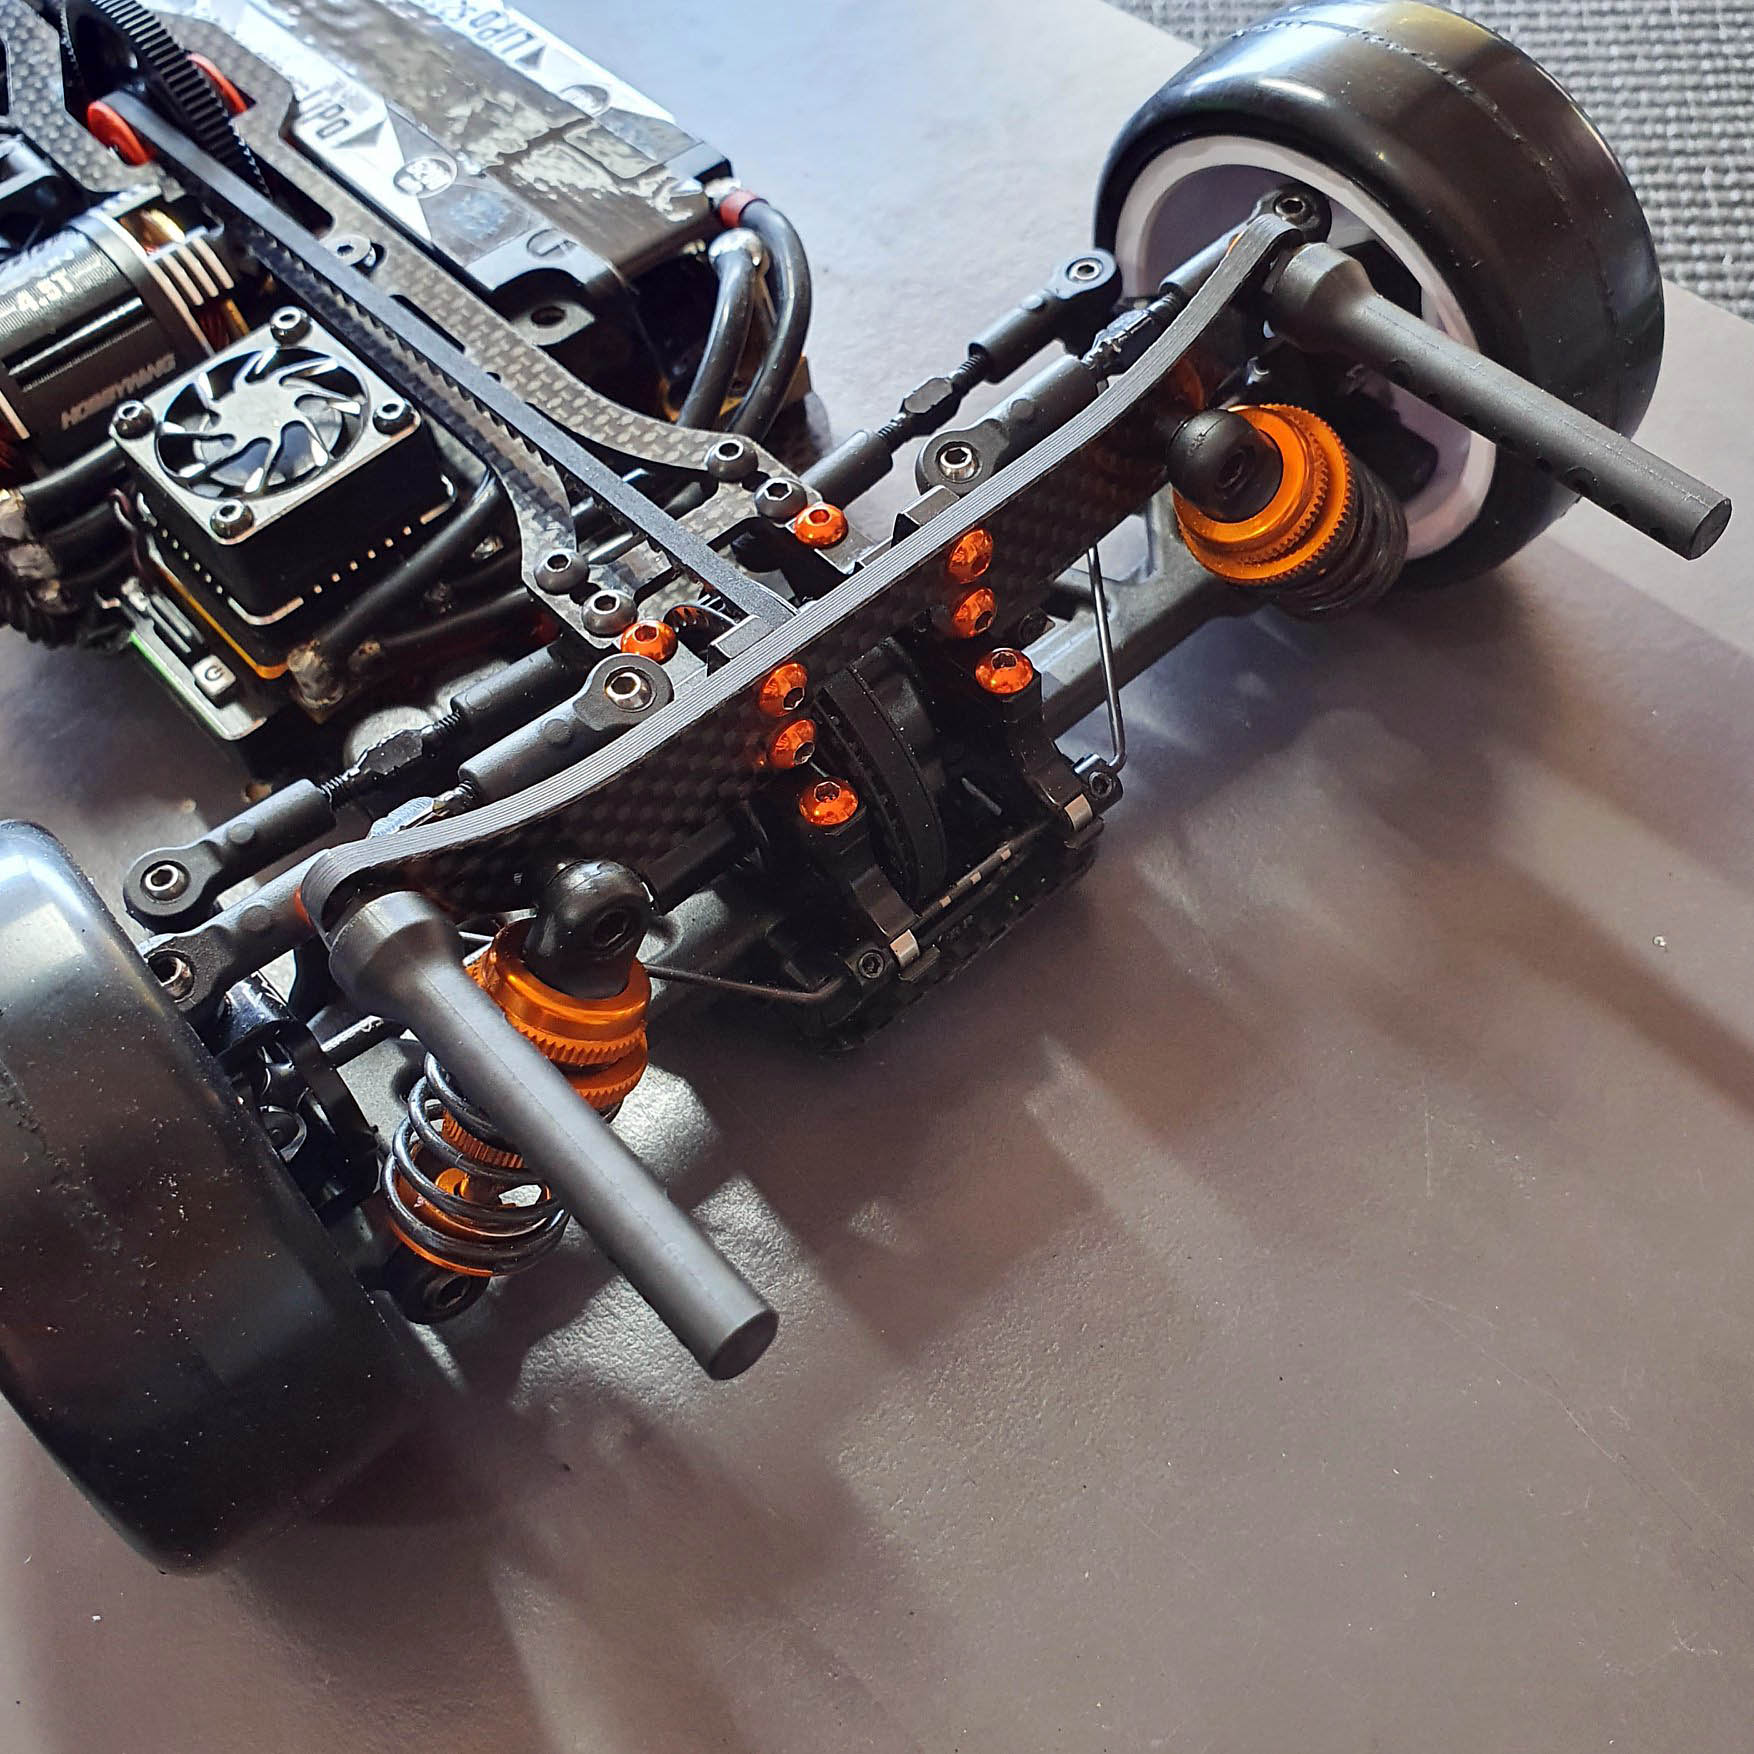
The end result!
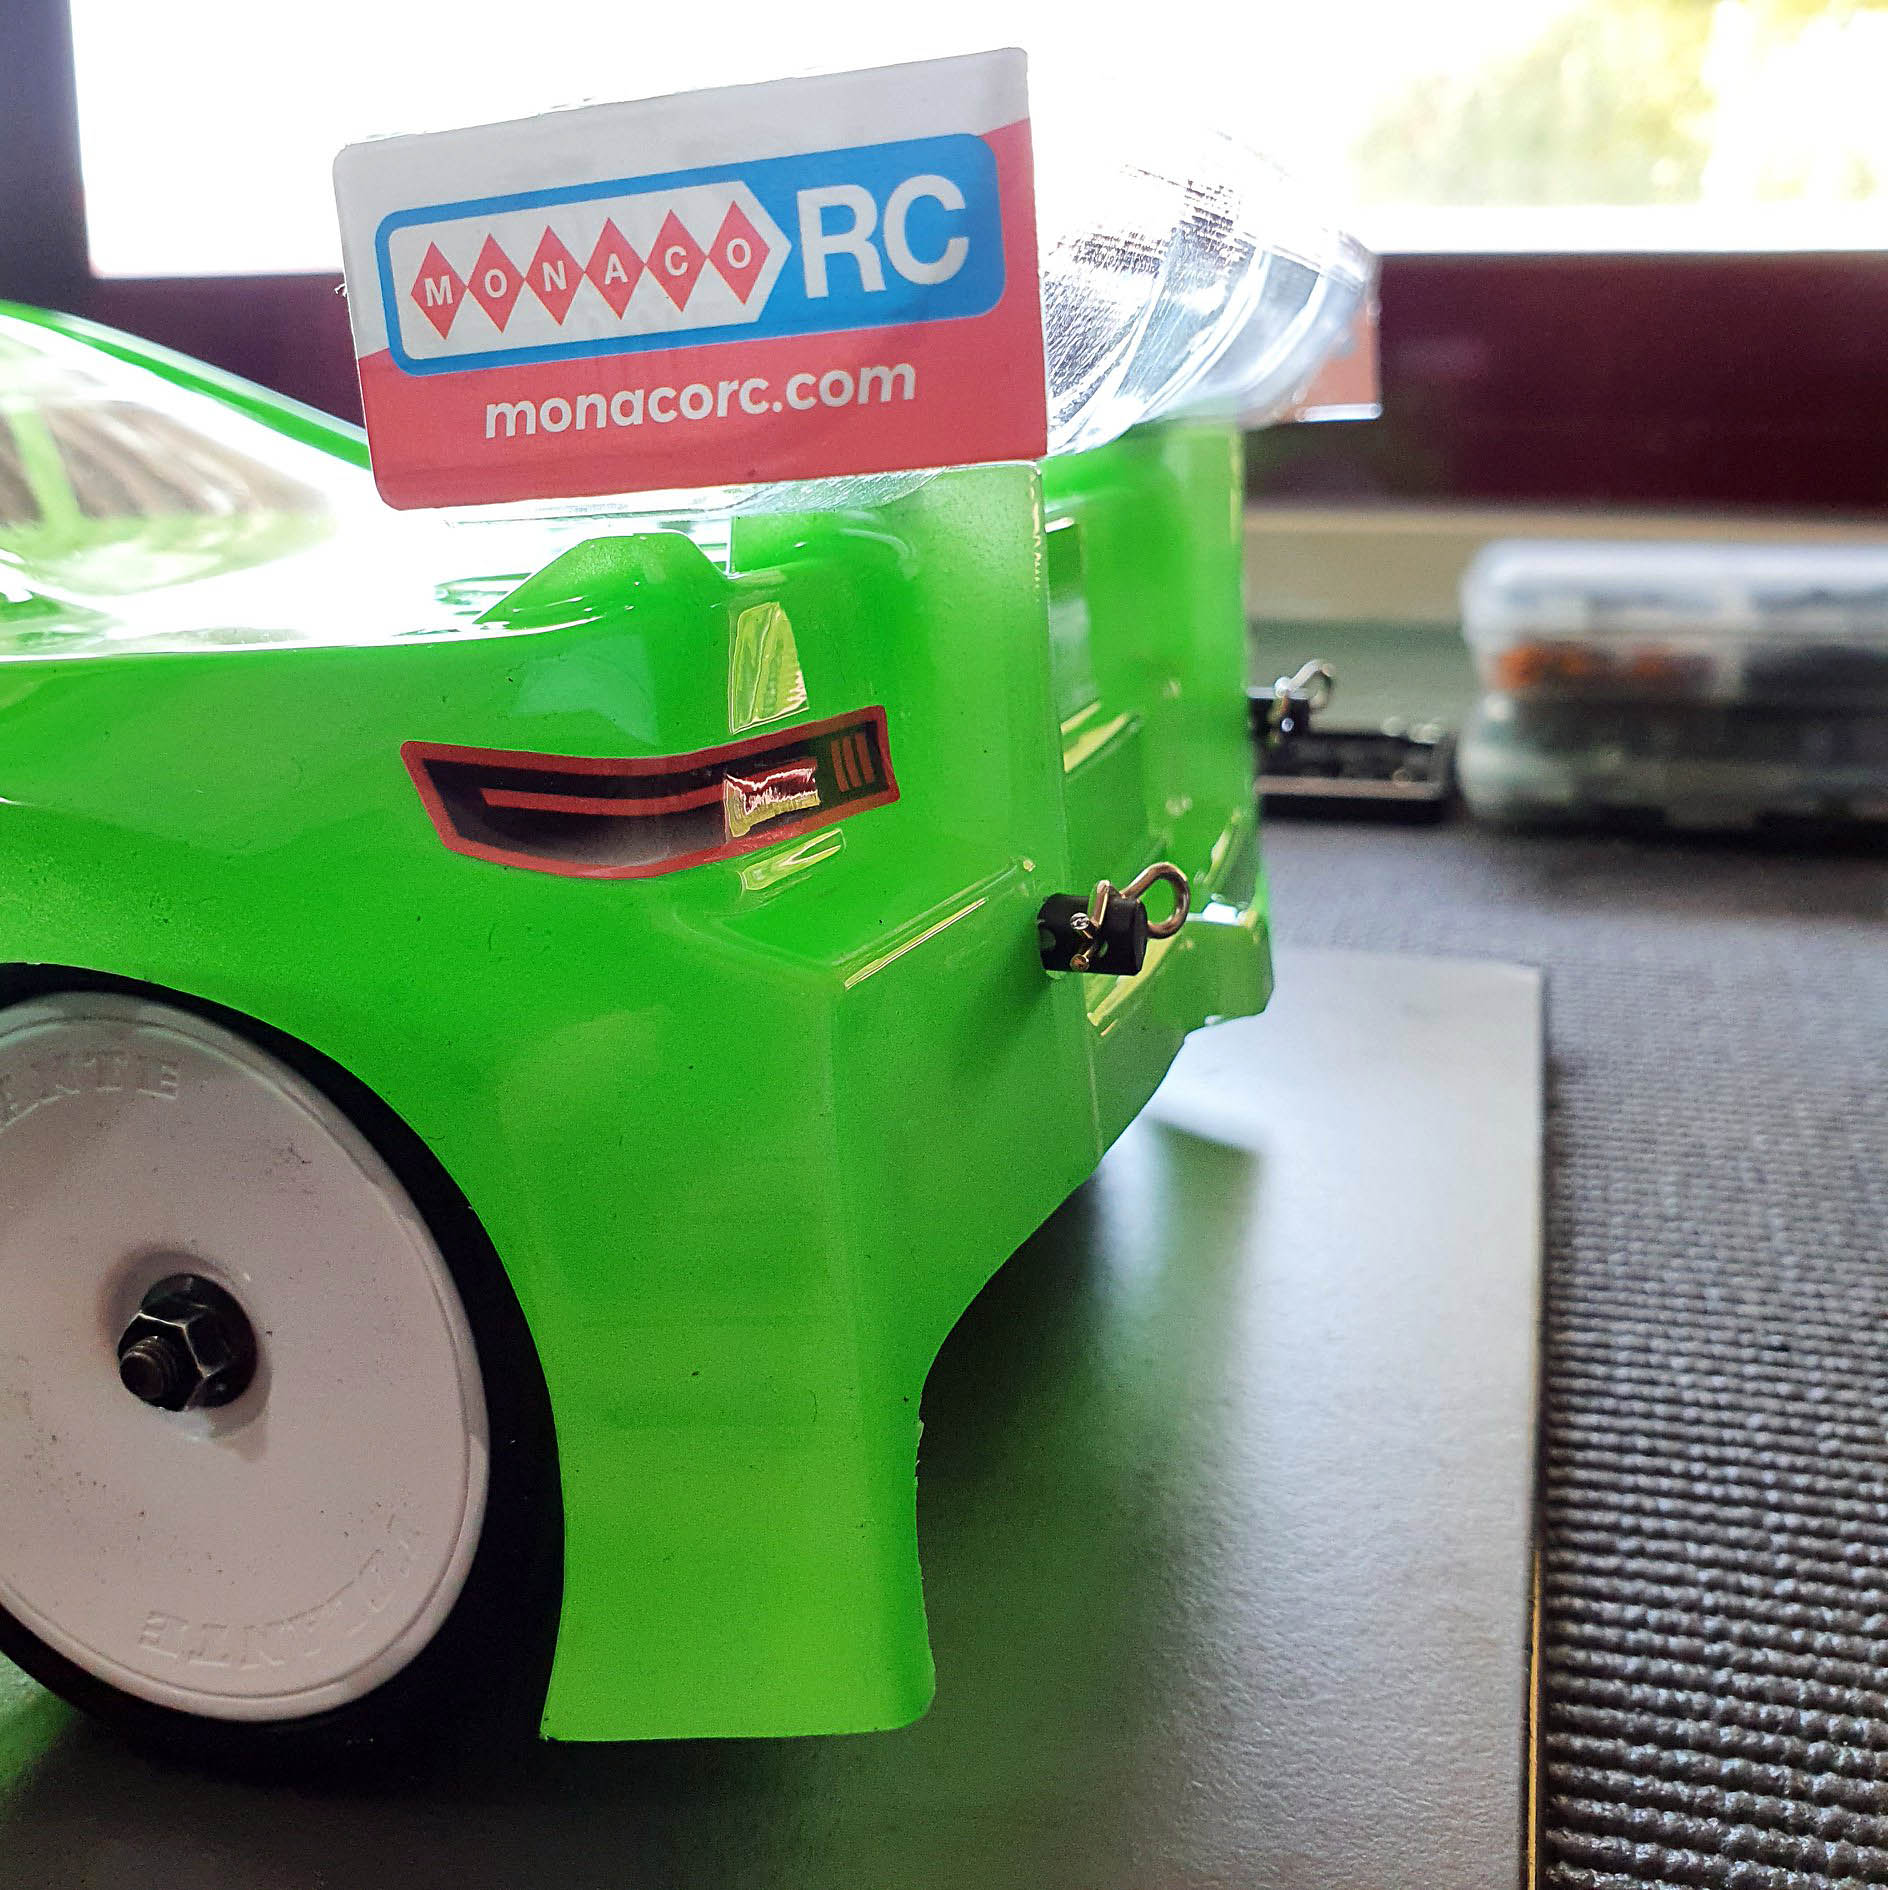
With body clips mounted. I also recommend using a clip on the inside of the bodyshell, to support it from folding forward when you’re on the brakes.
|

