|
- Xpress RC XQ3S Build -
There arguably is another platform as versatile as 190 mm touring cars in the RC hobby. In addition to the various TC classes distinguished by levels of motor power, there are categories featuring more realistic bodies, such as USGT and VTA in the United States and other countries, or the MRC Longwy Winter Series GT10 featuring detailed Tamiya body shells. As my attention recently shifted to more realistic shells and still had some VTA tires from legacy project lying around, I thought about converting my Iris ONE 0.5 by adding Protoform's '71 Camaro into the mix. Unfortunately, the front wheels rubbed against the carbon fiber steering arms and I had to look for something else. Buying another premium kit for a fun project was out of question, though, and as there were already two Tamiya TT01Es for our club's MAC Youngtimer Challenge and the RCK Kleinserie Porsche Cup respectively, there had to be something in between... enter the Xpress S-line of kits.
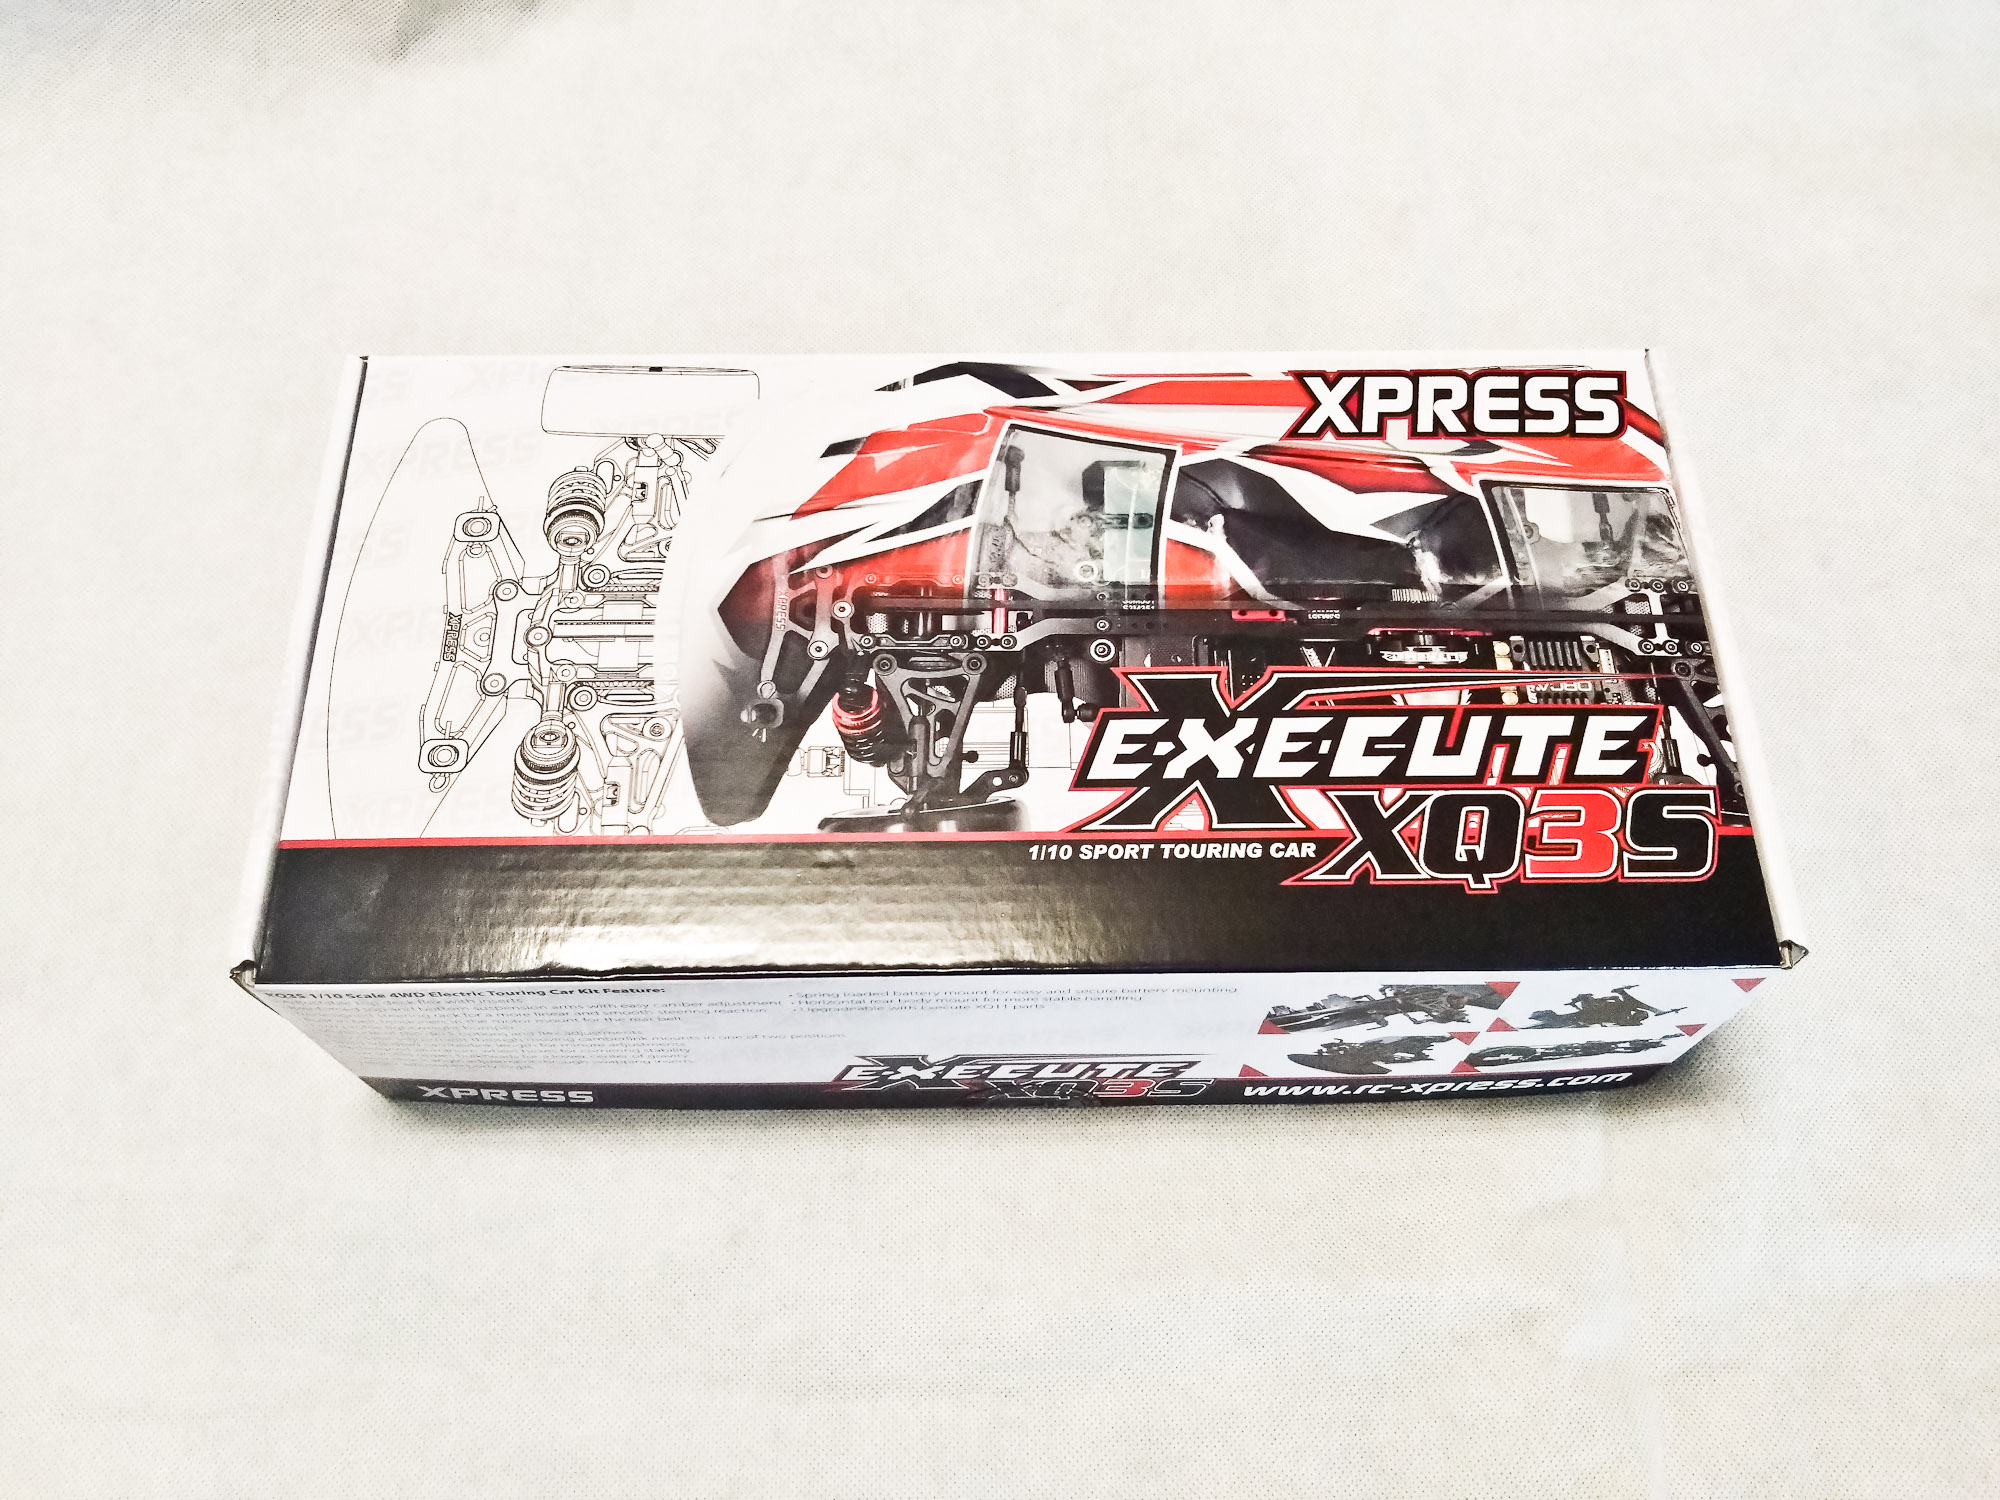
If you never heard of Xpress, here's a quick introduction: Back in the day, the brand used to be quite successful on racetracks around the world before disappearing for a while. A few years ago, the Dinball group, also the owner of Yeah Racing and rcmart, decided to buy and reactivate the brand. By offering not only high-spec race kits but also cost-effective sport (or S) versions of their cars, they quickly became popular with hobbyists around the globe - similarly to the early days of Xray, when the T1R and T2R were frequently seen in the hands of club racers. German distributor RC Kleinkram Stefan Klein, who is also behind ZooRacing, recently named Xpress and the Execute XQ2S his favorite overall brand and product, owing to accessibility, customer feedback and his own experience as an average driver. While he was looking forward to the new sports touring car based of the XQ11, which e.g. had been successfully used by legend Atsushi Hara at the 2024 TITC, he mentioned that he was skeptical whether this feature-packed platform was as easy to use as its predecessor for such a wide range of customers and accordingly would not initially allow it in his Clubman Challenge, an affordable yet competitive series featuring classic BMW M3 bodies and attracting various sorts of racers. And while the idea of an easy-to-use chassis appealed to me, I was quickly swayed over by the modern layout of the XQ3S mid-motor design, pivot ball suspension, state-of-the-art captured wheel hexes, easily adjustable caster, and if it hadn't been for the optional double-joint drive shafts I ordered just because, for less than 200 euros, so way less than a third of the retail price of my beautiful Iris car. So let's see what the Xpress S-line is all about:
Inside the Box you'll find quite a complete package, in Europe minus the oils that seem to be included in the Asian market. In addition to the individual assemblies, there's an FRP parts bag, hardware and bearing bags, the foam bumper, bumper and body mount sprue, stickers, two identical belts and the printed manual, complemented with some leaflets indicating part number changes and additional information on set-up and the oil packaging situation.
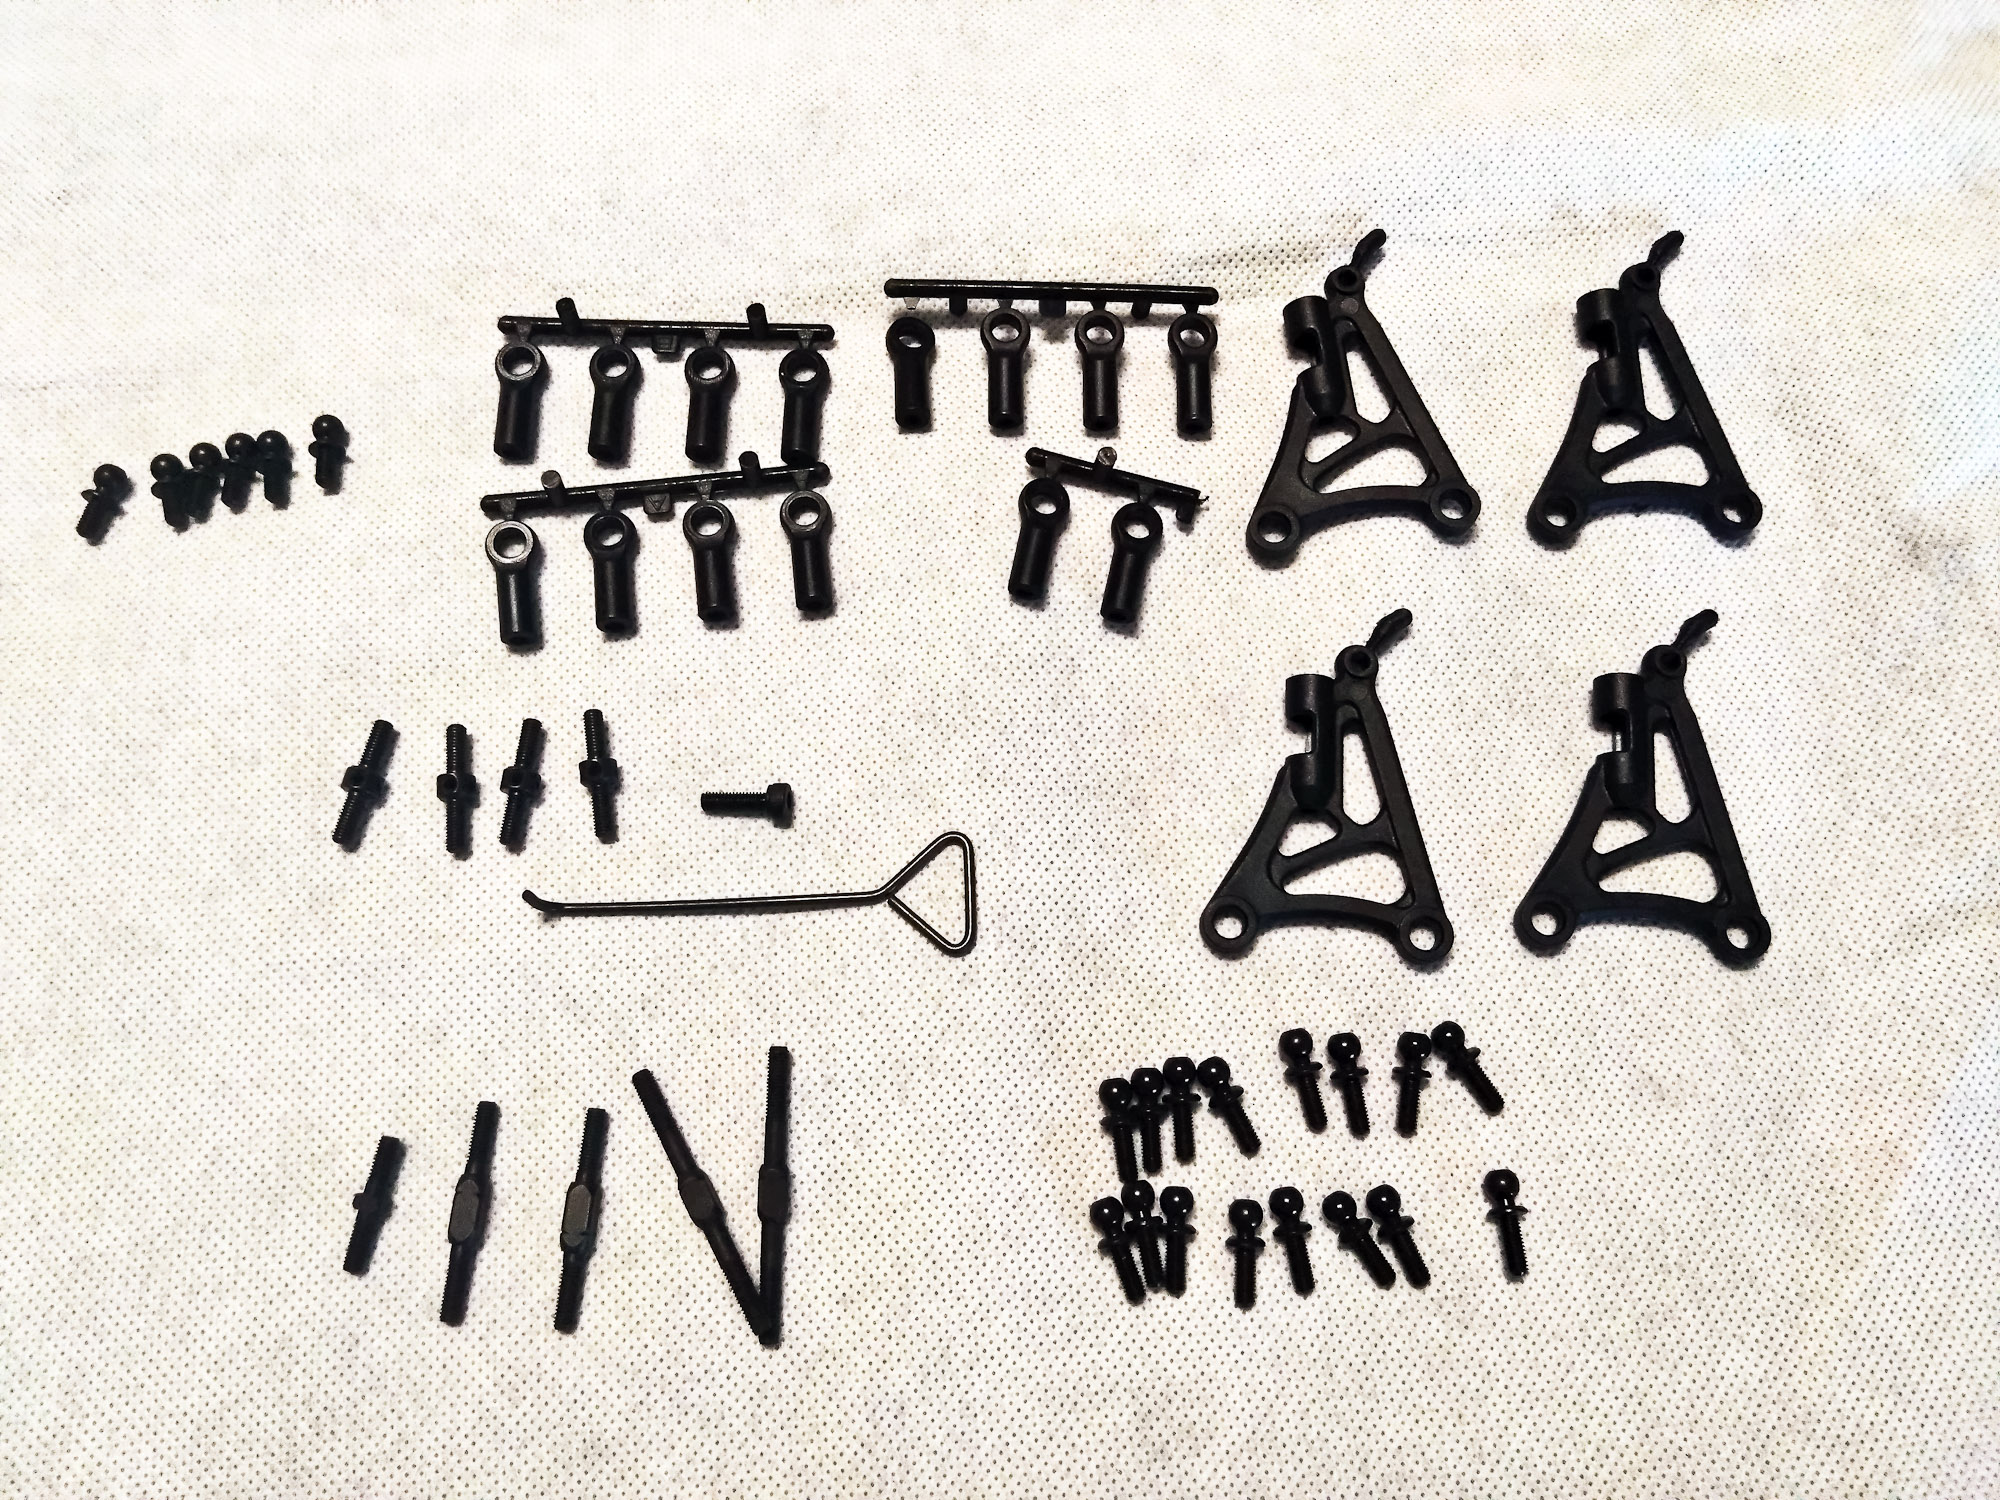
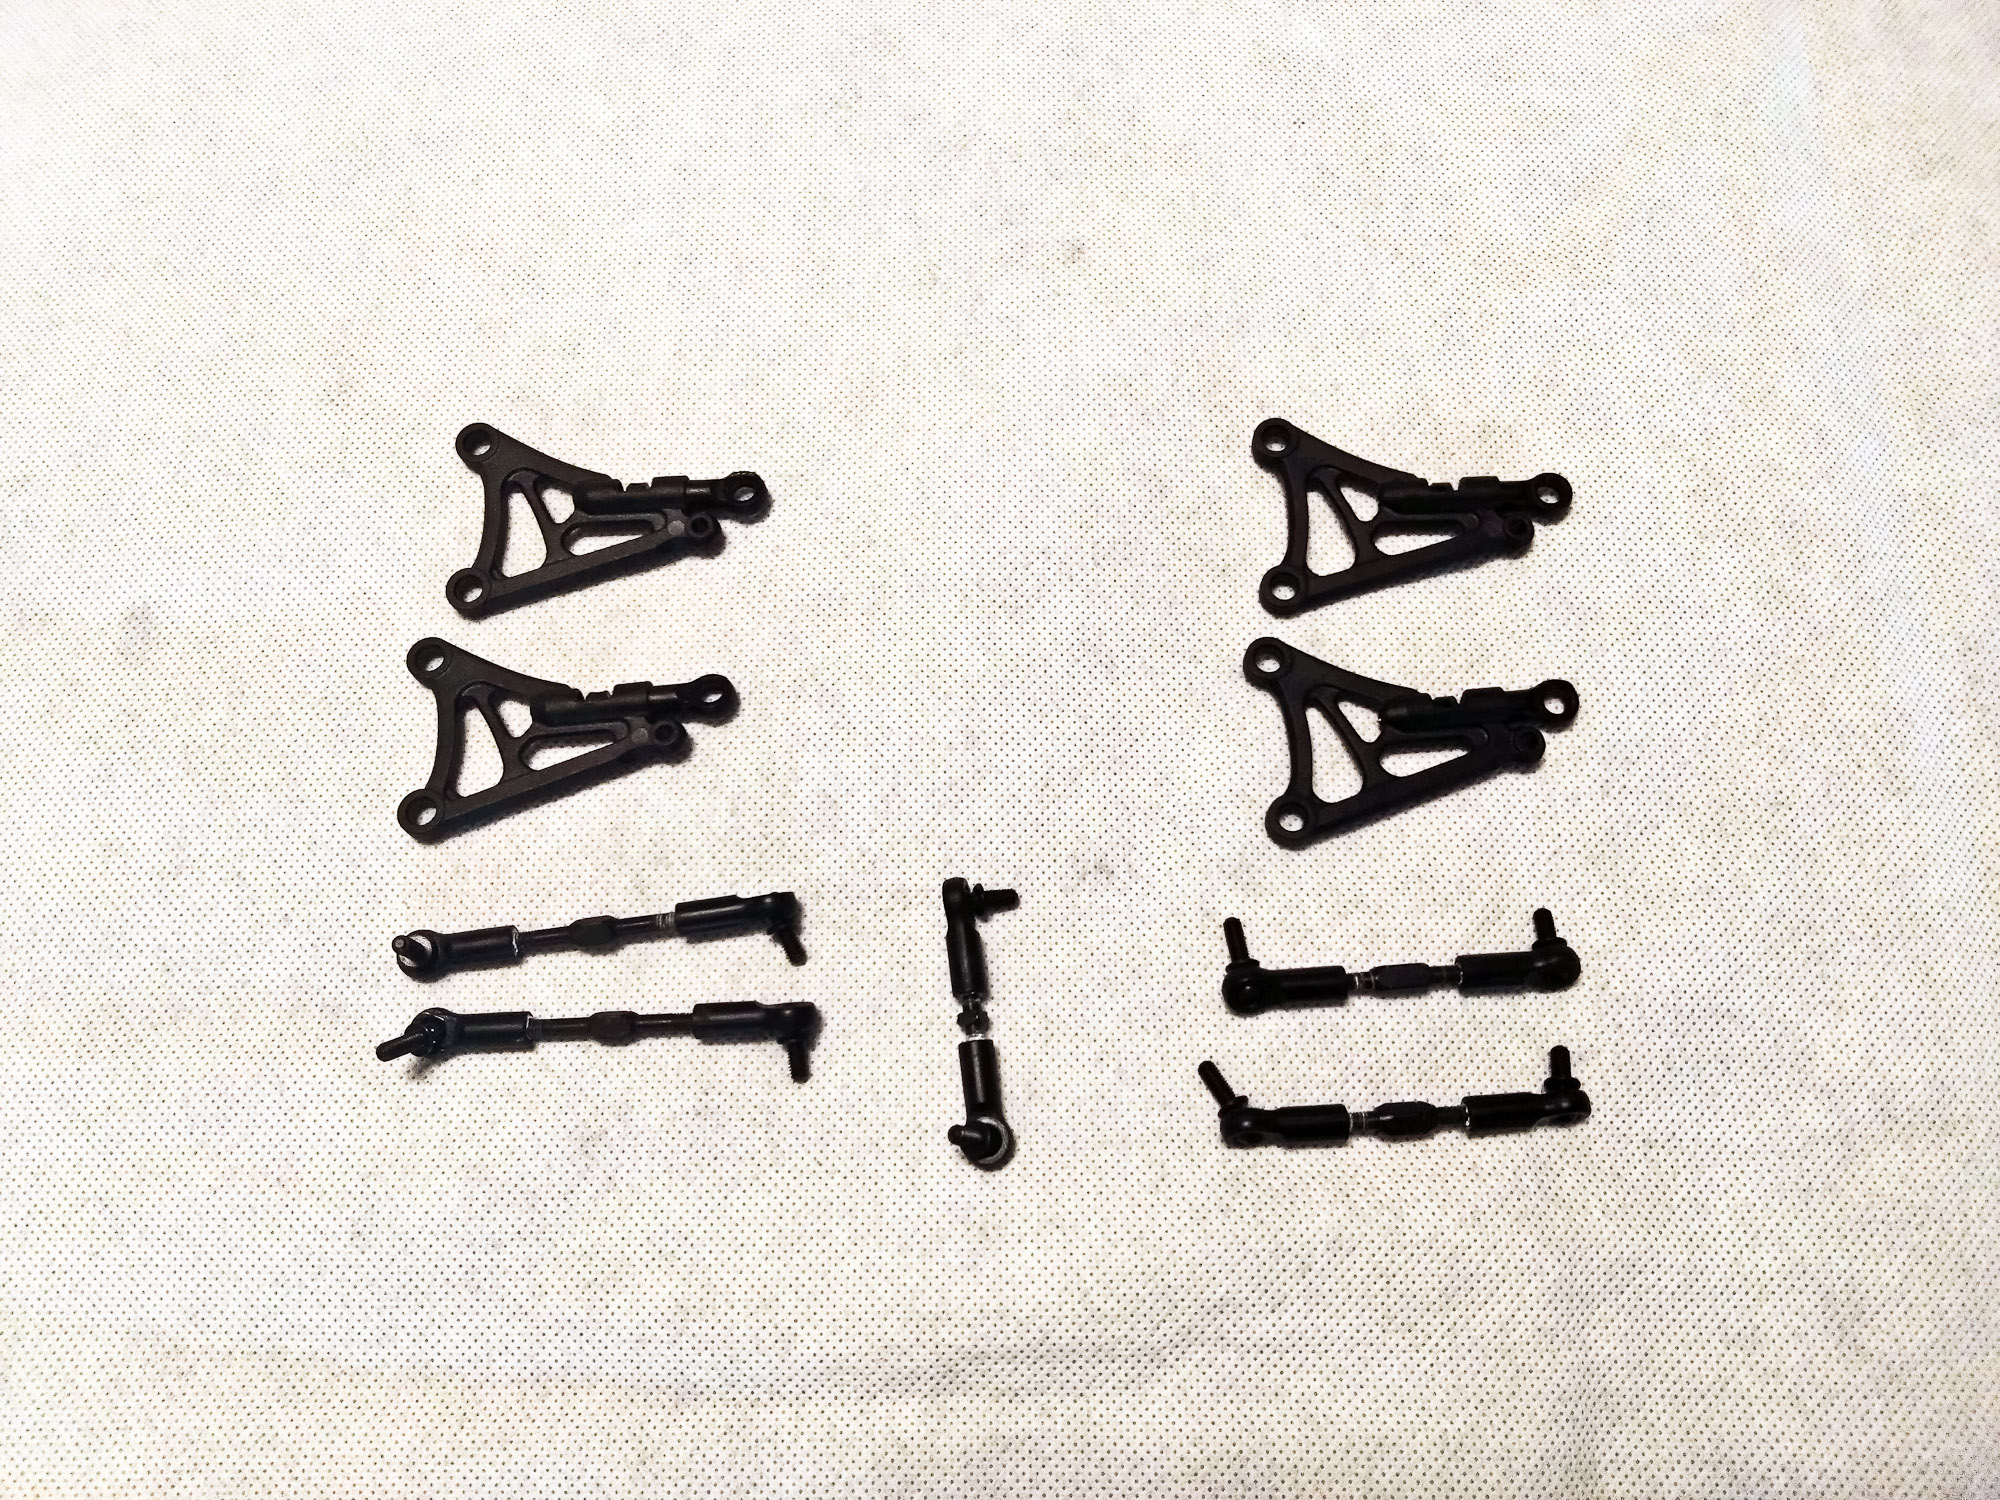
Unlike most other kits I built in the past, Xpress first has you prepare the individual assemblies that are then mounted onto the chassis. The turnbuckle assembly makes use of bags A and J, that is the four identical upper arms, ball cups, steel turnbuckles, a f pre-threading screw and a special adjustment tool. The head of the special pre-threading screw exactly matches the opening in the upper arms and accordingly ensures that the thread inside the arm is straight. Initial turnbuckle dimensions are given in the manual and provide a good starting point for beginners who might not have set-up tools yet. Unfortunately, the manual suggests to add the ball studs at this point, but some are supposed to be installed in their counterparts at various stages of the build, potentially leading to a bit of confusion.
Up second is the gear diff assembly, using Bag B,
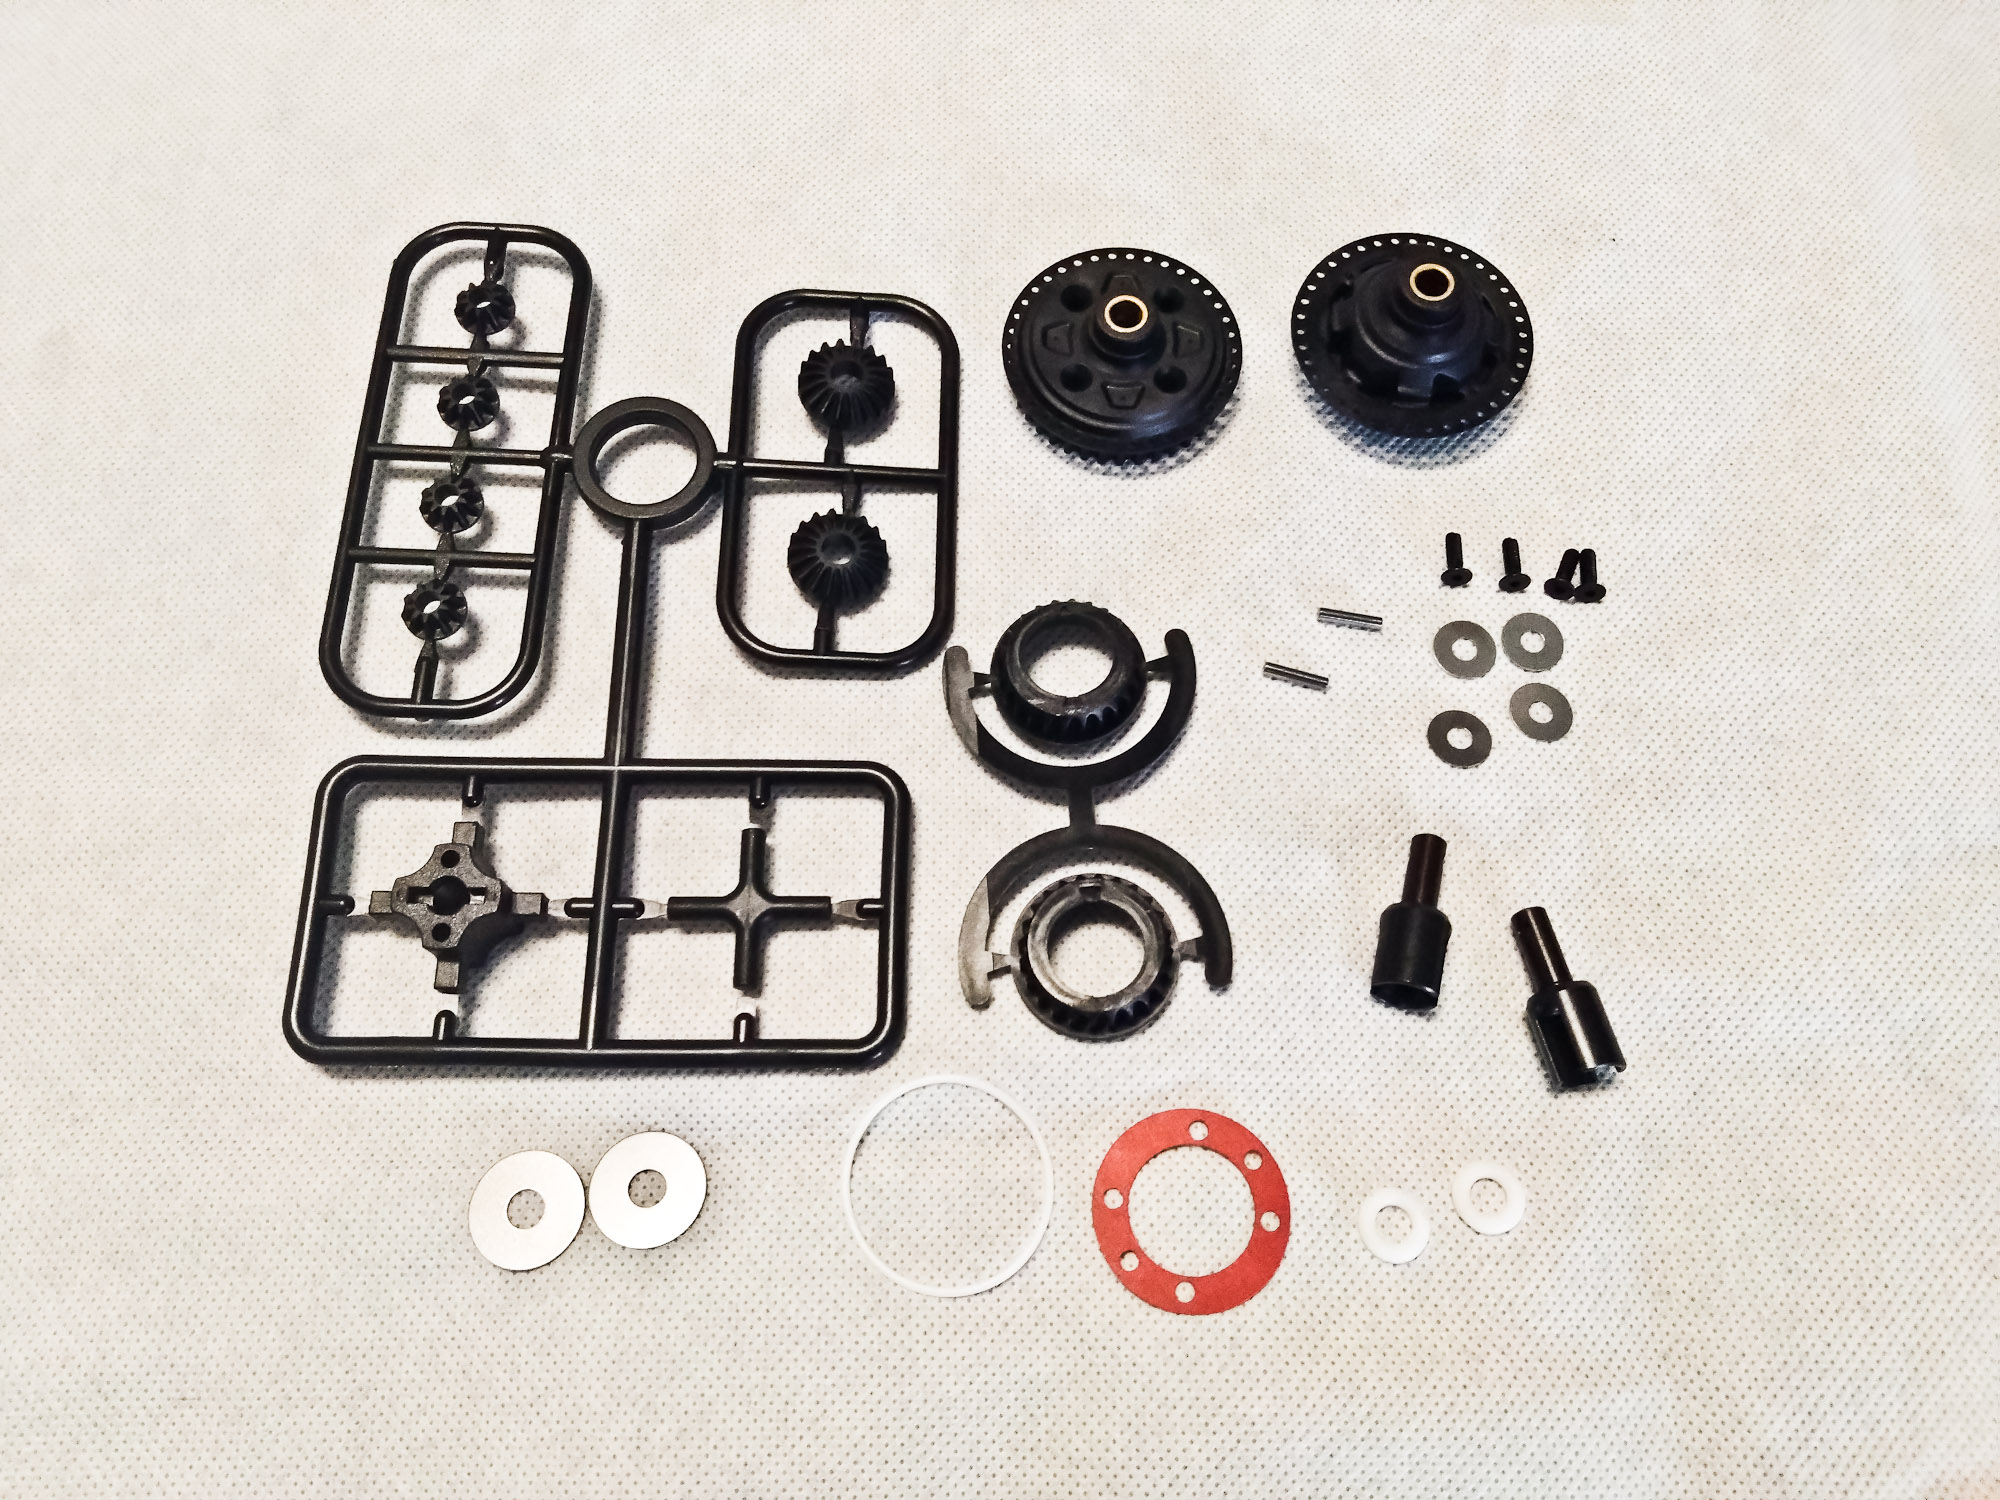
and the Bearing Bag plus the Oil Bag for regions other than Europe.
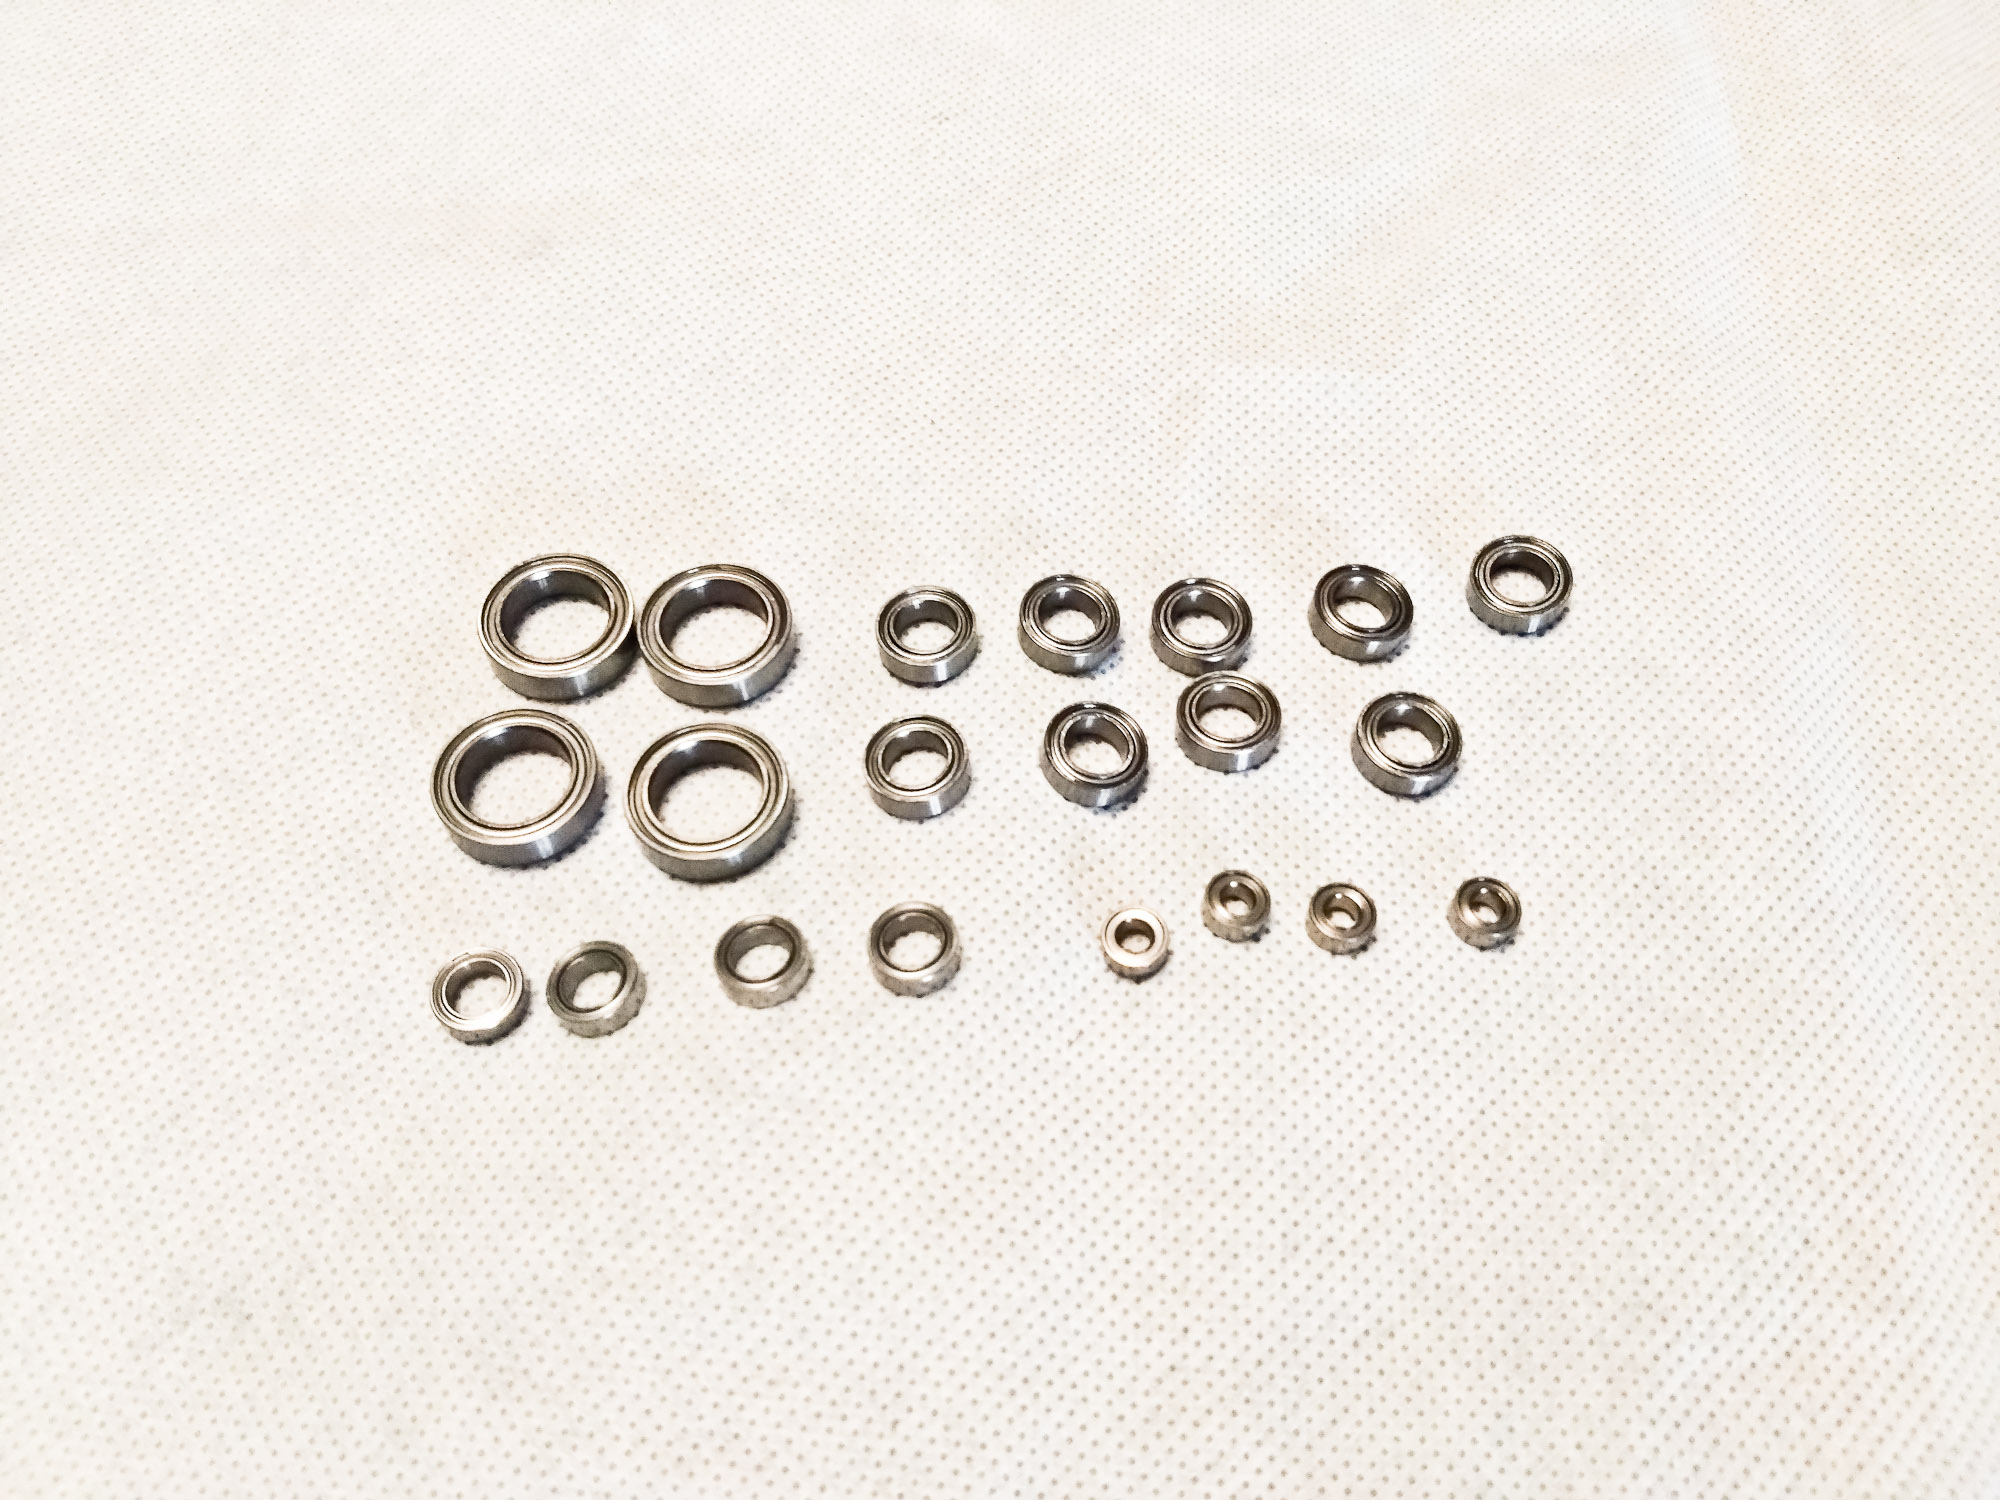
I was surprised by the quality of the diff in such a low budget kit. Everything went together really well, and I ended up with a really smooth diff. The manual suggests 5000 cst oil, but the lowest viscosity I had was 7000 cst, so we'll have to see how it goes.
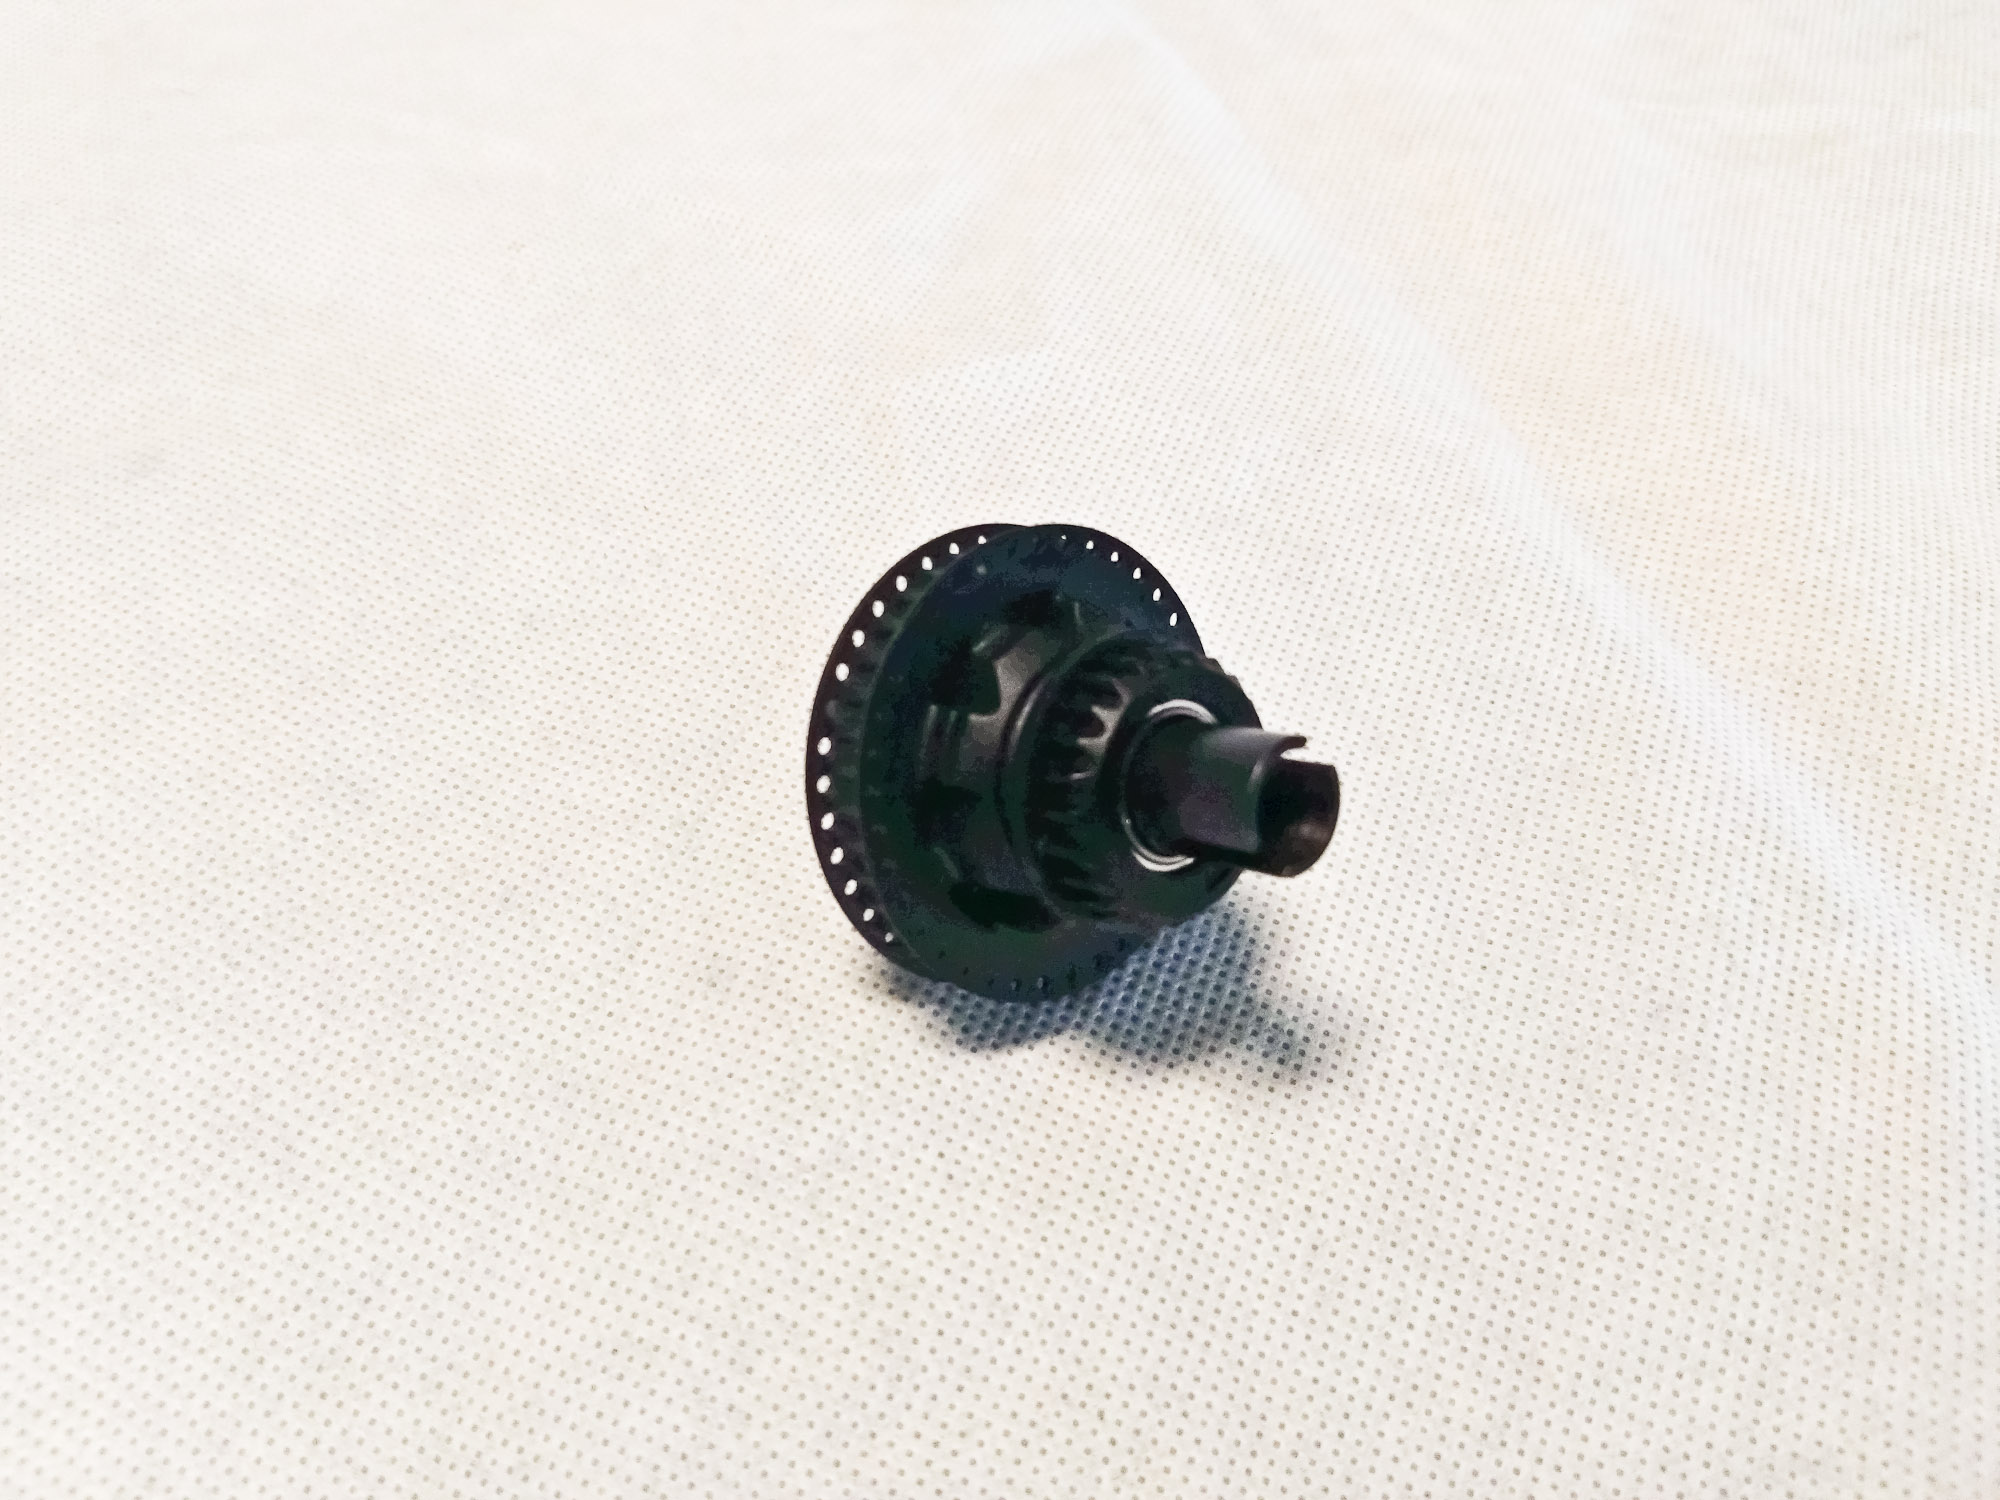
Bag C includes the Spool Assembly, which is pretty straightforward.
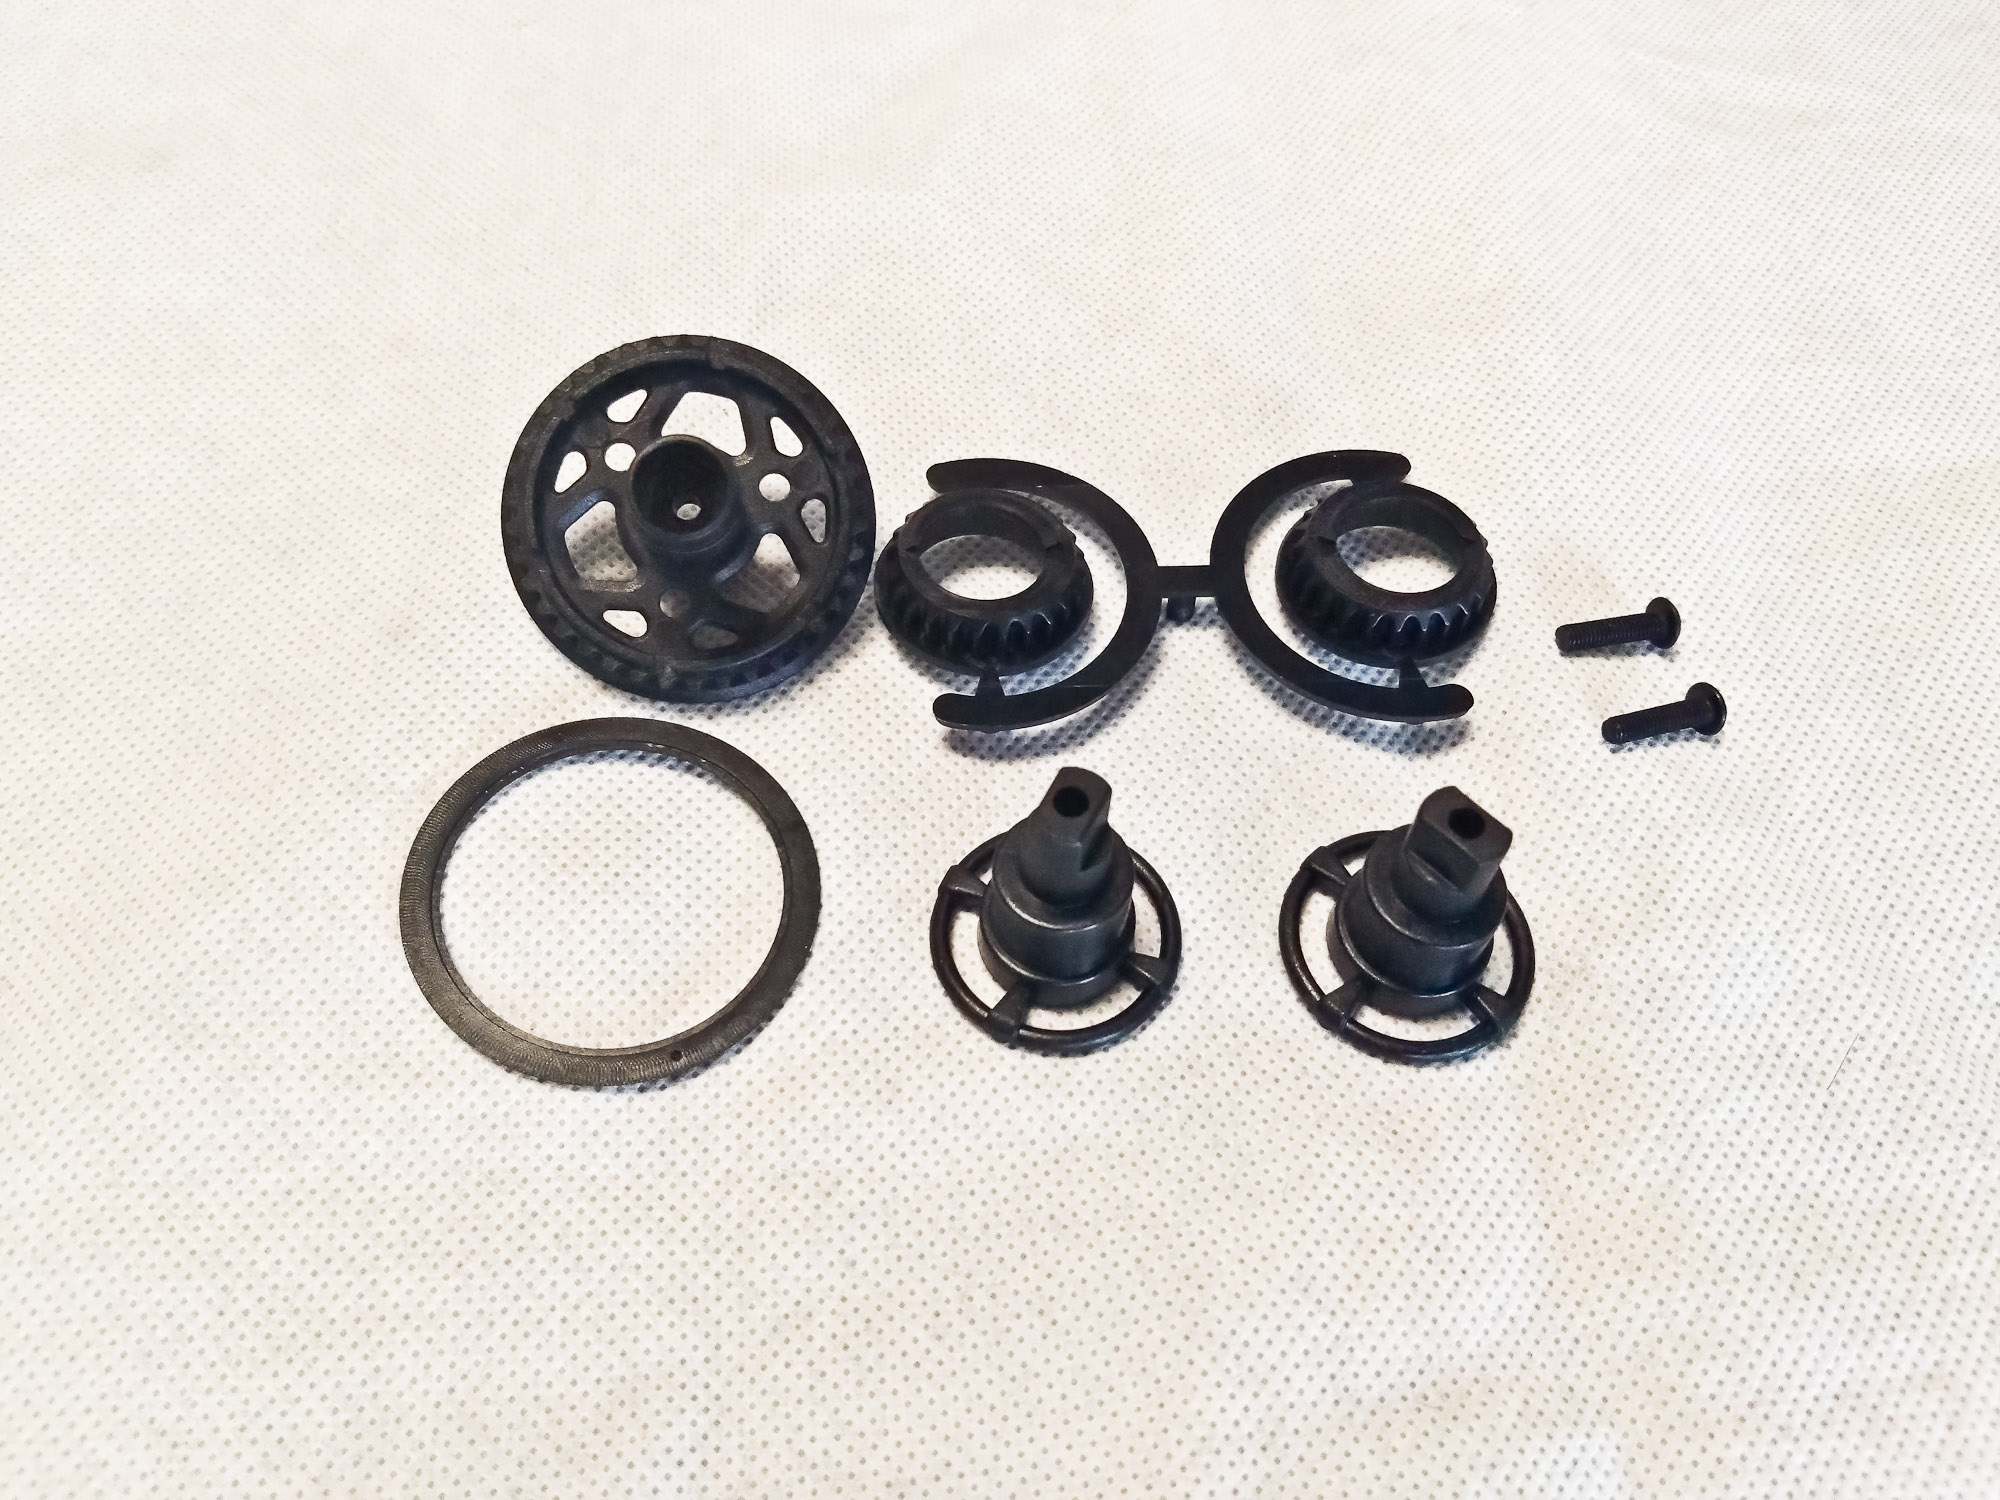
The composite spool cups seem to be quite sturdy, but for modified motors, optional metal outdrives blades will be a better option.
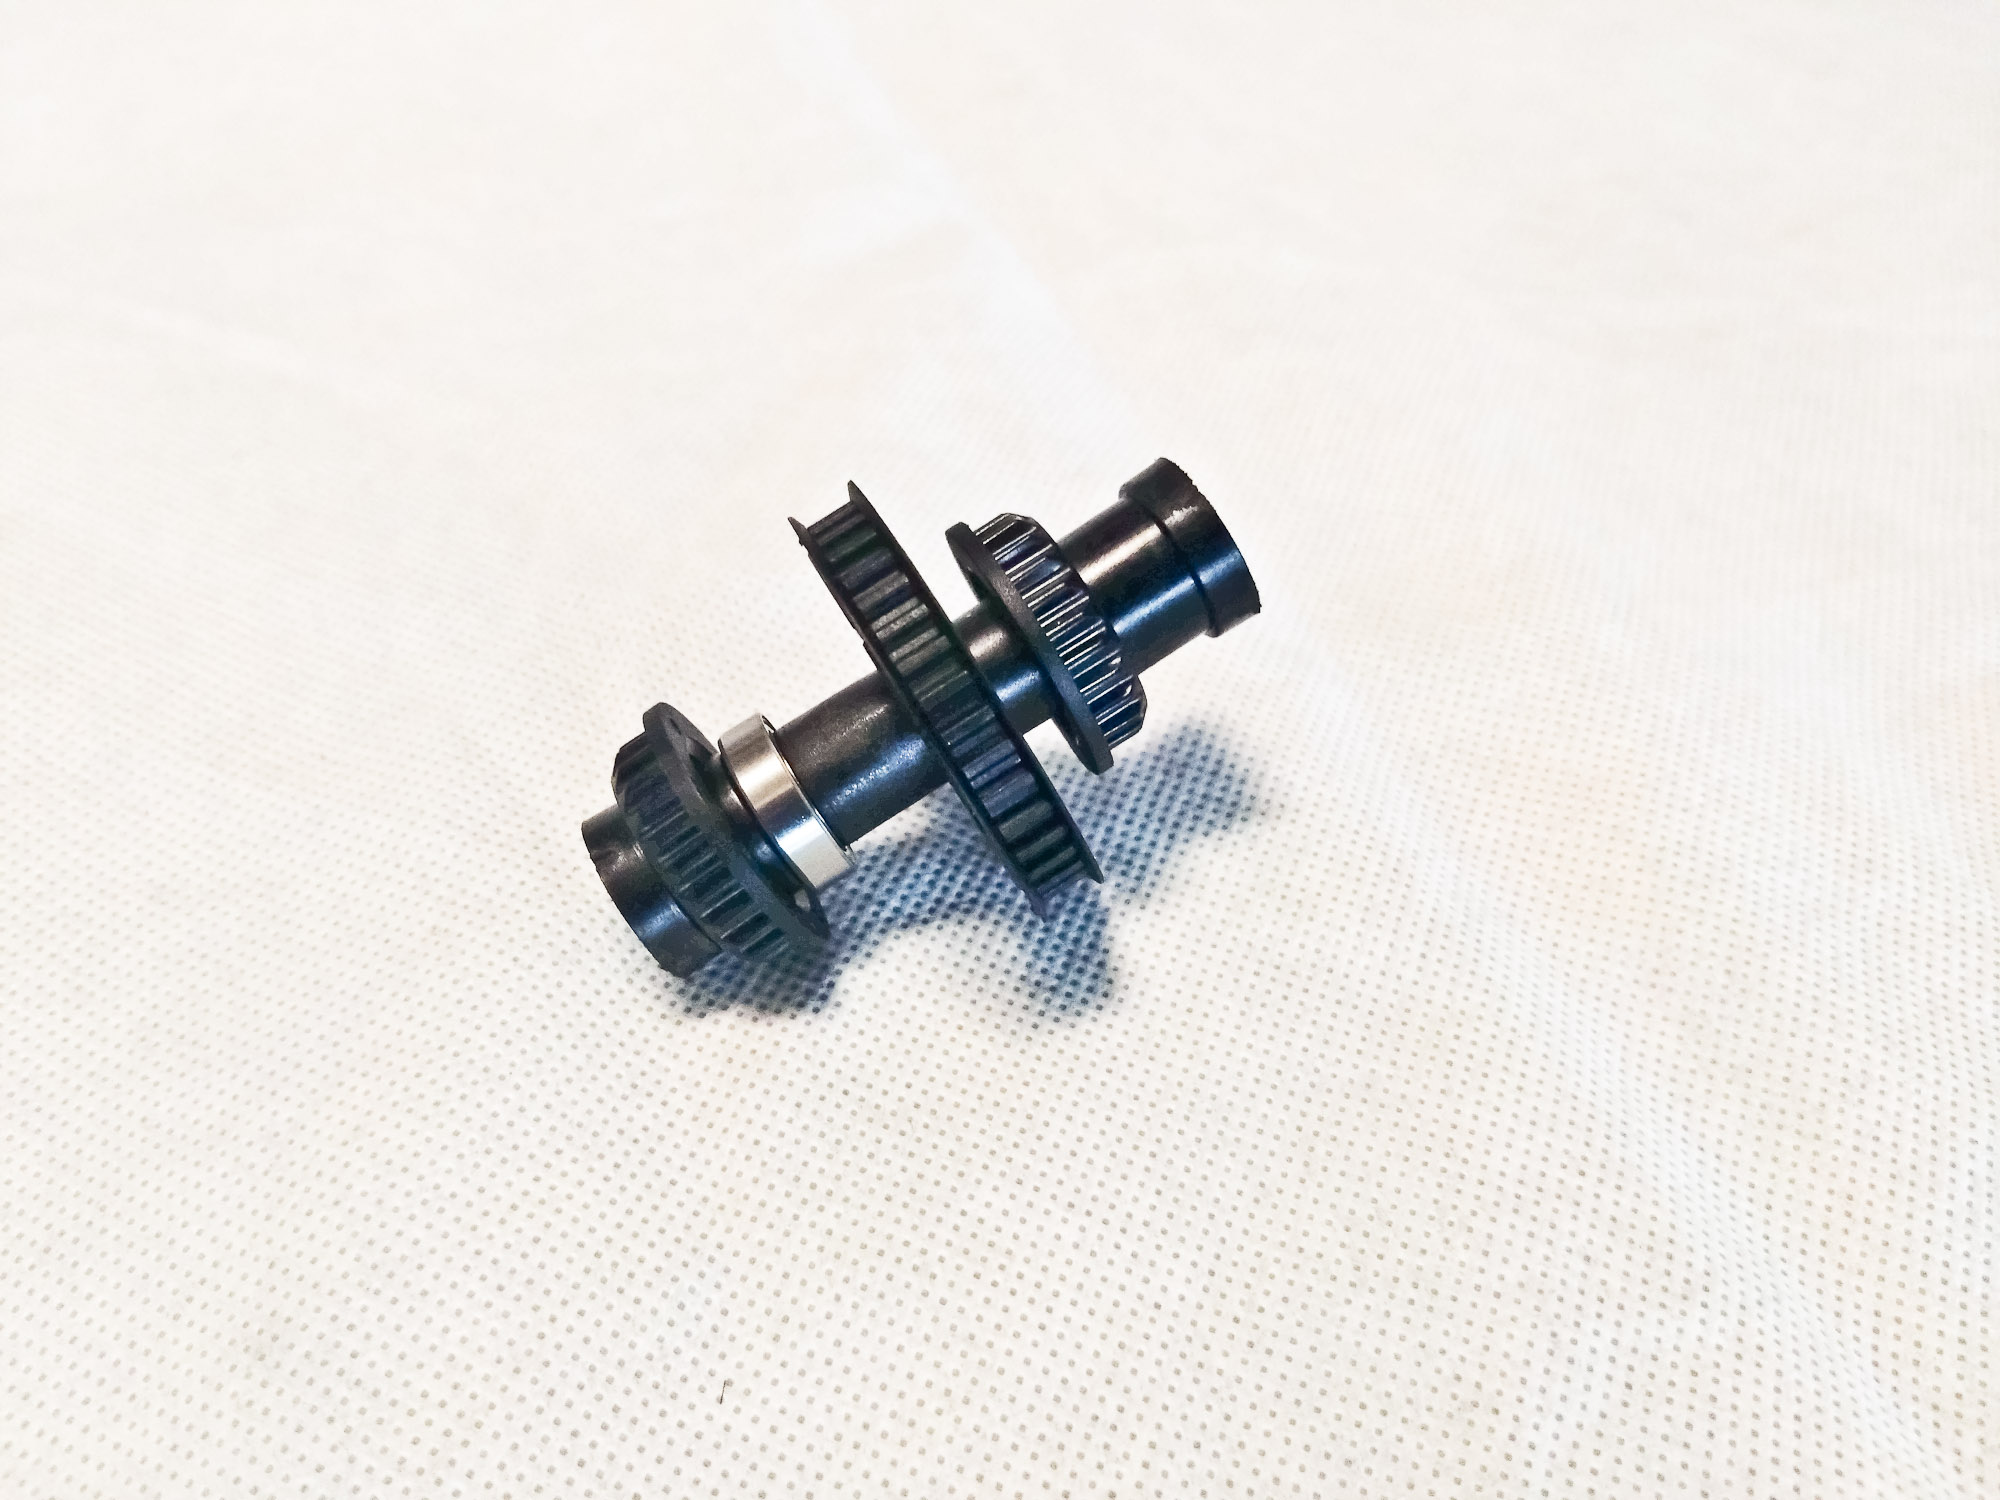
Step 4 is the Suspension Arm Assembly, and it's time to open the Hardware Bag
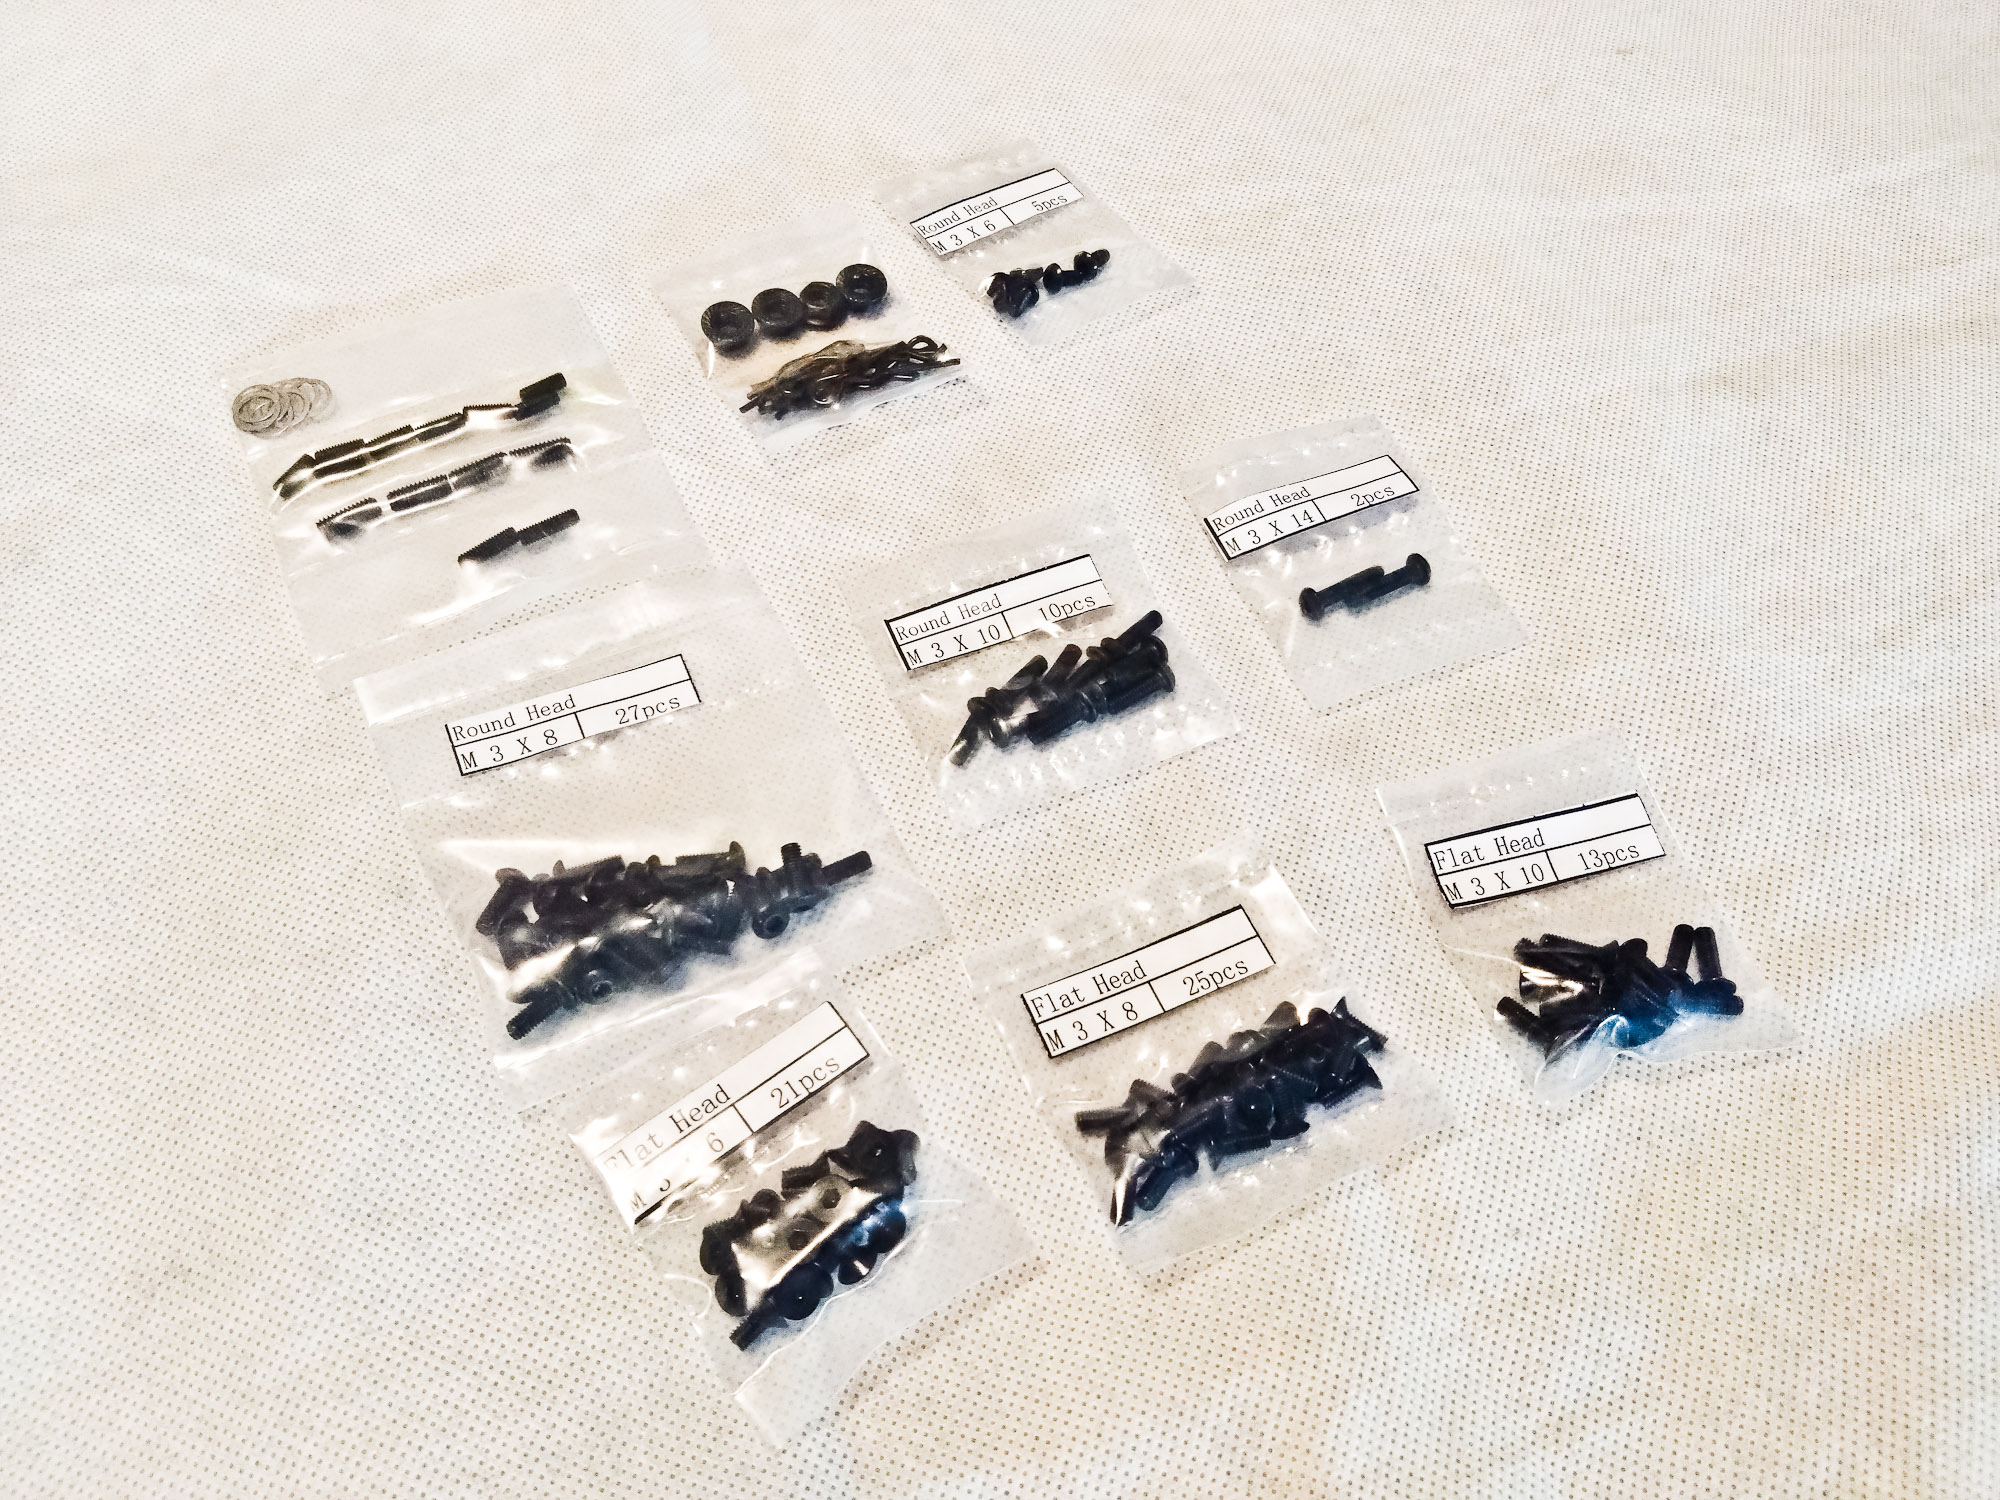
and Bag D. Shock positions can be fine-tuned with various inserts.
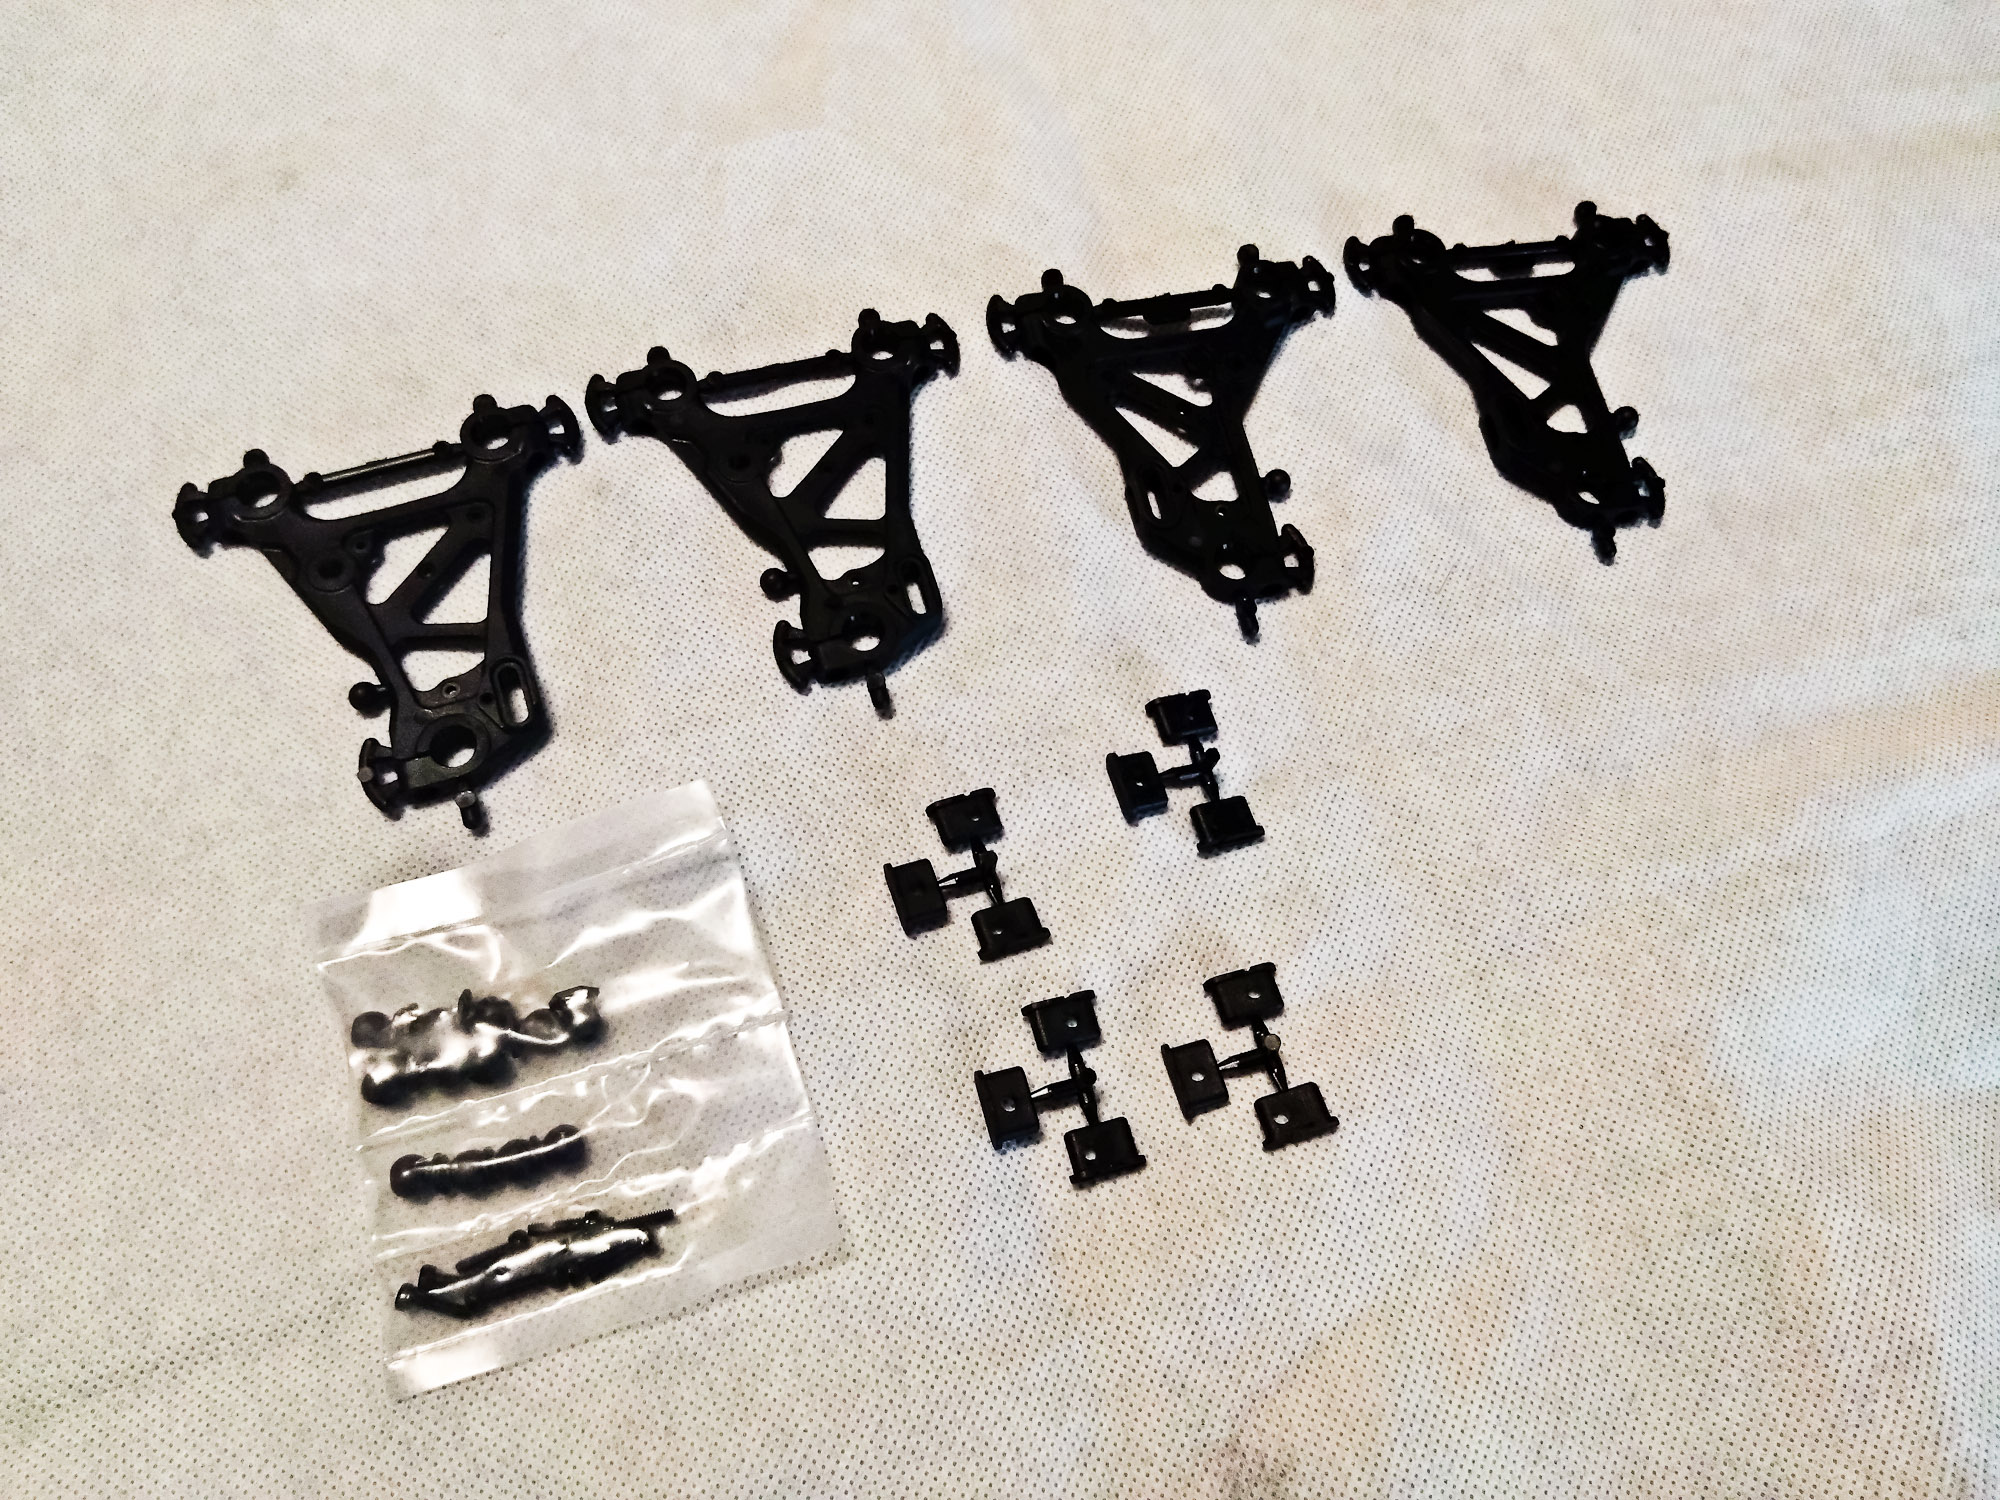
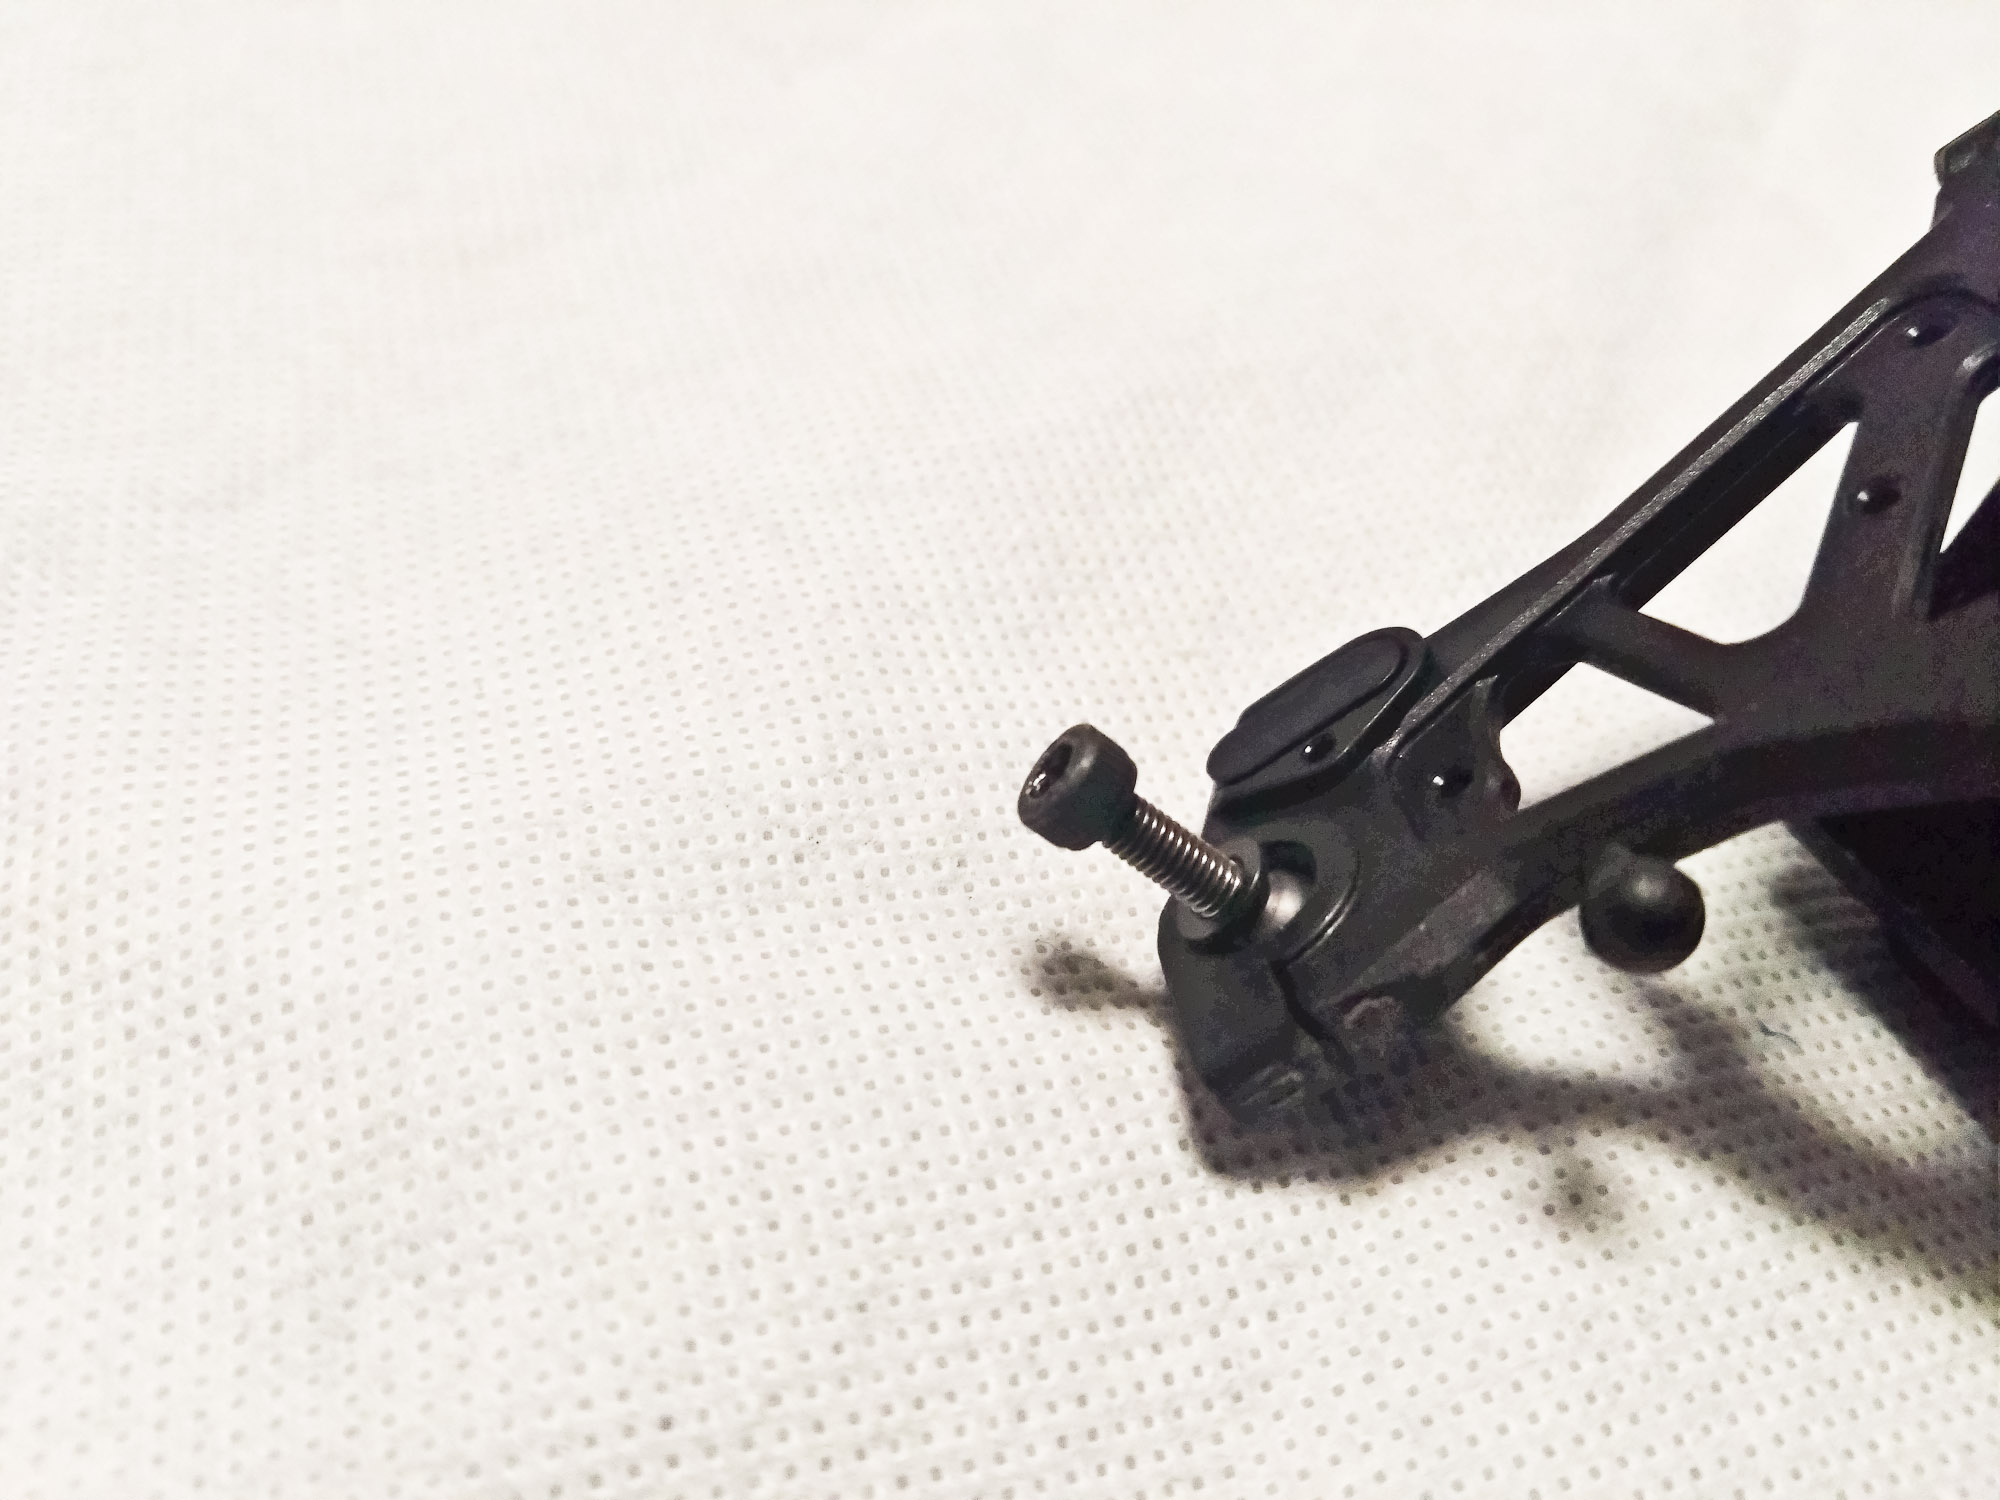
To make sure that the pivot balls have no slop and can move freely, I put in the pre-threading screw, and made sure it fell under its own weight after adjustment. The manual does not include any such build tips, but at least lists optional parts such as graphite arm stiffeners and aluminum suspension inserts.
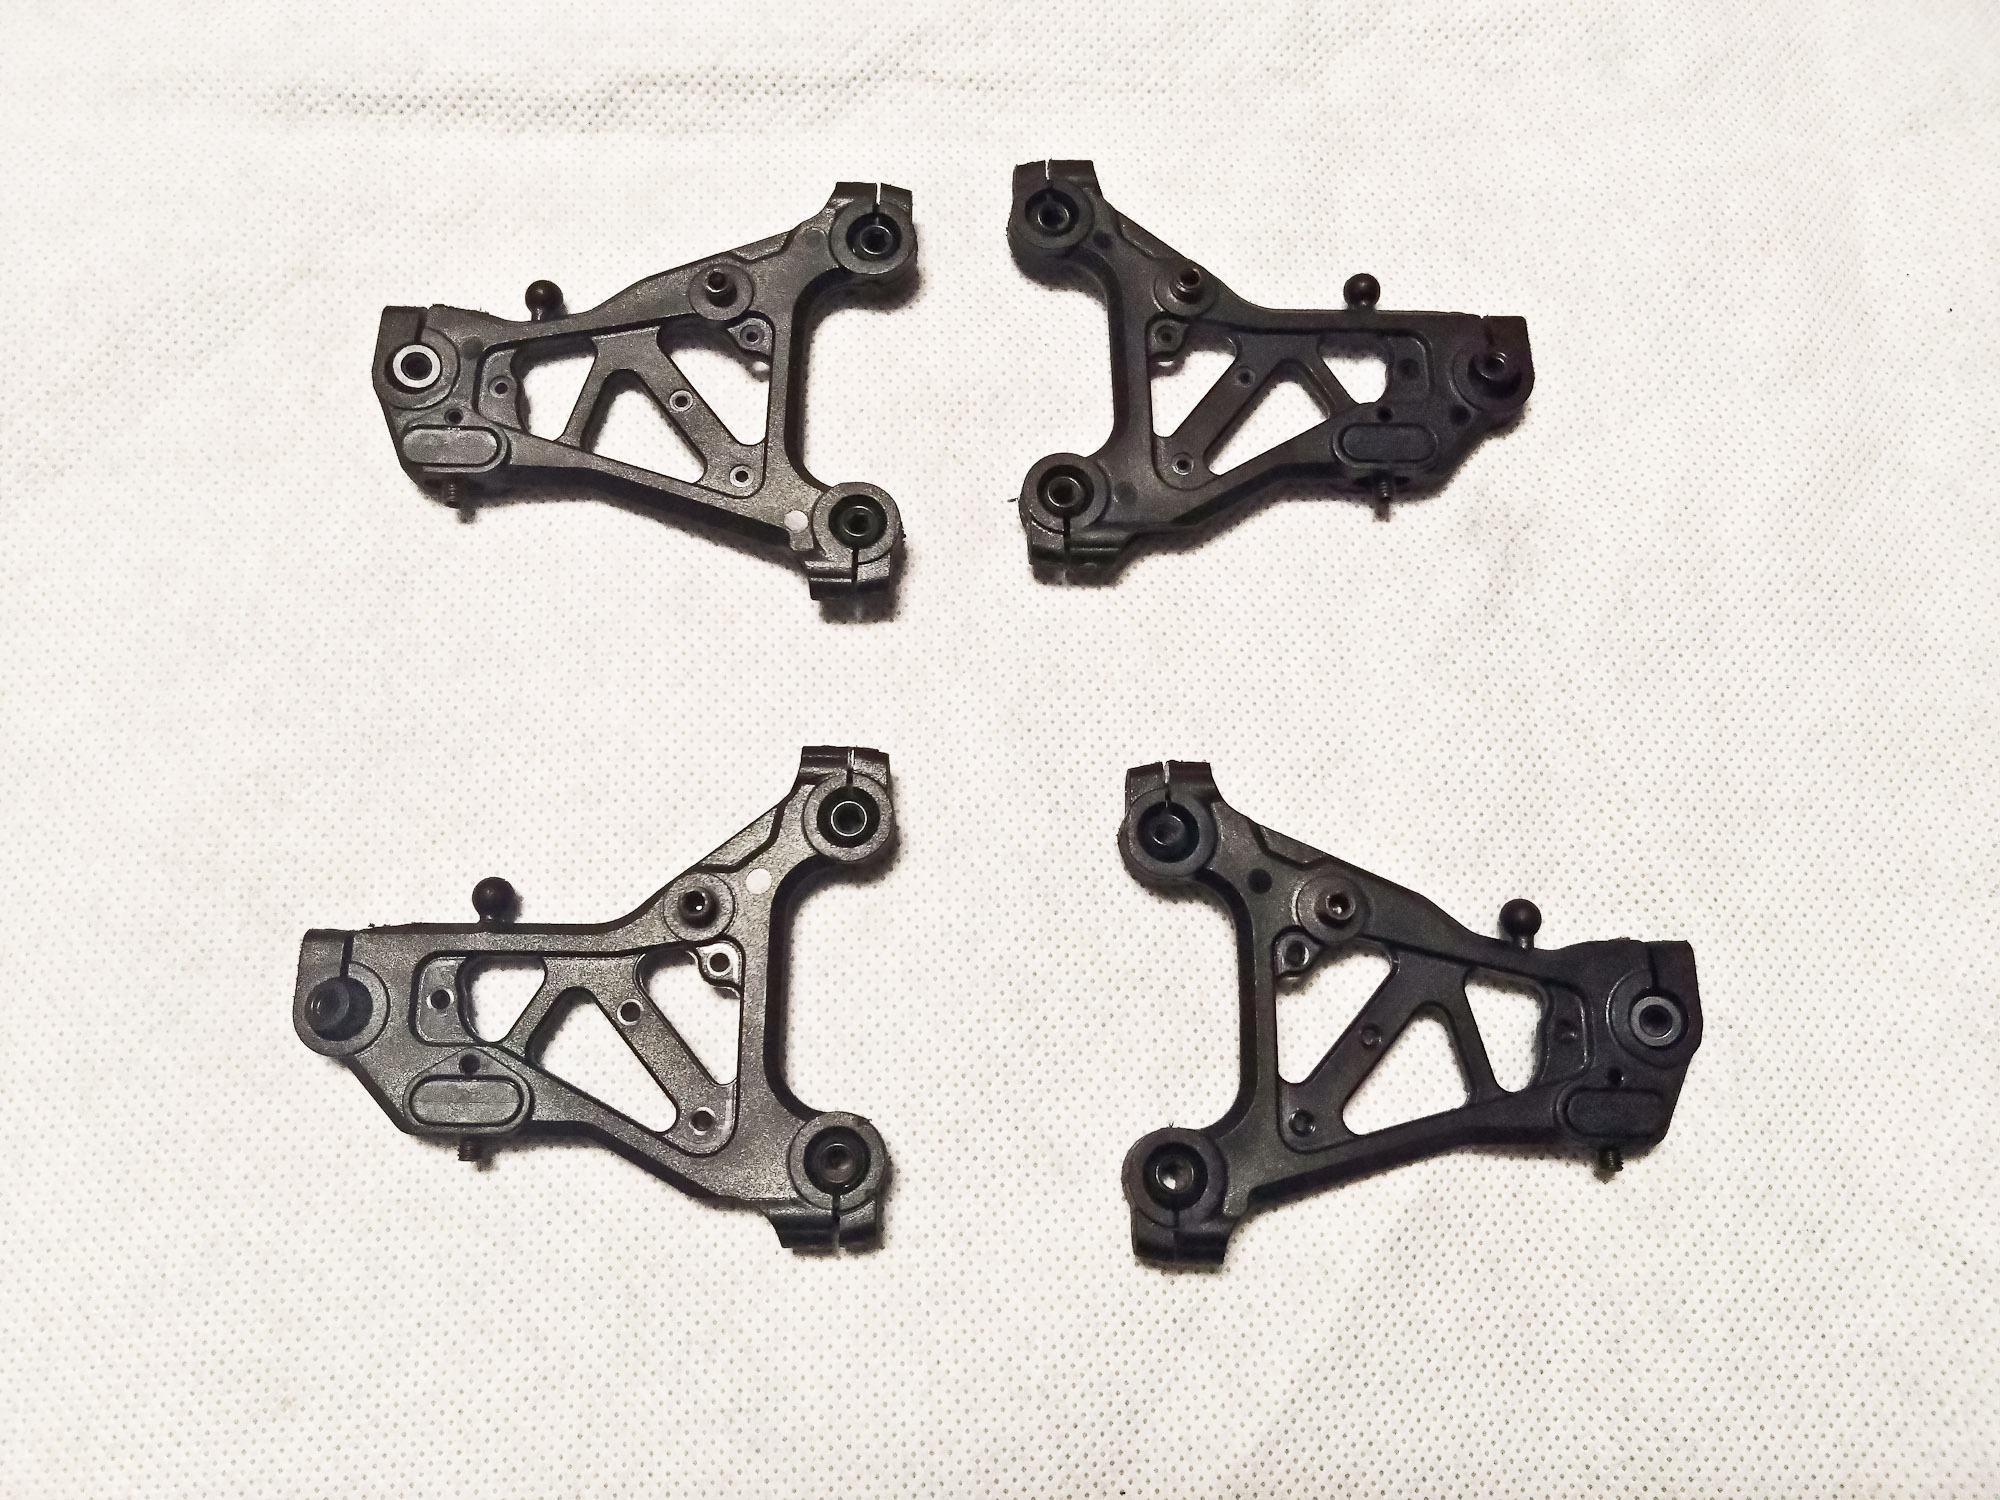
As you can see, unlike the upper arms the lower front and rear arms are different. As I build the kit in the evening after a long week of work, I failed to take notice and accordingly the following pictures show one arm each in the wrong spot.
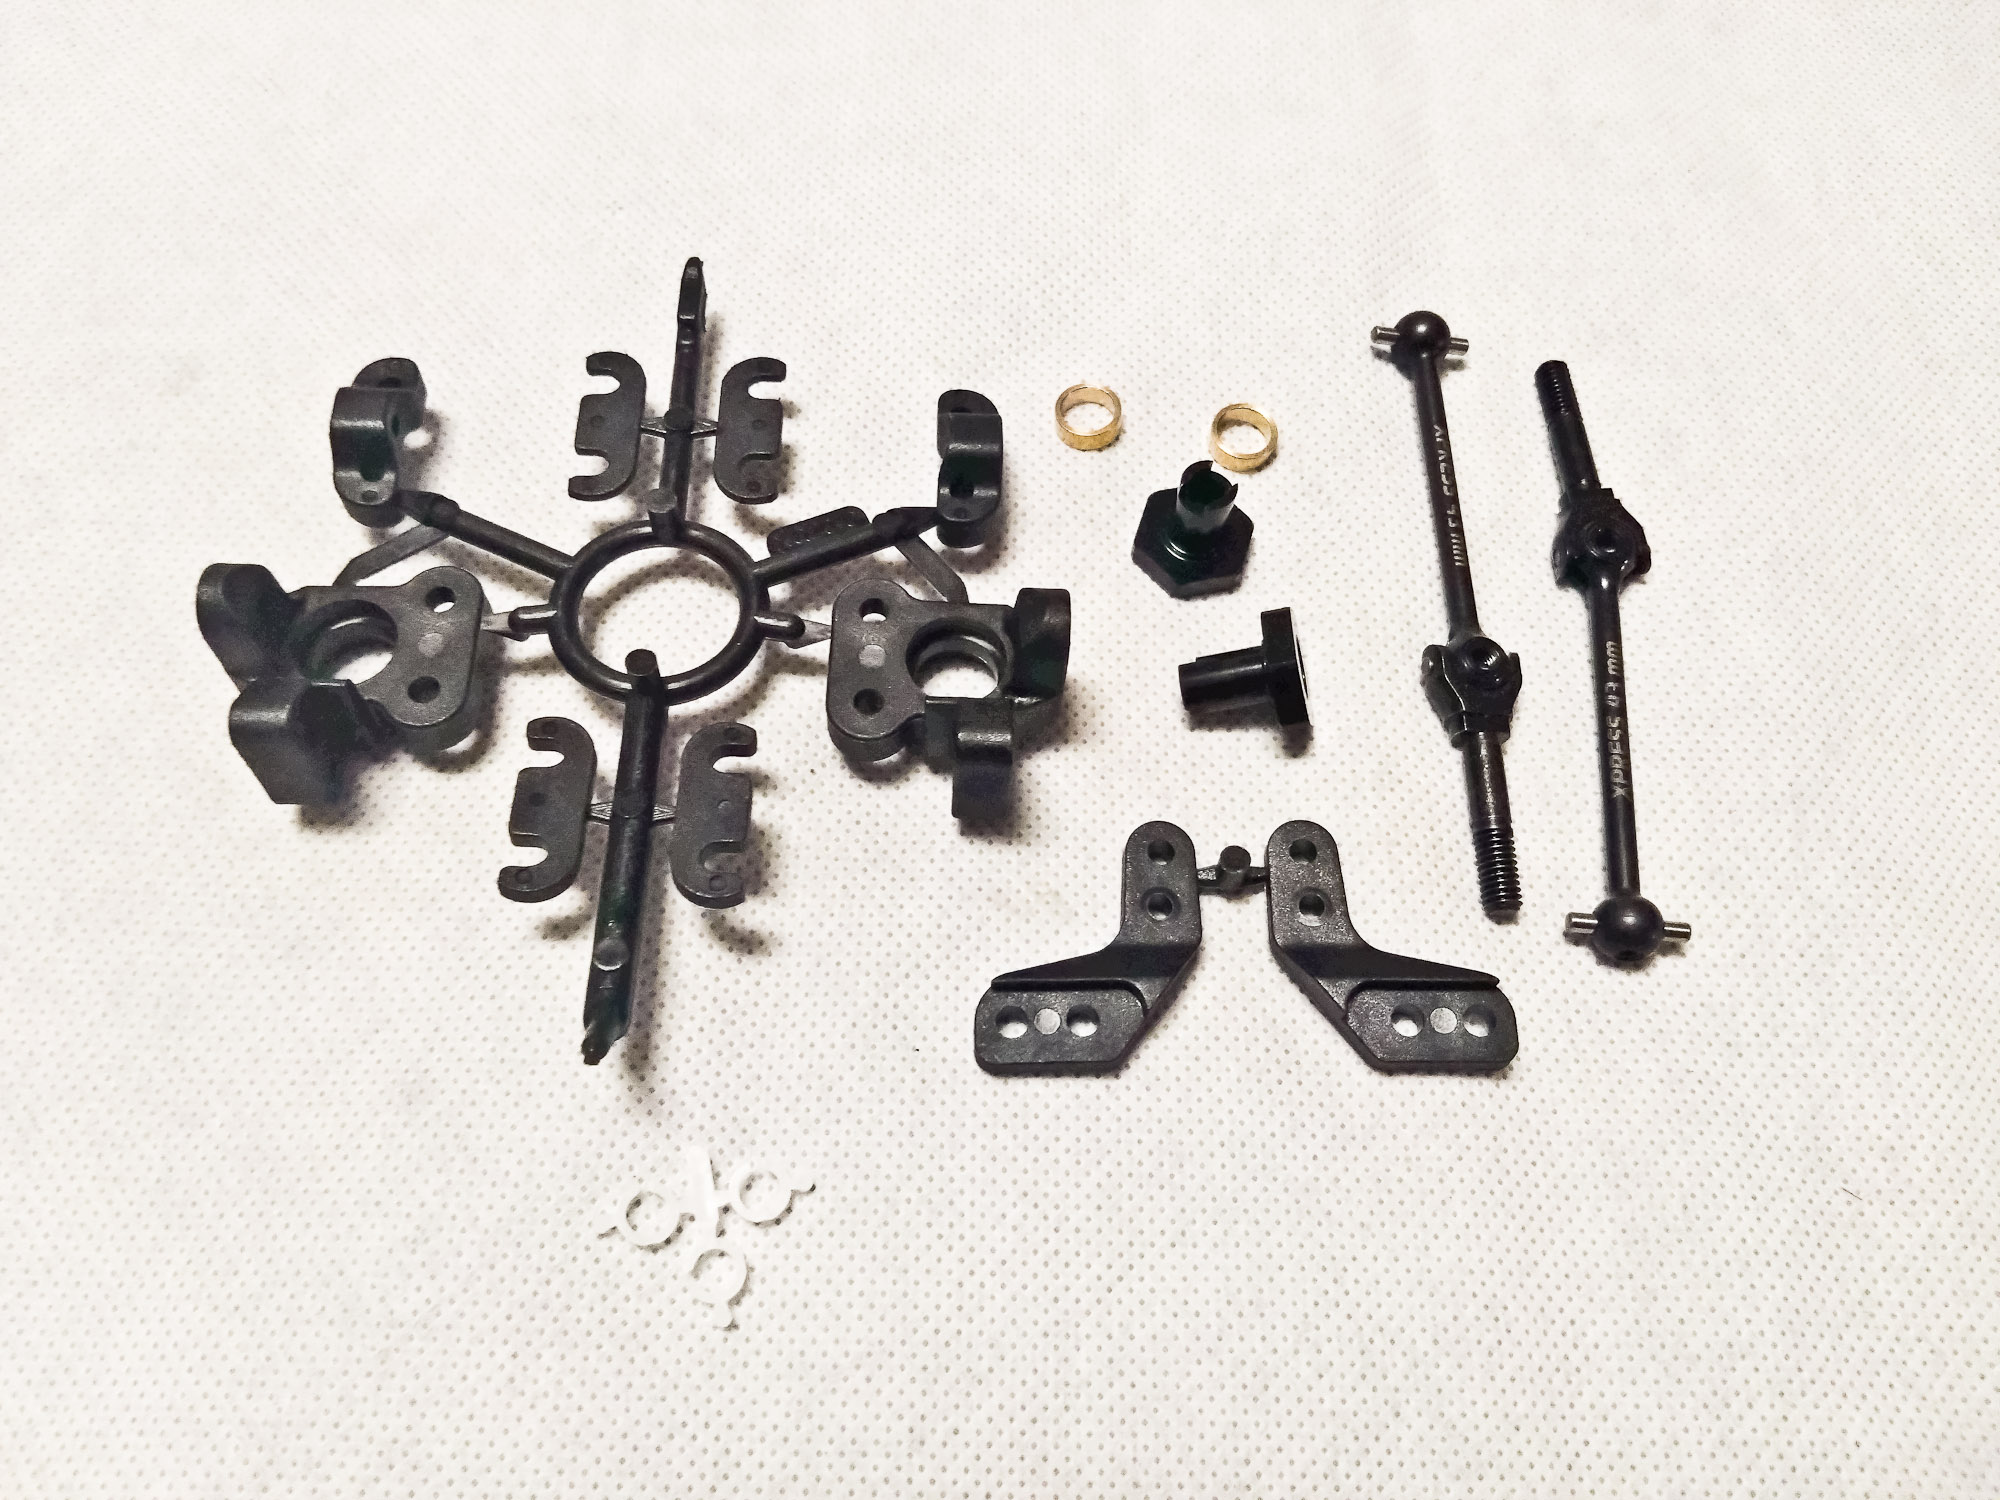
The Front Knuckle Assembly uses parts from Bags A, E (pictured),N, and the HW Bag.
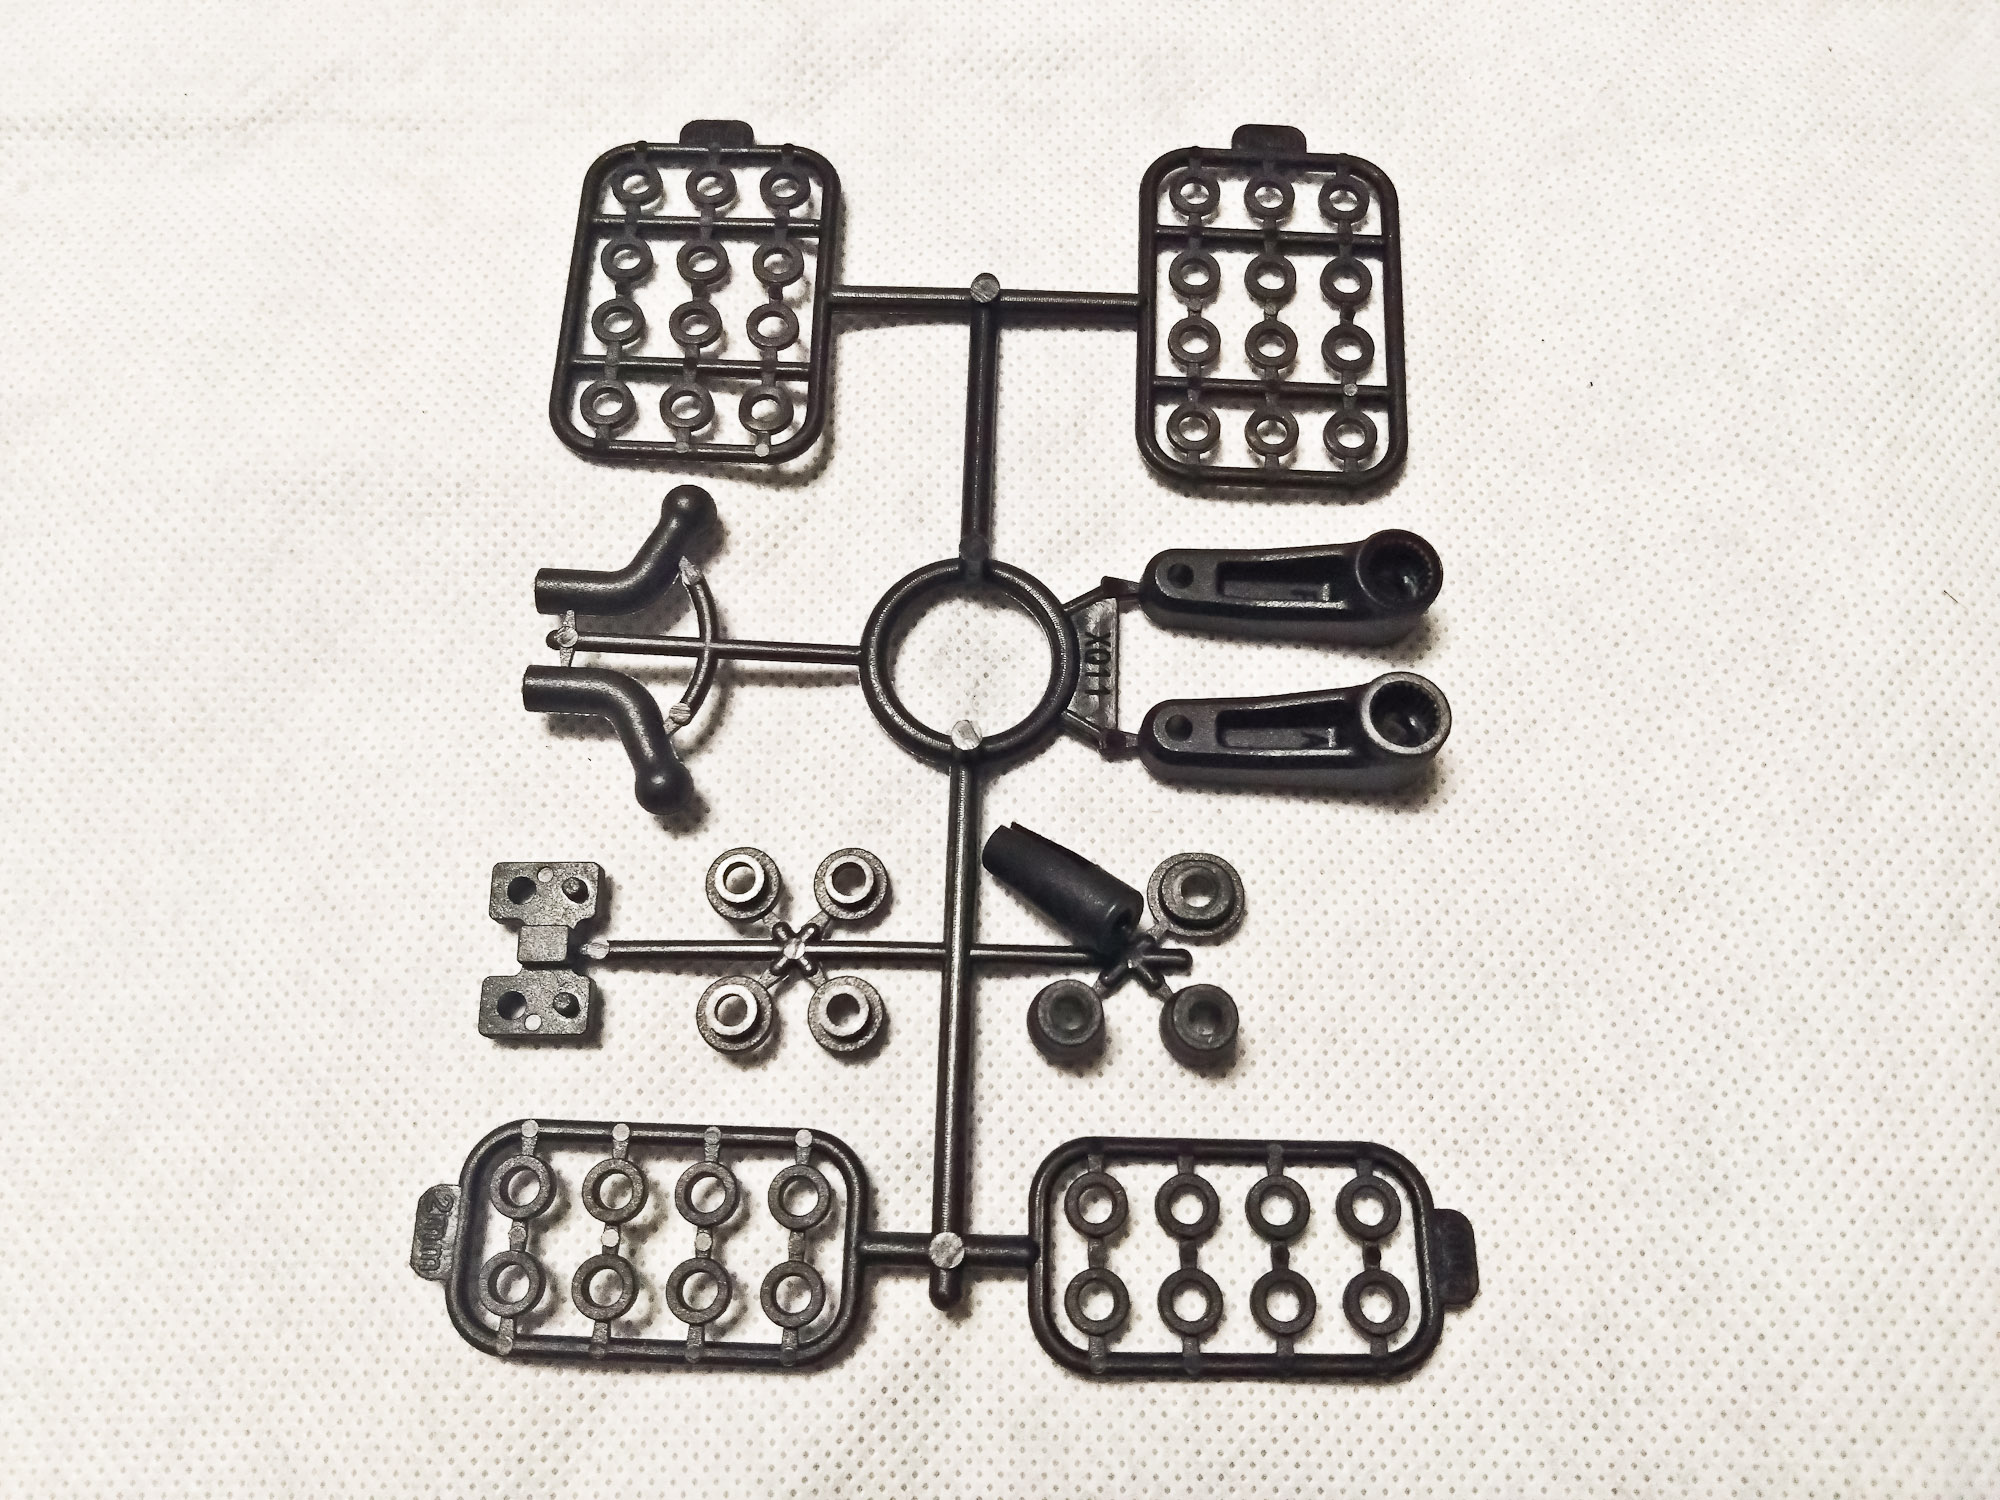
Bag N
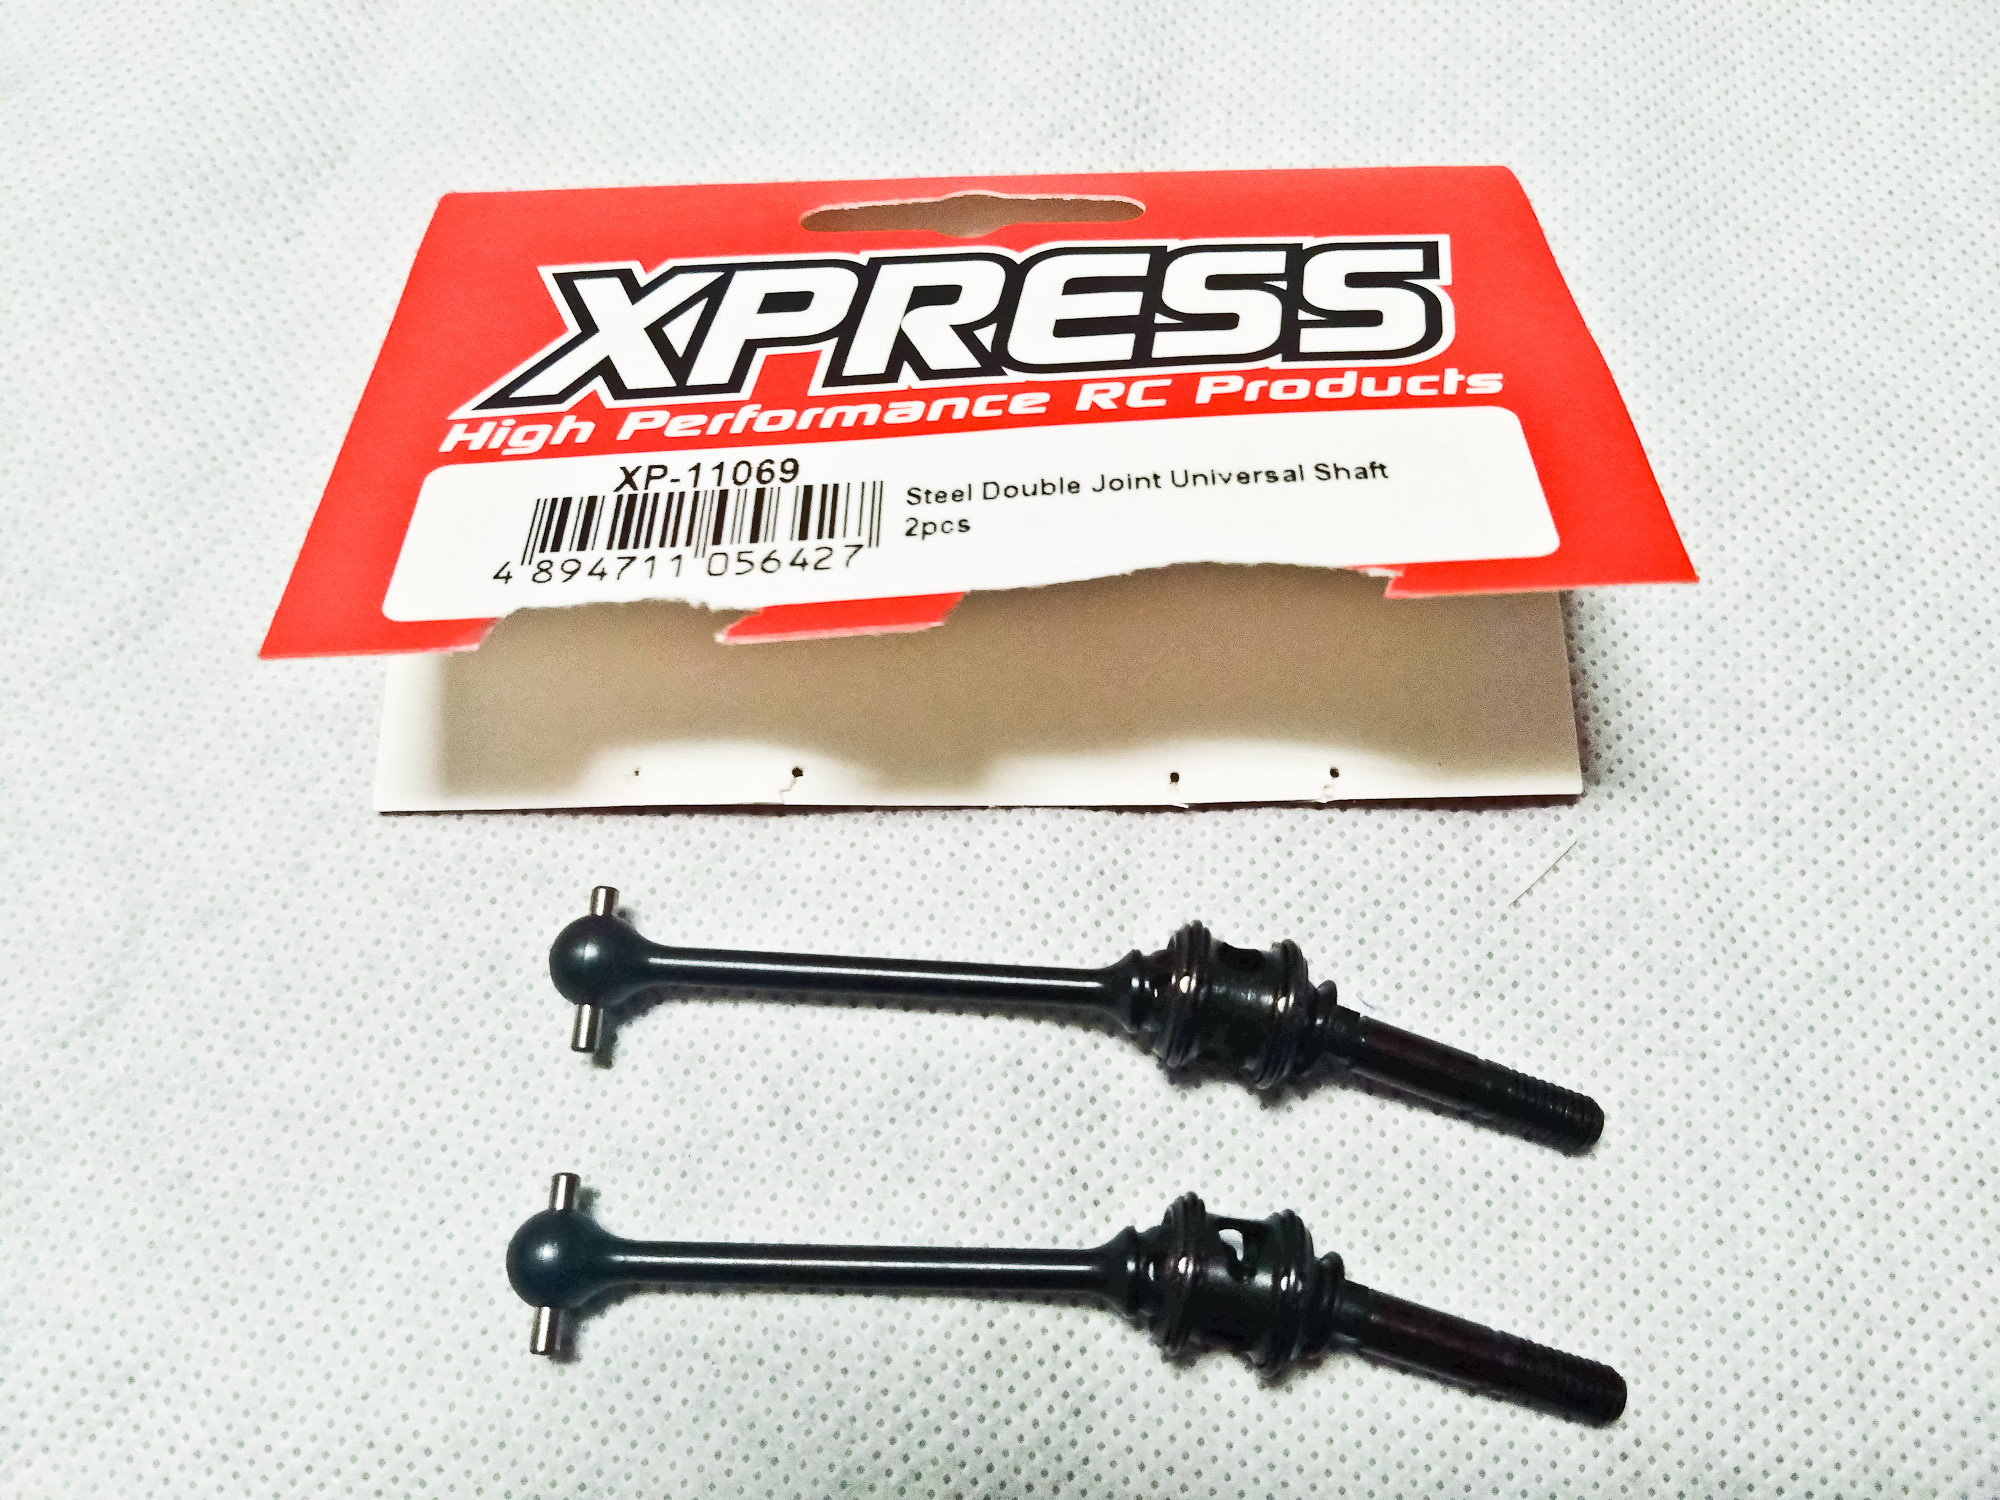
Instead of the included, steel universal shafts, I used their double joint counterparts (XP-11069) for peace of mind. I'm sure the original parts will do their job reasonably well, though. I decided to play safe and lubricated the joints with 1up Racing's red oil and secured the grub screw with Ruddog's blue thread lock.
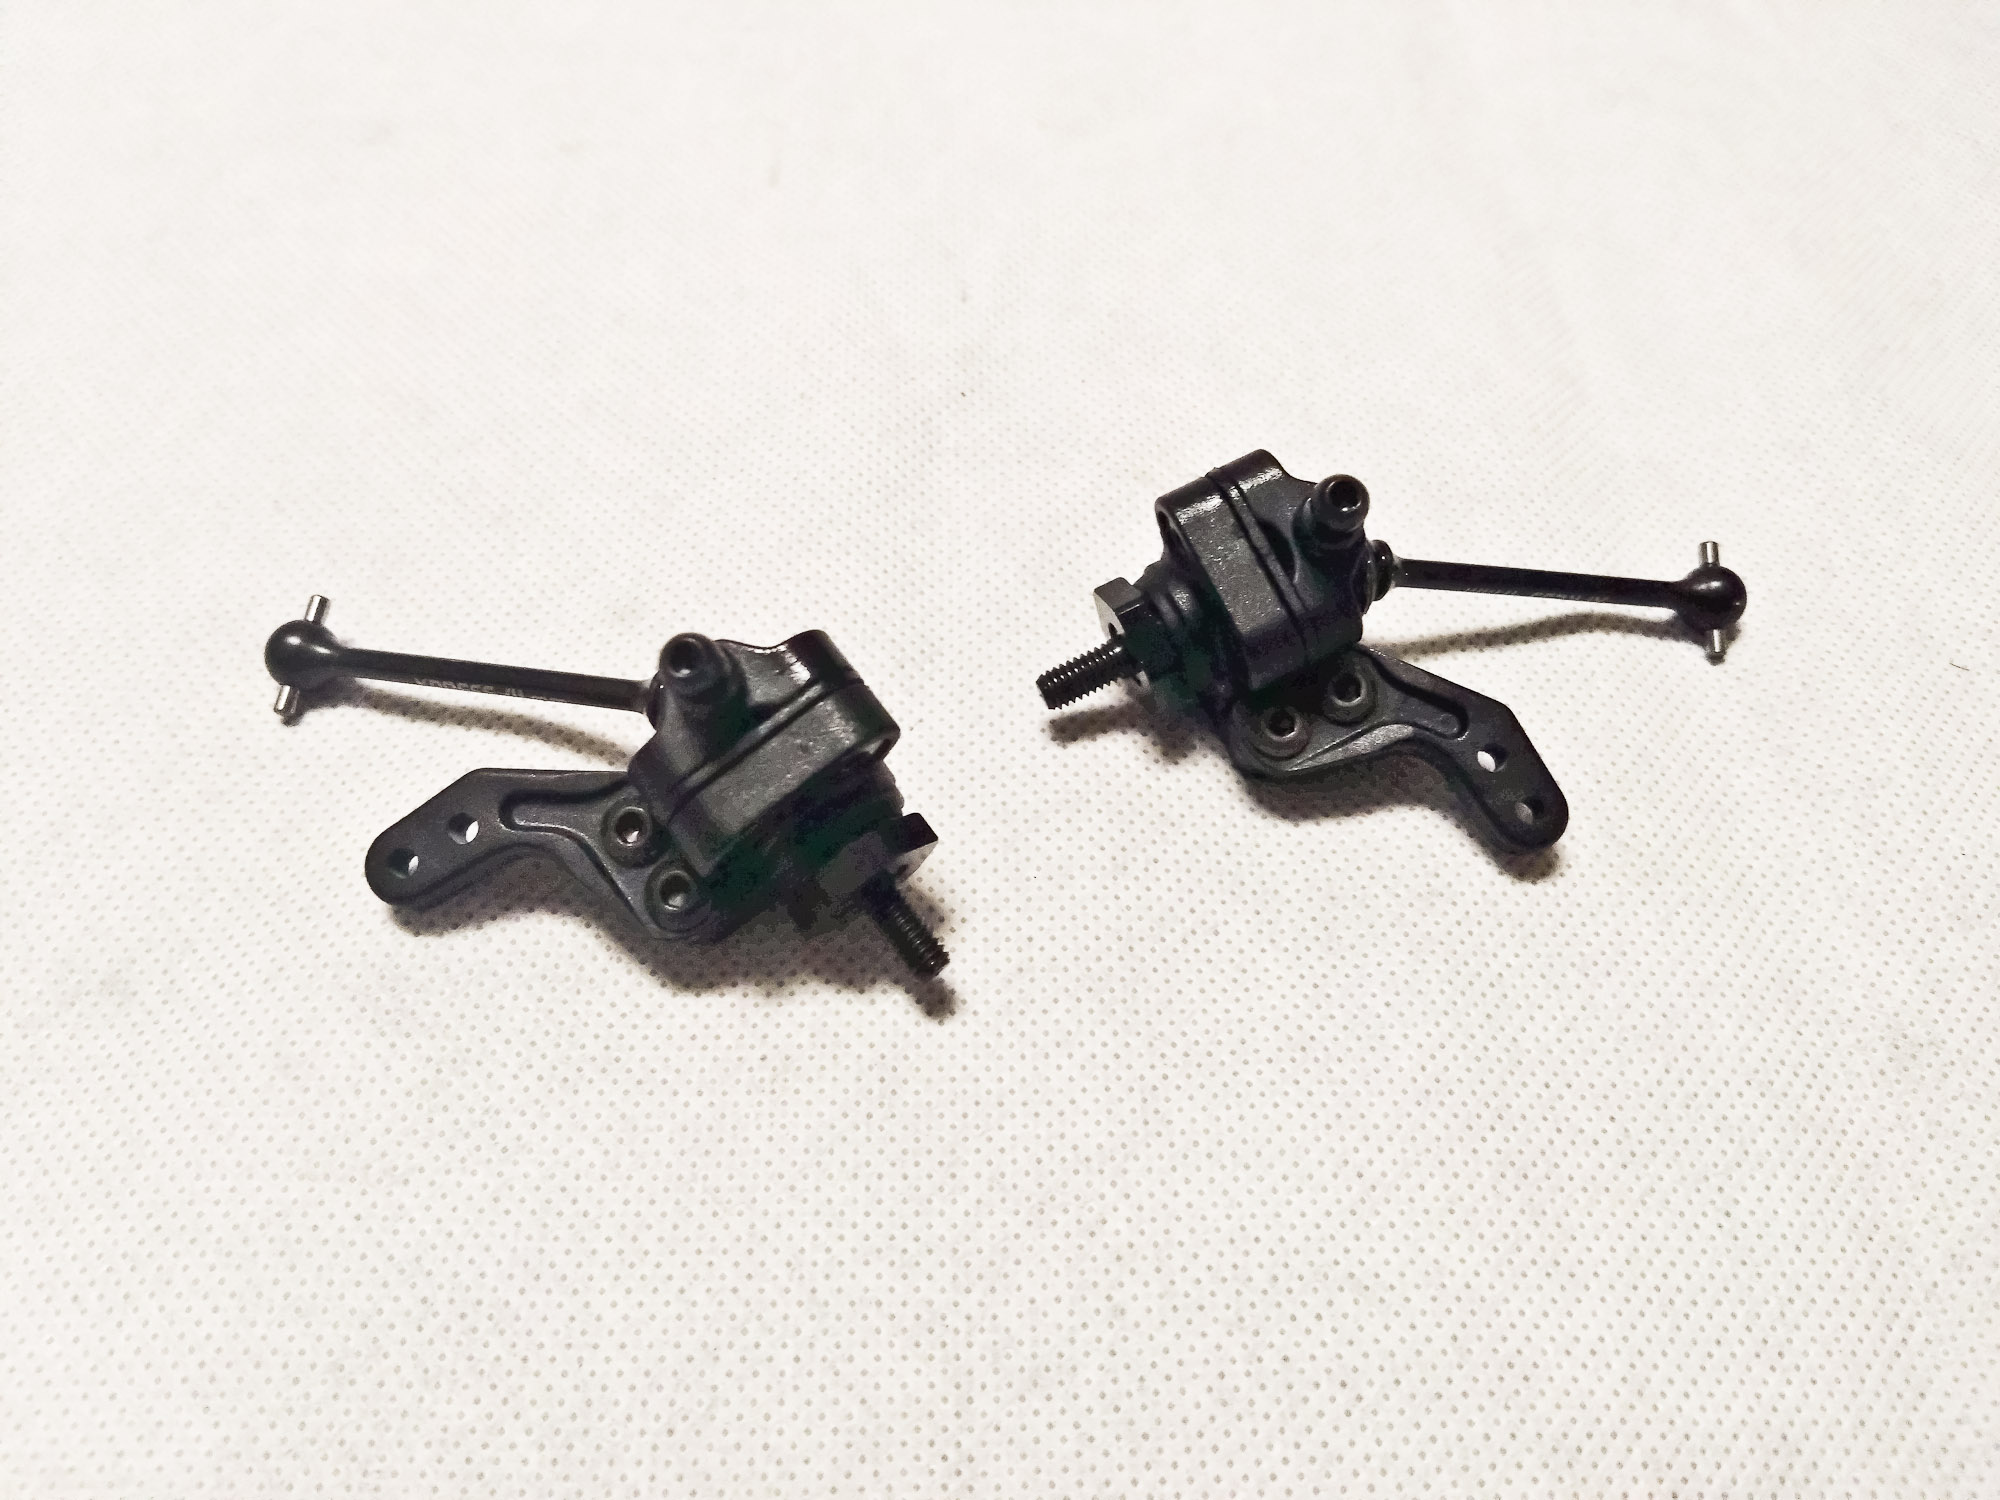
The steering knuckles are not what you'd expect on a low-budget car; with captured wheel hexes and adjustable king pin inclination, it could well be at home at any top-of-the-line race kit.
The Rear Knuckle Assembly is very similar to the front one, and the contents of Bag F resemble Bag E very much, except for the white blades.
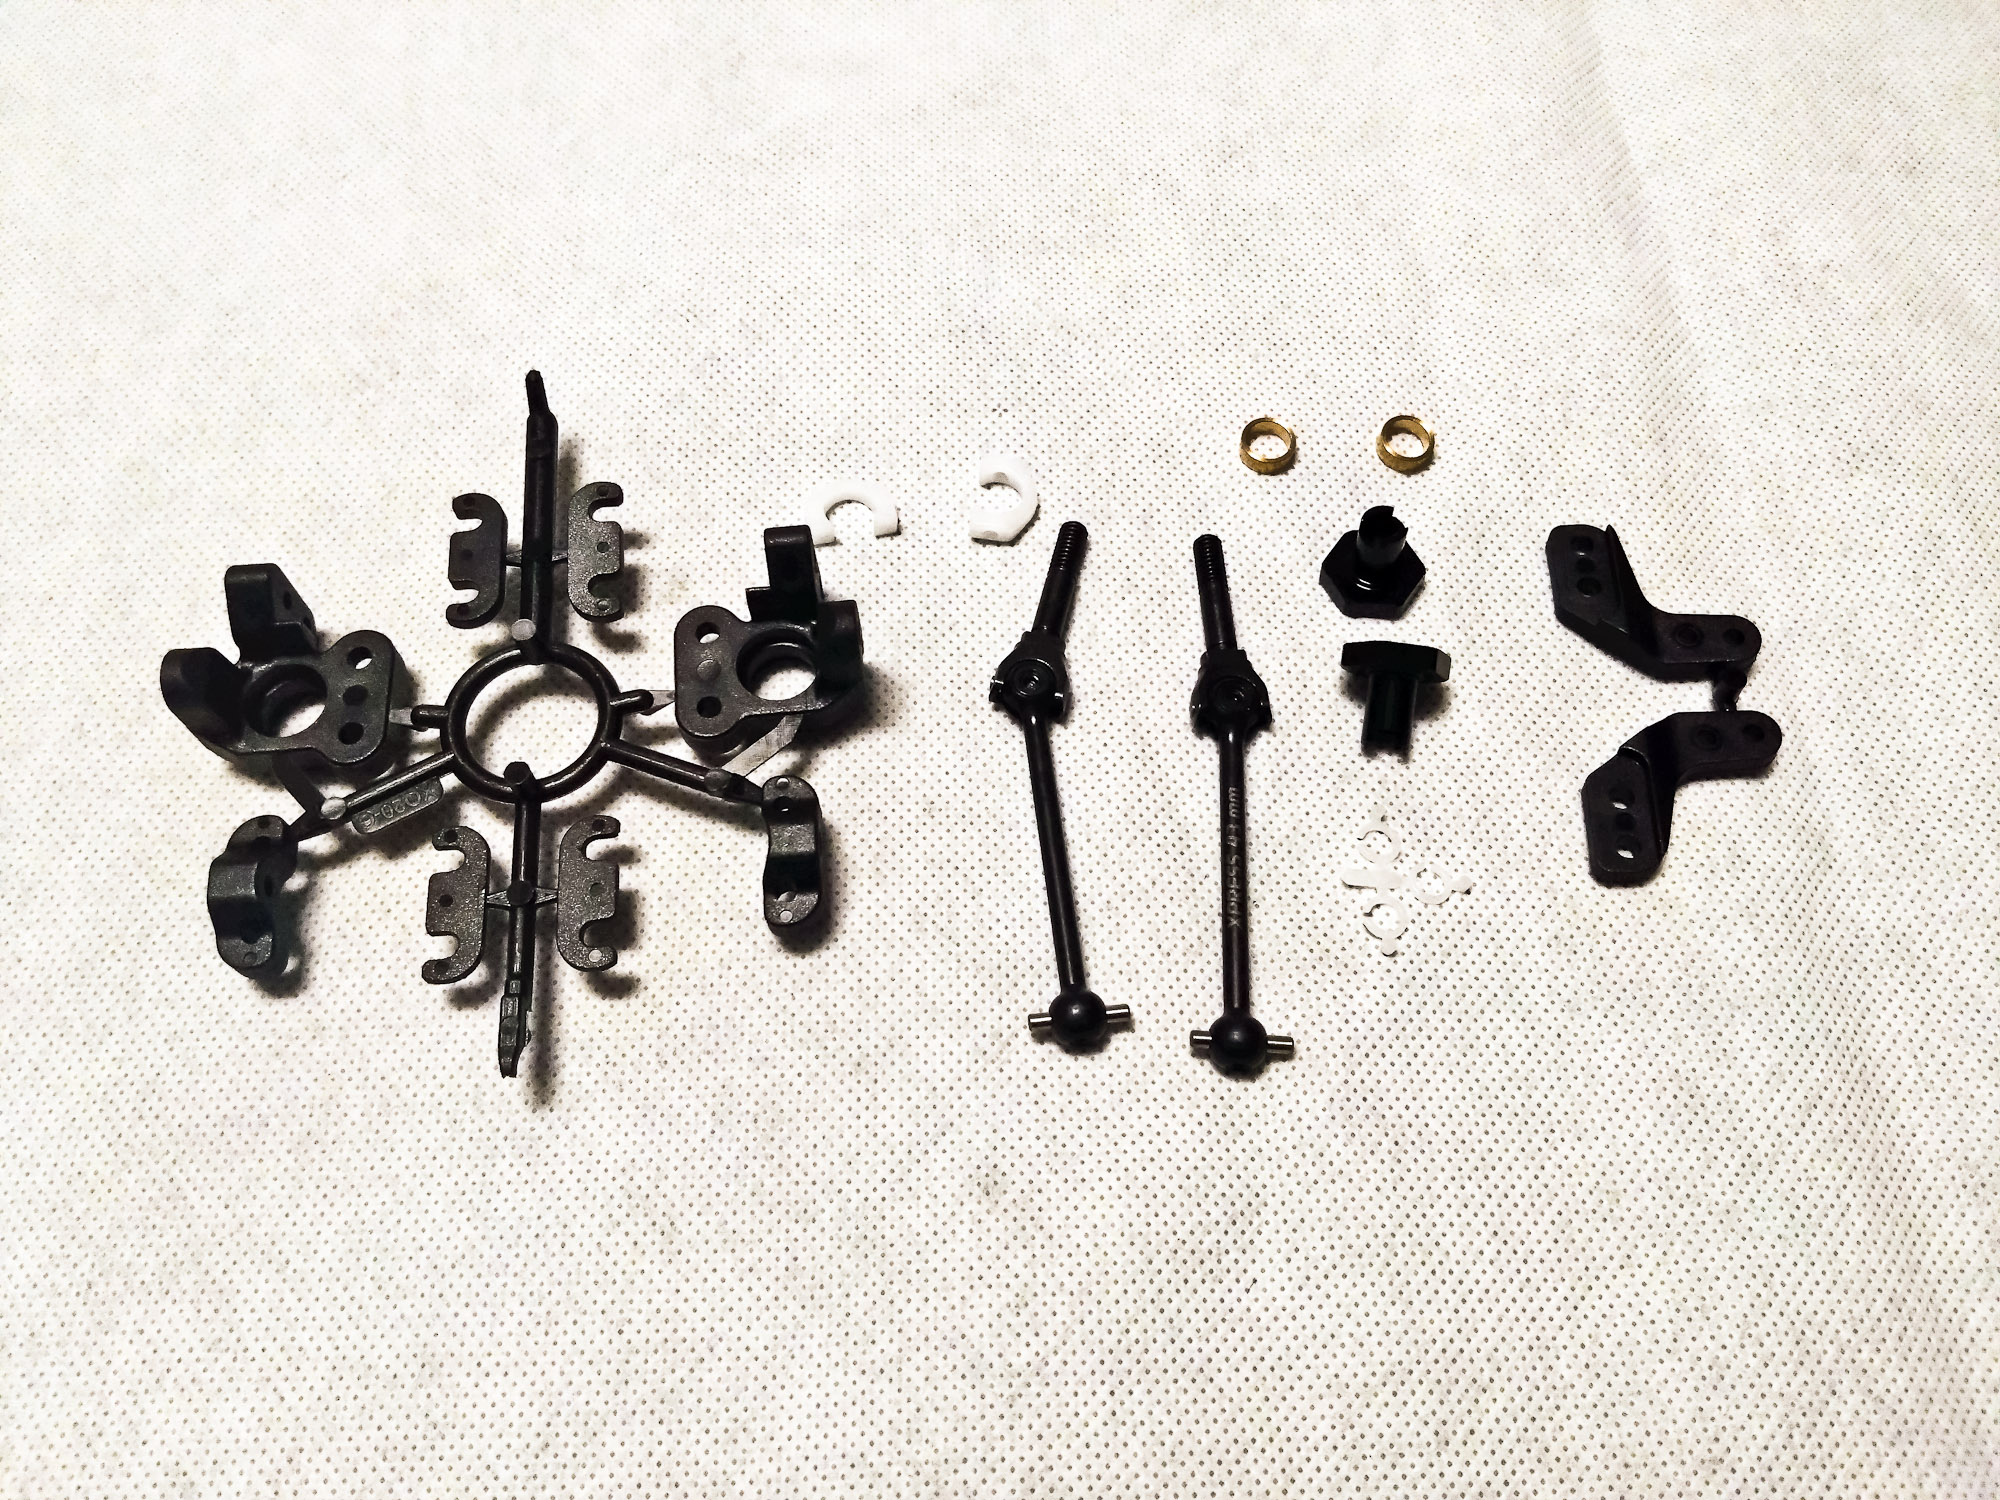
In case you wonder if such a complex design is necessary just for being able to adjust rear toe, there is more to it than that. By changing the height of the ball studs, you can adjust how toe is increased as the suspension compresses, which can be very useful indeed.
Step 7 covers the installation of optional anti-roll bars, which I did not have handy at the time of the build, but might add later.
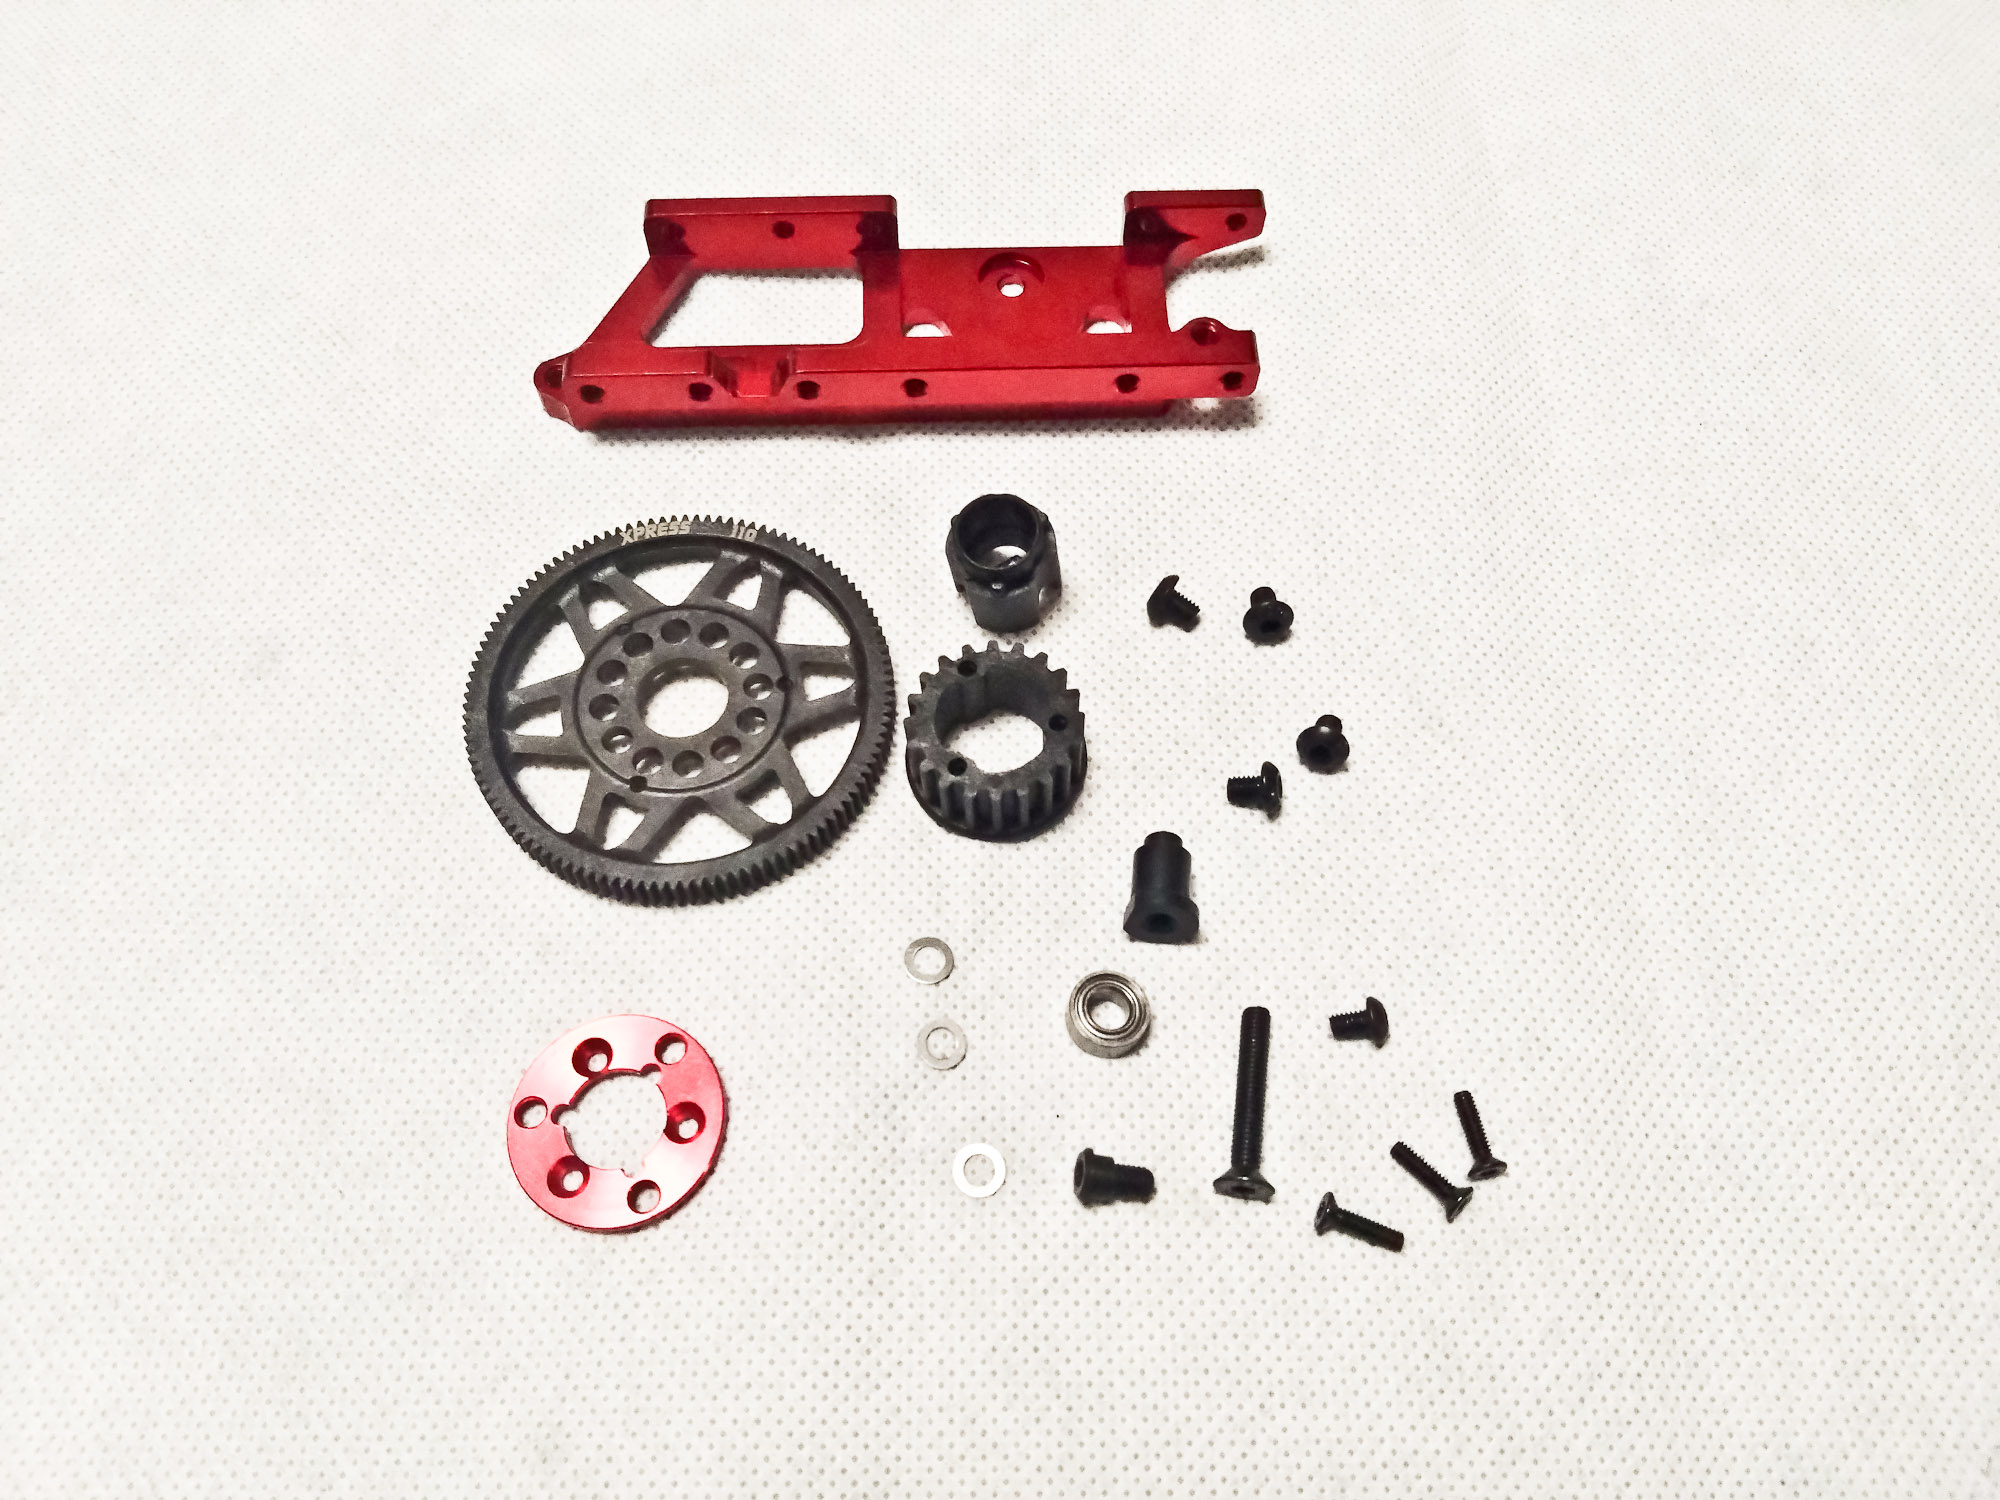
Red aluminum galore in the motor mount assembly! Red is my second favorite anodizing, but as the teased purple Hara edition XQ11 has not been released yet and it is extremely unlikely that there will be an S version of it, I am more than happy about some colorful spots in today's bleak and black RC world.
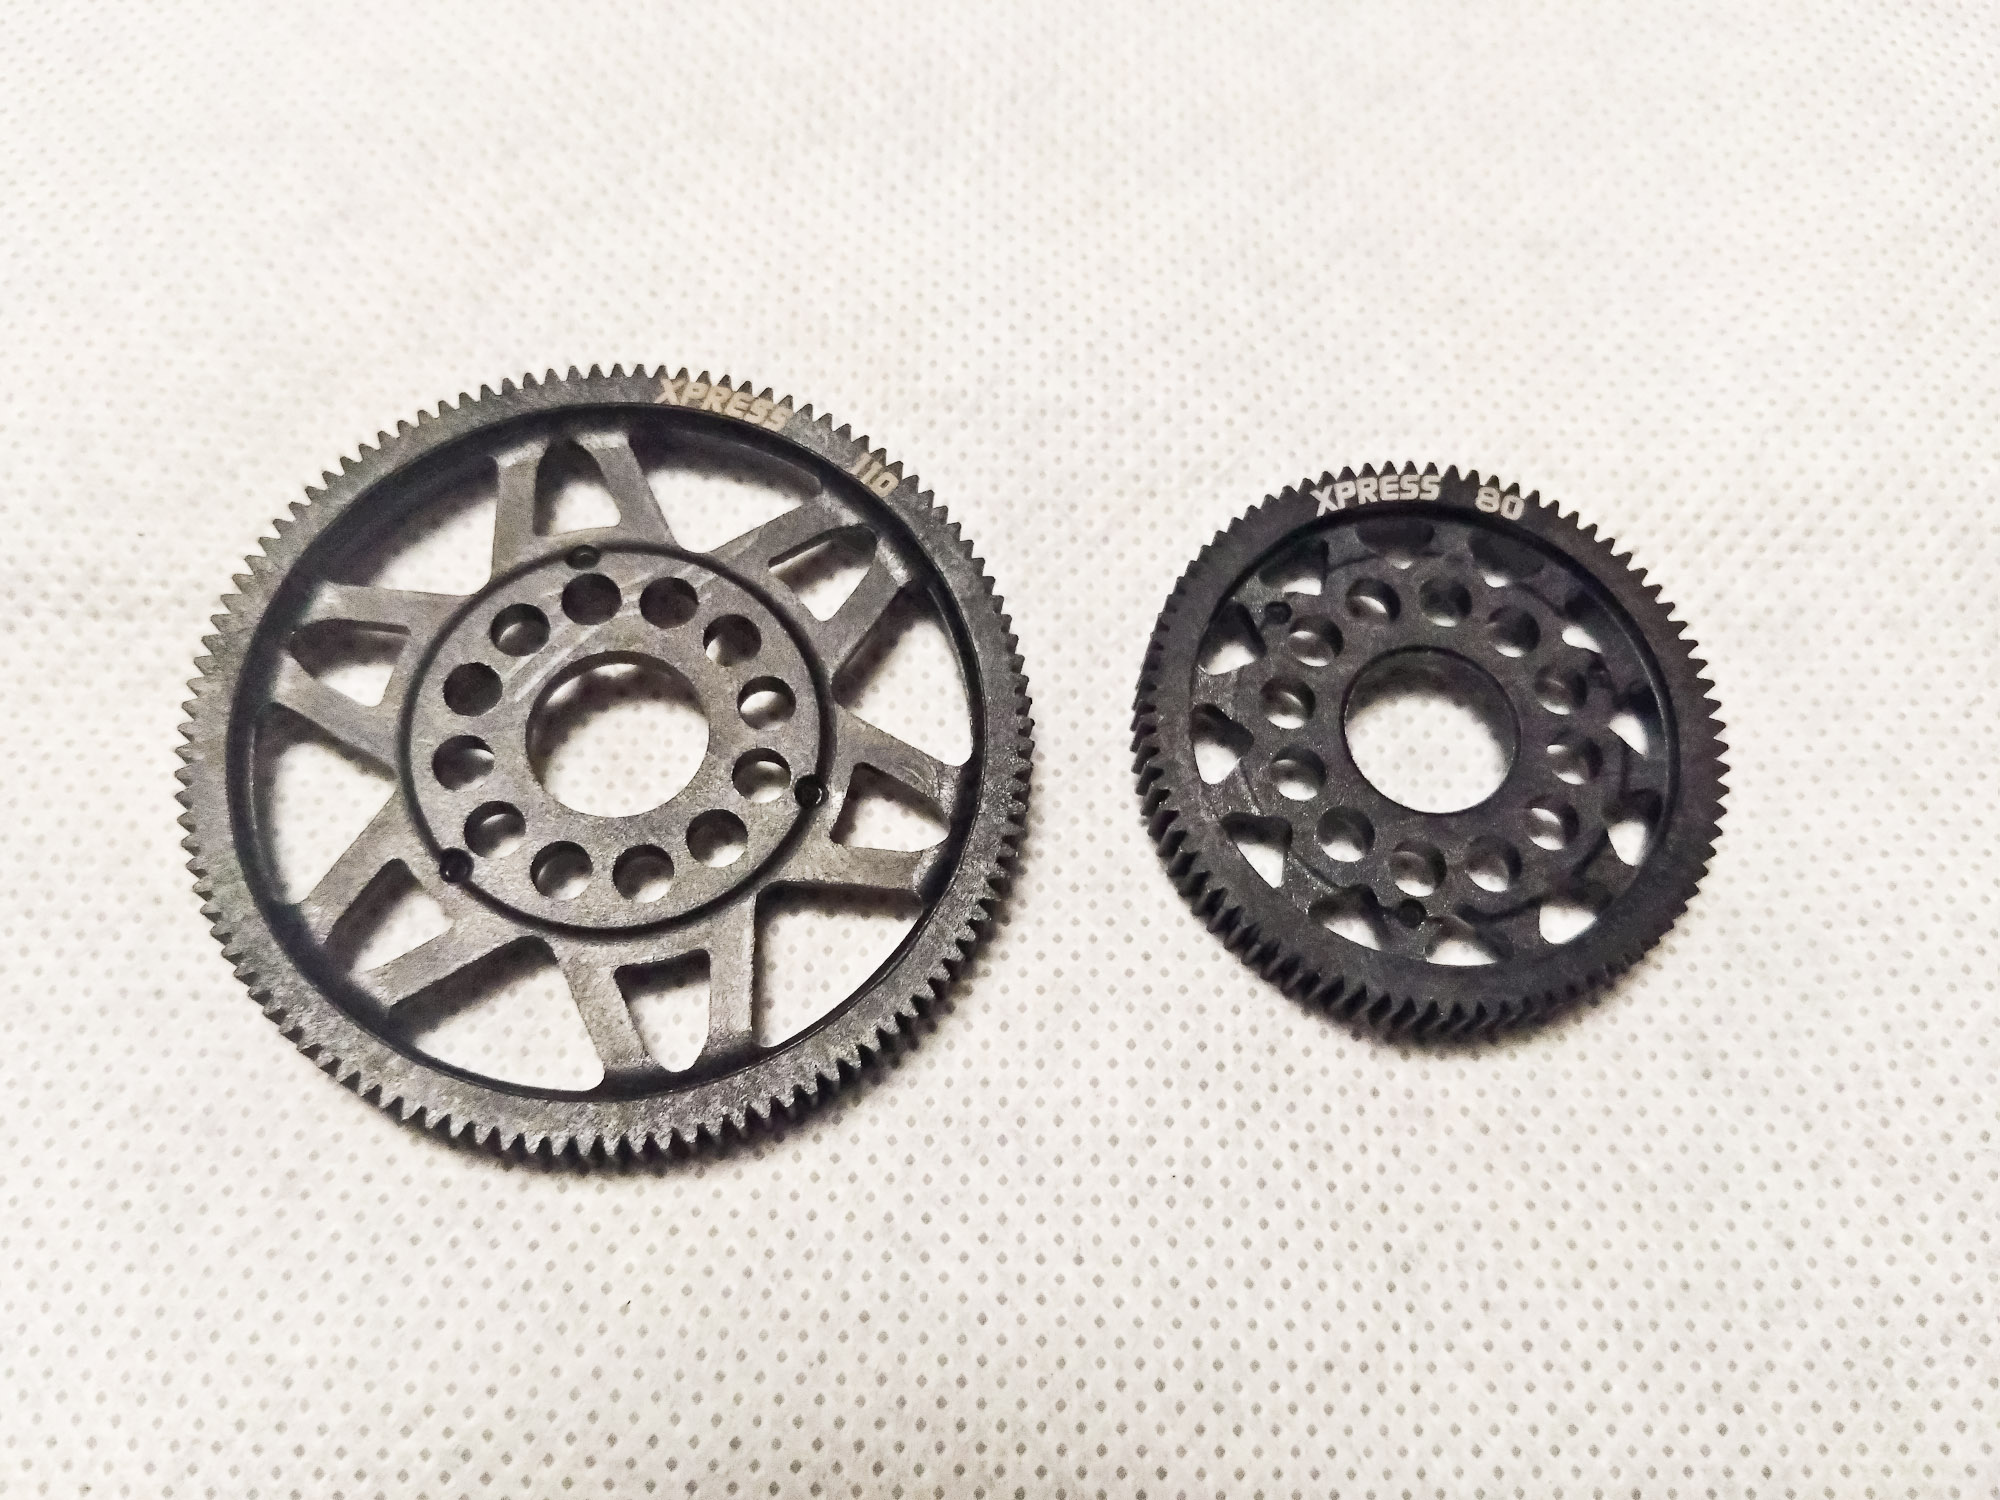
The included 110T spur gear is useful for a wide variety of motors, but as I wanted to give a Hobbywing 25.5 turns Justock motor a try, I first installed an 80T version instead. As it would turn out later, the gear chart is not limited to viable gearing combinations, and a 50T pinion would rub on the upper deck. You might get away with removing a little material on the top deck, but as the national RCK Challenge VTA series uses a different FDR limit and a fixed-timing Ruddog RP540 17.5 turn motor anyway, I decided to put in my trusty 21.5 turn Orca until the control motor is back in stock.
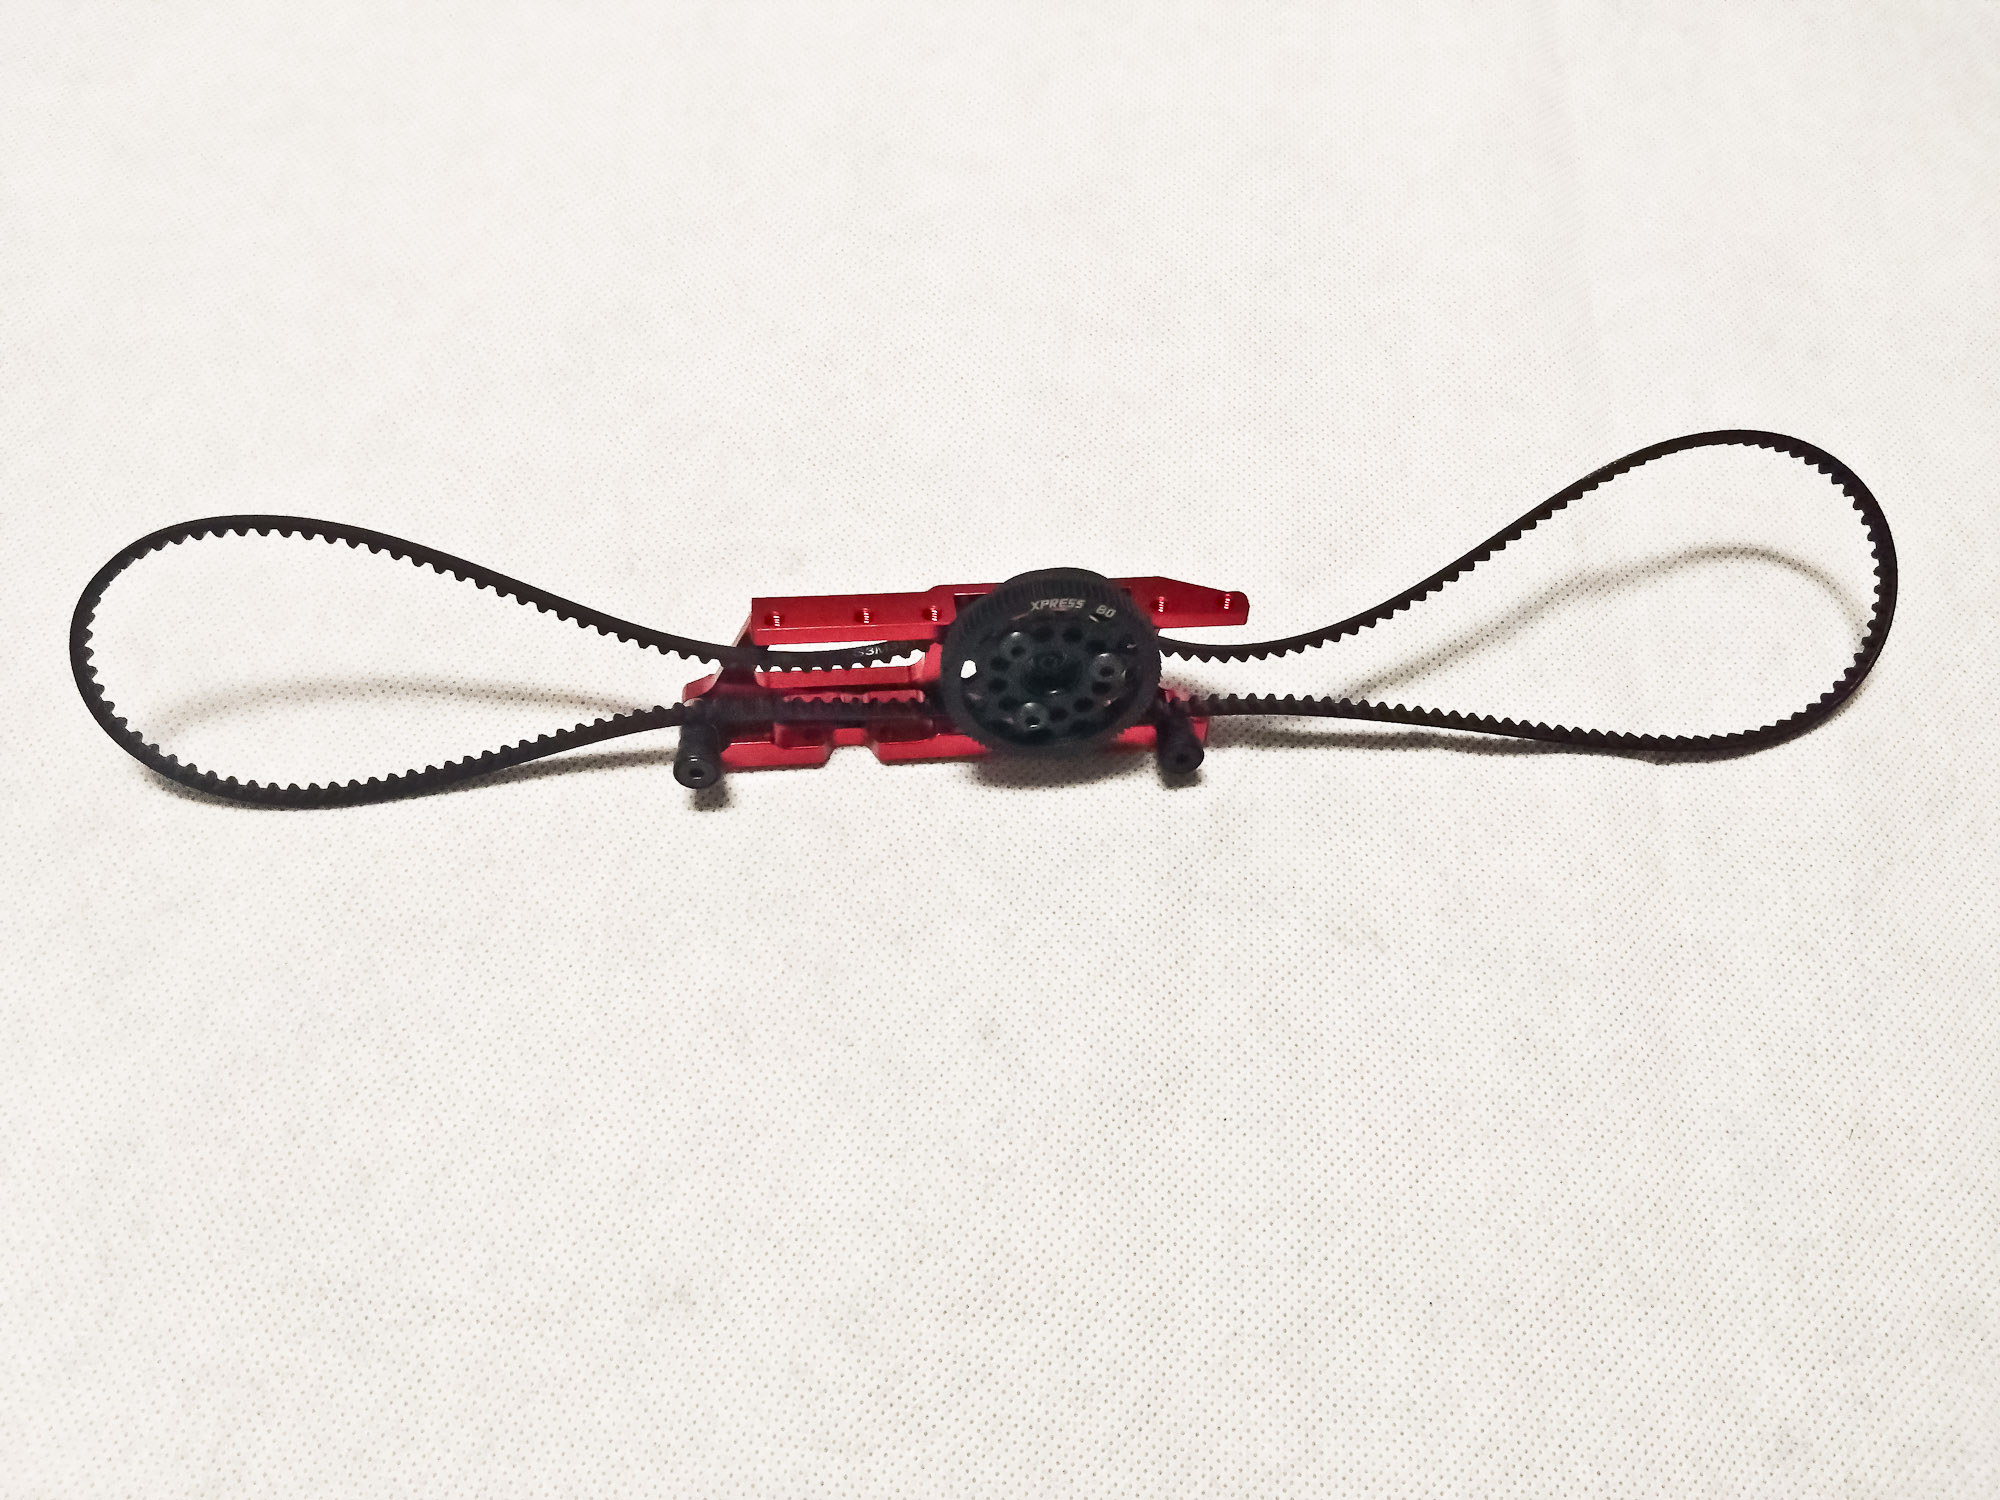
The motor mount assembly is really easy to put together, only the belts are a bit stubborn as usual.
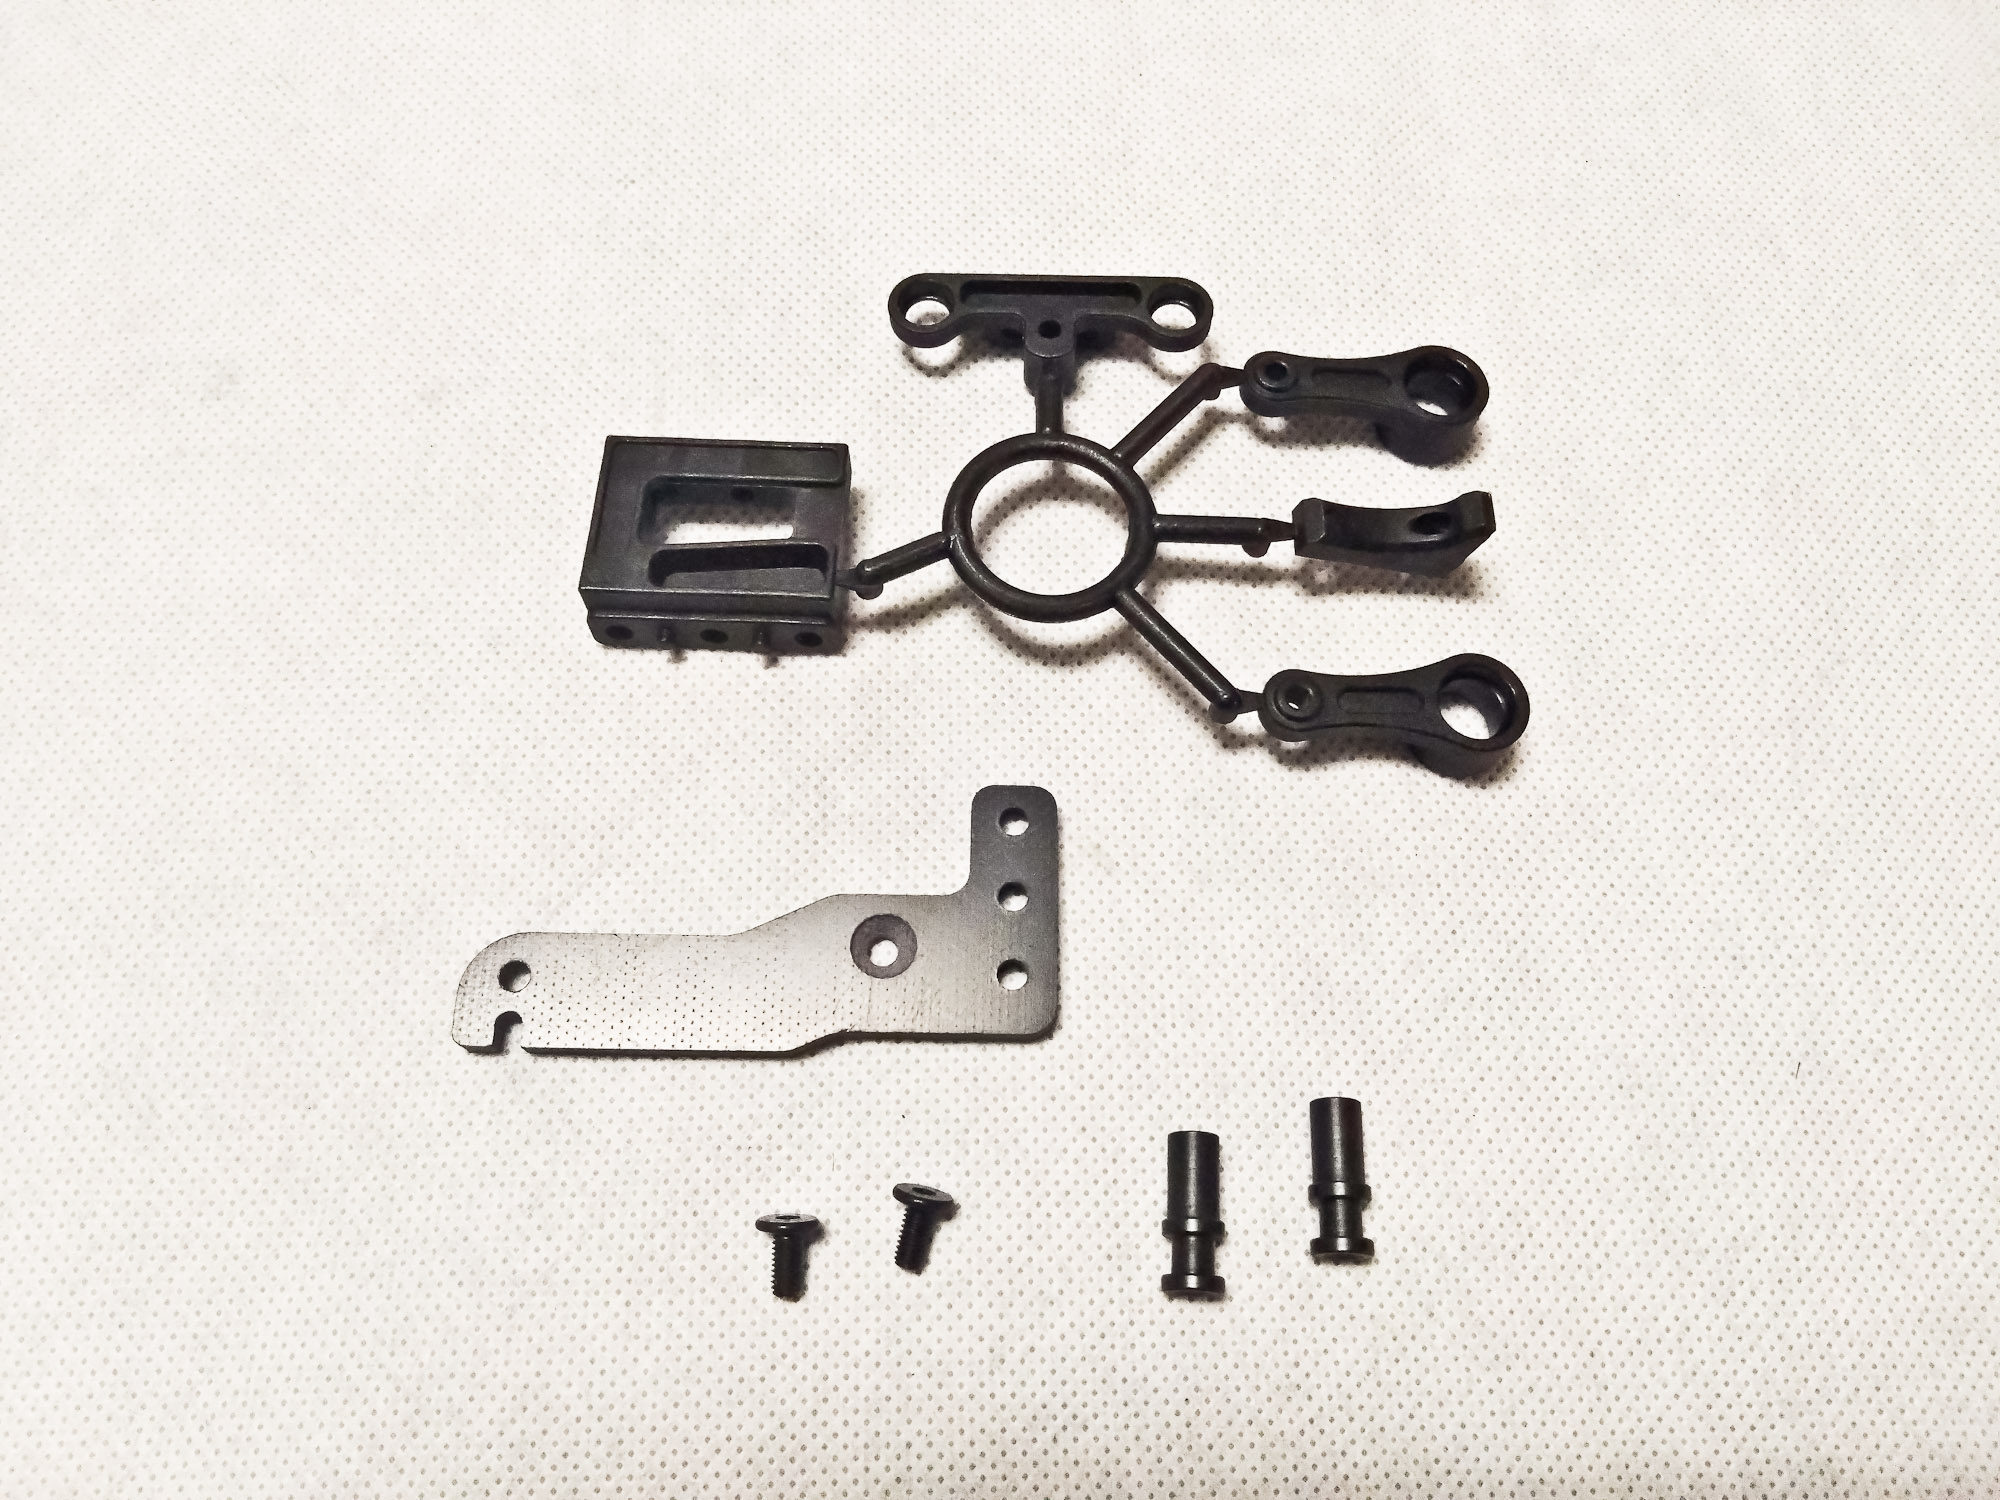
Bag H has the parts of an economic version of what can be considered today's standard in TC steering: dual post ball-raced Ackerman steering and floating servo mount made of steel, plastic and FRP instead of carbon fiber and aluminum.
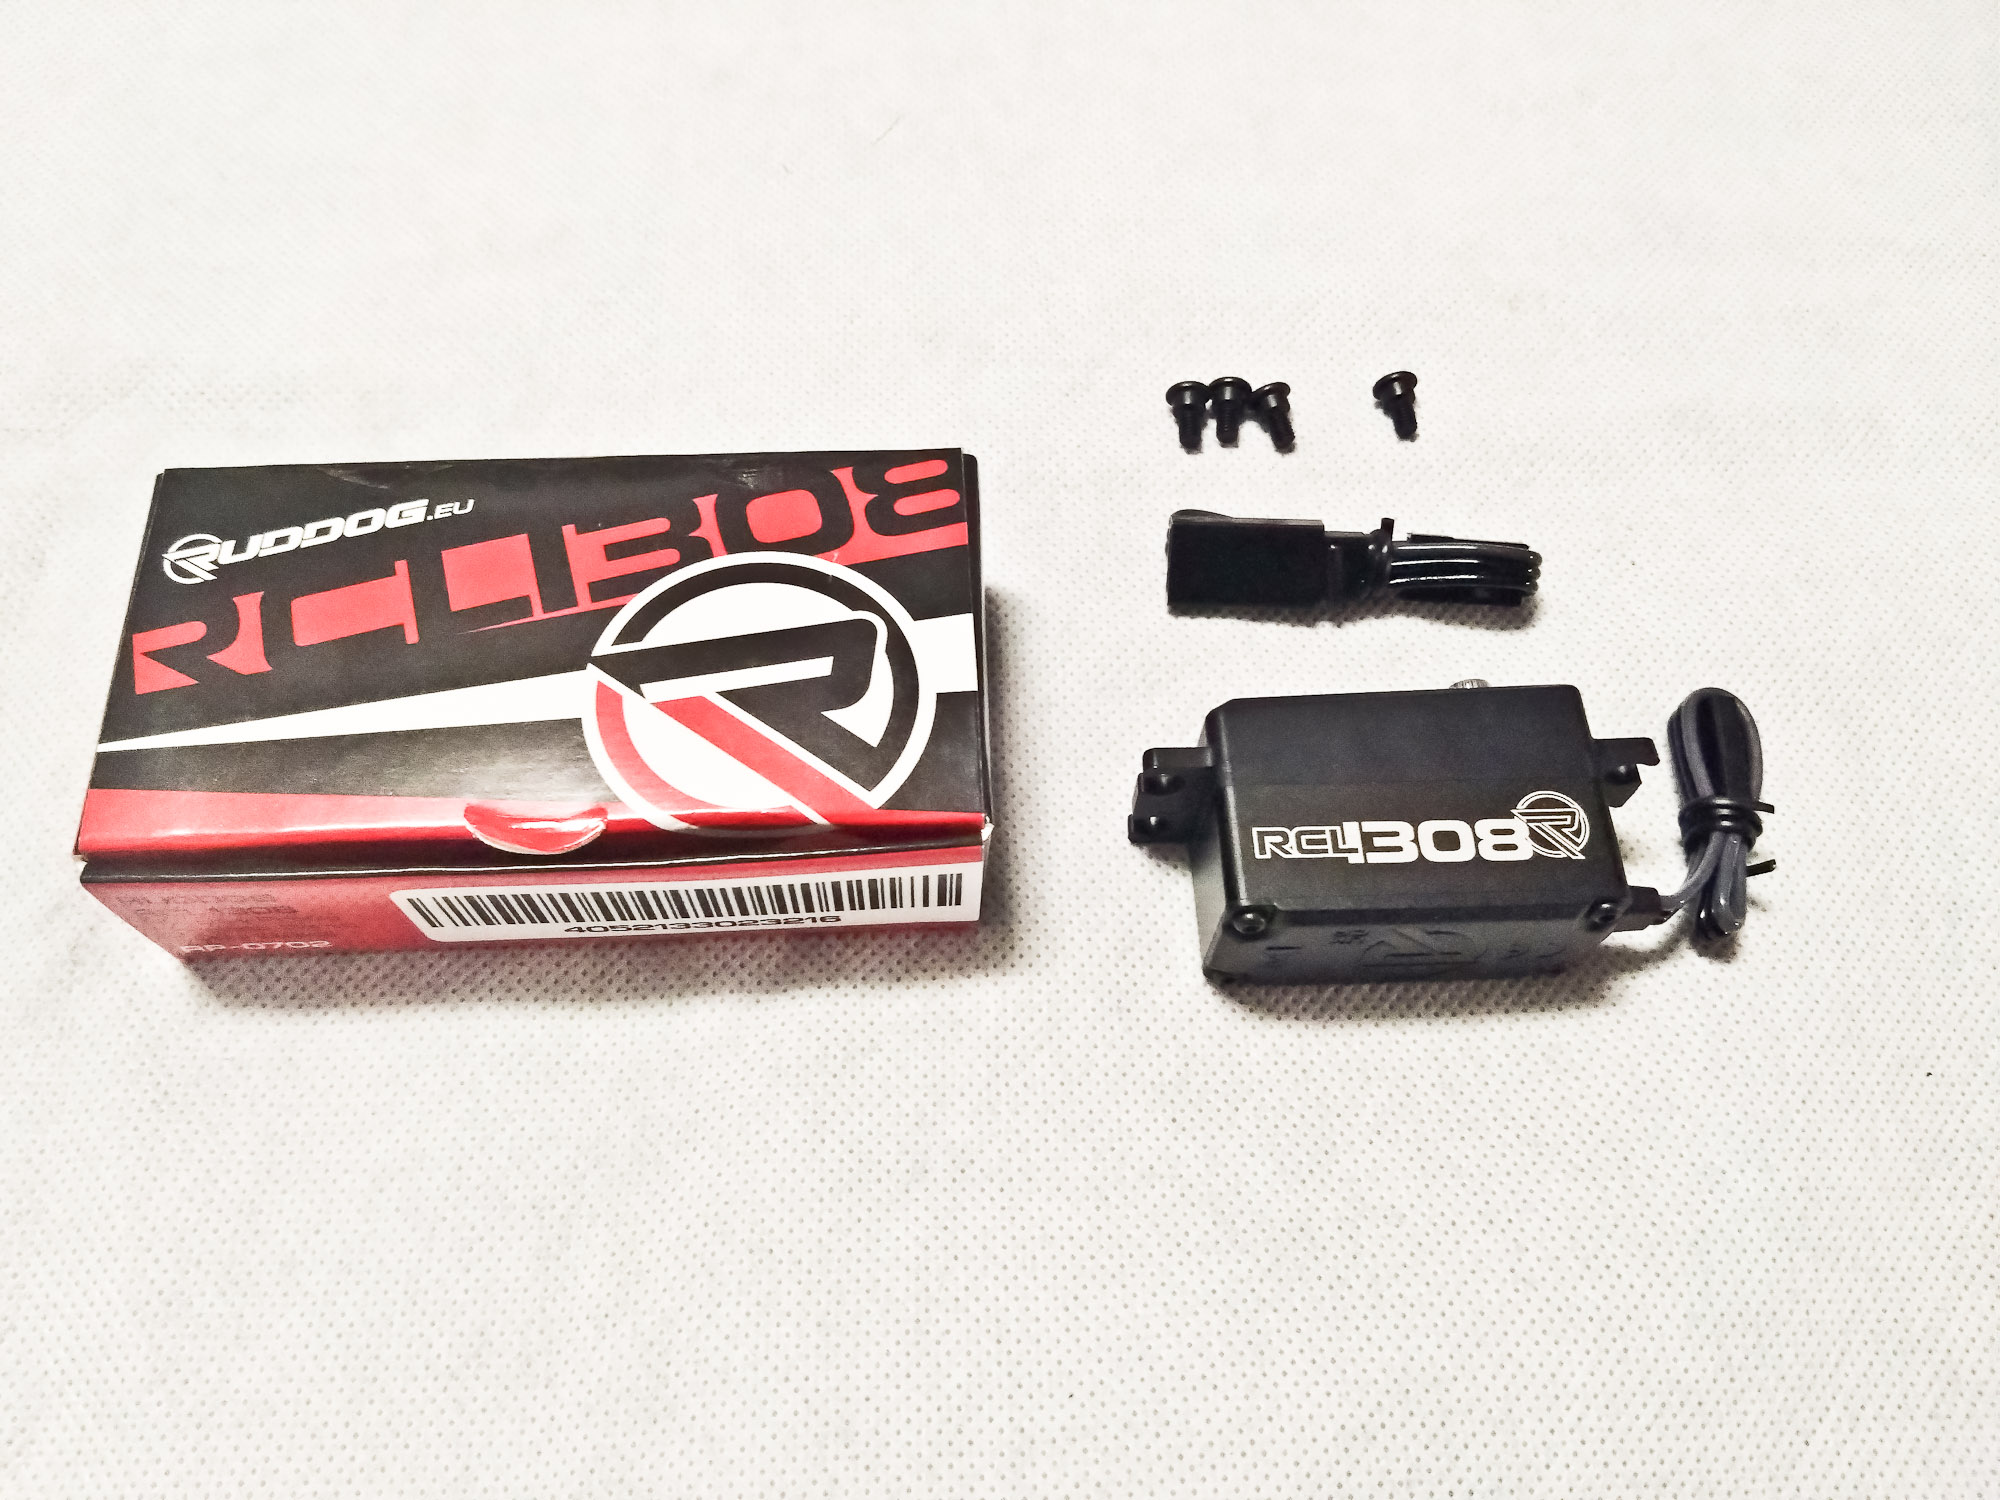
Speaking of economic, I opted for the Ruddog RCL1308. This is a coreless servo in the 60.- euro price range with good specifications, which includes an extension wire and, my personal highlight, form-fitting servo screws. This servo has been used by the team at various major races in the Iris ONE .05 FWD car, so it can't be that bad. ;)
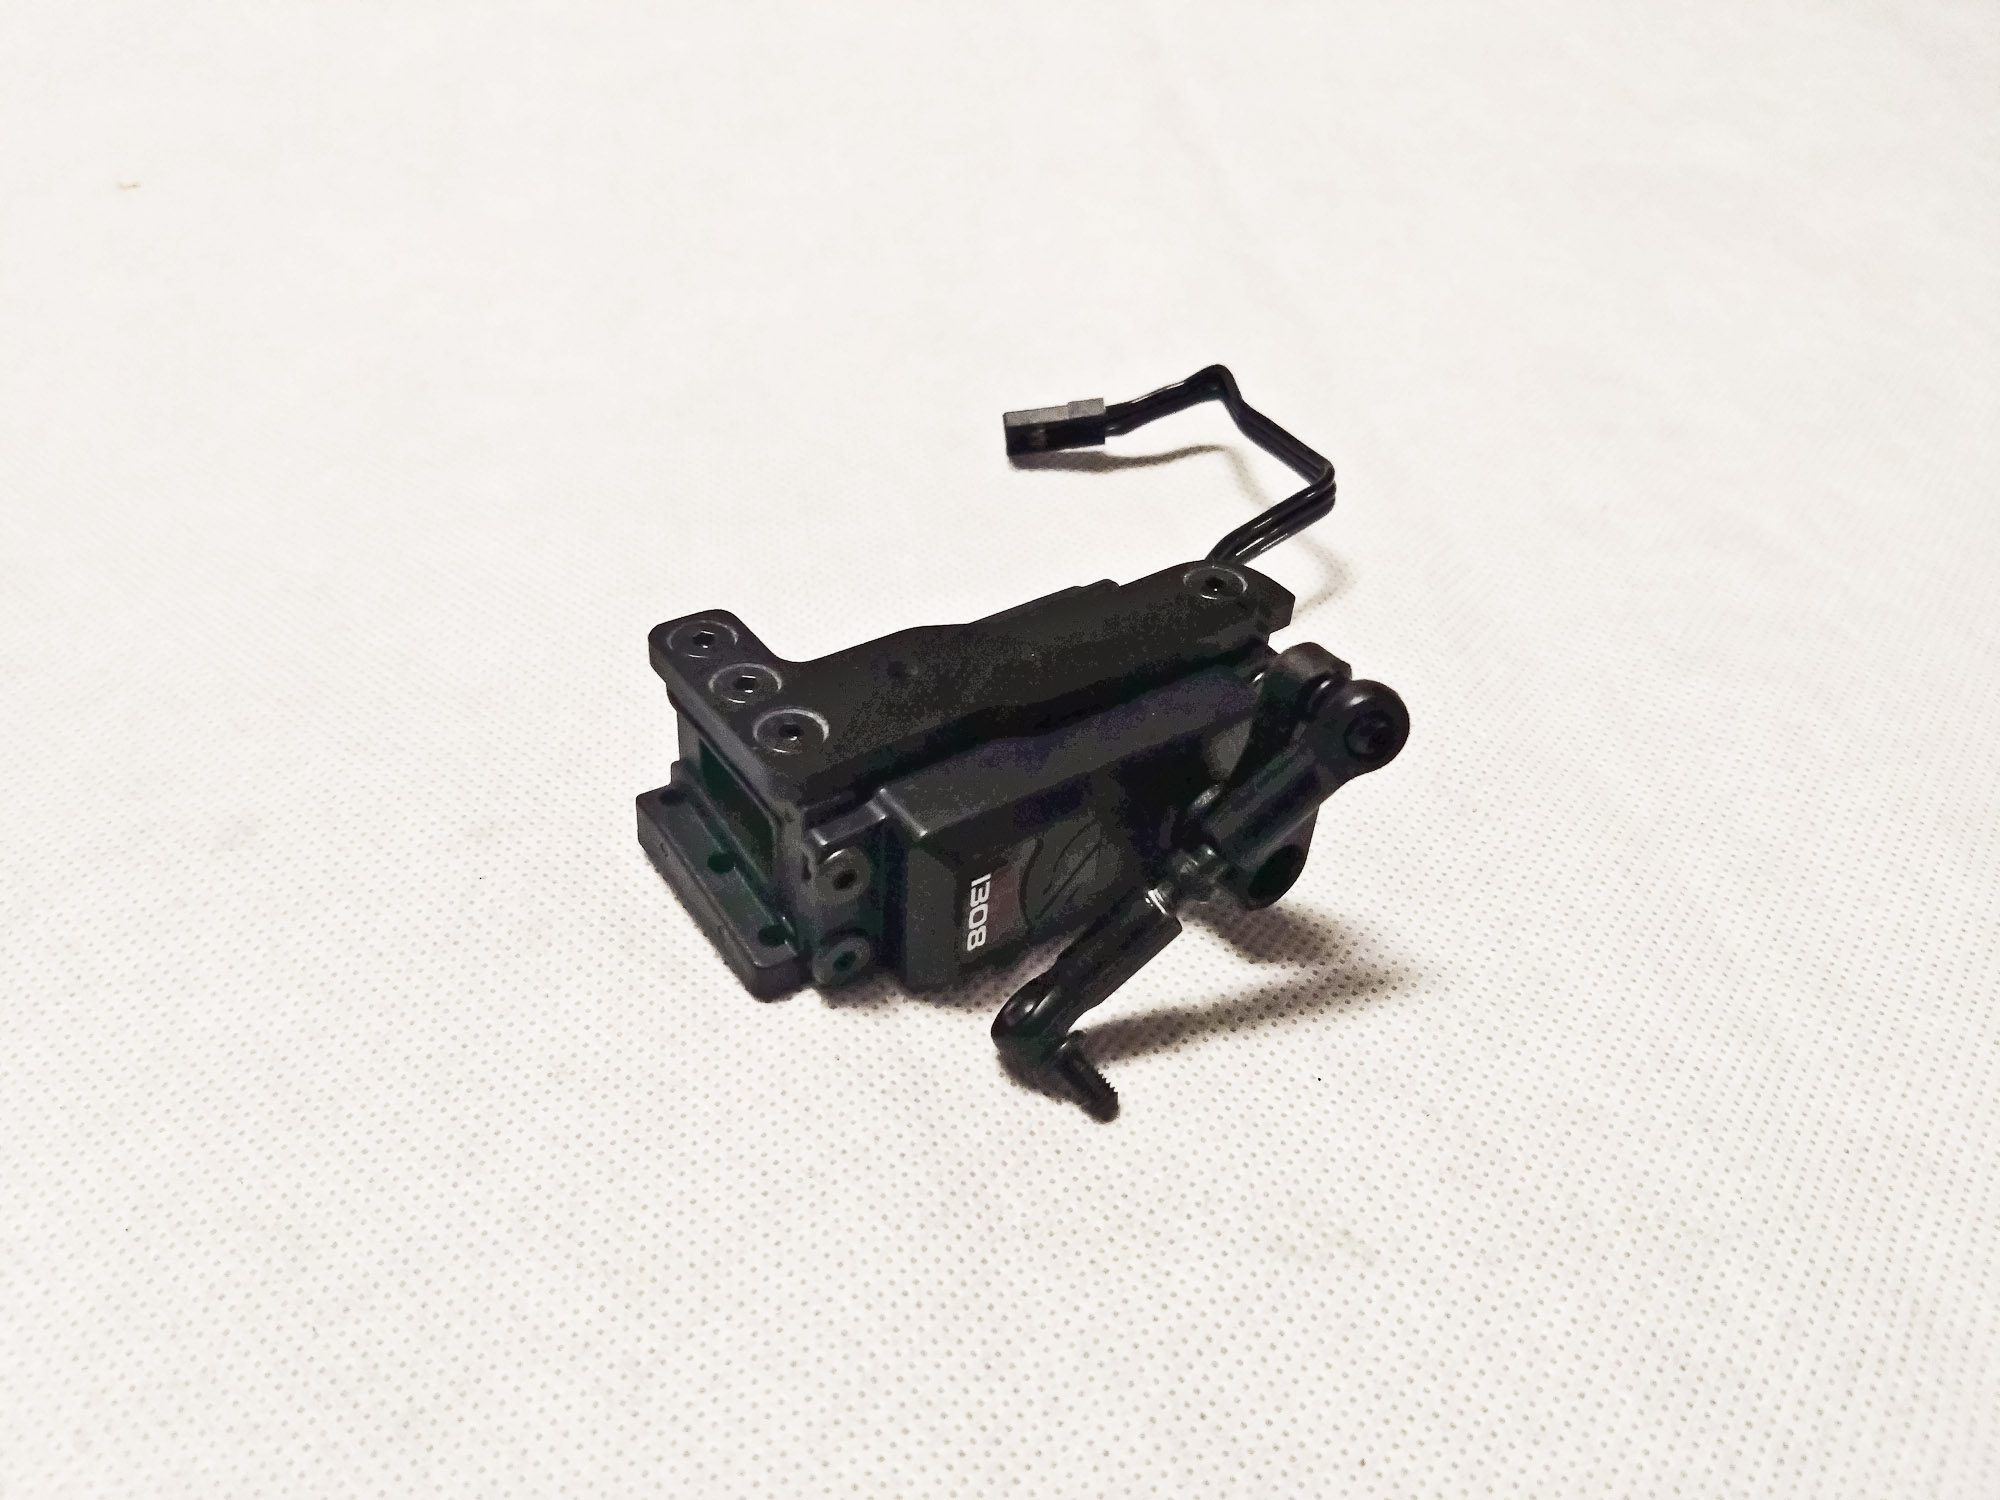
Back in black. I guess I'll have to add a red aluminum servo horn, screws and washers to the car at some point, but all in all, everything looks to be functional and well thought out.
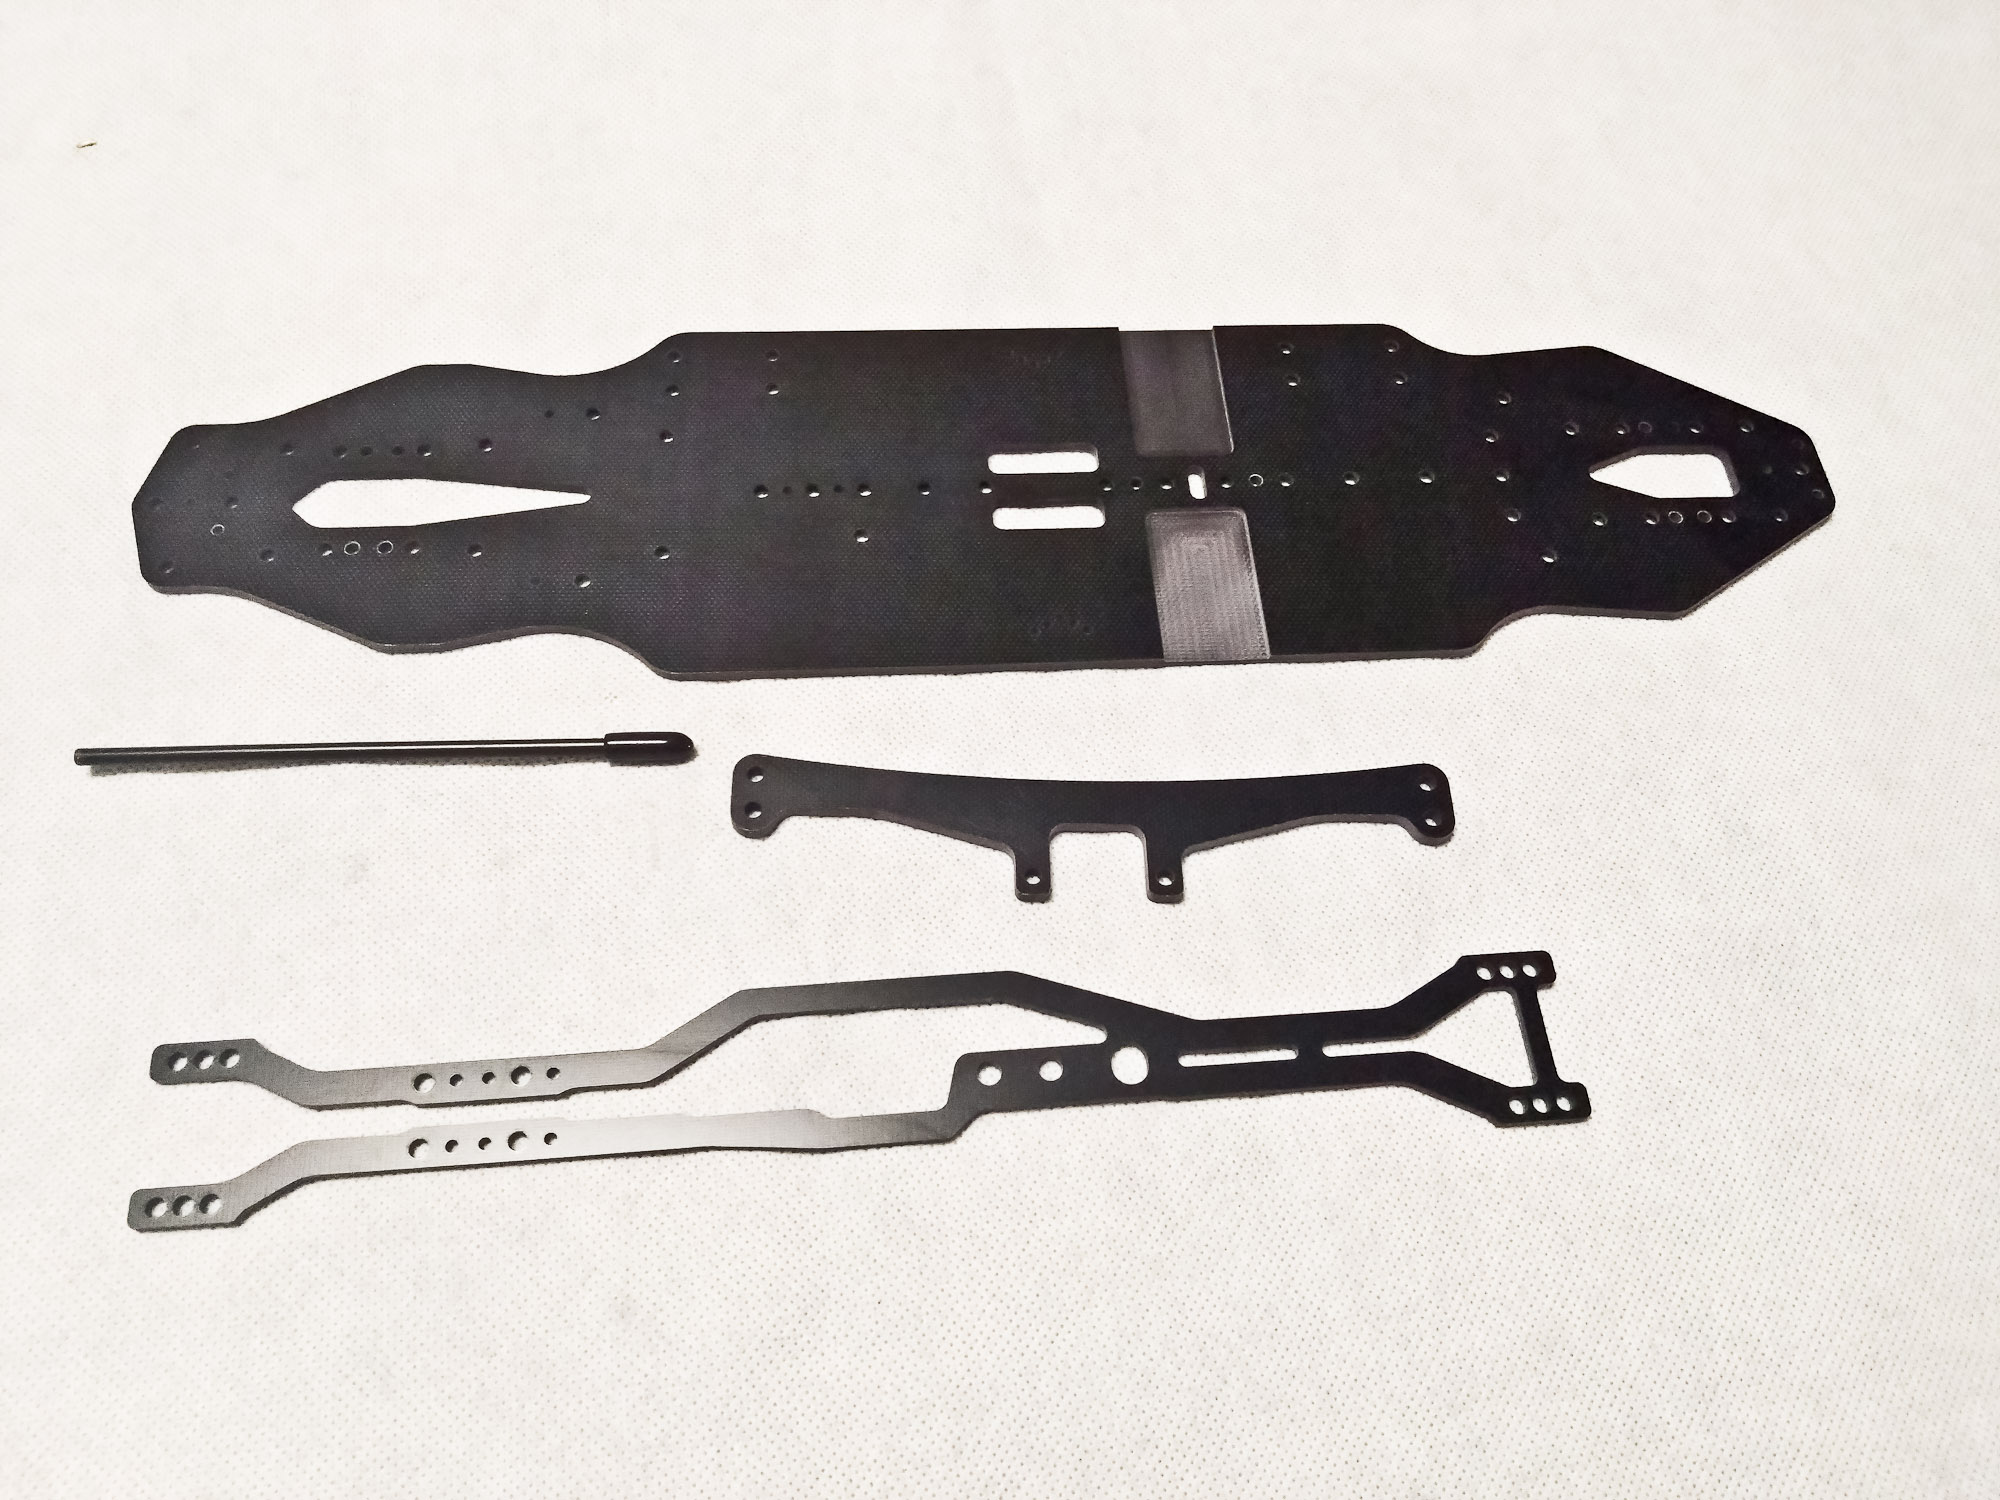
So much for the add-on assemblies. Time to open the FRP Bag! While it is not required to seal the edges with CA glue like on carbon fiber parts, it's worth the sand them down a little with a file. It's nice from Xpress to include an antenna tube with cap, but for this build I had no use for it.
One of the obvious and main differences between the basic XQ3S and the higher level XQ11 are the plastic bulkheads.
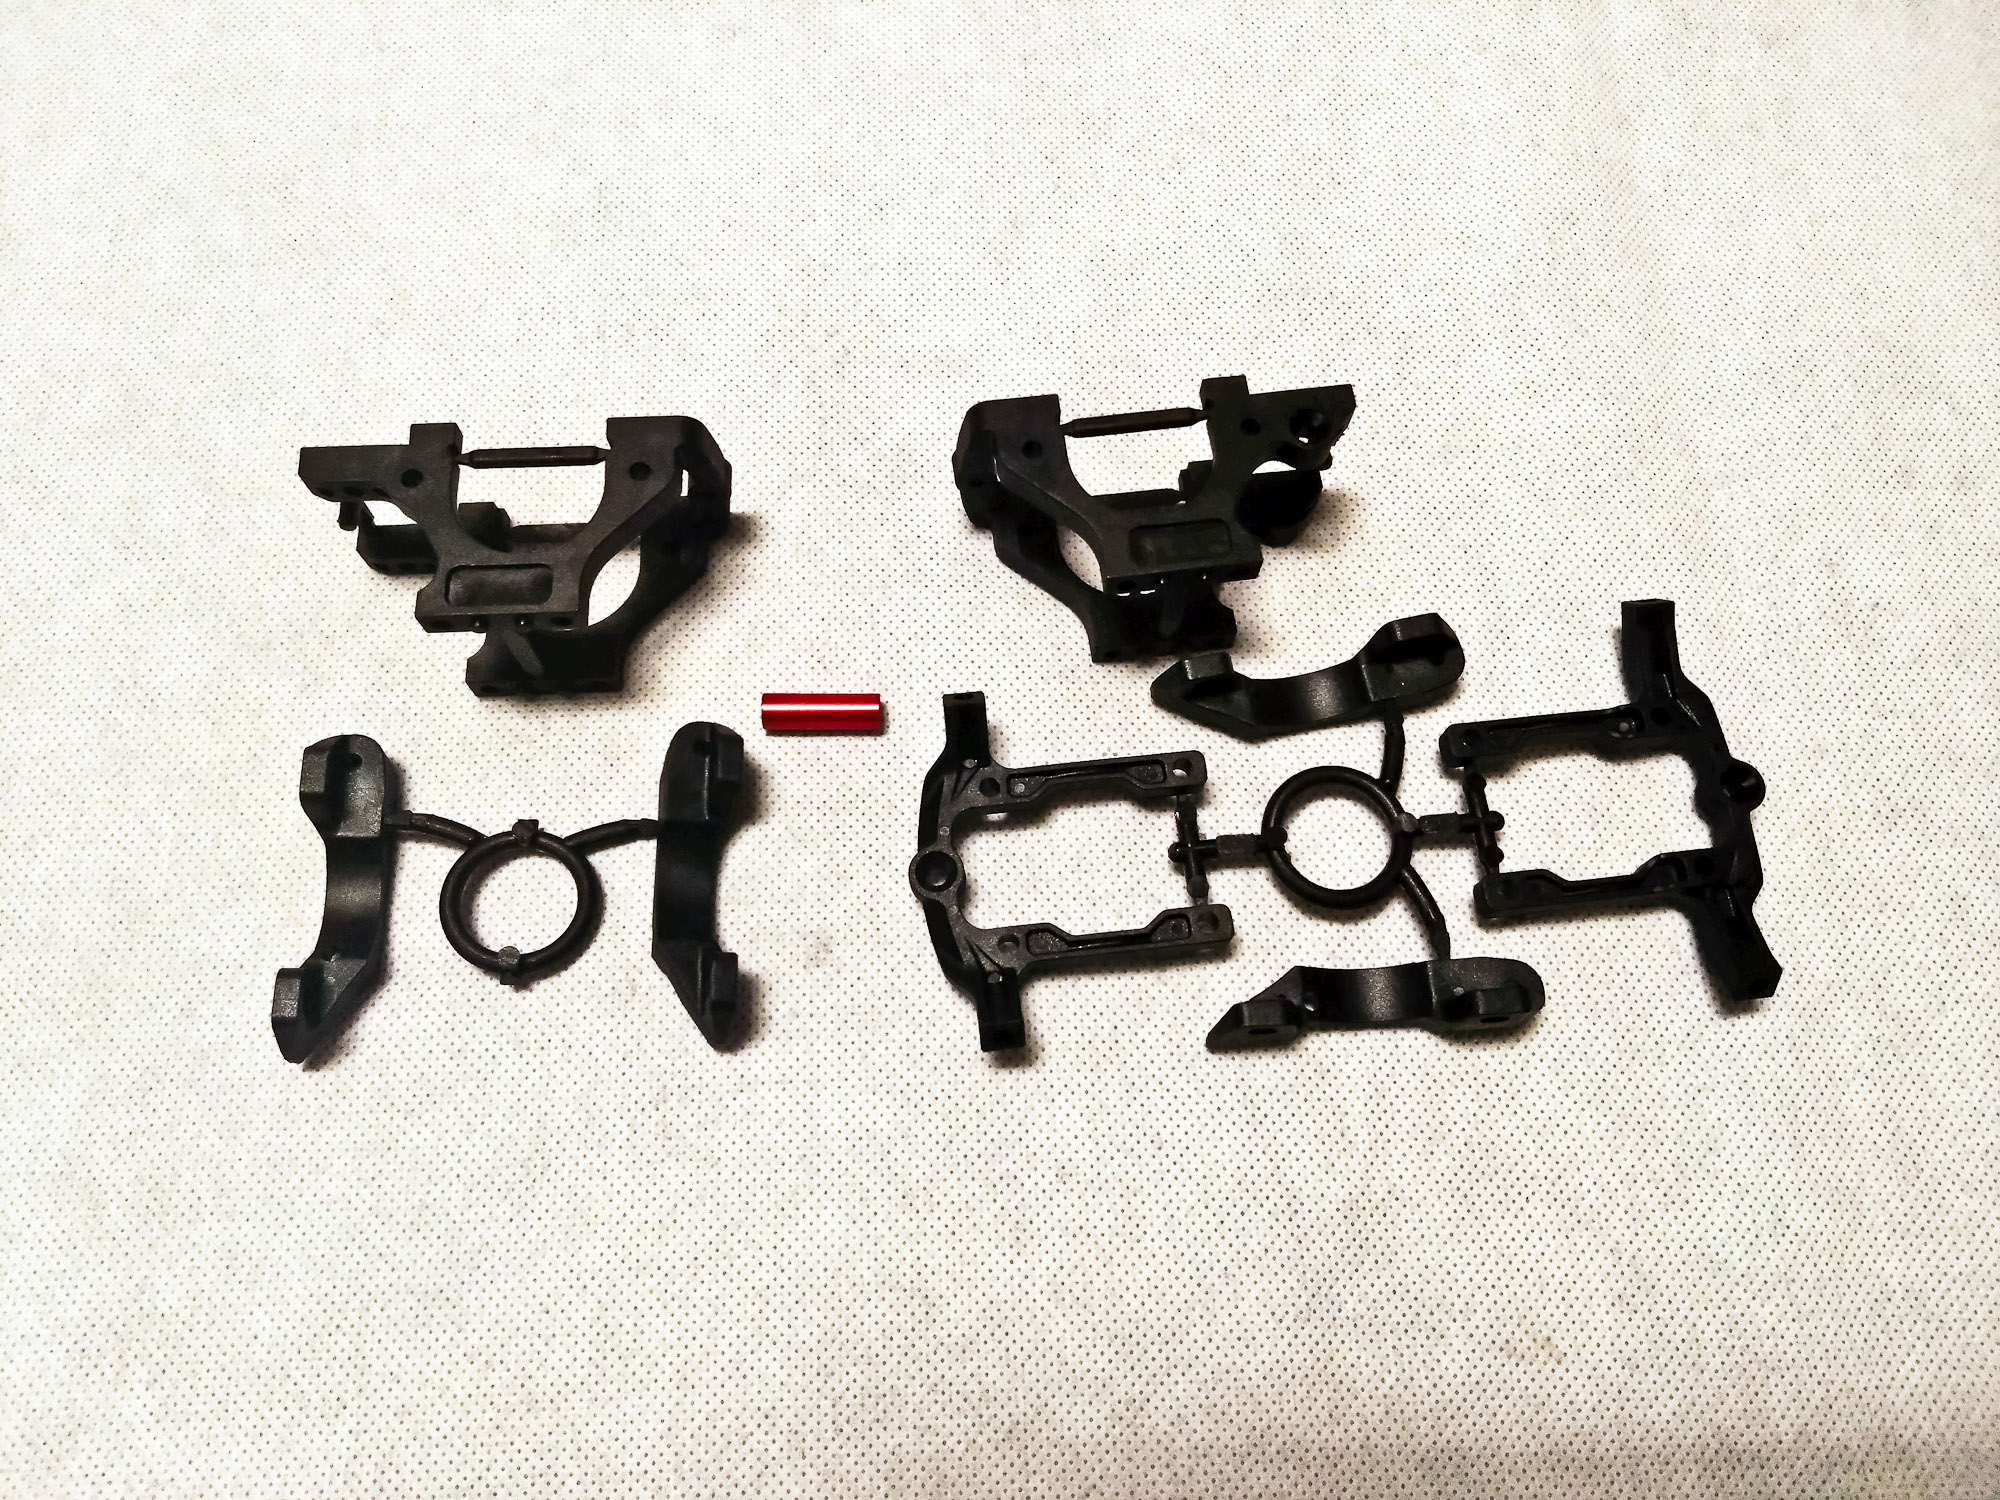
In the long run, you'll have to pay attention when tightening e.g. the top-deck screws in order not to strip any threads, but in general the quality of the plastic composite is nice and you get geed feedback during assembly.
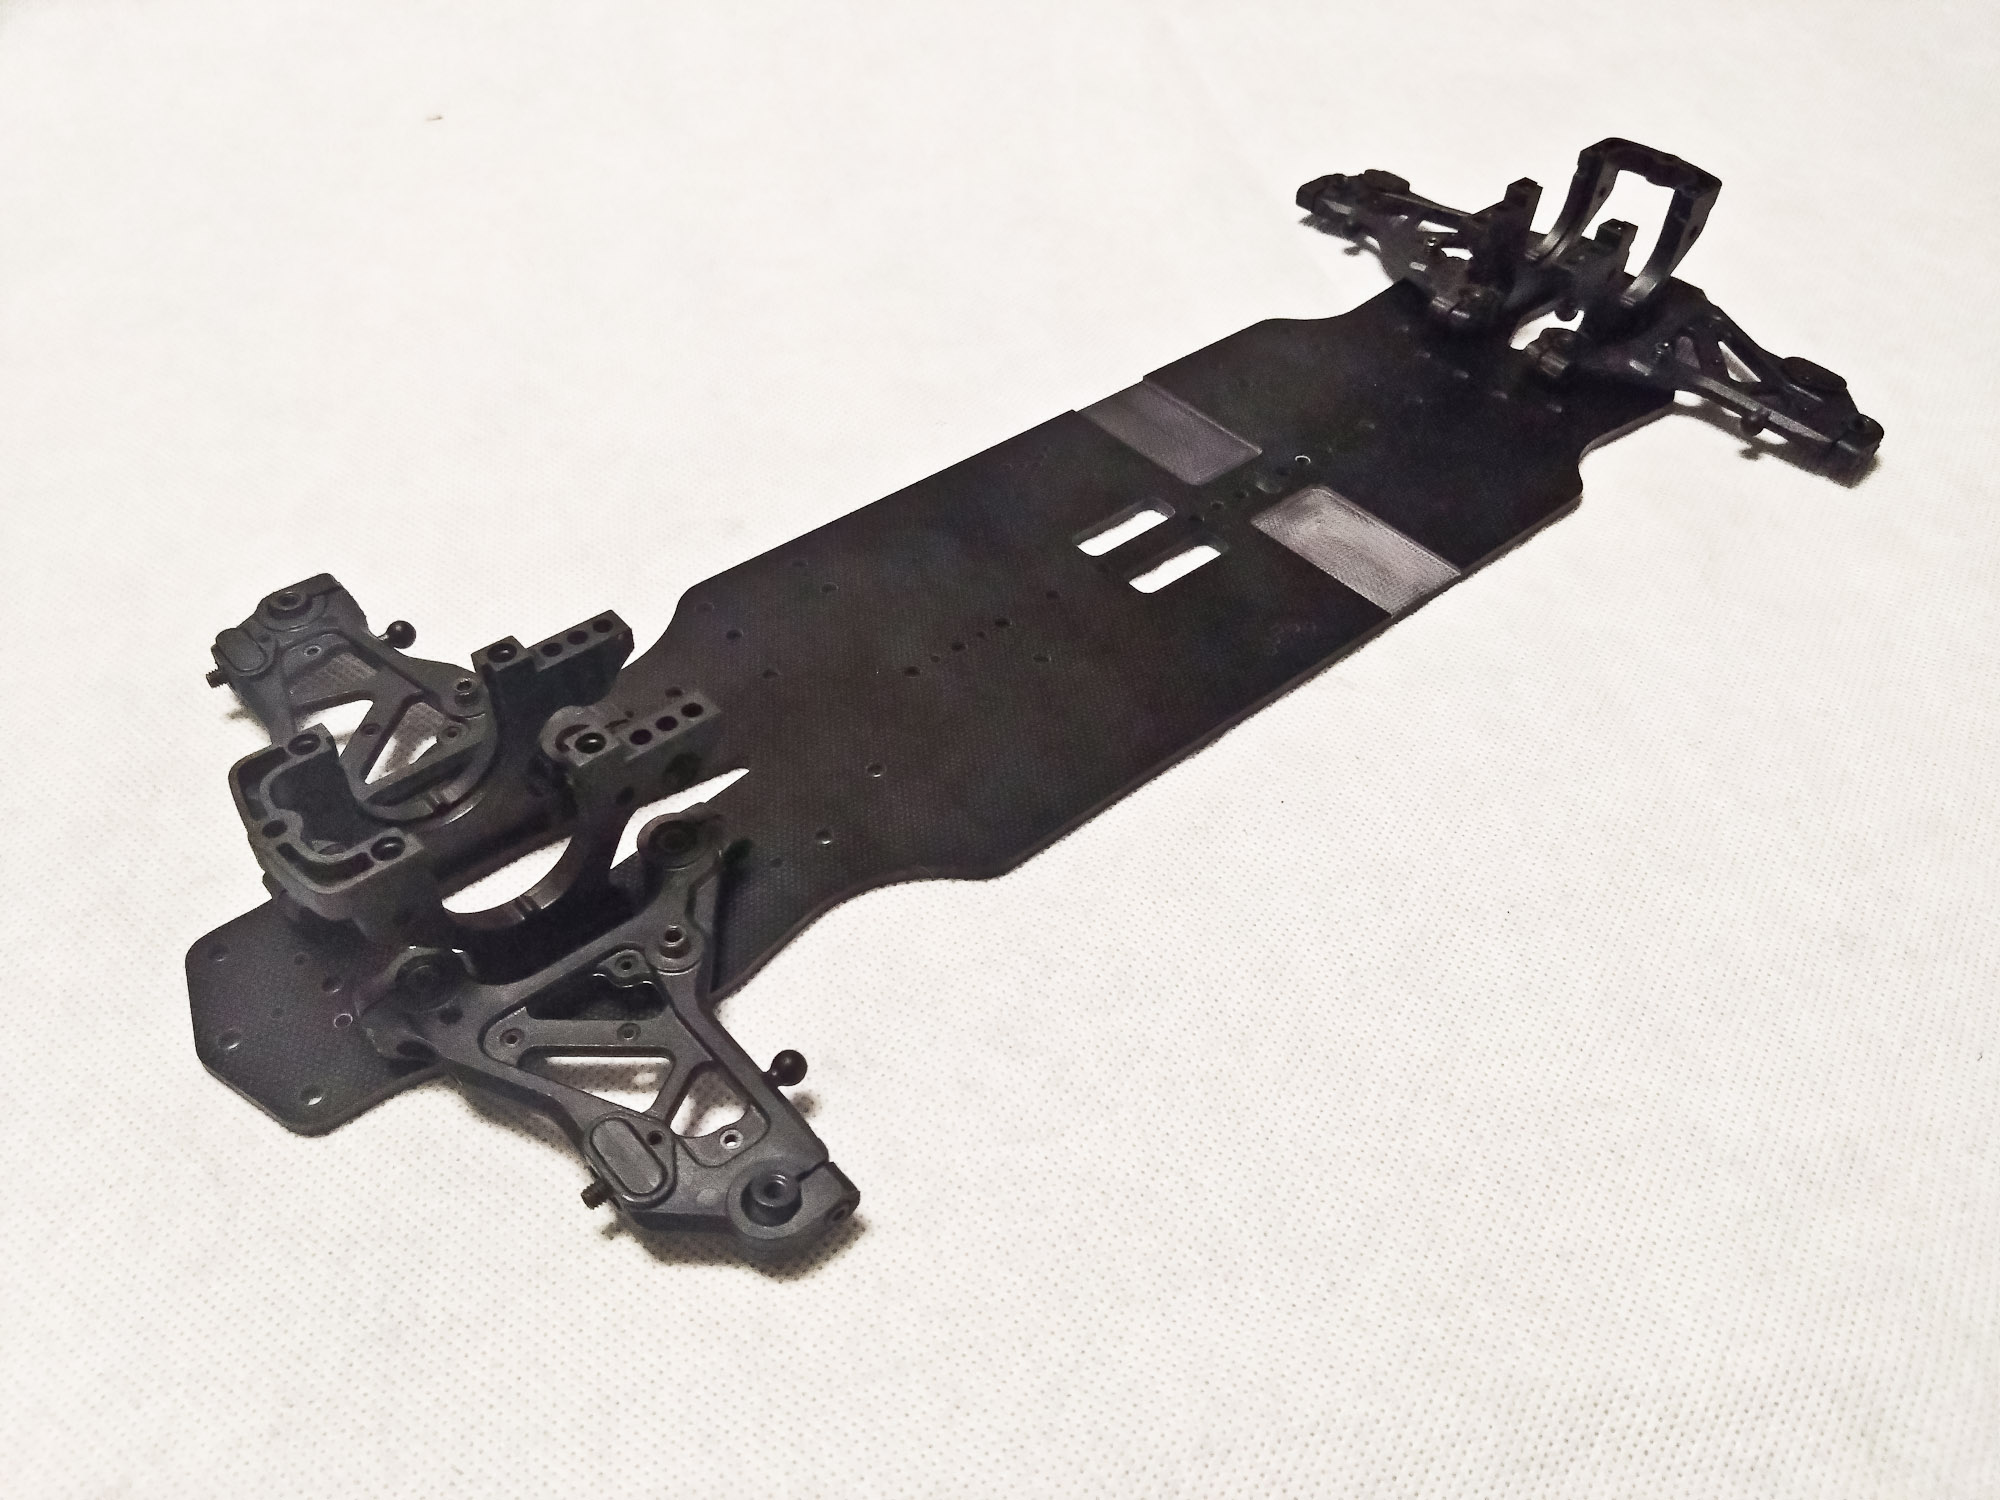
After installing the lower arms, you should recheck that everything moves freely and adjust as necessary.
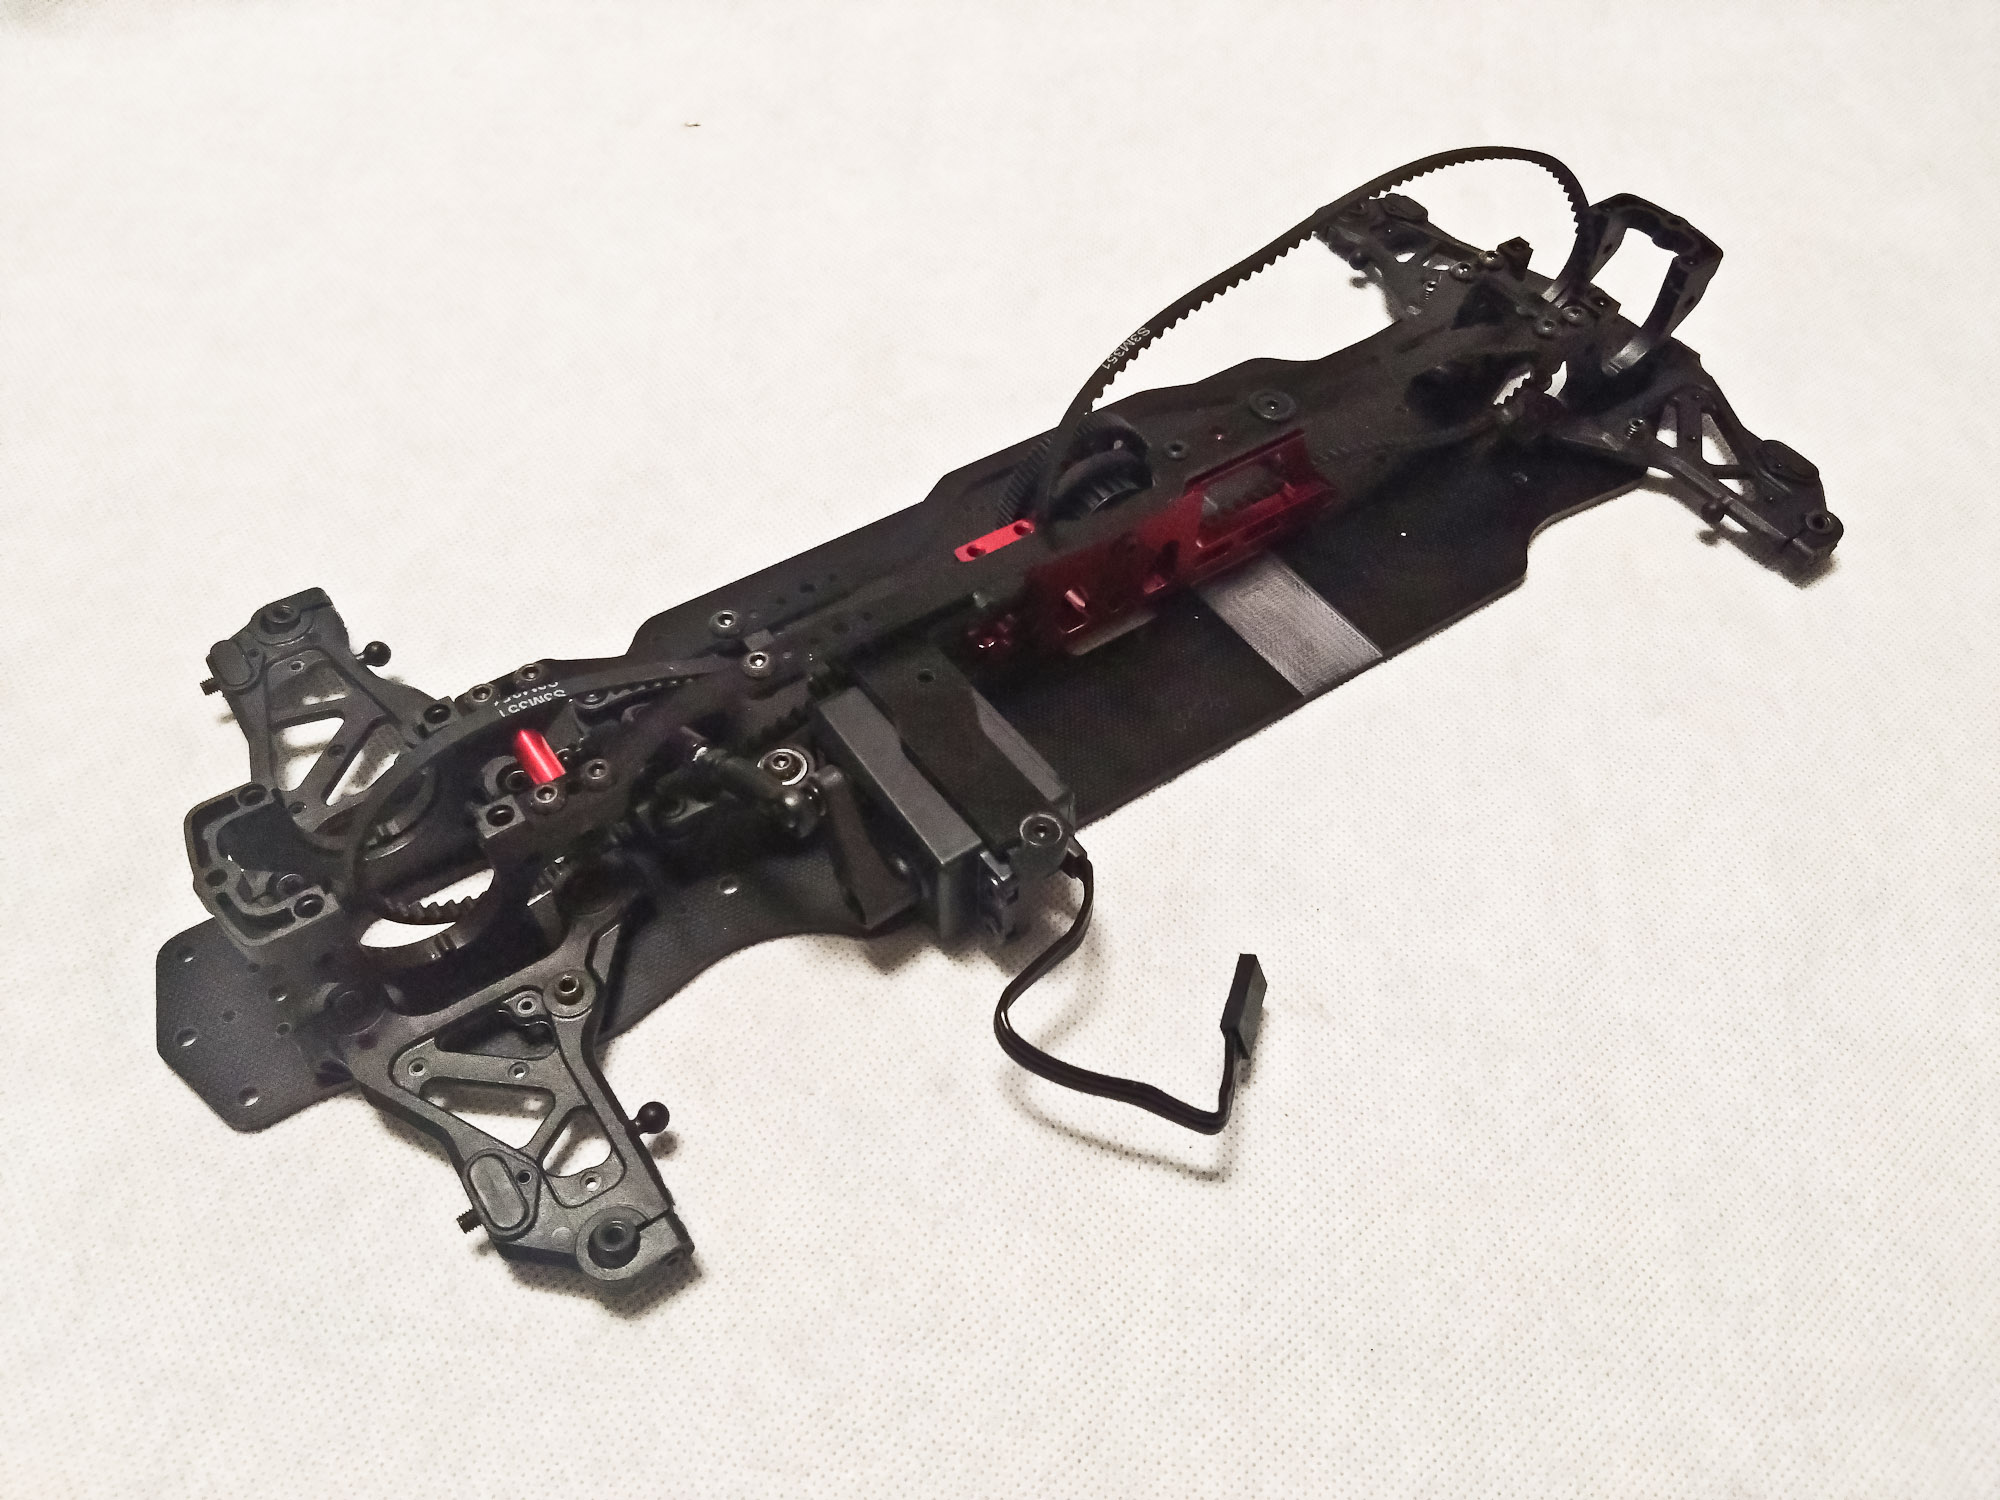
Make sure you guide the top deck correctly through the drive belts. I had to take the assembly apart two times because of being tired and not concentrating properly.
Inserting the spool and diff, and adjusting the belt tension is piece of cake.
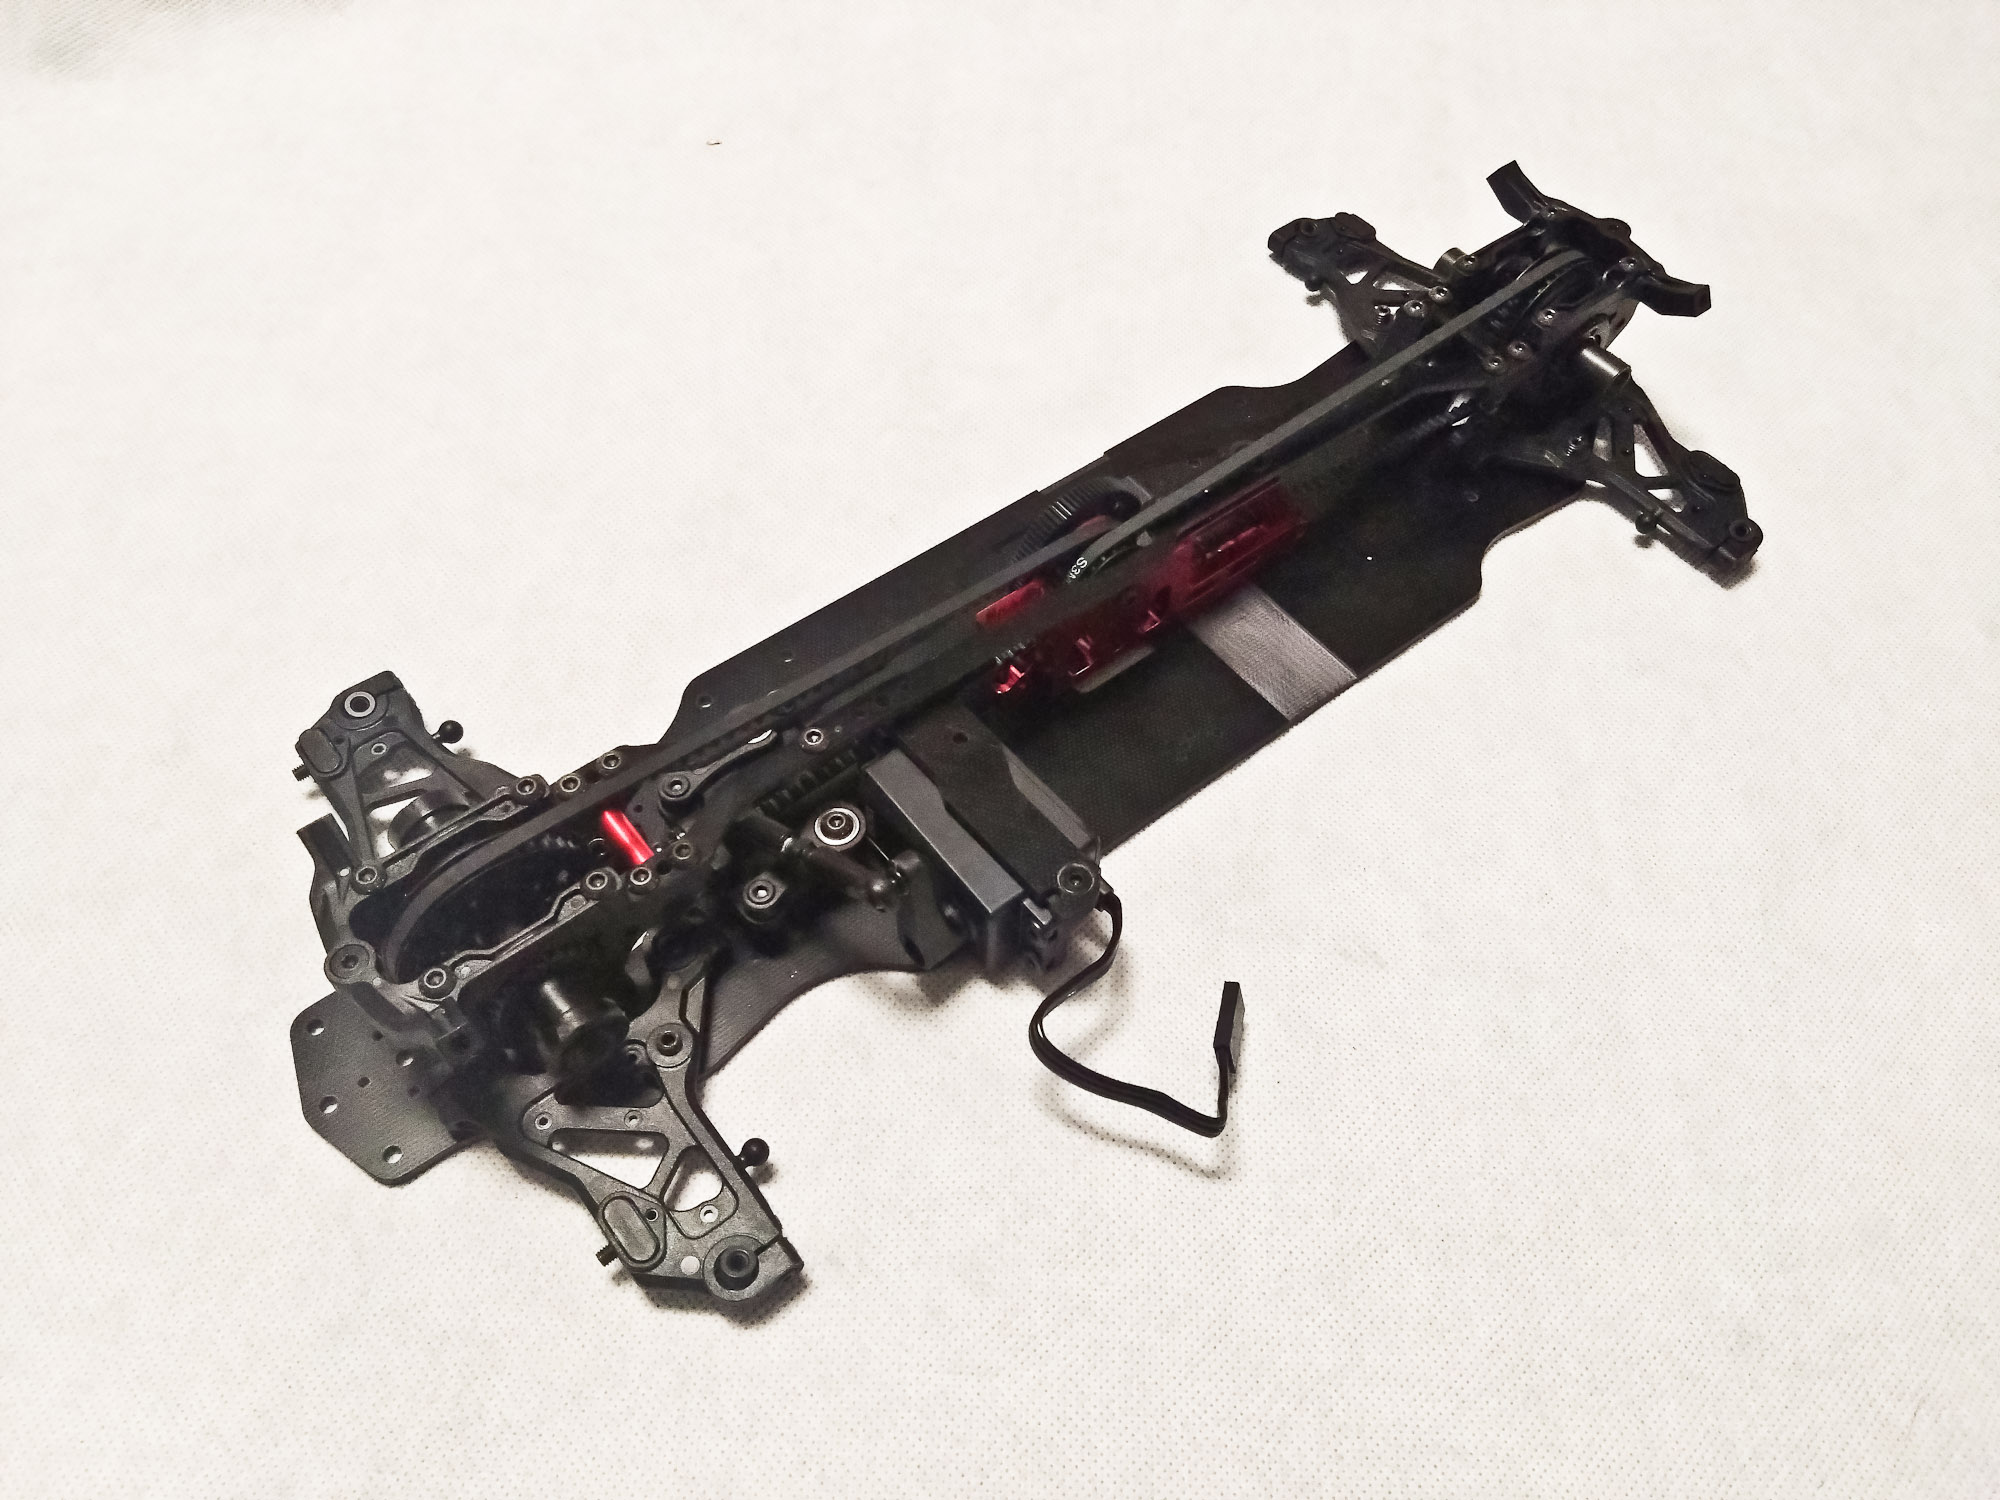
The upper arm design allows for easy caster and anti-squat adjustment respectively. Default settings are 4 degrees of caster and 2 degrees of ant-squat.
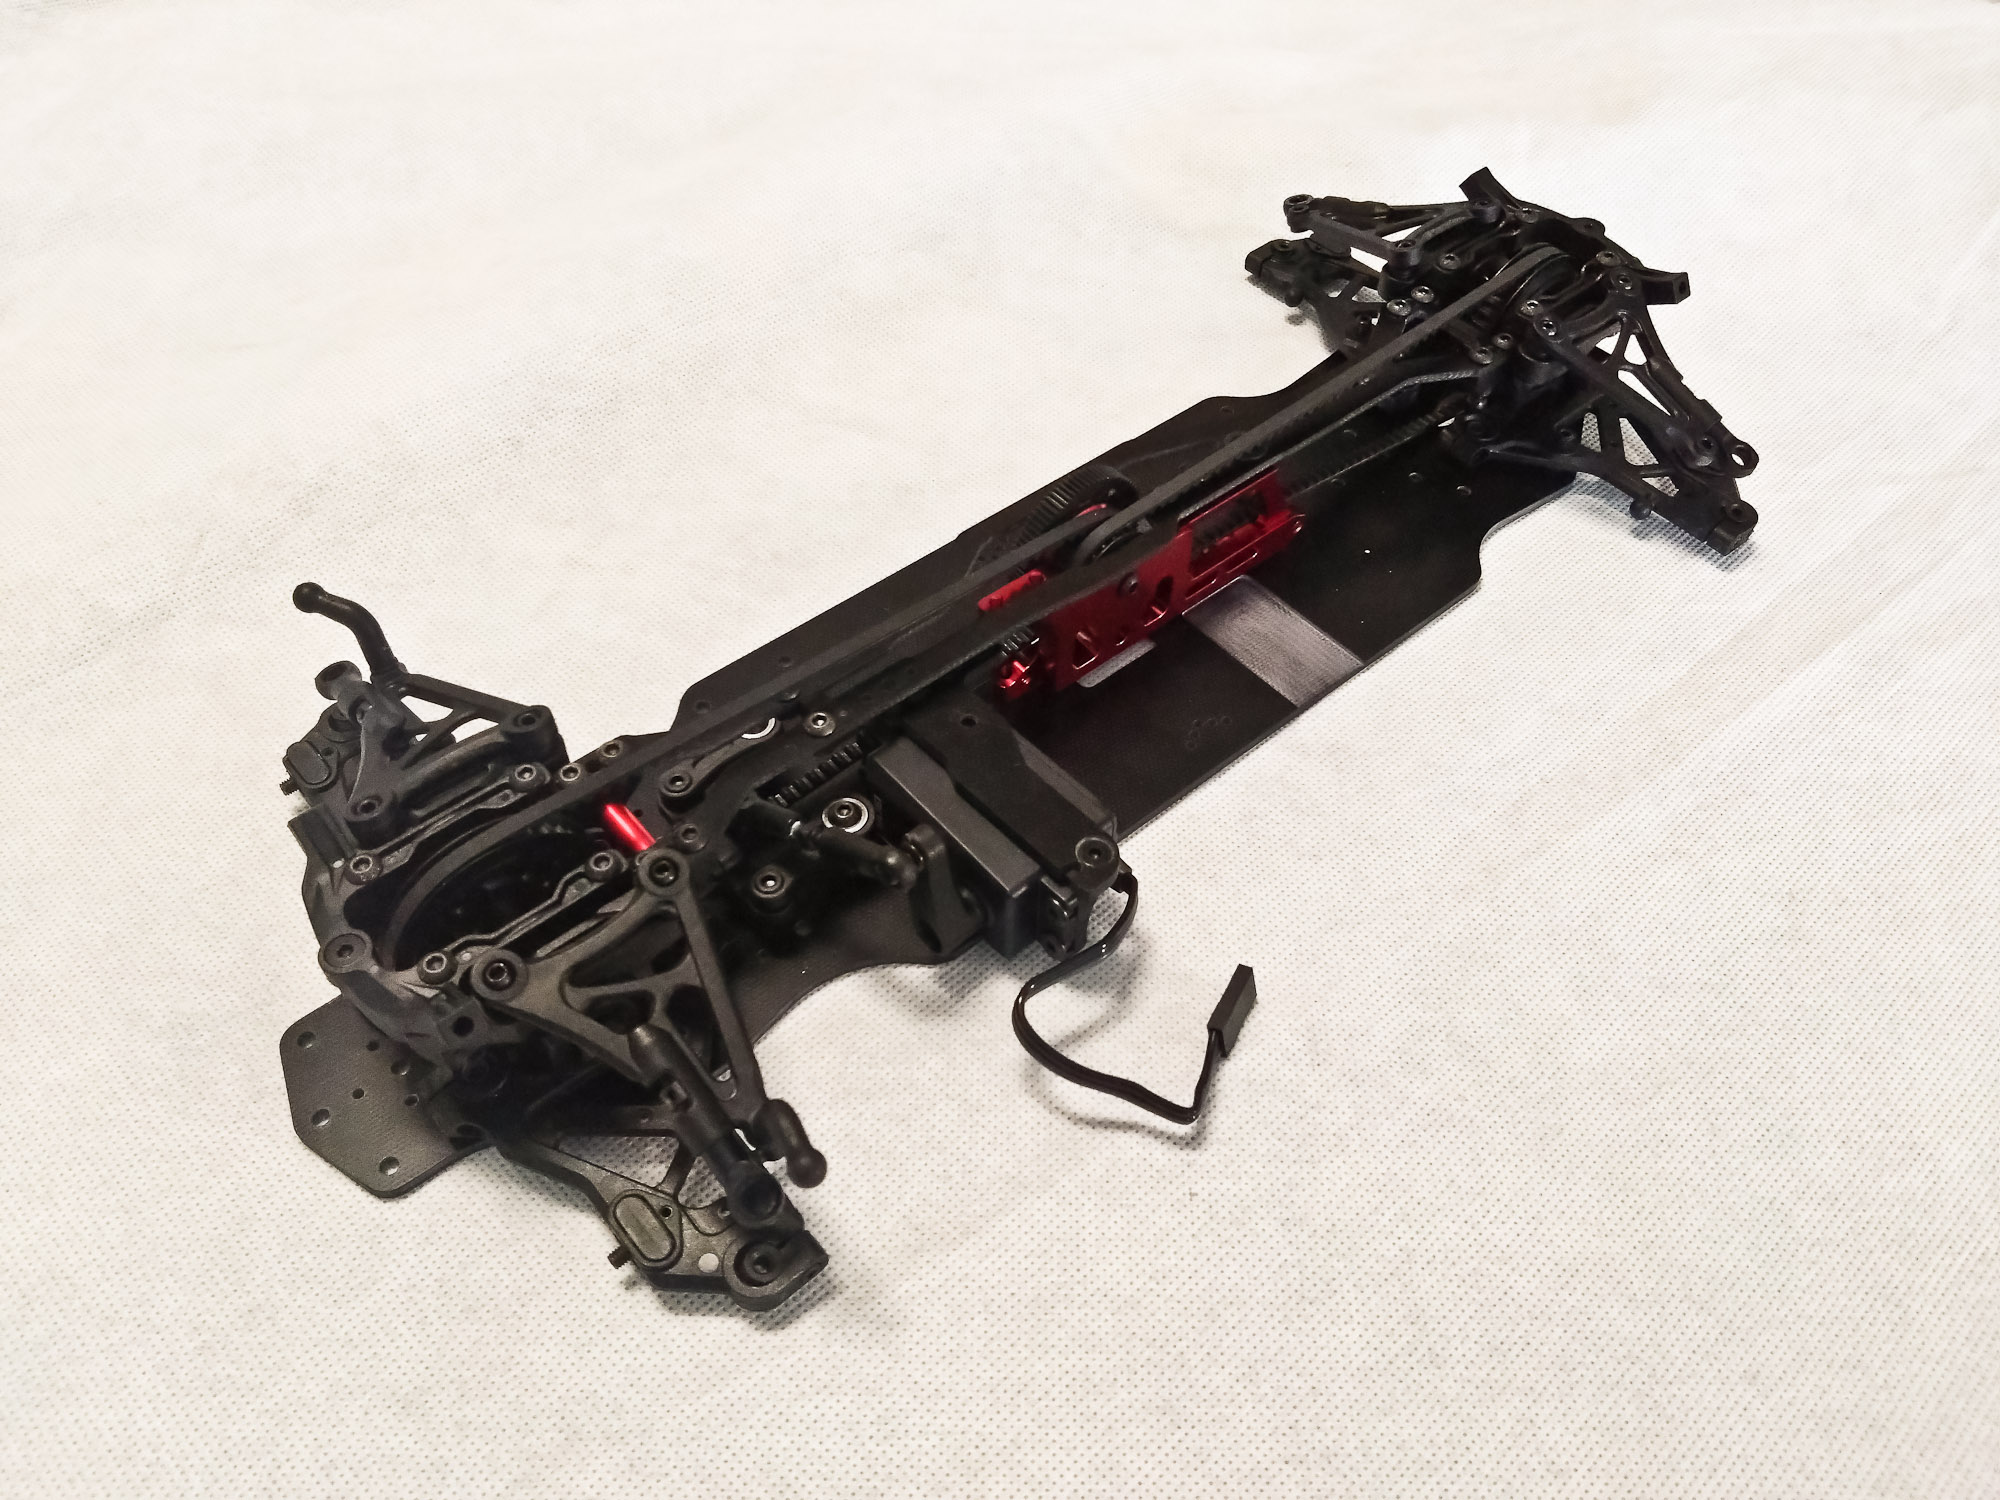
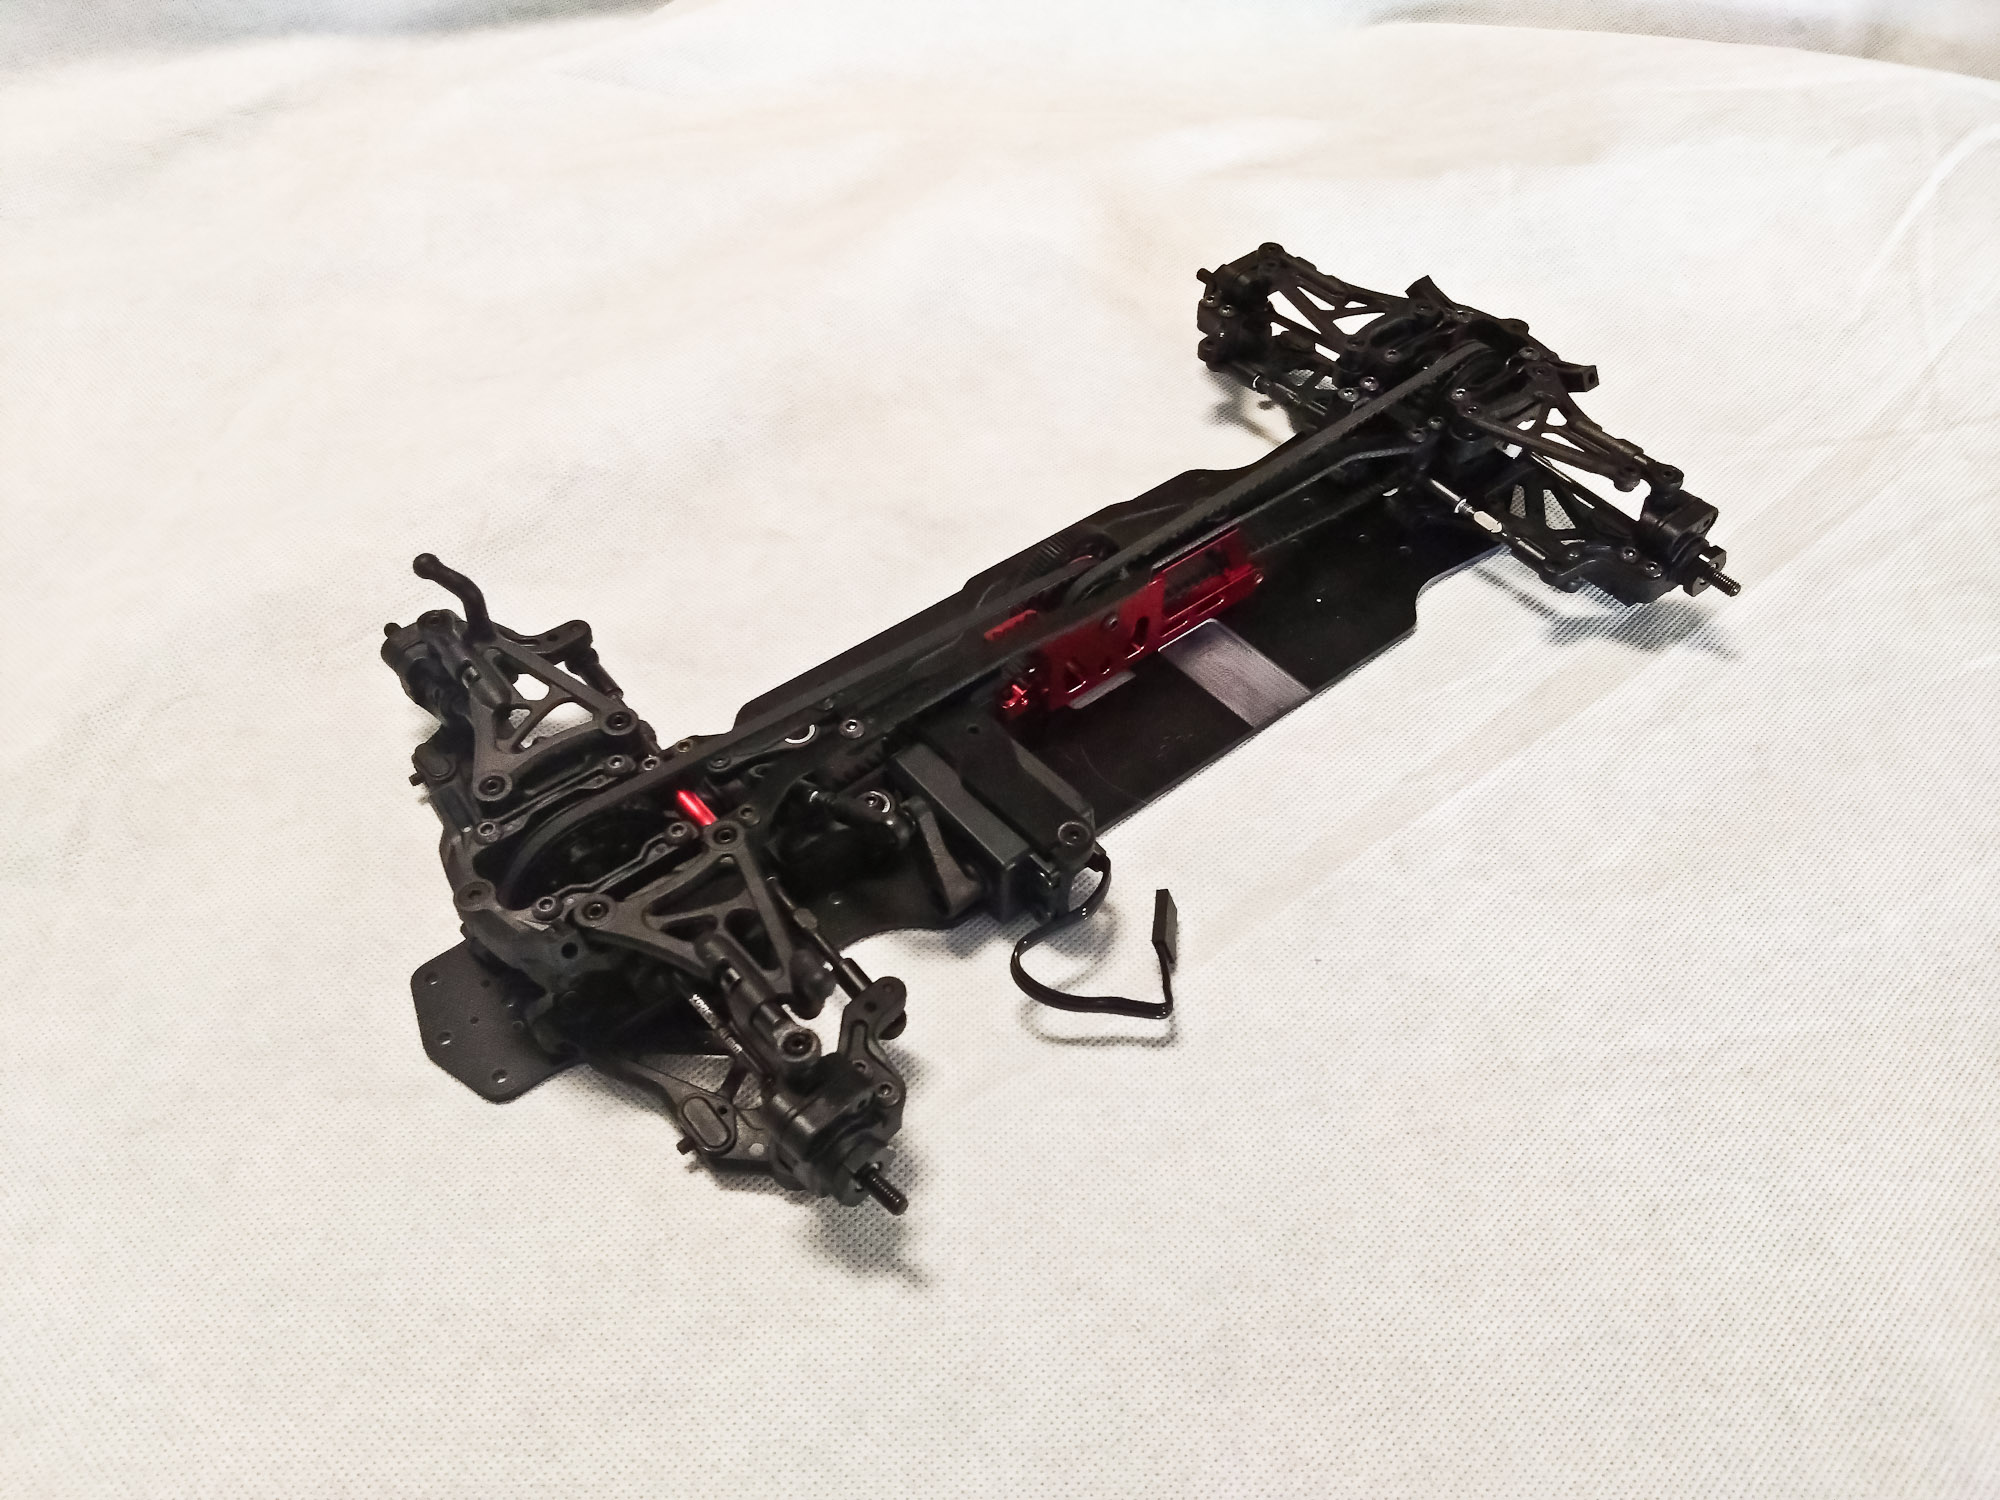
With the installation of the knuckles in Step 18, the rolling chassis is always complete.
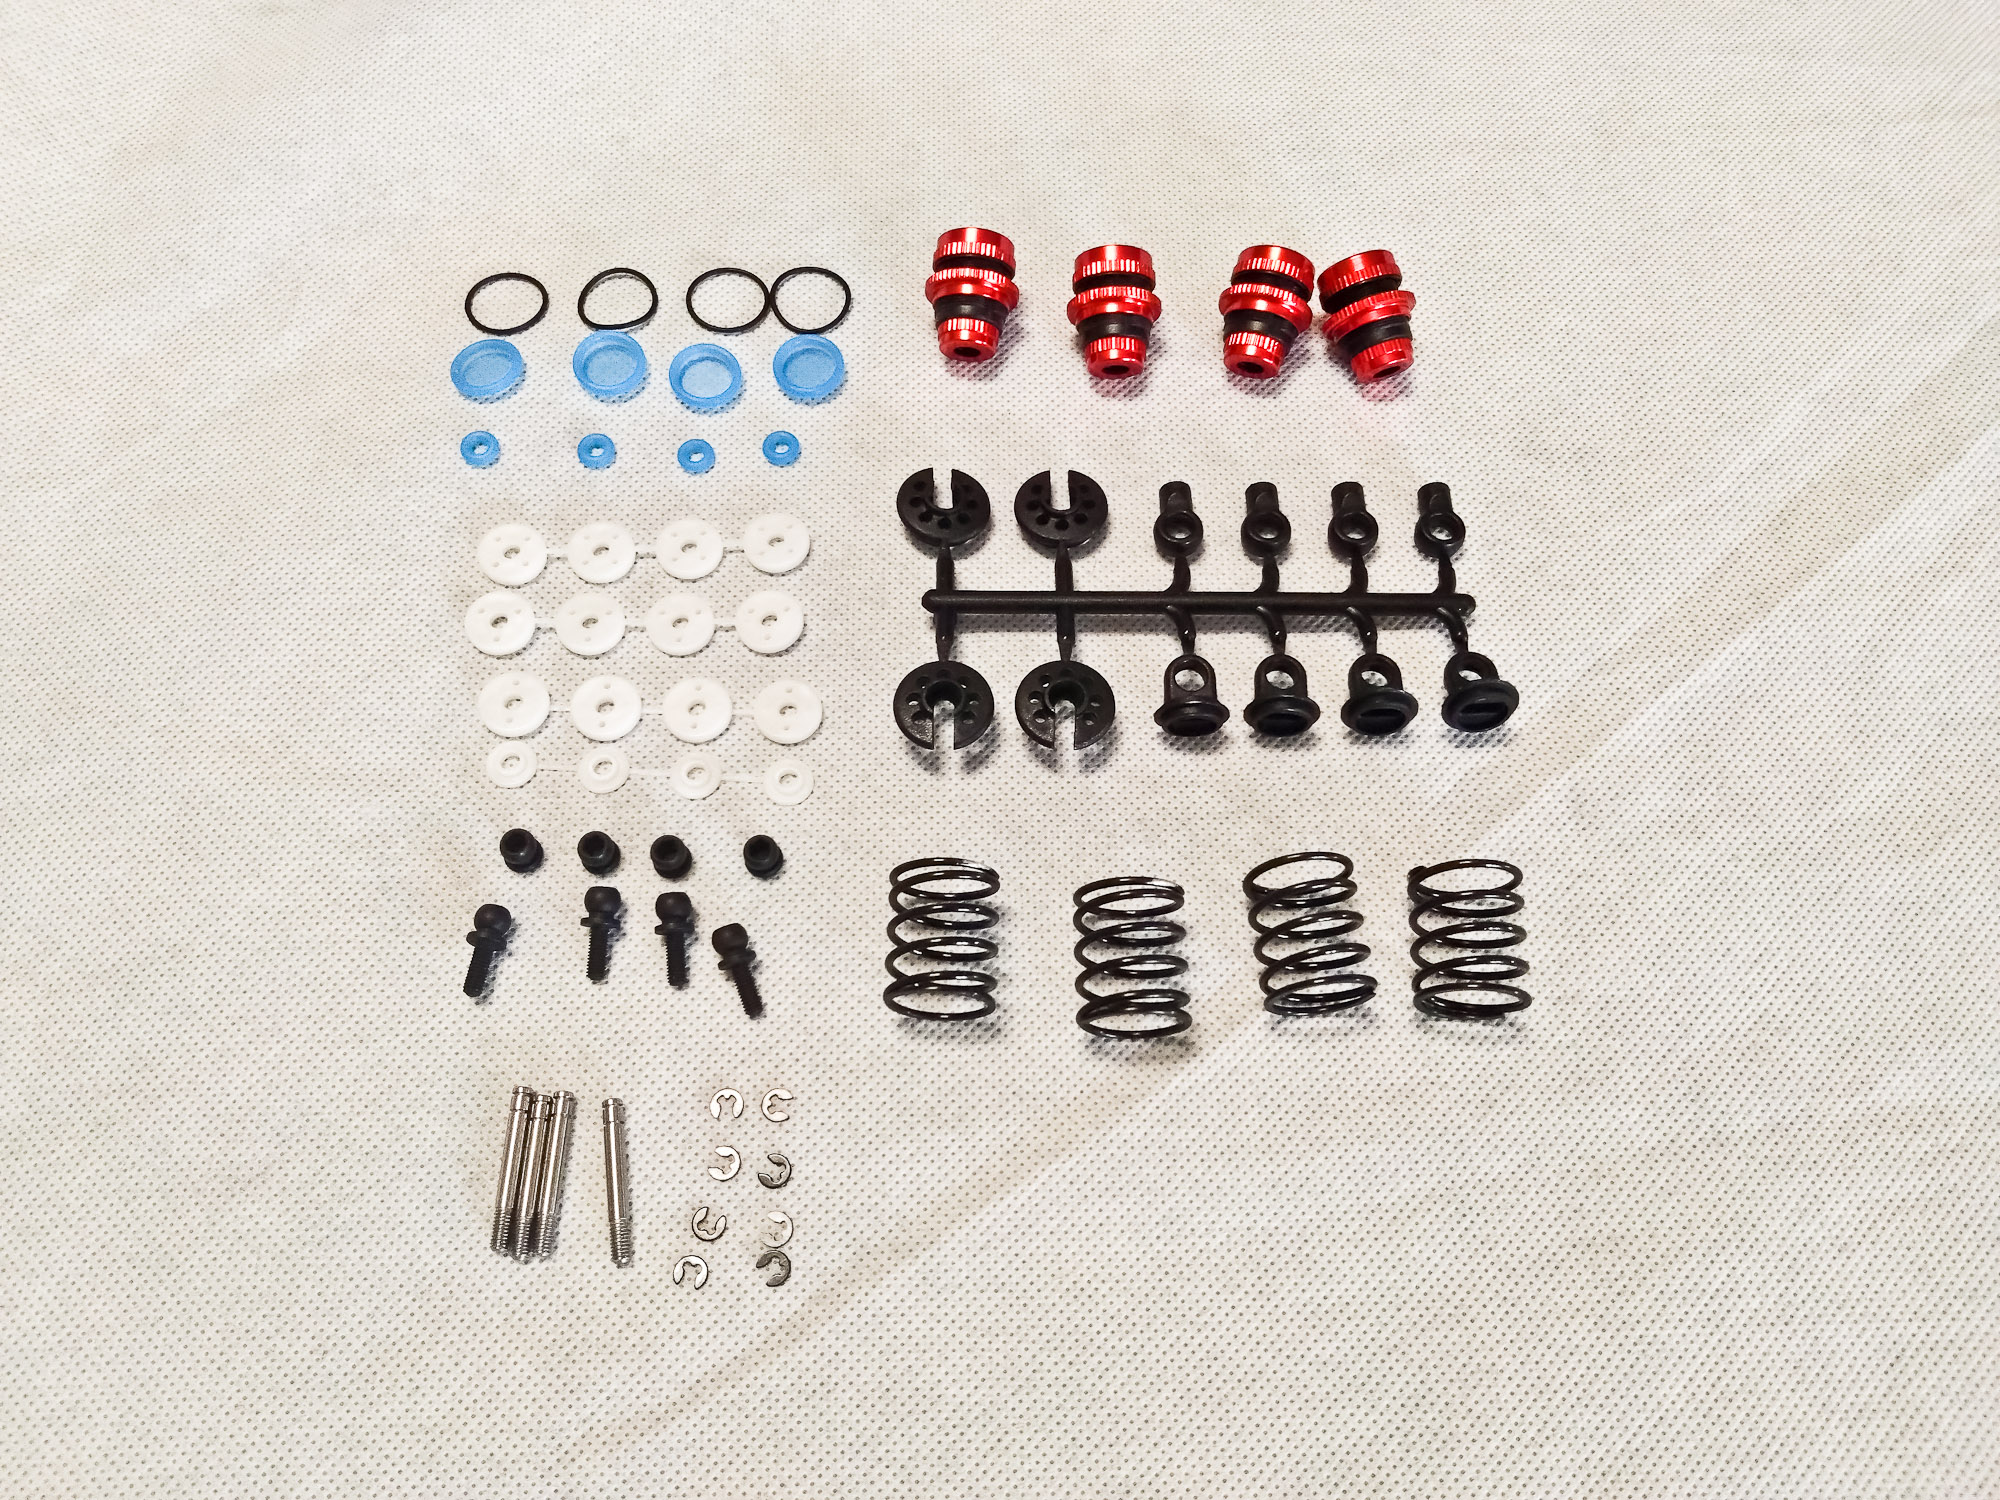
Bag K adds another bit of color to the car: black plastic shocks with red aluminum collars and caps. There are three sets of molded pistons, 4-hole as default.
I drilled one 1 mm hole each into the top connectors, and managed to build the shock free of rebound on the first attempt. Great!
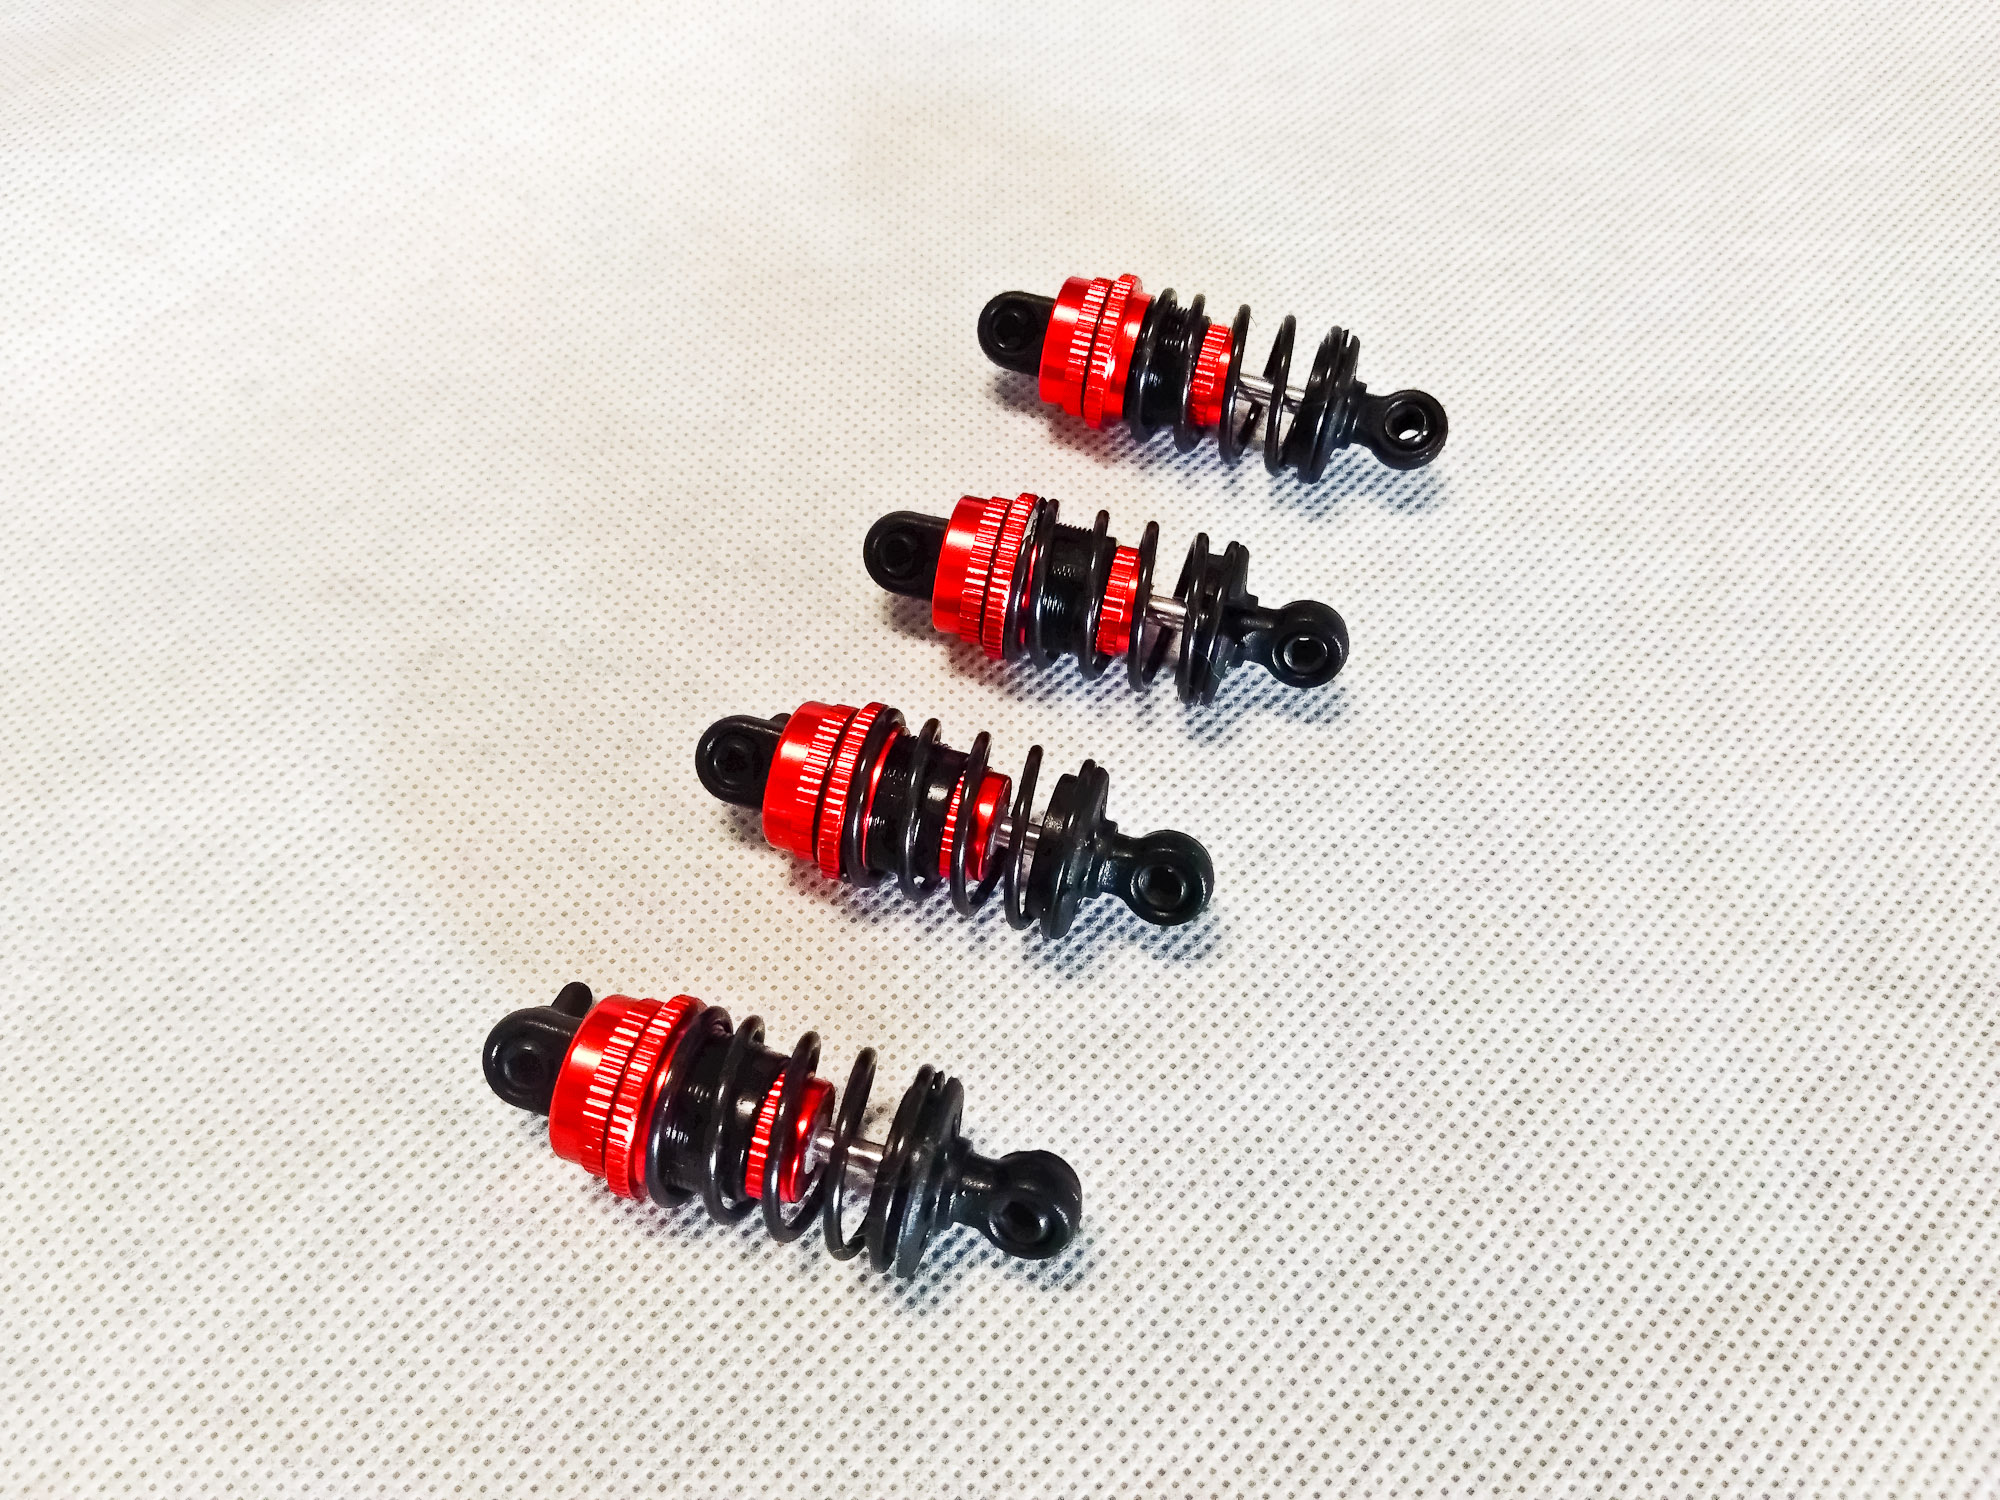
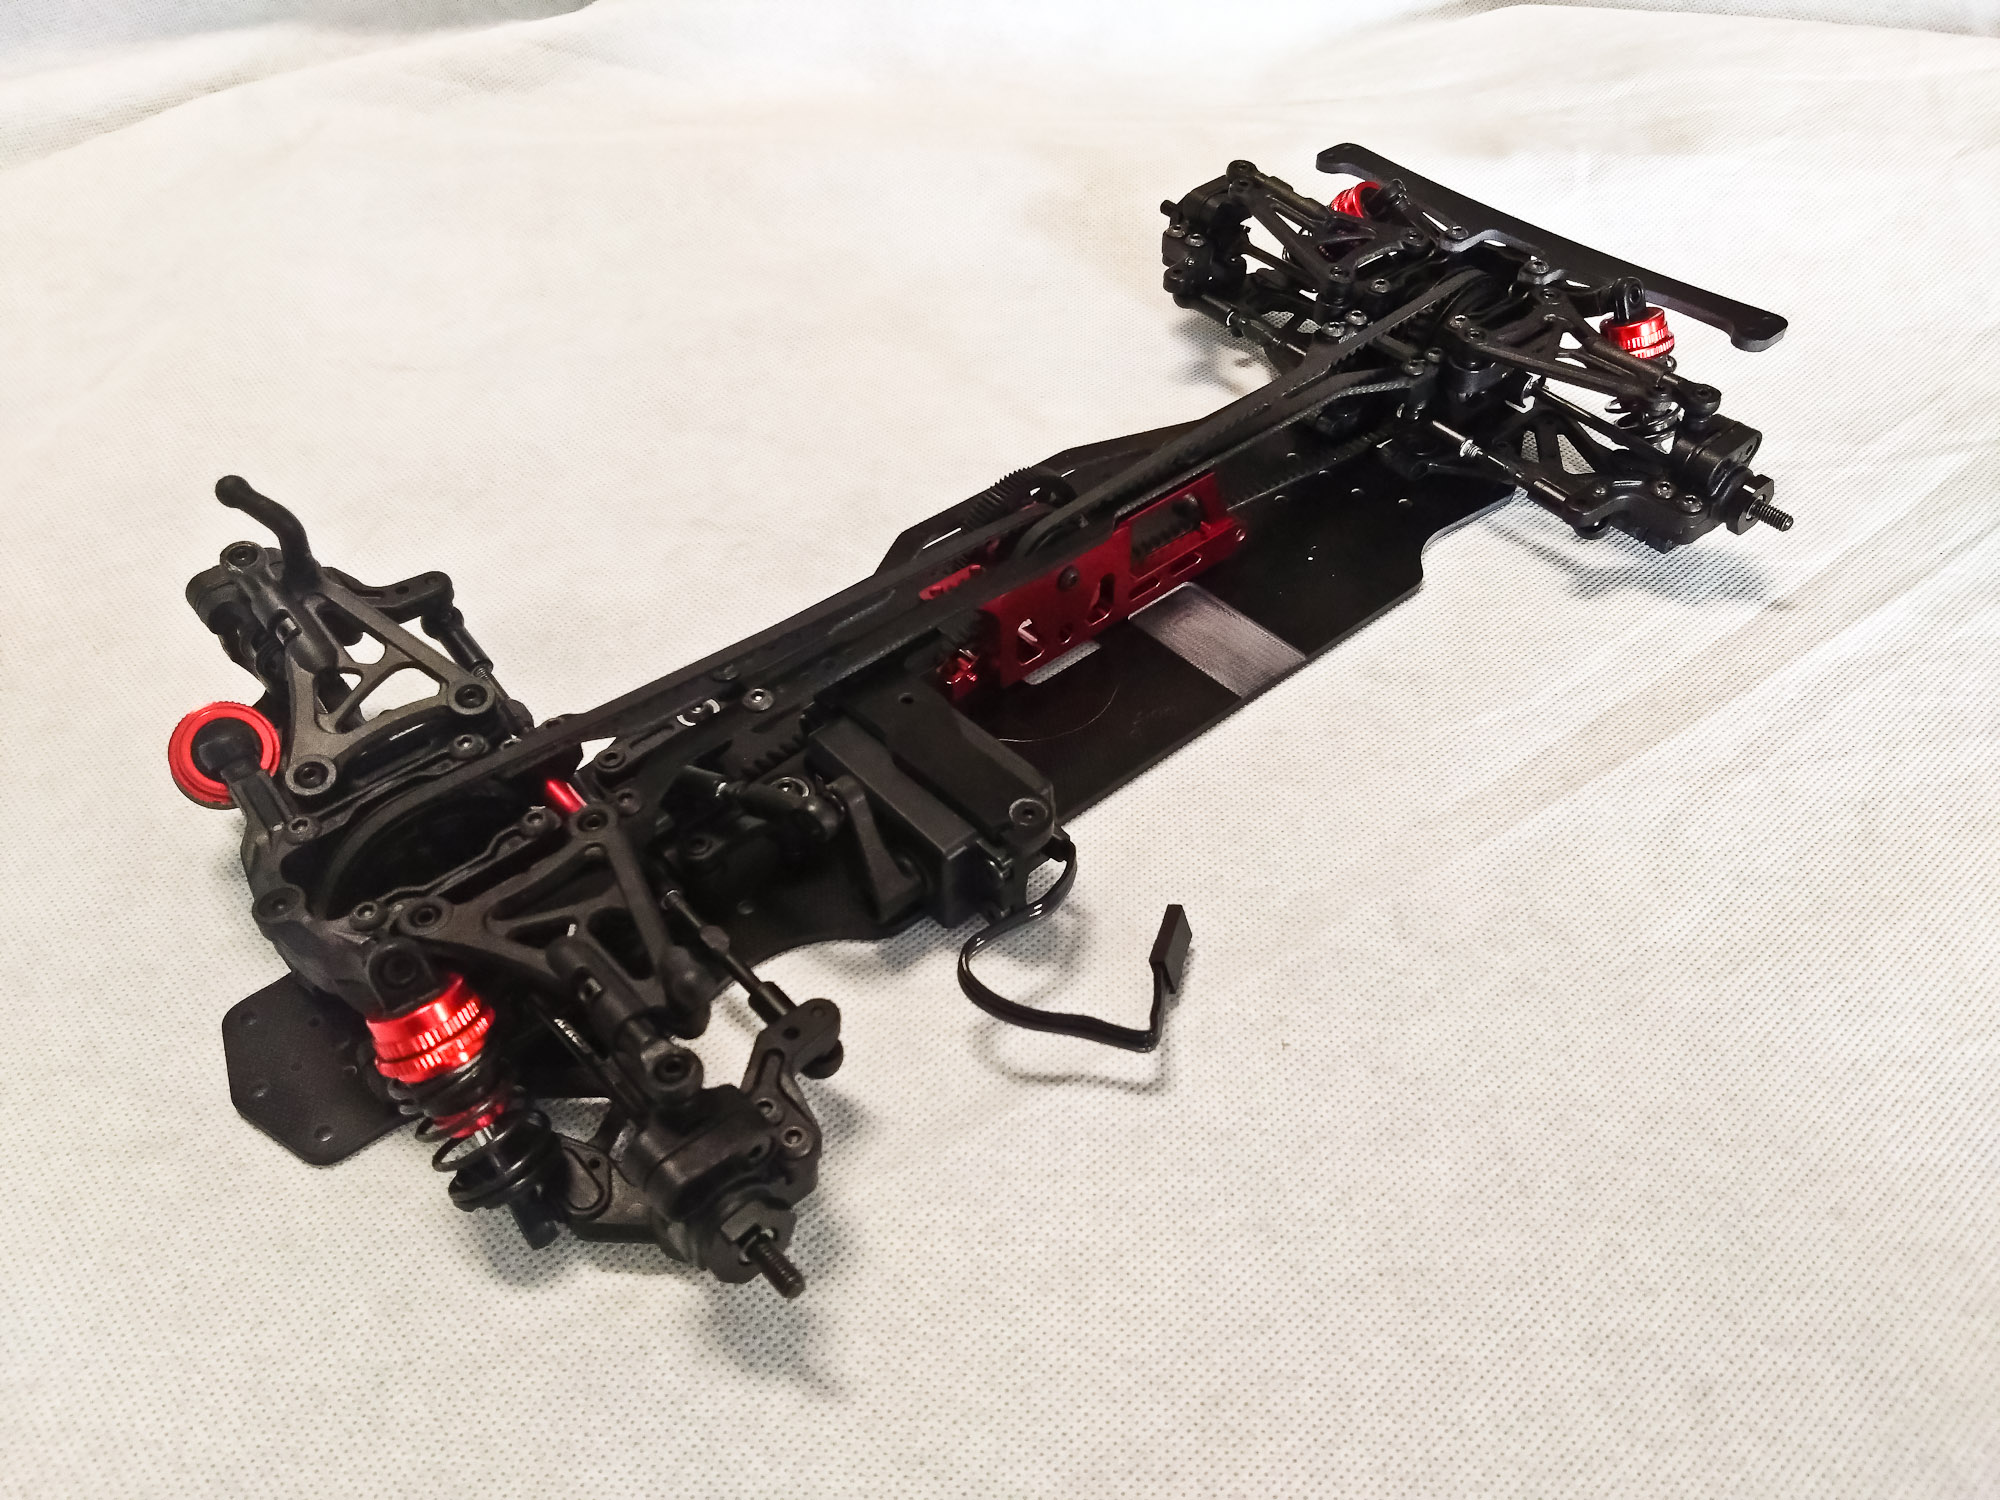
Almost there...
The Xpress battery mount has a really interesting spring-loaded design. With two sets of holder bases and posts and a couple of shims, it meets the requirements of almost every standard and shorty LiPo battery on the market.
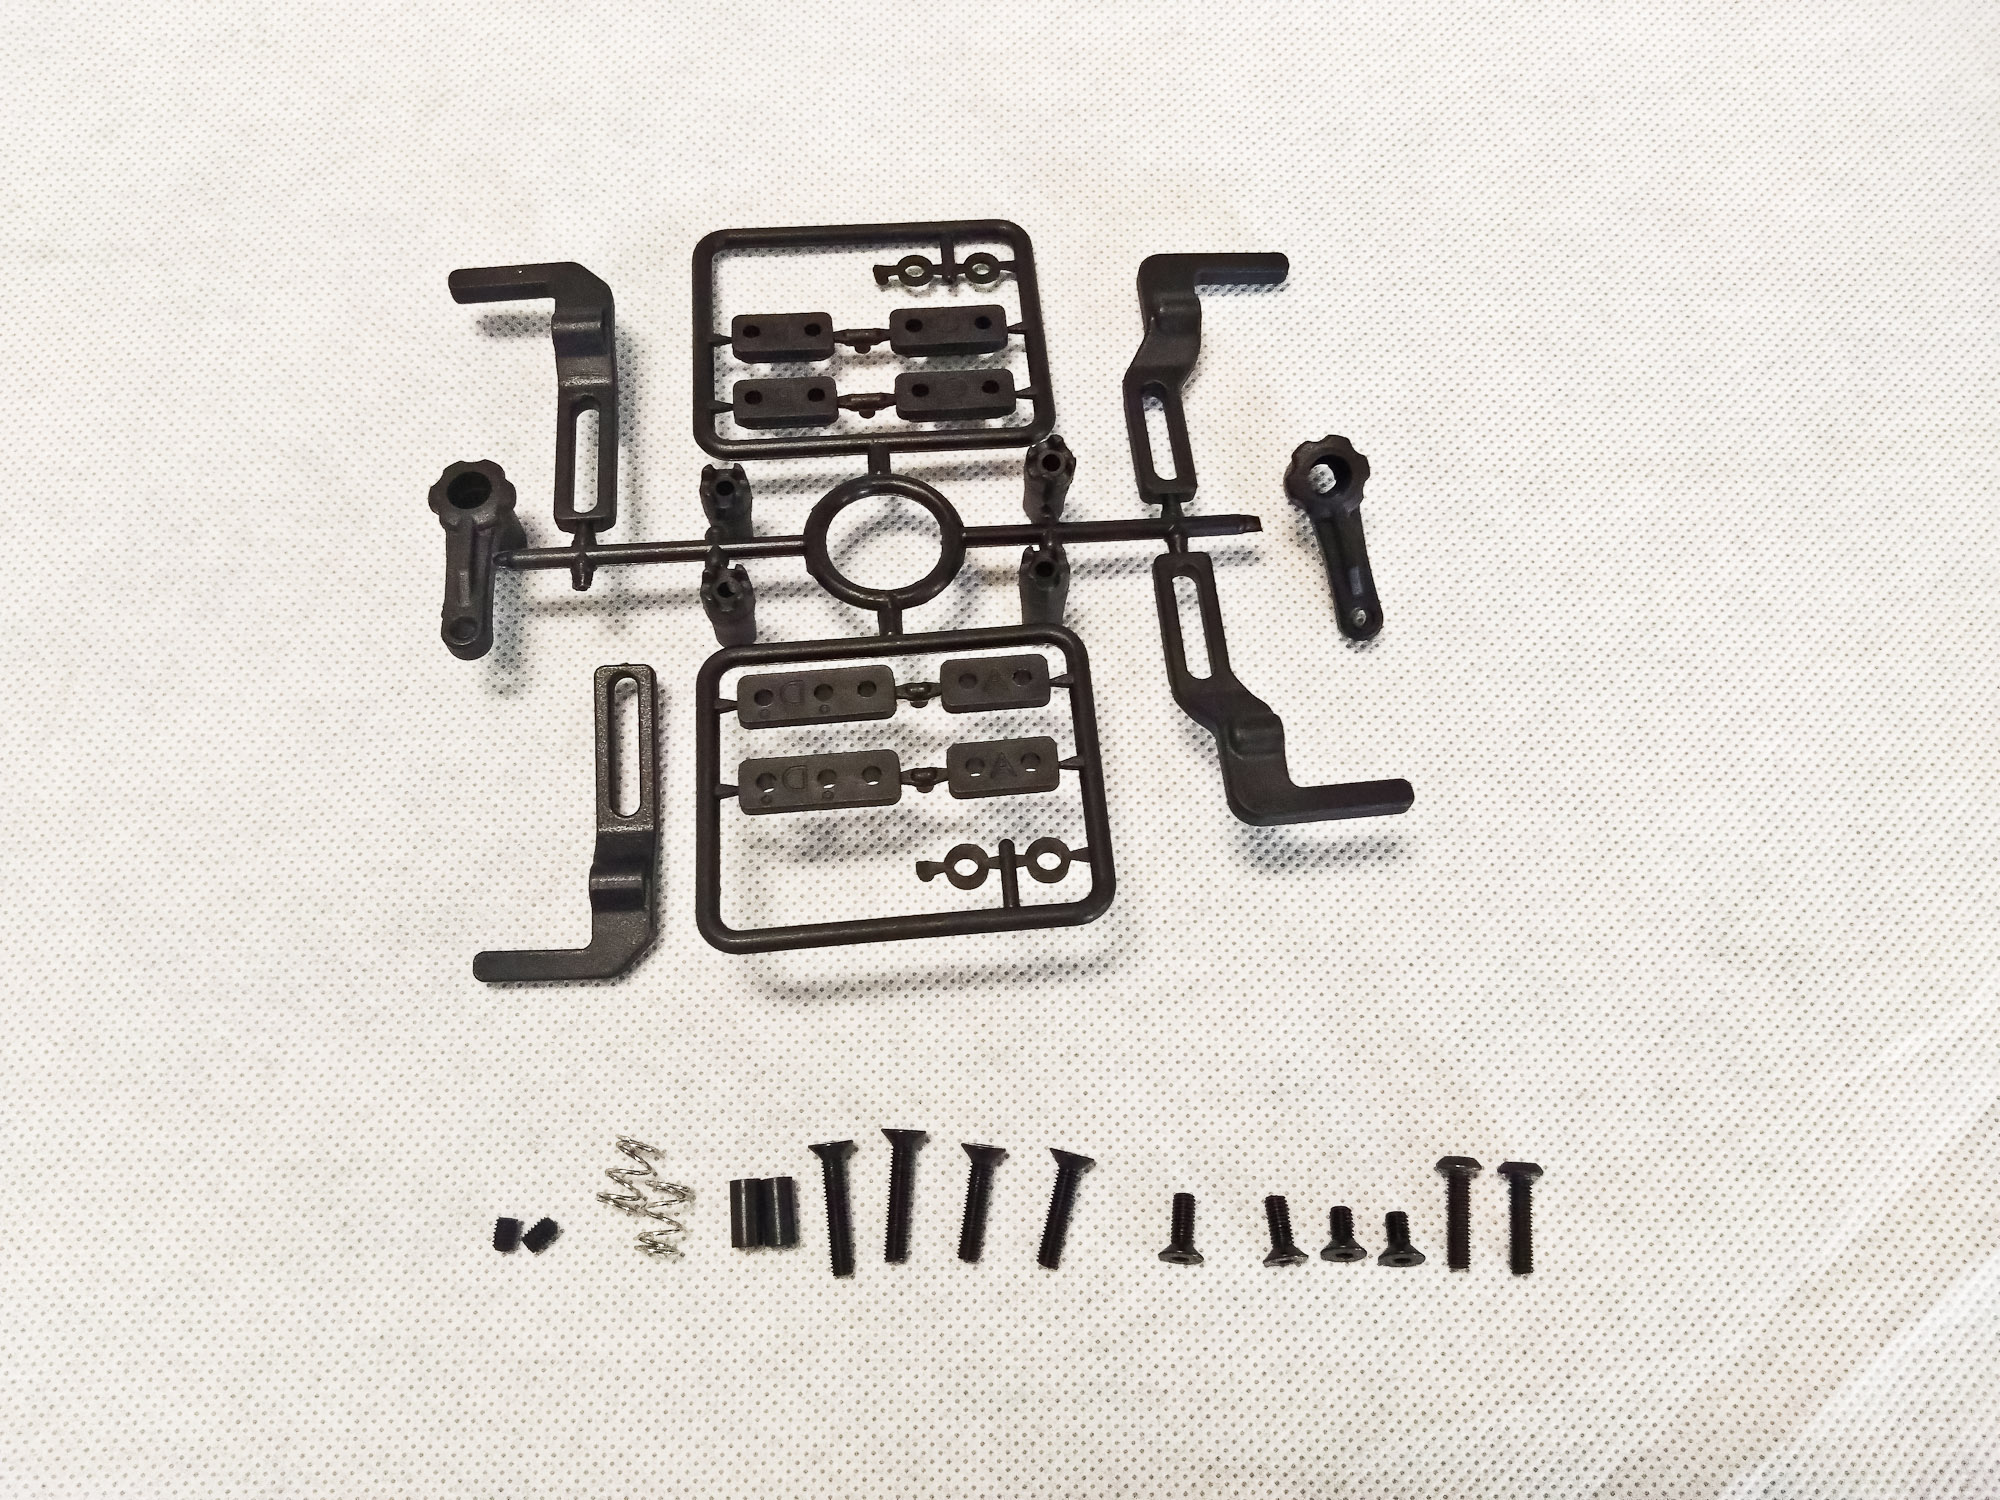
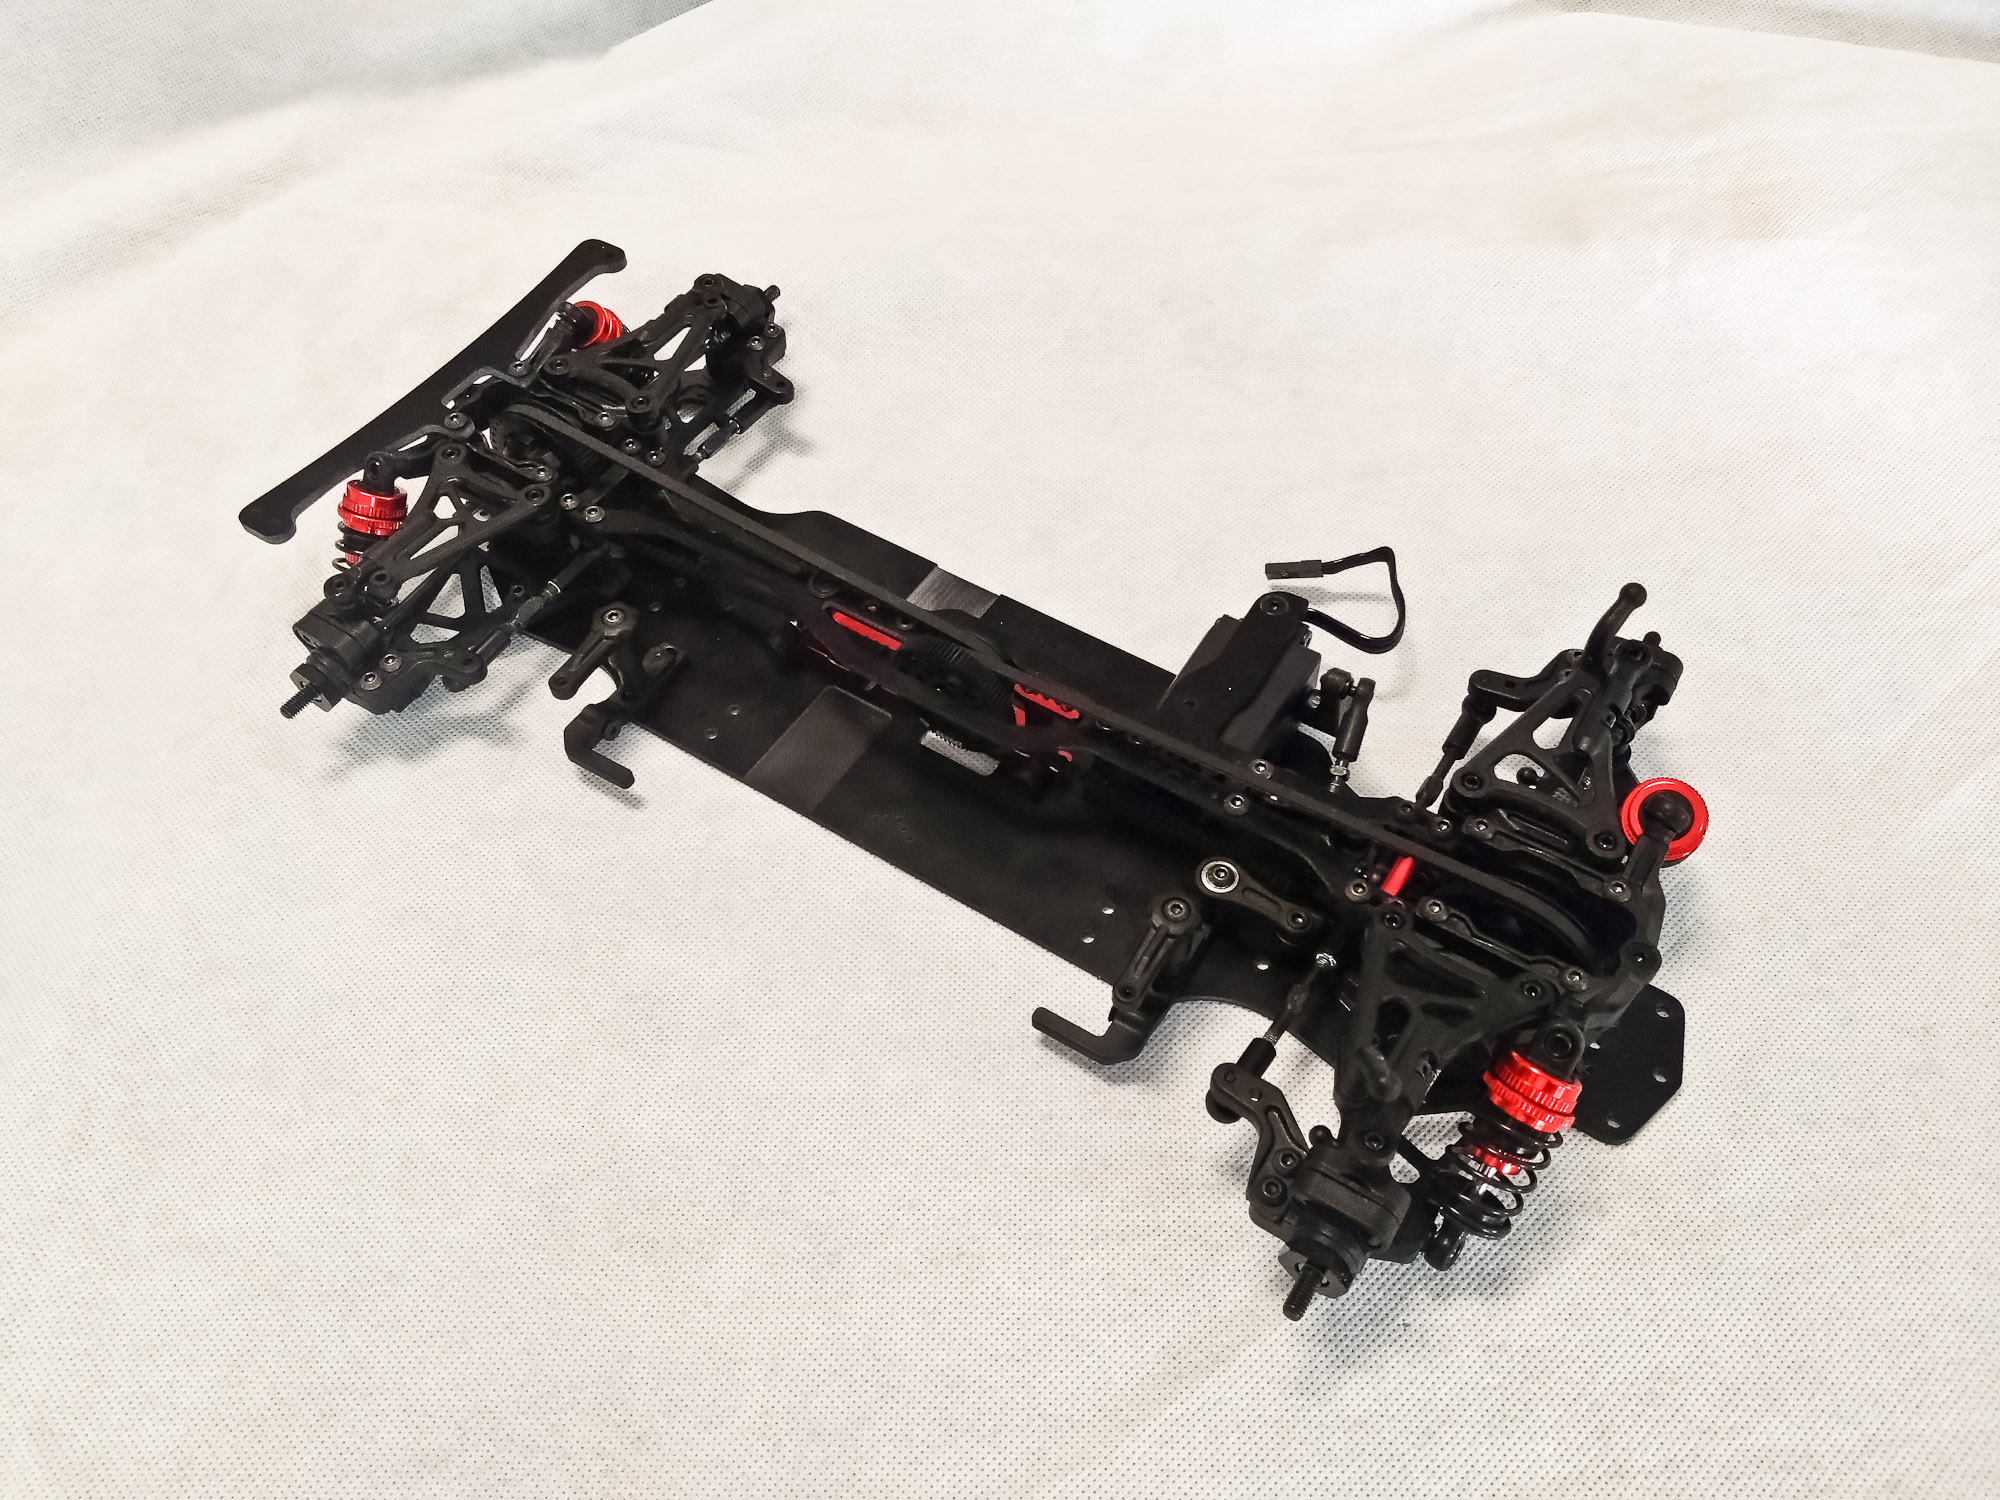
At this stage, it pays off to have your future battery handy to make sure there is just enough space. You can adjust the battery 's positioning along and perpendicular to the centerline on the front and rear battery mount bases, plus the height and free play at the holders by adding spacers and/or adjusting the grub screws.
The XQ3S has an updated bumper and body post sprue and foam front bumper. I'm sure I'll add the MXLR 3D-printed front bumper once I have figured out if the XQ2S version still fits.
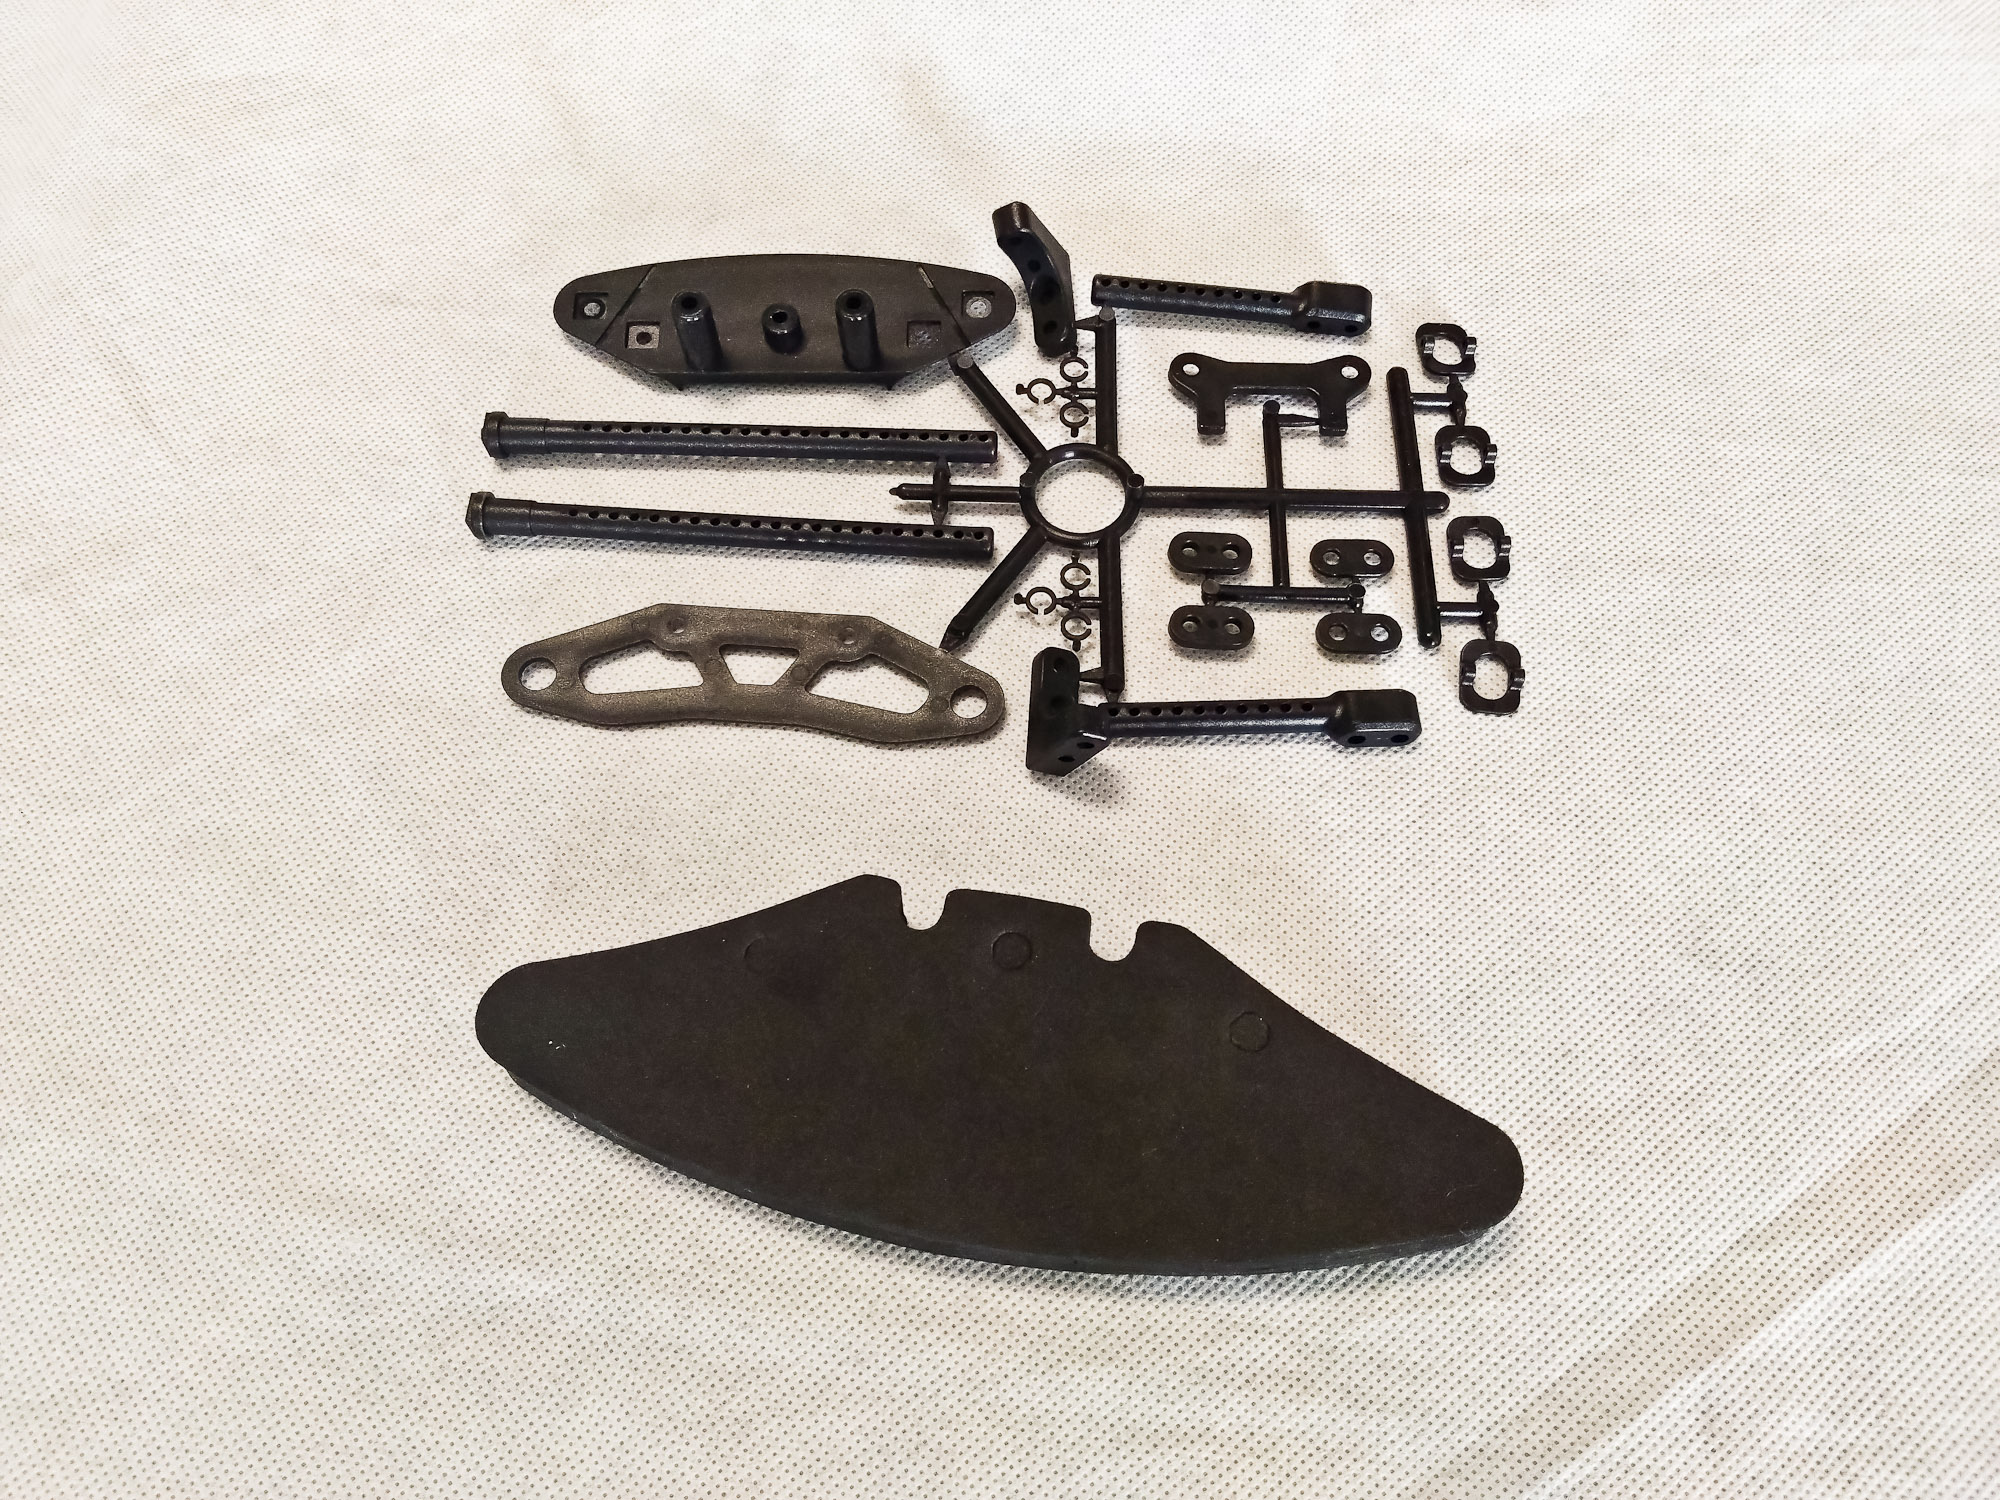
Horizontal rear body posts have become the go-to design for modern touring cars. For applications that require longer body posts, such as VTA, Xpress includes 90-degree adapter so you can use the same parts in the upright position.
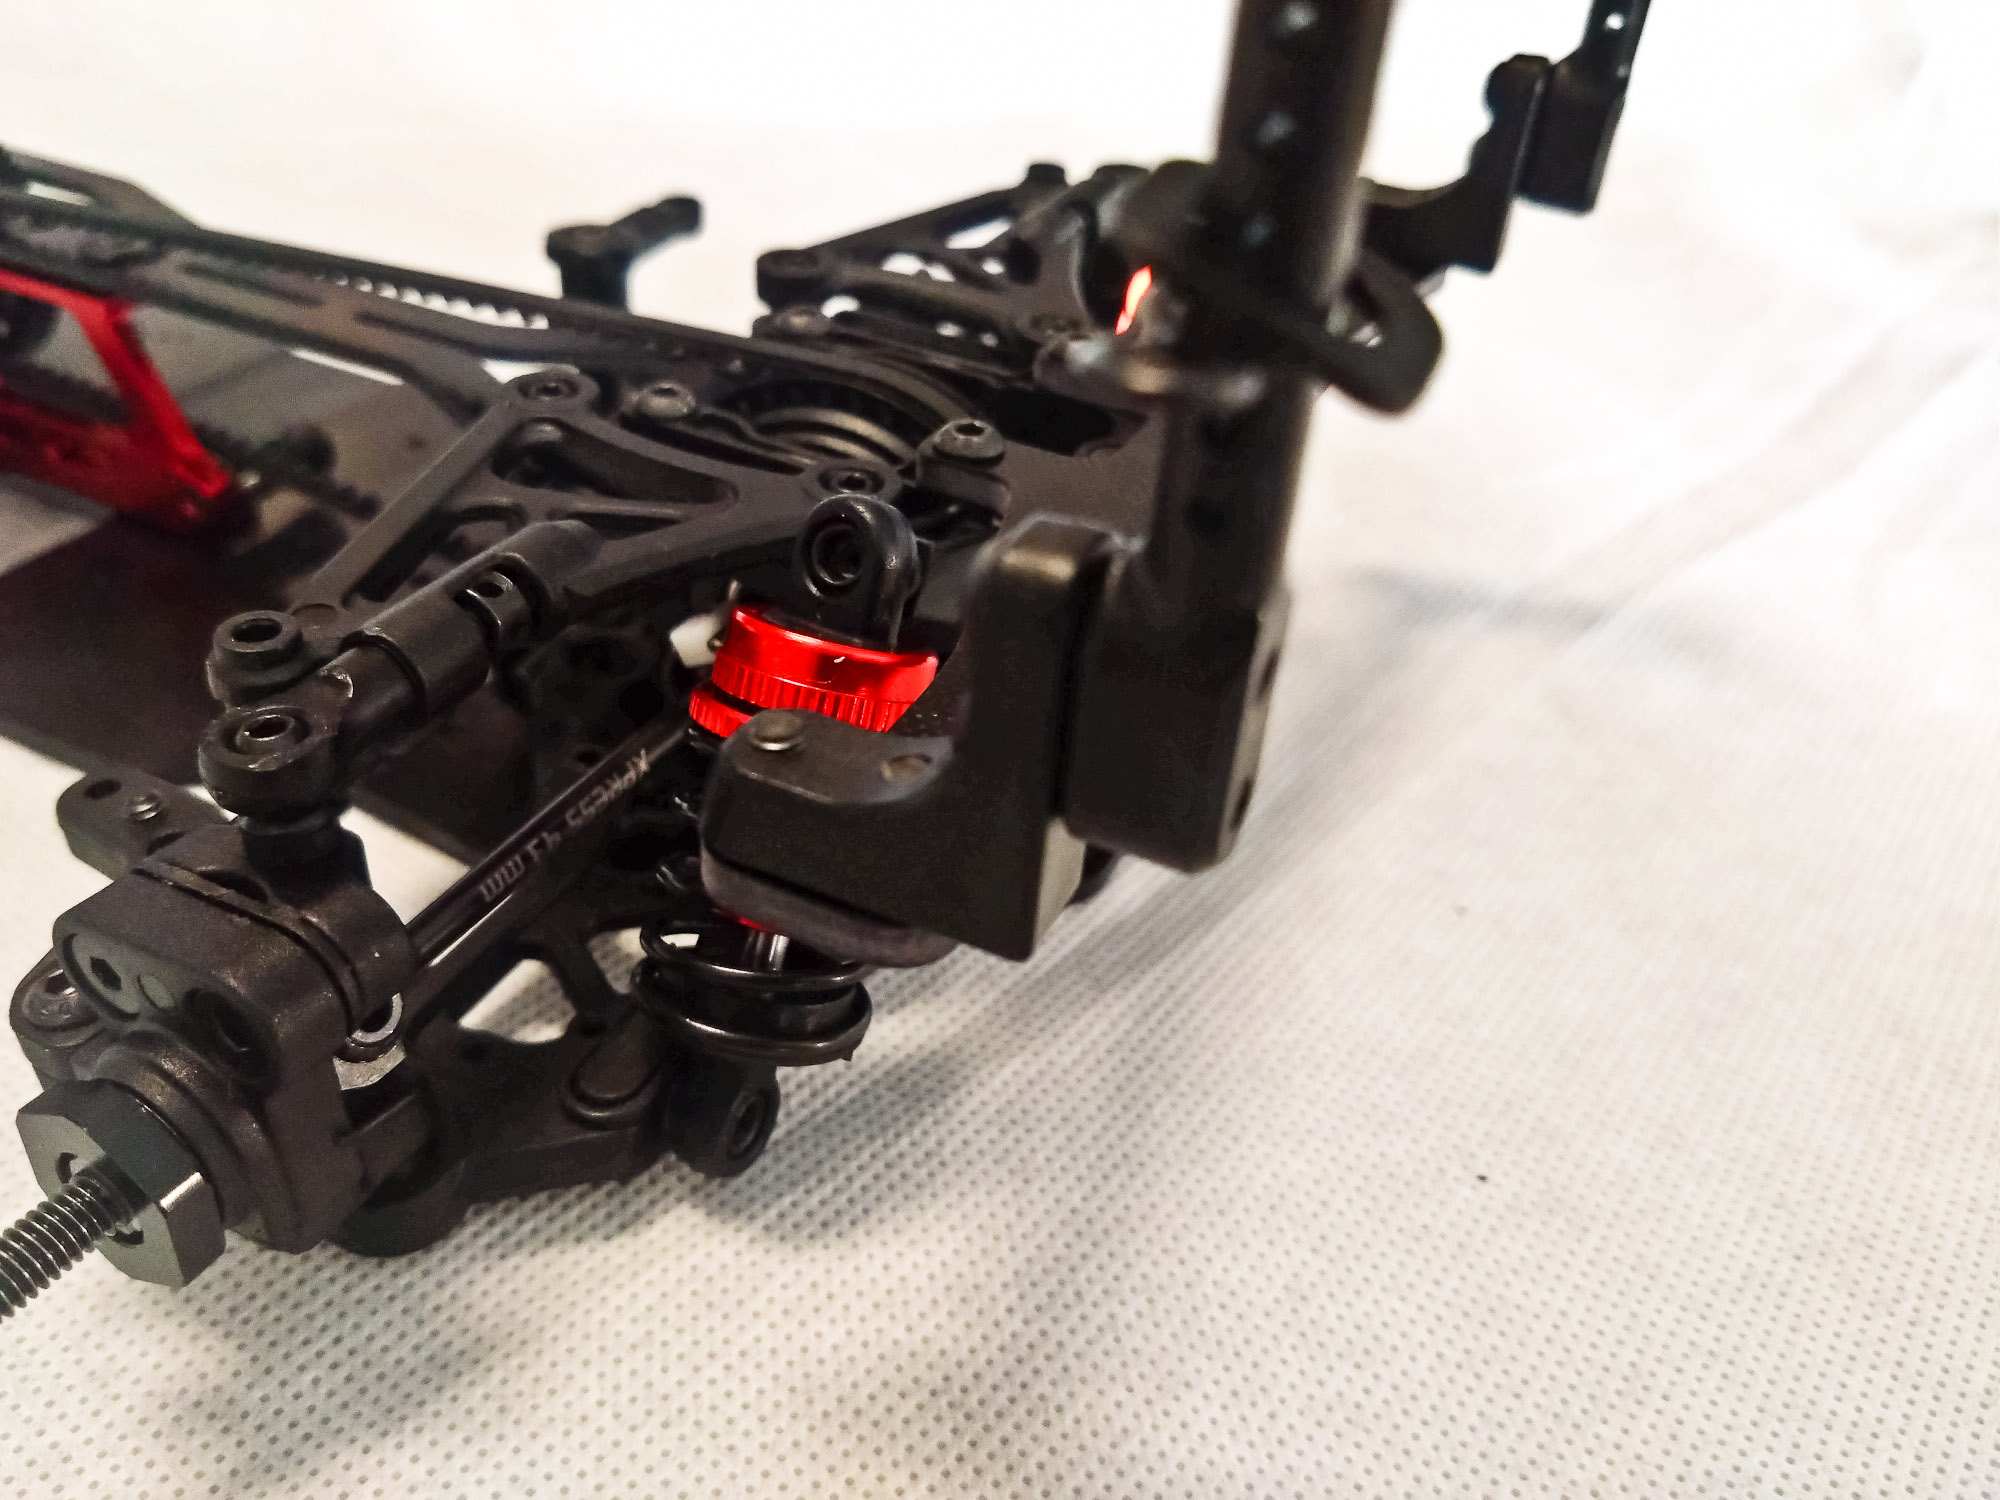
And here we go! Of course, I took my time and fine-tuned the car on a set-up system, but the basic adjustments were not too far off. In total, there were no genuine issues apart from my lack of concentration.
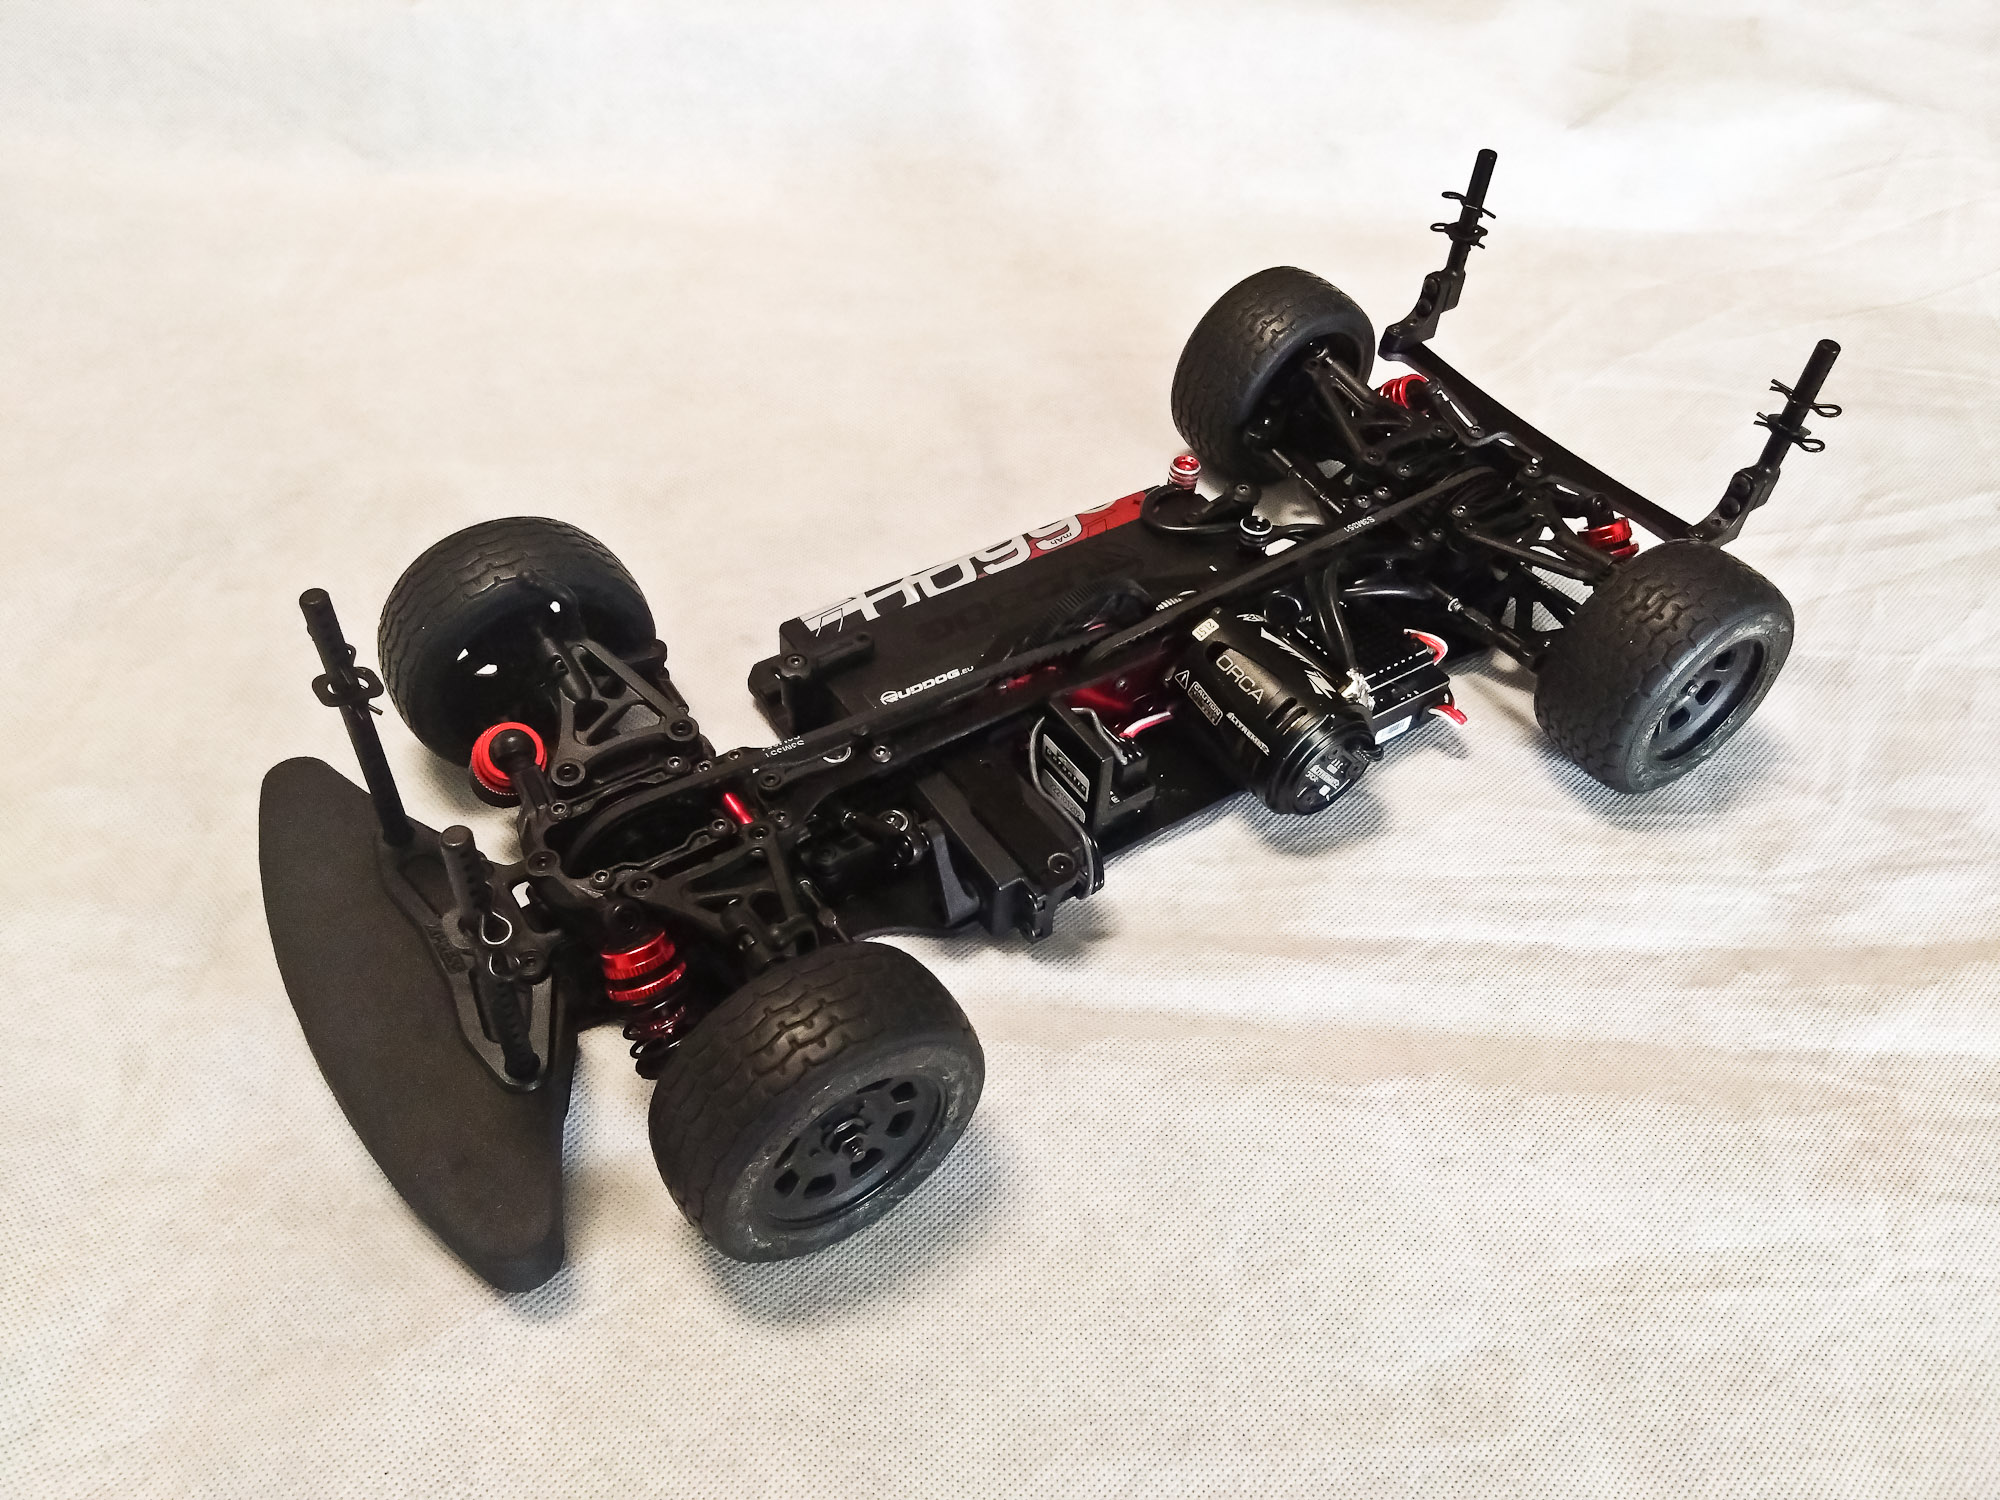
While the XQ3S may not be the kit of choice for a young kid building their first kit ever, it is an obvious choice for people wanting to step up from their Tamiya TT or giving the 1/10th scale touring car category a try without having to spend 500 euros or more. In general, the experience is very similar to building a rather more expensive car. Keep in mind that this is still a plastic car with all the associated characteristics, but the adjustability and geometry of a current race car are there for around 200 euros. So far, I've really enjoyed the XQ3S and hope to get it on the track very soon. I don't think the concept will render top-level models obsolete, but bridge the gap between very basic kits, such as the TT series, and classy carbon fiber and aluminum beauties offered e.g. by Iris Racing, Awesomatix, and also Xpress, and make touring car racing in all its forms more accessible to a wider audience.
|
