|

Another beautifully written build log of the Arrow AT1, this time hailing all the way from Germany: Johannes Weber. He recorded his build progress through photos and shared some of his thoughts after finishing his build: 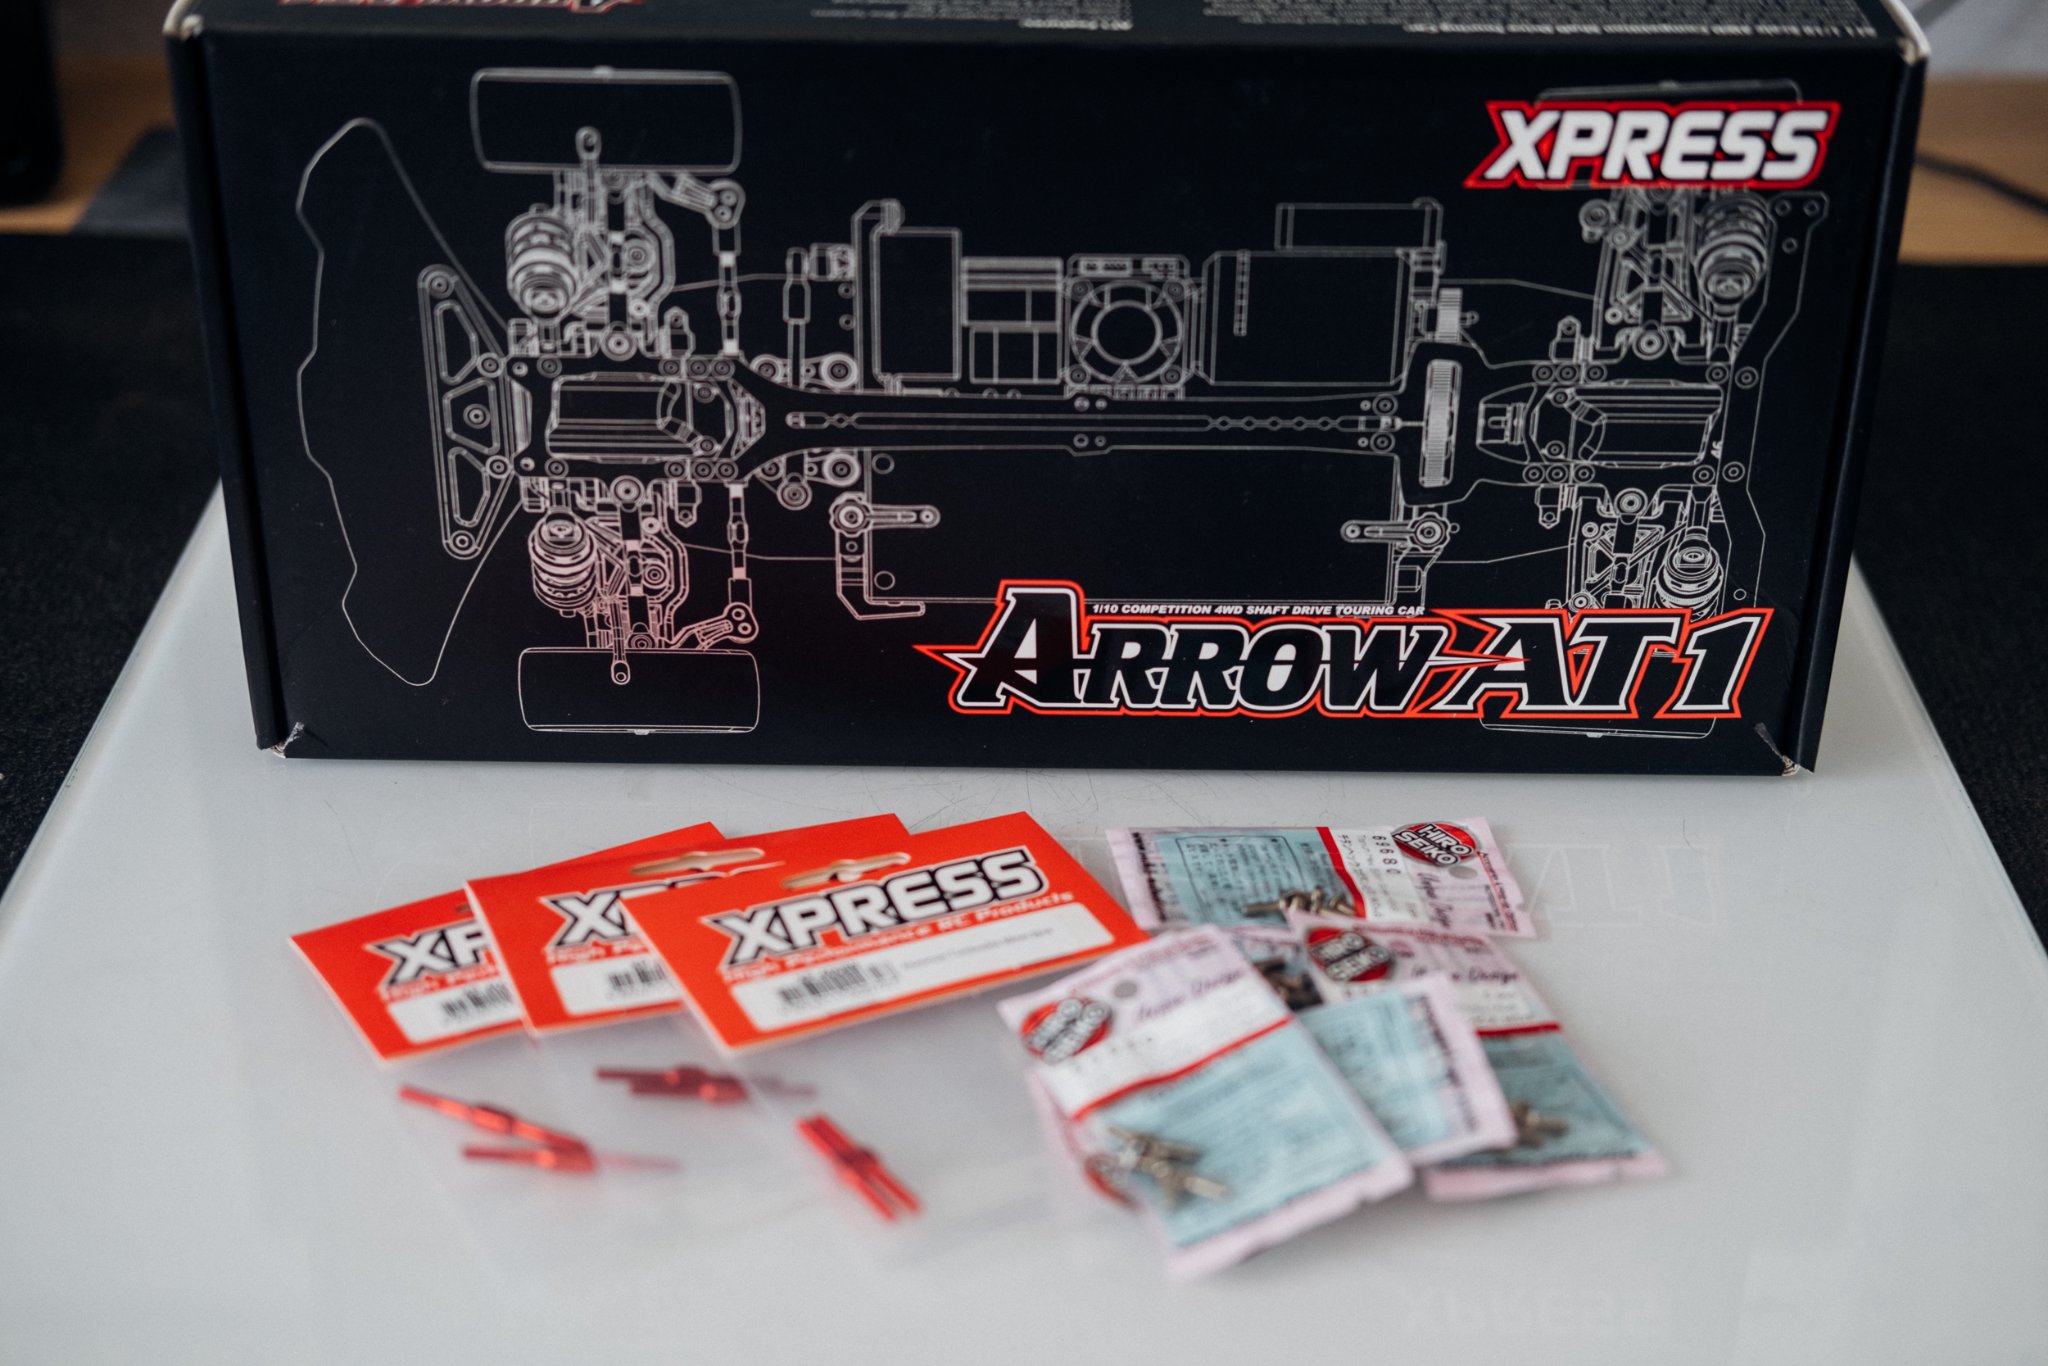
With the Arrow AT1 platform, Xpress has left the chosen path of belt drive and launched an eye-catching model with a drive shaft instead of a belt.
After the announced release date was postponed in favor of a small but nice change to the end of July, the AT1 kits were finally available at RC Kleinkram in early August.
Actually I had not pre-ordered one. Actually there are already enough chassis on the shelf. Actually I wanted to stick to it - and that the kit was available in the store I clicked directly on order. Why? Because the AT1 is simply irresistible - optically, qualitatively and hopefully also in terms of driving dynamics.
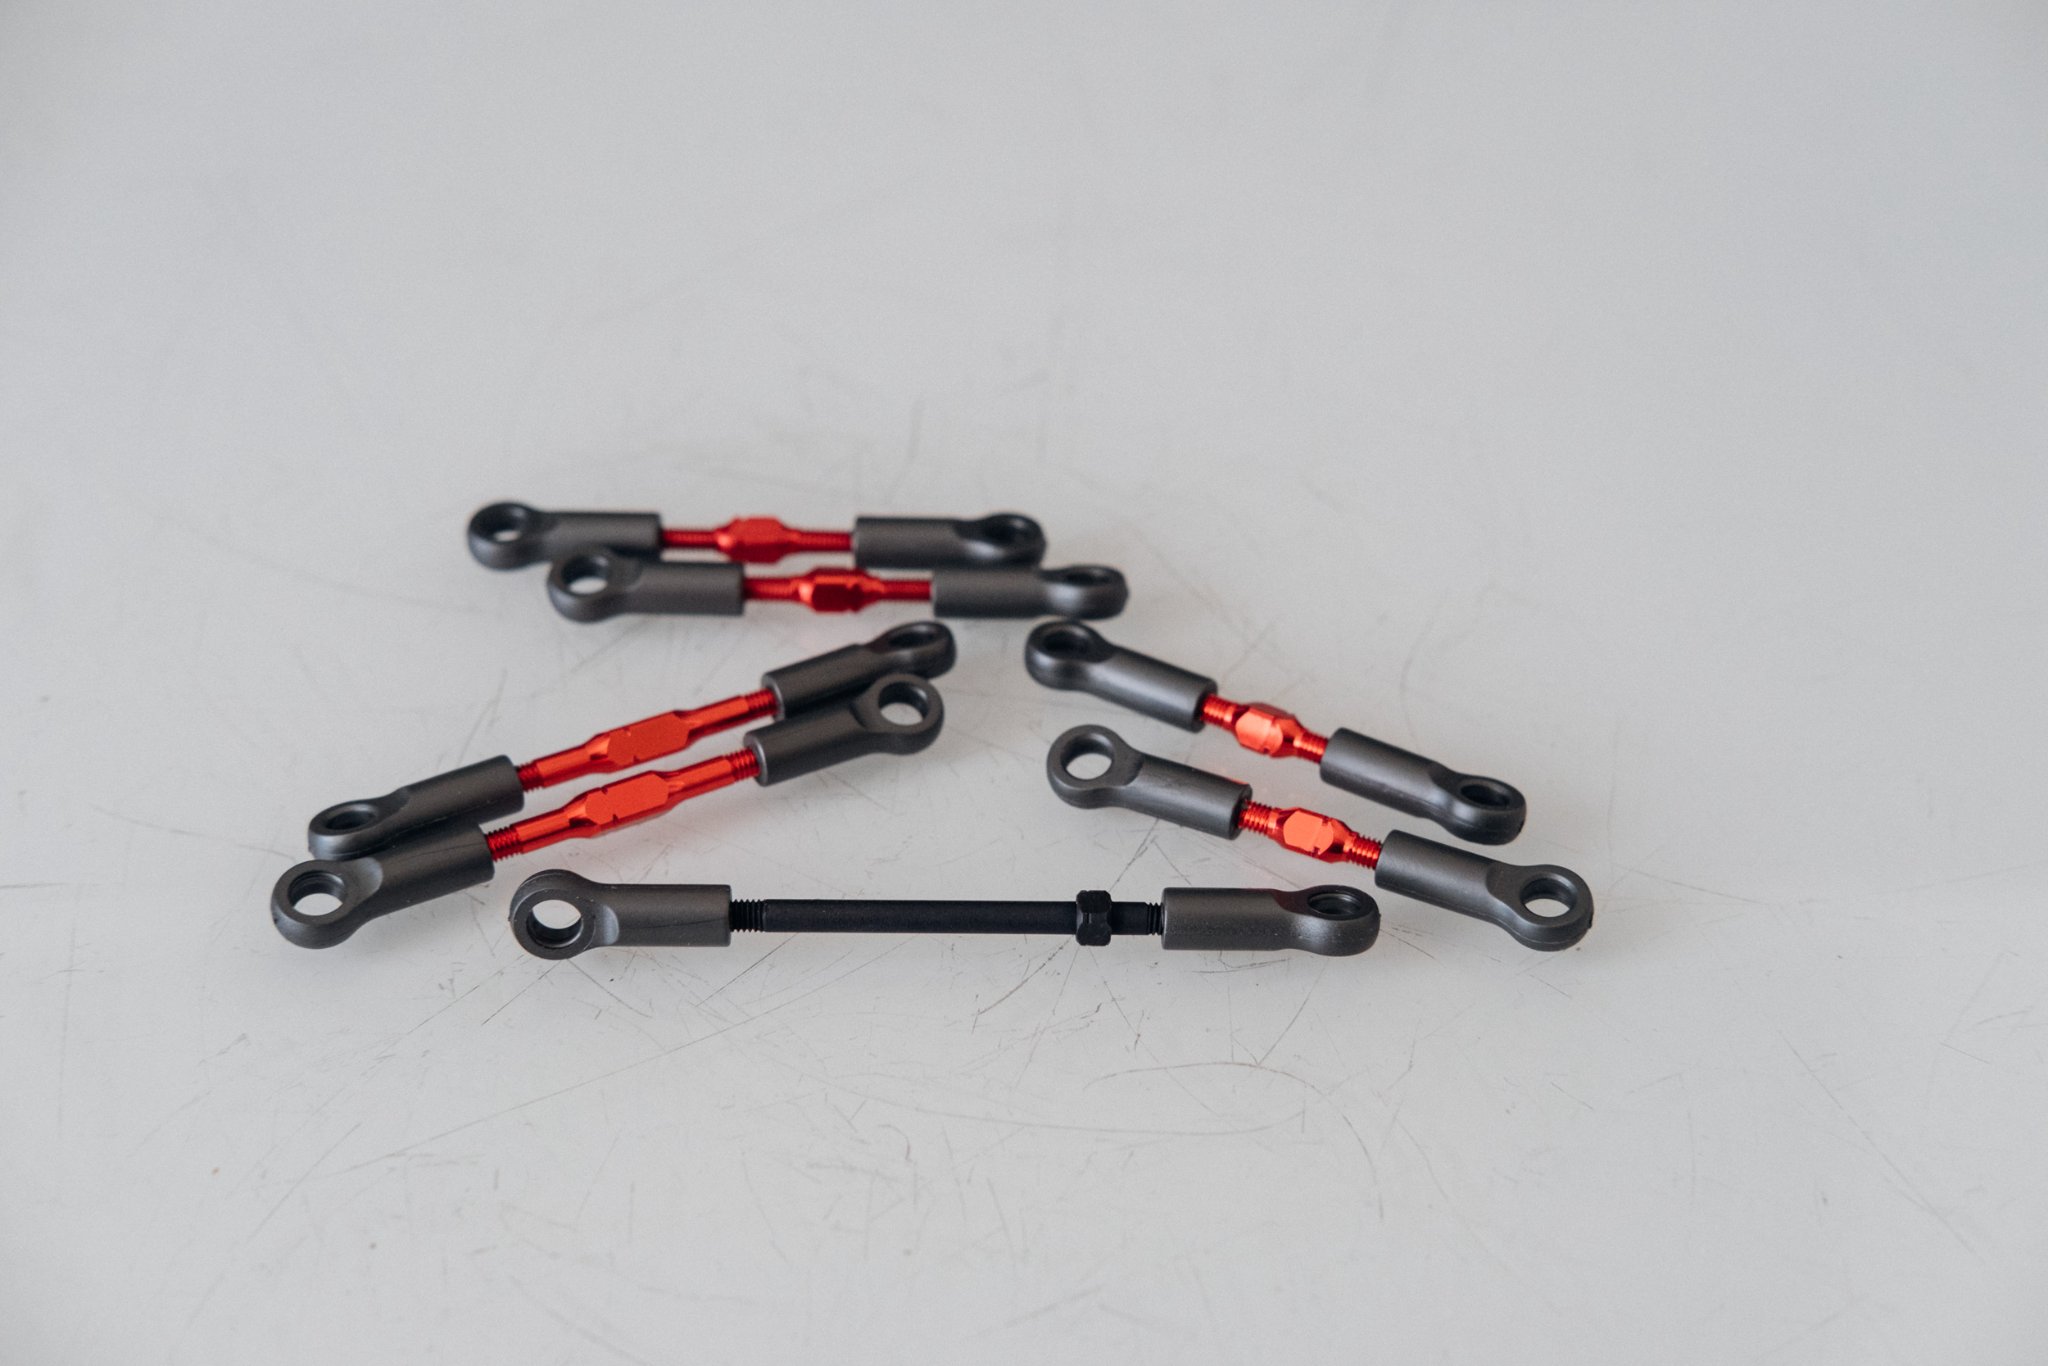
In addition to the kit, a few things that are not really necessary ended up in the shopping cart. As always, the aluminum turnbuckles from the drift chassis to bring a little more red into the car and titanium screws for the top deck. The number of screws used can be seen in the instructions, which is significantly higher compared to the XQ10. Both tuning parts are probably not really necessary, but if you question everything, it's no fun anymore.
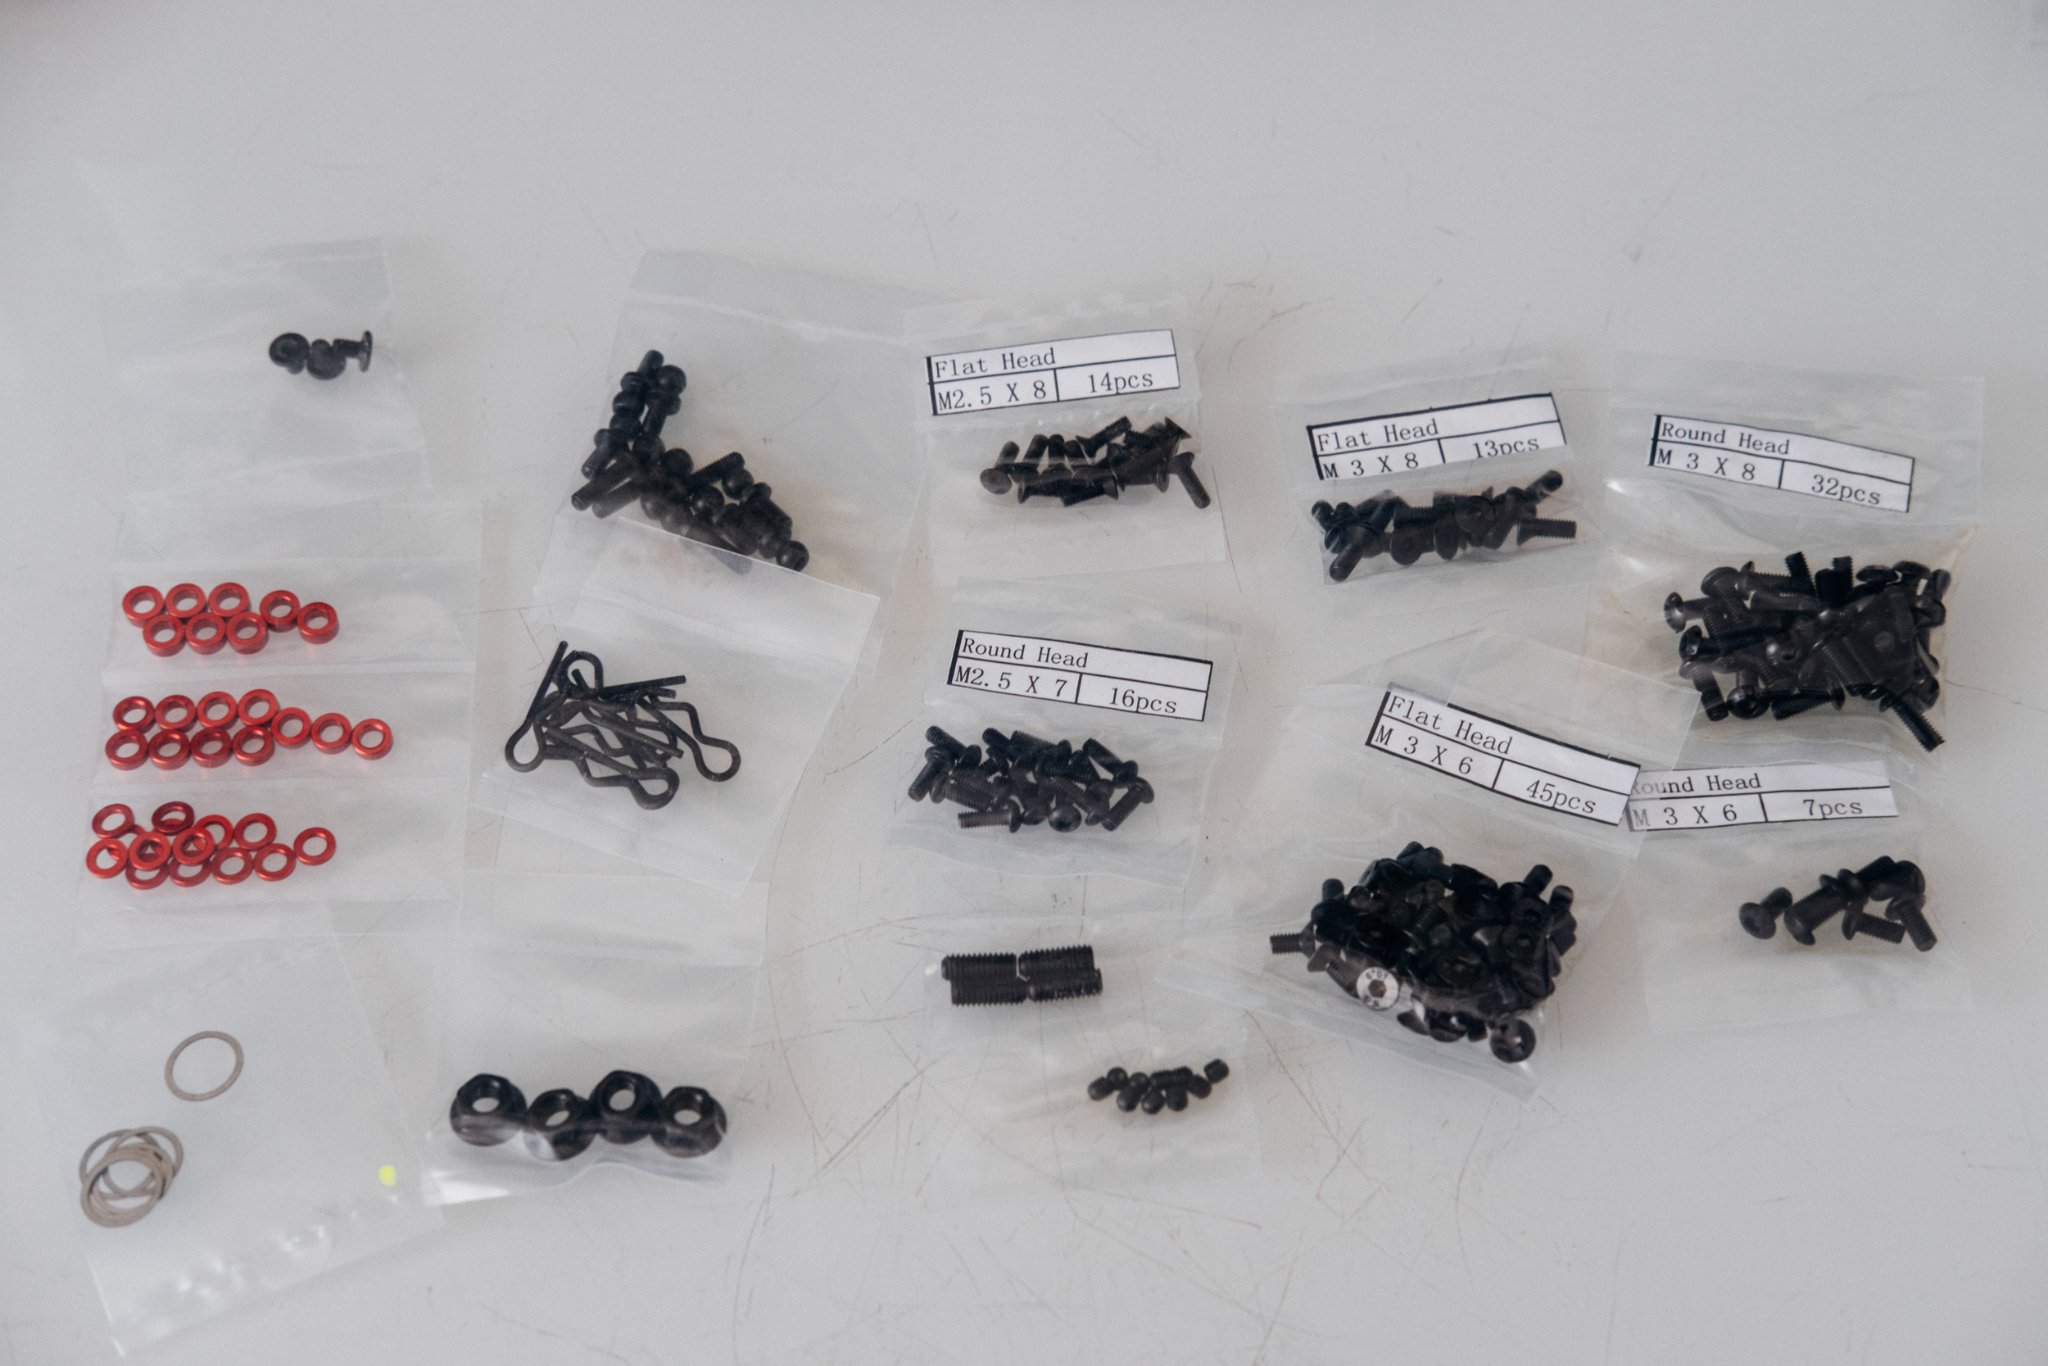
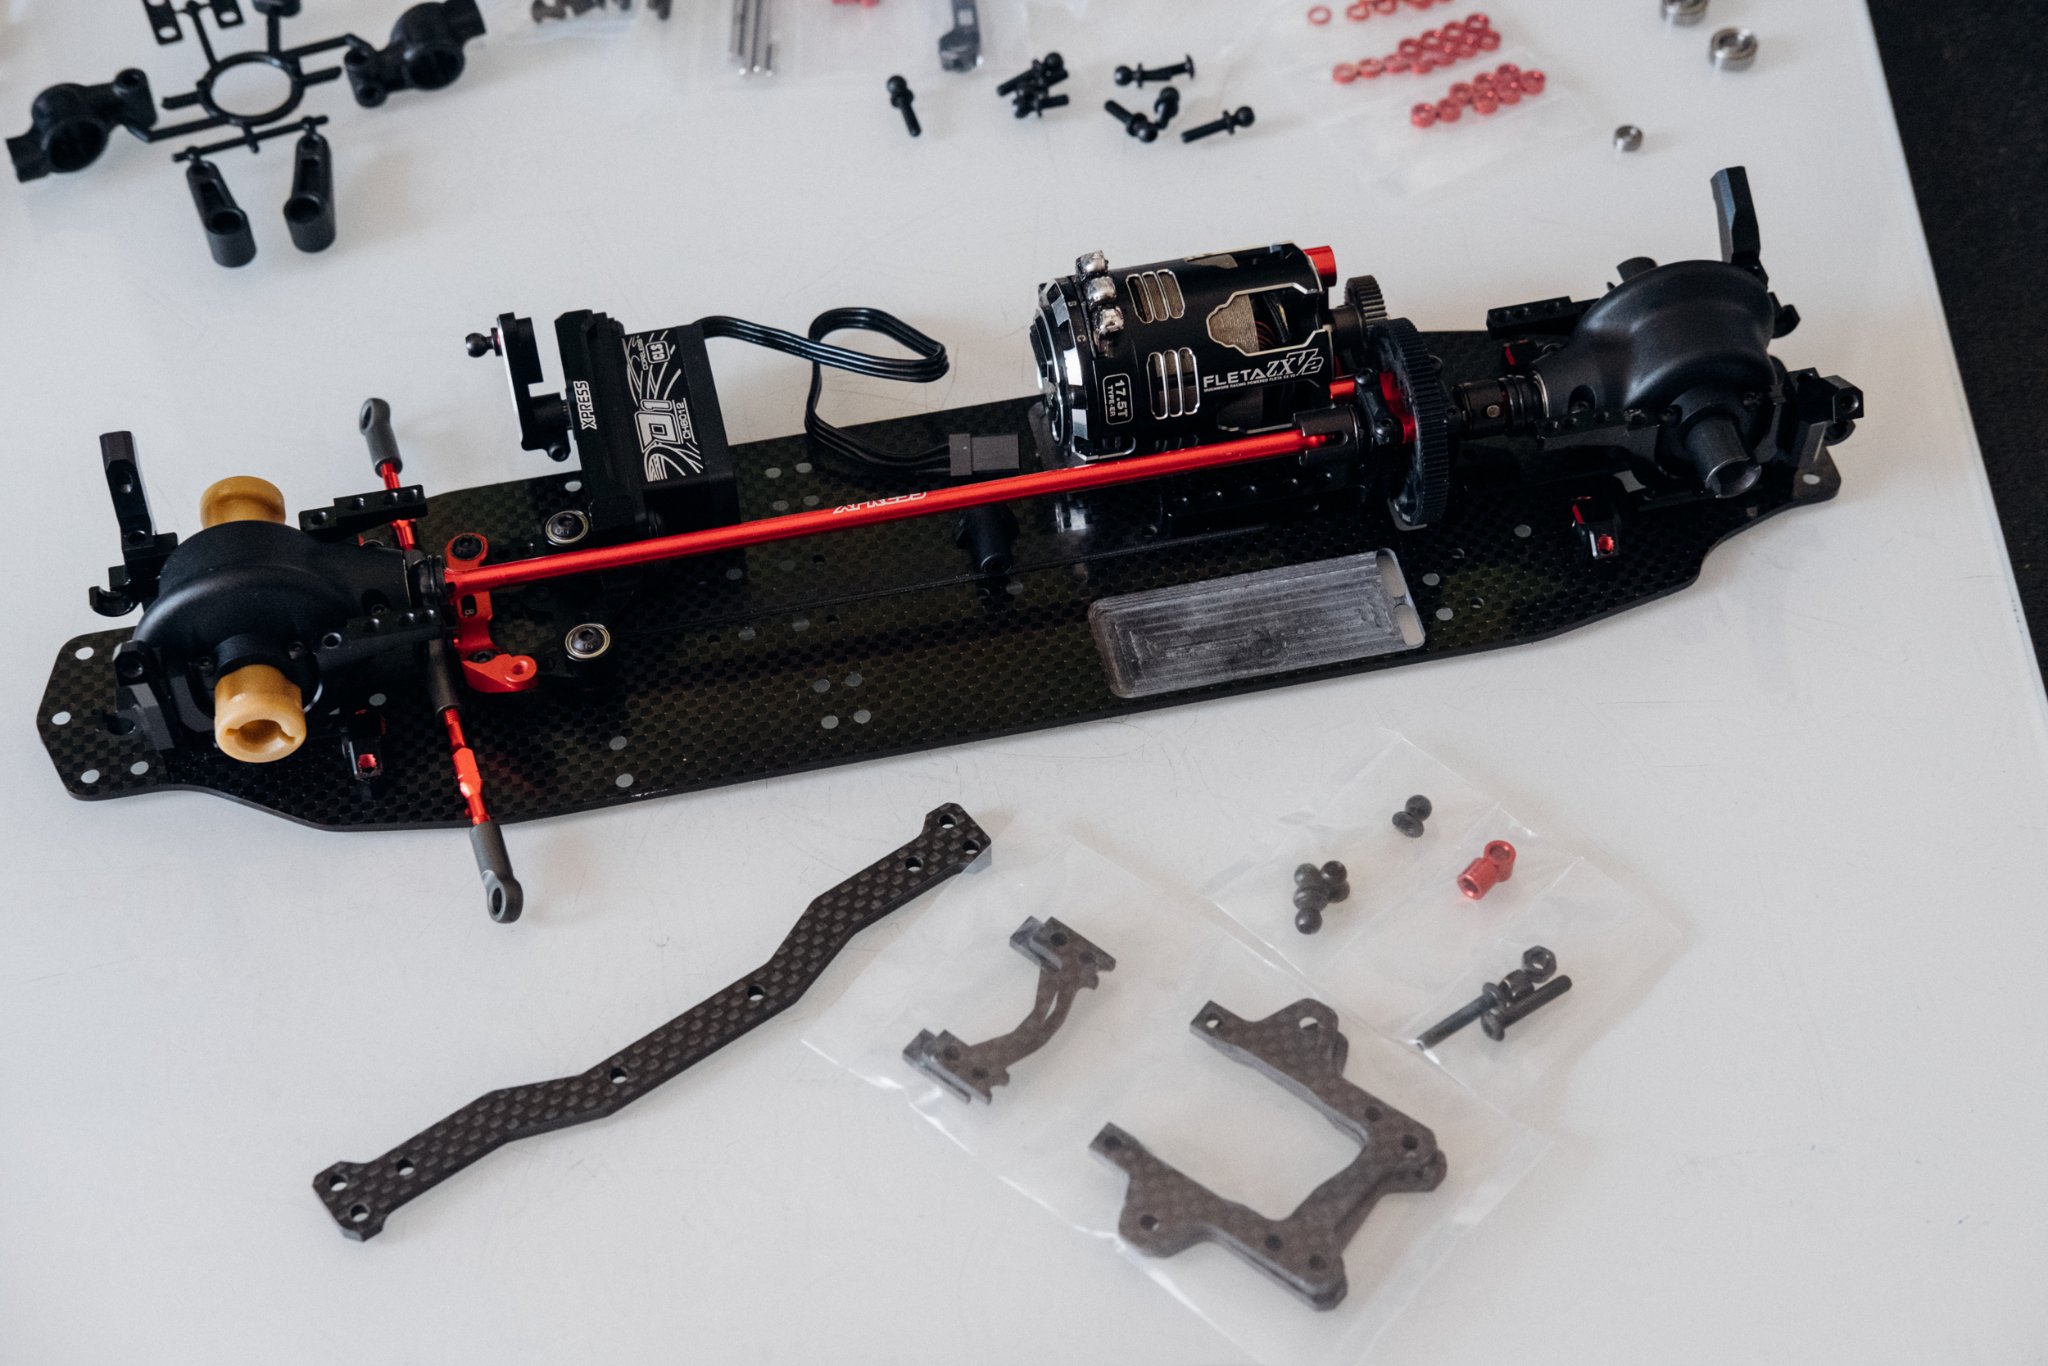
After opening the visually appealing package, a usual Xpress construction kit awaits you. The parts of the individual building sections are packed in bags marked with letters. This prevents chaos on the screwdriver's table and even for Xpress newcomers it is always easy to understand what is needed and when.
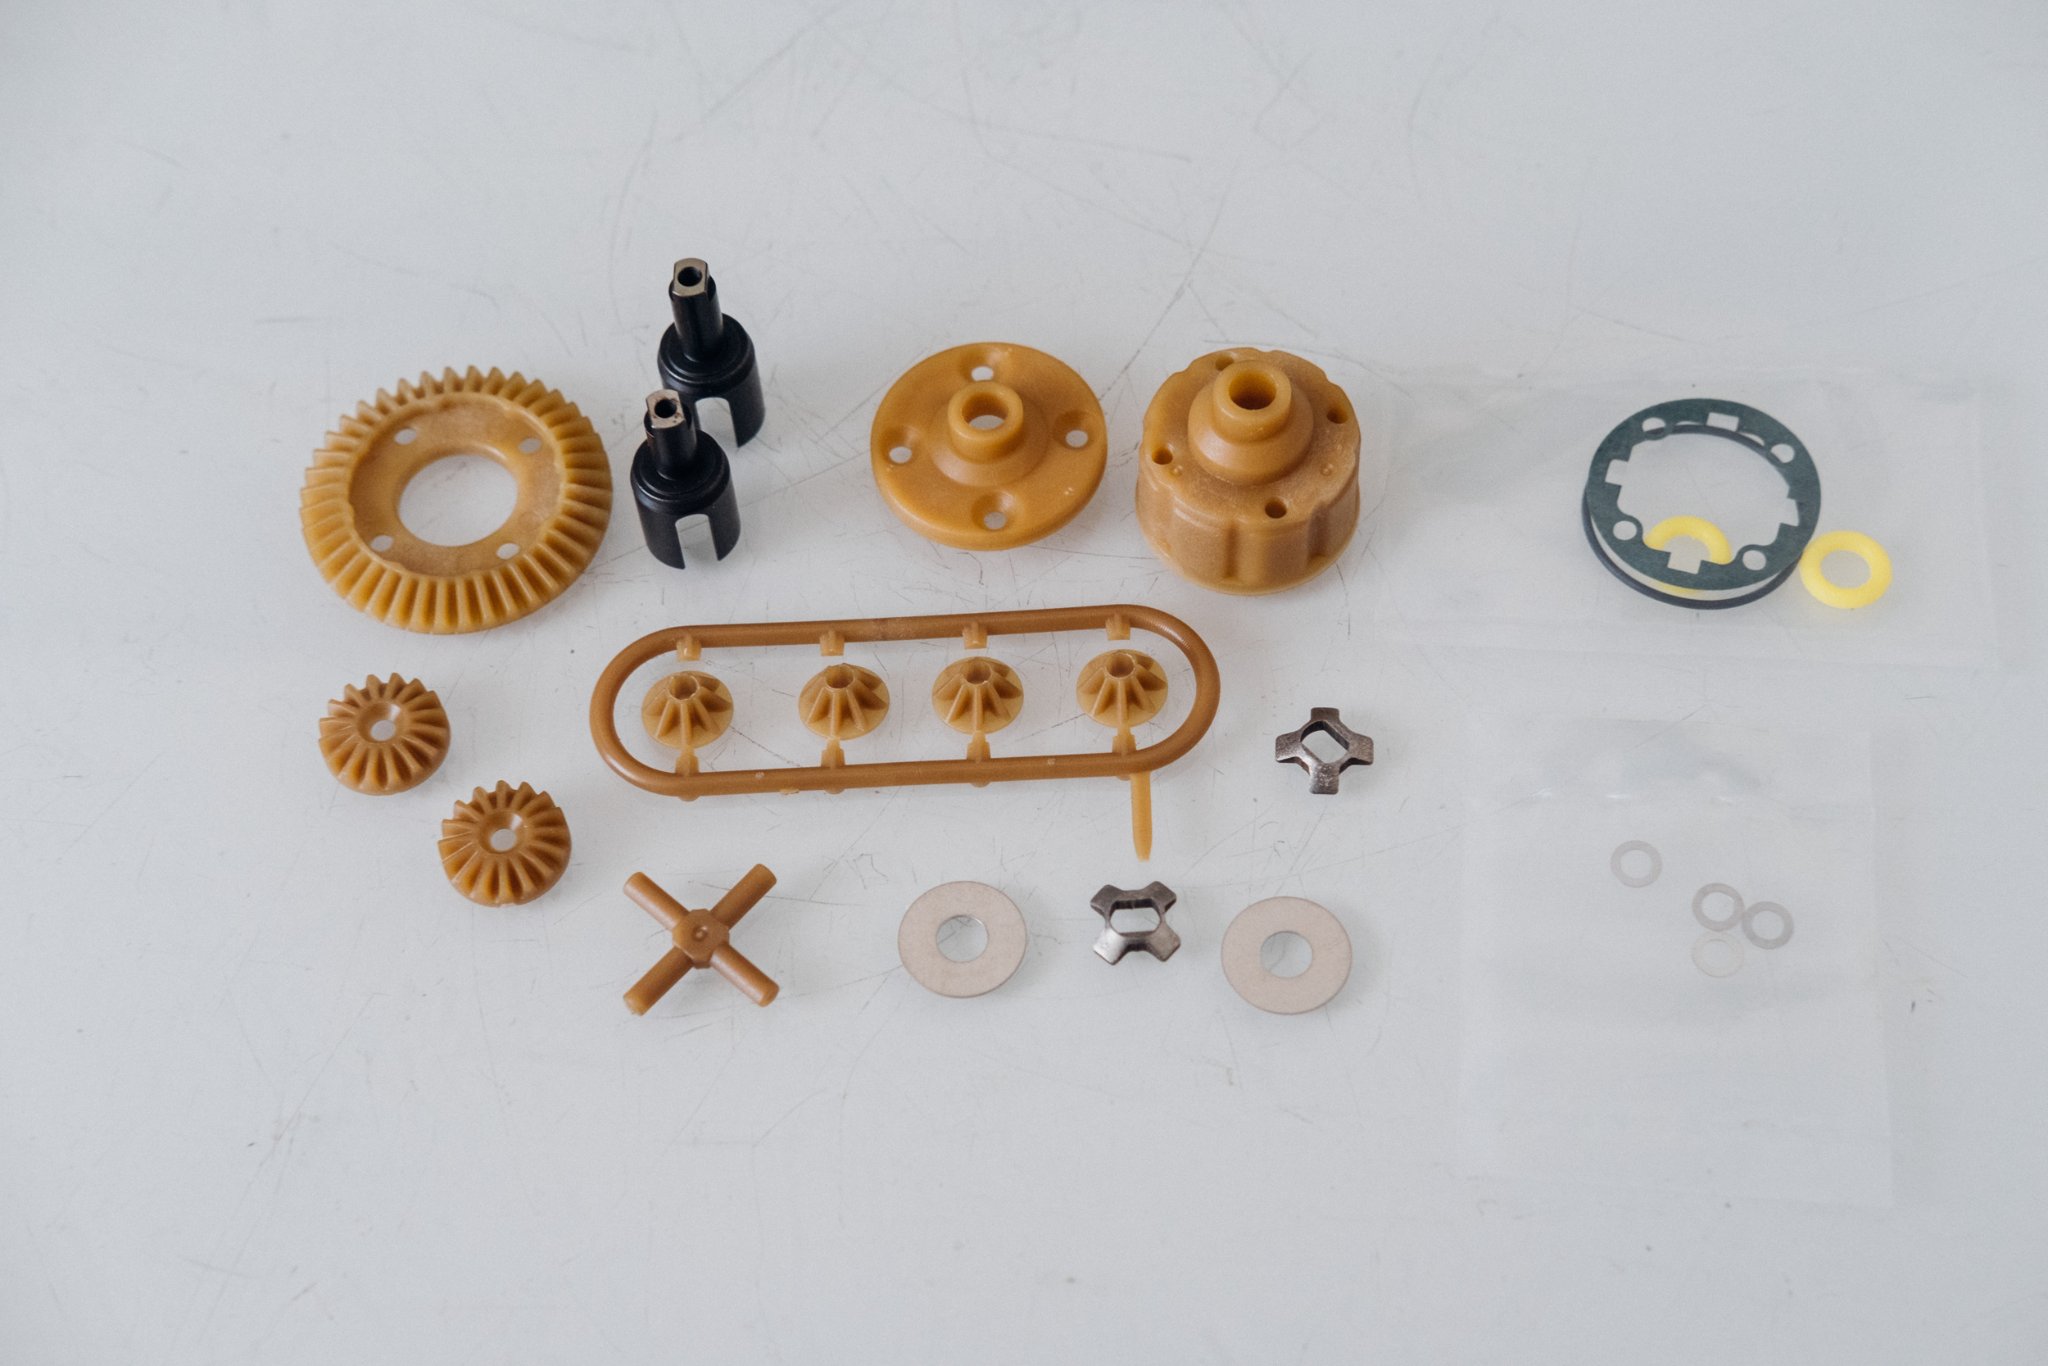
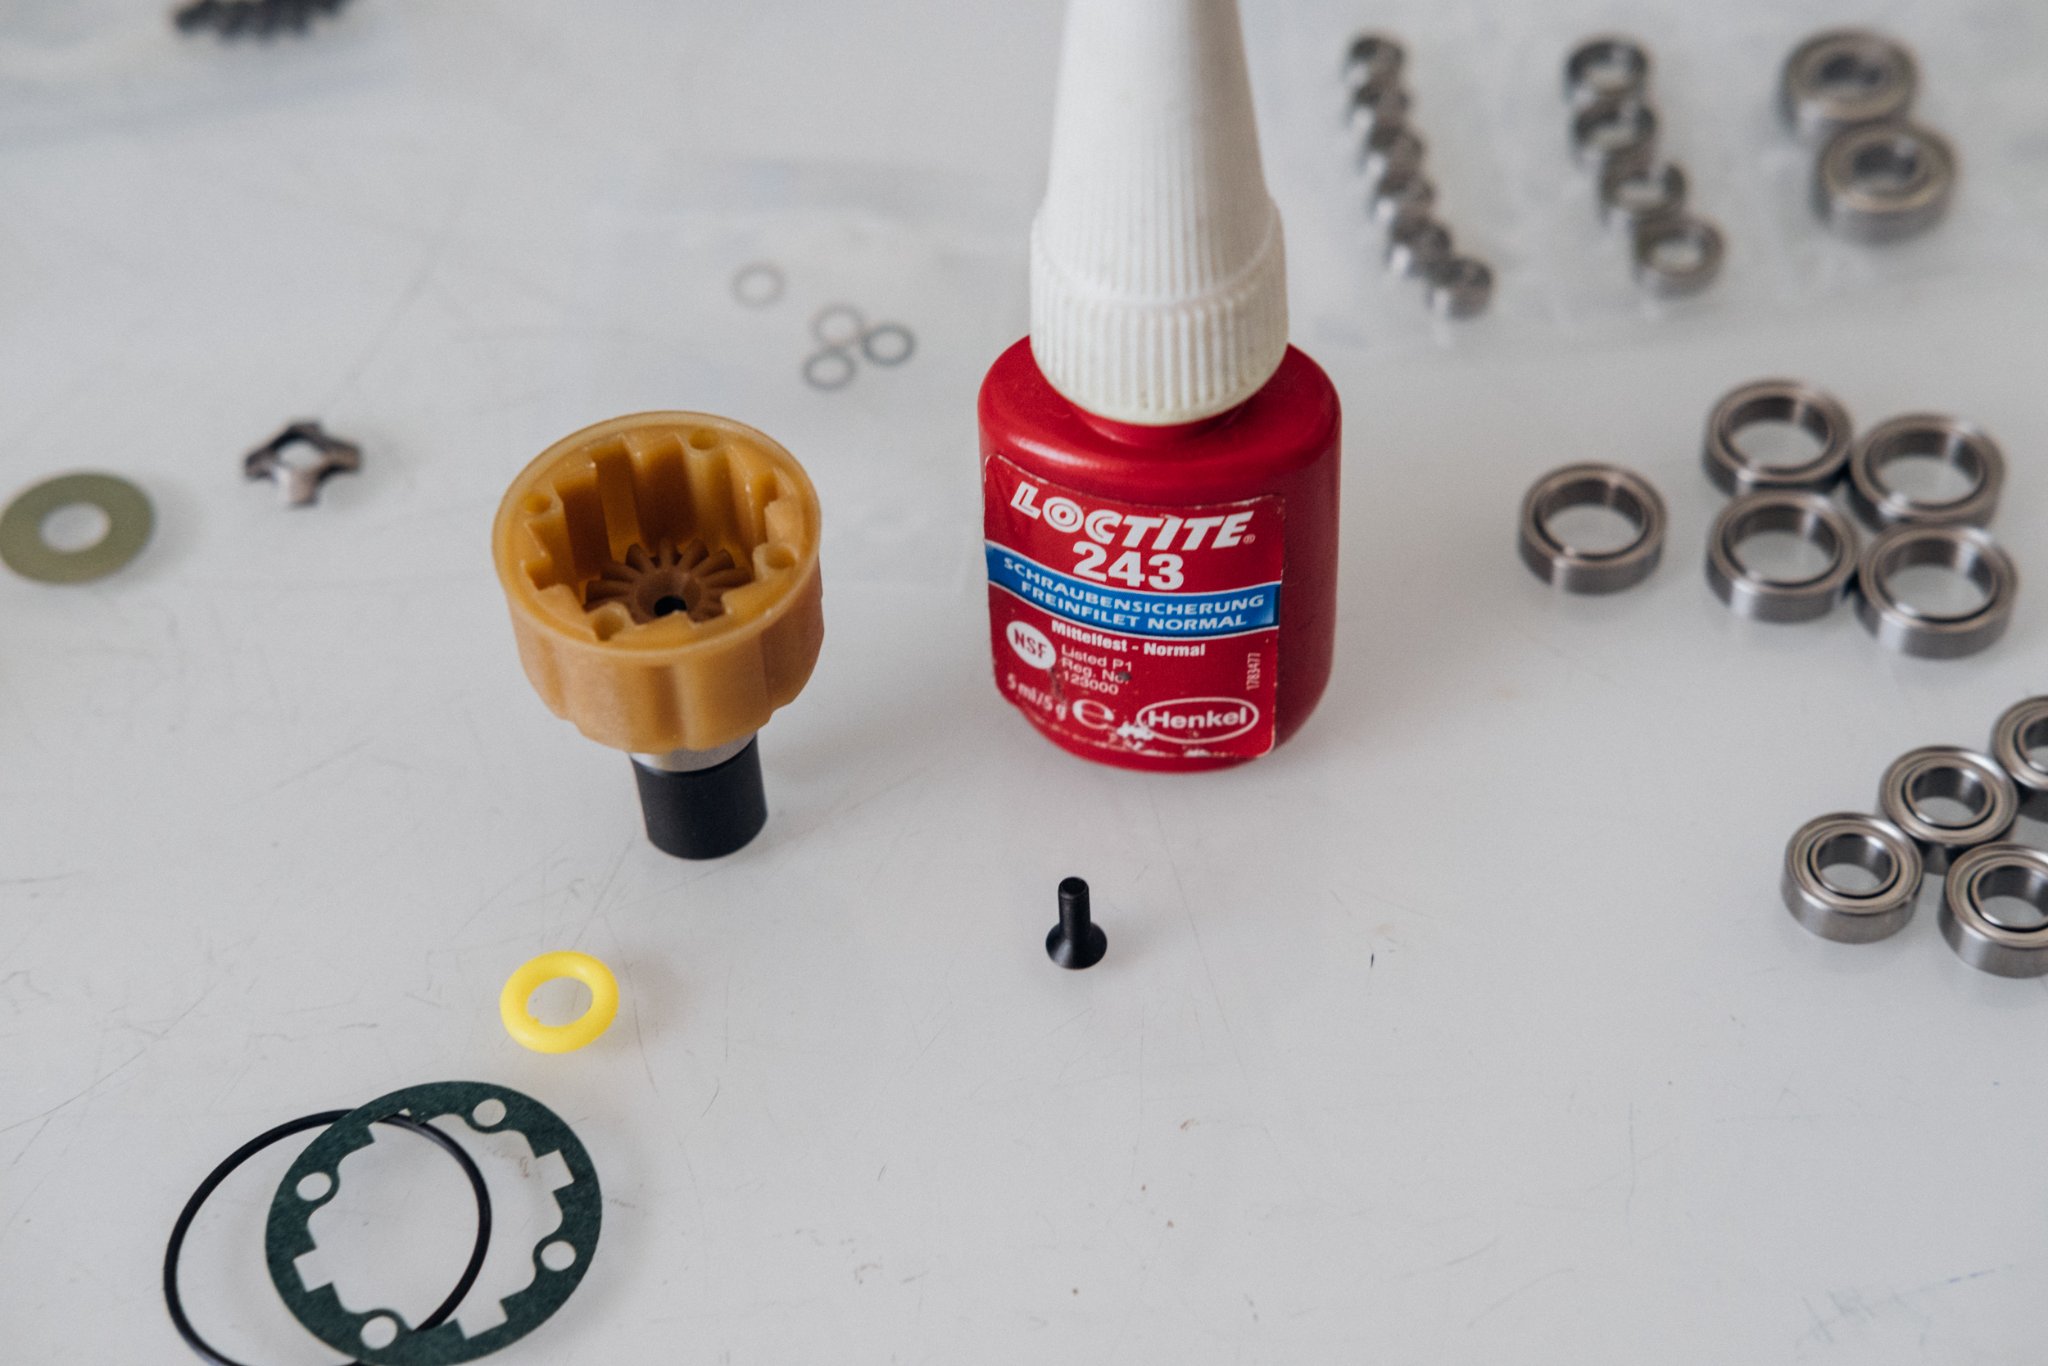
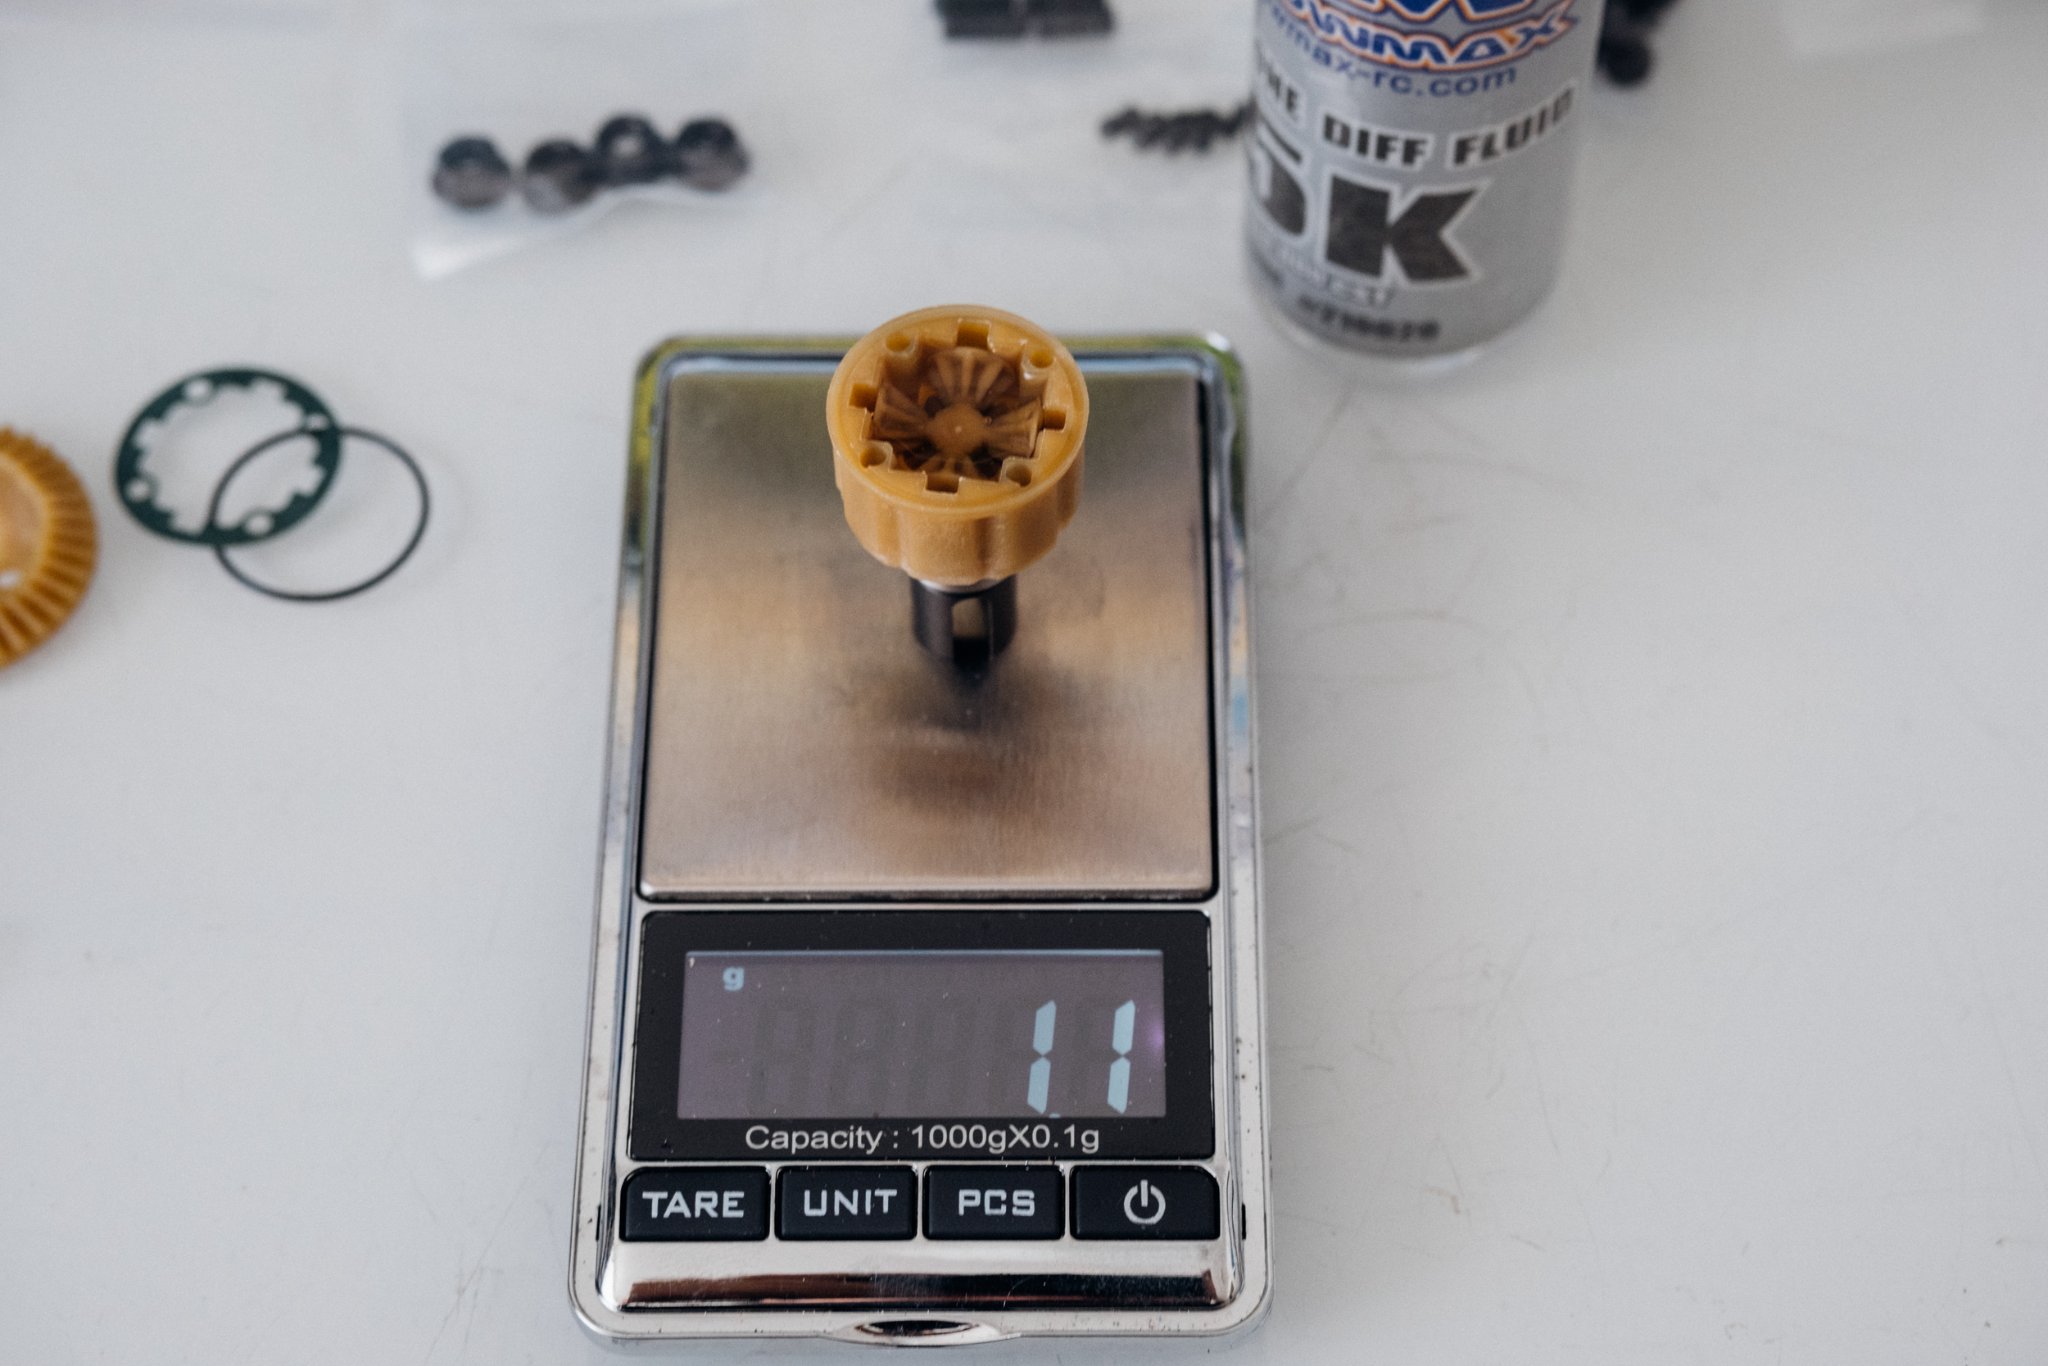
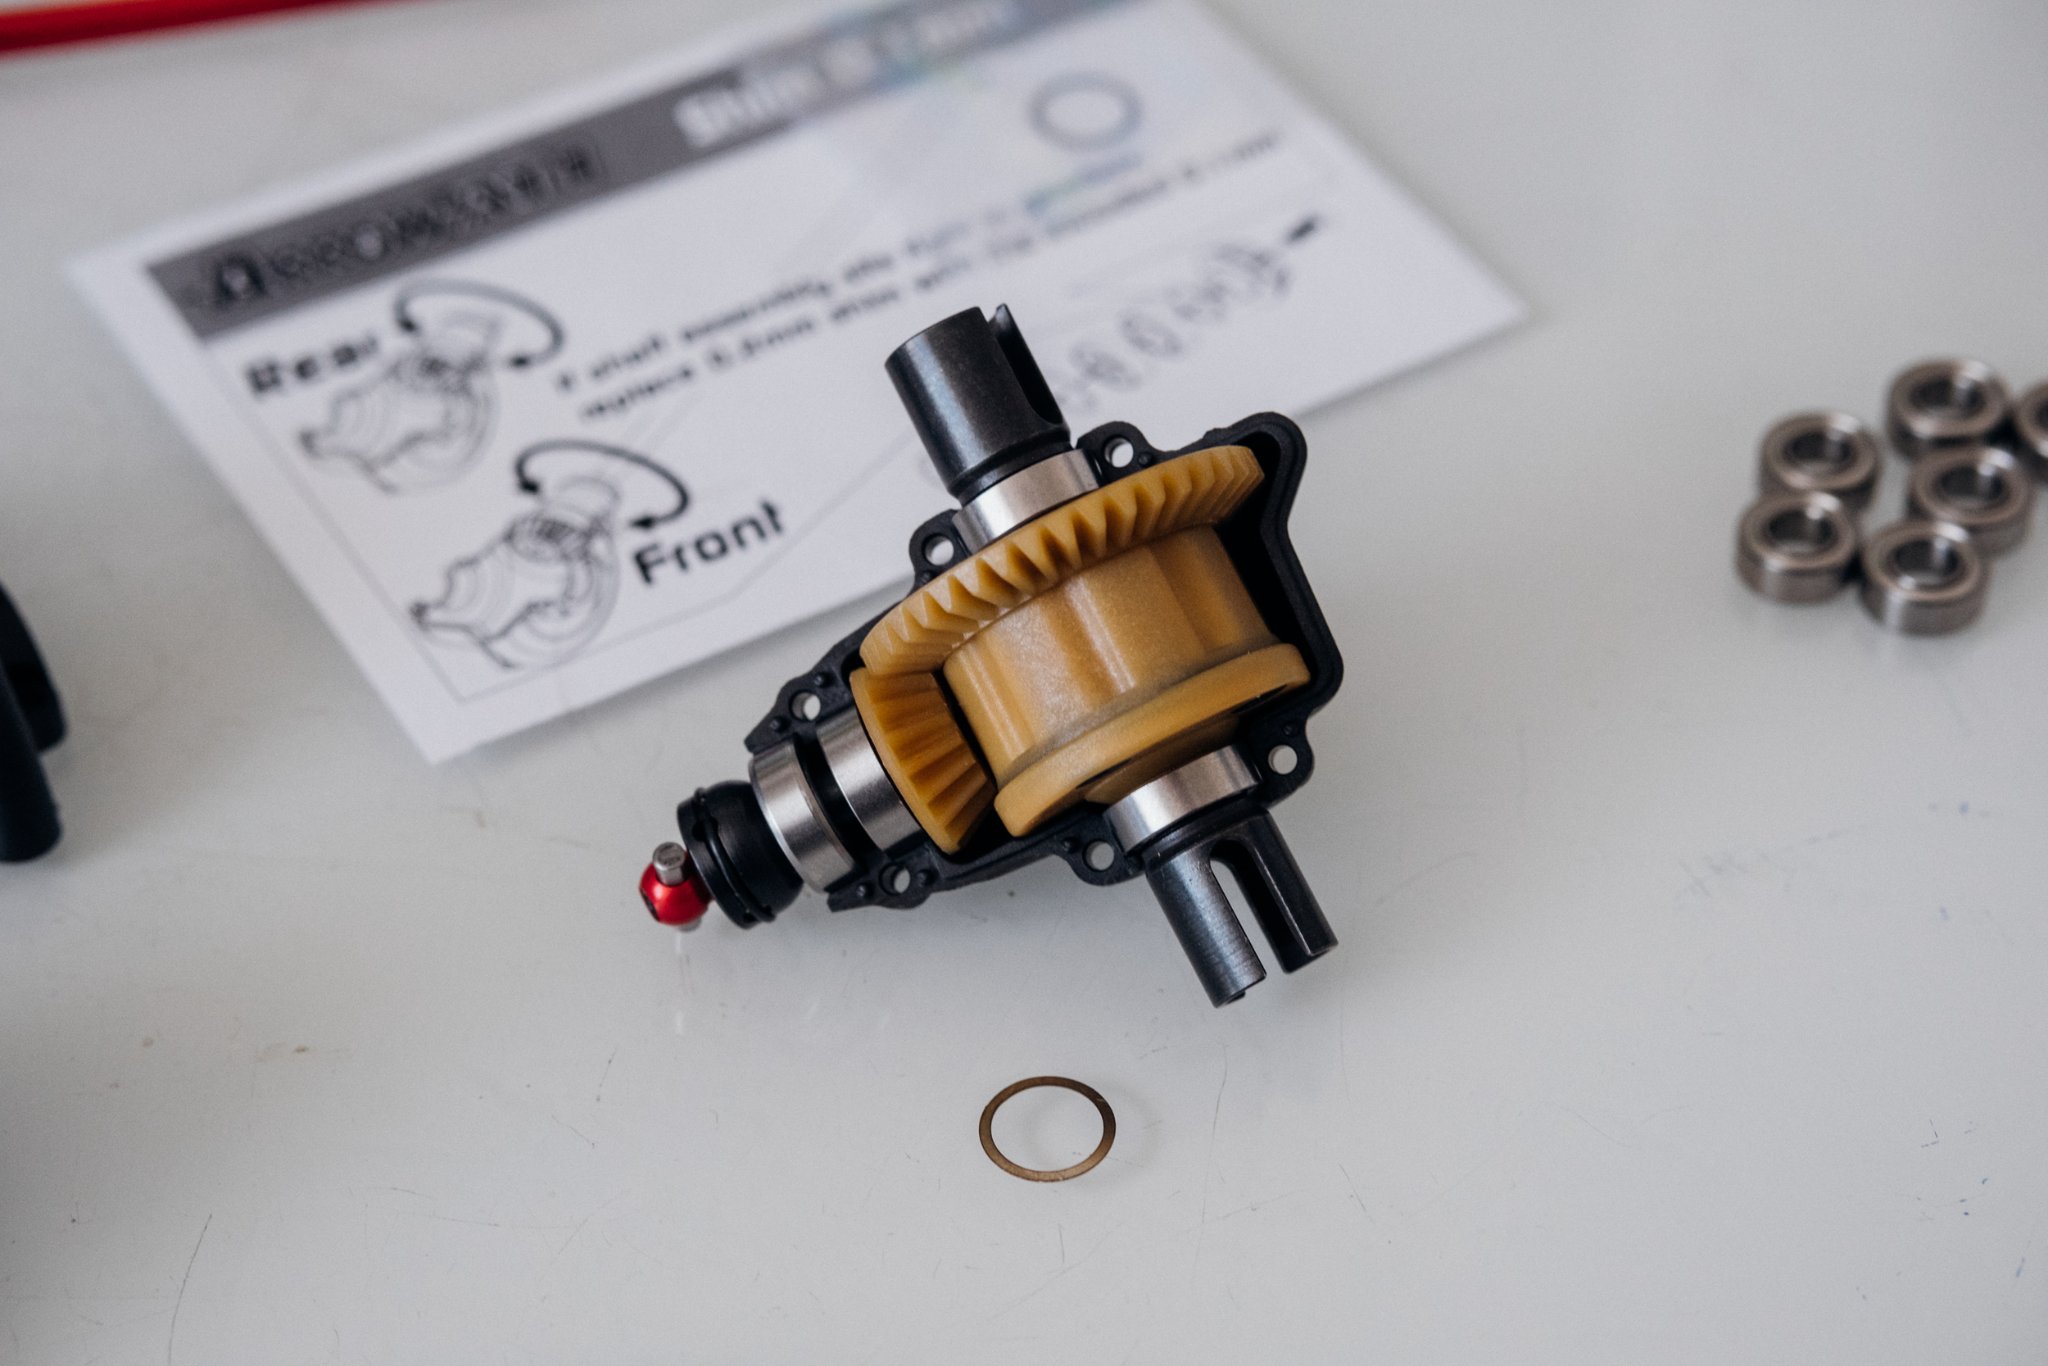
With the first construction stage, one of the innovations is immediately noticeable. The differential has not only changed in terms of the housing. Also the innards are now made of a new self-lubricating plastic. This is also the reason for the delay in delivery. A metal adapter was designed and implemented for the two bevel gears, which also makes the differential suitable for higher engine power in the direction of the Modified class. A quite reasonable improvement.
When assembling the output drives in the direction of the center shaft, the small note with the attached shims becomes interesting. The instructions specify a 0.2mm washer between the bearing and the bevel gear. The note says you should use the 0.1mm washer if the bevel gear jams too much. This was the case with me, both front and rear. With the 0.1mm washer, both places were smooth-running. Here again shows that Xpress thinks along. If no shim washer had been provided as standard, it would have been difficult to take something out afterwards - top!
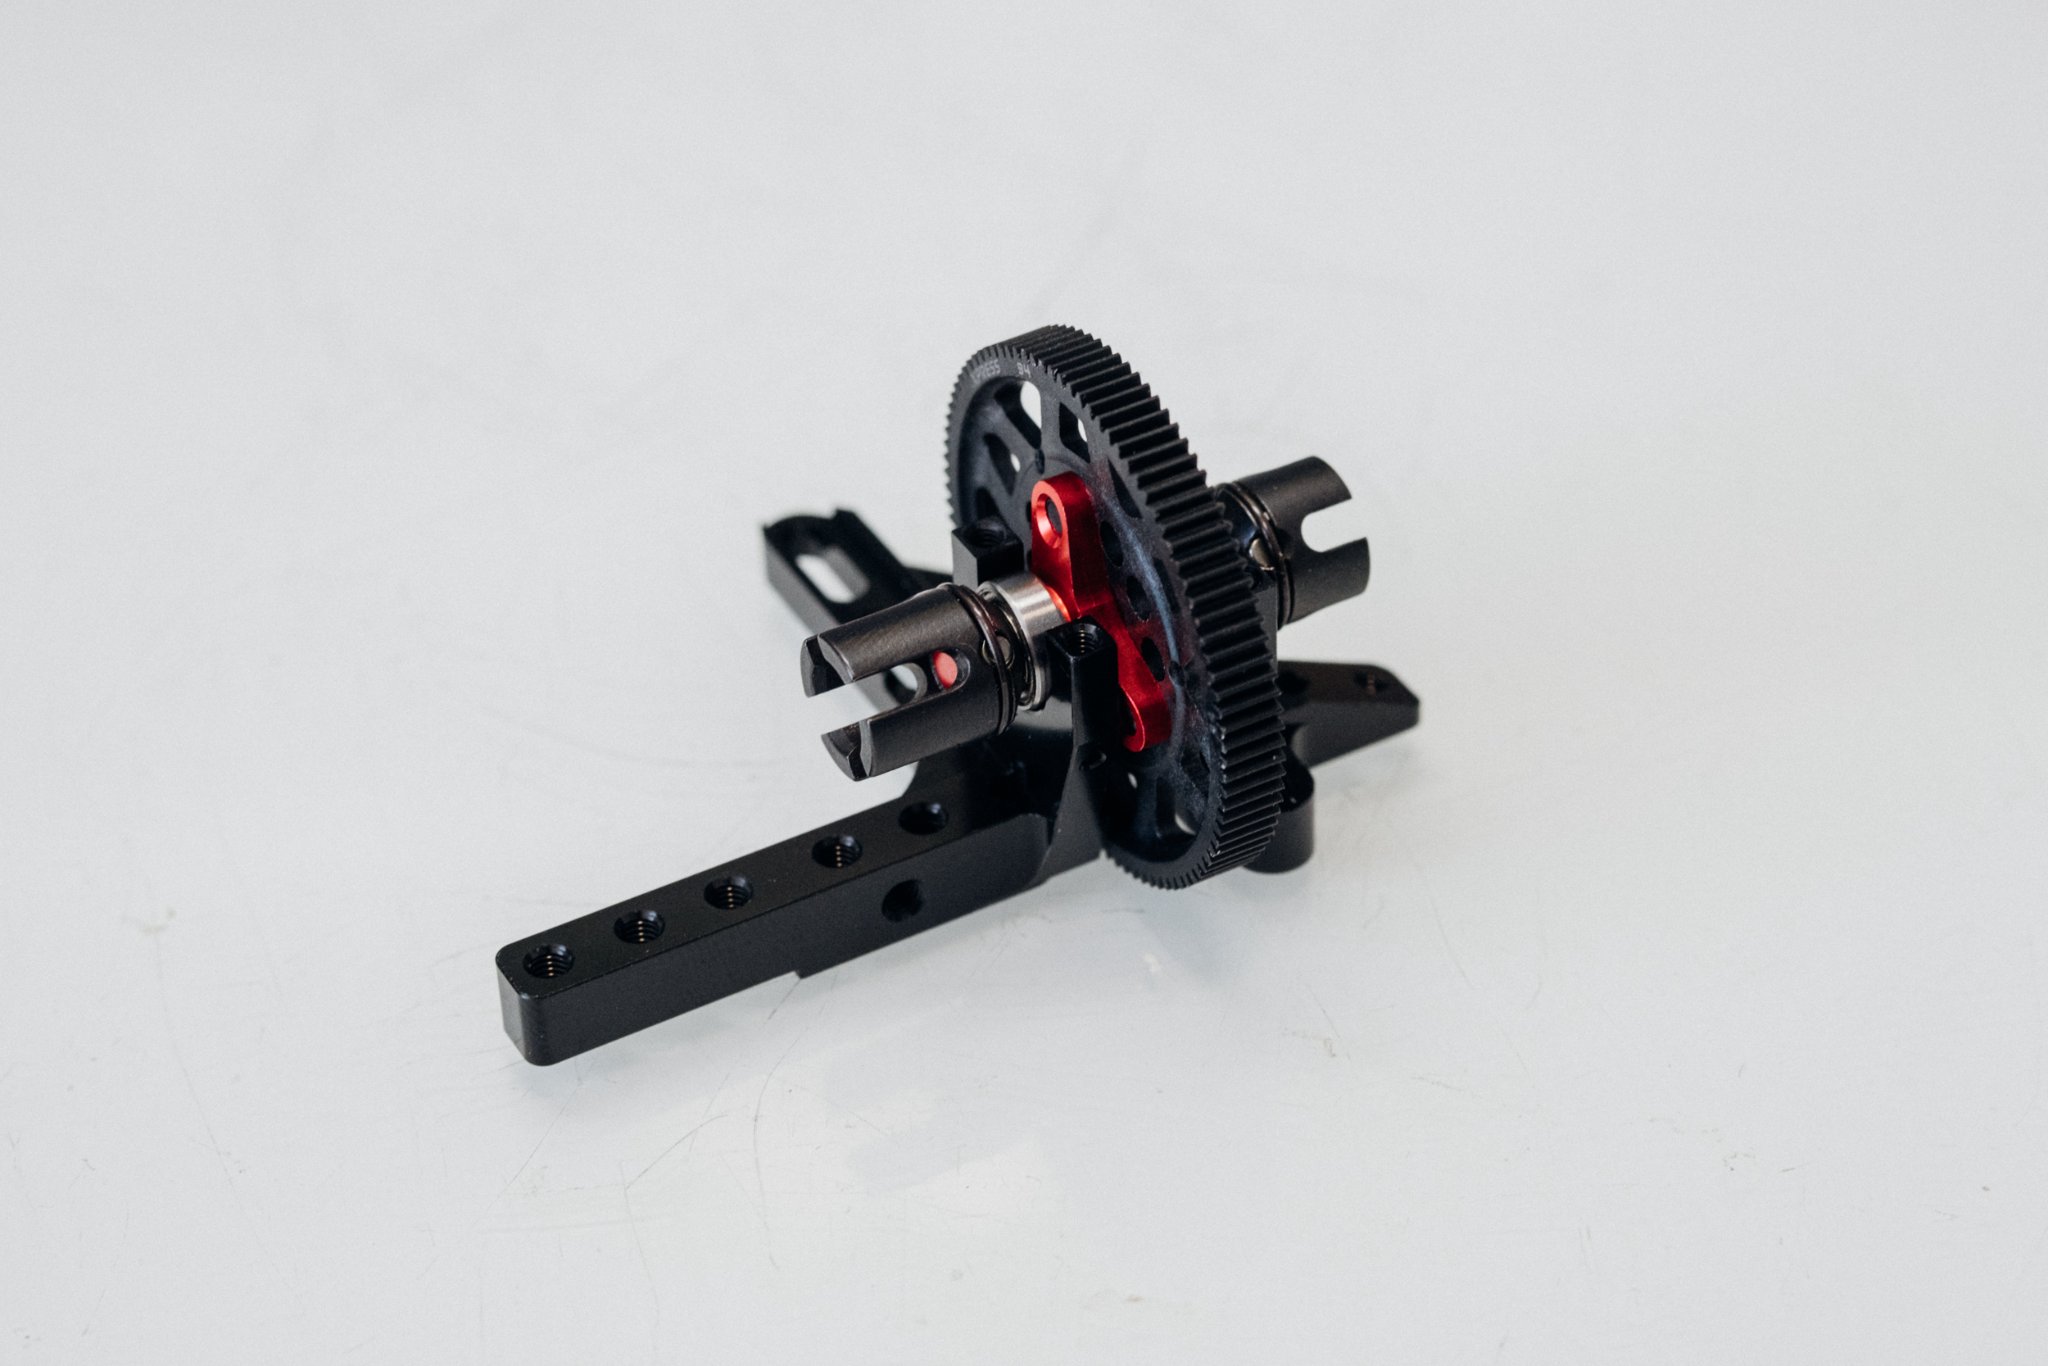
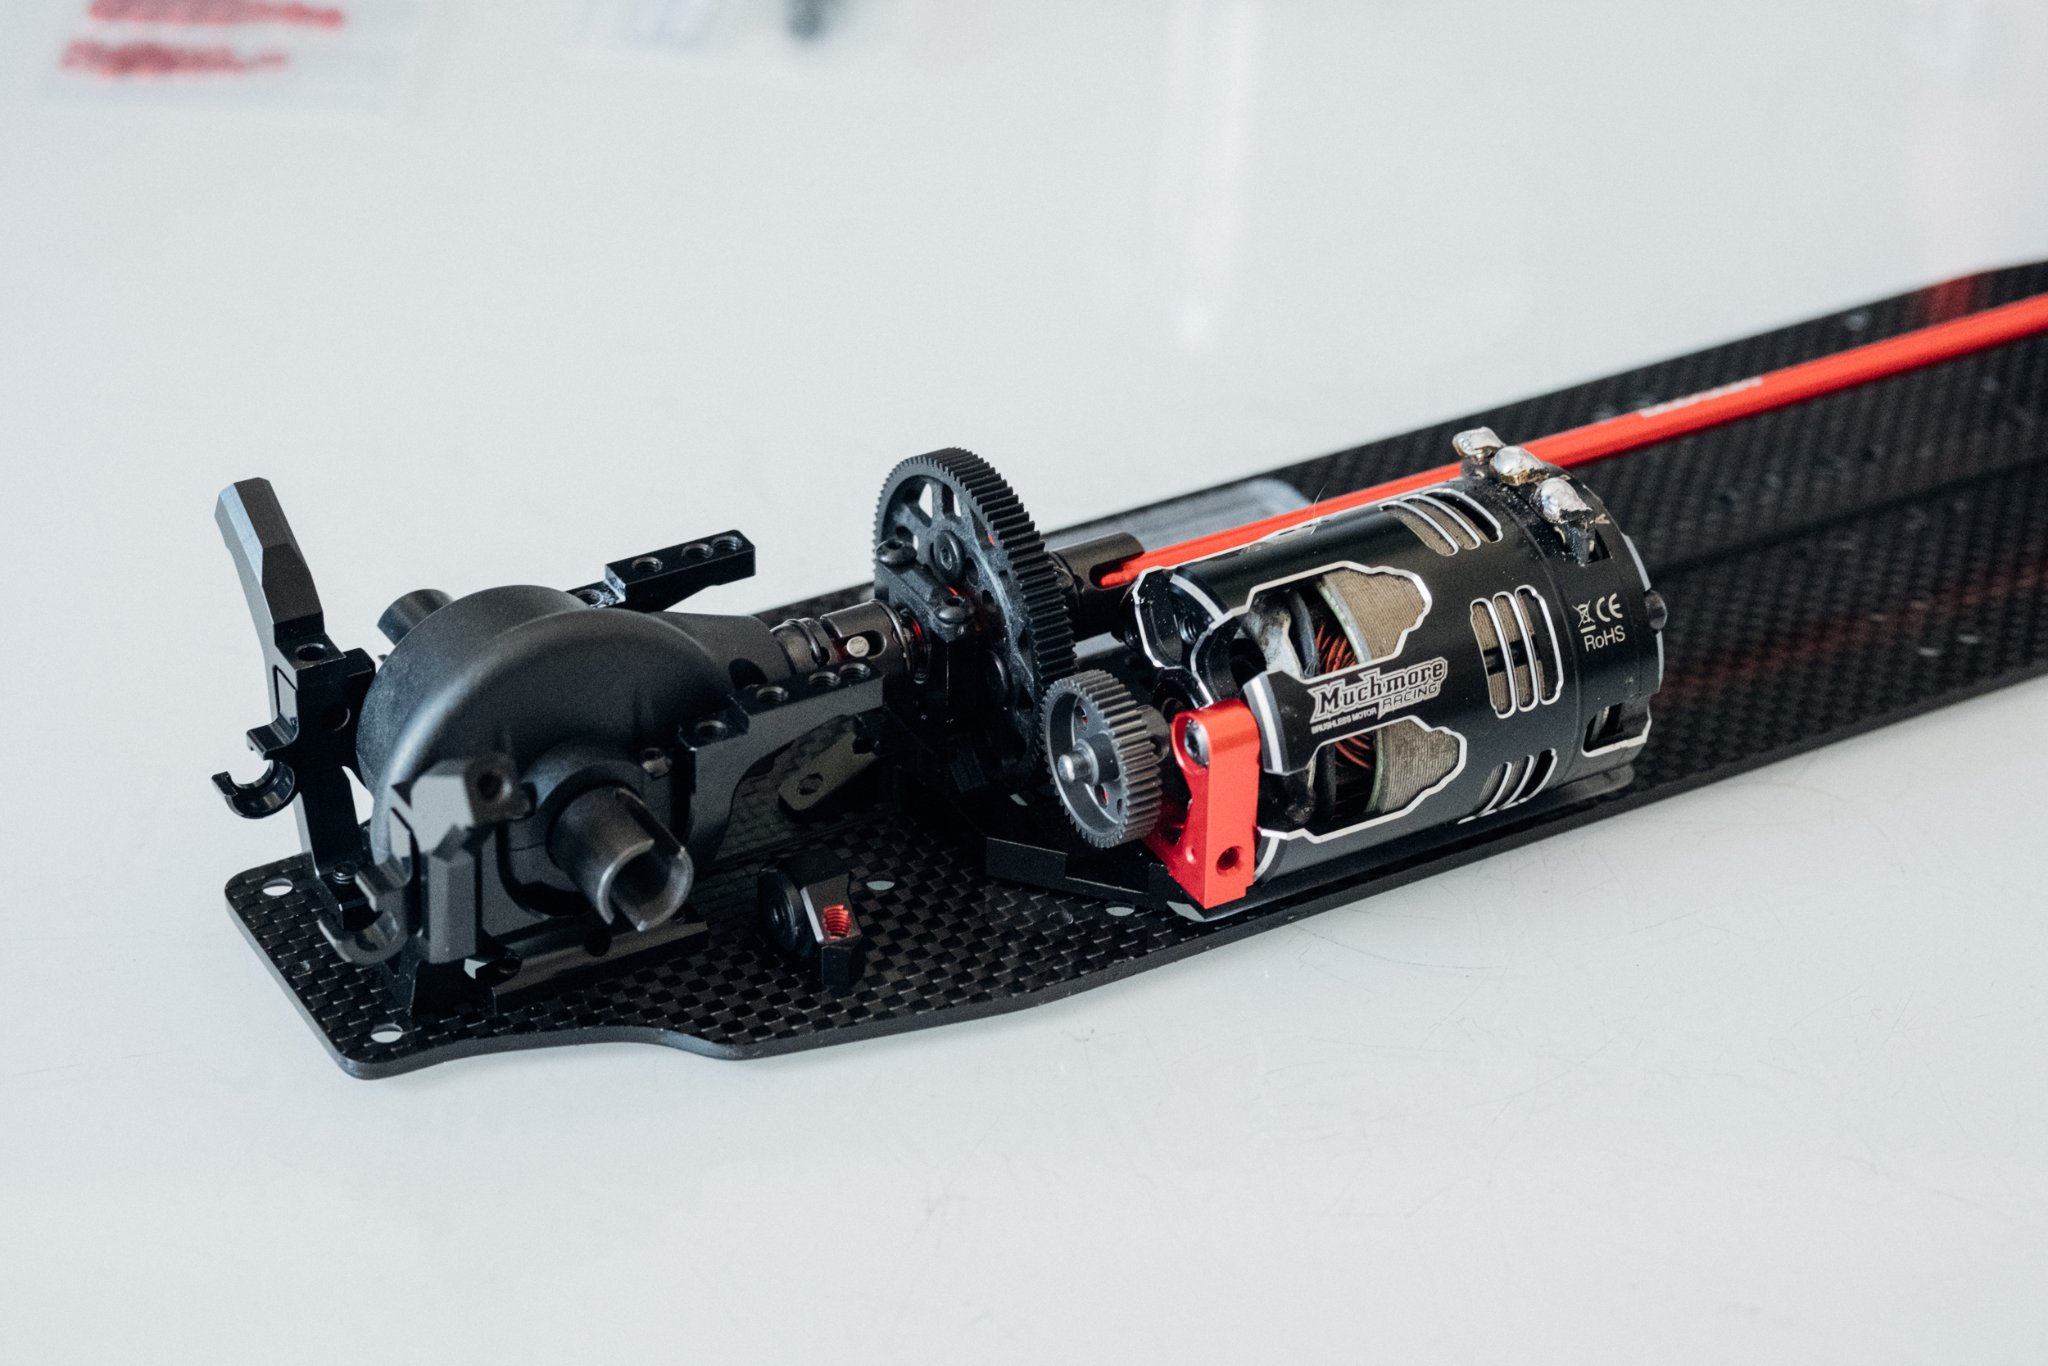
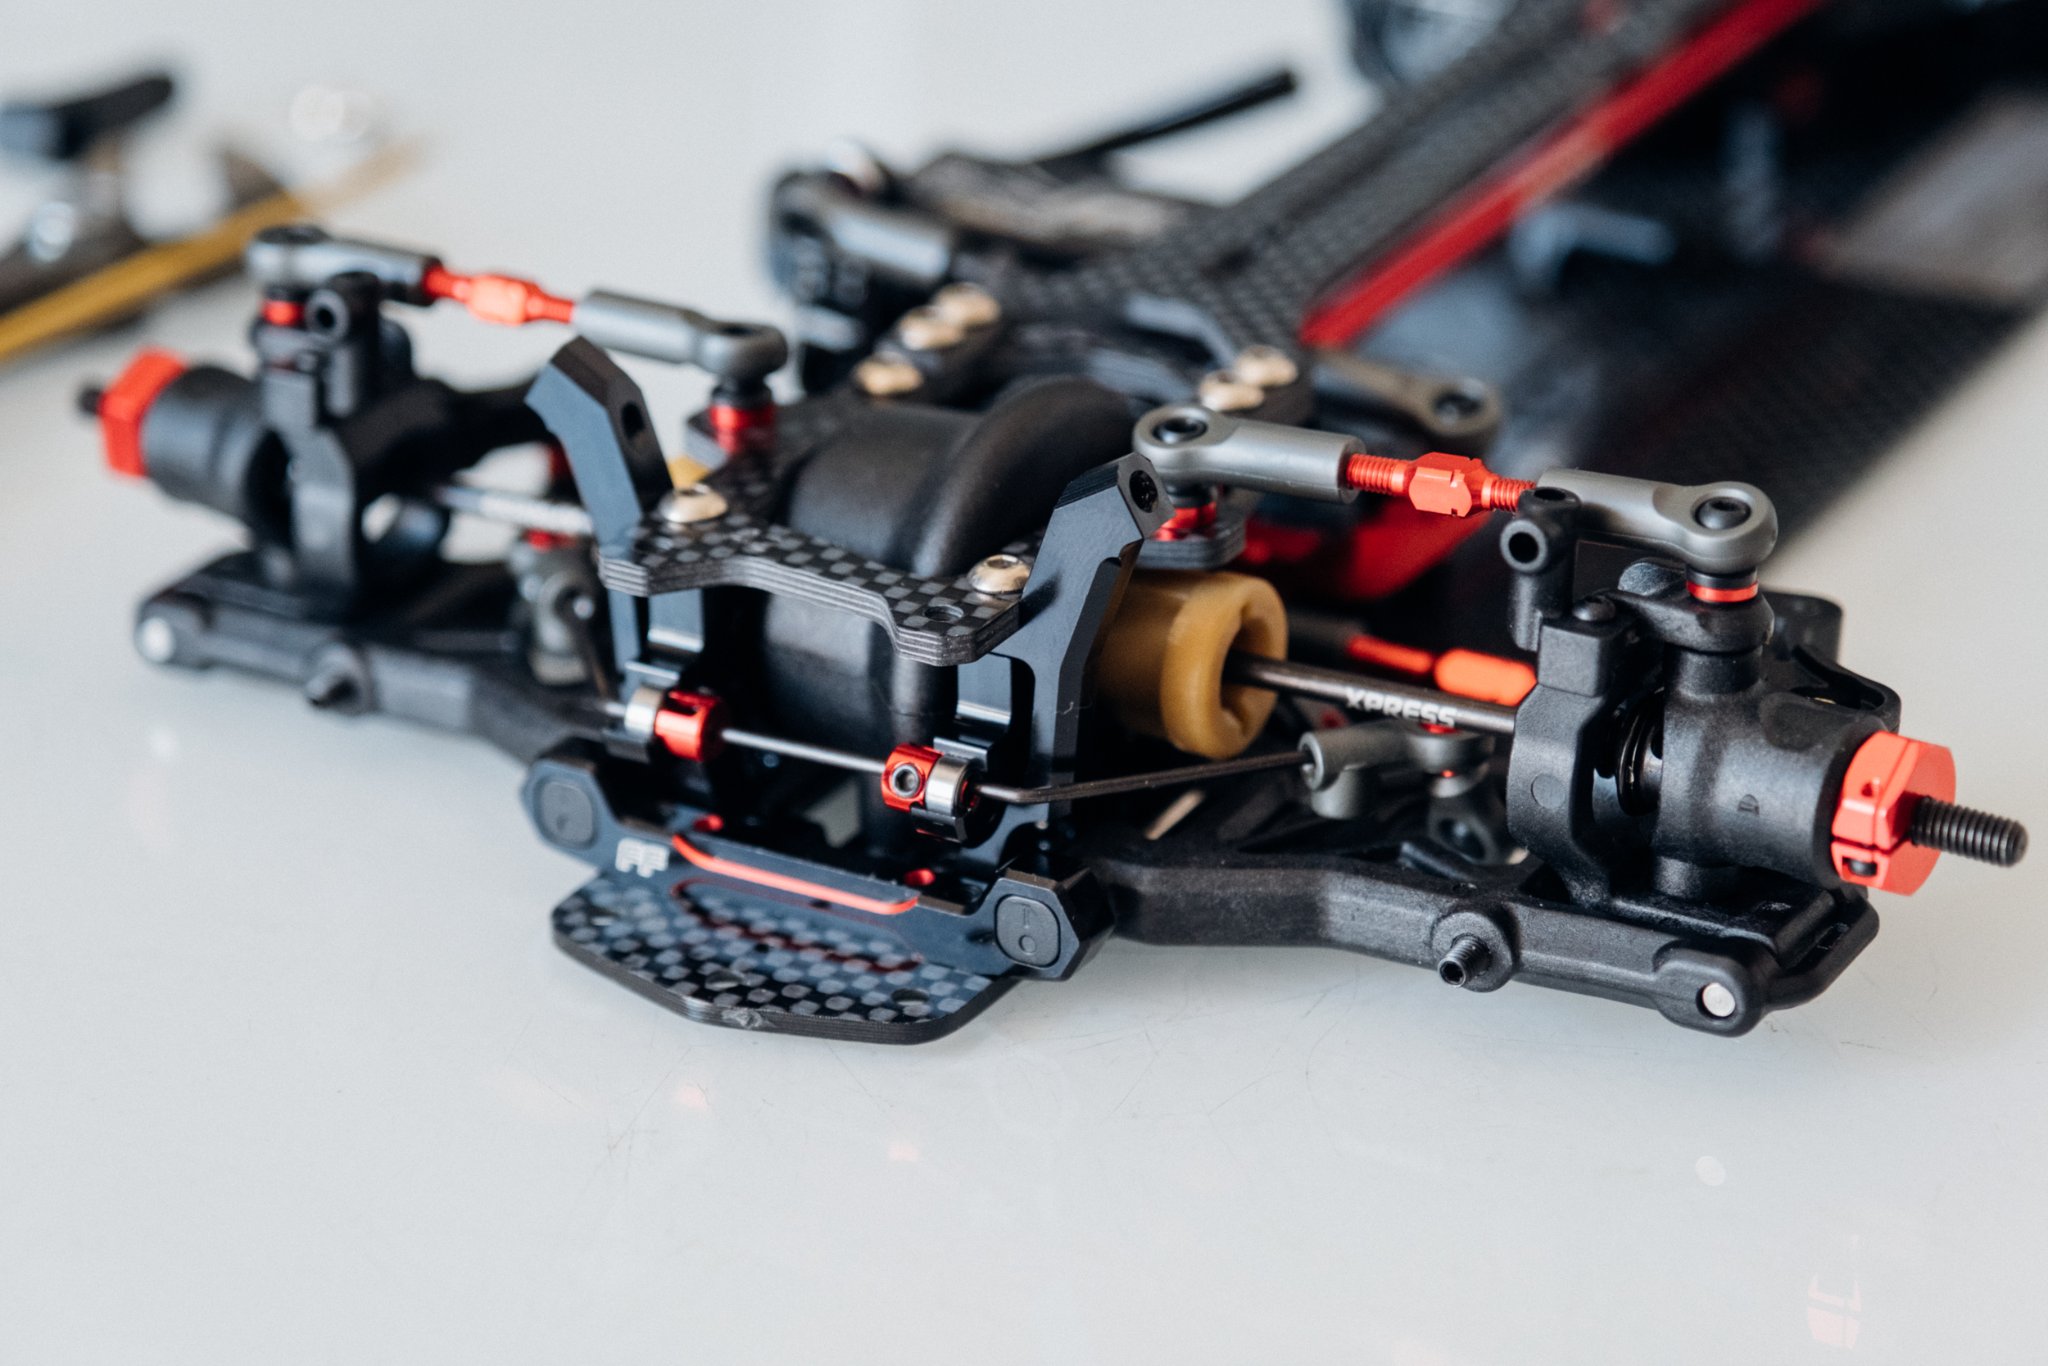
The rest of the decoupled drive train was also easy to build. Only via the combined motor and center shaft mount is the center drive train bolted to the chassis plate. The rest is floatingly integrated into the chassis, which is particularly visible on the front axle.
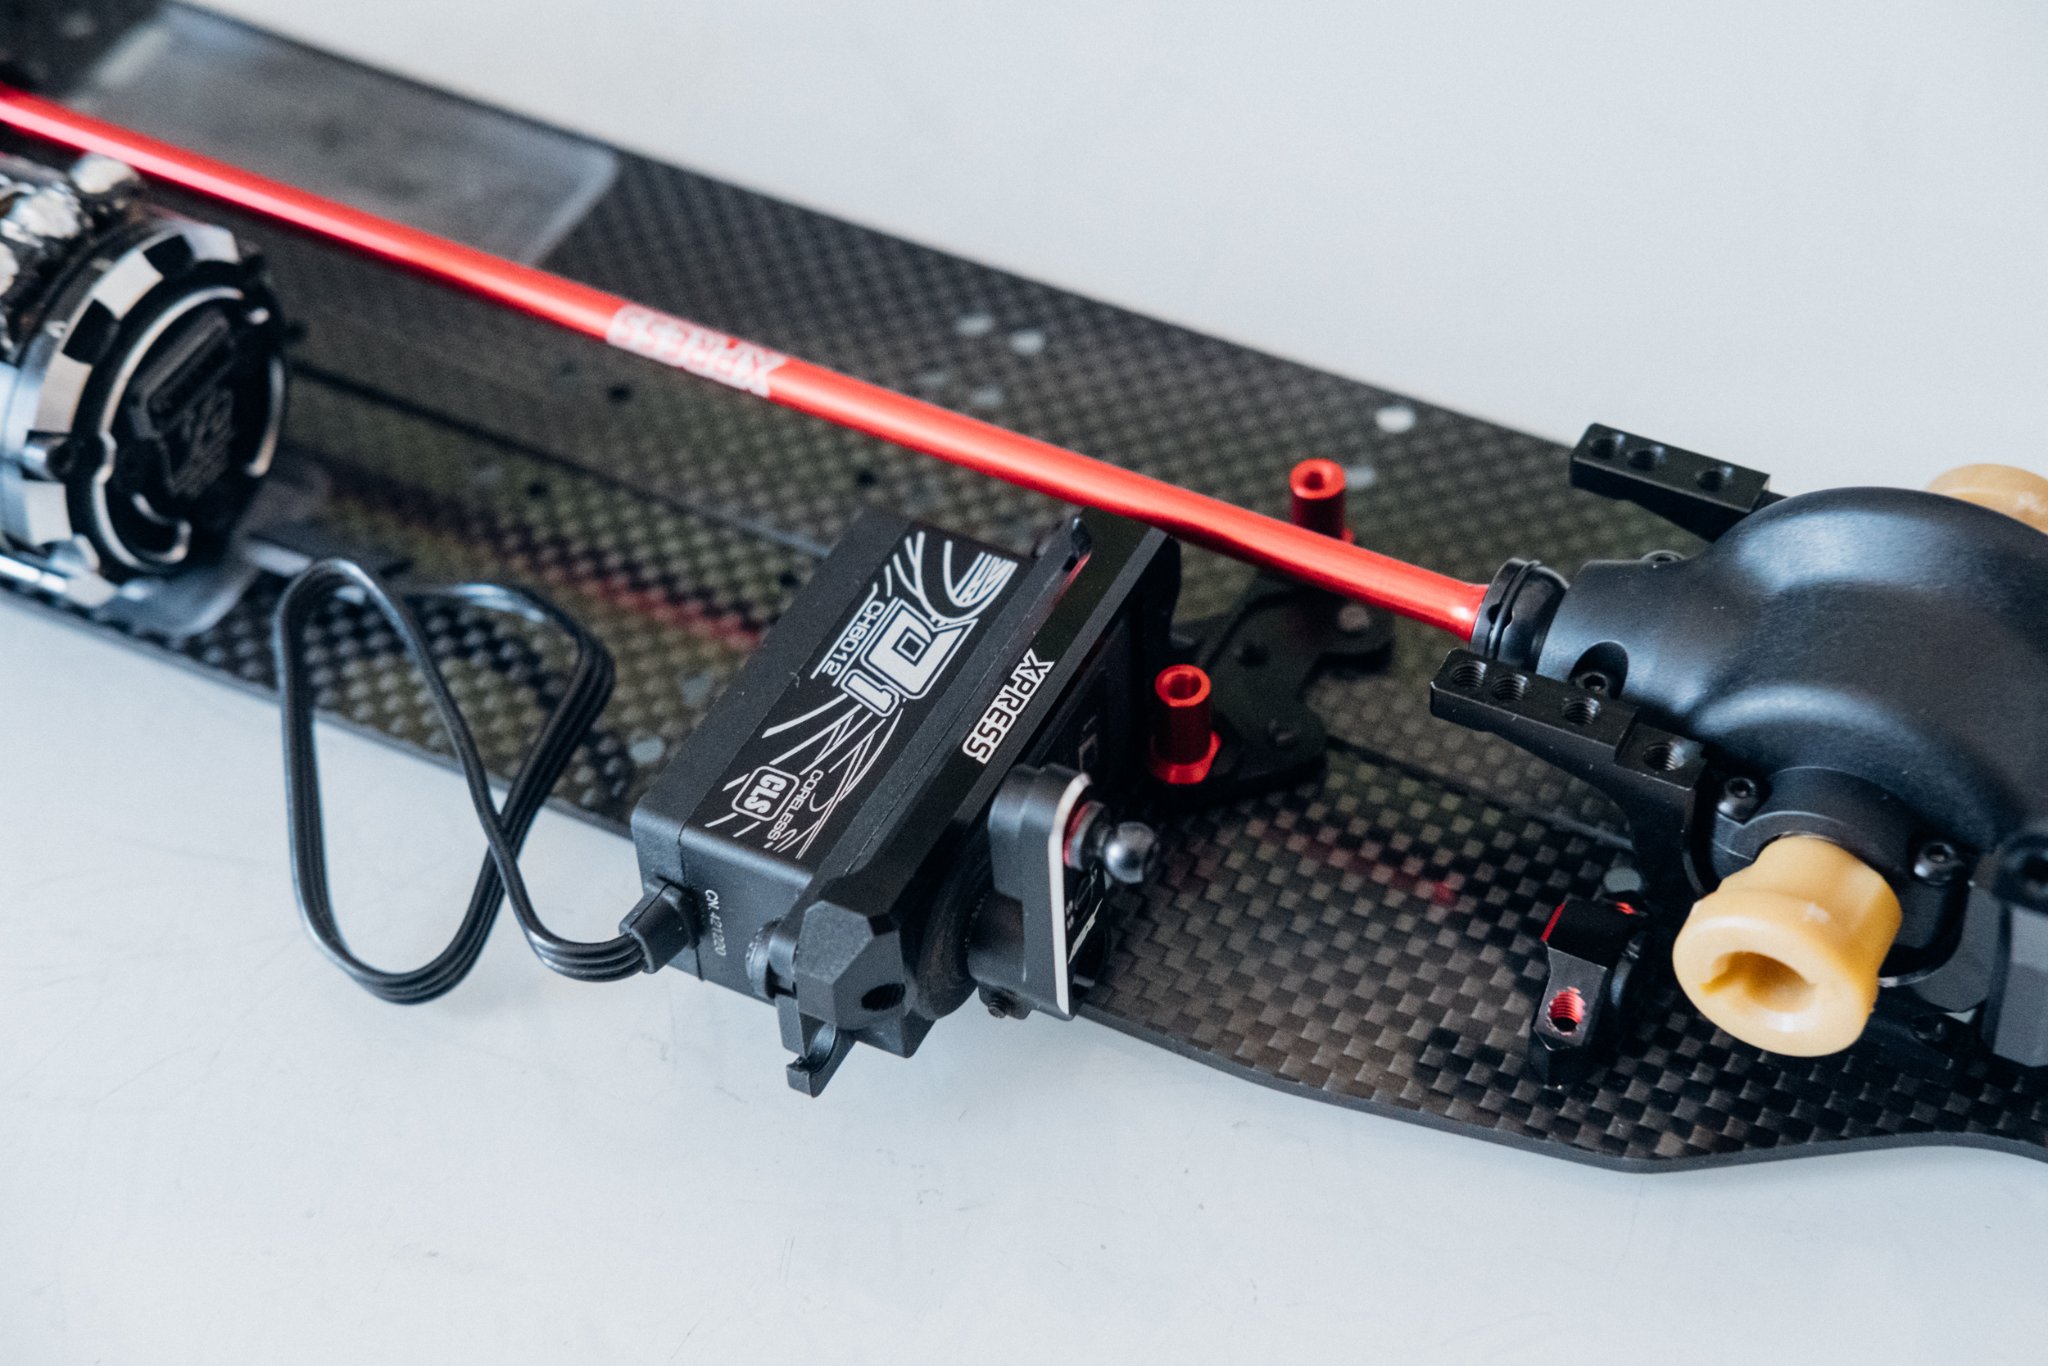
An equally new and interesting design is the servo mount with integrated holder for the two steering posts. Here, the floating front drivetrain can be fixed by means of bolts. Directly from the factory, different plates can be used for the Ackermann adjustment. The kit comes with the 8,0mm plate. 8.5 and 9.0mm are optionally available.
Xpress also took a new approach to mounting the stabilizers. Instead of being mounted above the drive shafts as before, they are now suspended lower and run between the wishbones and drive shafts at both the front and rear. Now standard on touring cars, installation is somewhat fiddly. The design on the front axle also explains the cutouts that the front control arms have received in the V2 variant. Otherwise the front Stabilizer could not be screwed together.
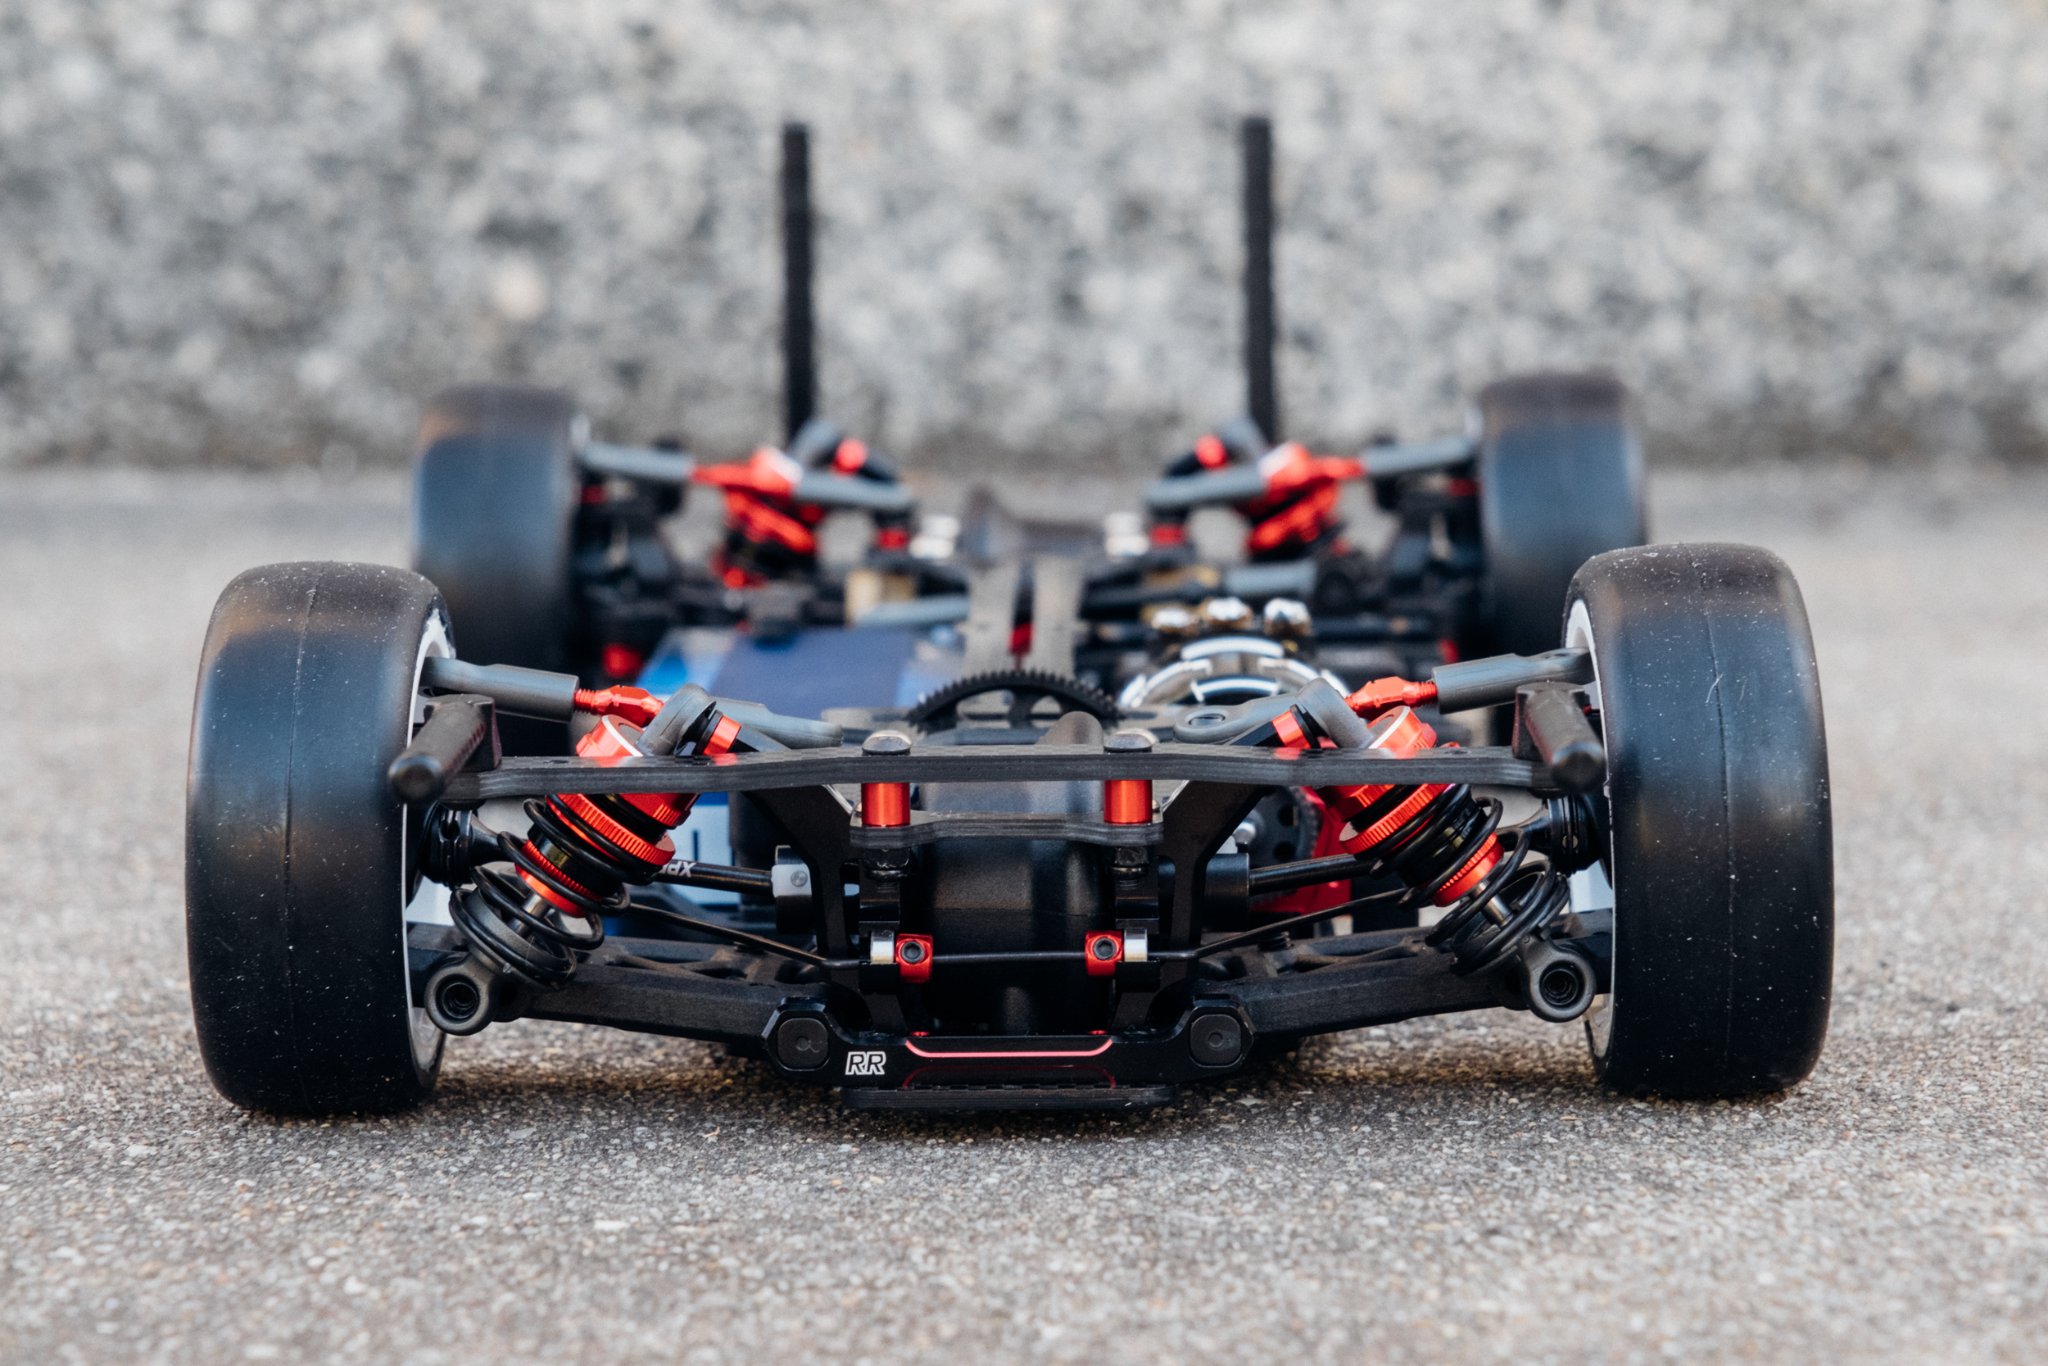
Also new and interesting is the mounting of the shock mounts, which are bolted to the bulkheads over the CFRP plates to which the upper control arms are attached. An option for more flex as with the LCG conversion kit of the XQ10 is unfortunately not possible here due to the design. The design with the CFRP plates also requires that the ball heads of the upper control arms are now bolted from below with an M3x8 bolt. A quick change of the washers is not possible here. Generally, a lot of work is done with washers and plates. This continues at the bridge of the rear body mounts. Thick washers also find their place here to lift the bridge accordingly.

The tool-free battery holder is already known as an option of the other Xpress chassis and was kept that way.
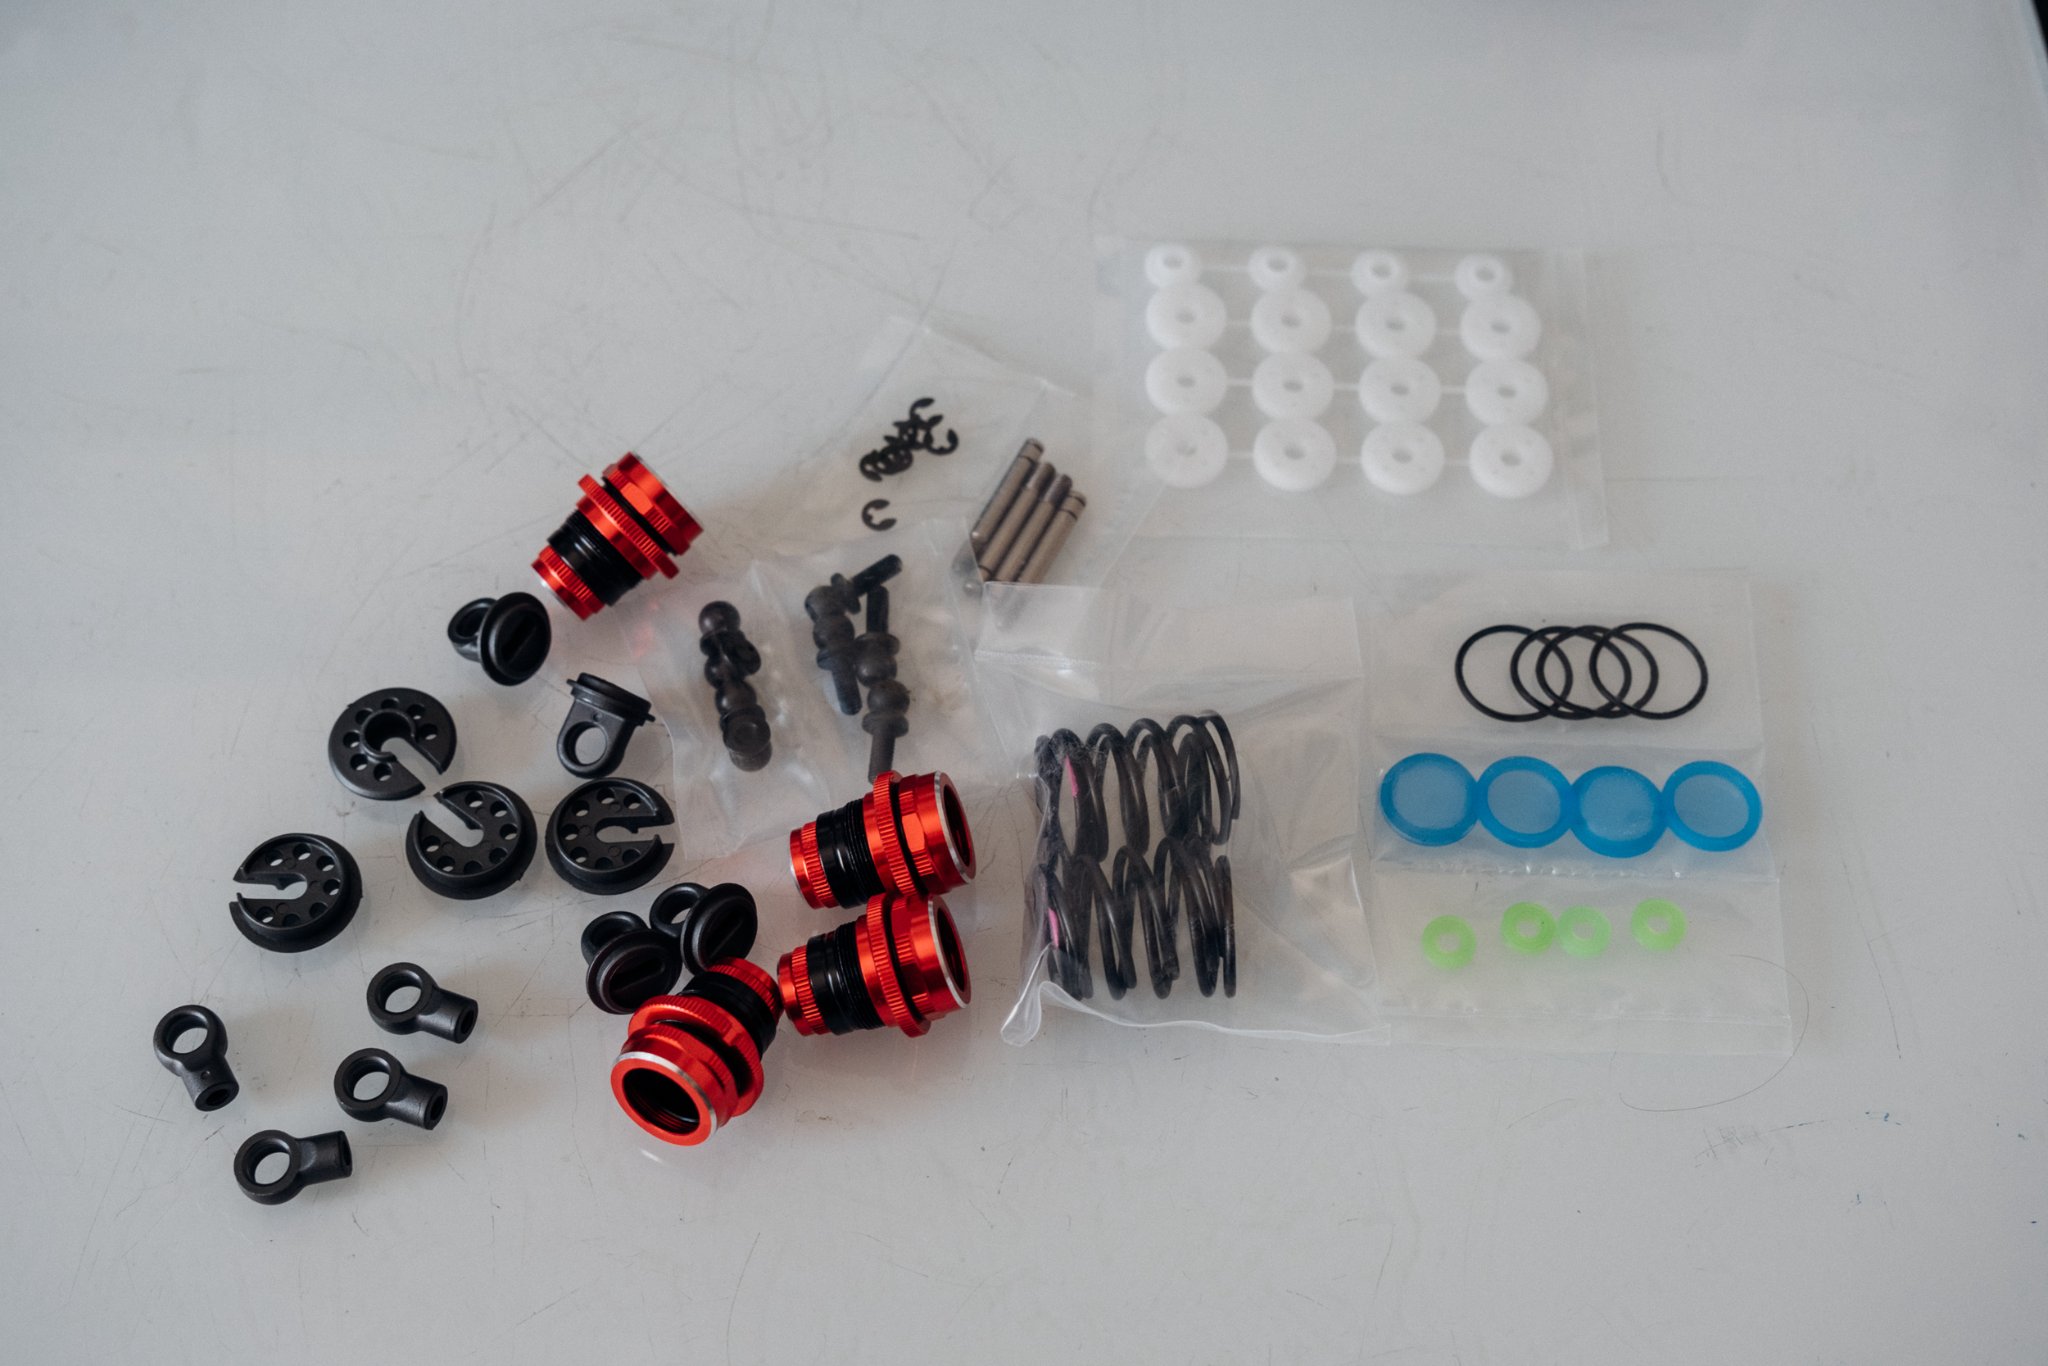
For the AT1, the Long Travel Shocks are included directly in the kit. On asphalt and undulating tracks definitely an improvement over the standard version. There were no issues when building the shocks. They are leak-proof after the first build and will hopefully stay that way.
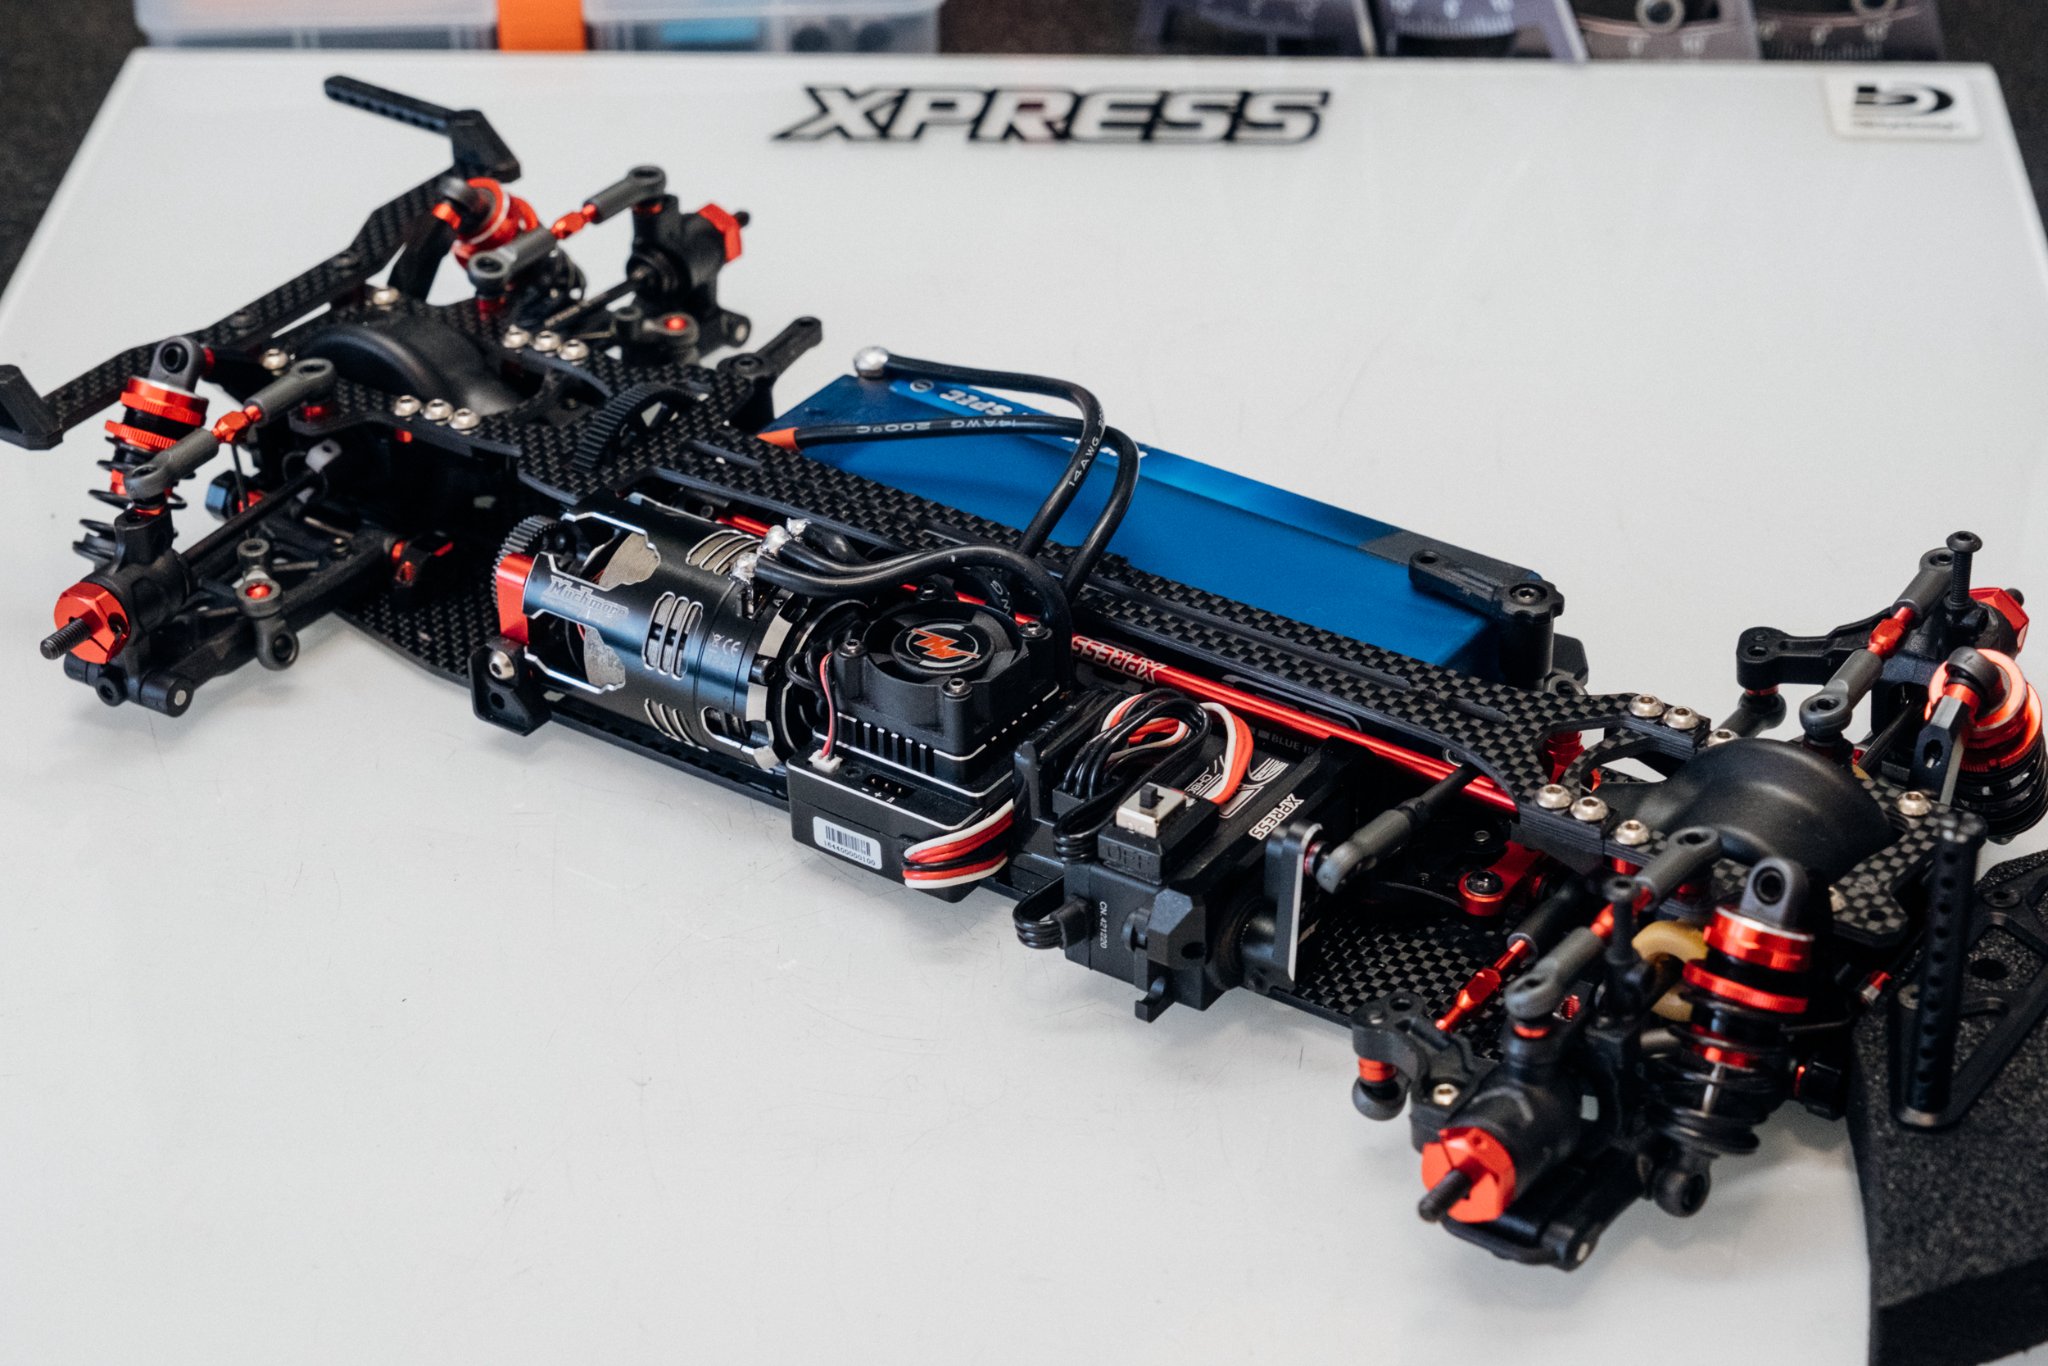
As electronics for the first rollout was installed what the shelf has given. A servo from SRT with outstanding price-performance ratio, a Hobbywing Justock G3 controller, which brings everything necessary for the stock classes and a Muchmore Fleta 17.5T motor. Transmission was 5.02:1 with a 44 tooth pinion on the 94T main gear.
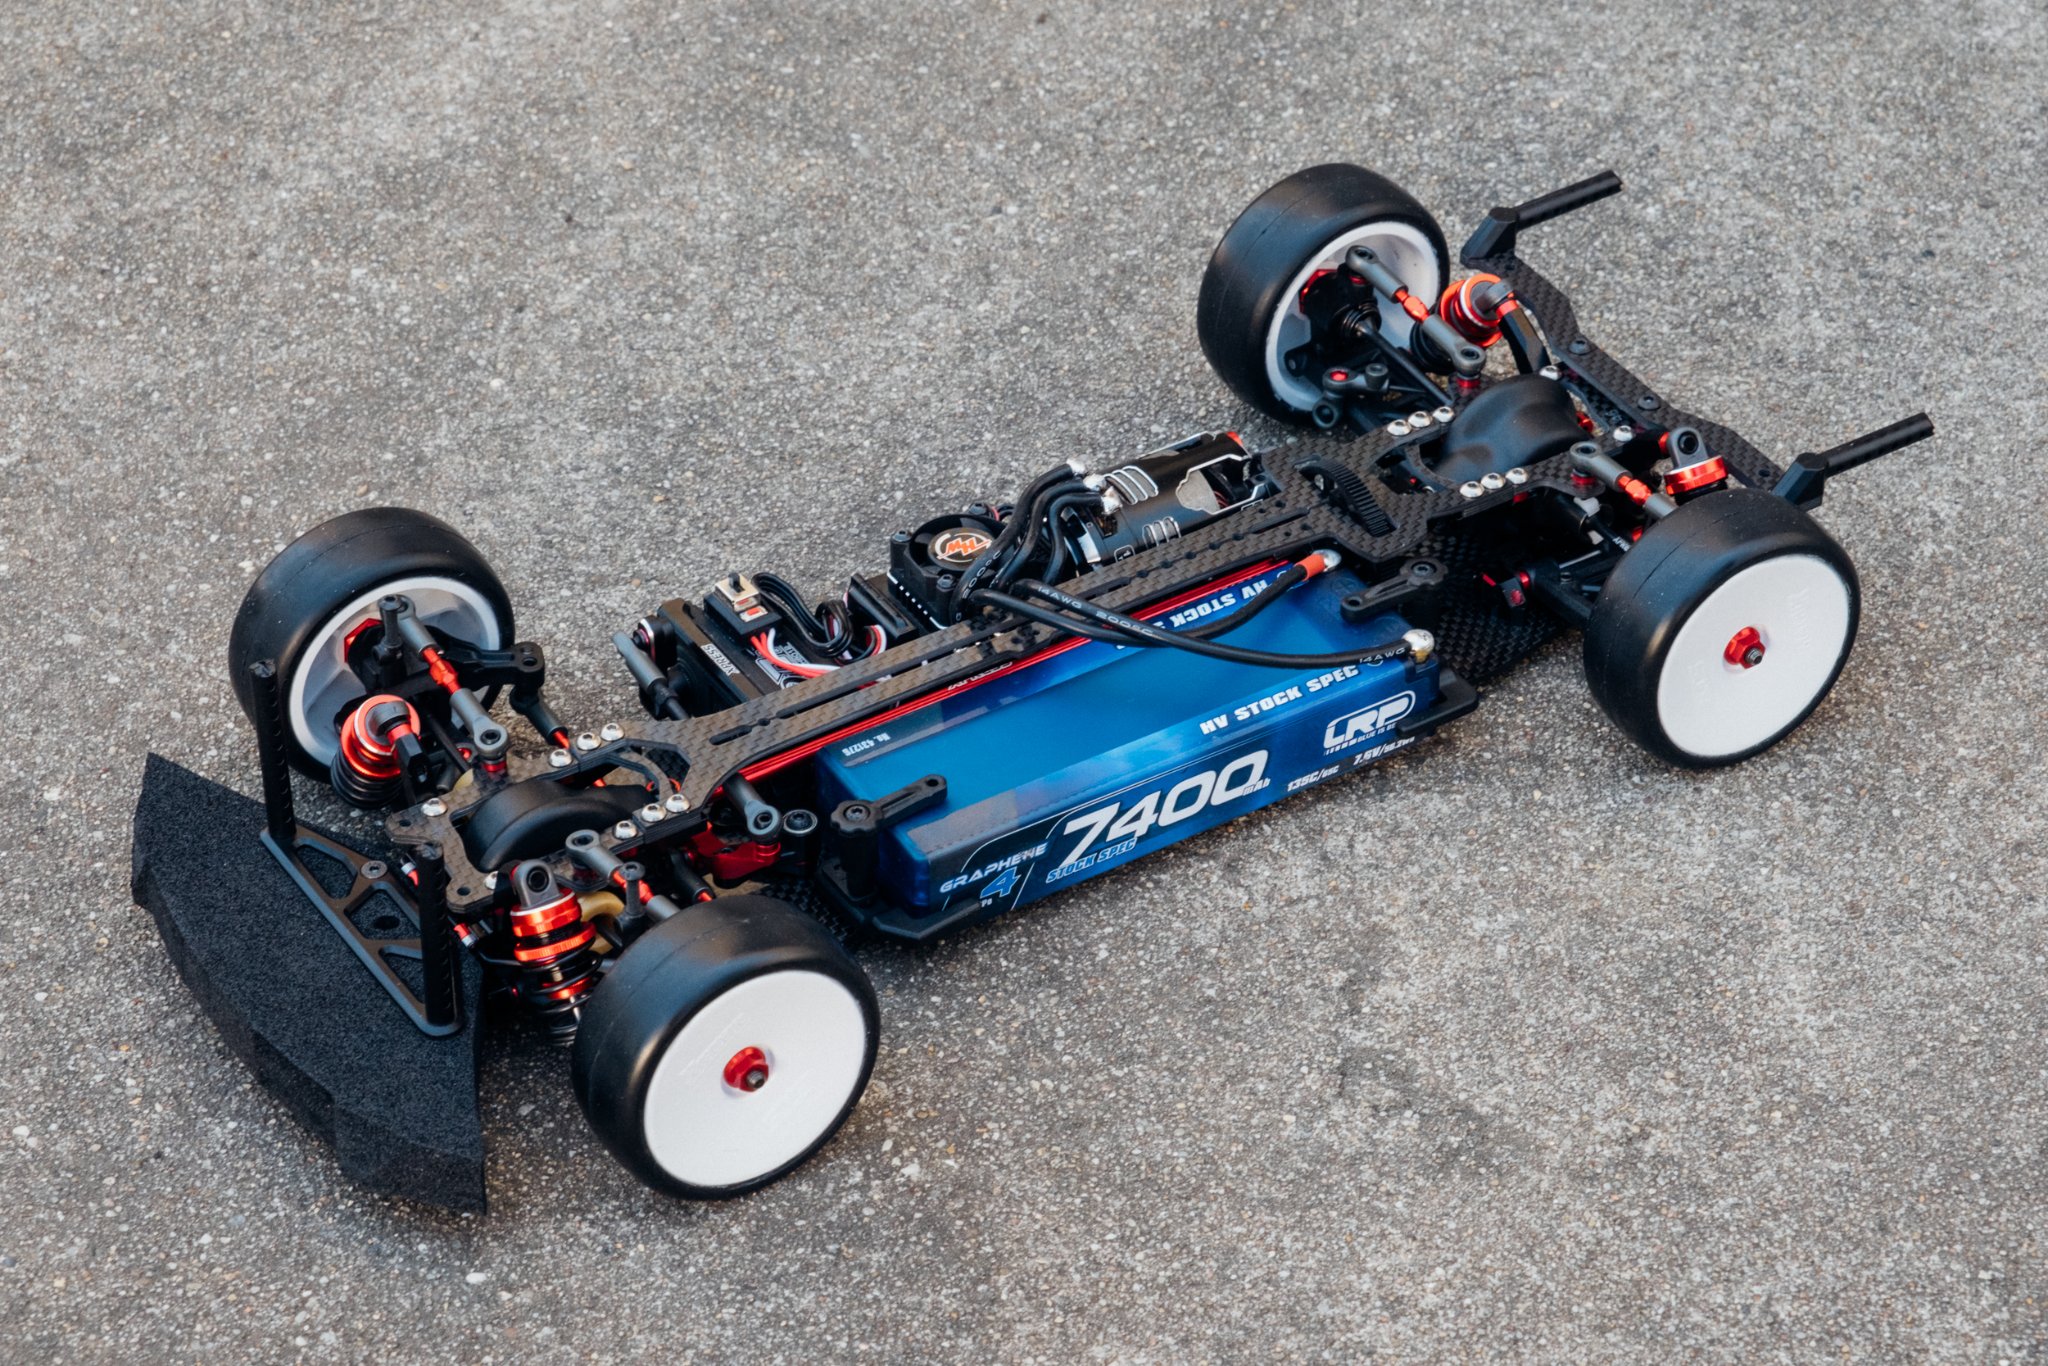
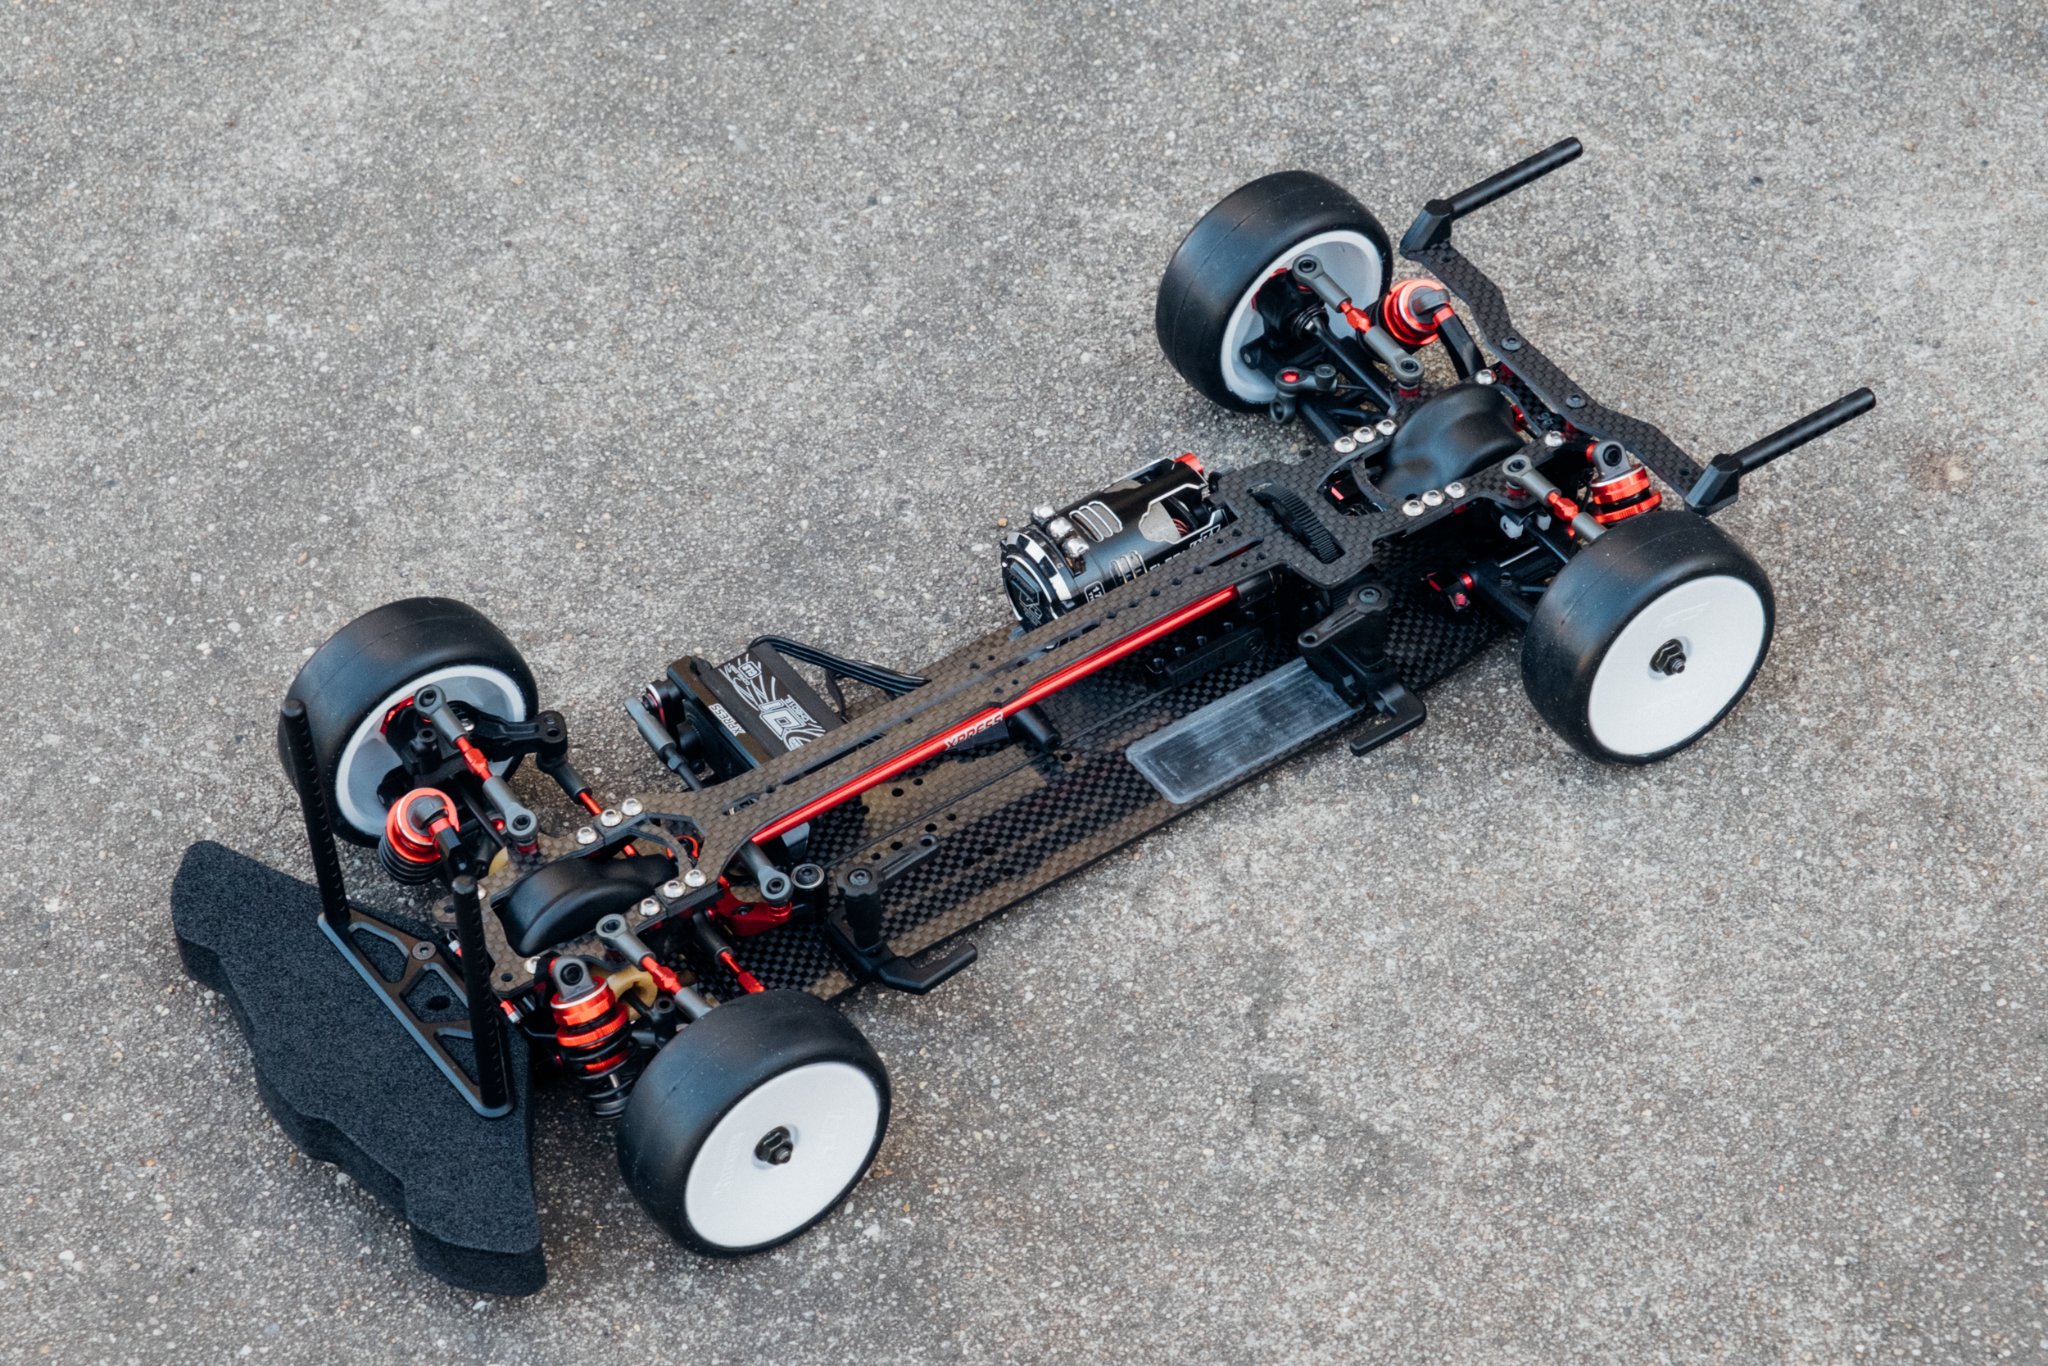
At the end of the pleasant building process, an insanely beautiful looking car stands on the worktable, which weighs 1322g ready to drive in the mentioned configuration with LRP 7400mAh battery and Zooracing Wolverine Lightweight. The titanium screws and aluminum threaded rods add only a few grams.
If you like great technology and cardan drive, you should definitely take a closer look at the AT1. Visually it´s definitely the most beautiful chassis of Xpress so far and also in terms of driving dynamics it will be certainly very good.
The first driving test under good conditions will take place next weekend at the RCK Challenge in Greuthof. Here the AT1 will be driven in the GT class with 17.5T RCK motor and 5.0:1 gear ratio and certainly does not have to hide behind the competition.
|
