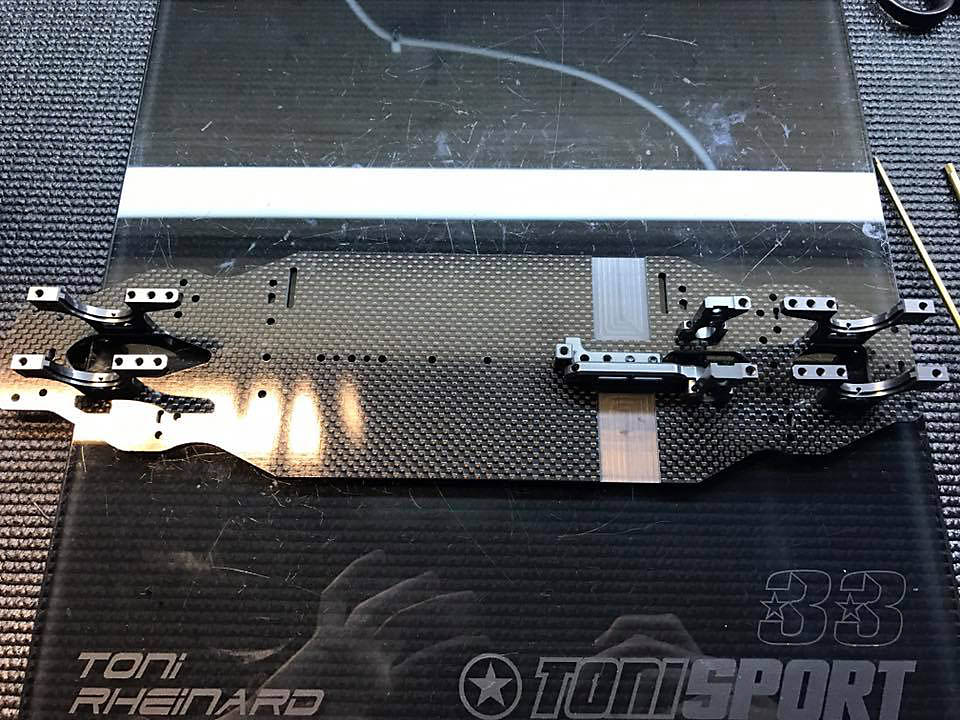
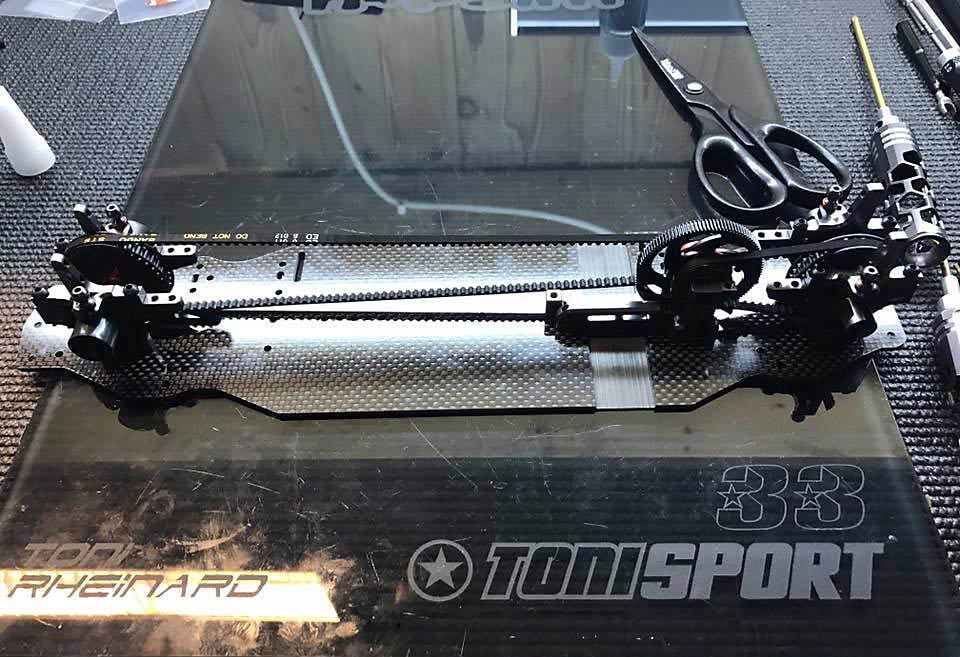
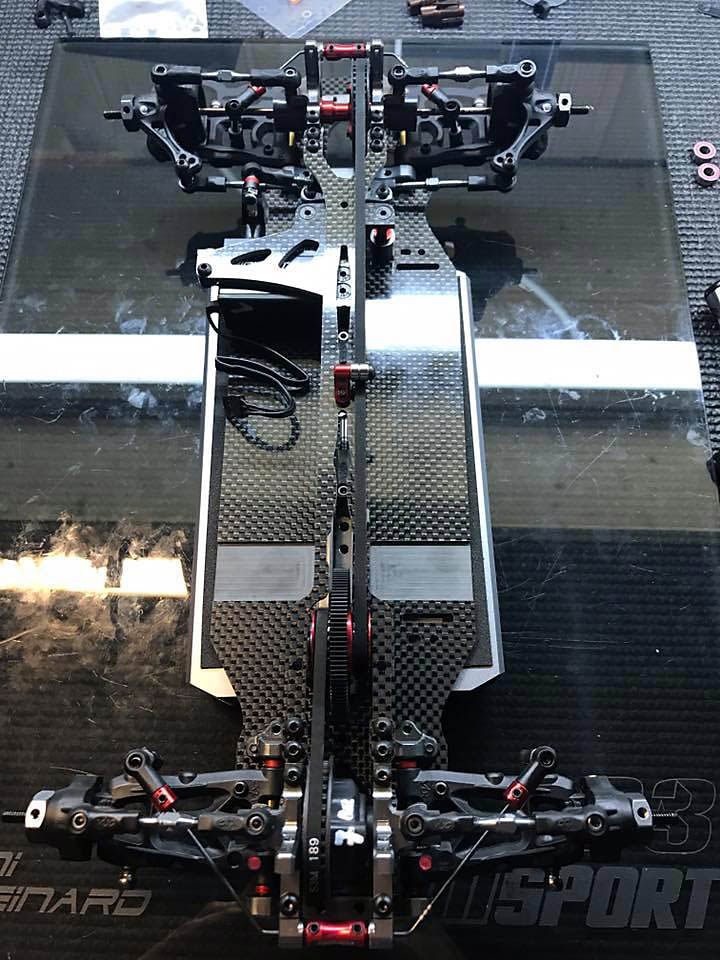
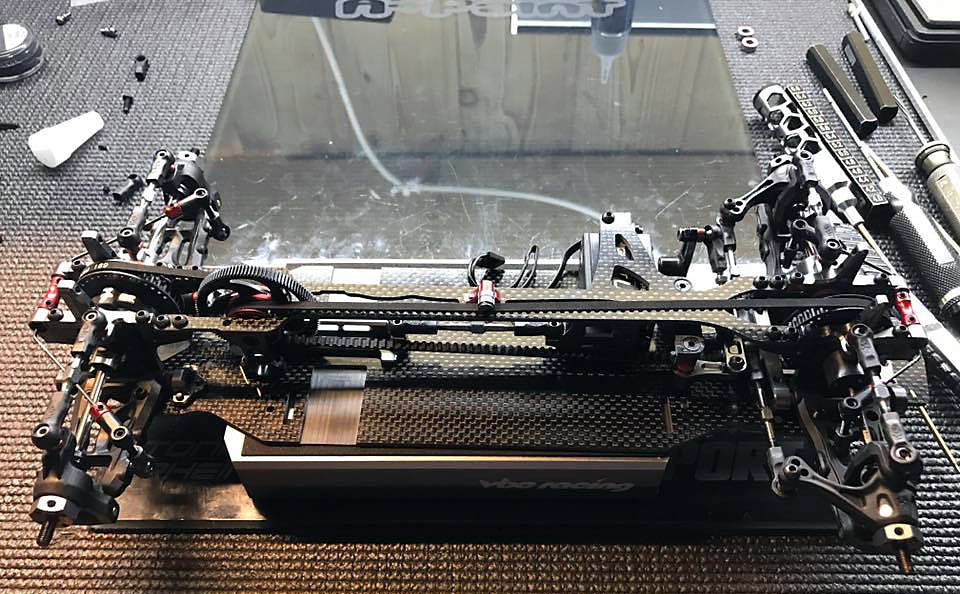
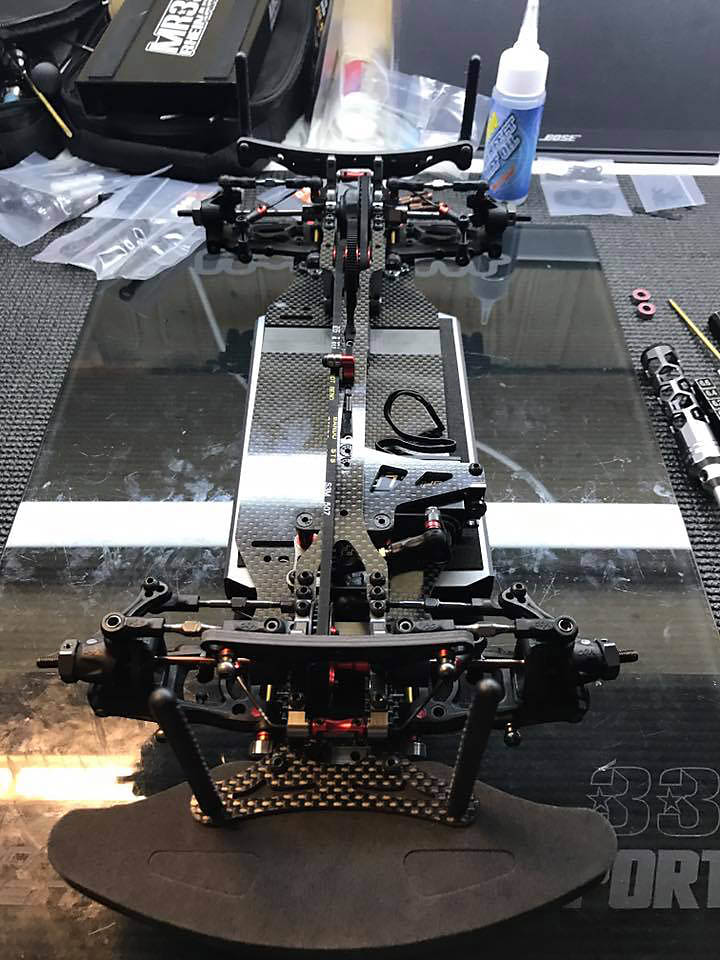
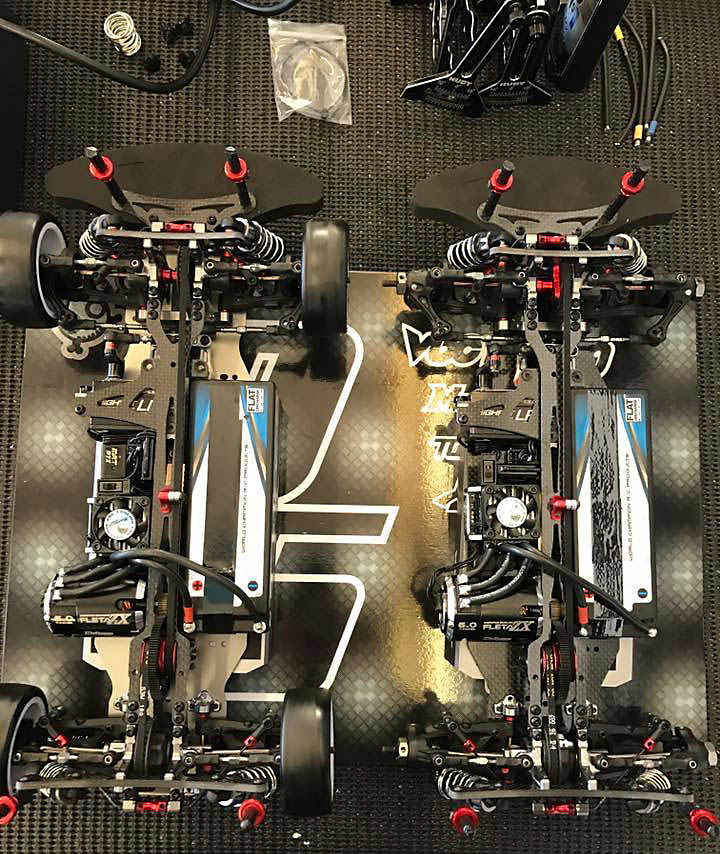
STEP #1 Chassis and aluminium parts
first I fix all my aluminium parts on the chassis.
I'm using the two screws in the rear of the motor mount. I felt most comfortable with this combination. I tested the D09 prototype a lot on ETS carpet in Limburg. I think it's a very good setup to start with. |

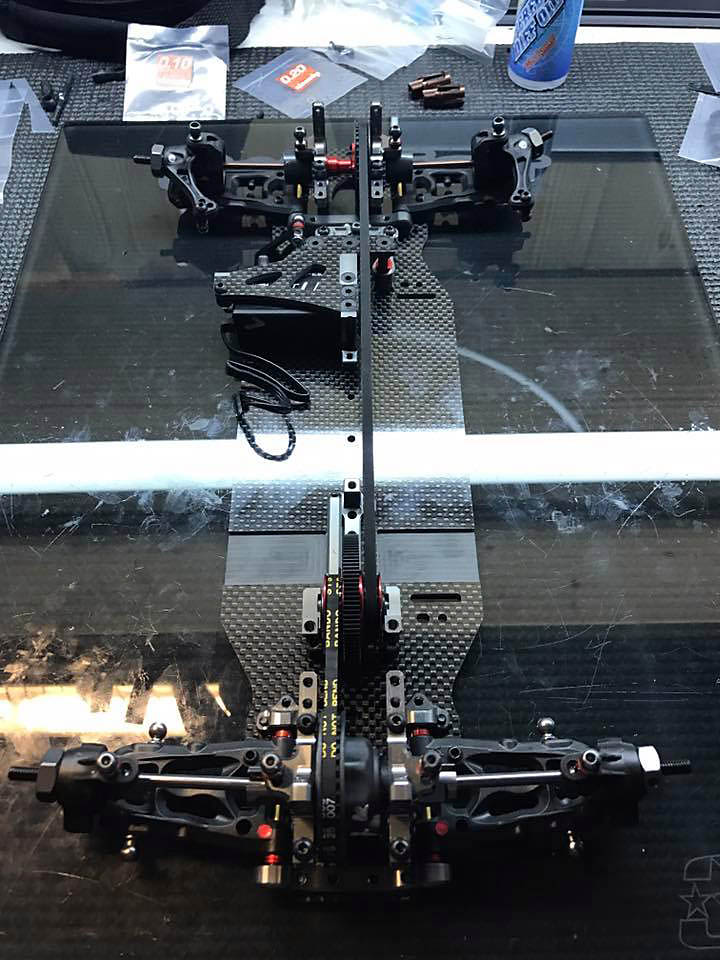
STEP #2 Drive train
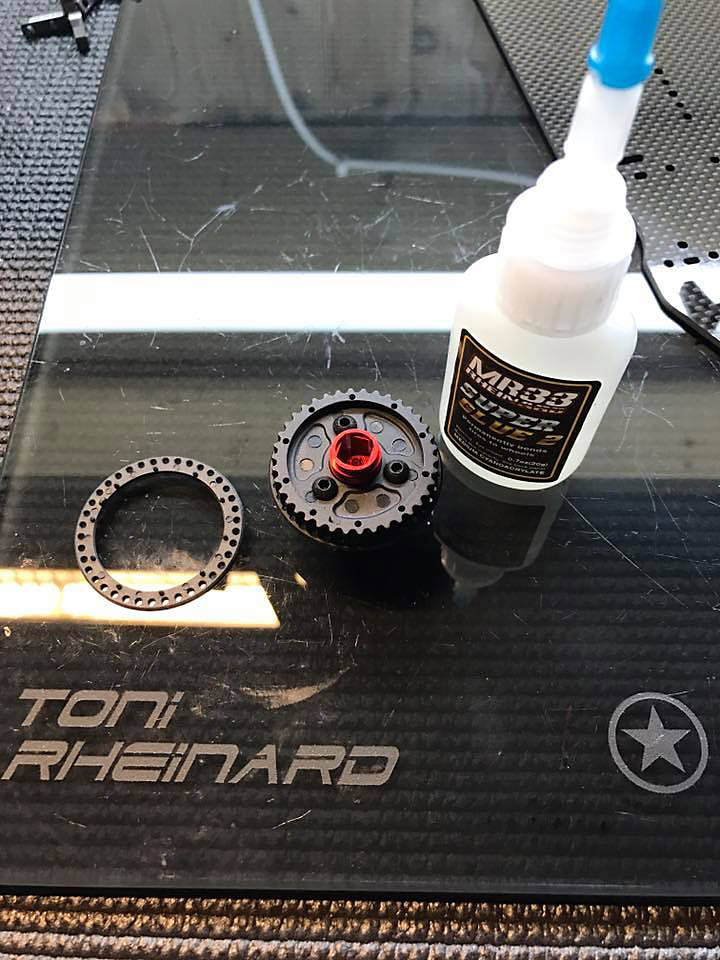
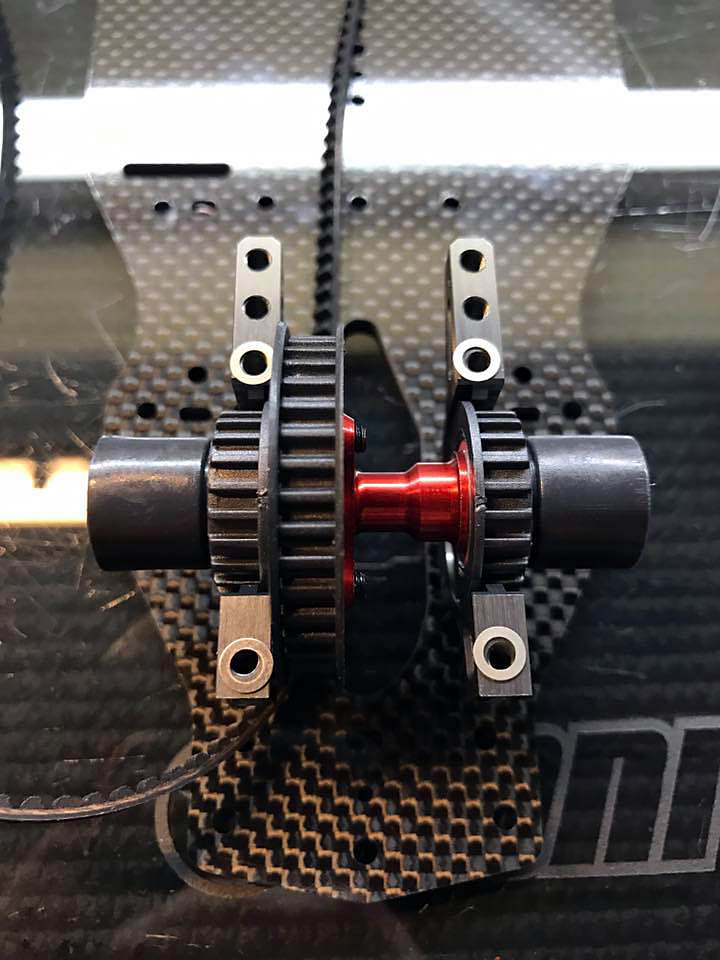
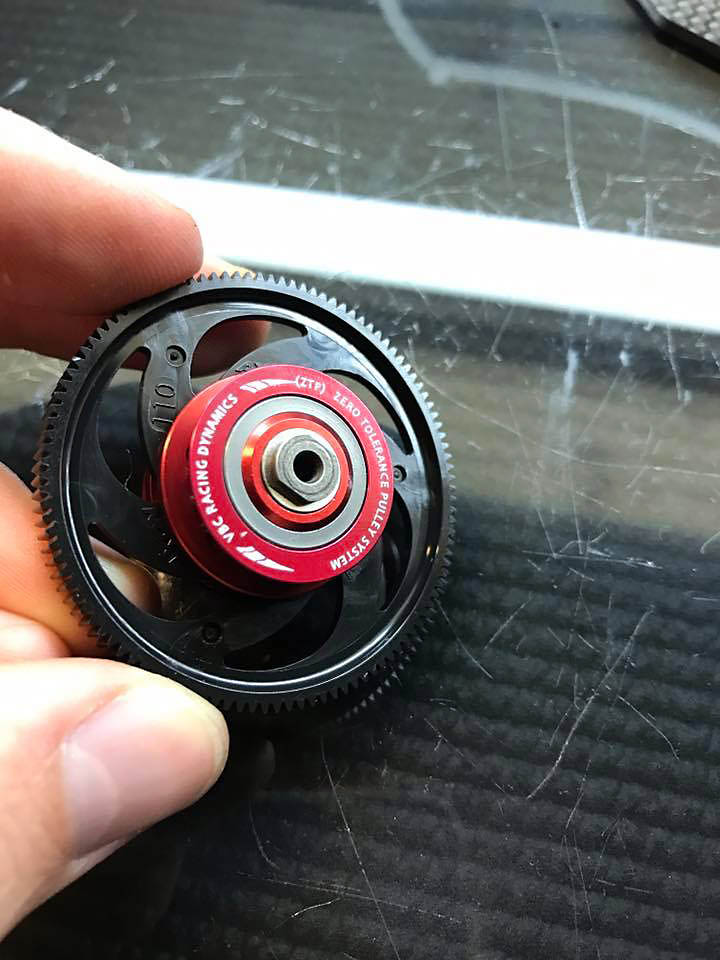
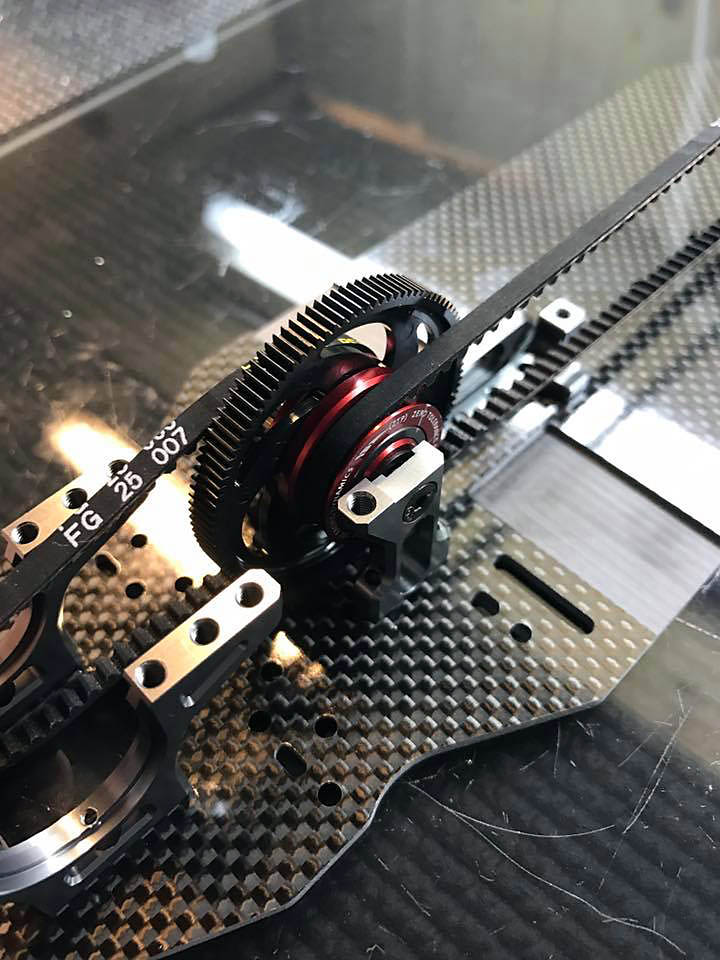
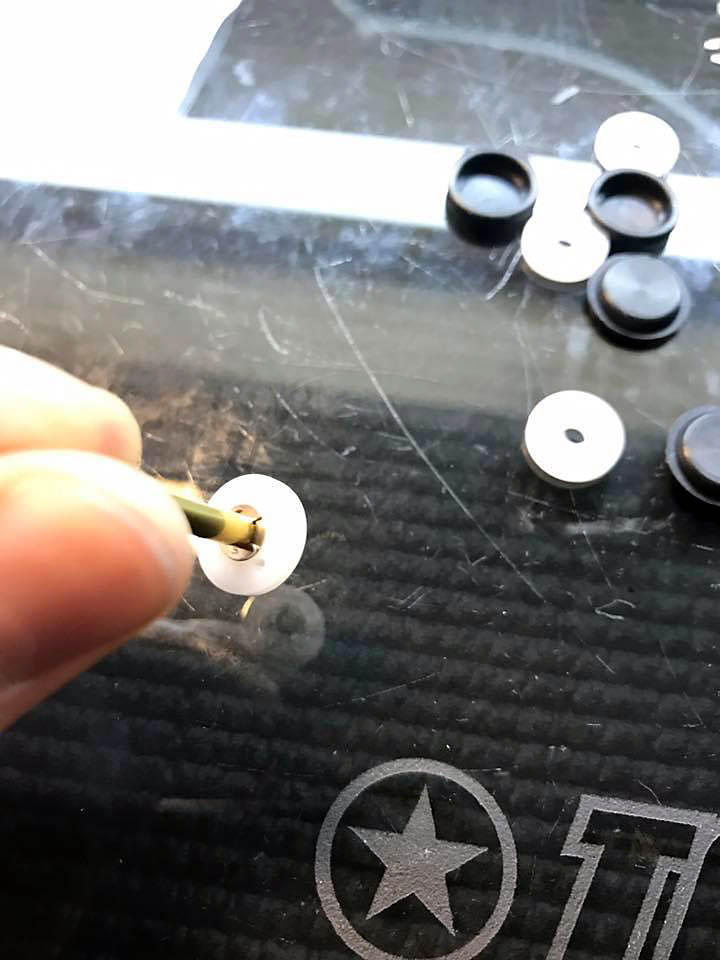
Spool
You need to use a little super glue to glue the plastic disc onto the belt pulley.
After you've done this, fix the outdrives from the spool. I use the plastic outdrives, just because it's lighter weight, that's very important on the drive train. Make sure you put first the bearing and excenter on the spool before you fix the outdrive.
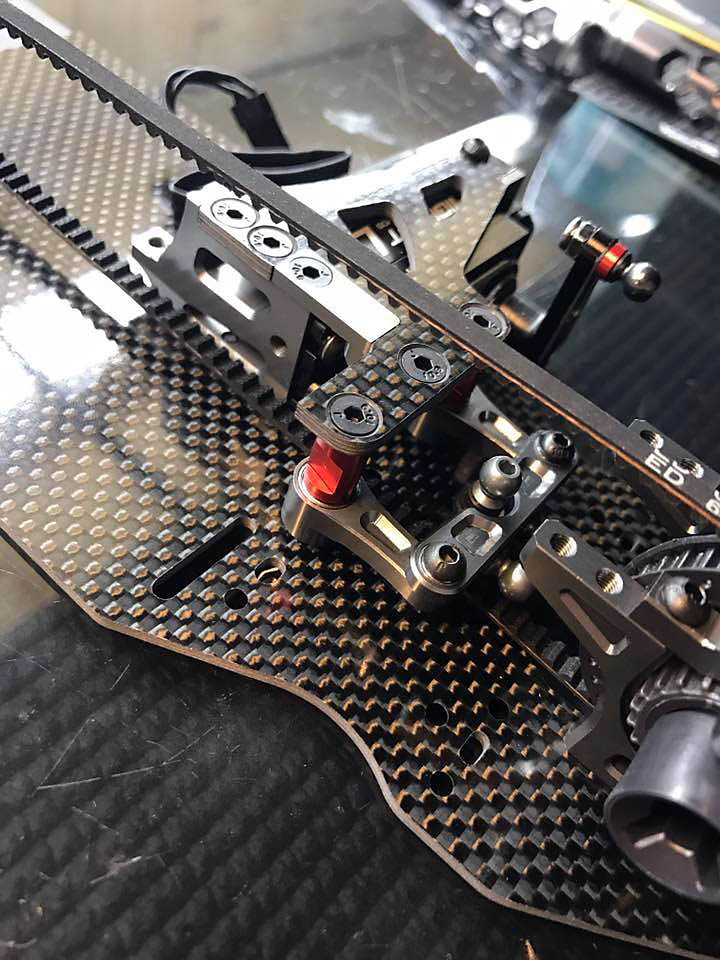
Don't forget to screw the small 4 screws in the bulkheads. Otherwise the excenter moves in the bulkhead and you can't set the belt strength. Check picture! Spool position is up.
Before you keep on with the bulkheads, please put 0,2mm shims on between the aluminium parts for better fitting.
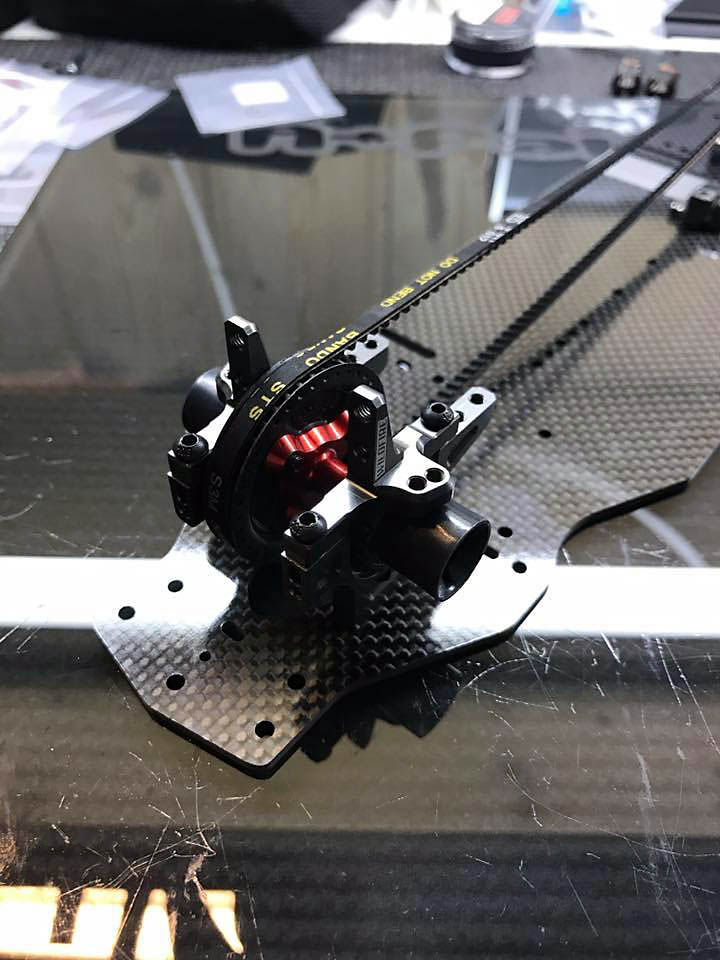
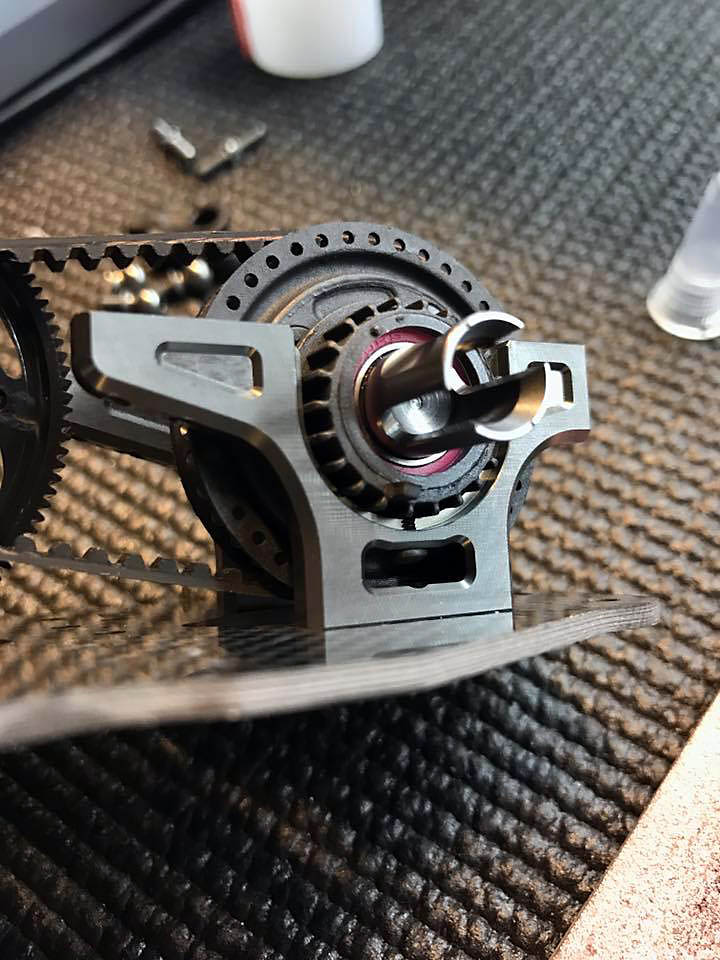
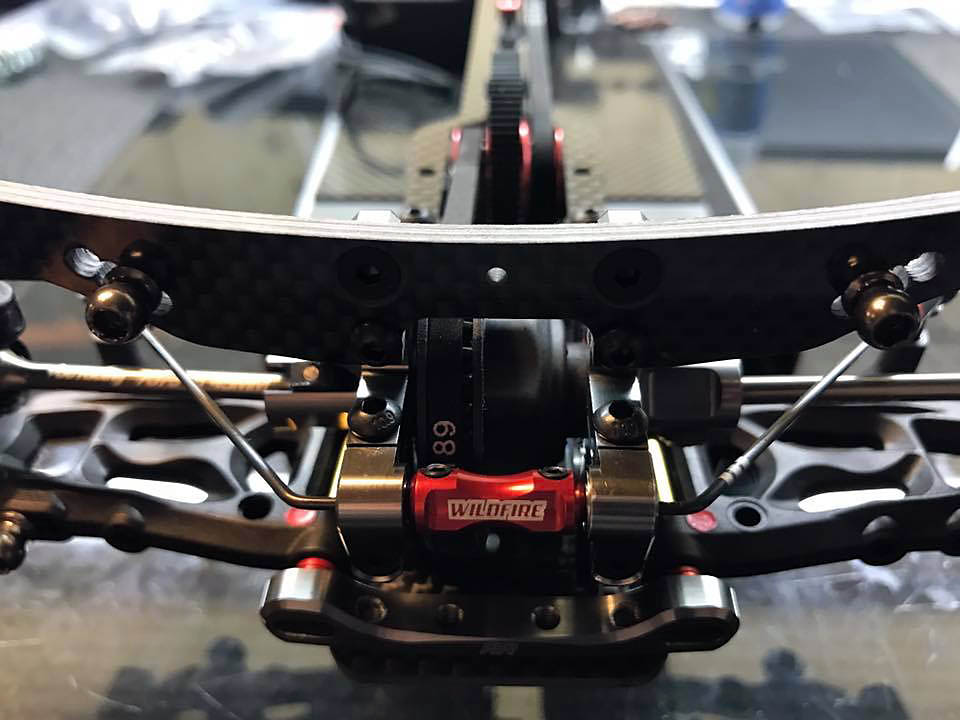
Mid drive train
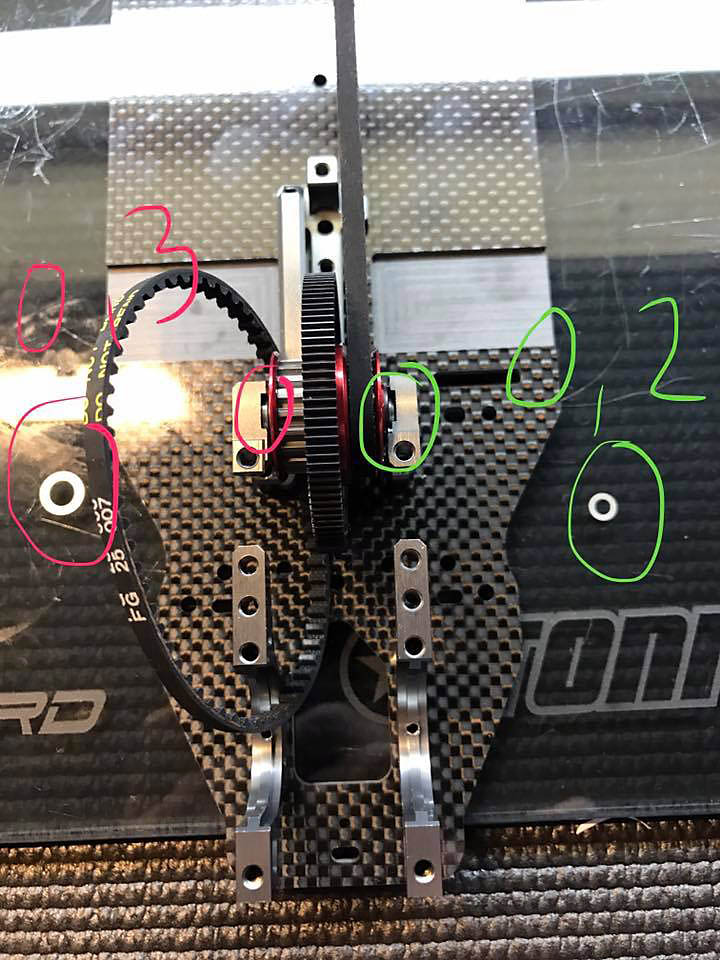
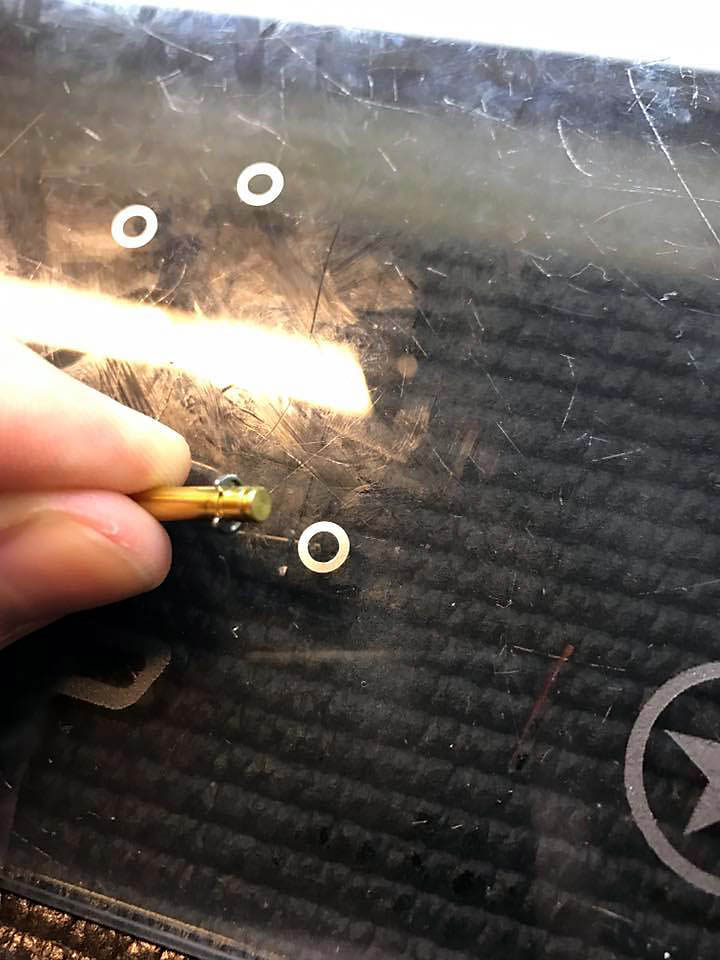
IMPORTANT!!!
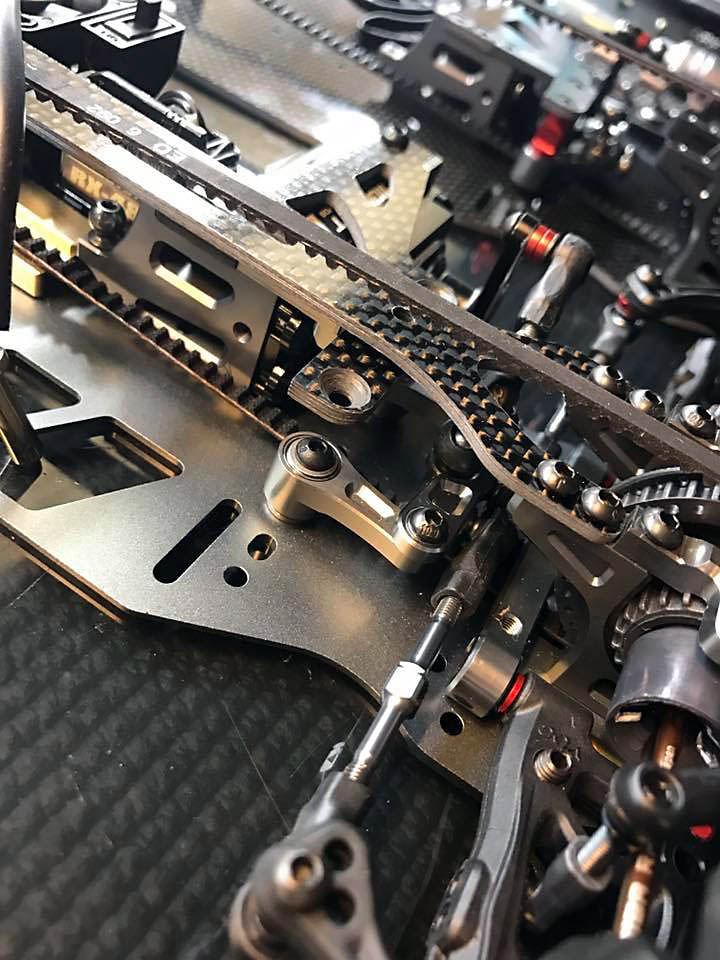
Please check my picture, I've marked the important spots where you have to put a 0,3mm shim on the shaft, and a 0,2 mm shim between shaft and aluminium part.
The 0,3mm shims is important to get the play off the mid drive pulley.
The 0,2mm is even more important to get possible tweak out of the car when you tight the screw from outside. I've used a flathead screw which is in my opinion better for tweak. If you car is a little tweaked, do not tight the screw to 100% and use thread lock.
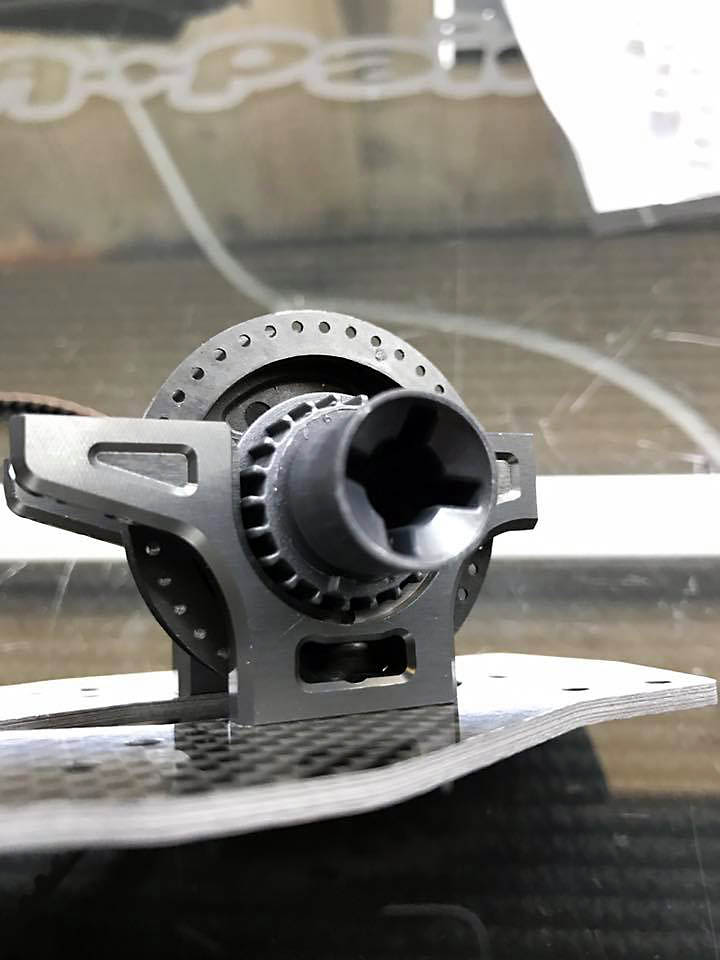
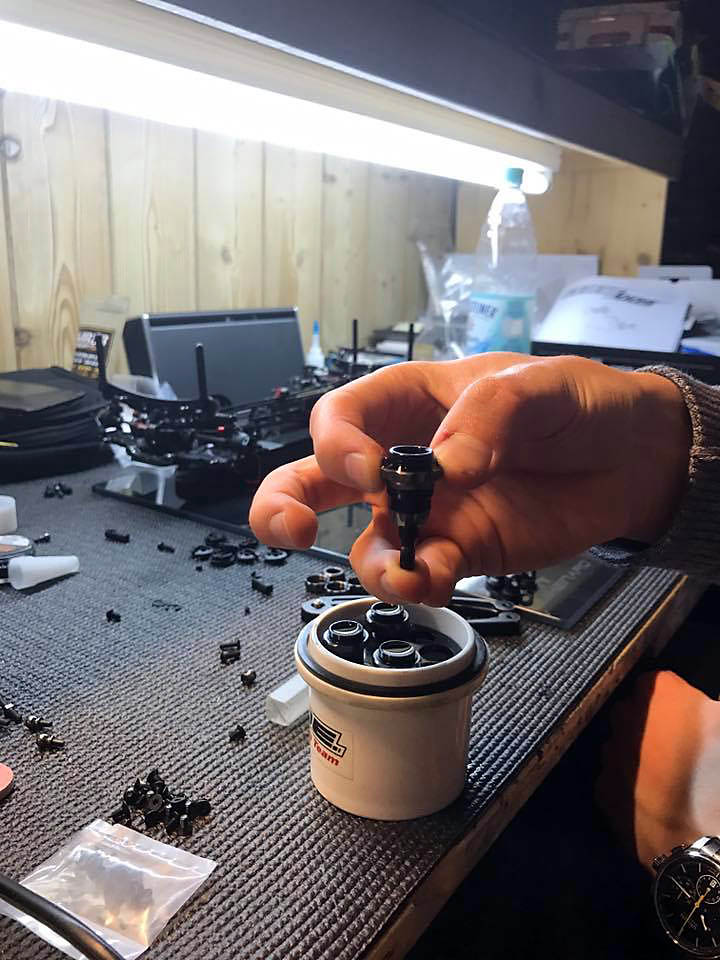
DIFF
It's important to put enough grease on the outdrives to make the diff more smooth.
Please note that you have to work a little bit on the diff housing where the gears are in. Use a littlebit sandpaper but please keep it straight. If you don't use sandpaper, the outdrive is moving quite hard, so you definitely neee to do it!
I filled up 7.000 MuchMore oil and 1.2g in it!
Diff position is up as well. |
STEP #3 Steering
Mounting the steering is nothing special.
You can check everything in your manual guide. I'm using the floating steering in my carbon car and basic steering mounted on the chassis plate in my aluminum car, I need to test that which I prefer personally.
Ackermann 0mm
Basic steering limiter
Servo horn 2mm |
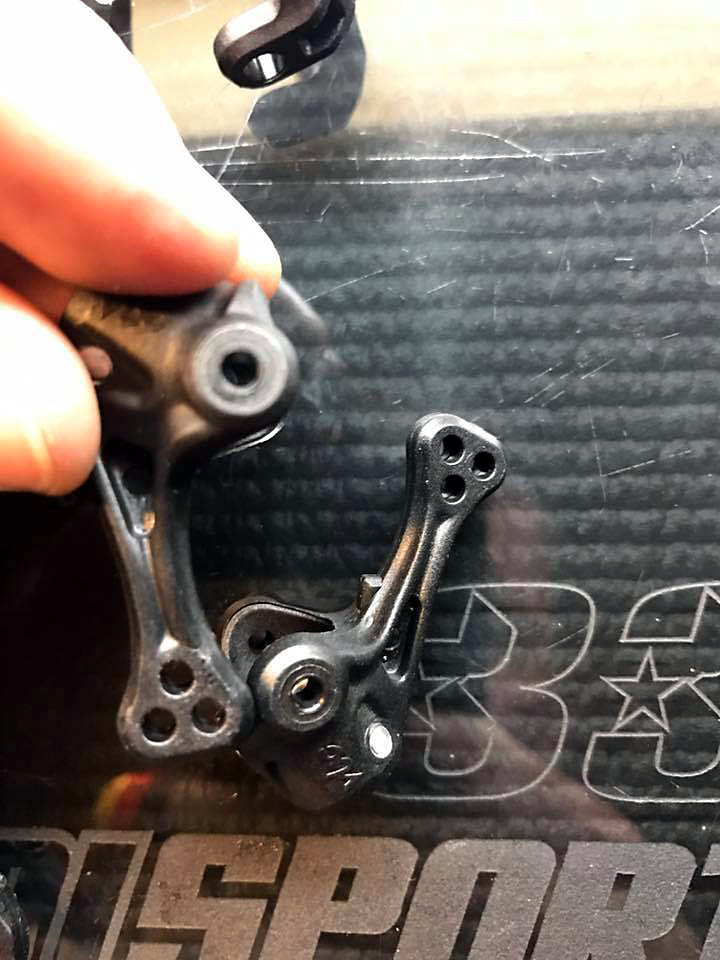
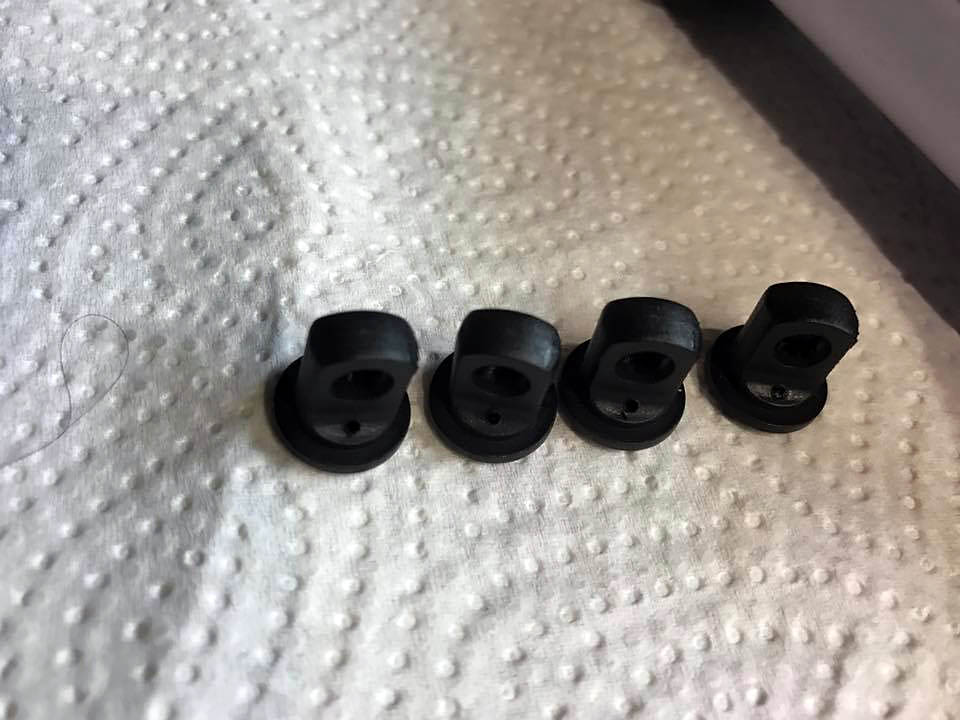
STEP #4 Suspension
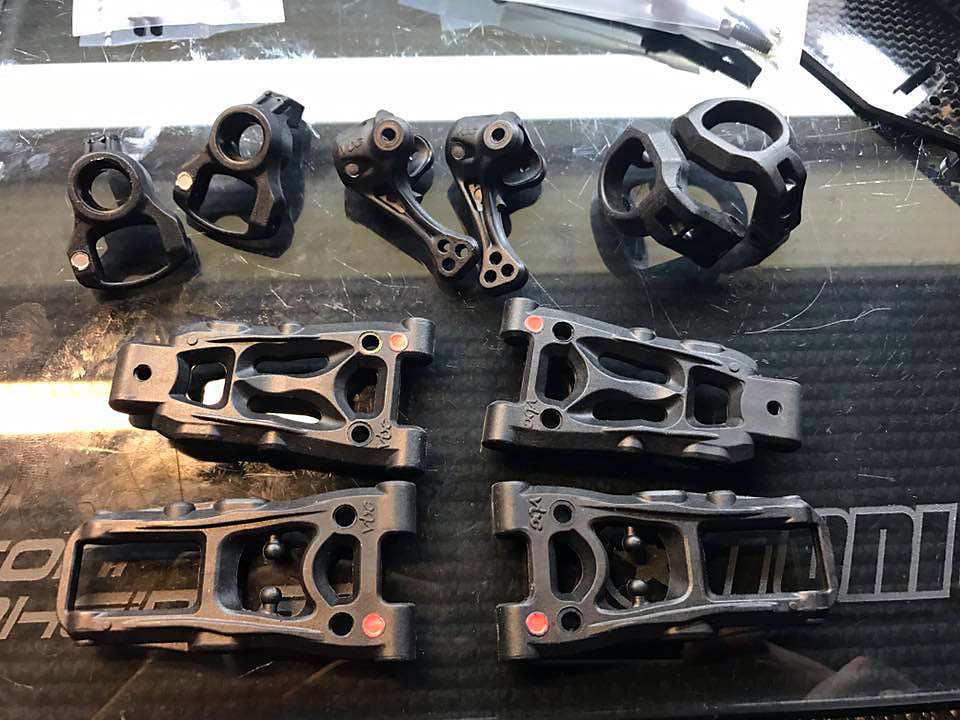
I tested a lot with the hardness of plastics.
I felt most comfortable and fastest with red arms, silver knuckels, silver hubs in rear and red c-hubs. This was by far the best combination.
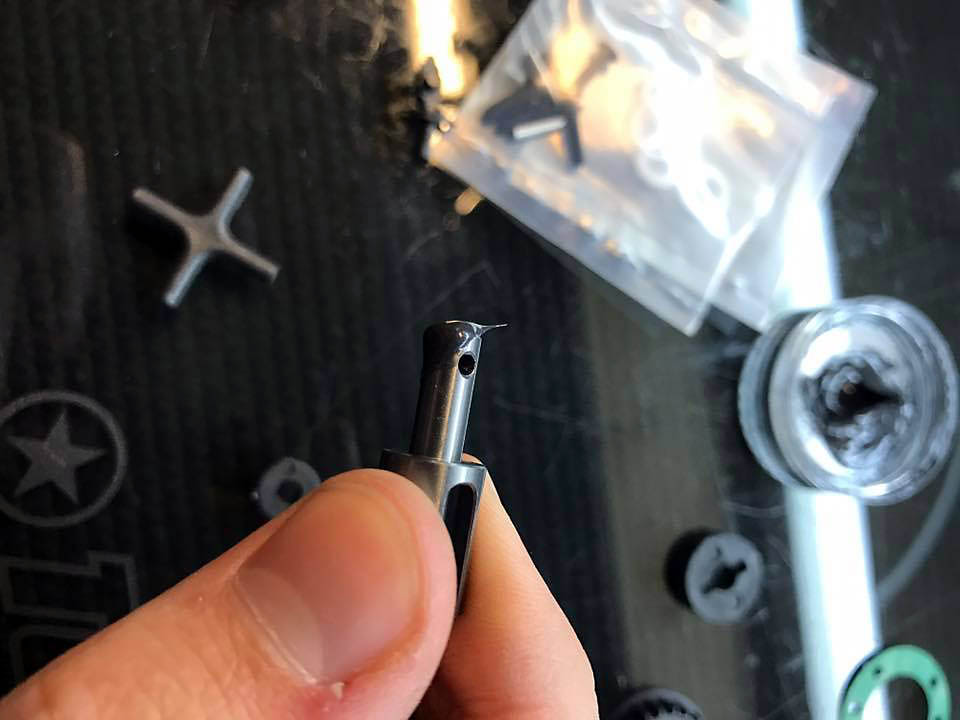
First I work on the plastic parts sothat the pin shaft moves totally free through.
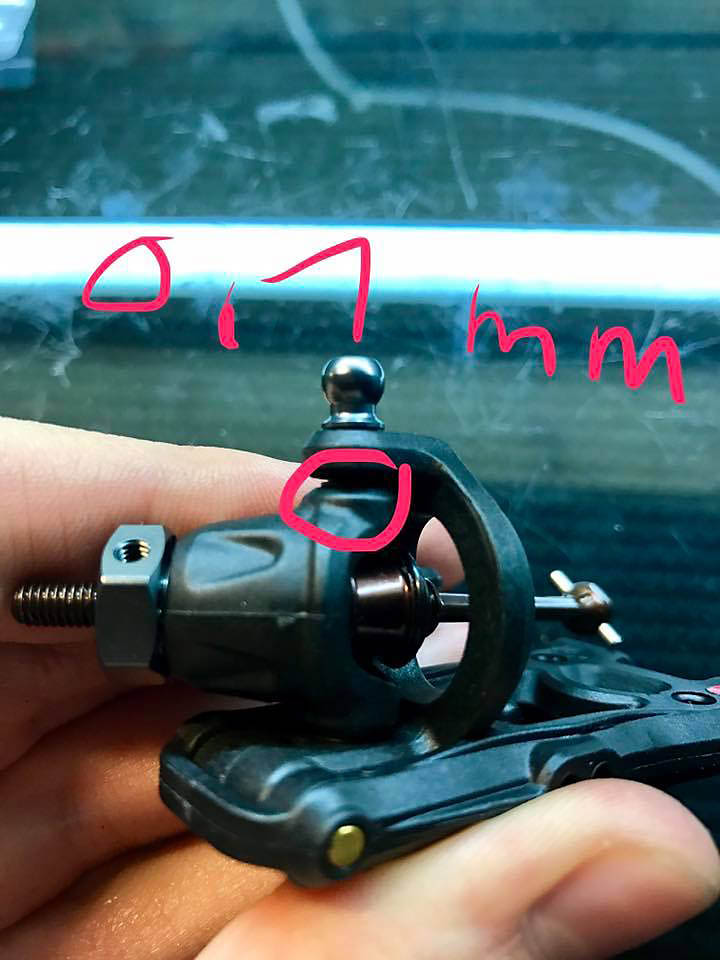
Important!
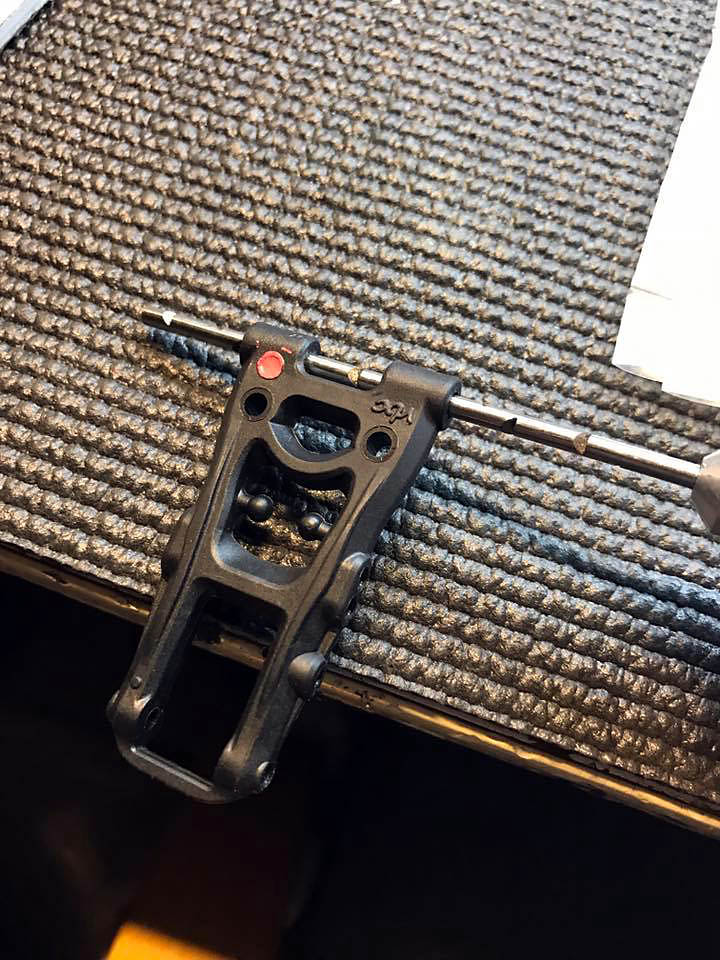
On the red arm, you need to screw a kingpin for the sway bar in the inside hole. Please use a little grease on the screw. It easily breakes as the plastic is very hard and the kingpin very soft. I know what I say, I broke a lot of them????
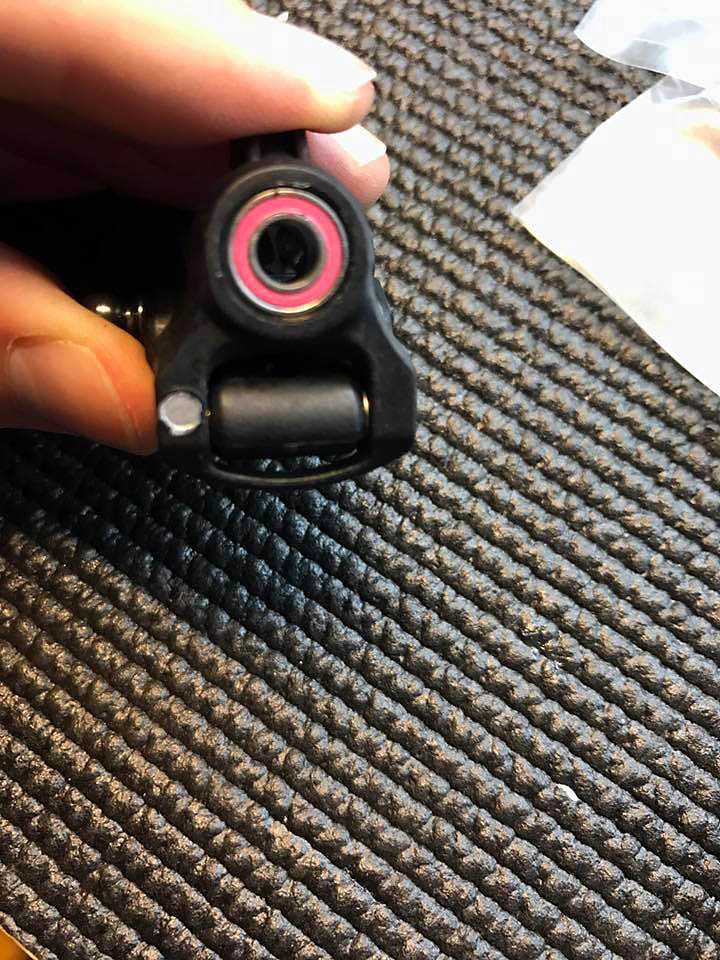
For the rear hub, please use a 0,2 mm shim between hub and arm to get the play off.
For the front c-hub, please use a 0,1mm shim between kingpin and steering knuckle. Please check picture which I've marked below.
Now everything is ready to put into the car.
I use following setup:
RR 1 dot
RF -3 dot
FR +3 dot
FF +4 dot
Wheelbase:
RR 2mm
RF 2mm
FR 1mm
FF 3mm
Now the worst part starts. Preparing turn buckles... |
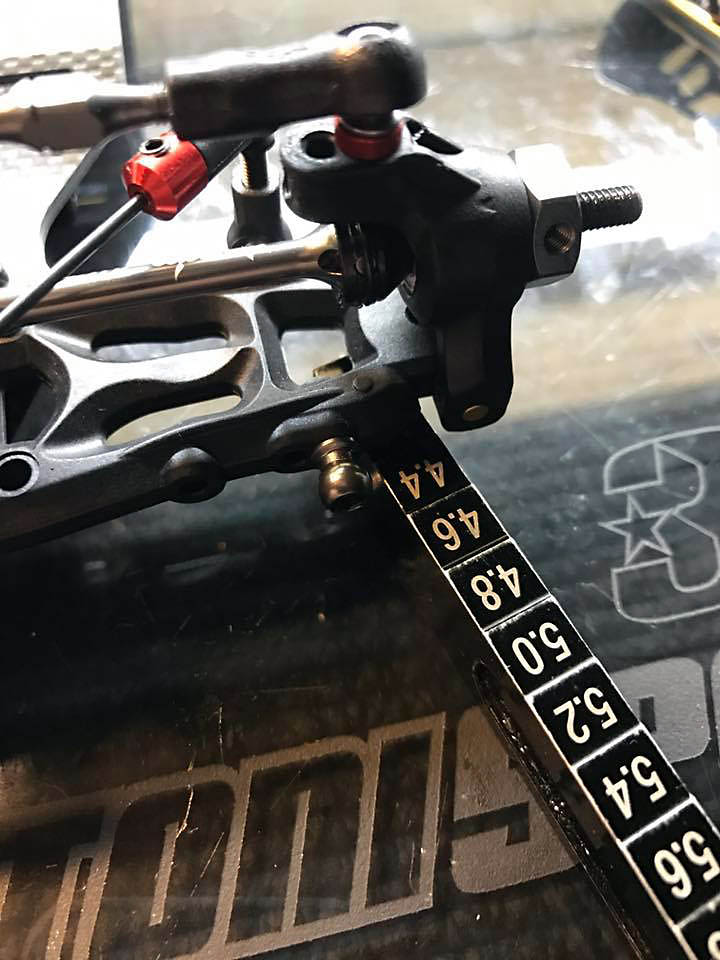
STEP #5 Turn buckles and sway bars
Well, turn buckles are nothing special, so no additional information necessary...
Sway bar as well, I'm just showing you how I check the droop. If you can see, front and rear are small dots on the arm. On this point, I'm using 4.2mm in the rear and 5.2 mm in front.
Sway bars are 1.3 front and rear.
In additional I fixed the topdeck and middle turn buckle. |
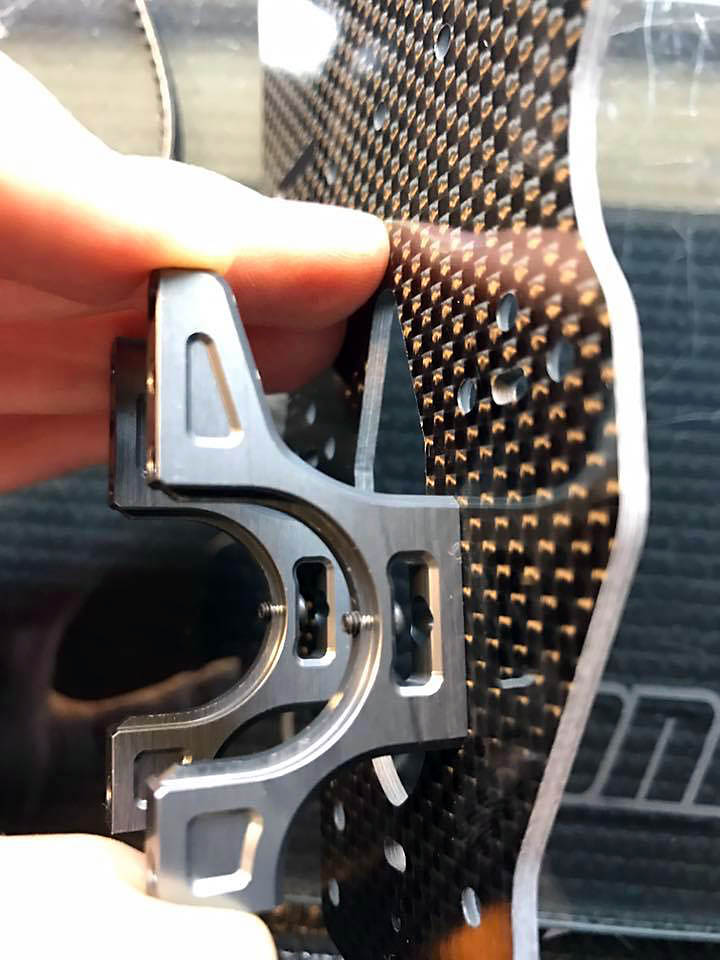
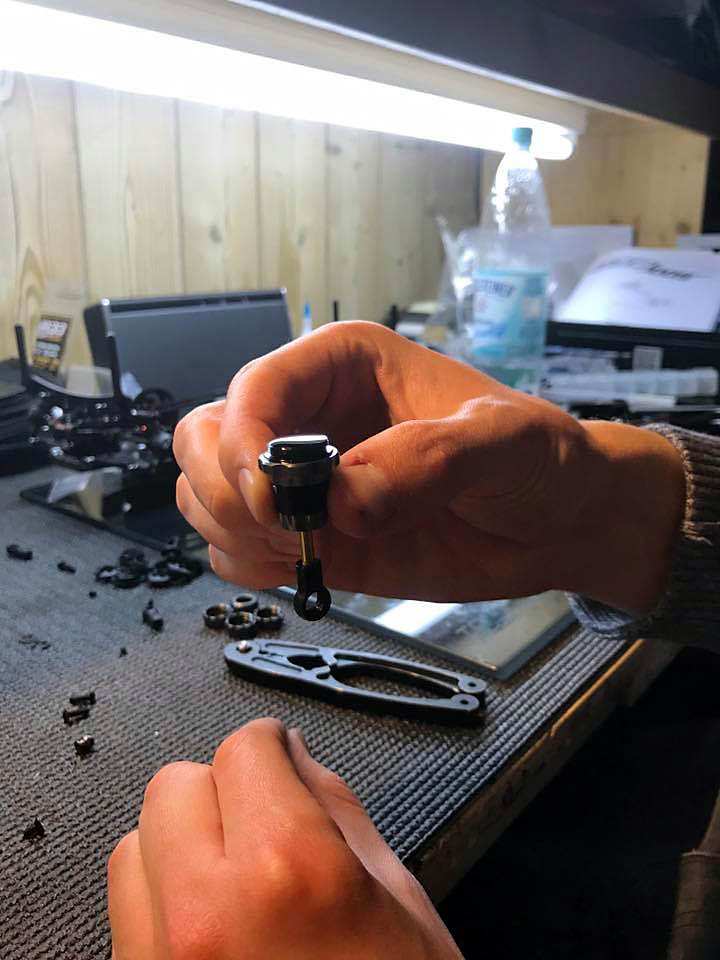
STEP #6 Shocks and bumper
First I've mounted the shock towers. I use front and rear same position, hole no. 2 from inside.
After this I prepared the bumper and body posts to fix on the car. Please cut the bumper under the chassis with a simple knife, please check the picture. Otherwise you can't set the ride high correctly and the car is touching the ground with the 'bumper nose'.
Building shocks is nothing special, I've just 2 tips for you. Please drill a small hole in the shock cap to get no rebound, that's important, otherwise you'll have too much rebound. Also please put a 0,1mm shim between pistons plate and e-clip to get the play off it.
I use 400 MR33 oil front and rear with SMJ red in front and SMJ blue in rear.
First I fill the shocks, get the air out with air remover.
After it's done, I push the pistons inside the shock, put the black bladder on and close the shock while keep holding the pistonce inside the shock. |

|
|
|
|
|
|

