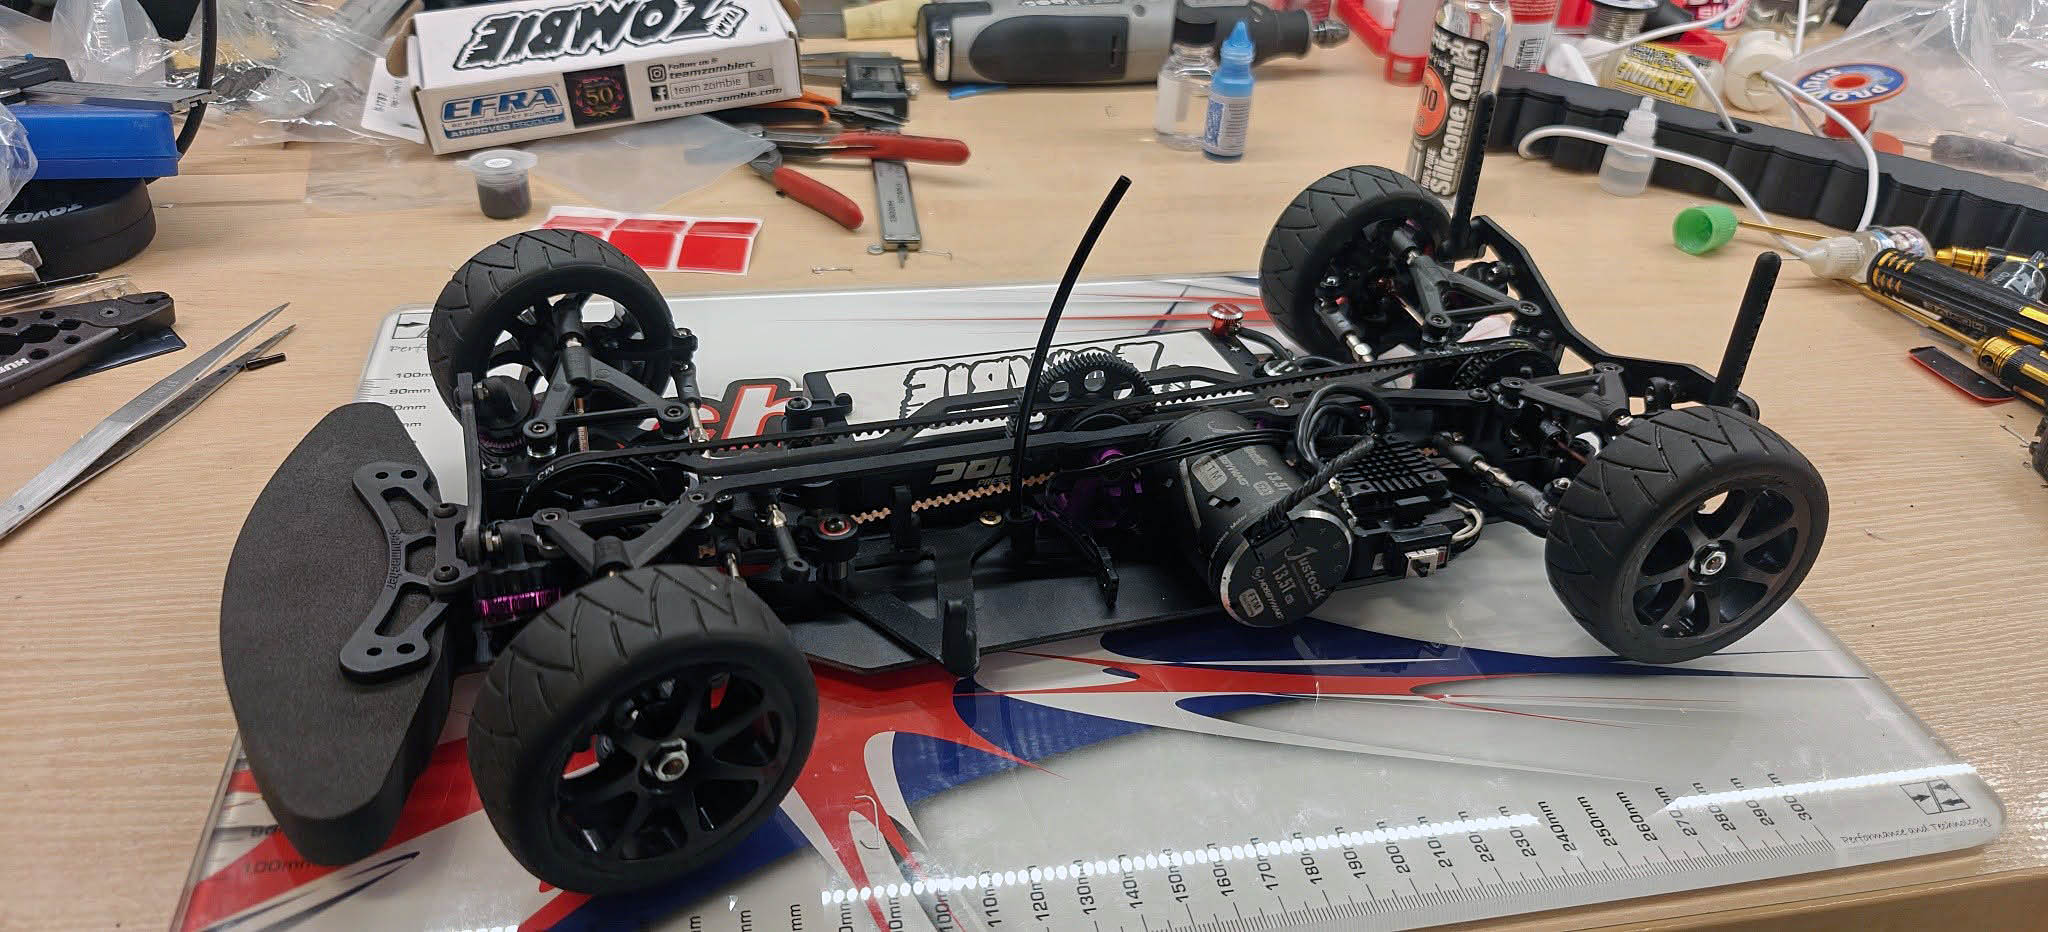
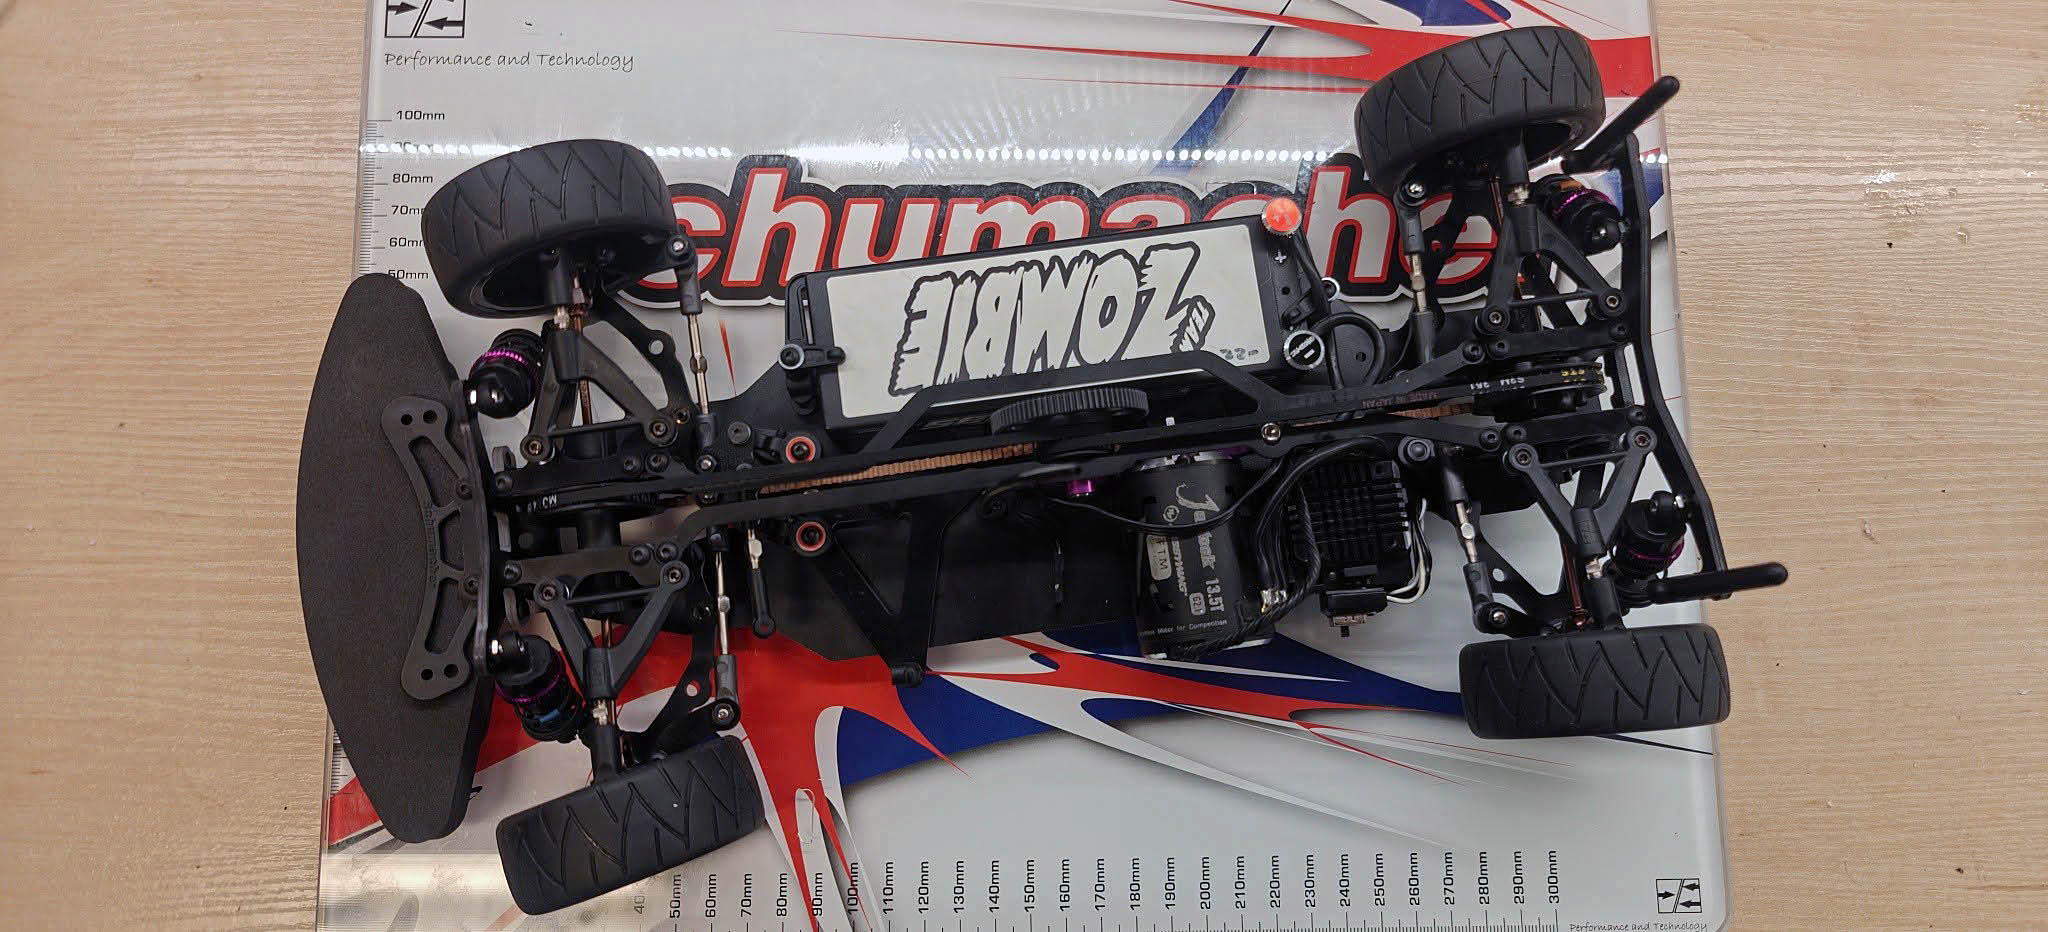
How far do you get on SEK 3090? Yes, is a chassis enough for just over three thousand SEK to get started, have fun and be competitive in the GT series?
The answer to that question I thought we would get to now that things are starting to pull together for the first outdoor races for 2026.
Price vs. Get it
Of course, the chassis is not made with the same material or with as nice accessories as the more expensive top-of-the-line siblings Mi9 or cars from competing manufacturers. But the price is about a third of what these cost!
In the following series, I will mix videos and posts to simply show what you get and what you can expect, both of the construction but ultimately also in performance.
The Test: "Average Joe" takes over
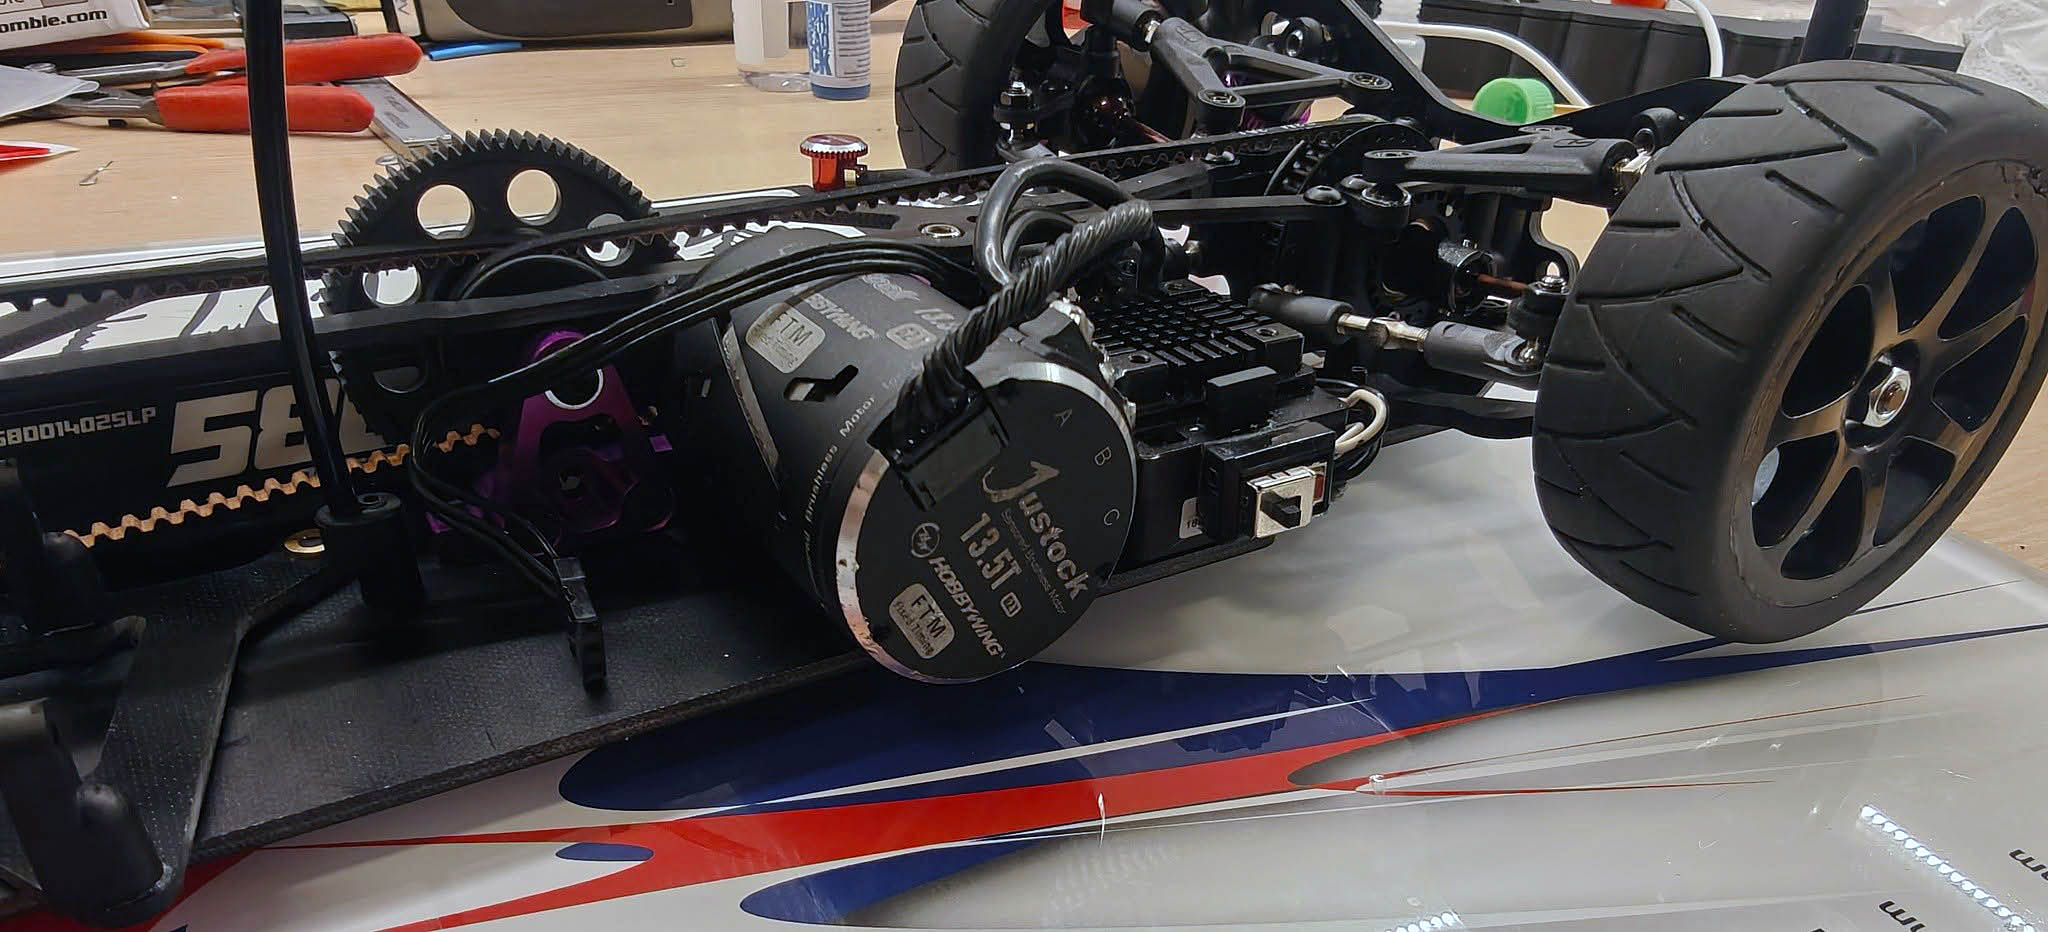
I’ll let Average Joe drive this car and compare it to a Mi9 with the exact same electronics. That is, a HW Justock 13.5 system with outdoor drive, the same tire and a GT body.
If it works out the way I think and hope, there will be a real financial breakthrough for those who want to move away from FWD and instead drive 4WD.
The chassis and the construction!
You have seen the video. After you open the box, you will find bags that are all clearly marked to which section of the manual they belong to. In the bags are additional bags where the parts are divided for each step, which makes construction both intuitive and simple.
Here you don't have to worry about opening a bag and sorting the parts, resulting in always losing a couple of screws or c-clips on the floor that are never found!
Construction & Details
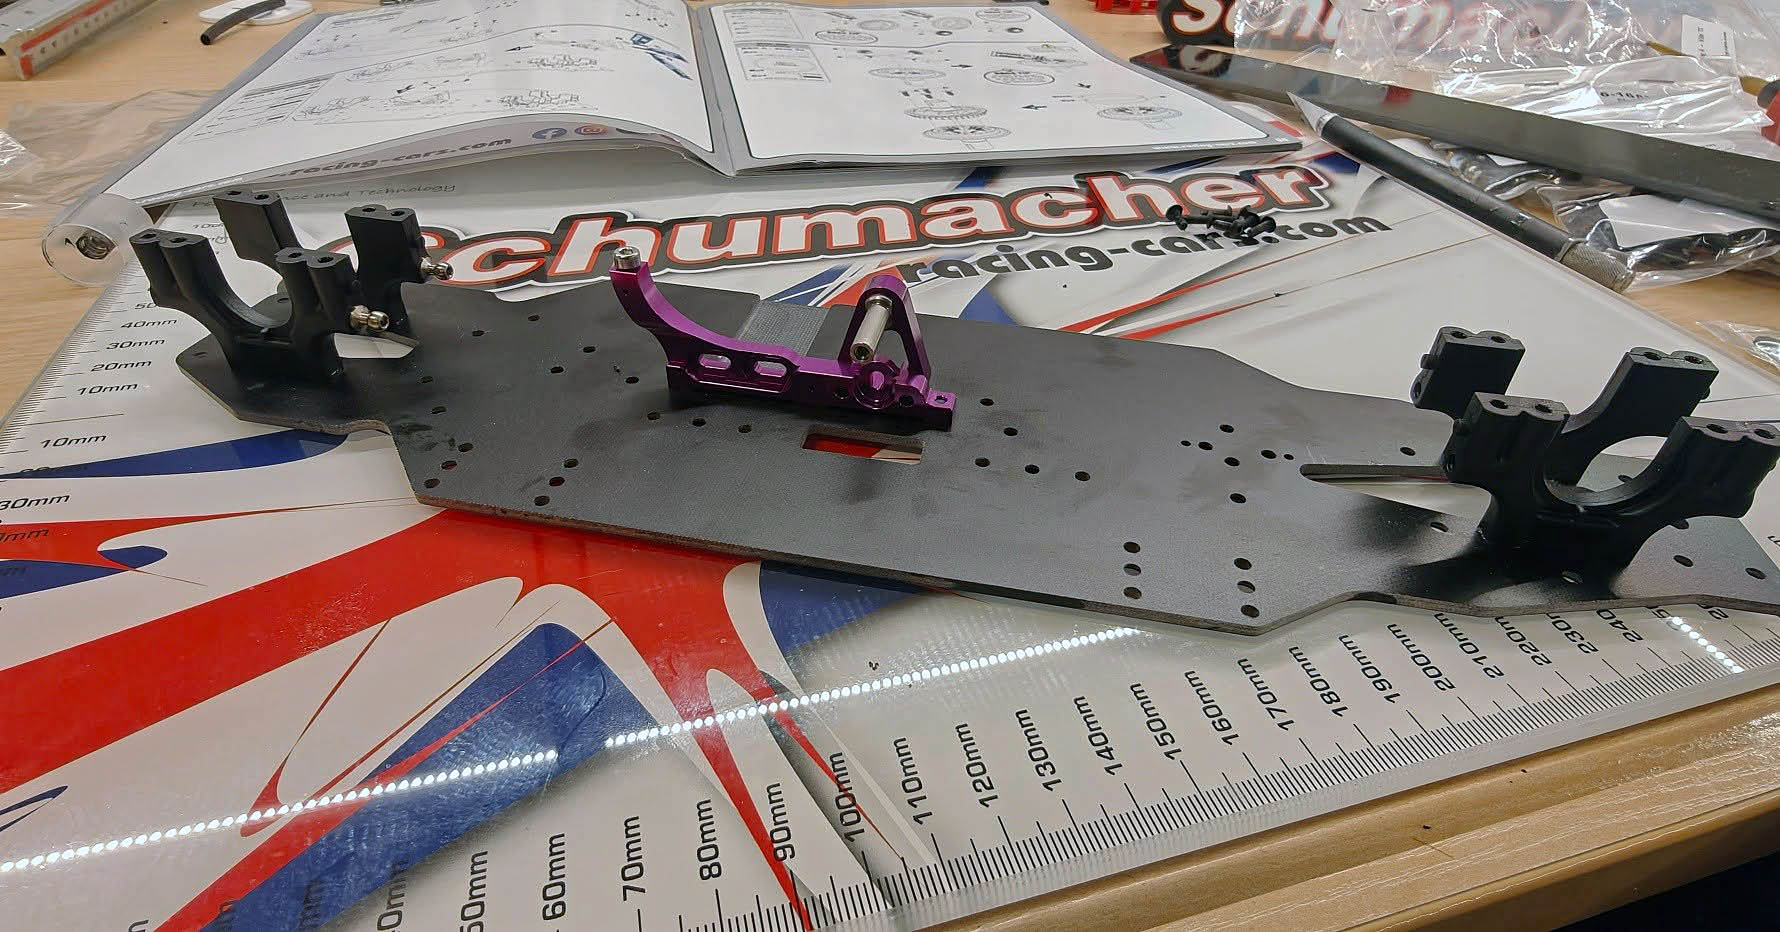
Bulkheads: Are made of composite plastic and very hard. They are comparable to the name "graphite", which usually name the hardest parts from different manufacturers. Very little to minimal with cast remnants to talk about so you just have to start screwing.
Pro-tip: Follow the manual's advice on putting some grease in the holes to make it easier for the gangs of the screws to cut.
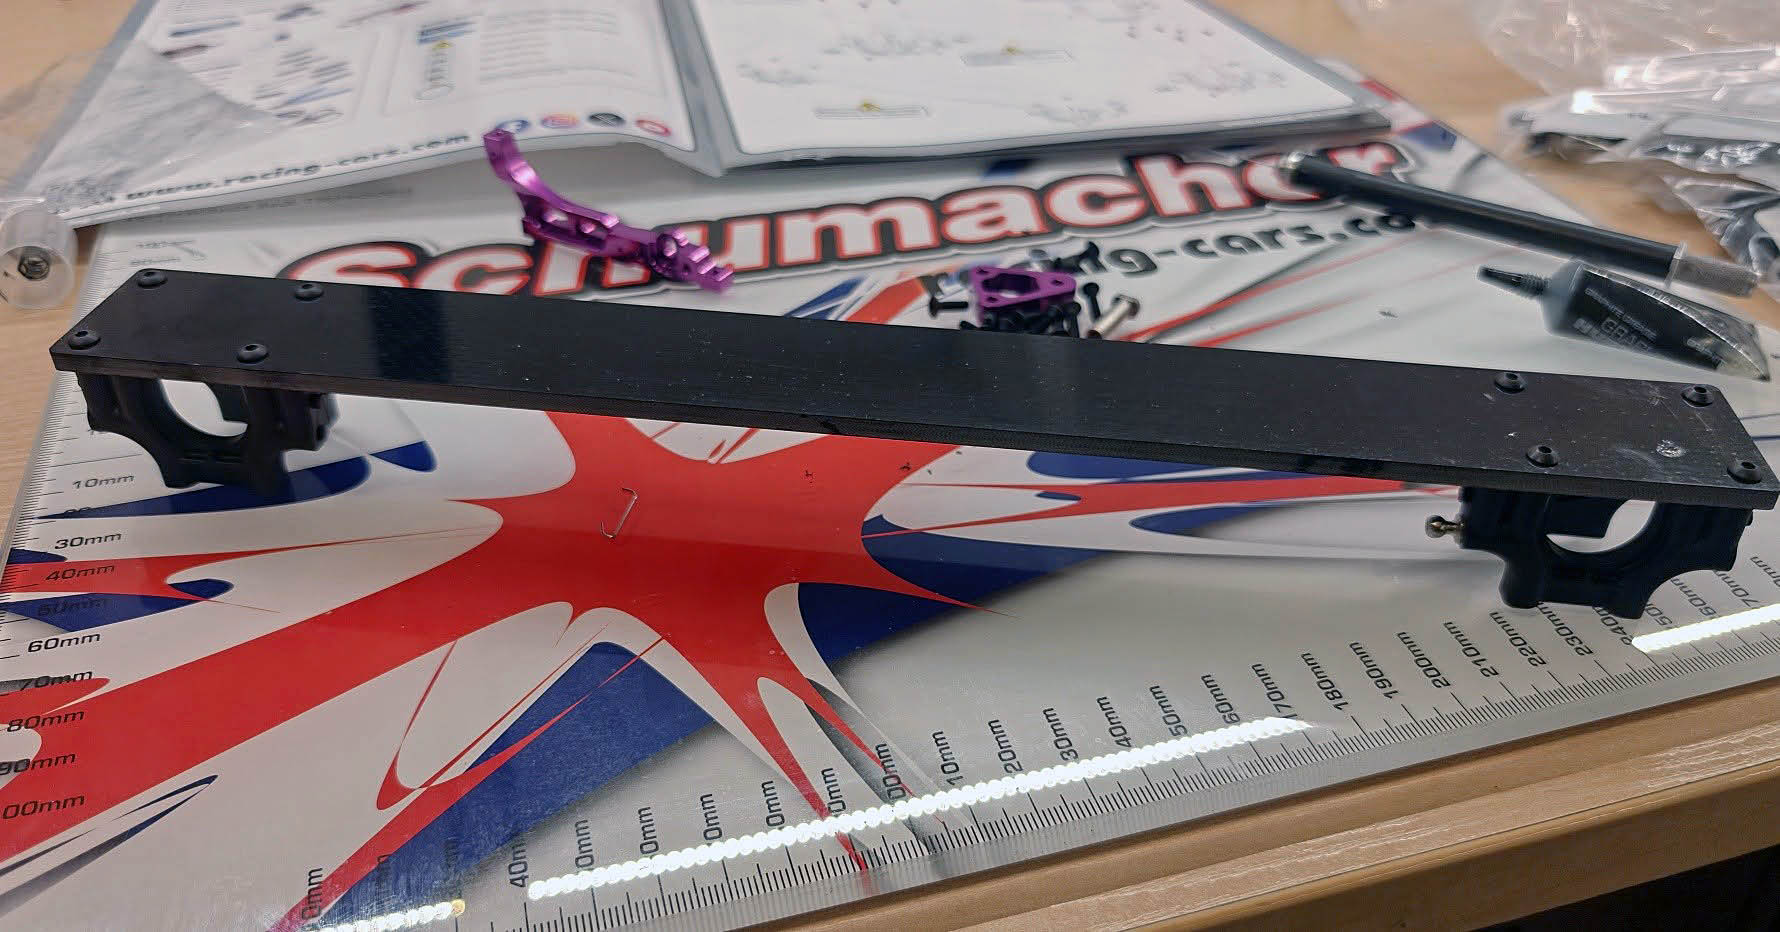
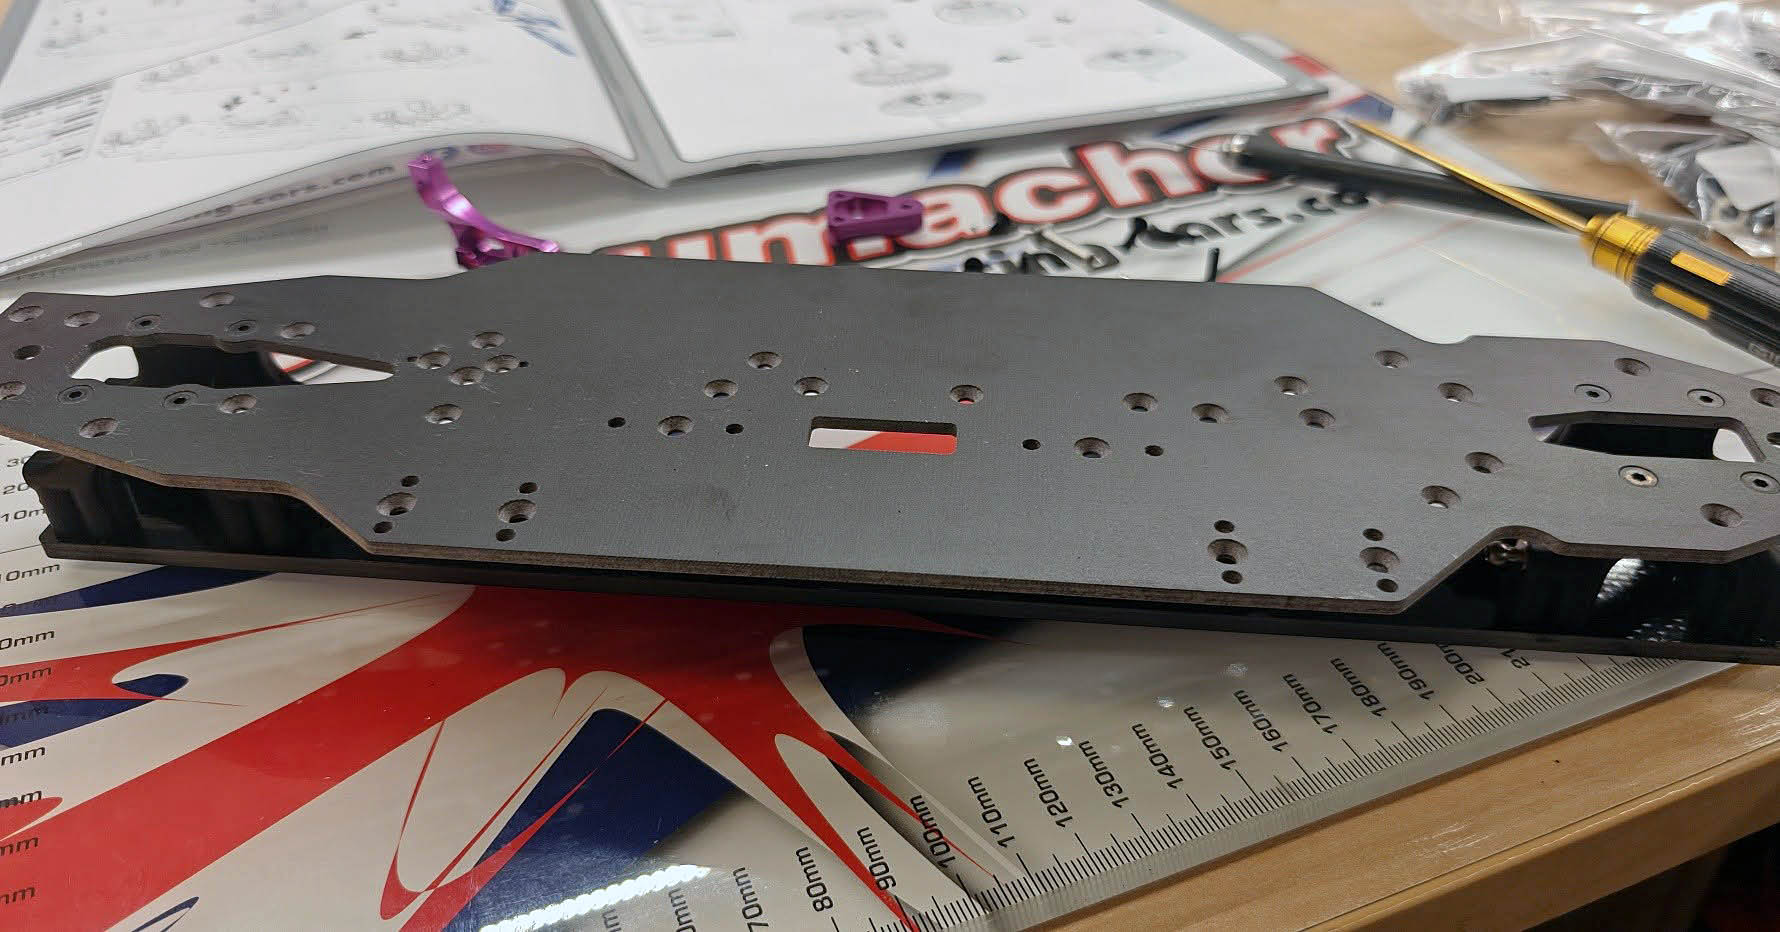
Plate: You start by mounting bulkheads on a thick GRP (Glass Reinforced Plastic) plate that will mean that the rest of the construction will be straight. When the bulkheads are mounted there, you turn everything upside down and mount the chassis.
Flex: The chassis is made of glass fiber, well lowered and with clear milling to control where it should flex anywhere. It will be interesting to see it mounted complete with top-deck later!
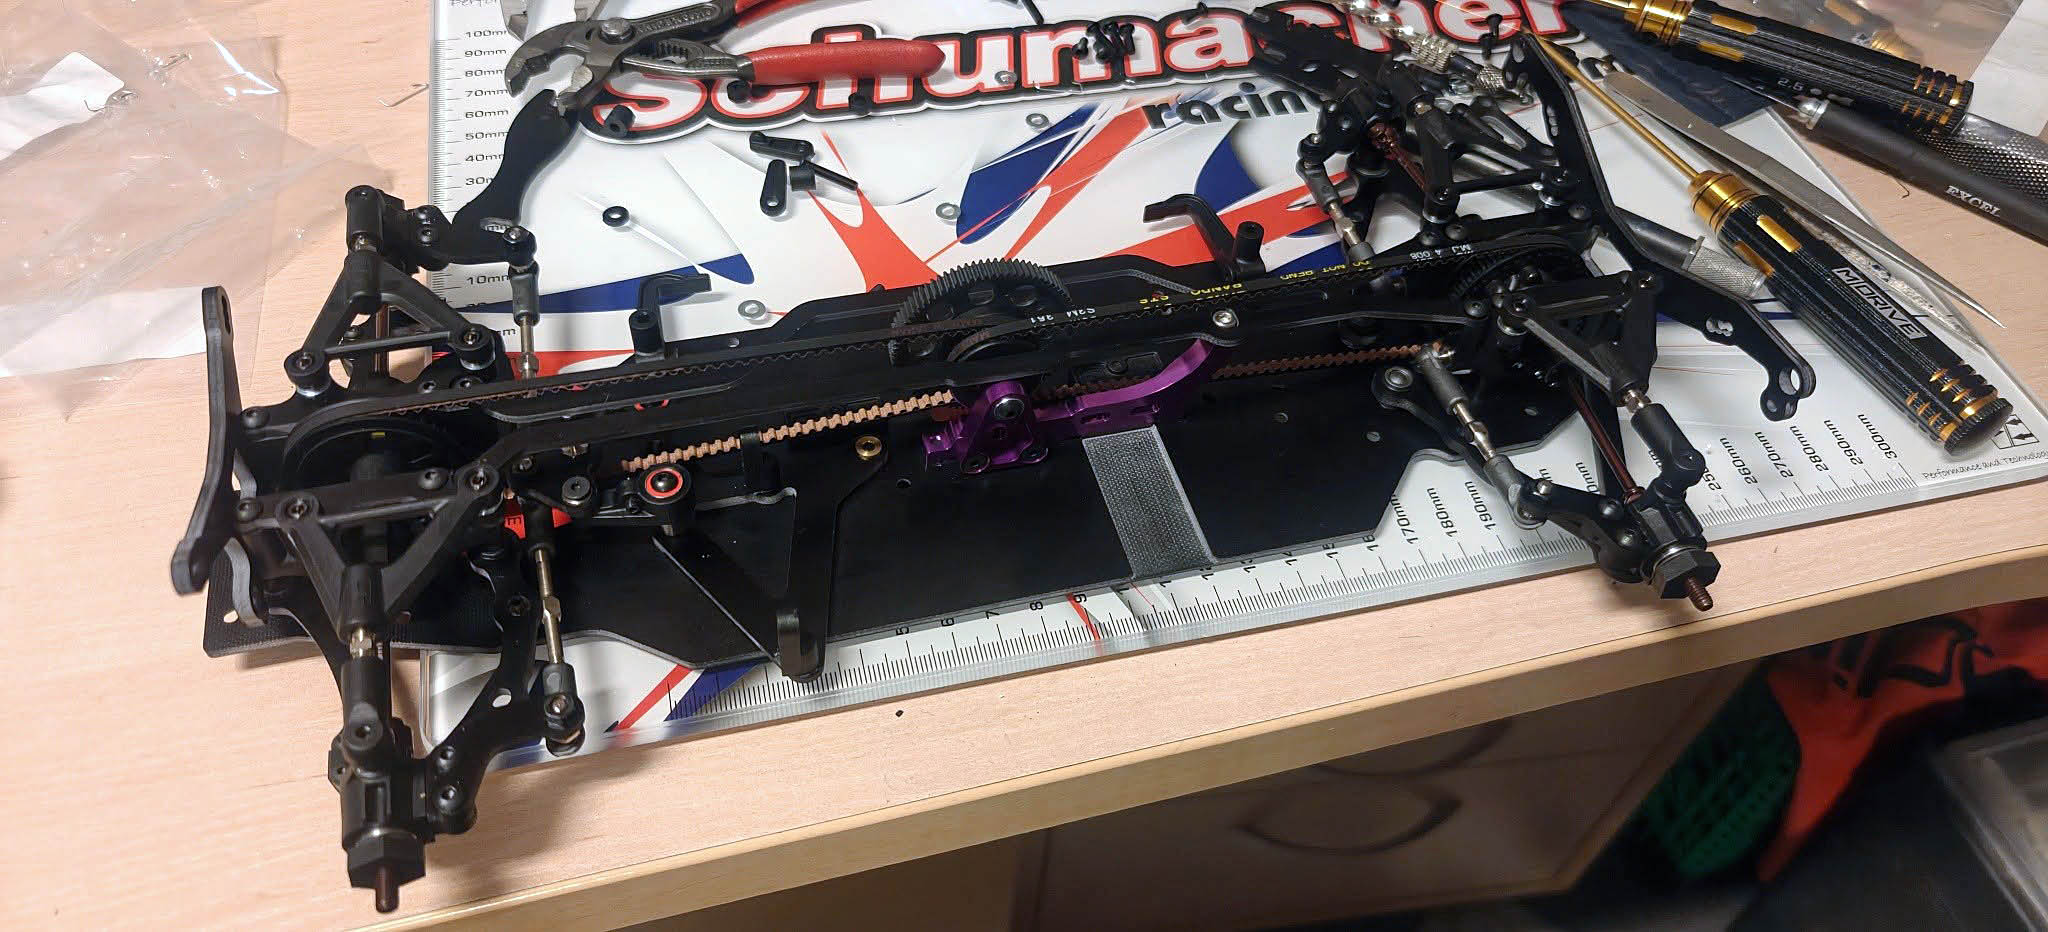
Engine Bracket: The engine bracket is made of purple eloxidated aluminum is assembled with the center pulleyn holder. This holder is also purple and feels like it's getting sturdy. At the top at the front is mounted an M4 with a larger skull, which I assume will be a steering for flex in the top-deck. But we will see this when we get to that step
Schumacher Vibe TC - Build log PART II
Yes, now we've come a little further with the construction! As you have probably seen in the video (link at the bottom), we finished the last part by completing the chassit, mounting the diff, straps and pulleys.
Diff: Simple and functional
The diff is different against Mi9 / Mi10 and a little easier in execution. I chose not to sand the back of the internal drives but only remove any possible cast residues. Why? Yes, I thought and that I build it exactly according to the manual and so a possible beginner will build it to give a fair picture. This also applies to oils in both diff and suppressors - those that come with the box are the ones used!
Suspension & Link Arms
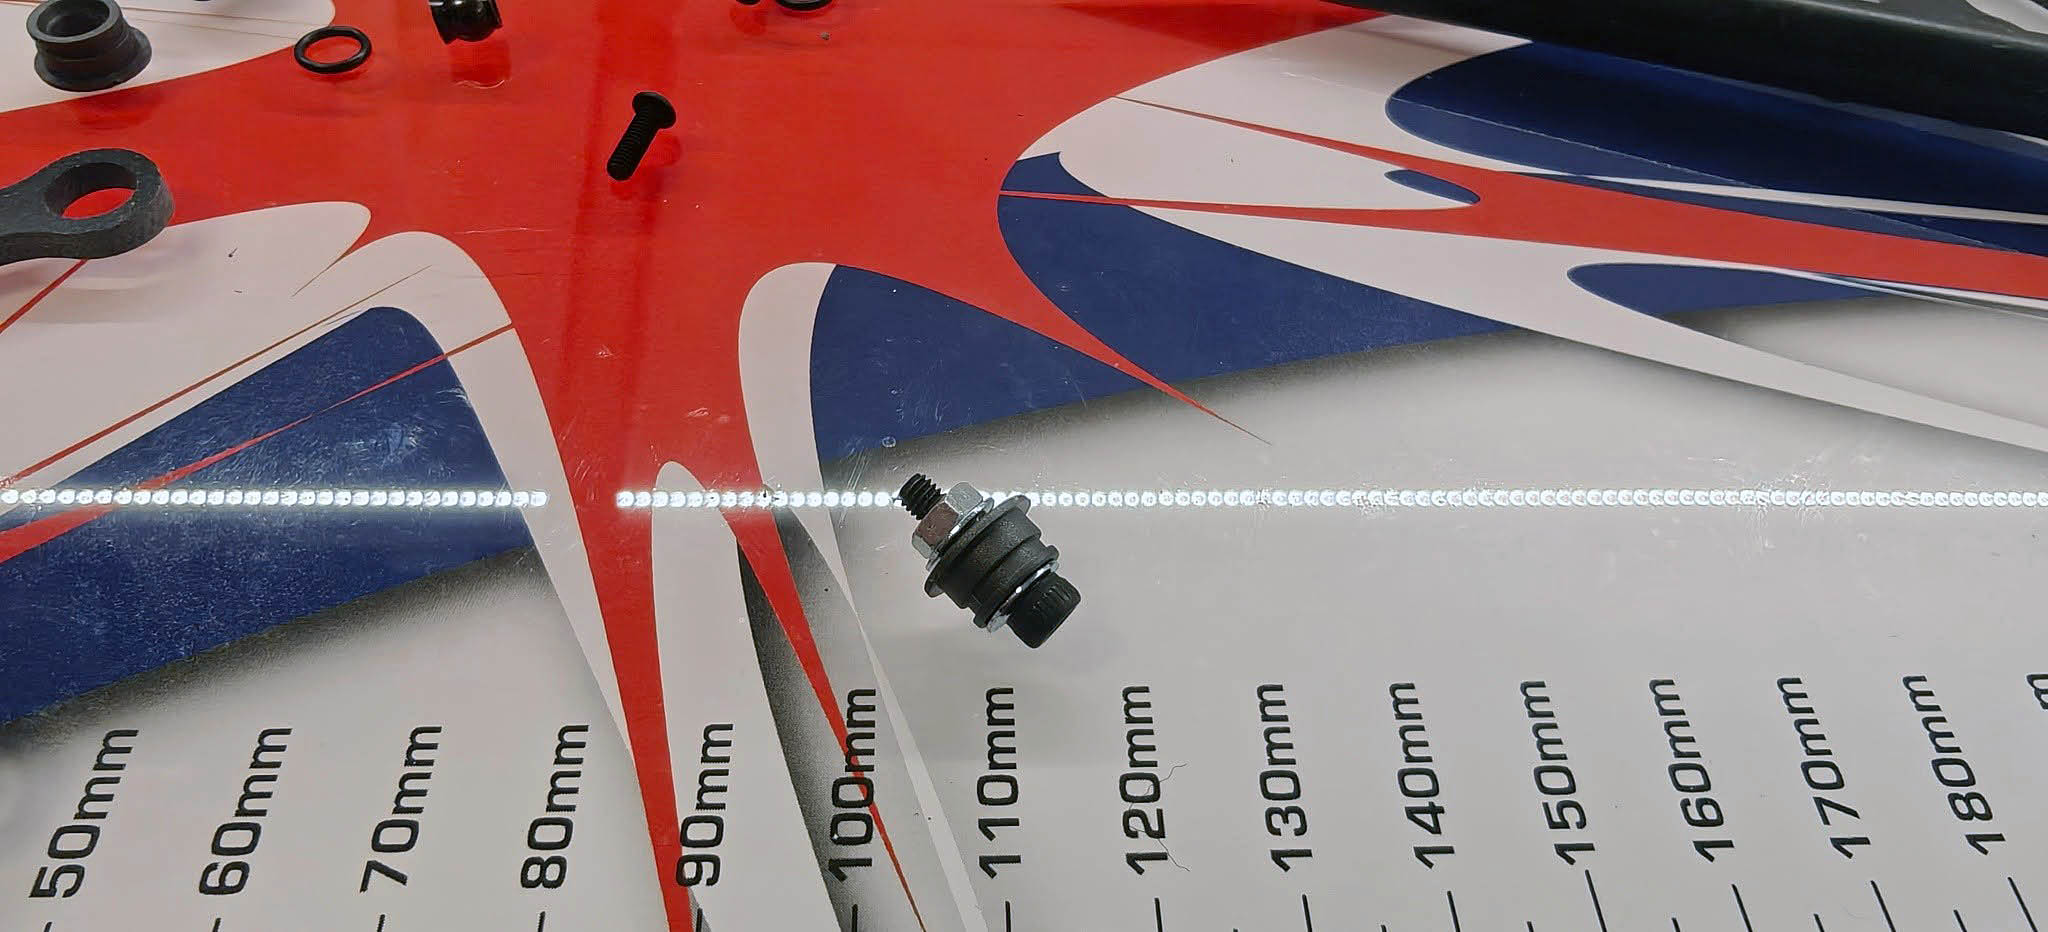
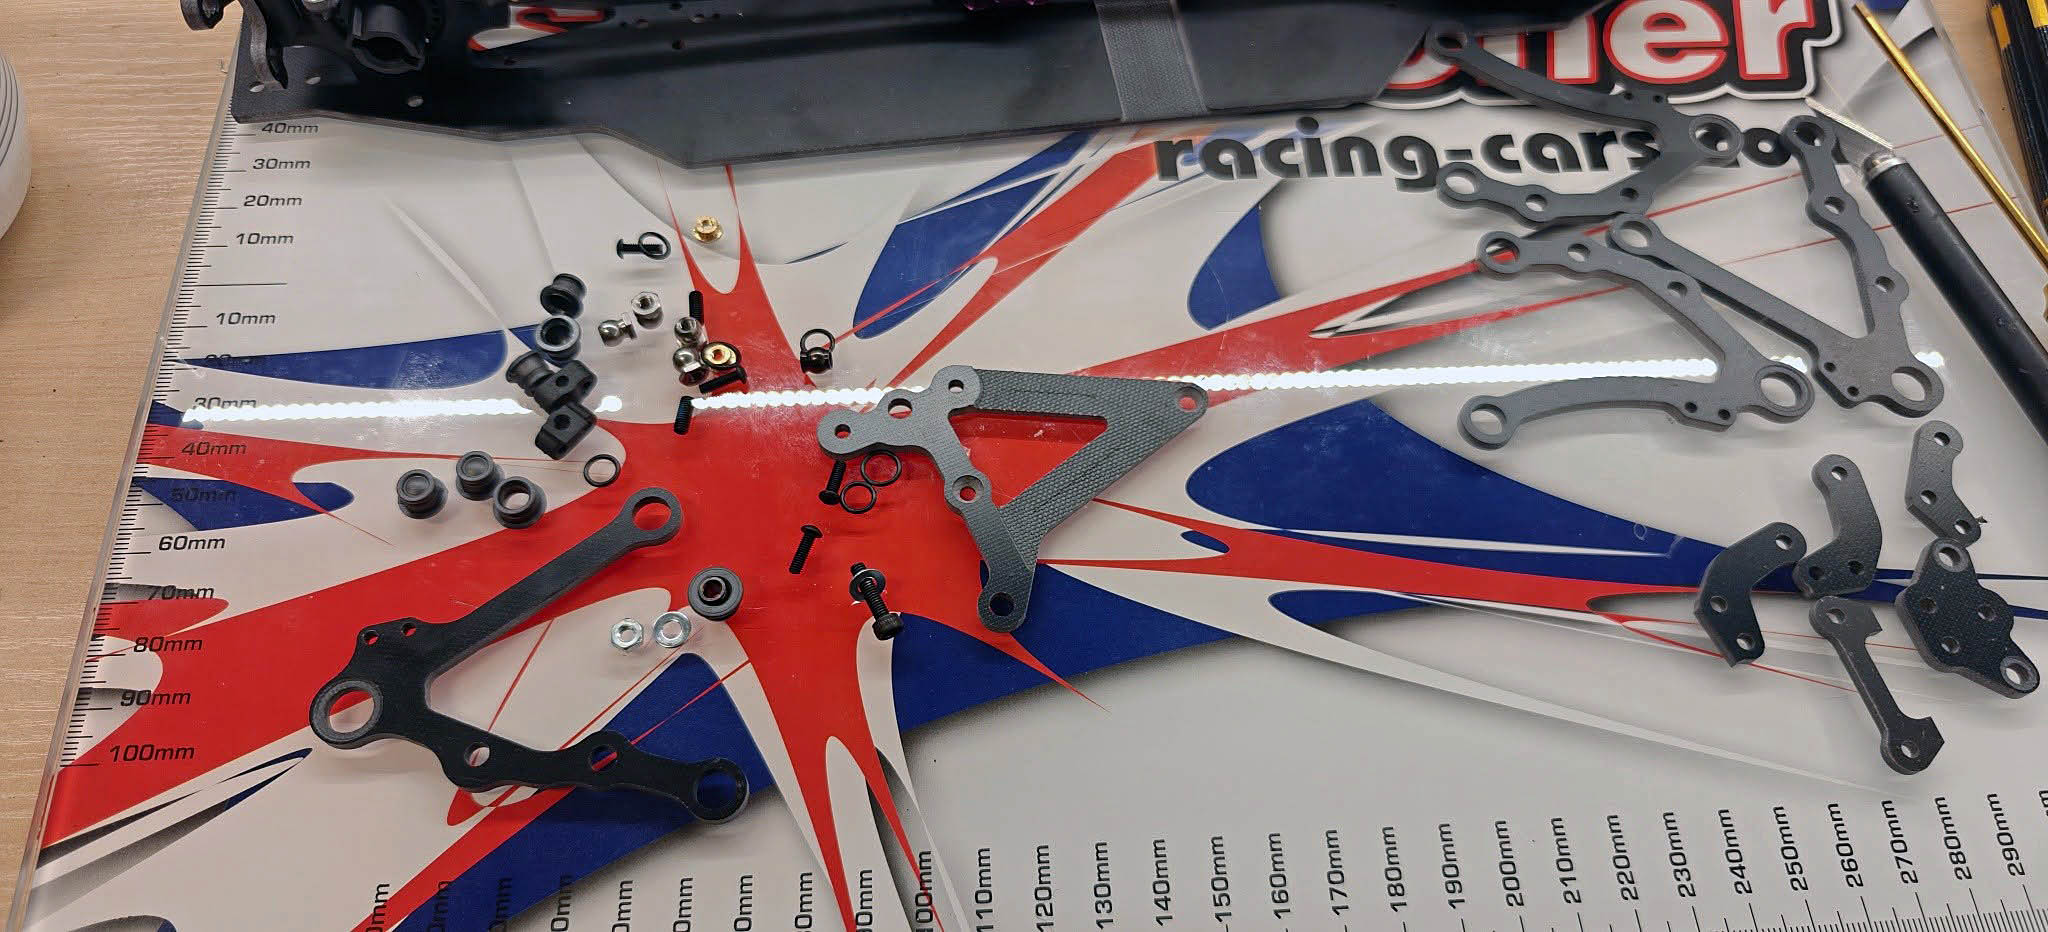
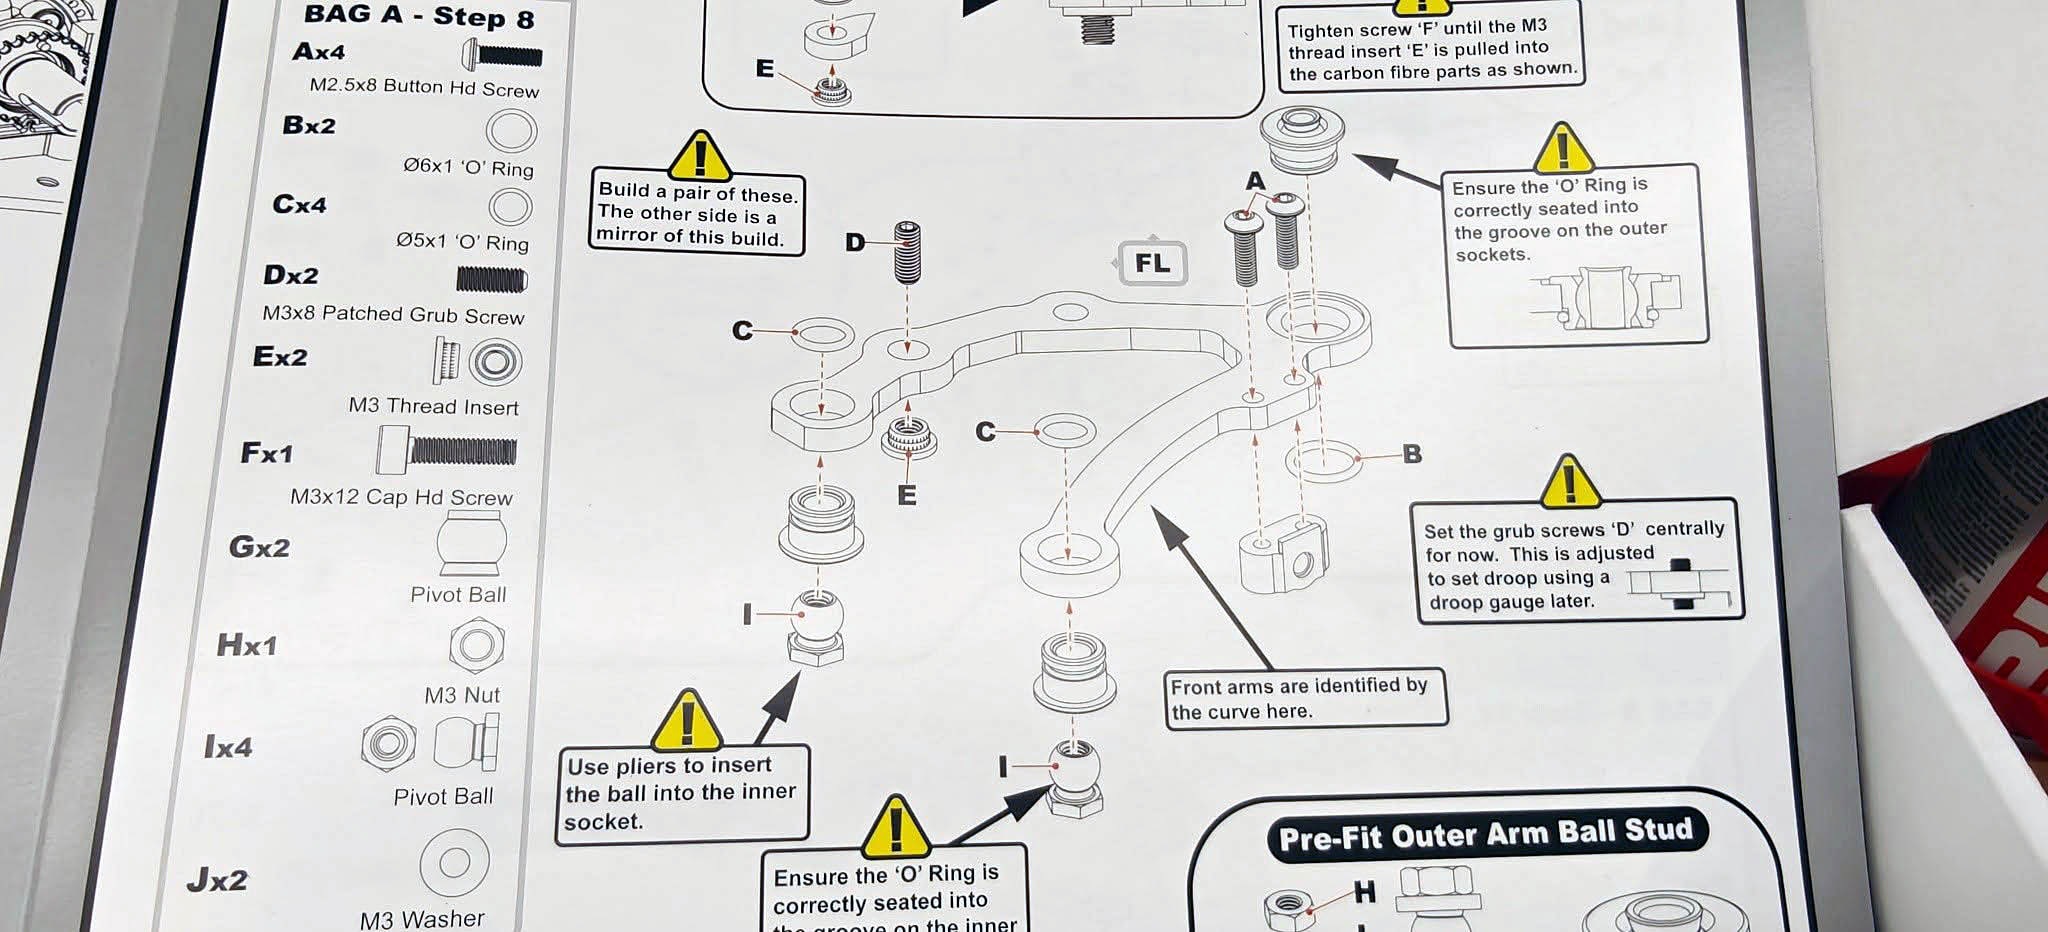
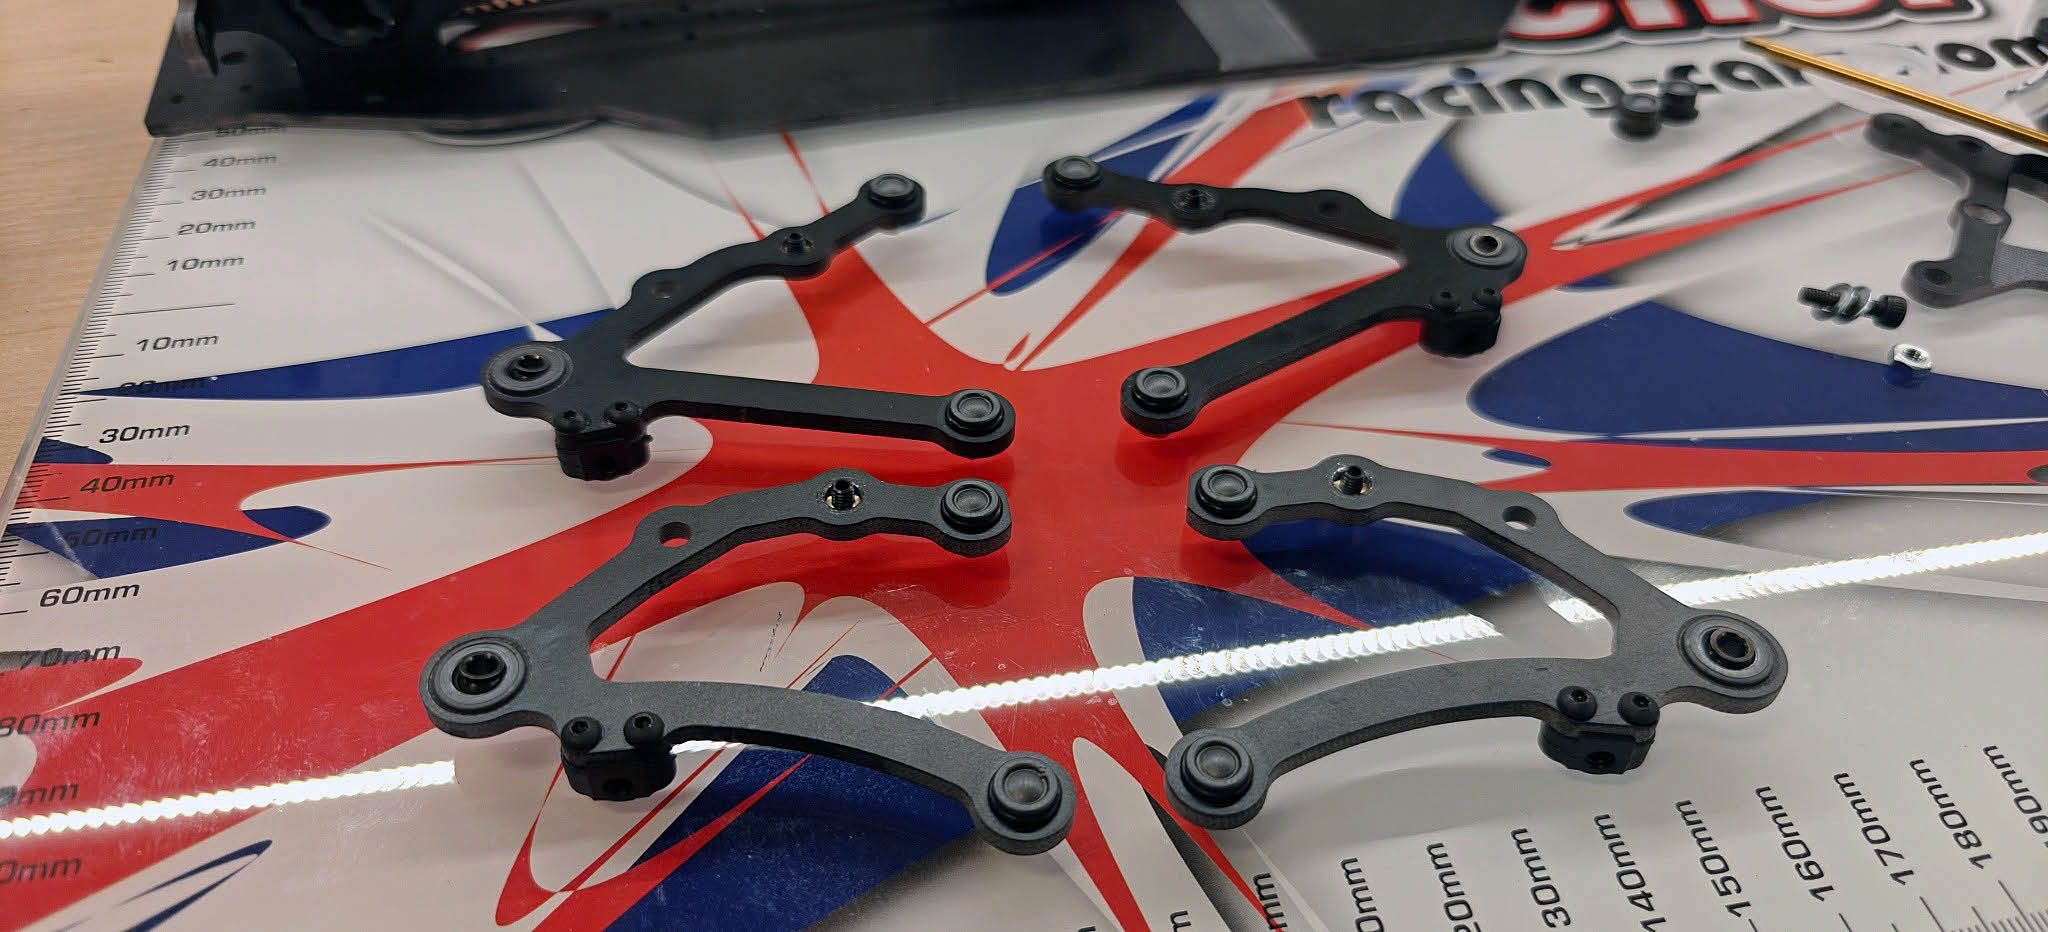
Now it's time for the lower link arms. These are also the ones in fiberglass and use the plastic cups from Ft8 / Mi8 (gray). The balls sit tightly in their cups so they have to be worn in, but the report on the team forum states that they release fine after just a few runs.
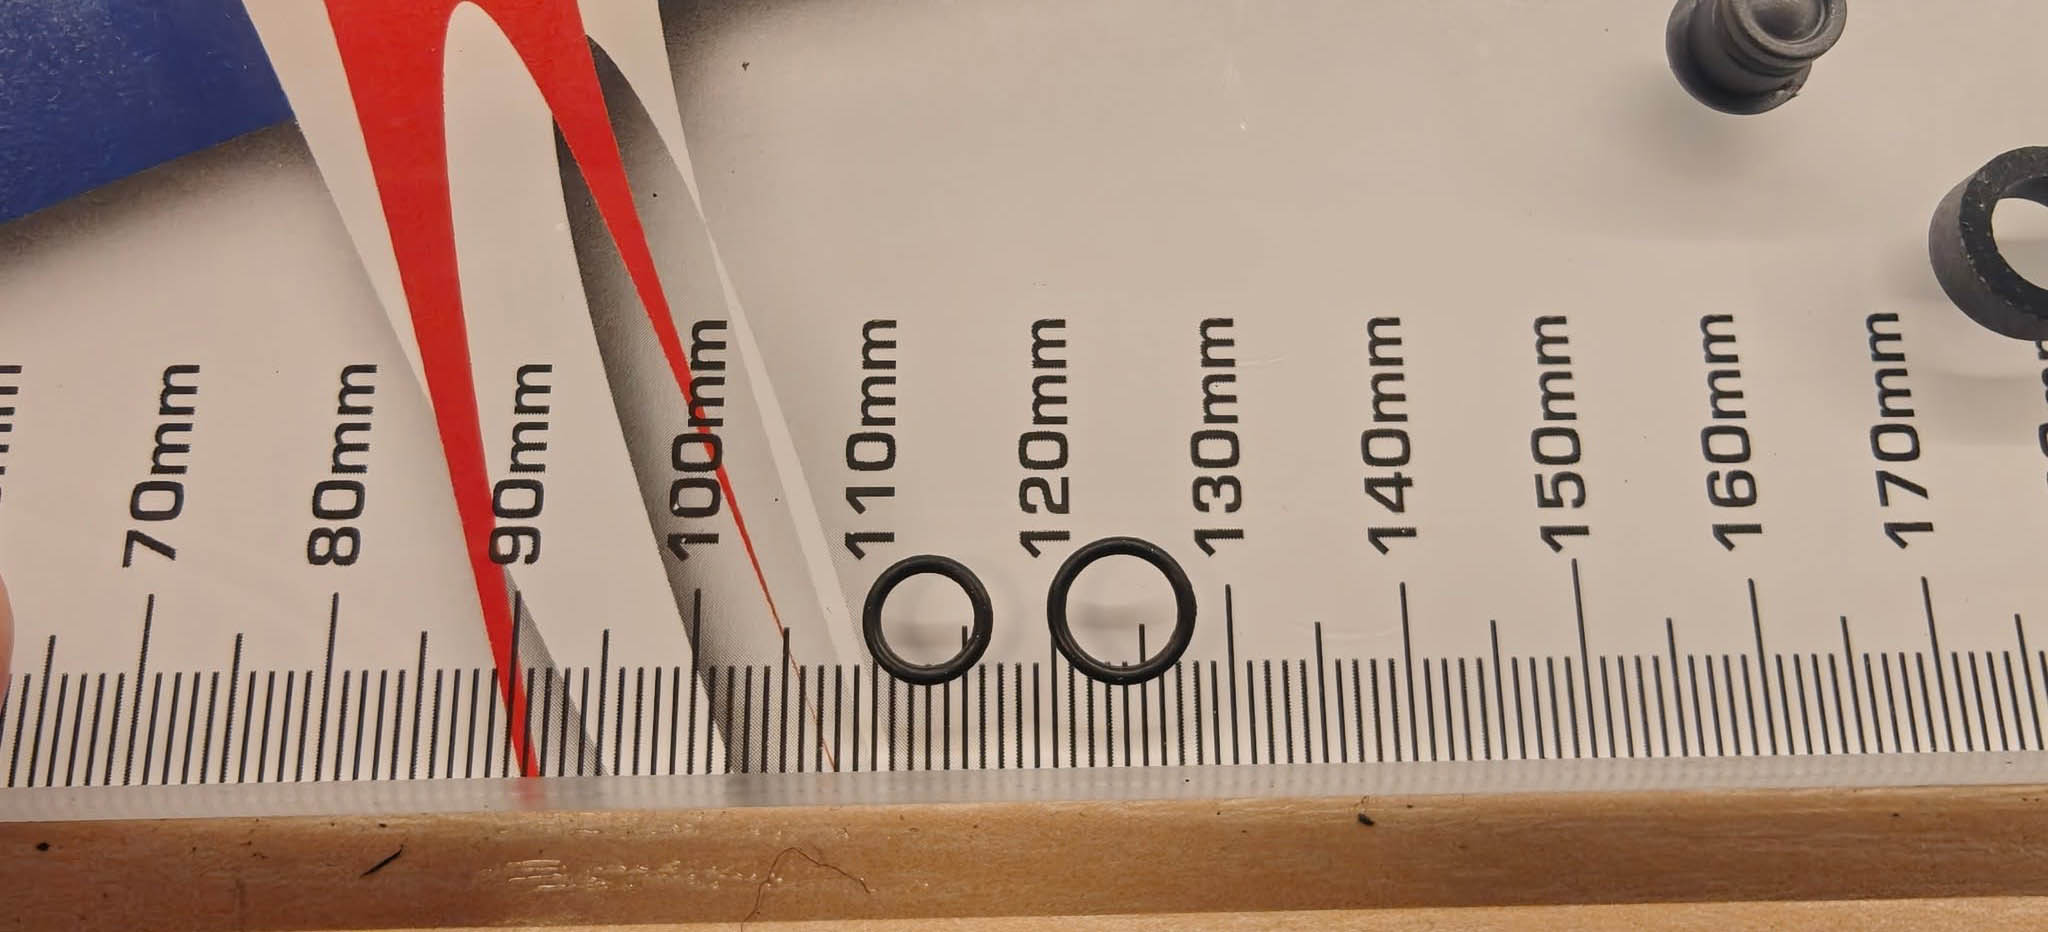
Please note: There are different sizes of the o-rings for the inner and outer cups.
The upper carrying arms are fixed where you can adjust the camber via a right/left-handed stag. I always choose nowadays to put the normal gang out on anything that can be adjusted. Then it becomes easy to think when adjusting!
Hubs & Drivaxes
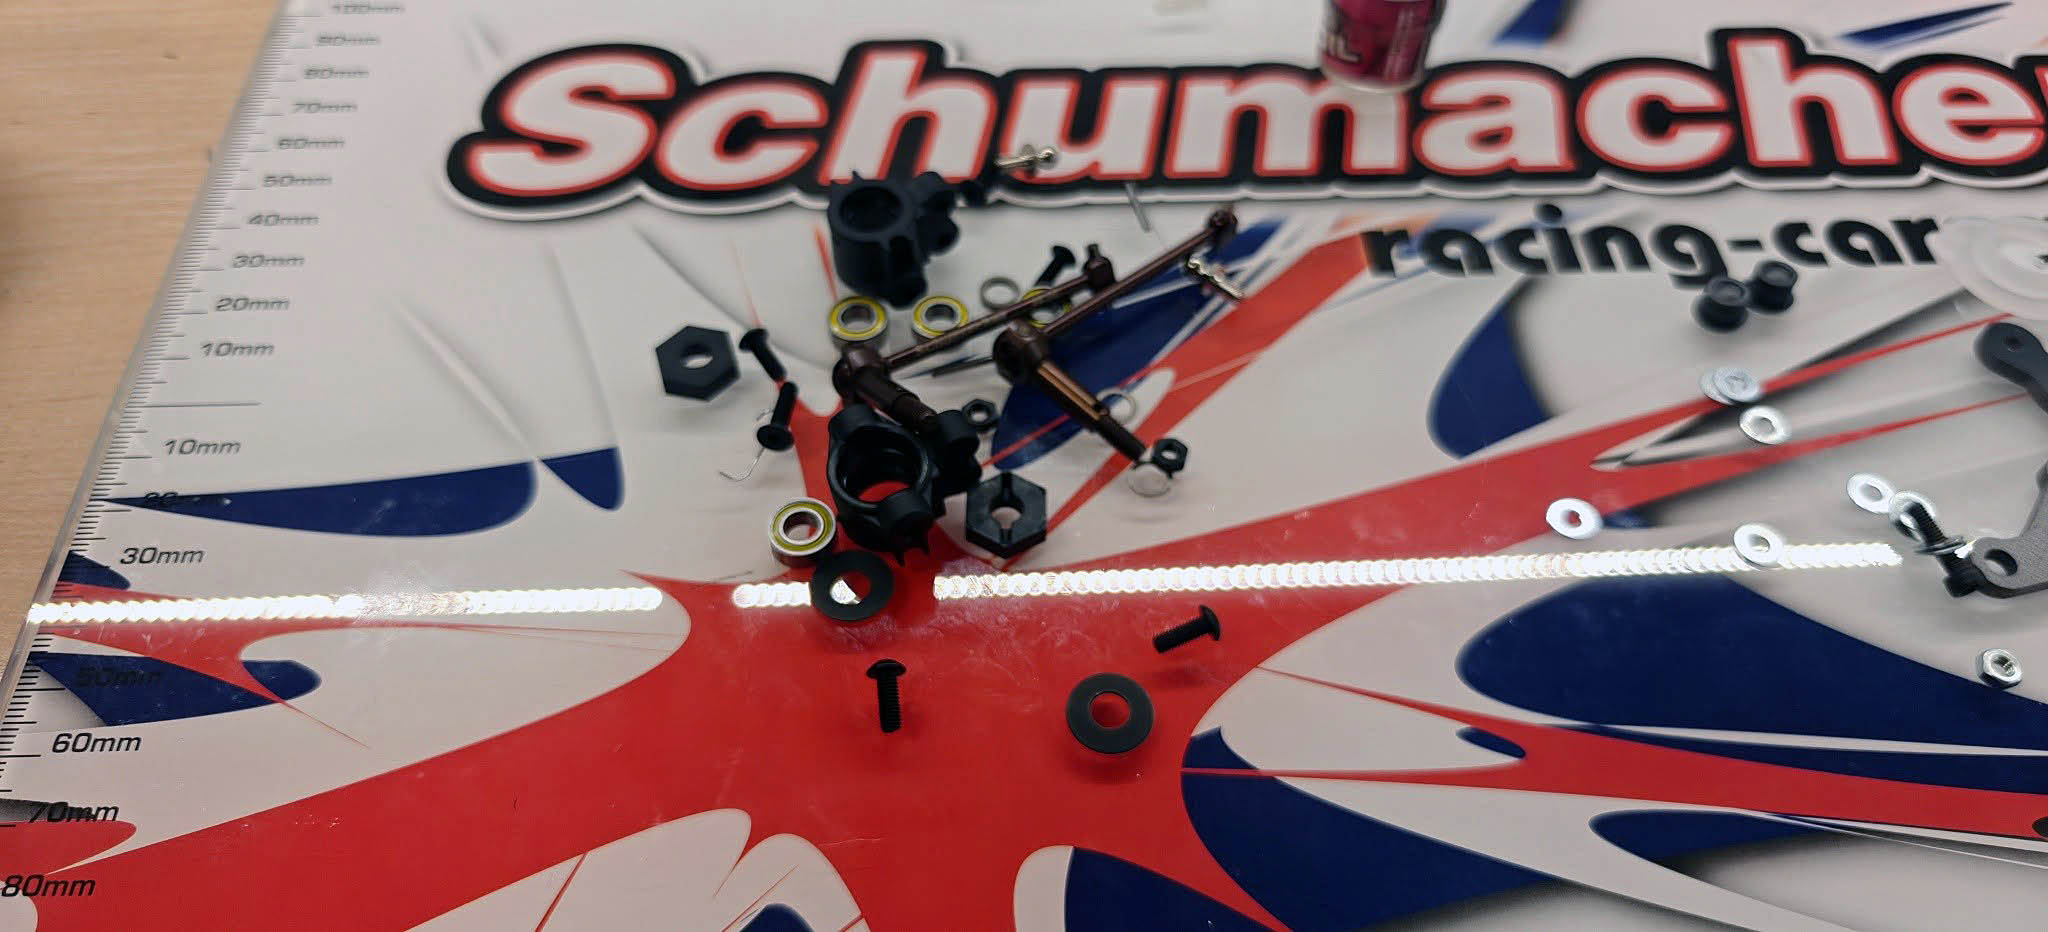
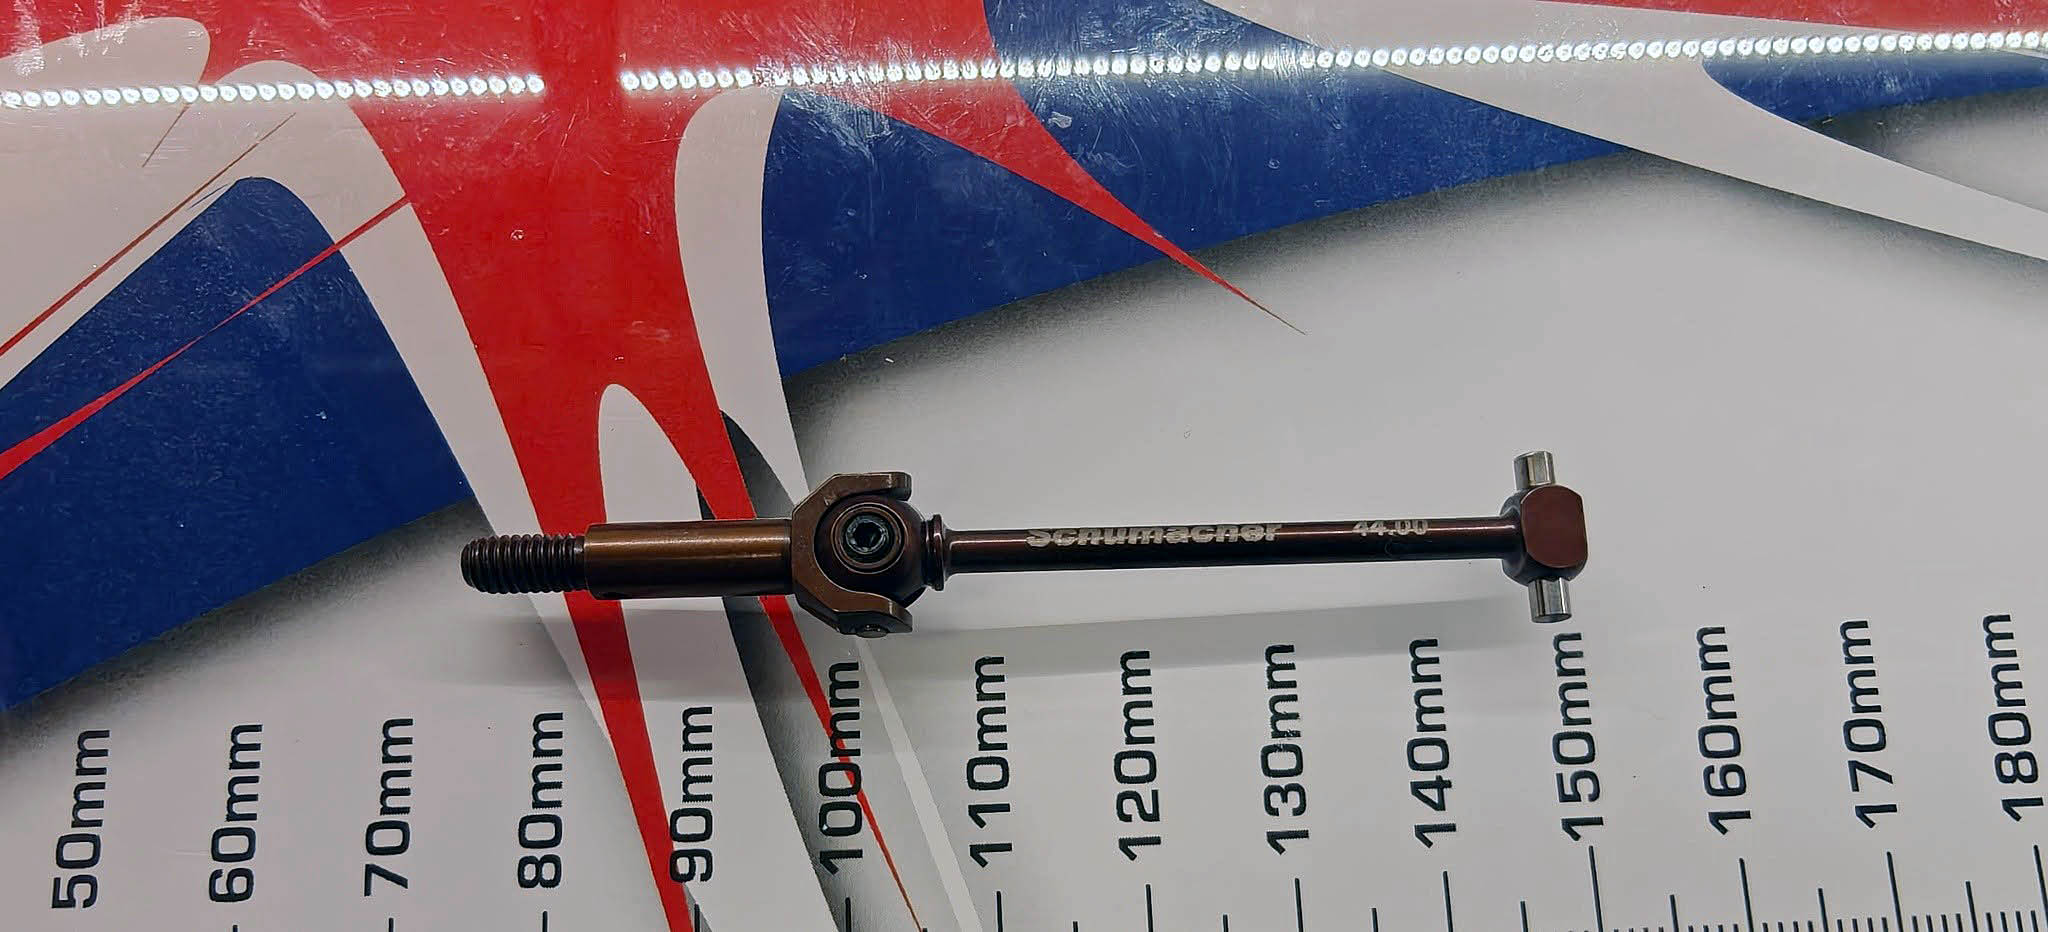
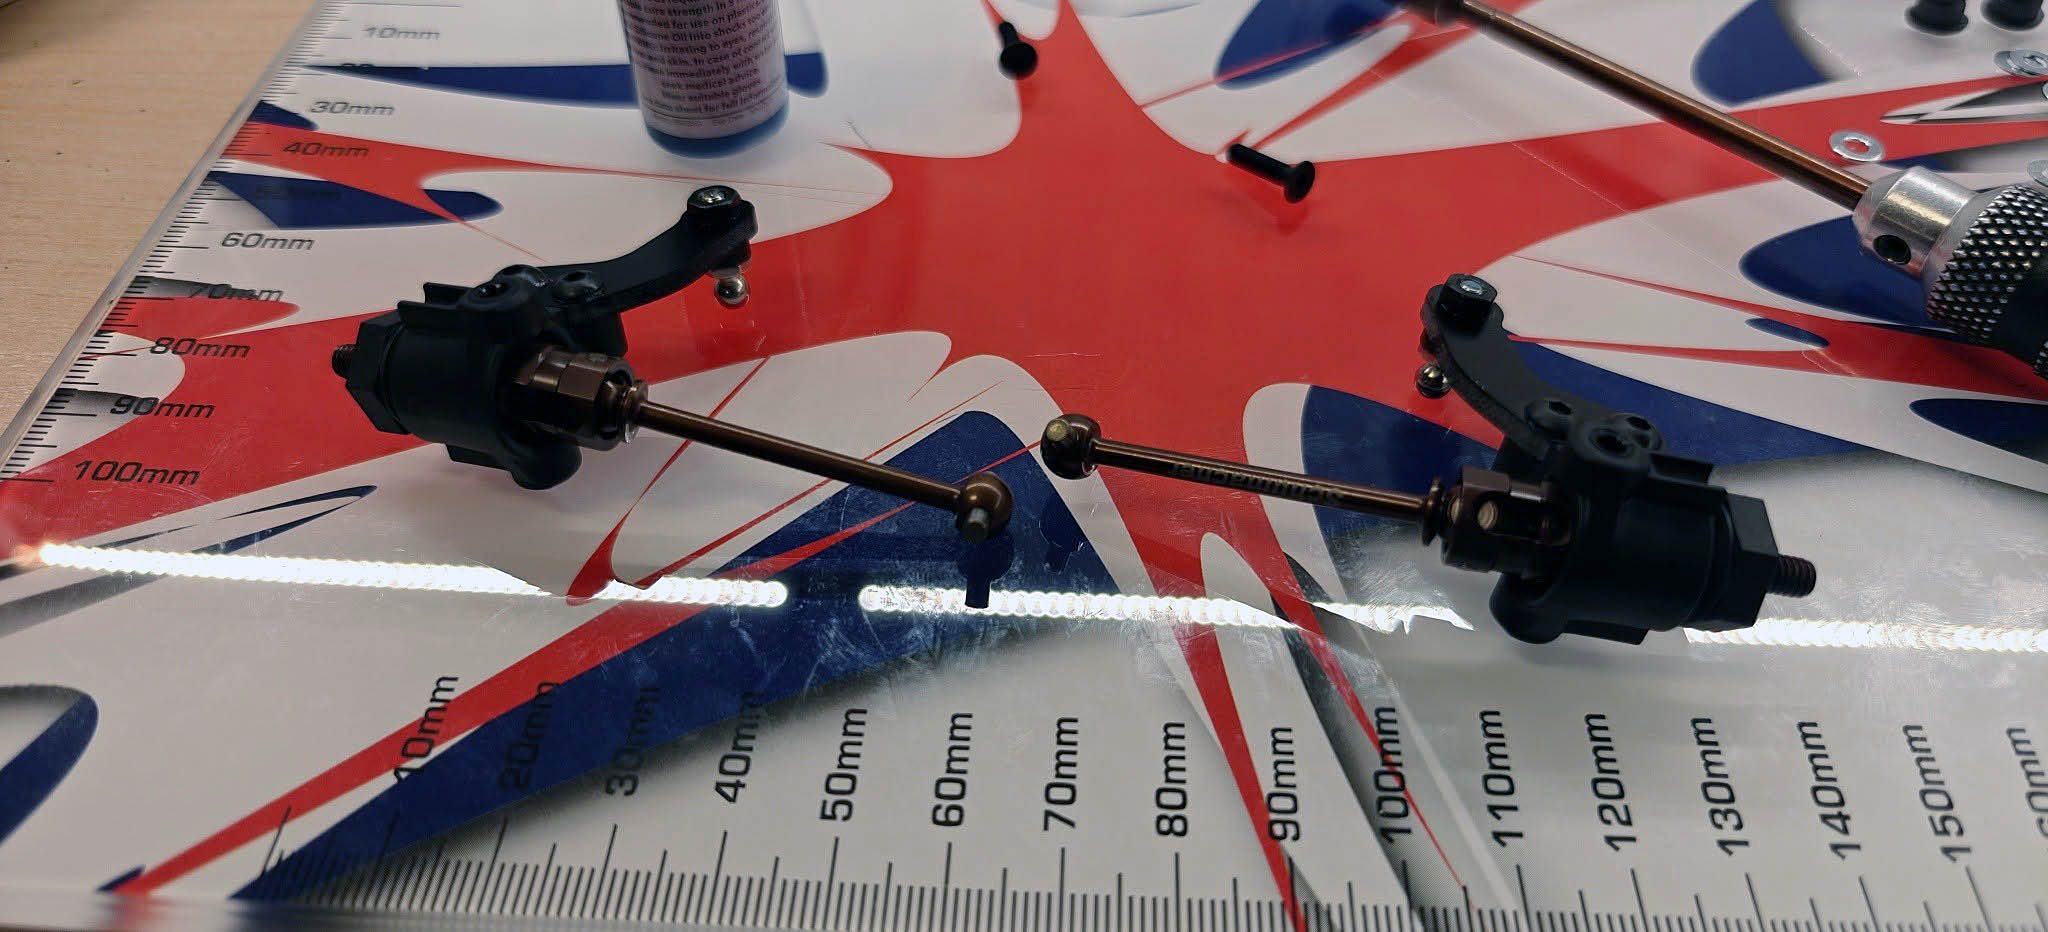
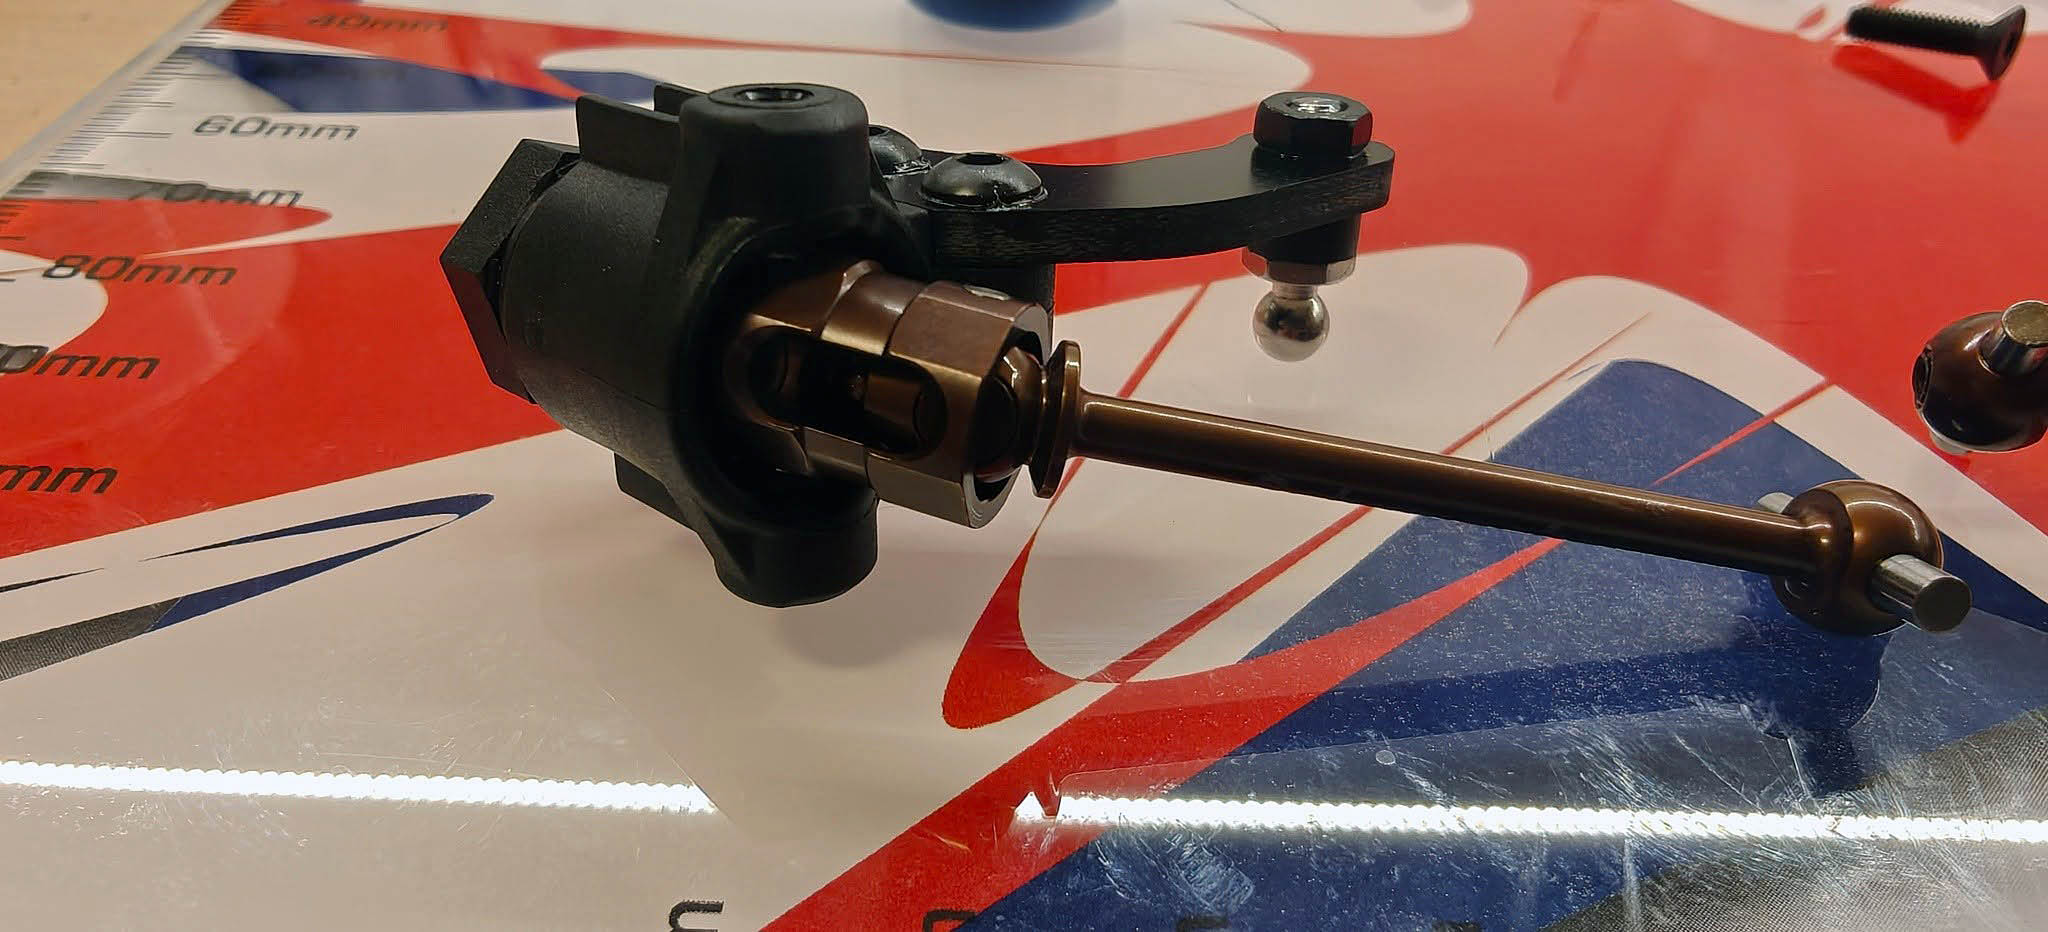
The hubs are the same as on Ft8/Mi8 with 5x10 ball bearings. Very positive is that there are real drive shafts included: CVD in the back and Double CVD in the front! These actually come pre-assembled, so the only thing you have to do is to add a small drop of thin oil.
TIP: I DO NOT recommend graphite grease on these as it ties dust and gravel easier, which can lead to faster wear and tear.
Steering linkage & electronics
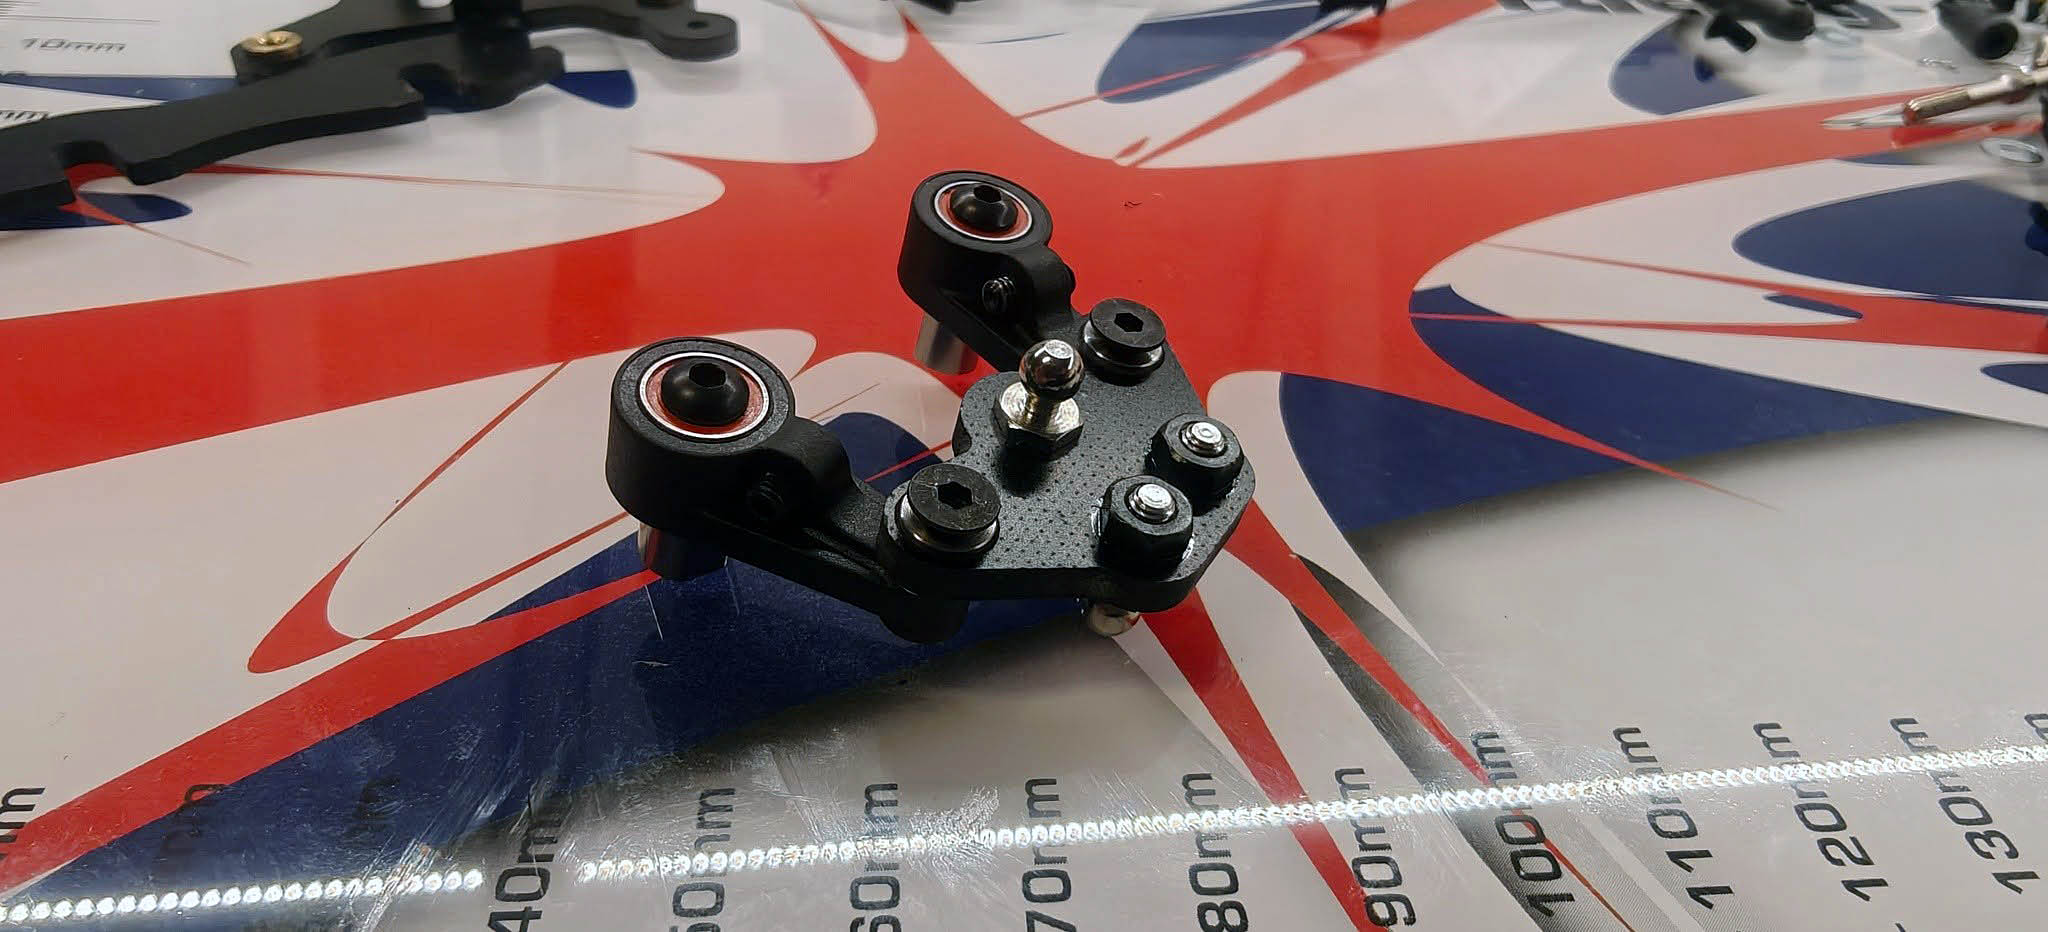
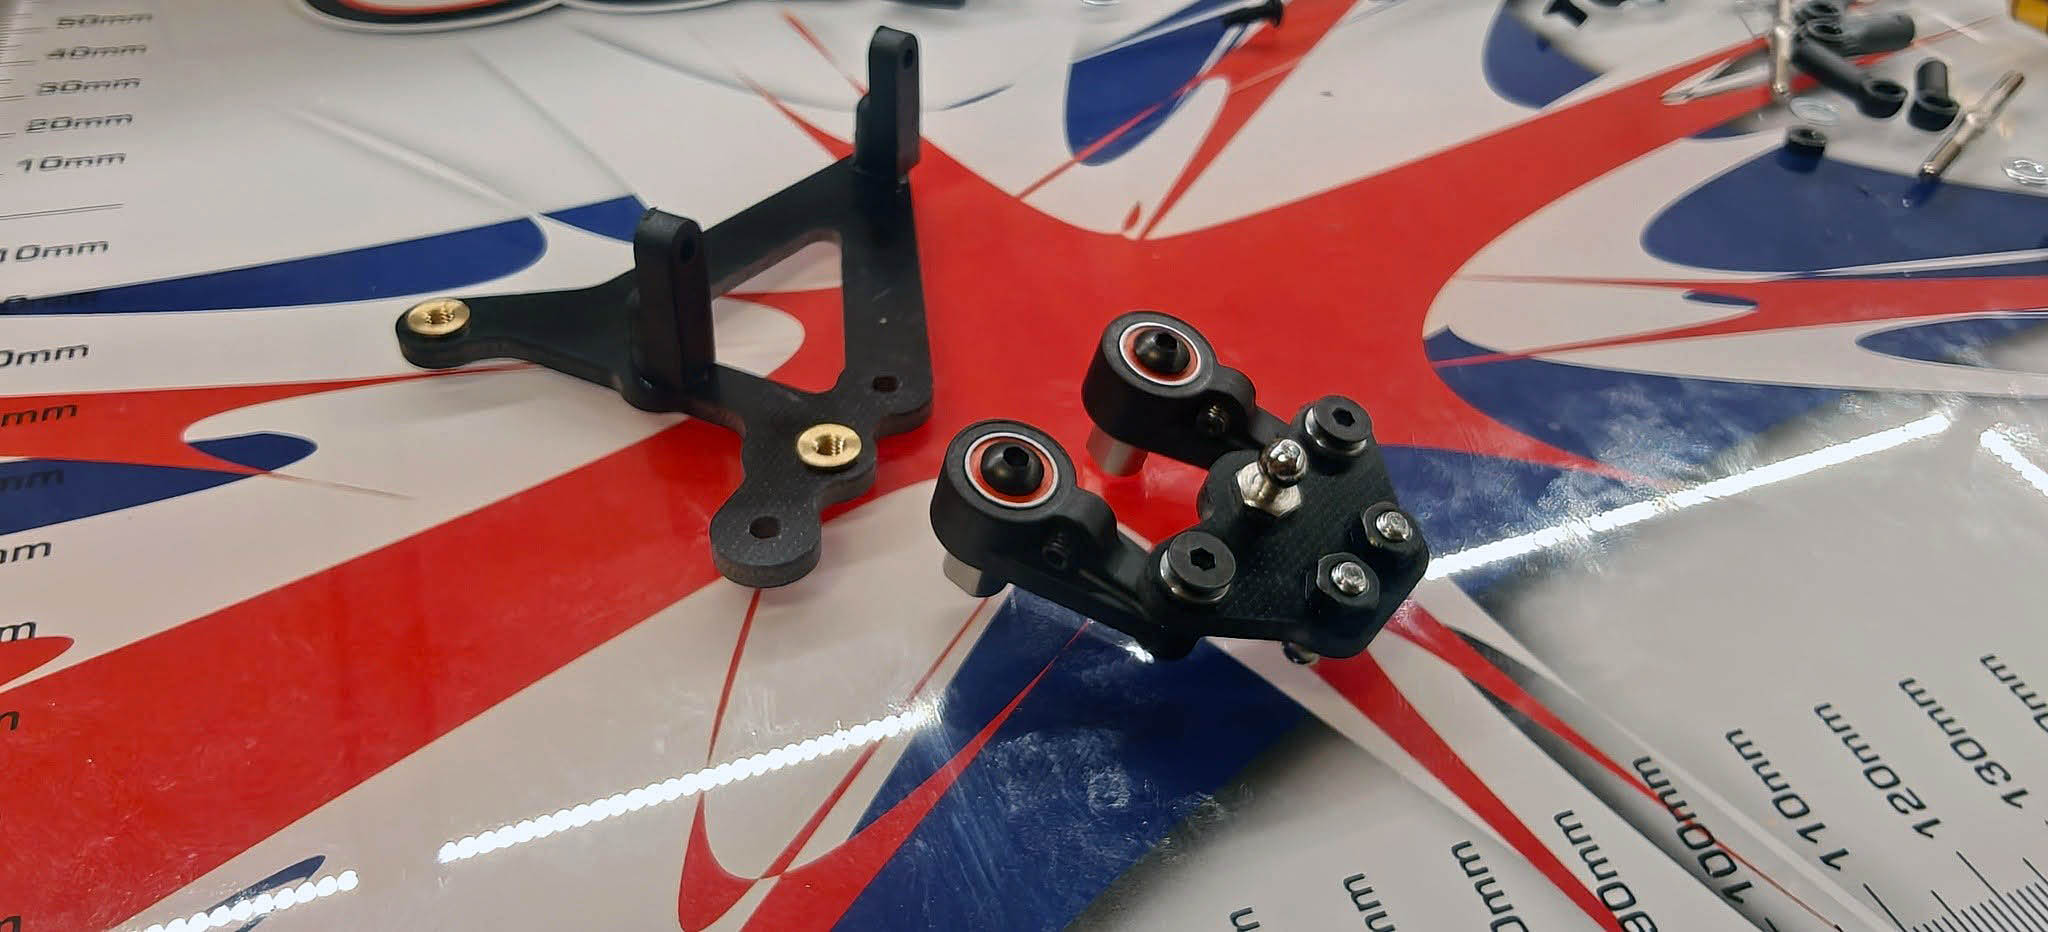
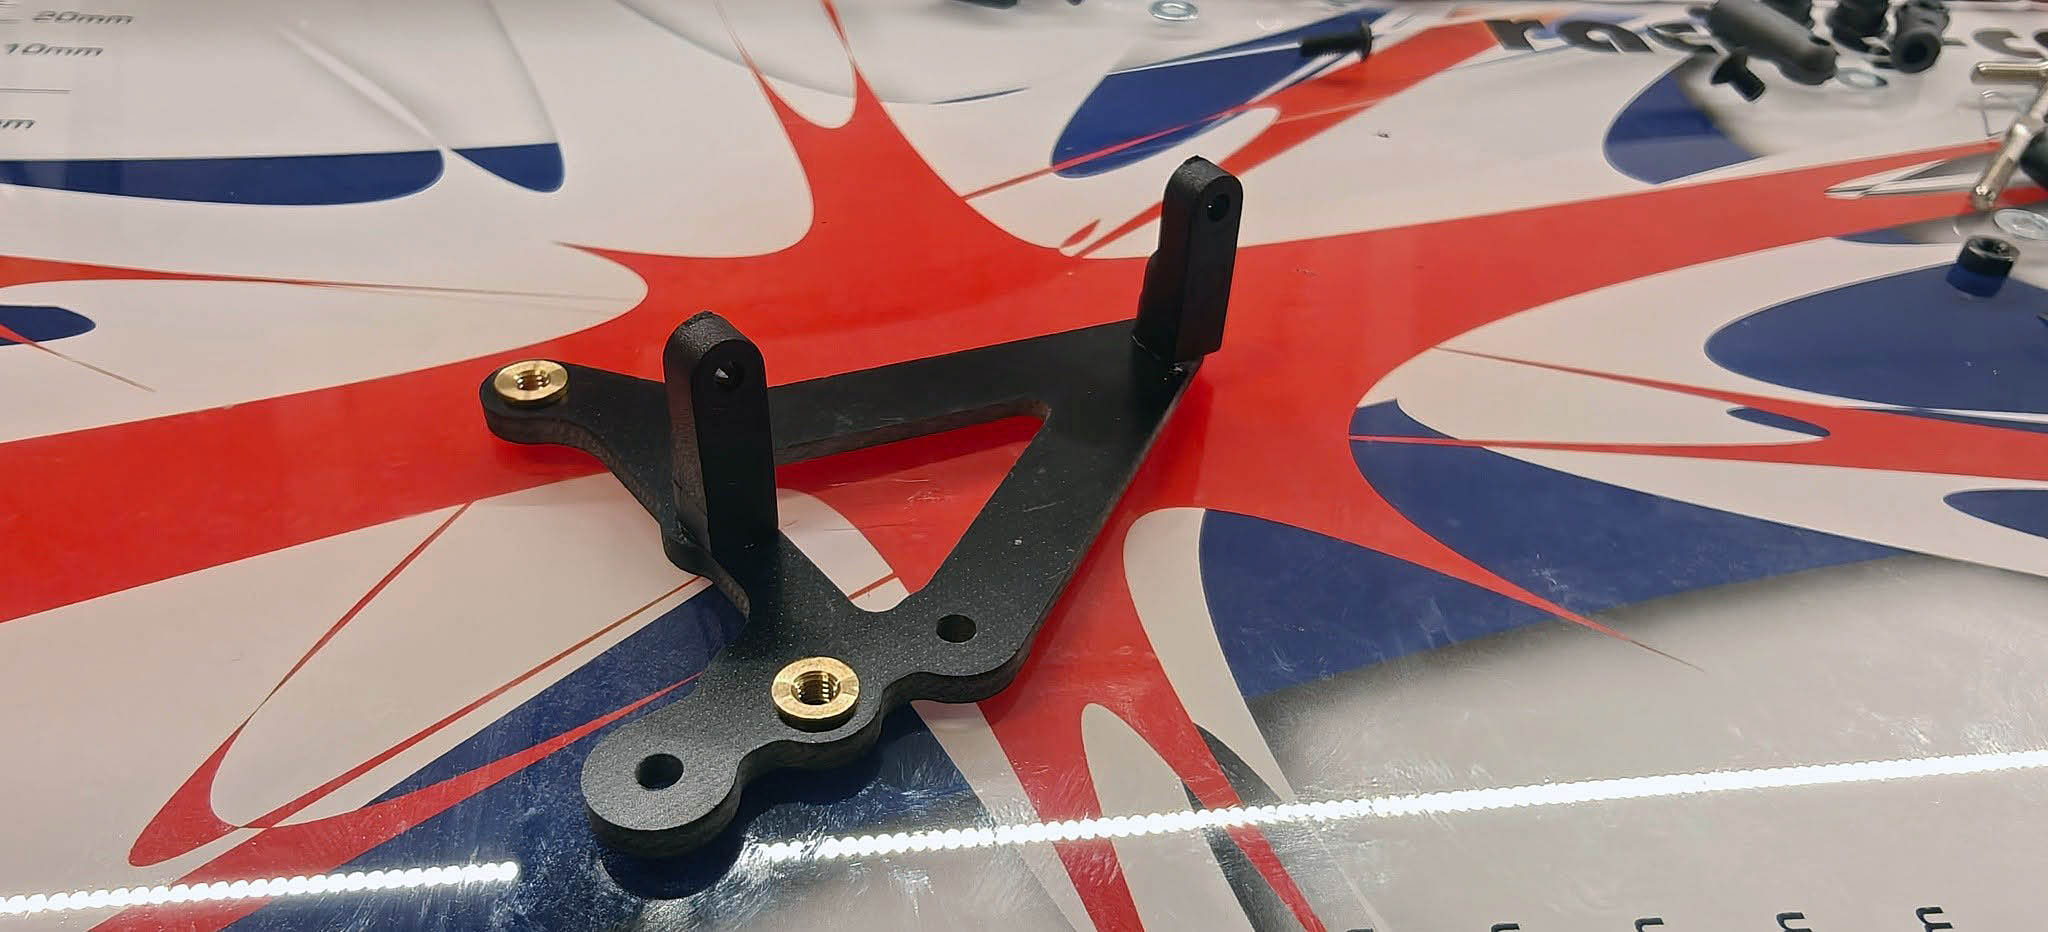
The steering link is like any other modern car. There are two Mi9 control arms made of plastic that are tied together here also with a plate of fiberglass. Steering stop is adjusted with stop screws.
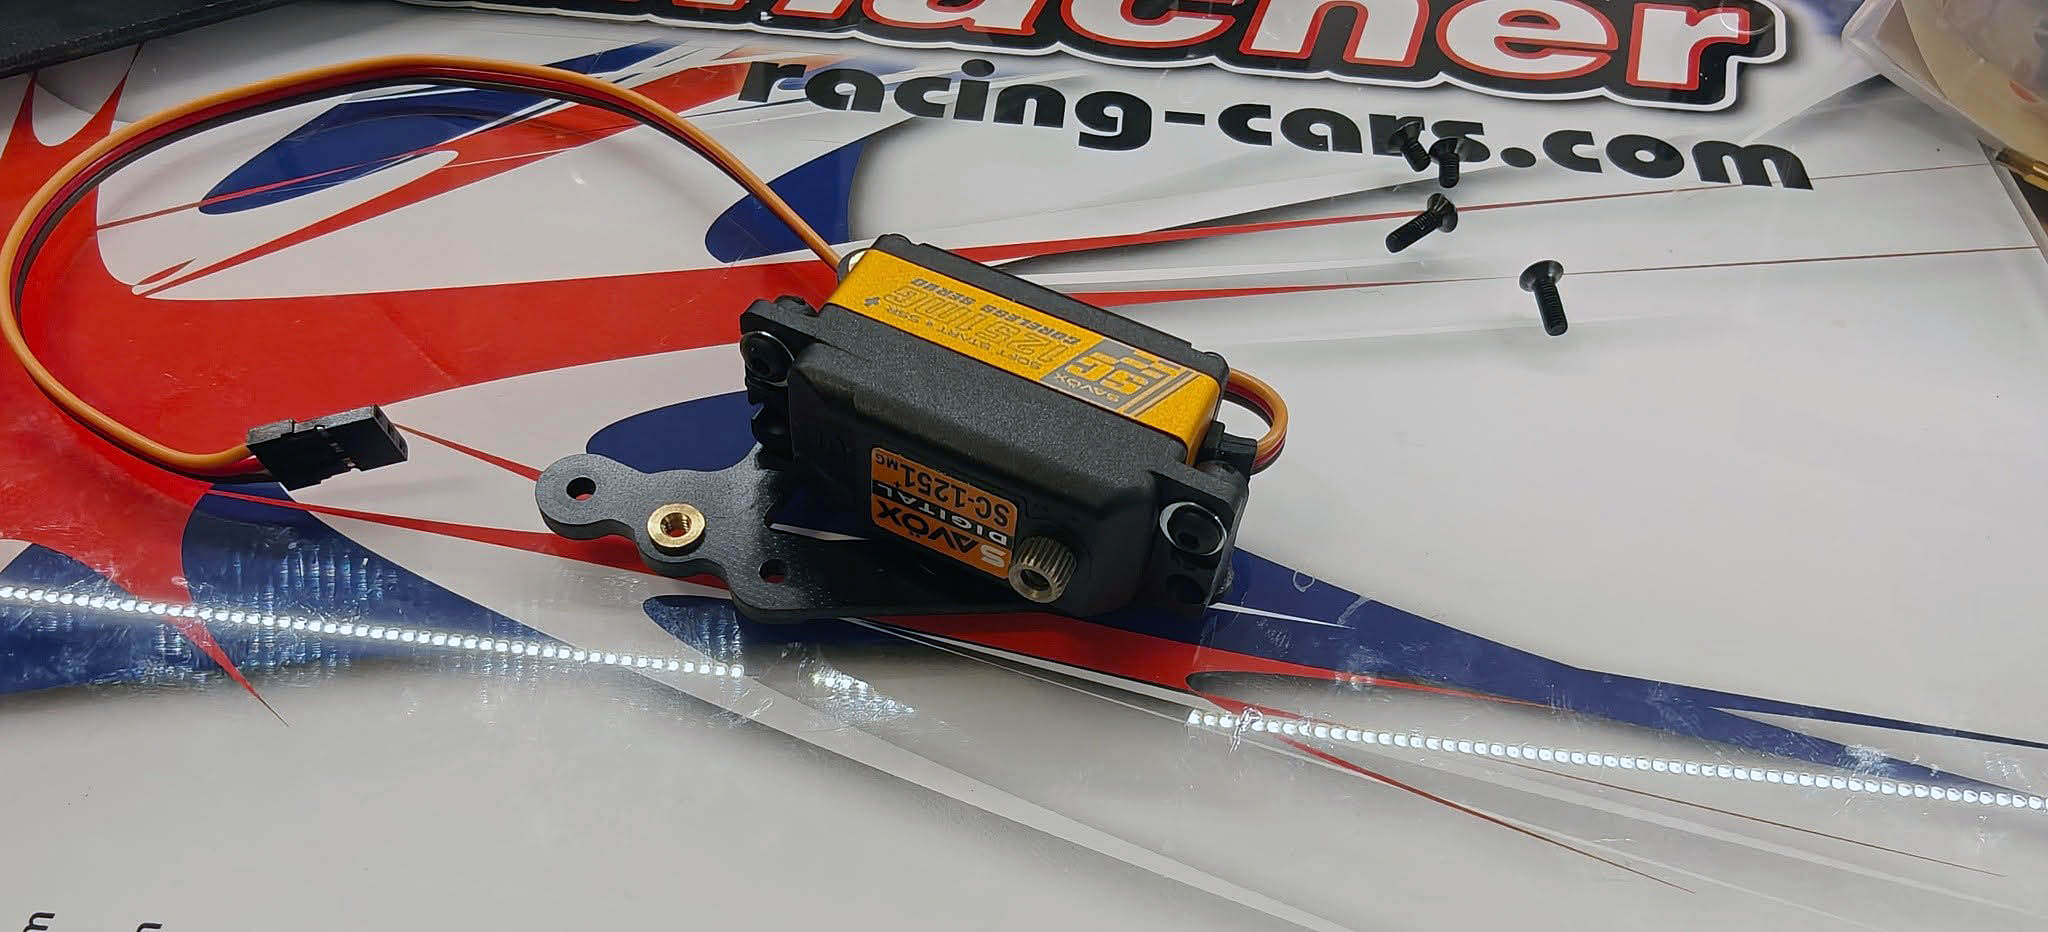
The entire arrangement is then mounted on a plate where also the servo is mounted. Here it would have been good if the screws for the steering arms had been attached only to the plate, but now they also go through the chassis, which makes it a little more troublesome to change the servo if needed.
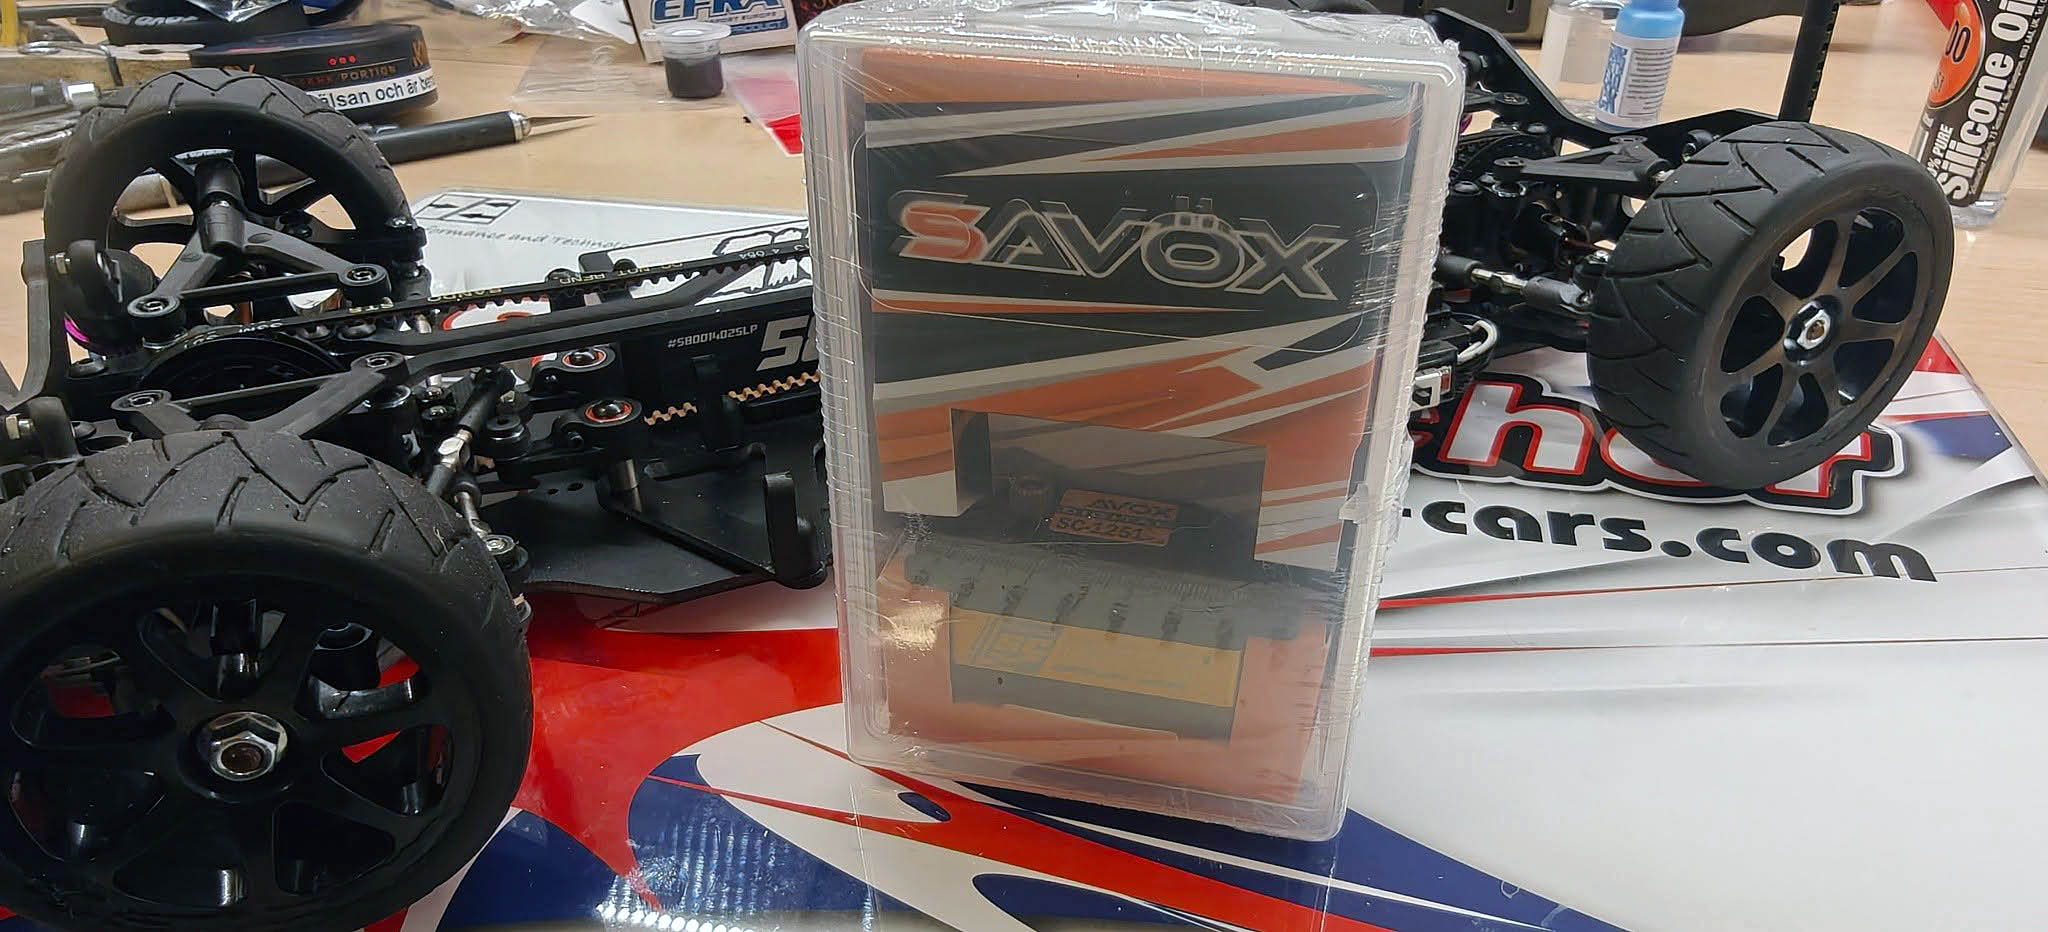
Servo: I chose a Savöx SC1251, which is an excellent beginner servo with metal drive.
Other electronics: A Justock ESC with 13.5t engine completely according to the GT regulations and acces from Zombie.
Shock absorbers - Big Brother's legacy?
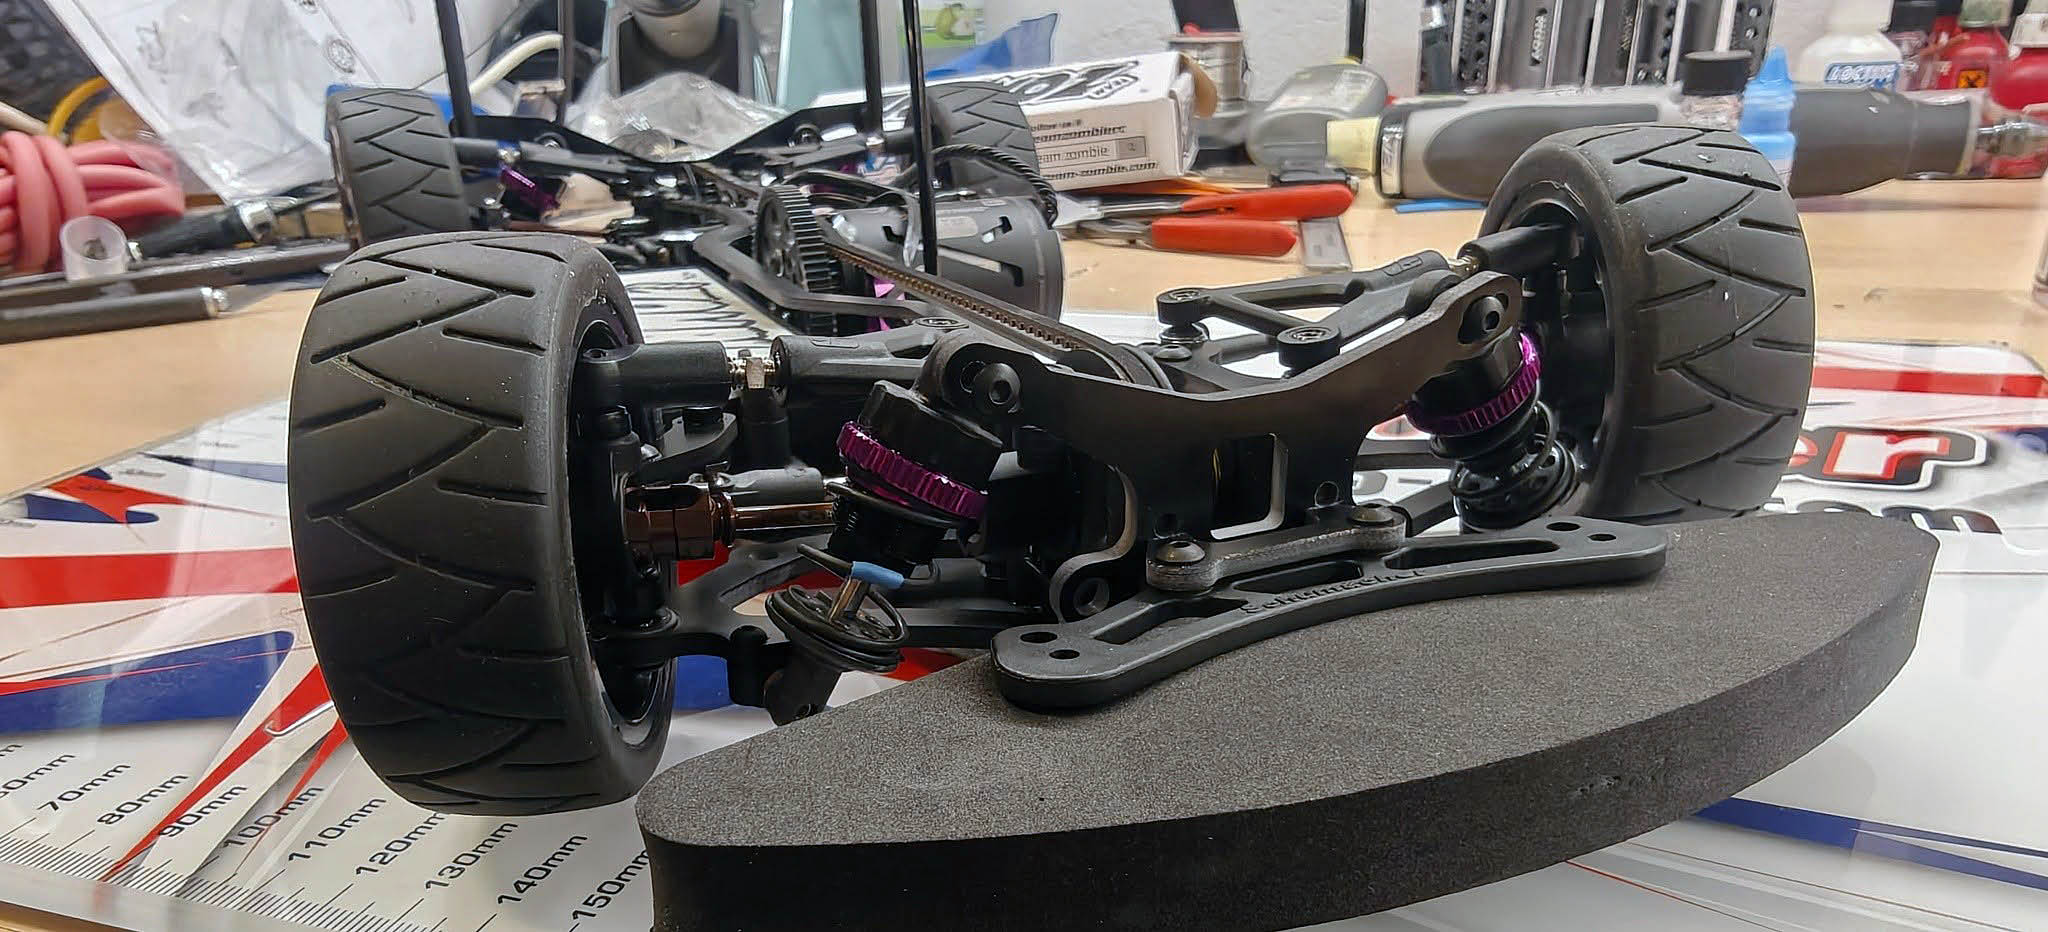
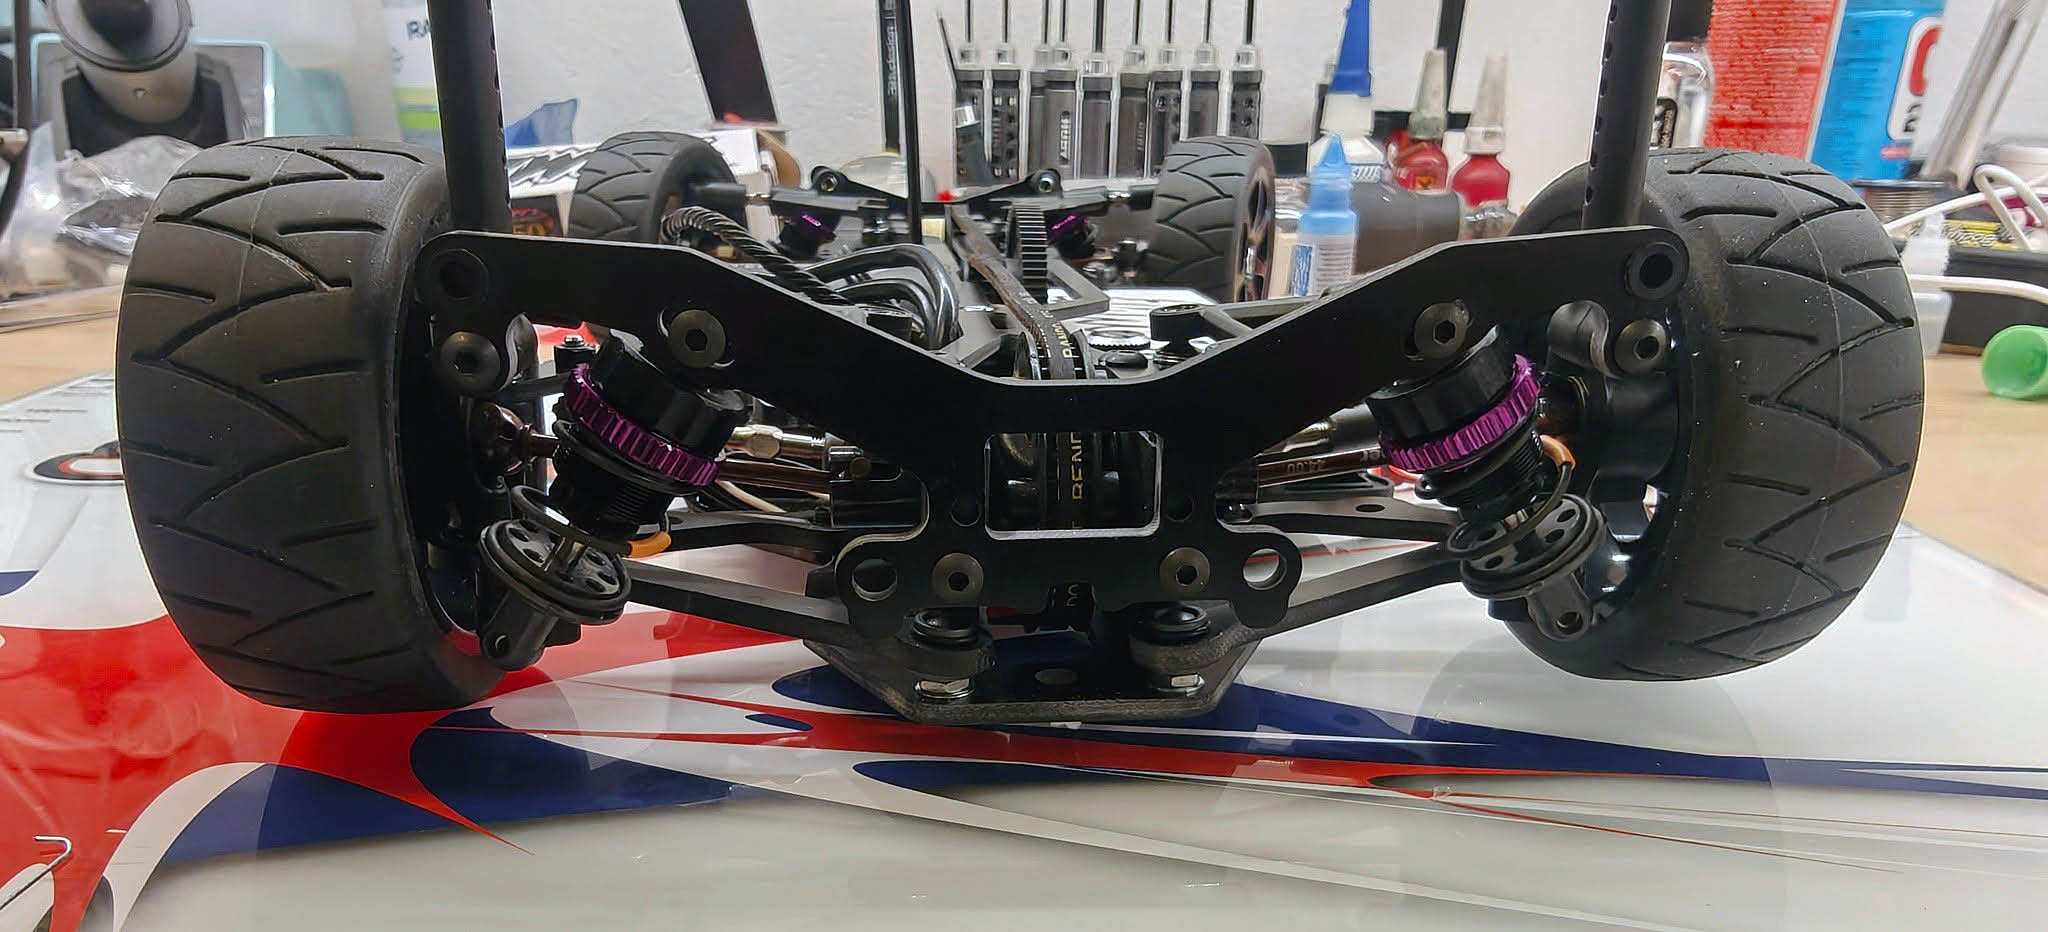
The shock absorbers are very much reminiscent of those that are also found on big brother Mi9. The house is made of metal, the pistons are screwed on the damper axle and it comes with shims to be able to "tighten" the o-ring seal. I also built the silencers completely according to the manual.0
Warning: Take care when screwing the piston. I took a bit of a lot and cracked a screw!
Unlike more expensive cars, the top here is completely in plastic and in part instead of separate. However, this is nothing that affects its function. The manual indicates that you can drill the top to get a ventilation hole for the membrane. This is something I recommend you to do when it becomes much easier to get to "zero rebound", i.e. that the shock absorber does not push the shock shaft out from the fully pressed position.
Springs in the box: Orange behind (2.7) and blue front (2.6), which is absolutely right!
What's going on now?
Now setup is waiting for the weather to get warmer, then we will evaluate Vibe TC's performance versus price!
I will also compile a complete purchase list so we see exactly what money it is about to be able to start driving in the GT class.