|
- Roche F1 Evo - Build -
Alexander Stocker: As the nationals are comming soon, it´s time to prepare my car for it. I´ll take this opportunity so tell you something about the new Roche F1 Evo, what has changed and why.
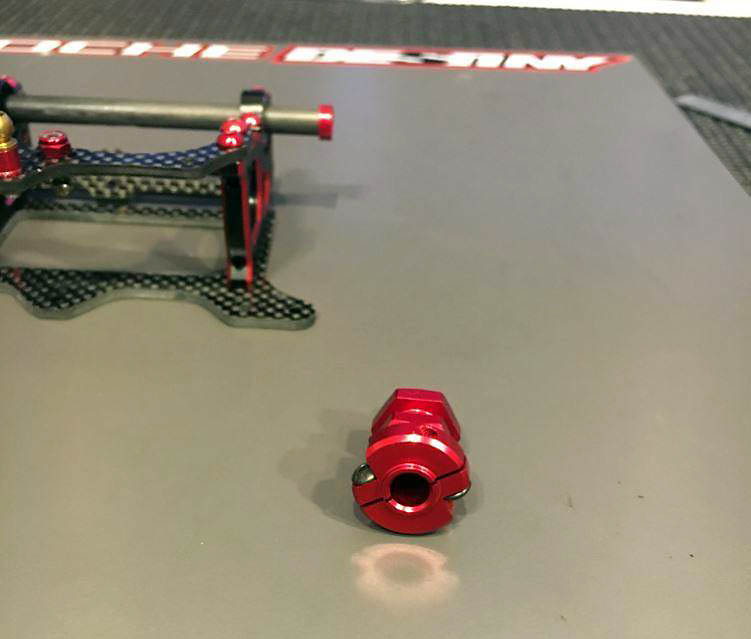
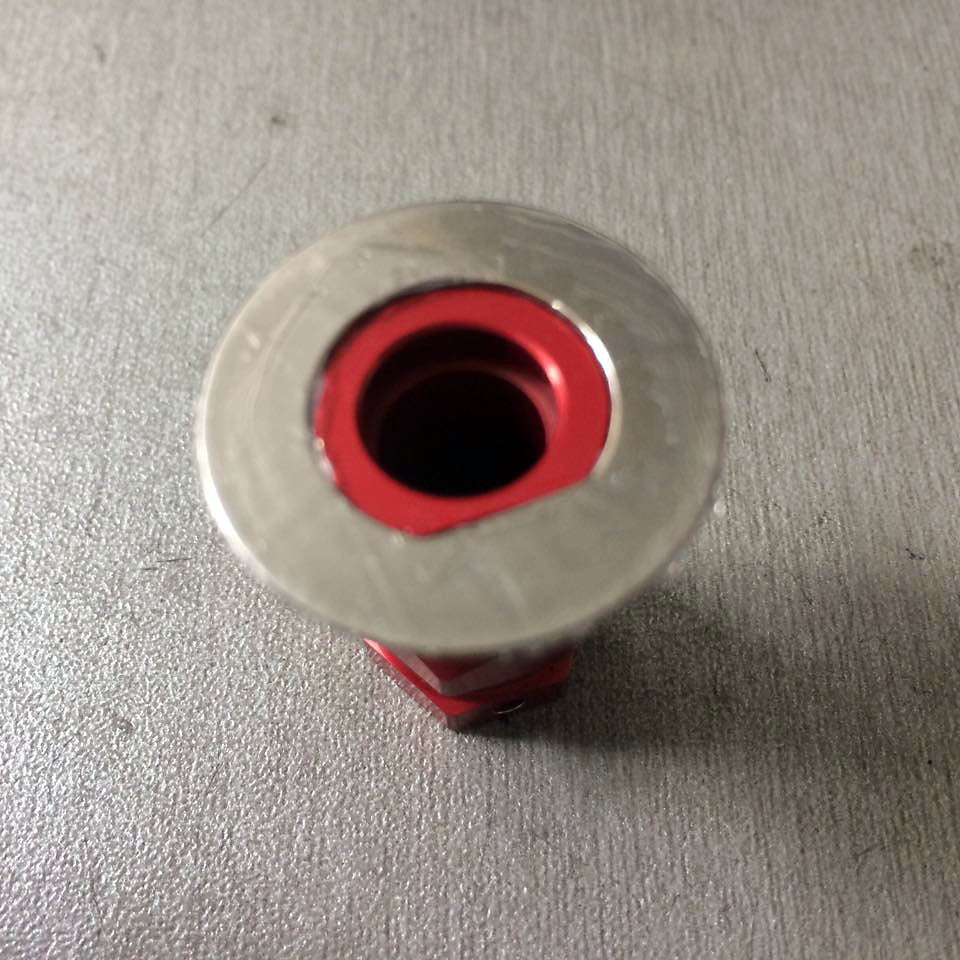
Let´s start with a small part, the left wheel hub. In the past it was a one screw solution to ensure it will spin 100% in line. On the other hand you´ve to tighten that screw really hard to ensure the hub doesn´t move during a crash. With the new 2 srew version, you needn´t to tightem them as hard without coming in the danger it will come loose.
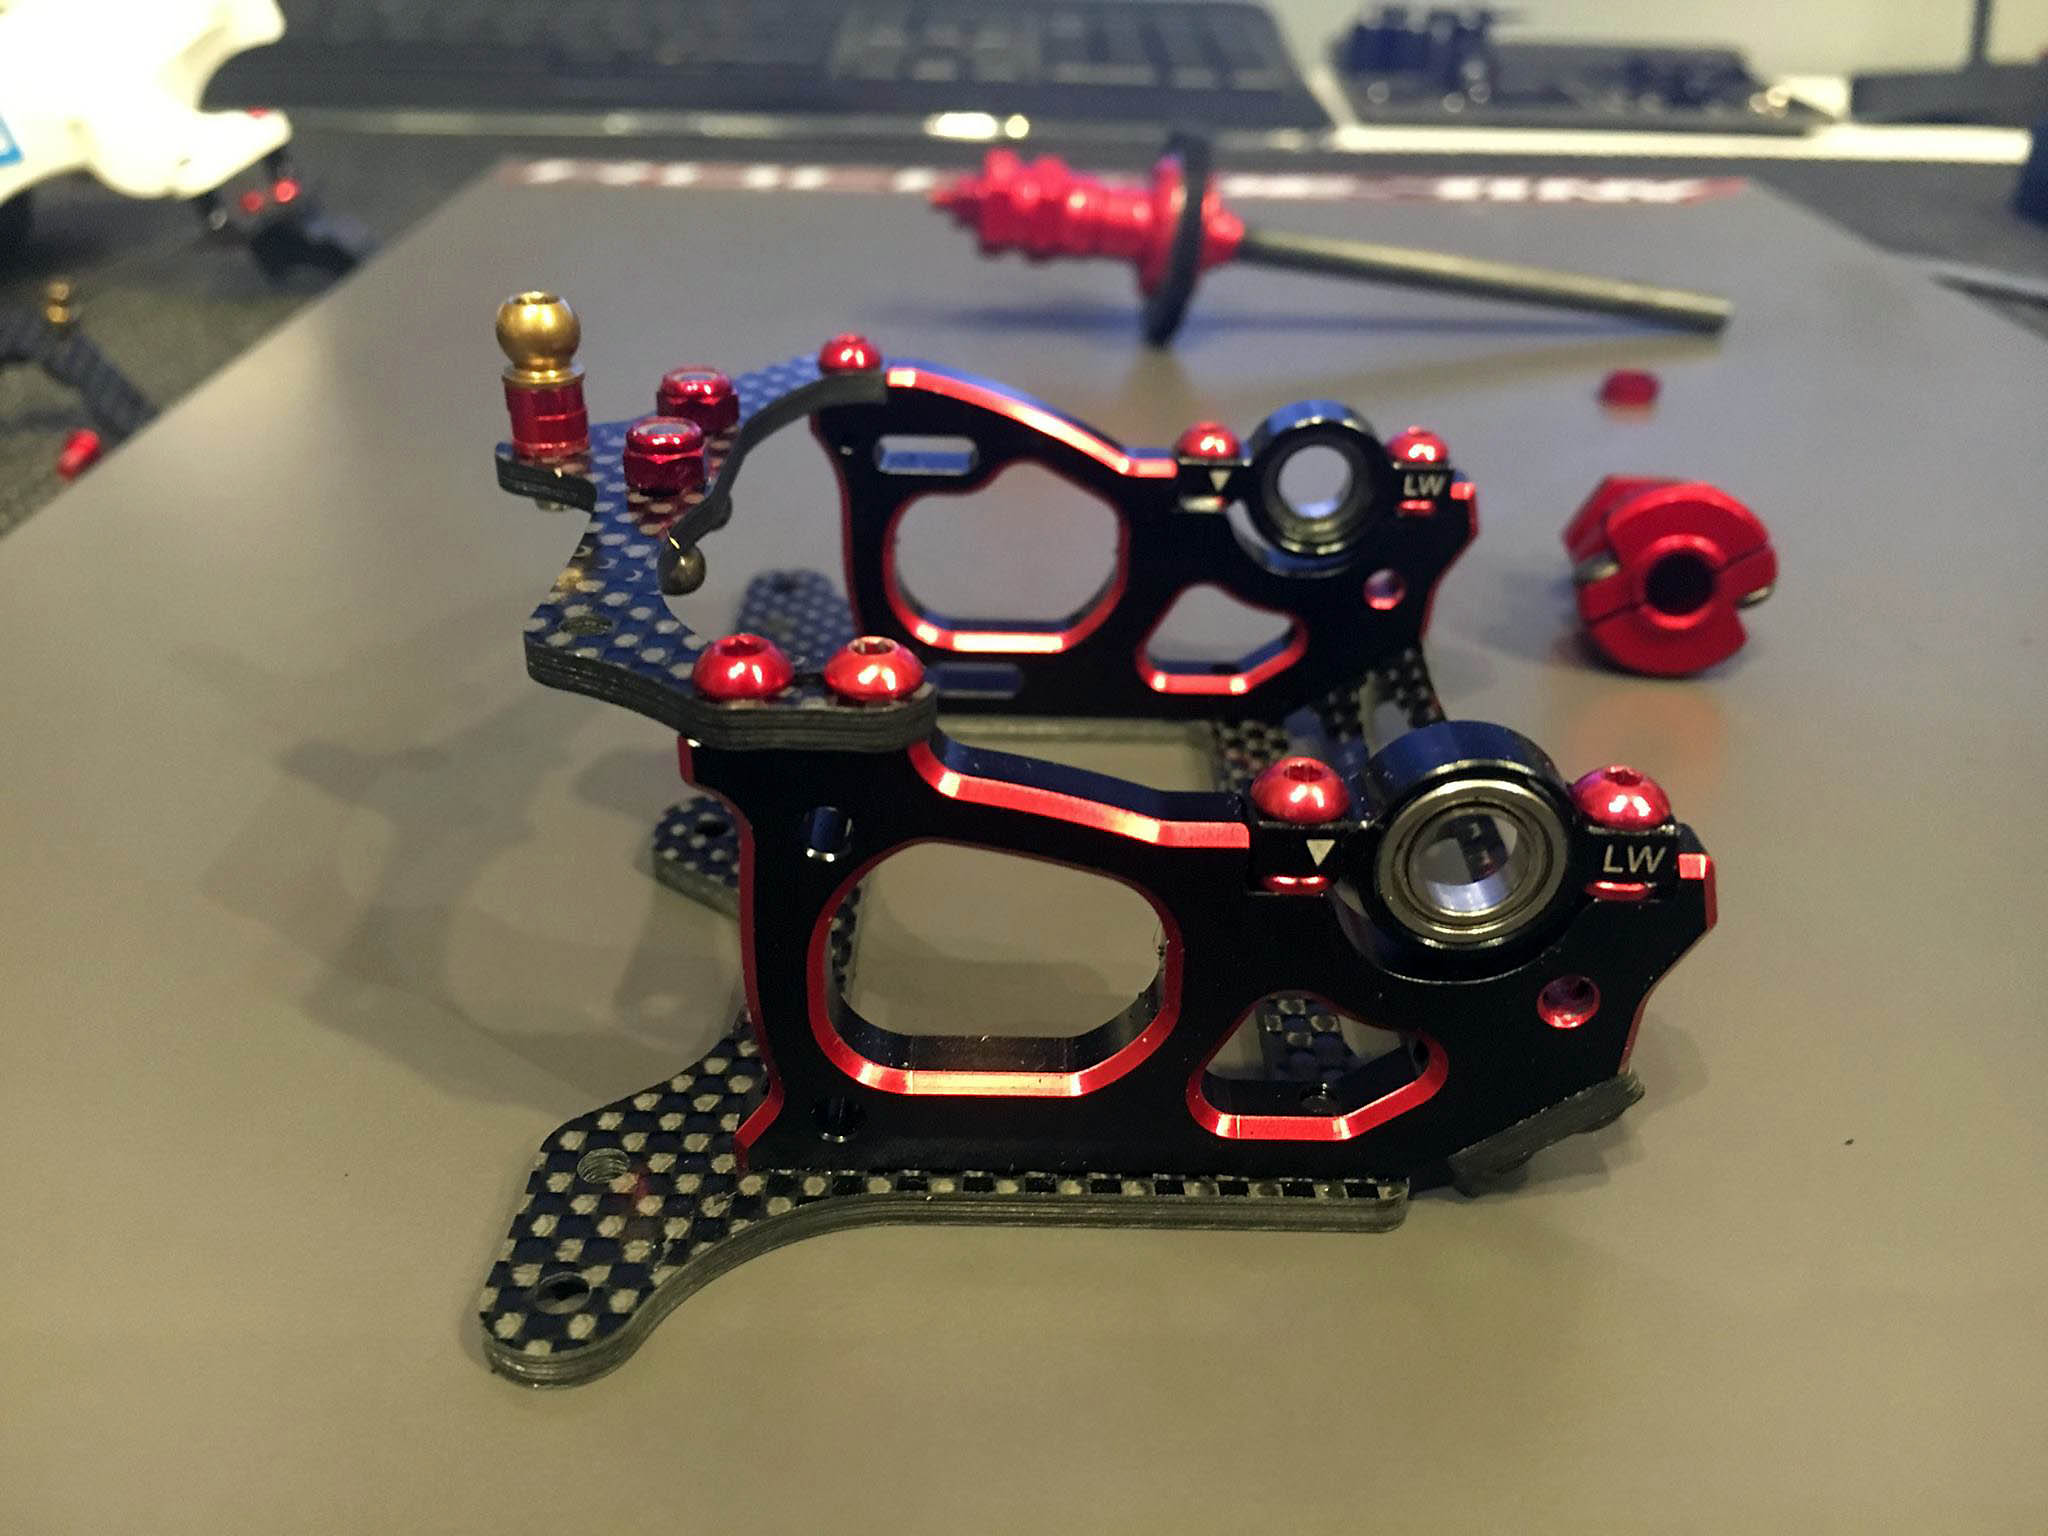
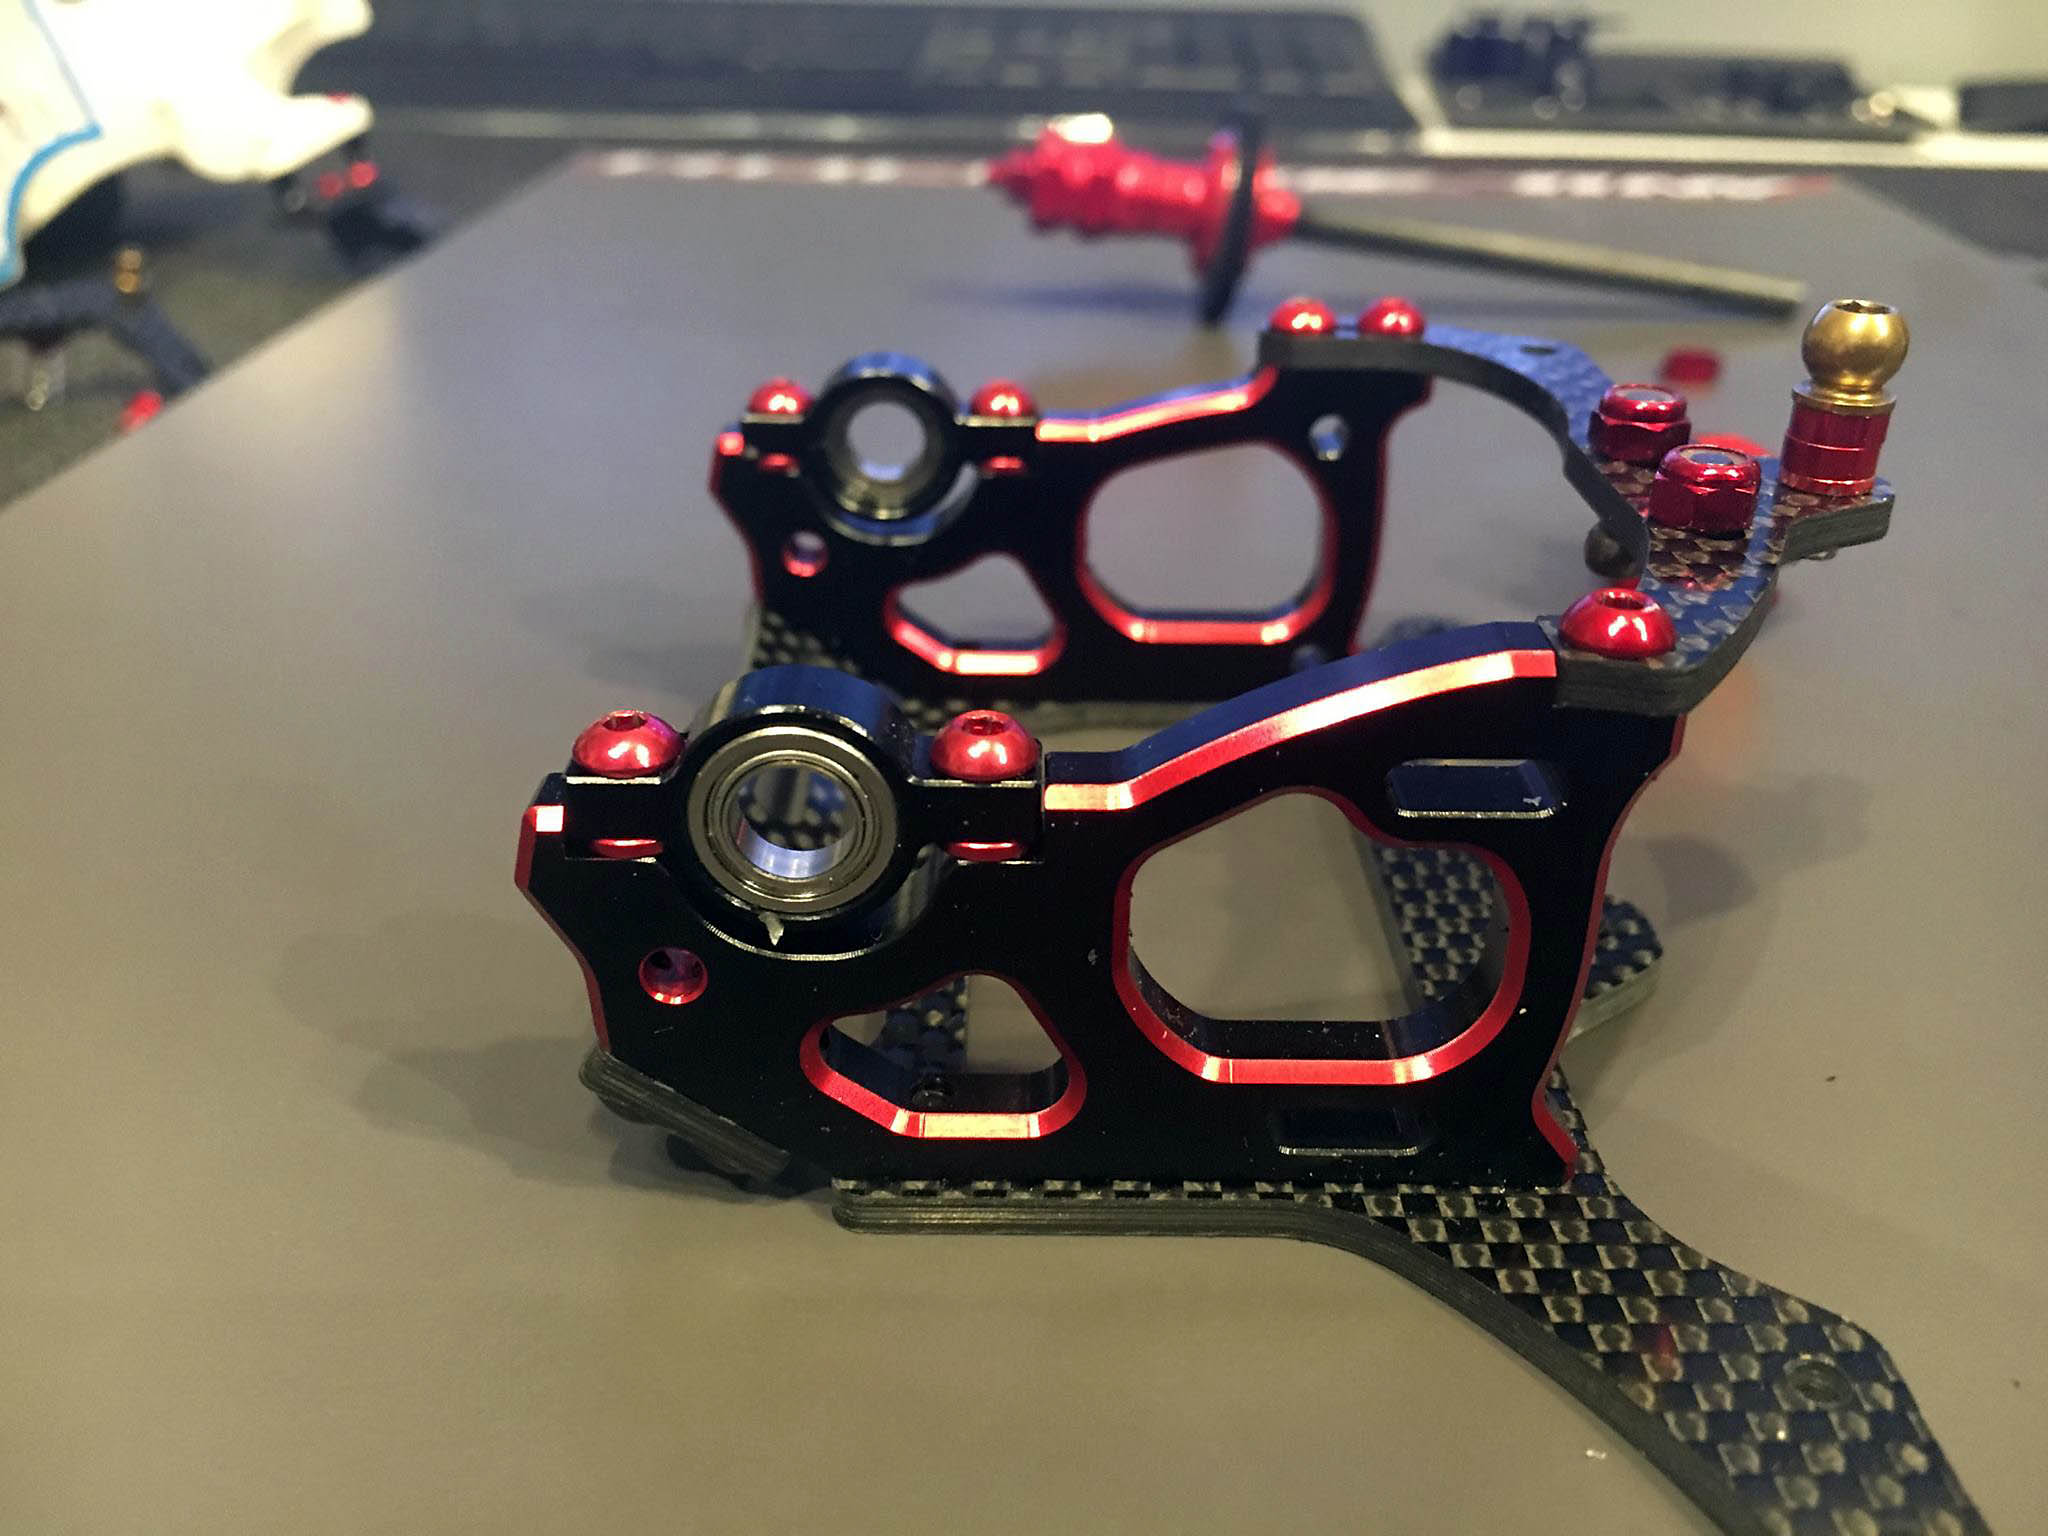
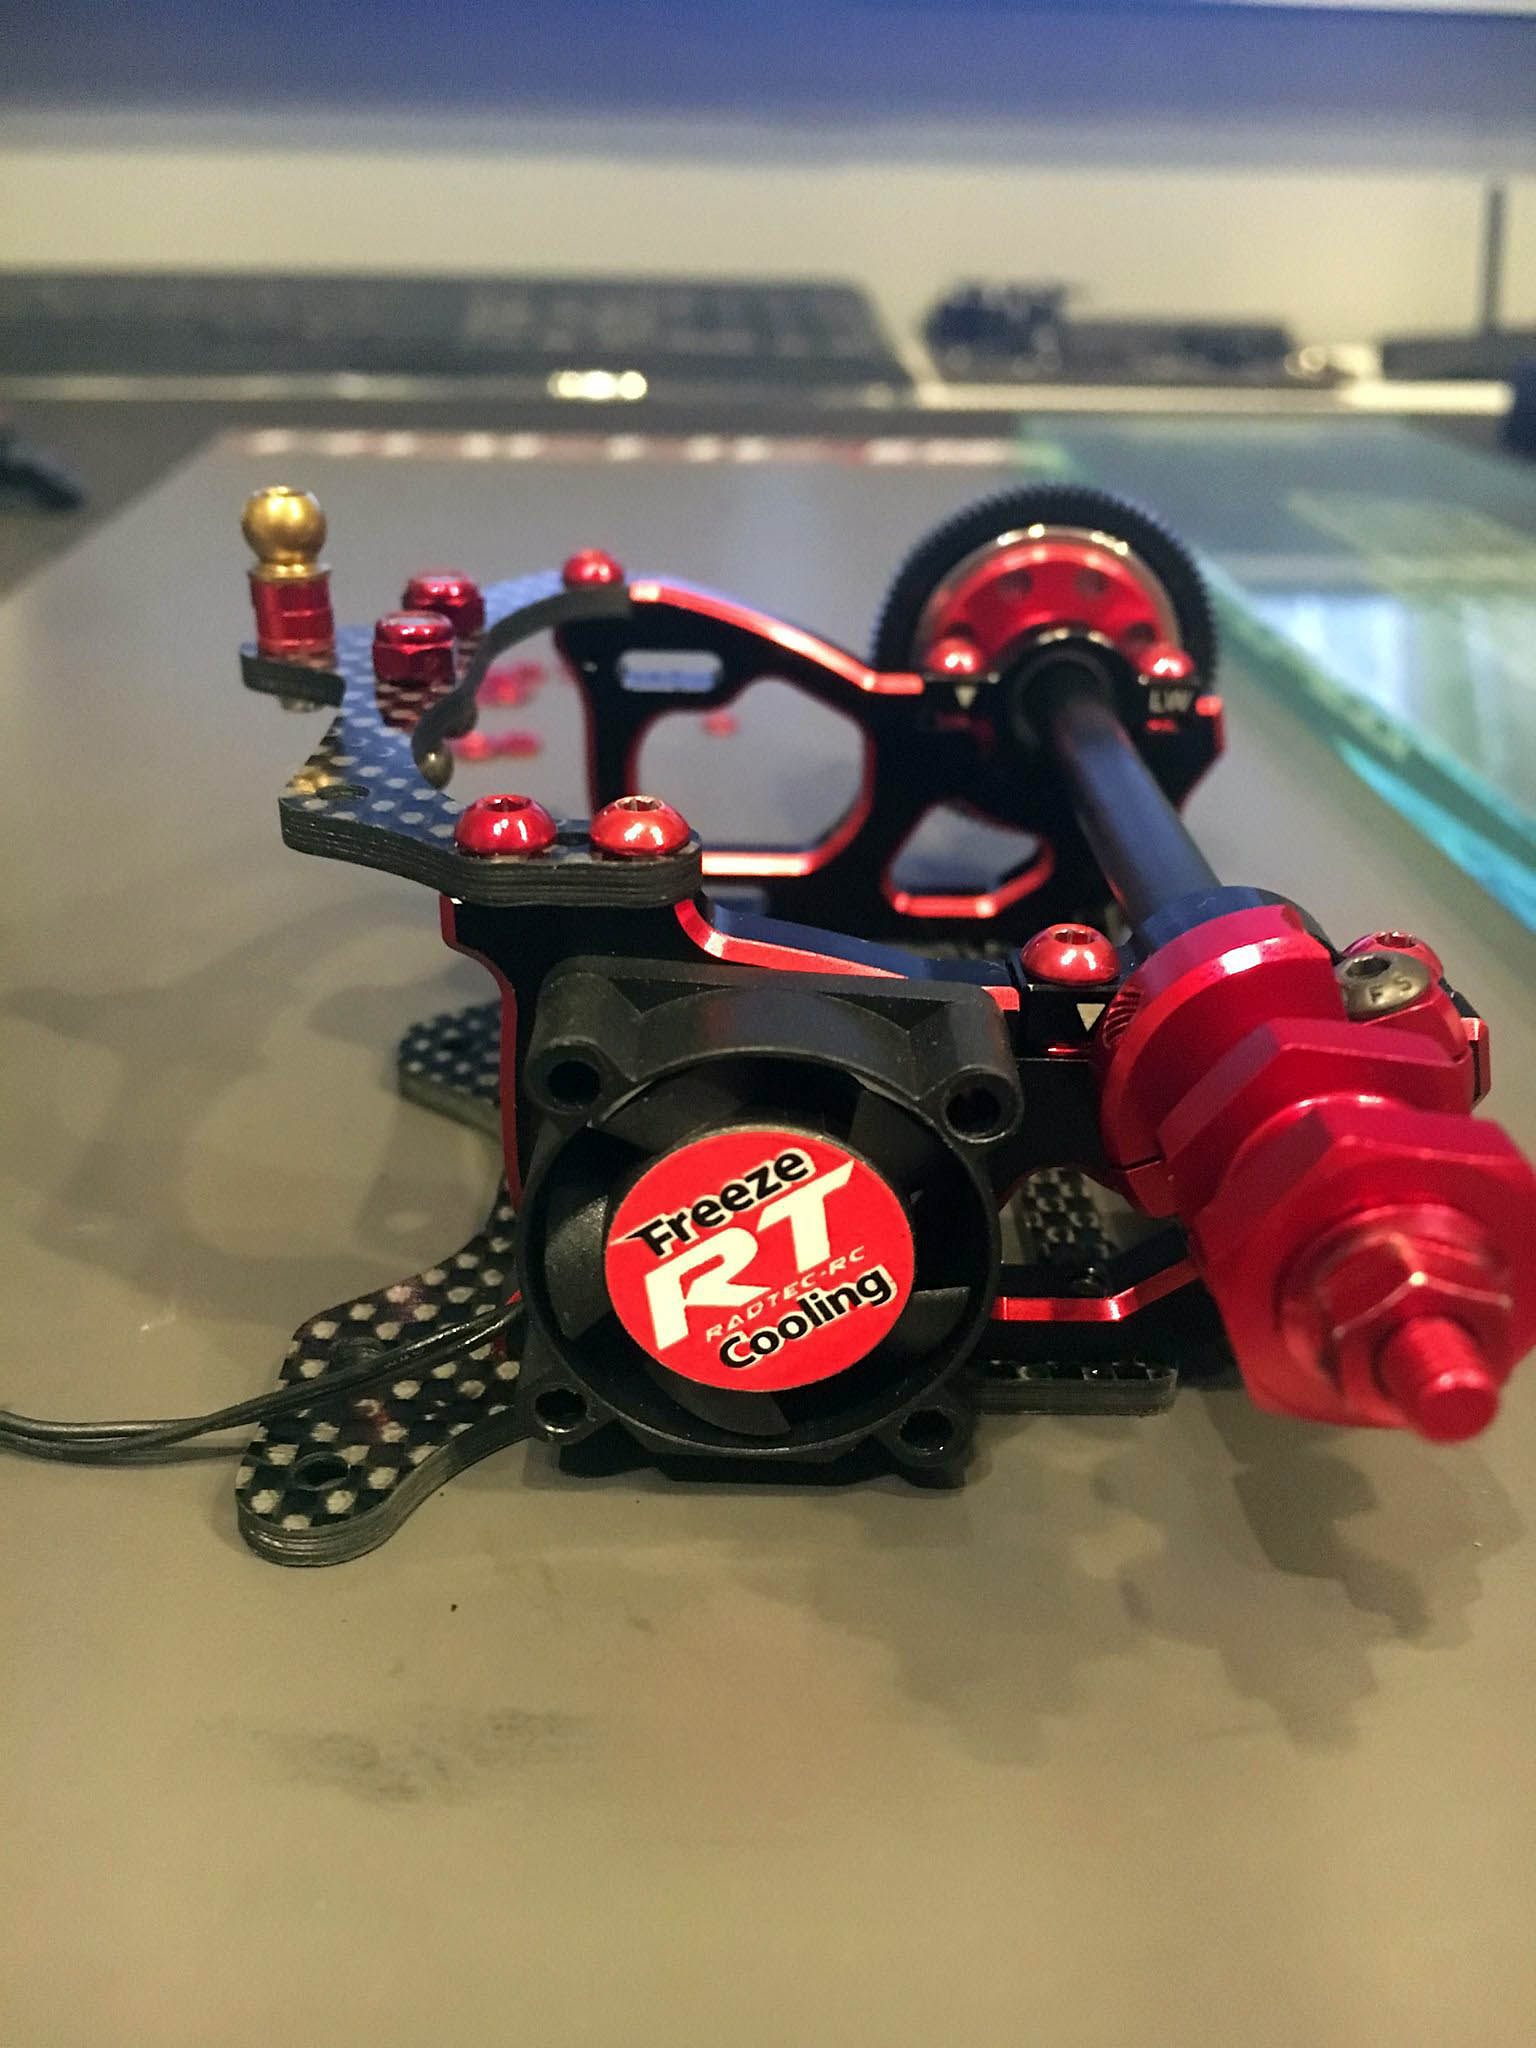
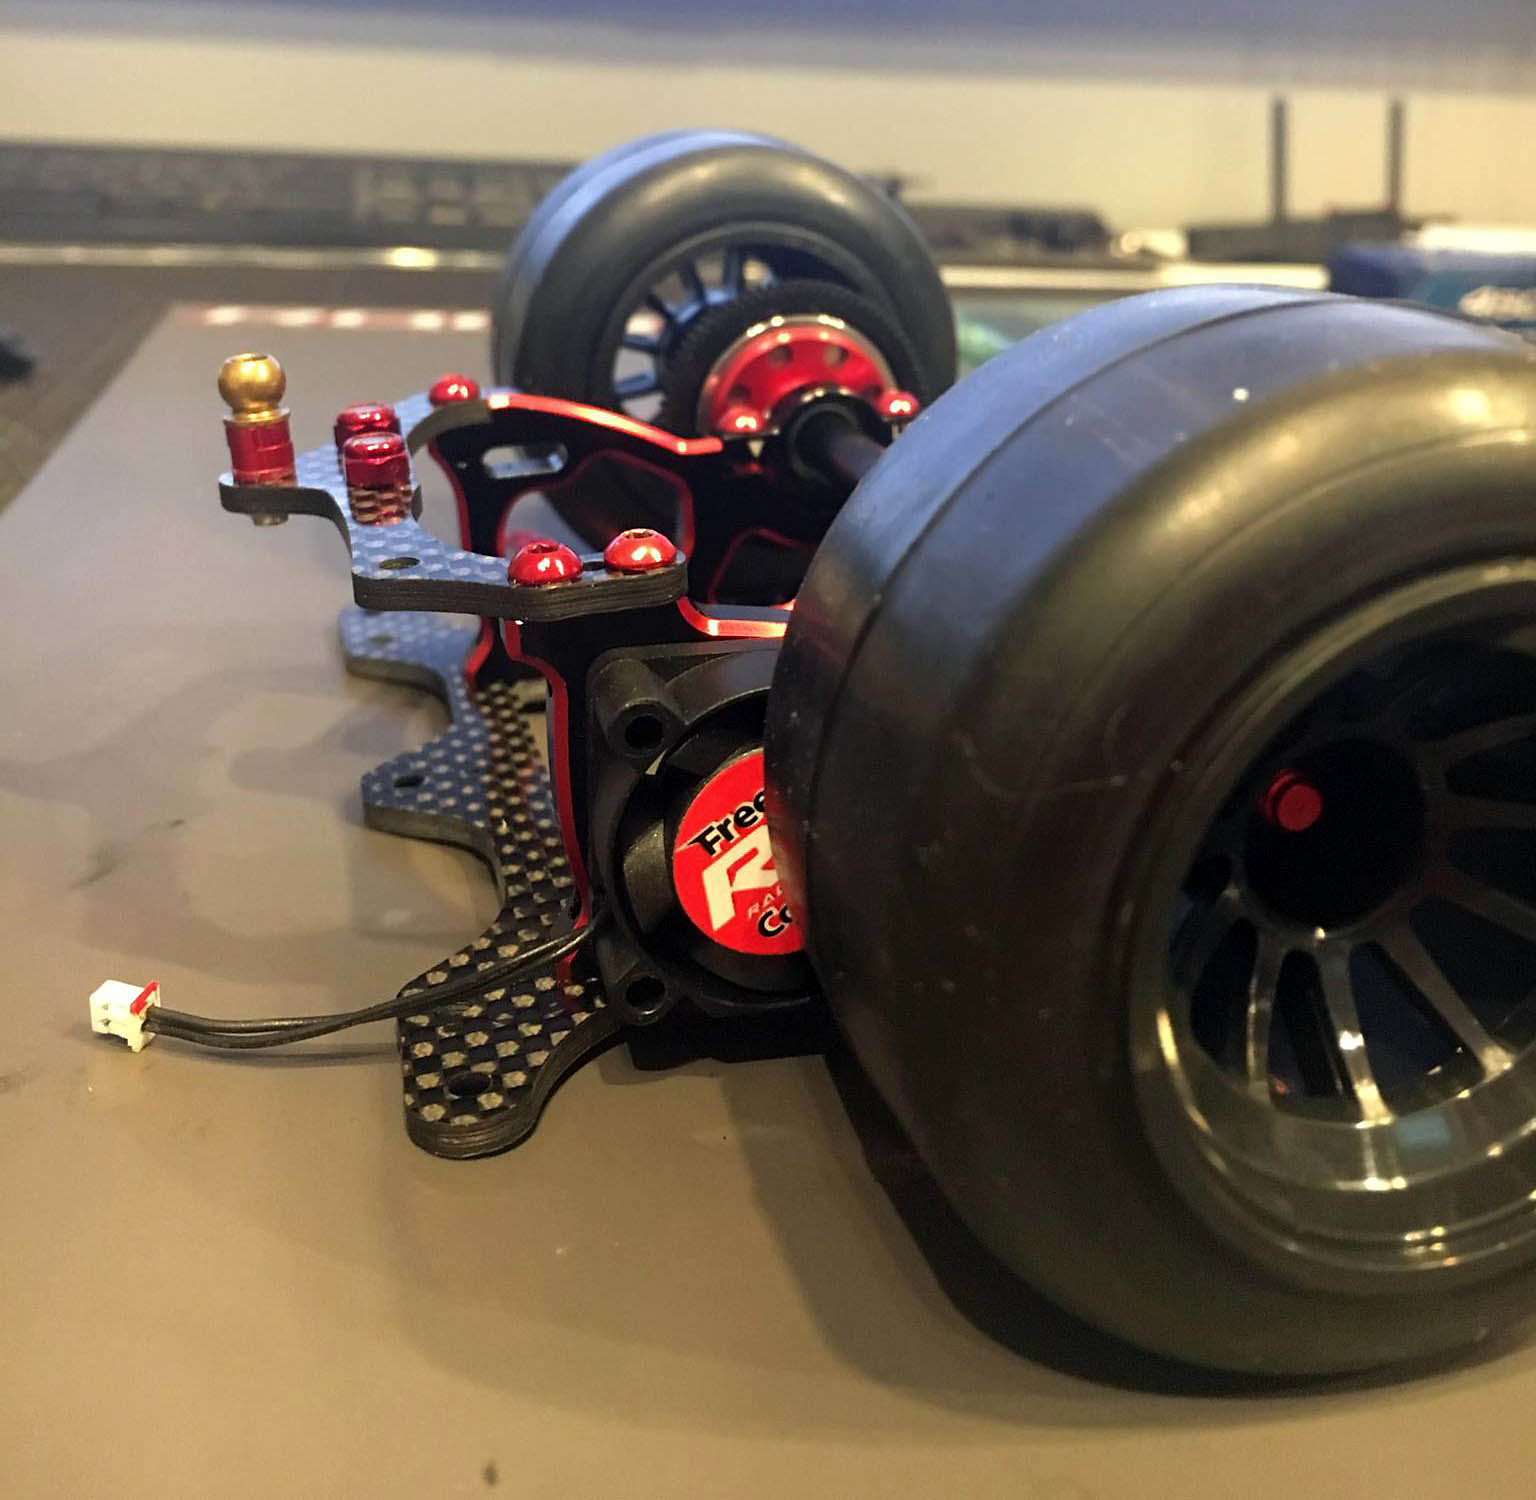
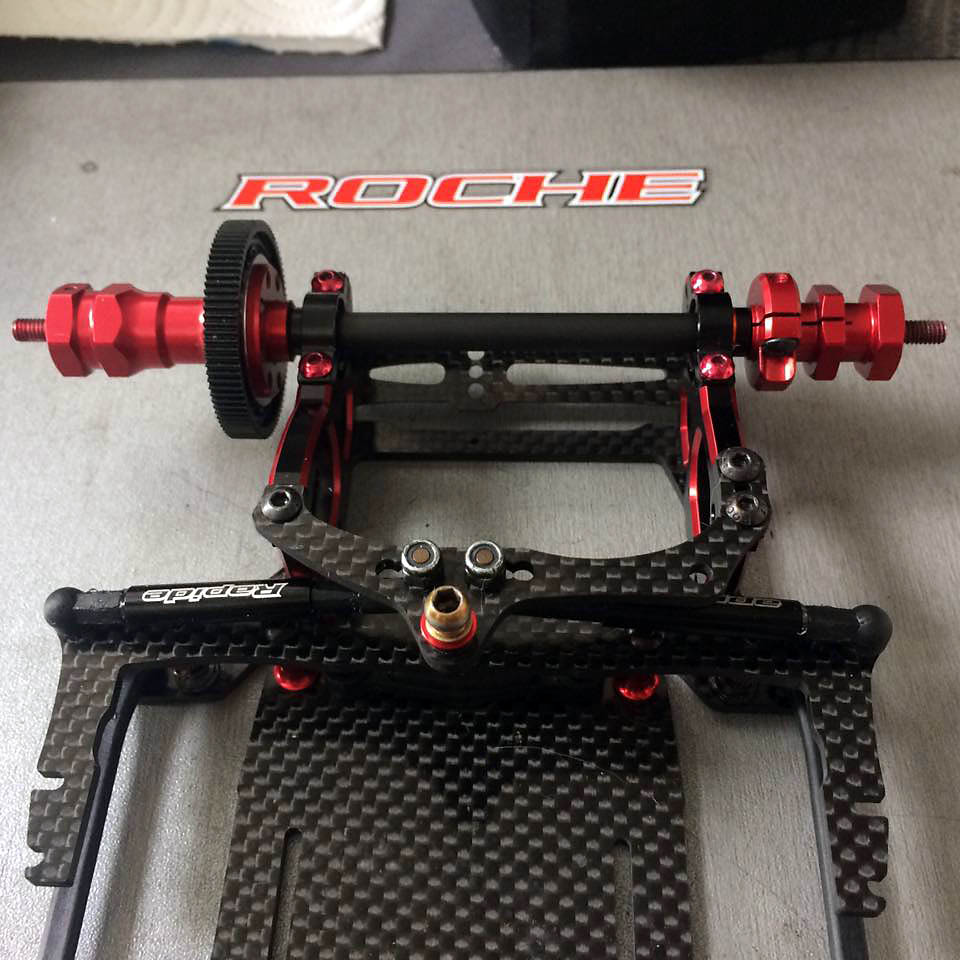
Next thing what has changed on the EVO is the complete rear pod. Both bulkheads not only are now stylish red/black, the offer a few news as well. Both parts have been reinforced. The left bulkhead moved 1mm more to the center line, to make space if you want to use a fan. Also the upper brace is now fixed with two screws with an additional pin to hold it in place in any circumstances.
The motor mount has been redesigned as well, the motor screws are no longer inline. The upper screw moved one hole on the motor down and forward. This allowed more easier access to the motor and also will bring the CG a bit (really a bit) lower.
Tech tip: Shims
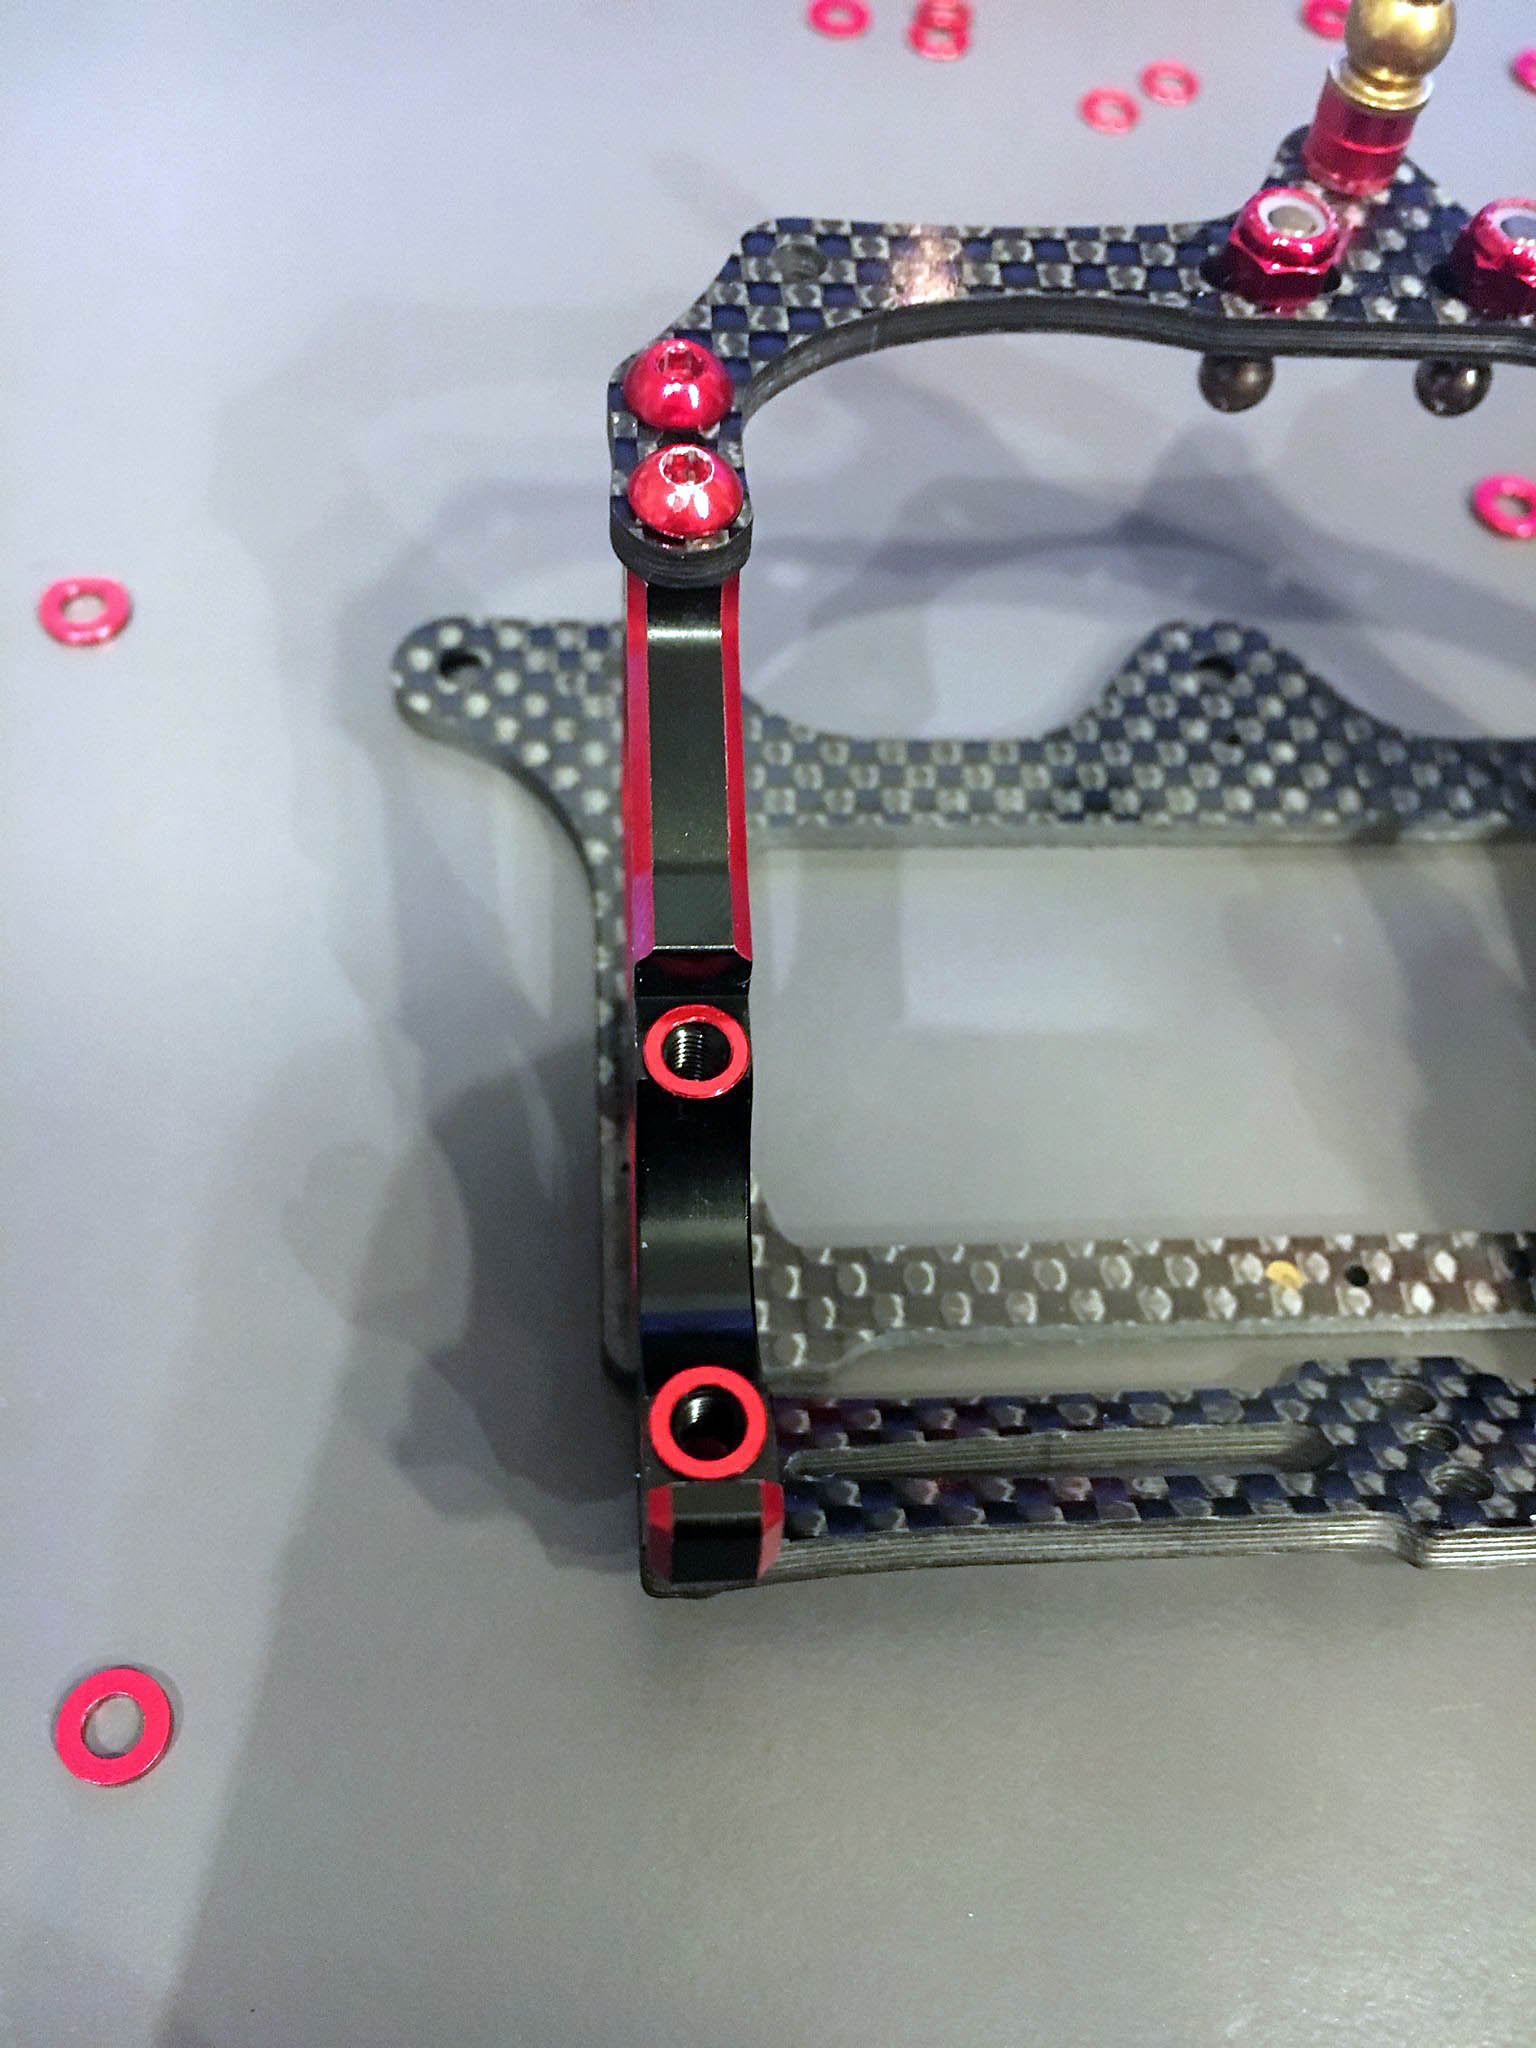
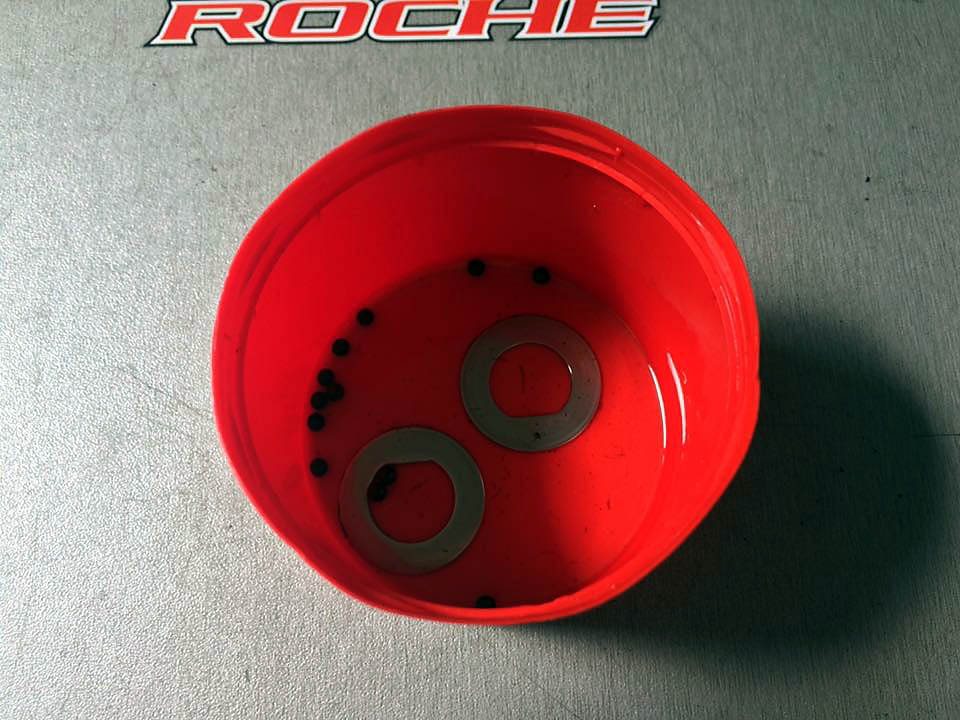
Ok a tech tipp about shims? Yes right. It was something I made wrong for some time and I bet I´m not the only one. If you set ground clearance you will do this by adding and removing shims on the rear axle holders. I take the shims I always use and don´t think about it. Than I had a bend rear pod I was searching for the reason.
Finally I found the reason. ... shims.
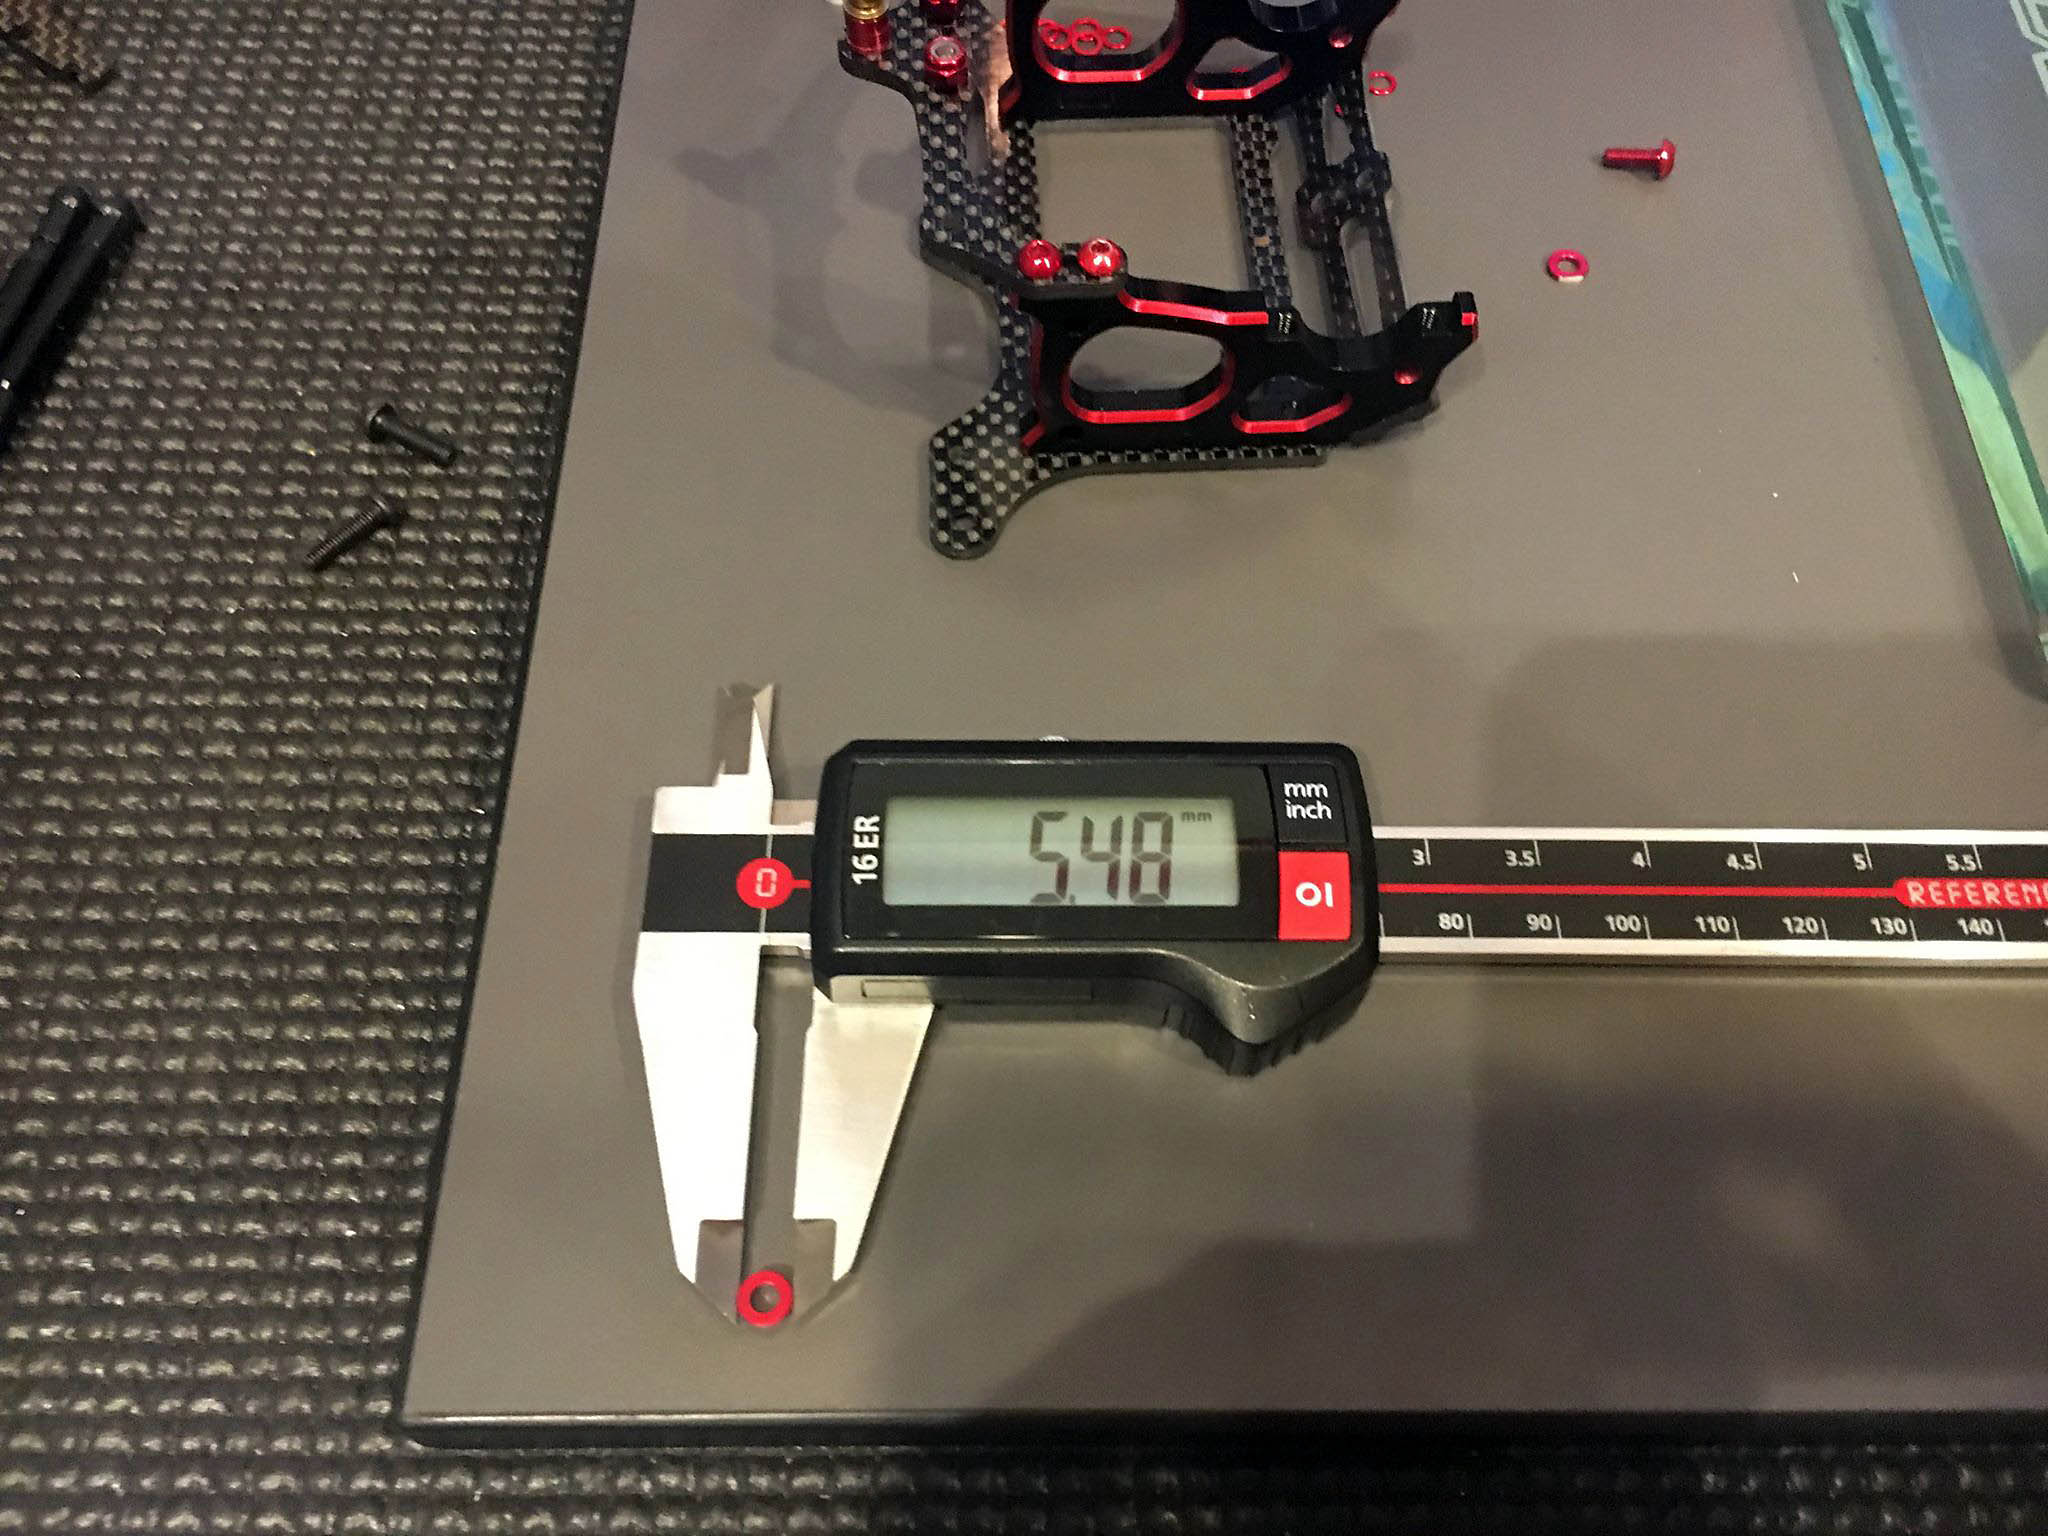
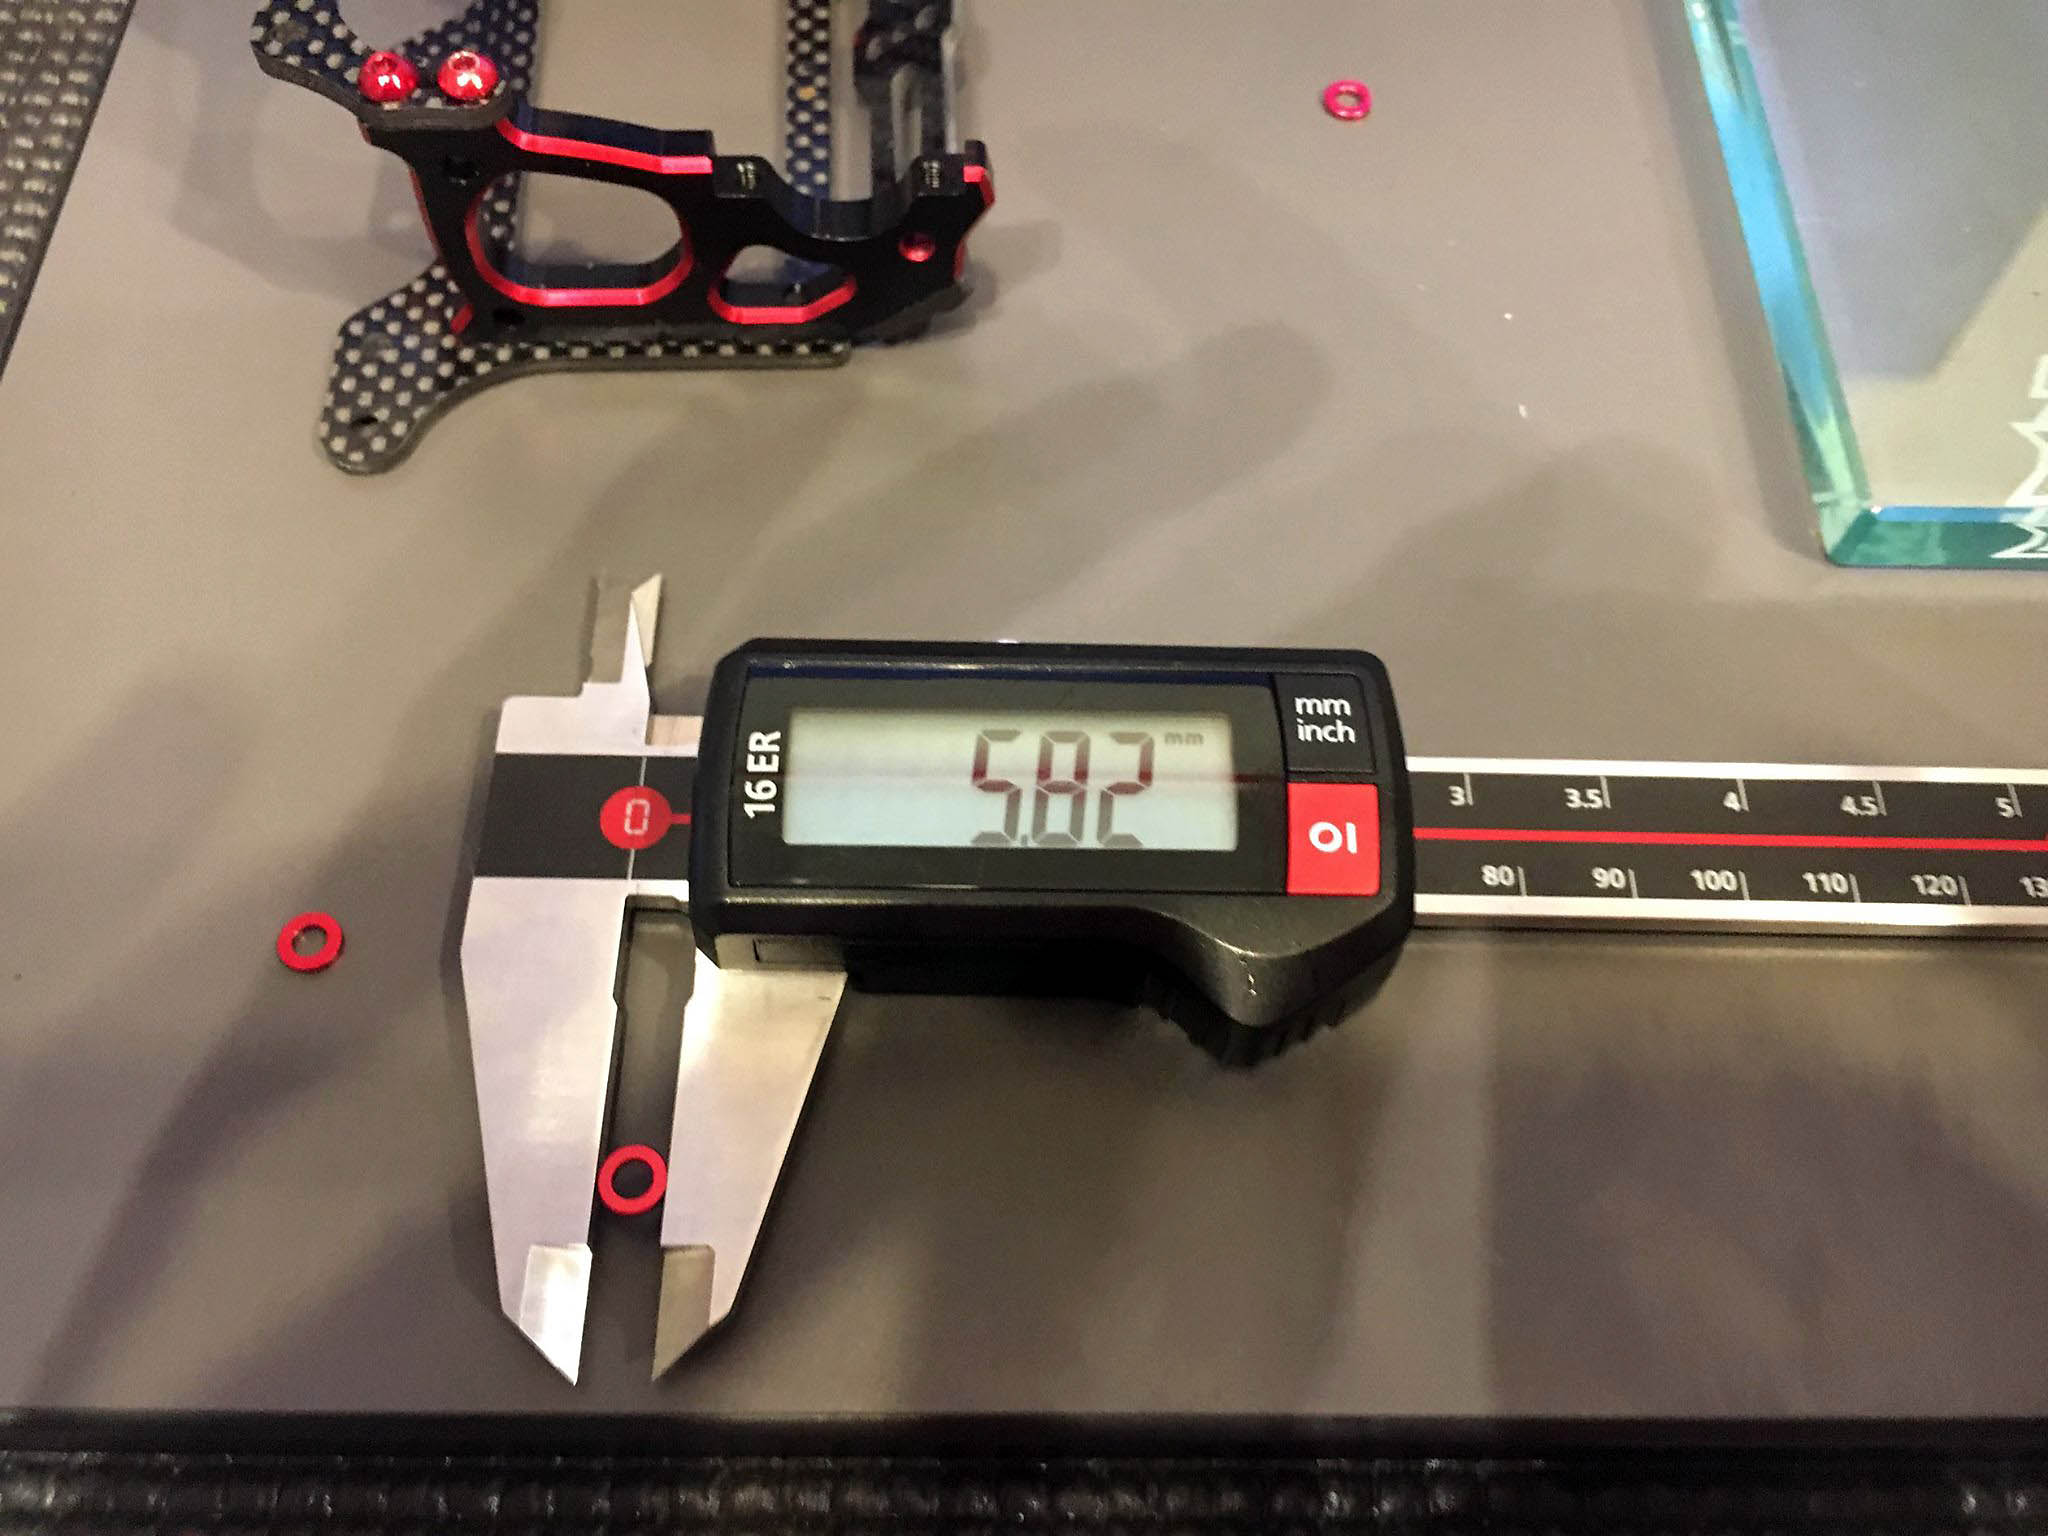
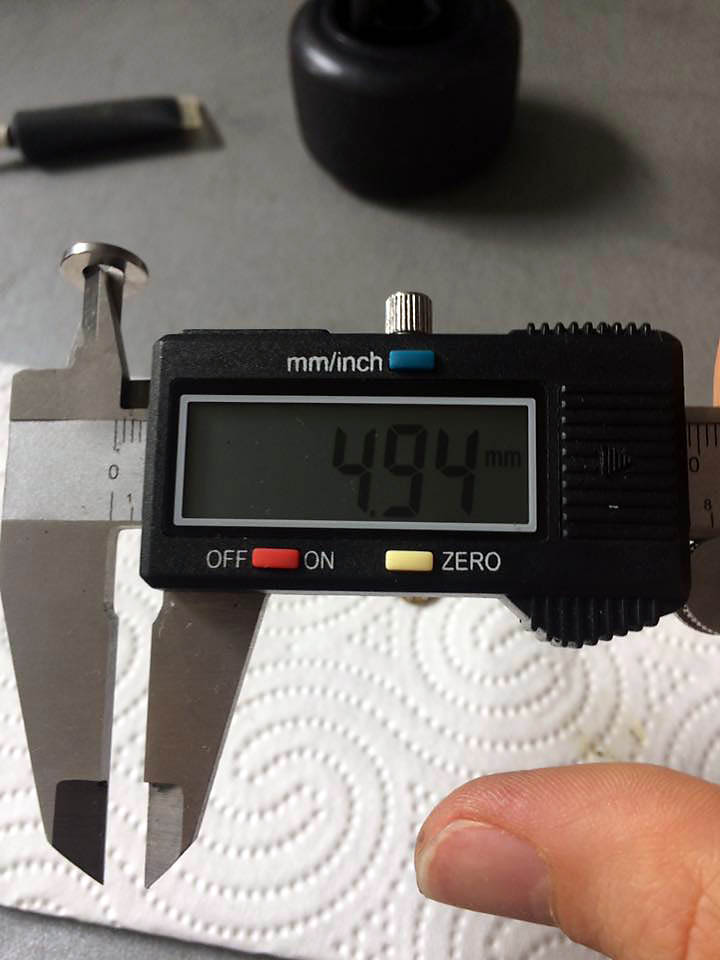
The bulkheads are 5,5mm thick. I used some shims that where 5,8mm diameter and this doesn´t fit.
As the rear axcle holders are offset, they have one side where a larger shims will bend the rear pod.
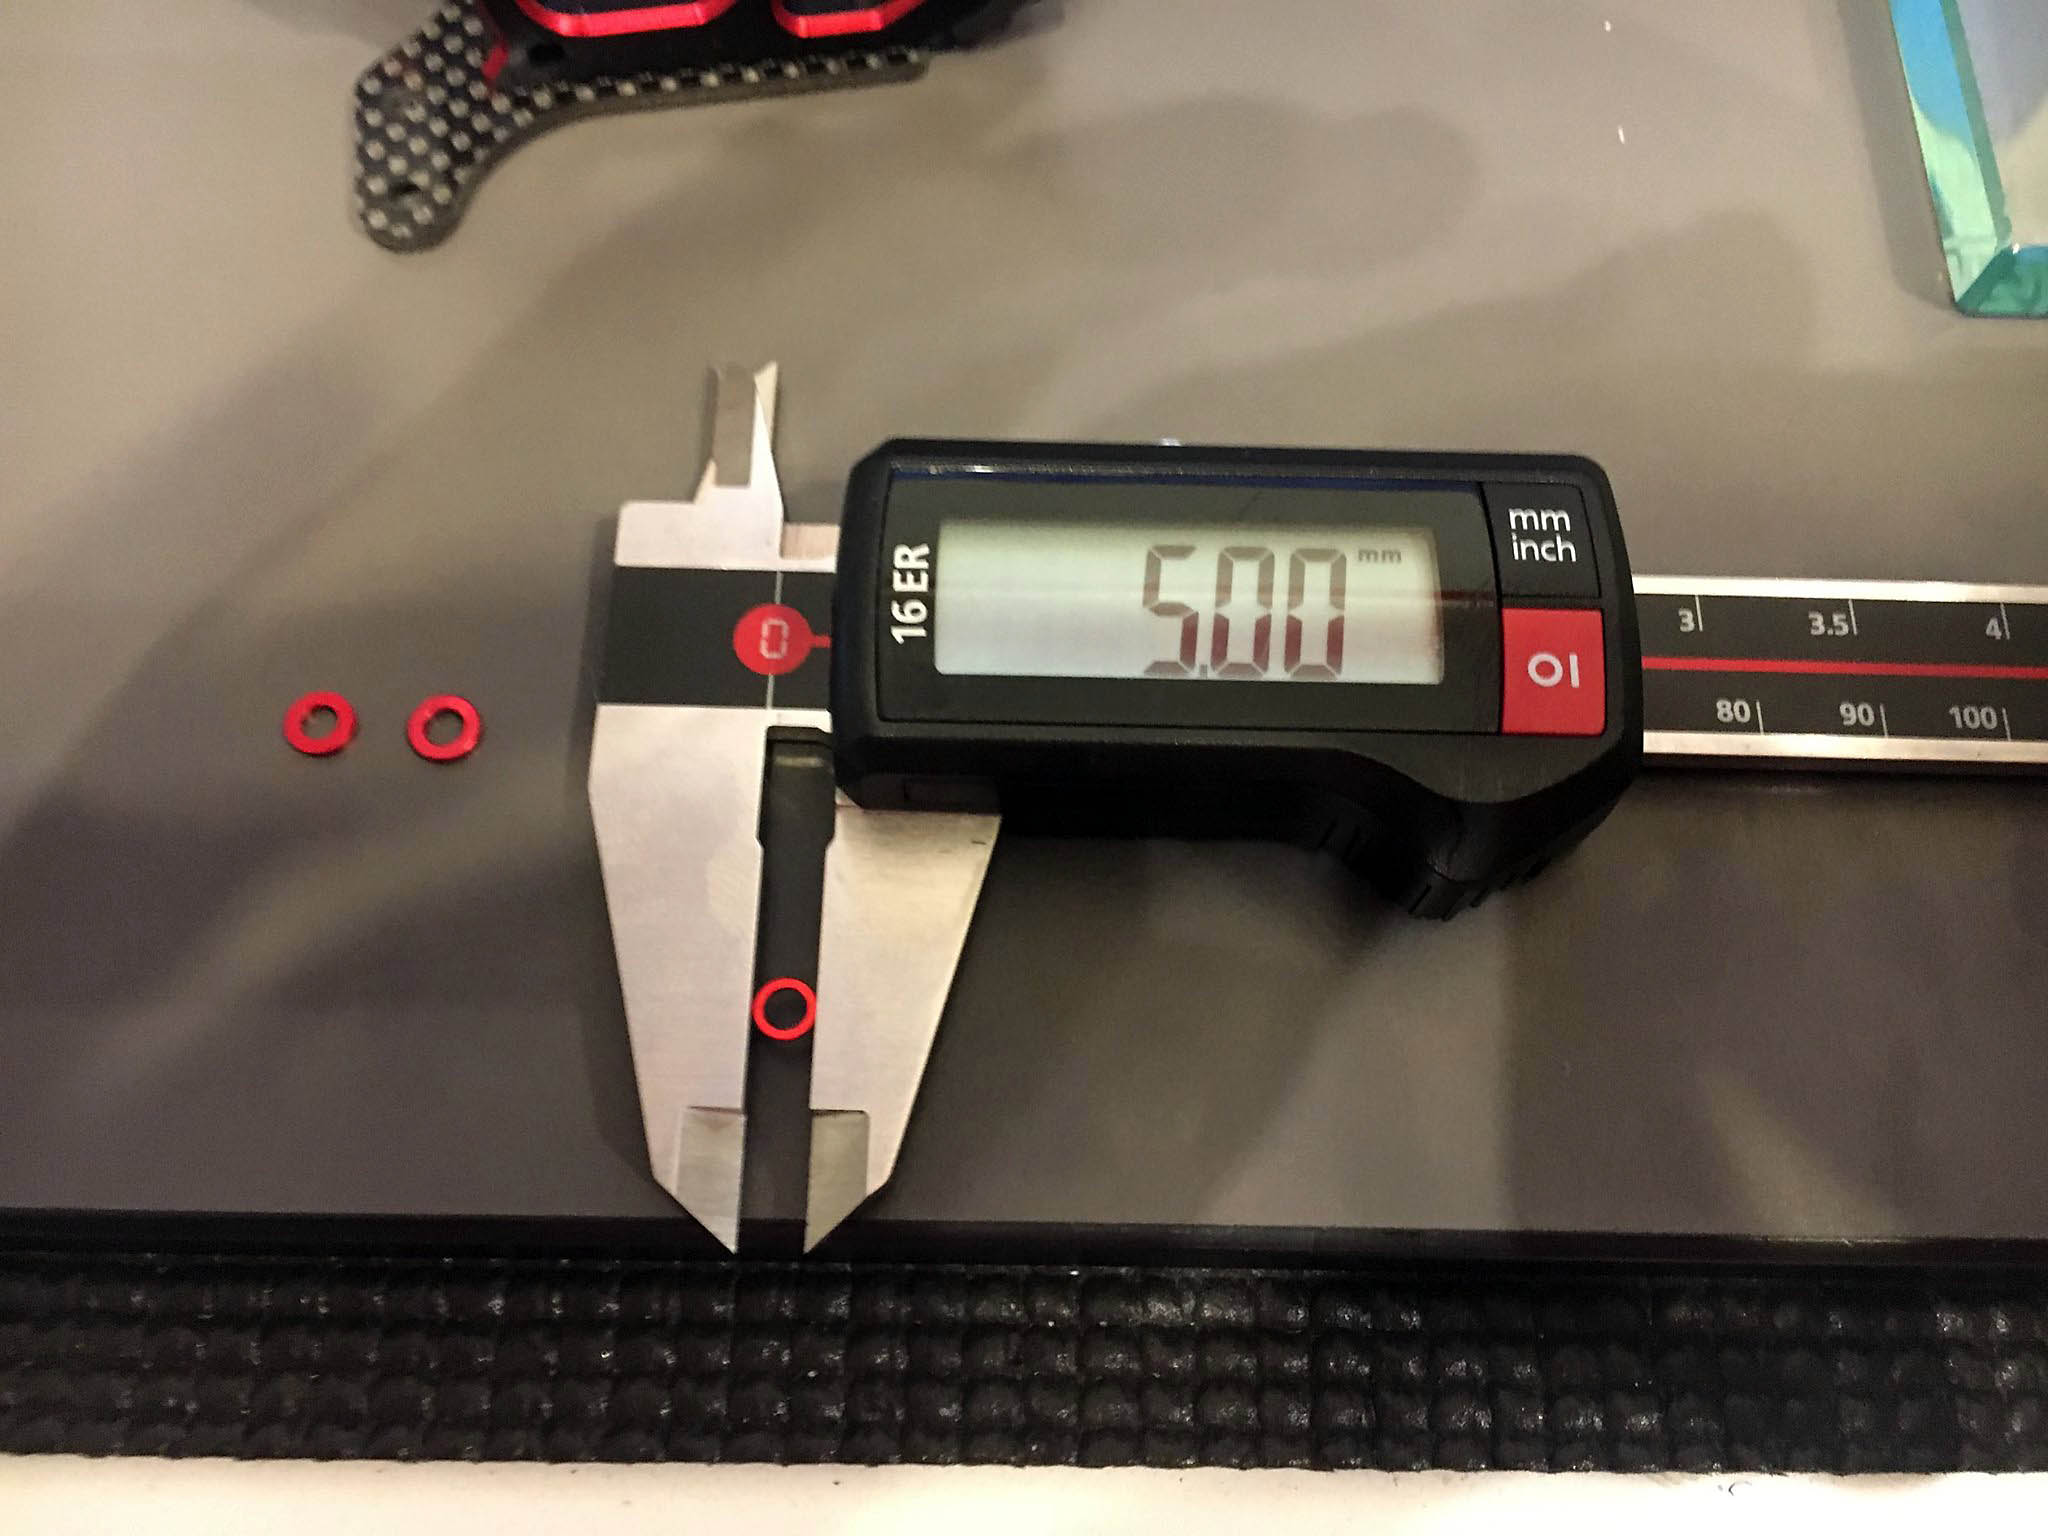
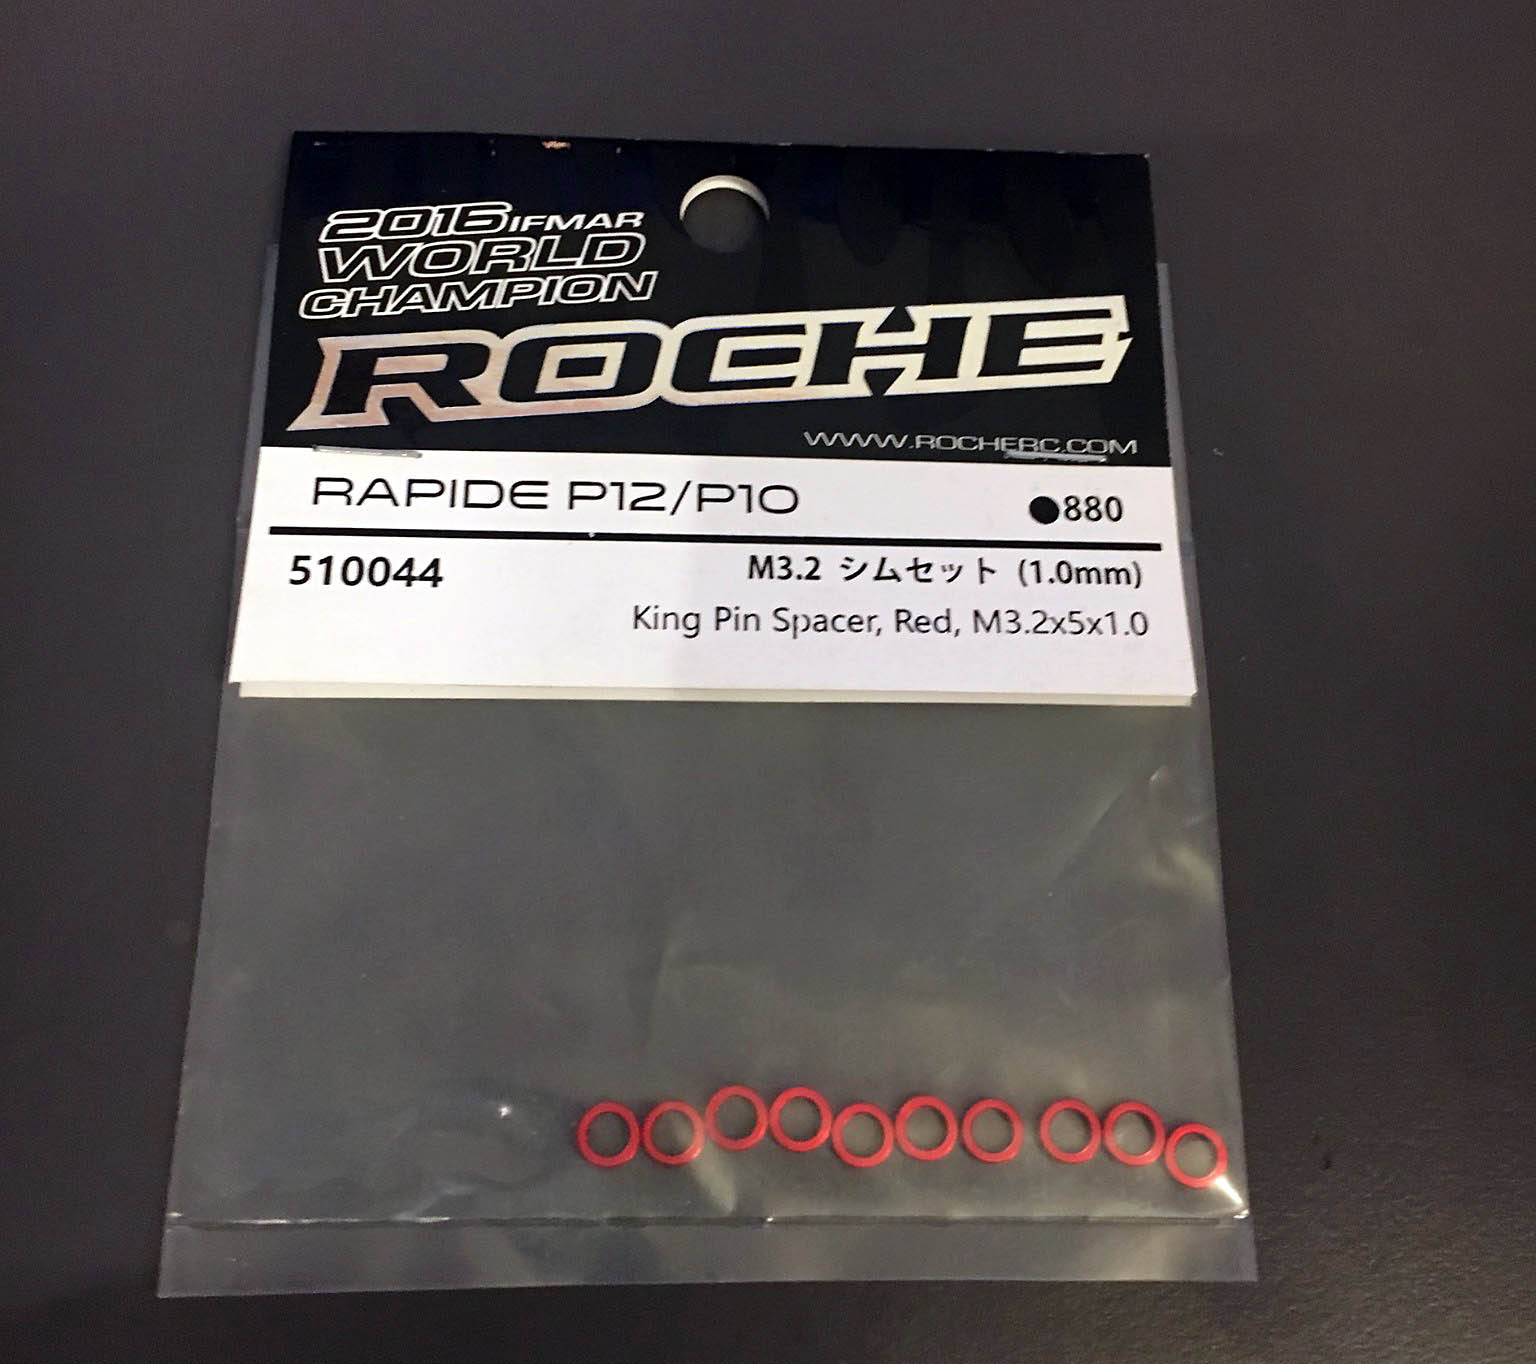
Therefore I recommend the front king pin spacers as well for the rear. they have 5mm outside diameter and are available in 0,5, 1,0, 1,5 and 2,0 mm. So everything you need.
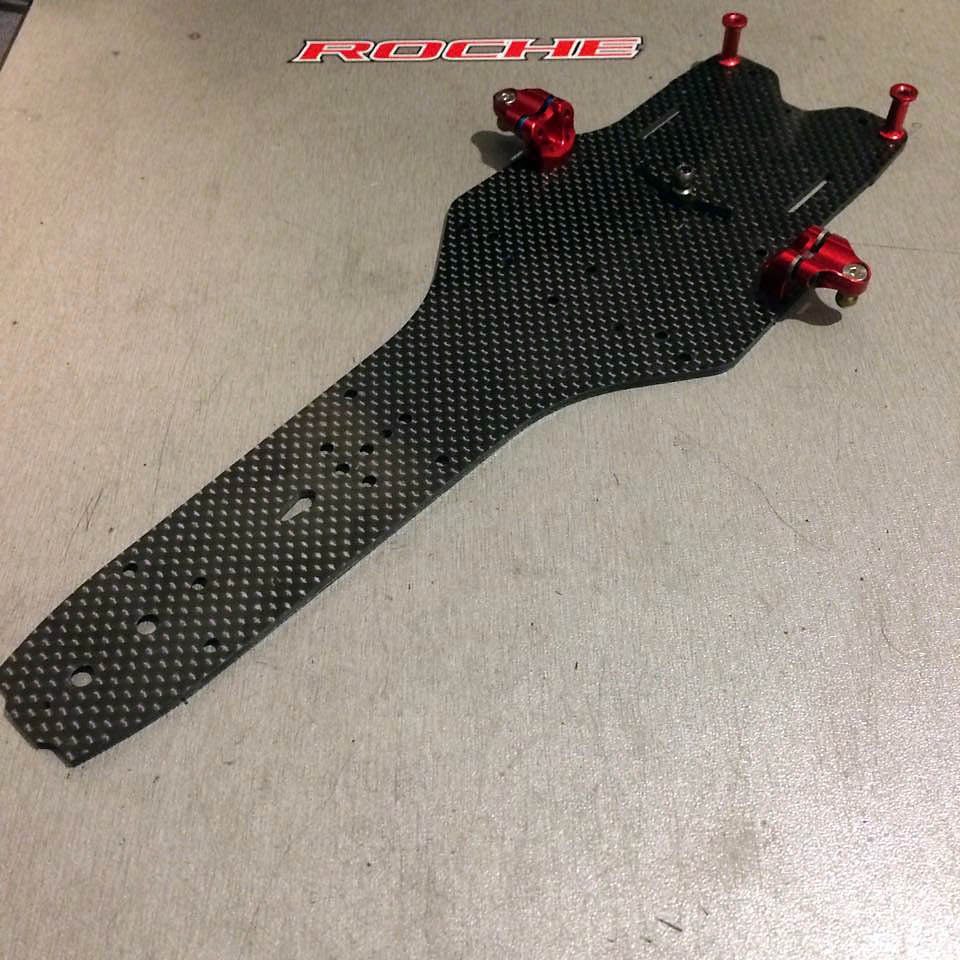
Nicolas Melissa Delisé: Main chassis. Same way as rear pod; use some sandpaper then apply CA Glue. You should also check if chassis is flat. There's no top deck in formula one, so after few races and few crashes, it's possible to bend the chassis, also with carbon.
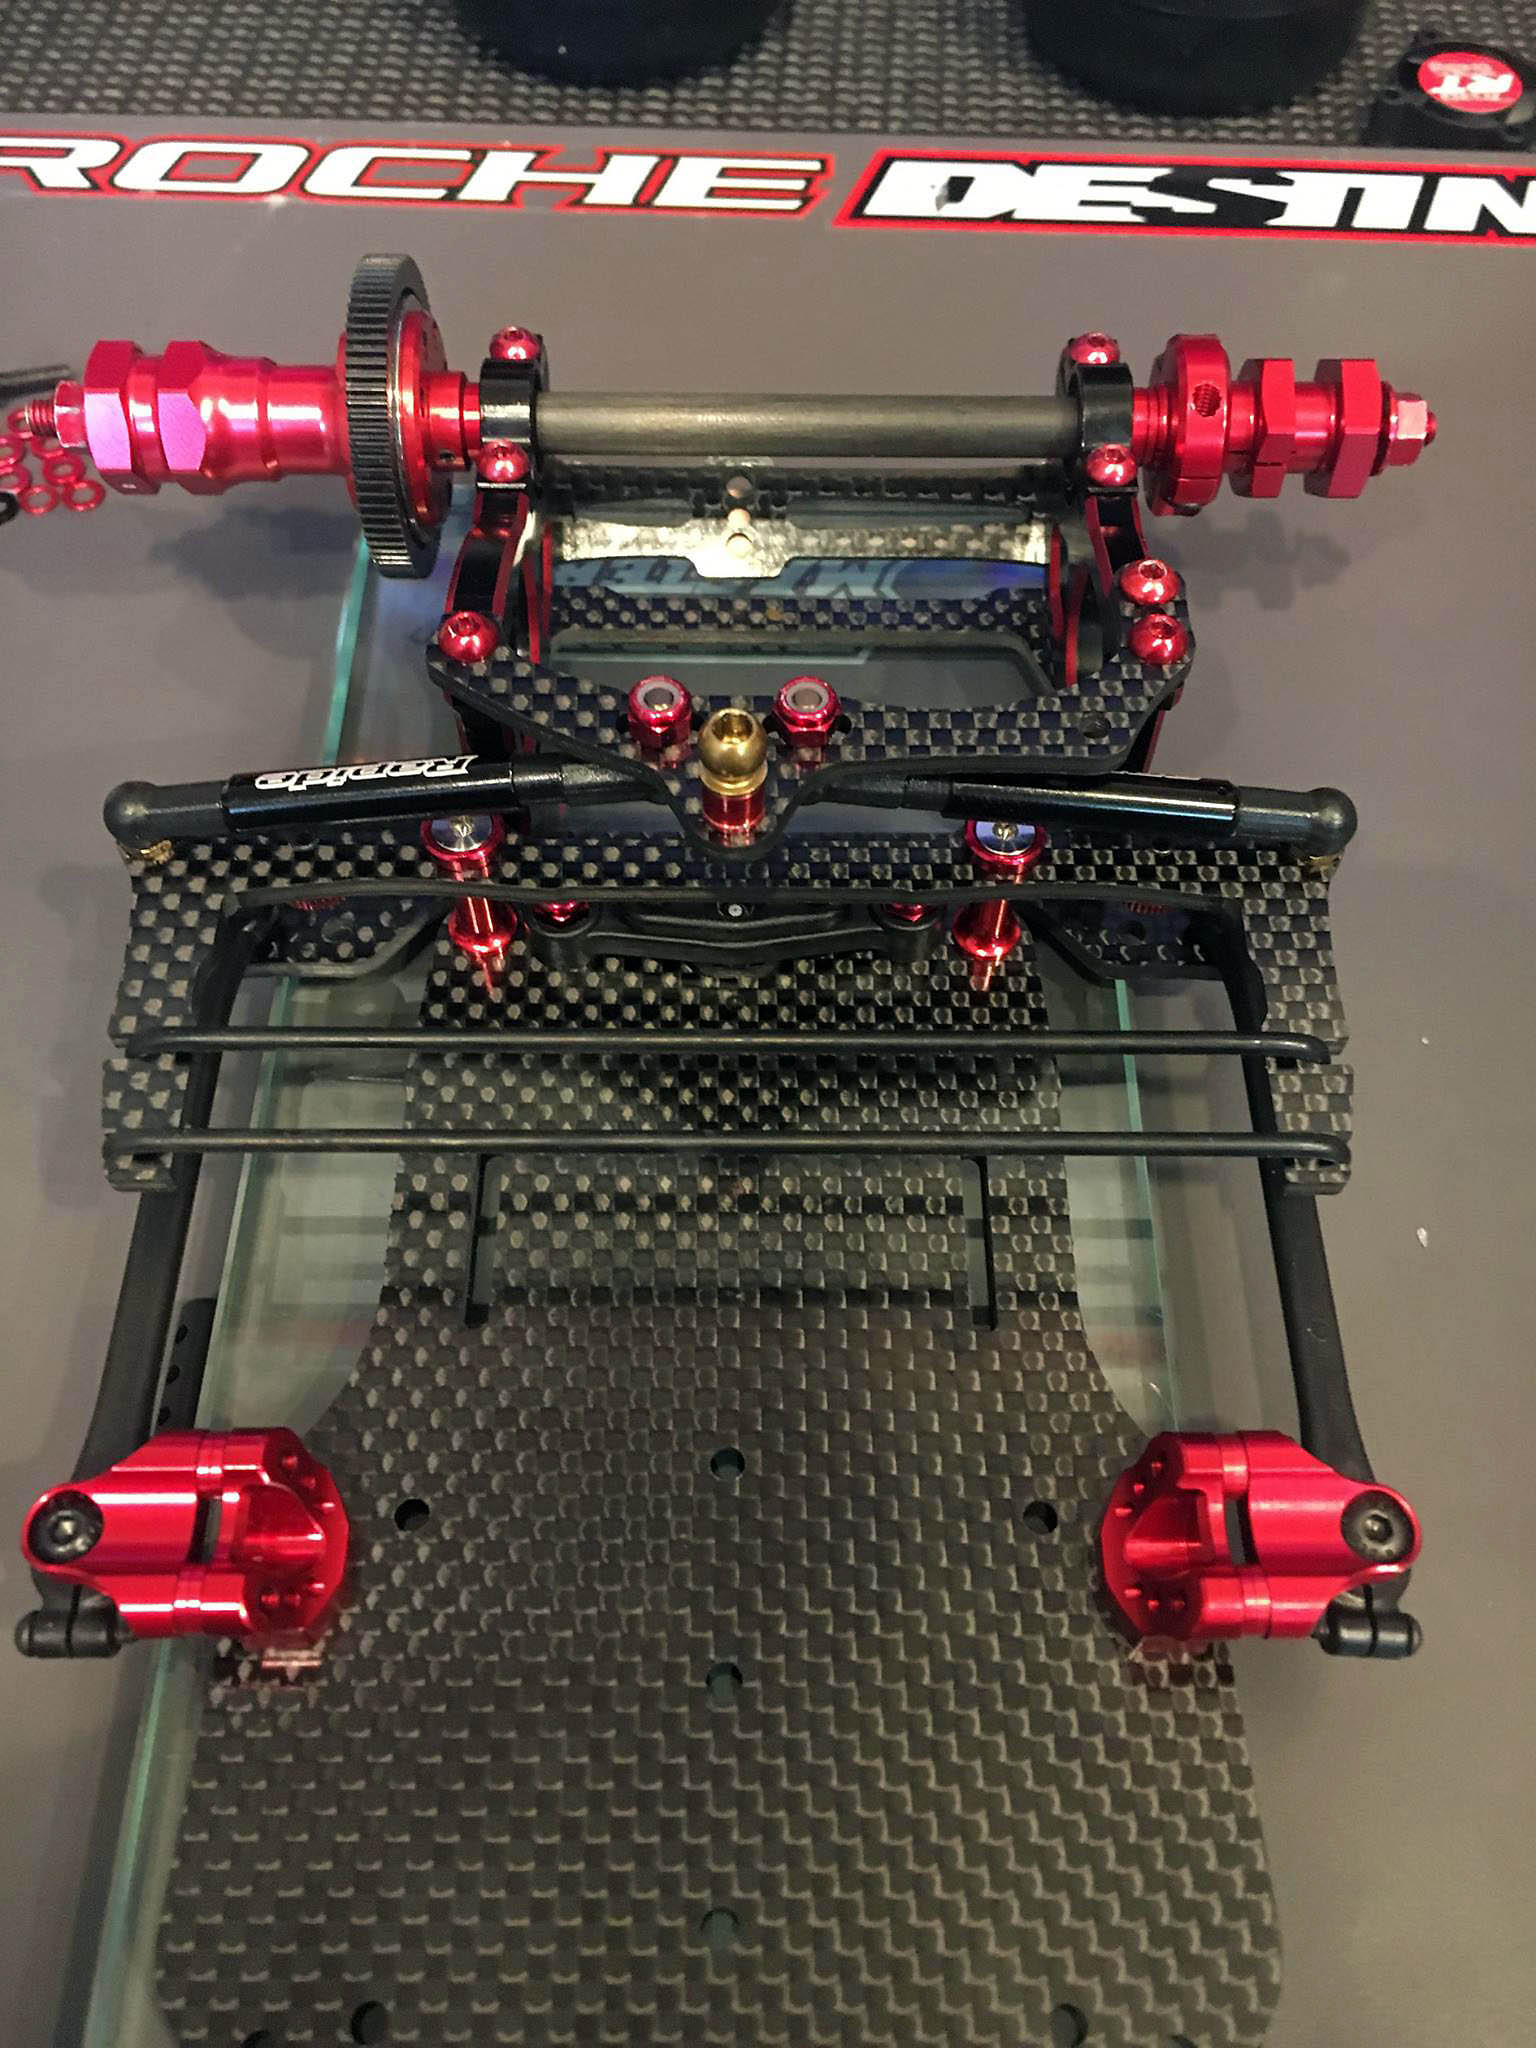
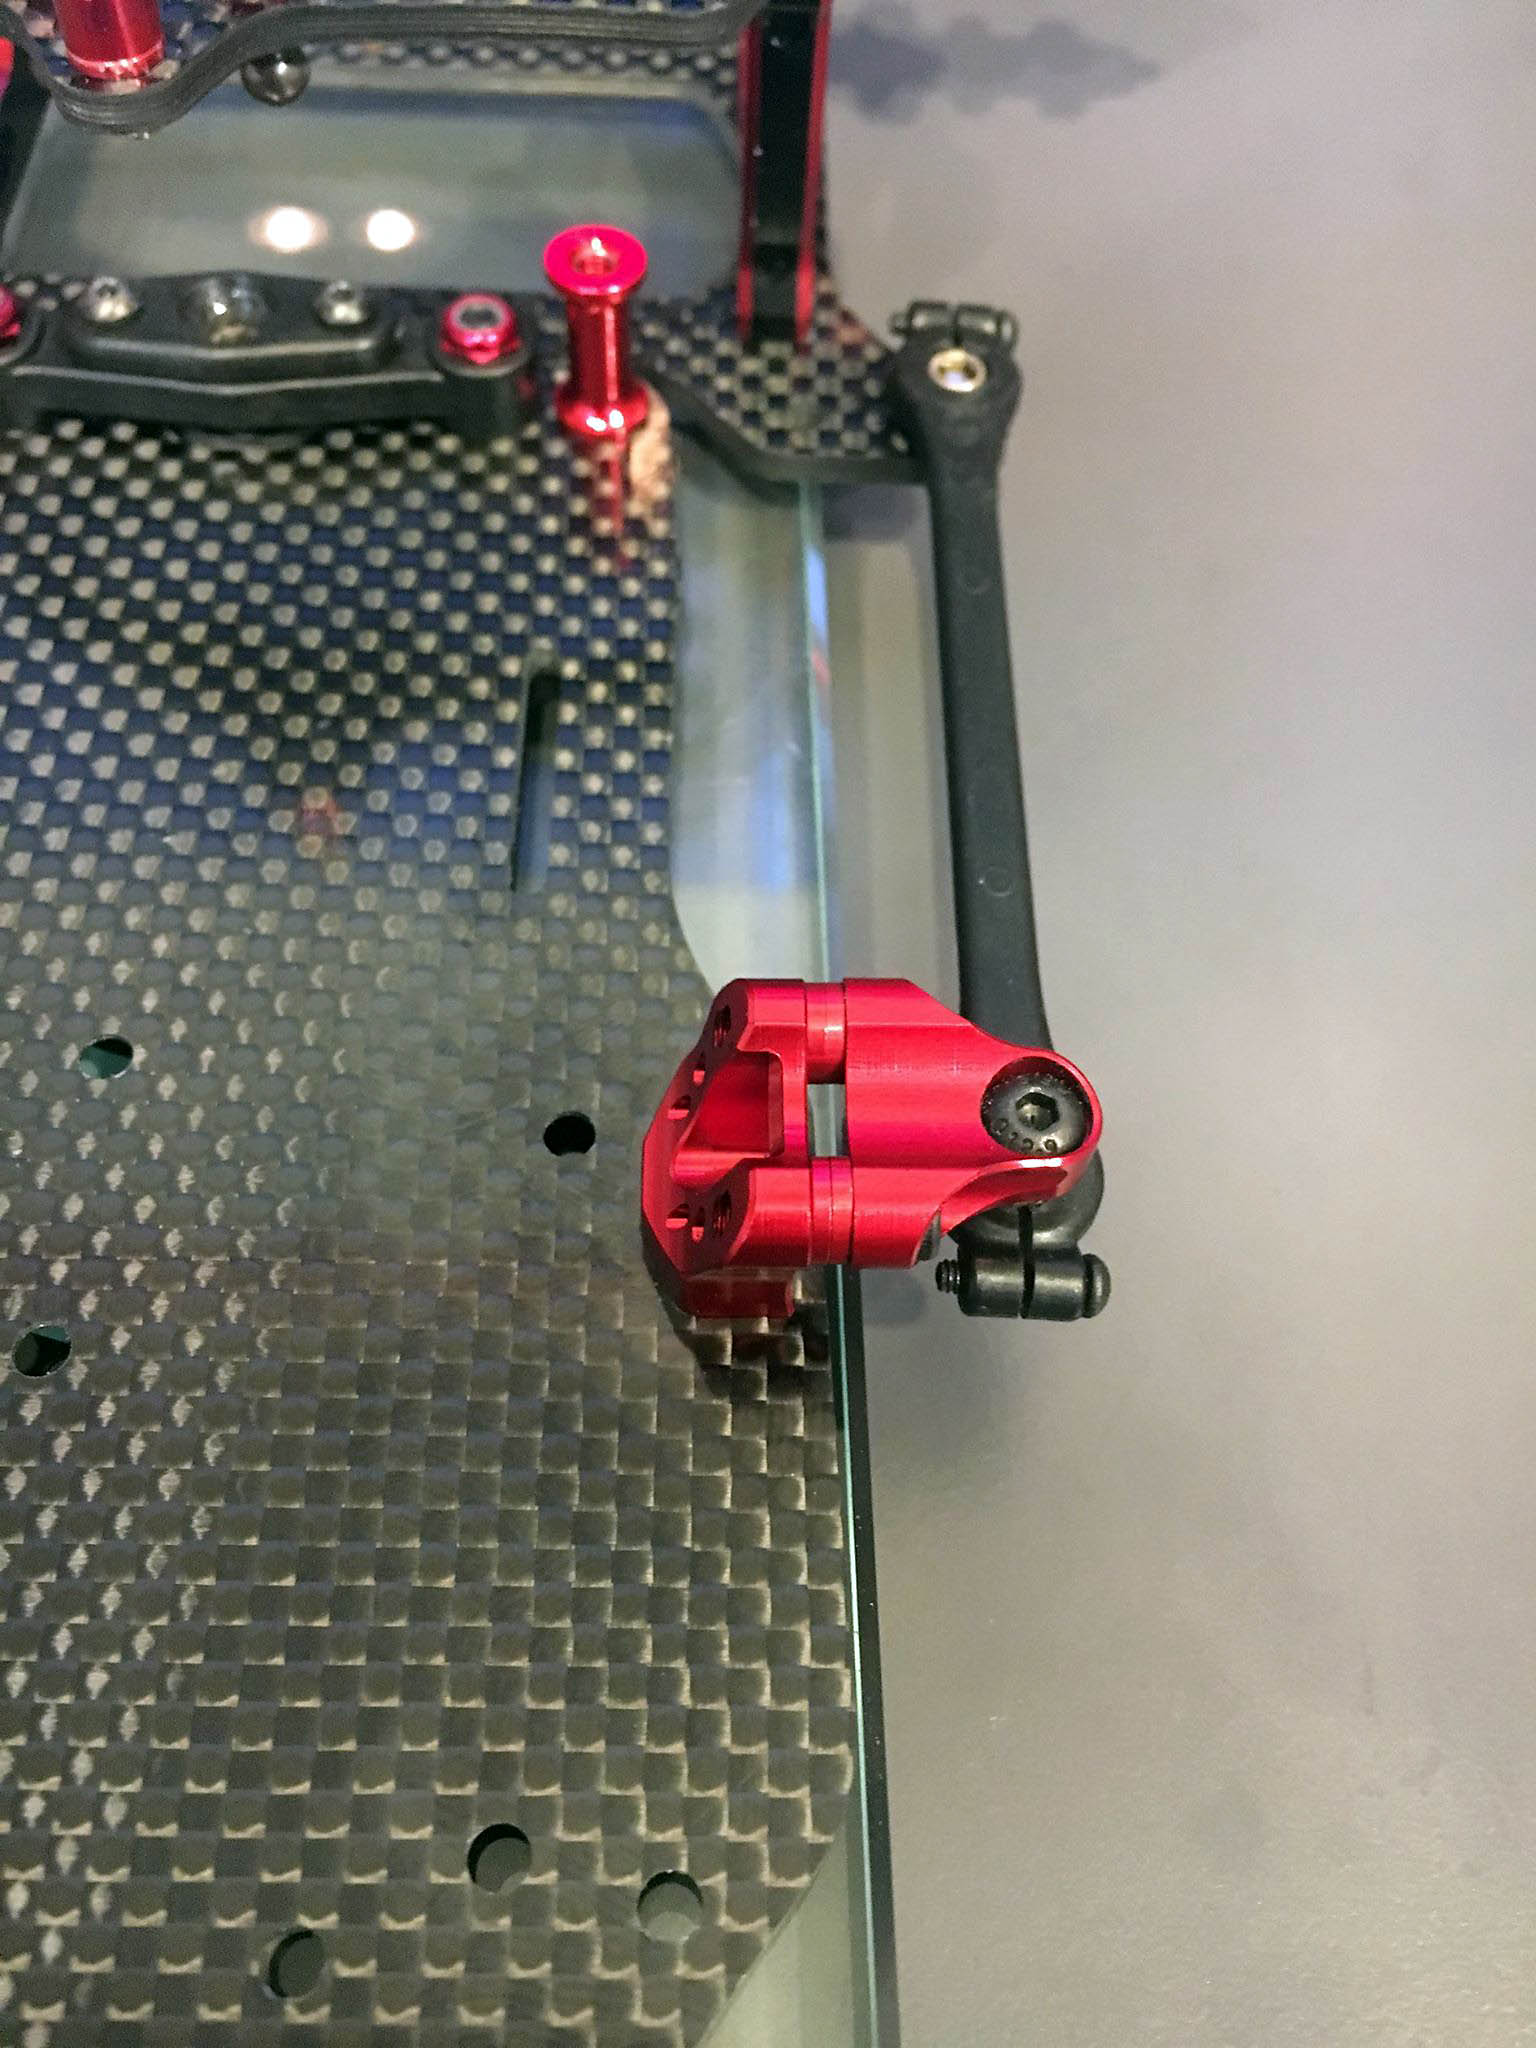
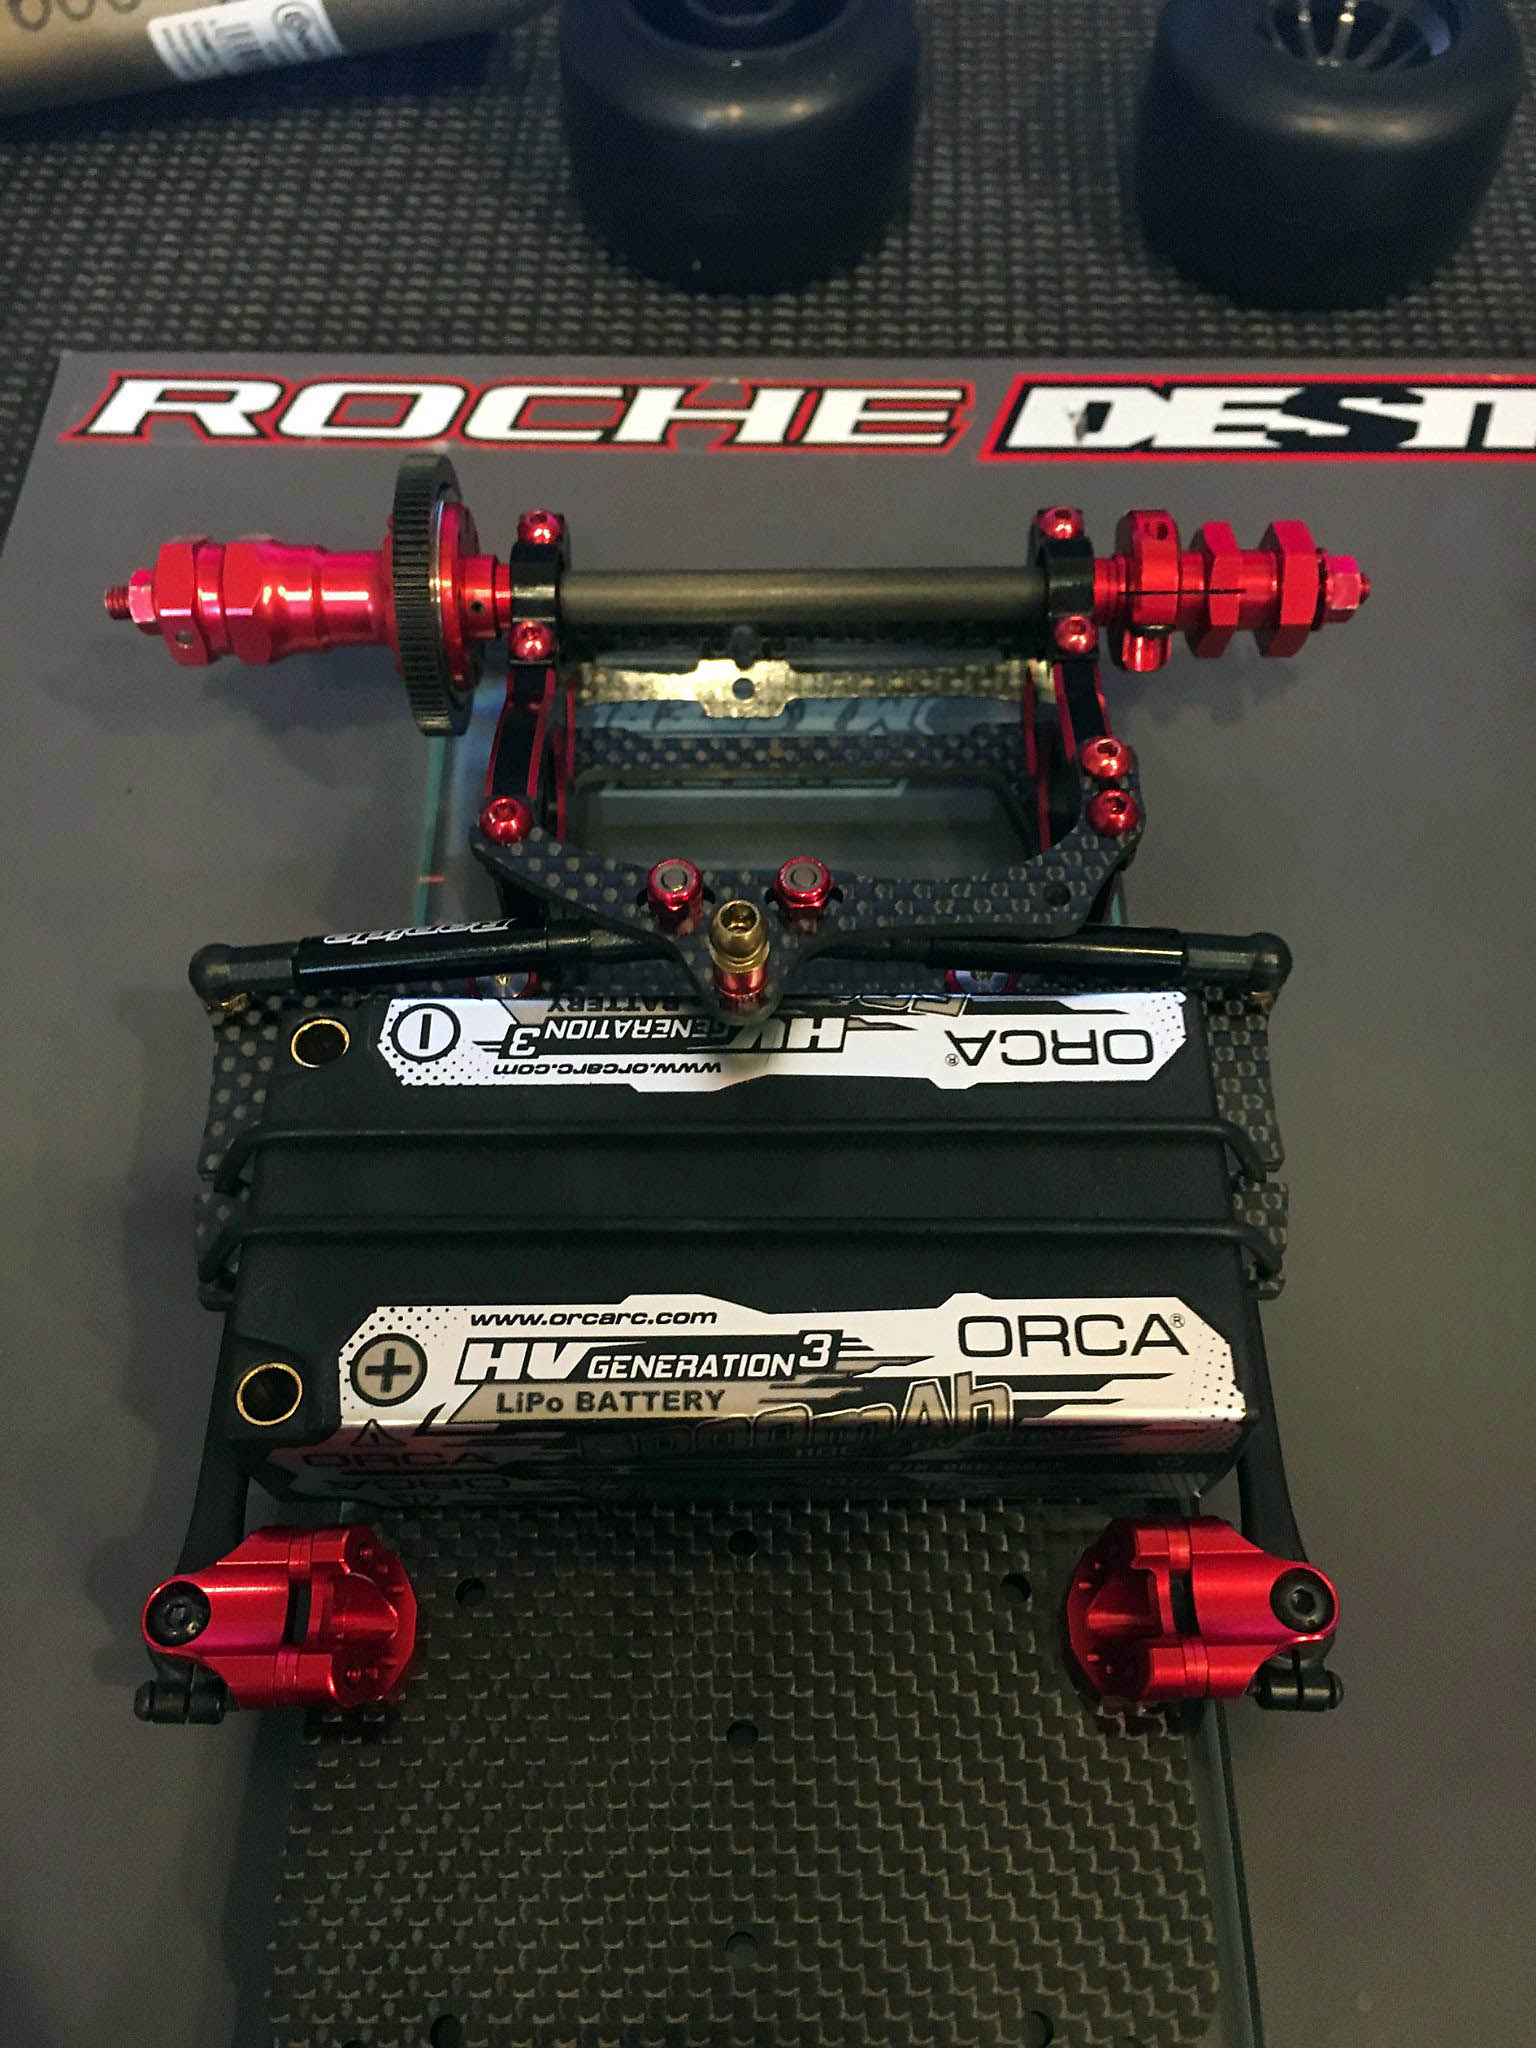
Alexander Stocker: Rear brace, battery mounting and red essential liberty :-)
The rear brace has now wings where you can fix the battery with an o-ring. So no more tape is needed.
What I called little red essential liberty are the new side link holders. You can put now the links up and down, narrower and wider. everything you want to set is now possible. On the other hand they look awesome.
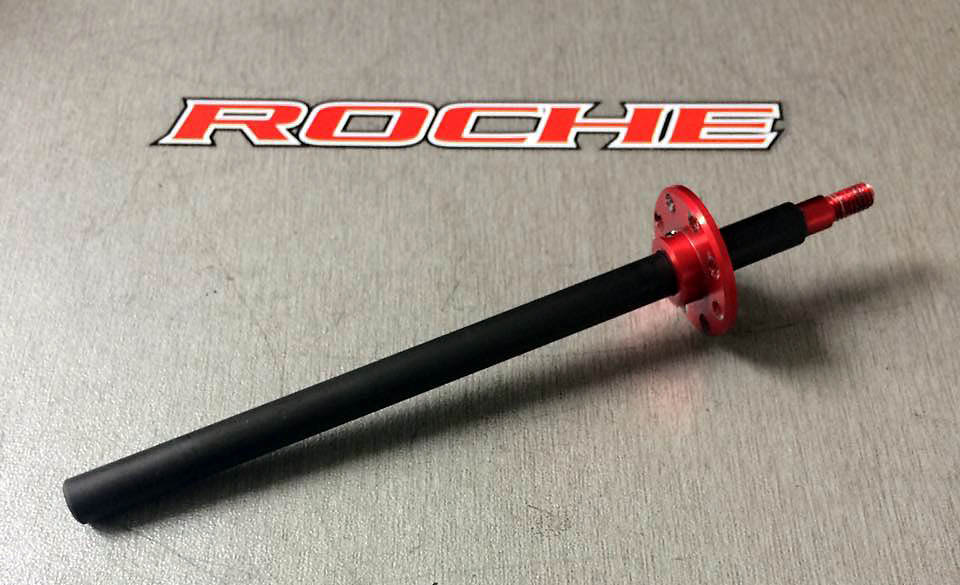
Nicolas Melissa Delisé: balls differential! This step is very essential and you should always give great attention to your differential, it's very important in f1 and 1/12! First, I always use carbon rear axle from Roche. Use break cleaner for balls and drive ring. Now you can use sandpaper to make drive ring super flat and smooth. I use 600 sandpaper and I put some break cleaner on it! Don't push too much on drive ring.
I use Yokomo grease, but suggest you team associated. Diff will be more smooth.
Ok now put a drop of grease on drive ring support and put drive ring on. Apply a drop again and use a craft knife to spread on all surface!
Now put your spur on and install balls. I never put grease on balls, there's already enough grease with drive ring.
Now put second drive ring on its support.
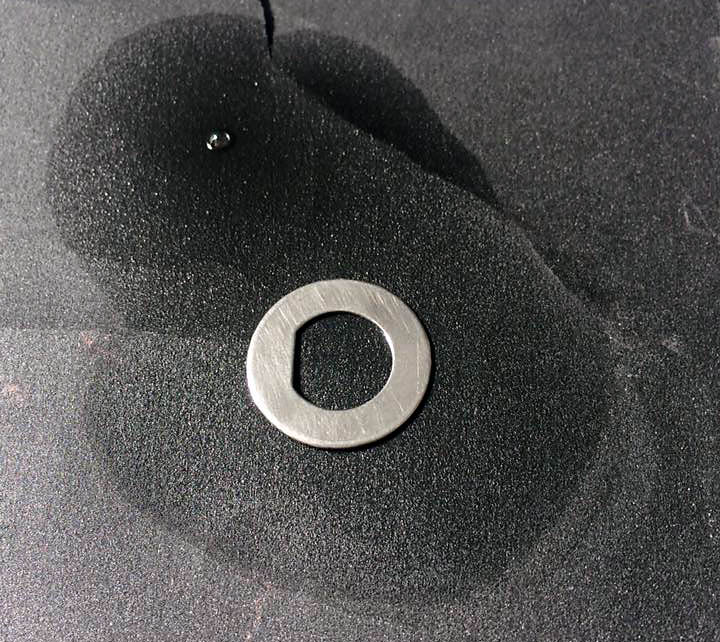
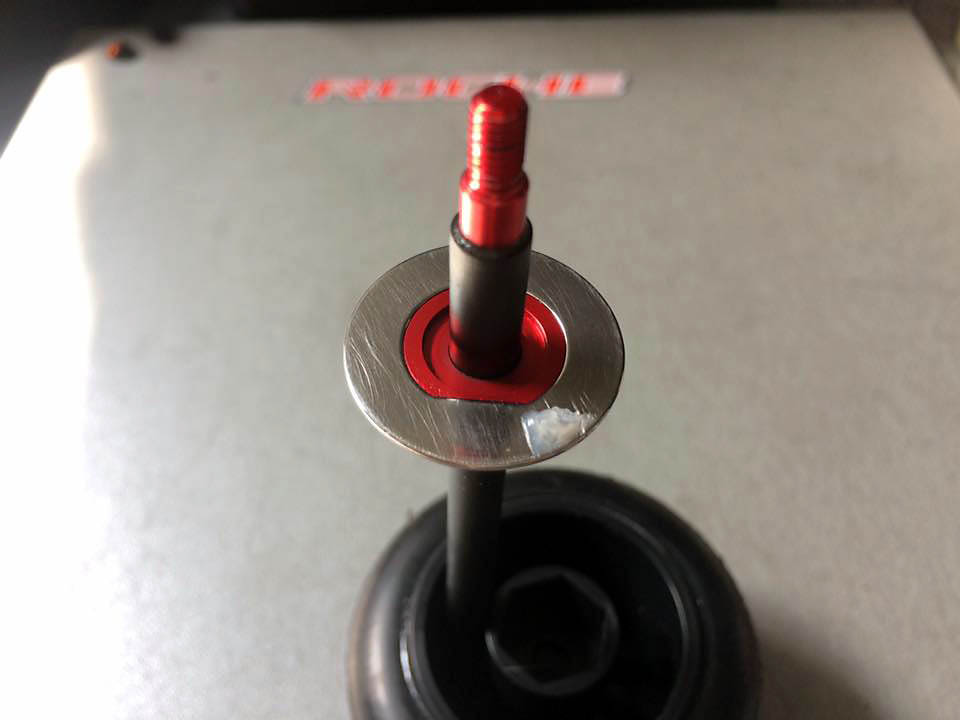
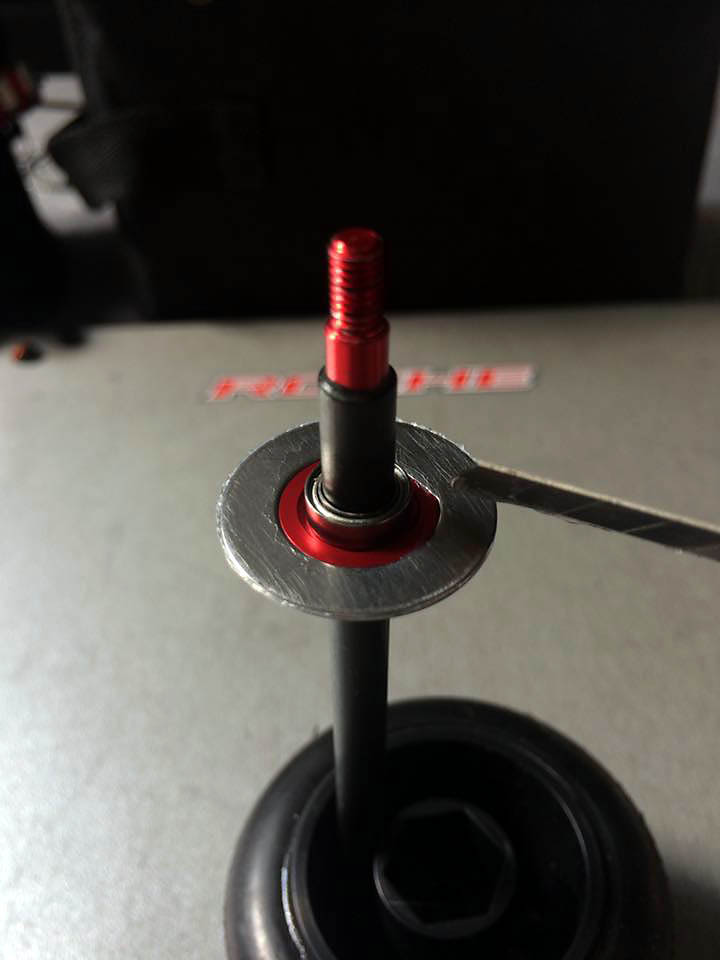
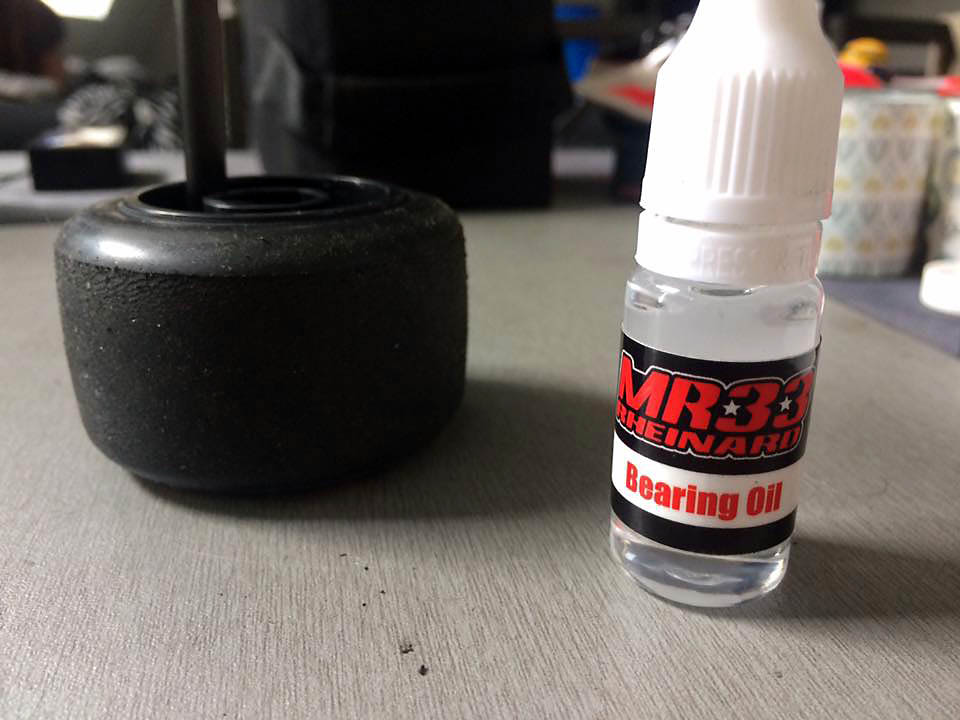
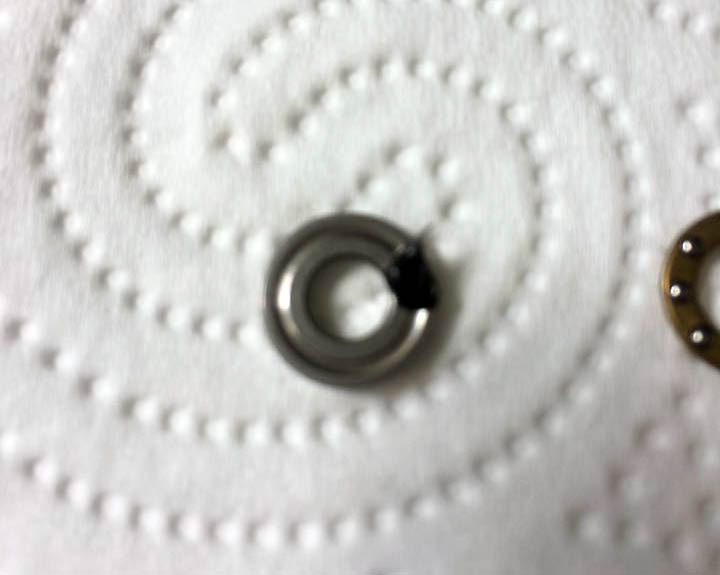
To make diff super smooth, put a drop of bearing oil in all bearings! I use Mr33
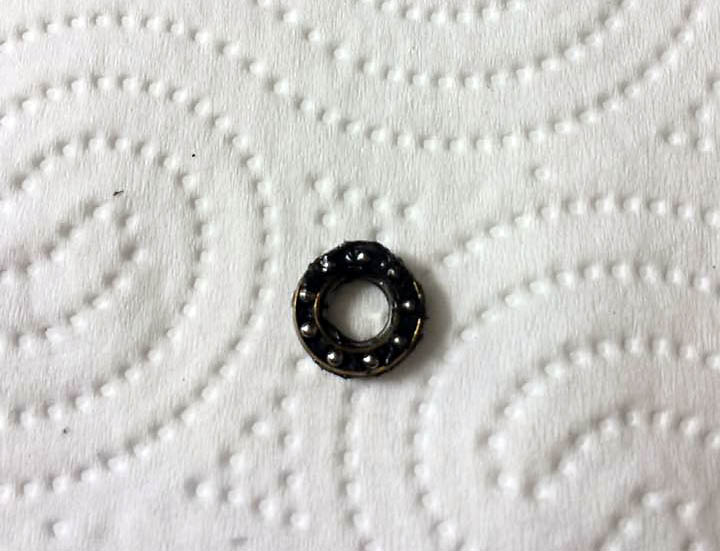
Close to finish, now build thrust bearing. Clean it with break cleaner and use black grease. Don't put too much, its useless! Note that there's 2 different plate!! The biggest one is going inside side!
Now you can right your diff, never right too much. If you follow all my steps your diff should be super smooth and durable!
For info, I use new balls from Roche, should be on the market soon!

|