|
- Alexander Hagberg - Tech Tips - How to Tune Tires for the Rug -
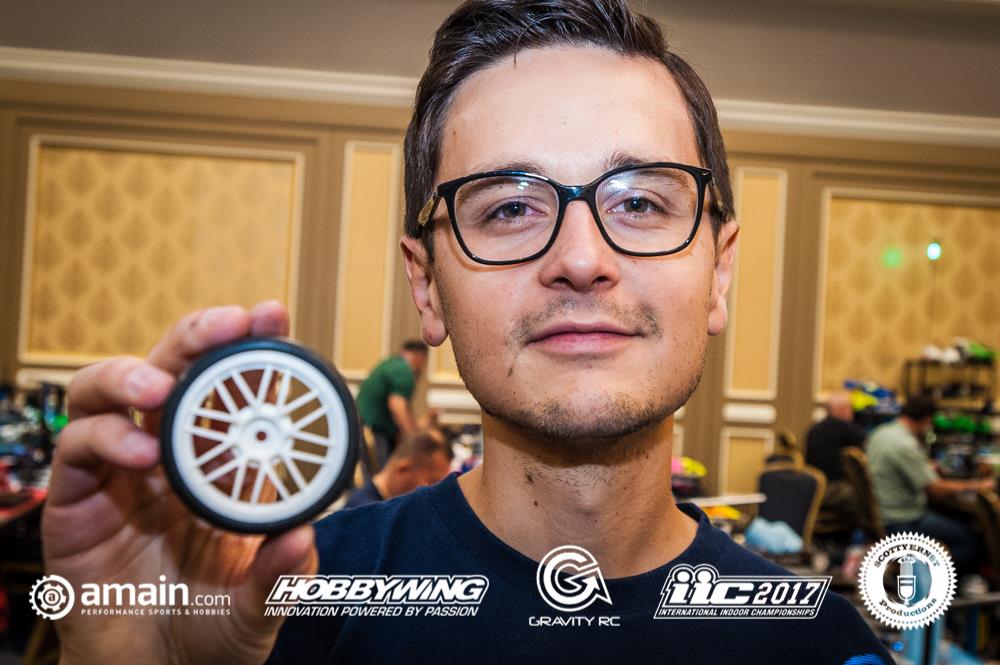
2014 IFMAR Nitro On-Road World Champion Alexander Hagberg of XRAY, is meticulous with his preparation and lethal on any carpet track. He knows tires are a critical part of any set-up, and tunes them to maximize grip without flipping. Fortunately we got a chance to sit down with him and get his steps from when the package of a new set of premounted tires is opened, with all of his tricks, experience and tools to get the job done right. If you race touring cars with rubber tires, you’ll want to take notes here.
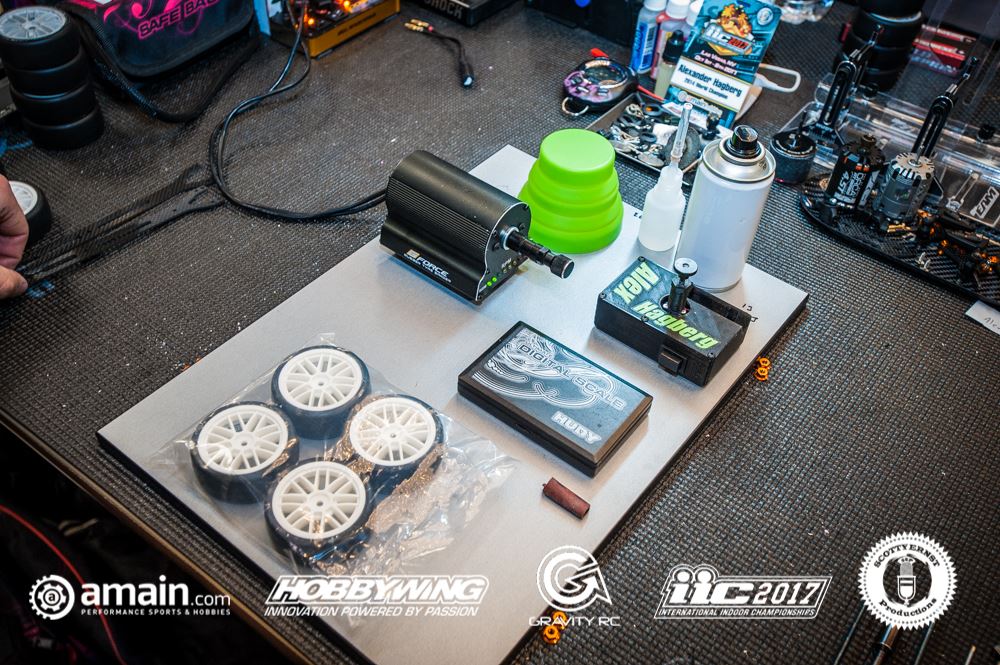
1. It’s important to have the right tools and have them organized and ready to go.
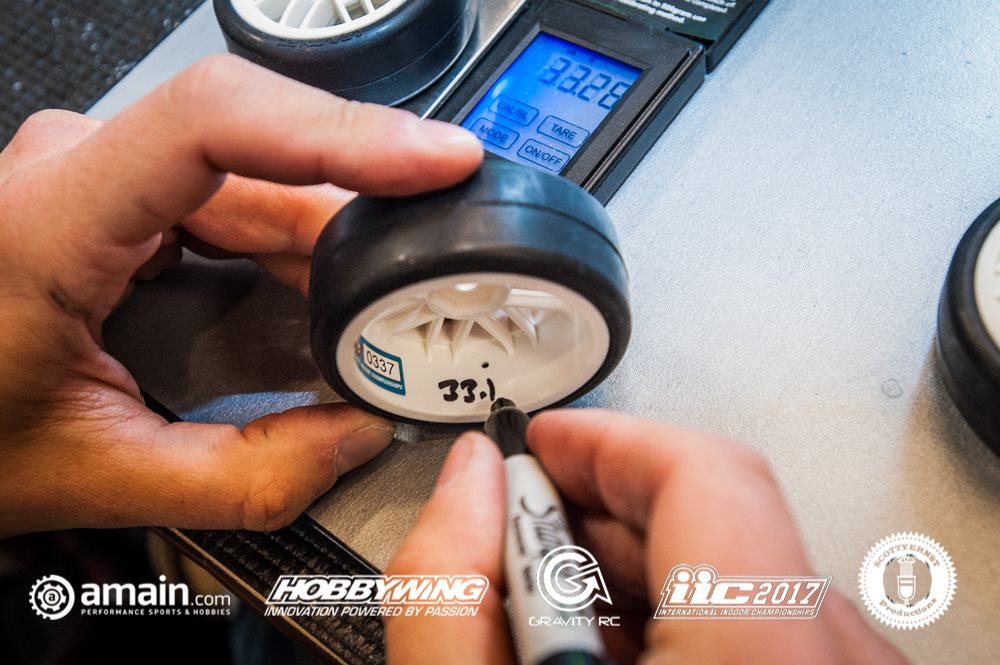
2. The first thing Alex does with tires straight out of the bag is to use a digital scale to weigh each tire individually. Each tire should weigh within one gram of each other in order to maintain good balance. More than a gram apart and Alex will reach for another set or swap out the suspect tire. Weighing also can reveal big variances in the inserts or defects at the factory.

3. After each tire is weighed, he uses a permanent marker to write down the weight on the inside of the wheel.
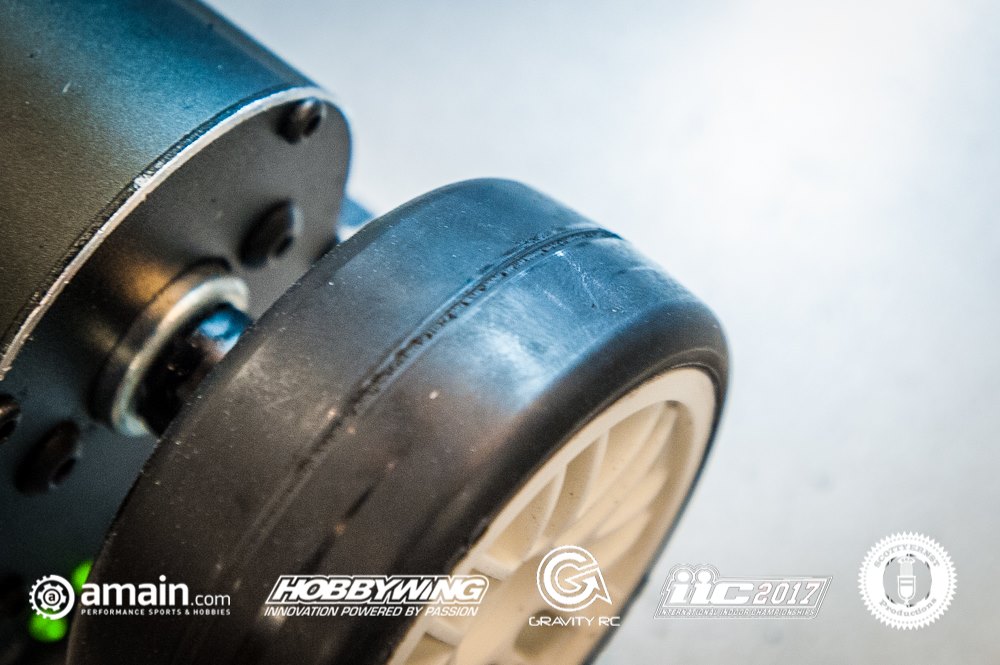
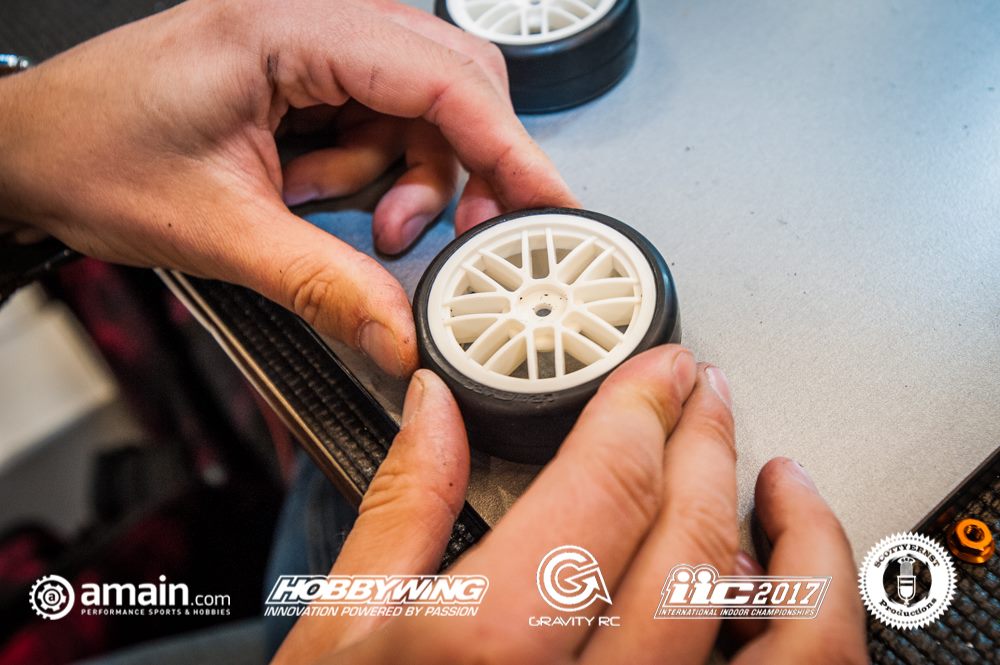
4. Next step is to remove the extra rubber left over on the seam. Each tire will be spun and a rough piece of sandpaper is used to remove it. A small piece of sandpaper is all that’s needed.

5. Alex focuses the sandpaper so that it doesn’t hit the surrounding part of the tire. He only spins the tire at about medium speed. Spinning the tire also reveals if the tire is balanced. The tires that are more balanced are used in the back. An unbalanced tire can cause the rear end to unsettle slightly, taking away traction. The front is less critical and won’t be affected as much. He explains that he doesn’t use clay or other ways to balance the tire in on-road.

6. A quick inspection of the tires to make sure the appropriate amount is removed.
7. Each tire is then marked since they will never be rotated on the car. He uses a simple marking system of one to four on each corner of the car.

8. Next is to inspect each tire to check how the glue is from the factory. He’ll rotate the tire and pinch all areas to make sure there aren’t any large gaps.
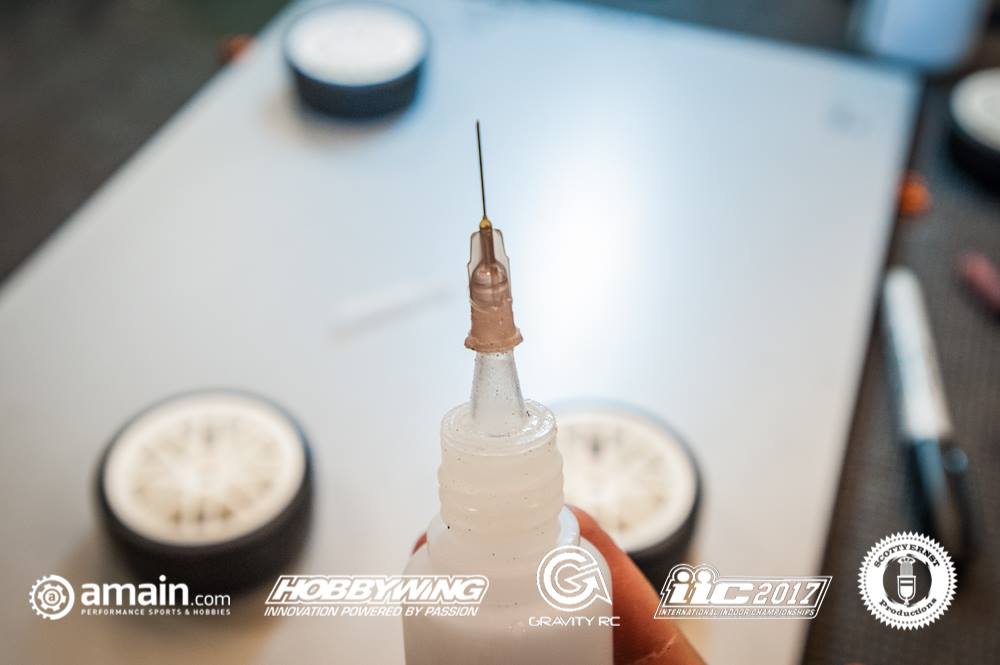
9. CA glue is critical for the next steps, and he uses very thin glue with a medical tip so that he can get very detailed with application. Before he uses it on a tire, he’ll double check to make sure the glue flows freely and smooth through the tip.
10. Alex will apply a tiny bead of glue to each side of the tire at the seam for extra security.
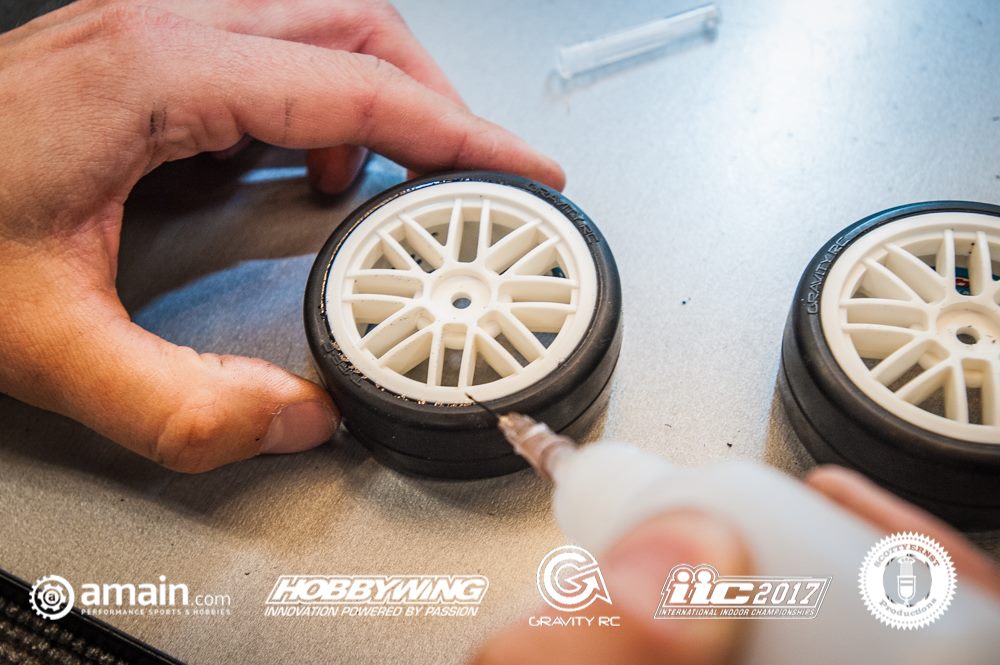
11. CA Kicker (sometimes referred to as Accelerator), is then lightly sprayed over the area to help speed up the setting process.

12. Since Alex uses a wide glue area on the sidewalls for the front tires to help keep his car from flipping, he will use a Gluing Machine from Helix Designs to help. This tool helps to get a really even glue application.
13. With the tire rotating slowly, he will apply a coating of glue to the sidewall of the tire. The goal is to have the glue consistent and even. The amount of glue depends on the grip and conditions of the track.

14. Alex then measures the glue line with some digital calipers. At this year’s International Indoor Championships - IIC, he is using a 59mm diameter glue line. If the line is too small, he’ll just go back and widen it with the metal glue tip. Keep in mind, you can always add more, so start off conservative.
15. Make sure to inspect the glue to make sure it is even and consistent.
16. Alex keeps a cup on hand for this next step. He explained that most cups will work, and in his case it is a rubber cup that collapses down for easy storage in his pit.
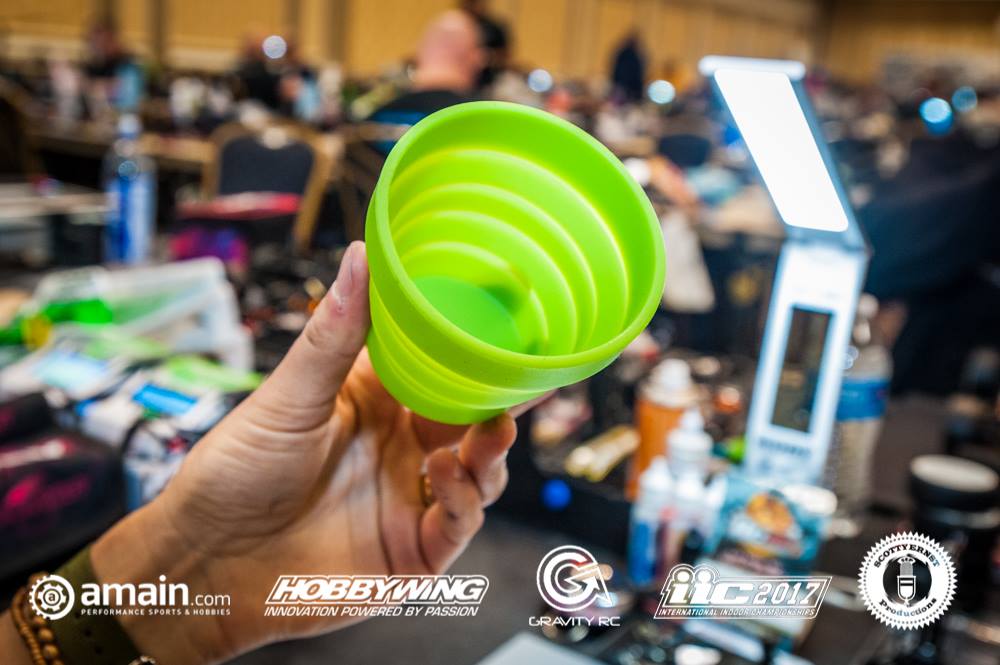
17. A quick spray of CA Kicker in the cup will create a bit of fog in side the cup.

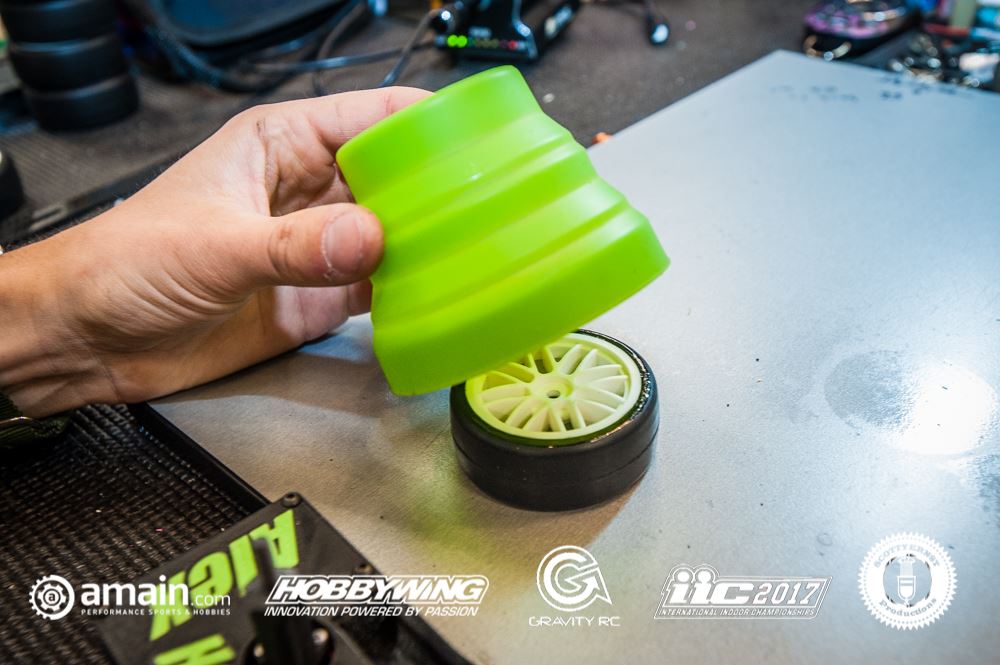
18. With a fog of CA Kicker, he’ll place the cup over the tire and leave it there for about 30 seconds. This is the final step and helps to set the glue. He’s now ready to use the tires.
|