|
- Third Strike: Team Yokomo YZ-2 CAL3 -
By Markus Schmidt
Release schedules have changed a lot since the heydays of the RC10 B4. While it took the A-Team more than ten years to replace the venerable 4-time IFMAR world champion, manufacturers nowadays come up with a new car every season – or so it seems. While many brands offer a new kit every or every other year, most releases rather are evolutions or facelifts of last year's model. Team Yokomo's original YZ-2 was released back in 2014, which makes it currently the oldest basic design out there. One might say that TLR's 22 platform is even older, but as it was only given a laydown gearbox in the 4th generation of kits, this would be a apples vs. oranges game.
Of course, Yokomo's latest and greatest 2WD carpet and Astroturf kit does not share that many parts with its great-grandfather either. Notwithstanding the 3 in its name, it is actually the fourth generation of the then-revolutionary buggy designed by engineering mastermind Shinnosuke Adachi, and that's not counting the brilliant stadium truck version and the DT/DTM dirt cars that earned quite a few national and international titles including the 2017 IFMAR world and EFRA European championships, and the 2019 JMRCA title. Every generation saw considerable or at least worthwhile changes, from four-gear to three-gear transmission, larger steering bearings and wider rear arms between the OG YZ-2 and the CA, to adjustable gearbox height, improved revised rear arm mounts, JConcepts body and included steel front arm mount in the CAL2, and eventually the groundbreaking overhaul found in the CAL3, every new version was more than just a new sticker sheet and a paint job. But what is really new inside the shiny box?
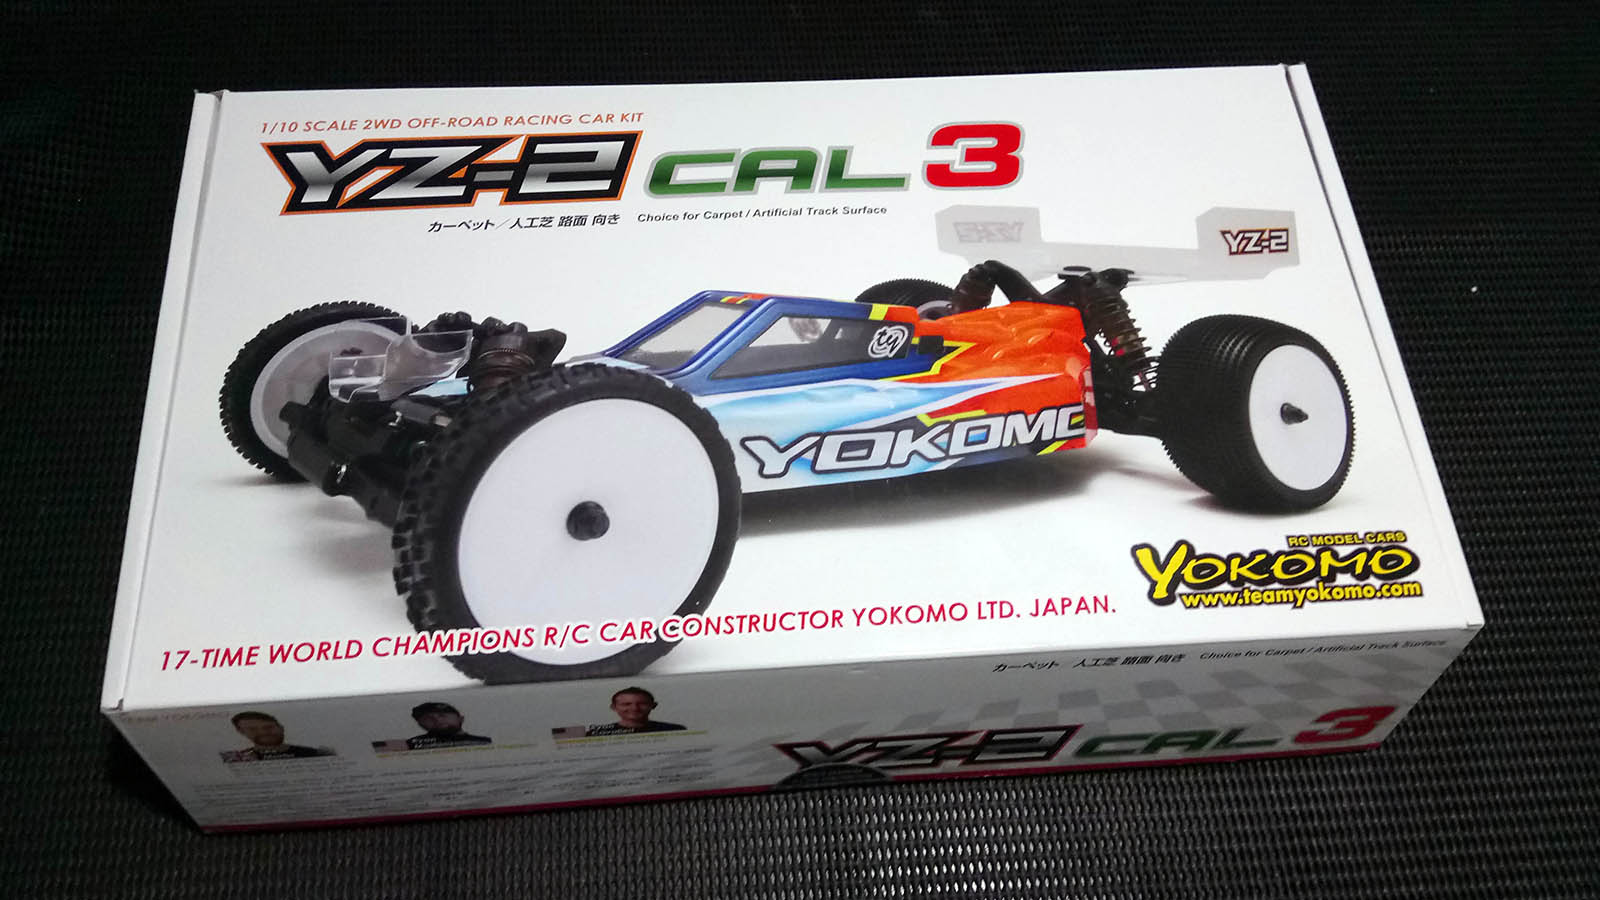
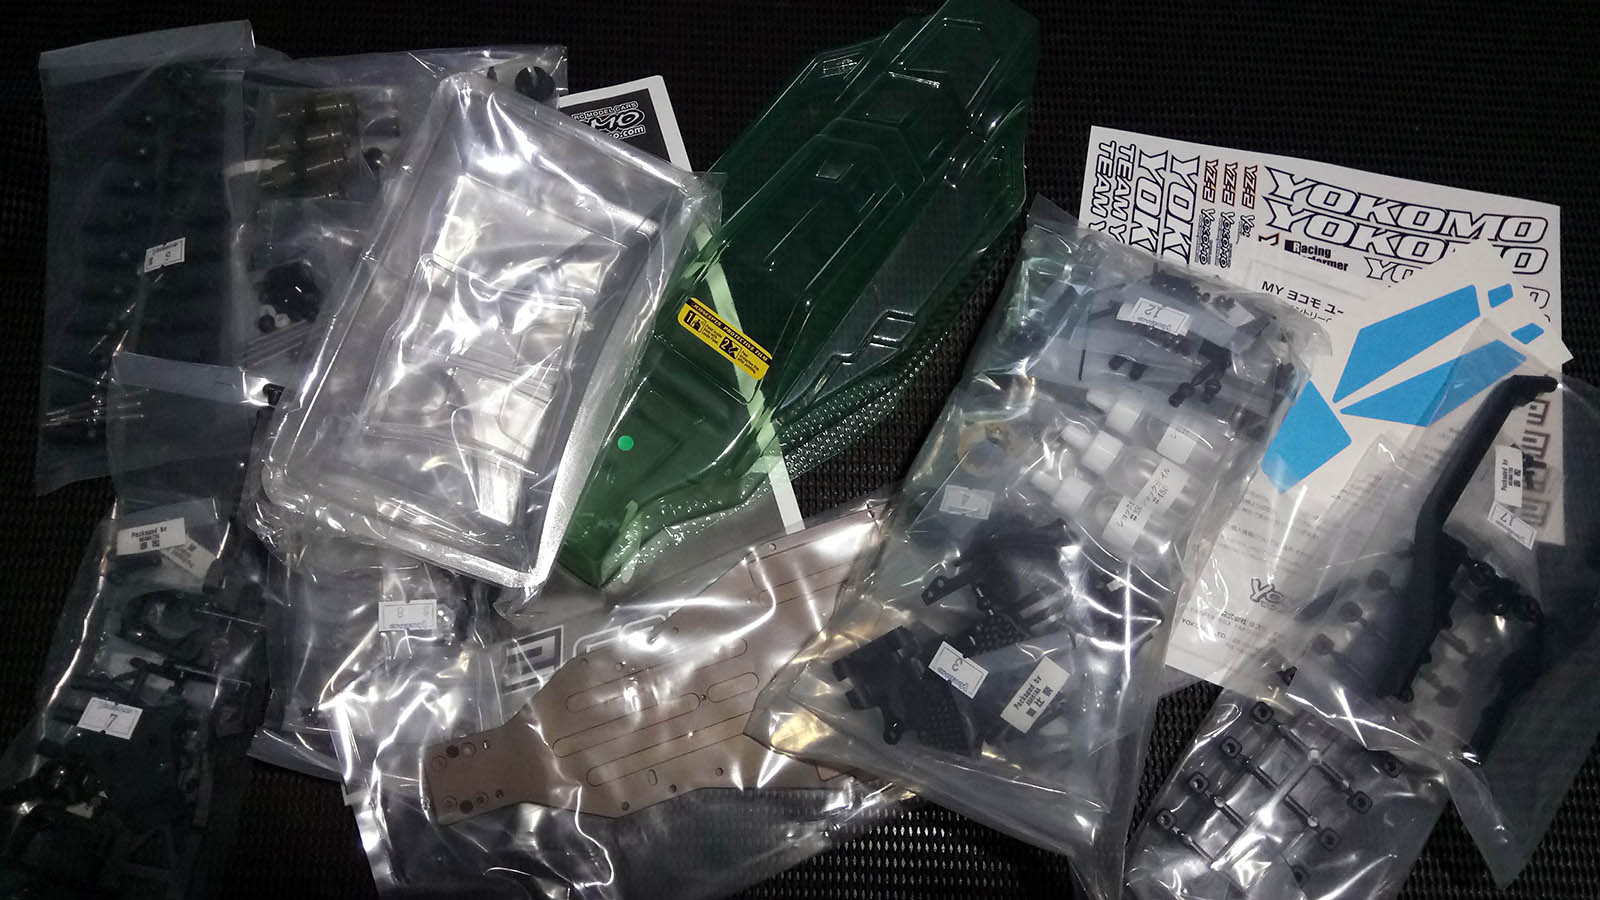
Well, actually the box itself has a new and fresh design, which made it hard to resist the kit when I first saw it at a combined regional, nationals warm-up and NORC race at Arena 33. Contents such as the lightweight JConcepts F2 body and the manual at the first glance look familiar, but if you take a closer look, things are quite a bit different. But one step at a time!

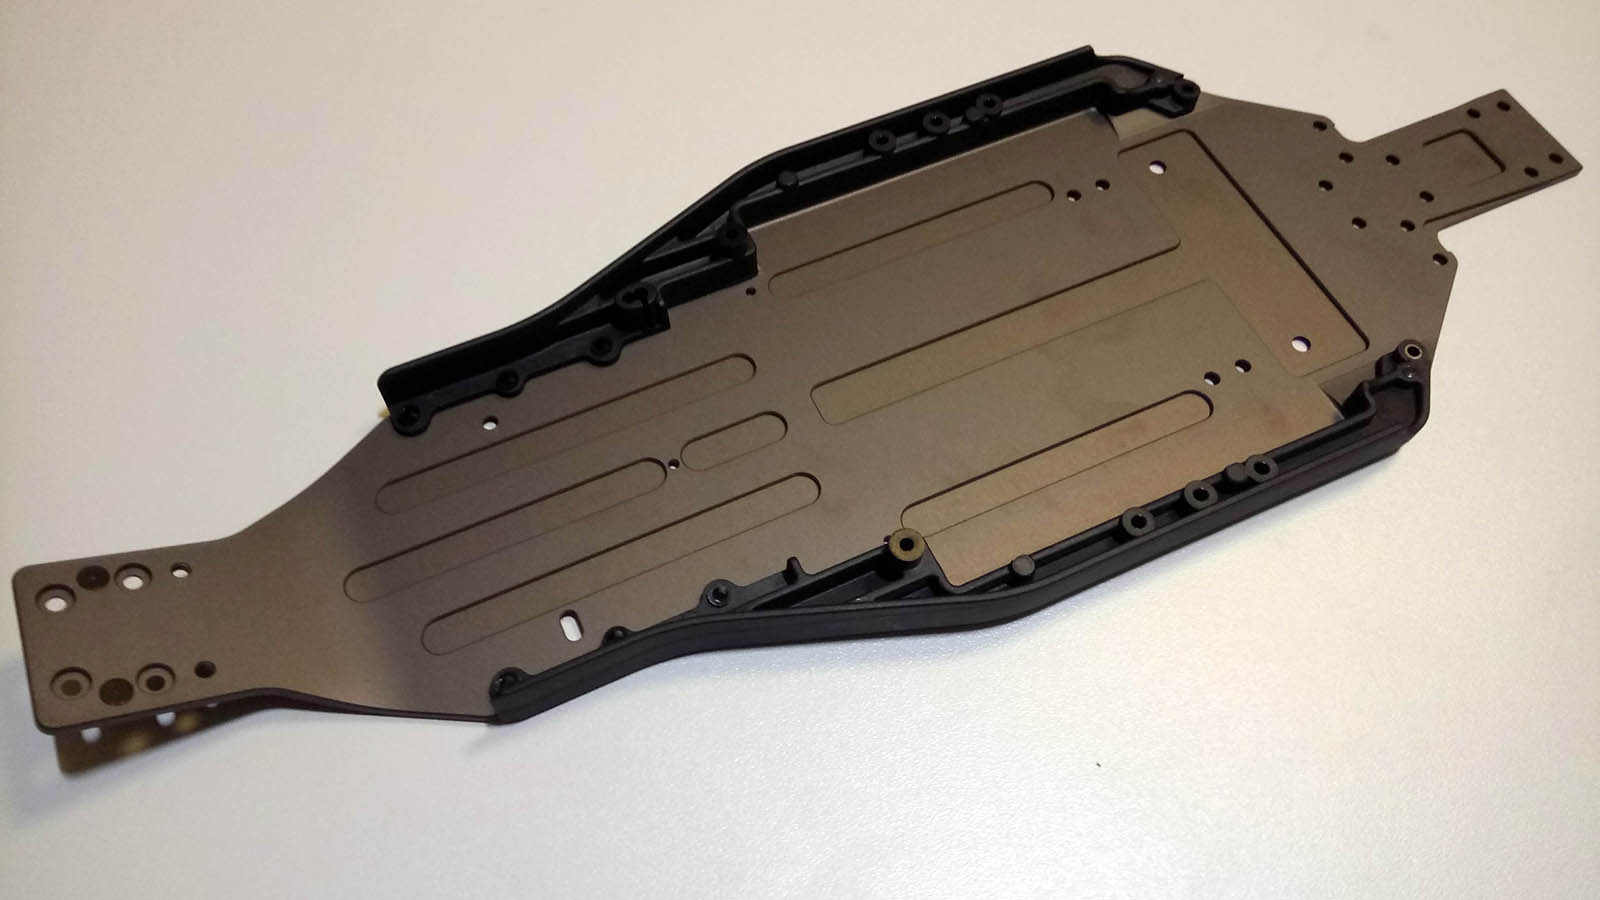
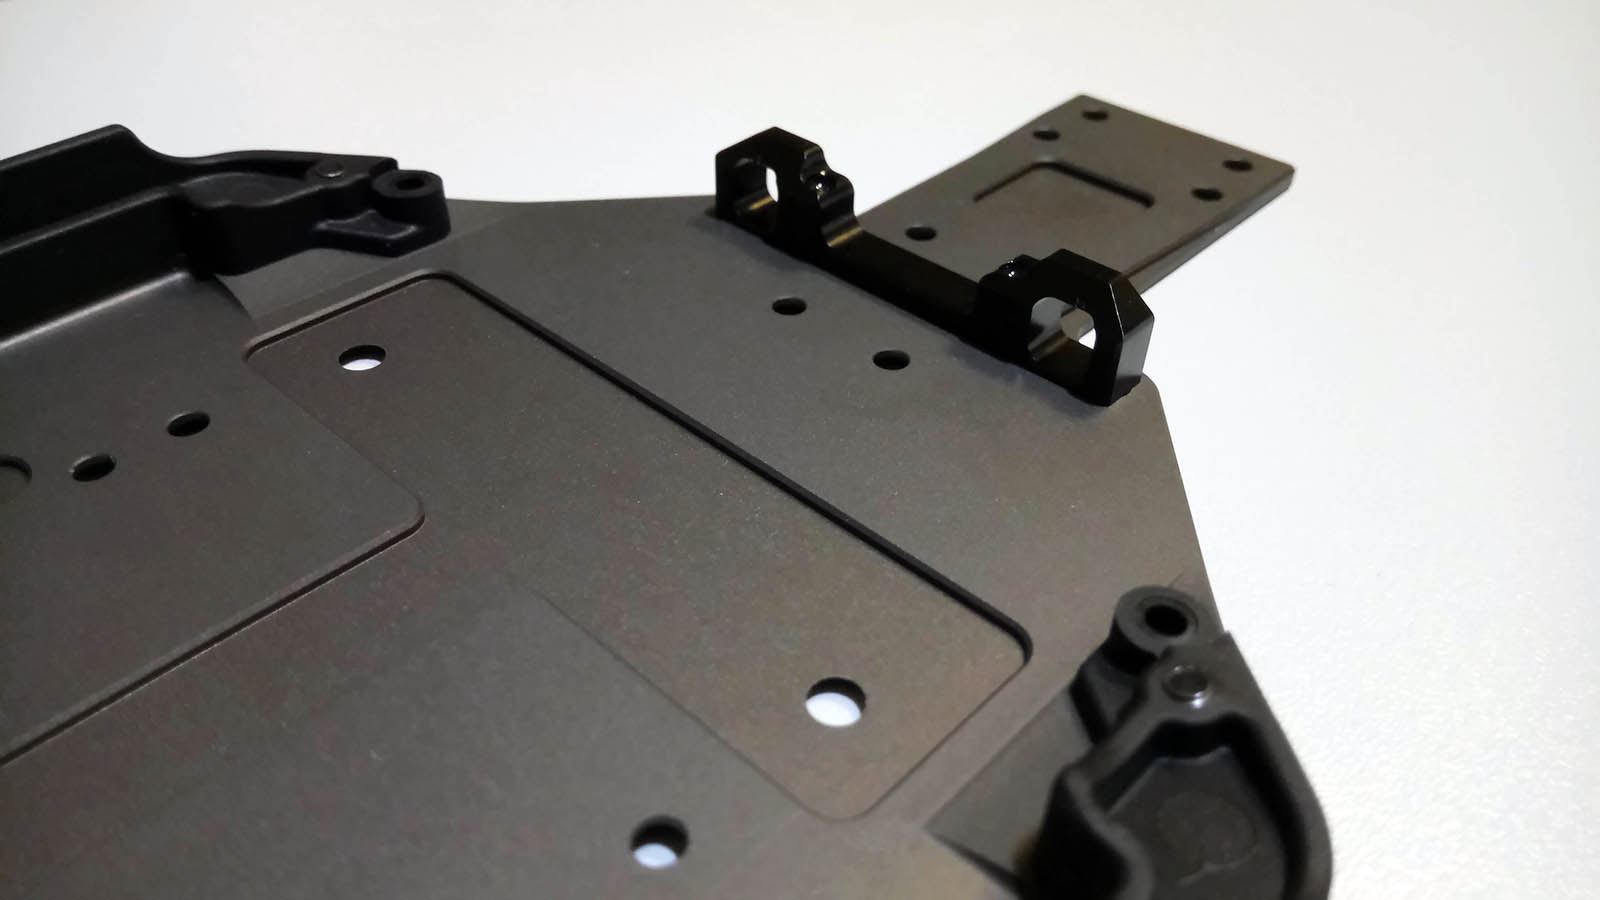
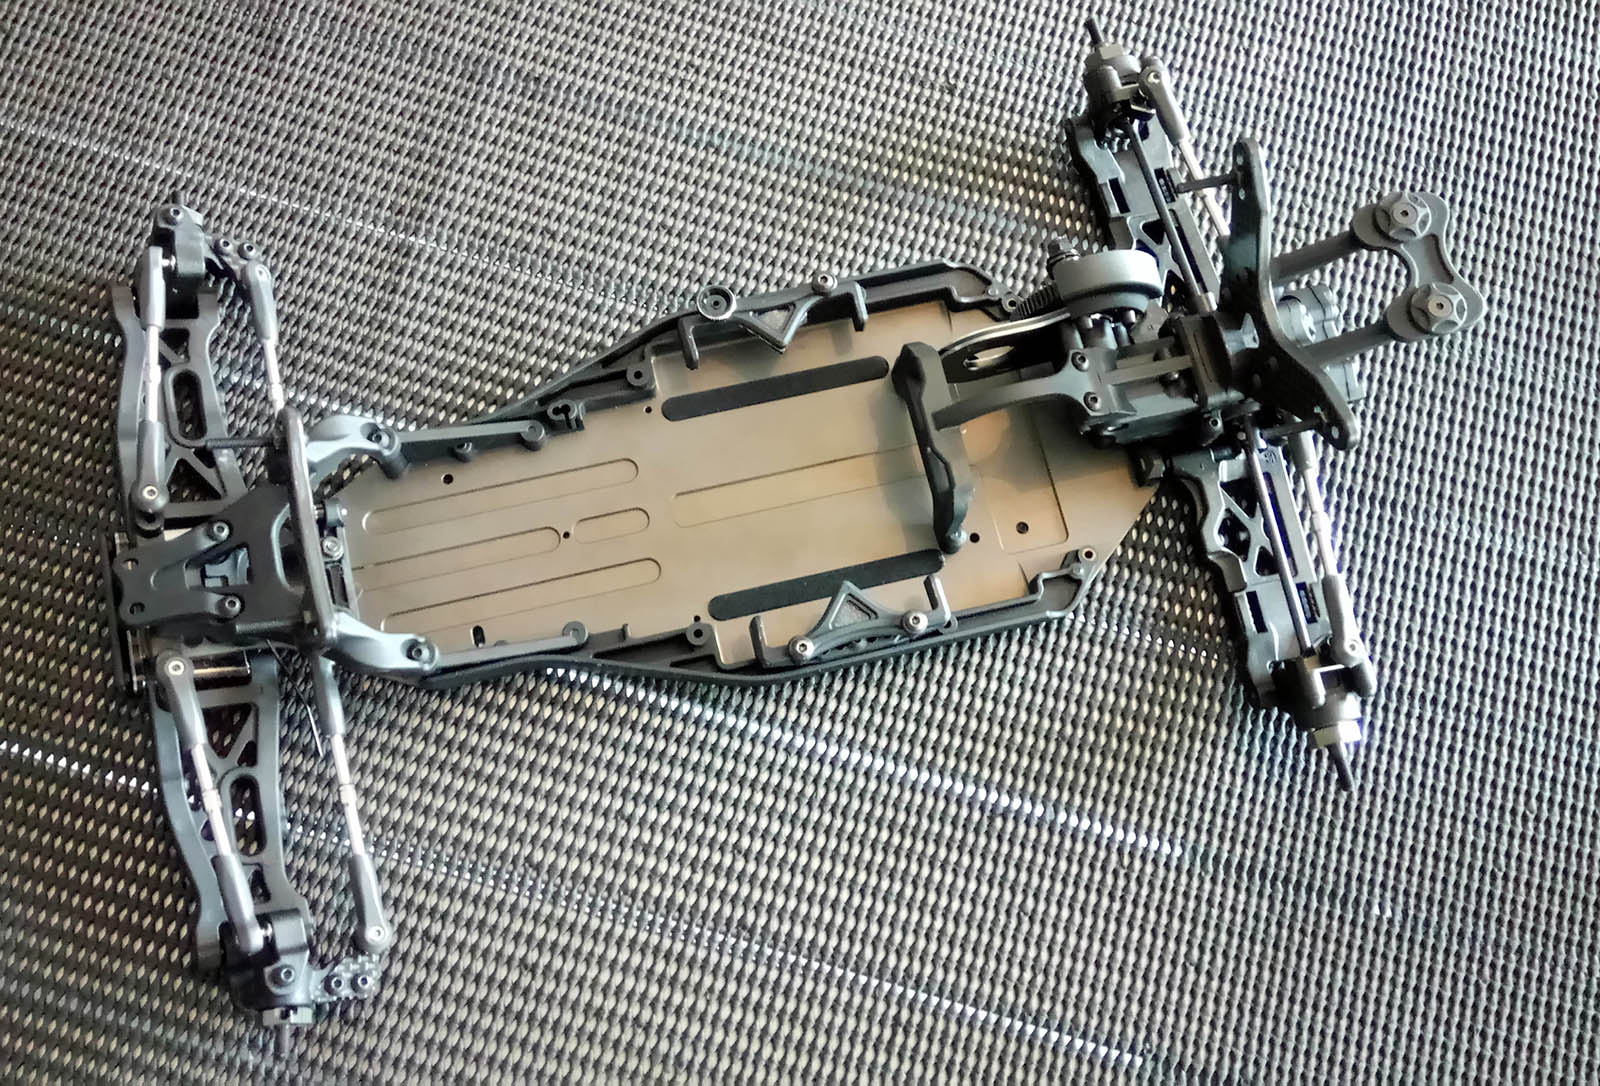
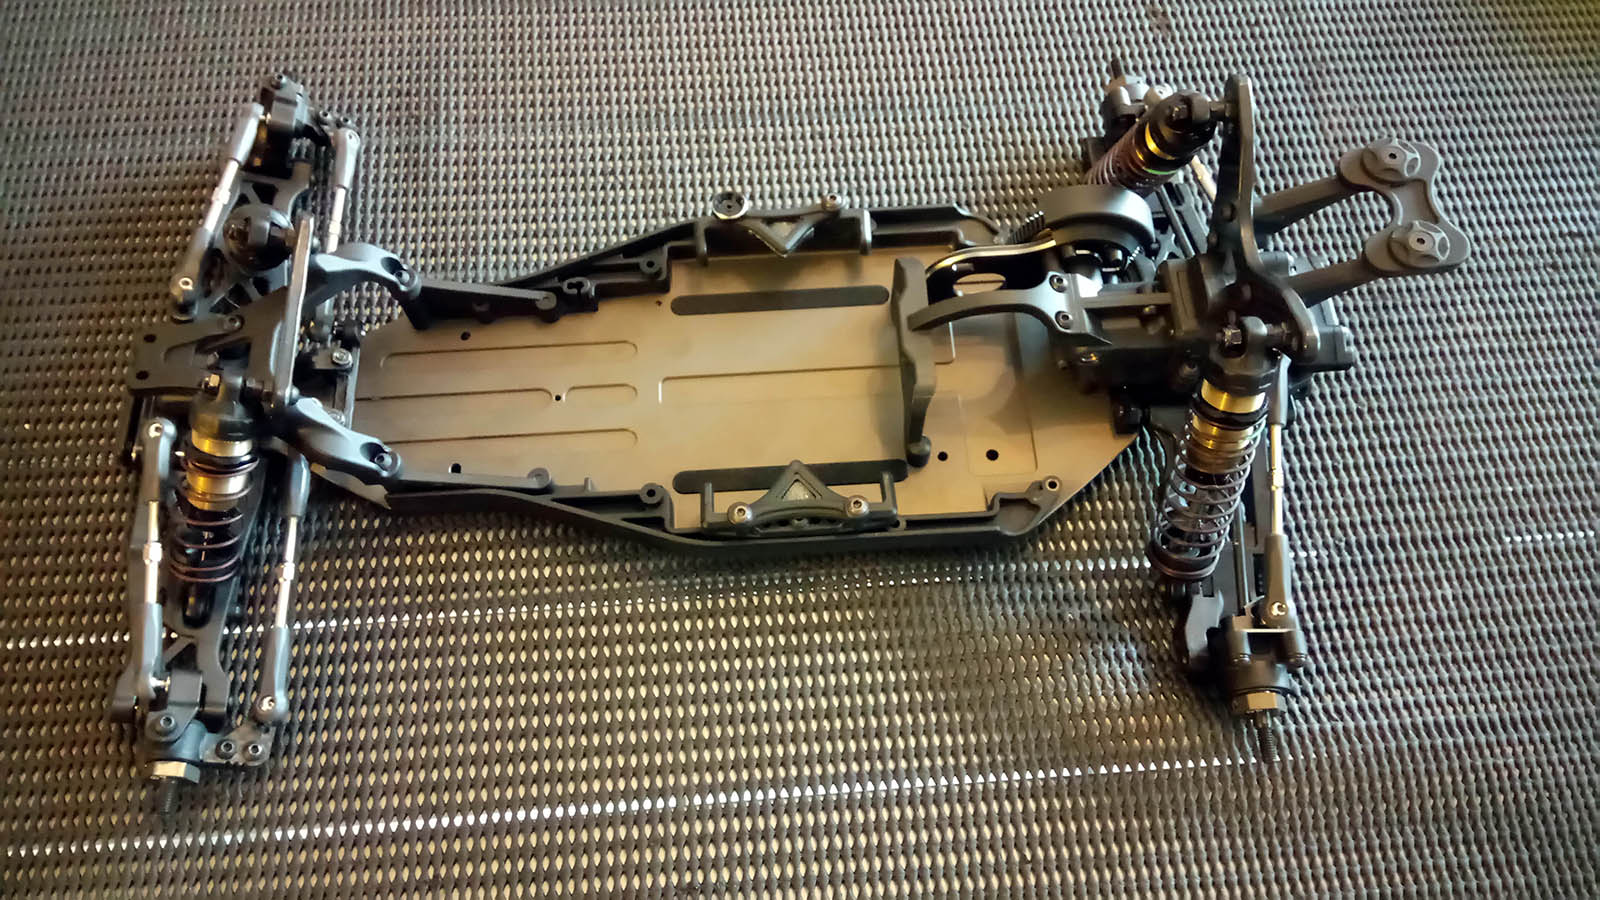
Let's start with the main chassis. While the bottom of the chassis plate does not seem to have changed, the upper side resembles the YZ-2T. The space for the 26g plate is gone for good, but now it is possible to route a ribbon-style sensor wire underneath the shorty battery pack right to the motor.
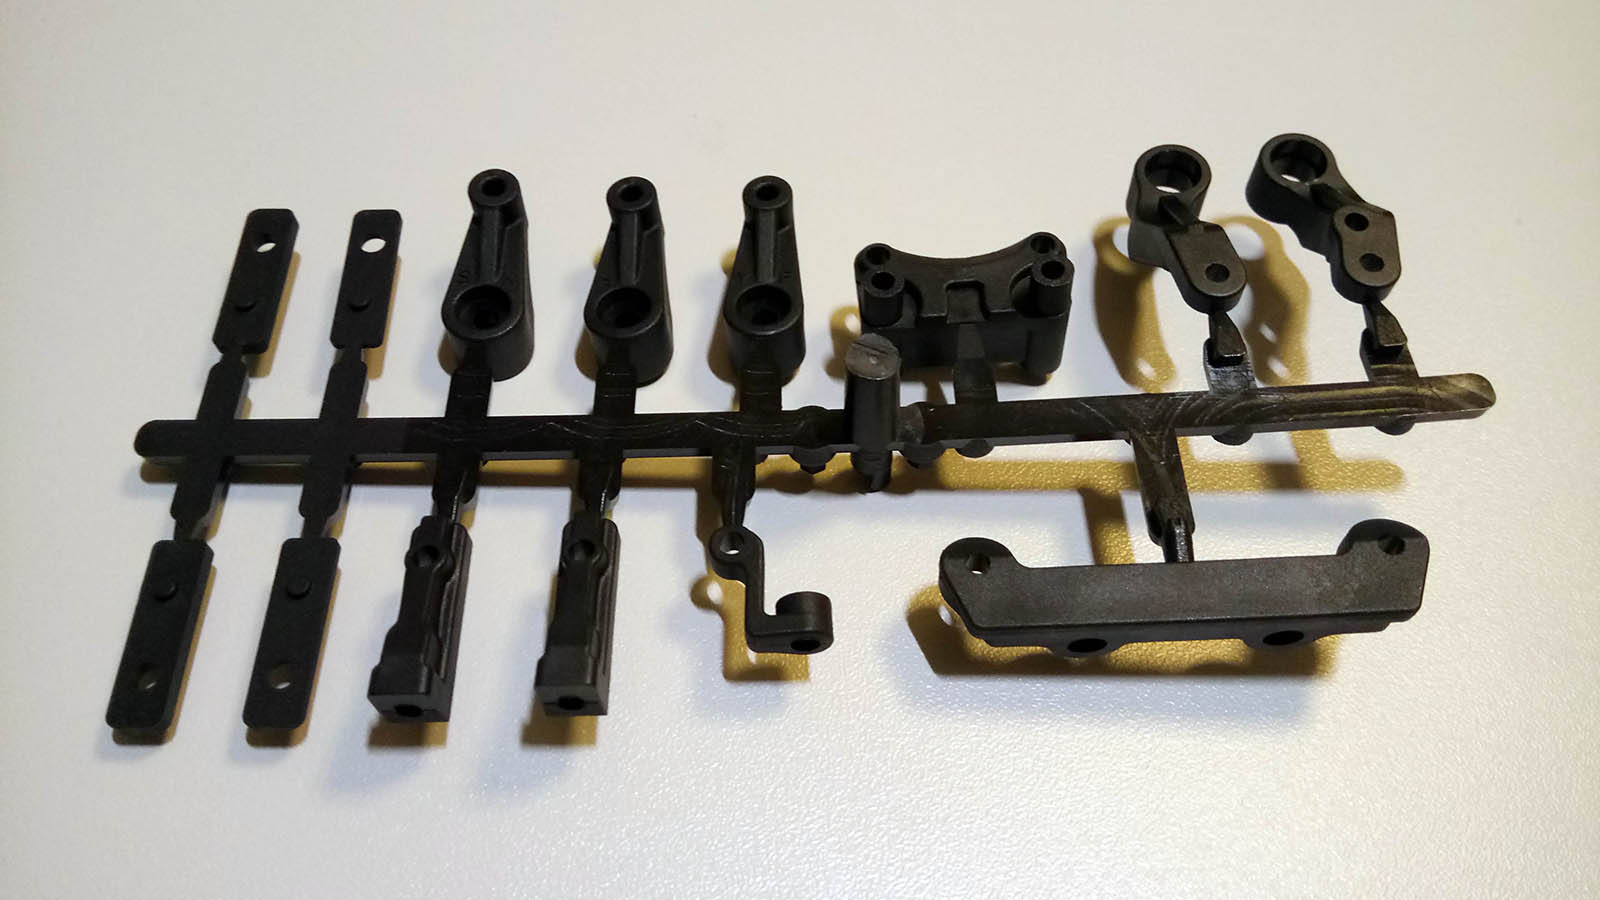
The steering bellcrank assembly is a complete redesign and also the servo horn is a new one. Three different versions (23T, 24T, 25T) can be found on the sprue together with the bellcranks, steering rack, servo mounts mount and (spoiler alert) fan mount. At 15.5 mm it is shorter than anything in my parts box, so I'll settle for the kit item for the time being.
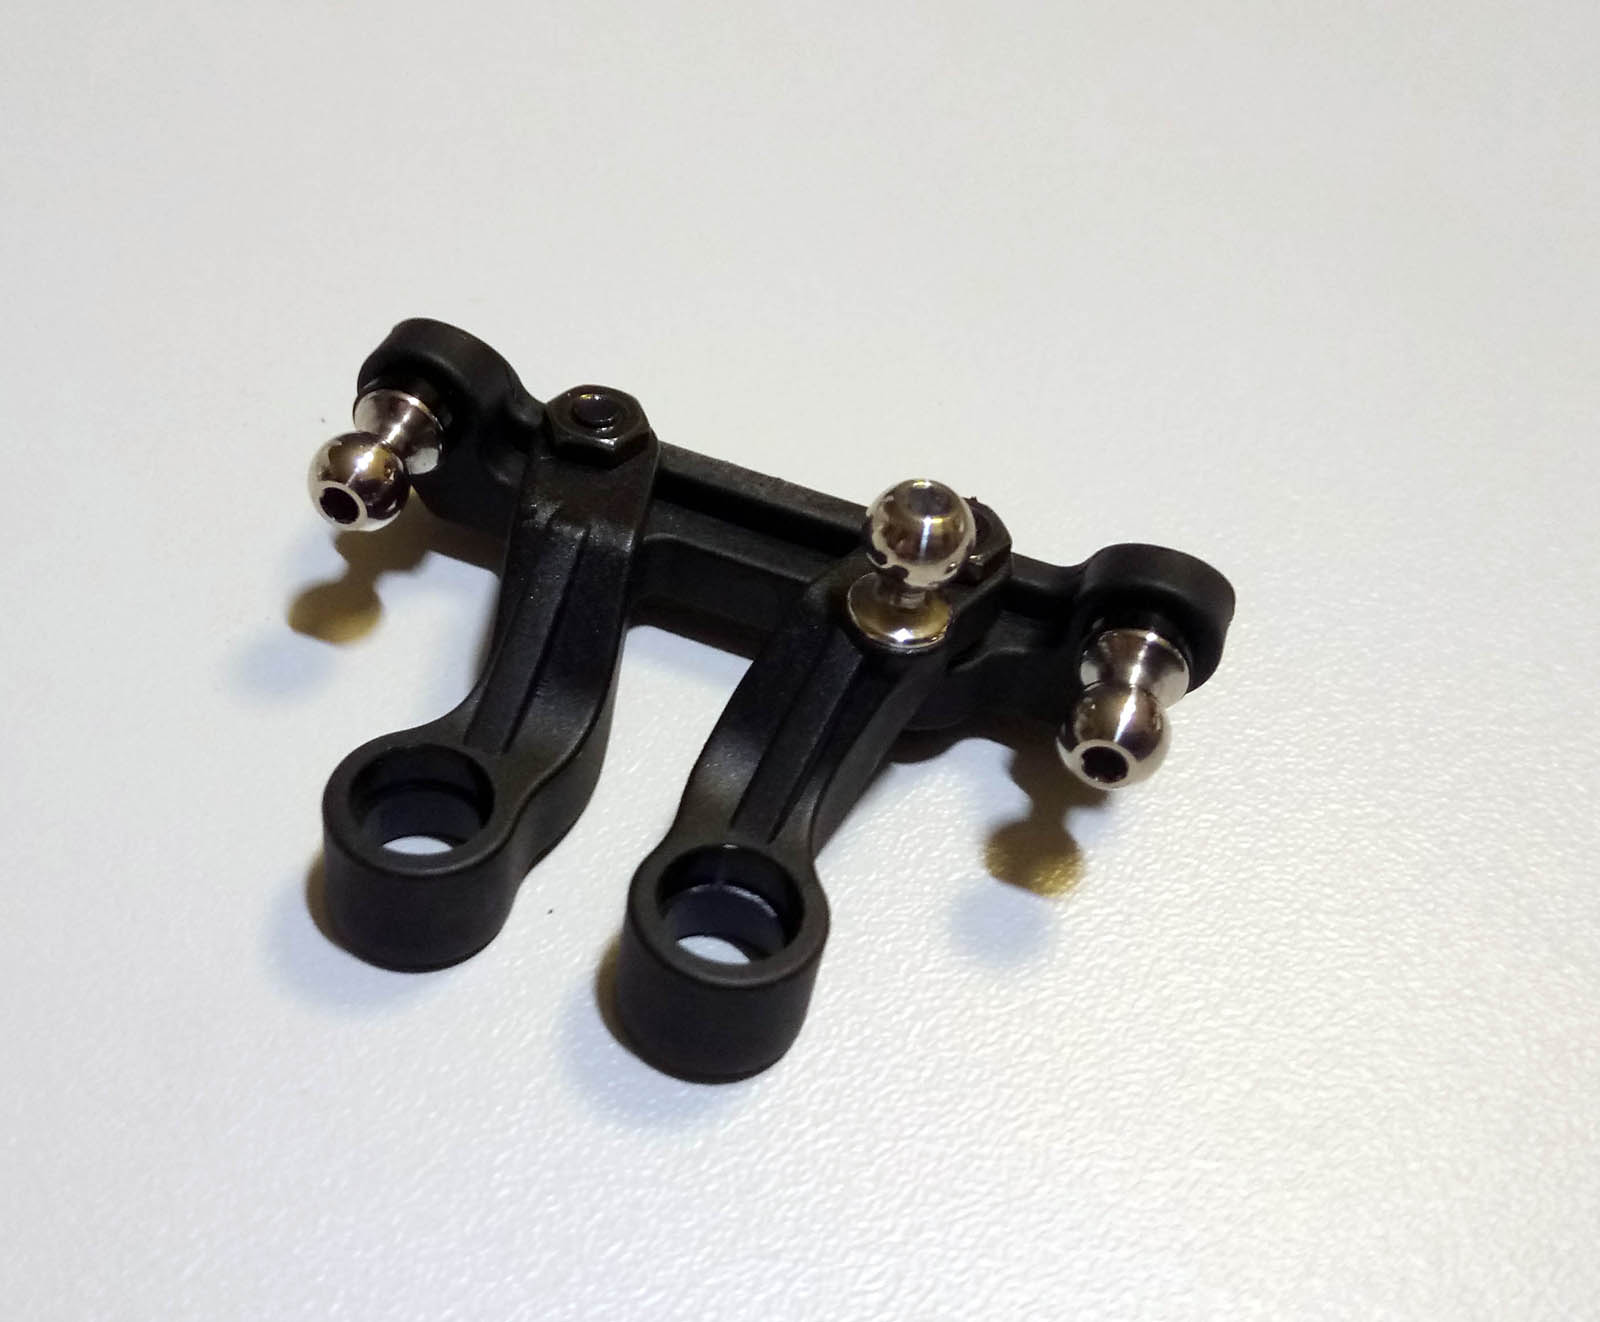
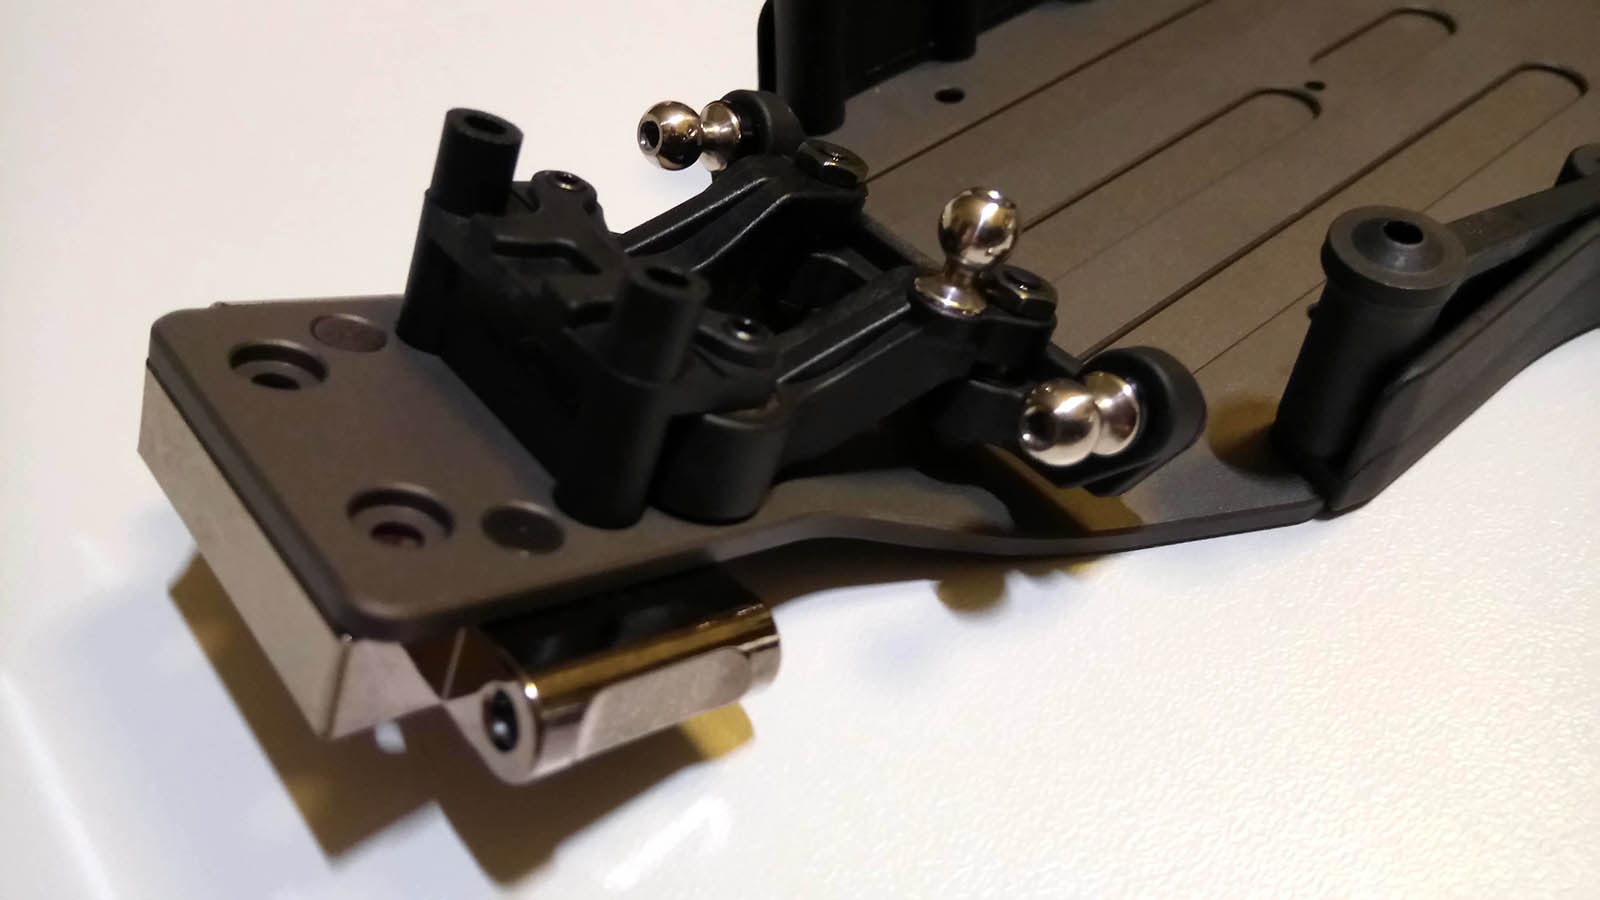
In the next step, the bellcrank assembly is mounted to the chassis with some familiar and completely new parts. As can be seen from the B2-coded part number, the steel bulkhead dates back to the B-Max2 series but has only been included in the kit since the CAL2. On the other hand, the bellcrank base, posts and bearings are new items, and while the 3x7 bearings look quite small at first, the balls inside are larger than e.g. in a 5x8 bearing and should be able to withstand some abuse.
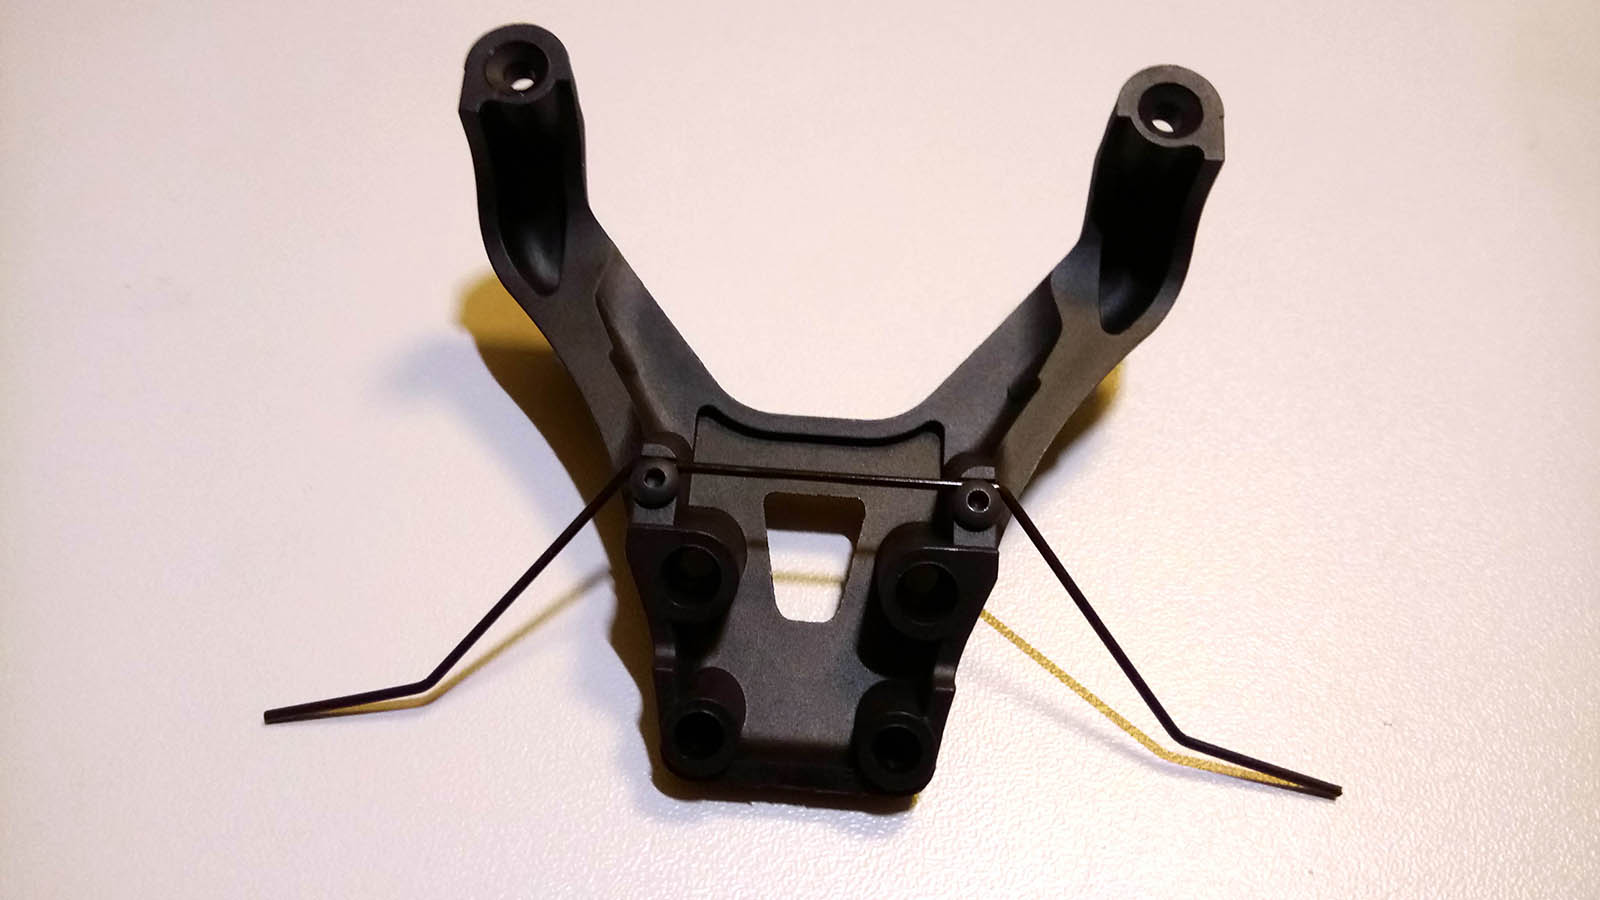
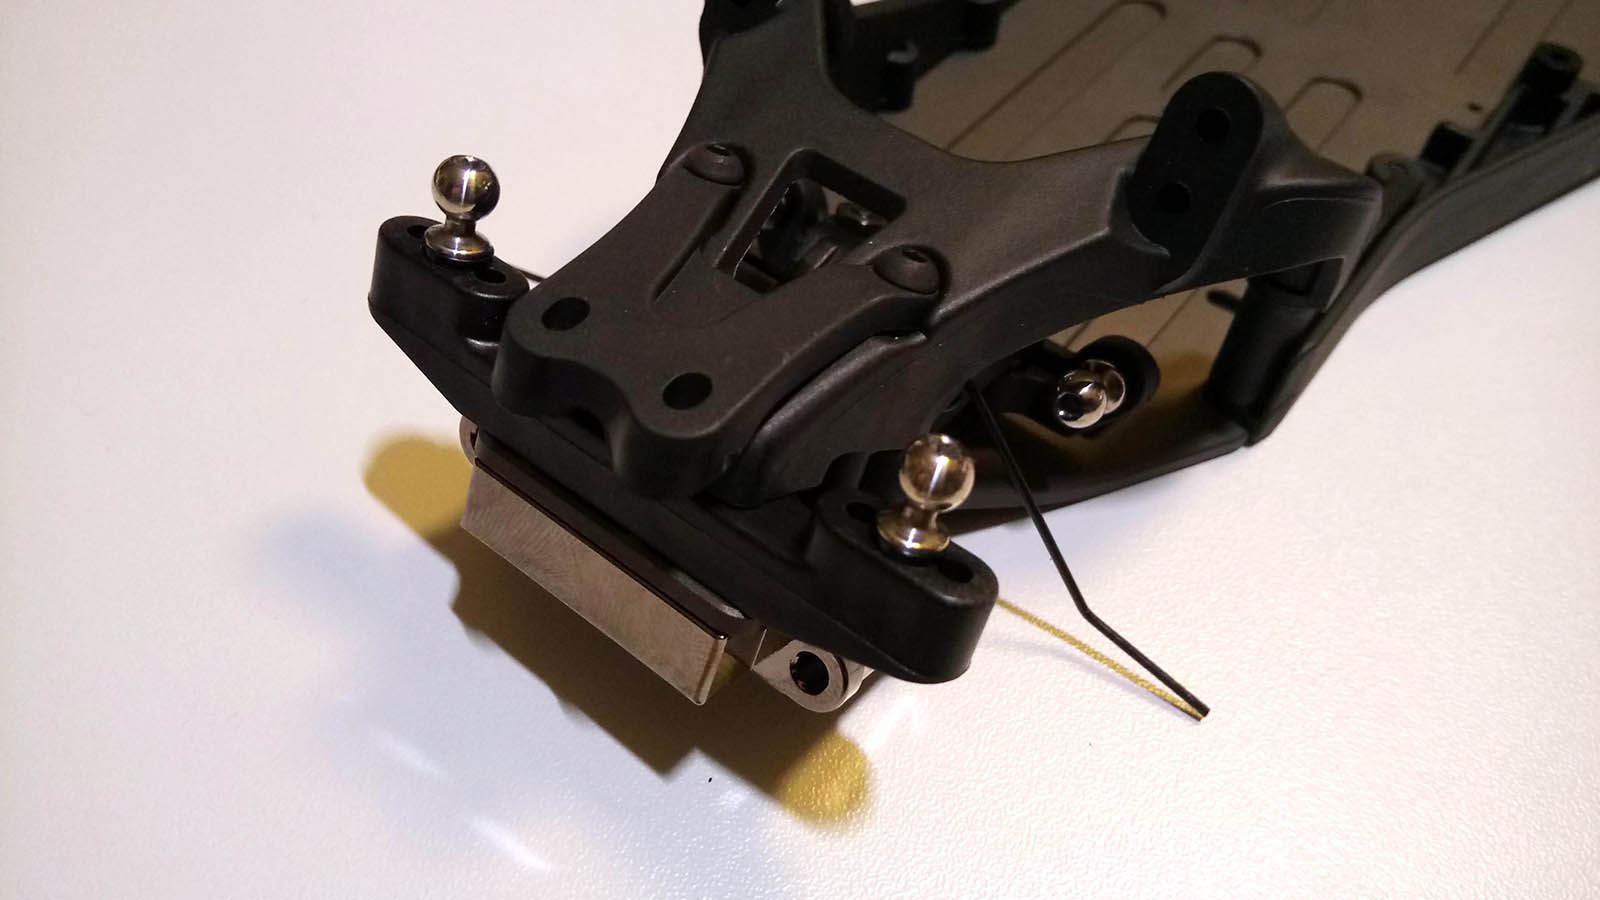
One of the weaker parts of past YZ-2 kits, the front top plate was reinforced for the YZ-2T and soon became a popular option among buggy racers. Yokomo decided to improve another smallish issue and now includes hex screws for securing the front sway bar on the bulkhead. Although there are more accessible solutions on the market, it actually works really well.
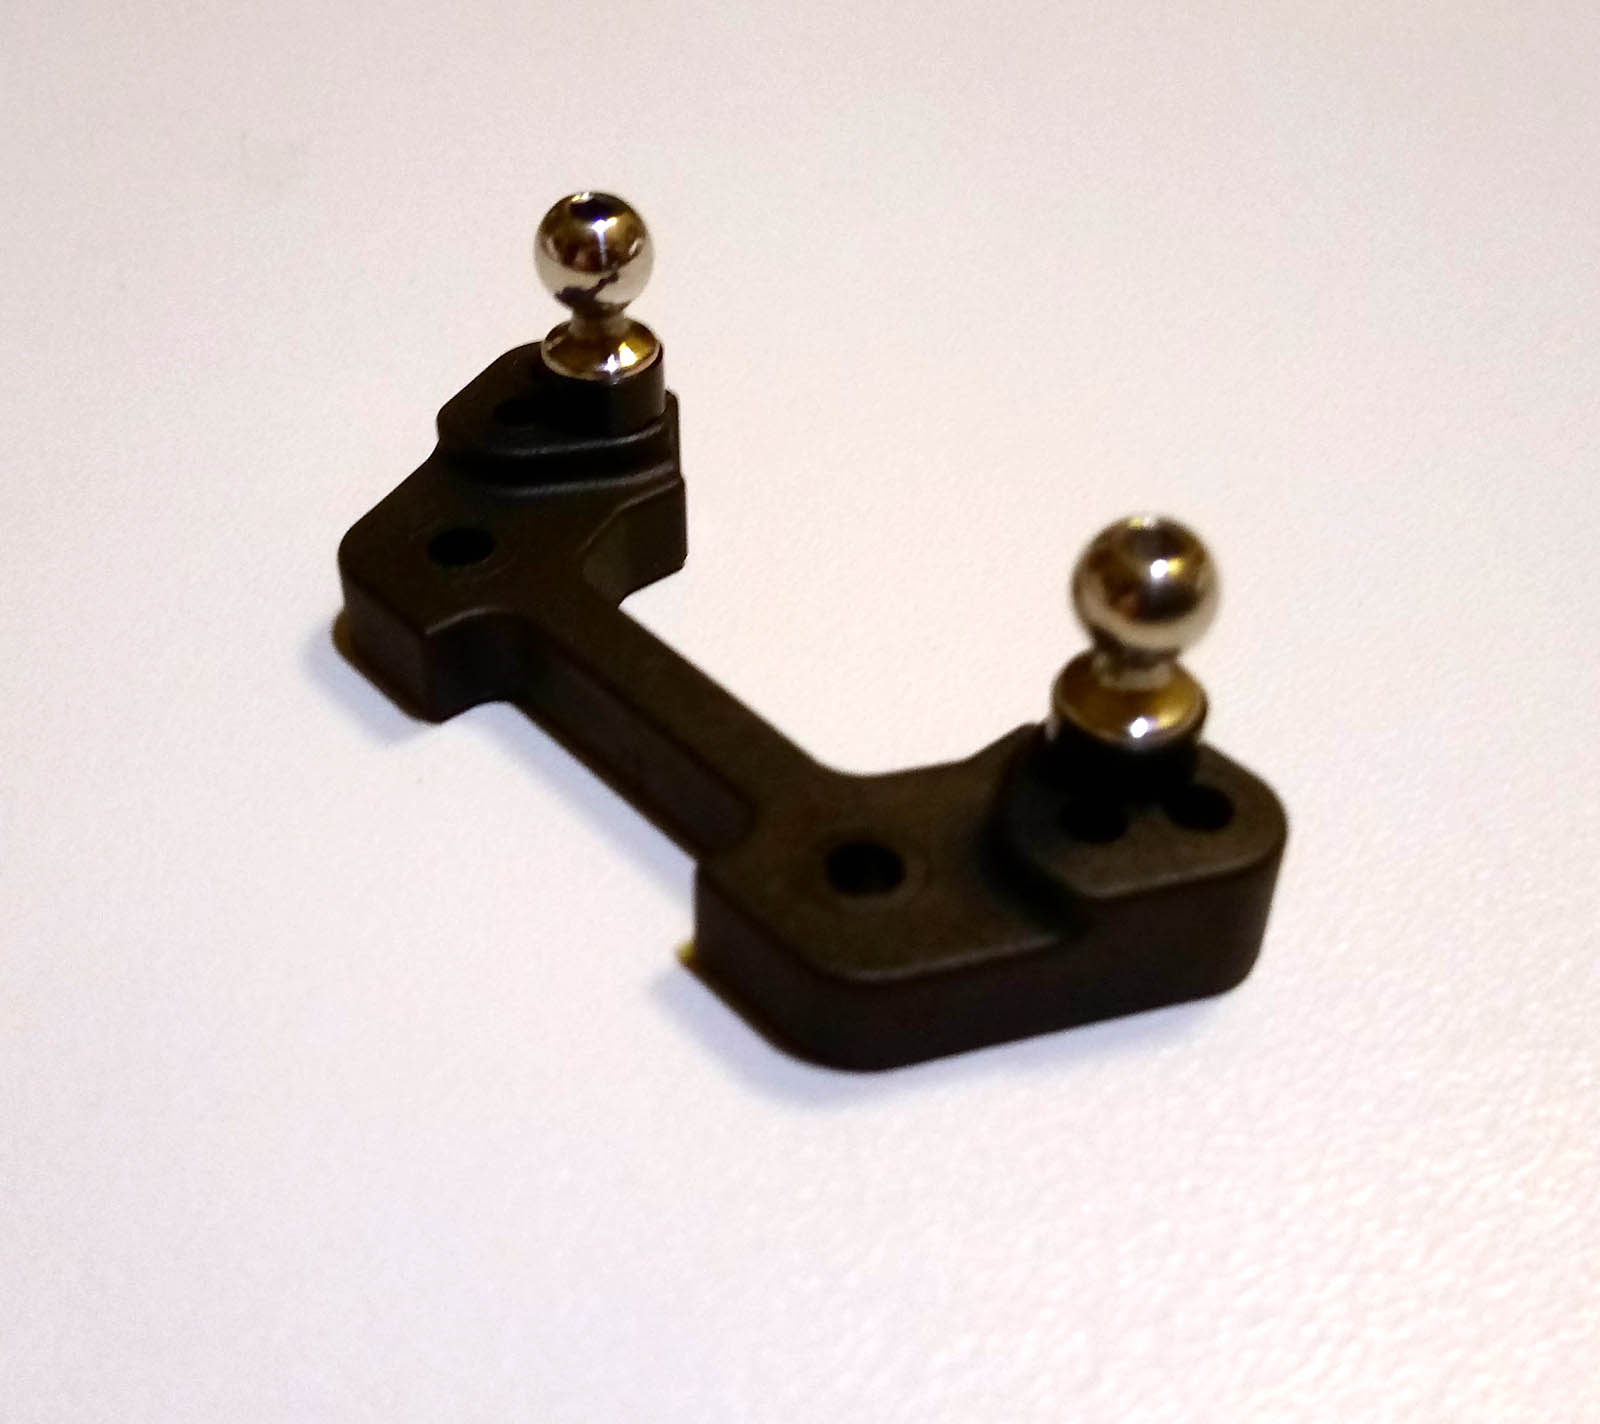
The upper arm mount is another familiar item from the B-Max2. Once it found its place on the chassis, the bulkhead is installed together with the new front wing mount, which fits perfectly in what used to be the seats of the YZ-2T front body mounts.

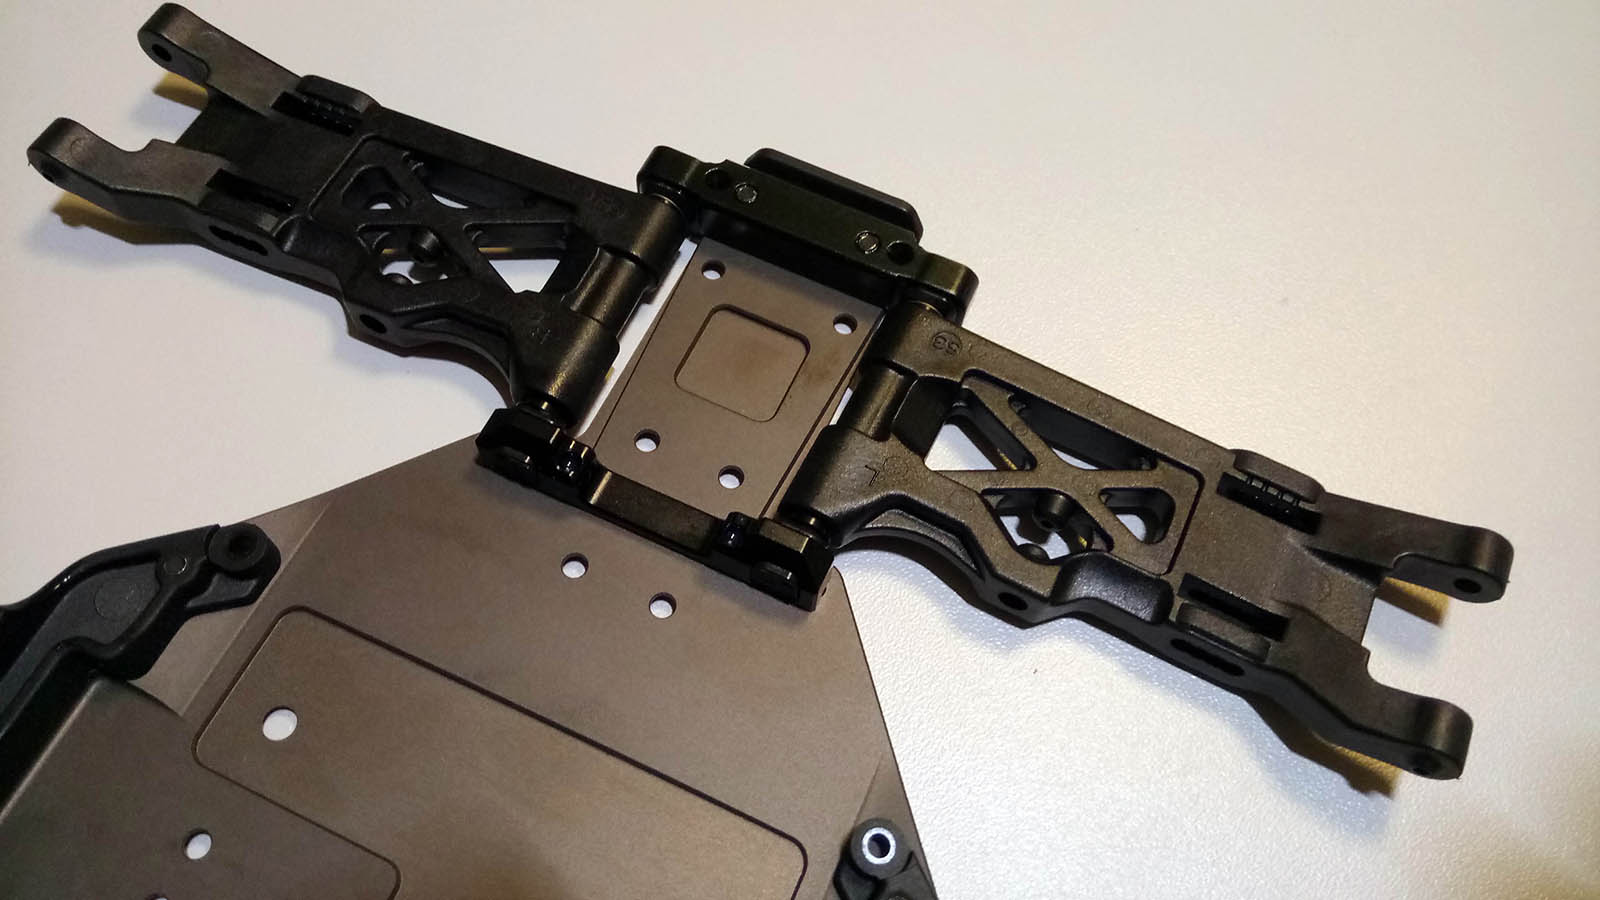
Two more truck items can be found in the rear end, i.e. the rear arm mounts. Everything else except the basic hardware looks new to me: rear arms, 3.5 mm hinge pins, suspension bushings, spacers.

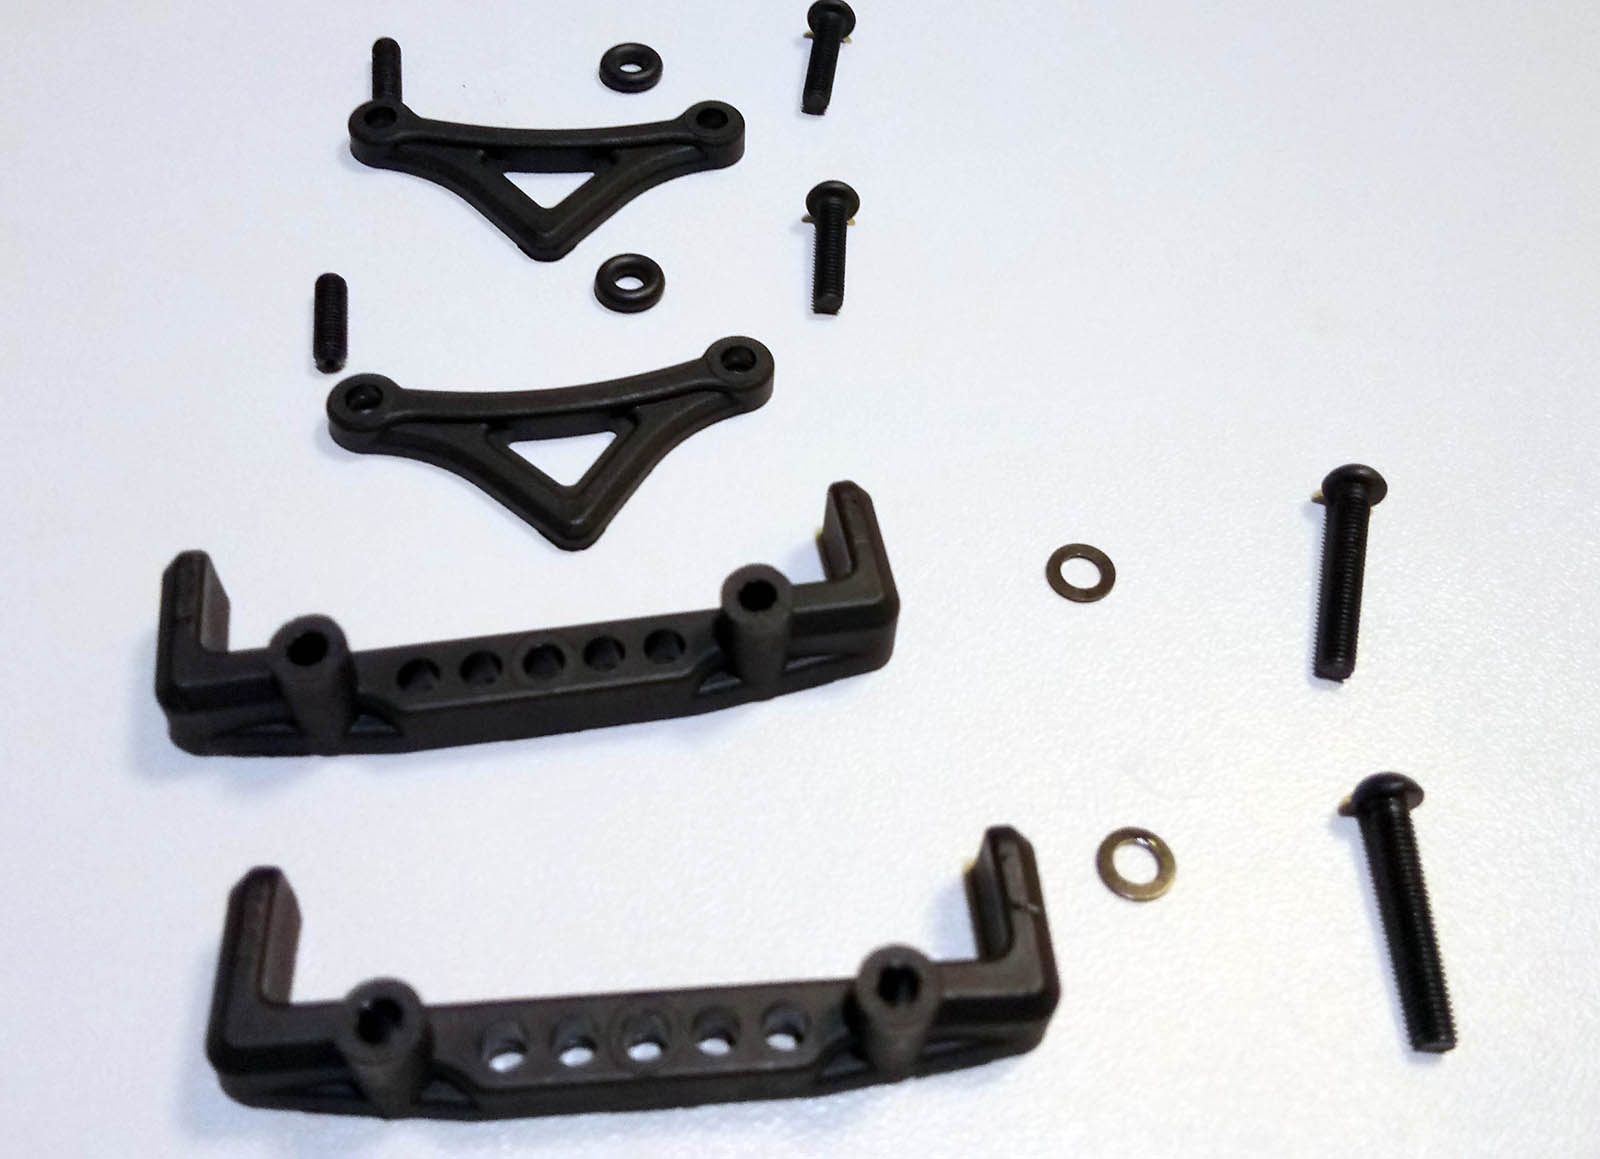
Also the shock towers are completely new items. Both the front and rear towers are LCG items, and the rear tower features two sets of mounting holes for raising or lowering the rear wing mounts, which seem to be old parts at first glance. However, they come on a new sprue together with the front wing mount and are made from a lighter color composite.
The shock tower brace and rear sway bar holder were first introduced on the original DTM version, the link between the CA and CAL2 carpet and turf cars.
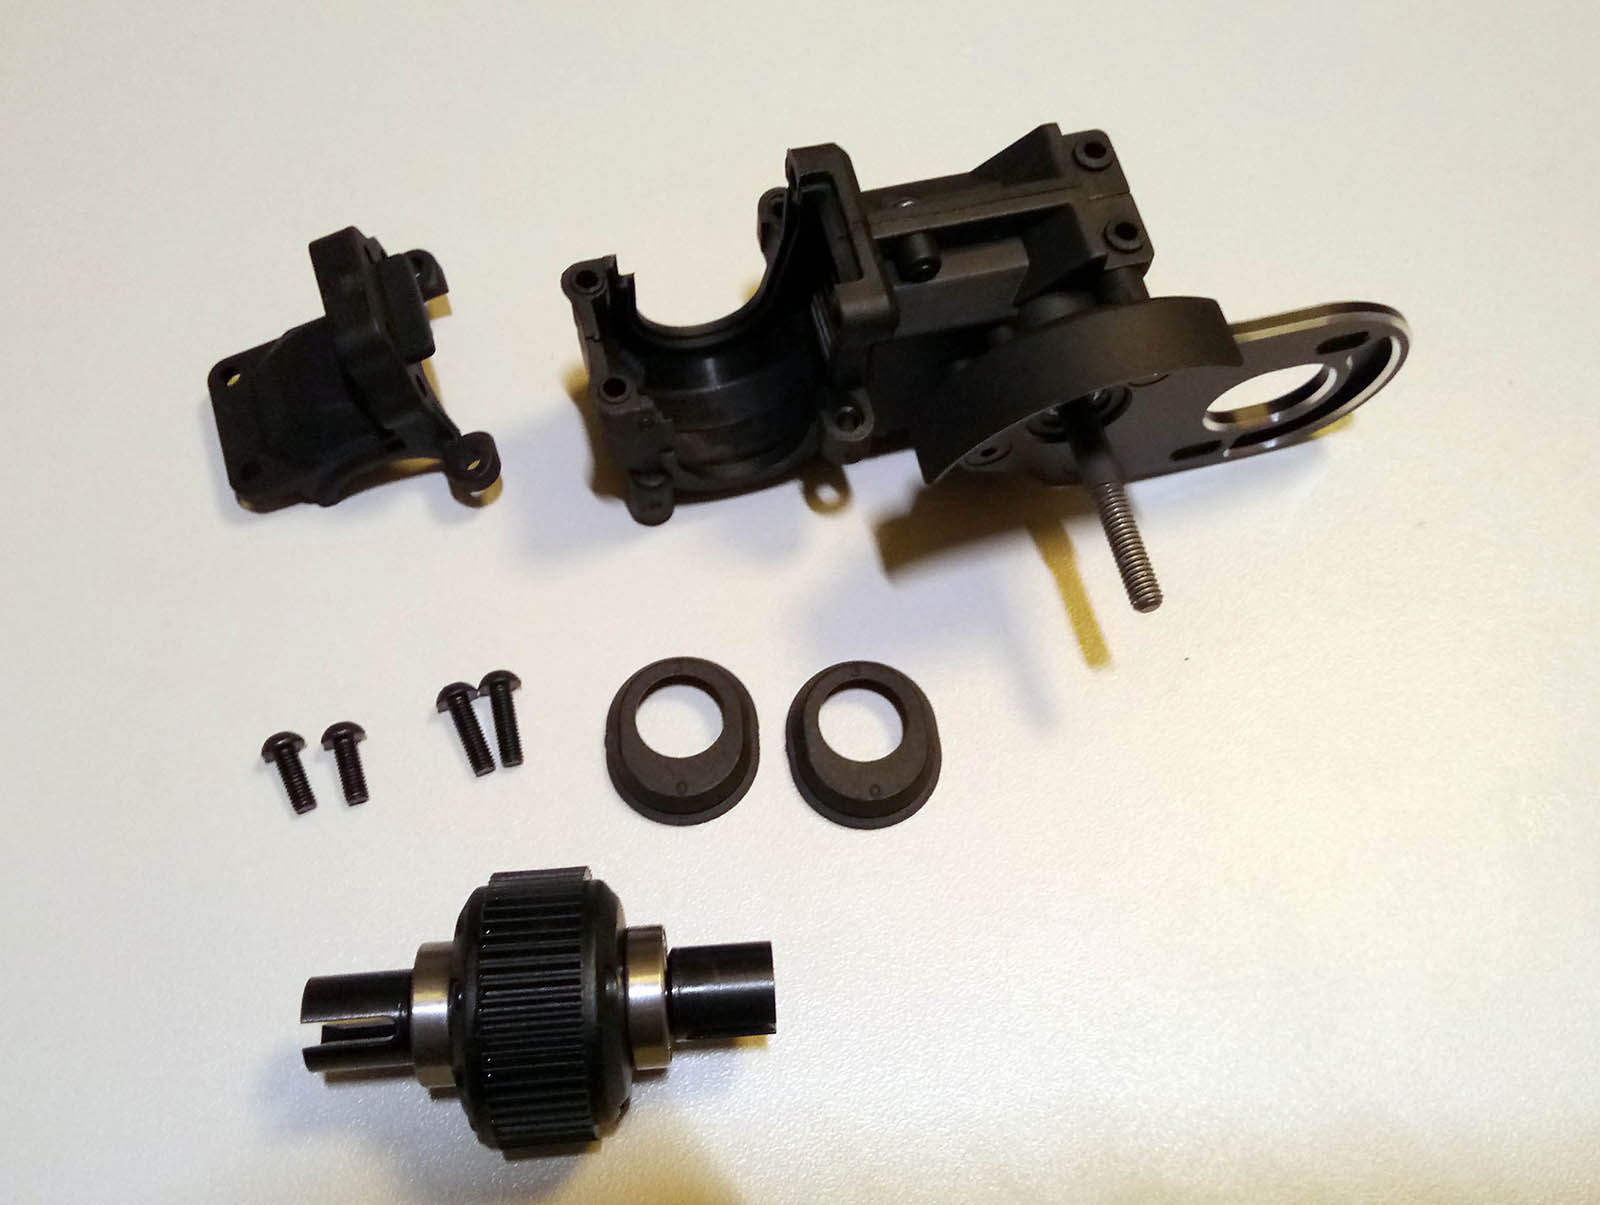

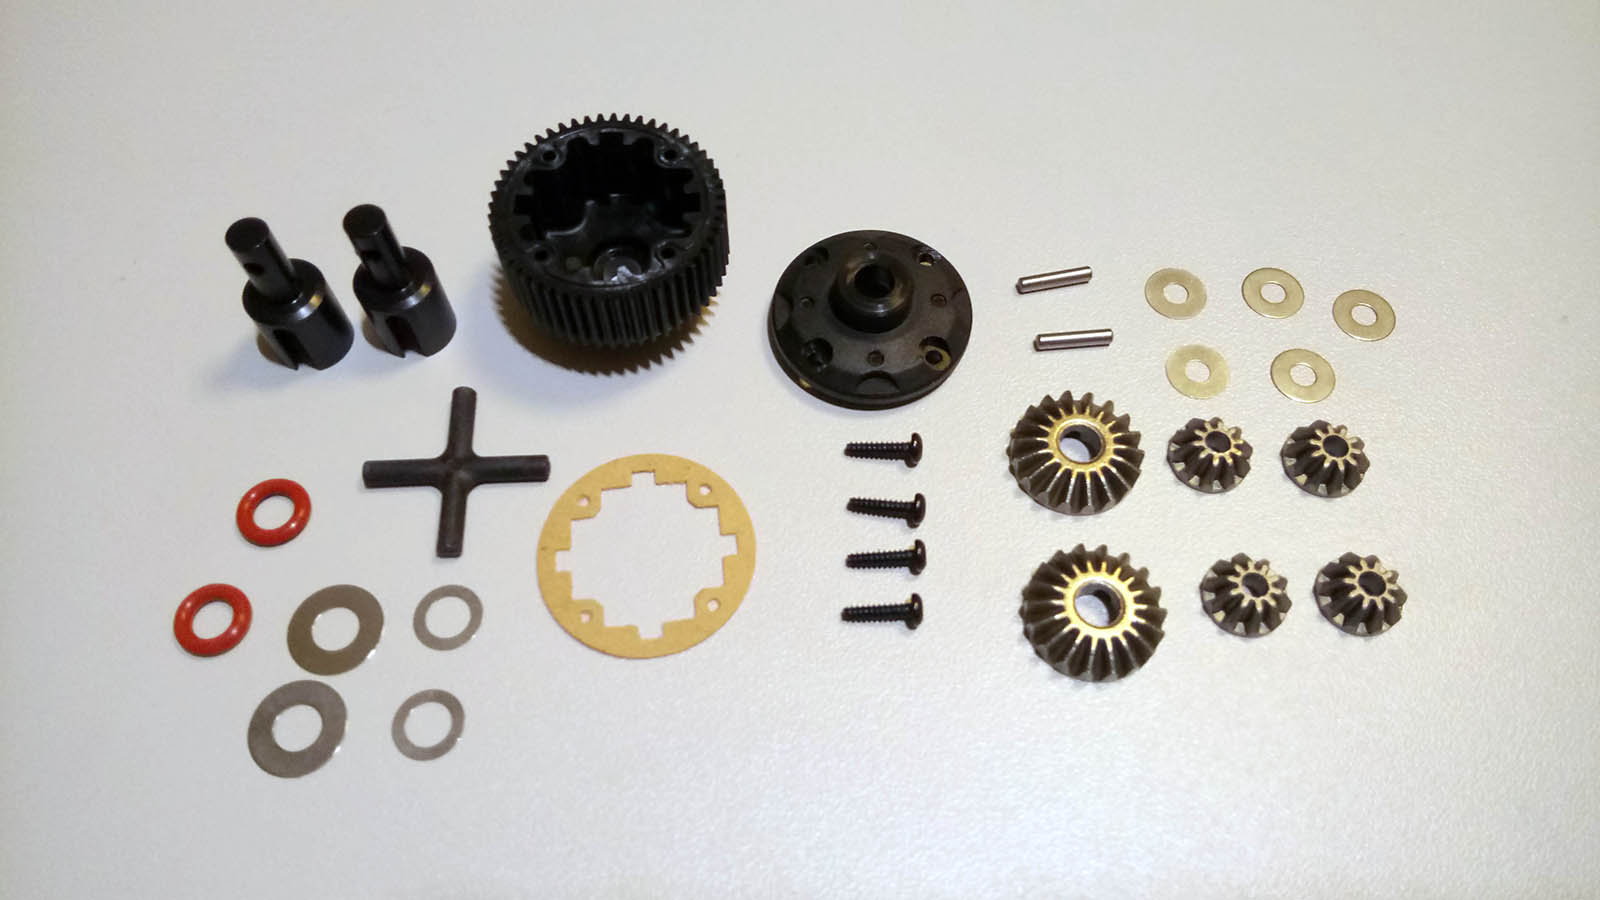
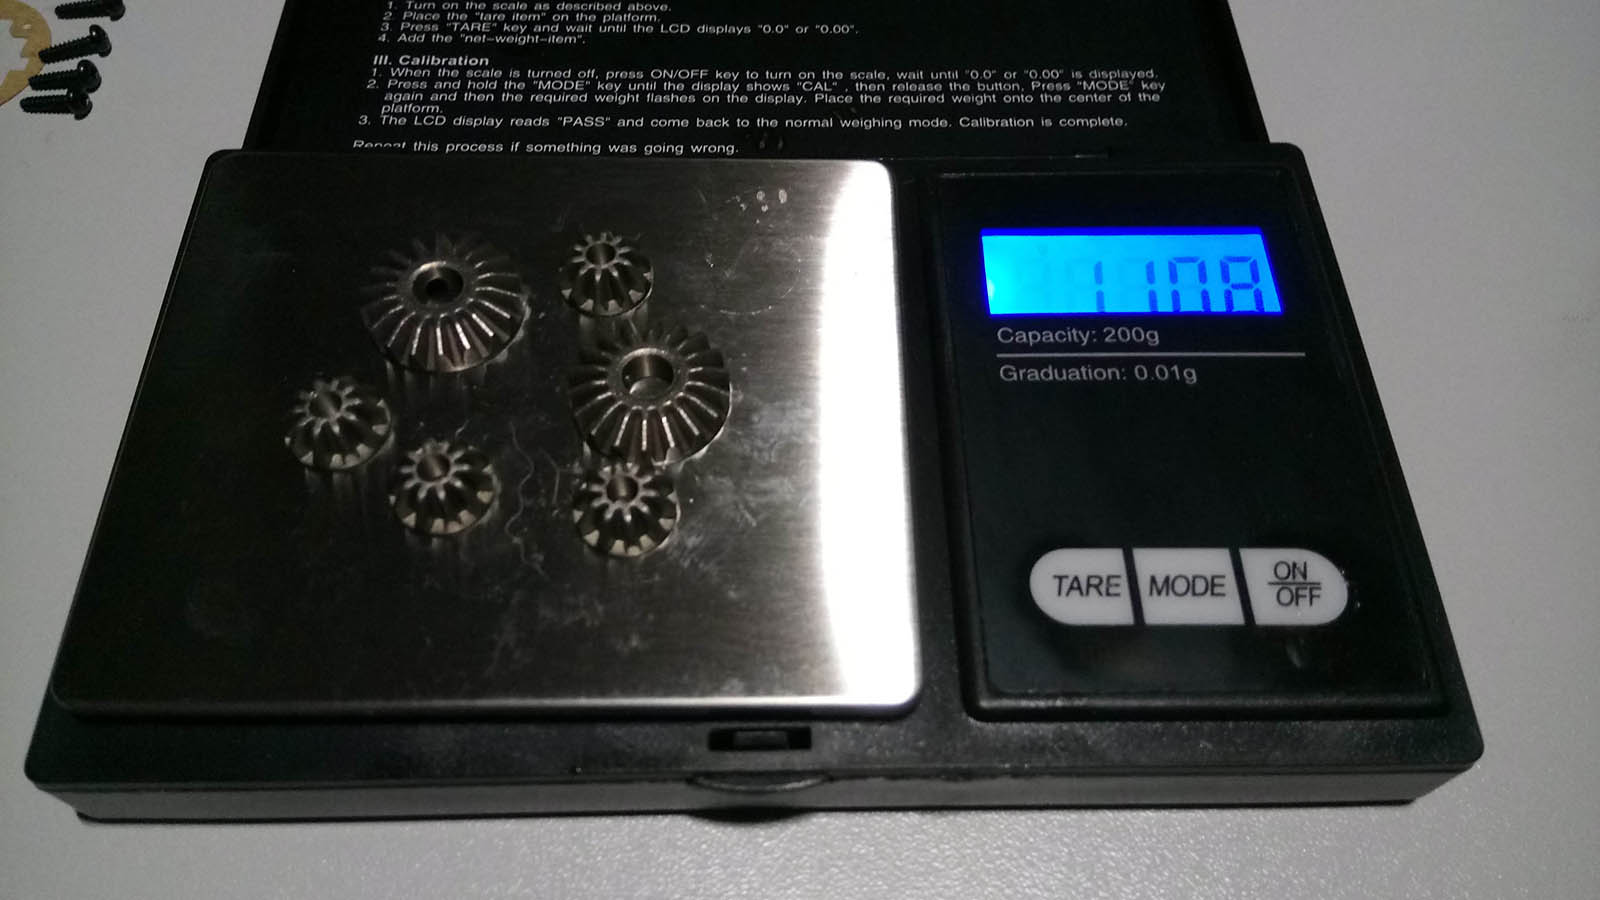
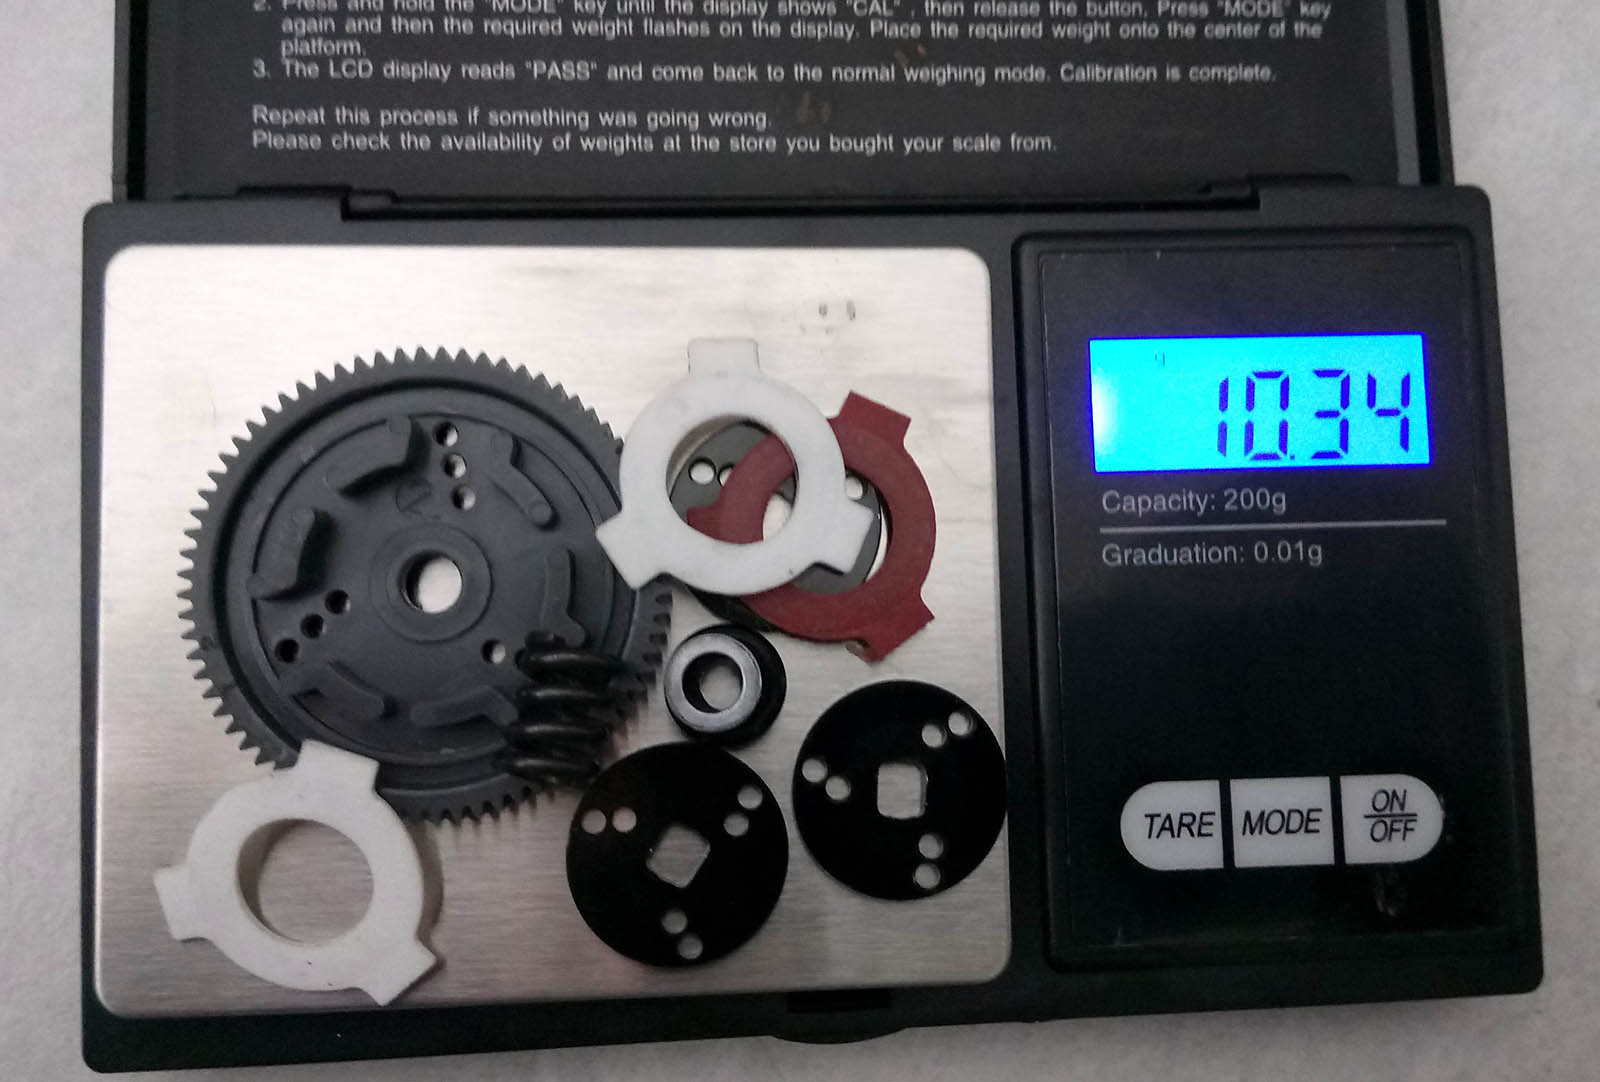
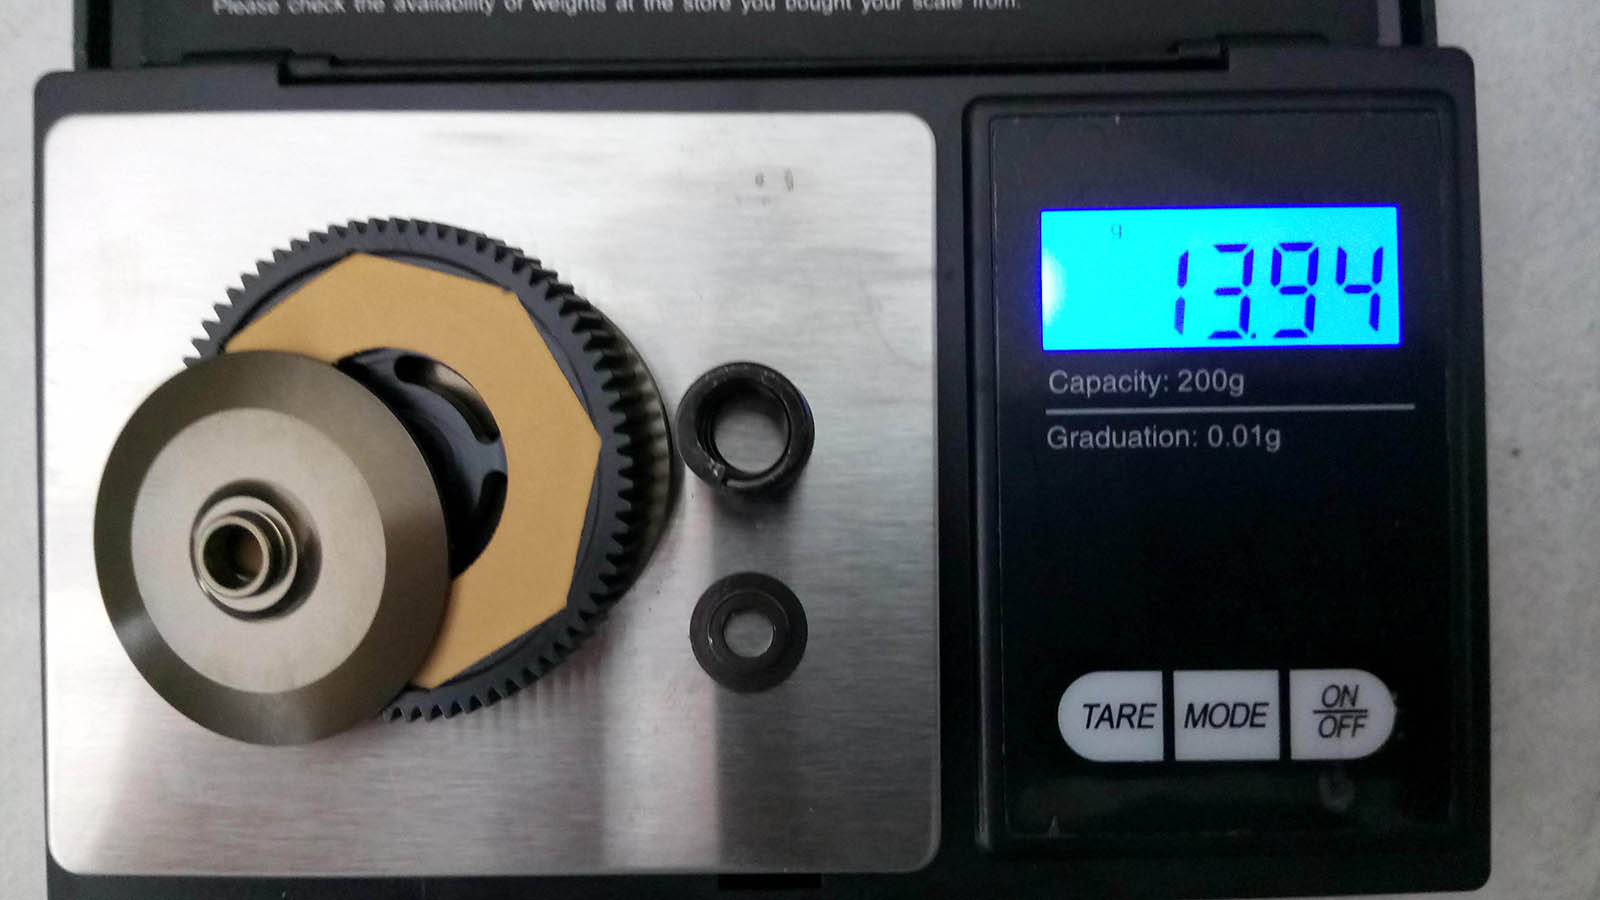
The high capacity gear diff now features a one-piece cross pin and comes with metal gears, but as I am going to run in the NORC sportsman and just-for-fun class with a 17.5 turn motor, I decided to give the B8-503GP plastic gears a try. These seem to be the very same items that were included in the B-Max2 MR gear diff, but as it's been a while I can't be sure. 5K oil is included in the kit, but I prefer 7K as a starting point for Astroturf.
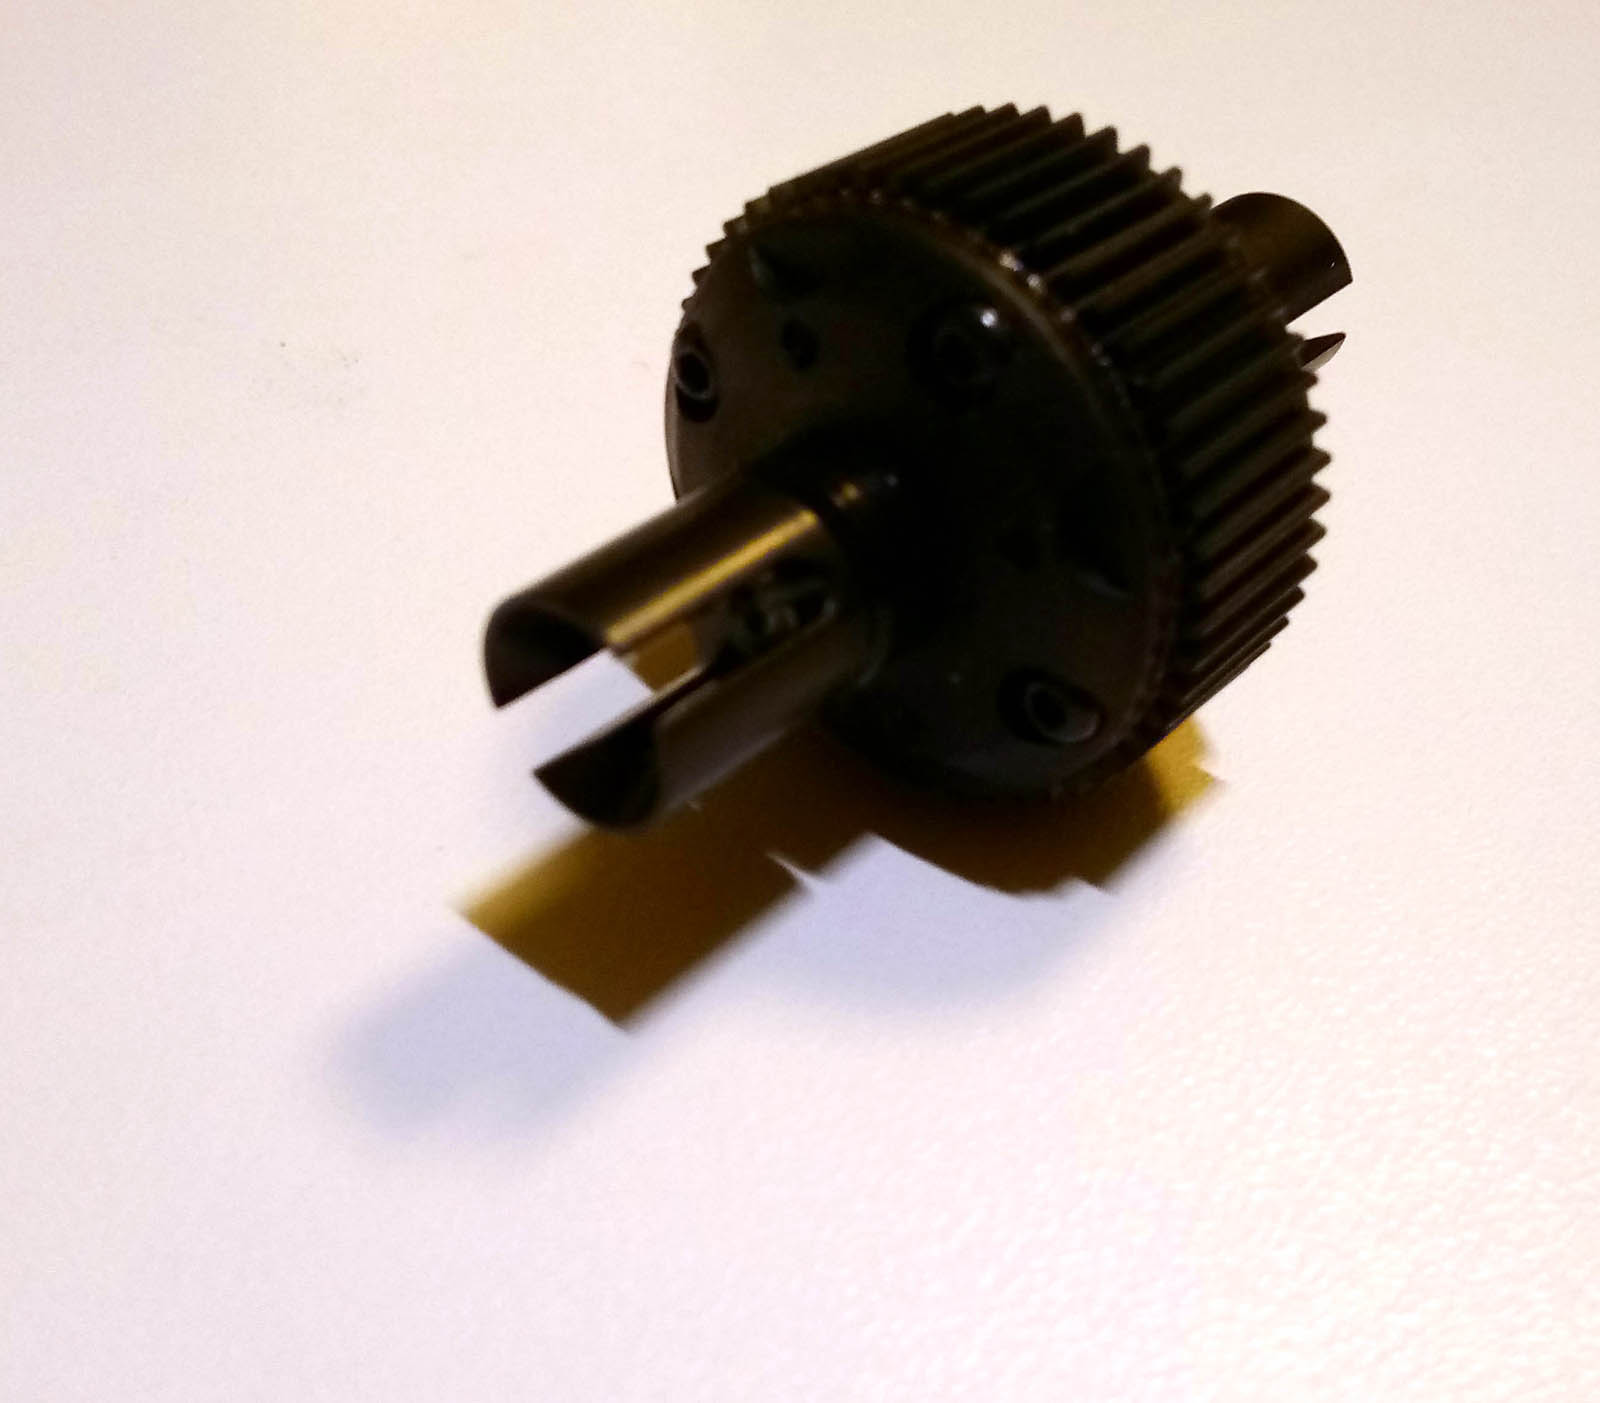
Next up is the L(aydown) C(arpet) gearbox. Finally! Accessing the diff on your YZ-2 buggy has never been so easy - except you decided to install the LD gearbox from the stadium truck or bought the LC version as an upgrade some time ago. Diff height adjustment is also a very useful option, please make sure to try the various settings on your track. As a starting point, I'd recommend adjusting ride height and ensure the drive shafts are level. More on that when we install the rear hubs. I used three 0.3 shims to remove some axial play on the topshaft, but other than that the gearbox was flawless and buttery smooth thanks to the oiled kit bearings.
New shock tower, but other than that business as usual.
Industry standard two-plate slipper clutch; If you can't get your hands on Yokomo spares and options at your track, rest assured that Associated B6.1/B74 spurs and pads are a direct fit, and older versions can be used as long as you stick with the two-plate version. I still had some 72T spurs by RDRP in my box, so that's what I was going to use for my 17.5 turn set-up.
After I had finished the built, I remembered I still had one of Kurt Wenger's Schelle Nova clutches in my box, so out with the standard part, in with the option...
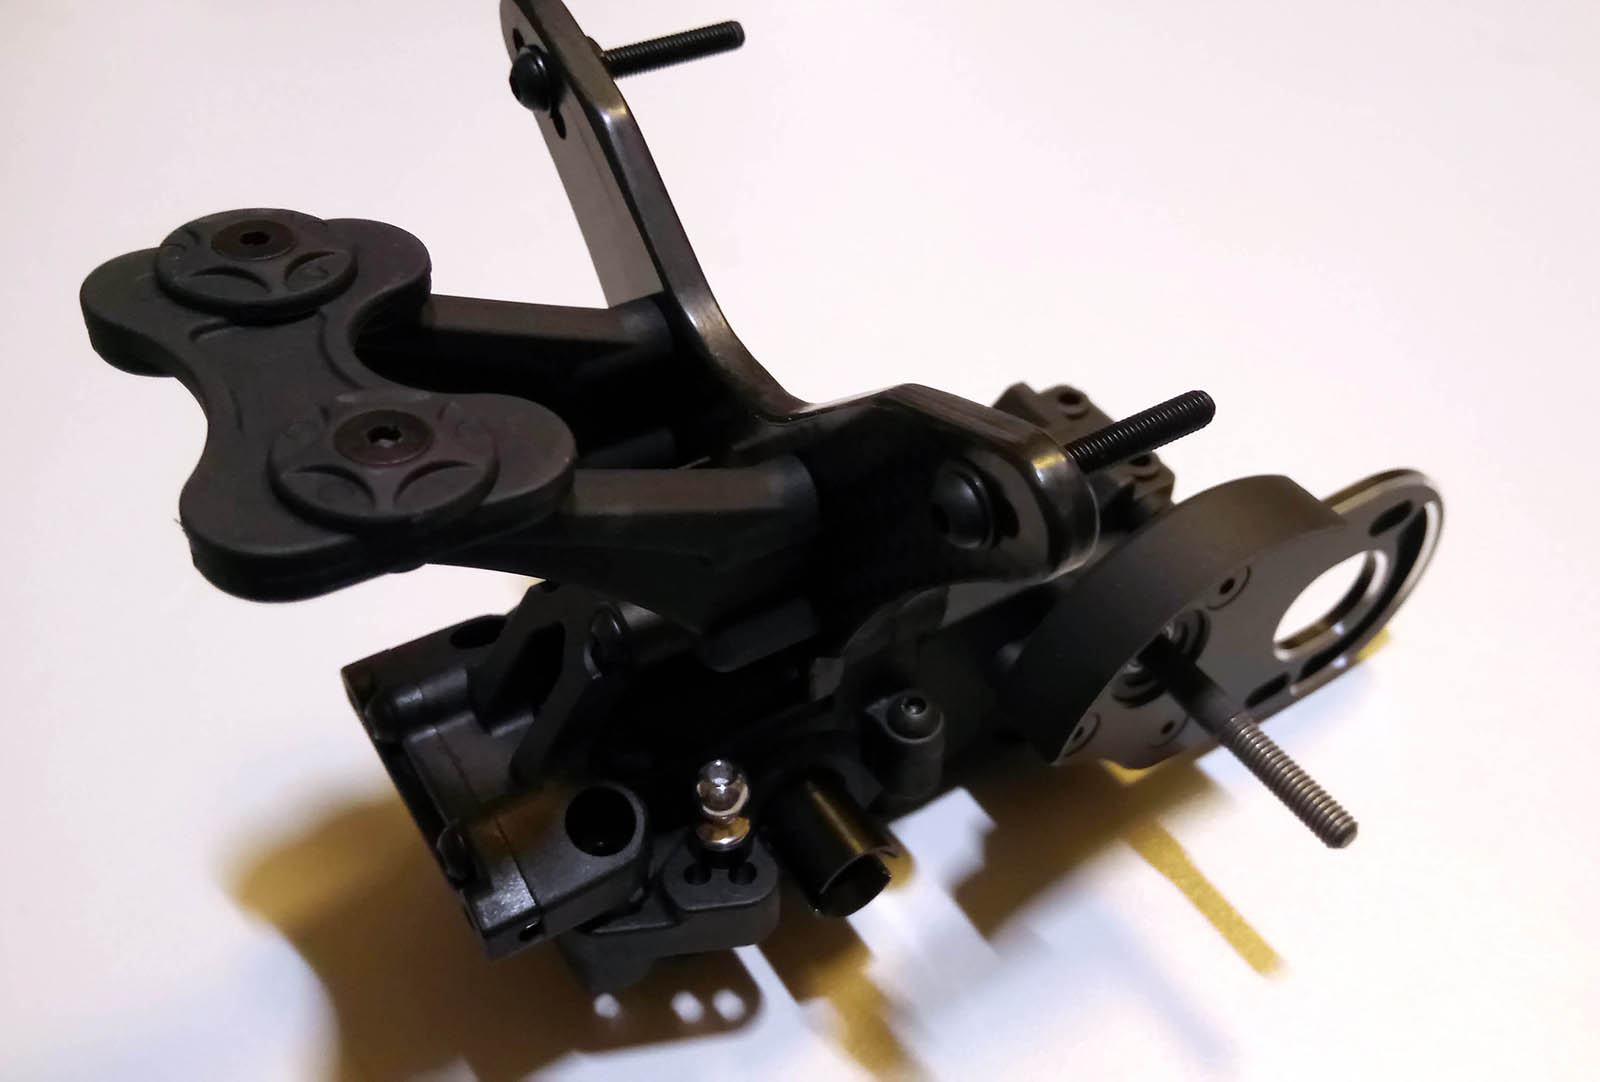
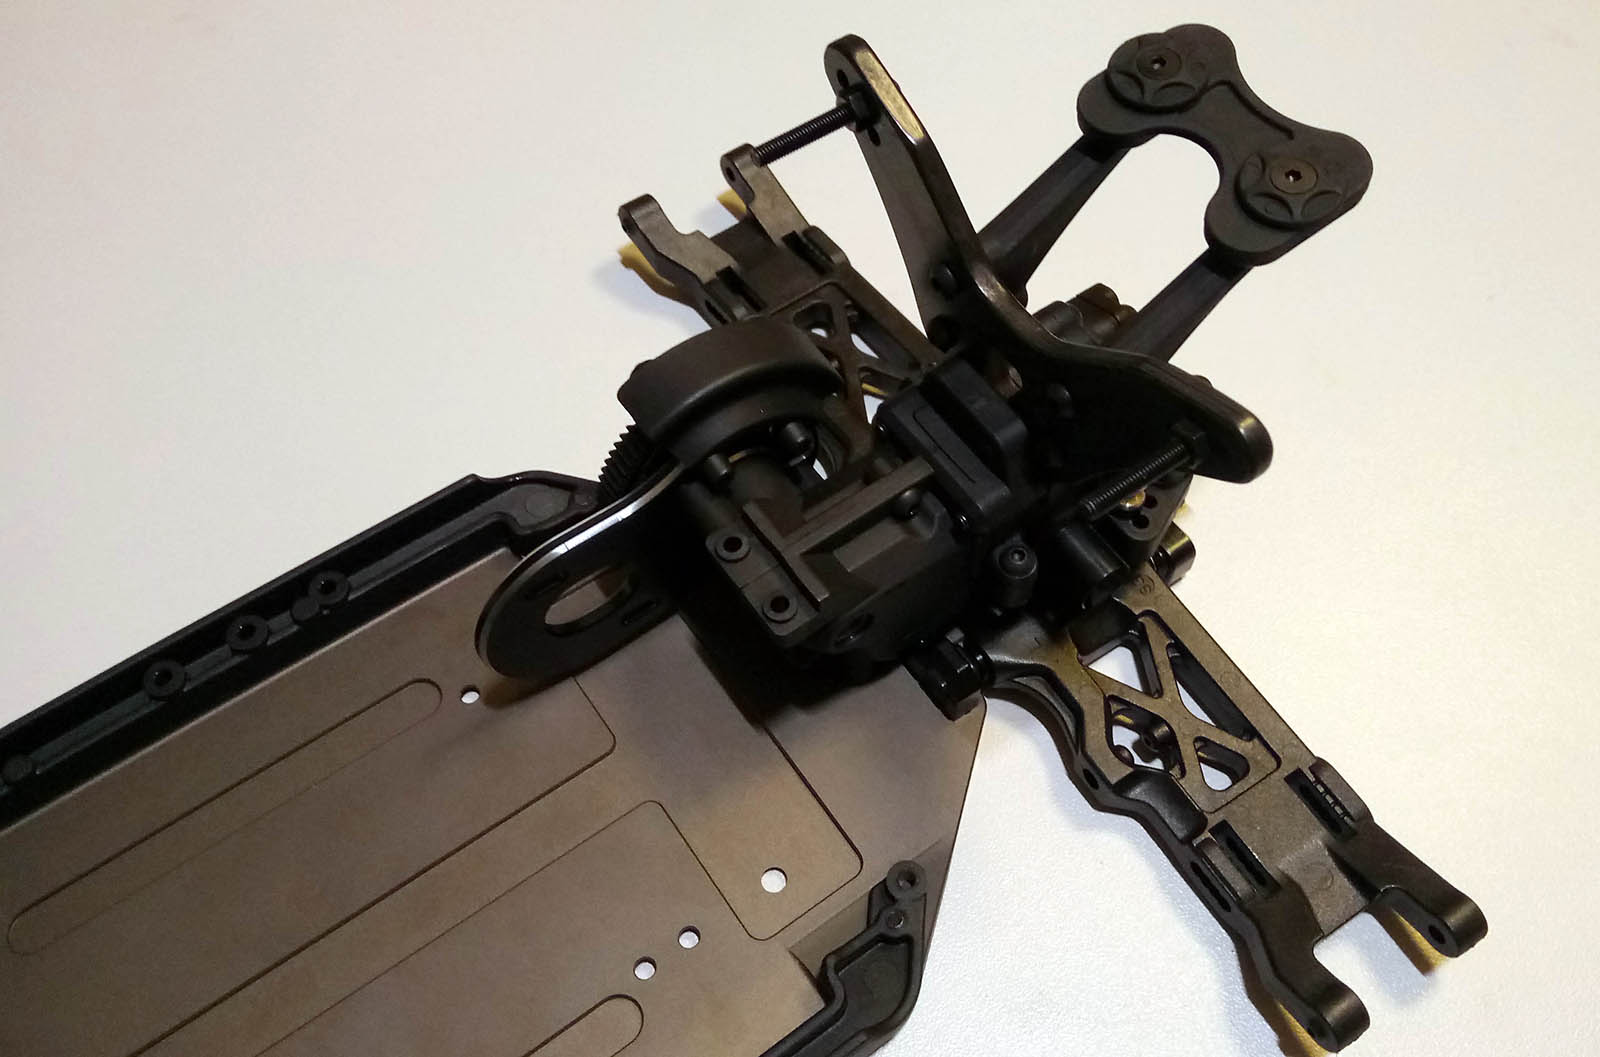
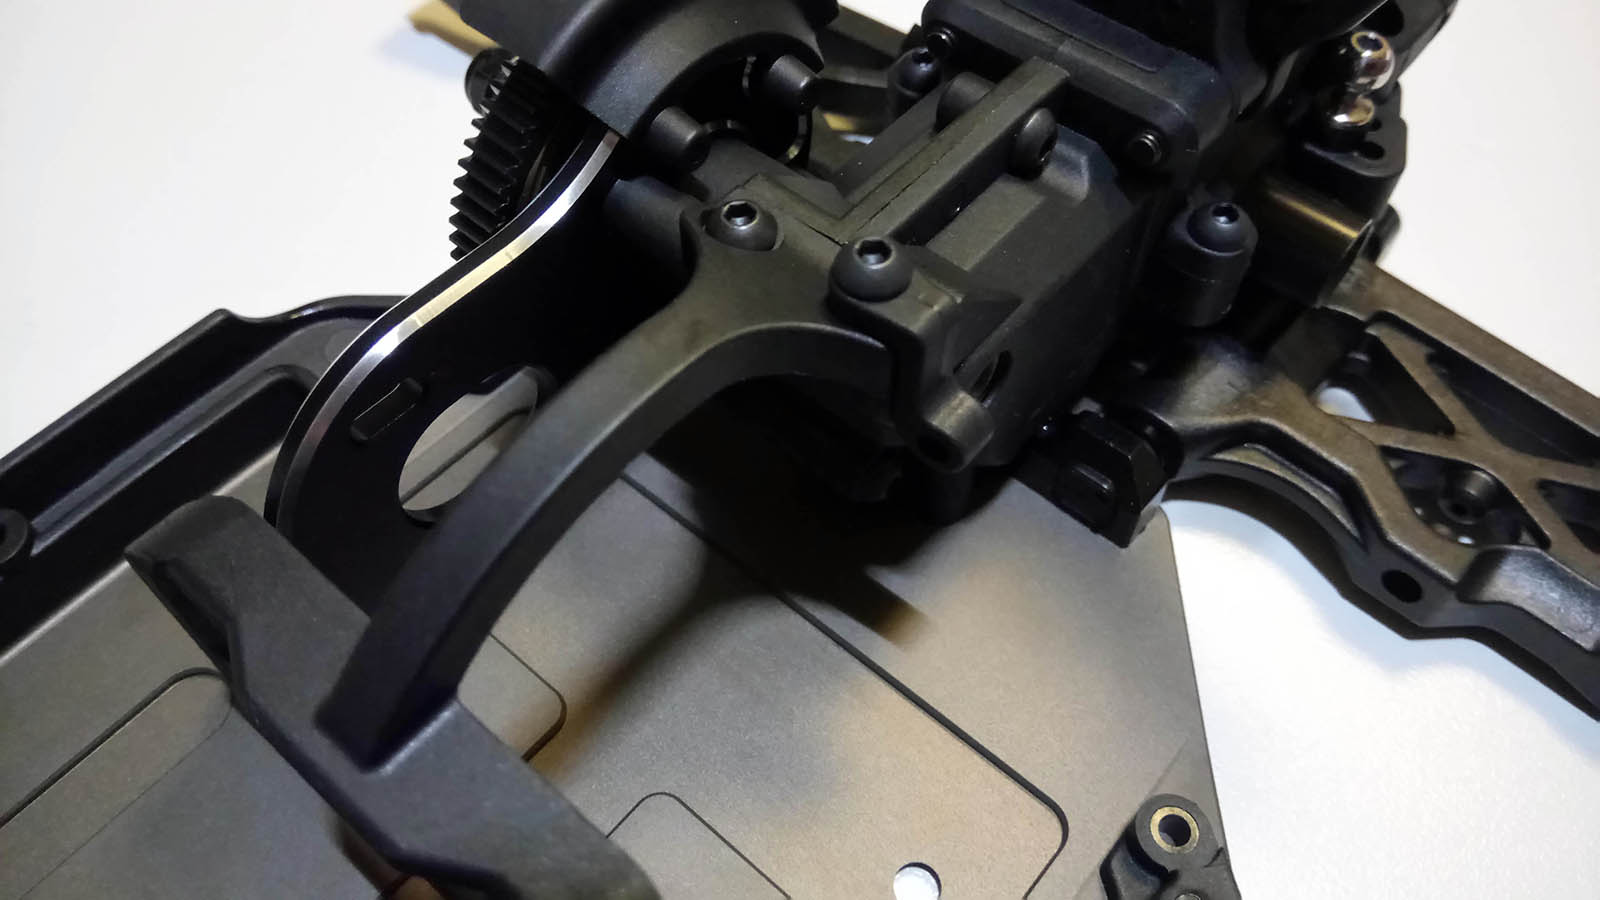
The gearbox assembly mounted onto the chassis together with the gearbox support aka waterfall aka trunk and the fan mount. As summer is preparing to take its leave in Germany, I decided to do without a 30 mm fan for now and removed the mount after taking the picture.
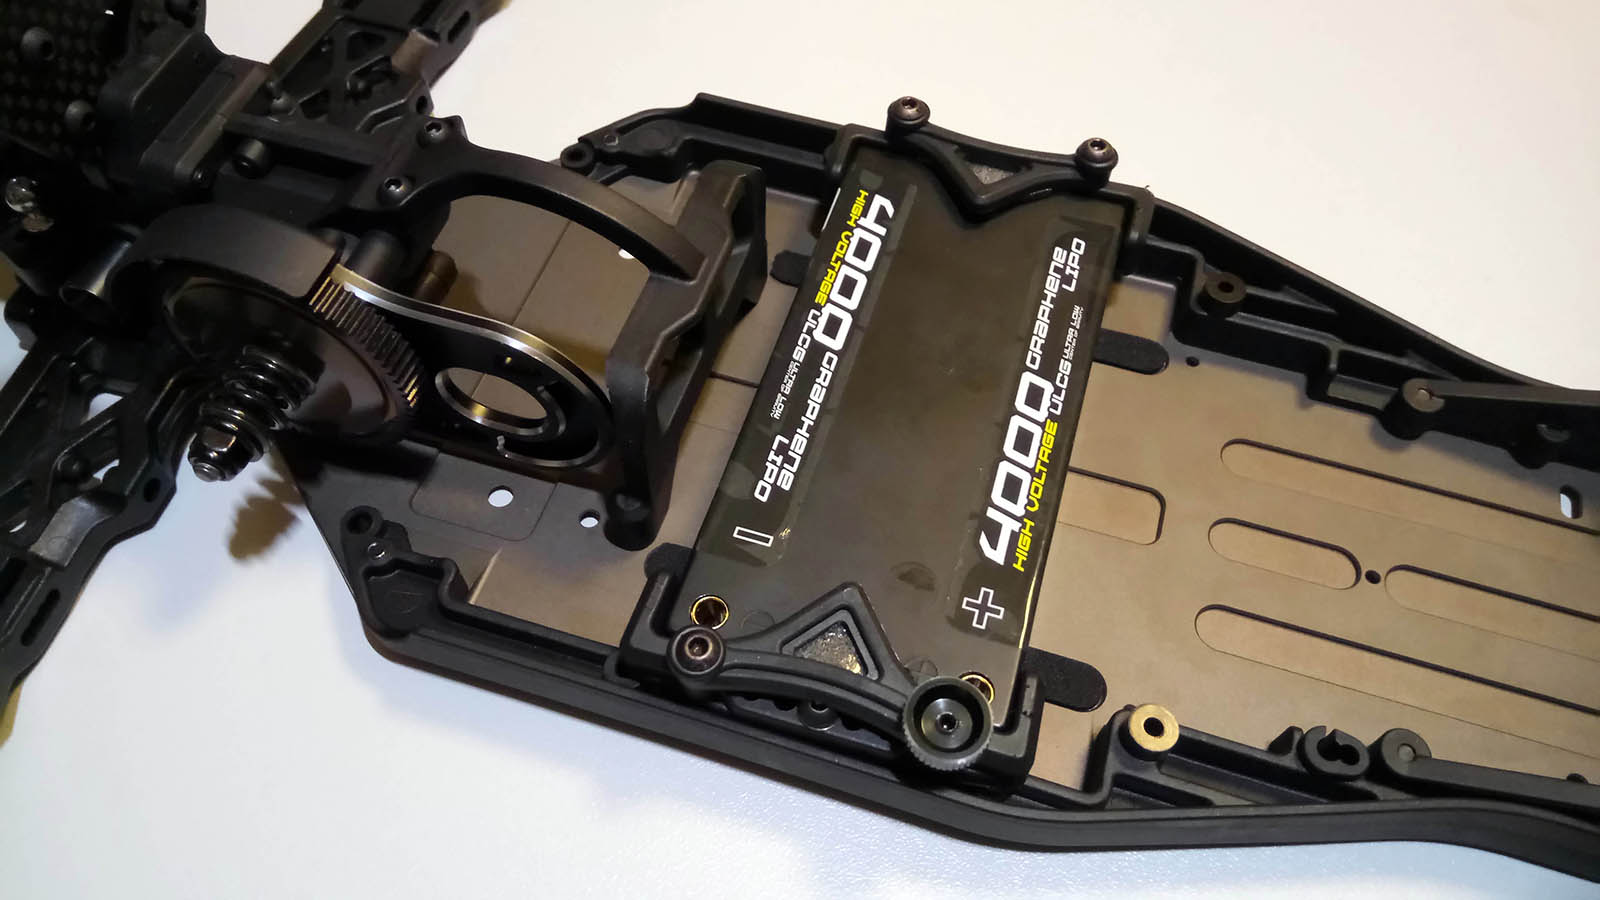
One of my favorite designs on the YZ-2T has been the battery mount. If you are an at best average driver like me and your car tumbles down the straightaway from time to time, you can upgrade the assembly by screwing down one of the mounts with two screws instead of one and adding a thumb nut, in this case I used a cut-down Z2-118PN2. I did not use the spacers under the battery holders because my Performa Racing 4000 mAh batteries really are low profile. In fact, I had to remove the screw nubs on the upper side of the holders and use some foam tape to ensure a tight fit.
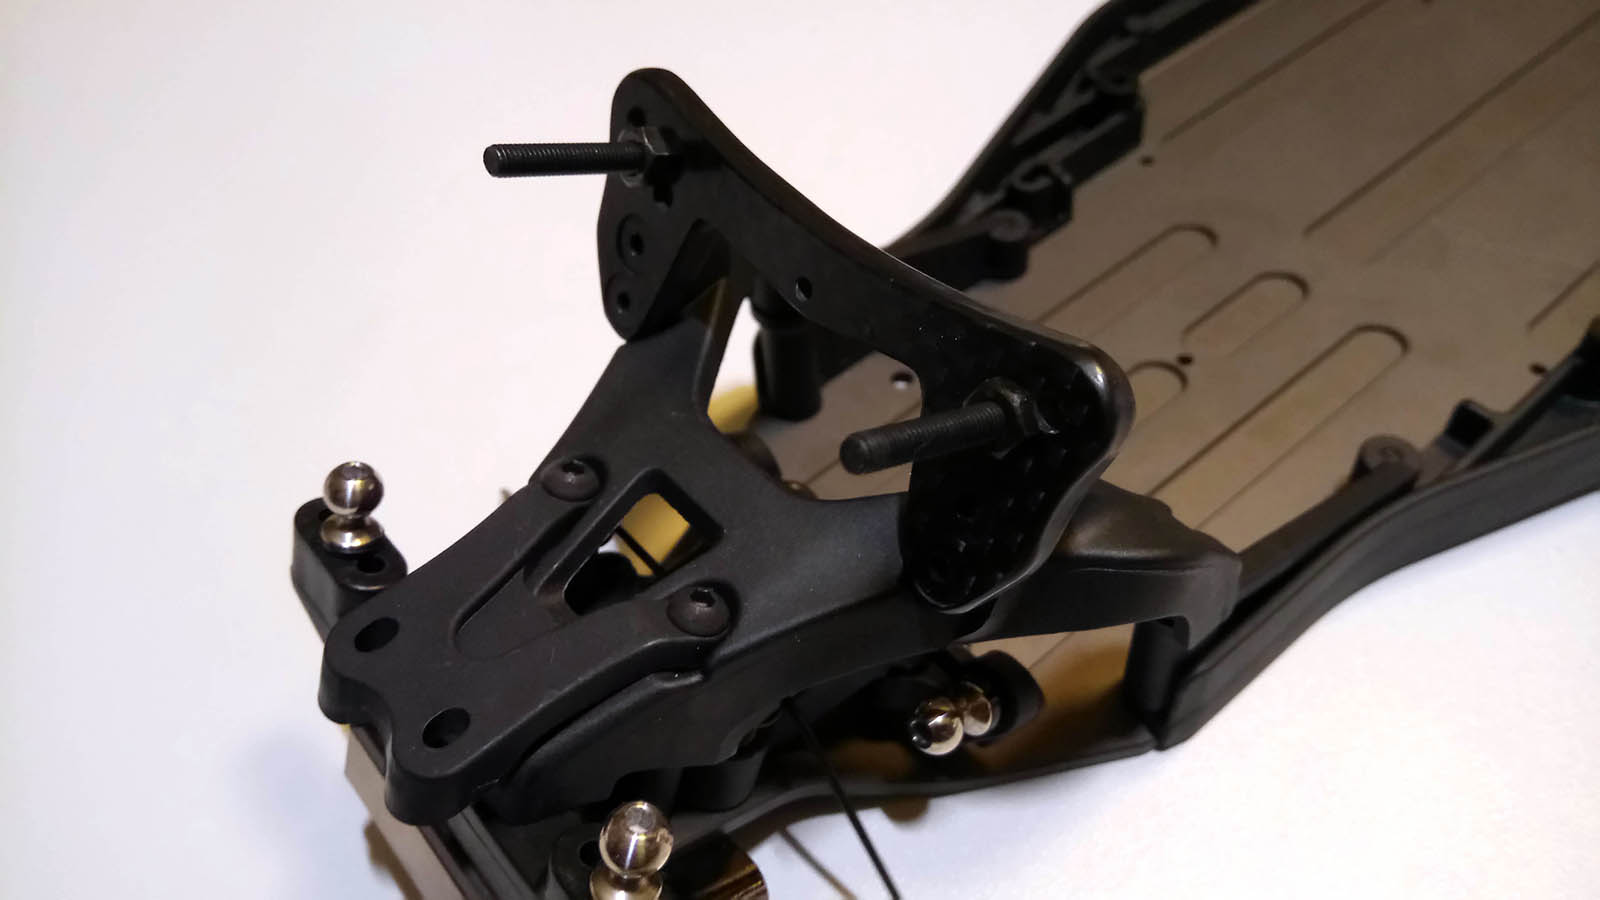
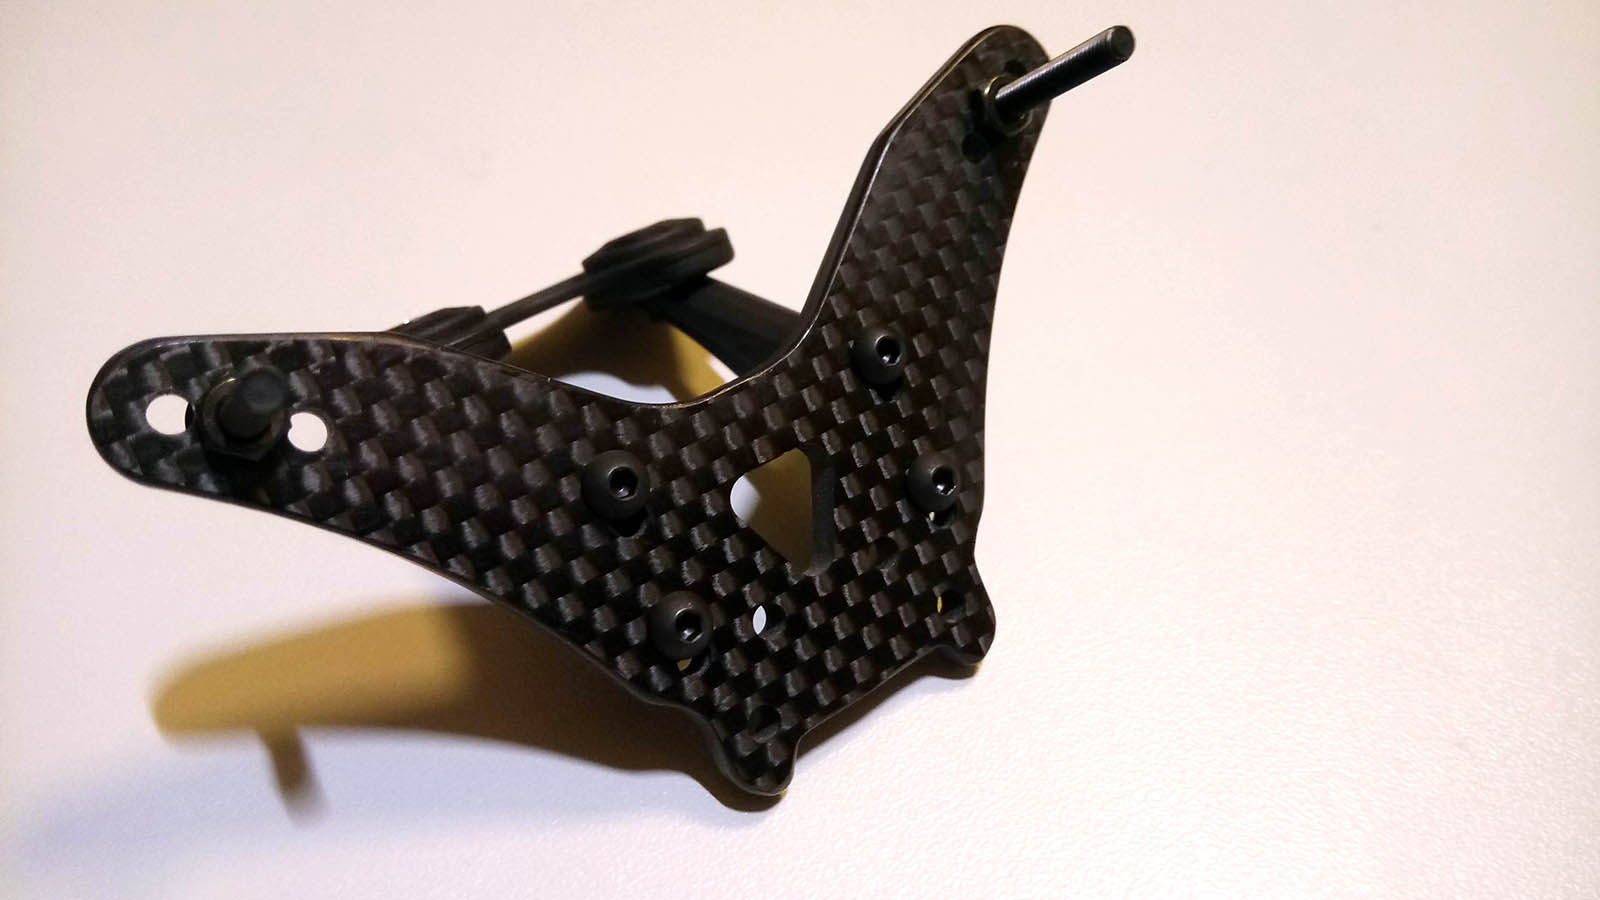
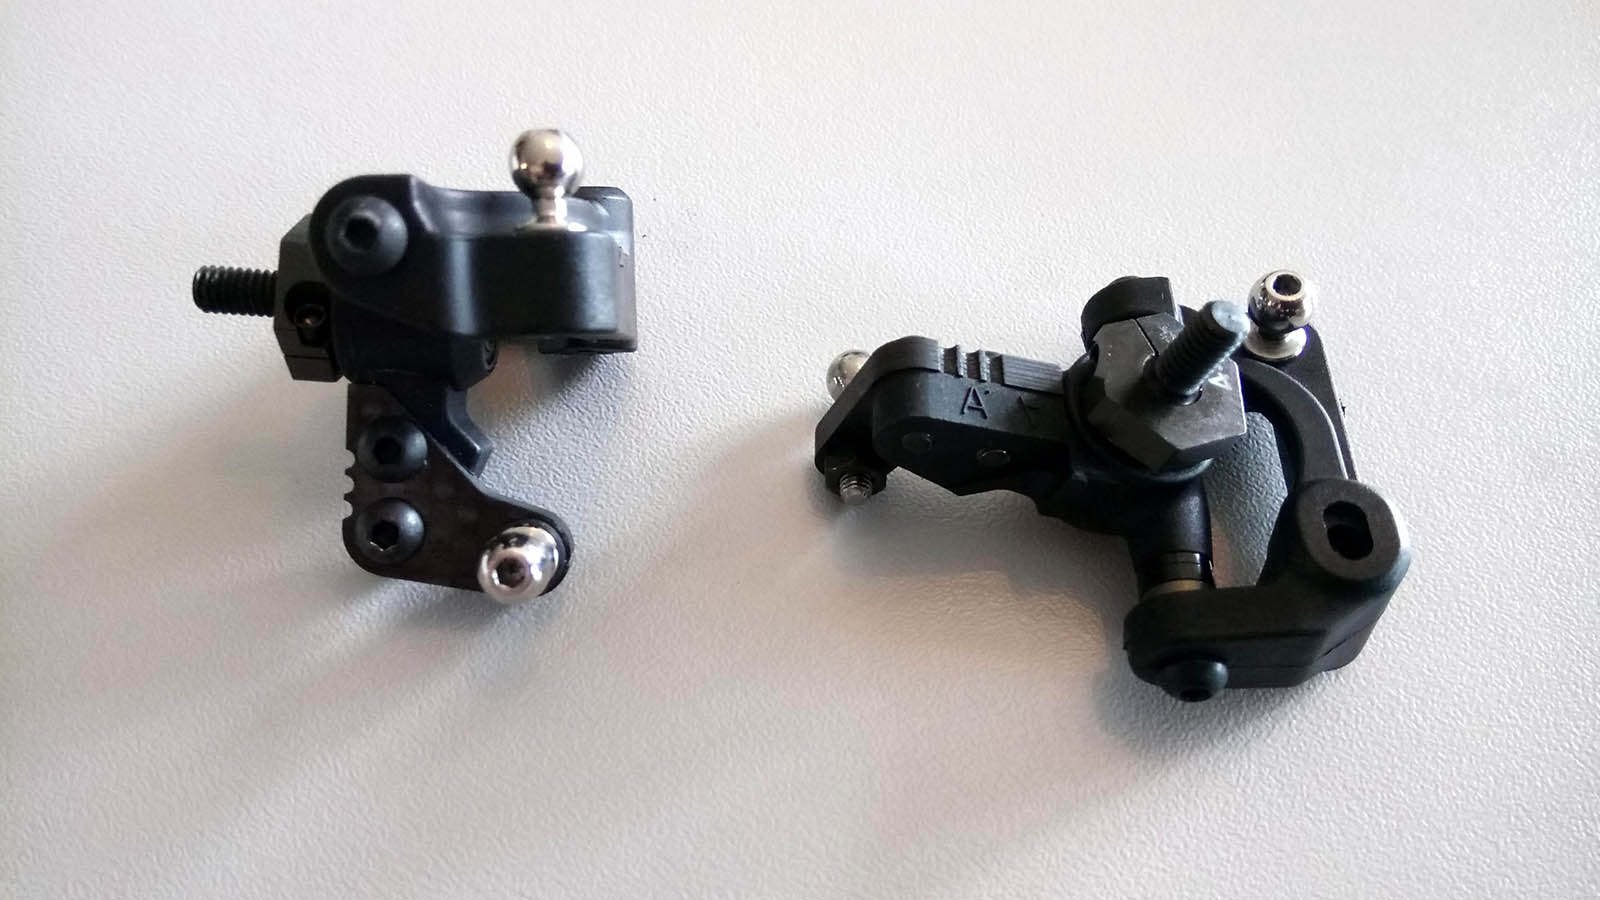
Many new items can be found on the steering block and front arm assembly. Again, thicker hinge pins necessitate a number of revised parts, and also the carbon fiber plates are new vs. the predecessor buggies; they were first used on the YZ-2T for smoother steering.
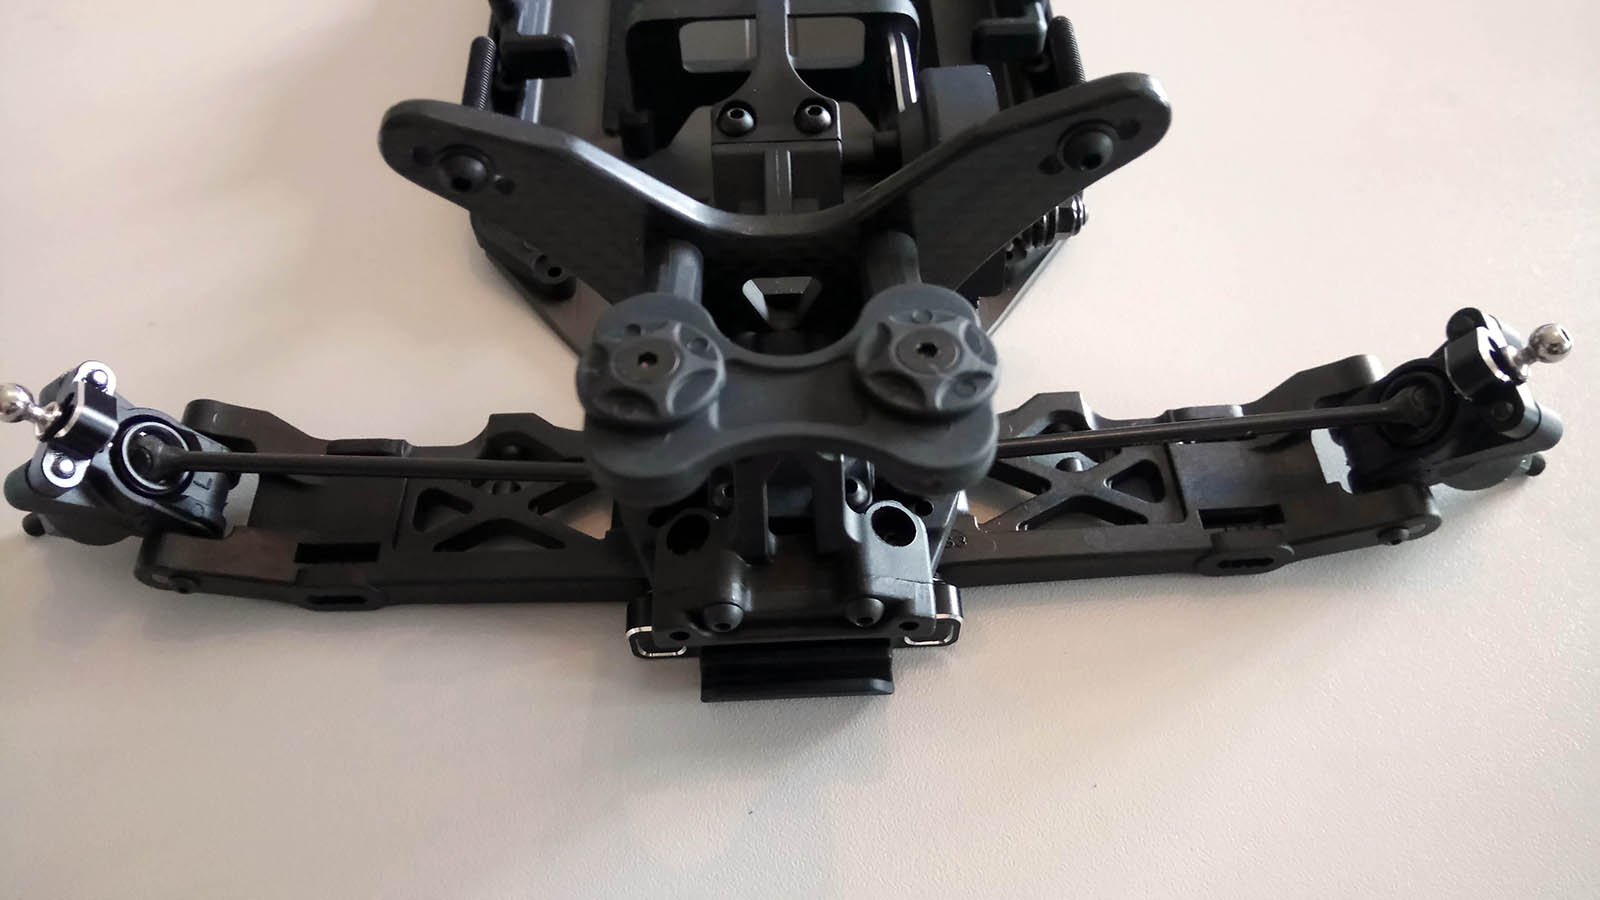
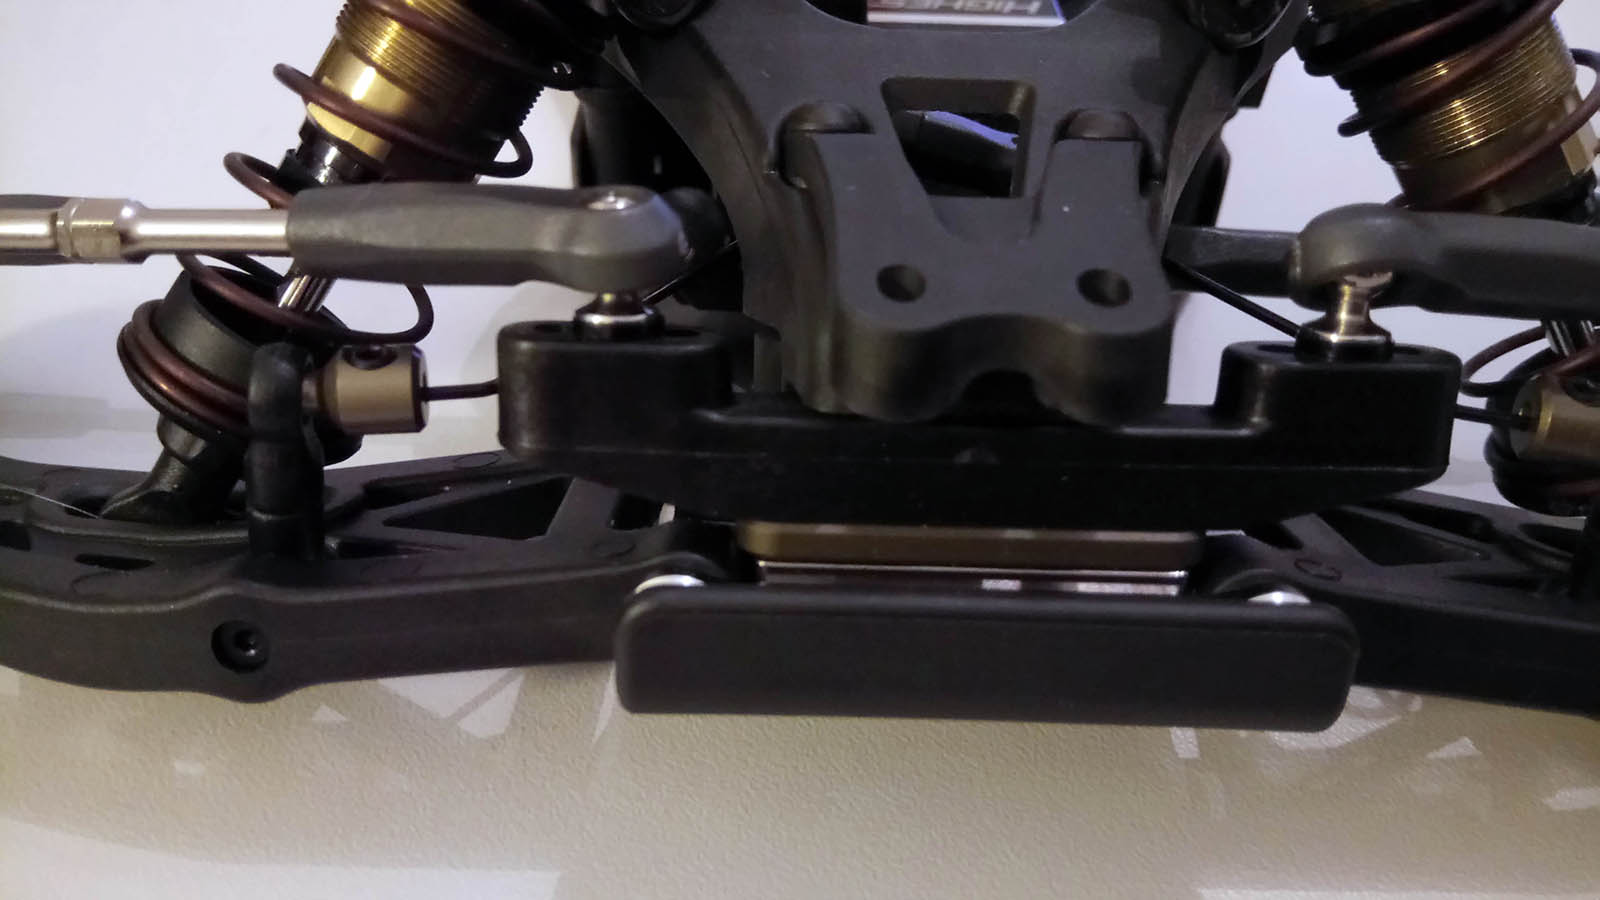
With the front bumper in place, let's return to the rear end and height adjustment settings.
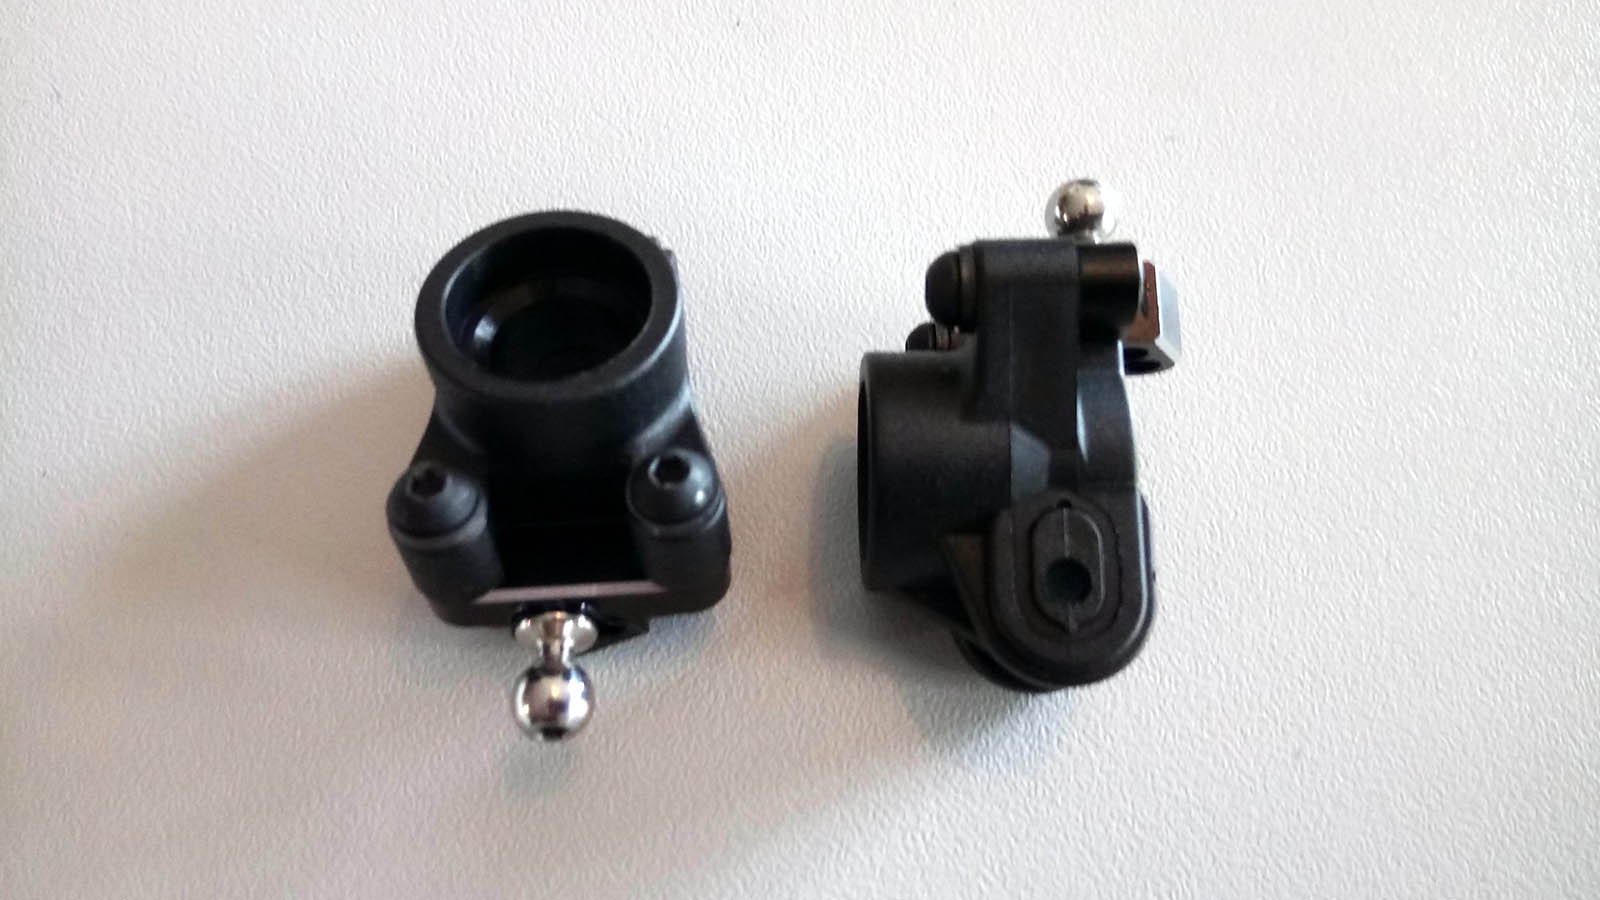
The very adjustable metal-and-plastic hybrid rear hubs have been around for a while now and are used by various manufacturers for a reason. Large bearings ensure durability, and height adjustments allow adjusting your car to smooth or bumpy tracks and different grip levels. If you have difficulties over bumps (cf. 2015 IFMAR worlds at Yatabe Arena), lower your rear hubs. If you are running on a smooth, high-grip carpet track and you need to free up your rear end, raise the hubs. Once you get the hang of it and learn to adjust your diff height to match your hub settings and ride height, setting up your car to a new track or adapt it to changing conditions is easier than ever before. I mixed up the aluminum spacers for the rear hubs with the washers at first, because I had expected plastic washers between the arms and the hubs. Great to see some metal there!
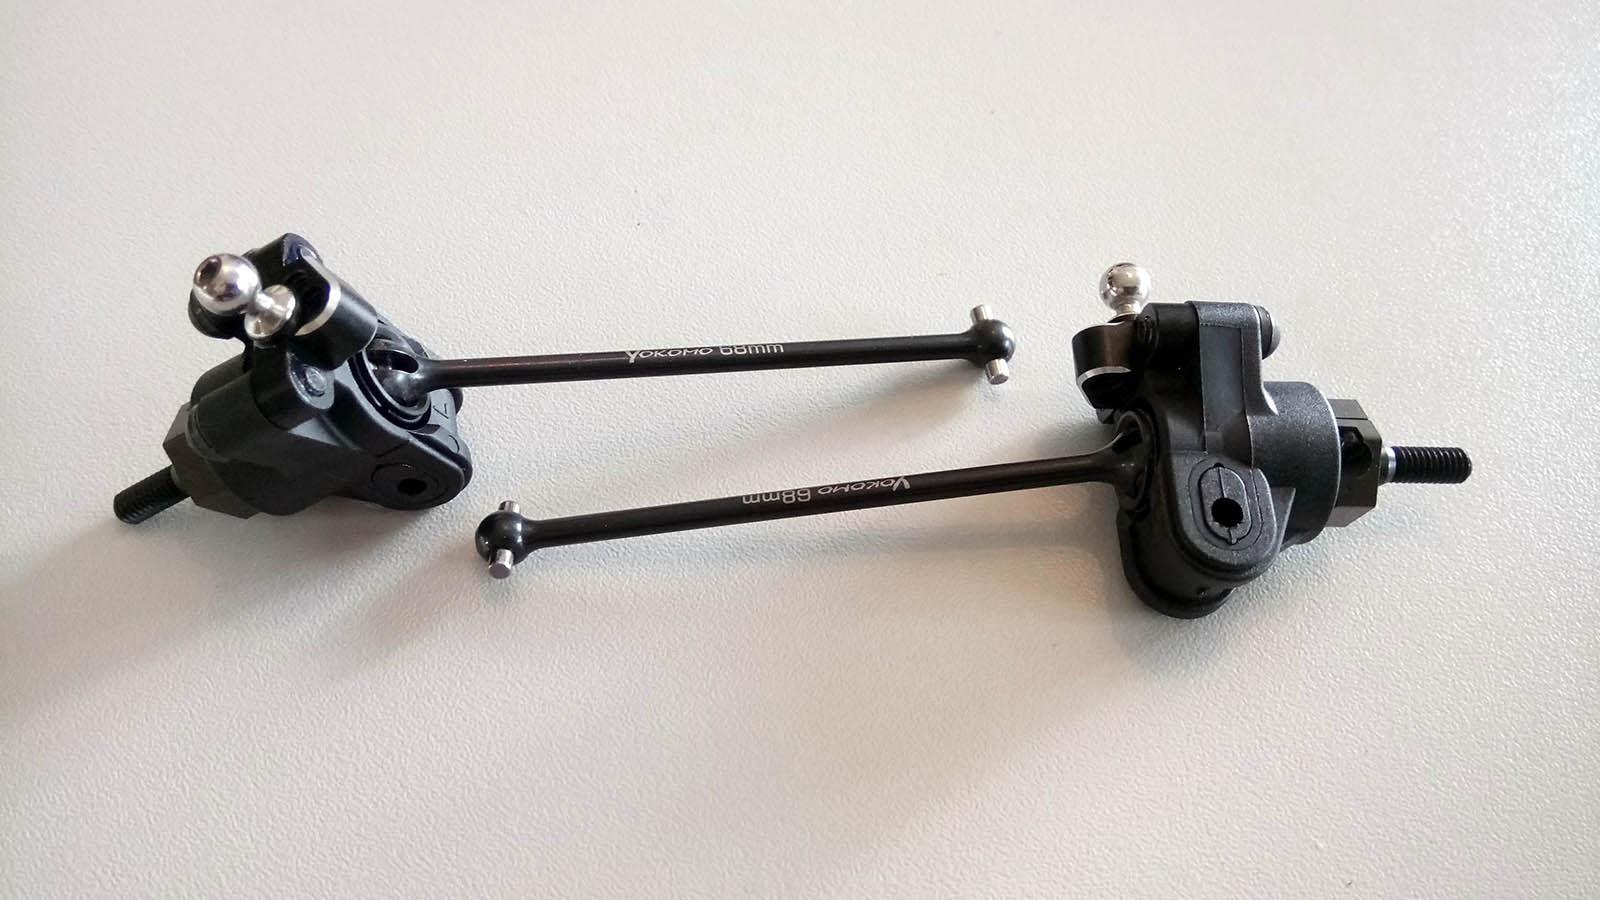
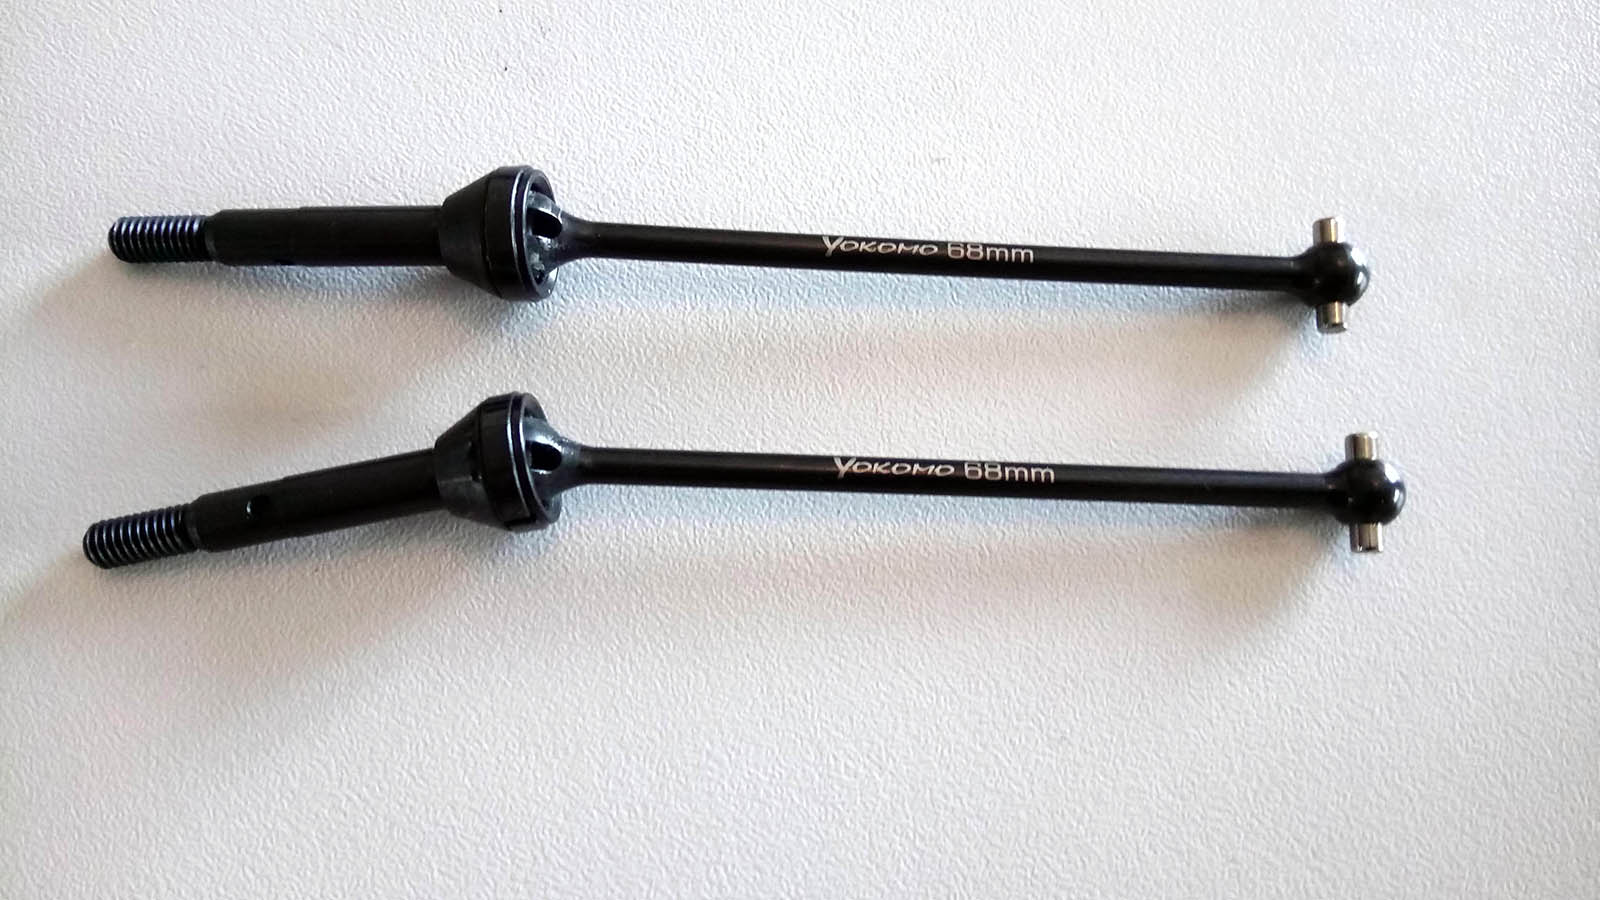
Universal drive shafts with captured pins come pre-assembled in the kit. It is recommended to disassemble them and use the included black grease to lube them; I used Dryfluid instead to prevent dust from sticking to the cup joints.
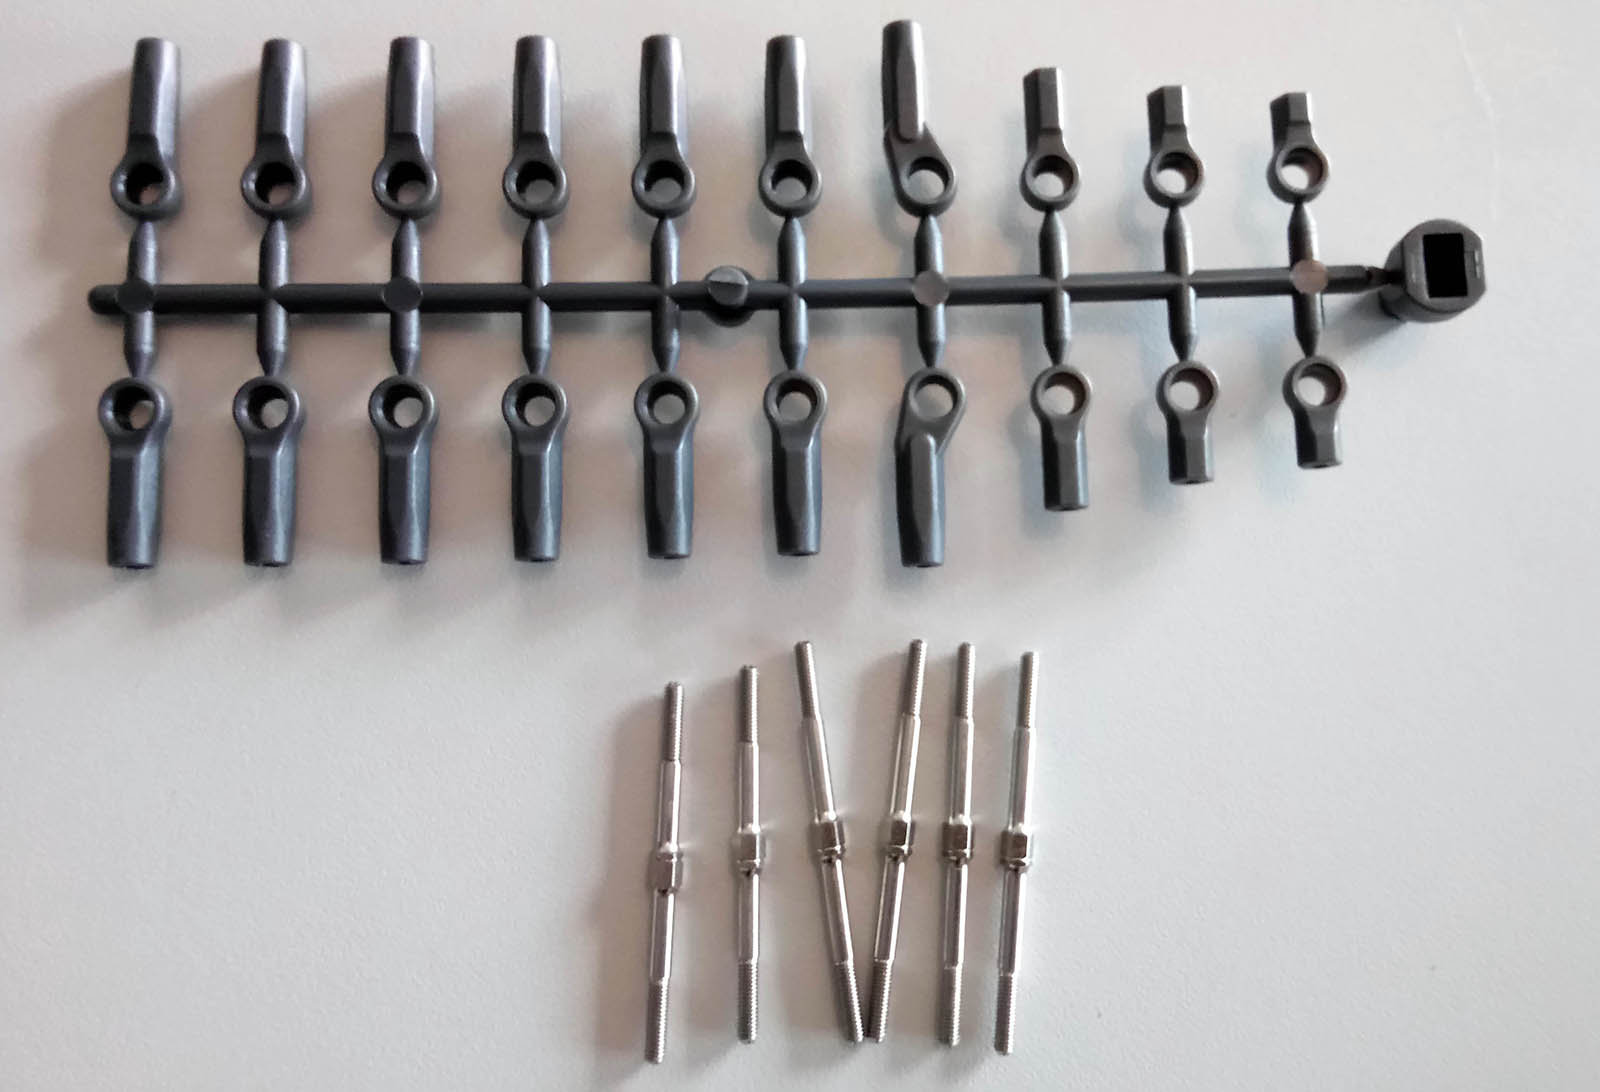
Assembling turnbuckles for some people is their least favorite part of building a new kit. I prefer applying chapstick to the threads of a turnbuckle to grease or oil. Yokomo really help their customers to enjoy their kit by including a quality aluminum turnbuckle wrench and a convenient ball cup holder that can be inserted into a 7 mm hex wrench. Yokomo's 5.5 mm ballcups are some of the best out there and might be a good replacement if you have issues e.g. on your Associated car. Assembly was buttery smooth and you don't risk popping a ballcup when adjusting camber and front toe.
With the turnbuckles in place, there is not much to be completed.
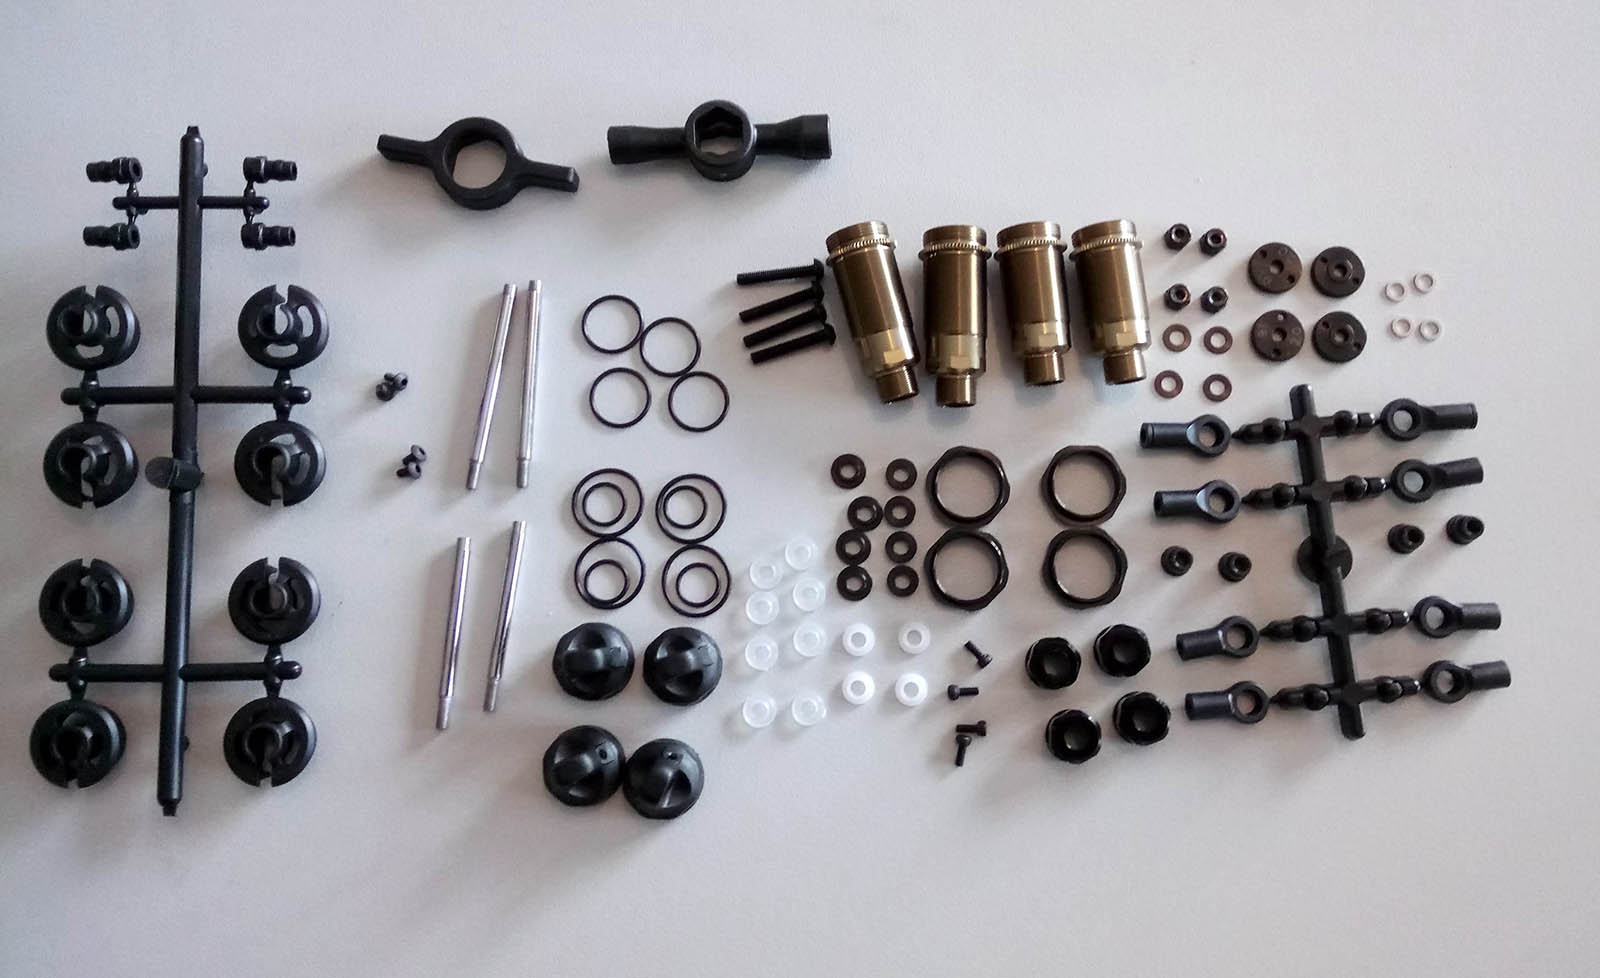
New meets old when it comes to the shocks. Cheeky guys may say that the CAL3 comes with two sets of front shocks, because the LCG rear shock bodies and shafts were used as fronts on the YZ-2T. New, thinner pistons are used both in the front and the rear shocks, the rear ones with 1.8 mm holes instead of the traditional 1.7 mm pistons. In theory they should make for less pack and super plush landings; I can't wait to try them!

450 and 350 shock oils are included opposed to the 400/300 combo of previous kits, probably due to the new pistons. I normally use Associated/Lucas Oil on all my cars, but decided to at least give the kit suspension set-up a try. Springs are Yatabe blacks in the front and universal greens in the rear, both of which are familiar to me and make for a decent basic combo. Yokomo recently released five new pairs of springs related to the so-called Racing Performer dirt line-up. They are better suited to dirt and Astroturf tracks than the original RP springs, which I found a bit too lazy for anything but carpet. In case you wondered, Yokomo springs to me are like Pokémon to others: Gotta catch'em all!

There is also something new on the lower end: spring cups with various off-sets!
Installing your shocks is a straightforward affair. Similarly to the stadium truck, inserts aka shock mount nuts are used to secure the screws in the rear arms, whereas the front items thread into the arms themselves.
The plastic electronics tray allows you to remove your ESC and receiver without having to use new sticky tape every time. If you want to add some weight near the center of the chassis, a steel plate is available as an option. Yokomo also include an antenna tube, but as my Futaba receiver only has an internal antenna, I did not use it. (It was quite late when I installed the electronics and forgot to take a picture before I was done. My bad!)
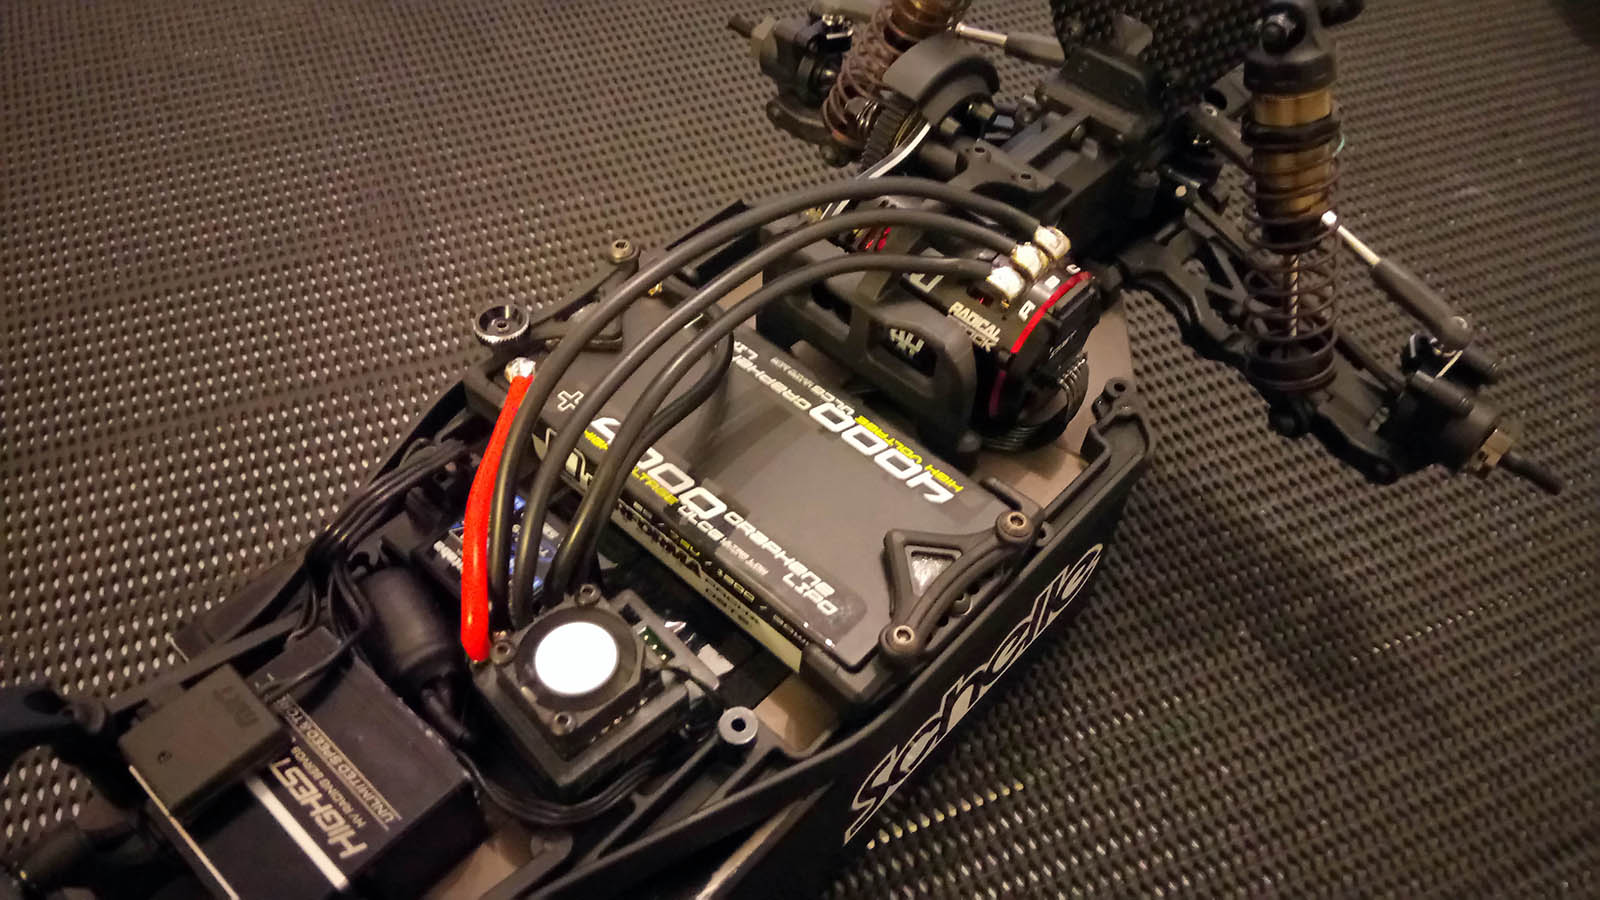

One of the great little details is the use of socket head screws for installing the motor. With such screws, you don't have to fear stripping a screw when tightening down your motor of choice. The Team Orion heritage of the Performa Racing 17.5 turn unit is quite obvious. If it is as fast as it looks, the CAL3 is going to be ballistic! Yokomo includes a small gear chart, which is limited to the included 80T spur gear. In case you wondered, the YZ-2 still shares the 2.6 internal ratio with the B6.1 series, and as such it is quite easy to find a comprehensive gear chart. To achieve the gearing of 5.96 recommended by Performa racing, I used a 31T Arrowmax pinion, which should be near enough for starters.
With the sensor wire and the Muchmore Fleta Euro in place and a set of JConcepts Swaggers/Nessis mounted on white Mono (practice) wheels installed, all I have to do is paint the body, or bodies that is. As much as I like the F2, there is also an optional P2K (#0392L) sitting on my shelf. With its clean lines and smooth handling characteristics, it is easily one of the most popular bodies around our track.
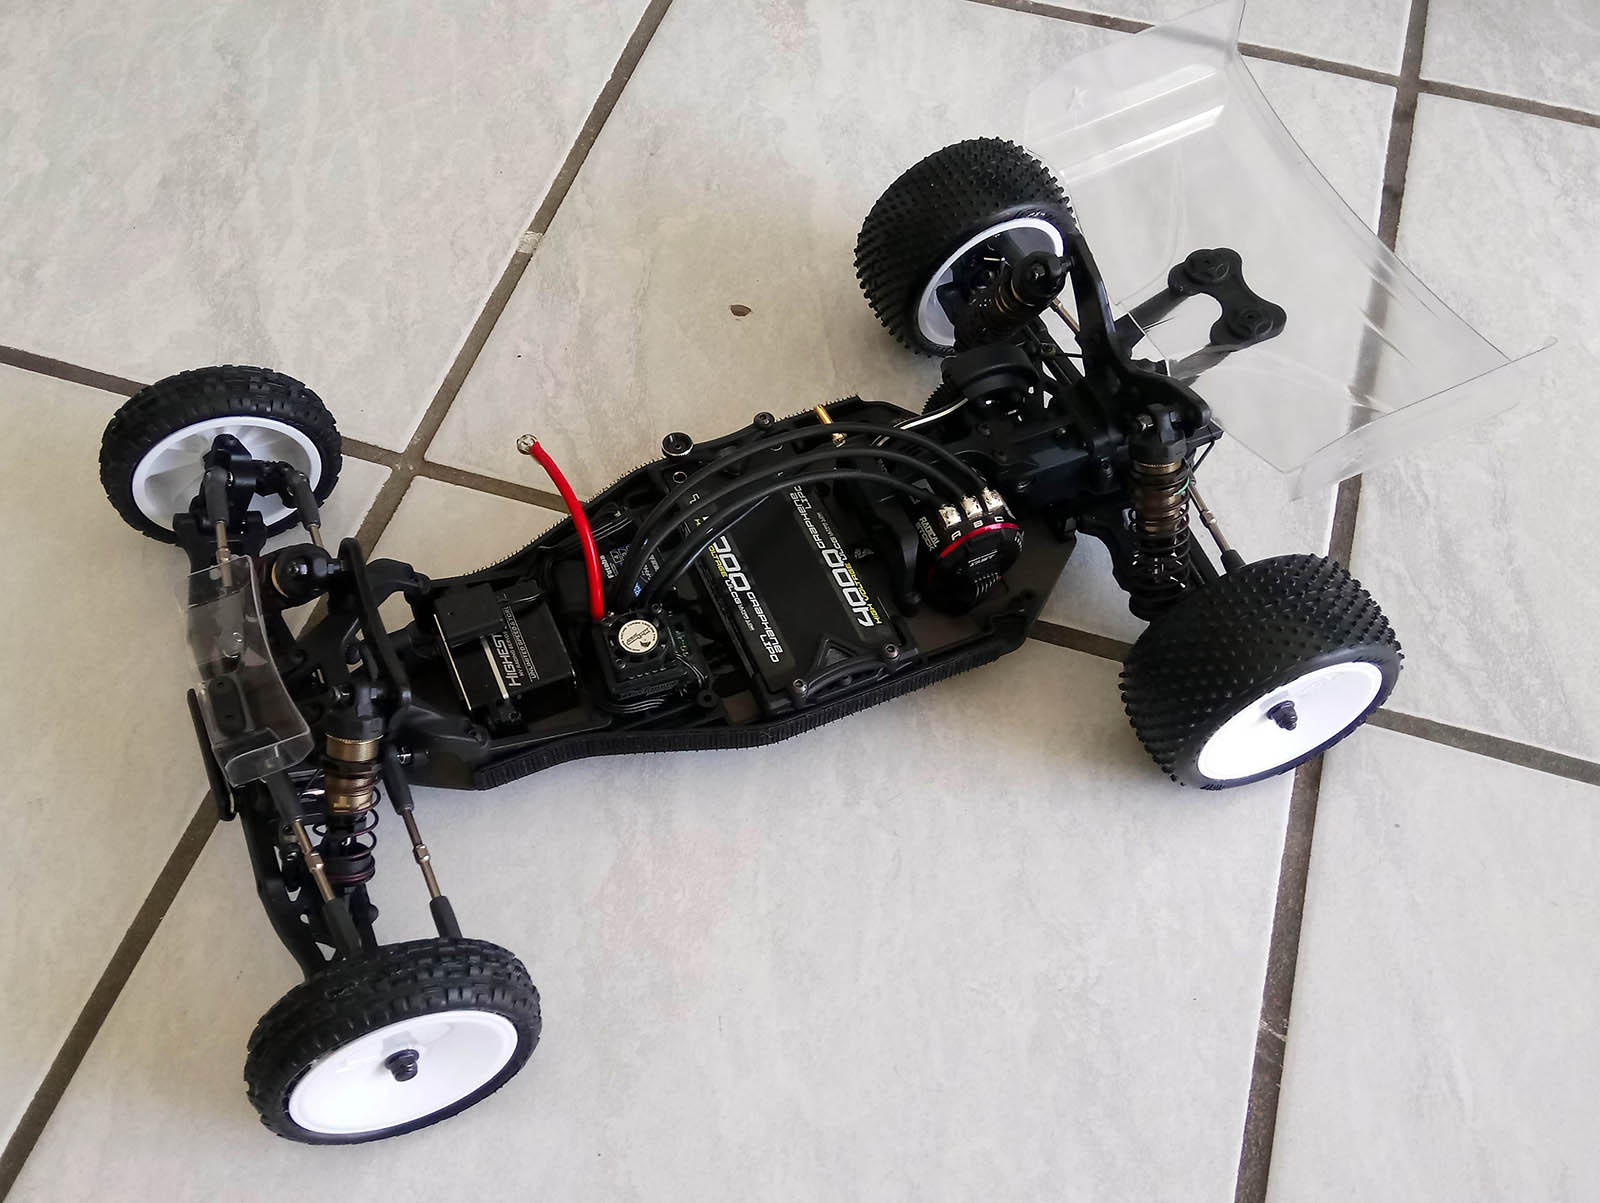
Test drive
As it was, two of my buddies spent a day off on our club's track, and thanks to flextime, I was able to leave from work early and join them. Dark clouds on the horizon indicated that I would not be able to perfectly dial in the car, but as a matter of fact this would only be half the story...
As I had not managed to complete neither the kit F2 nor my optional P2K body, I slapped on my son's old P2, which worked with just a little trimming to make space for the front wing mount. With the recommended gearing but the timing still on 20 degrees, the car was slow on the straightaway, and I did not find the sweet spot with just two batteries before torrential rain cut our practice and testing session short. The CAL3's kit set-up, on the other hand, was nothing short of amazing. True, I had filled the diff with 7K instead the supplied 5K oil and installed some plastic diff gears and a Schelle Nova slipper, but the suspension package worked just awesome. If I was to describe the car with three words, it would be agile, precise, and planted. With the 17.5 motor, I was able to tackle many corners at full speed whereI had to slow down with various YZ-2 CA and B6.1 buggies, including the one I had dialled in to achieve my personal 17.5 hot lap (36.343). With the kit set-up, a slow motor and gearing set-up and a much cheaper ESC, I had managed 36.402 after having not been to the track for more than a month. There were quite a few tumbles, but the CAL3 just shrugged it off. The lightweight LMR rear wing took a few minor cracks, but that was to be expected.
After the built and the first two batteries, I can only say what an amazing kit the latest evolution of the YZ-2 platform is. While all my last three kits (B6.1, YZ-2T, and B74) were great and I could only recommend them to anyone, the YZ-2 CAL3 clearly is the first kit that impressed me as much since I first drove the original YZ-2; although I only drove it with a 17.5 motor, it certainly had that next-level feel to it. I can't wait to hit the track again!
|