|

- Team Xray XB2 Build -
Sponsored by Team-NCRC and MKT Racing

The Build:
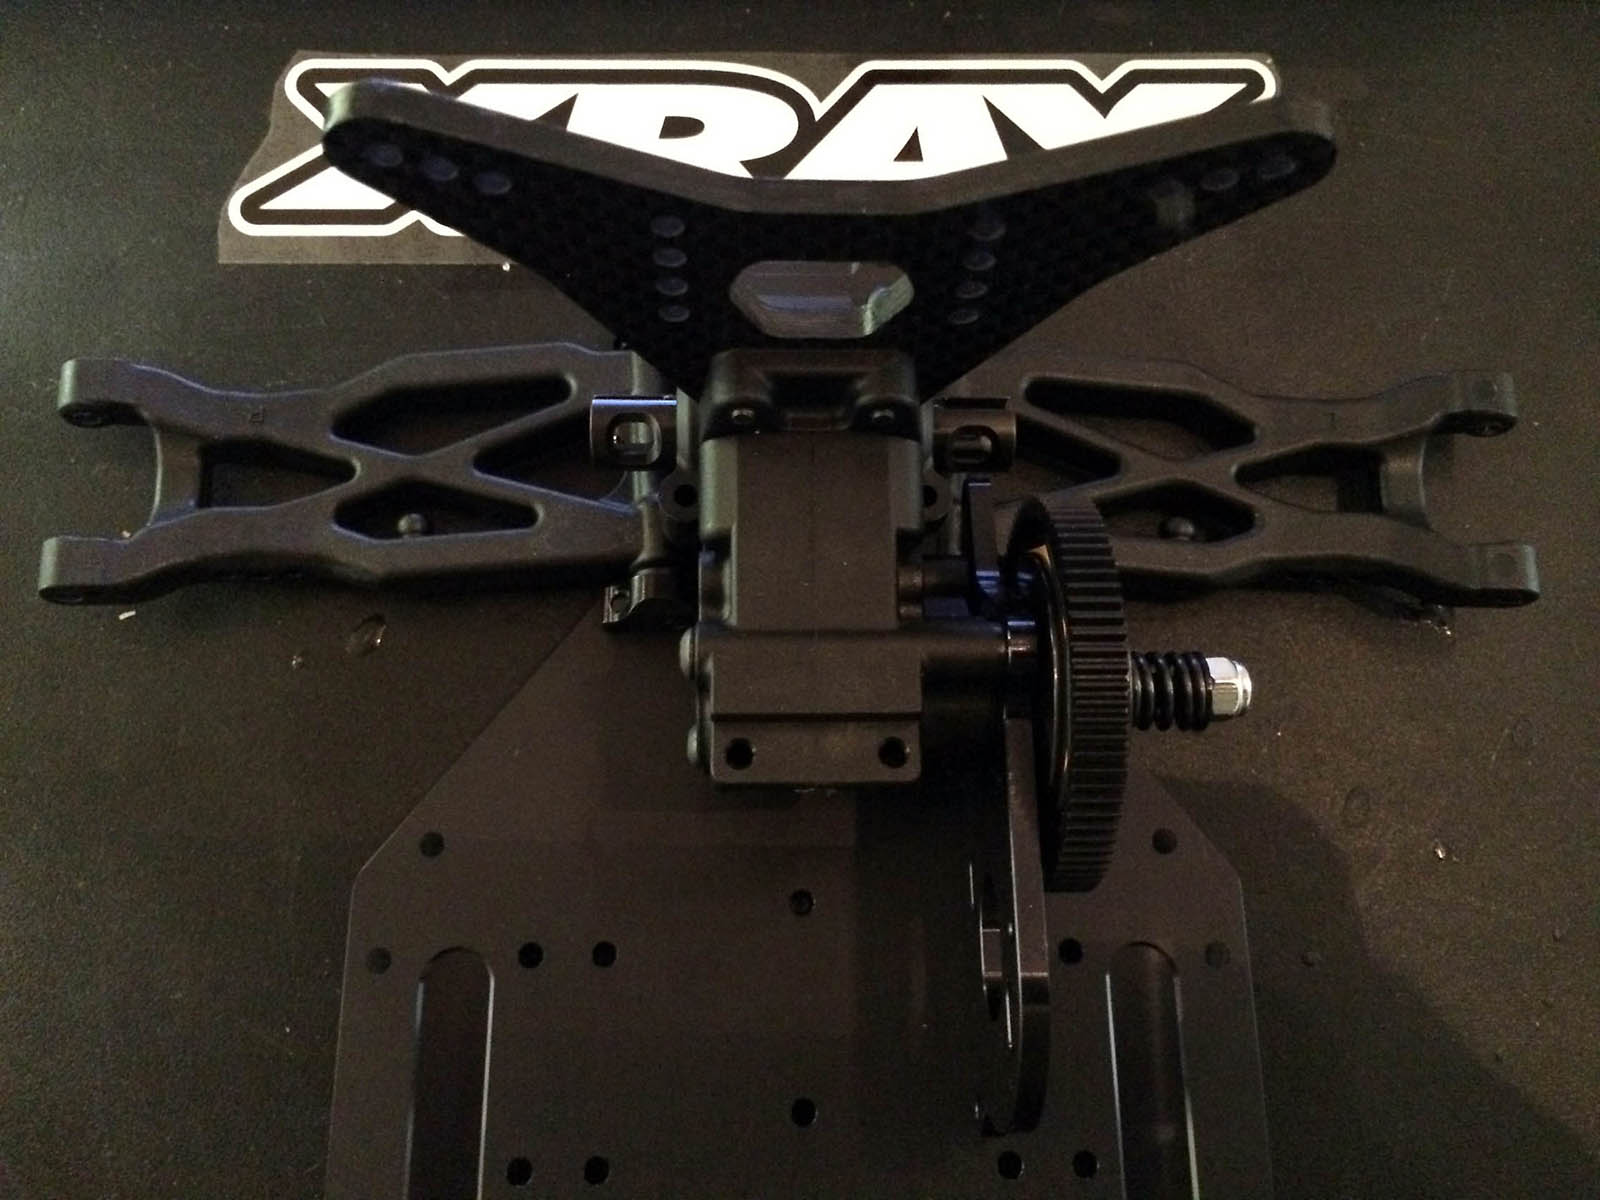
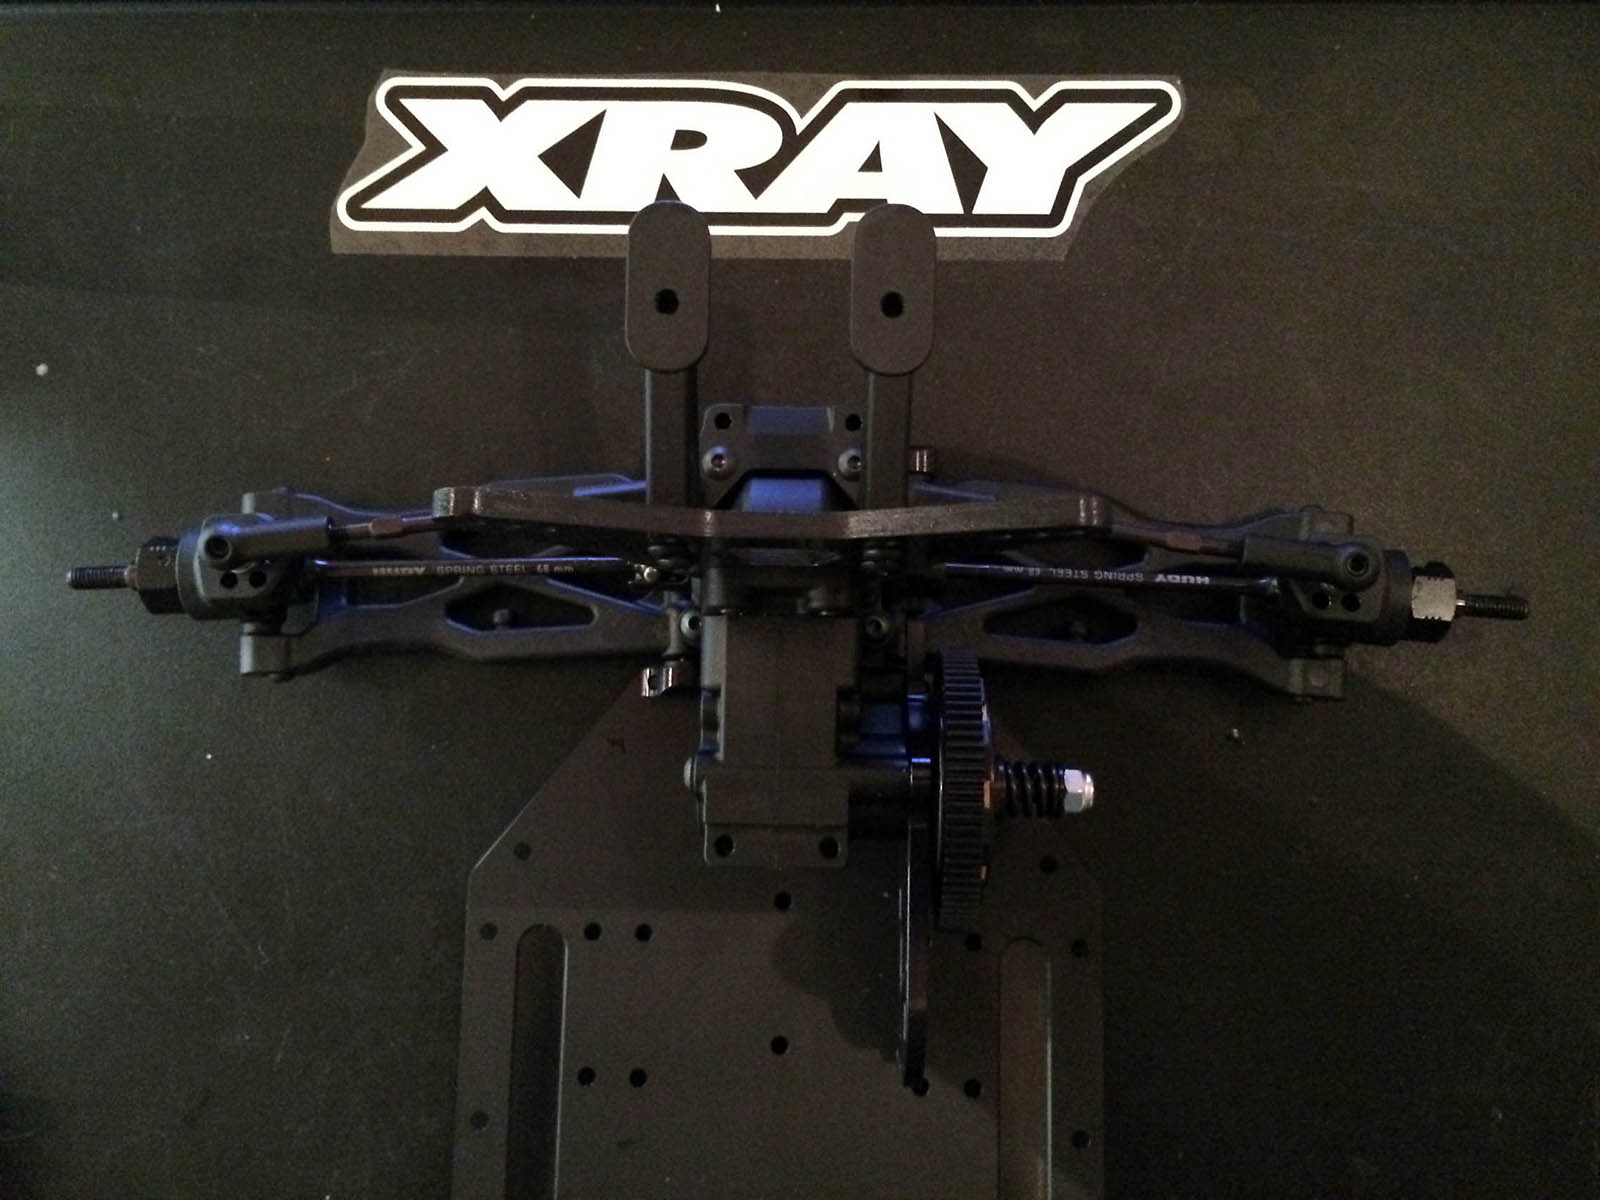
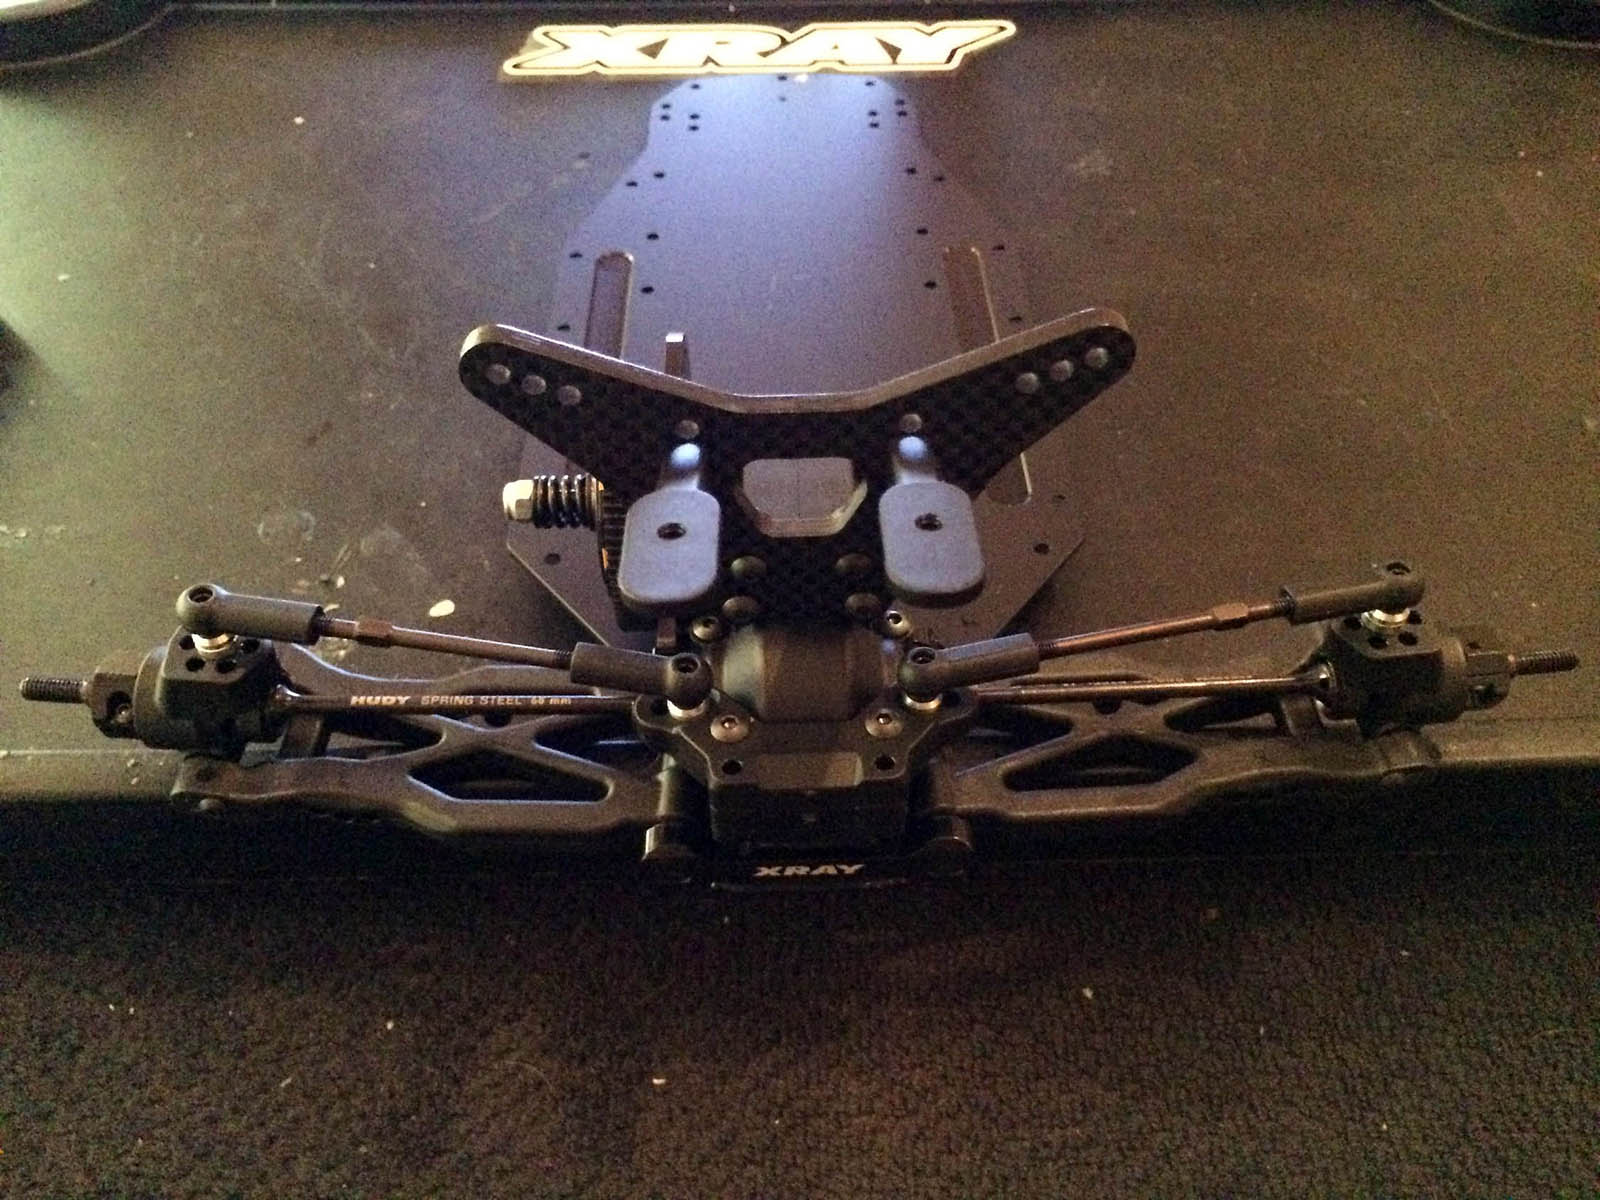
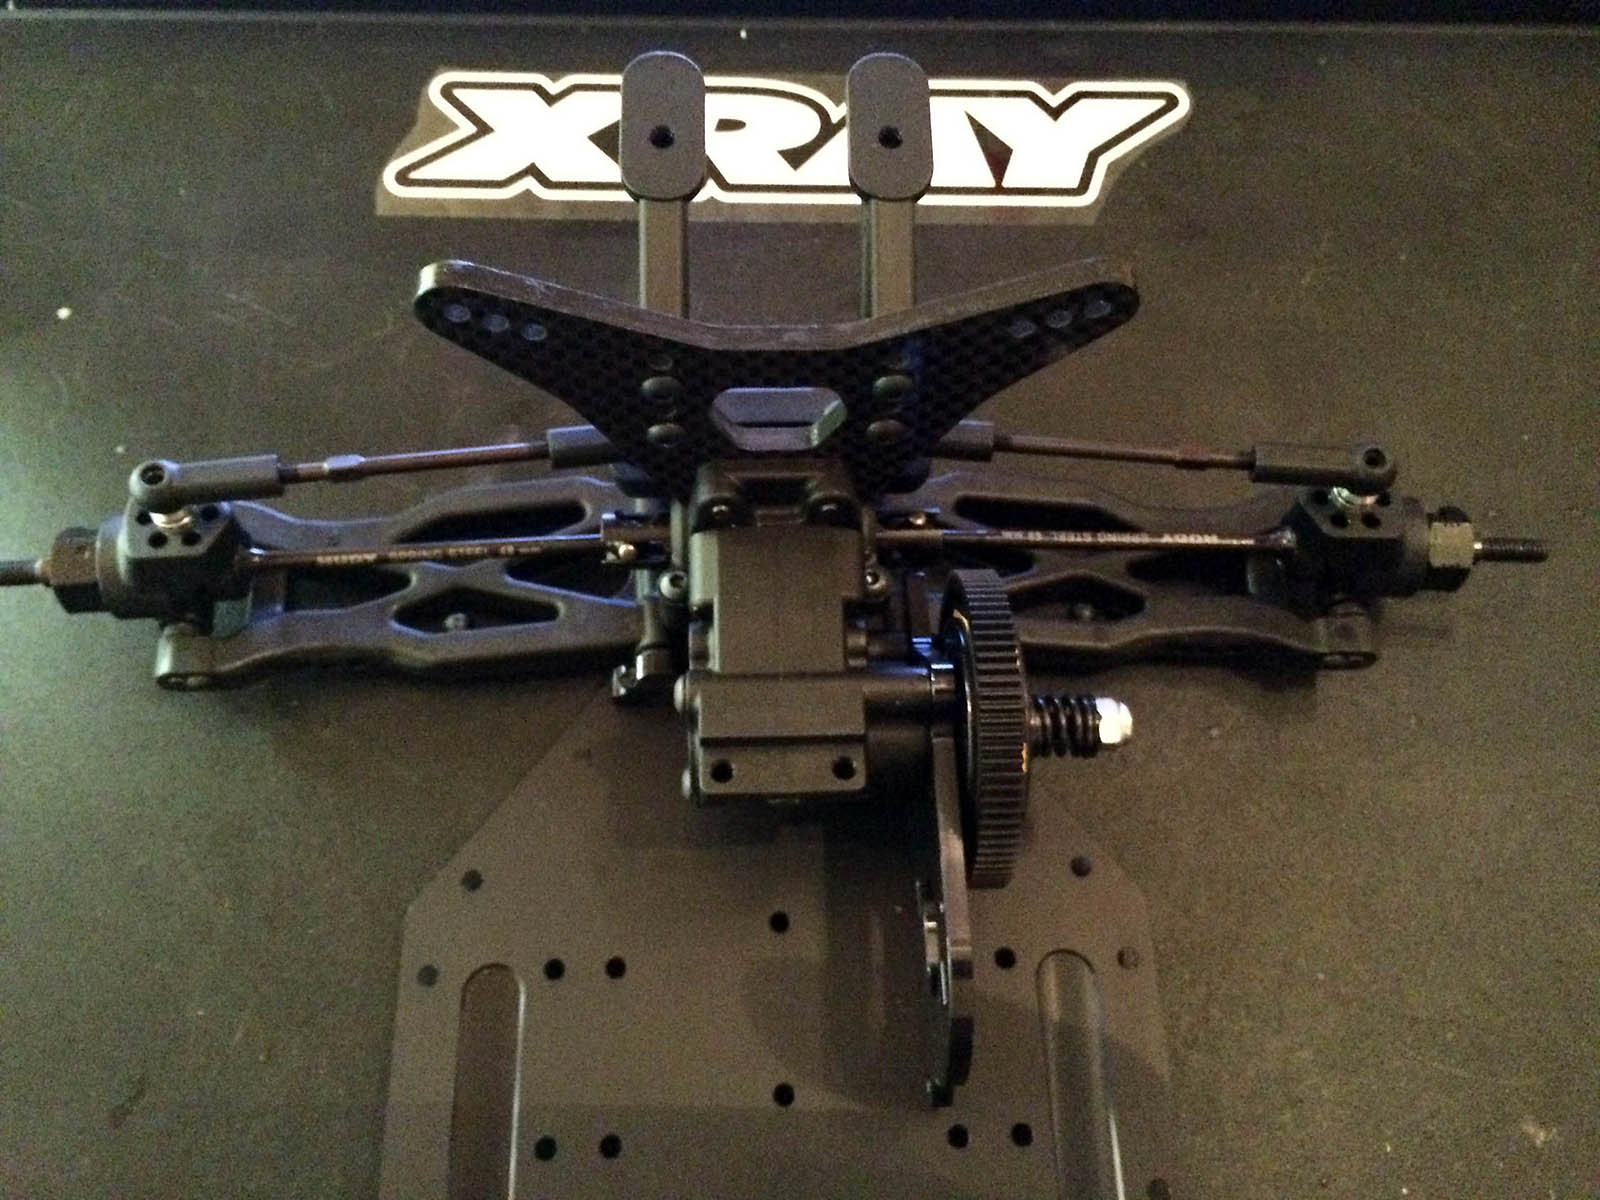
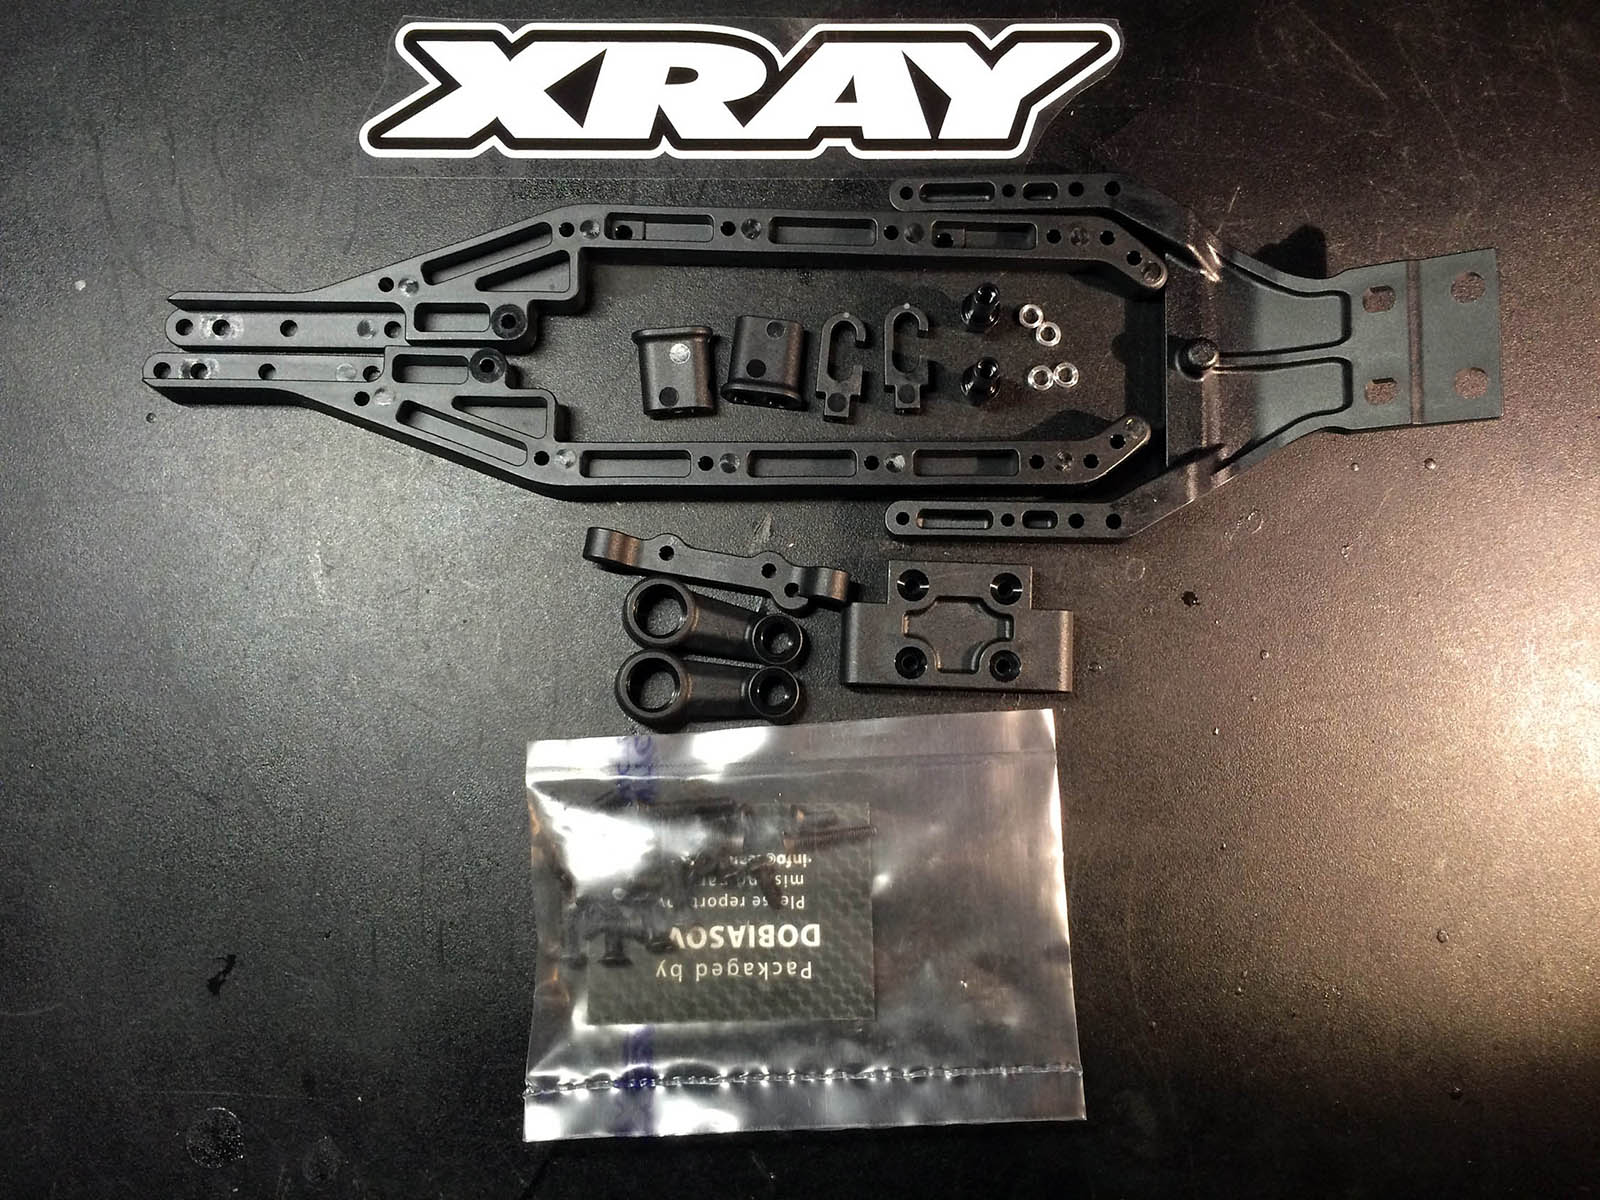
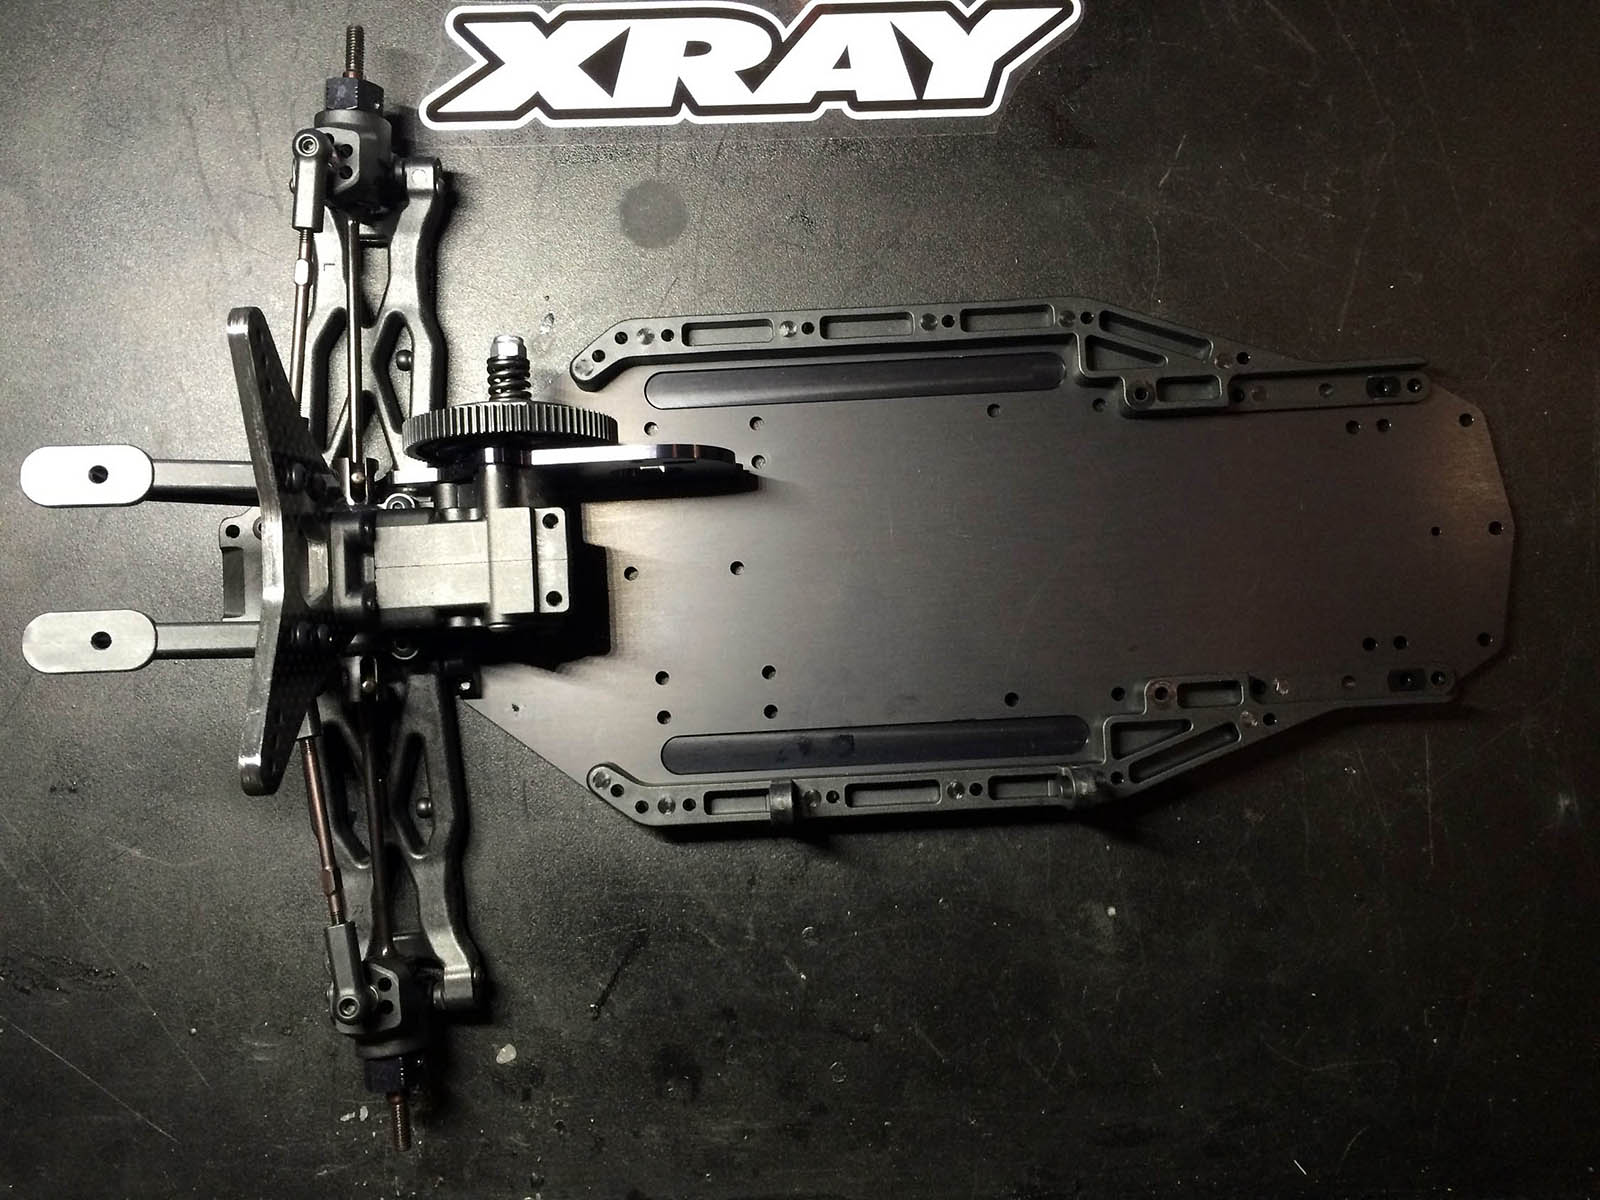
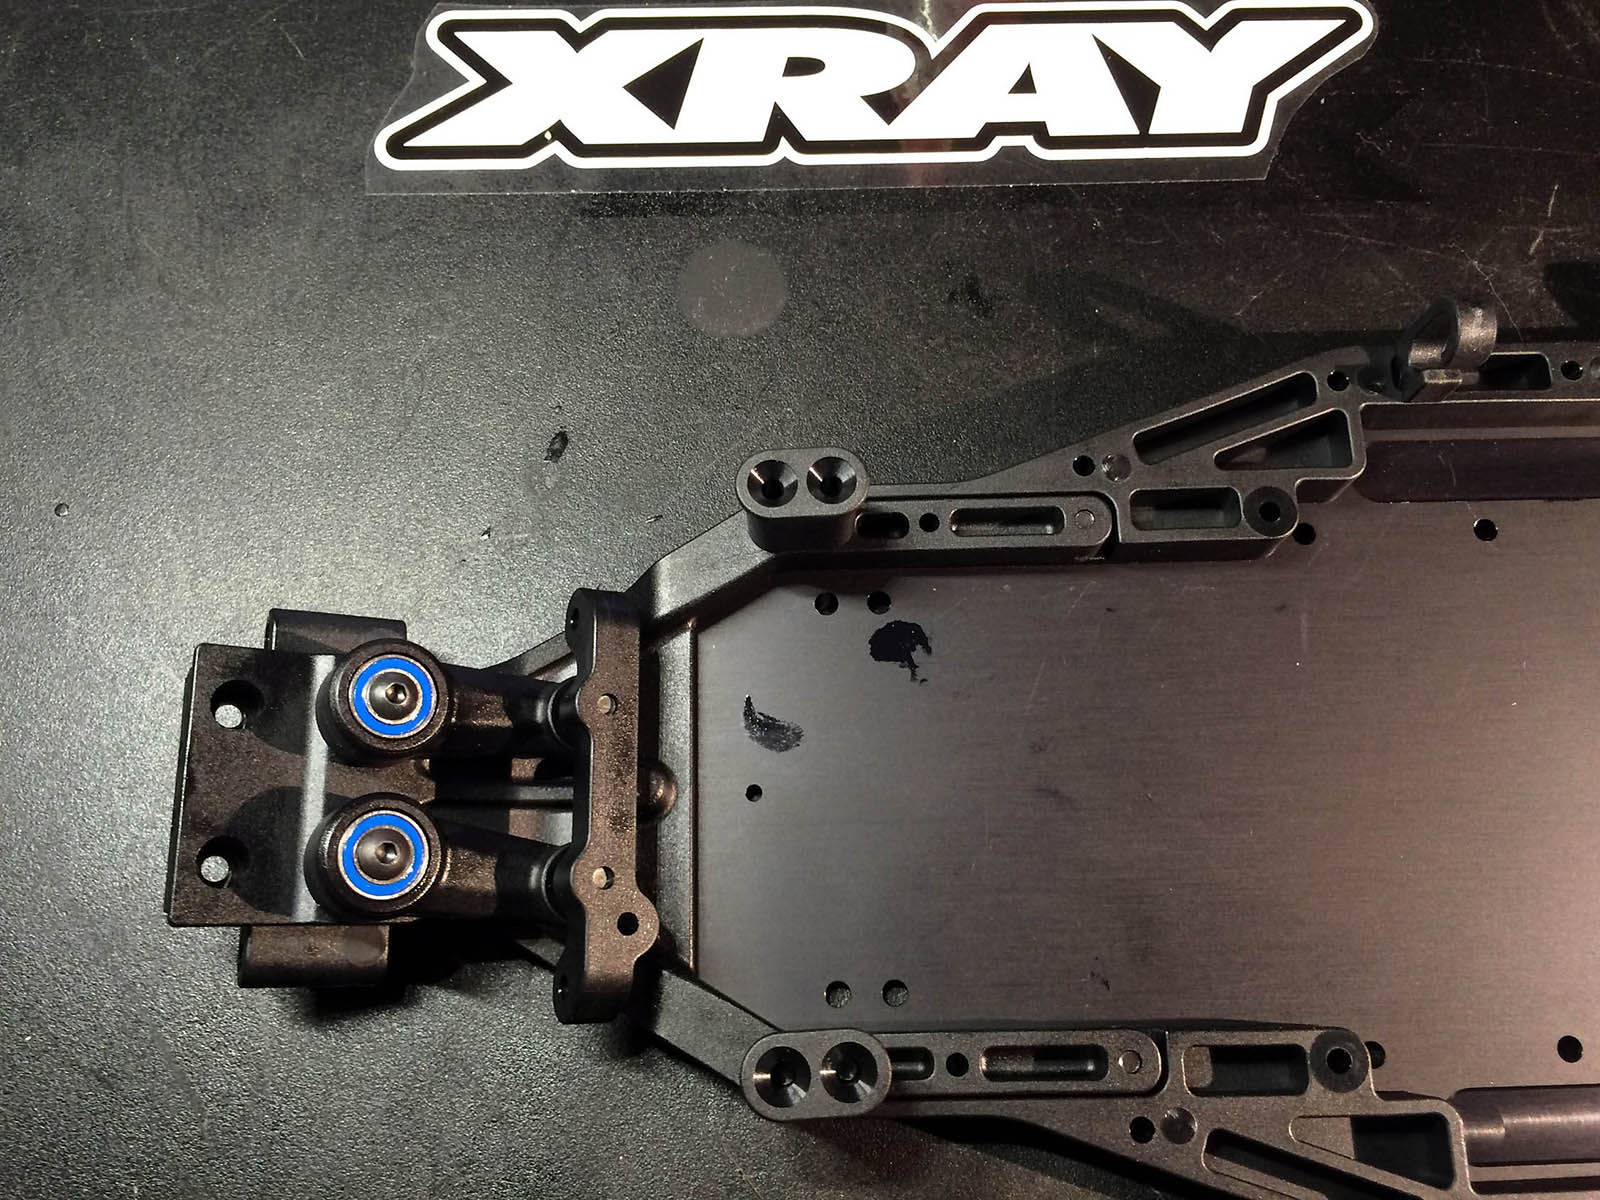
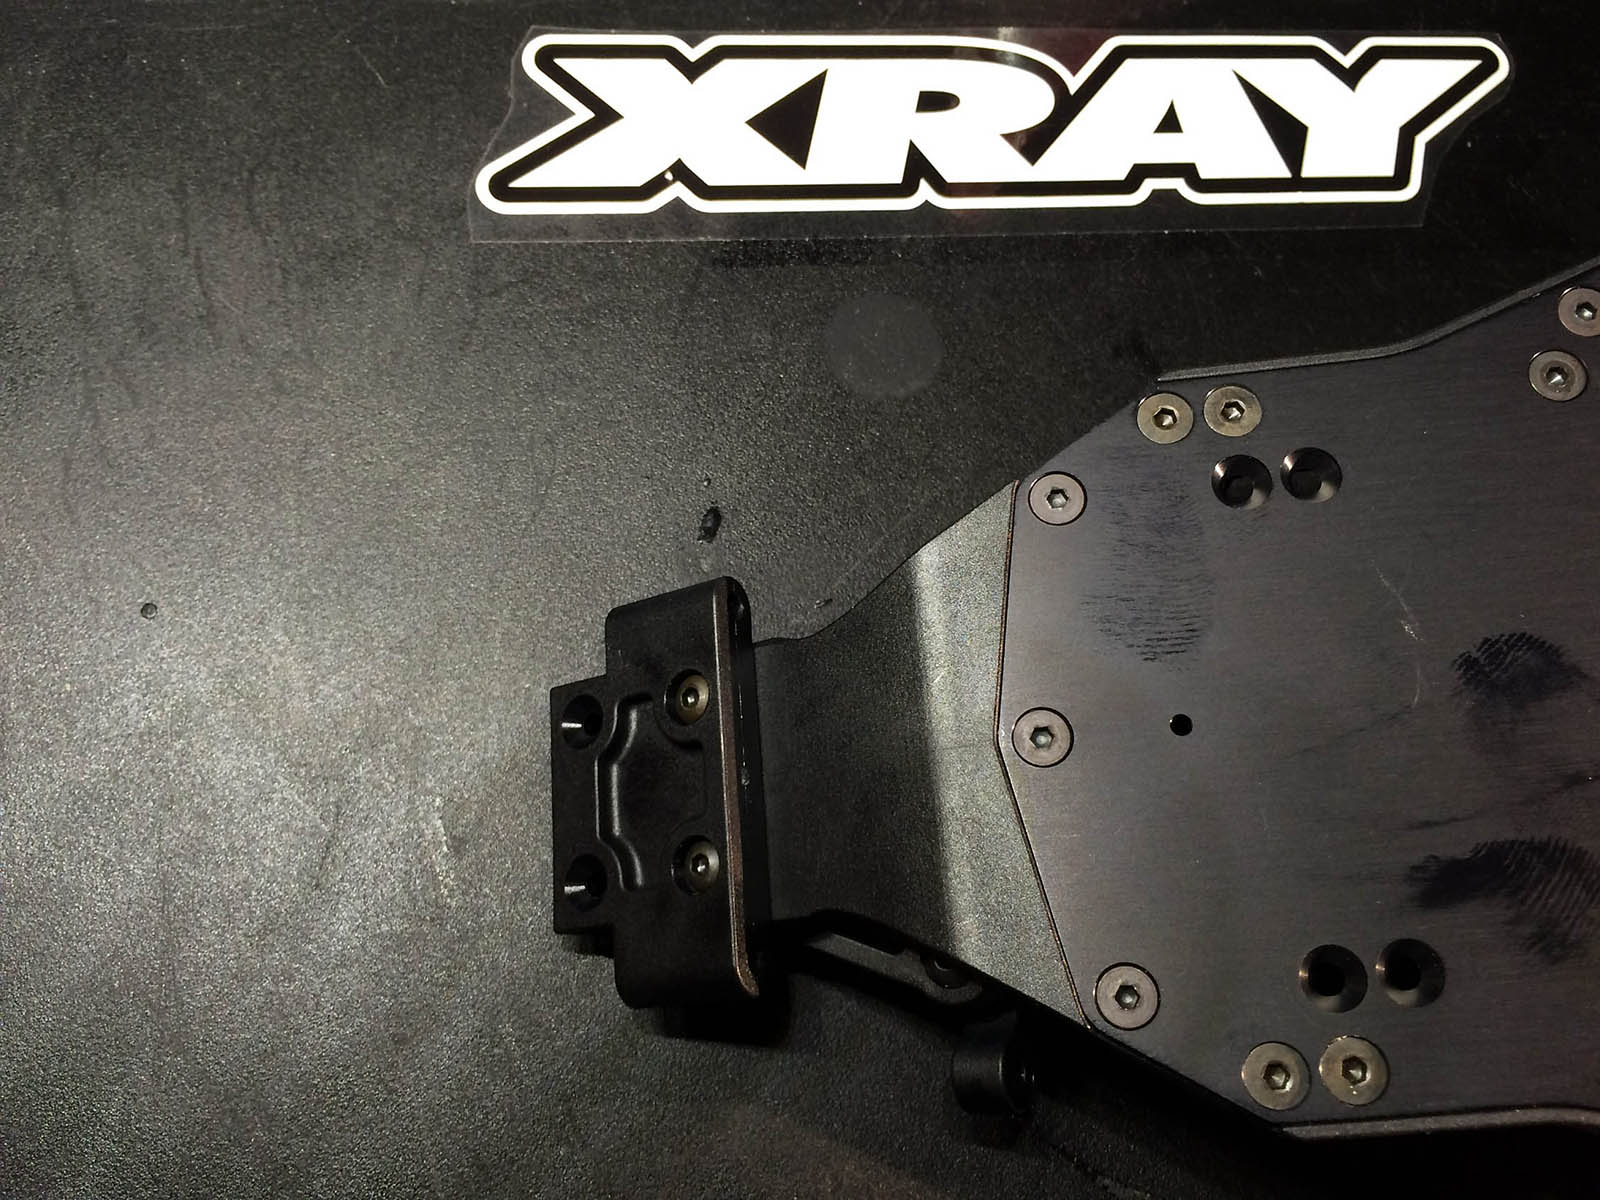
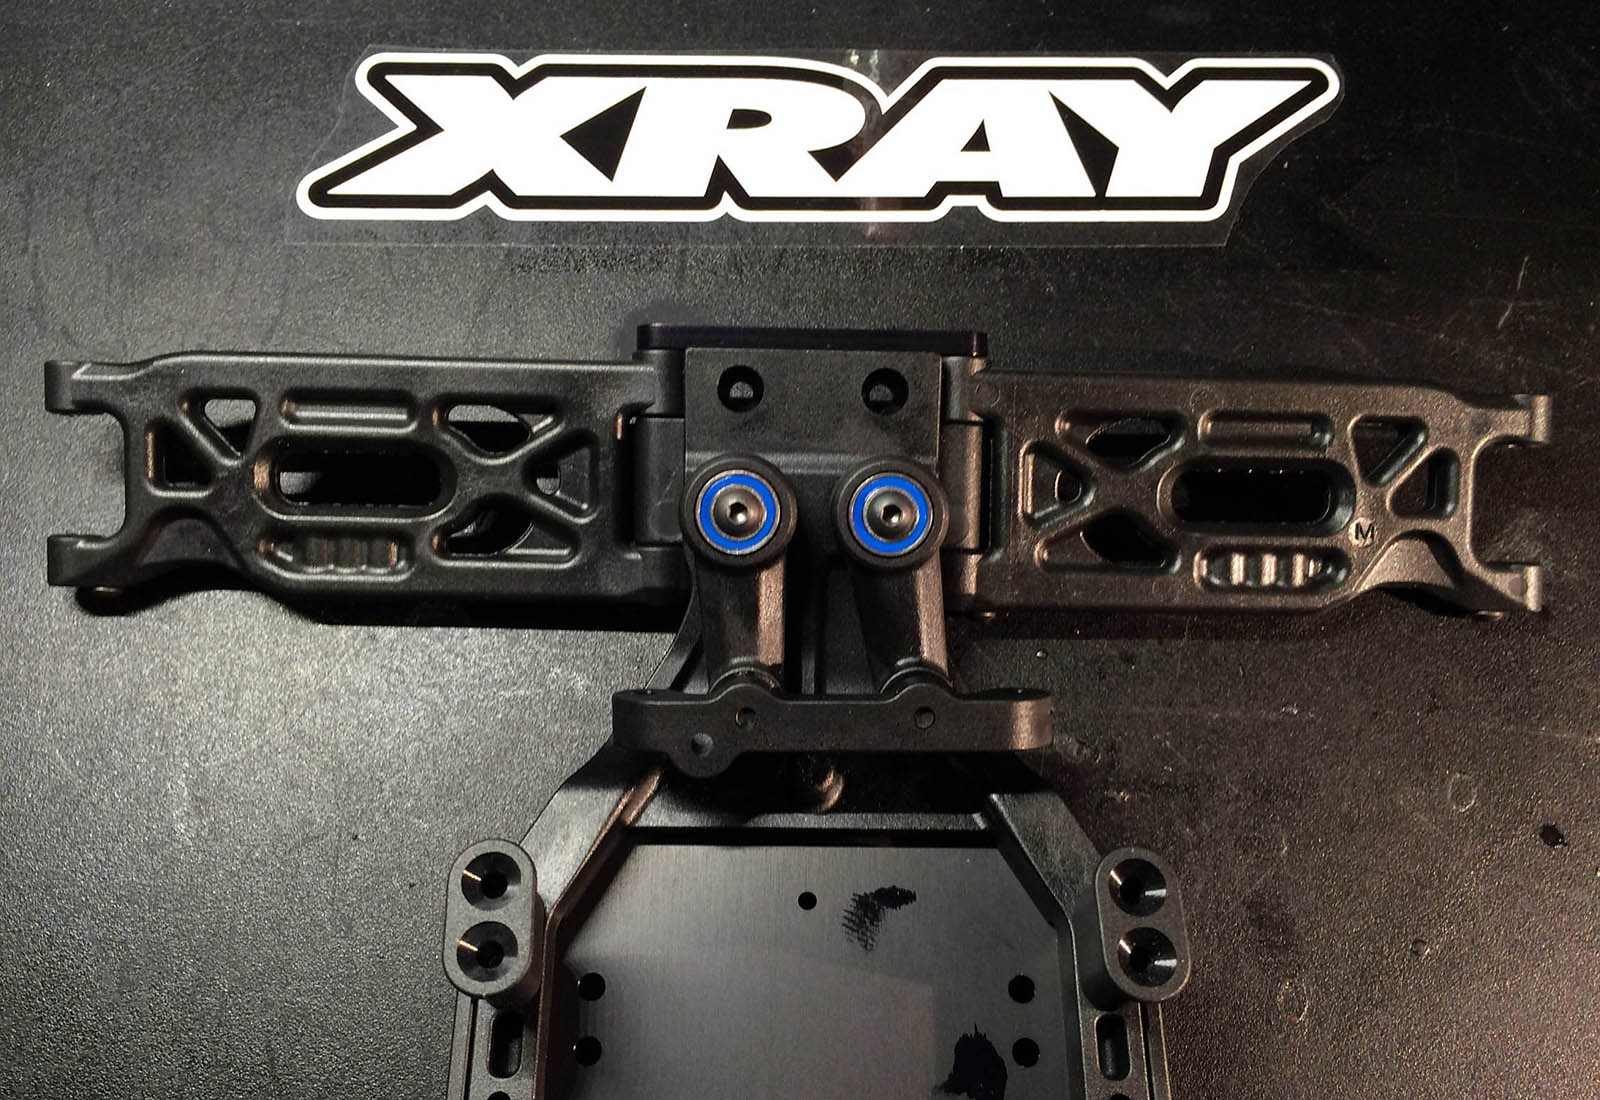
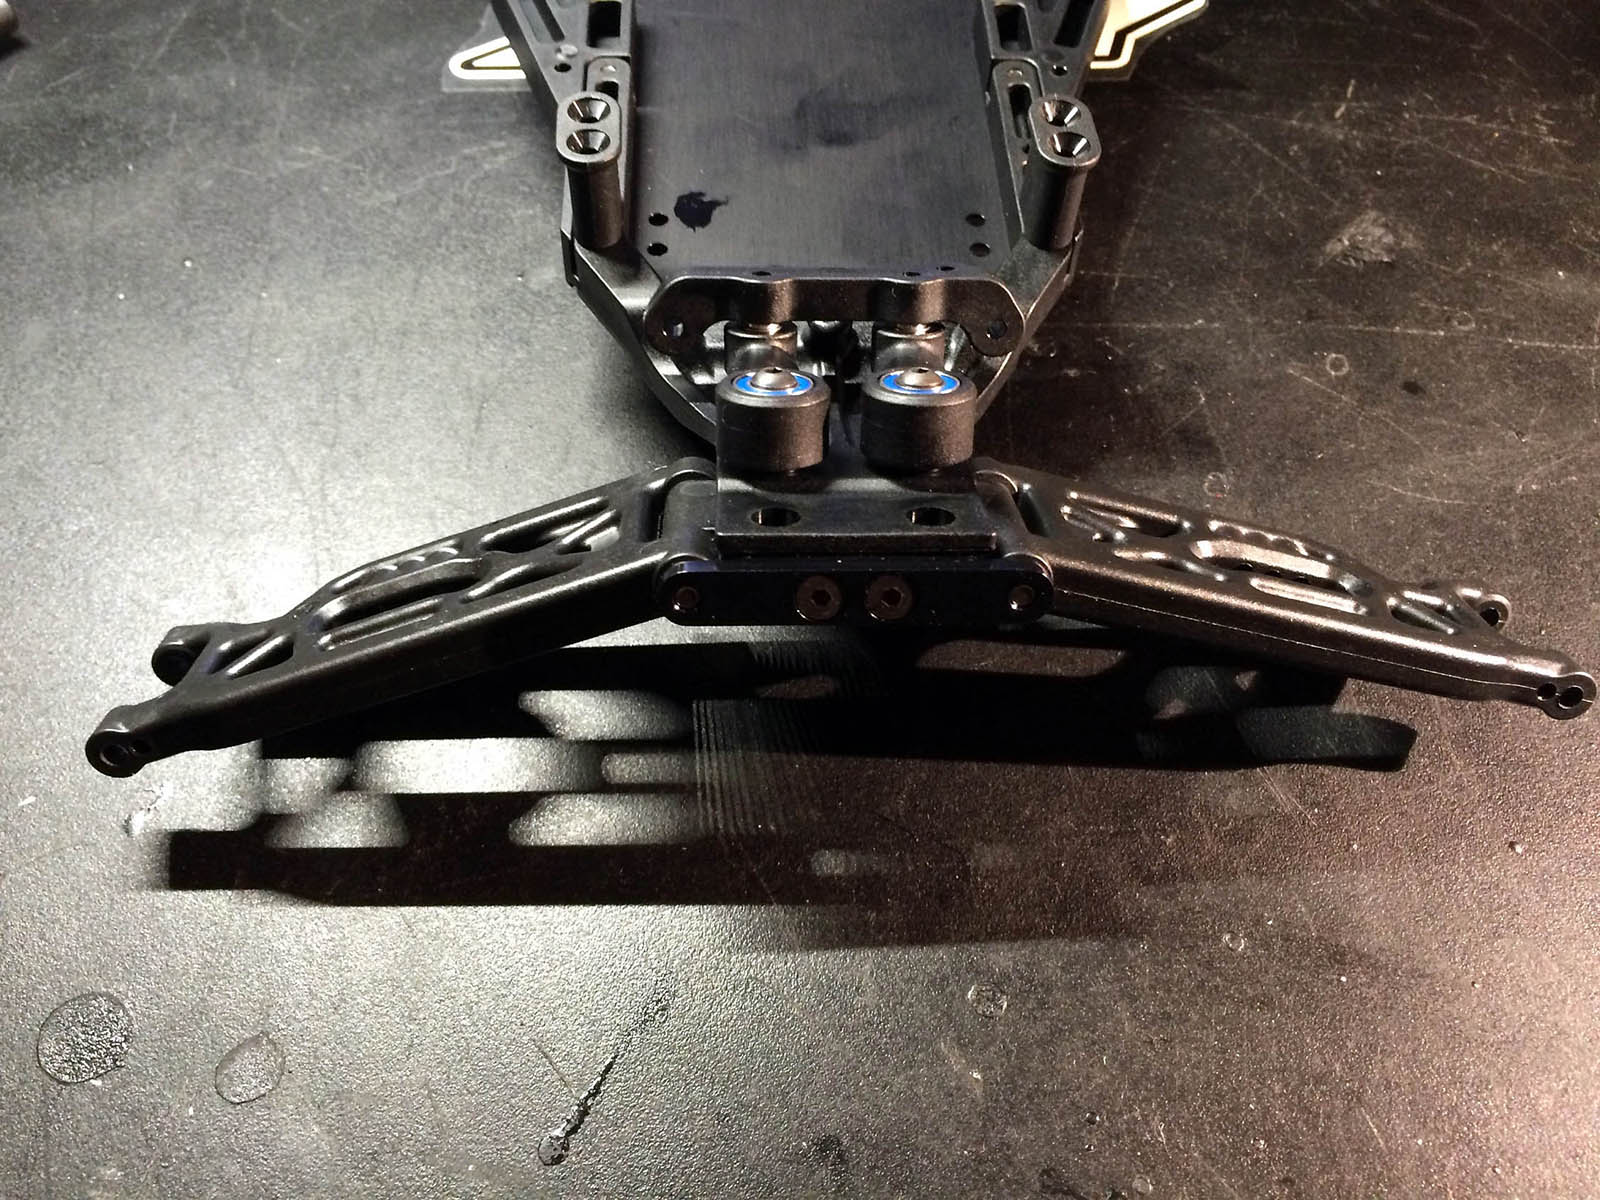
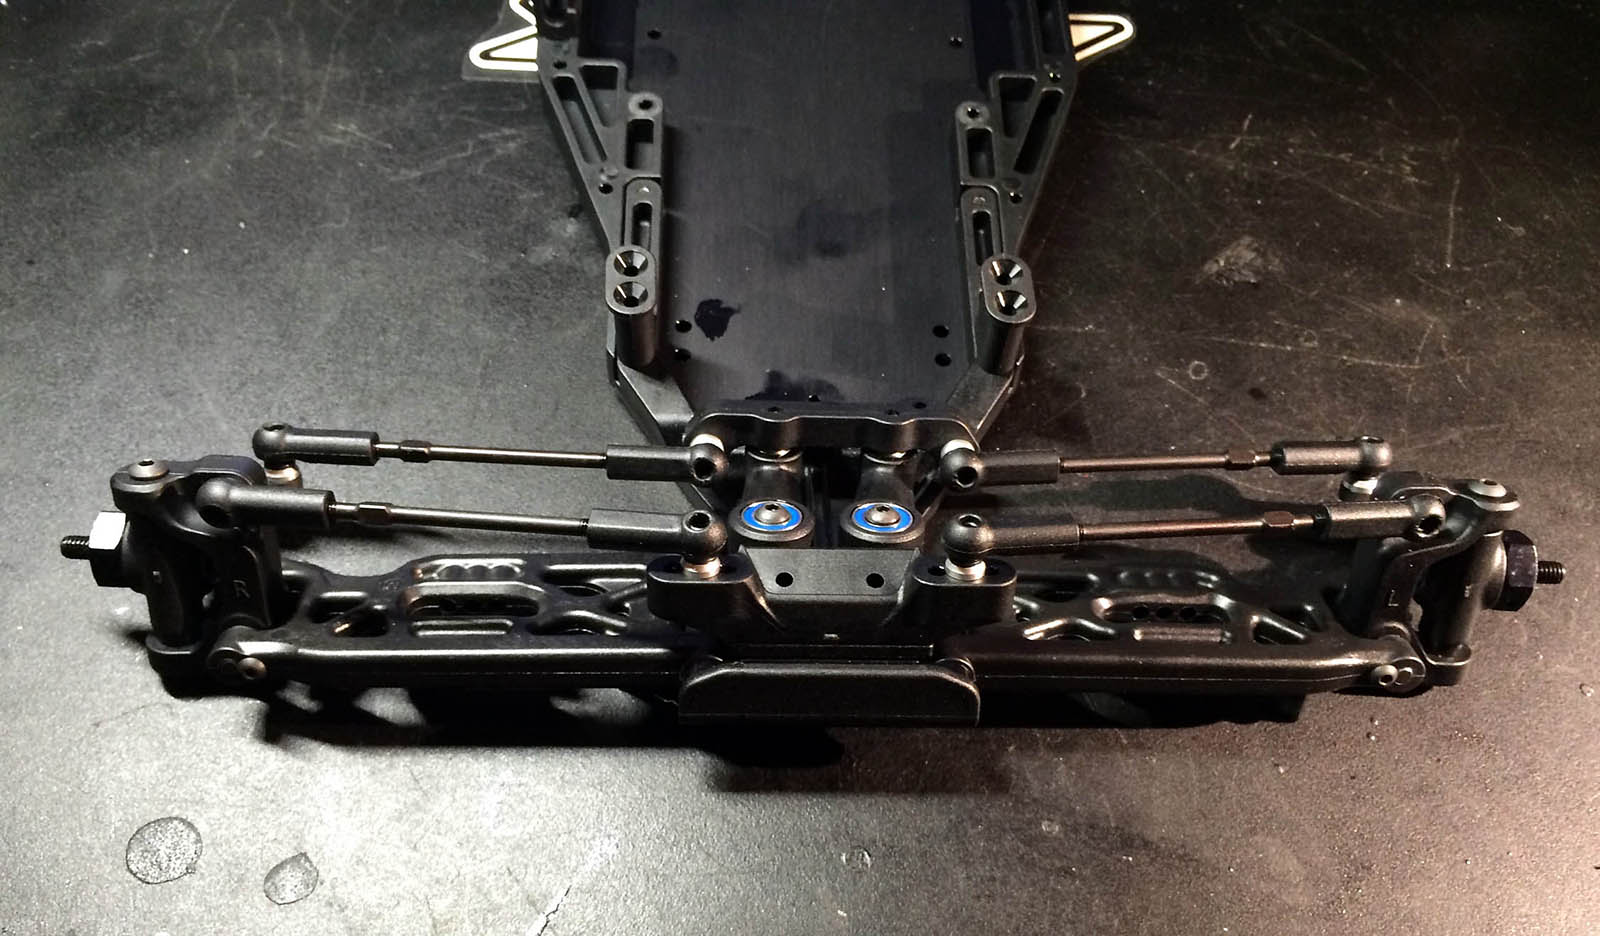
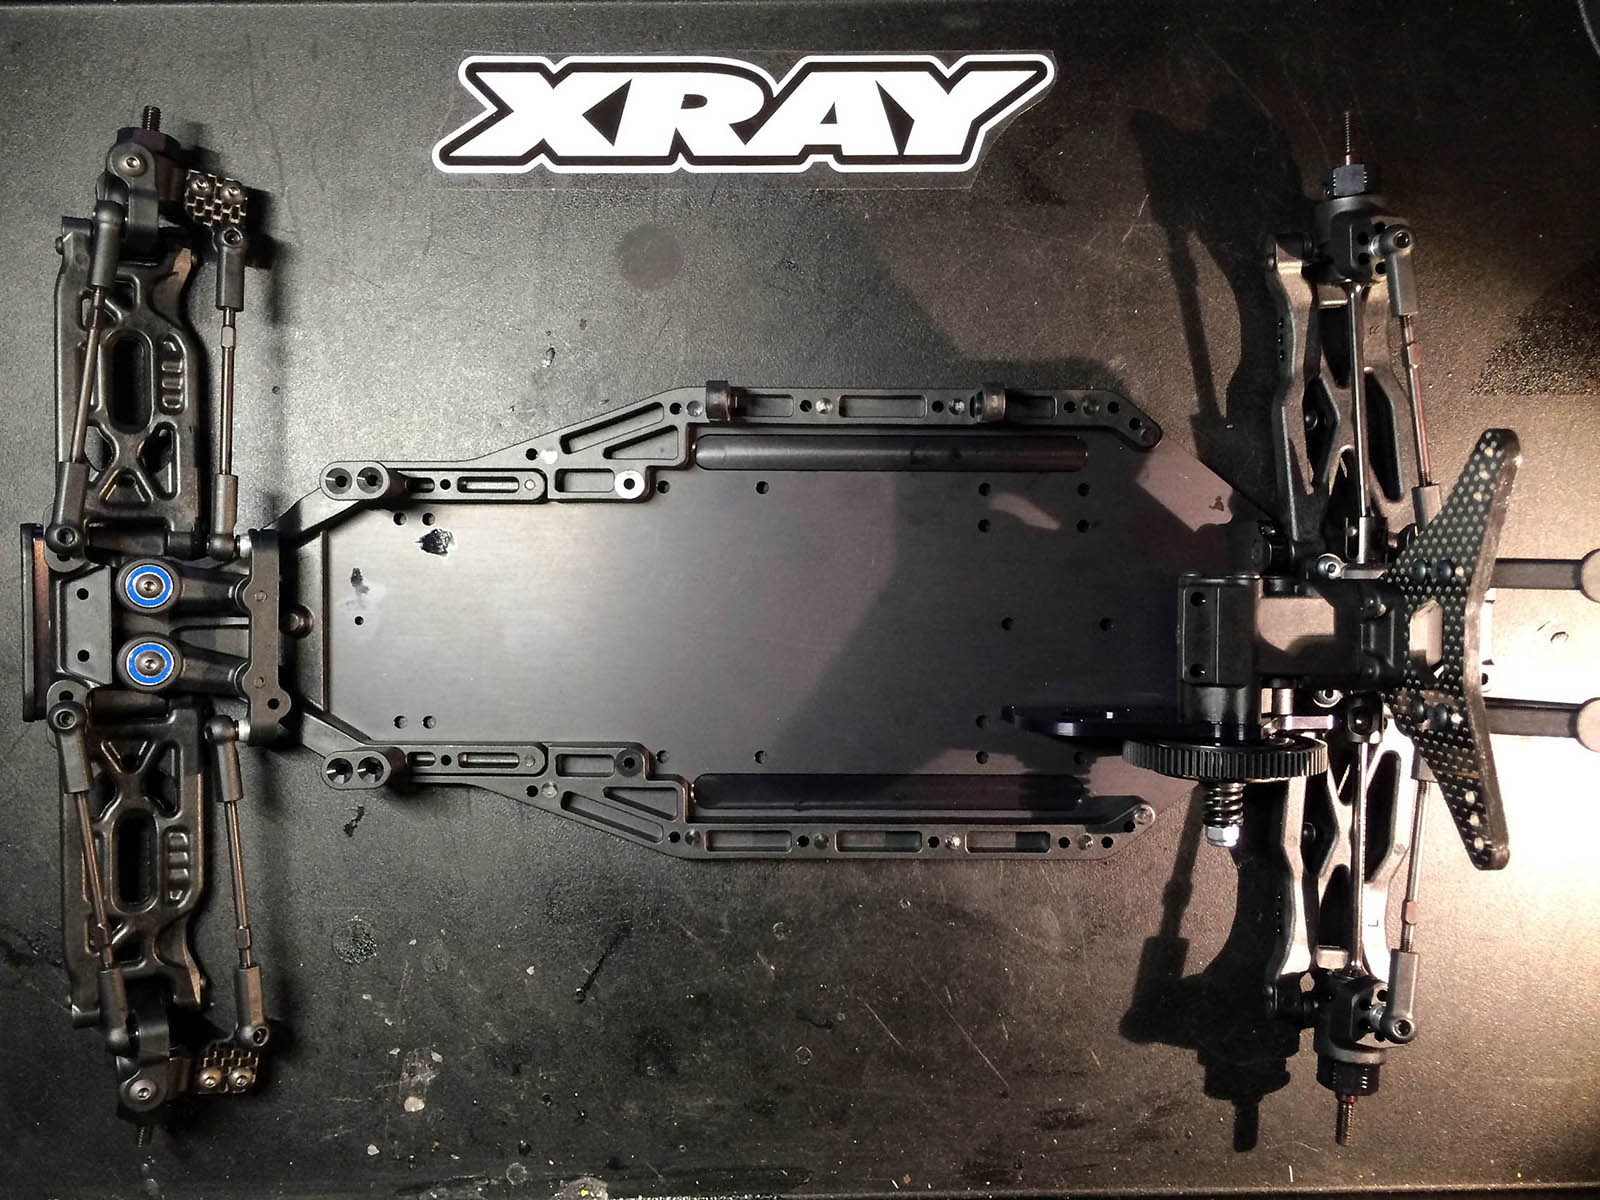
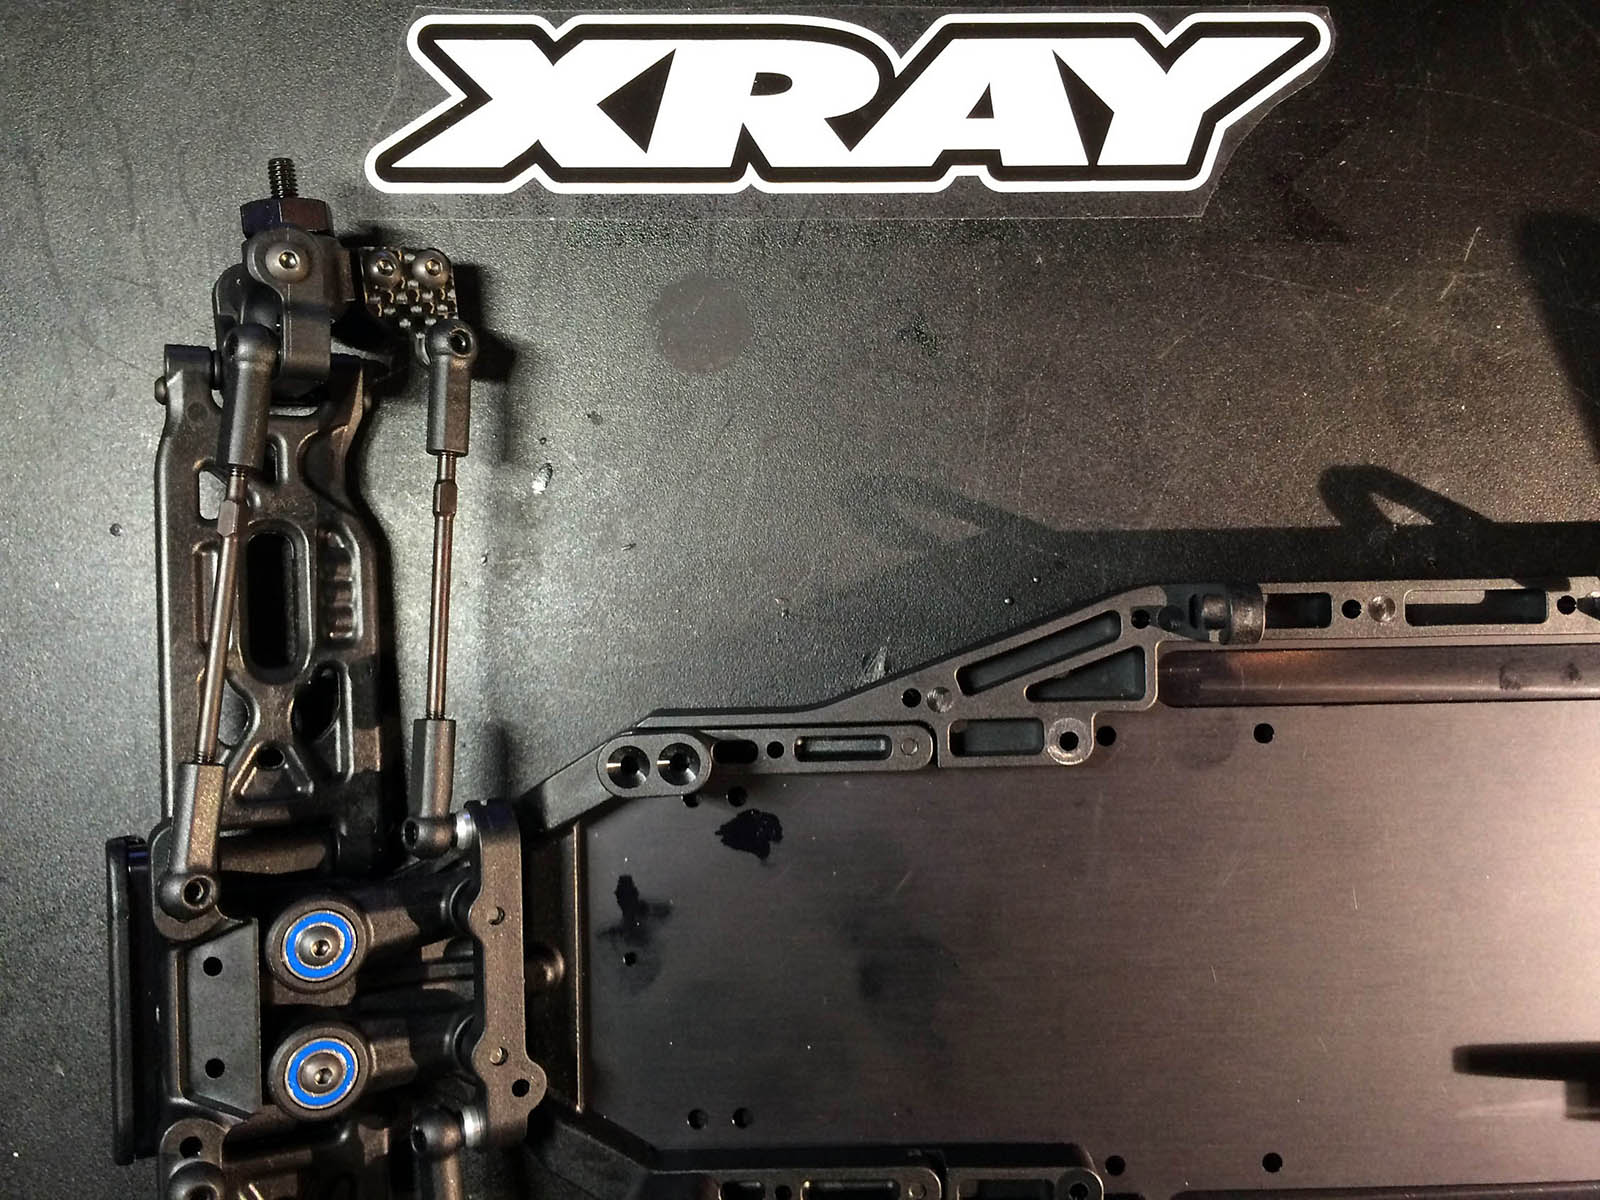
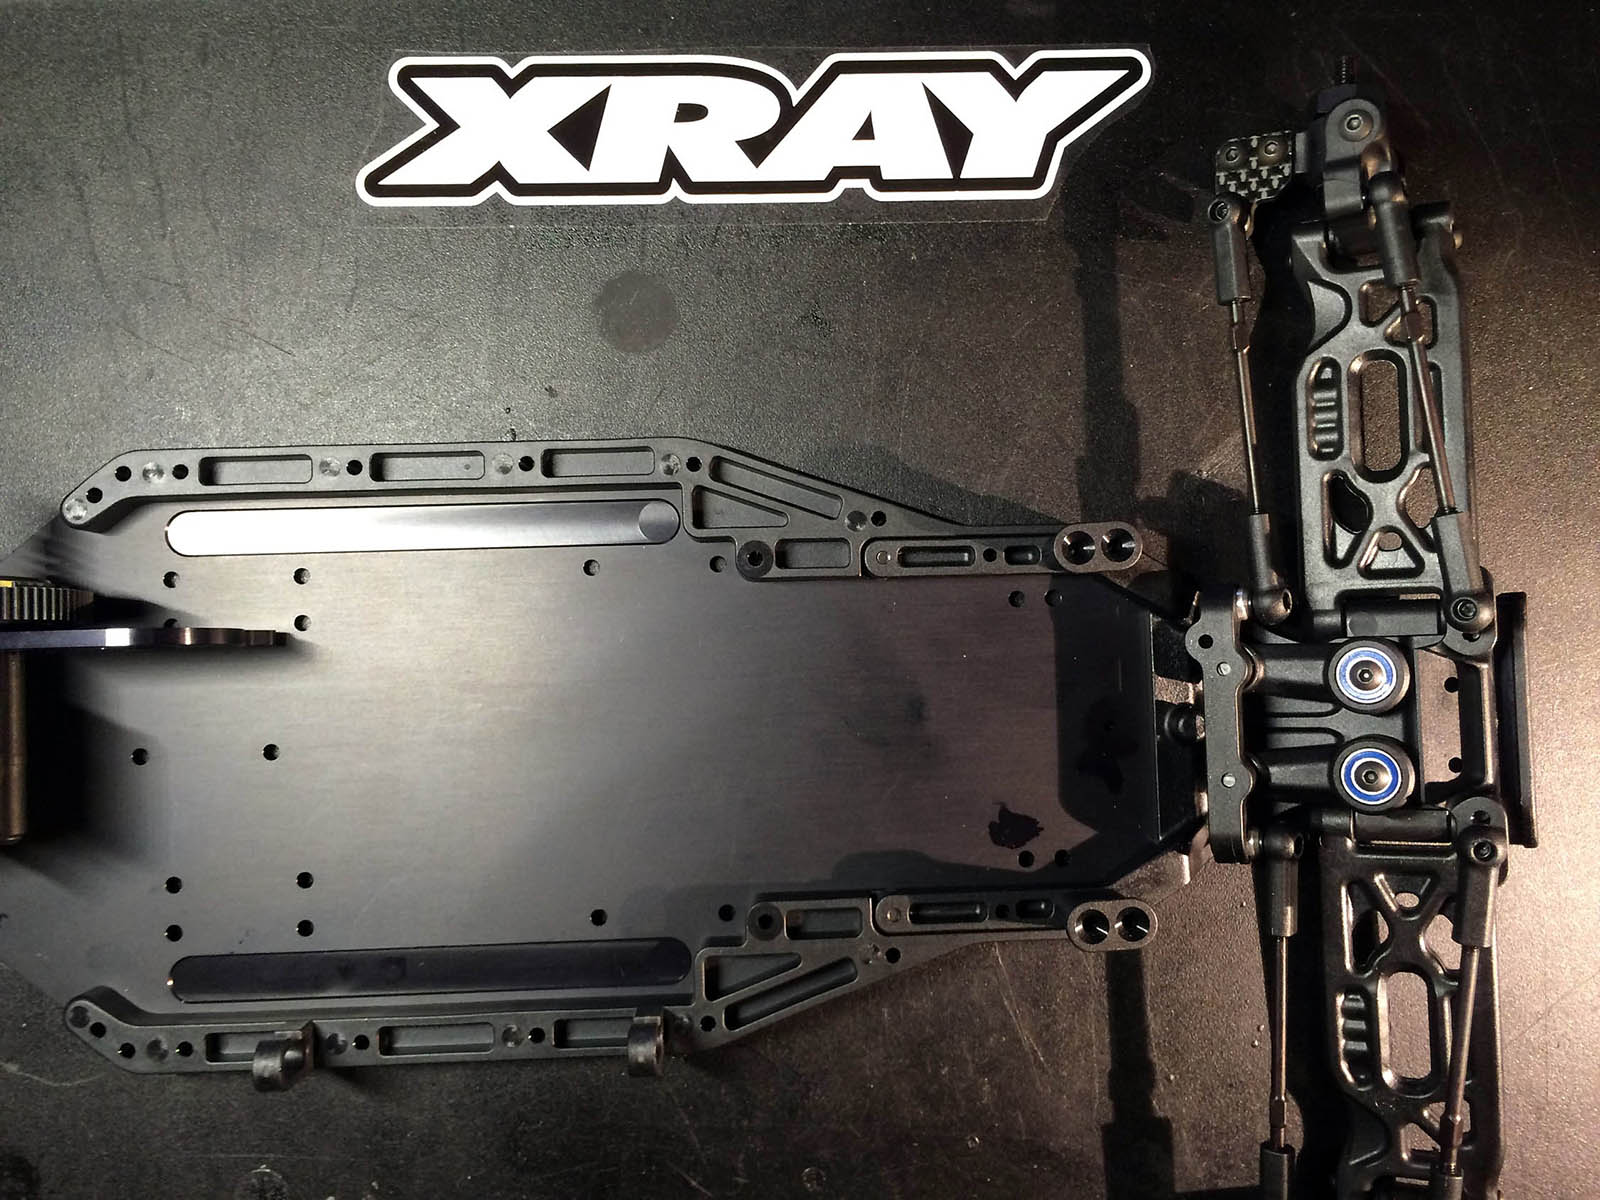
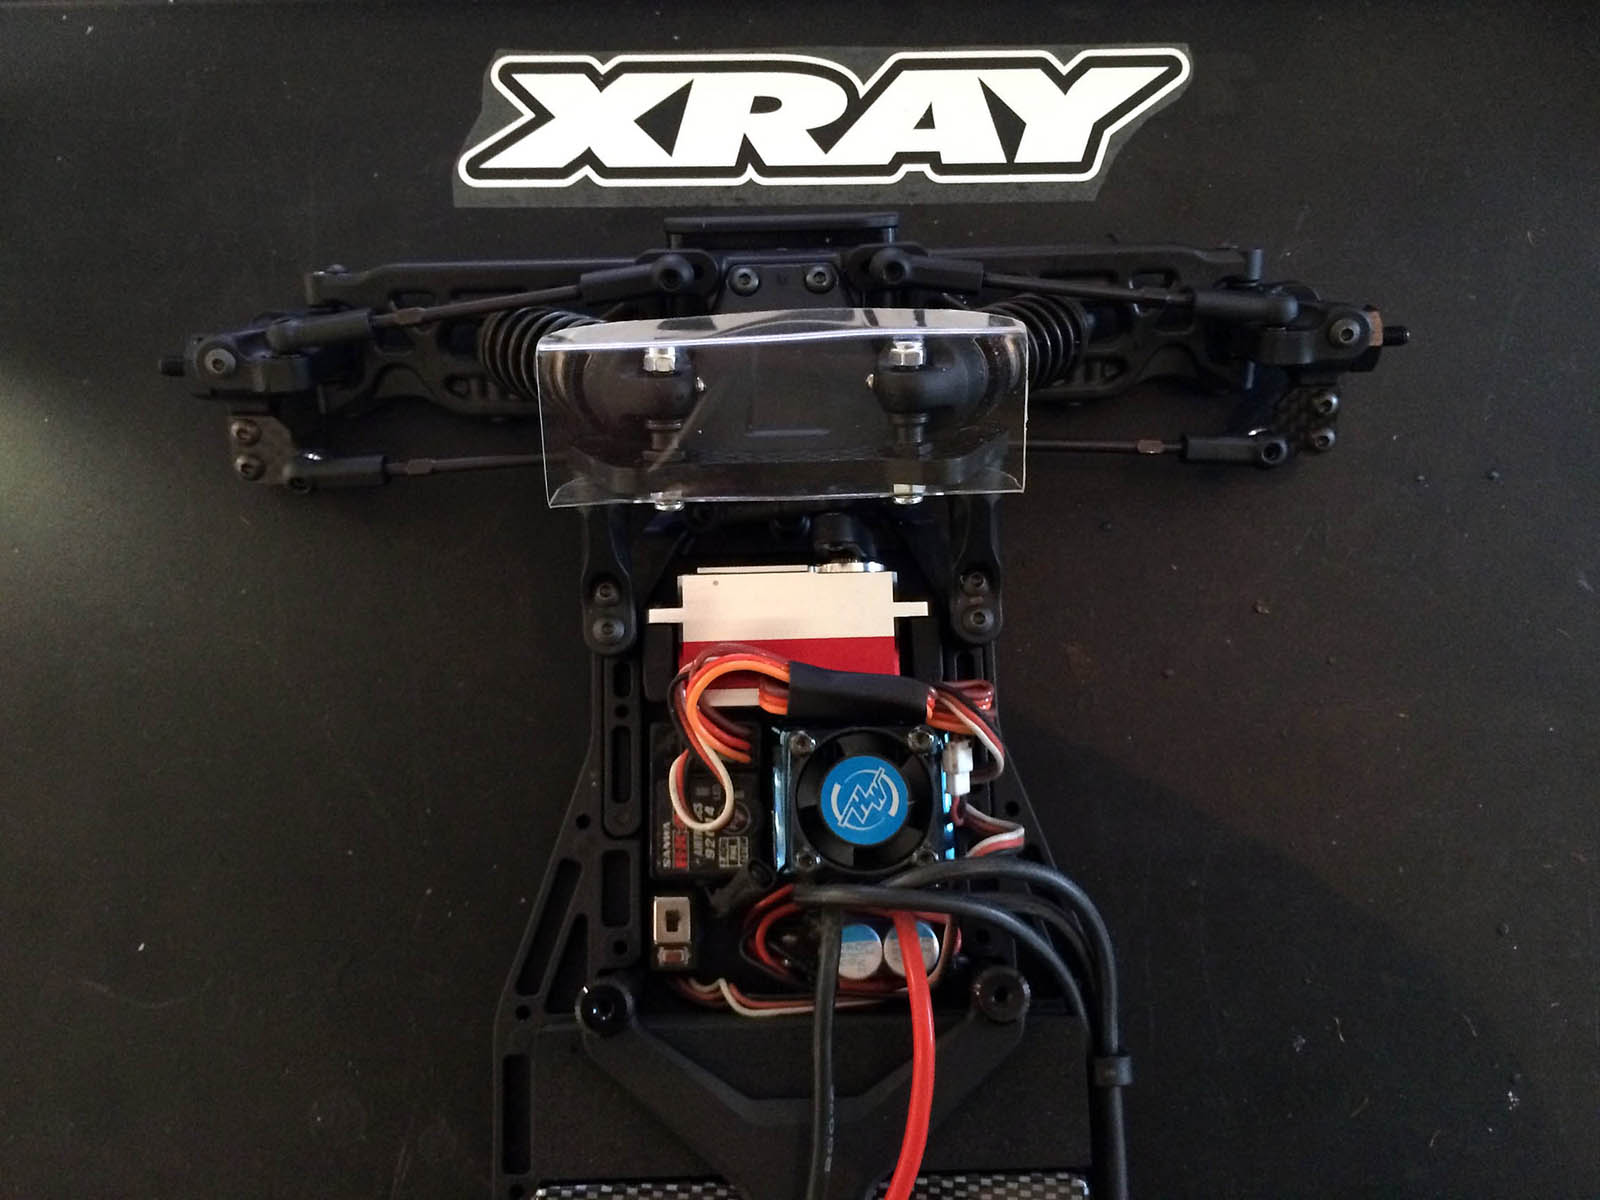
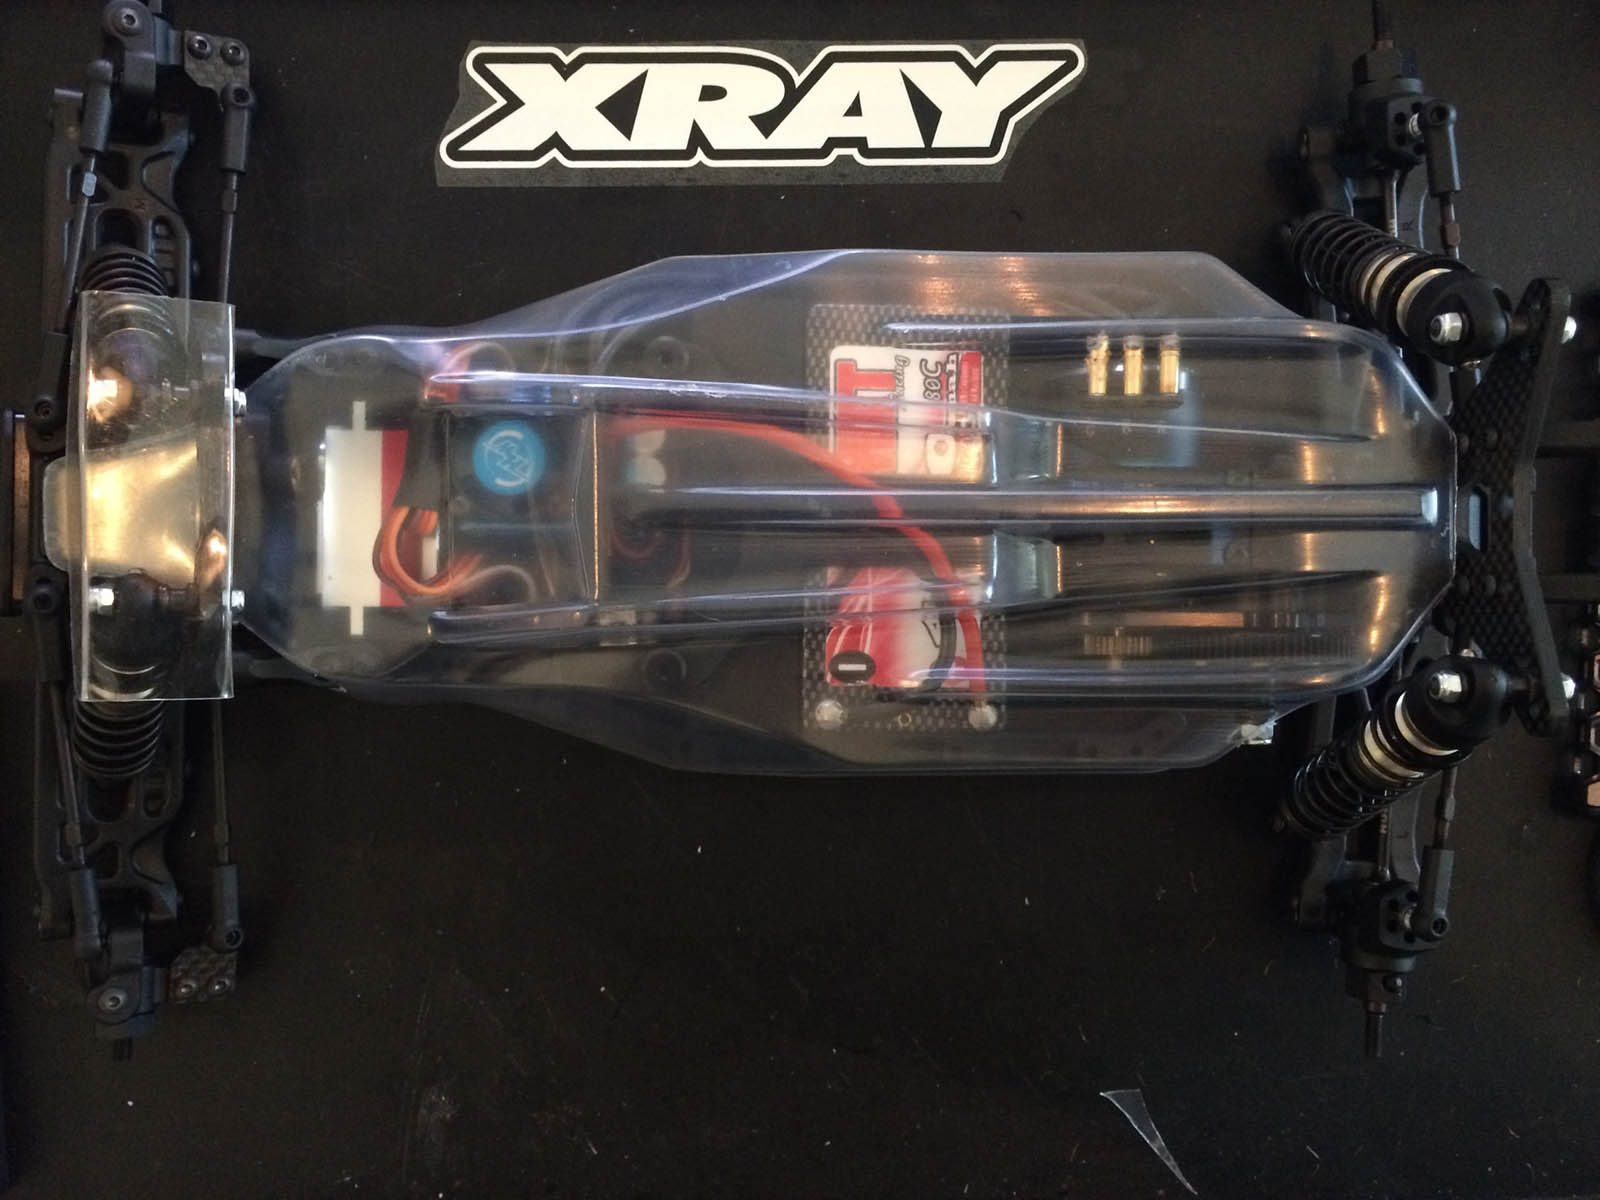
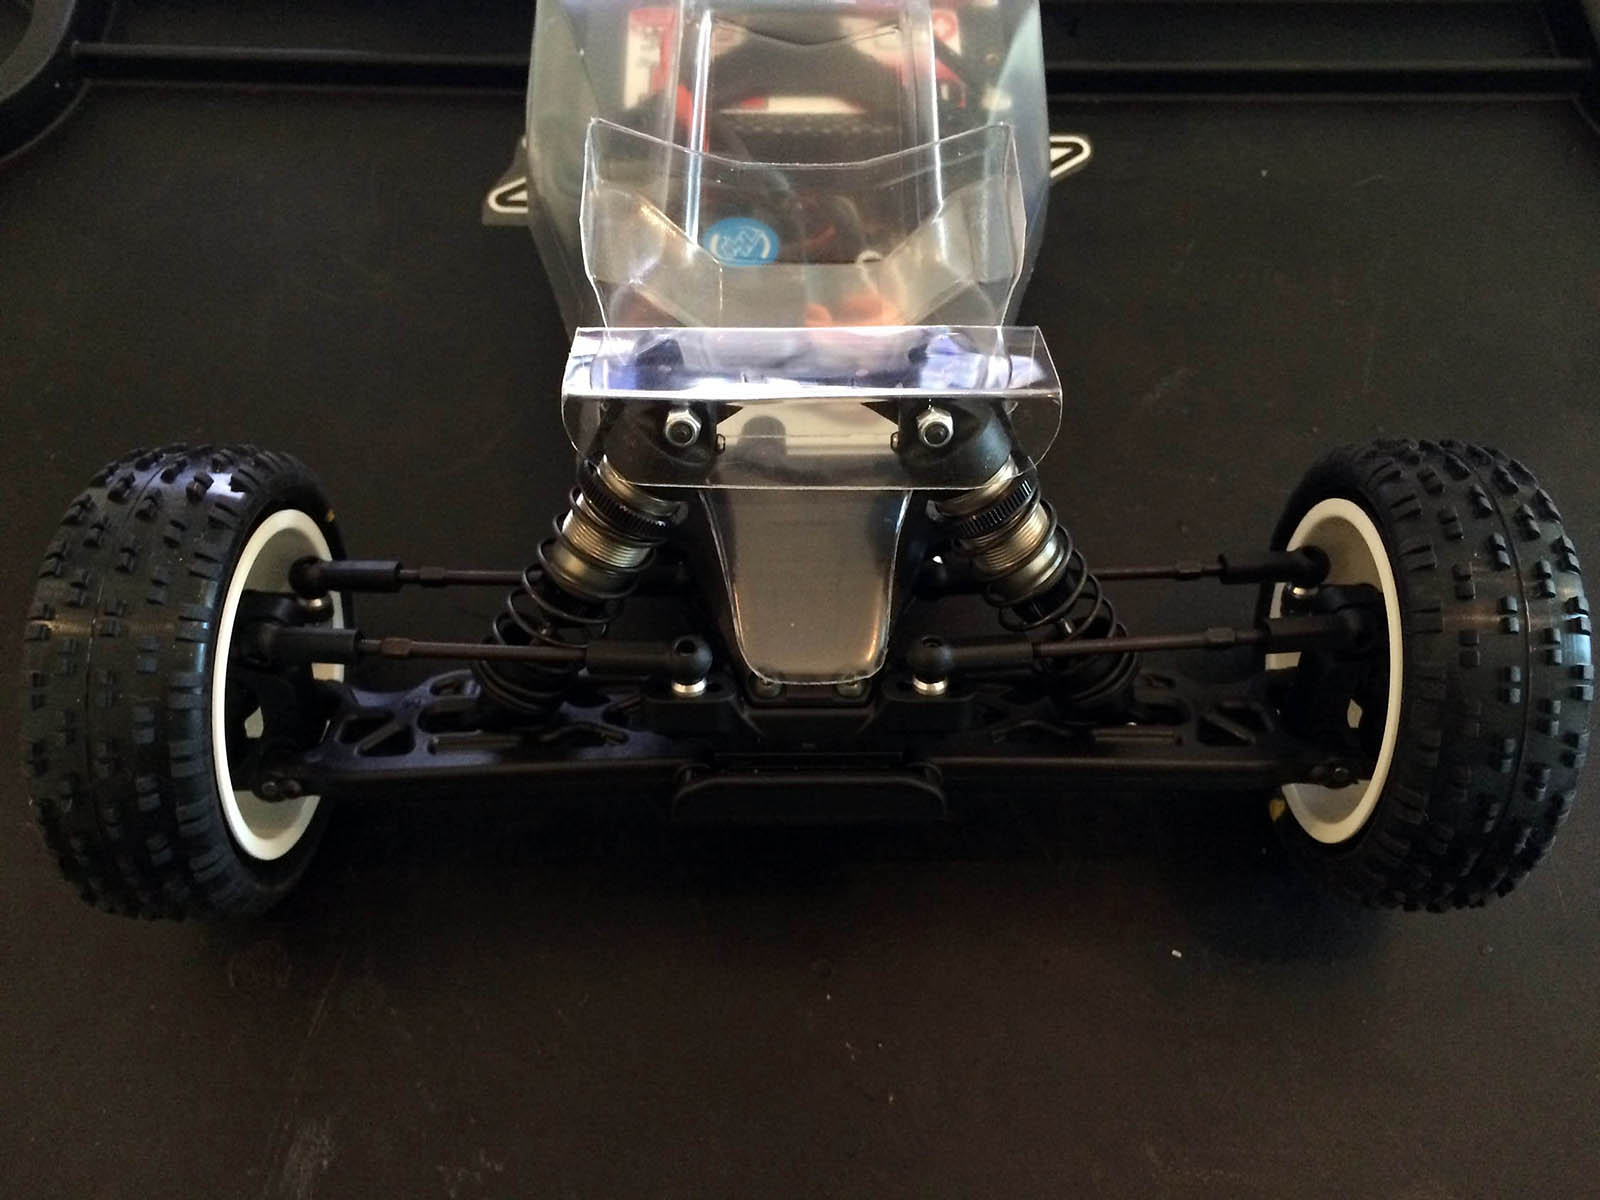
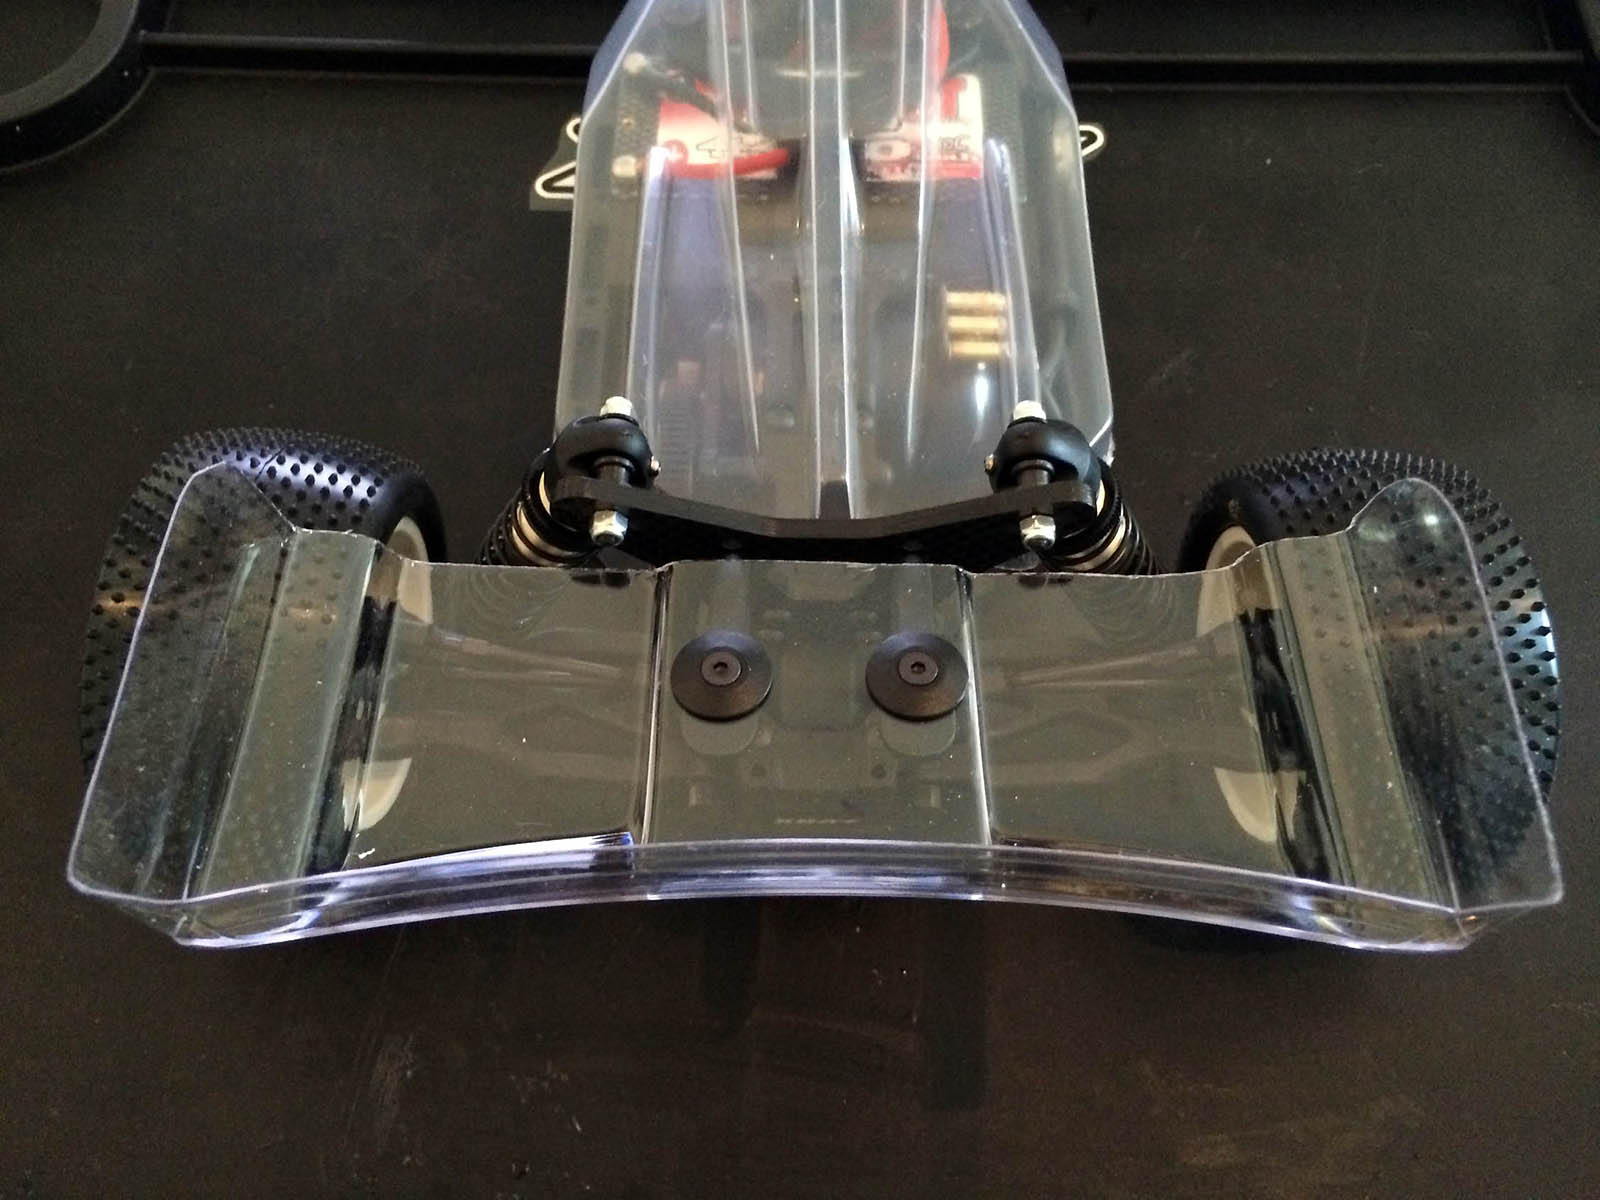
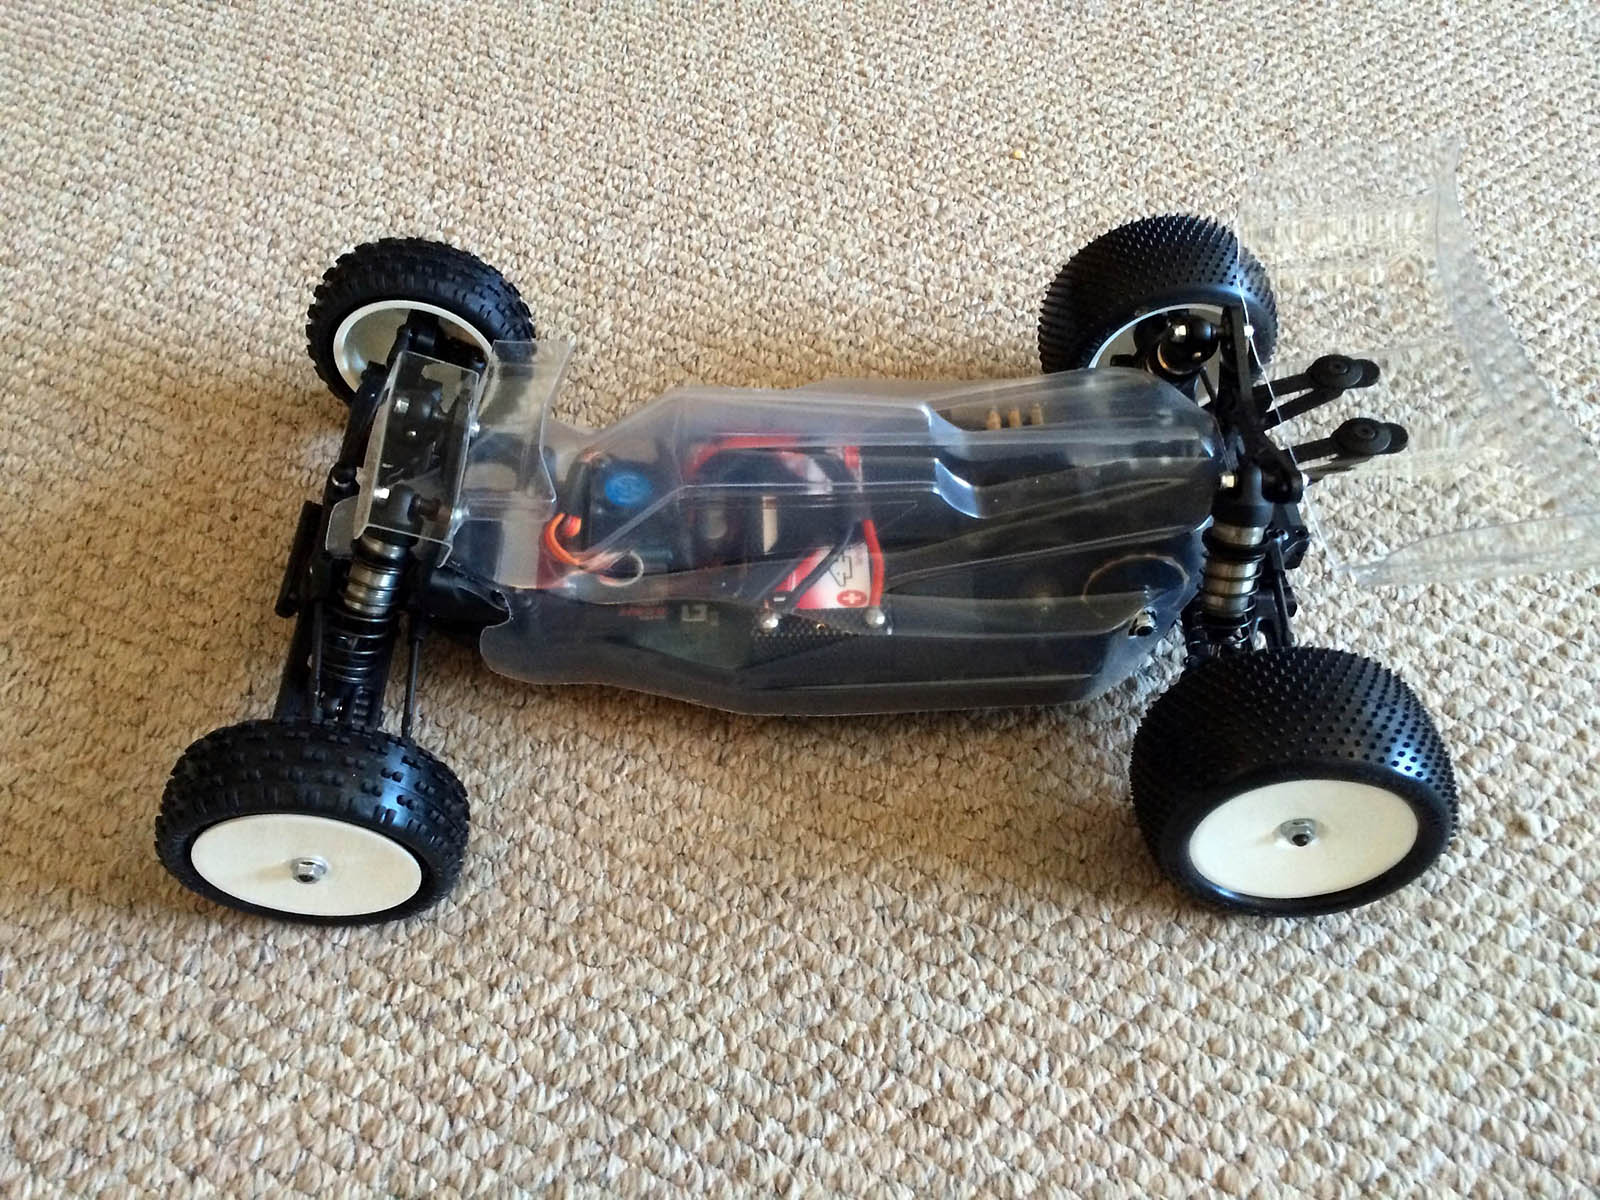
My intention was to build the XB2 as stock as I could and run the first test using the stock setup so everything was according to the manual.
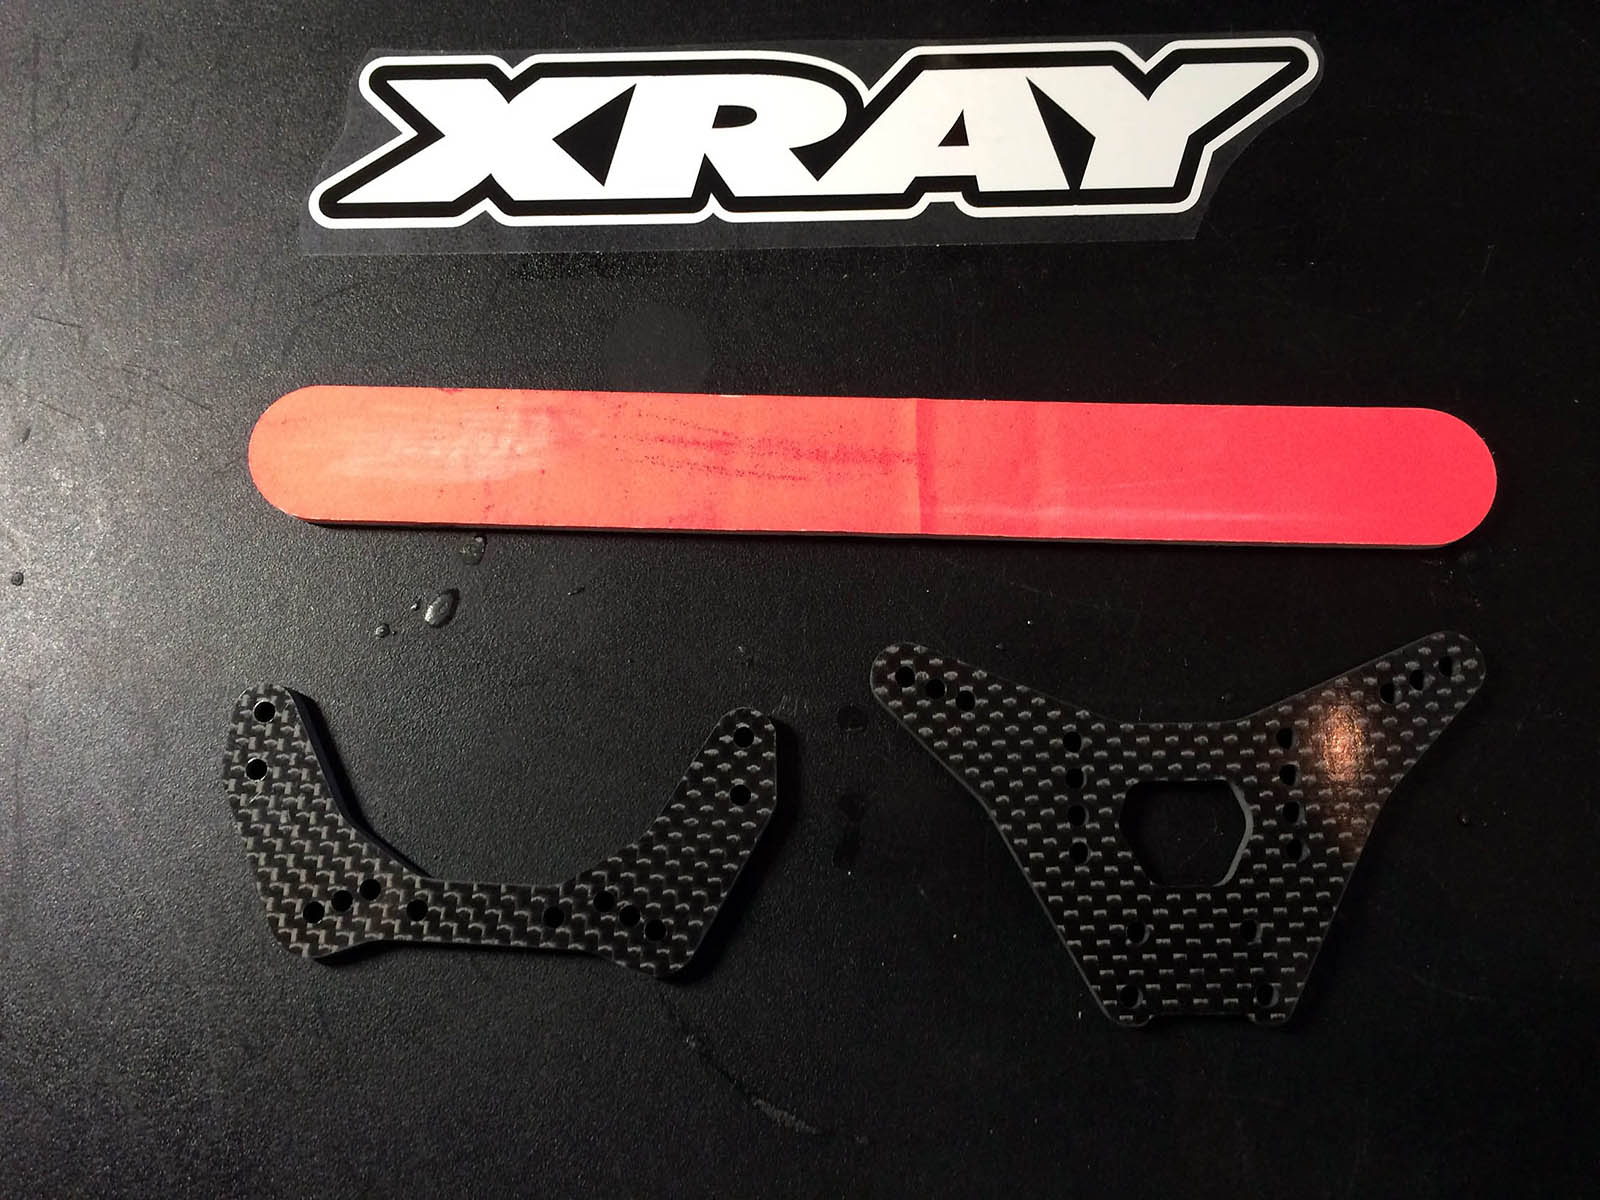
I have shown a few tips I learned along the way below. A consideration for anybody building this car is to make sure you have all tools and other needed in the lists above before you start as the first thing is to sandpaper the 2 shock towers and use a thin super-glue (CA glue) to seal the edges and stop them splitting.
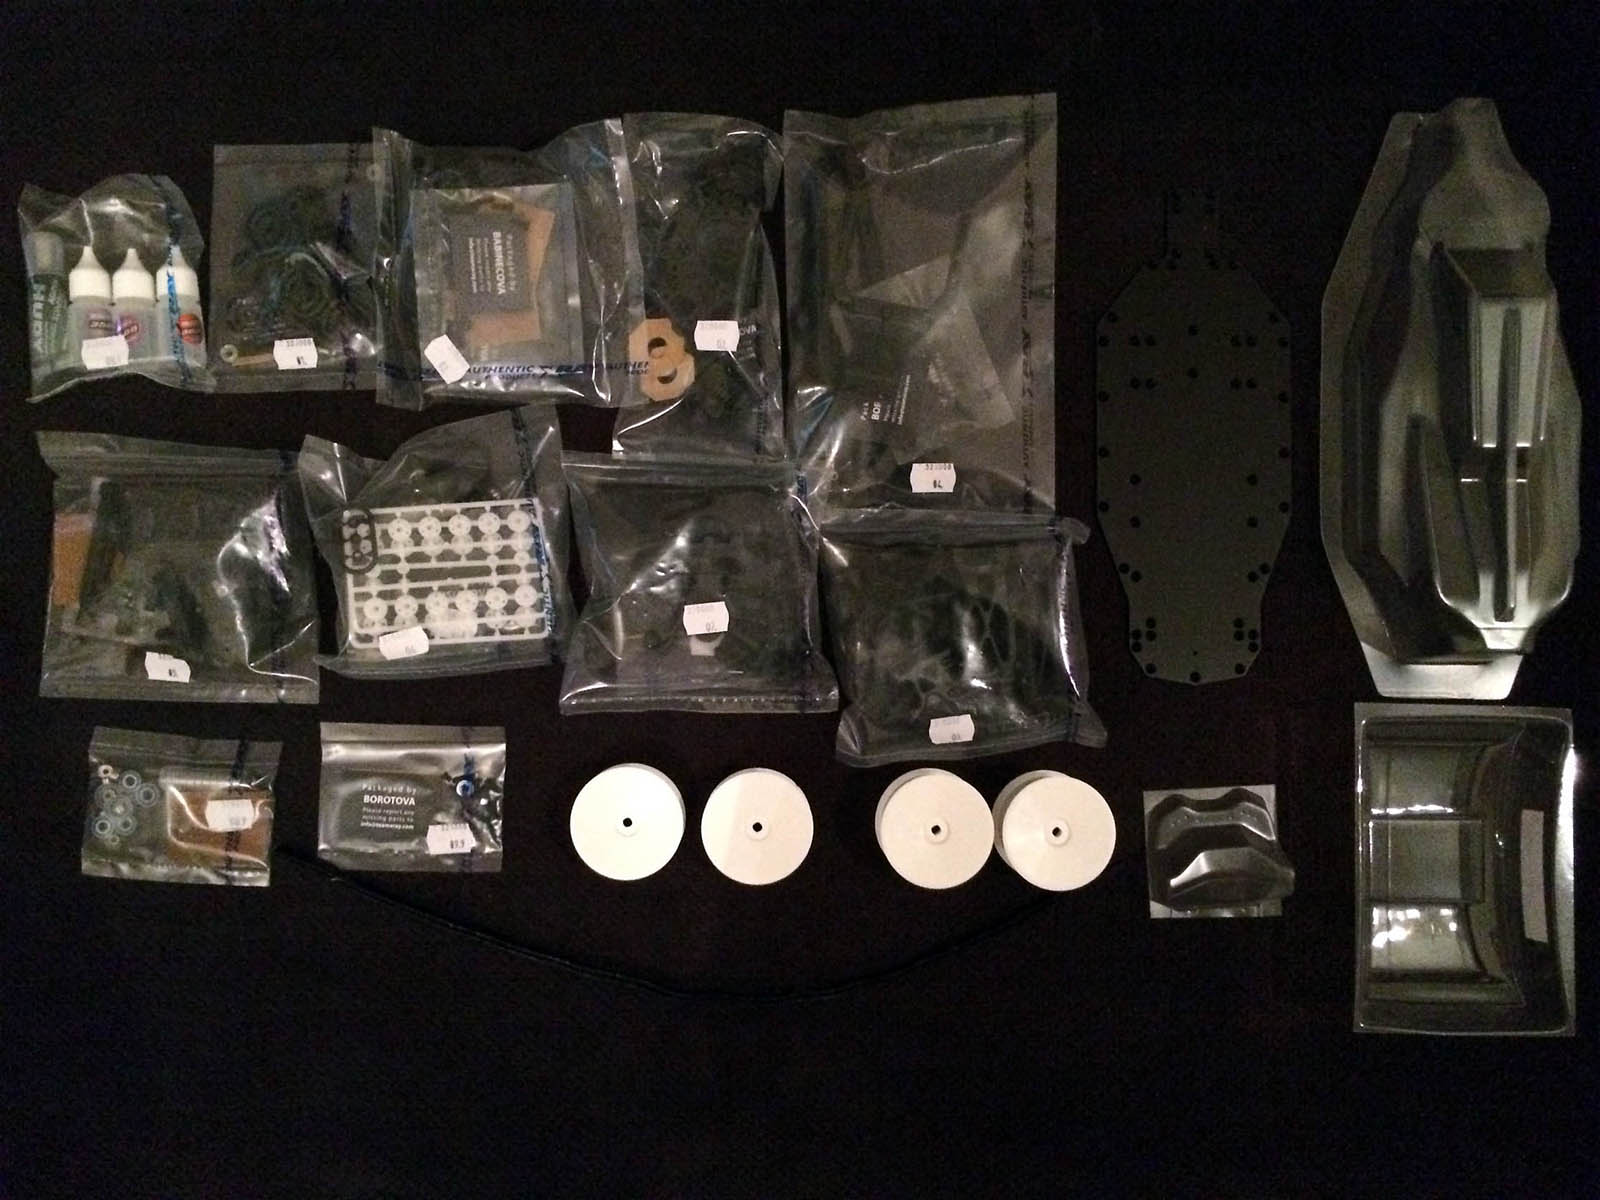
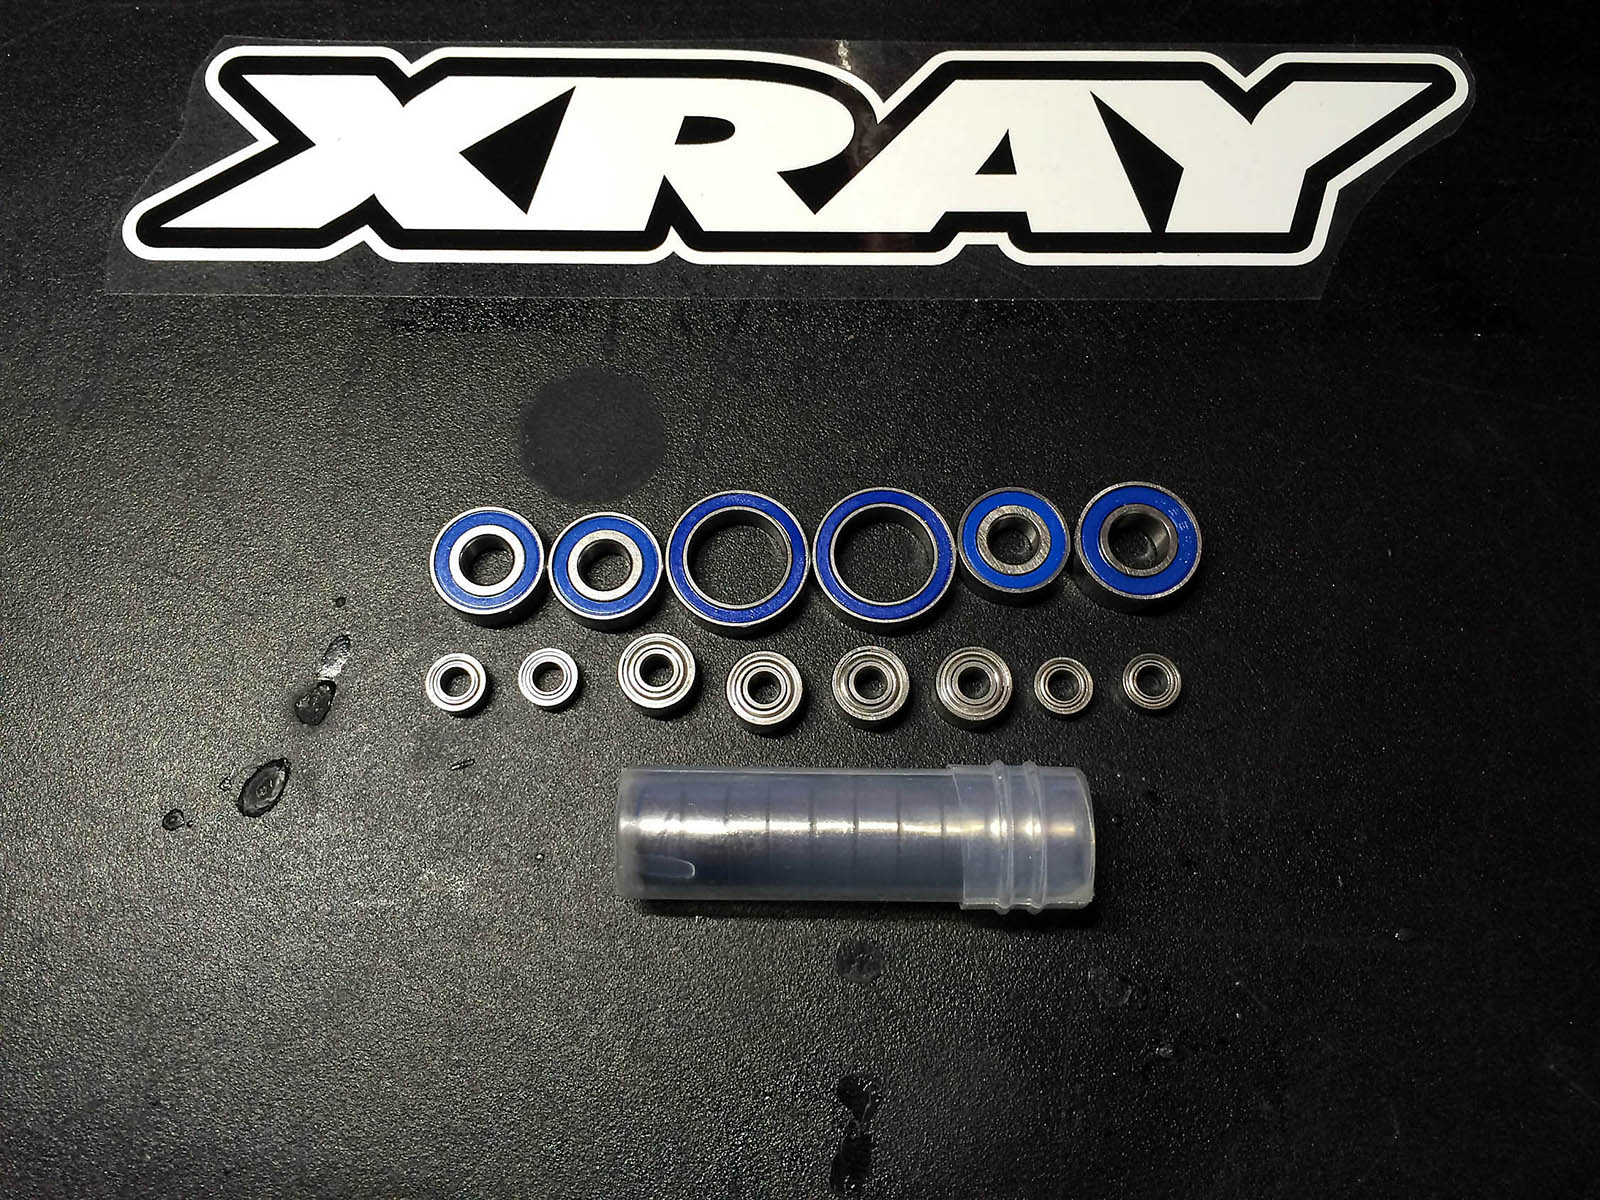
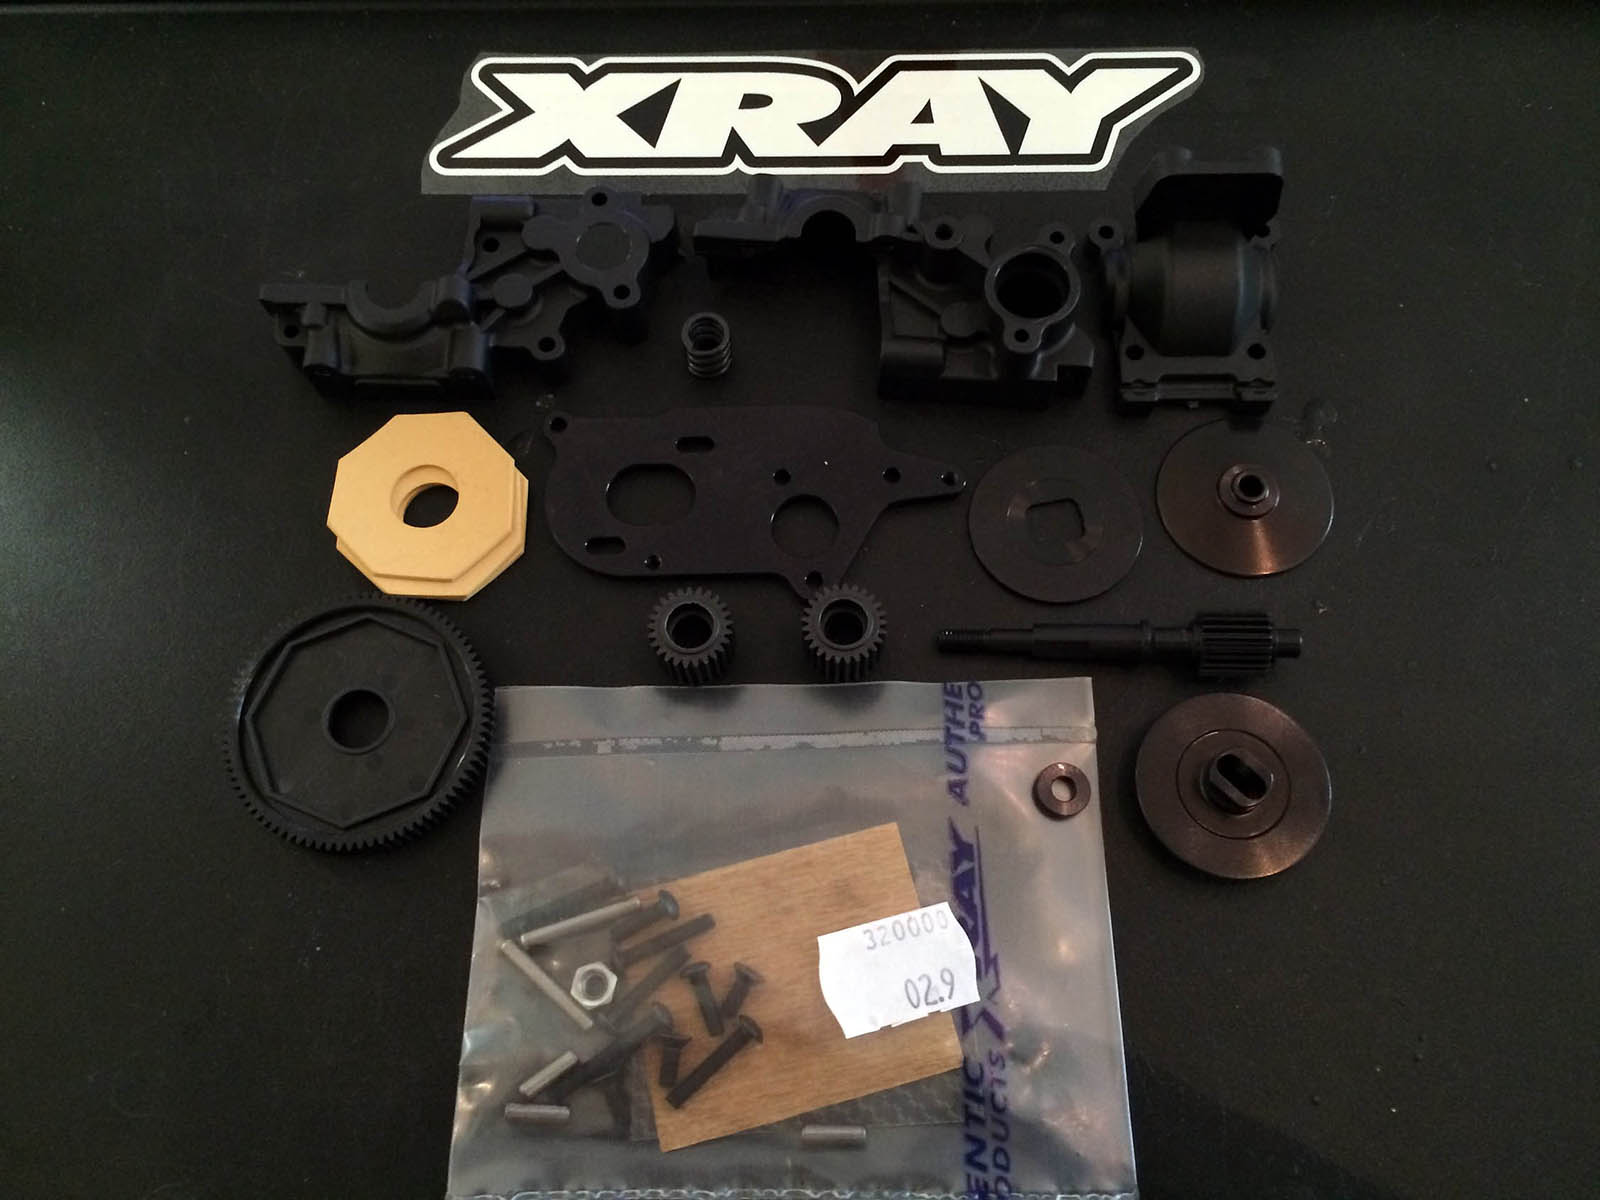
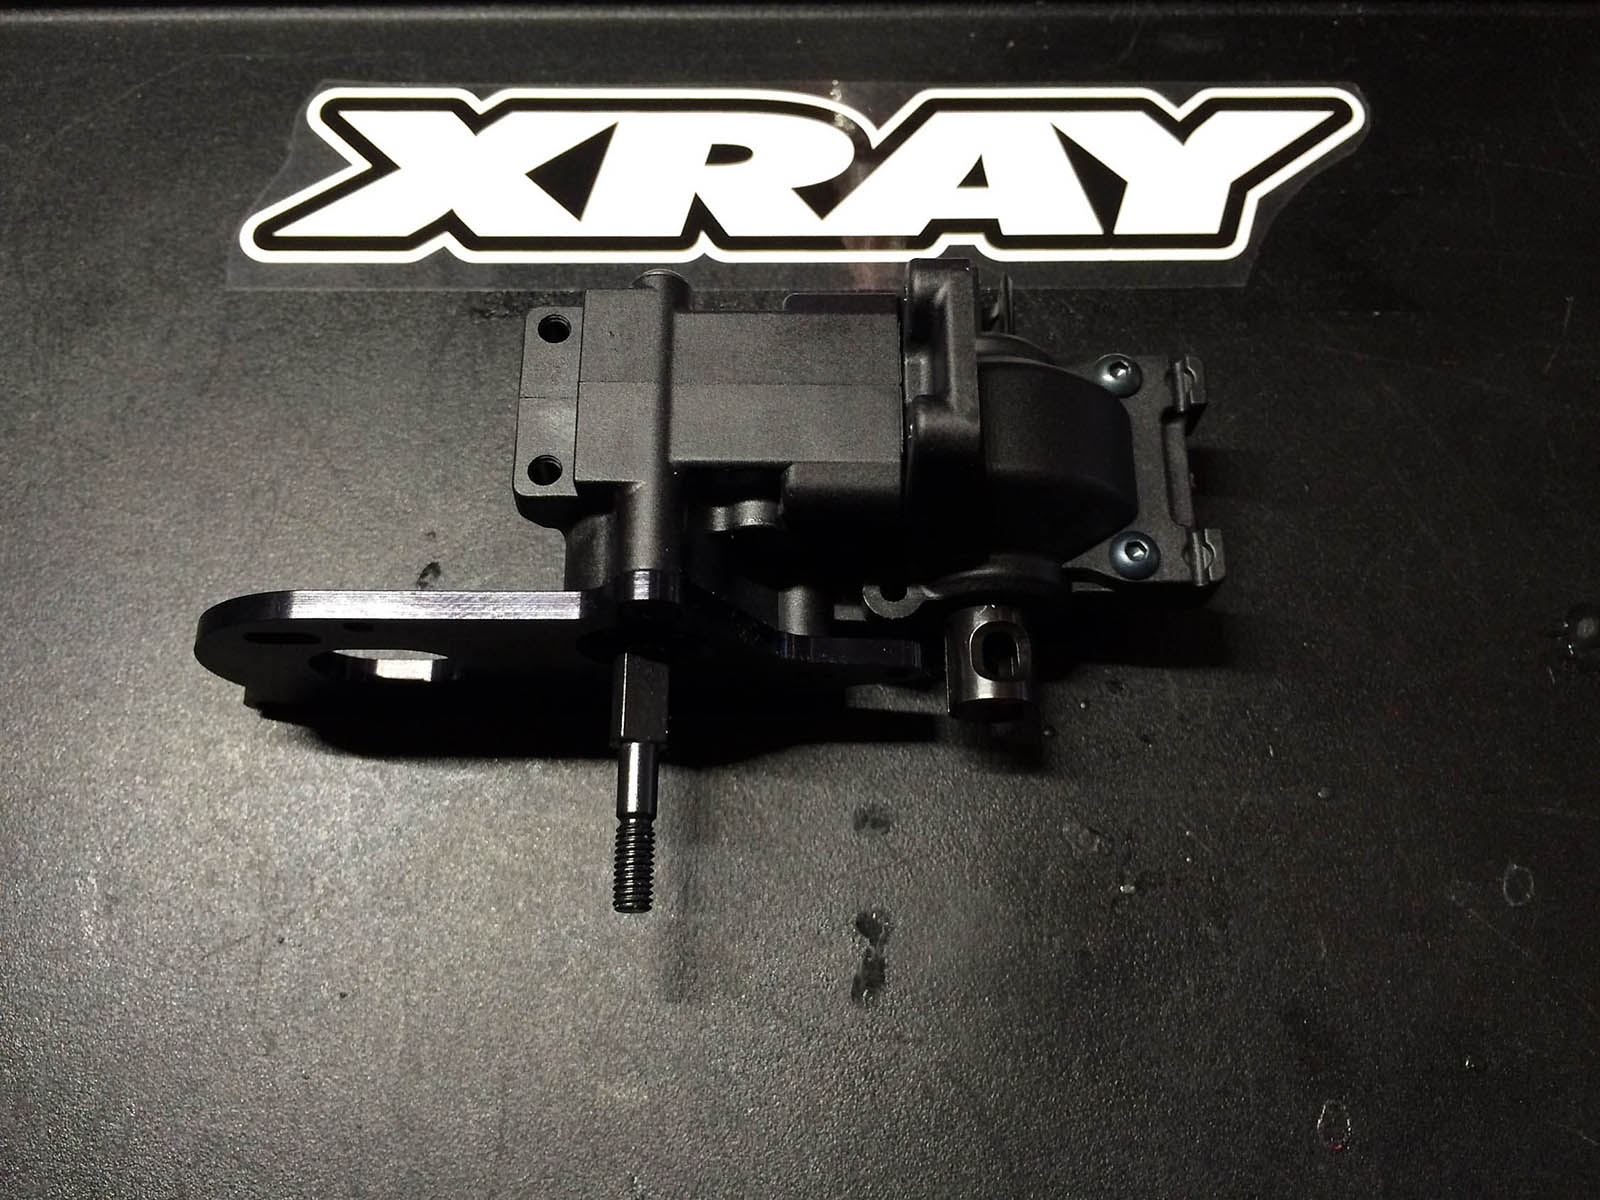
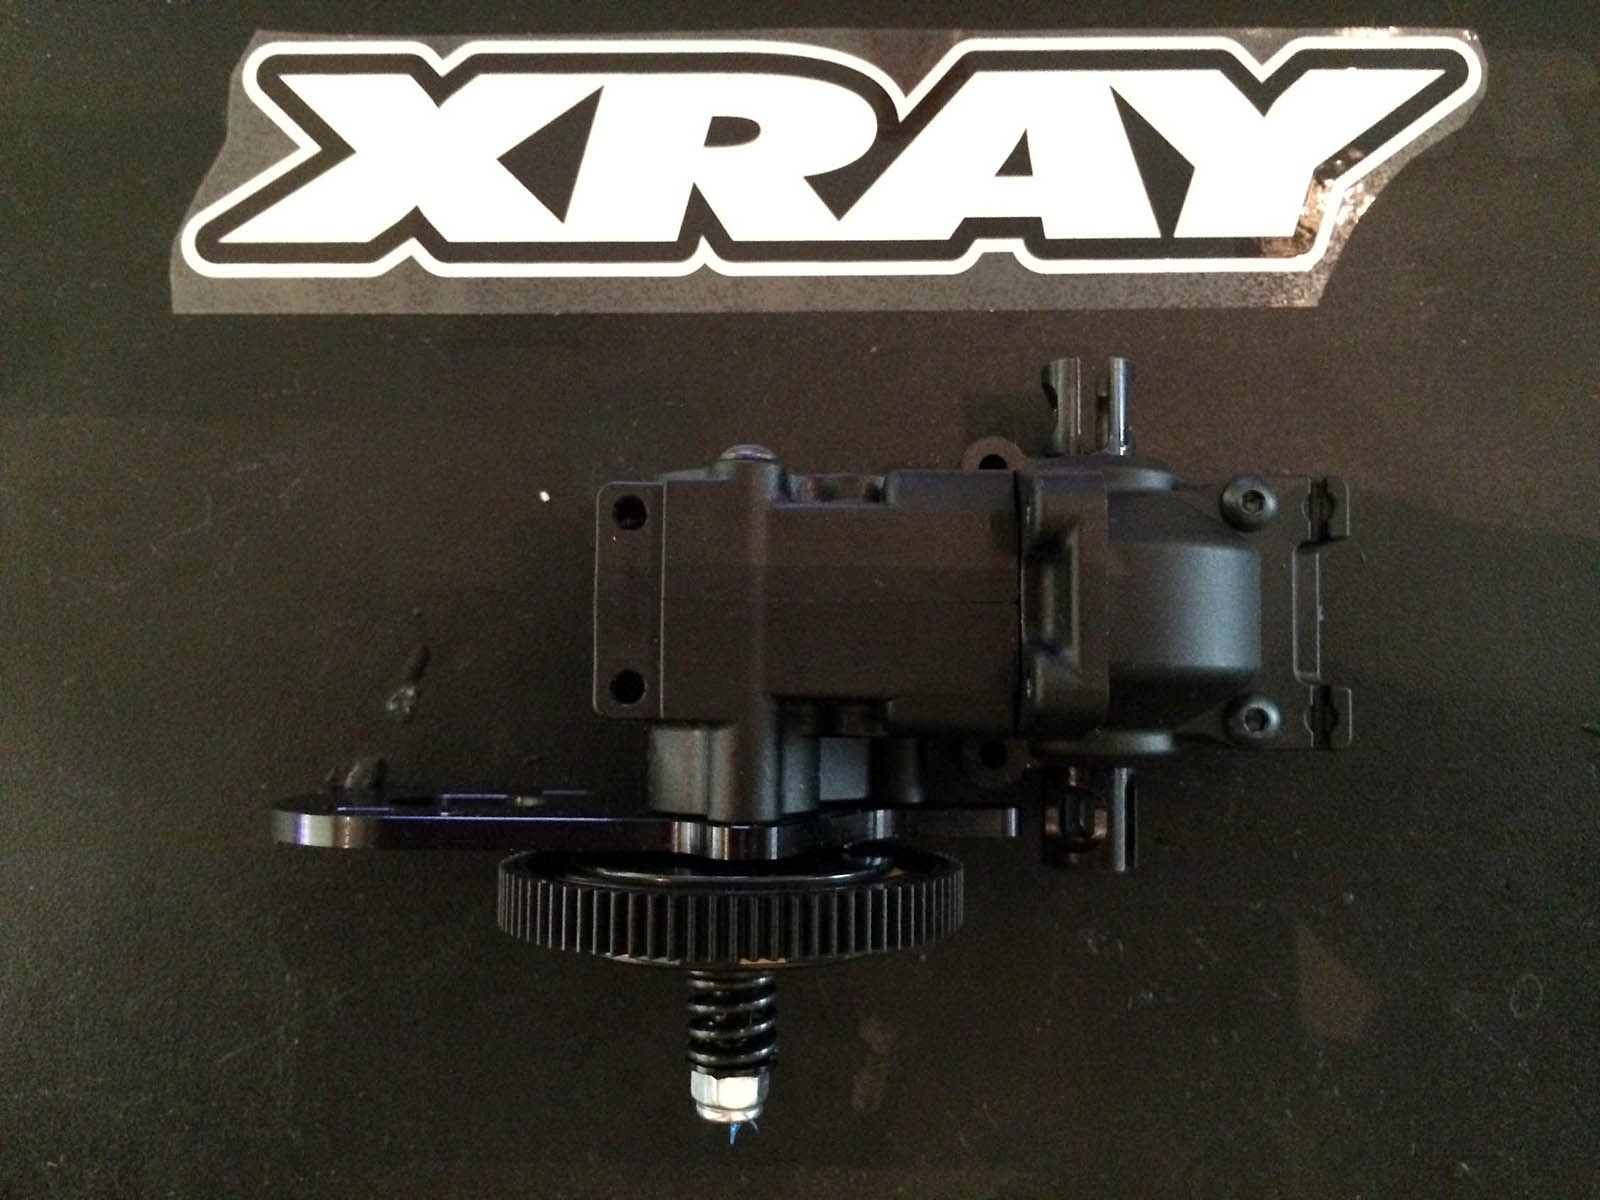
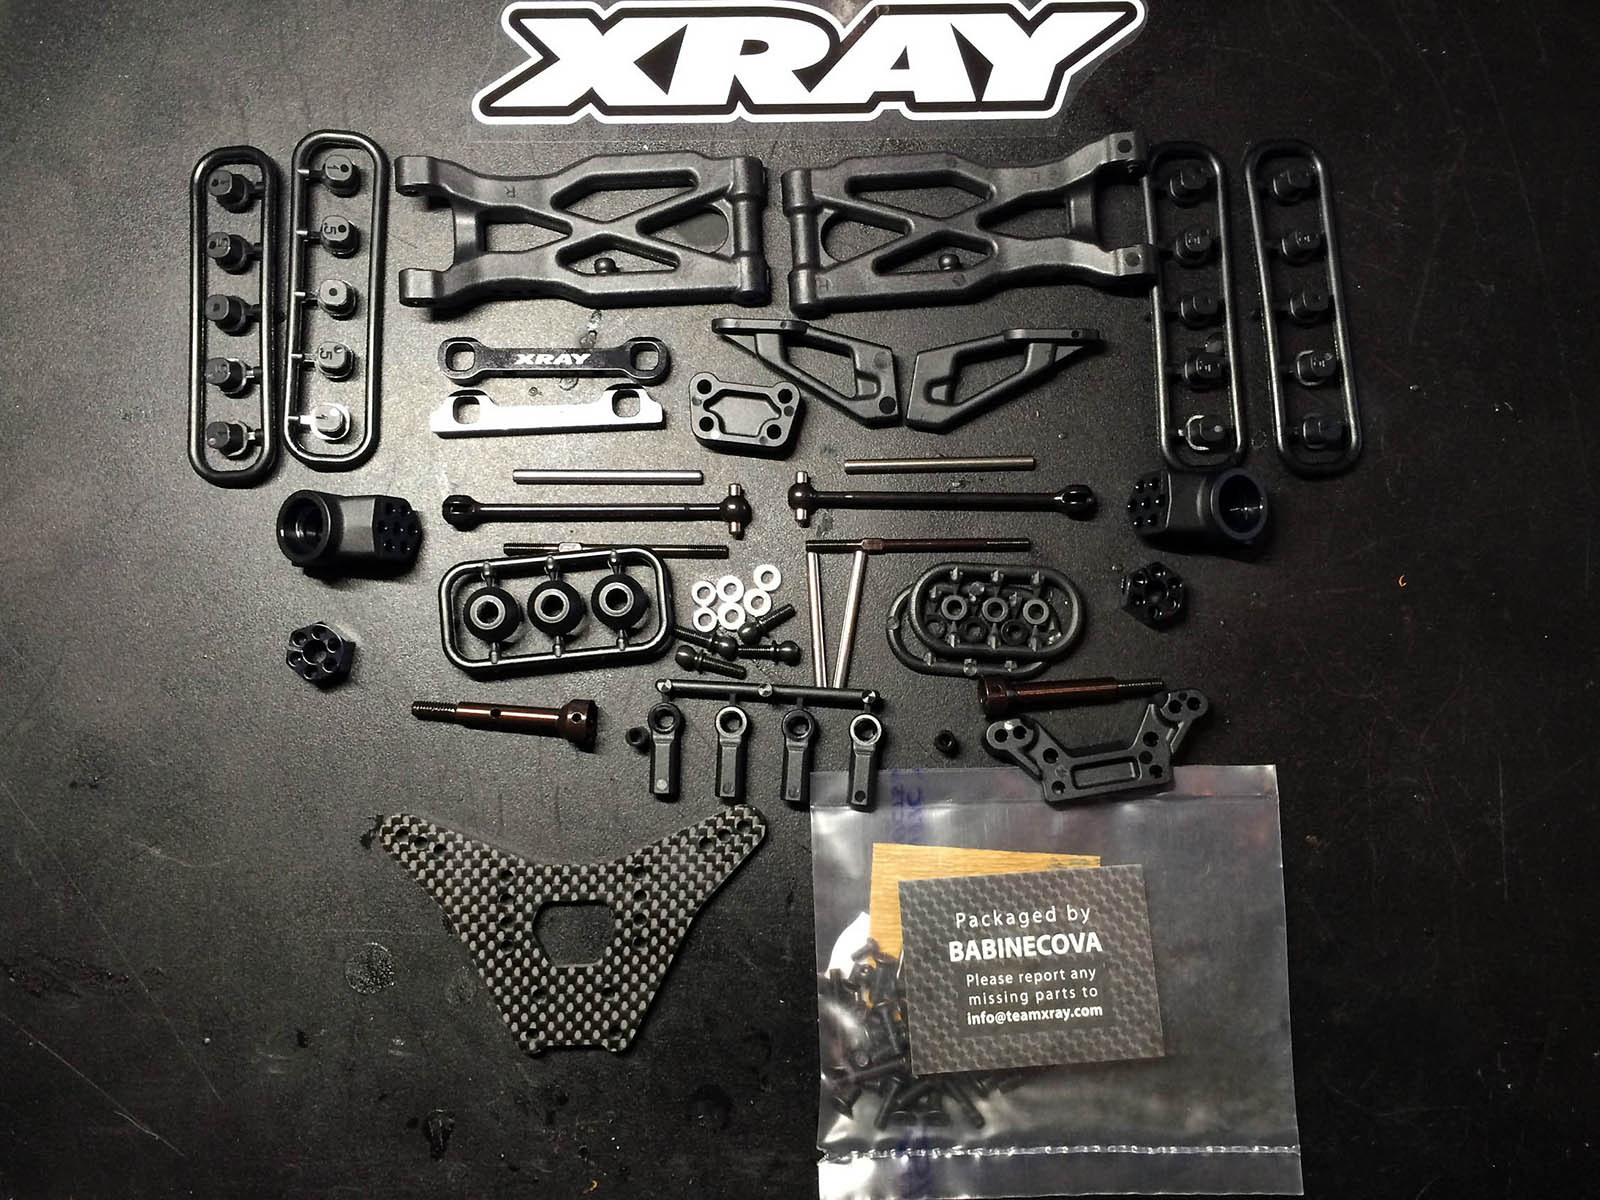
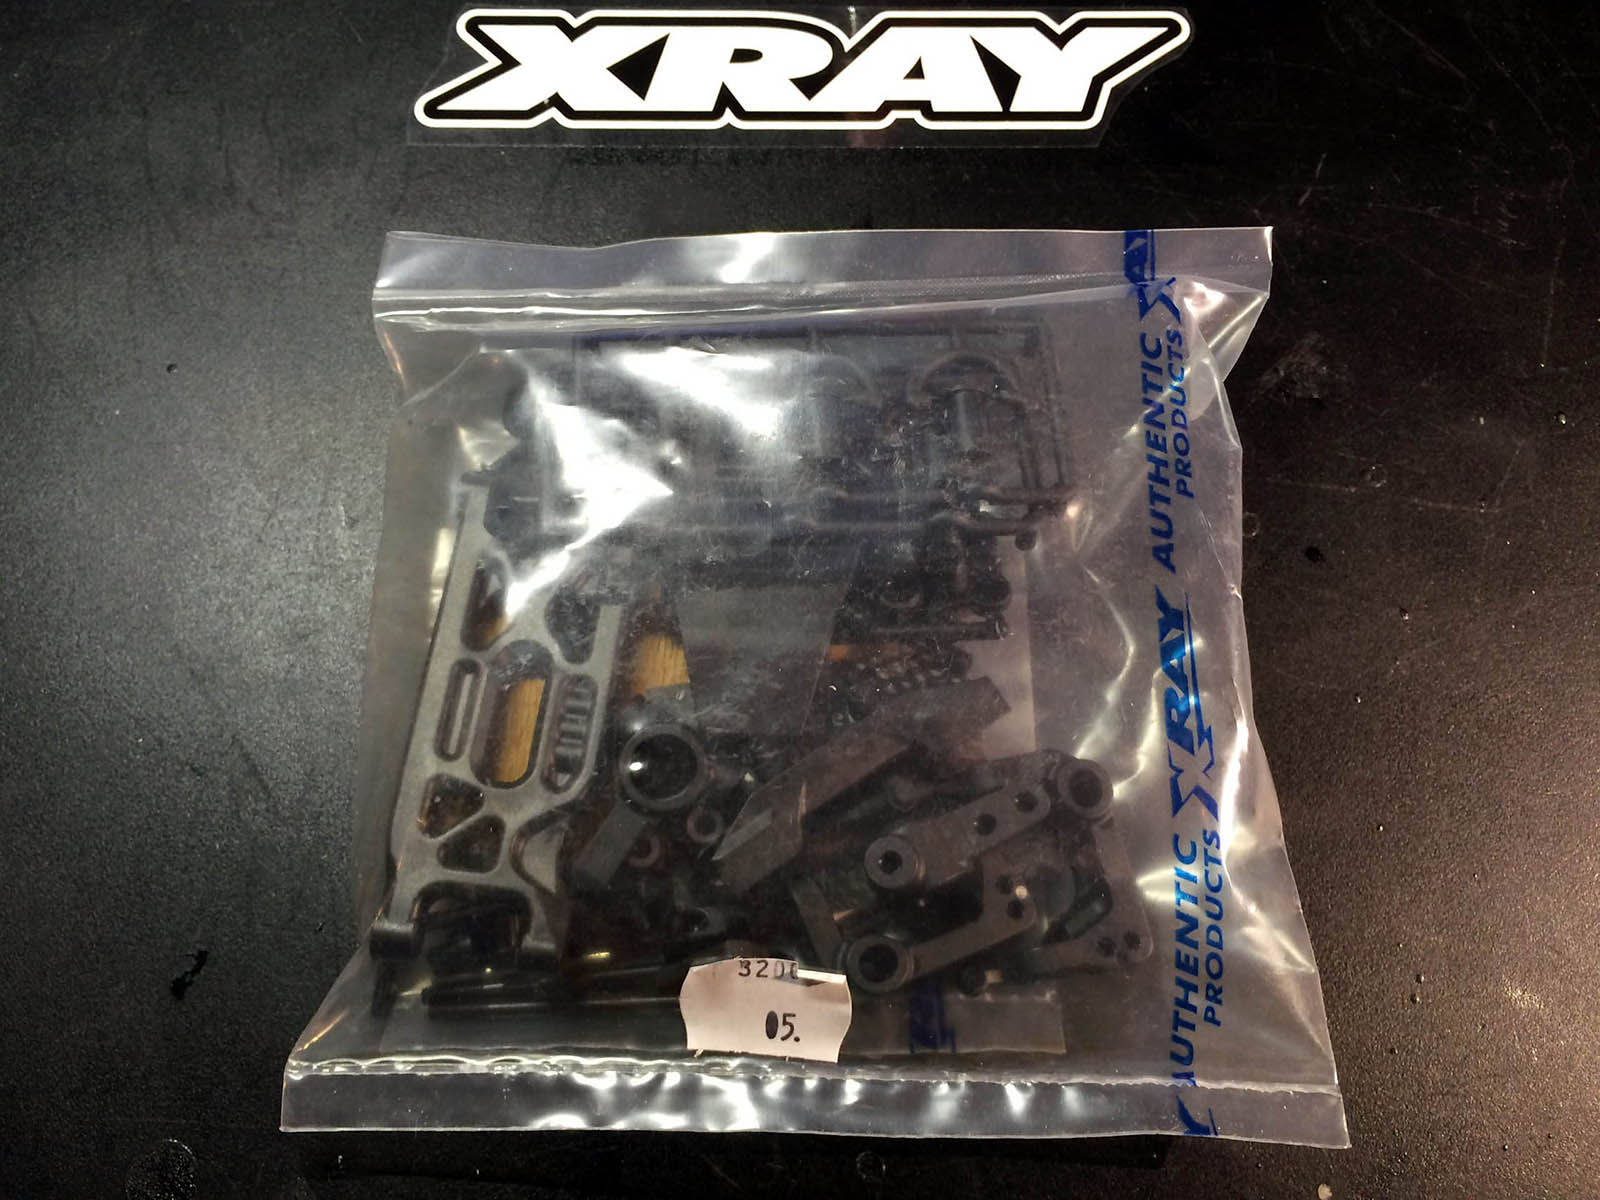
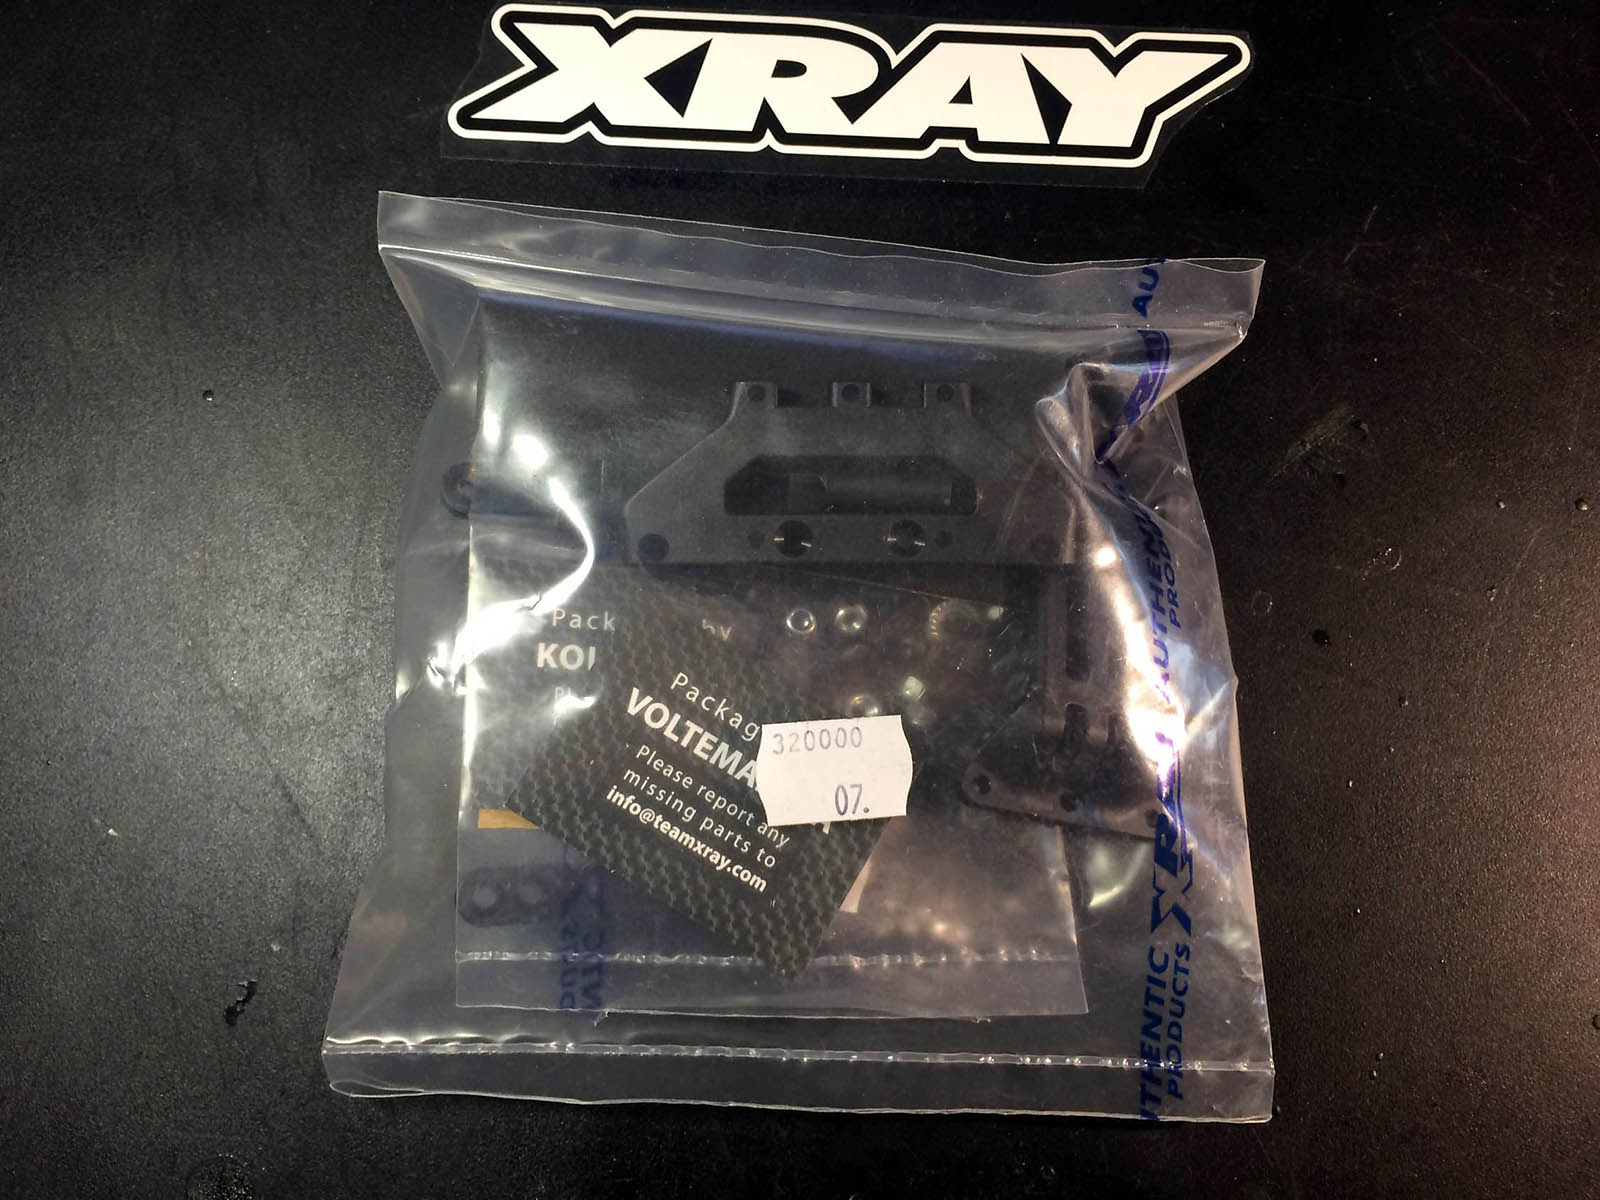
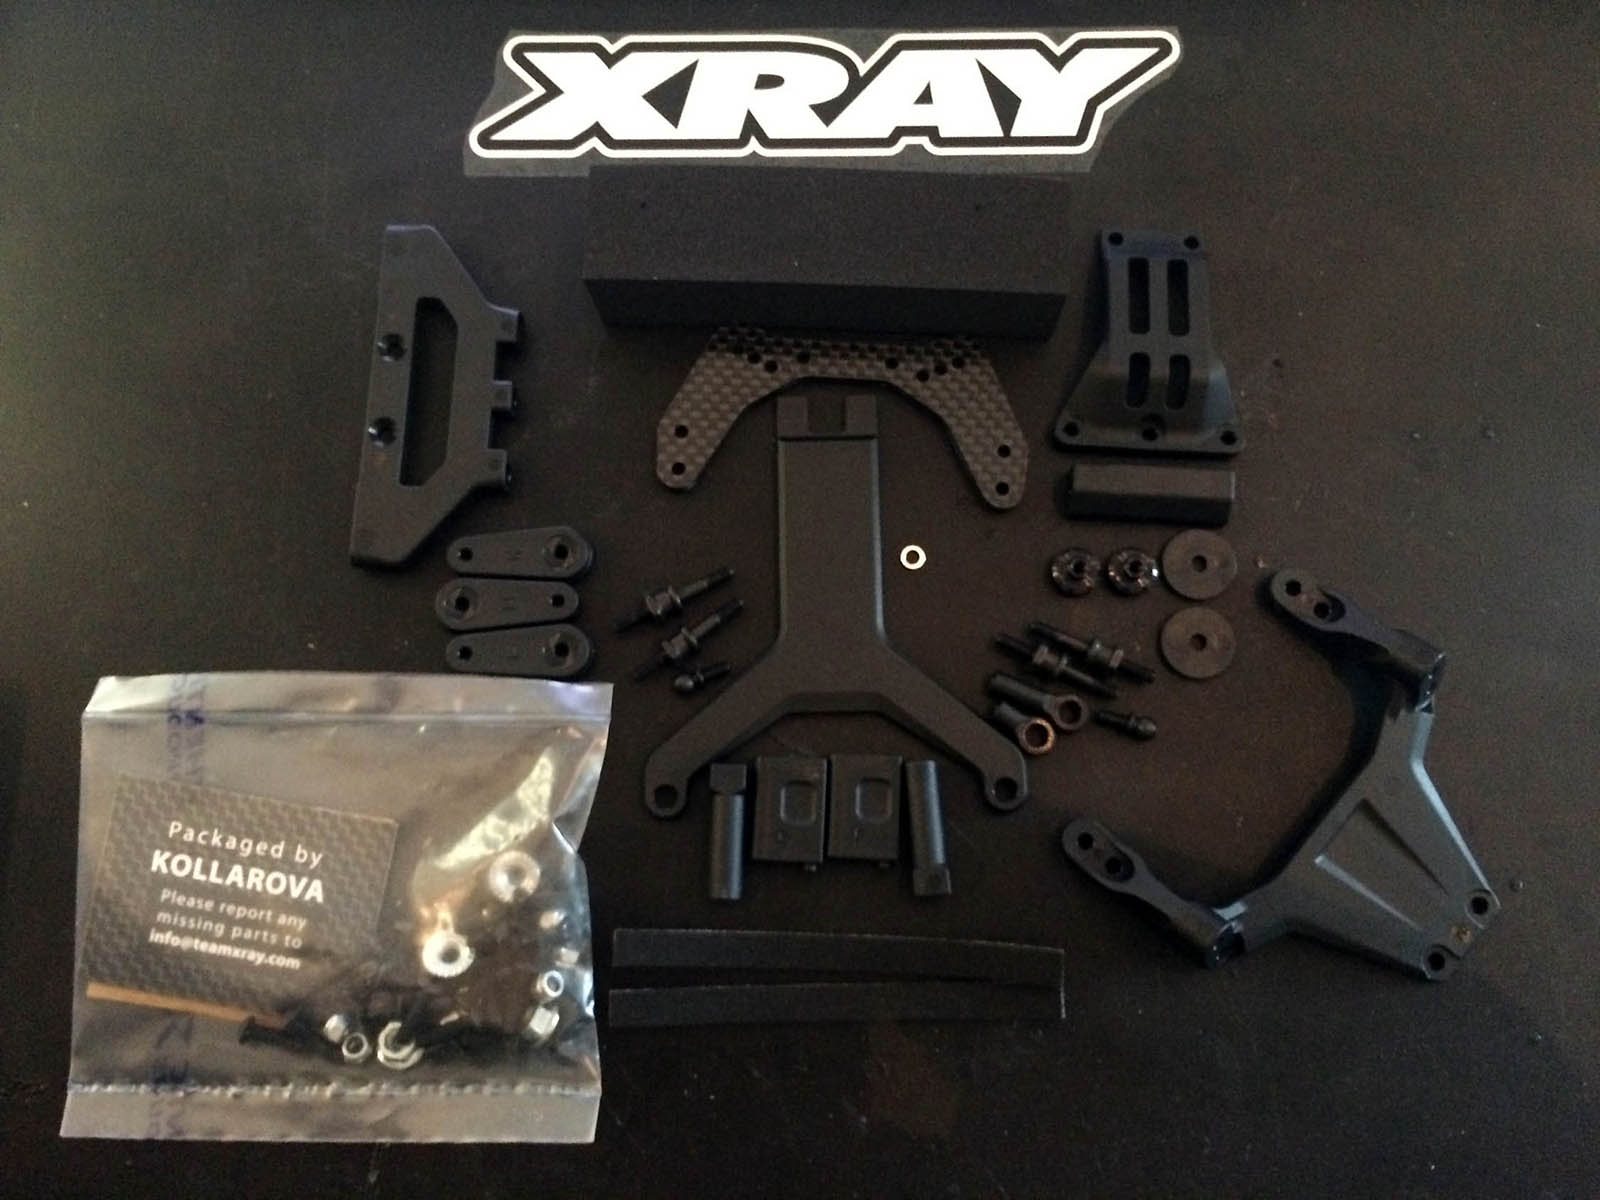
The build was very easy and the manual was very detailed, I love the list of parts in each bag before you then follow the instructions, it helps to identify the parts are all there and for later you can use as reference to order spares.
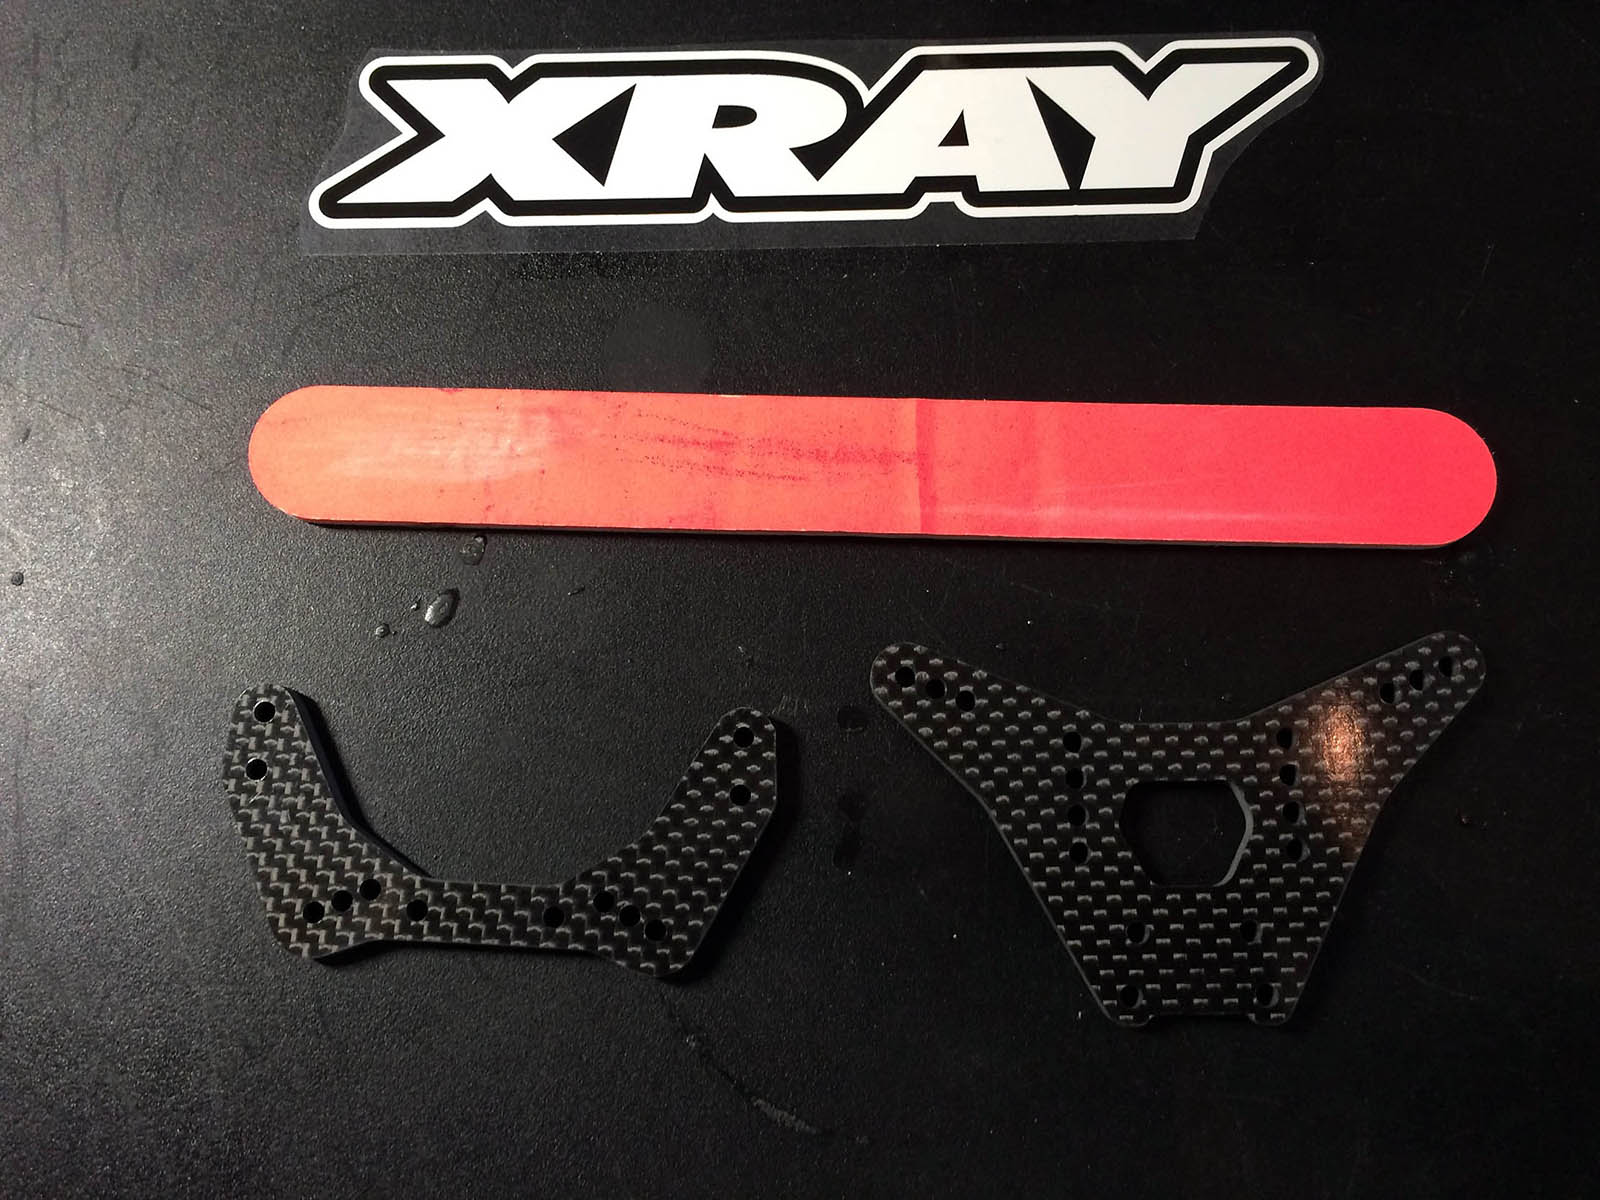
Tip 1: I always use a cardboard nail file like the orange one in the picture above to rub down the carbon and also to take those burrs of plastics, cheap and very good as very fine.
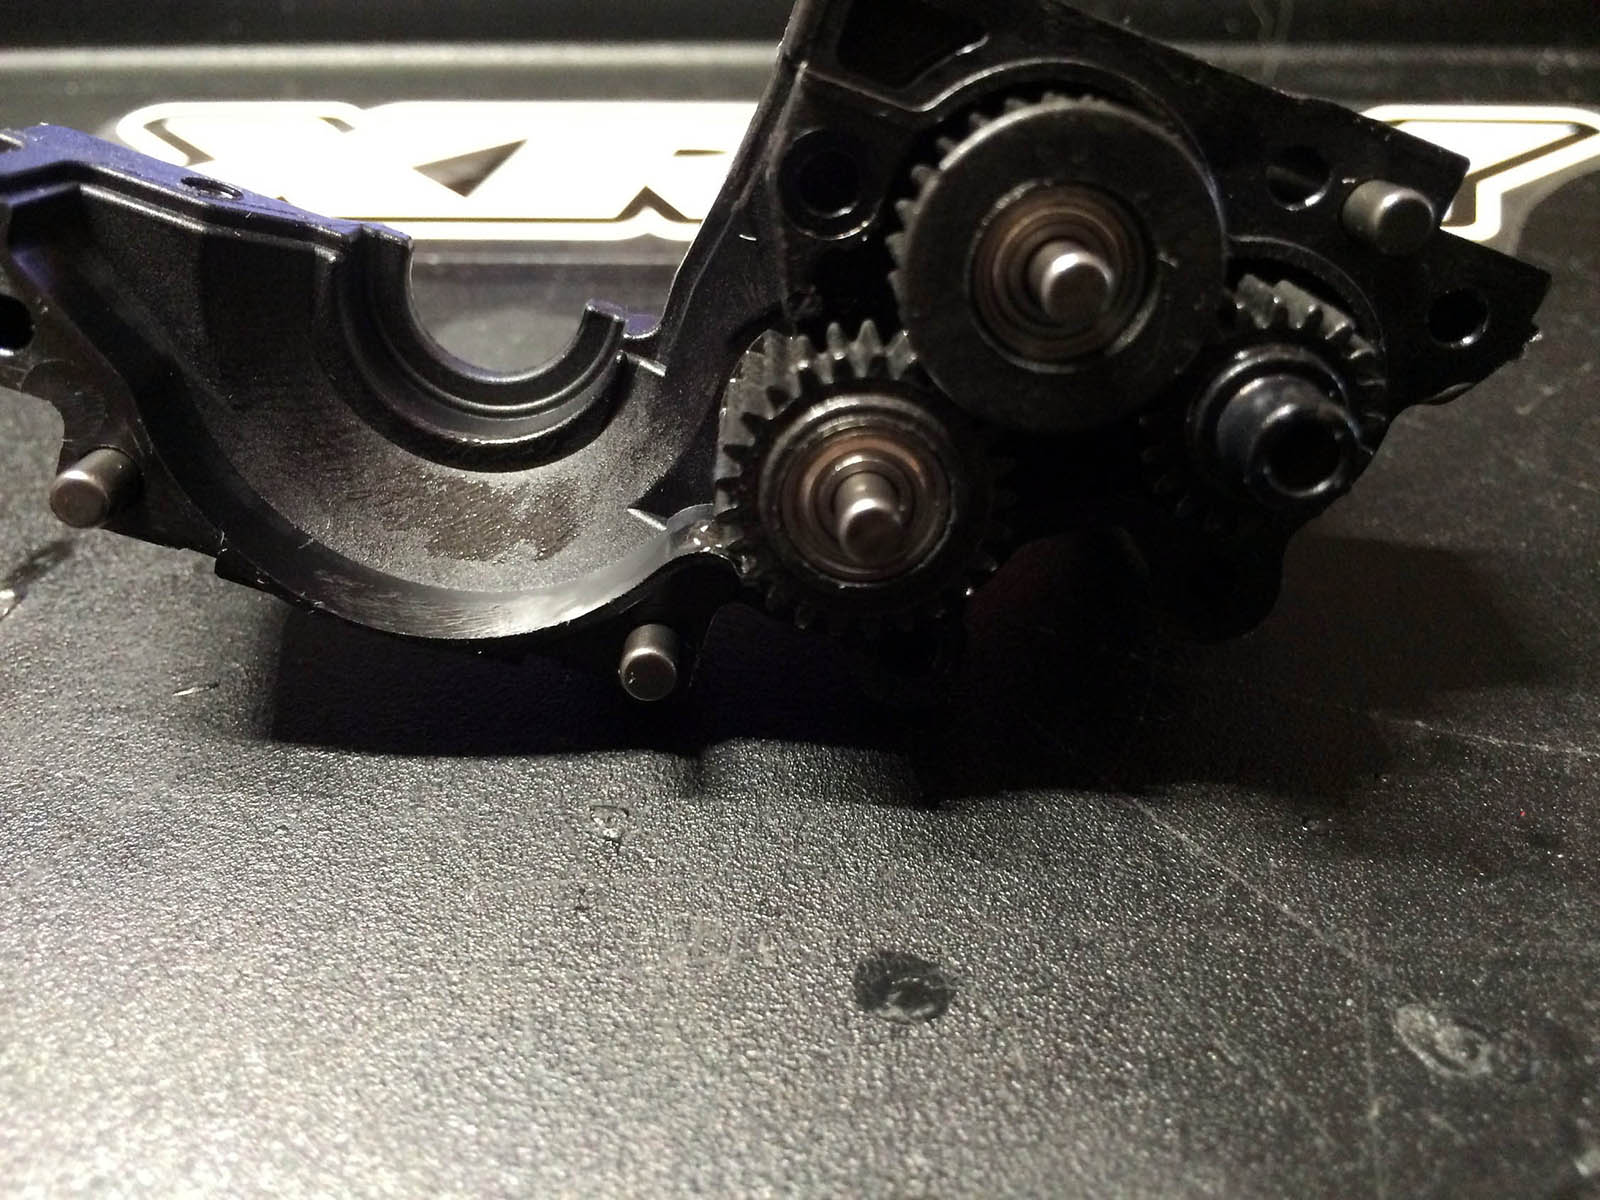
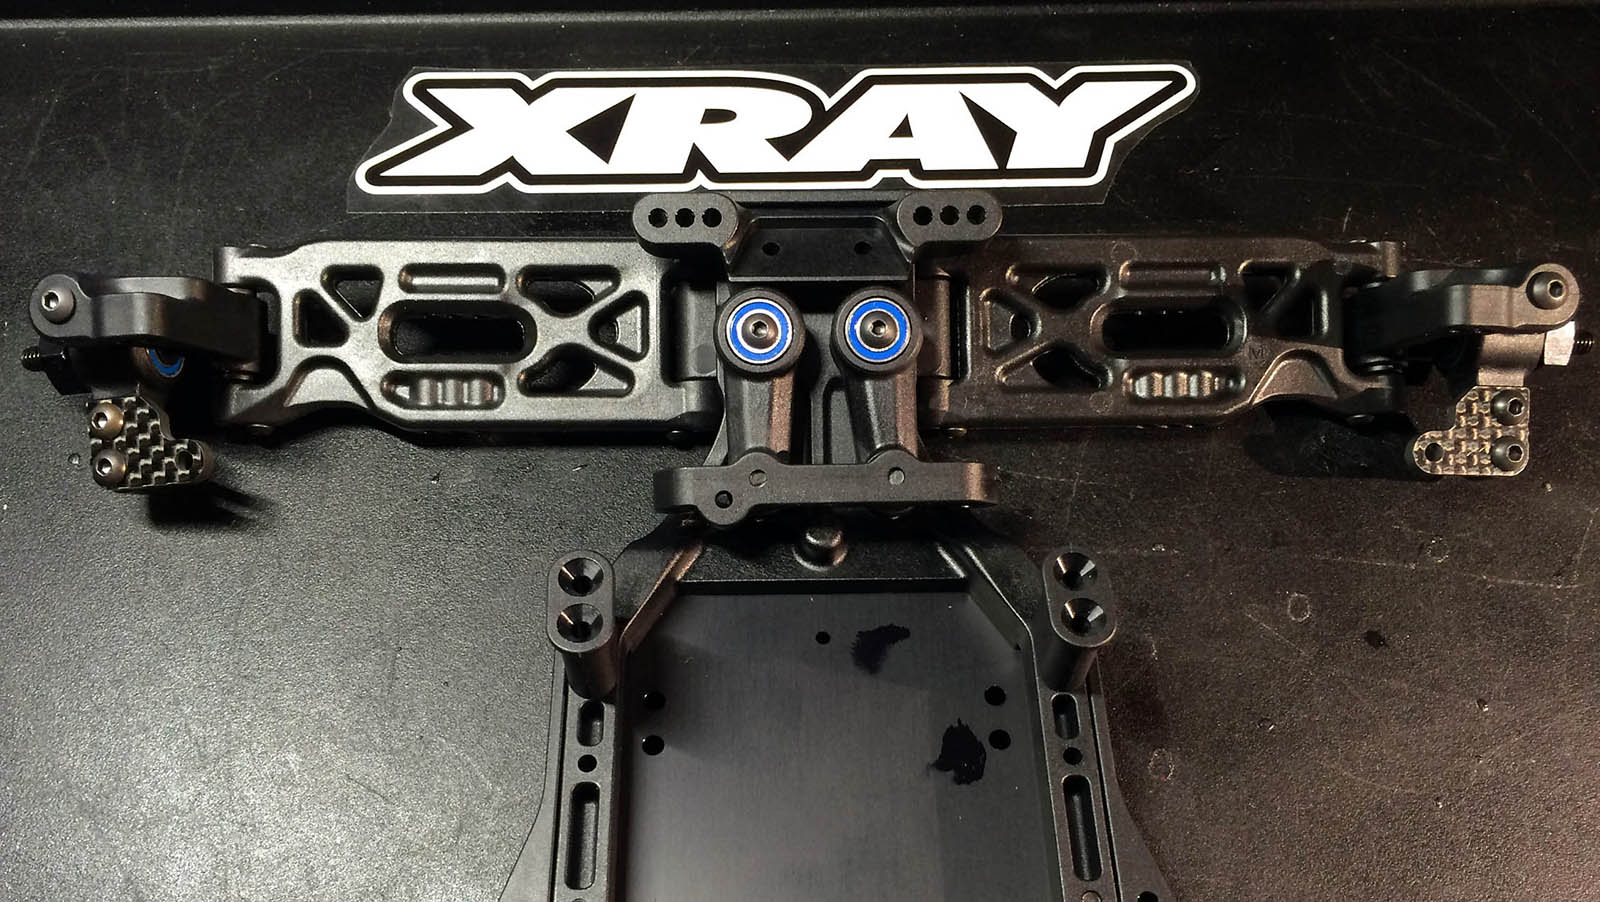
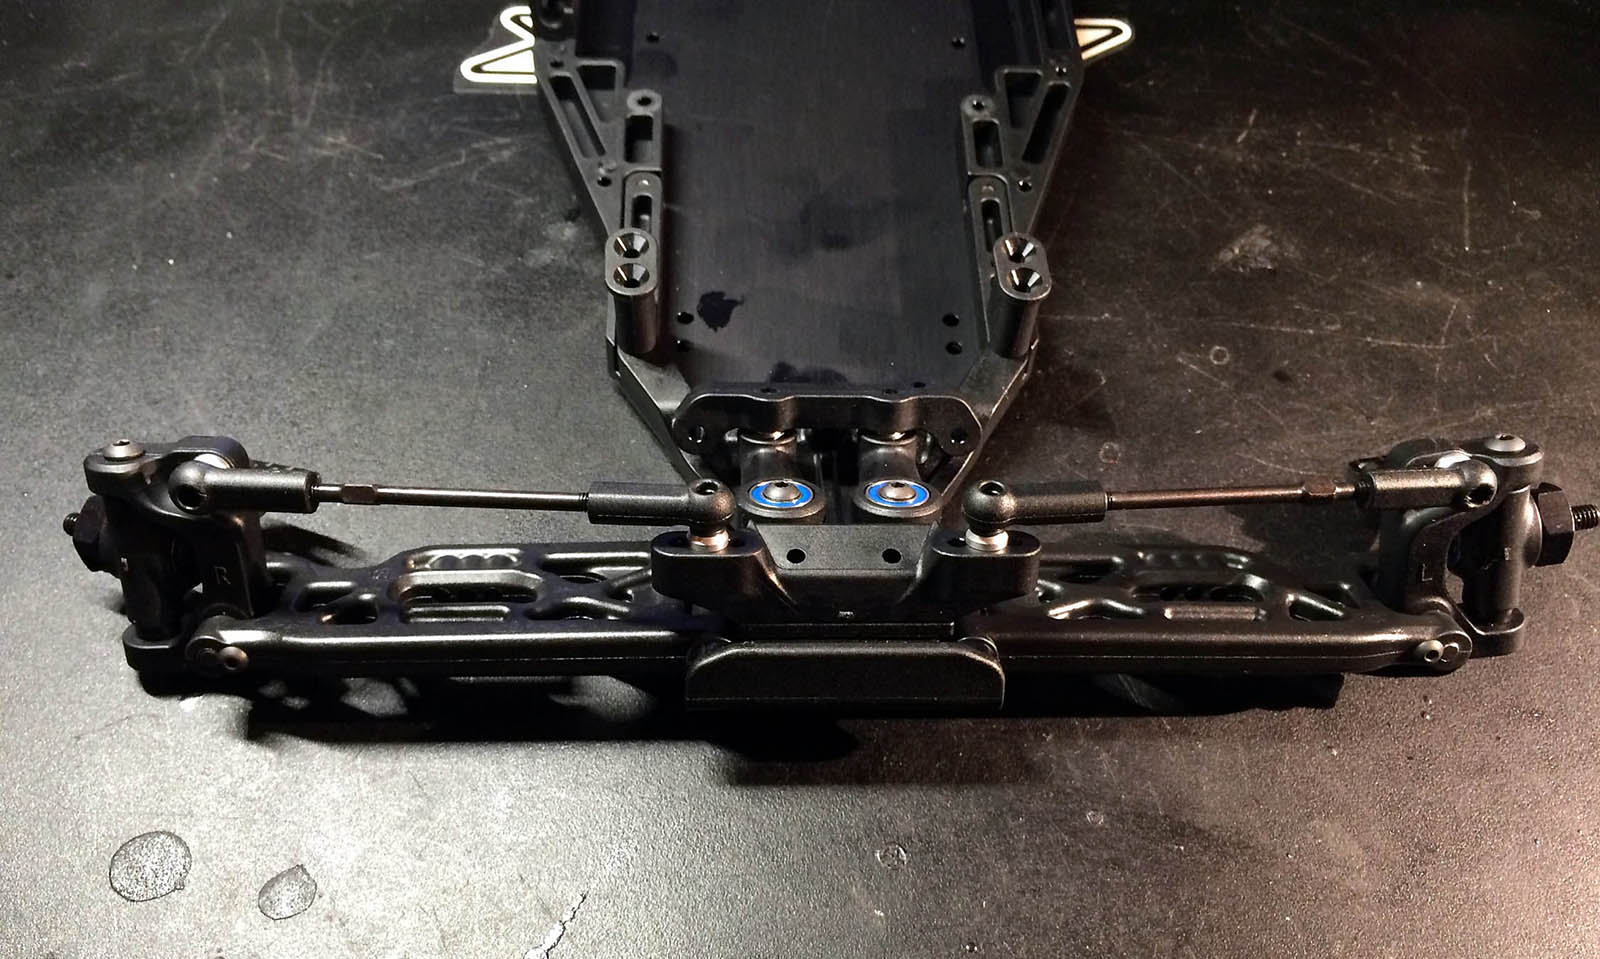
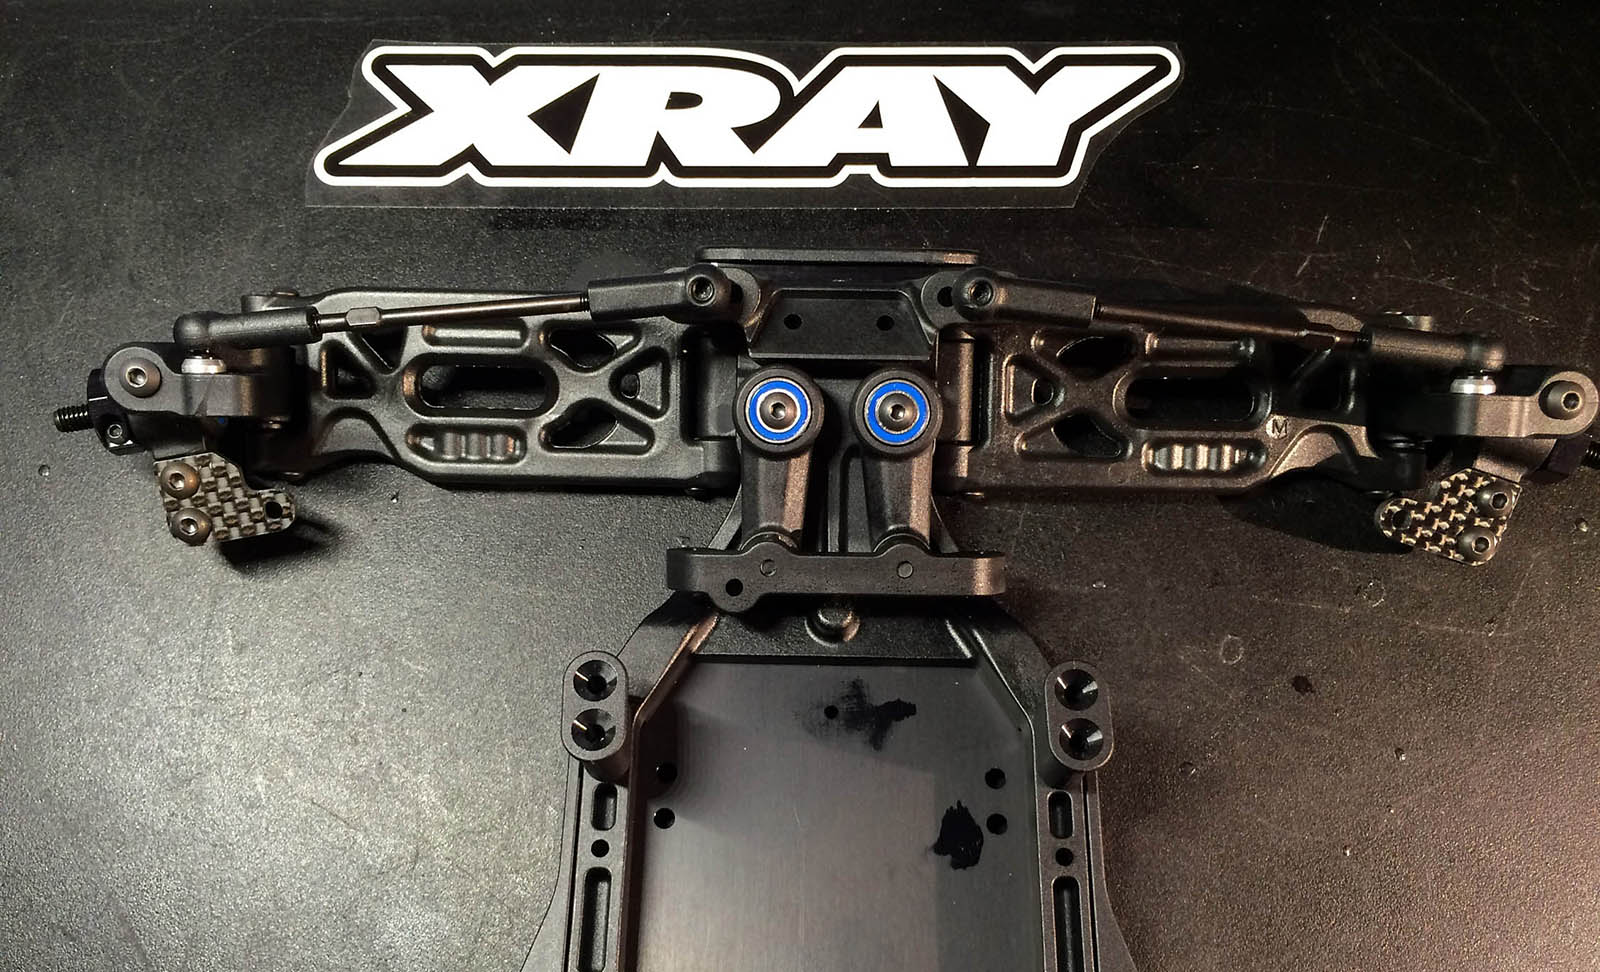
I followed the instructions to the letter and in the same order, no problems at all.
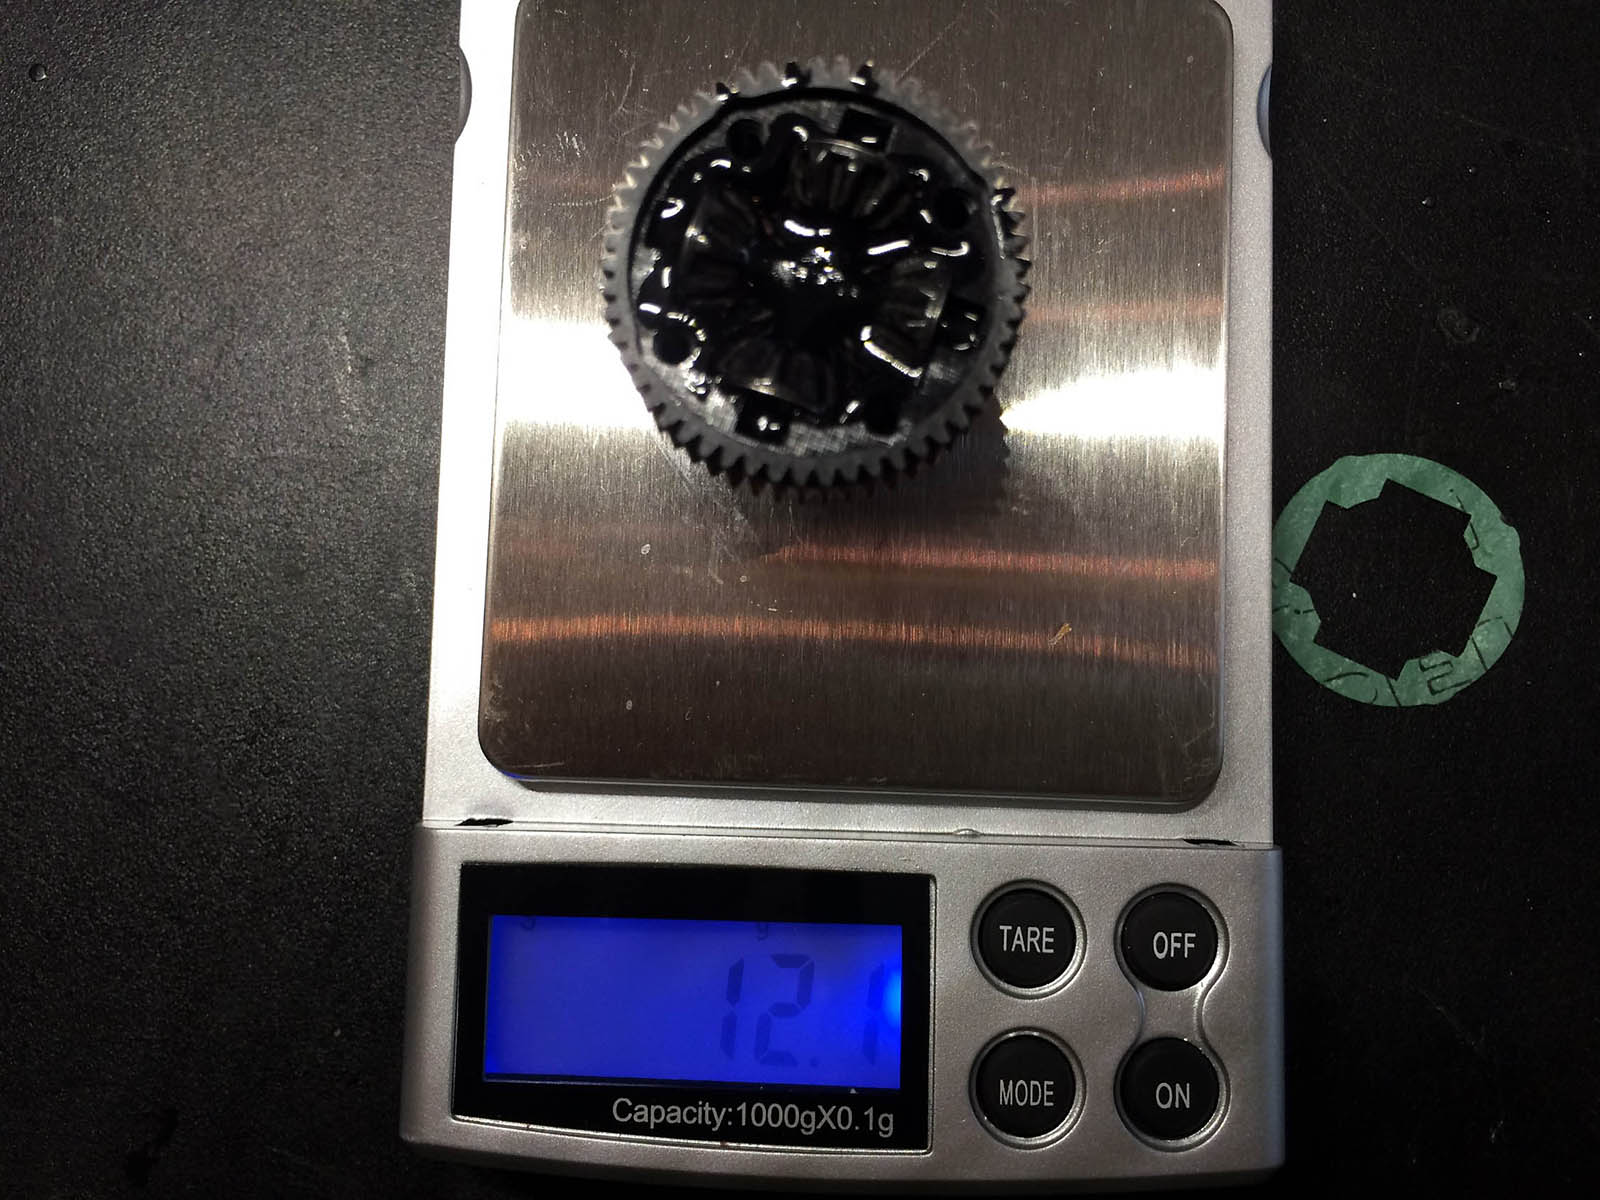
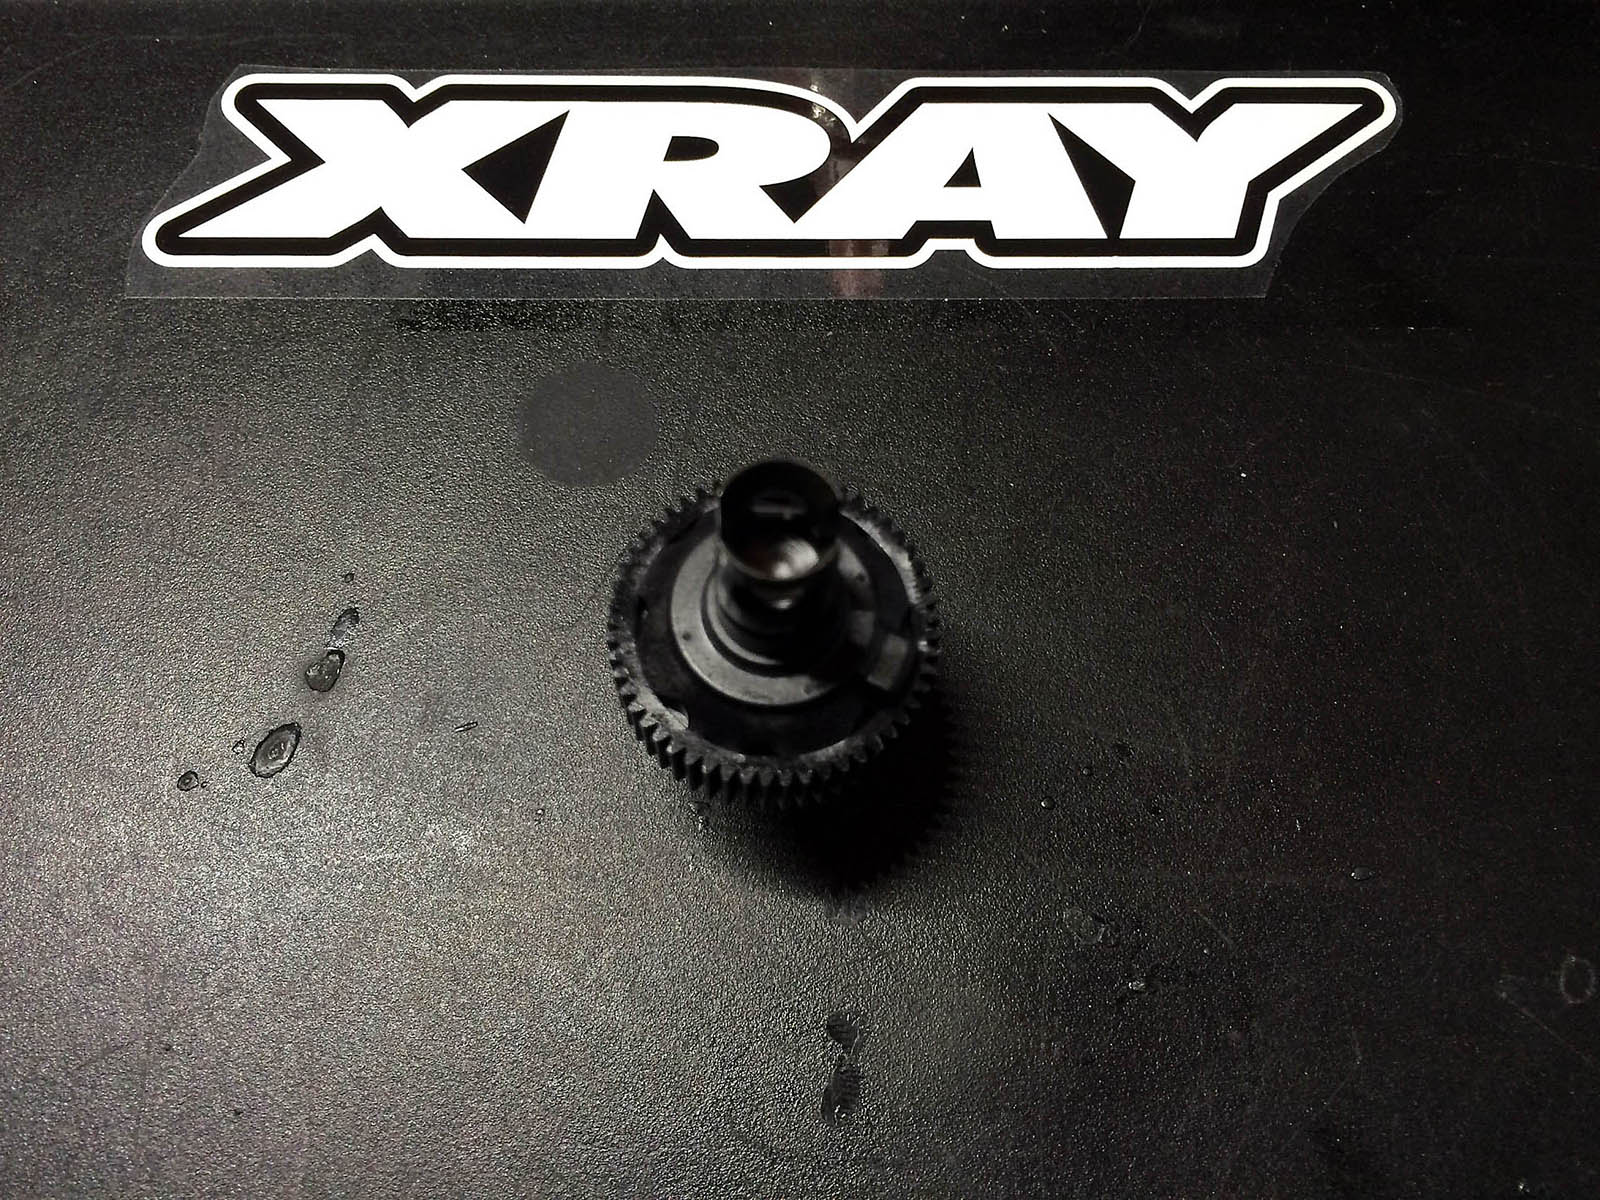
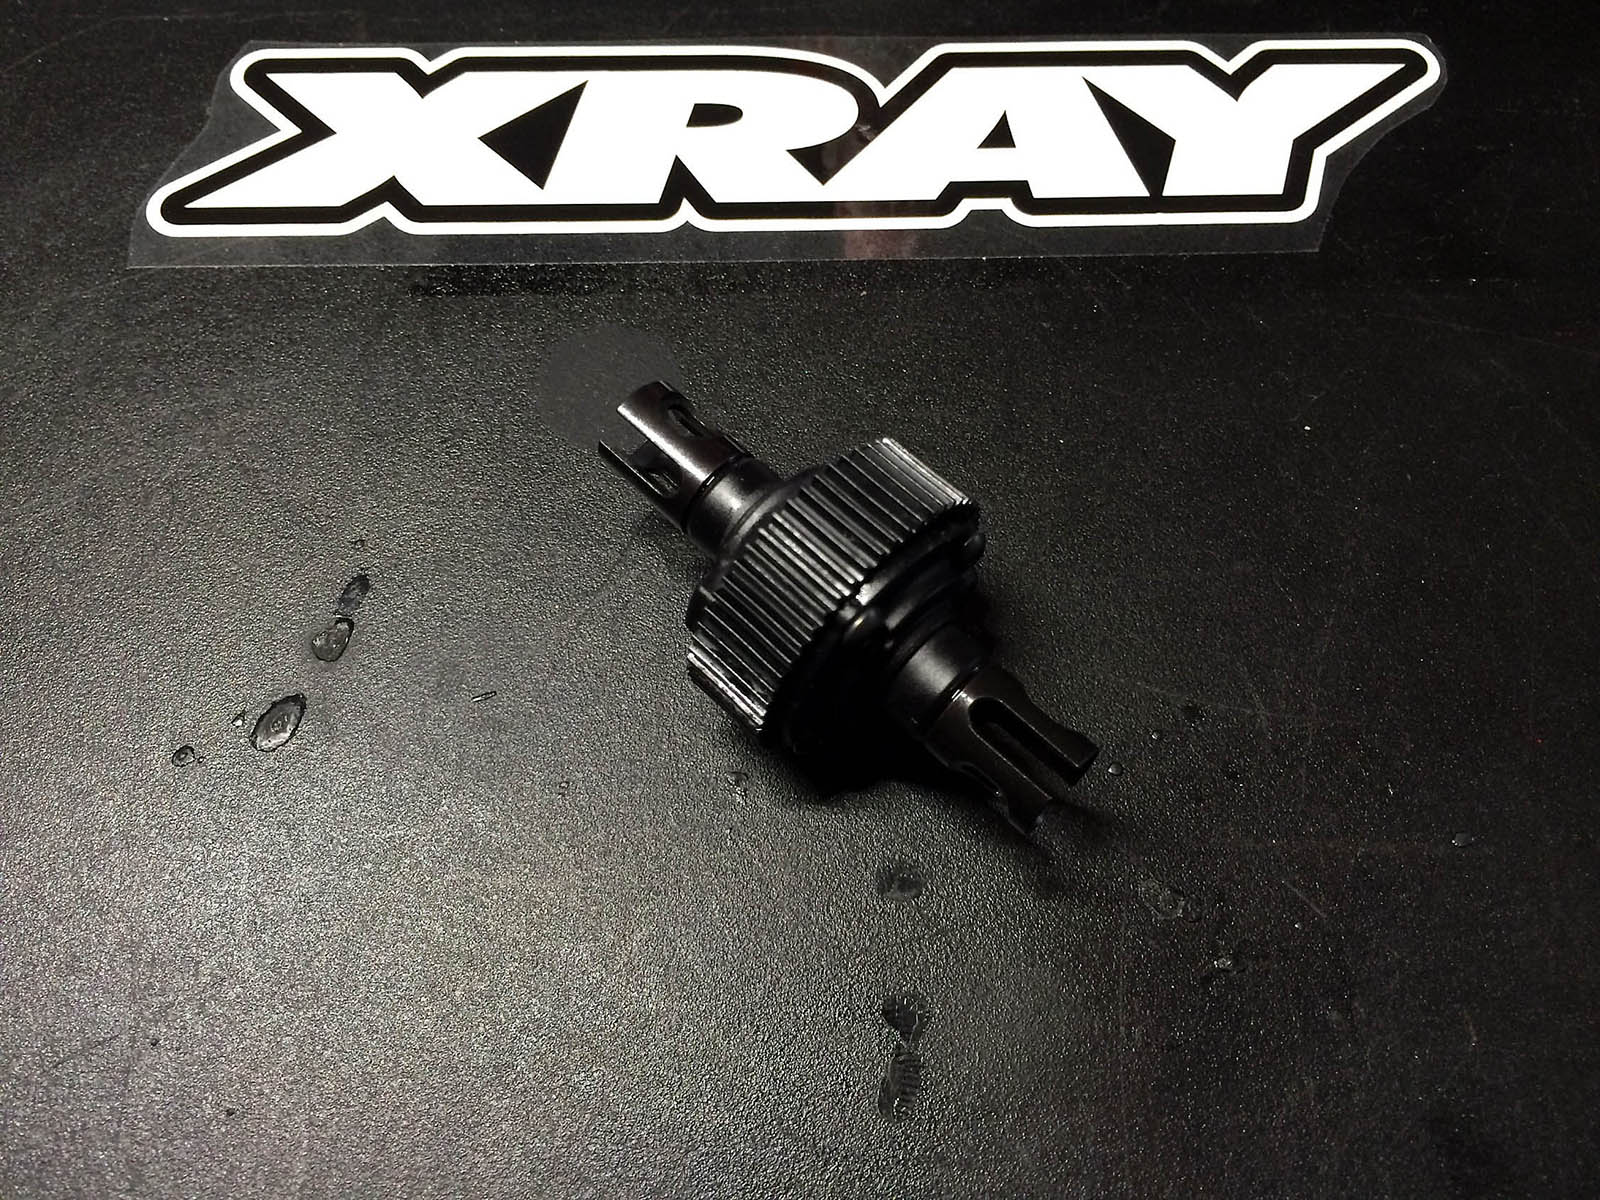
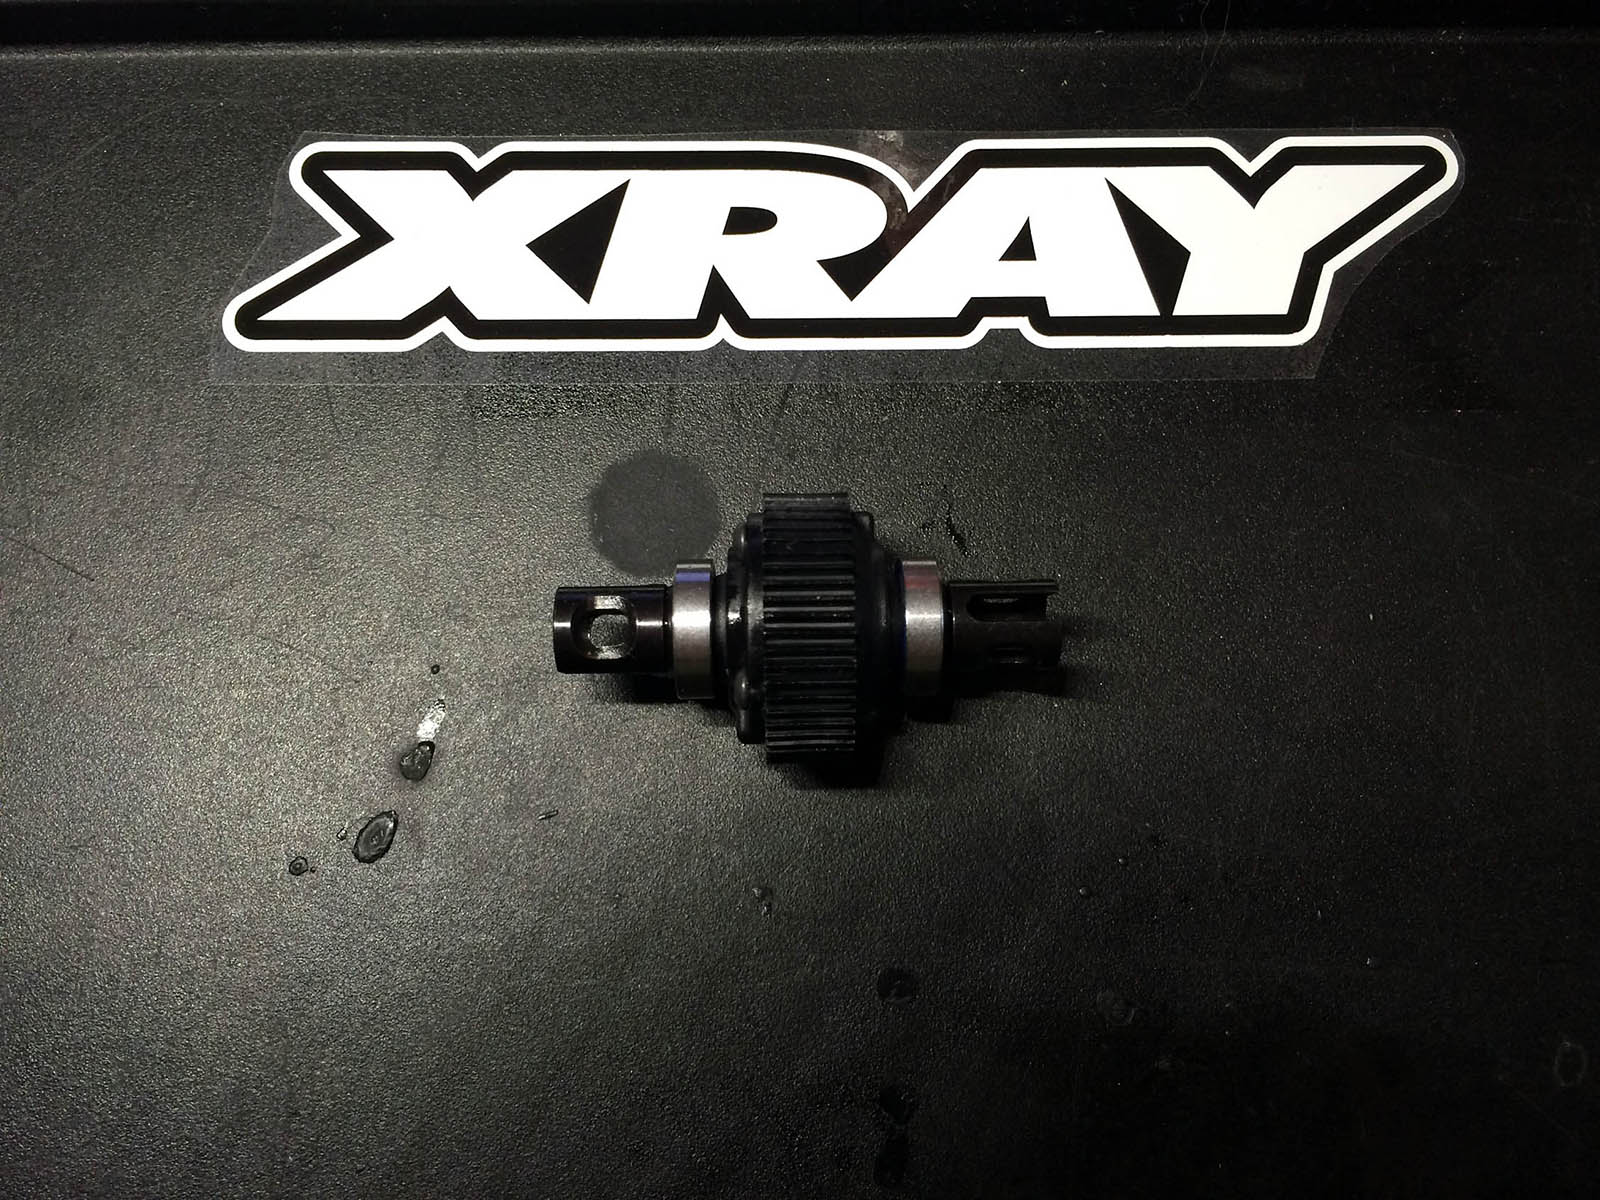
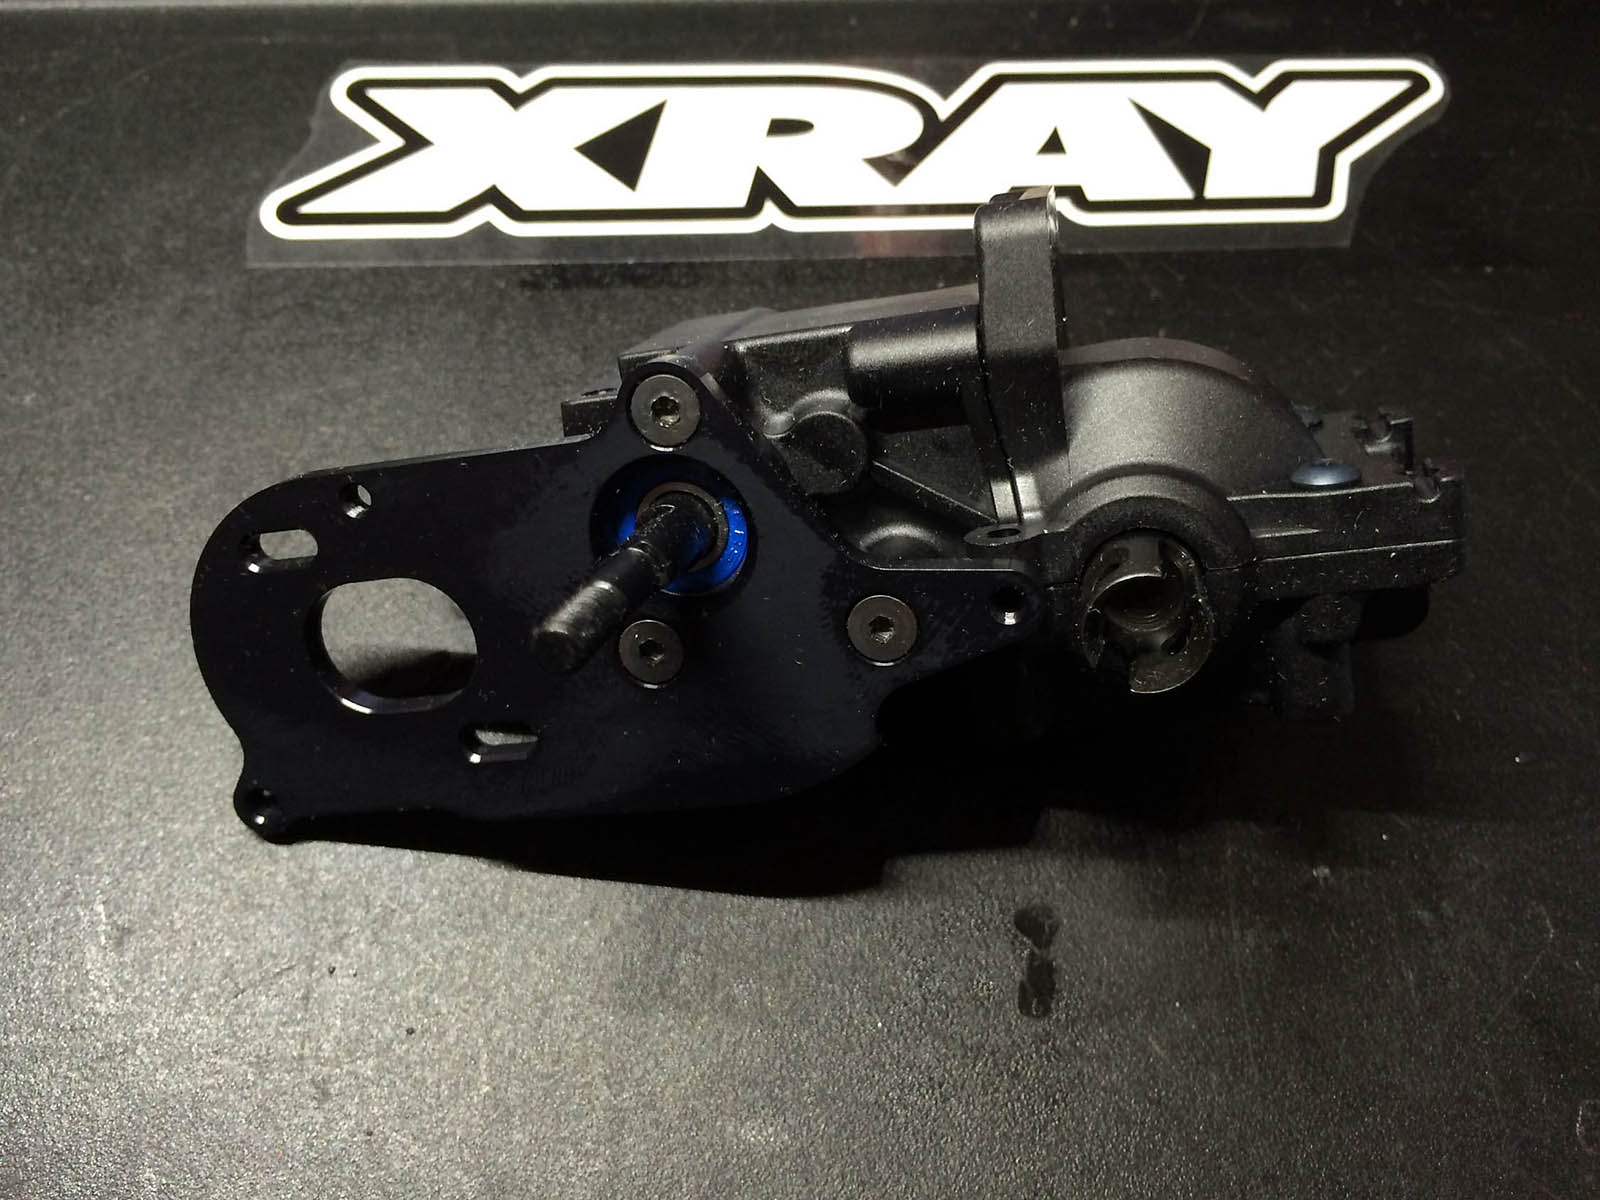
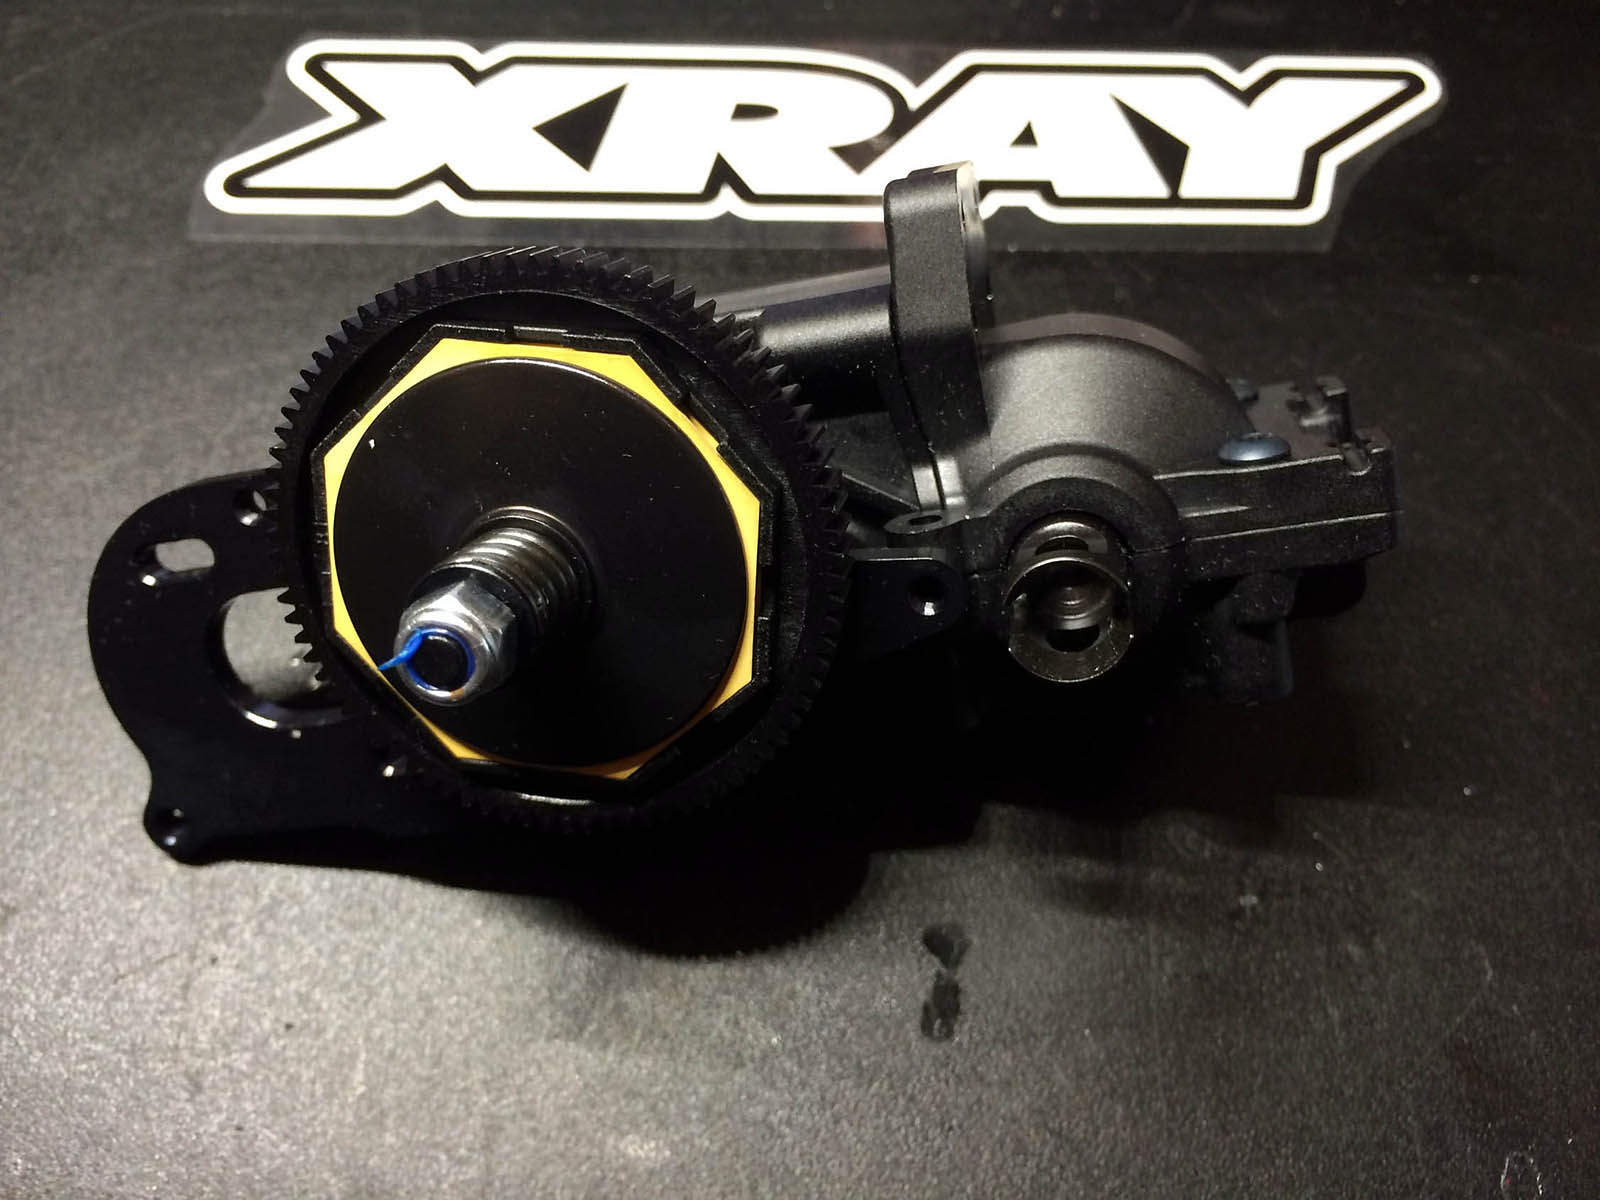
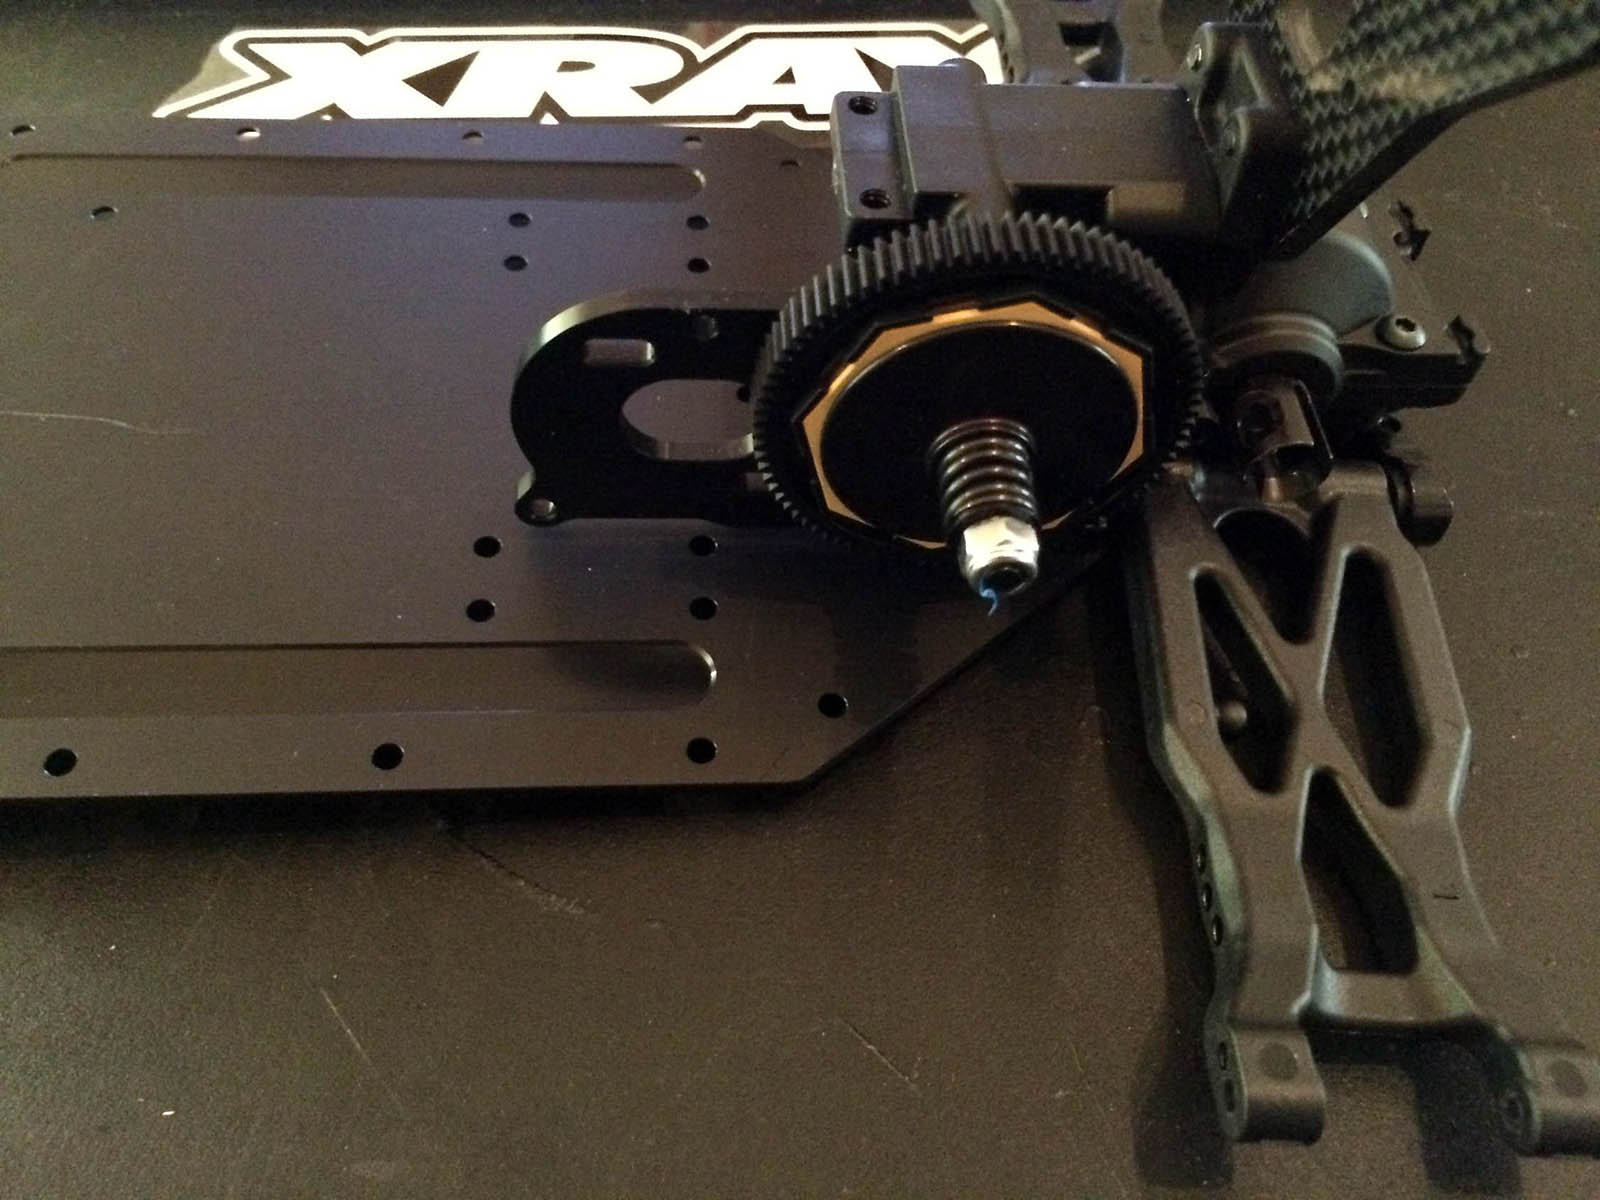
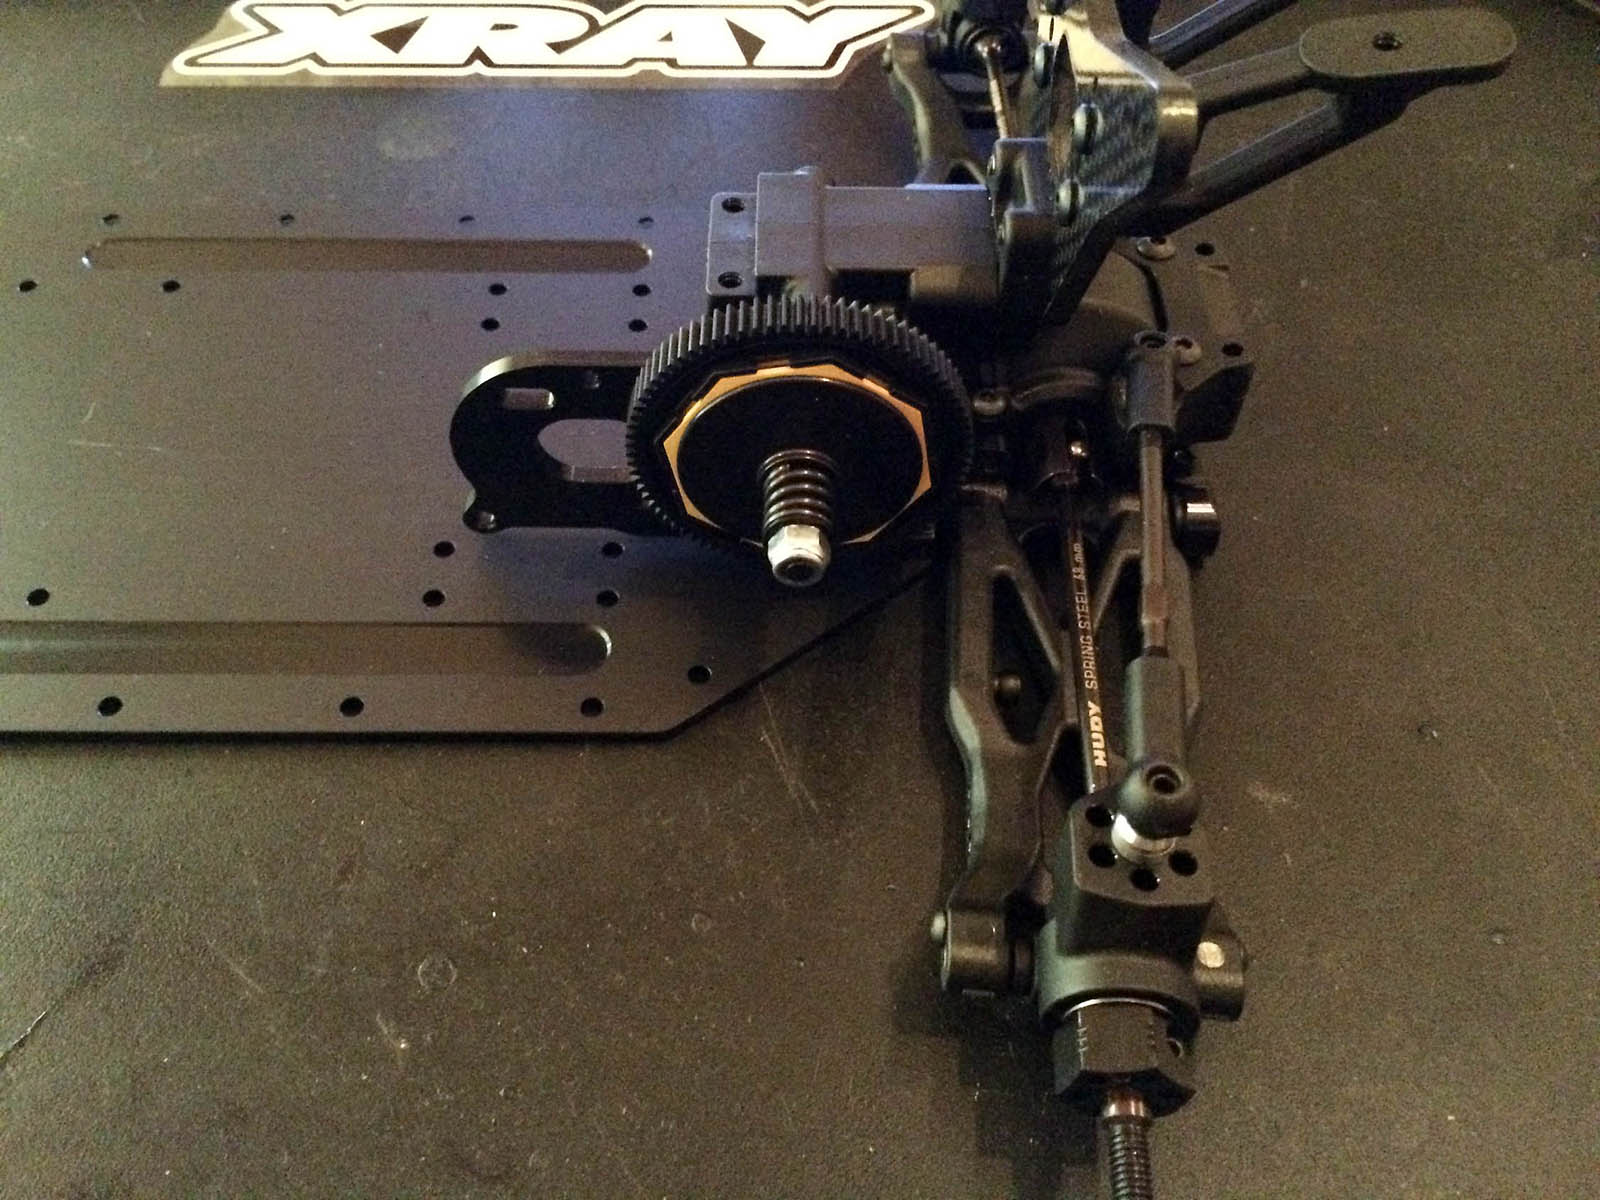
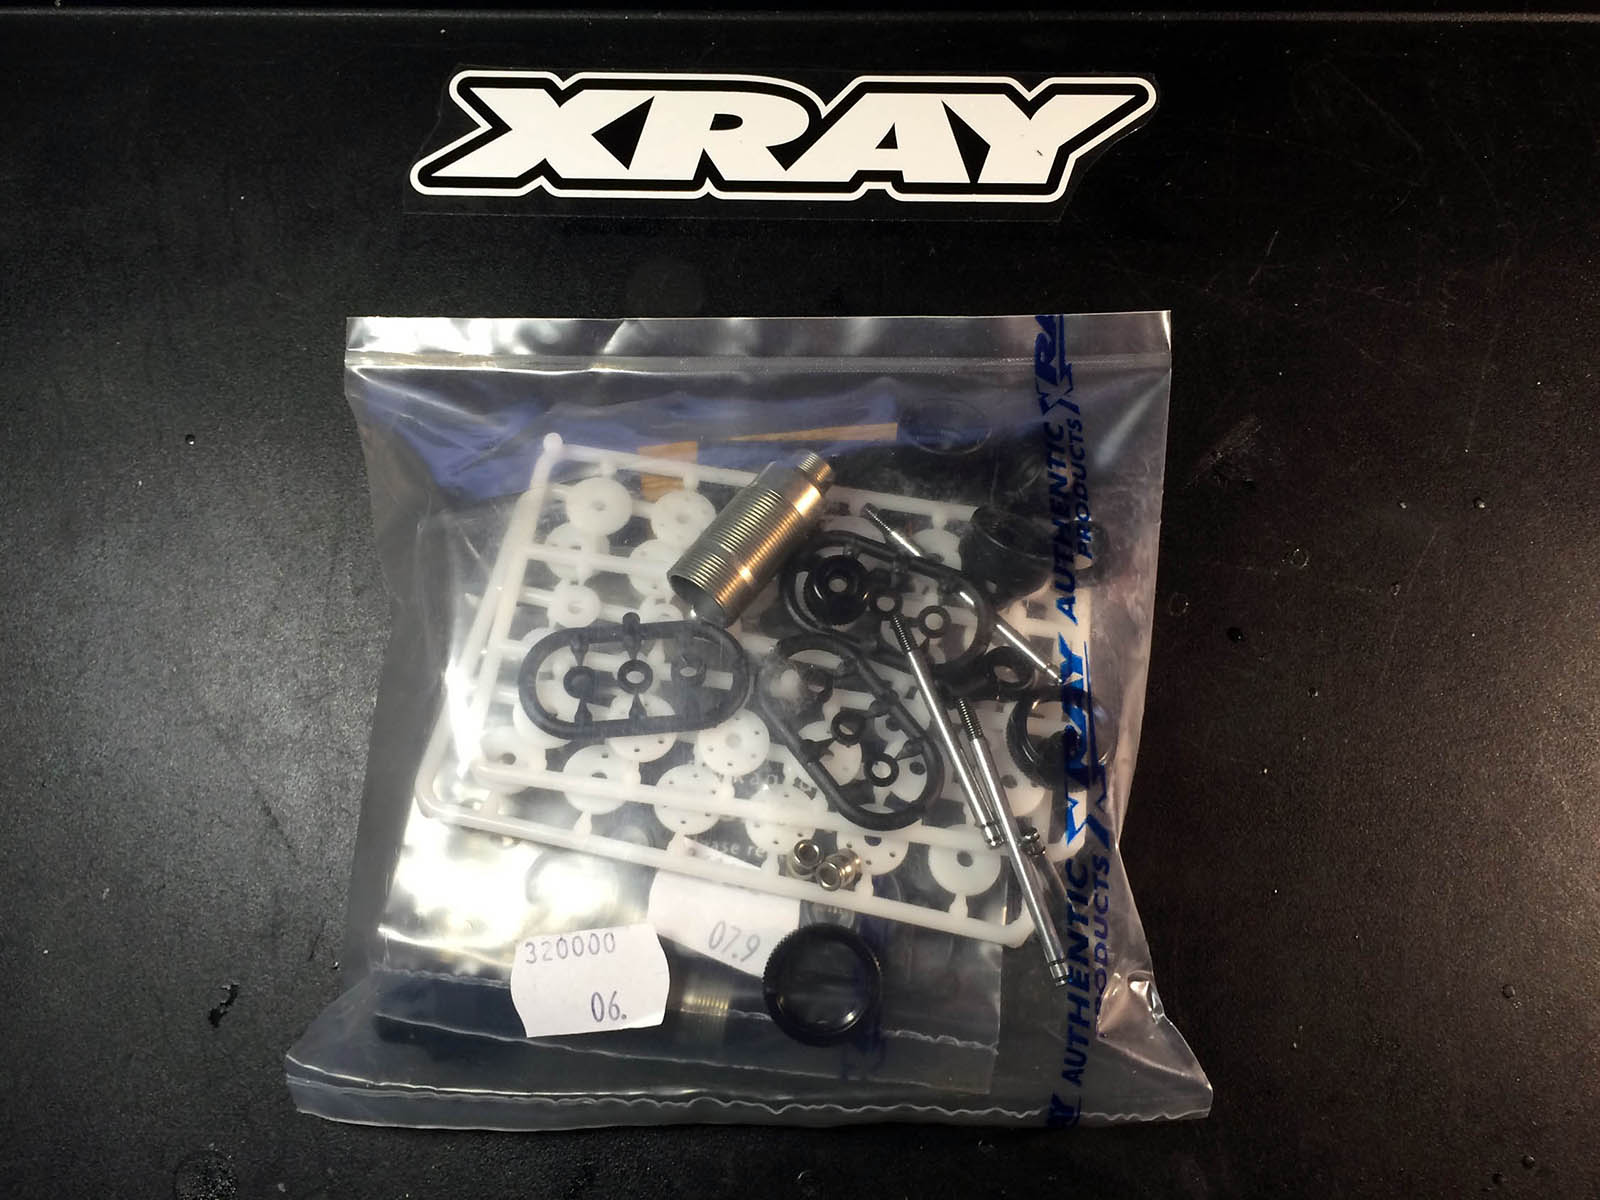
Tip 2: My digital scales only had 1 number after the point so to measure the weight of the diff with oil was not 100% perfect but I just added oil until it reached 12.2g and removed some until it showed 12.1g so as not to overfill it. The diff is like silky smooth and I was very impressed with the way it went together.
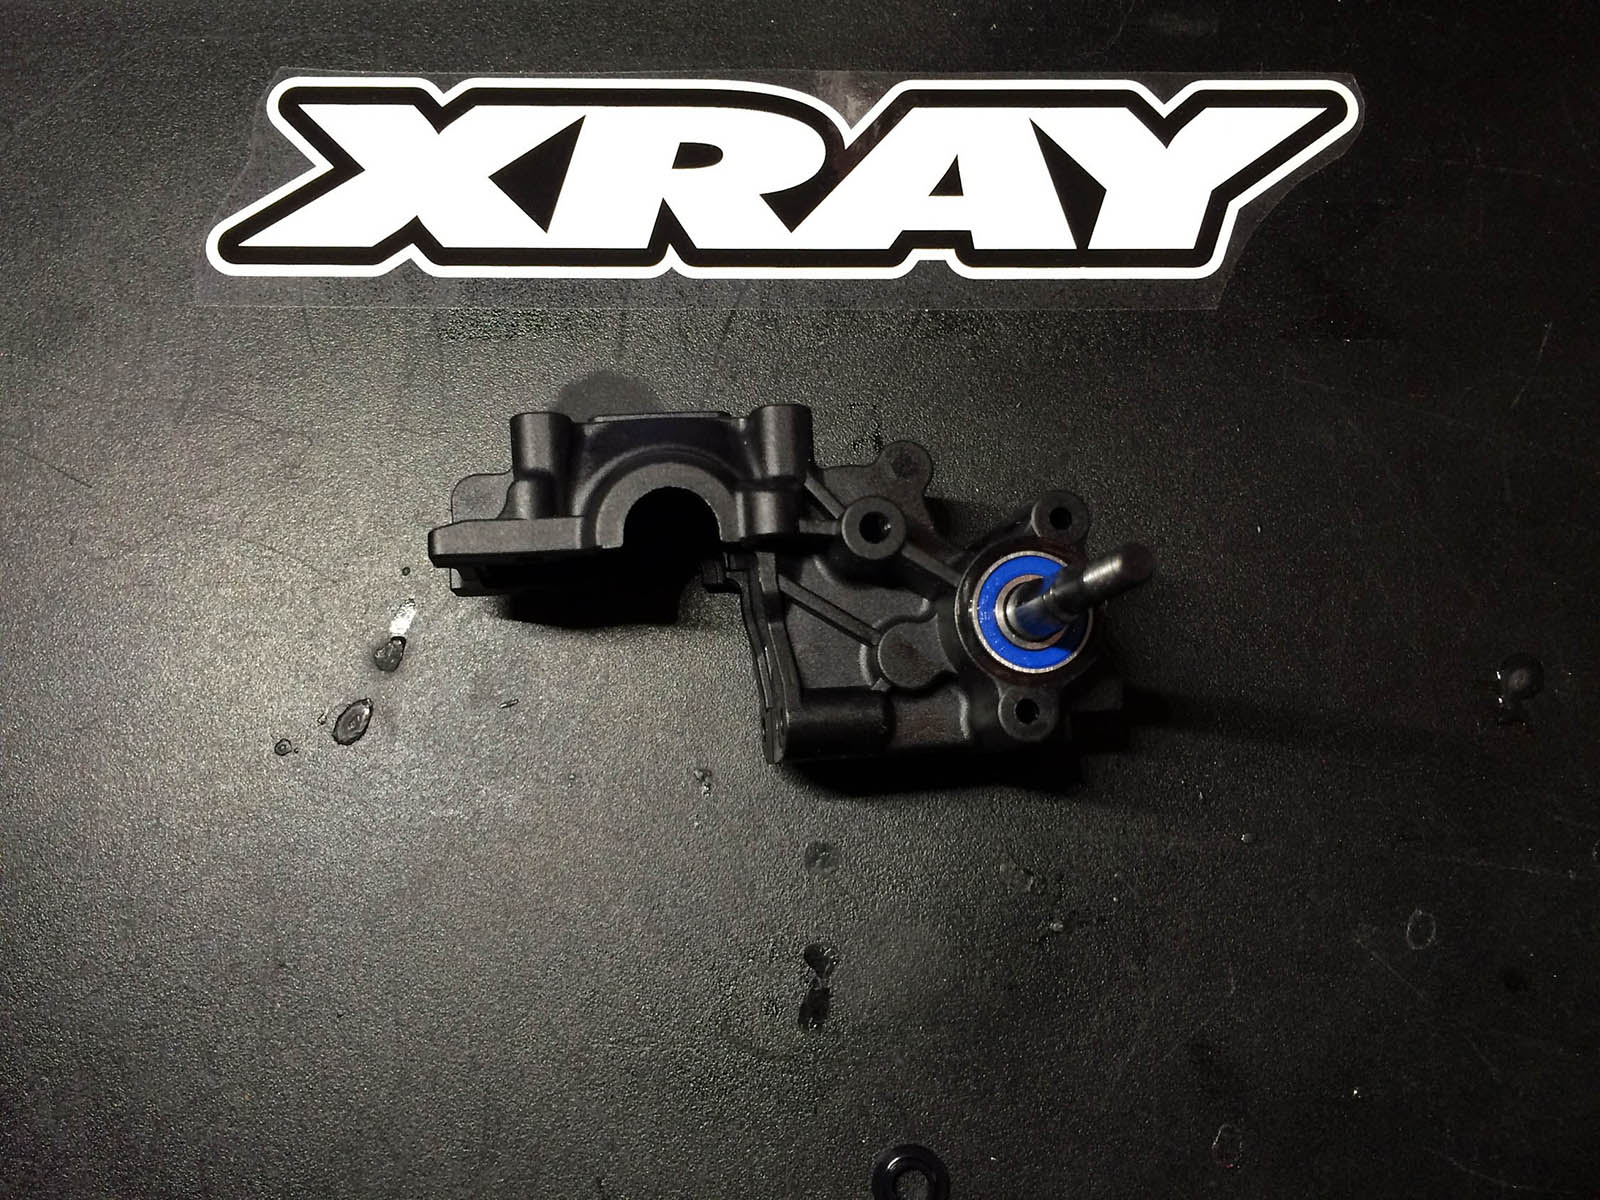
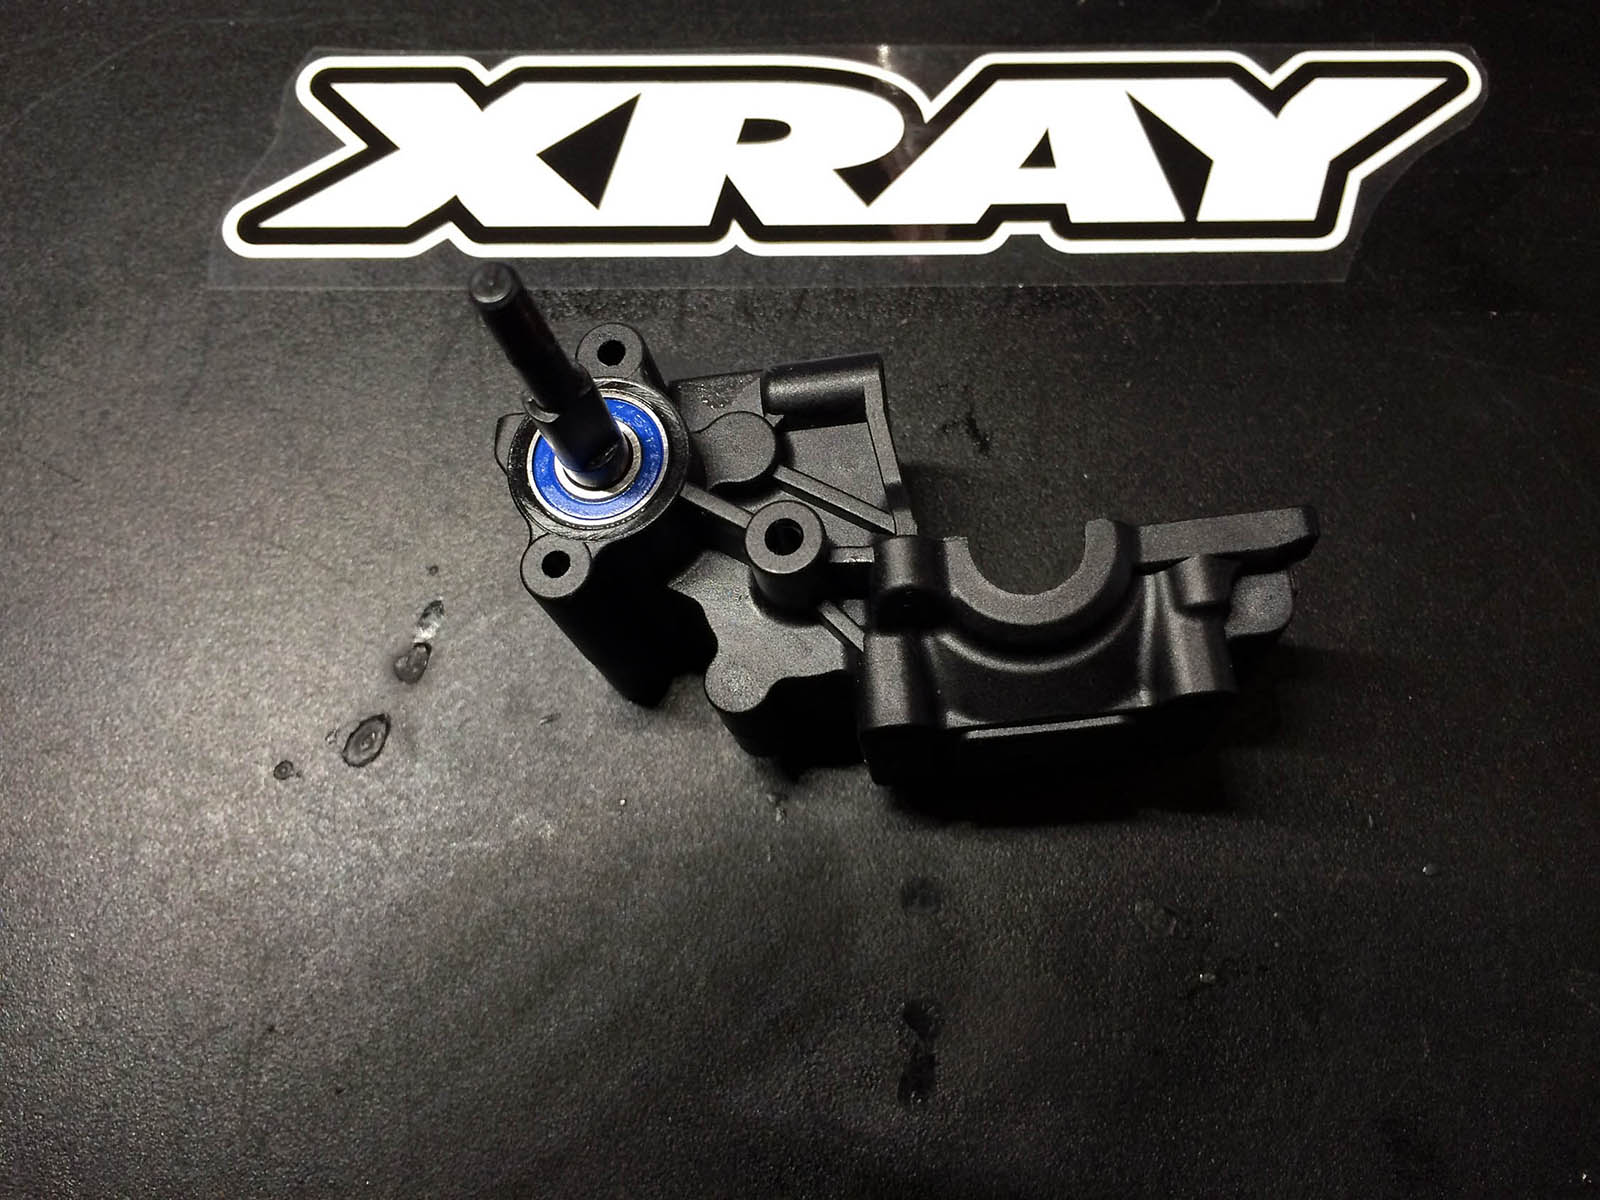
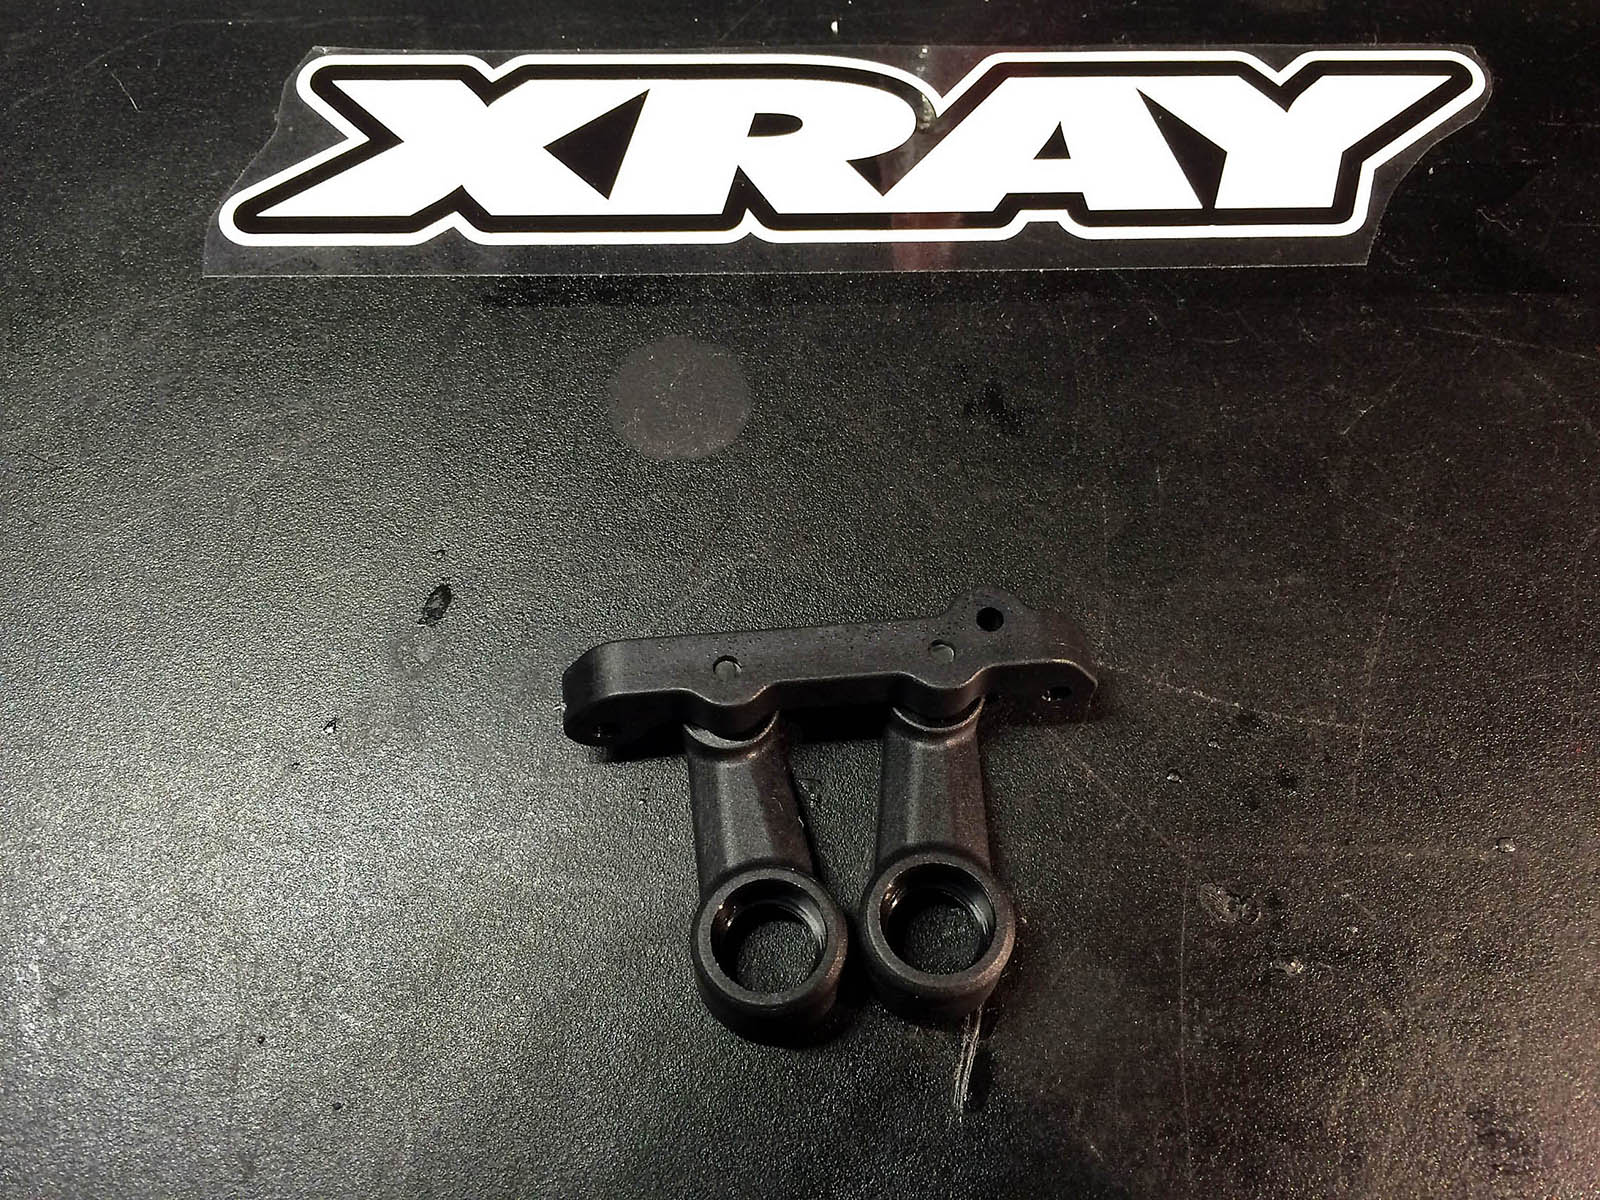
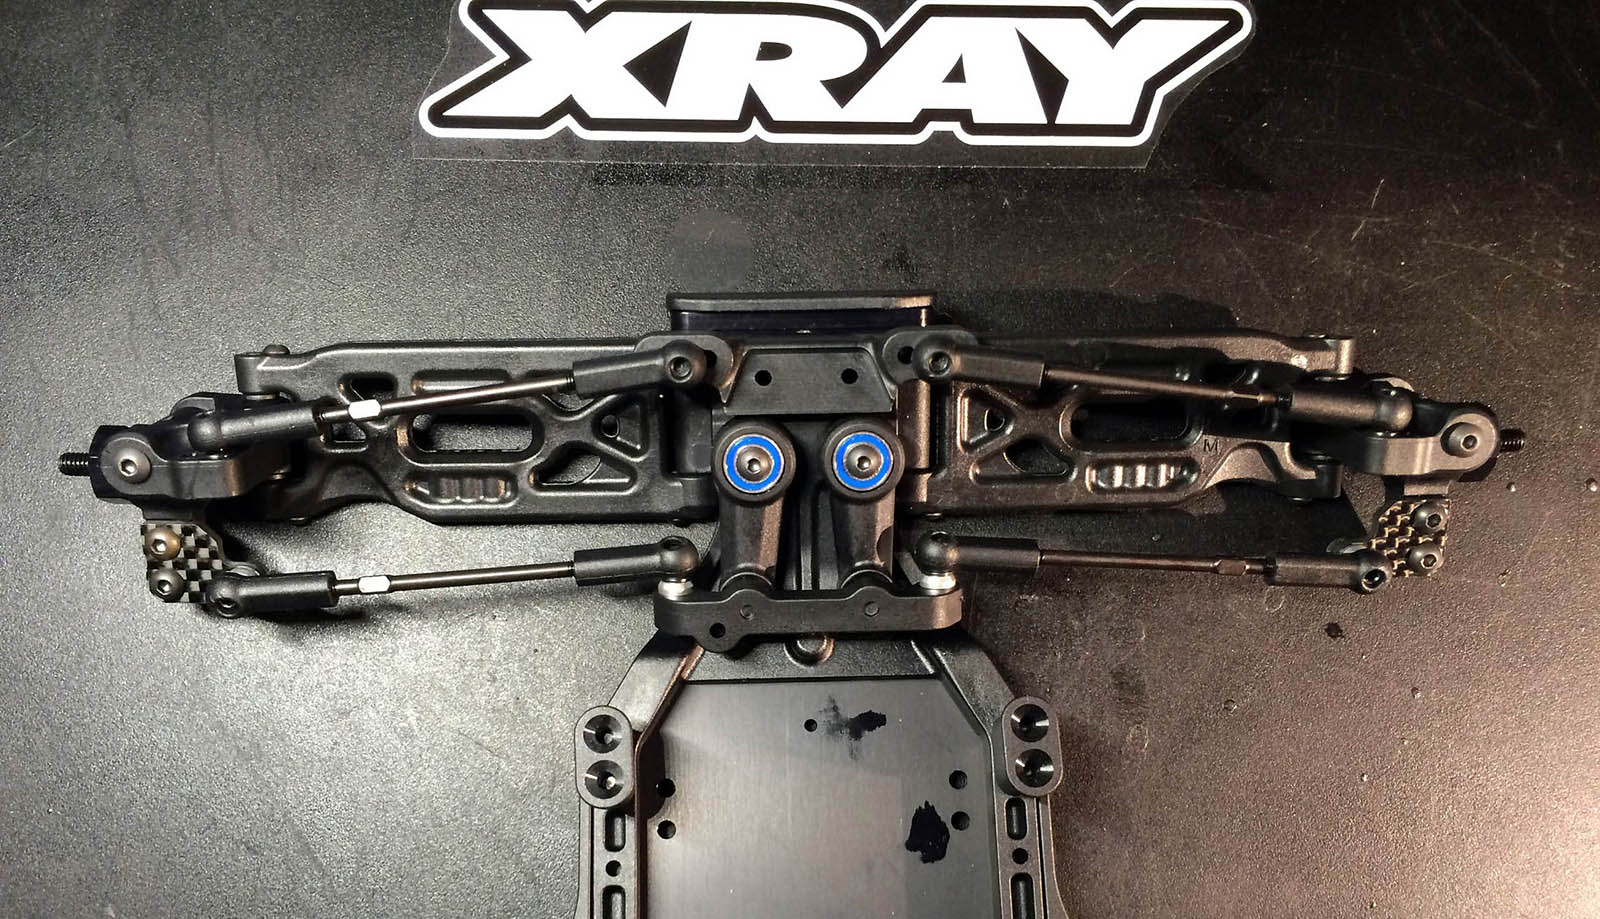
Tip 3: When building the steering block be cautious that you get the block in the right direction, the flat surface should go to outside and the angled surface towards the center of the car, if you do not get this correct you will not get the full steering throw, this was pointed out by David Way on the XB2 Facebook group
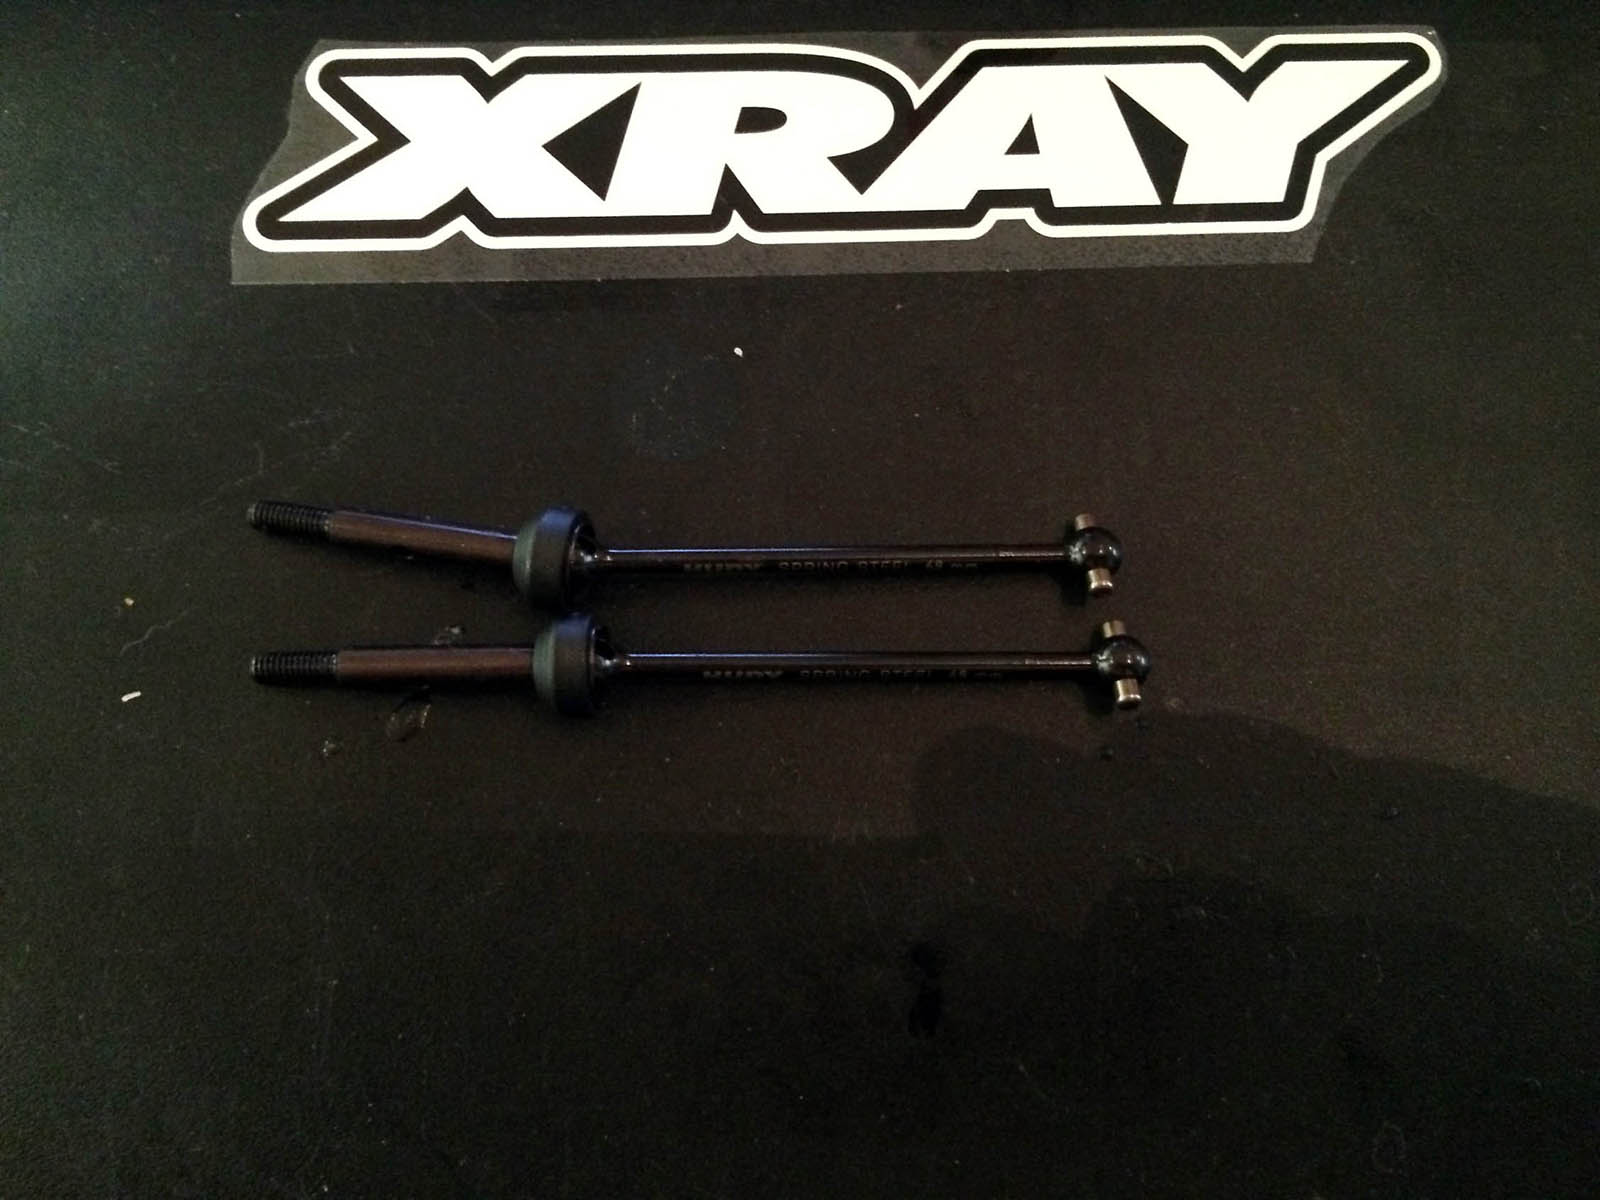
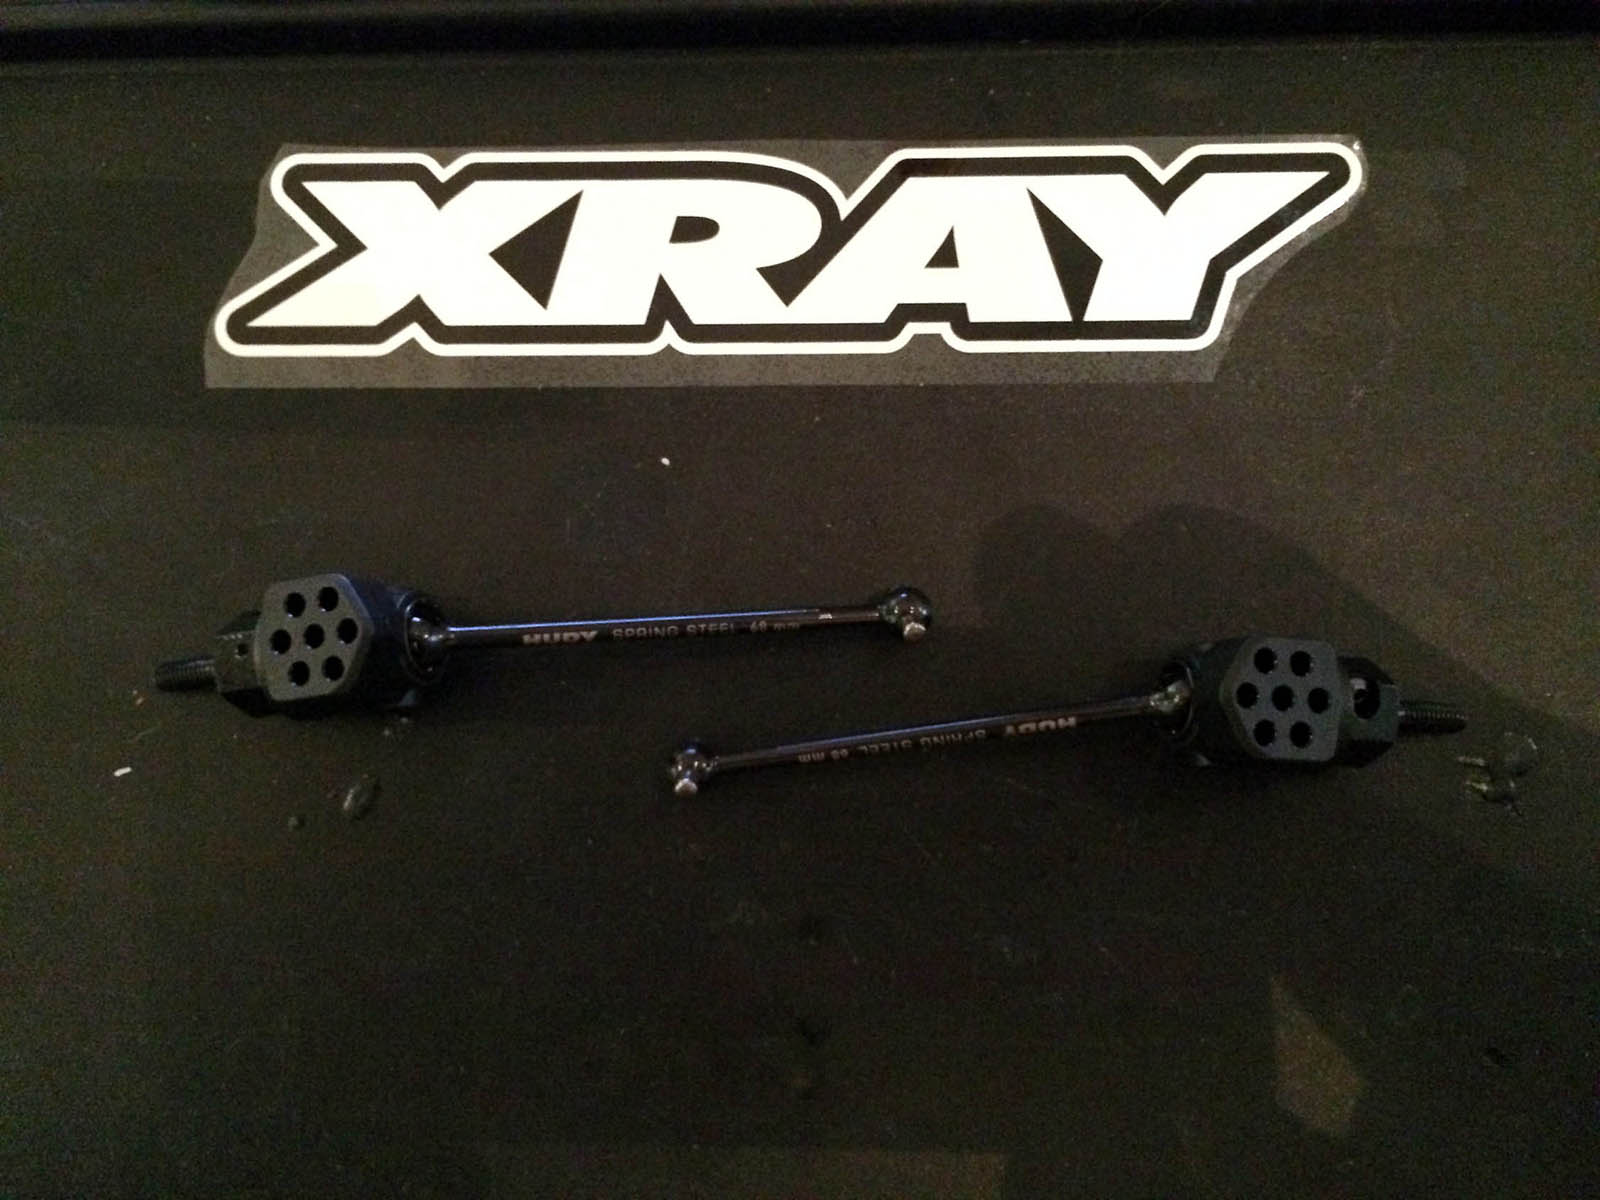
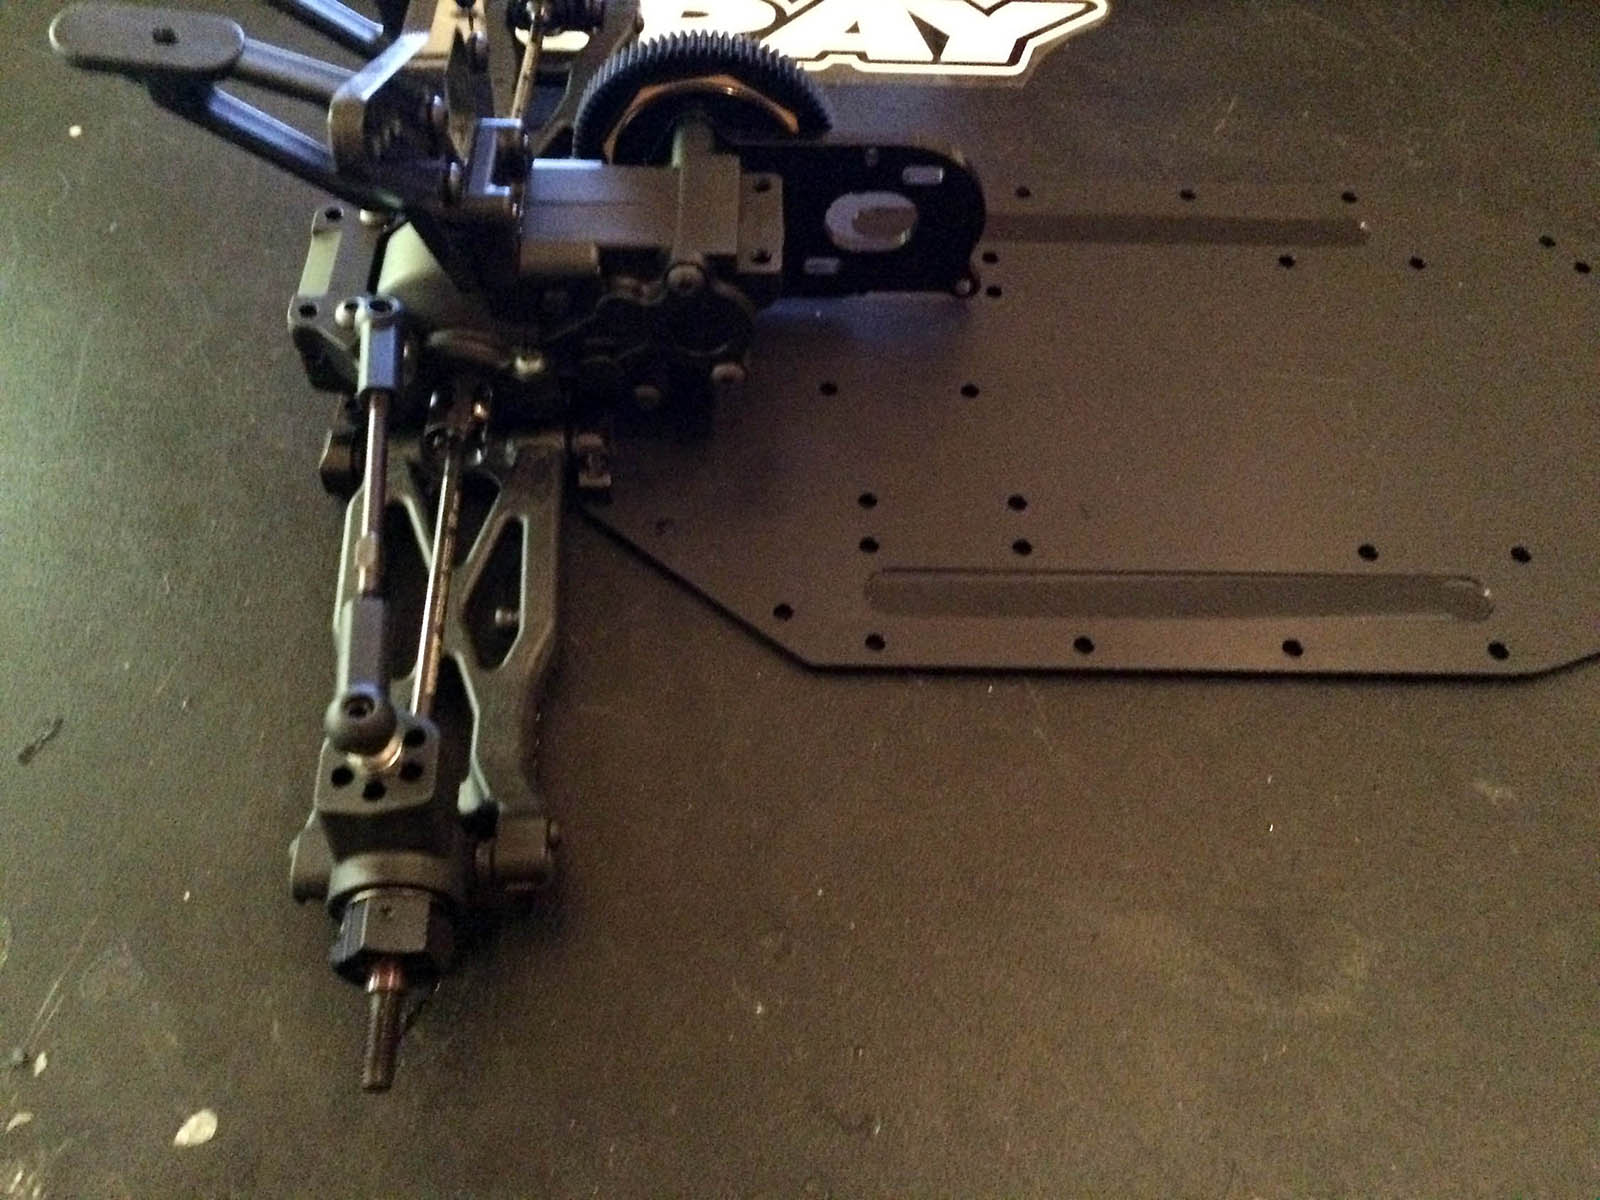
Tip 4: If you are going to run the Malin worlds setup you will need a 10mm ball stud for the rear as it does not have enough bite in the plastic with the 8mm ones this was pointed out by Lee Hedges on the XB2 Facebook group also.
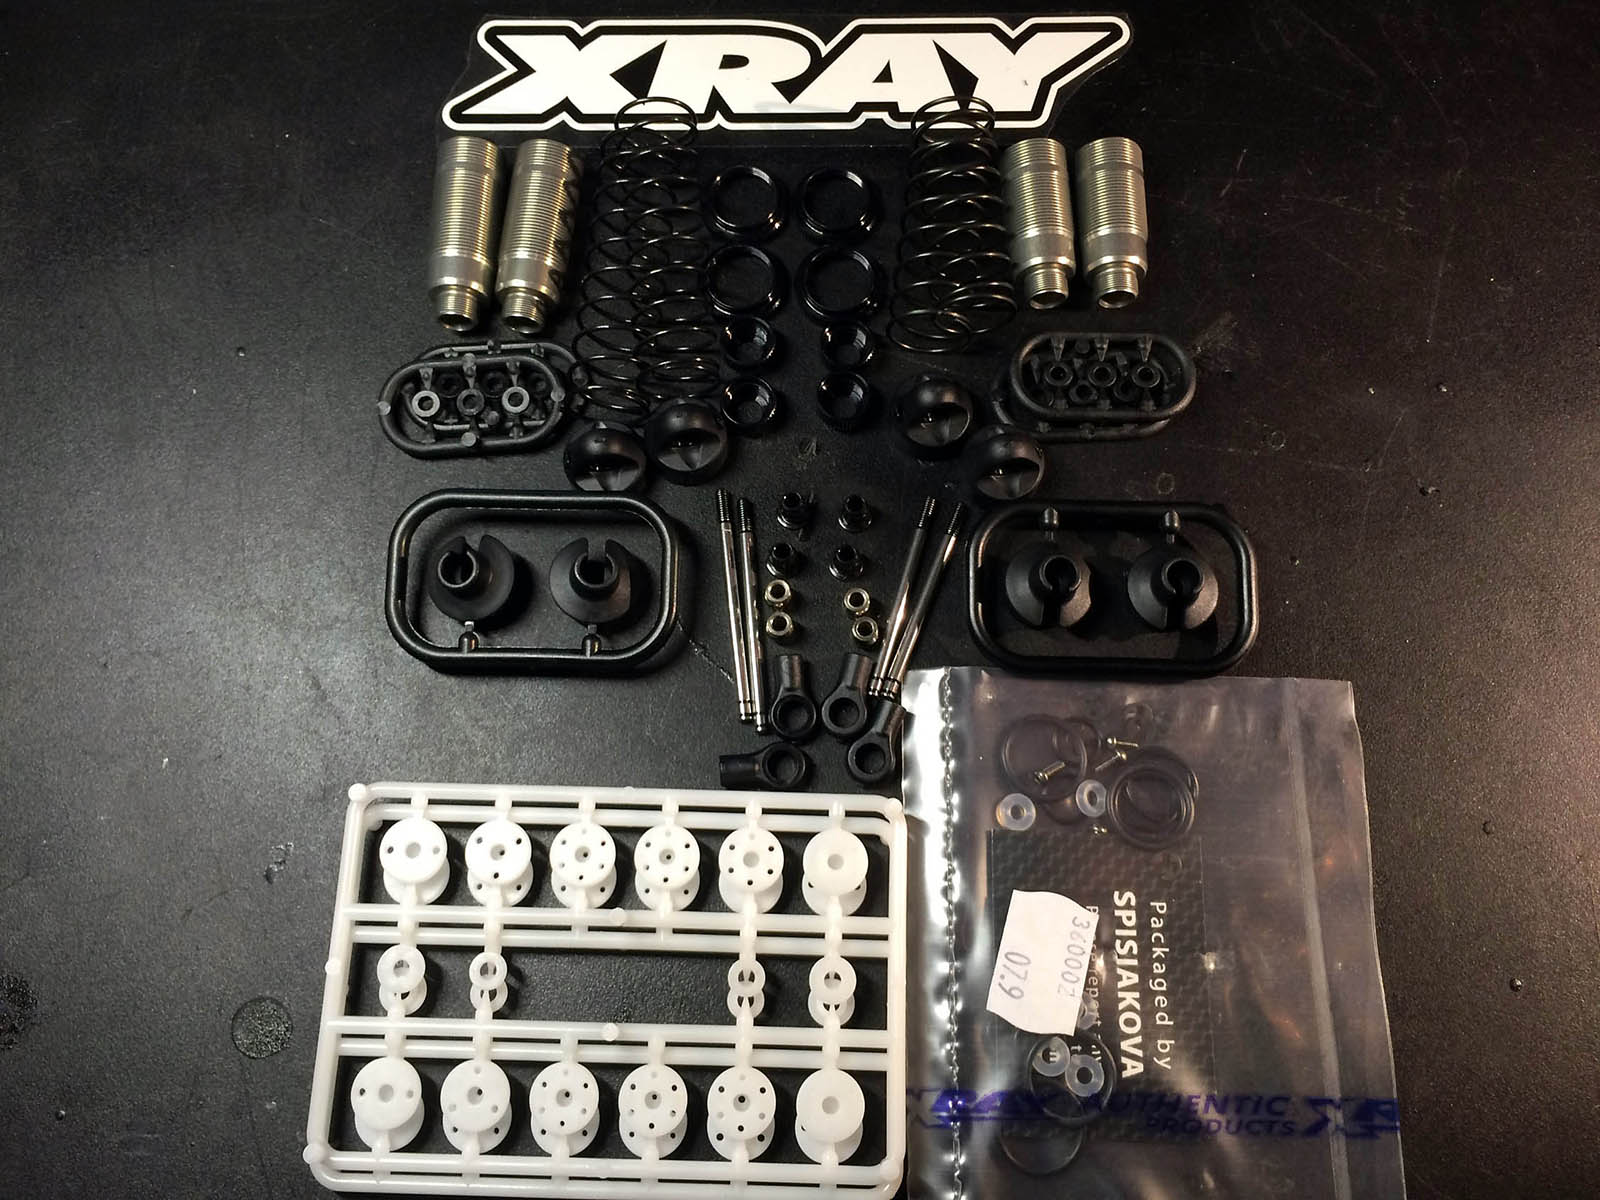
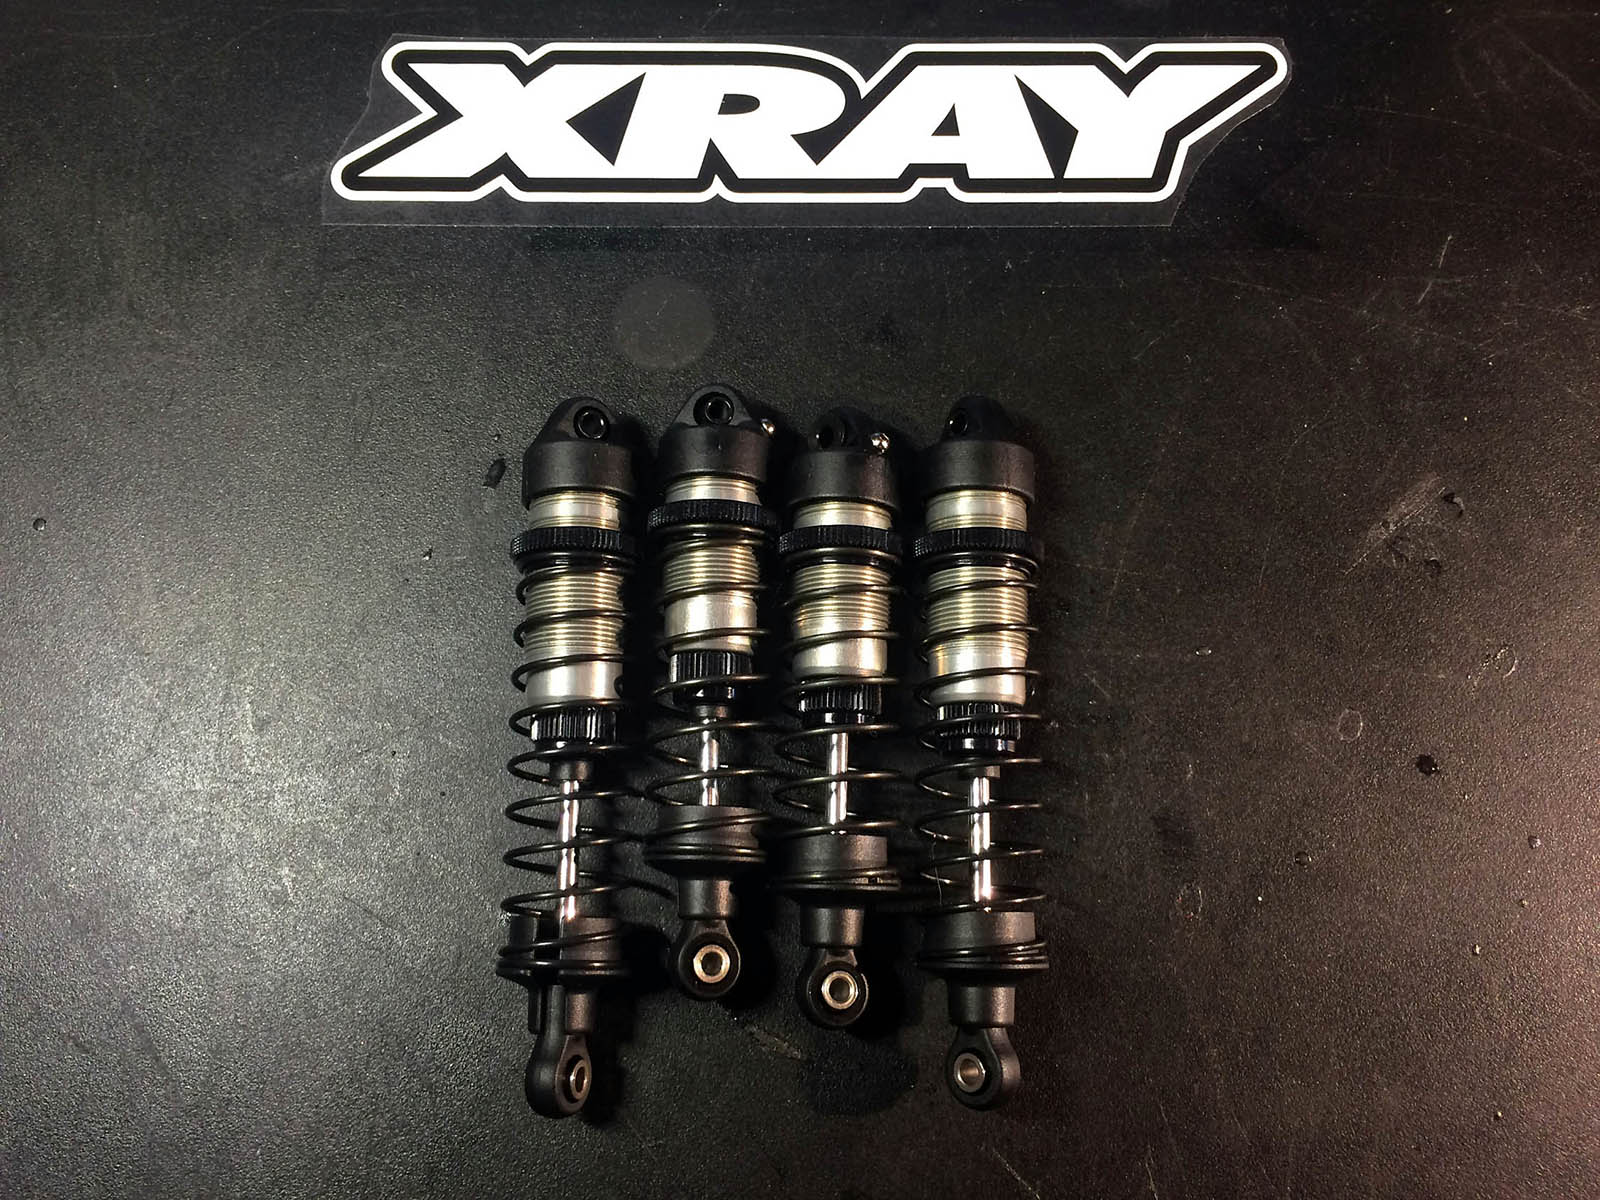
Tip 5: When building the shocks you will need to get rid of the tiny burrs from the pistons before building, just use fine sandpaper (used my nail file) it doesn’t take much to remove them.
Tip 6: Again when building the shocks I screwed the tiny bleed screw into the caps before putting them on as it would be difficult to put them in whilst holding the shock piston up.
Tip 7: Just a small tip when you fit the shock pistons they have the number on the top face so fit them with number facing up.
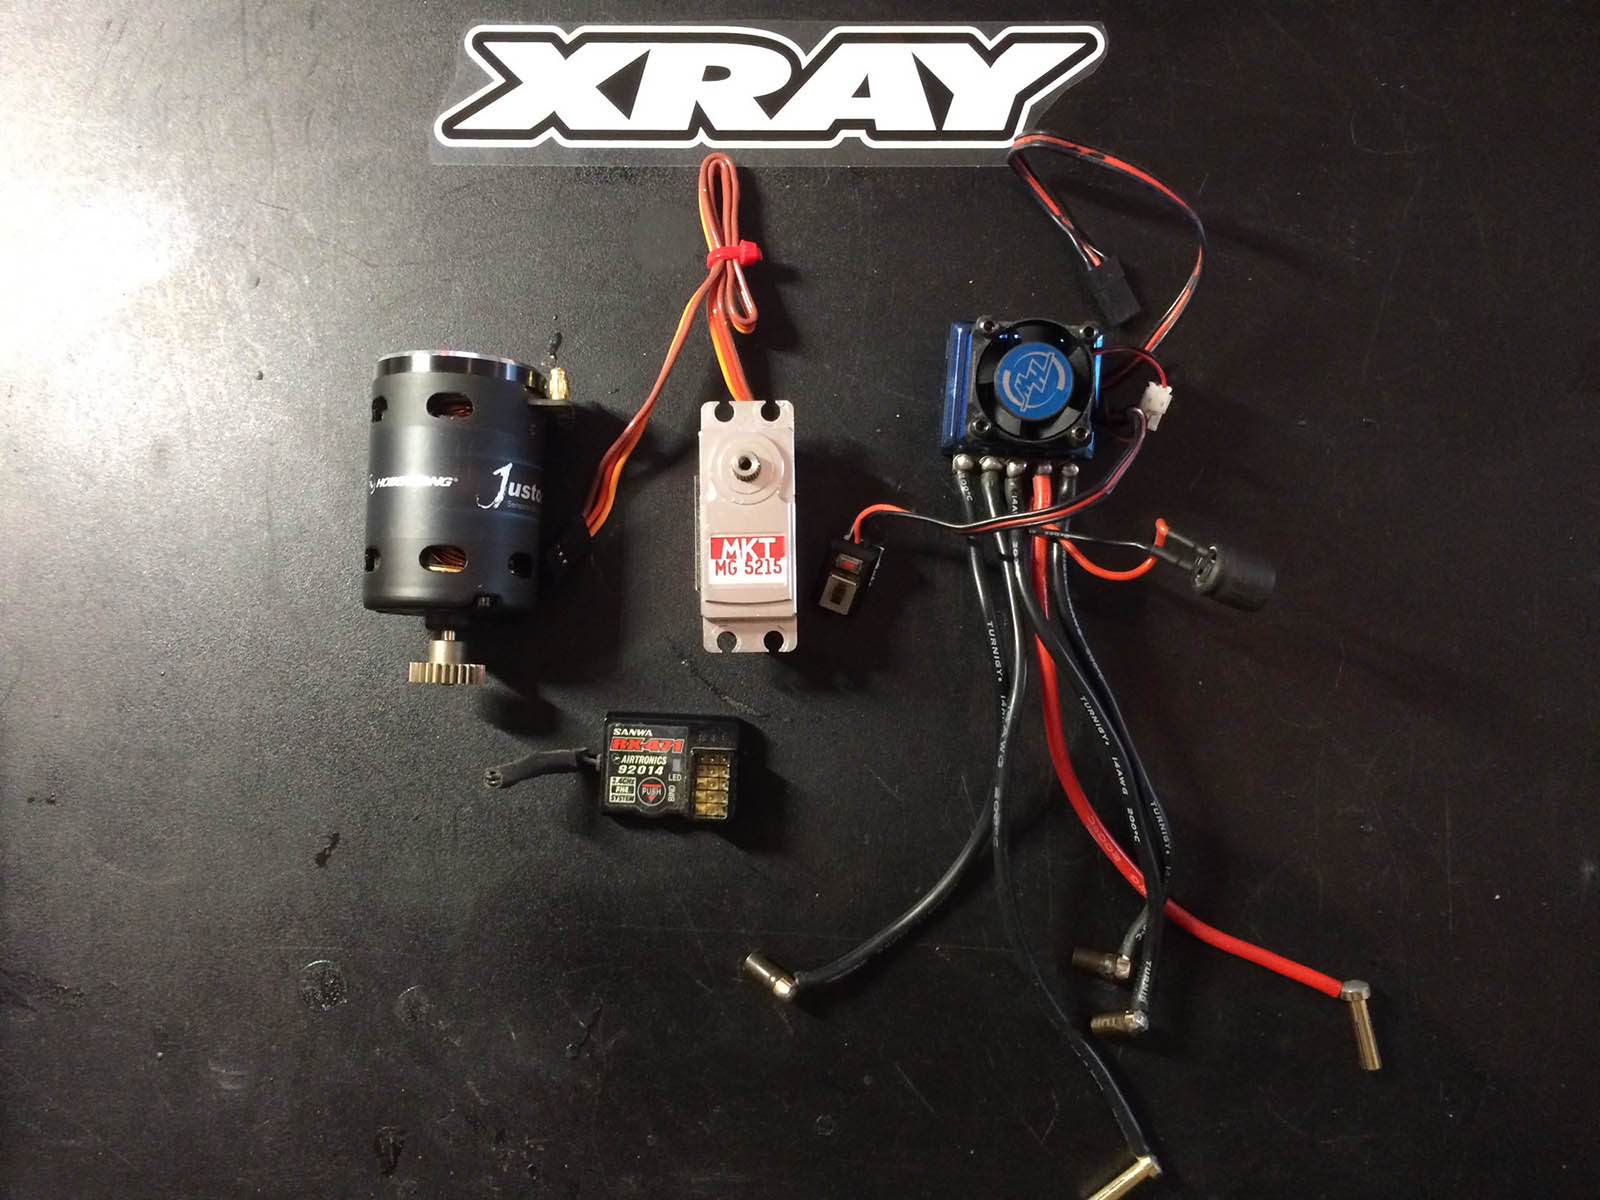
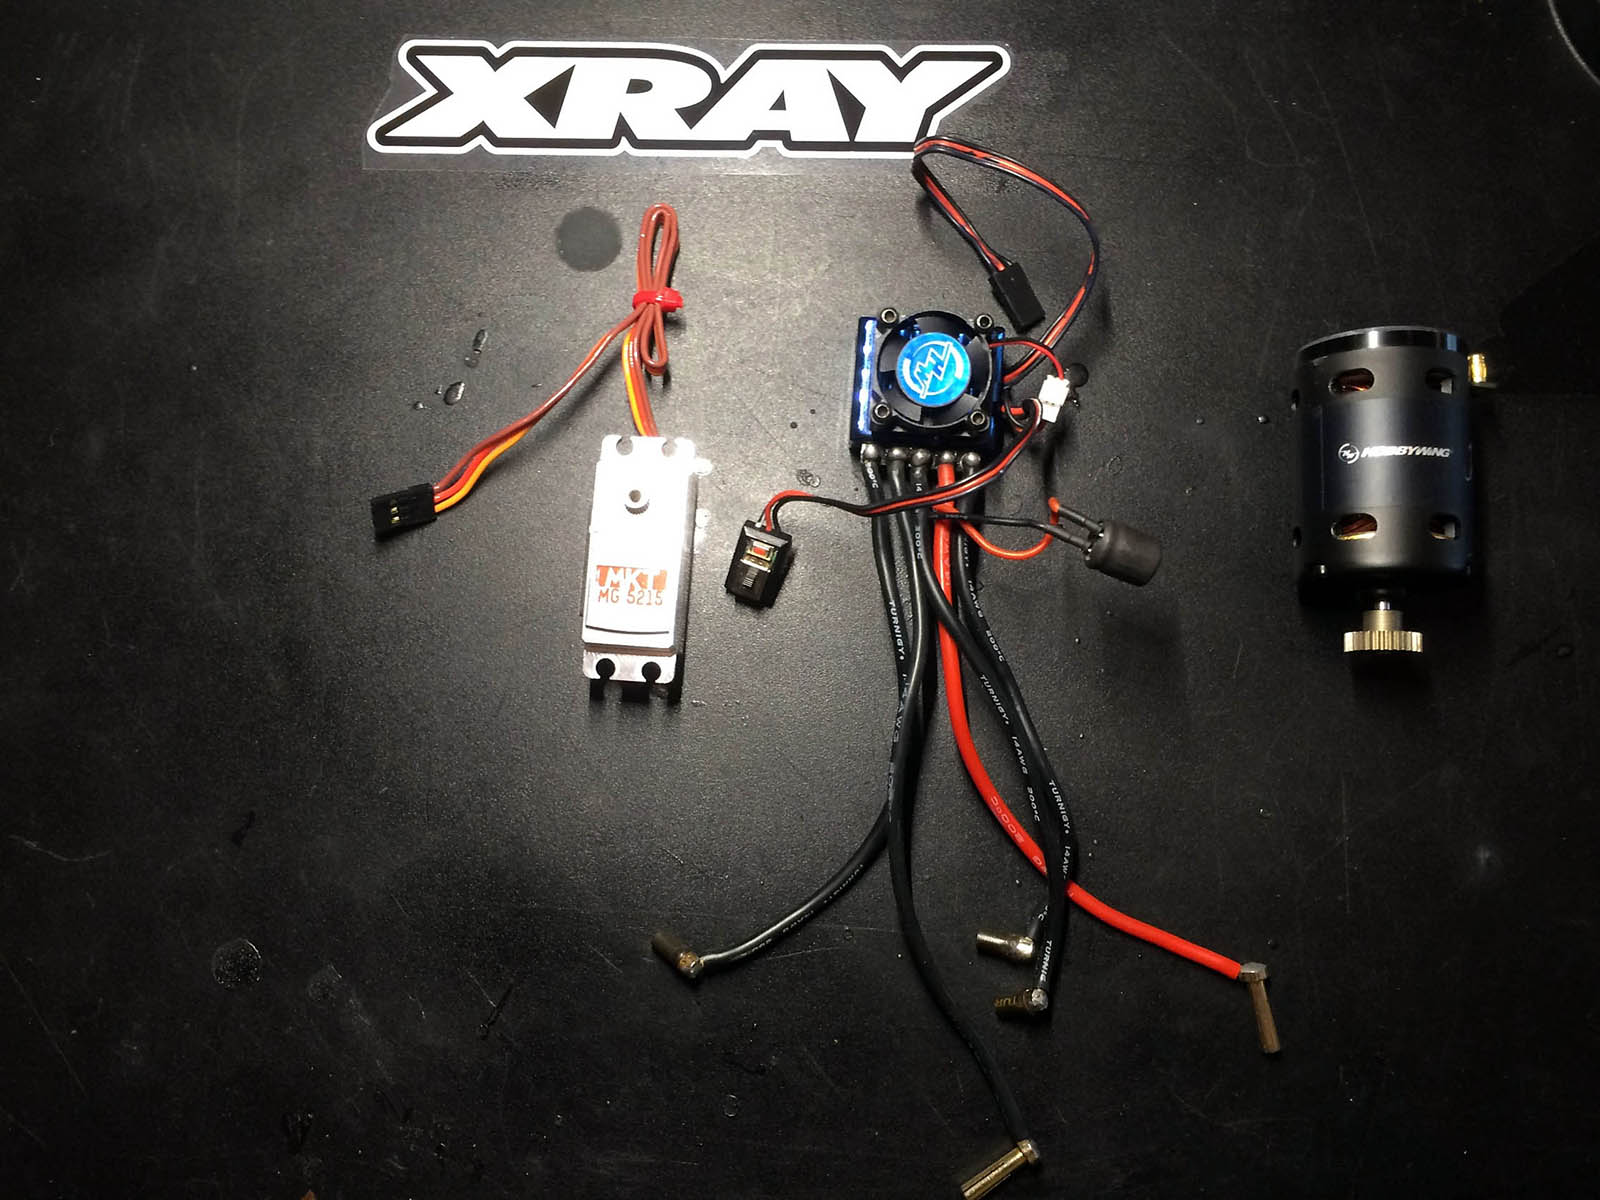
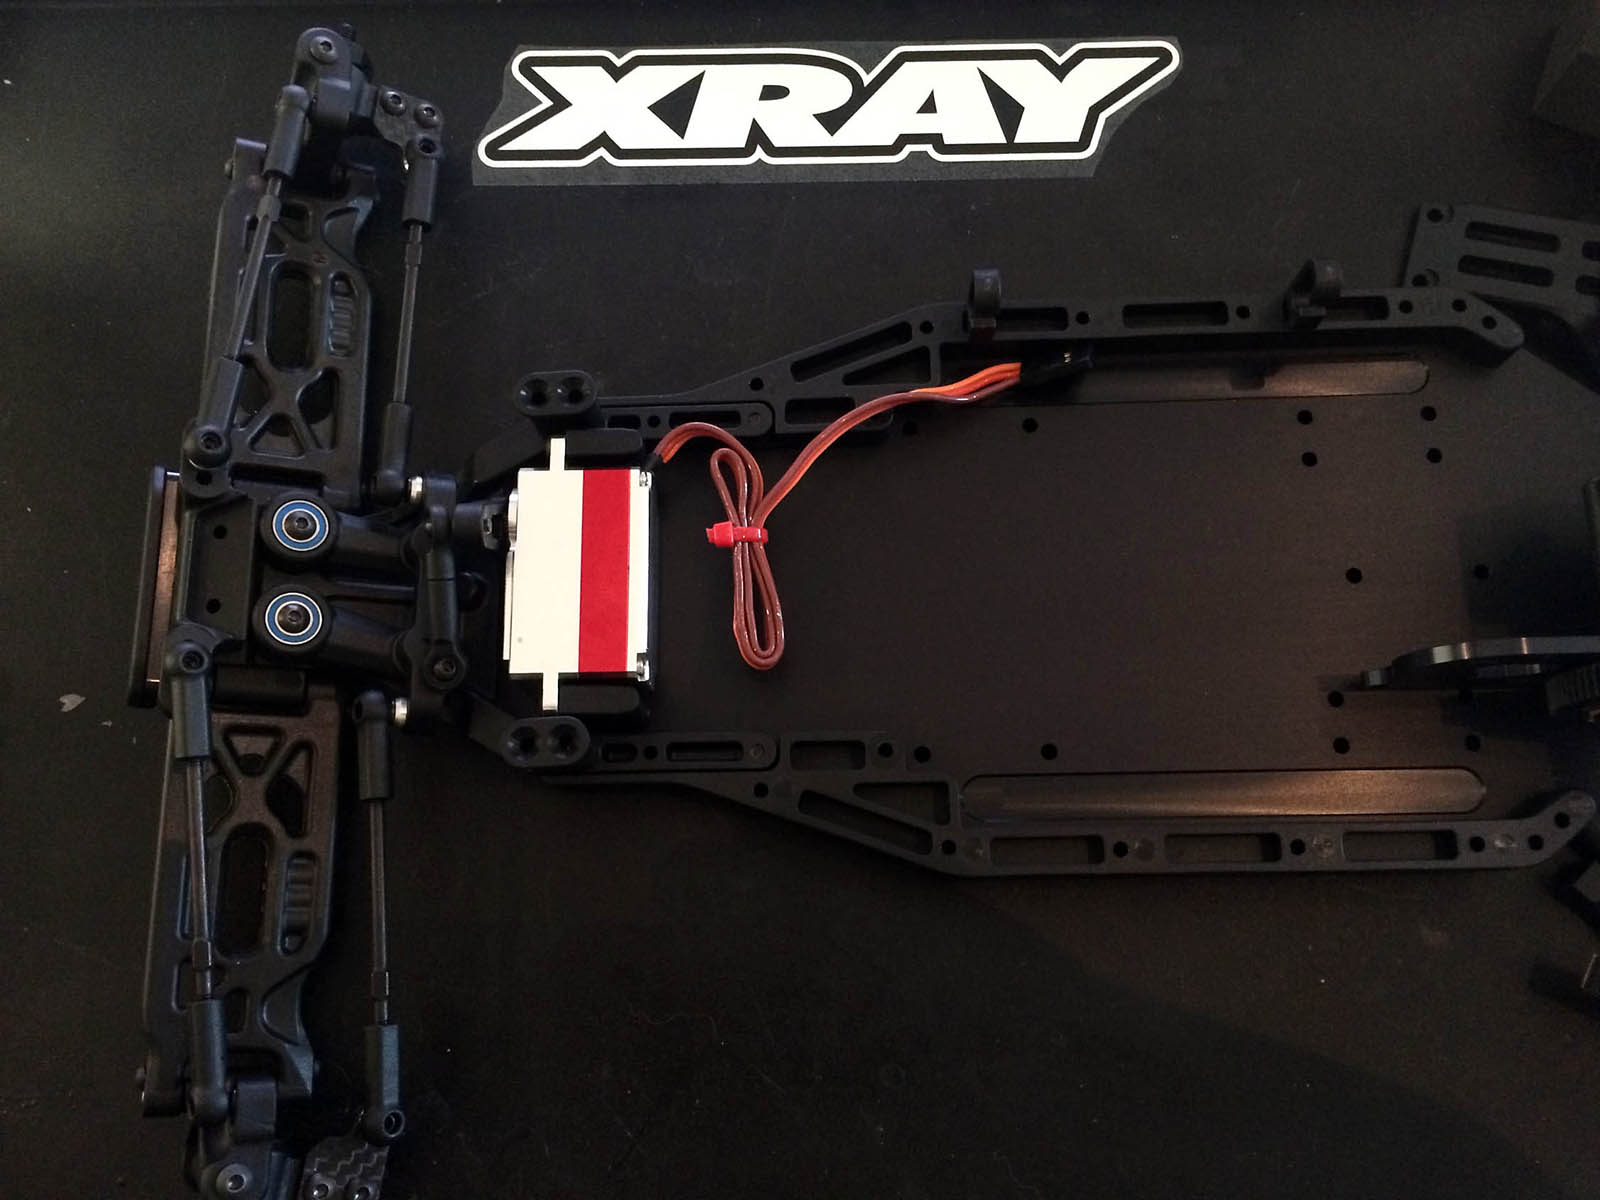
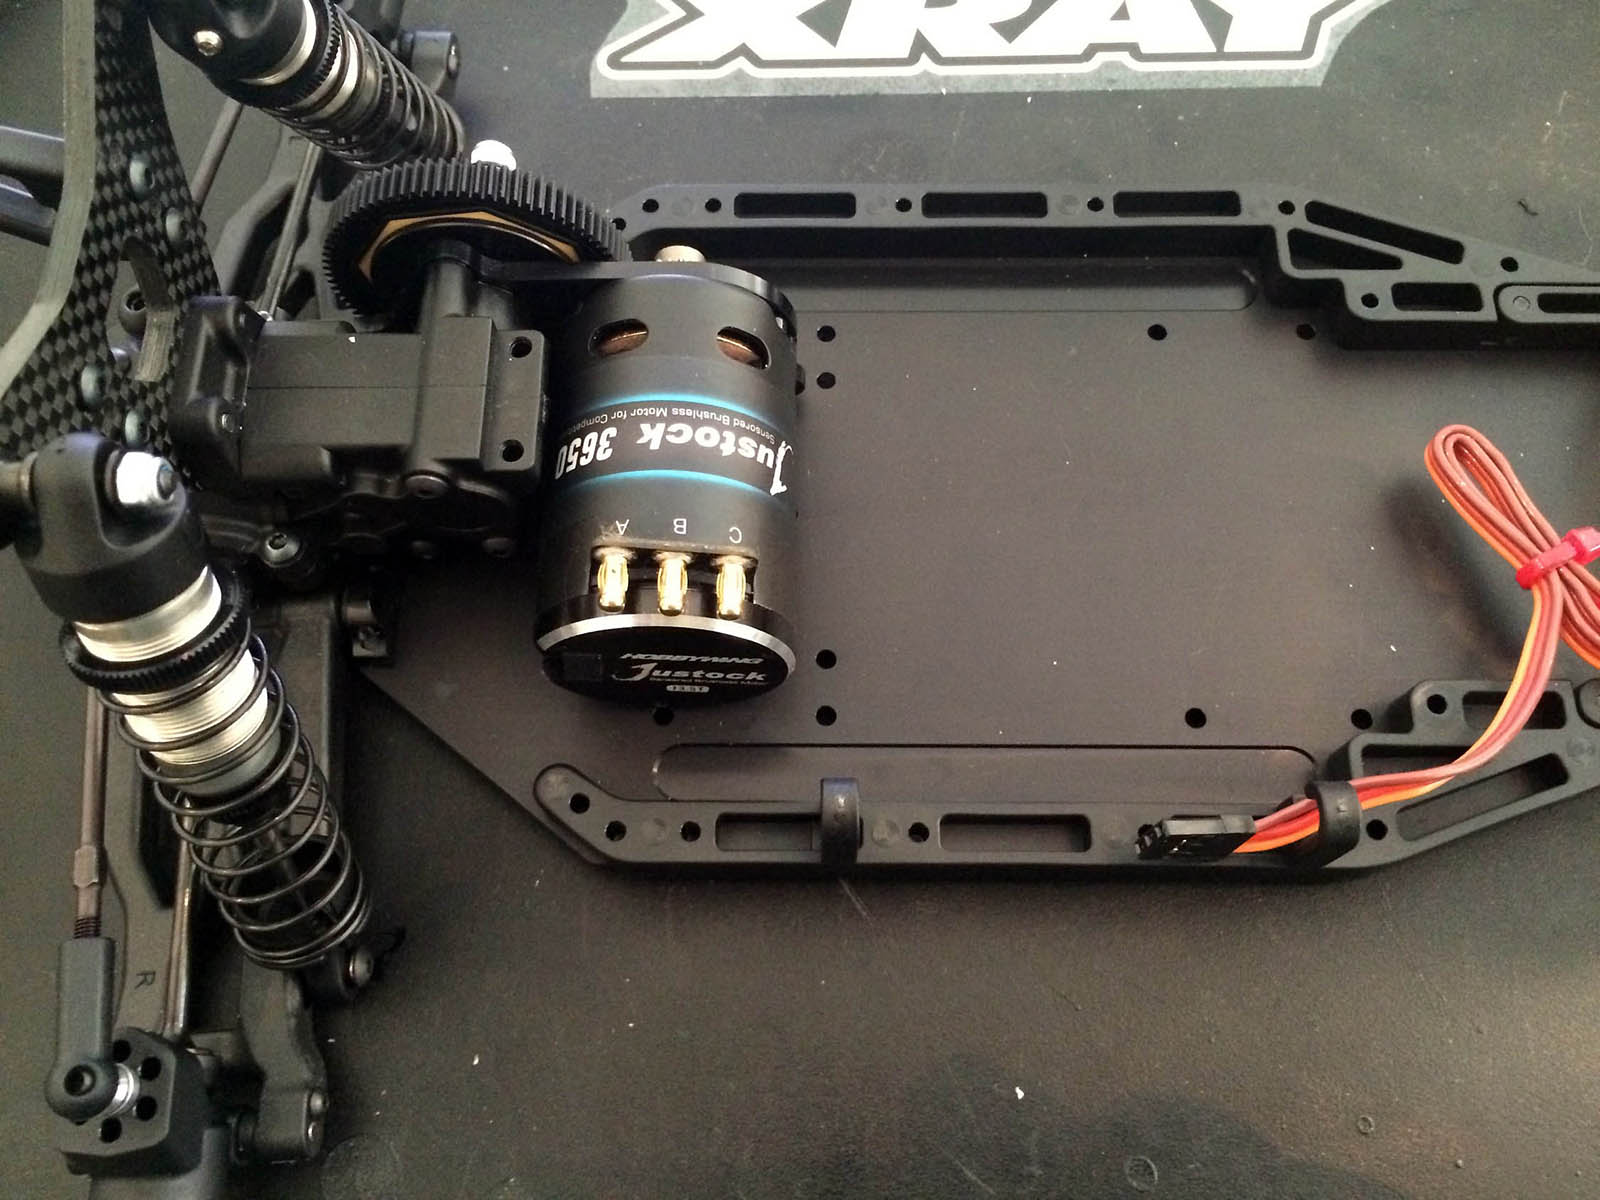
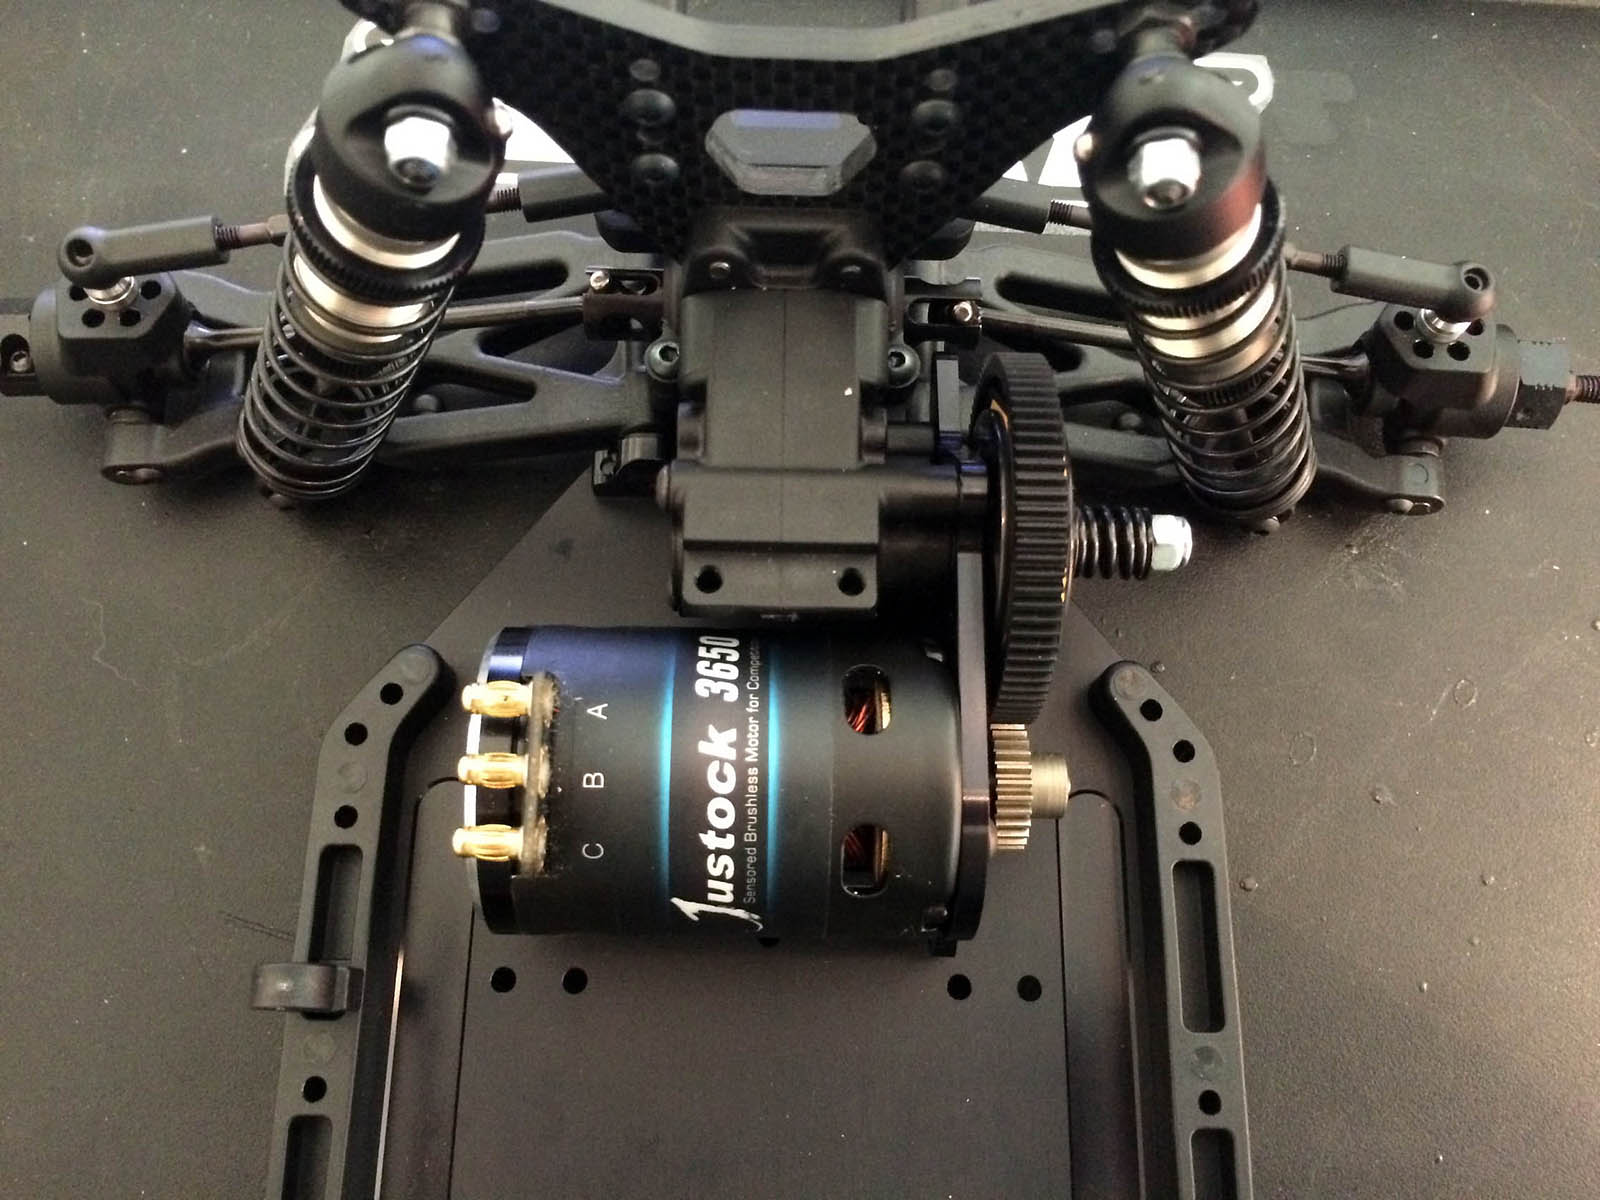
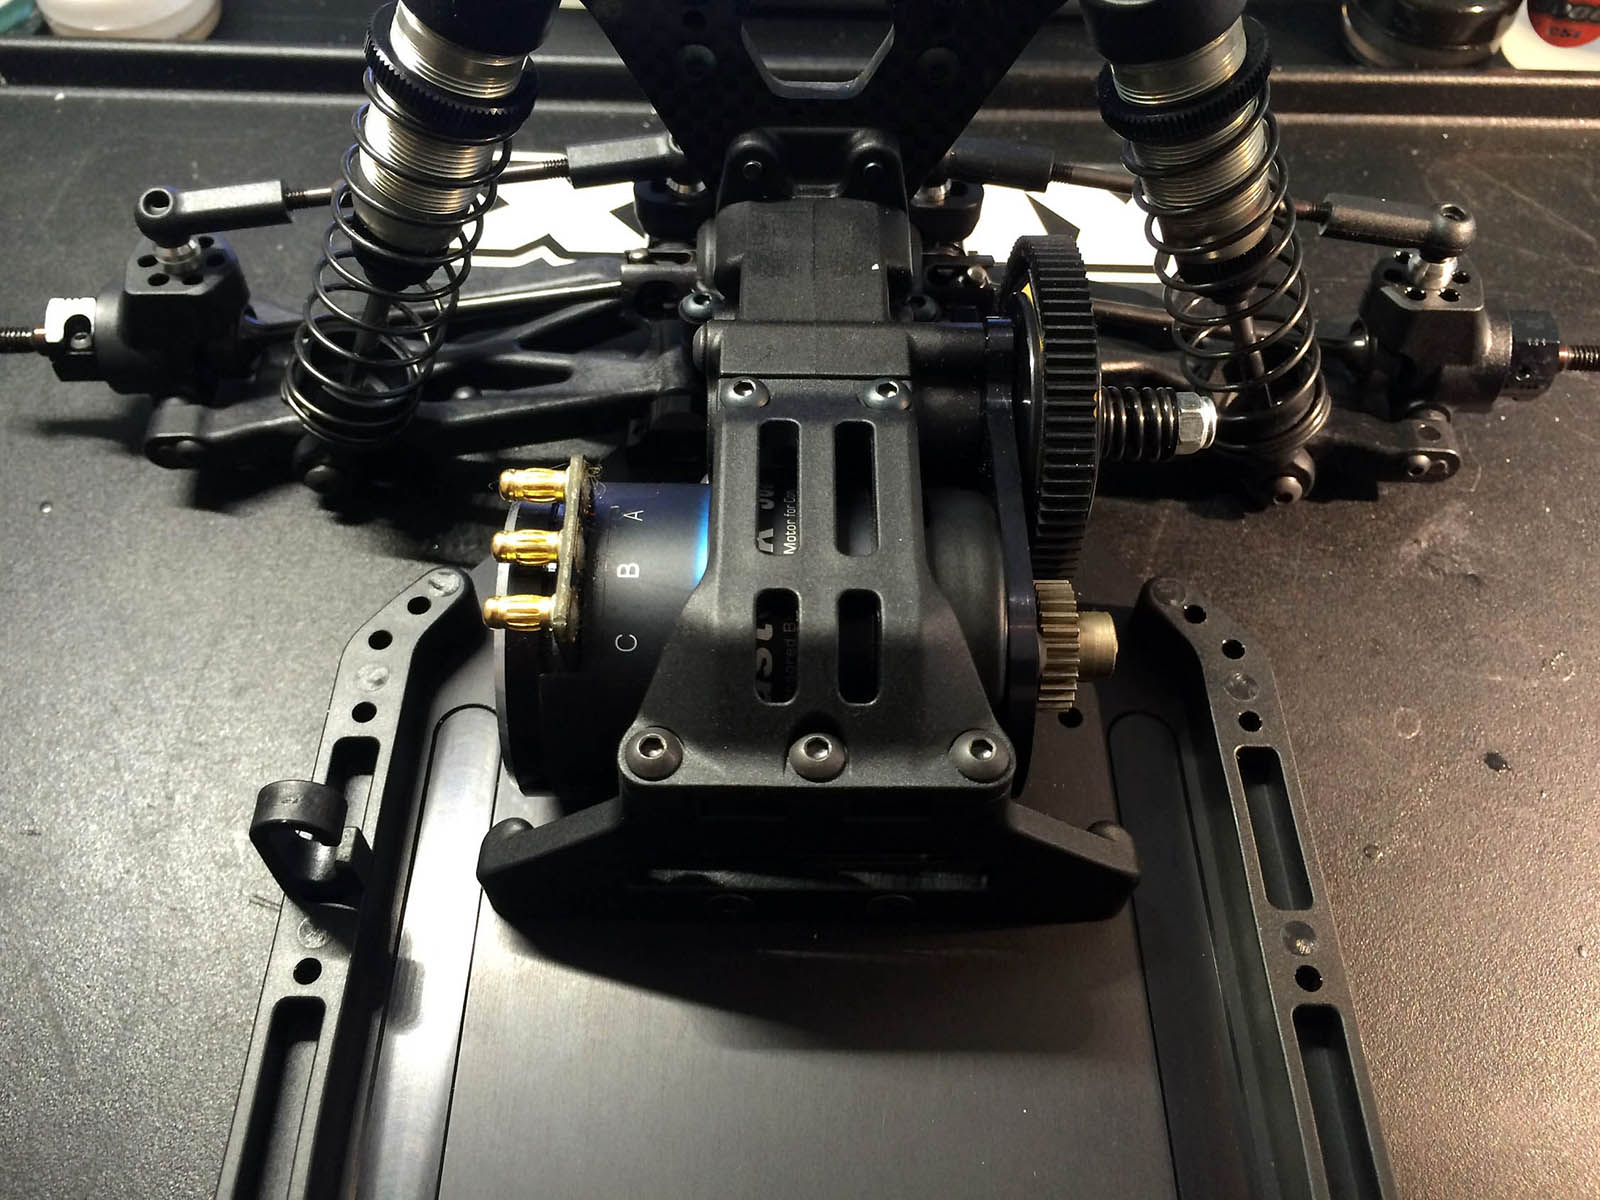
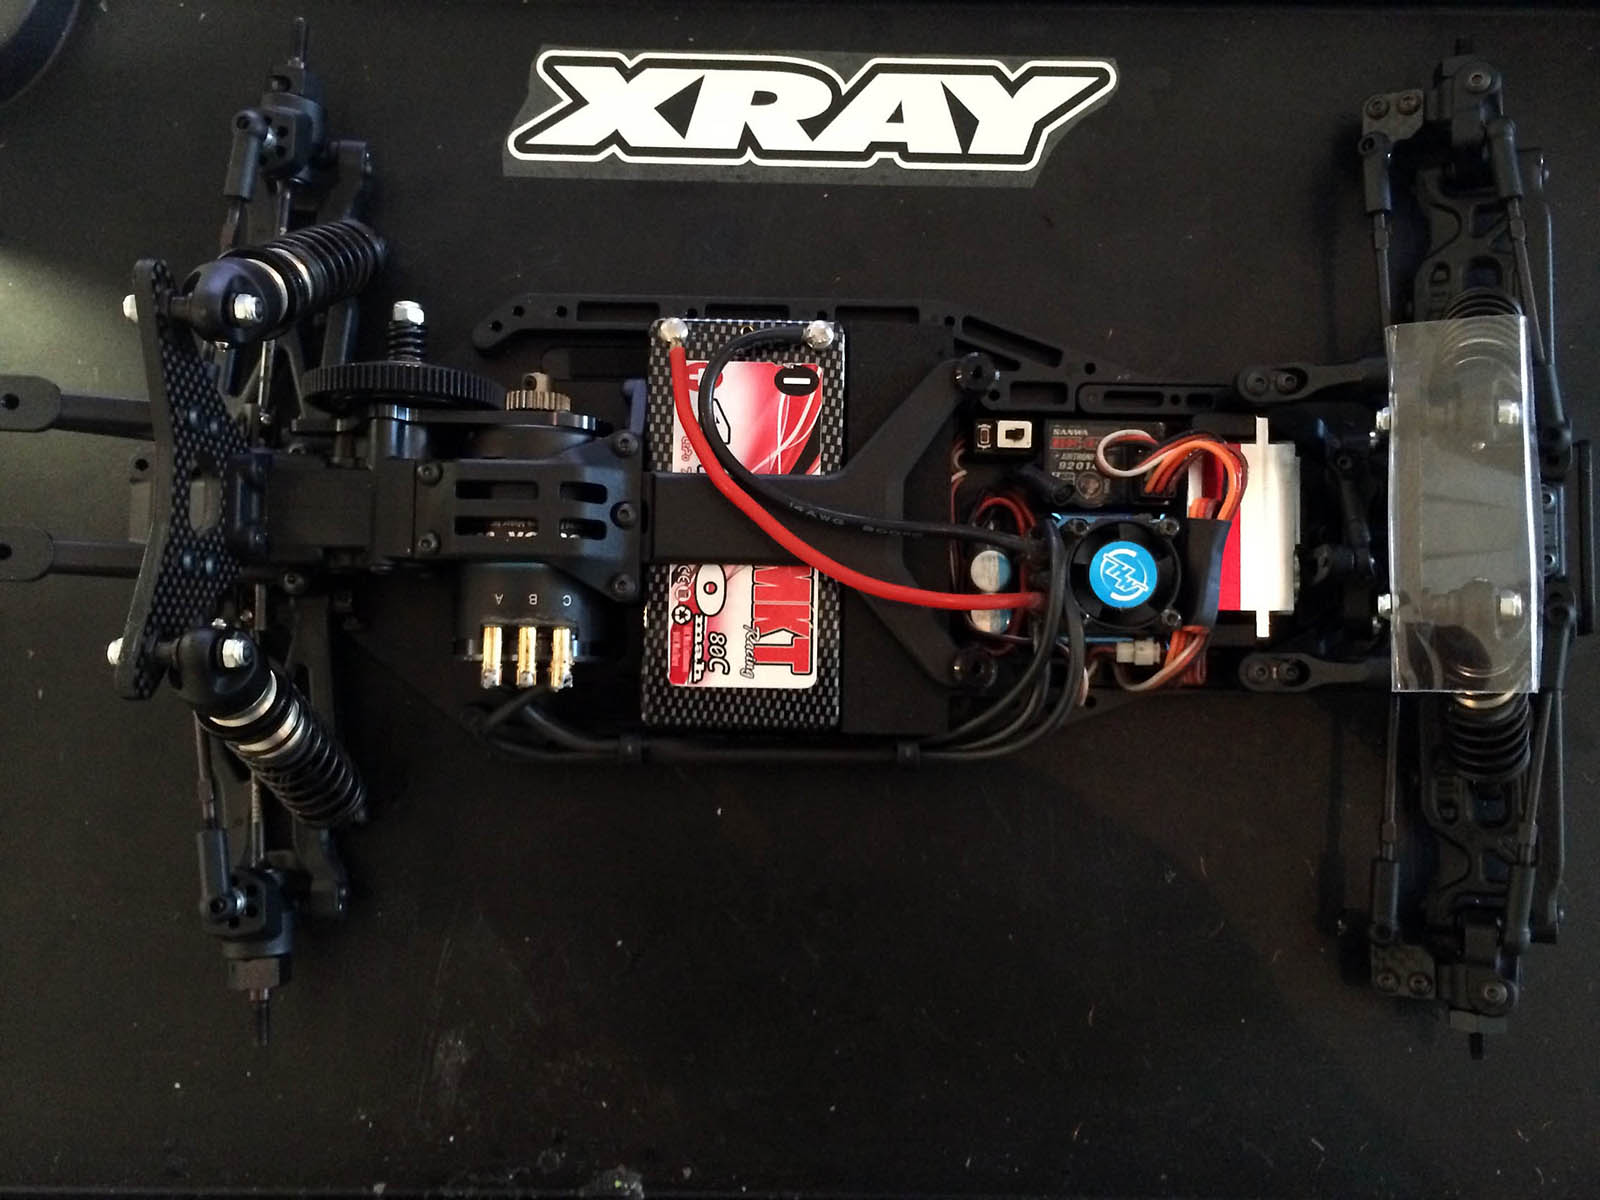
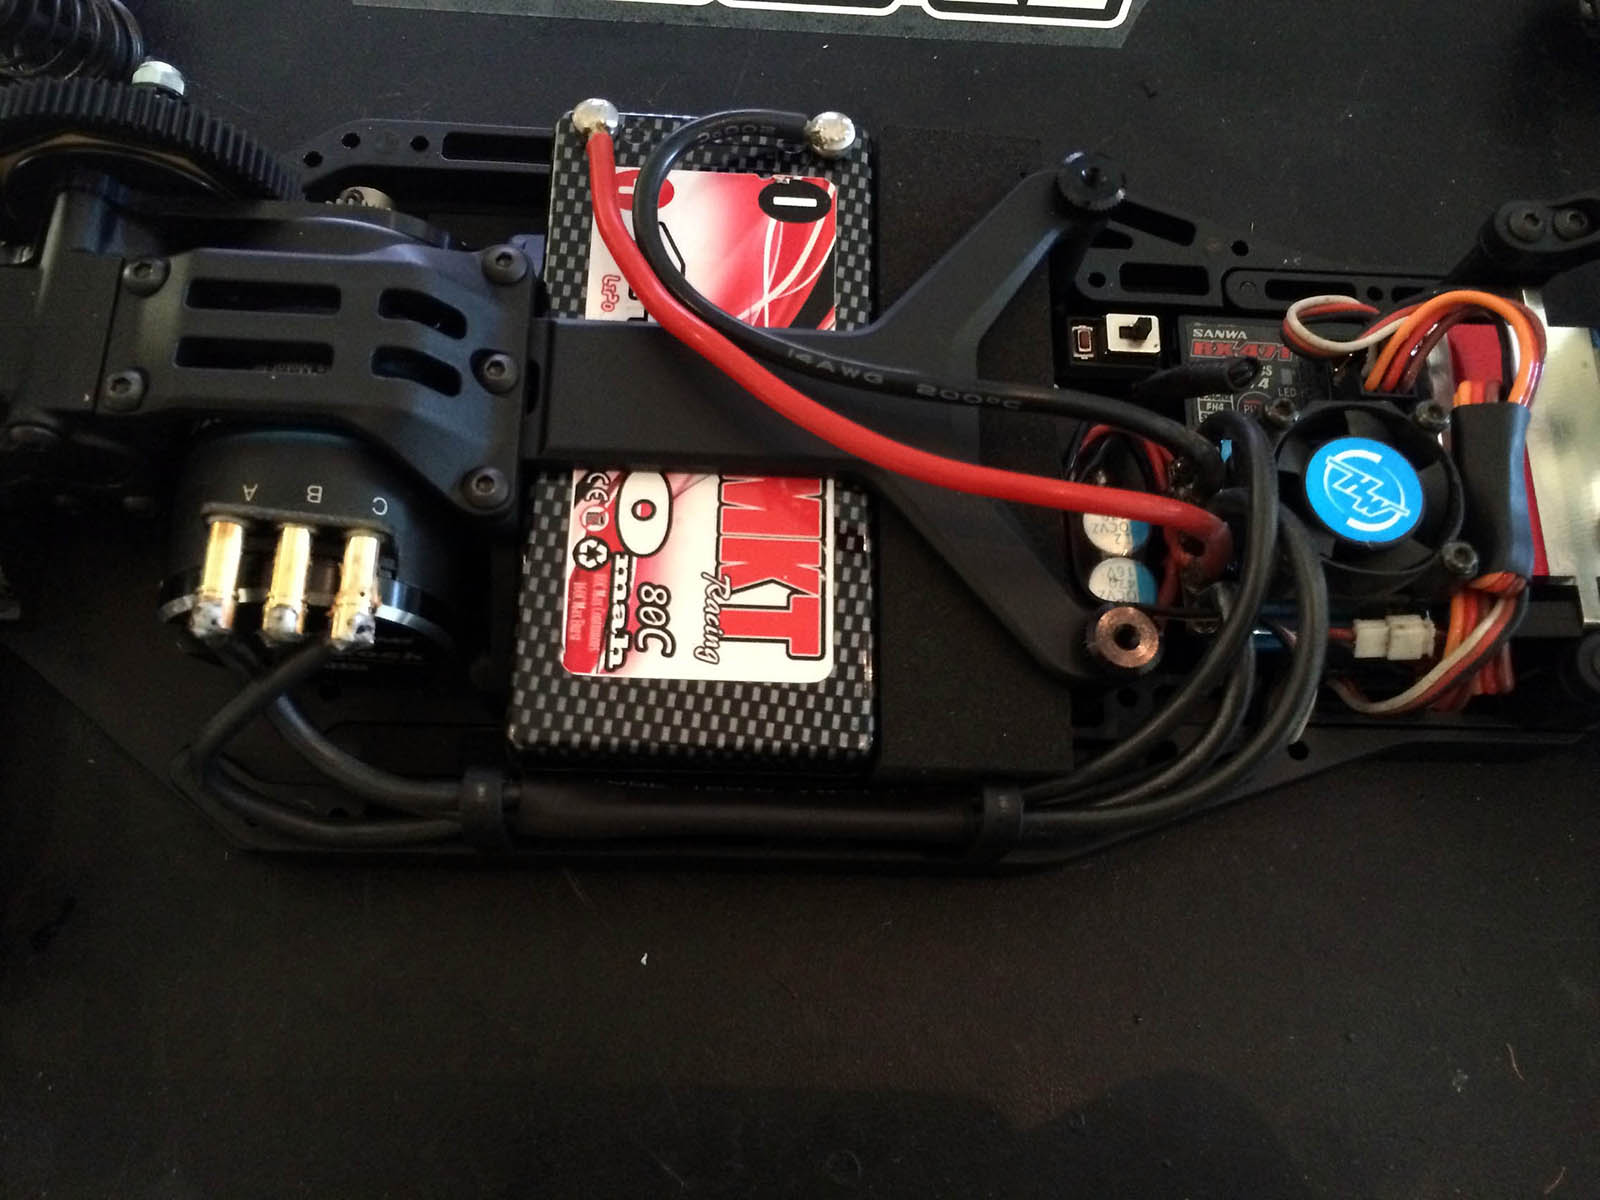
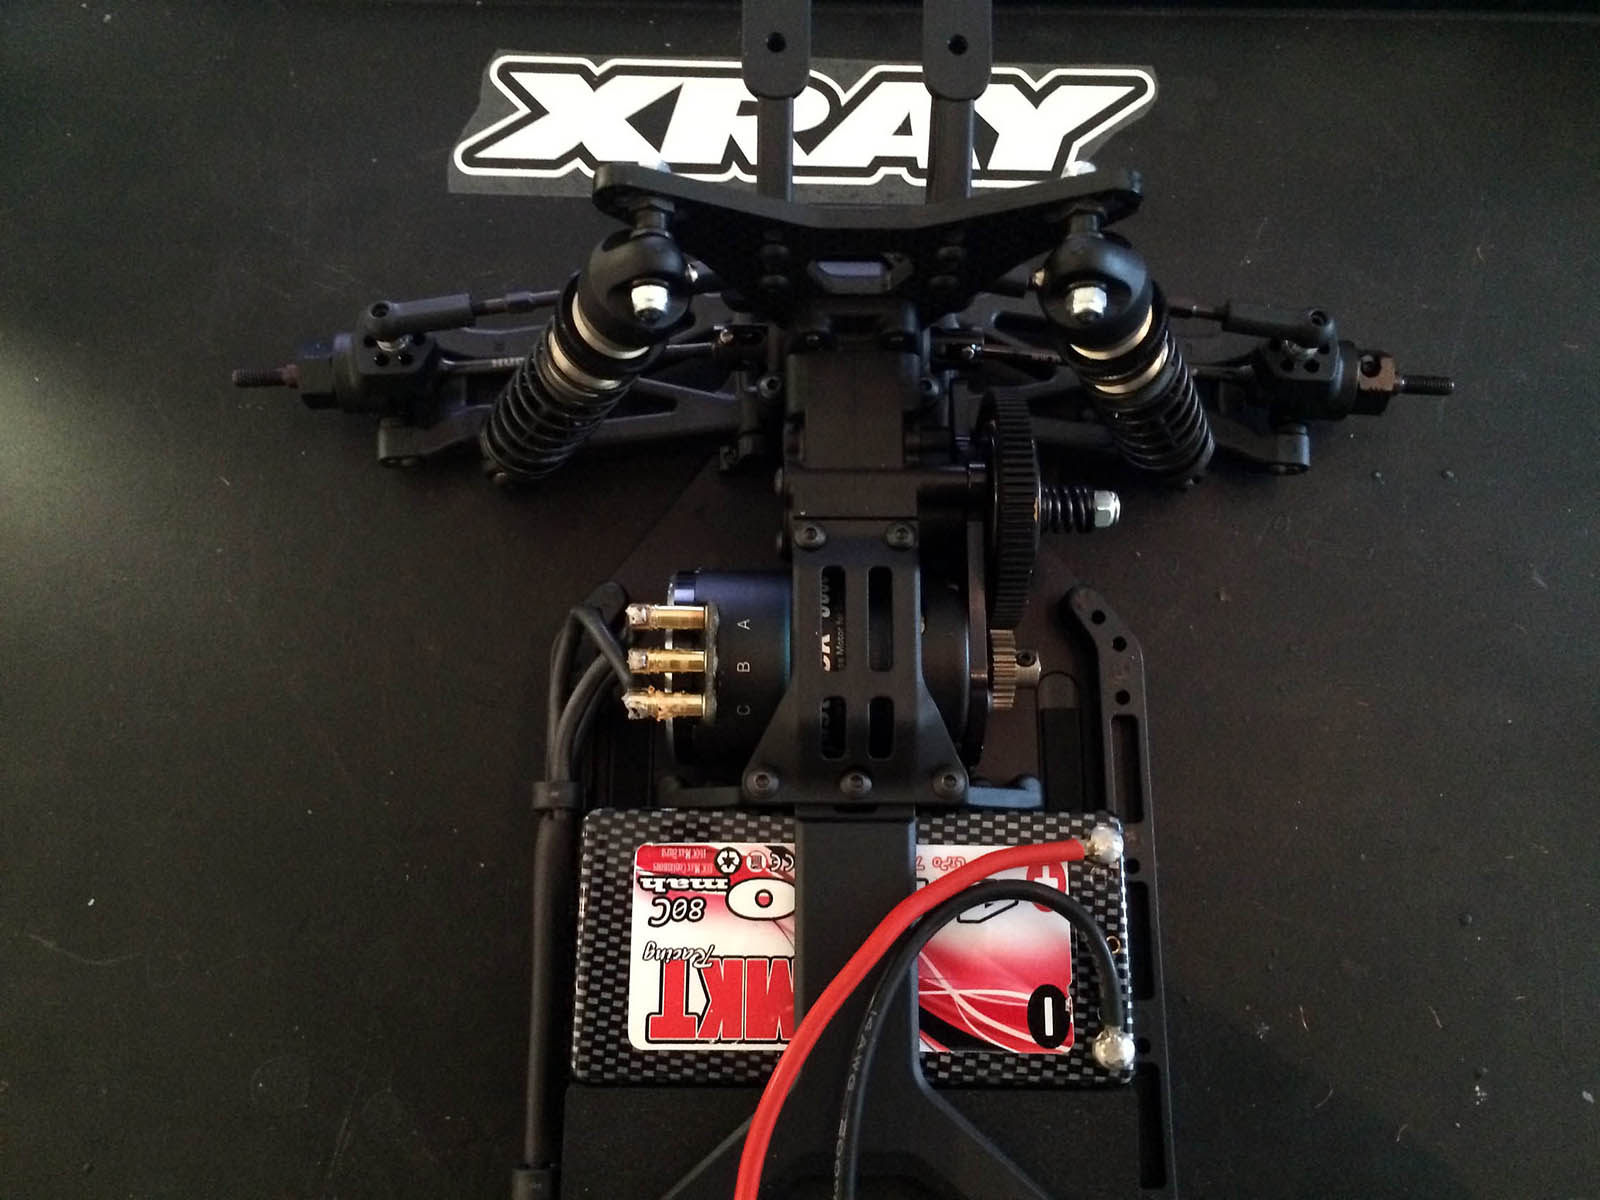
Tip 8: When doing motor and esc electrics, use 12 guage wire as this is easier to fit into the handy wire tidies along with esc sensor lead. Also I put heat shrink over the motor wires only (not Sensor lead) this helps keep them even tidier, leave the sensor wire free so you can remove it if you have to later.


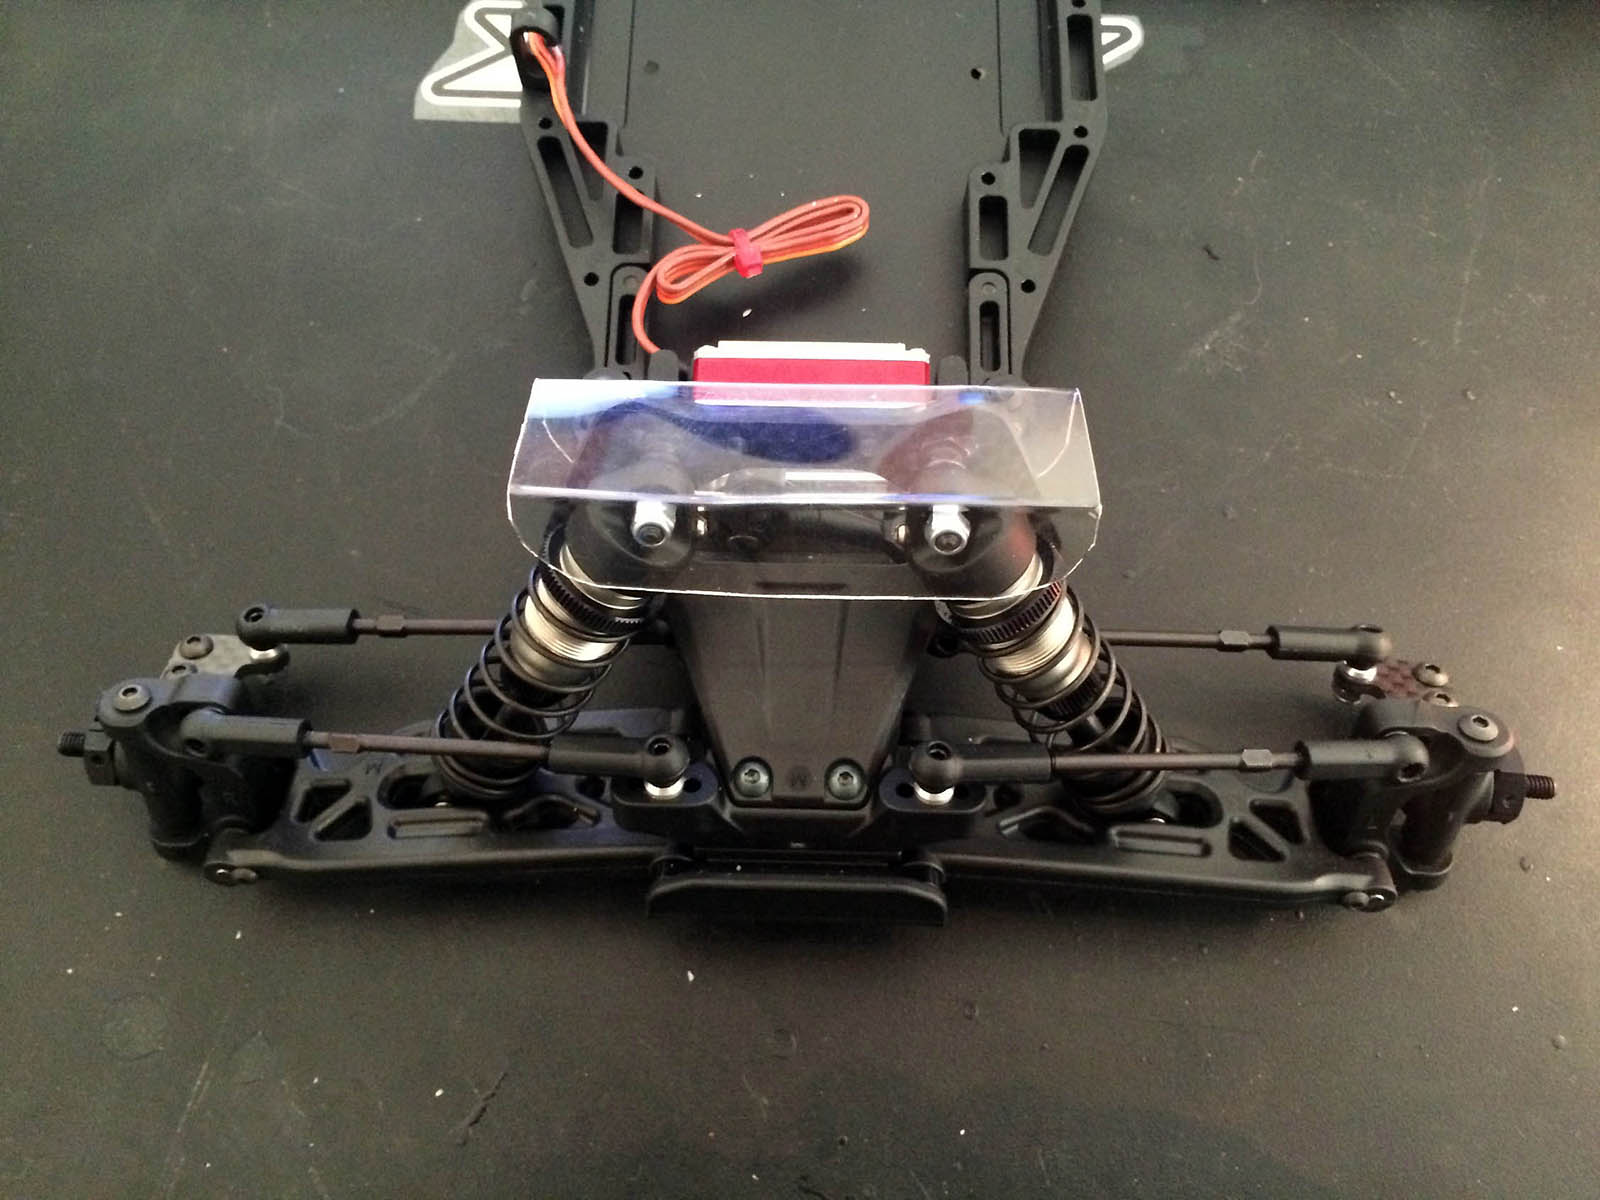
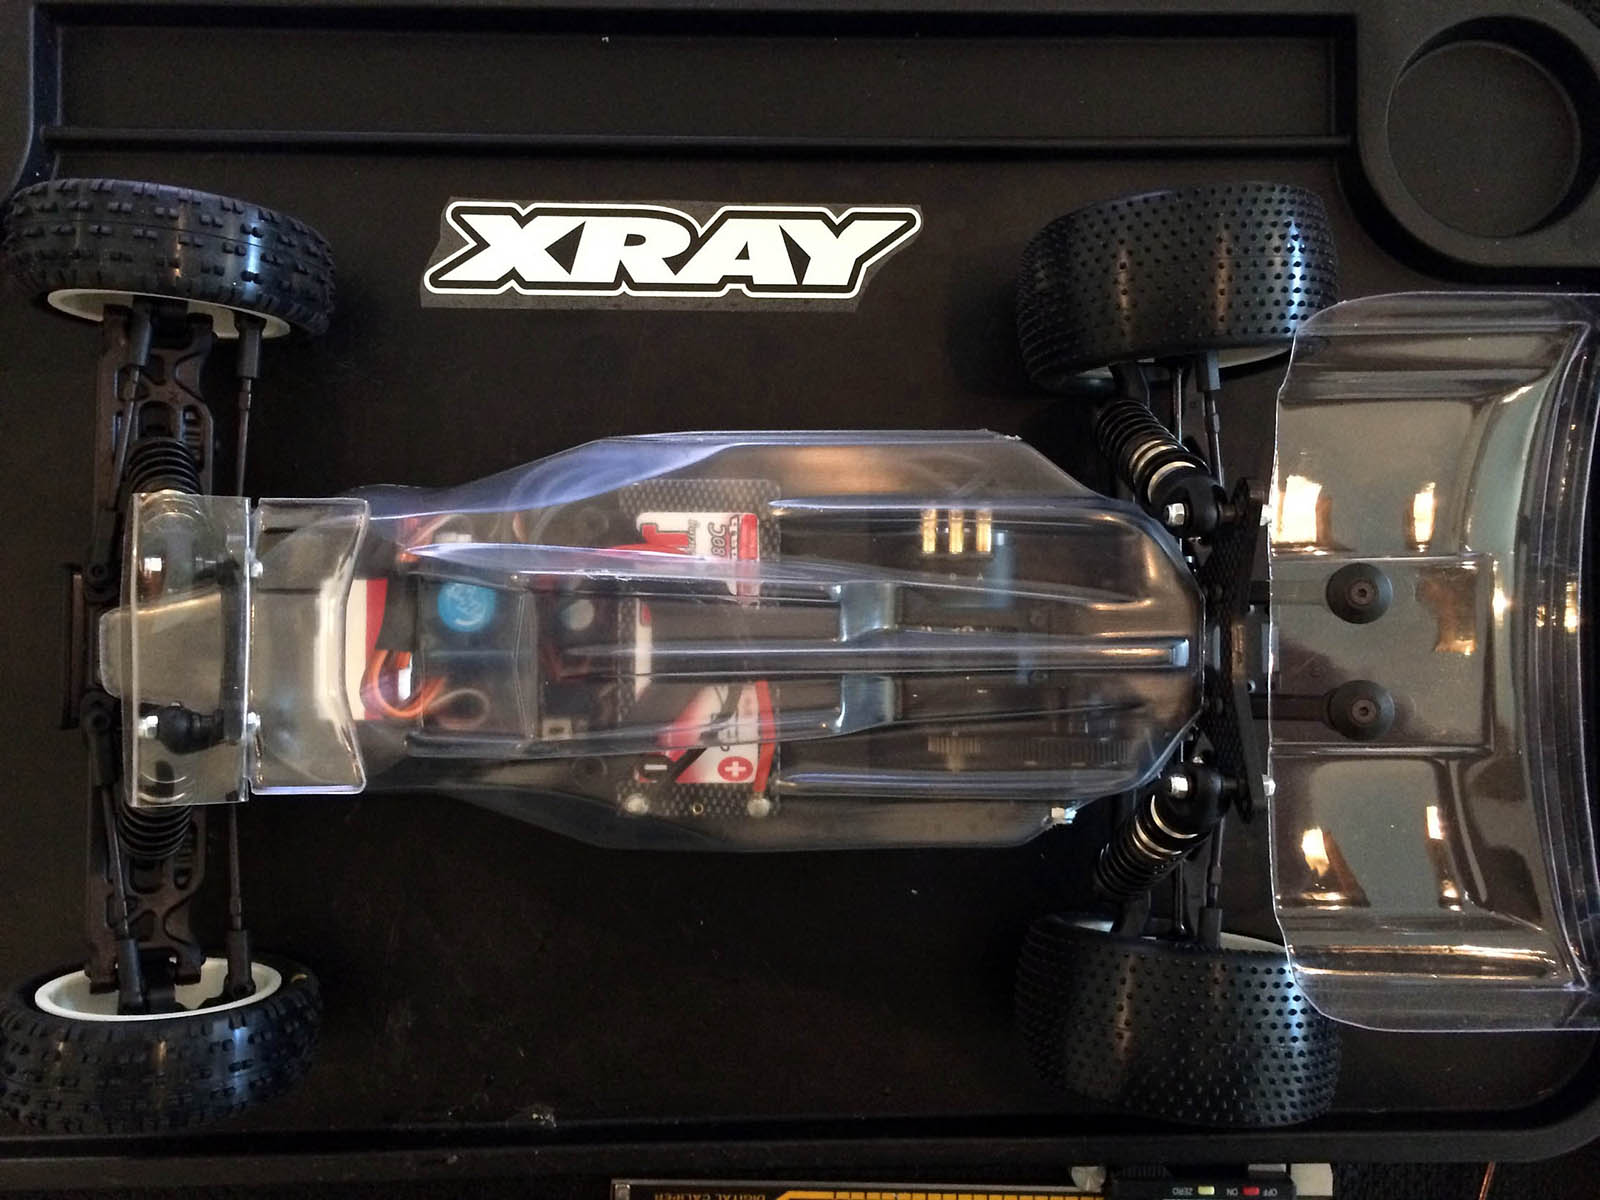
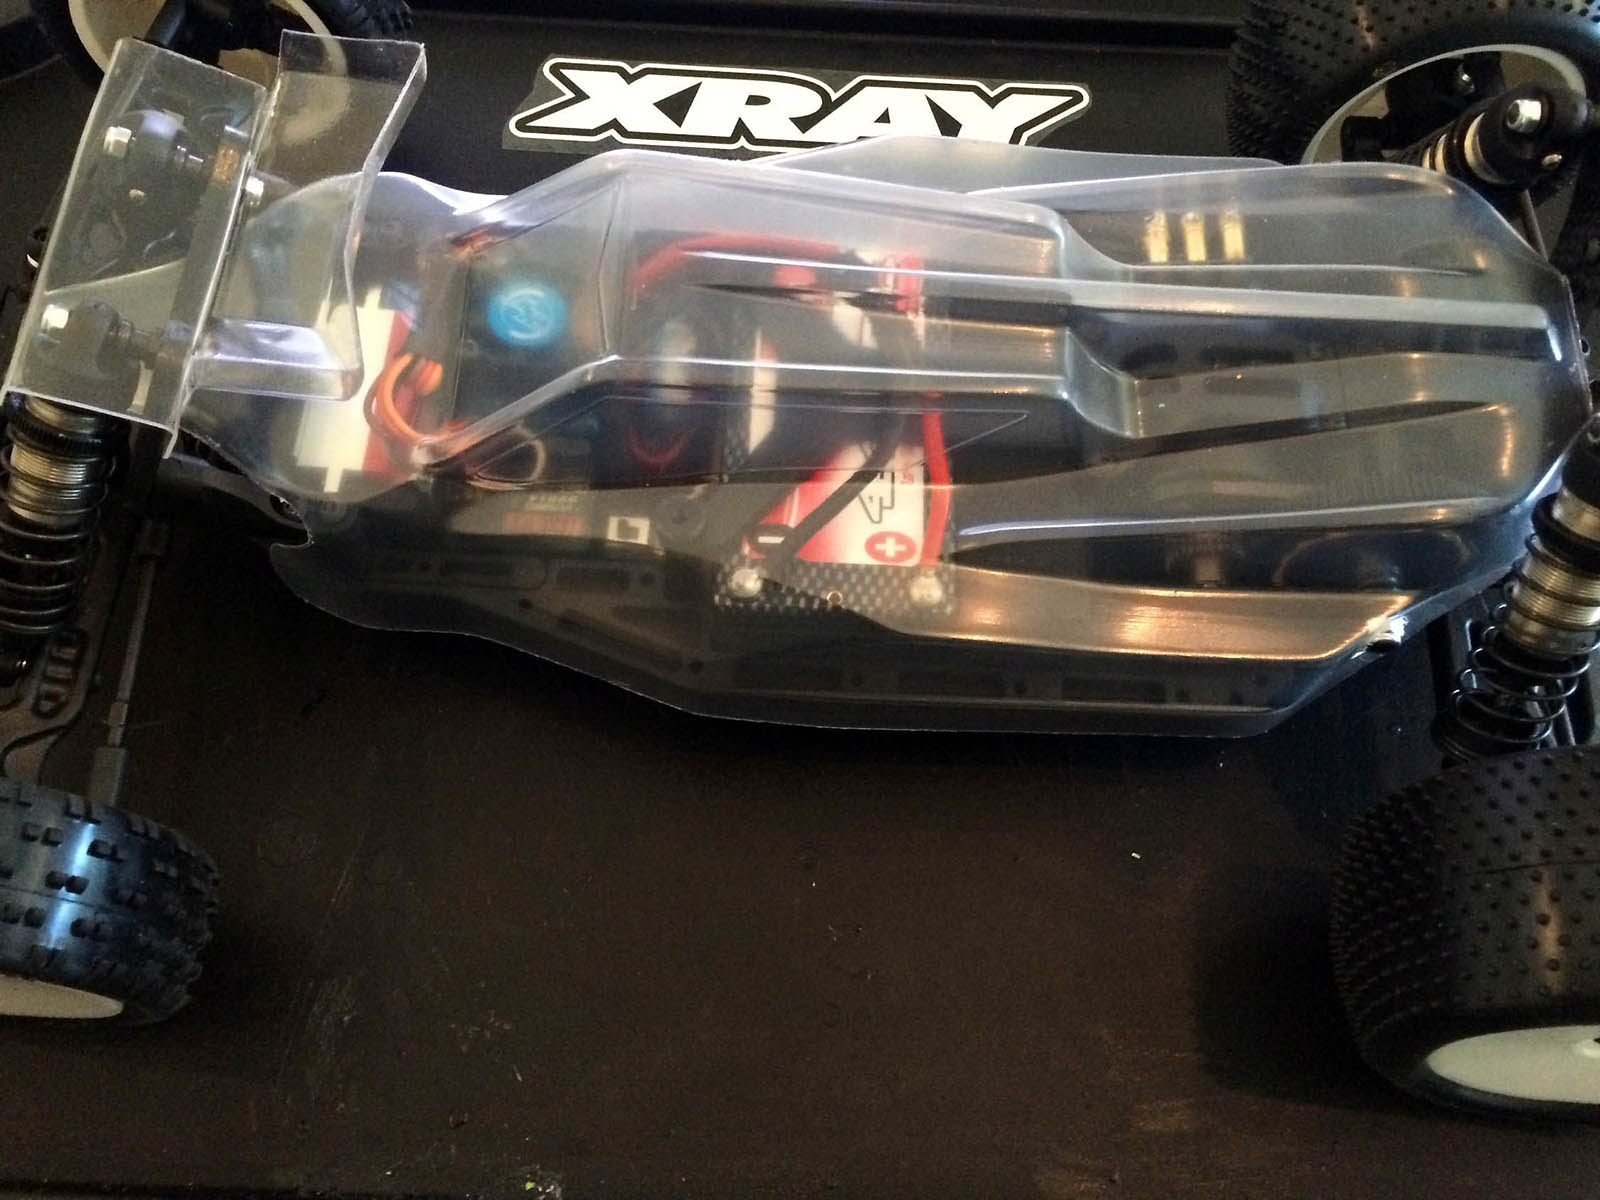
So to sum up, build was very easy and I am pleased with the finished car.


|

