
| Many Family members have
commented about the need to grind a bit on the chassis to fit their
servo. Here's the history:
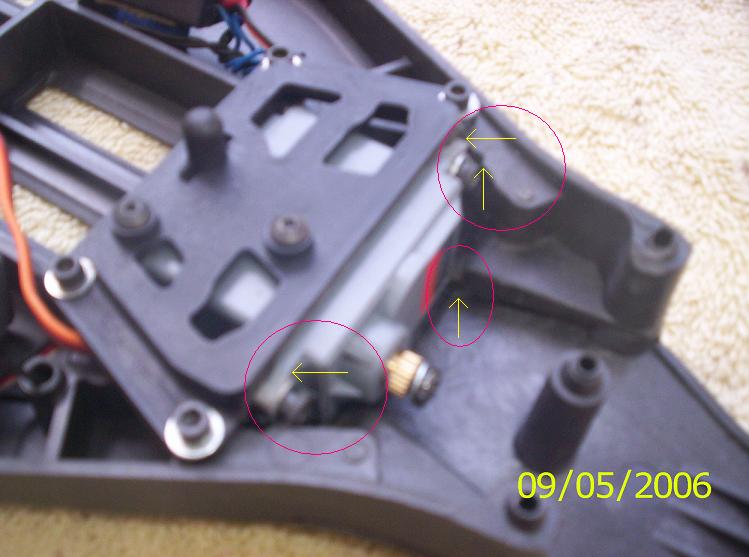
The very first machined Delrin chassies were made just like a Losi XXX chassis, and the two front "arms" broke off on the first battery pack. Greg did a great job gluing them back together and we kept testing, but for the second batch of fiberglass-filled Delrin prototypes we added lots of material for strength. Notice the thick spot in the side of the chassis, as well as extra material on the floor in front of the servo.
We added too much on the floor, and the Boyz had to grind off a lot to fit their servos. When we made the magnesium chassis, we took away some material there, but a lot of grinding was still necessary. We removed still more material for the production prototype molded chassies and held our breath.
The Boyz still had to grind some, but no molded chassis broke. So we really held our breath, removed a bit more material, and went to production. It's almost right, but we'll take more off in the second batch of production, sometime next year.
You get the best of both worlds. By custom-fitting your servo, no more material than is absolutely necessary is removed, so your particular servo fits and the maximum material is there. As this is written, no one has reported breaking a chassis there, so we think this is actually a good thing.
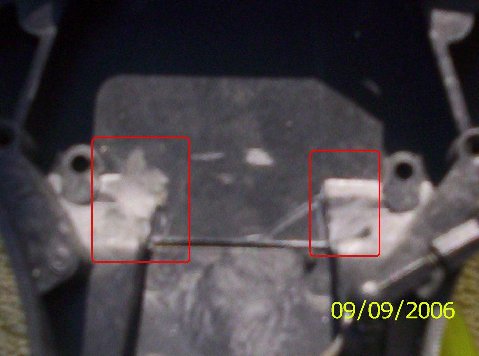
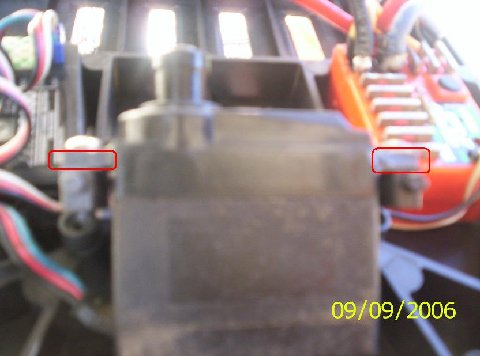
Do it carefully. It doesn't really take more than about five minutes, and you only need to do it once. Follow instruction A4. We've included with this article some pictures from Joey King which show how he did it. A bit more history: At first there were only going to be six bags in the Kit, but we decided to have you do the servo first so nothing would be in the way while you install the servo. That's why Bag G has so little in it -- G and A were supposed to be one. Special thanks to X-Factory family member Joey King for the pictures. |
Source: