|
- TRF211XM - Jason Moggridge - Build Hints & Tips -
OK, finally managed to build the new TRF211XM which I’ll be giving it’s first shakedown on an astro track later this week. Overall the build went very well, but I wanted to share some tips which are not all that new, but really helped me out and hopefully helps out others.
First off, what additional items did I add to the build:
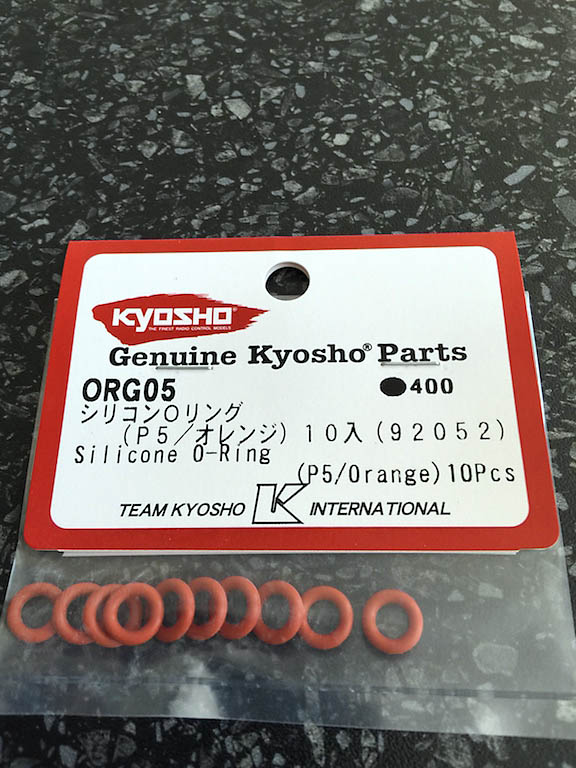
The standard black Gear Diff O-Rings have been replaced by Kyosho O-Rings. This will help stop the gear diff from leaking oil over time.
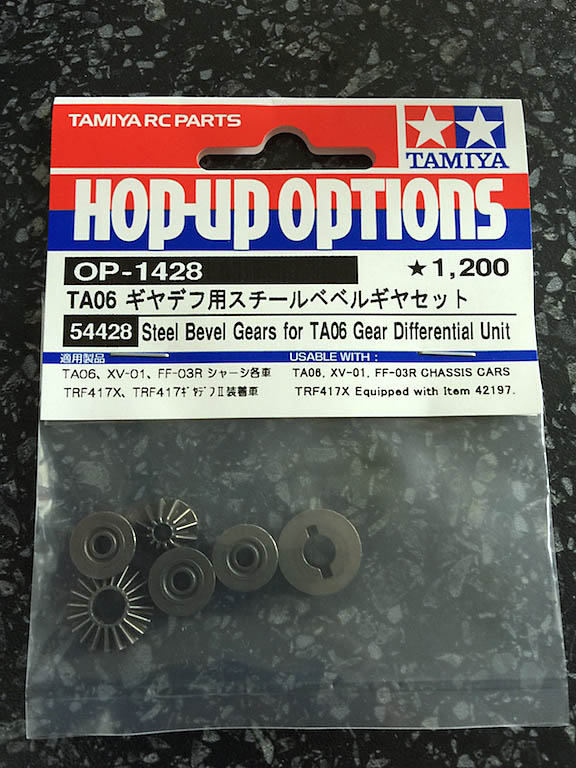
In the standard Gear Diff, the 211XM is supplied with plastic gears. Although this would make the diff incredibly light, I’m not sure on it’s strength for off-road, so have replaced the gears with steel gears. This does make the overall gearbox a little heavier, but for me well worth it.
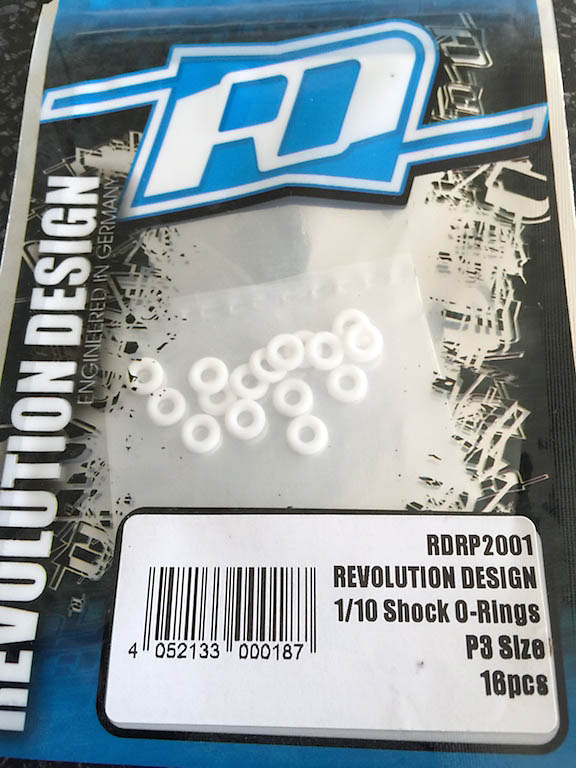
I decided to replace the standard blue shock O-Rings with aftermarket replacements. If you want leak free shocks, something I recommend.
The standard Slipper Pads replaced with Team Associated pads.
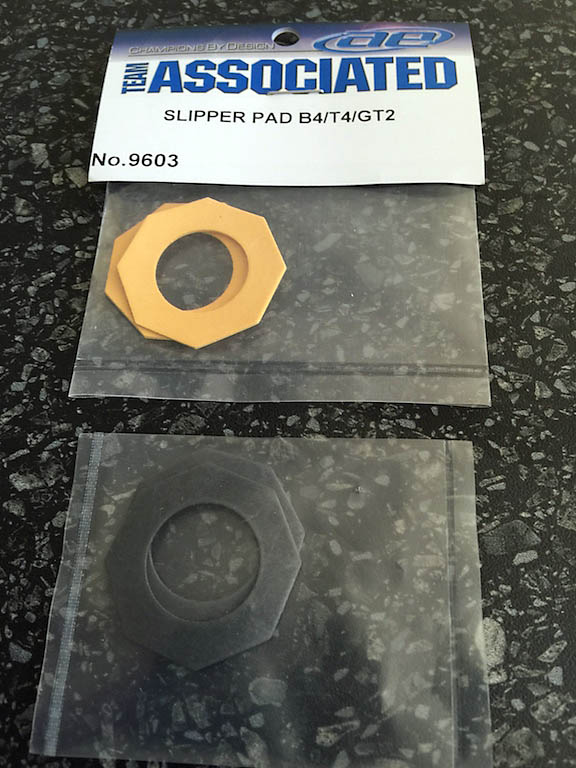
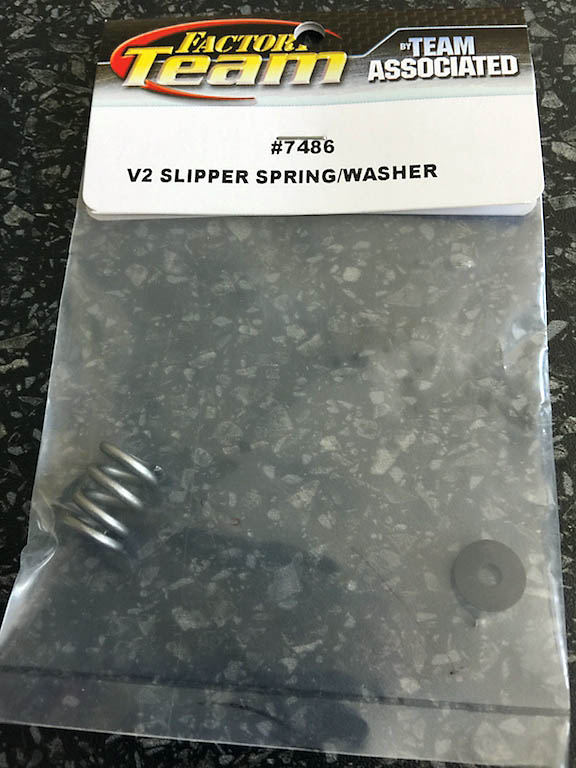
The Slipper Spring replaced with Team Associated spring. I will be testing this against the standard kit spring to compare slipper consistency.
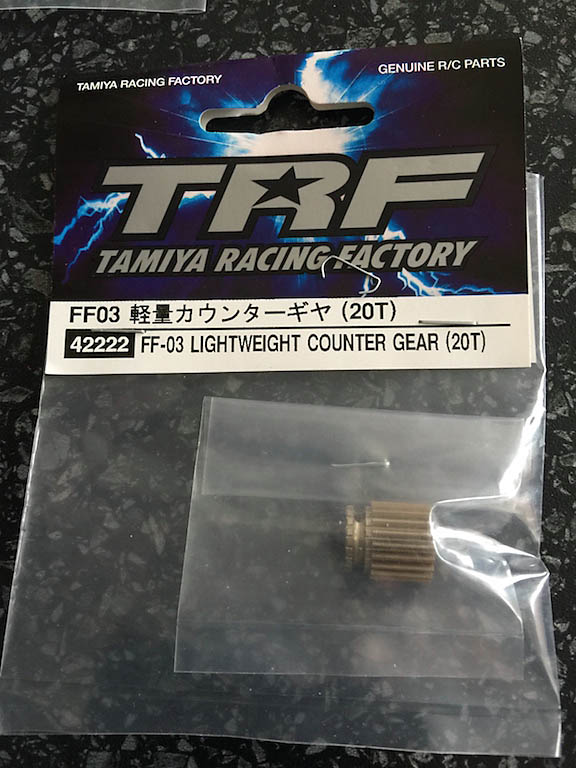
The standard layshaft Counter Gear is steel. Maybe a little overkill, but went for the lightweight replacement gear.
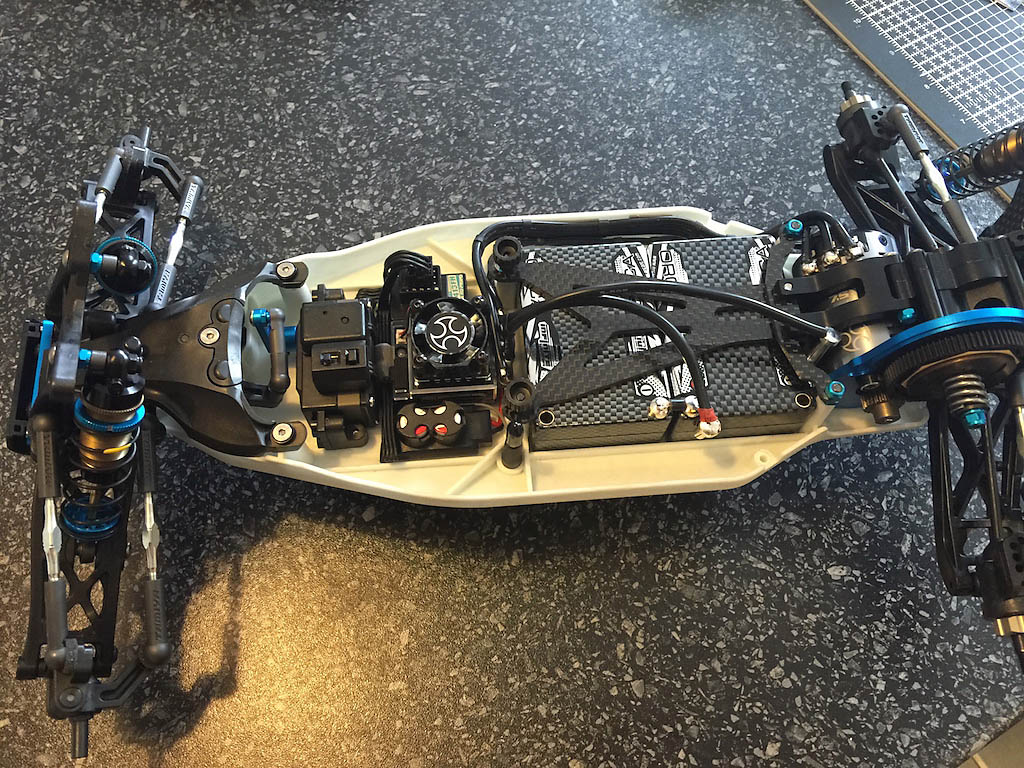
The build:
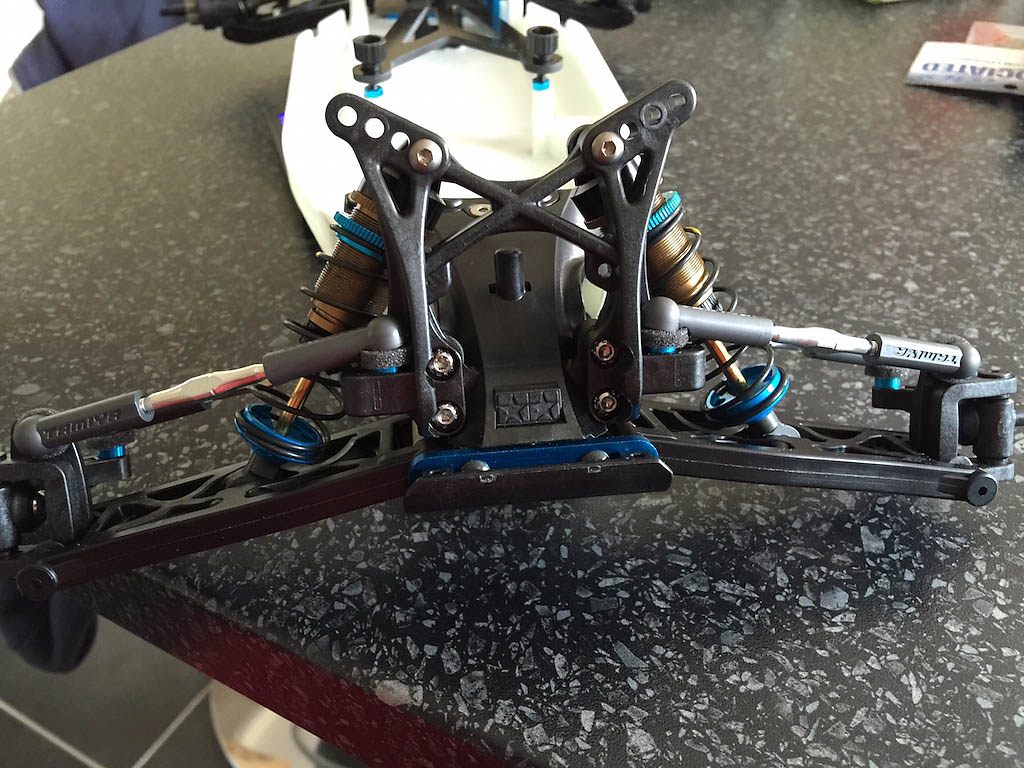
First off, the build quality is what you’d expect from Tamiya………outstanding!
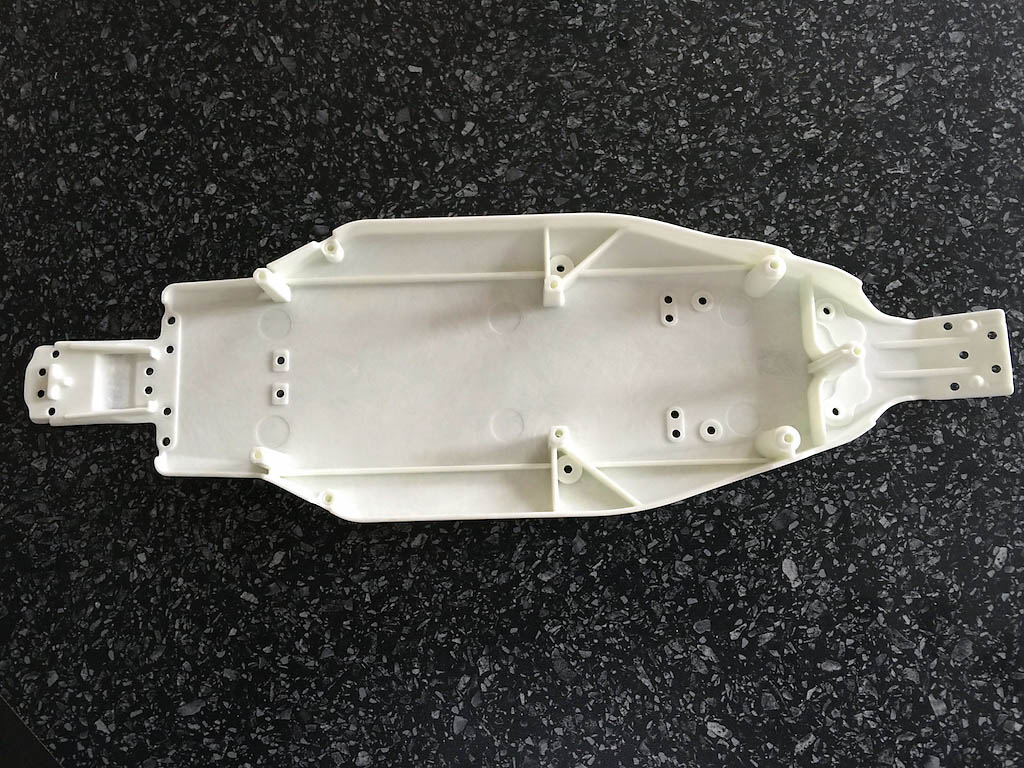
The new chassis is incredibly light and very strong. Very impressed how Tamiya have managed to get the strength out of something so light, but it works!
A nice surprise was the alloy gearbox housing……wasn’t expecting that!
 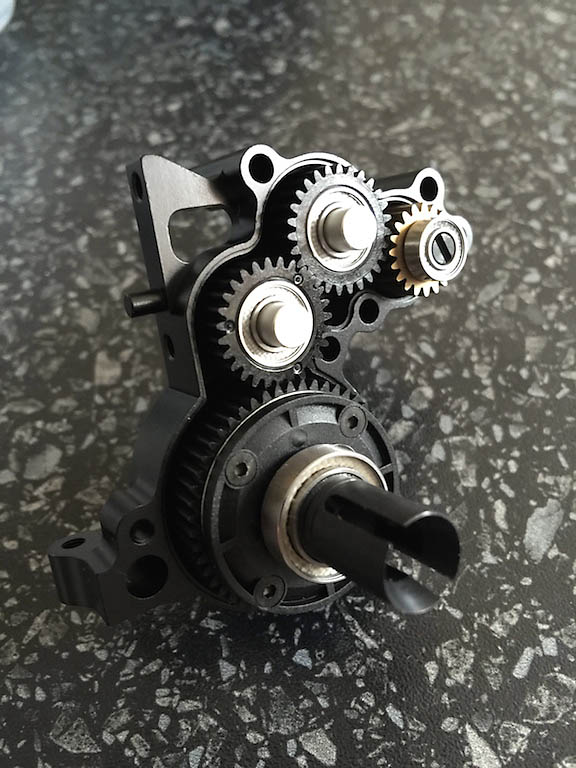
Tip 1:
When building the Ball Diff, the instructions show to flip the diff over BEFORE inserting the diff screw! I was told about this before but still got it wrong. It’s not very clear in the instructions and easy to get wrong.
Tip 2:
The shim for the Ball Diff and gearbox layshaft are very similar. Make sure you get this correct otherwise you’ll have a tight box! :S The thicker 0.5mm shim is for the ball diff and the thinner 0.2mm shim is for the layshaft.
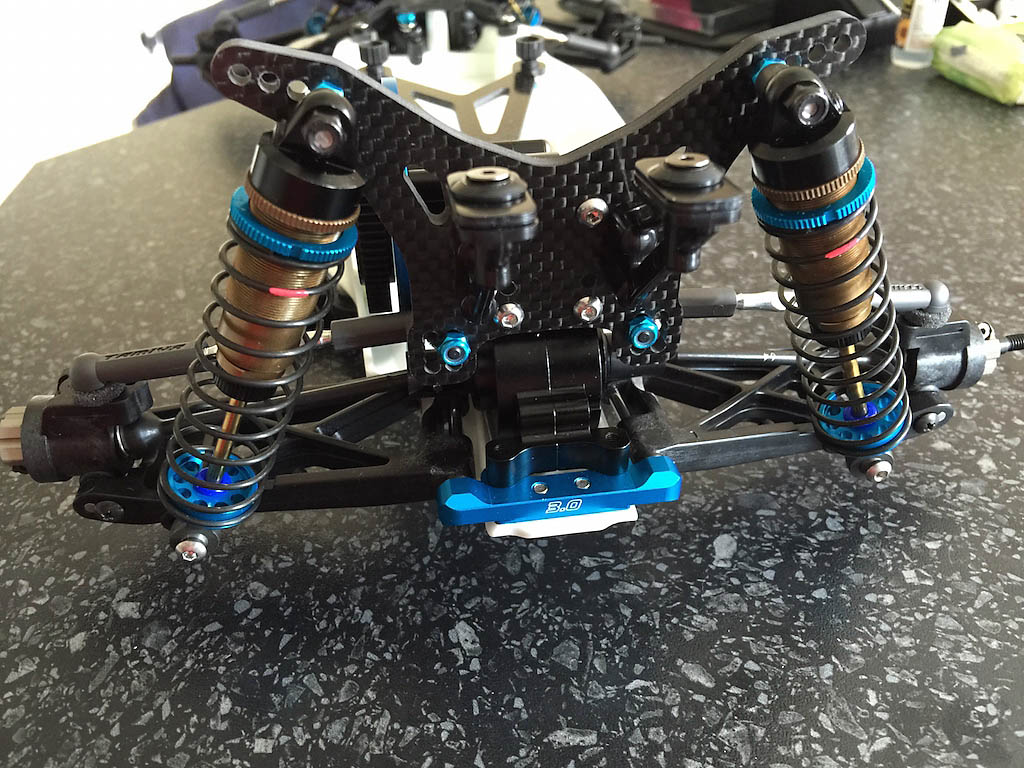
Tip 3:
You will need to Dremel away a small part of the rear wishbones due to the Diff outdrives hitting the wishbones when compressing the rear suspension. This is also highlighted in the instructions.
Everything else went very smoothly as per instructions.
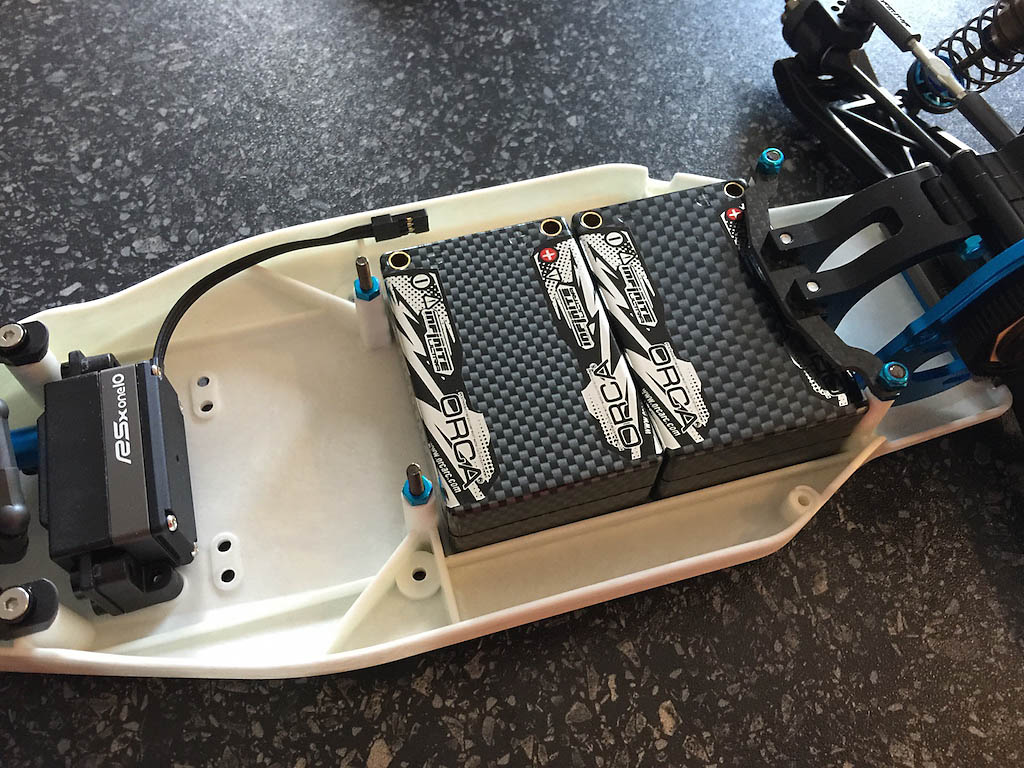
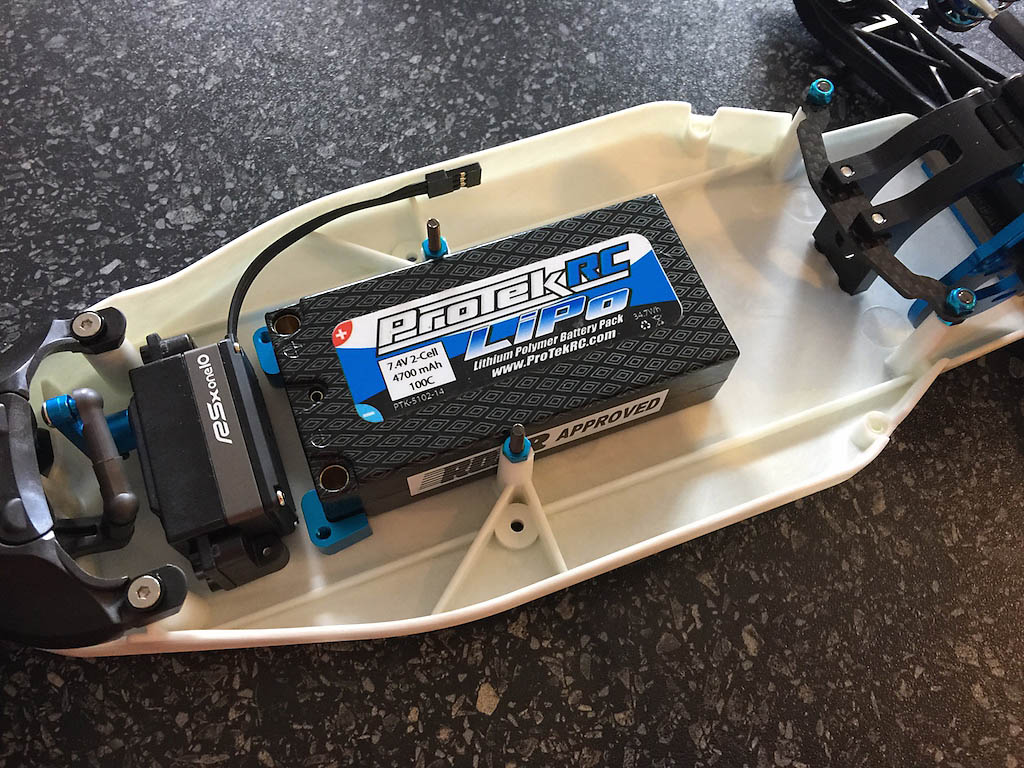
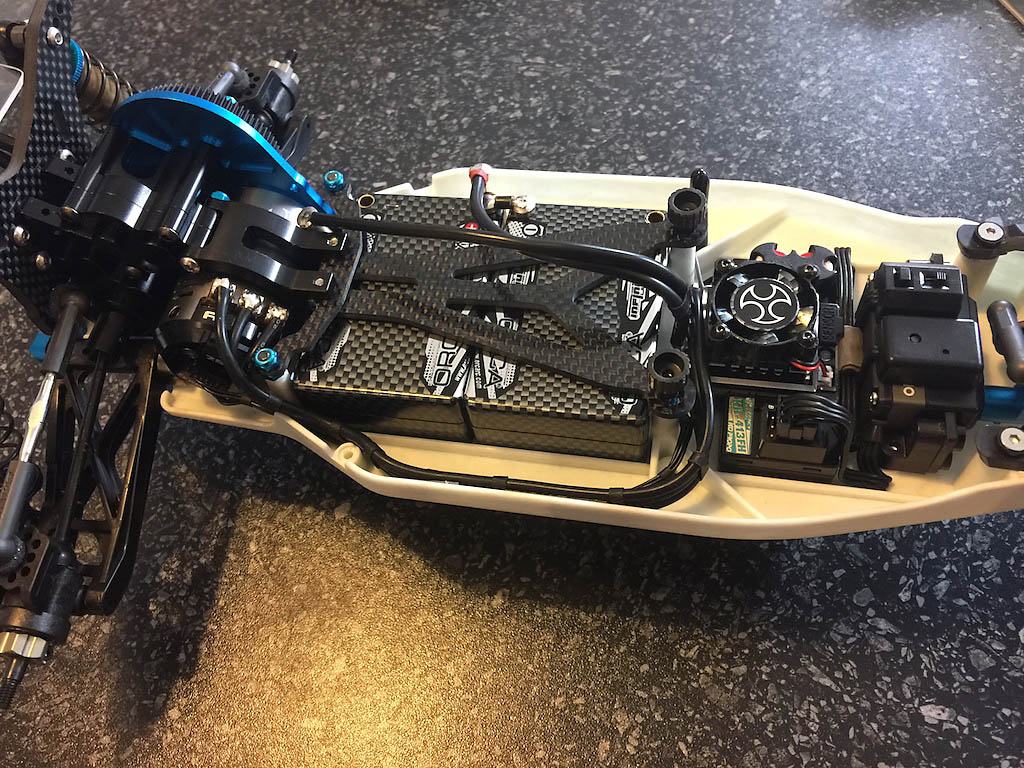
Lipo Layouts:
Just to show a couple of layouts I’ll be testing over the next couple of weeks, but primarily I’ll be running Saddles in the 211XM.

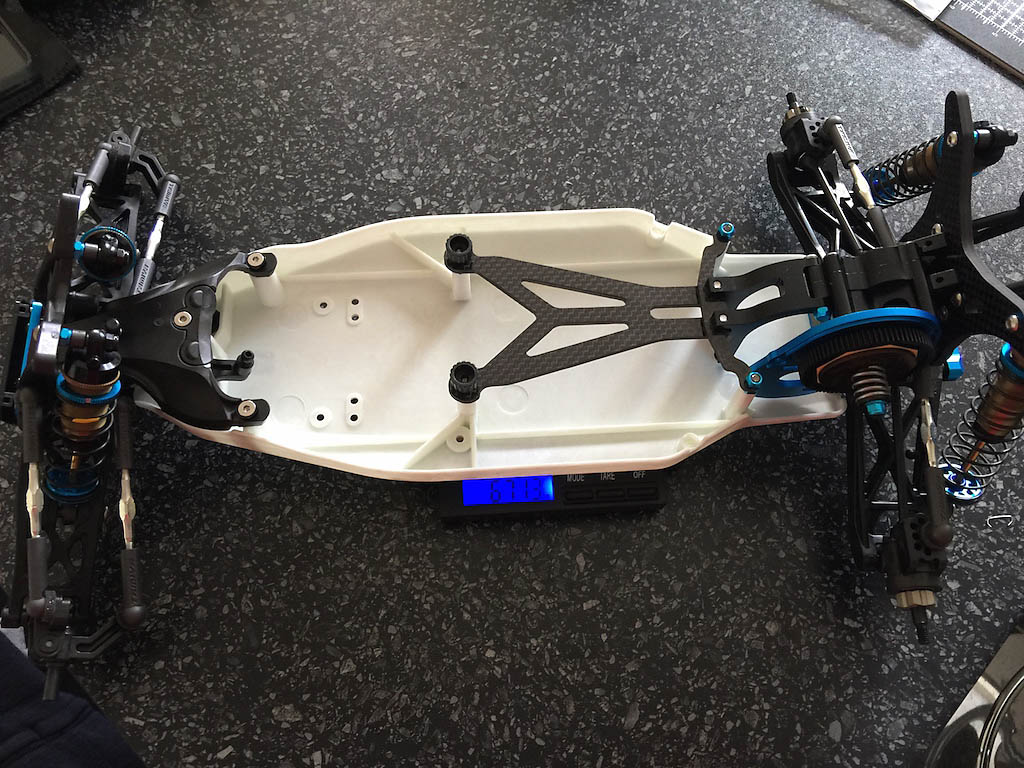
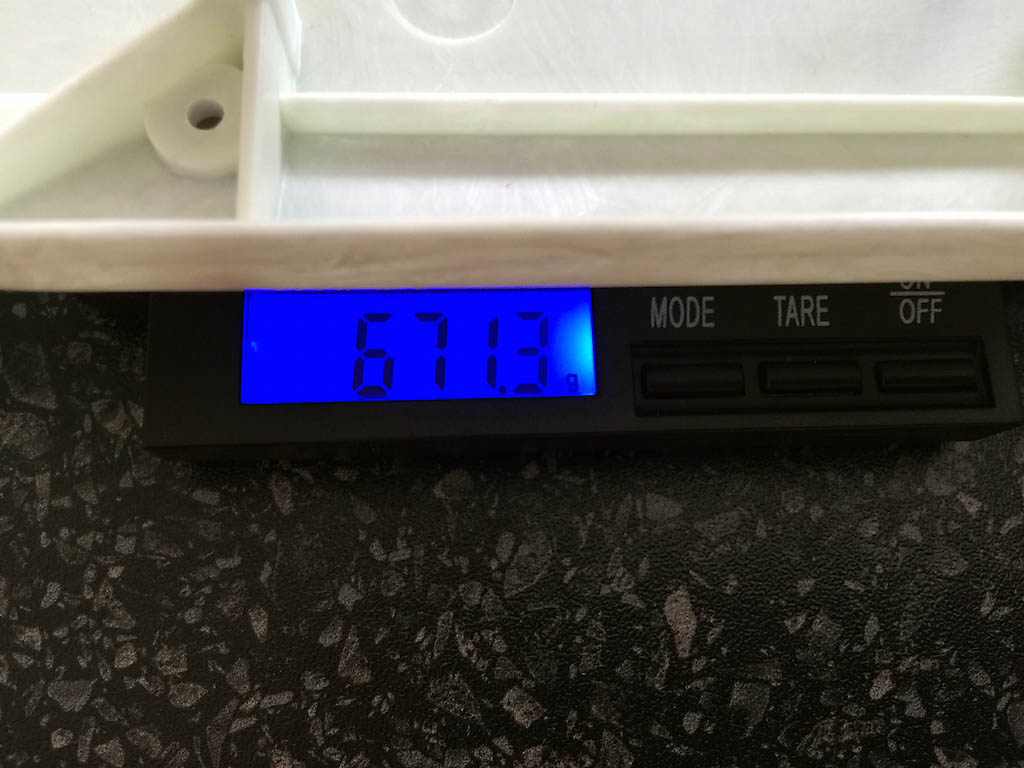
This kit ain’t heavy:
The kit fully built but without wheels or electric is incredibly light…. only 671g. And that’s with steel gears in the diff and 30g weight upfront!!
It’s nearly ready for it’s maiden shakedown:
|