- Schumacher L1 Build by Maryan Beresh -

Here we go. Finally I began to build super technical and I guess one of the best 10 scale buggy on the market.
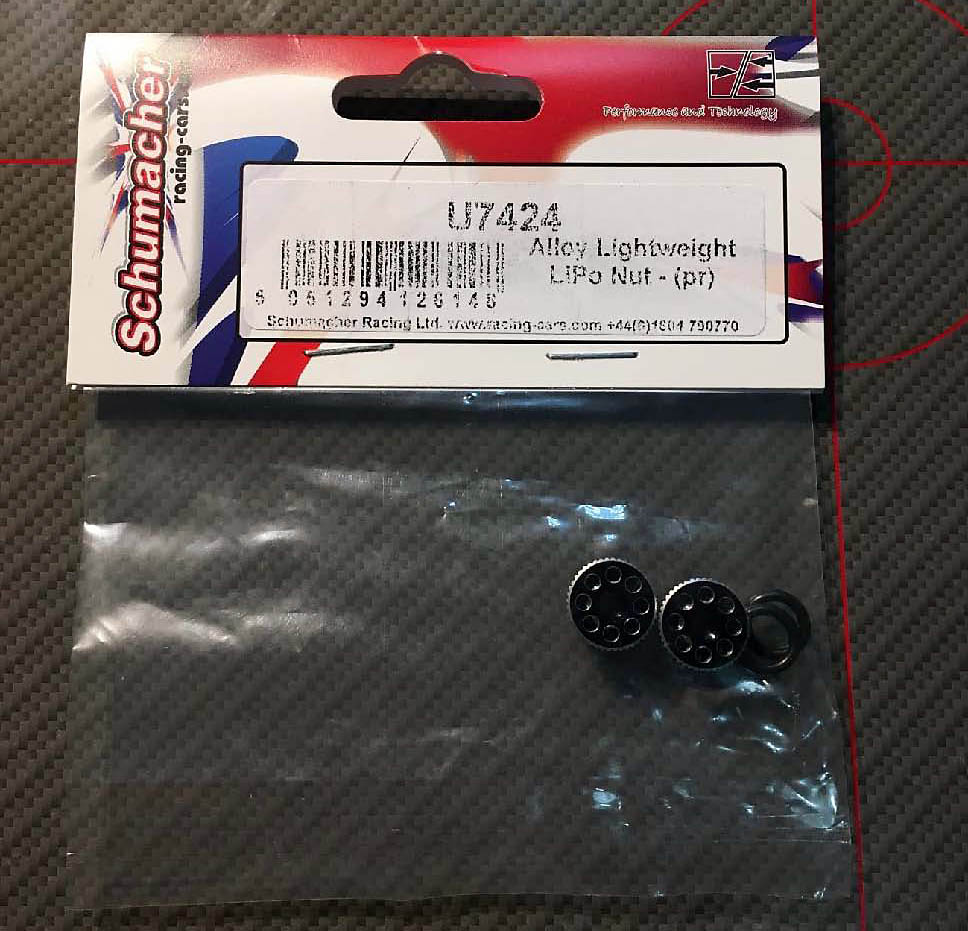
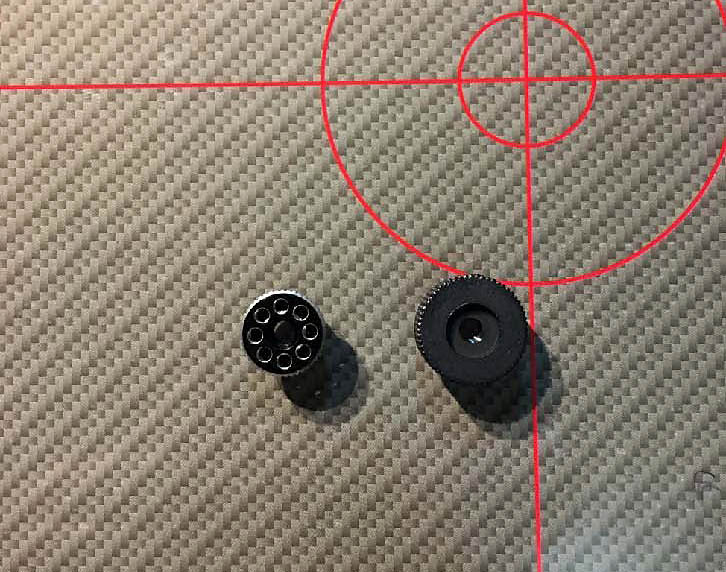
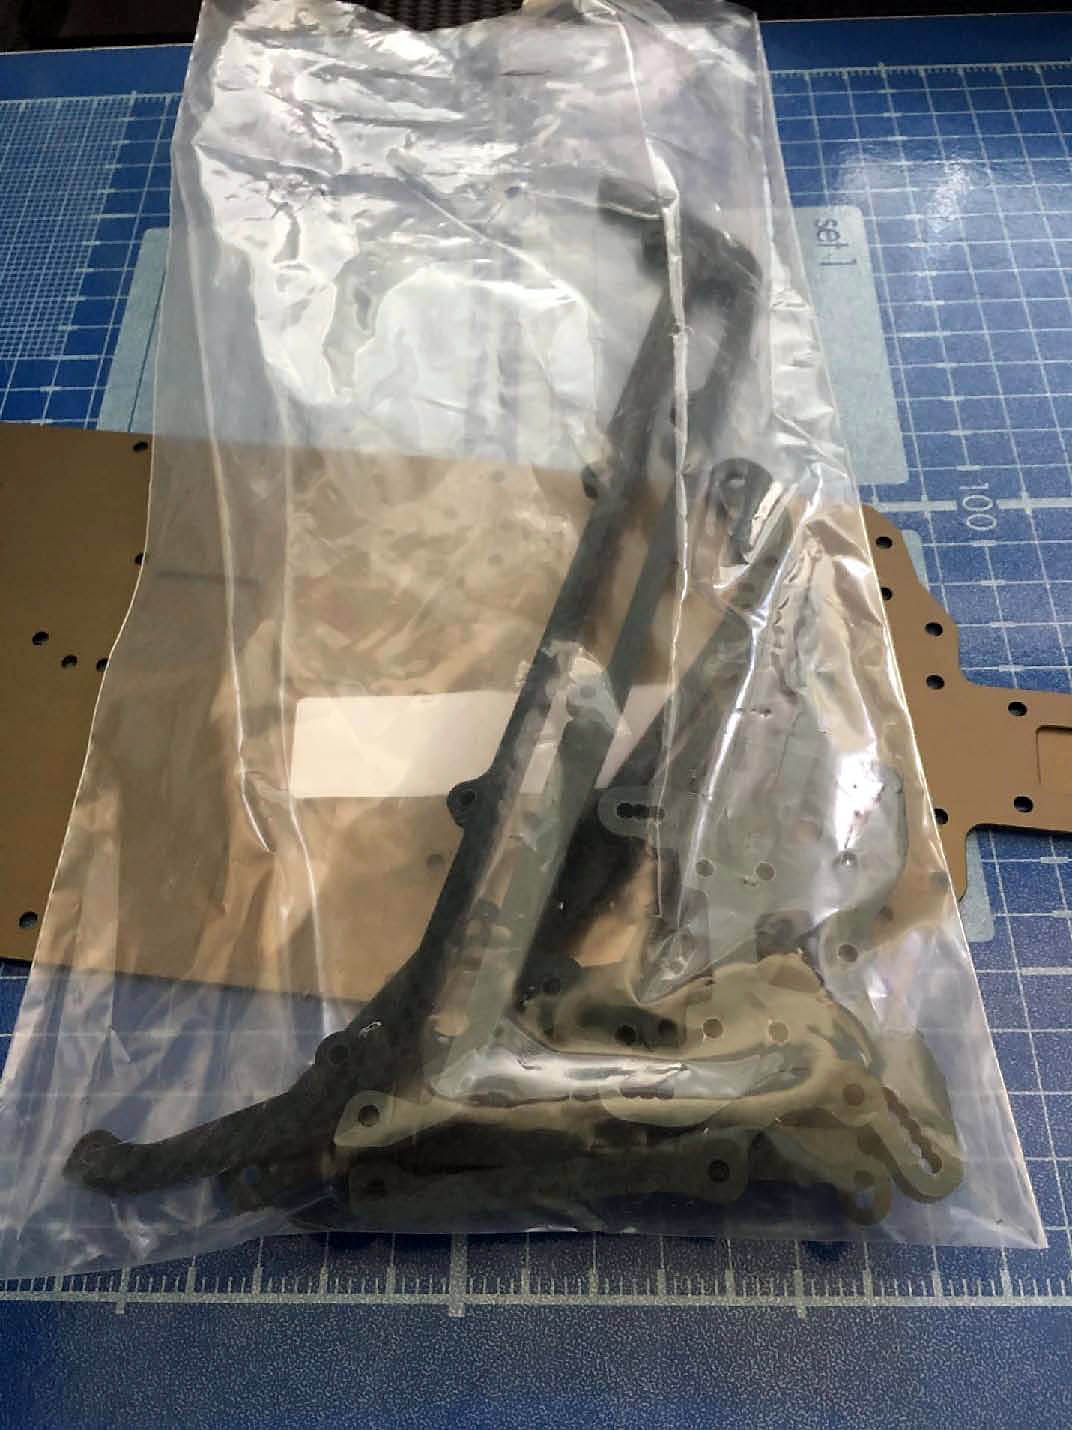
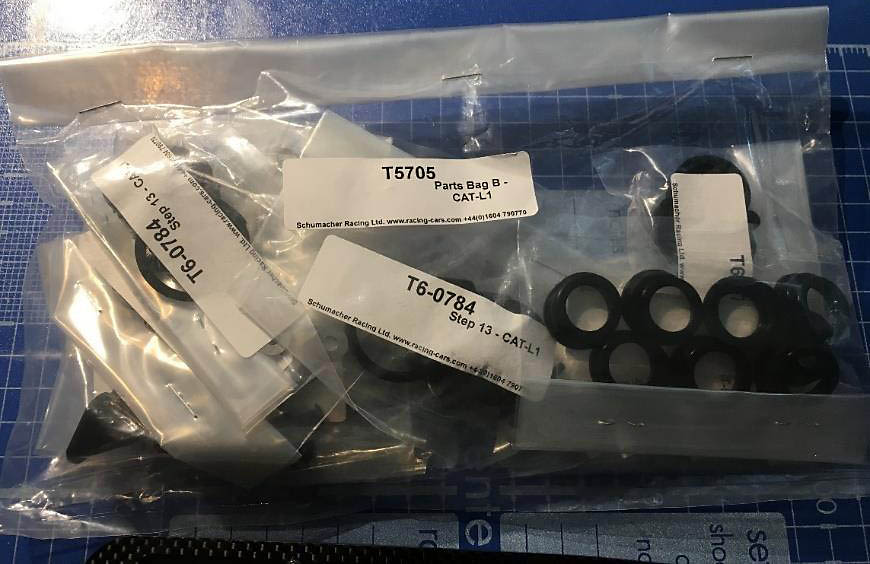
Here is photo all option parts wich I will use in my Schumacher L1. Later I will stop on each part and explain why I chose it.
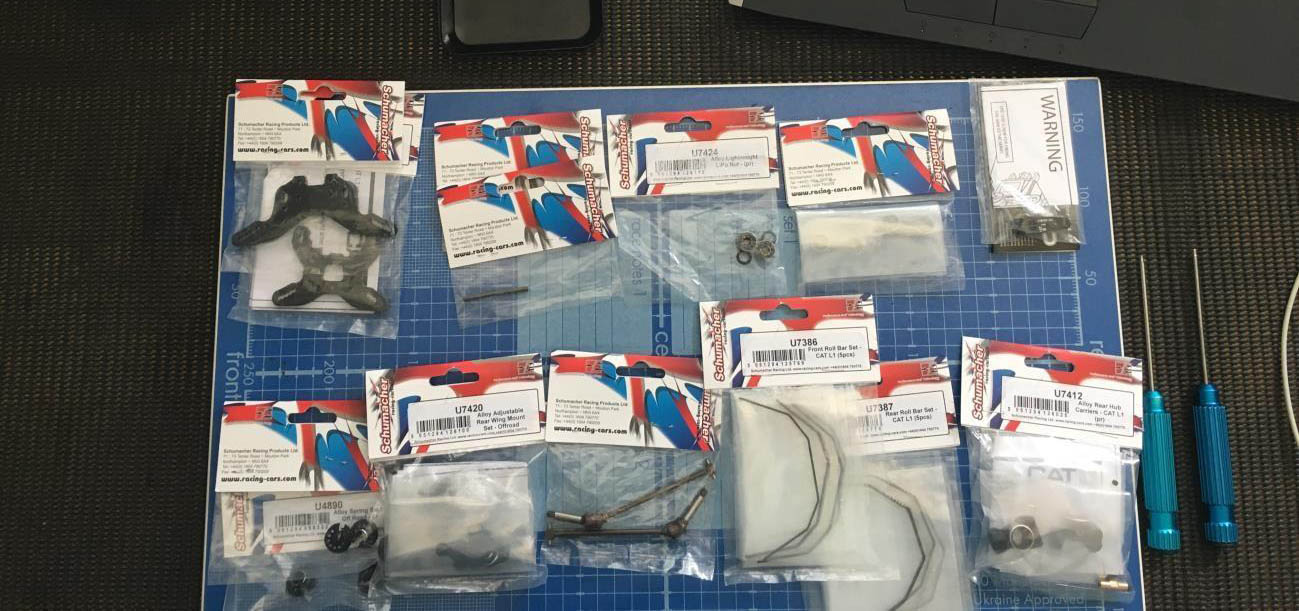
Also in this build I will use instruments from LRP brand I will use 1mm, 2mm and surprisingly 2.5mm screws.
By the way I suggest you to use pit board. It will help you to organize your build. I will use pit board from Core RC and pit board wich made my friend from LRP Ukraine.
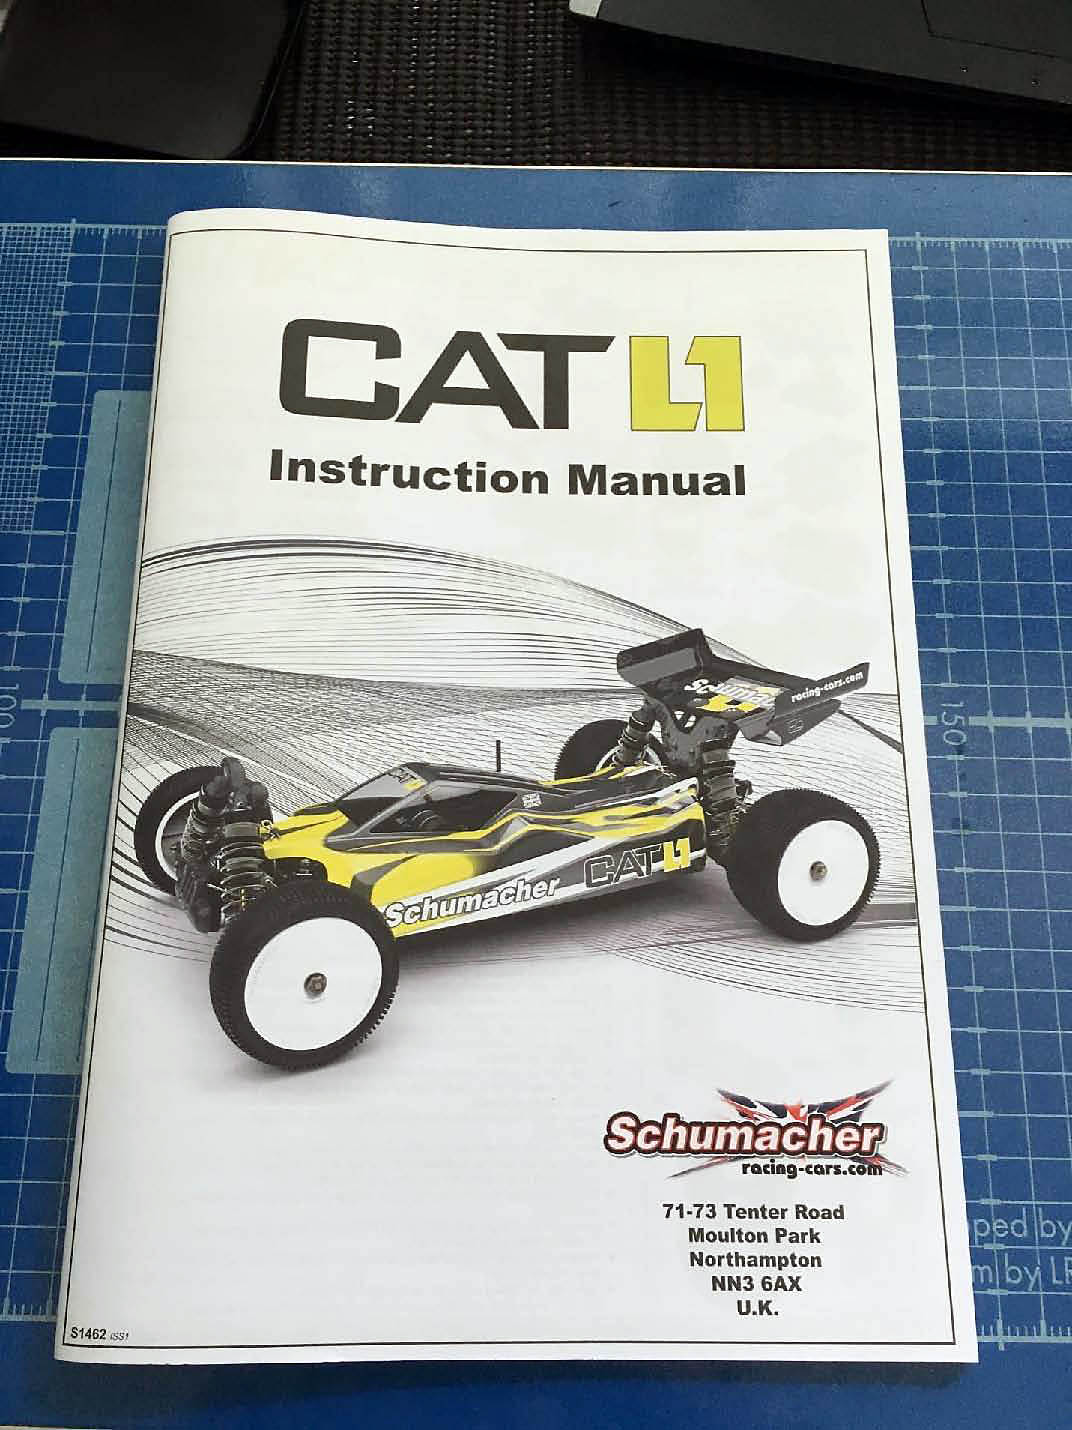
Every build starts from manual. So here is a few words about manual for Schumacher L1. Going forward I can say that I will not find any mistakes in the manual, nothing is missing and I cant find any bugs with manual pictures. Also manual is really simply to understand. On the other hand I would like to notice small Set up guide in the end of manual, this is really useful thing. Also in the beginning I thought that manual is really thick when I finished L1 I understood that I was wrong.
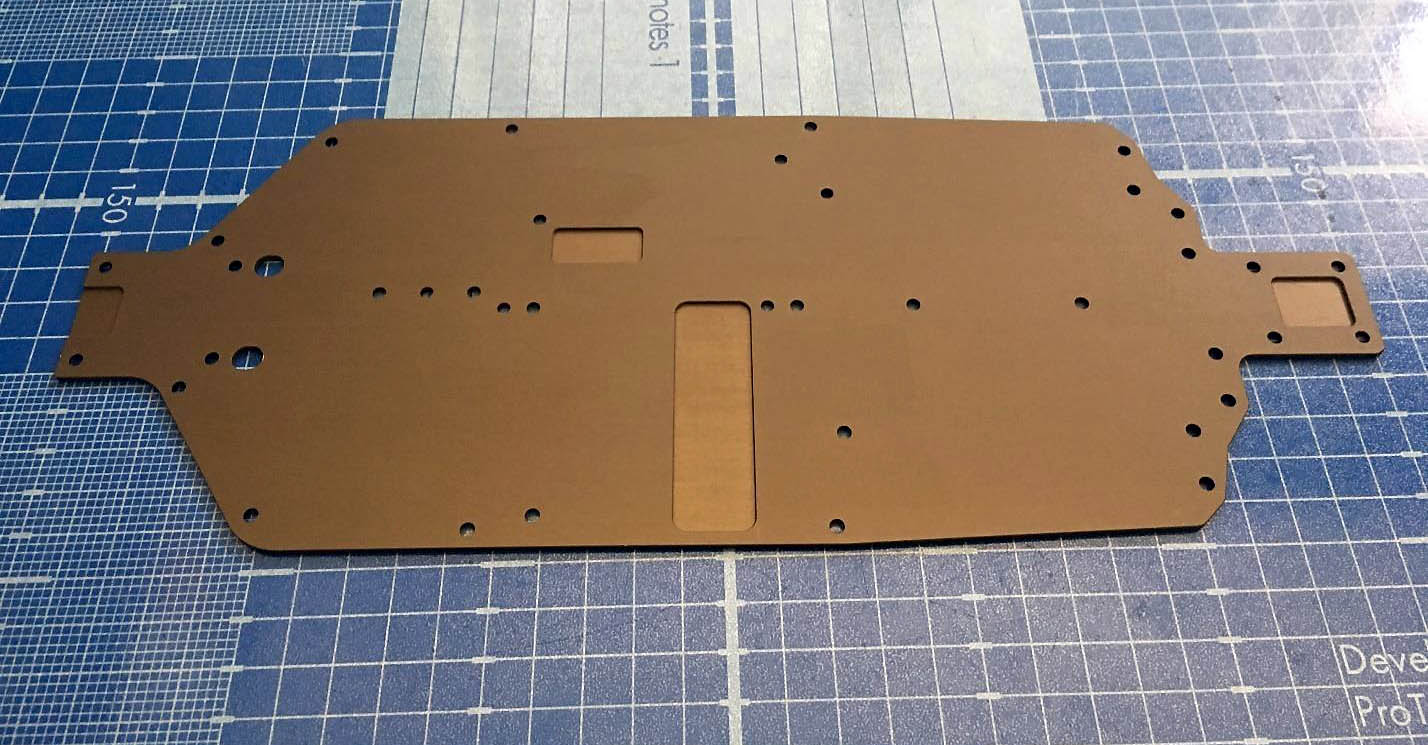
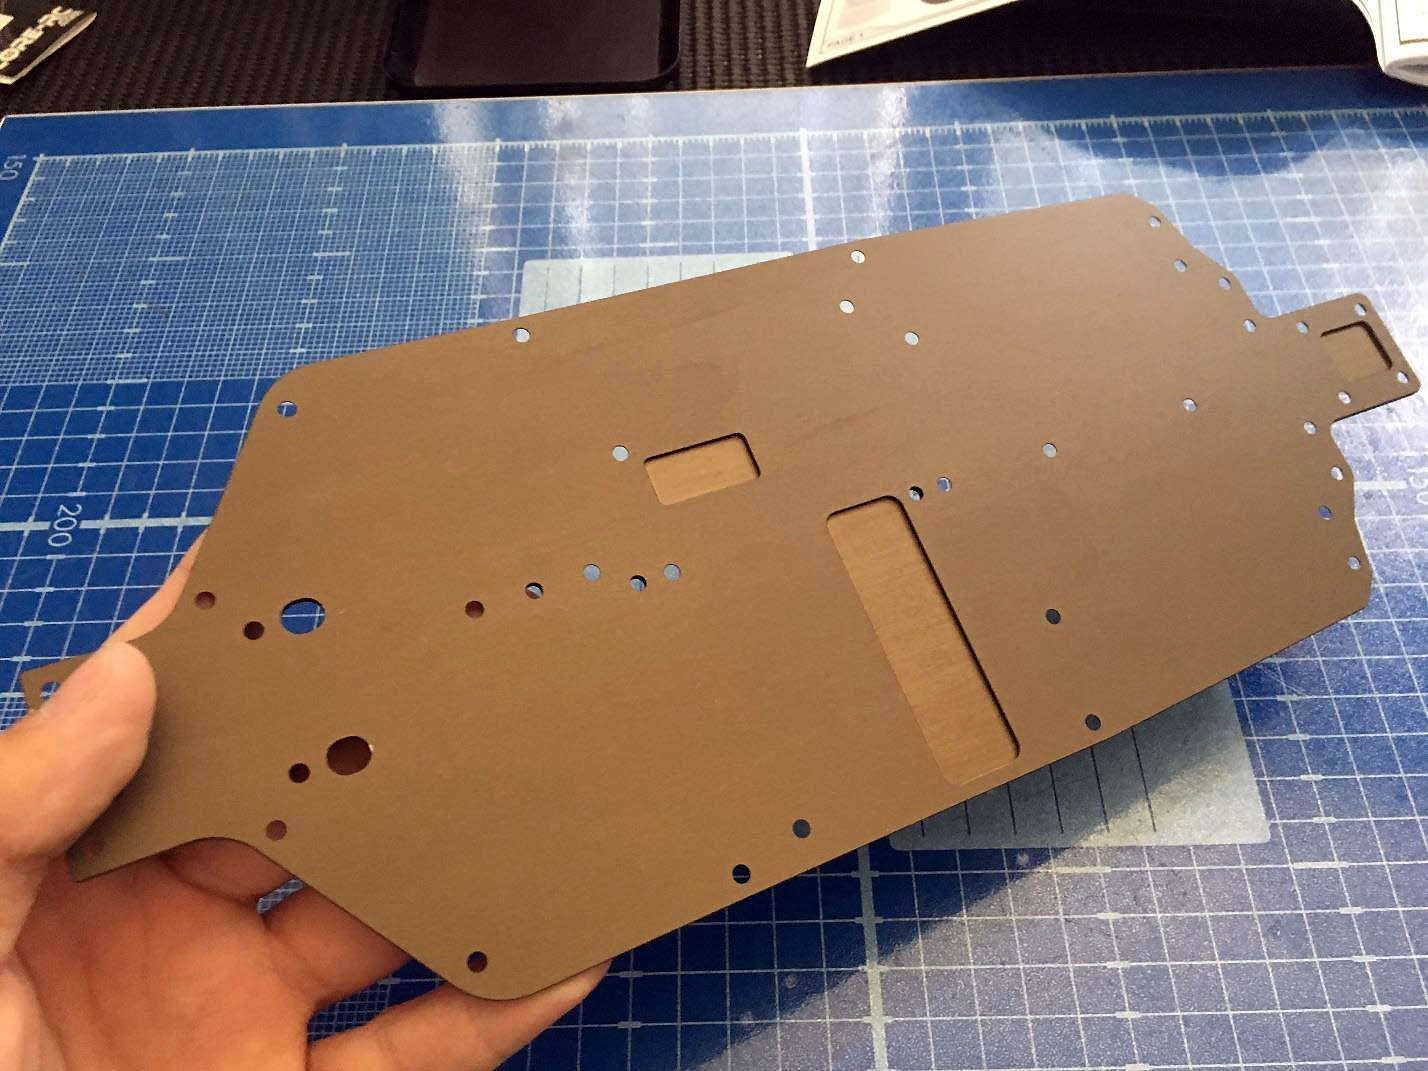
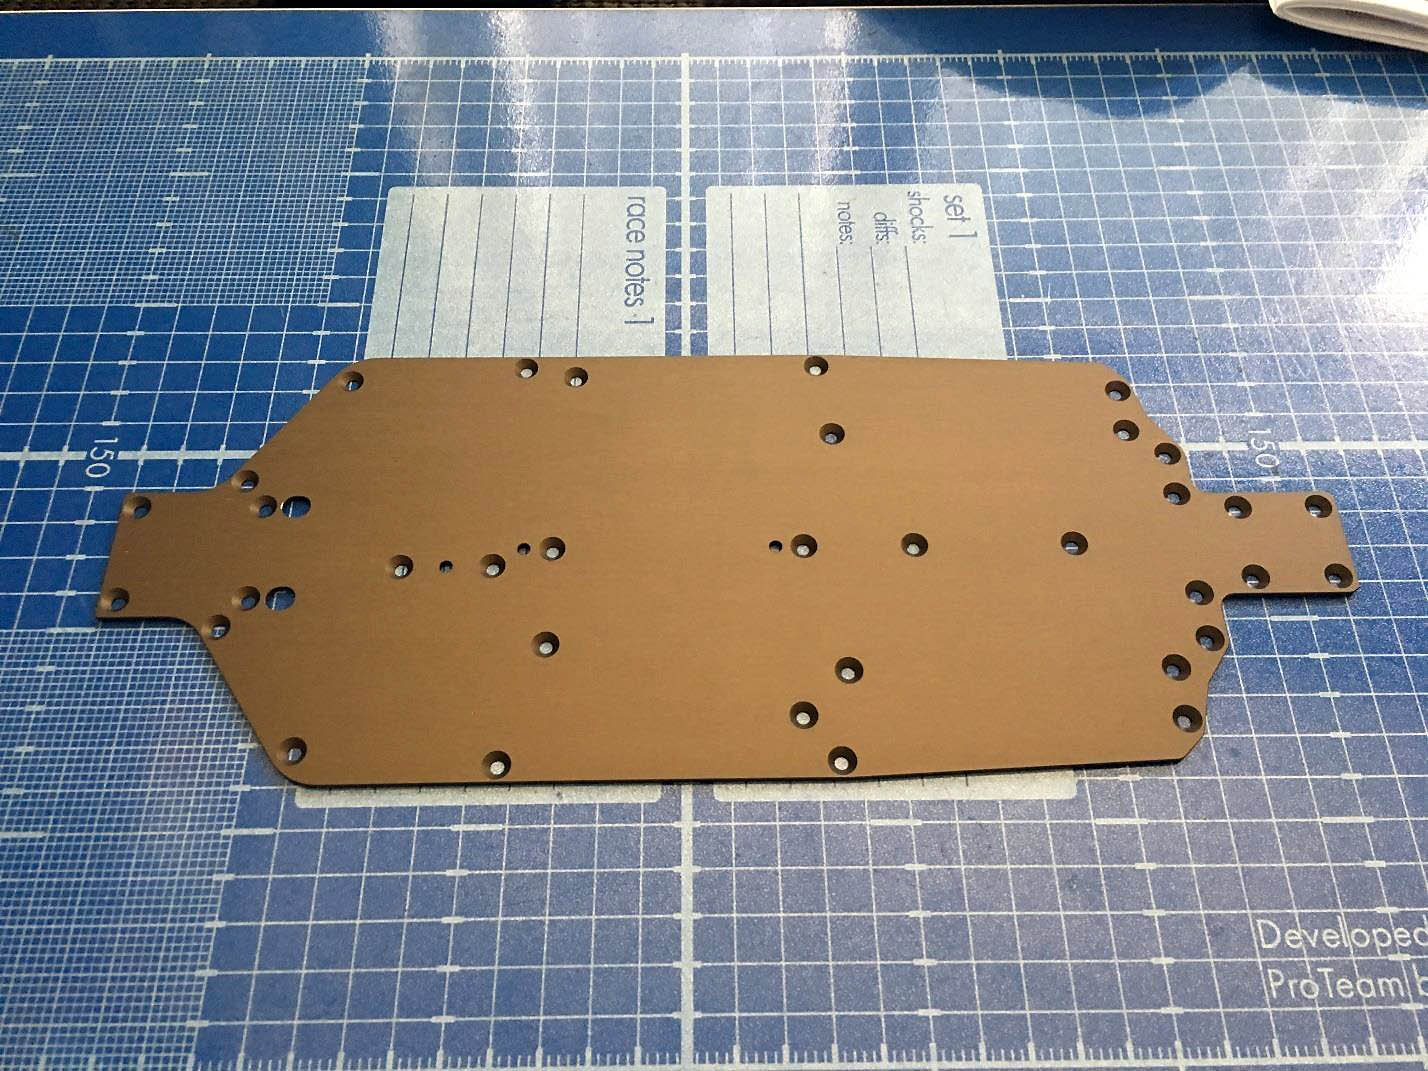
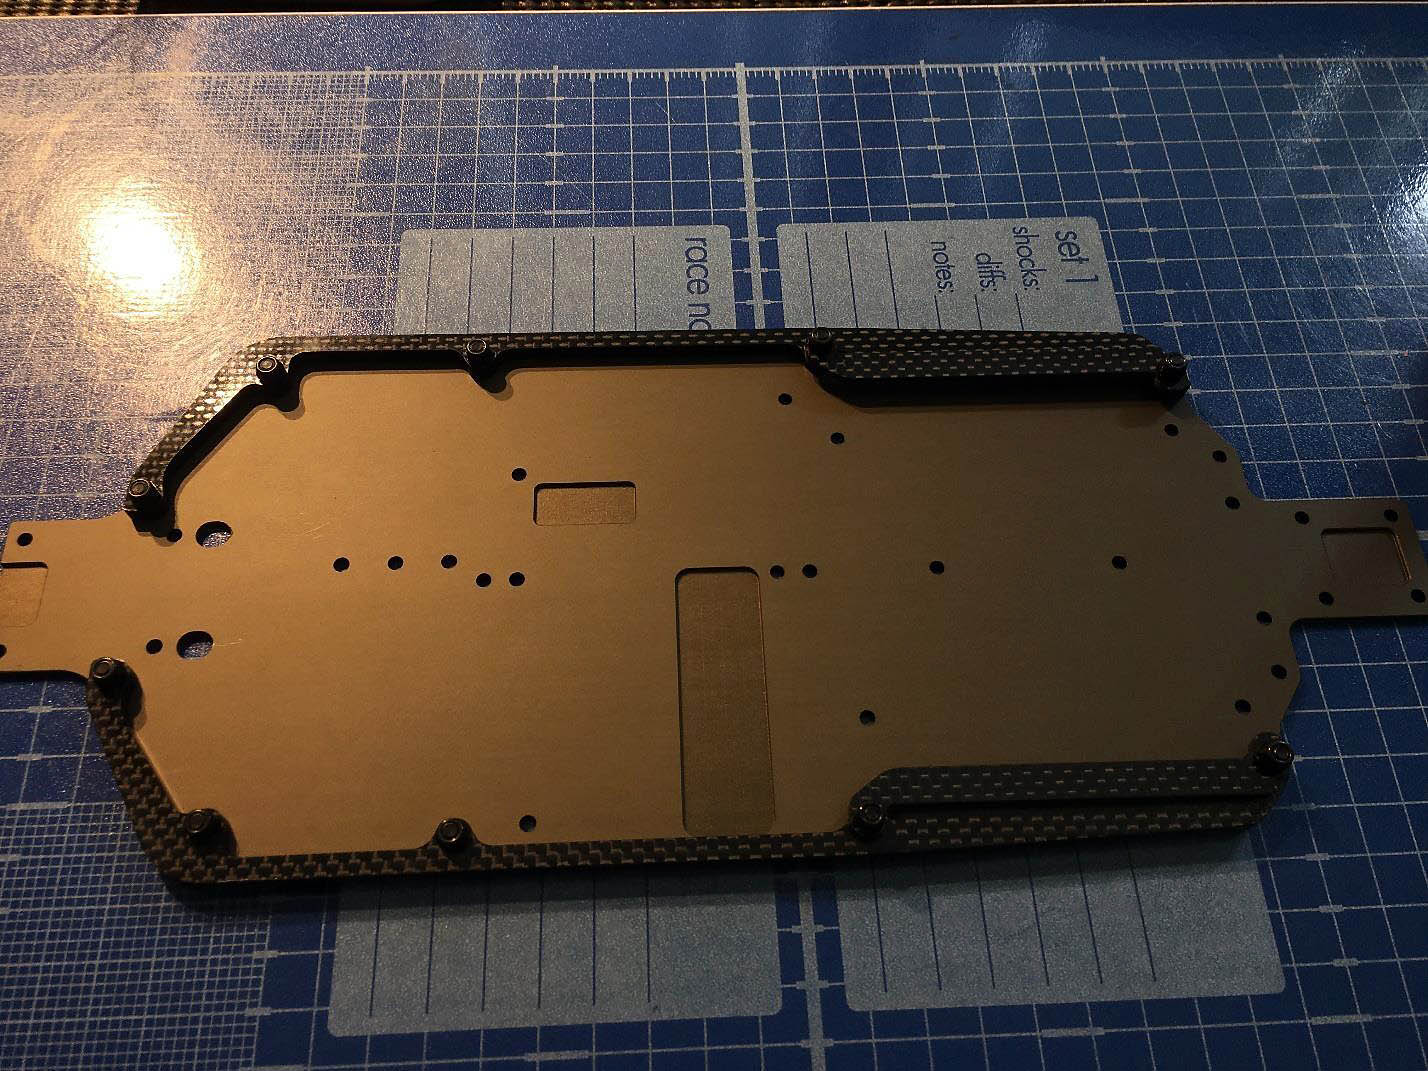
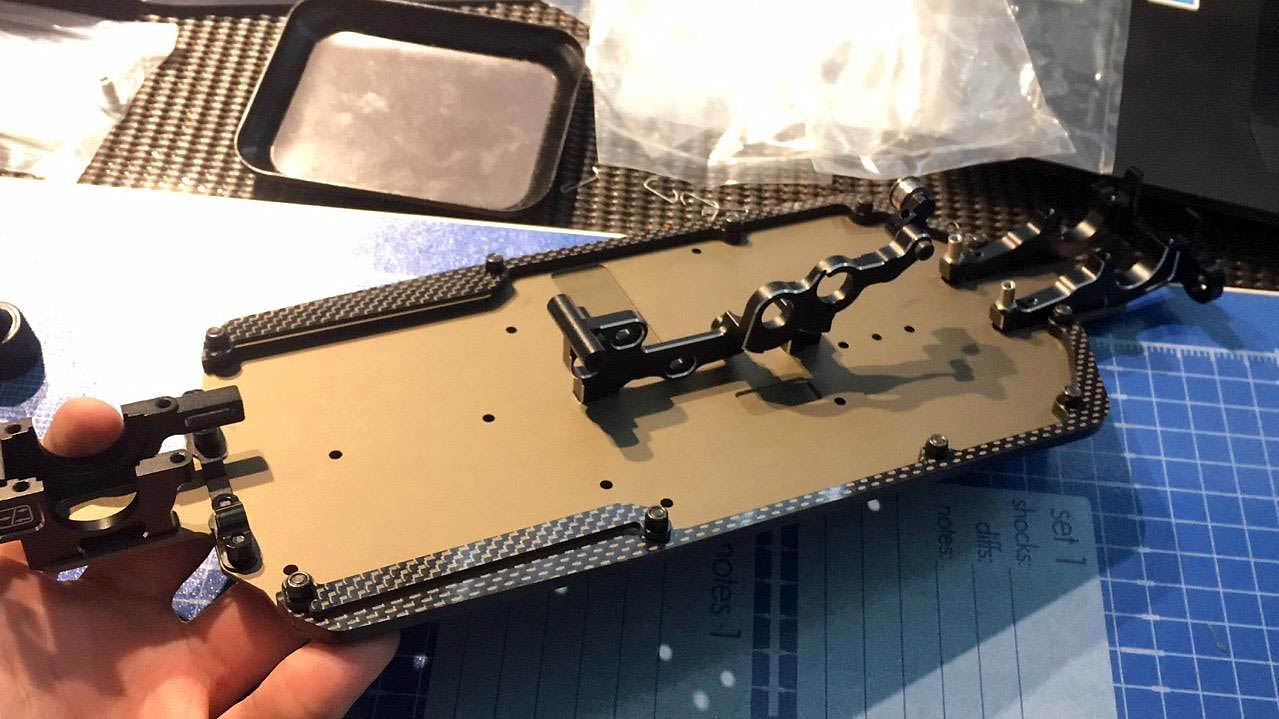
We start assemble the car from the chassis. I can say that when you take the chassis in your hands you definitely feel the quality.The chassis is pretty thin and its easy to bend but later we will put carbon side pods wich give the chassis stiffness. Also I would like to notice that with this carbon side pods we can adjust the chassis flex, wich is really useful setting.
As I mentioned before we put carbon side pods to the chassis. Nice thing that every carbon part is protected by film. And when we need to use any carbon part we just remove the film.
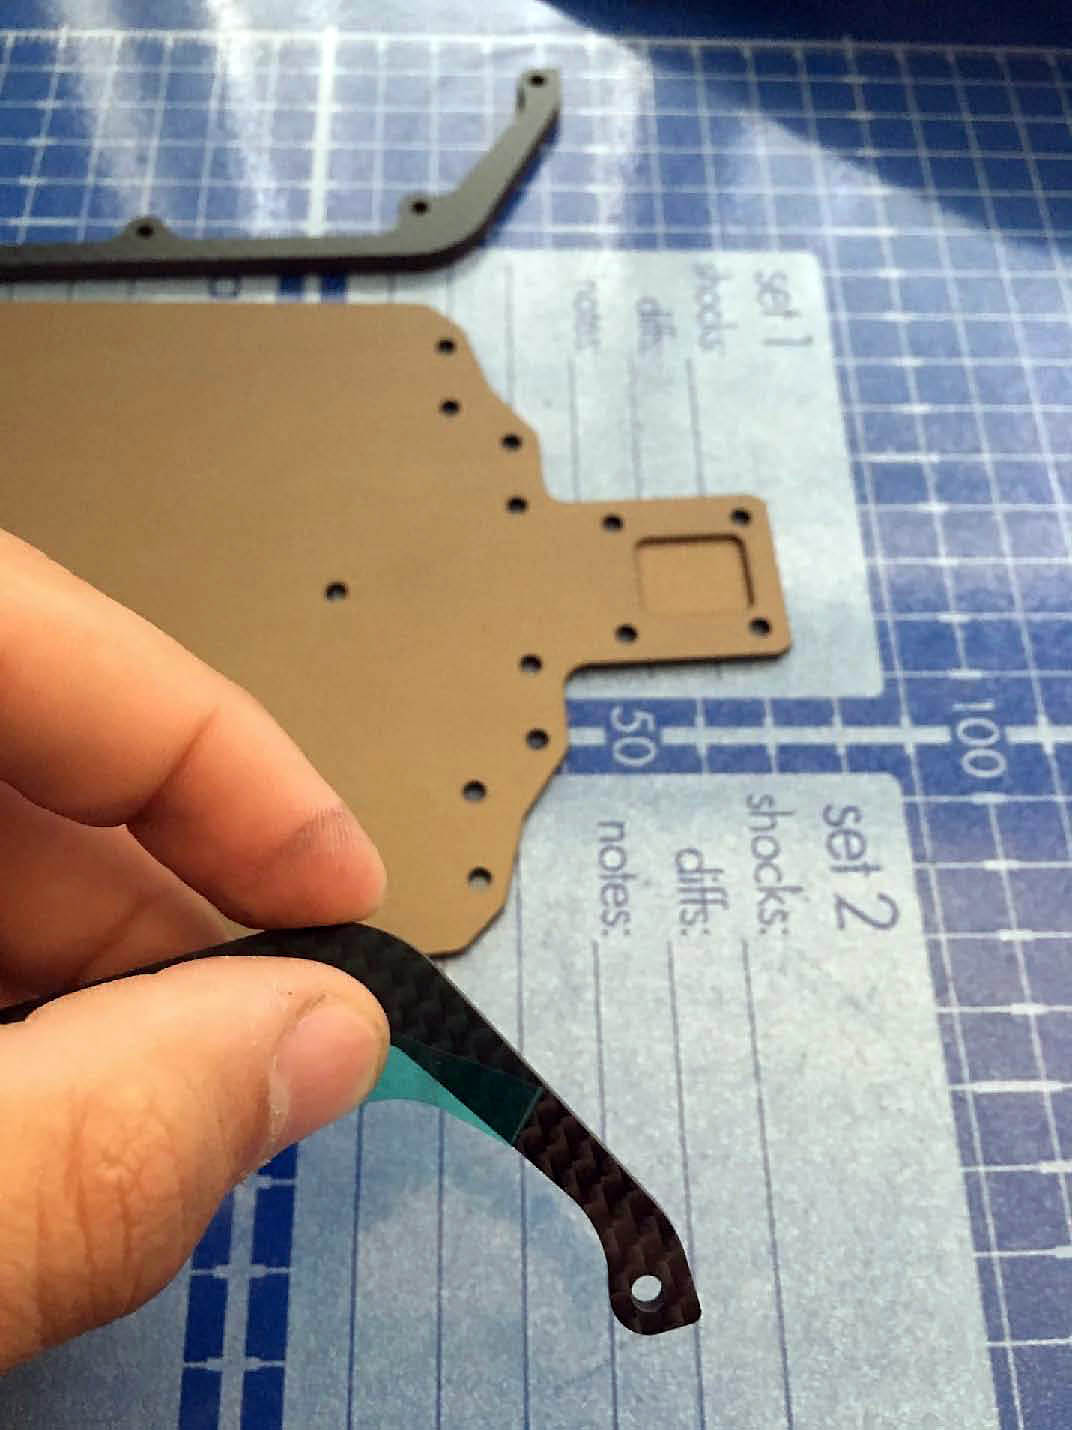
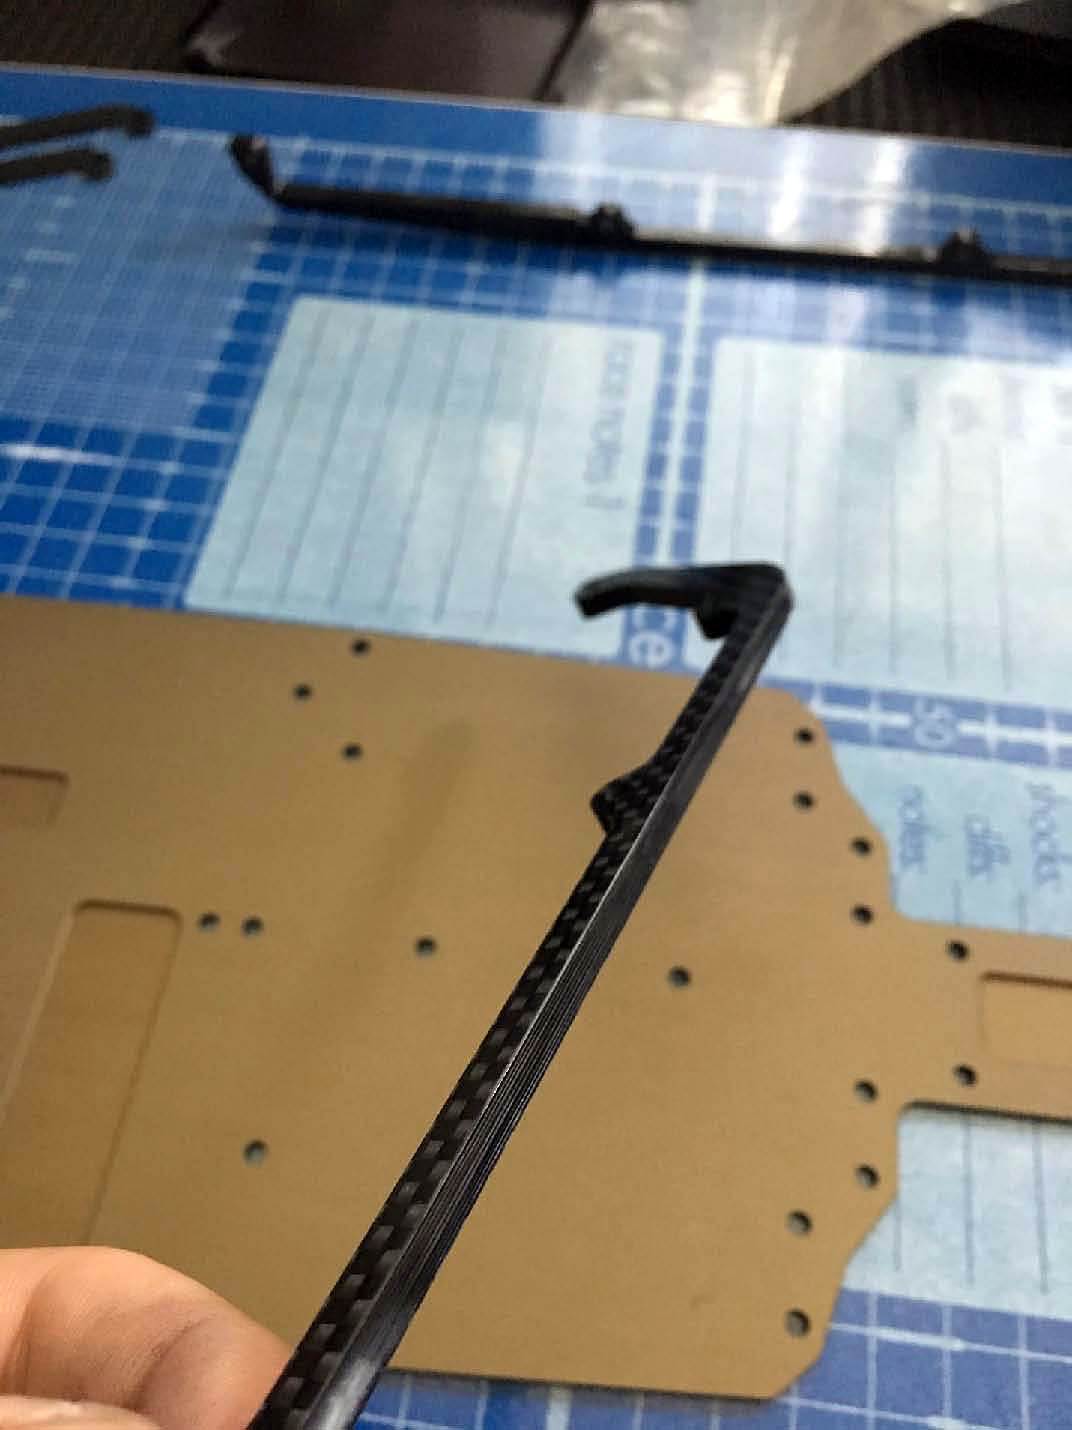
We can see this film on the photo. Also I use CA glue to protect carbon parts I put thin layer of glue on the sidewall. This glue protect carbon part from the crackling
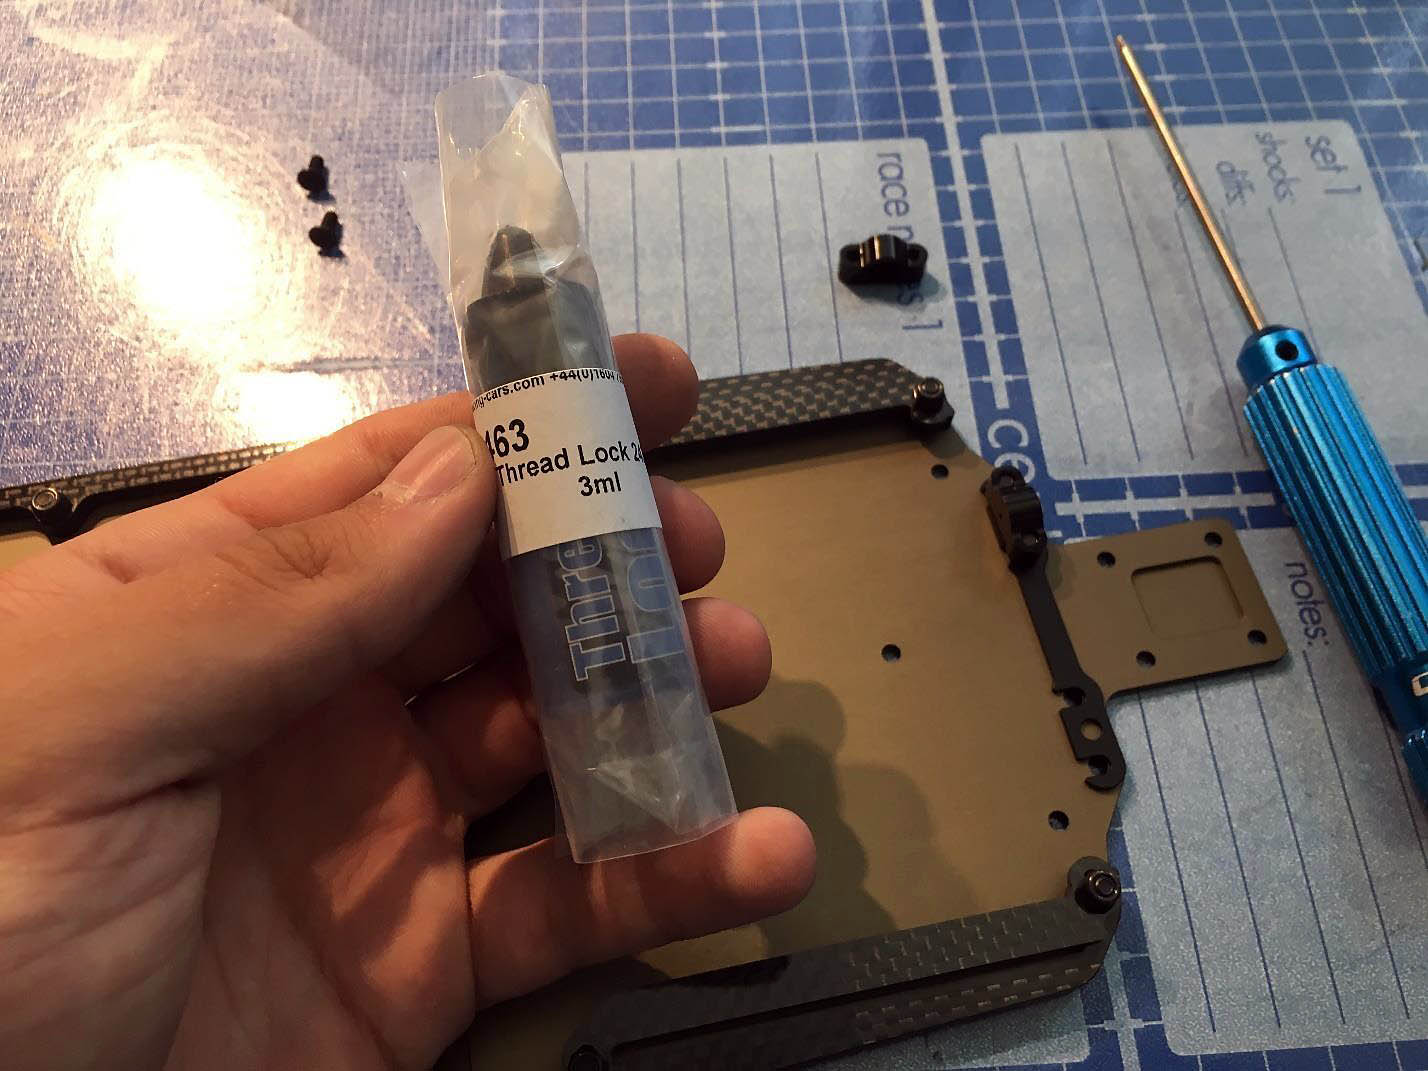
Also little bonus from Schumacher it's a thread lock. It's a really useful thing when we build a car with such a lot of aluminum parts. I suggest use thread lock everywhere where screw is screwing into aluminium part. Also use thread lock just a little bit on the screw.
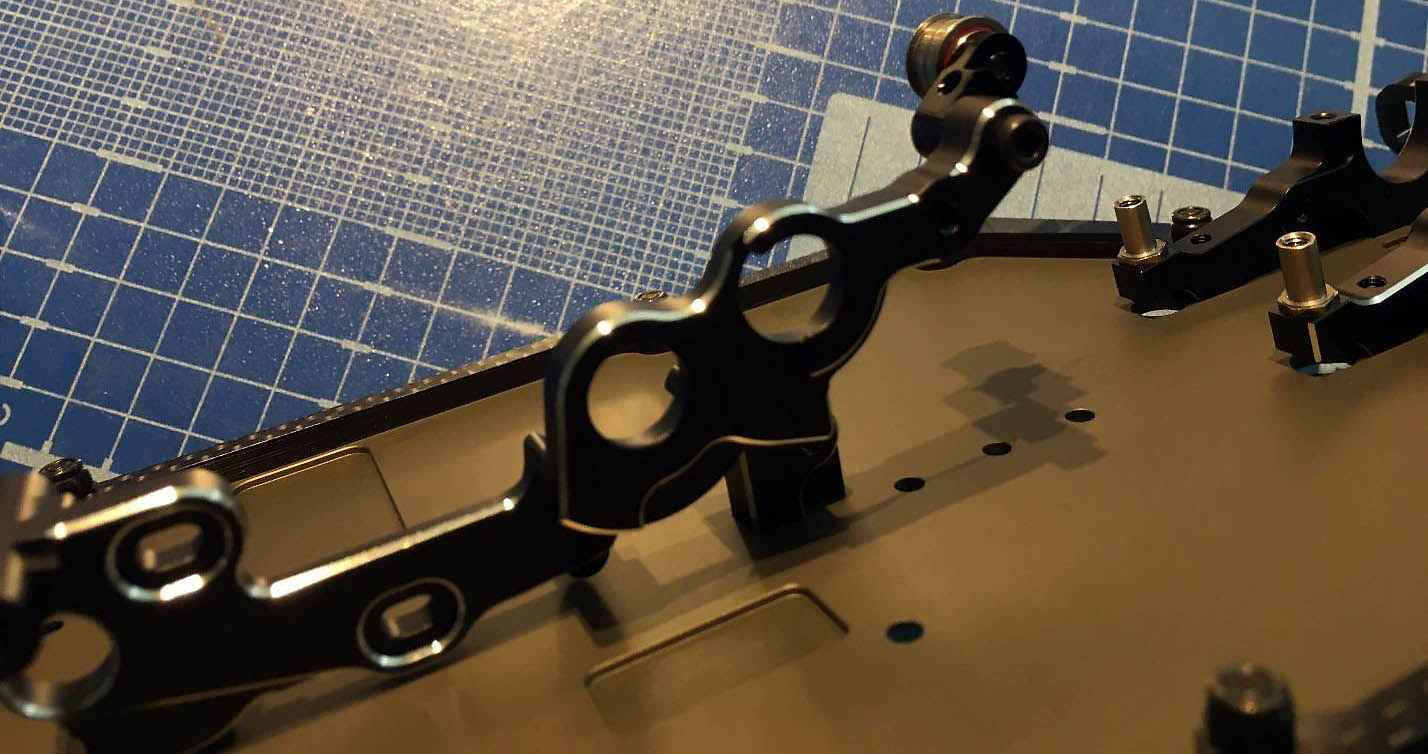
So the next stop in the manual it's a bulkhead front and rear. I can say just one word - quality. I was impressed by the approach every single aluminum part have chamfer and in my opinion its pretty sick.
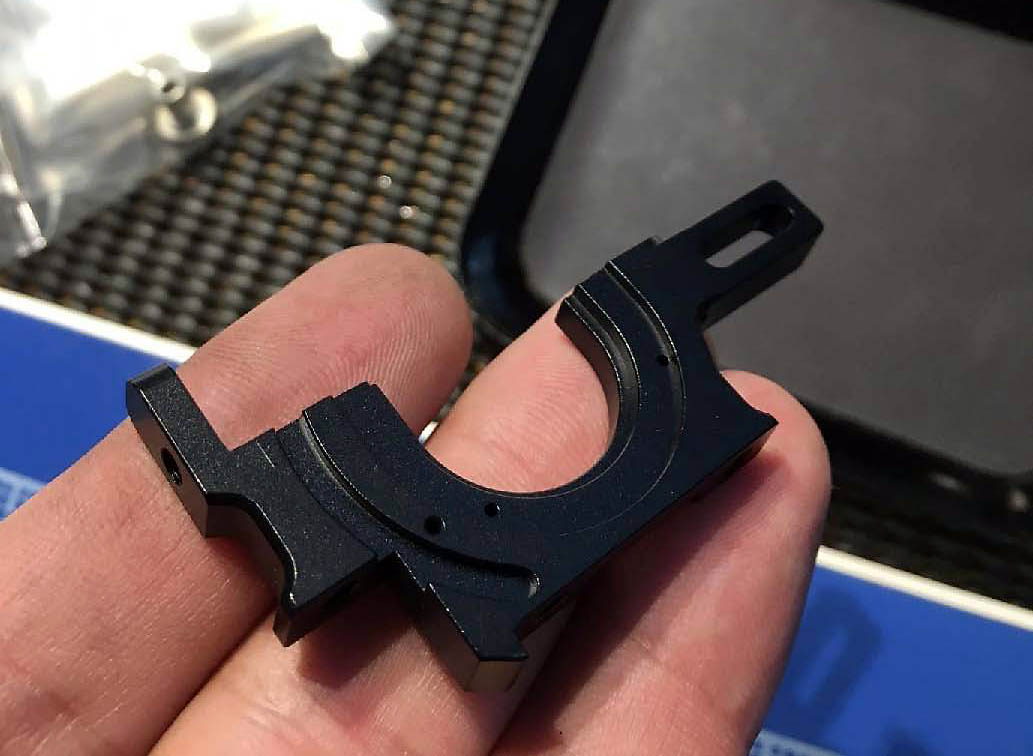
The centre part of the chassis it's a big piece of black anodize 7075 aluminium this pretty big part are holded just by 2 screws. I think that engineers made this firstly to reduce the weight and secondly to give the chassis maximum flex.
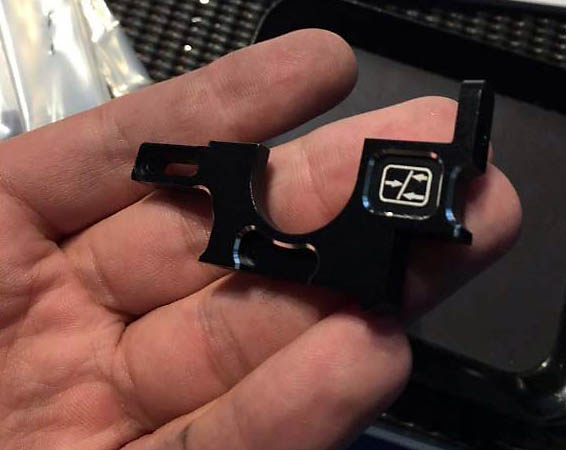
Here is FAB system (Front adjustable brake). This system is pretty interesting and usful setting. It works this way – we can separately adjust the general brake of the car, and separately the front brake. We need this setting to have a strong feel of the brake in the low and middle speed but on the hight speed we will not have front wheels blocking so we will not catch "Traction rolling".
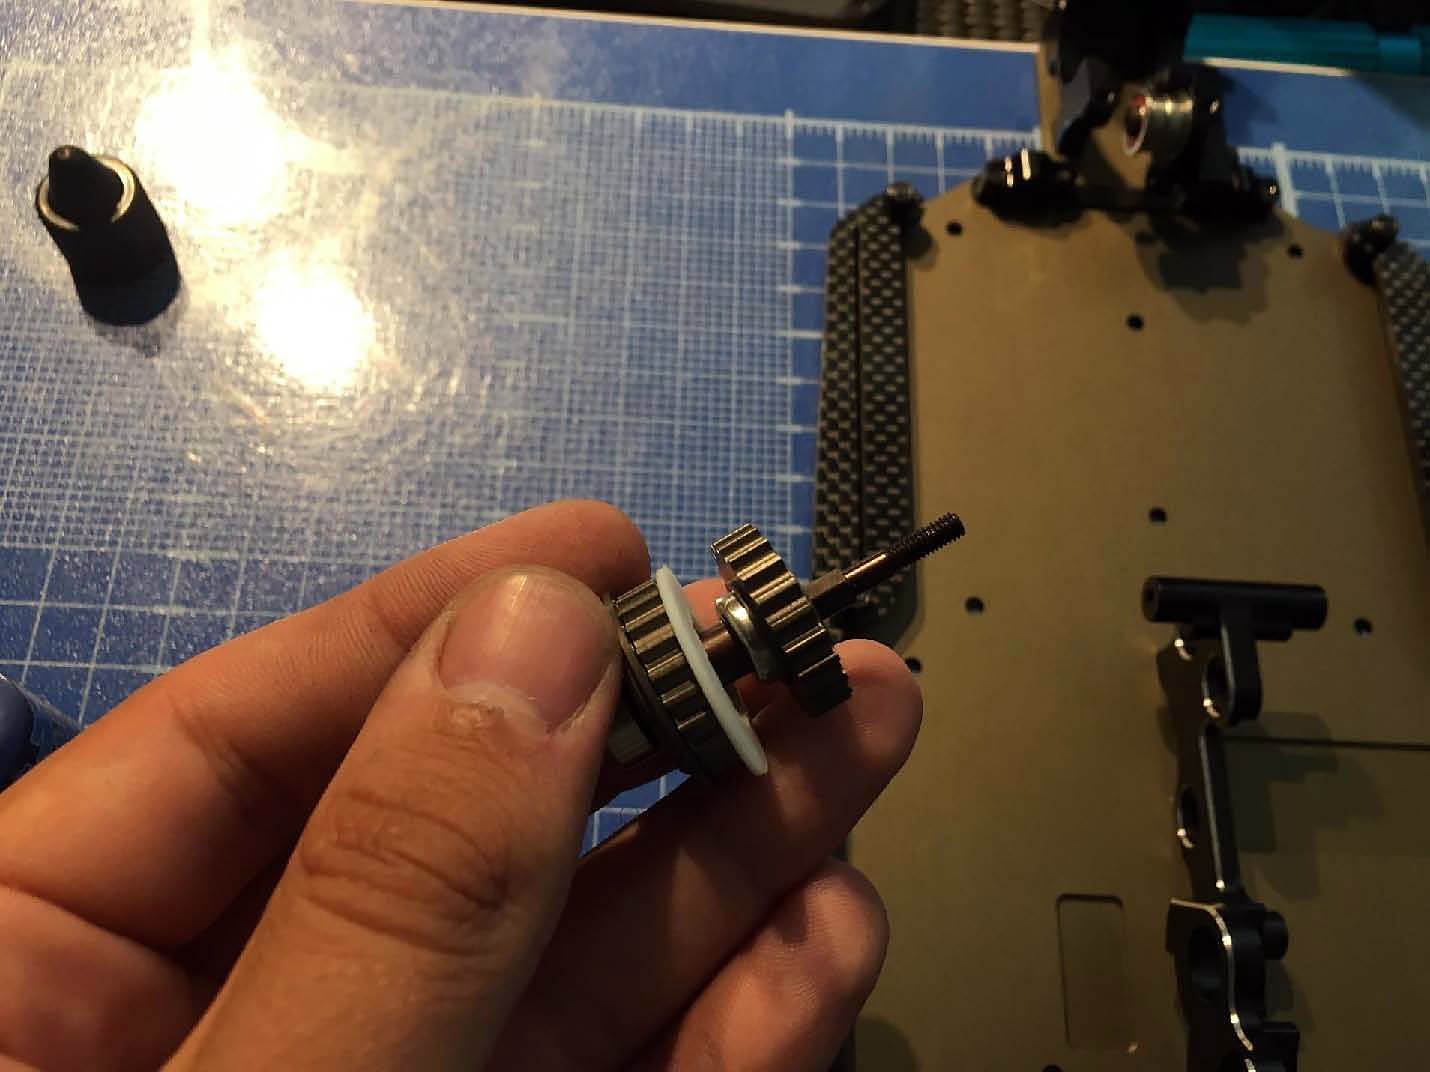
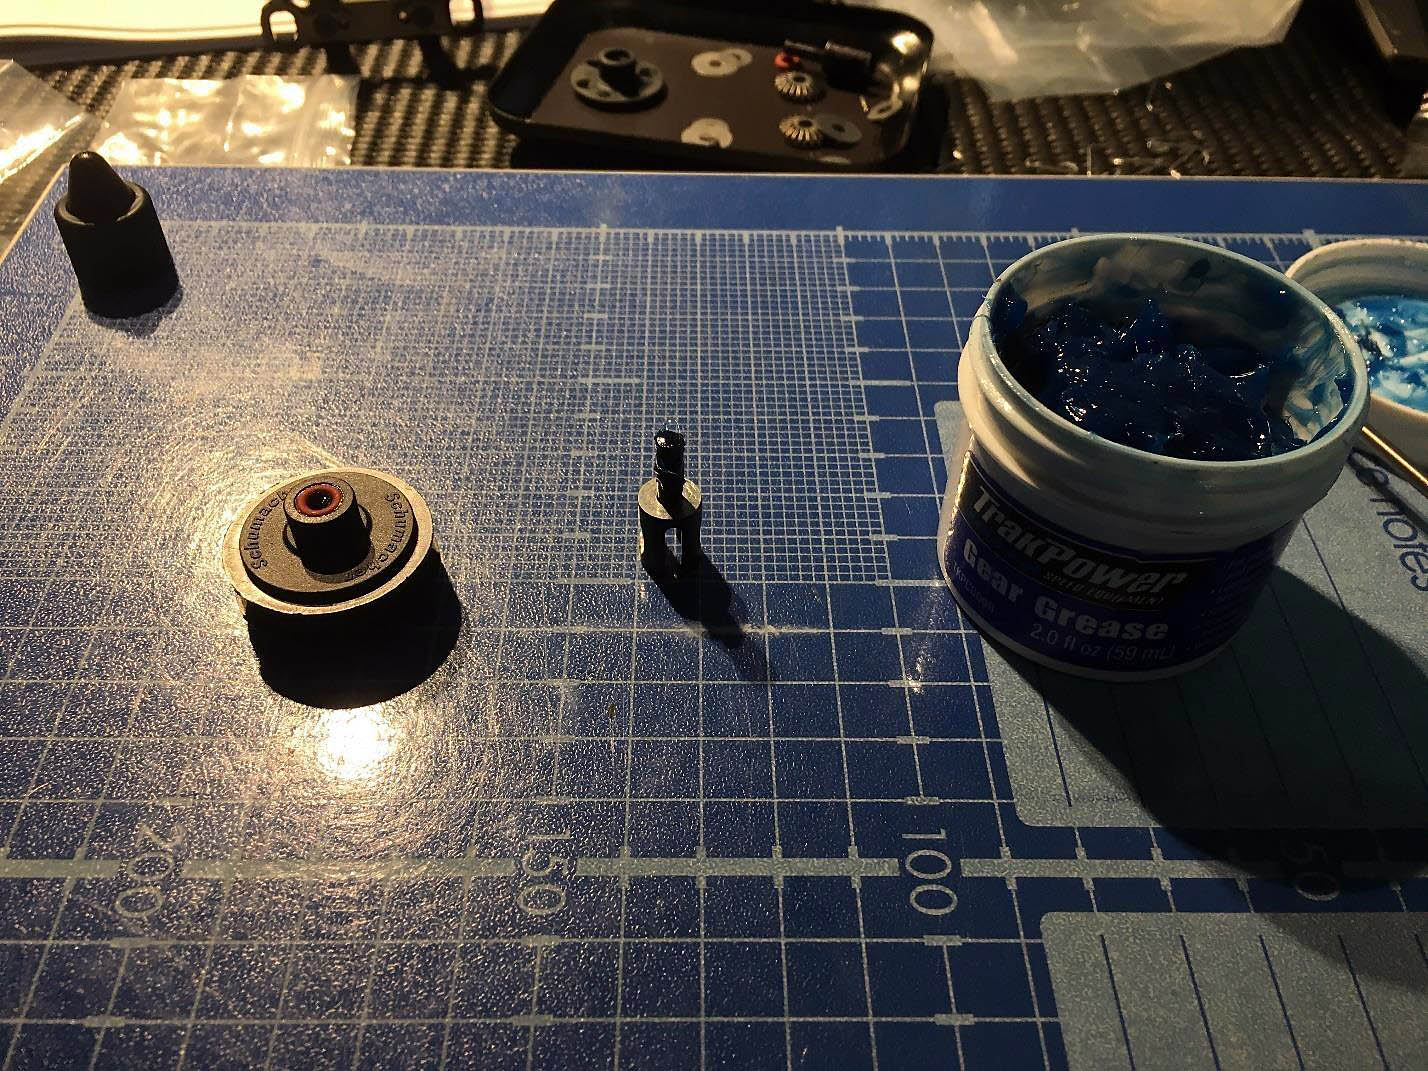
Moving to the diffs. Diffs it's really important part of the car so I will try to describe everything. When I build diffs I used standard plastic gearbox but I have already arrived aluminum gearboxes (U7422, U7423). This aluminum gearboxes will help the oil not to over heat therefore the oil in the diffs will work more linear. So the car will be more predictably. Also I would like to notice that quality of the all parts just amazing. The differential moving really free and also there is no play at all.
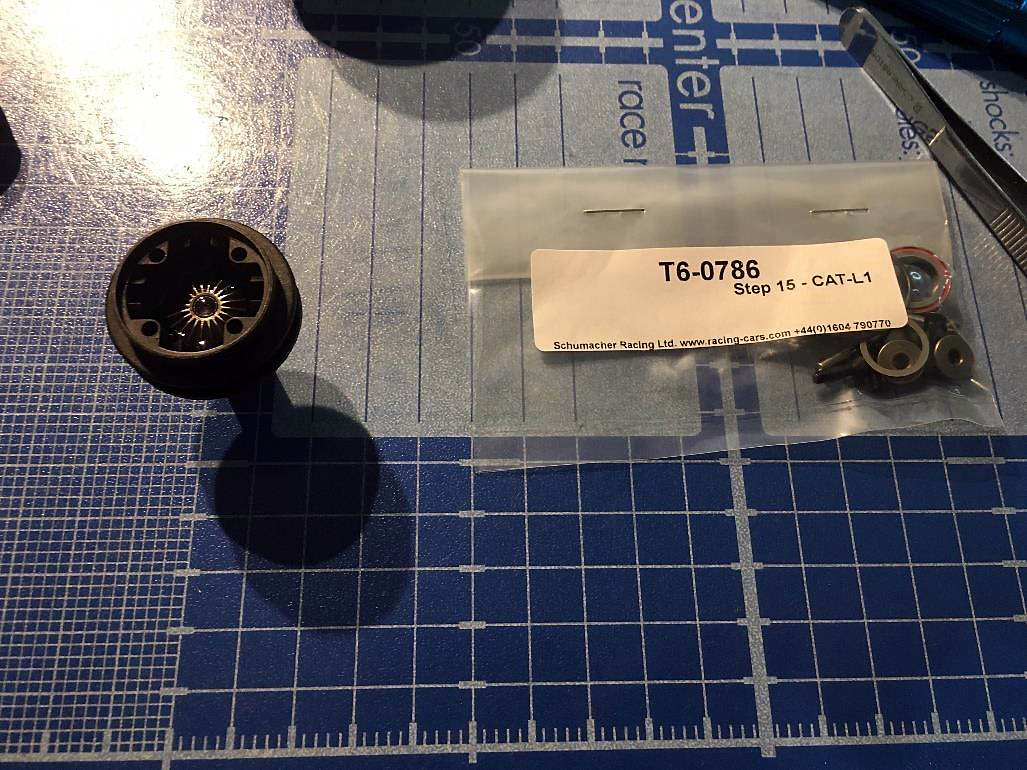
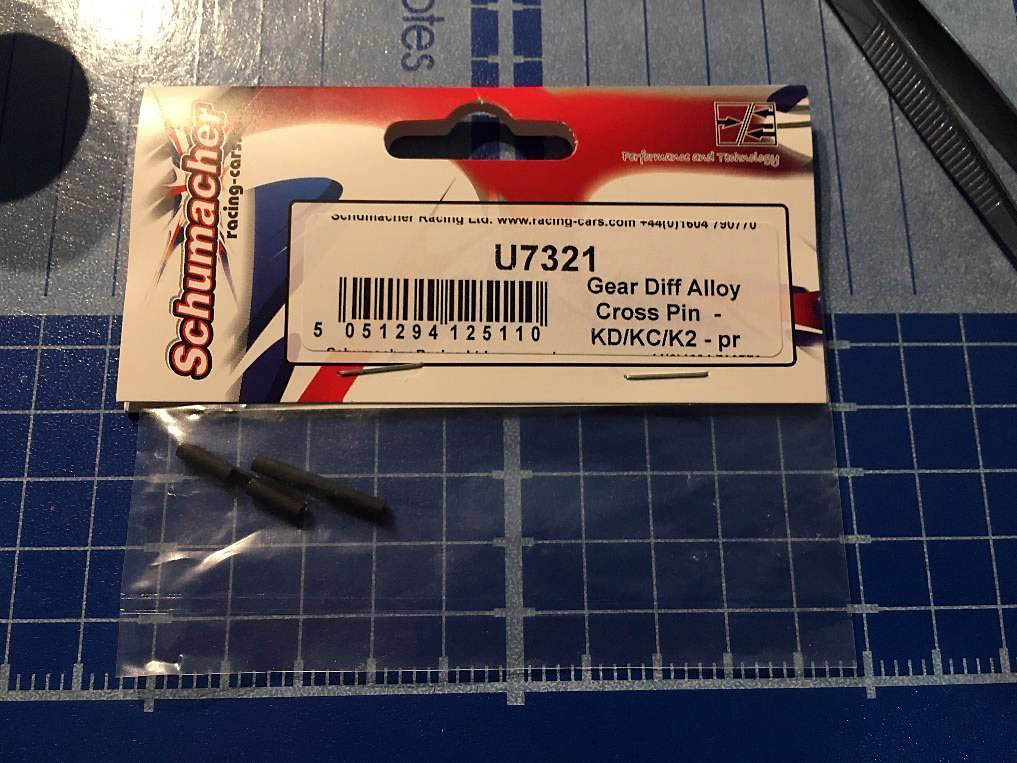
In the kit cross pins from the steel but I will use option (U7321) aluminum cross pin to reduce the weight.
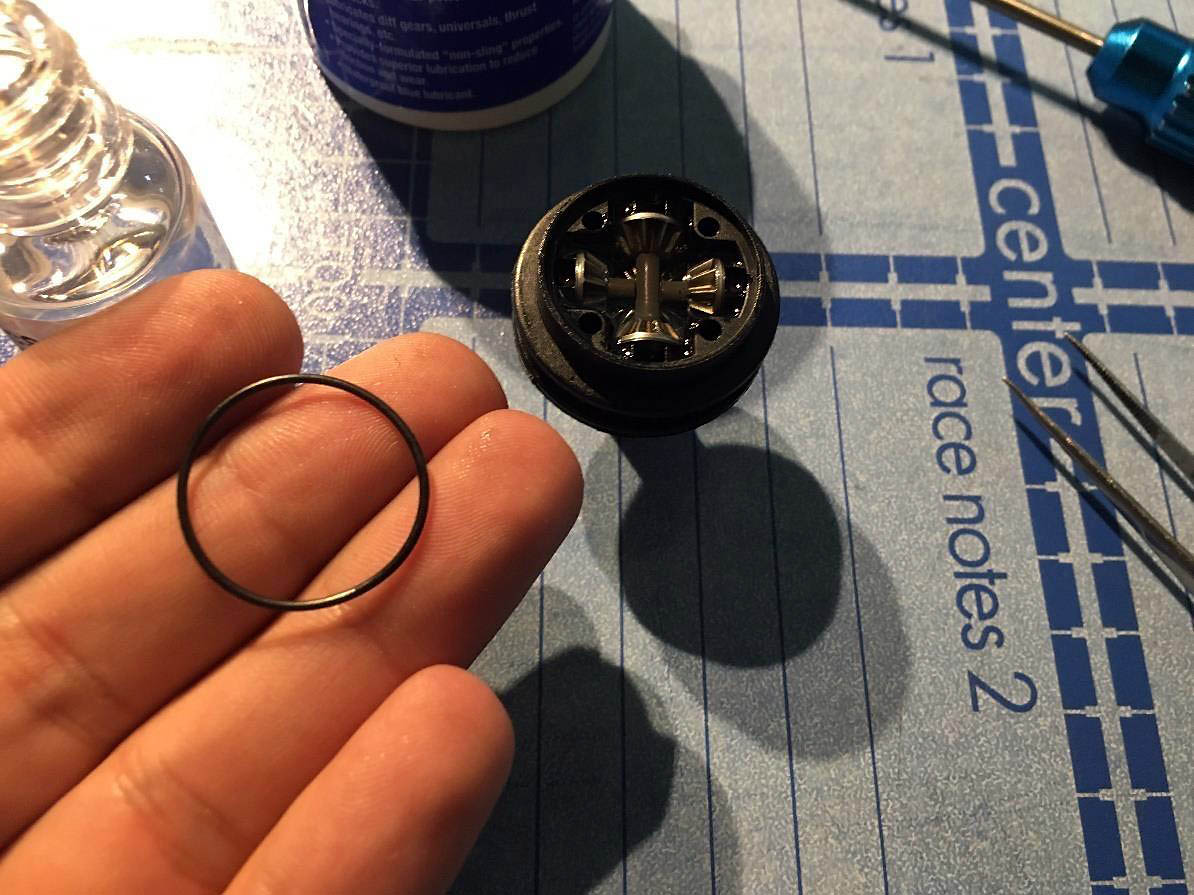
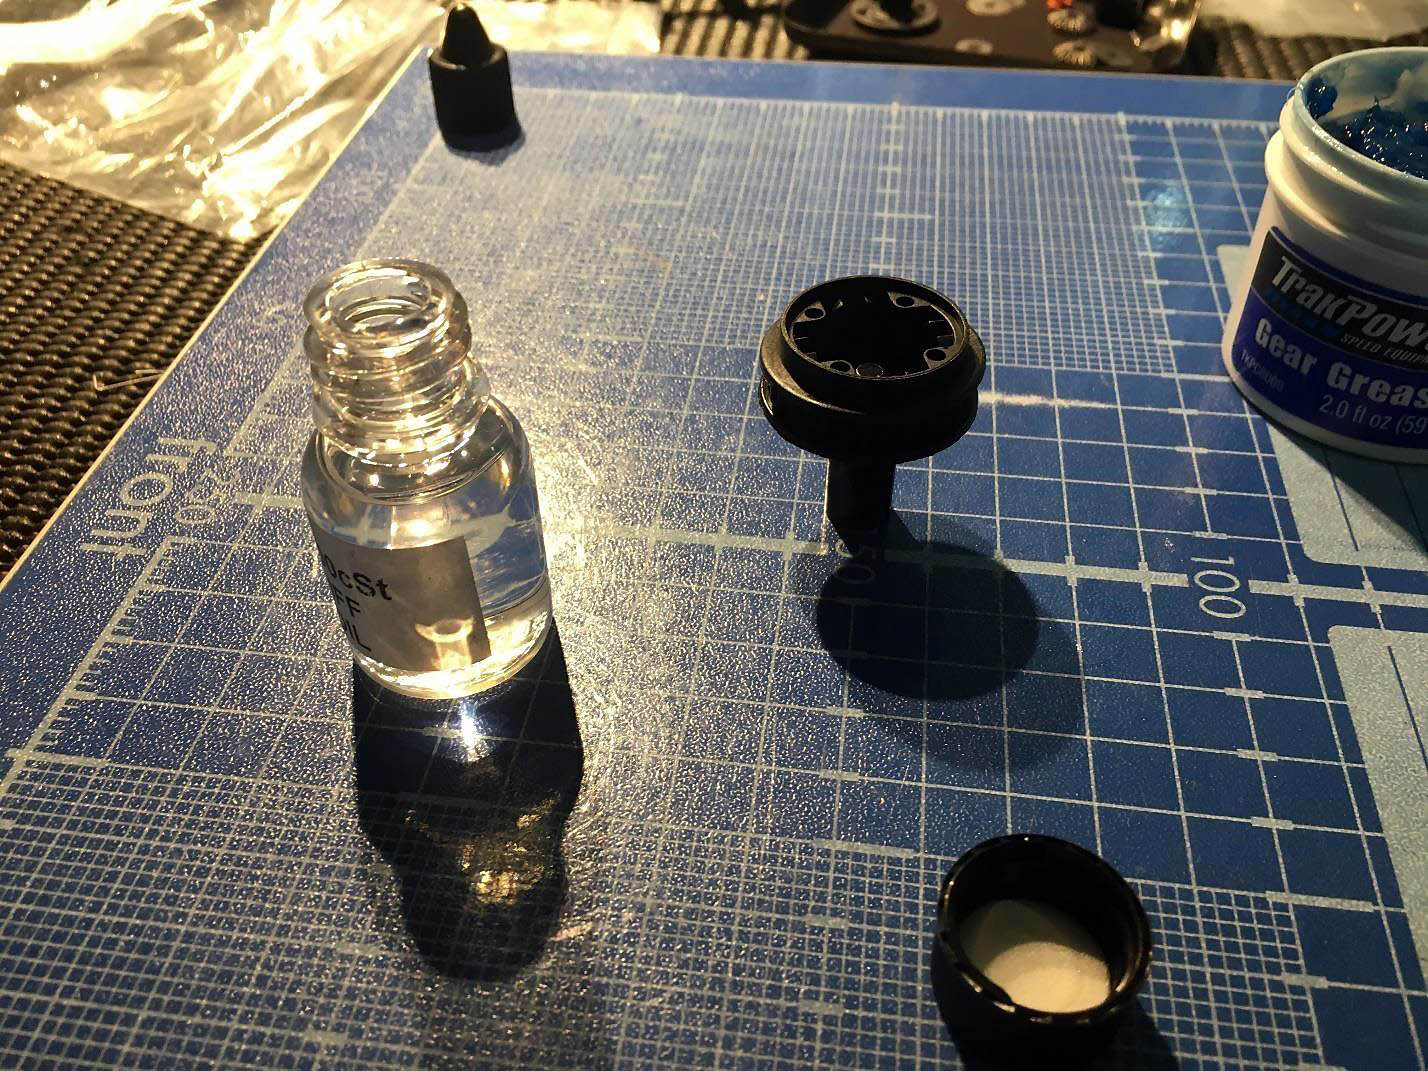
Either as a gasket Schumacher don't use paper or cardboard like X-ray, Yokomo or Team Associated. Schumacher use O-ring as gasket. And in my opinion its better because the chance that diff will leak go to 0. Another important and very cool setting its diff high. When we change diff high we also change the angle of drive shafts so we change the general filling of the car in the entry, in the middle and in the exit of the corner.
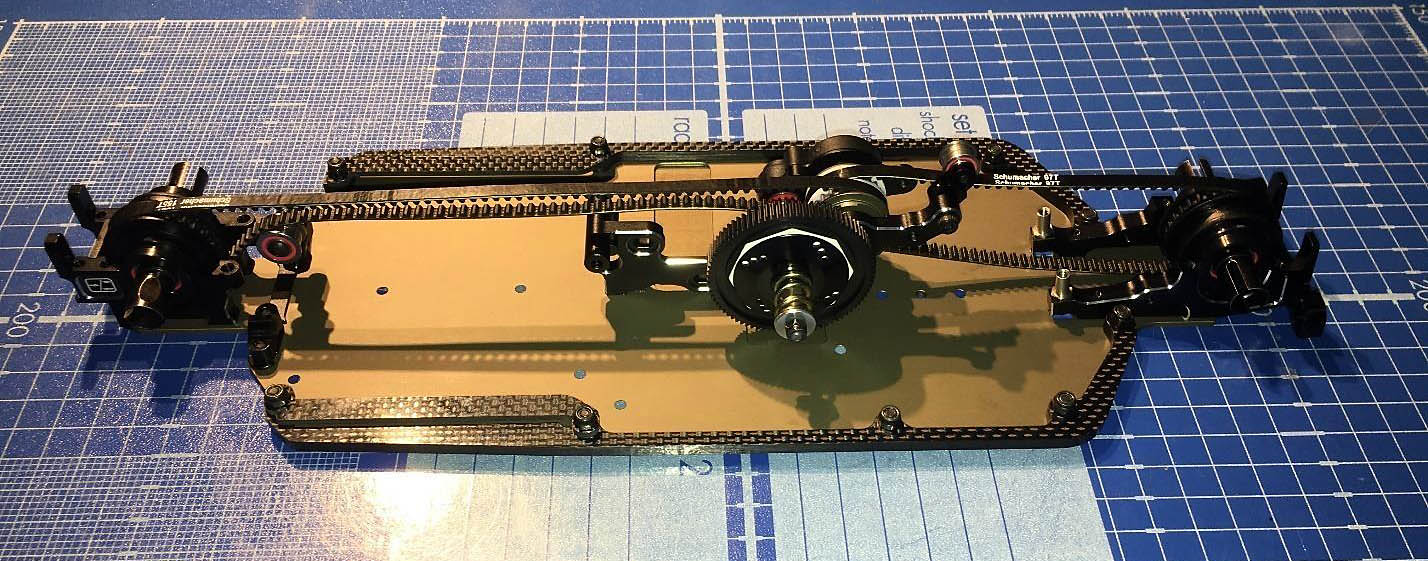
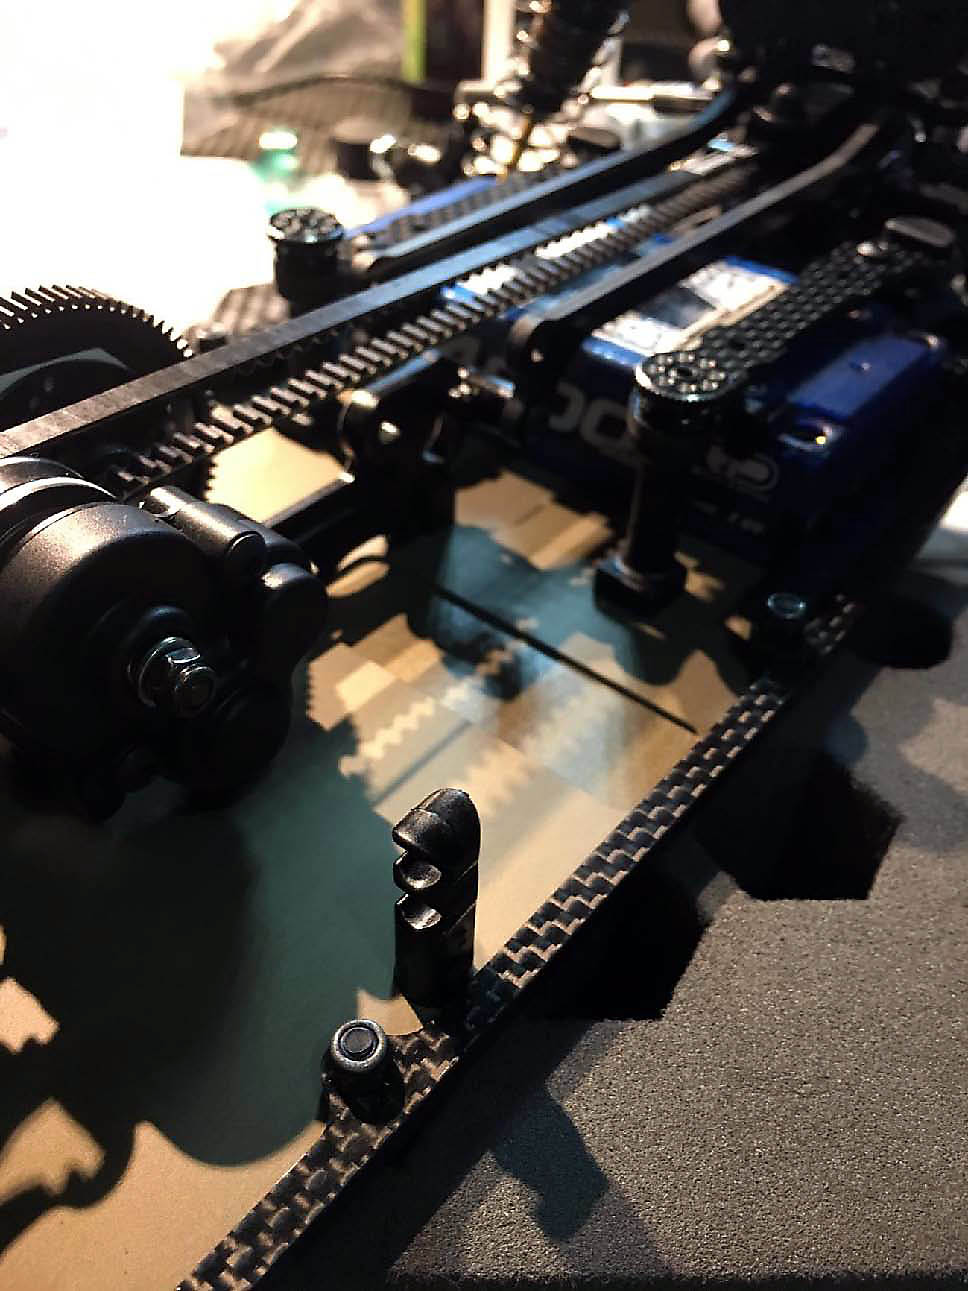
So here is what we have at the moment. I dint write anything about belts because there is nothing special.
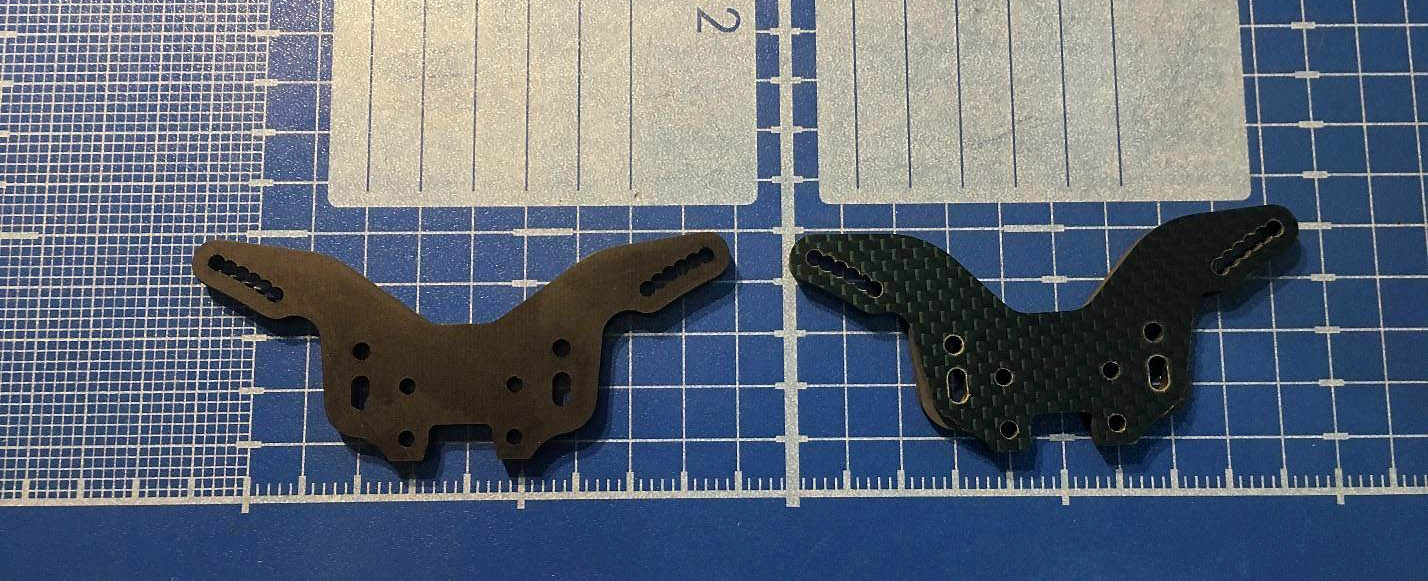
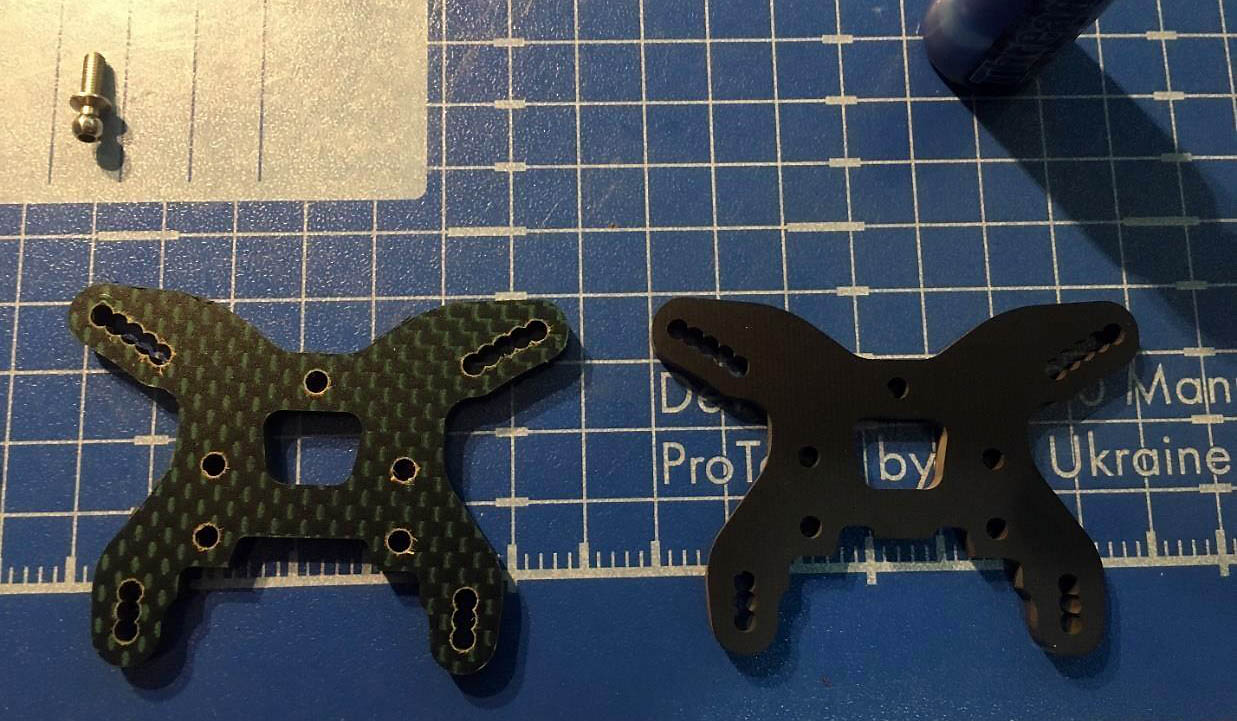
On photo we have 2 different rear shock towers on the left side this is optional S2 shock tower (U7437) on the right side standard. The difference between those two shock towers is that optional S2 lower on 2mm than standard so we have more "Drop" and also we have lower center of gravity.
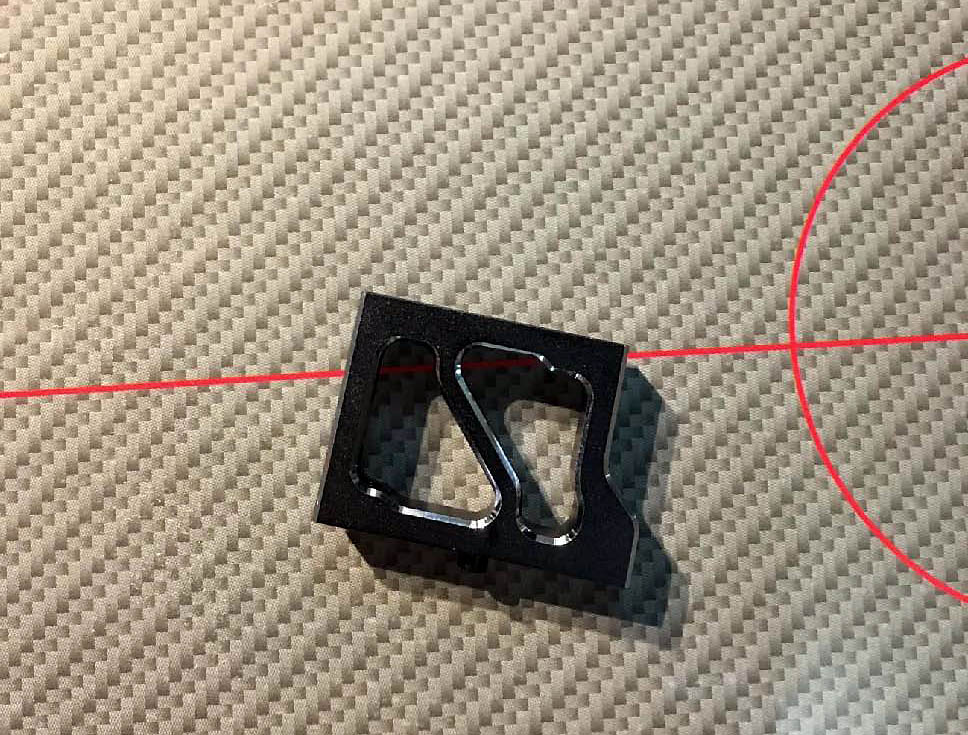
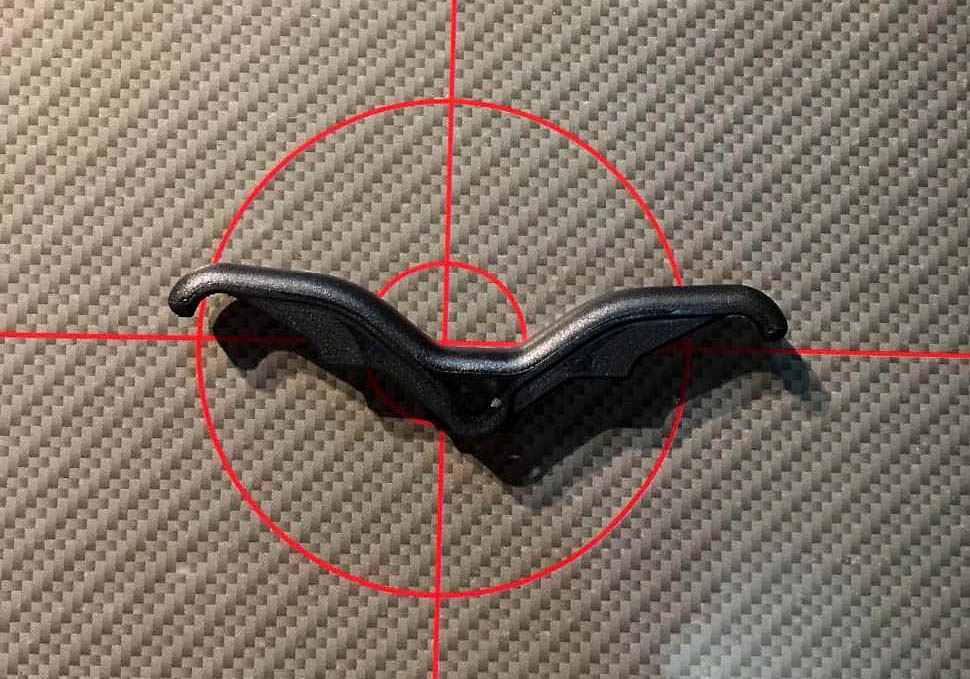
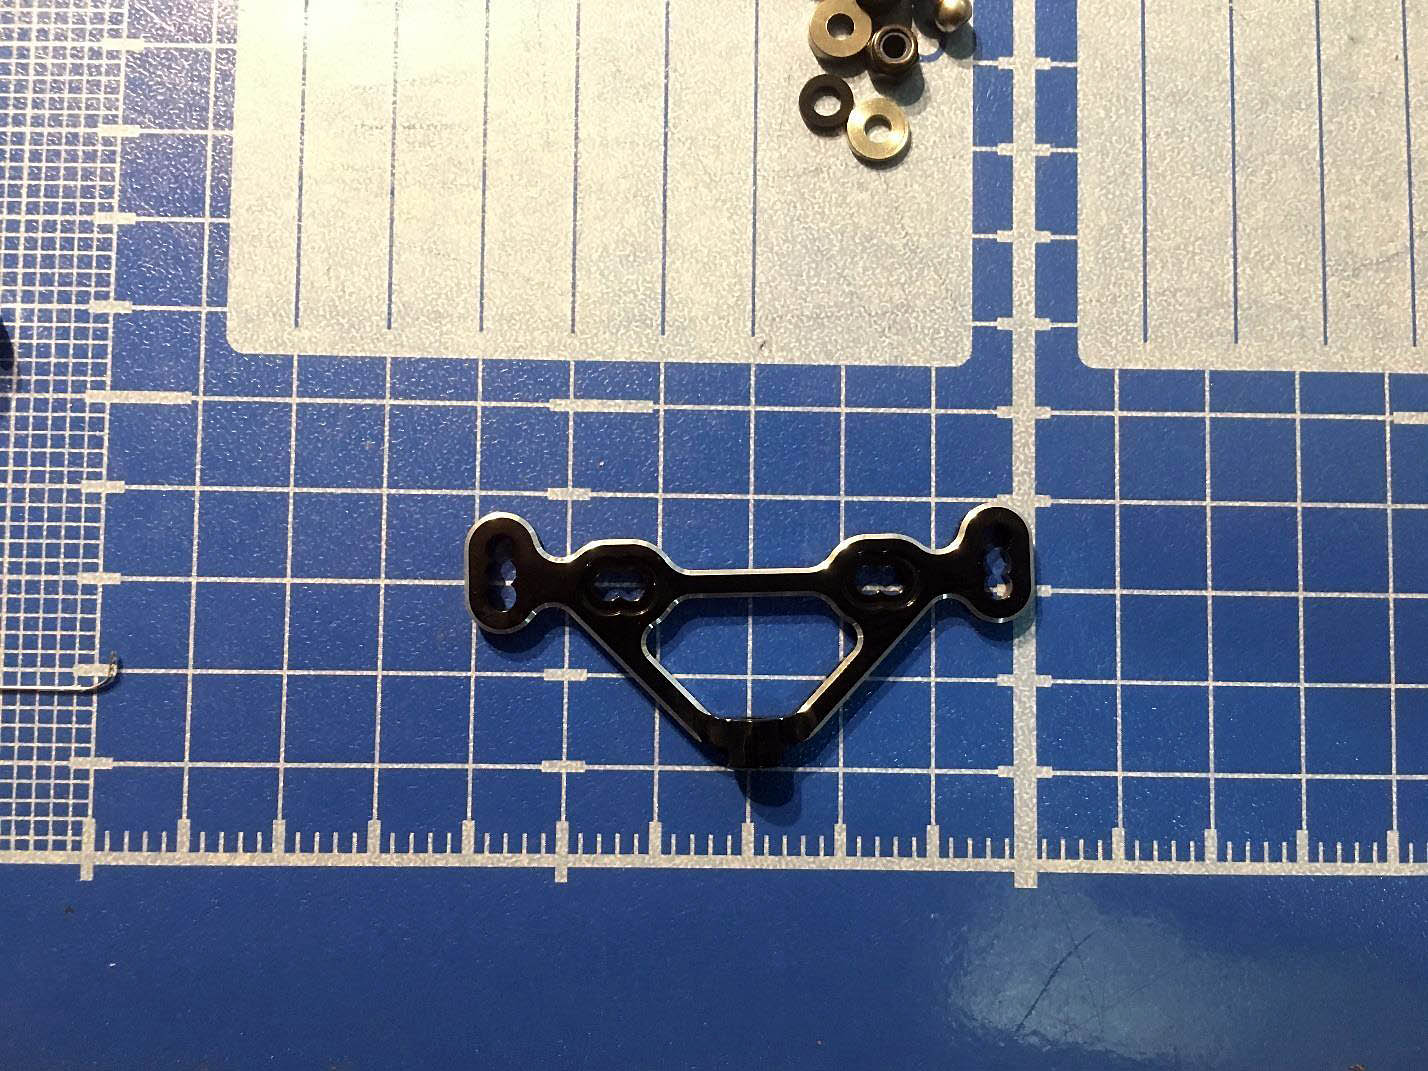
With kit we have plastic wing mounts but I will use option aluminium wing mount (U7420). Plus with otion wing mount we can change angle of the wing.
The next step is to build the turnbuckles. As I sad before the quality its just about Schumacher so I didn't have any problems with turnbuckles. Thread is cut easily by hands.
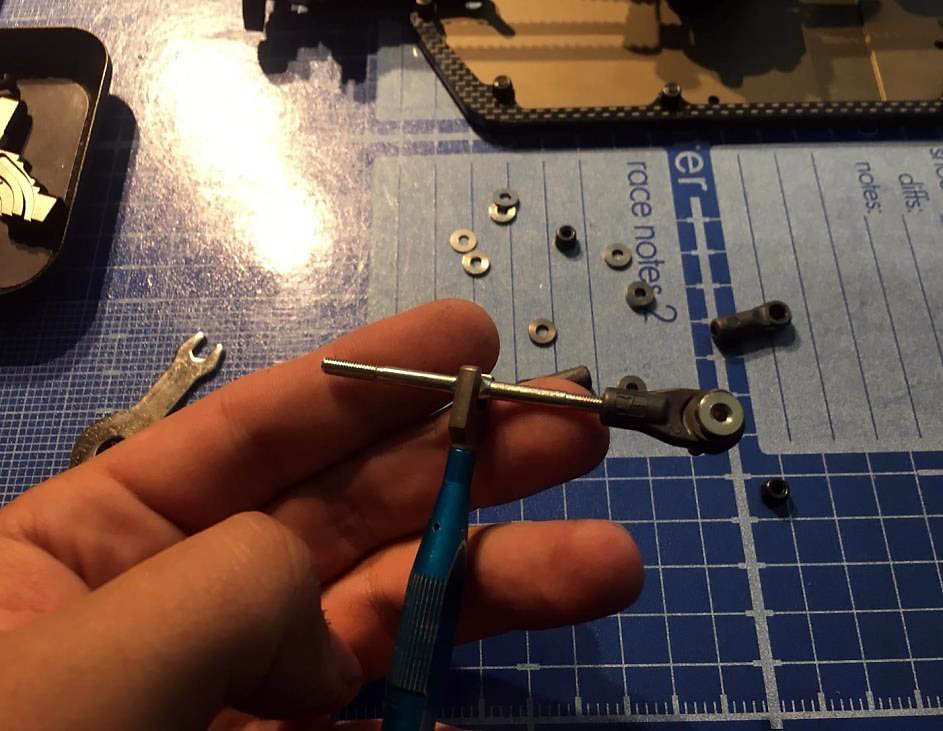
The next step is to build the turnbuckles. As I sad before the quality its just about Schumacher so I didn't have any problems with turnbuckles. Thread is cut easily by hands.
In front I also use S2 shock tower (U7438) wich is 2mm lower than standard.
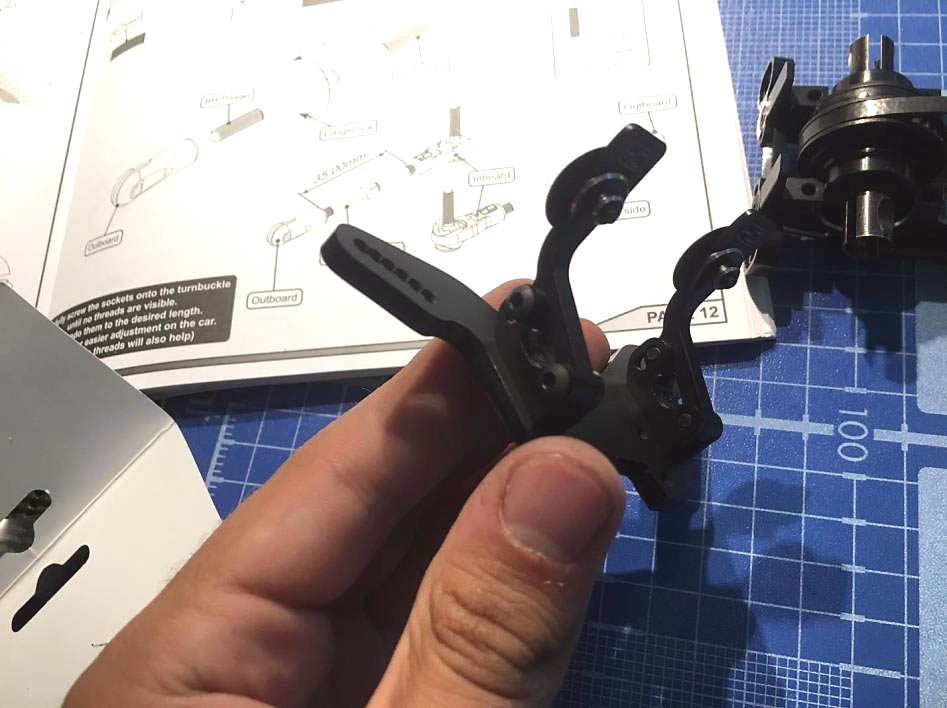
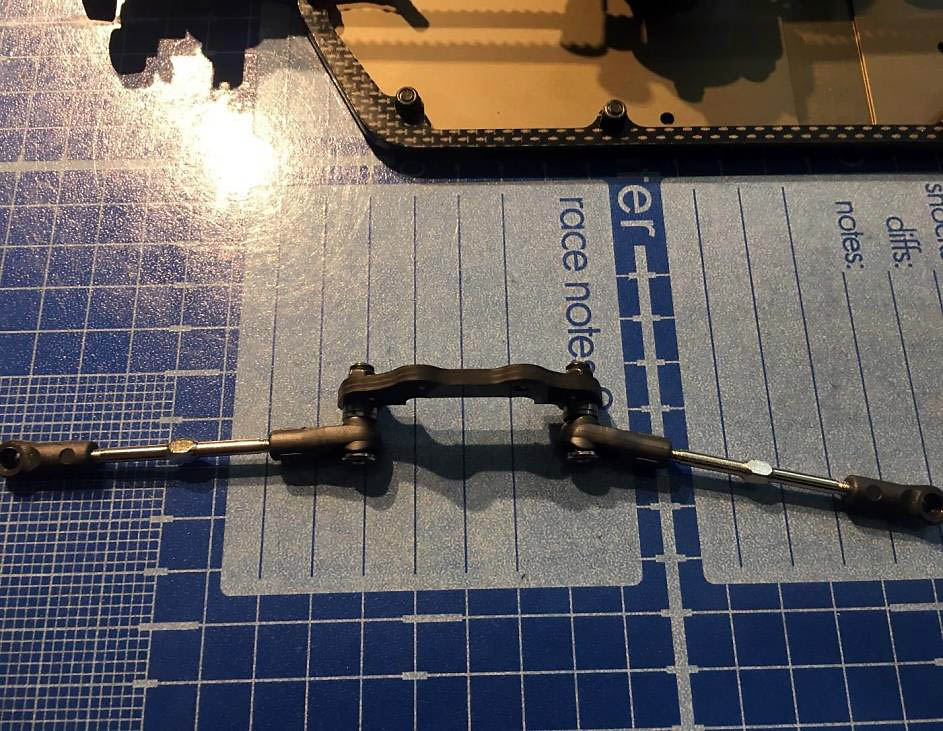
So we began to assemble the steering of Schumacher L1. From the box we have aluminium steering lin with tons of setting.
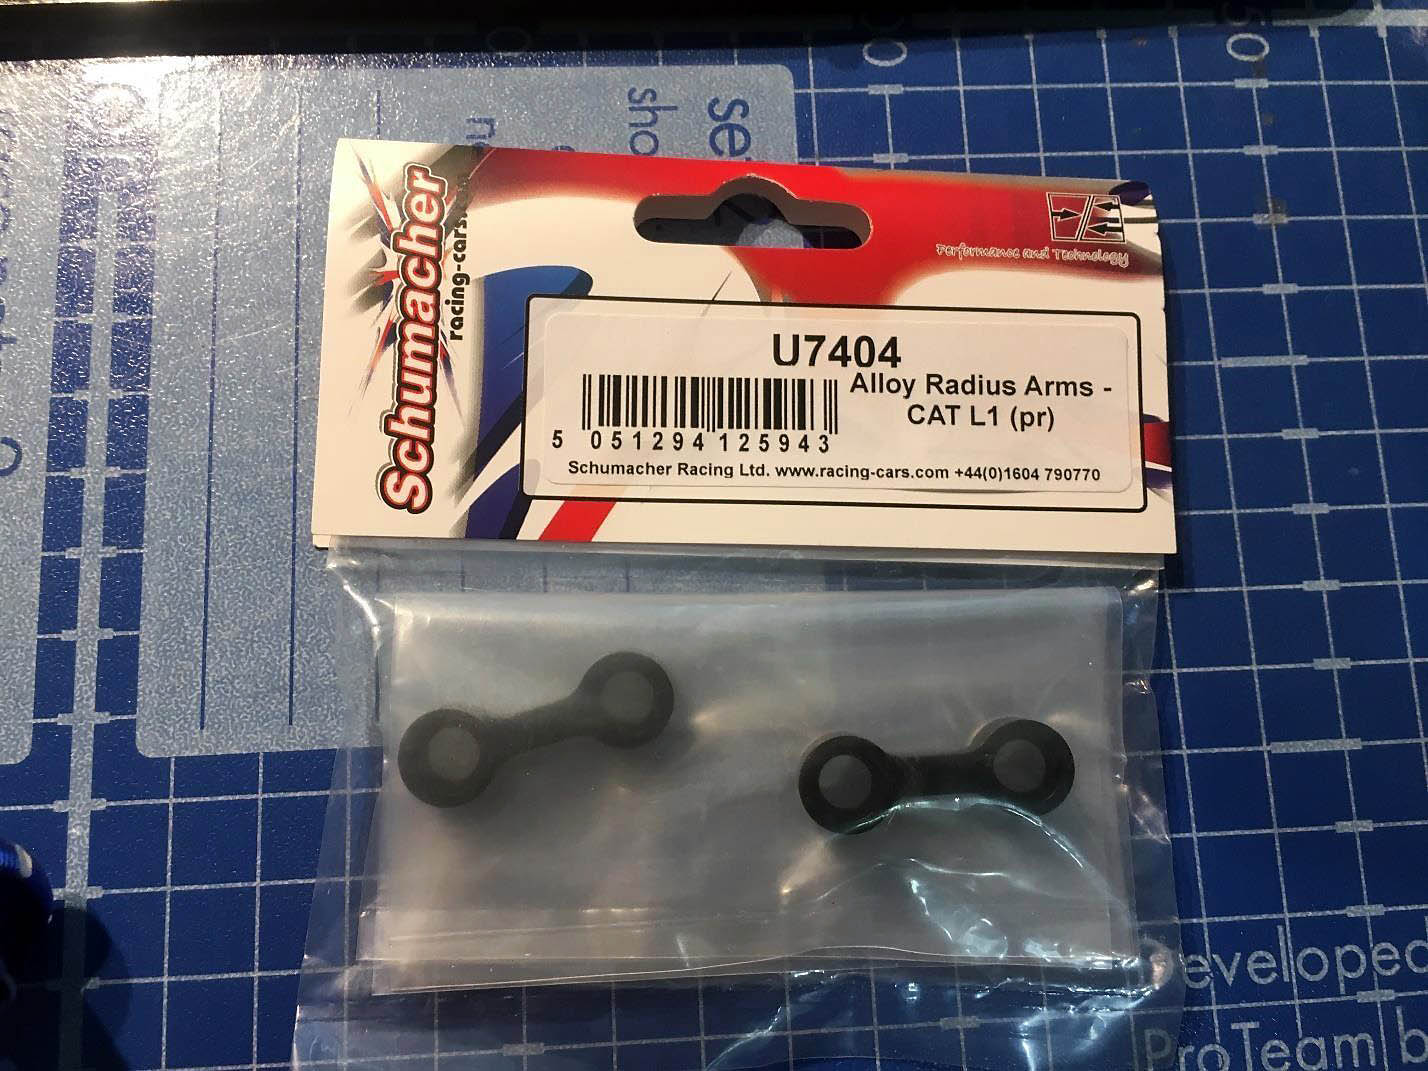
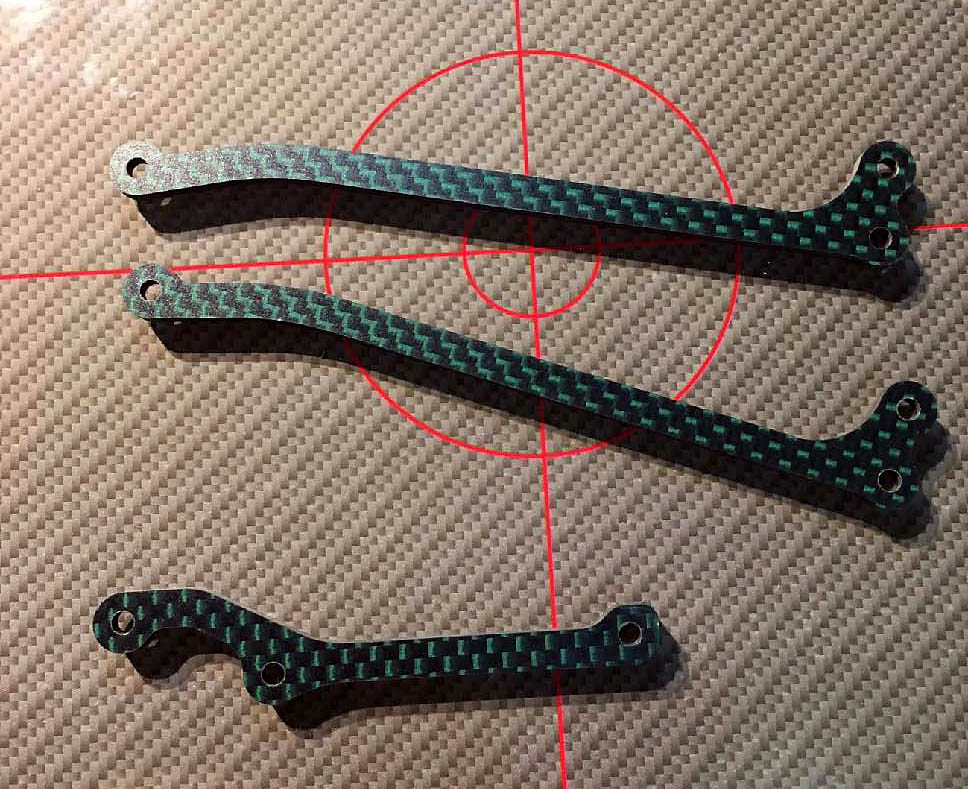
Also I will use option aluminum steering radis arms (U7404). I will use them because its will better to feel the steering and general durability.
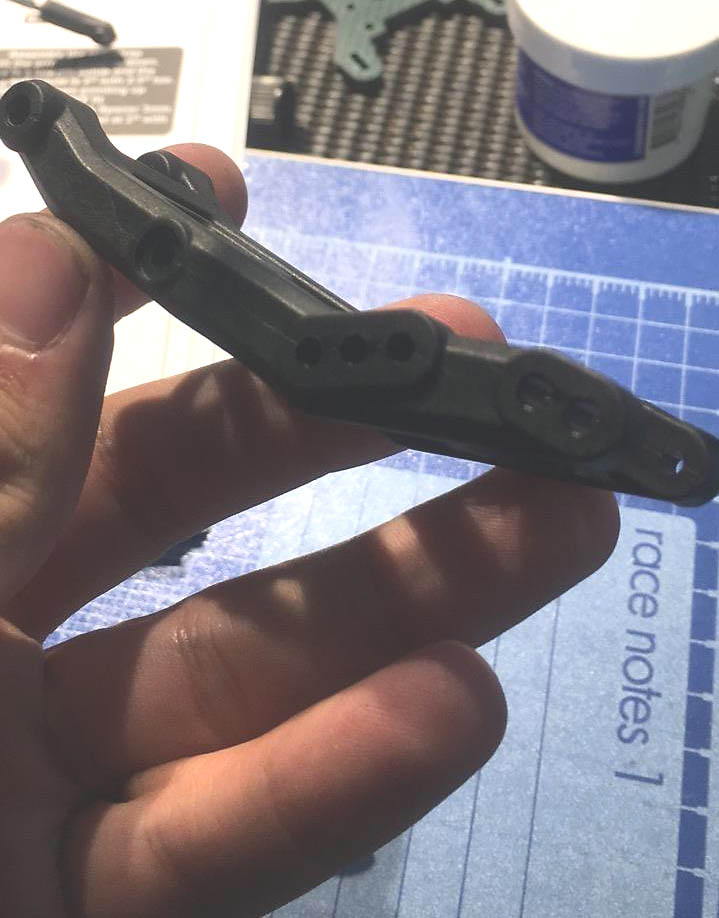
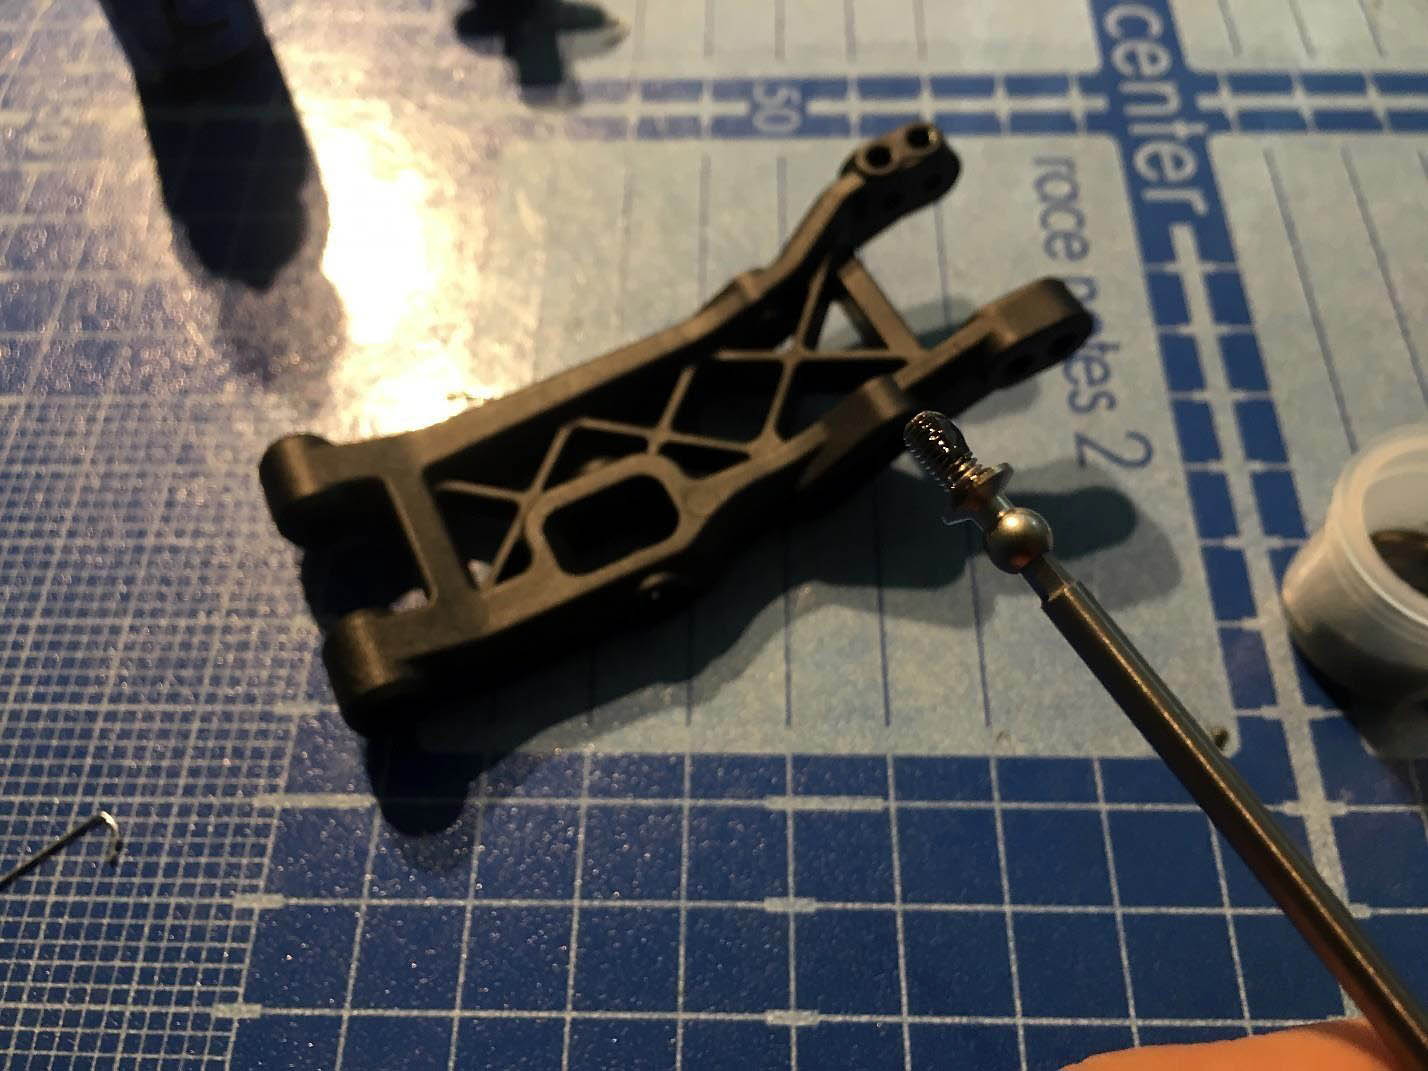
Rear arms looks really strong and solid. Also I can say that plastic is pretty strong and its hard to twist the screw so I suggest you to use small piece of grease to the screw with this hack it will be much easier.
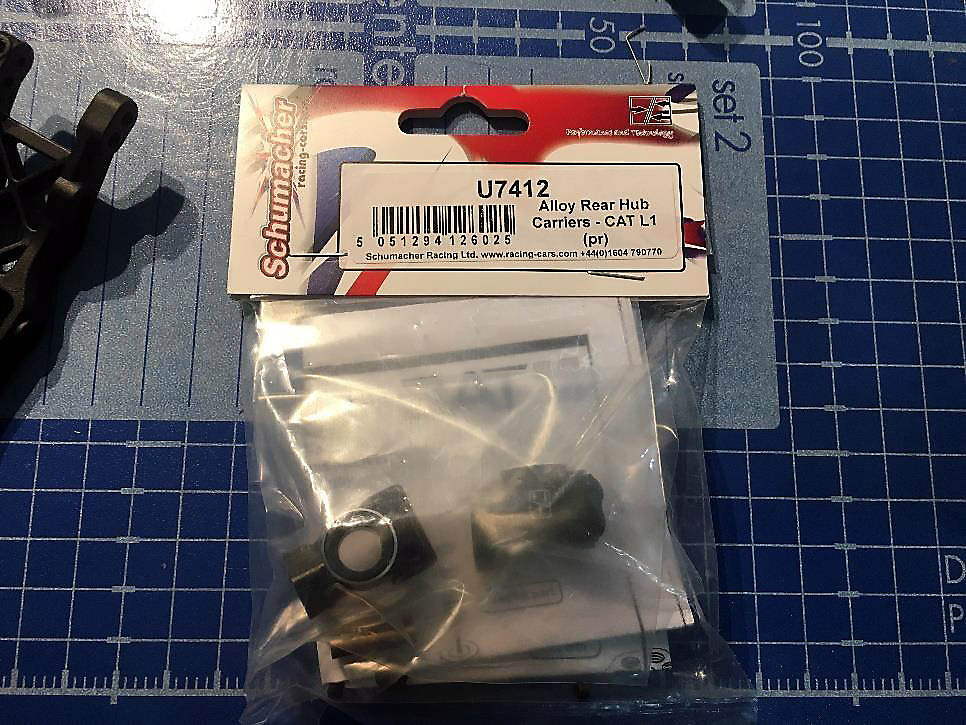
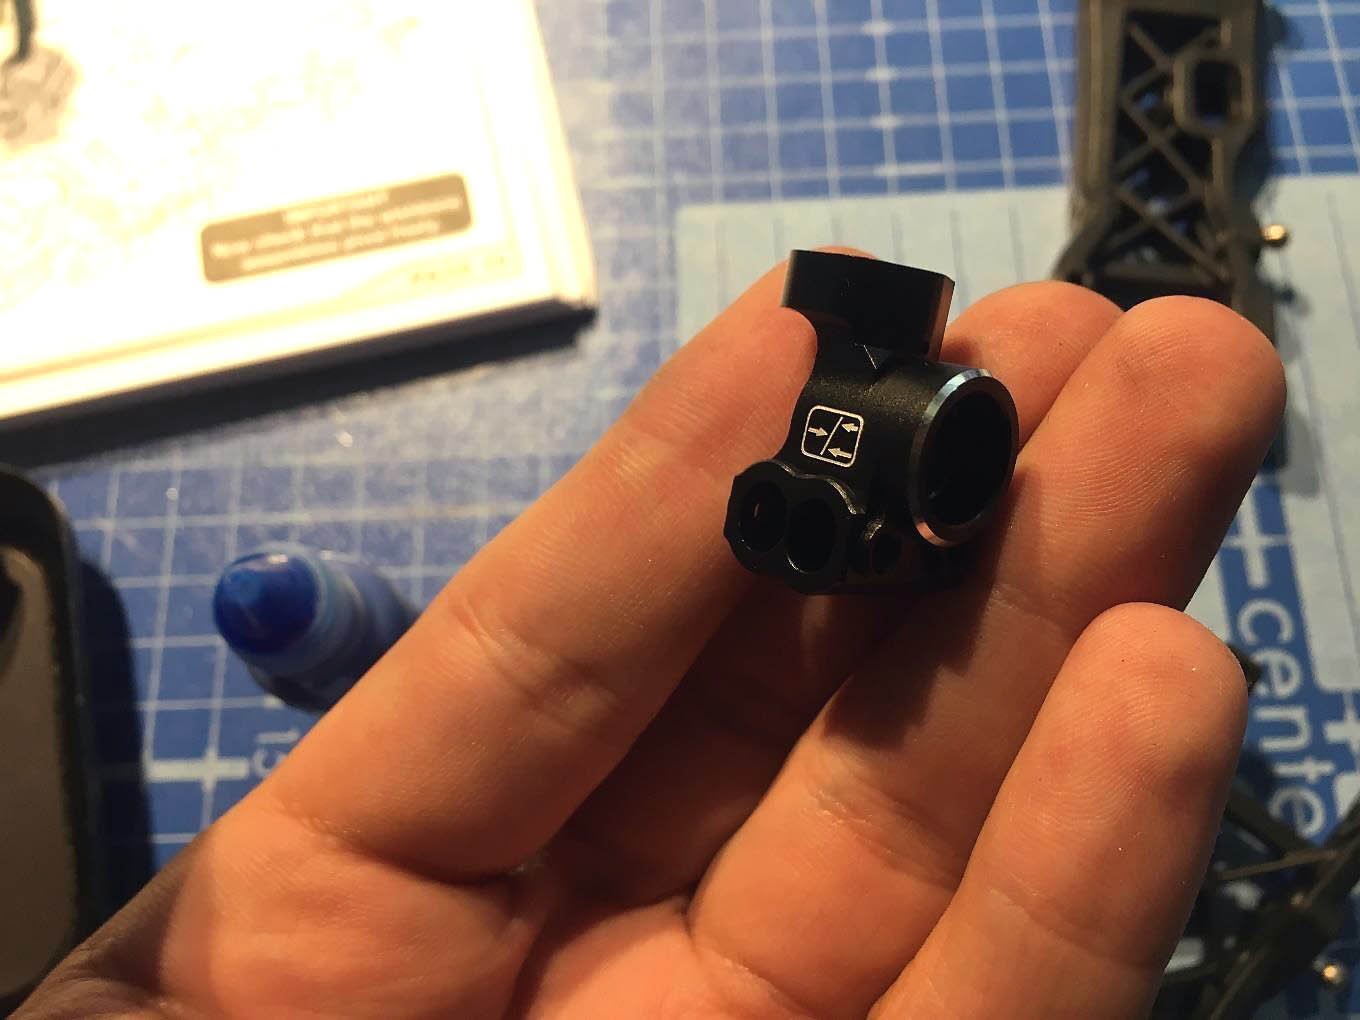
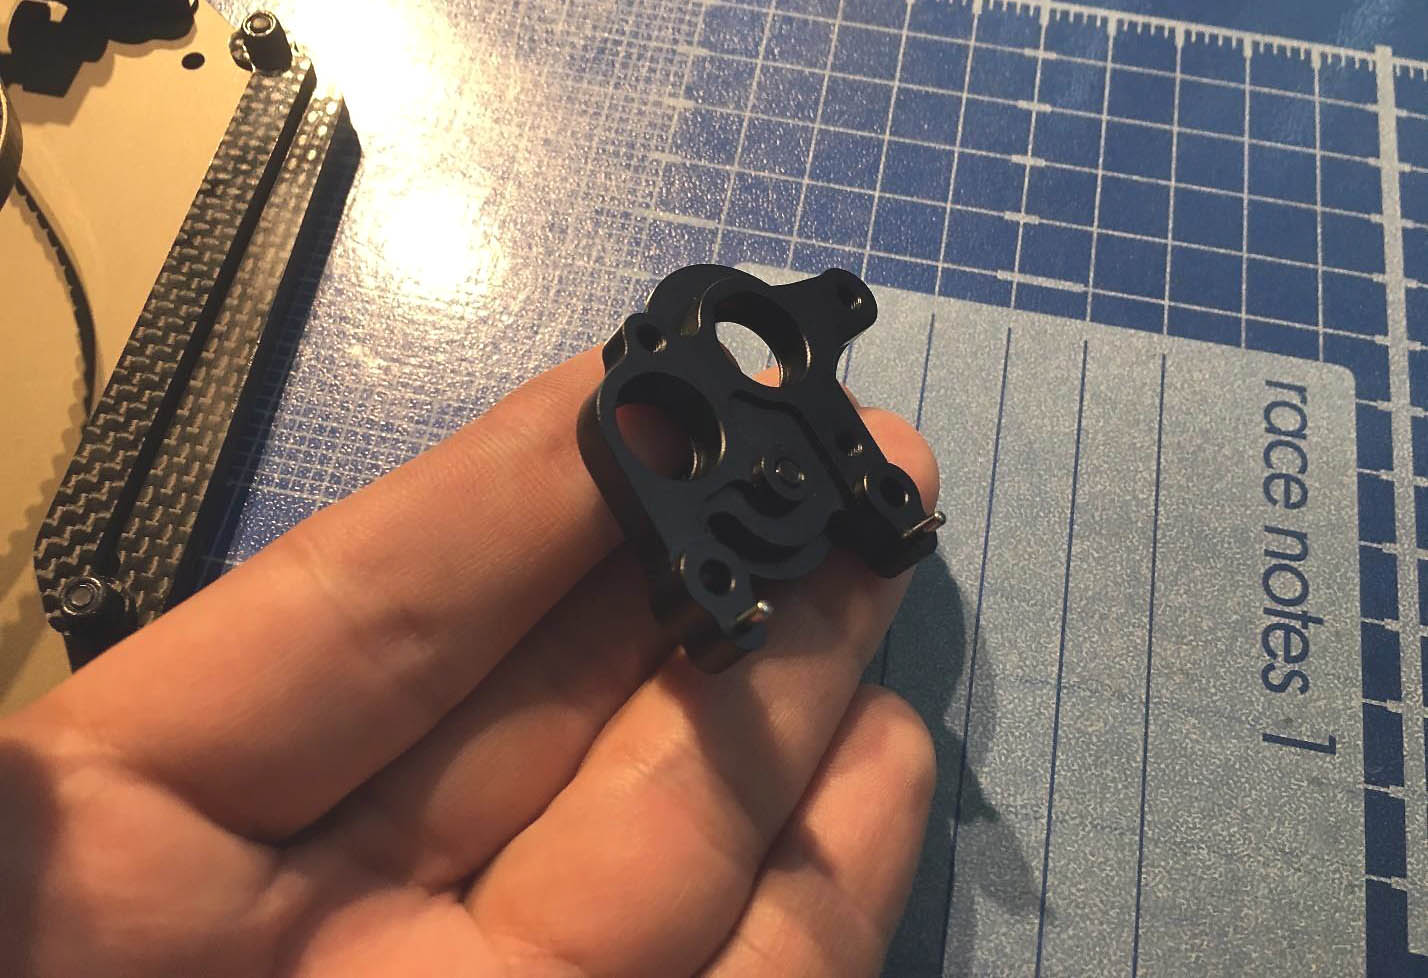
Also on my L1 I will use option rear hubs (U7412). This hubs give me durability feeling and also they hame more range of setting.
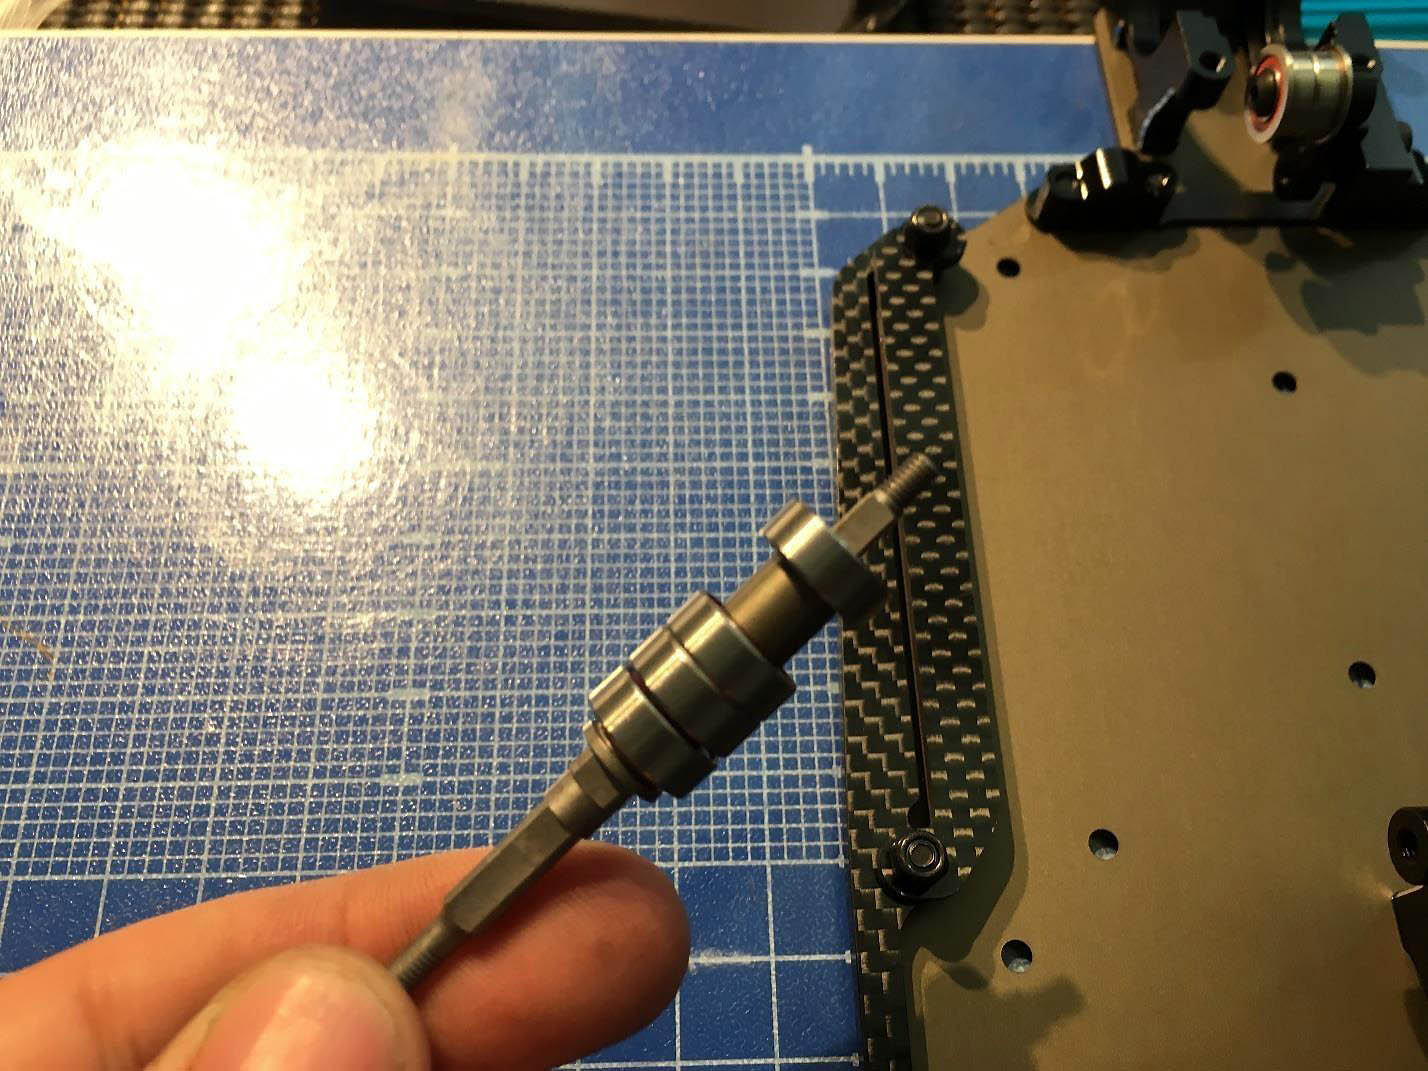
Rear driveshafts is “Universal” and they looks pretty cool and solid.
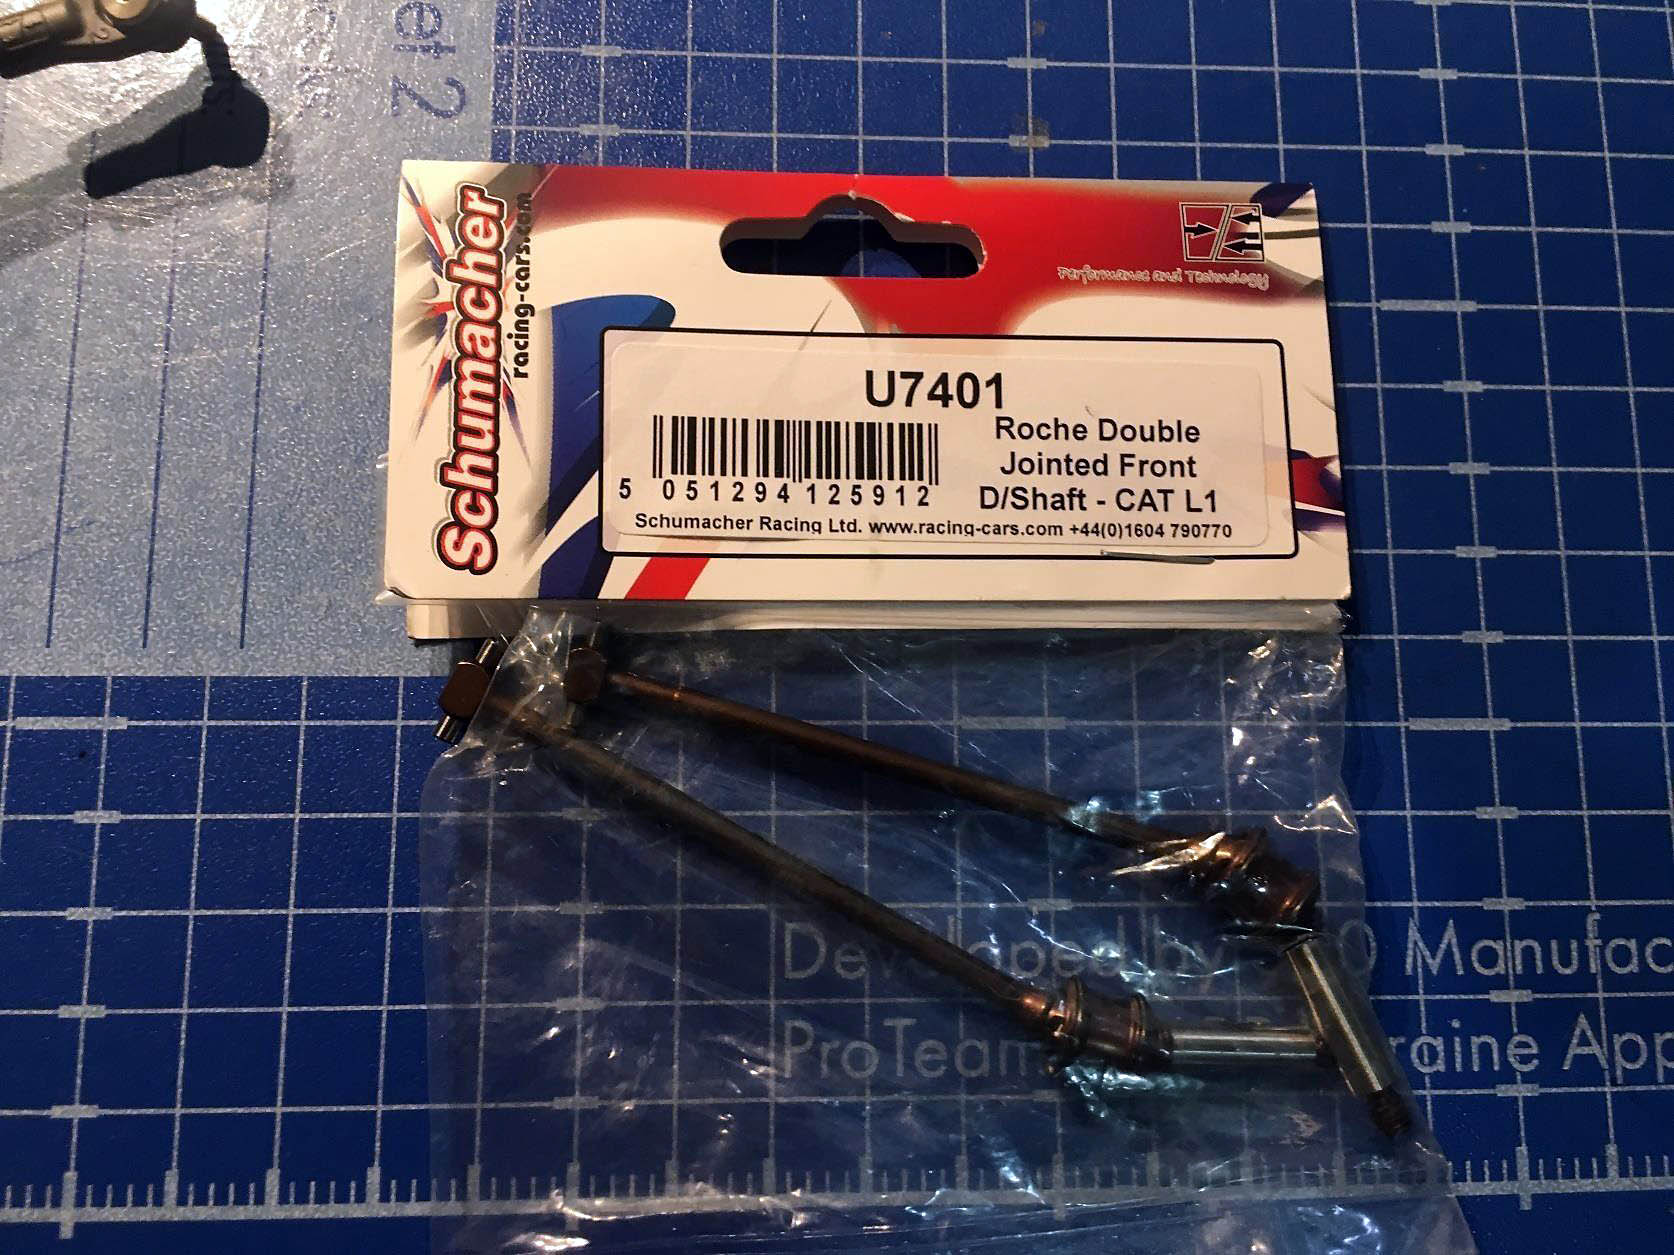
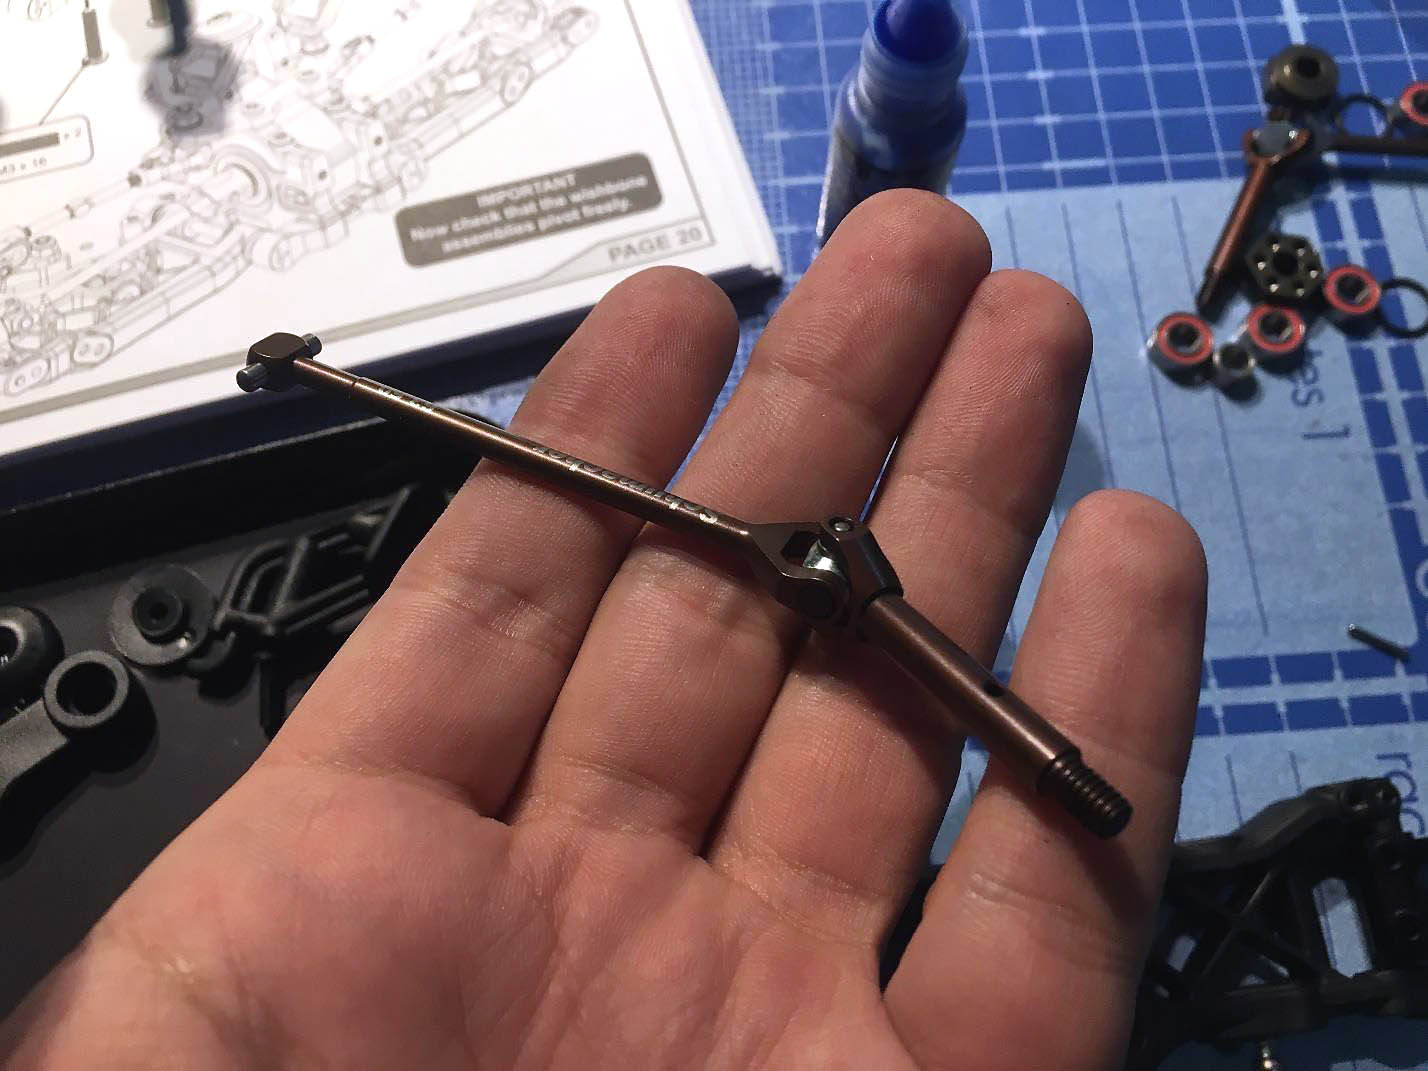
In front I will use option Roche Double Jointed shafts instead stock Universal shafts. I choose this option for my L1 because they help to reduce vibration on front wheels in the corners.
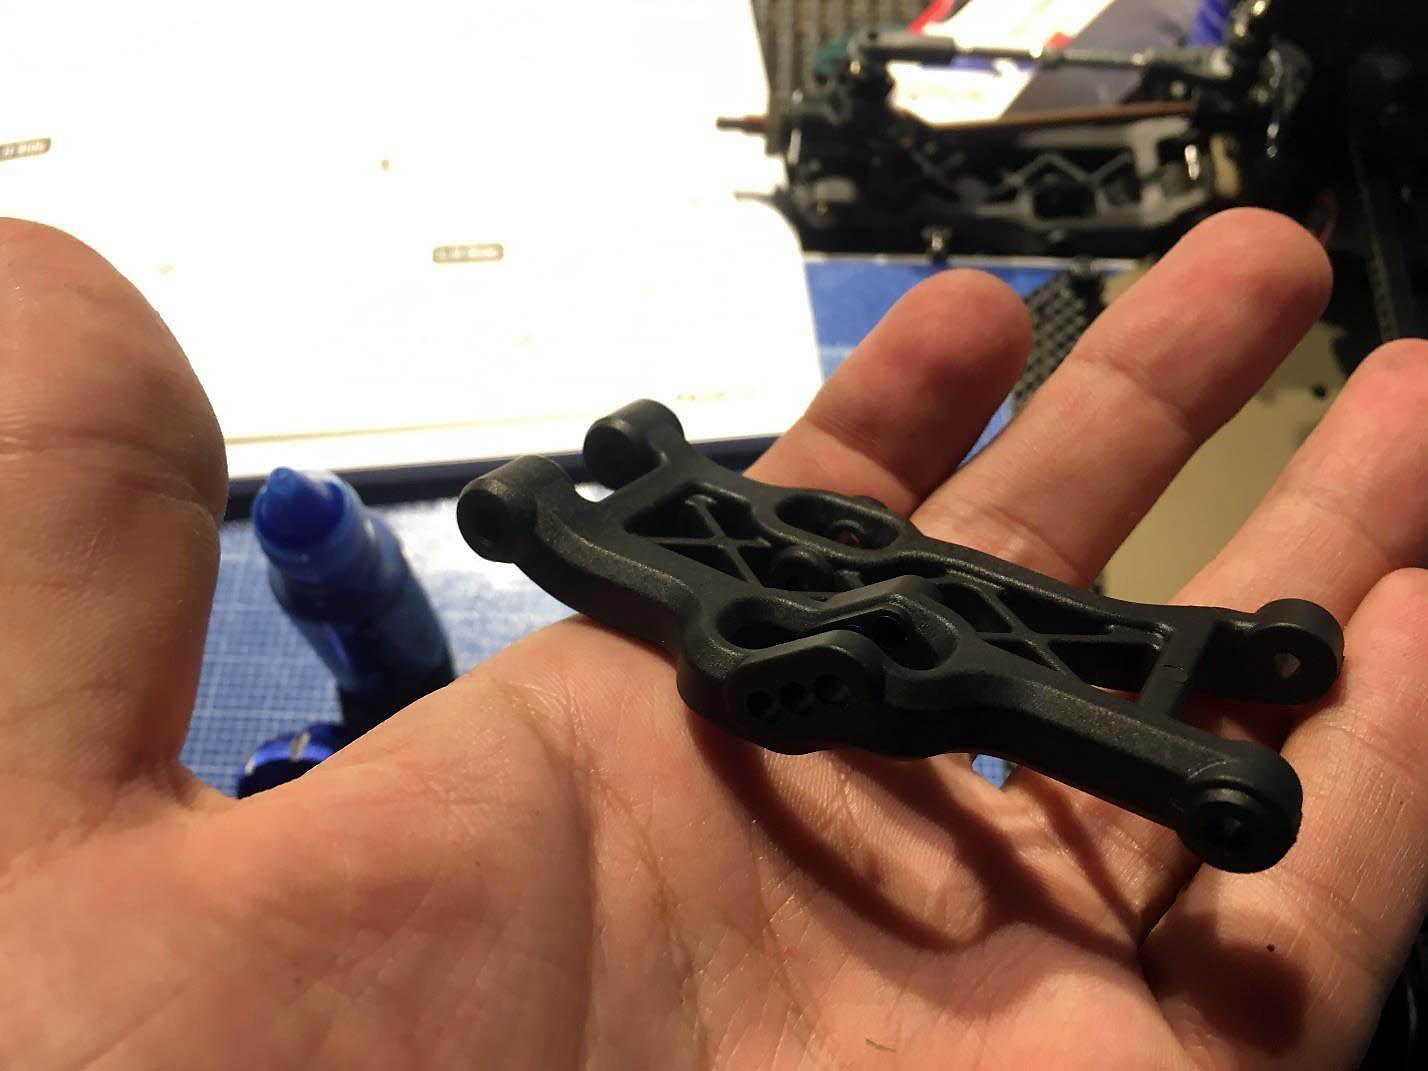
Front arms looks mightily as rear one.
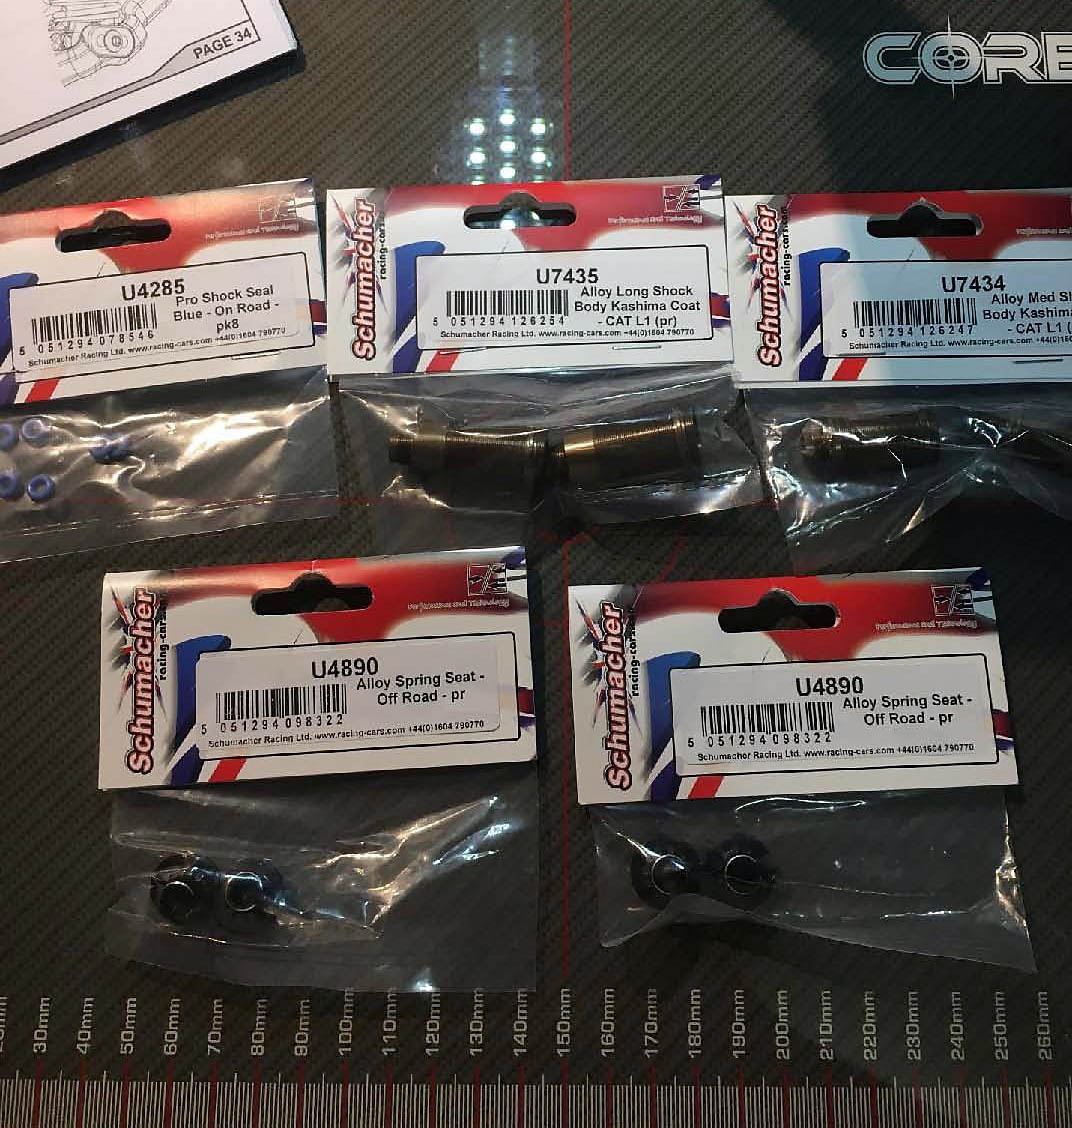
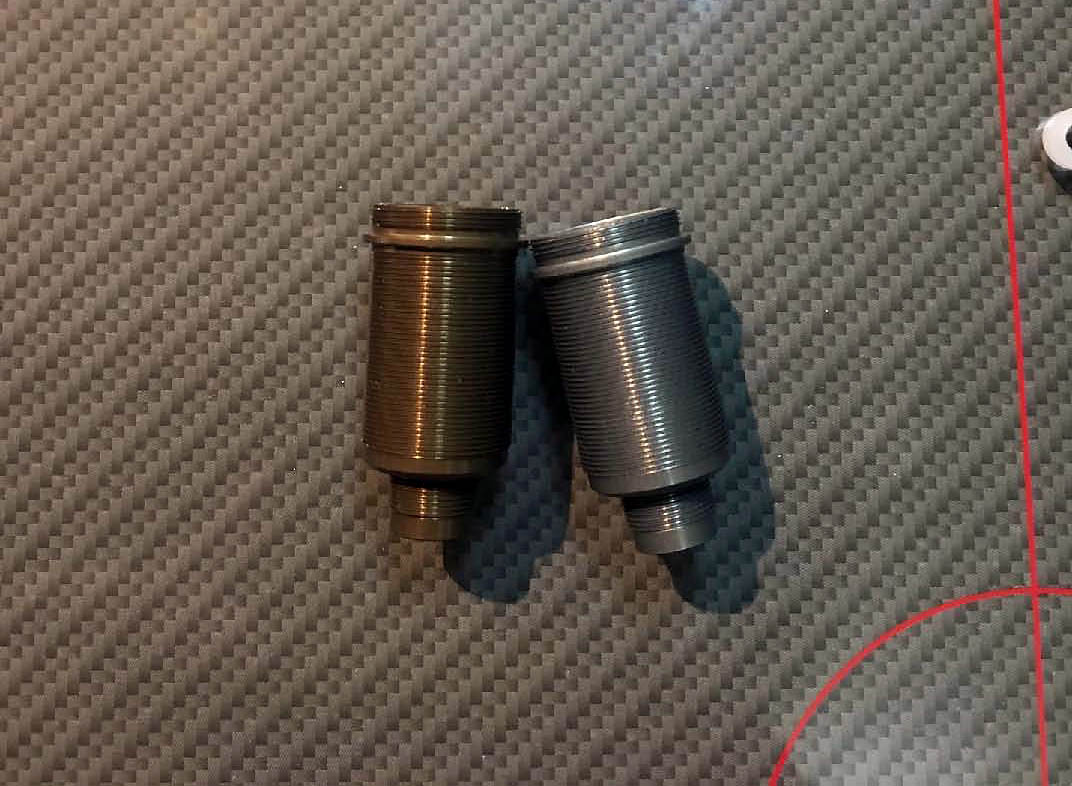
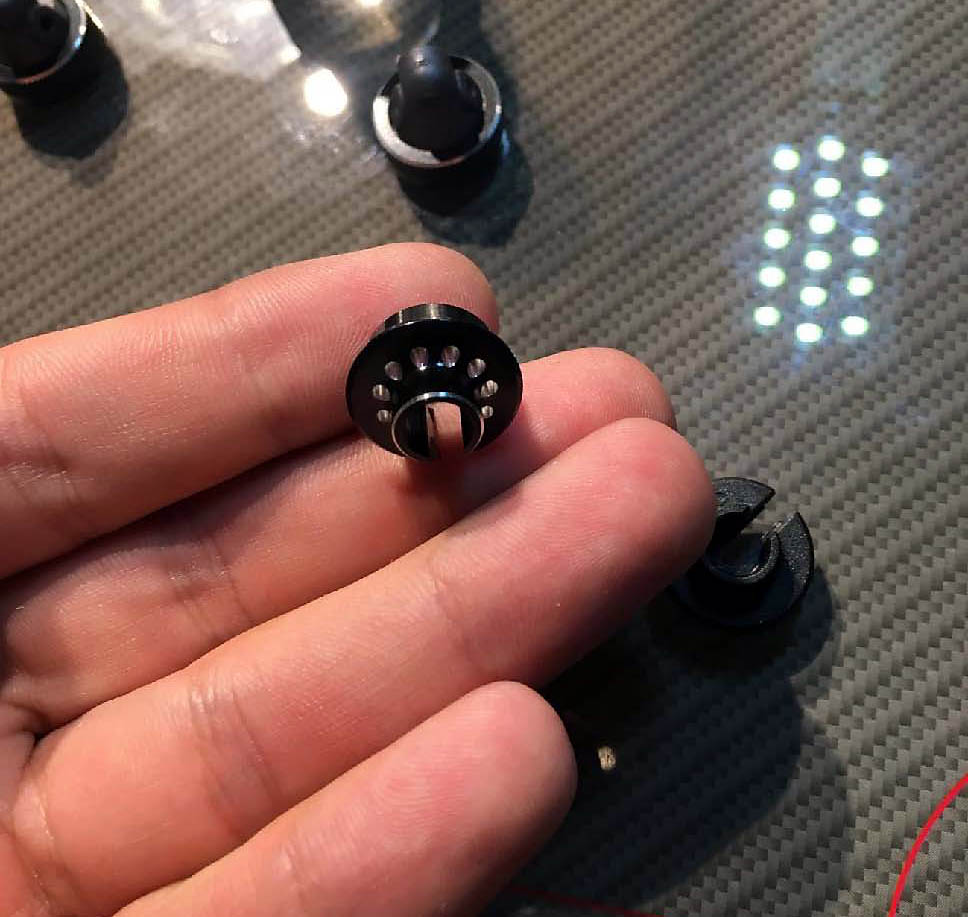
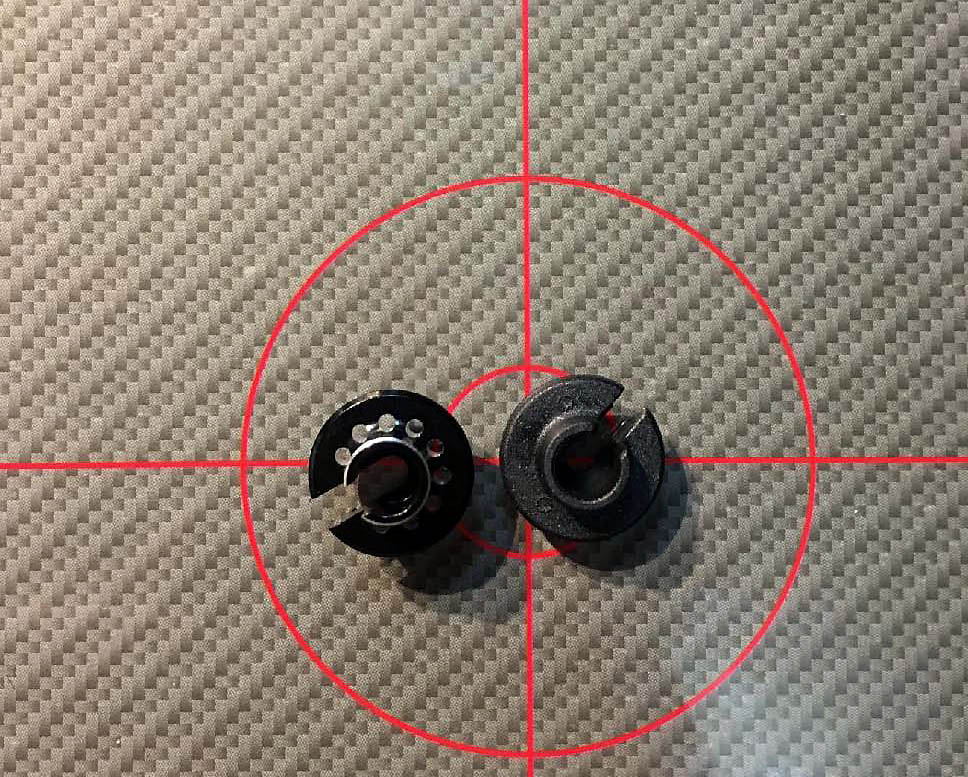
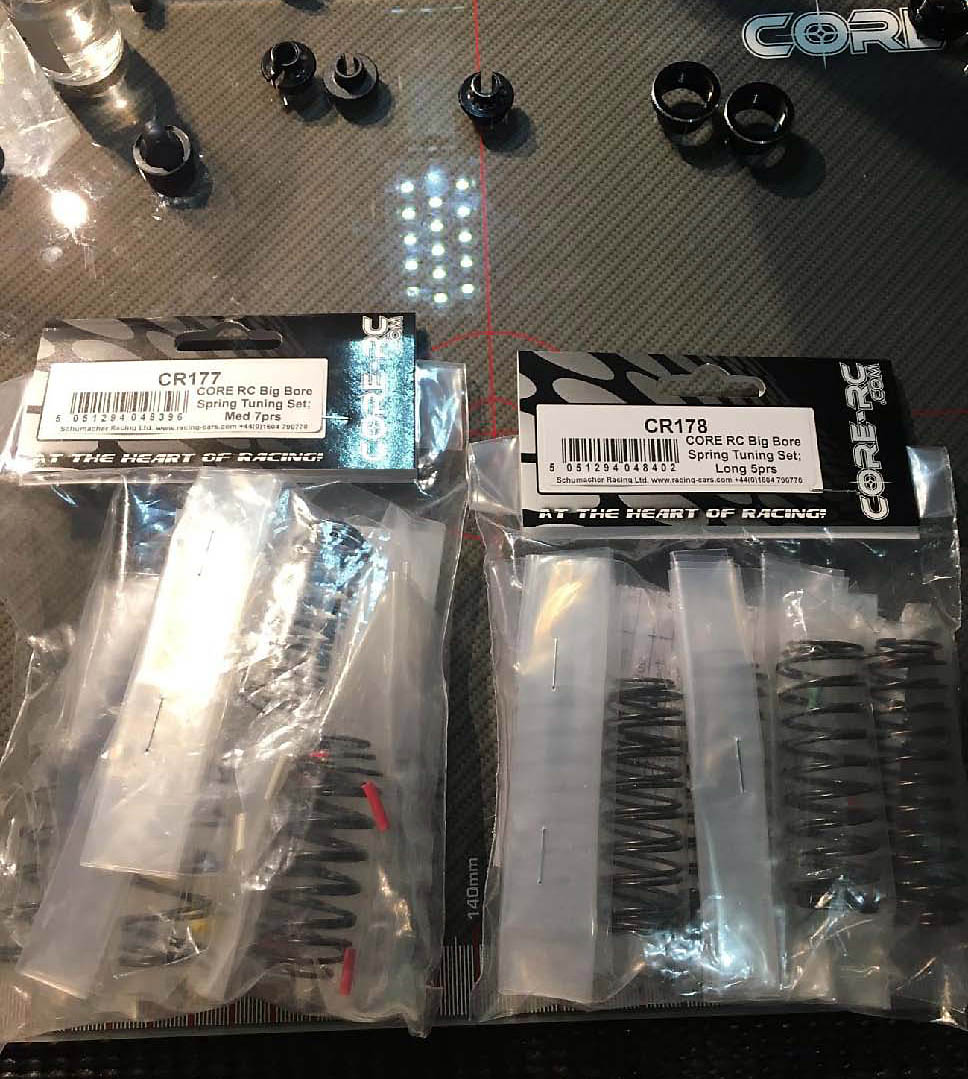
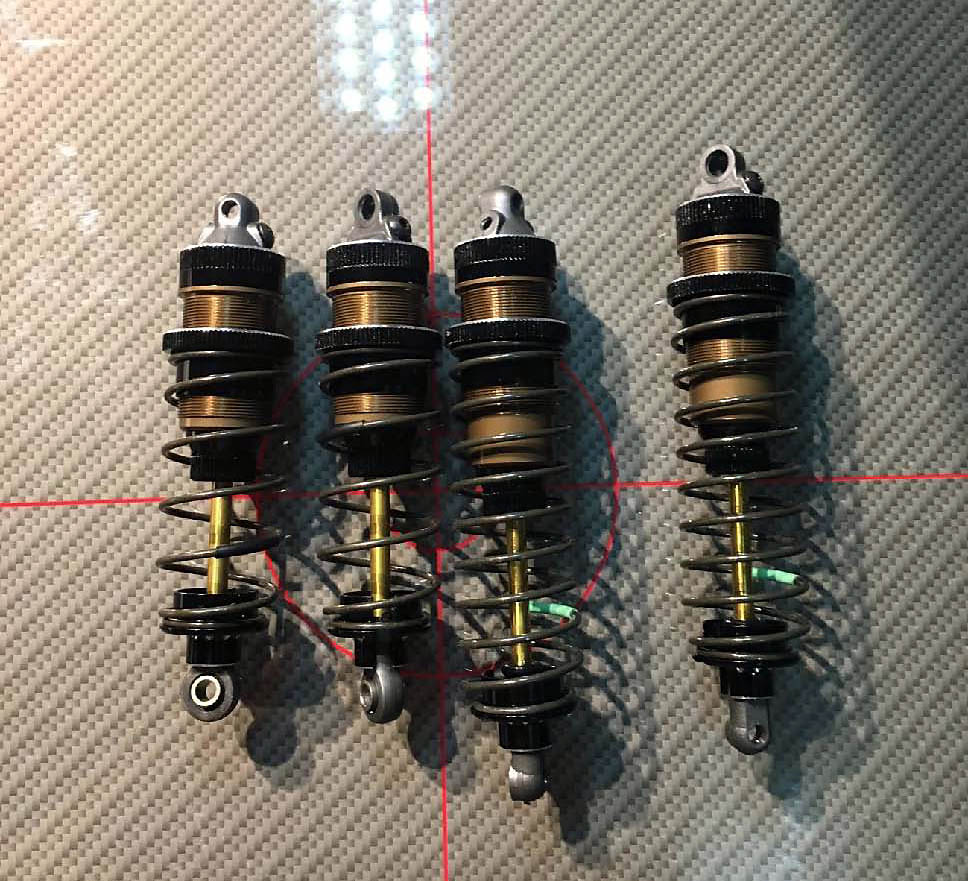
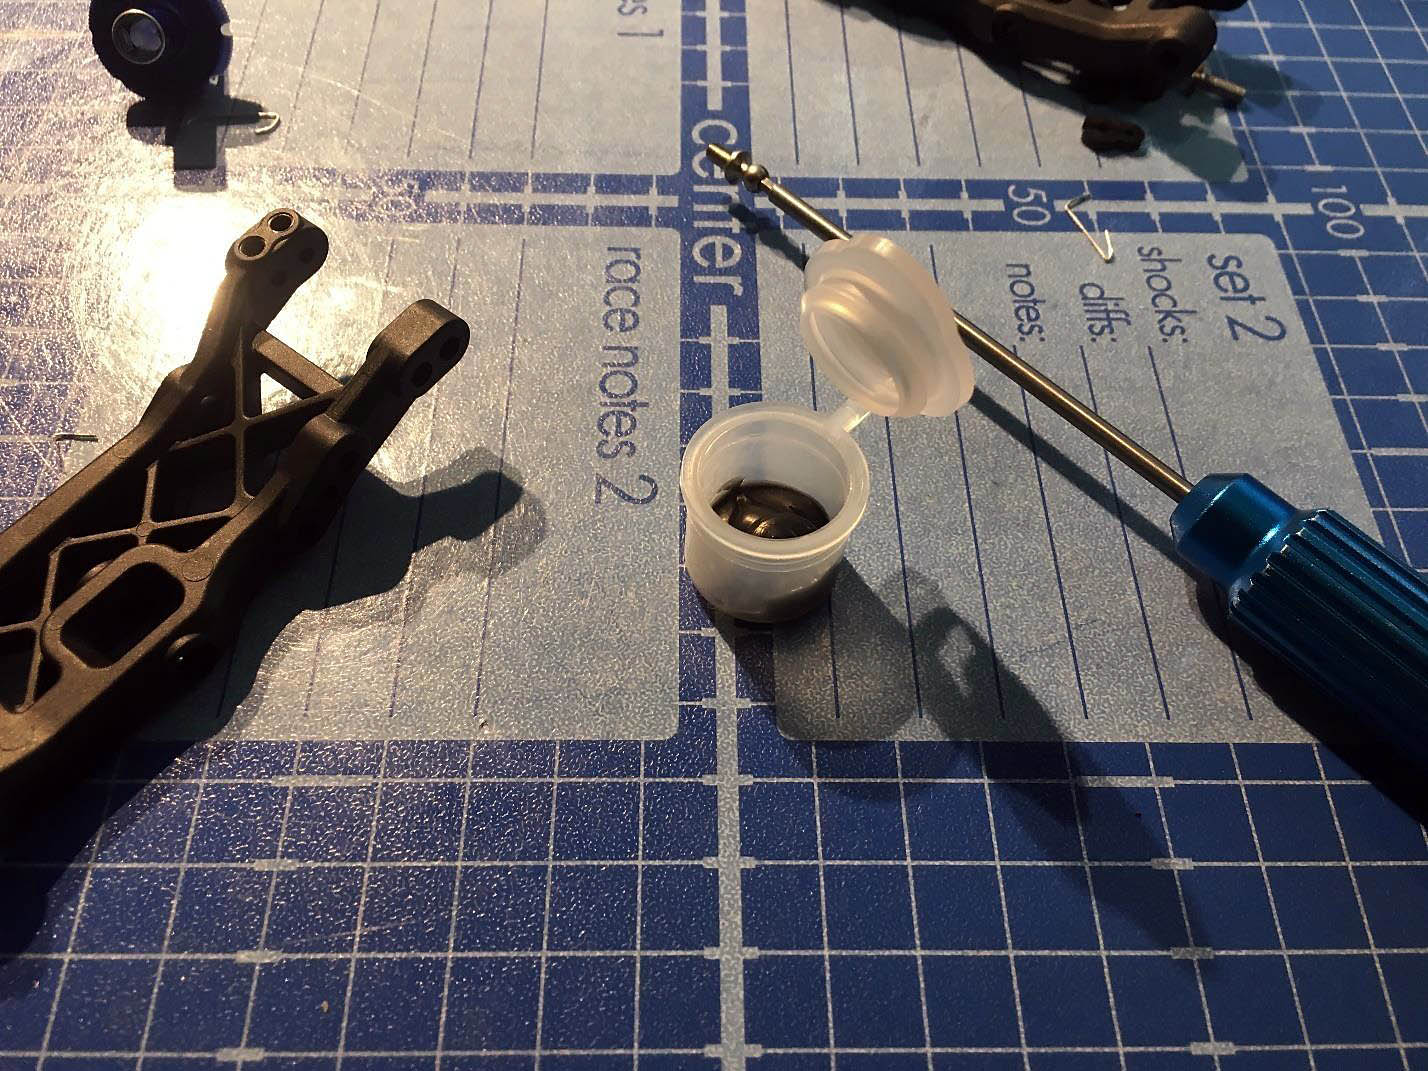
So now we will build shocks. Here is photo of all tuning parts wich I will use to build the shocks. Later I will explain why I choose them.
U4285
U7435
U7434
U4890(2)