|
- PR Racing SB401 - Build -

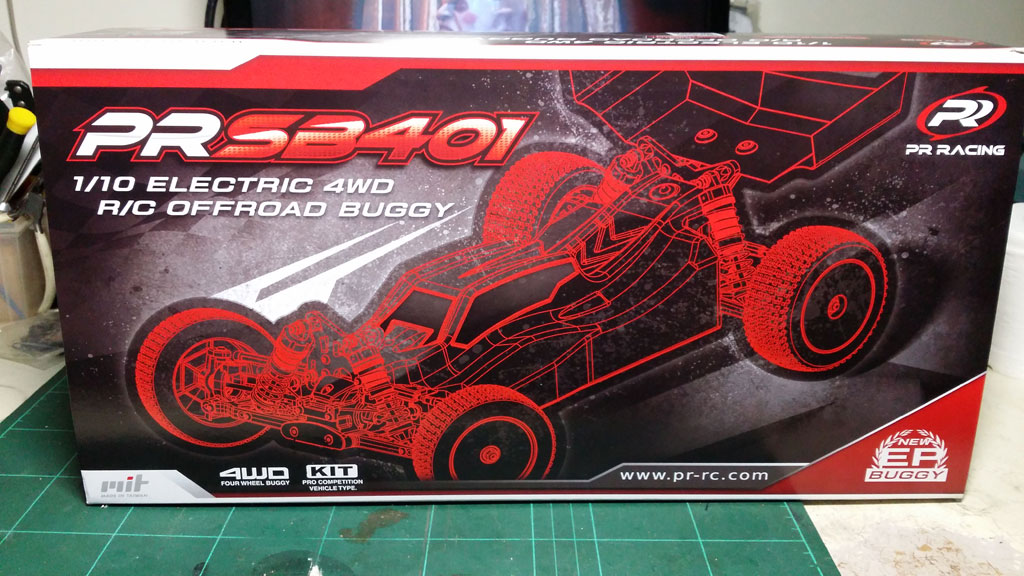
The buggy arrives in a box with new artwork showing an illustration of the car on the sleeve.
Opening up the box you get bags with the parts, an instruction manual and the bodyshell and wheels.
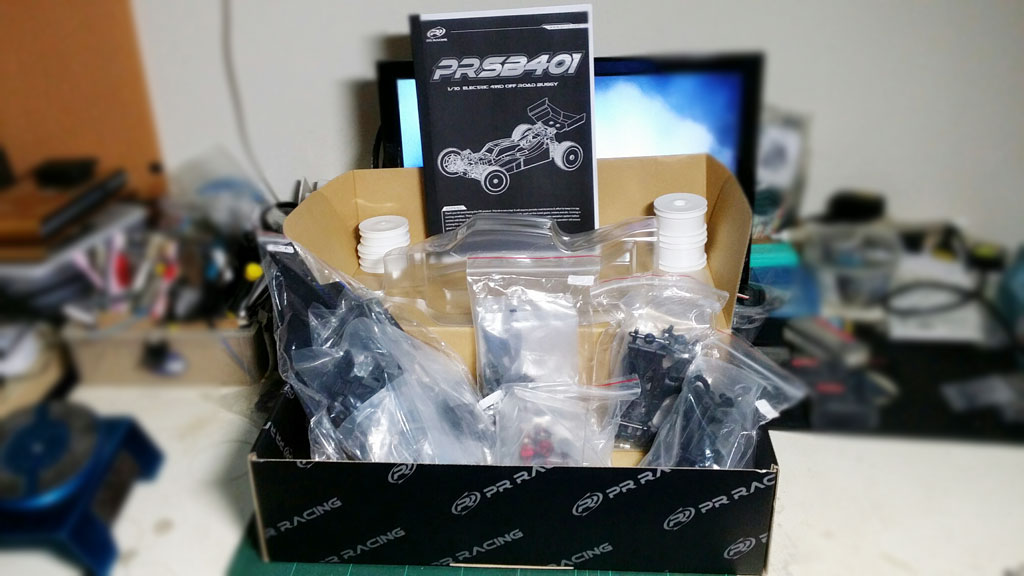
There are 5 bags in the box labeled A-E for easy building. The manual steps correspond to these bags so you just need to open one bag at a time as you build the car.

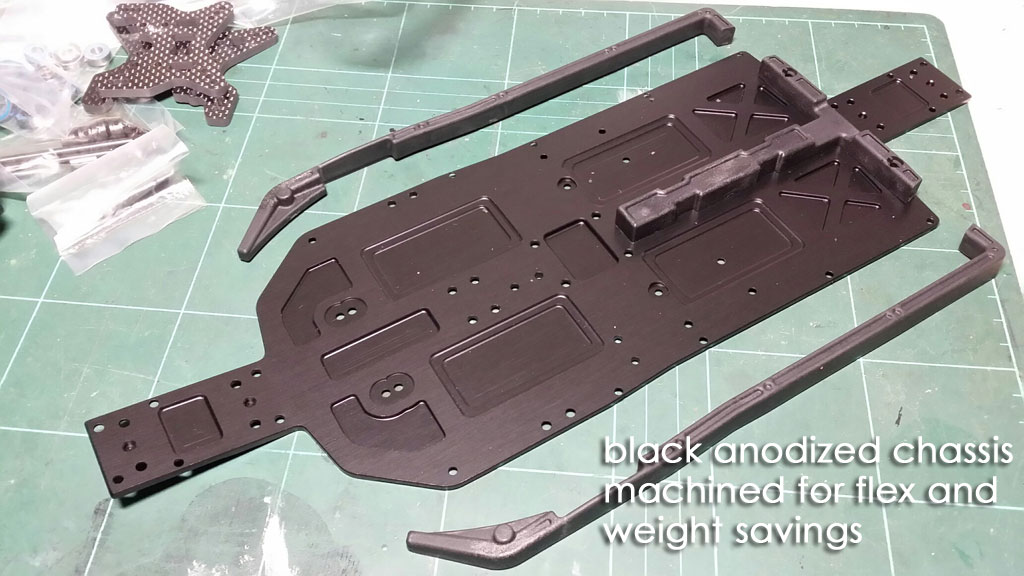
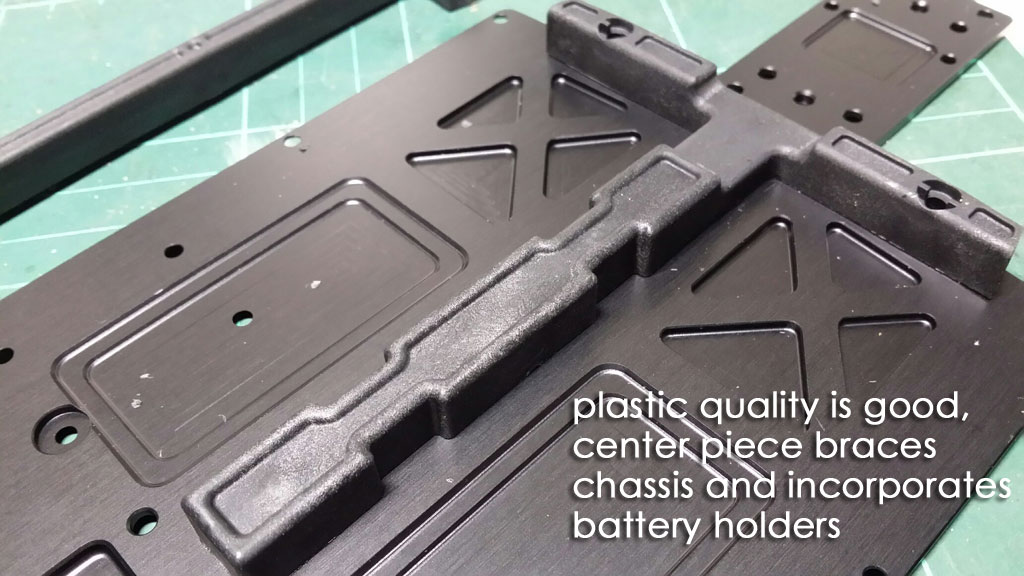
First we start off with the chassis and mounting of the composite side pods and center brace. Fit of the parts is perfect and the quality of the plastic is good - there is a solid feeling when handling the parts and very positive feedback once the screw has tightened up so there's little chance of stripping the holes.
The chassis itself is aluminum, black anodized and machined beautifully. As you will see through the build, there are many configurations you can run with this chassis, probably more versatile than most other cars on the market.
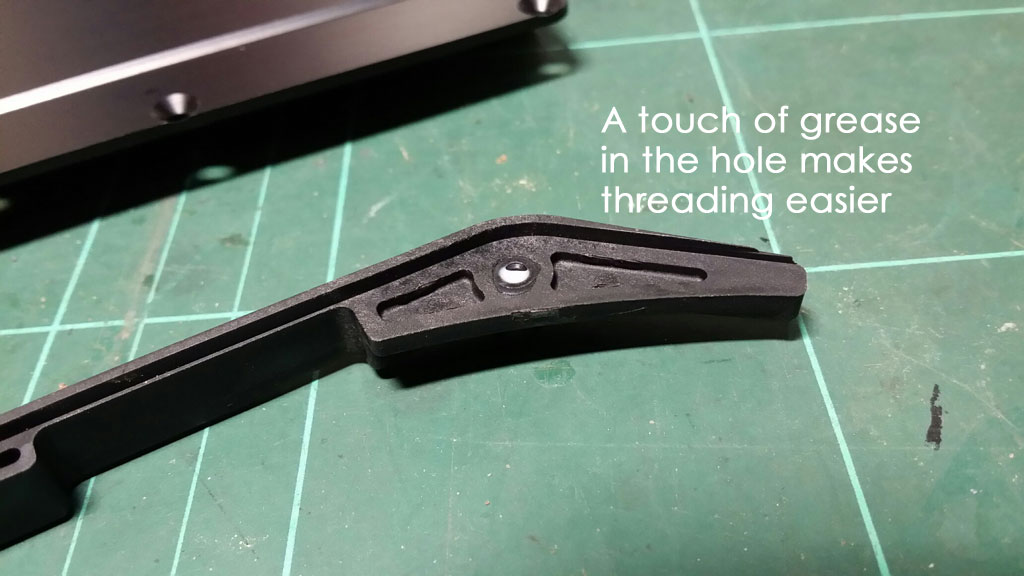
A tip here is to drop a small bit of grease into the holes before screwing in the screws. This will help make your assembly easier.
The center brace looks good and also serves as the battery holder whether you are using saddle packs or shorties for your battery.
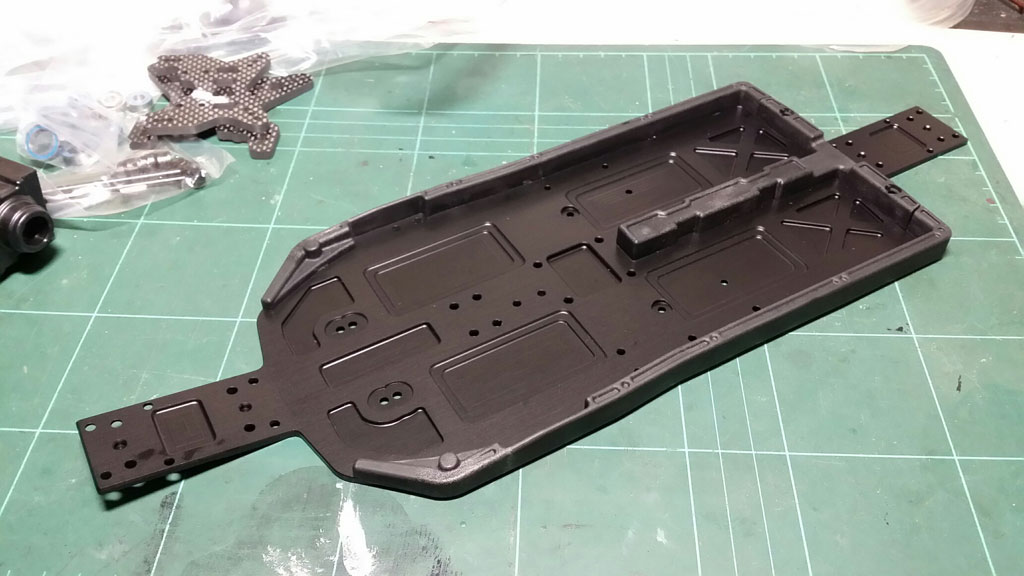
Here's the assembled chassis.
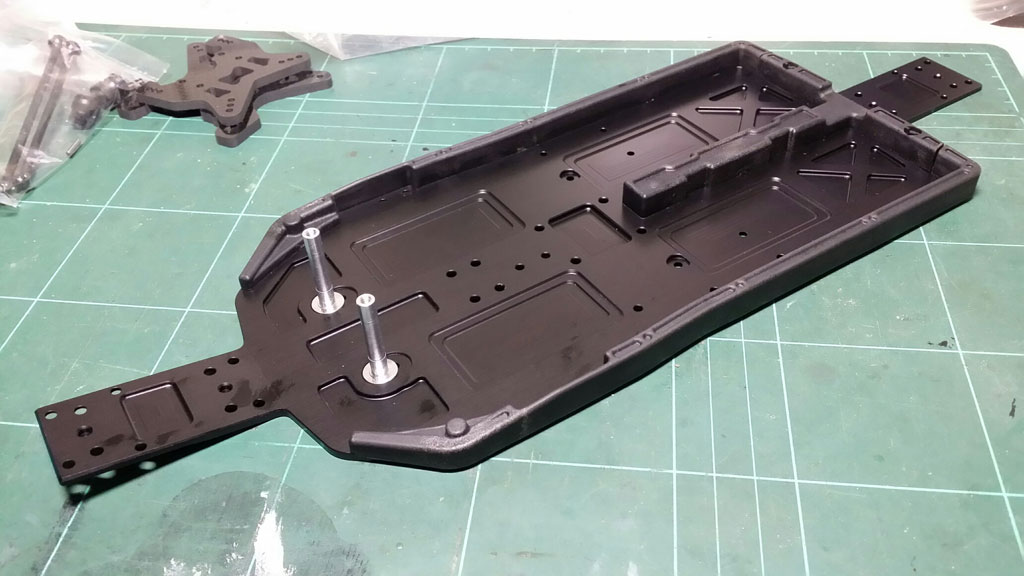
Just a quick shot with the steering posts installed.
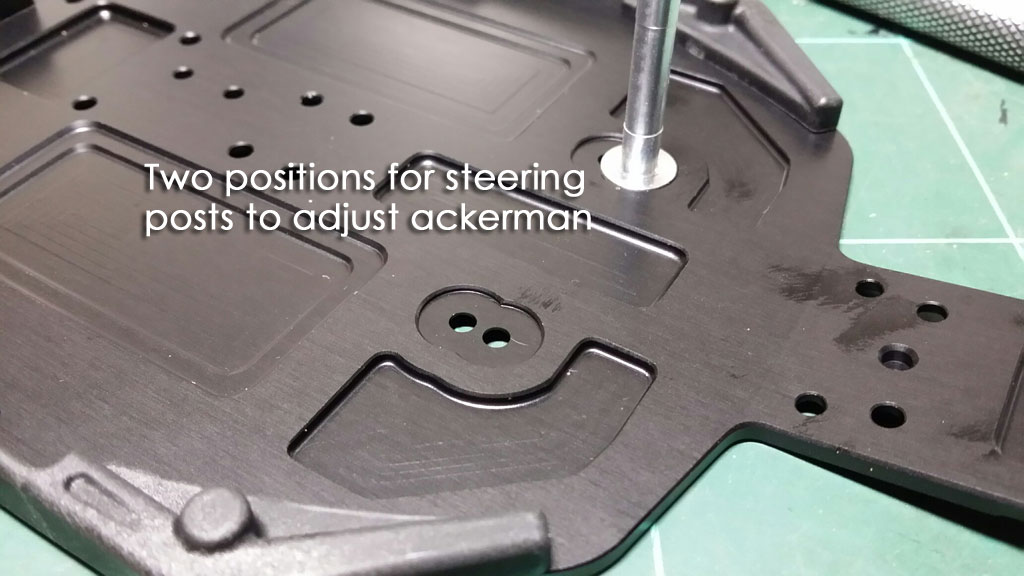
One feature is two settings for the steering posts for ackerman adjustments.
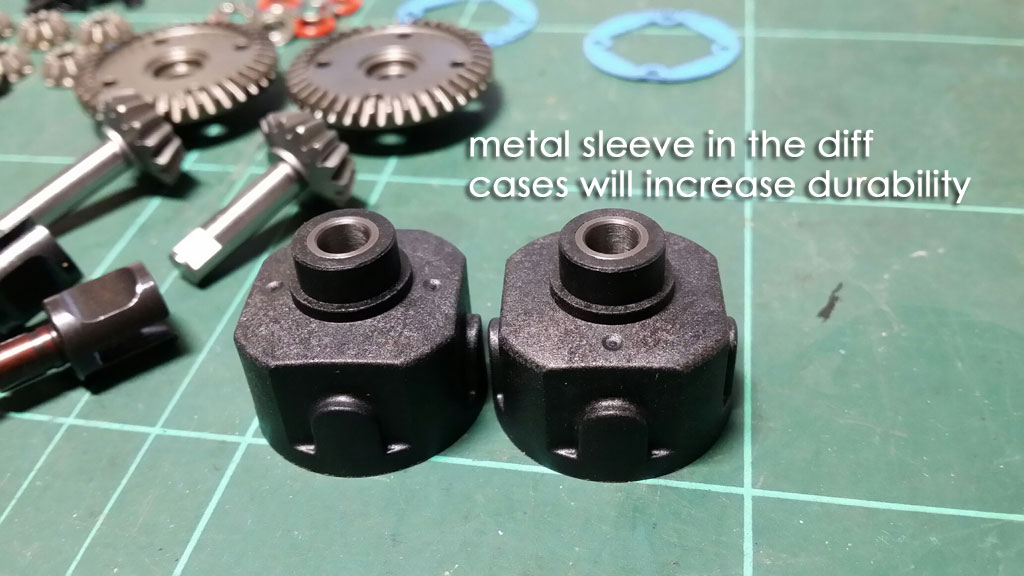
After the chassis, the next step are the gear differentials. Here are the parts involved.
The SB401 will have the option of running ball differentials as well, but as far as gear diffs go, the PR Racing units are very stout and well made. They feature full metal diff gears and ring and pinion are metal as well.

The diff casings even have a metal sleeve to improve durability.
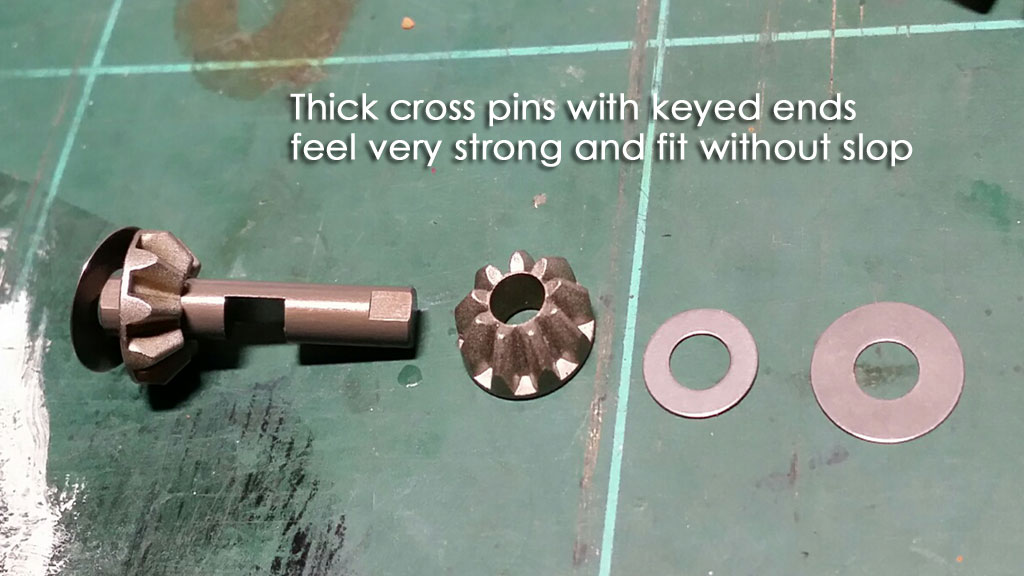
Here's the assembly of the planetary gears on the cross pin. I like that the cross pin is very thick and also has flats on the ends that key into the diff cases. This should reduce the wear on the inside of the diff cases.
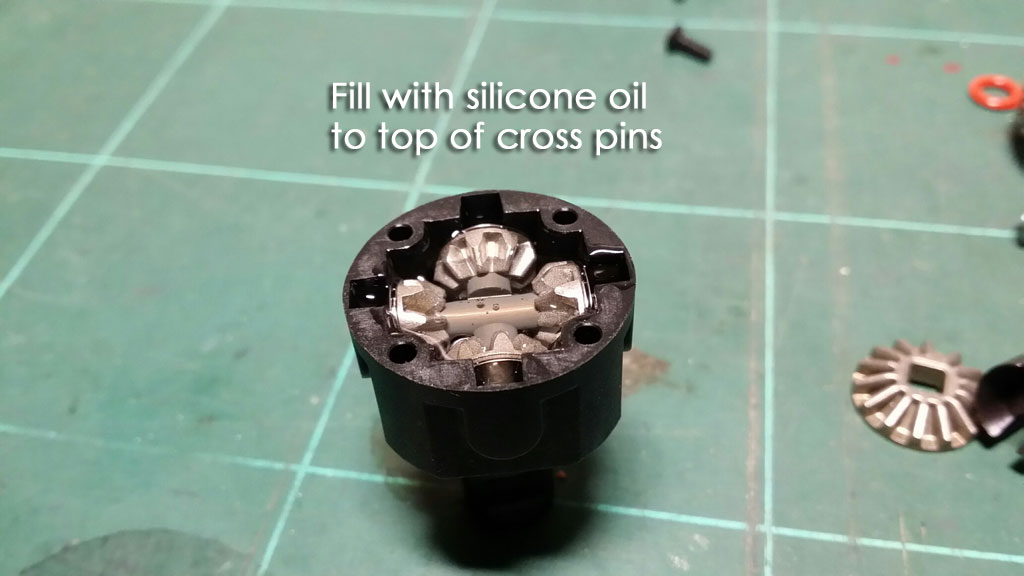
Gears installed. The kit doesn't come with silicone oil but the manual recommends 5,000wt oil. I normally run different oils front and rear but for this build I'll try the stock setup first. Fill only to the top of the crosspins.
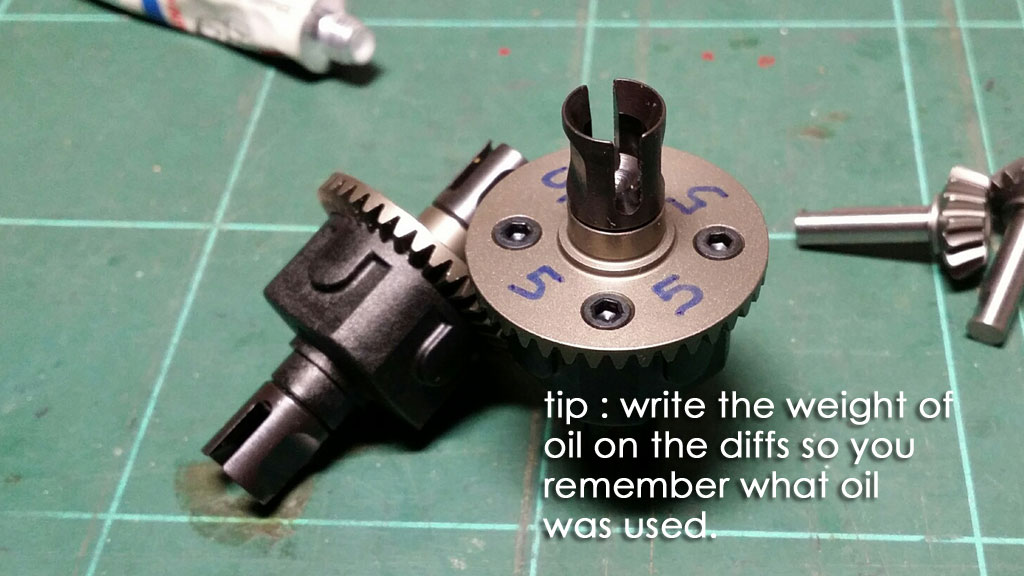
Here are the diffs assembled. I normally use a marker to write the weight of oil in the diff for future reference should I need to change my setup.
PART TWO...
Next up the front and rear diffs are installed into the differntial cases. The inner bearing for the input pinion shaft is larger and should last a long time. PR Racing also provides shims to shim the differential inside the gearbox. Use sufficient shims to prevent any side to side play of the differential in the gearbox and add shims to the ring gear (the large gear) side if there is too much play between the ring and pinion... just a bit of play for smooth rotation will be sufficient.
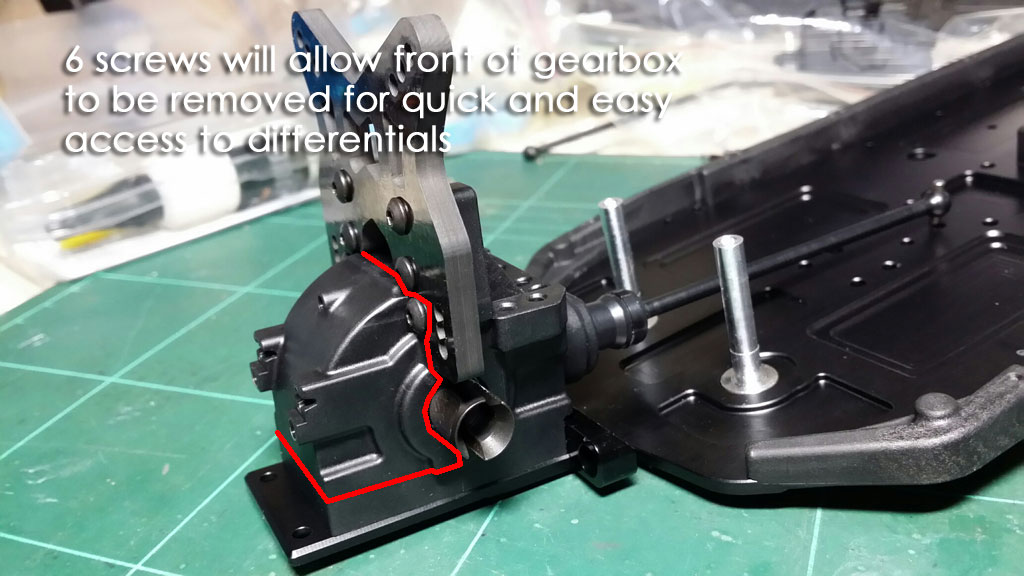
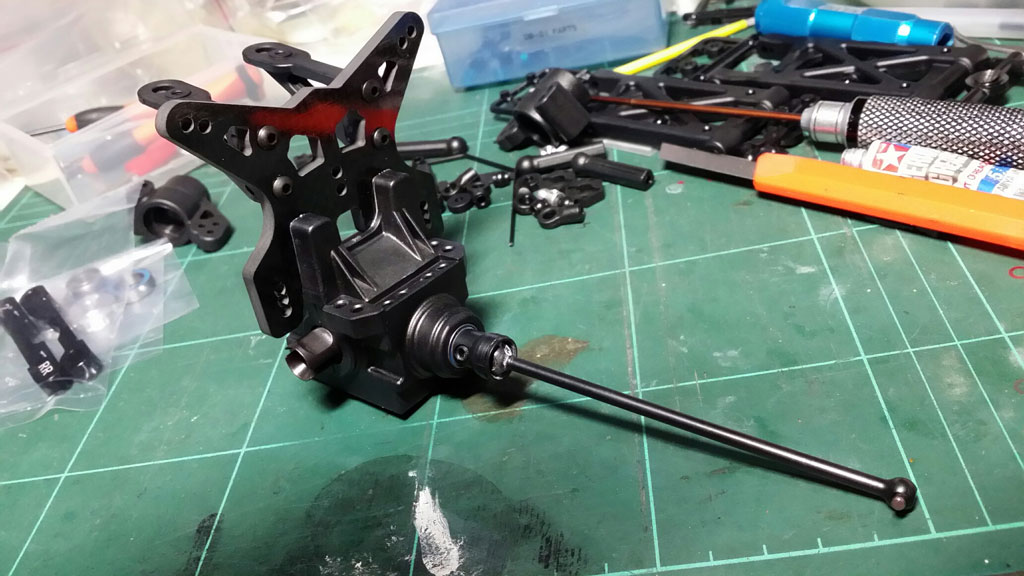
Here's the front gearbox installed on the chassis. The front of the gearbox is removable so by taking out 6 screws you will be able to access the differential for servicing and oil changes! Also check out that beefy 4mm carbon fiber shock tower.
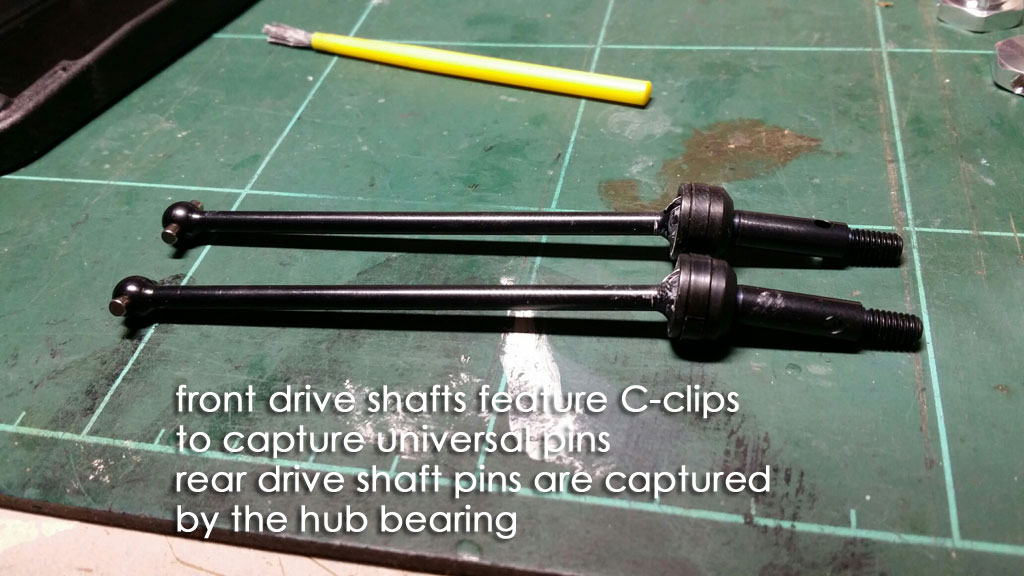
The universal driveshafts are installed next. The front driveshafts use a C-clip to secure the universal pins whereas the rear pins are captured in the oversized hub bearings. The shafts are beefy and went together very well with no slop and no binding.
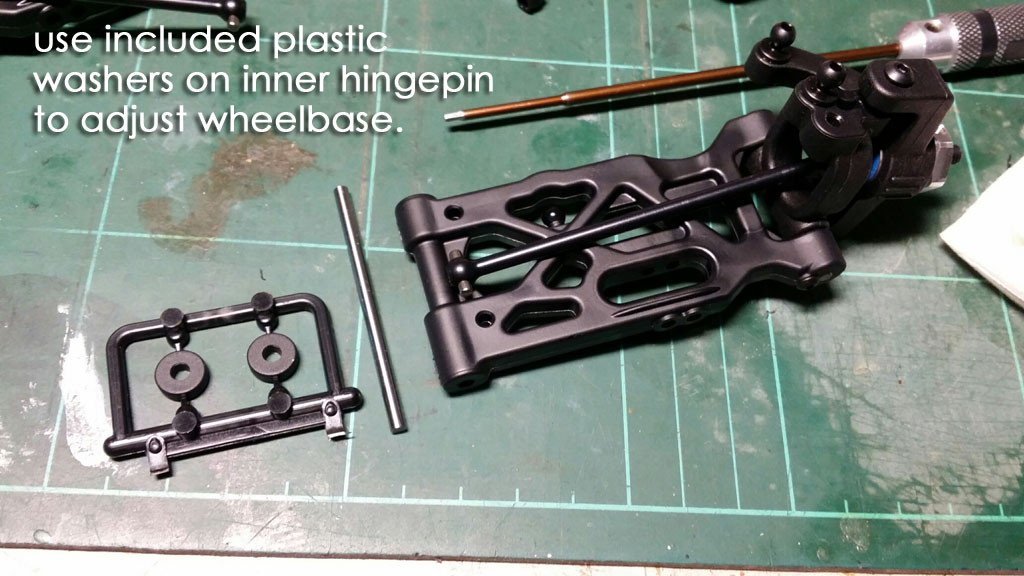
The front arm and steering assembly are assembled next. Arms are beefy and include droop screw holes but unfortunately the chassis has no supports for the droop screws so droop can't be set that way (perhaps a future upgrade?). Hingepins are solid 3mm and captured by tiny screws on the outer part of the arm.
Height of the steering spindle can be adjusted with included collars and the wheelbase can also be adjusted with the spacers on the inner hingepins. I found the spacers just a tad too thick and a few rounds on 600grit sandpaper made it fit just right.
The car comes with a full set of 4 aluminum hingepin blocks (front and rear) anodized black. These are well made and should not have any durability issues.

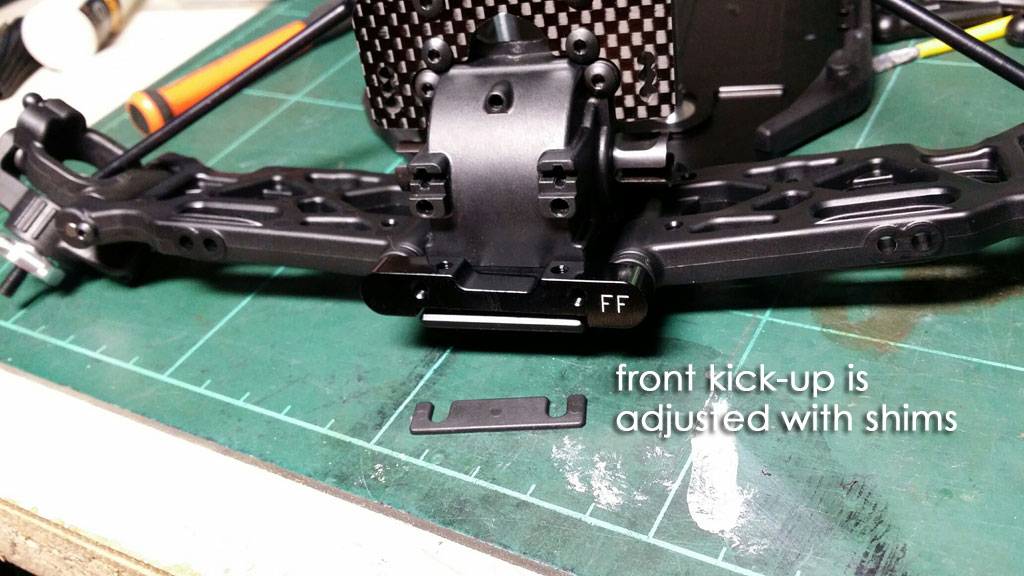
The arms are installed on the chassis and front kick-up is adjustable with the included shim. A tiny bumper doesn't protect much more than just the front hingepin block. I'm not a fan of these tiny bumpers but they seem to be the trend these days. :)
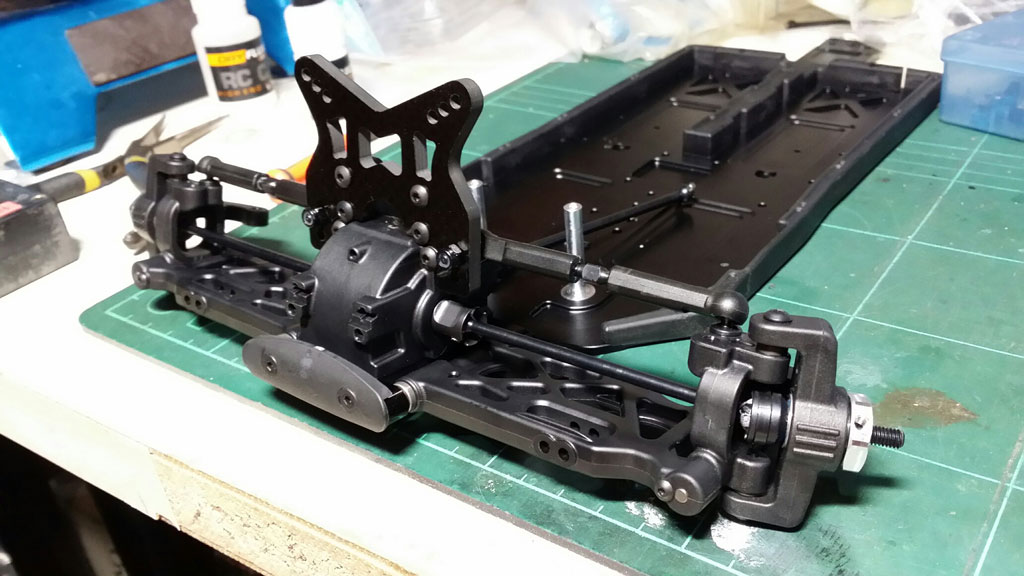
Entire front assembly mounted. The car comes with 14mm aluminum hexes that are attached to the axle via a 3mm setscrew. The front are nicely machined for some weight savings too. Also included in the kit are a set of 12mm plastic hexes should you prefer to run 12mm wheels.
For the record, Durango front wheels fit perfectly on the car but unfortunately Durango rear wheels do not fit on the rear axles as the axles are too short and hence do not extend far out enough to install the locknut.
The car features burly steel turnbuckles all around. Build tip - GREASE the turnbuckles before threading into the rodends! The rodends themselves seem to be very durable and to be honest are extremely hard to "pop" onto the balls - PRO = they are unlikely to pop off when you are racing that important run, CON = if they do pop off, it's unlikely they are going to be easy to pop back on again... :)
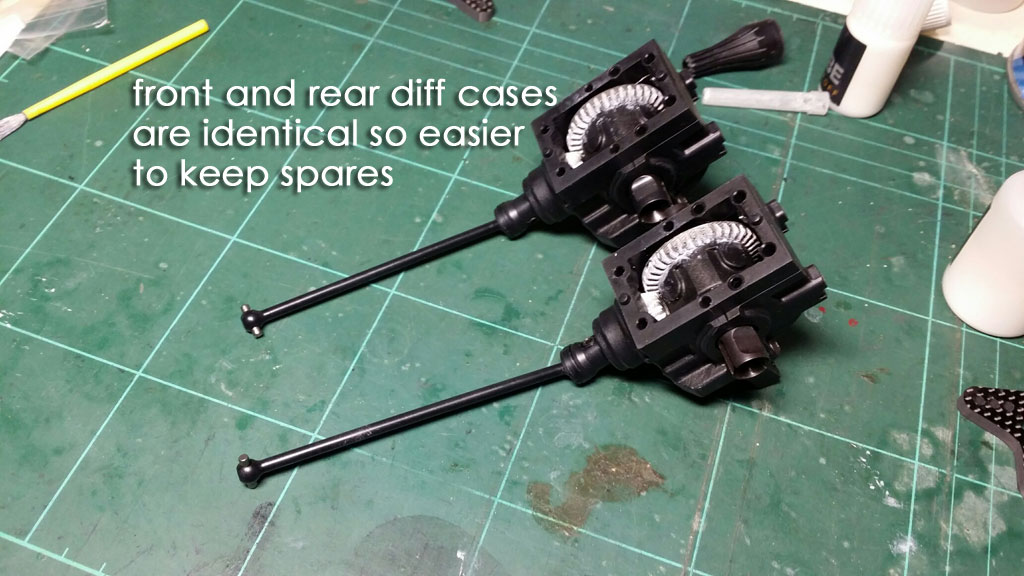
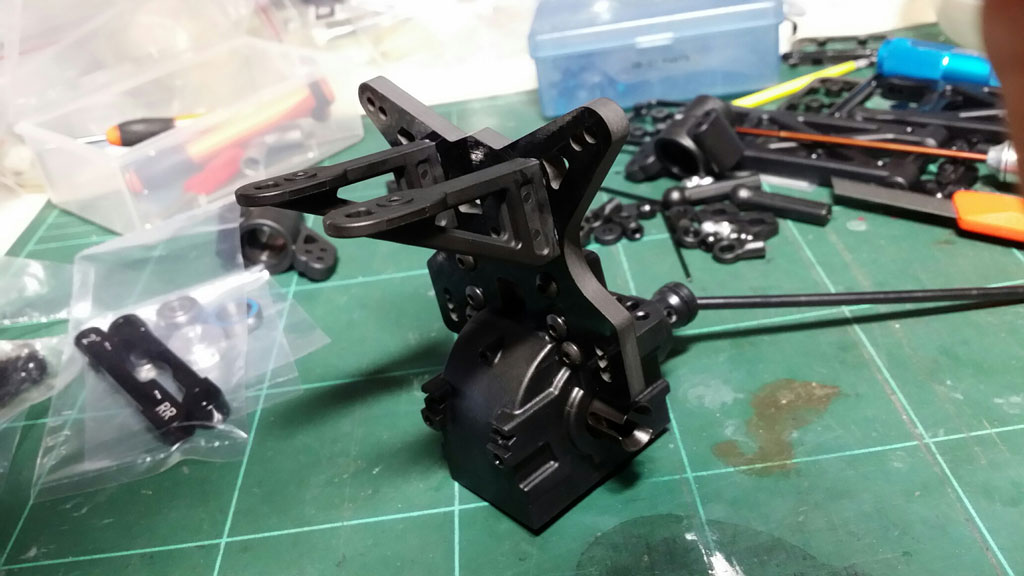
The rear gearbox ready to be installed. PR has cleverly designed the front and rear to use the same gearbox casings so you can save on the spares you have to keep. Rear shock tower is 4mm thick. It features only 2 holes for shock tuning and that does seem less than most other cars... but hey, if the geometry is right perhaps I don't need more than 2! :)
Another shot of the rear gearbox showing the beefy wingmounts. The wing will be held on with screws (no wimpy snap pins here lol!). Like the front, the differential can be accessed by simply removing 6 screws from the gearbox.
PART THREE...
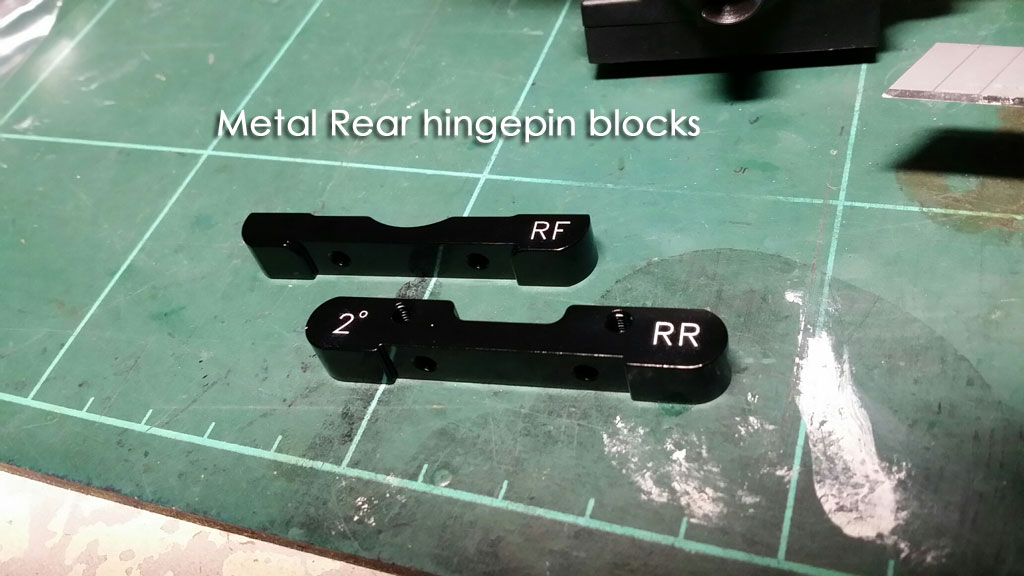
Here is a picture of the rear hingepin blocks. They are black anodized aluminum and the fit is spot-on!
(update : PR Racing has since sent new hingepin blocks with revised geometry. I will post an update later on the new blocks which should be included in all kits from now on)
The rear driveline is beefy and features a universal pin that is captured by an oversized inner bearing. The outer bearing is also larger than the typical 1050 bearing for better durability. Like the front, the rear hex is aluminum and 14mm although the kit does include a set of 12mm plastic hexes for those running 12mm wheels.

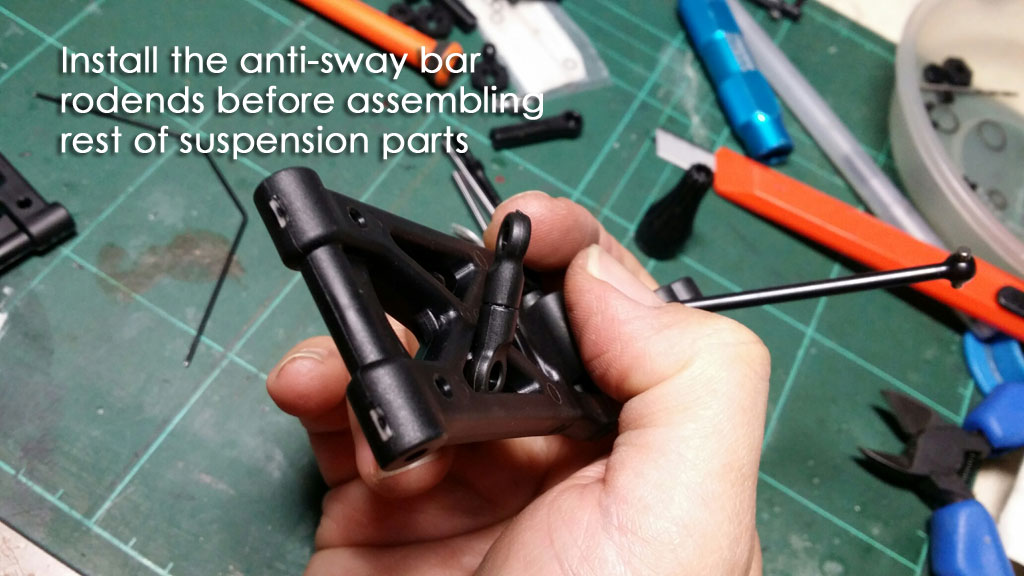
Quick tip on the anti-sway bar assemblies. Install the rodends on the arms before you put the rest of the suspension together. You will find it much easier. If you have trouble popping the rodends on, try installing them at an angle as shown in the picture and they should install easily.
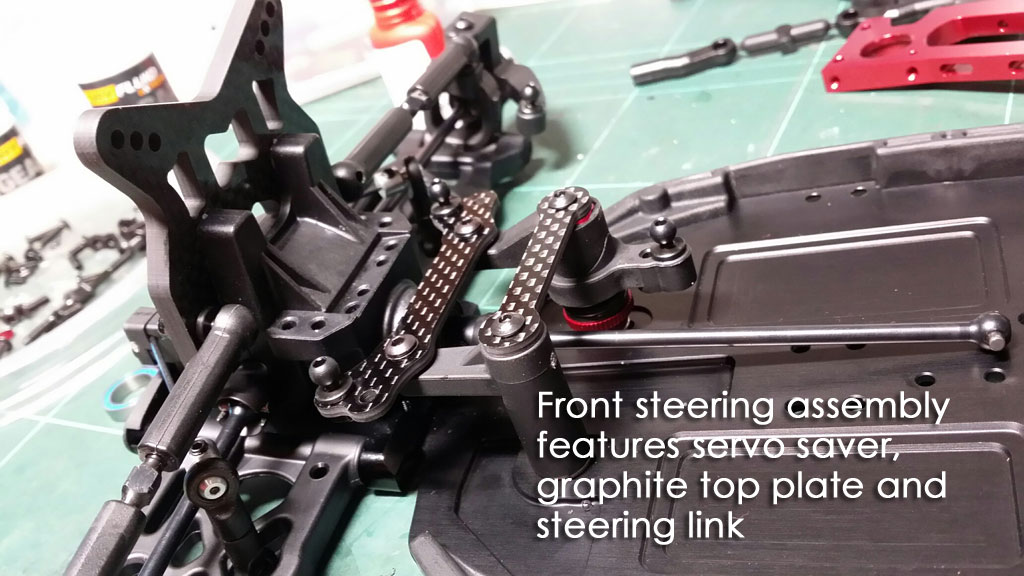
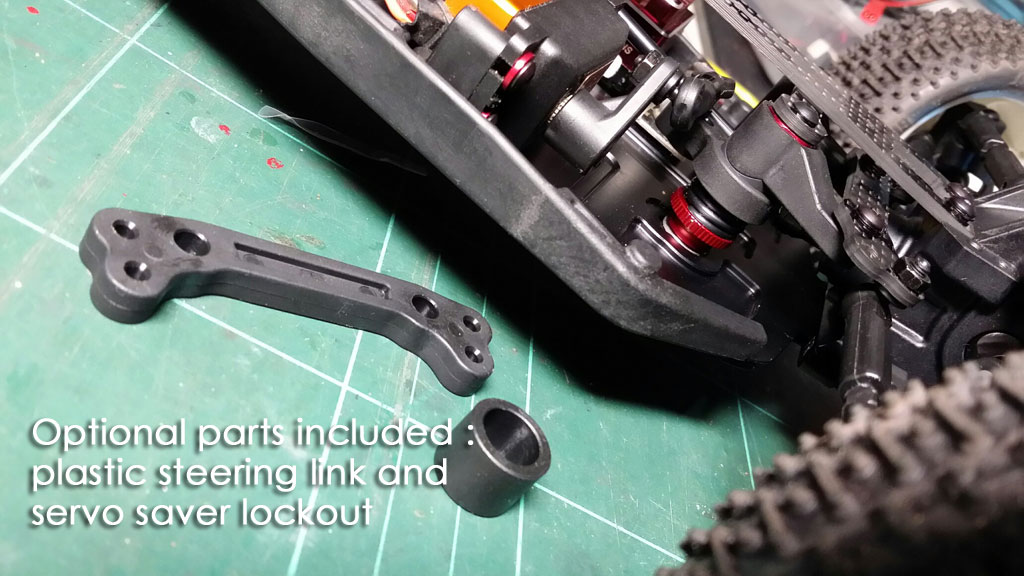
We move on to the steering assembly next and everything goes together quite easily. The steering features a heavy duty servo saver assembly and PR provides both a spring or a plastic lockout so you have 2 options for the servo saver. The steering top plate and link are also carbon fiber although a thick plastic link is also provided in the box. Overall the steering assembly feels very sturdy although there is a little play. A few 5mm shims on the steering posts should take that out easily.
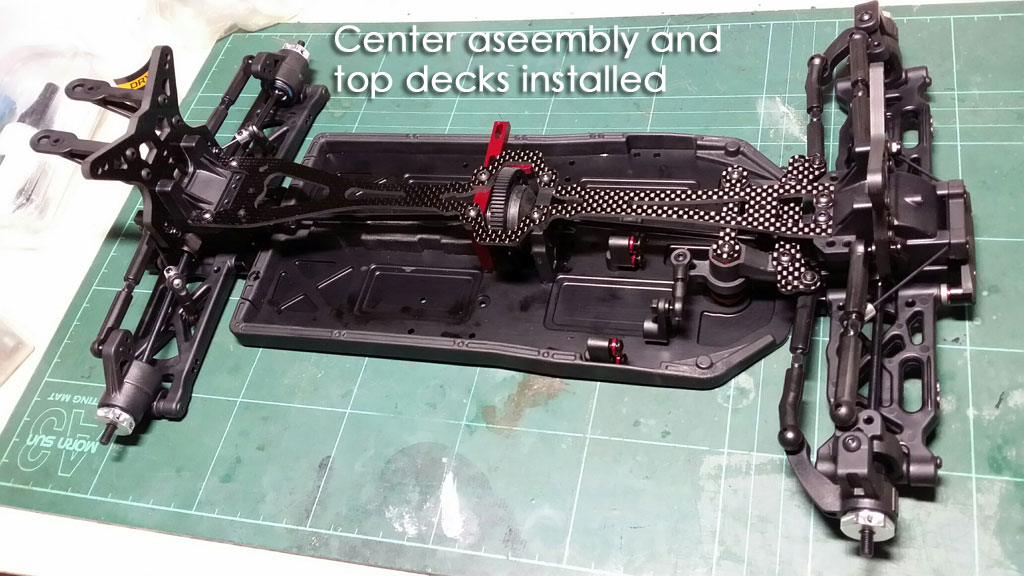
The center assembly and top deck are assembled next. This step isn't very difficult except for the fact that you need to pay attention to the orientation of the parts depending on whether you are running the motor in the rear left or front right configuration. I am going to run a rear left motor setup with the shorty on the rear right.
An interesting part of the top deck design is that the holes that connect to the front and rear gearboxes are larger than 3mm and a small rubber o-ring is sandwiched between the screw and the top deck. The manual suggests that you can vary the number of O-rings used in the assembly. This will in theory allow the chassis to flex to different degrees depending on the how many o-rings you use and how tightly the top plate screws are torqued down. I currently use 1 o-ring per screw and loosen the top-deck screws 1/4 turn after they are snug.
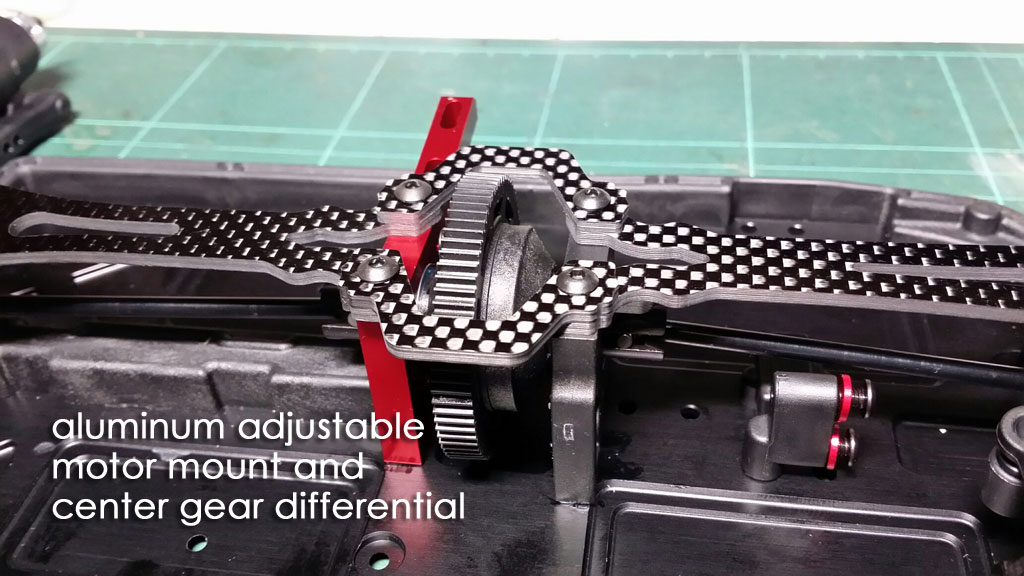
A close up of the center assembly with the aluminum motor mount and gear differential. The motor mount features a sliding-design and gear mesh is adjusted by sliding the motor in and out and secured by 3 screws.
Unfortunately, the center differential cannot be removed from the top of the chassis and will require the removal of the center bulkheads to access it. This will take about 10 screws in total.
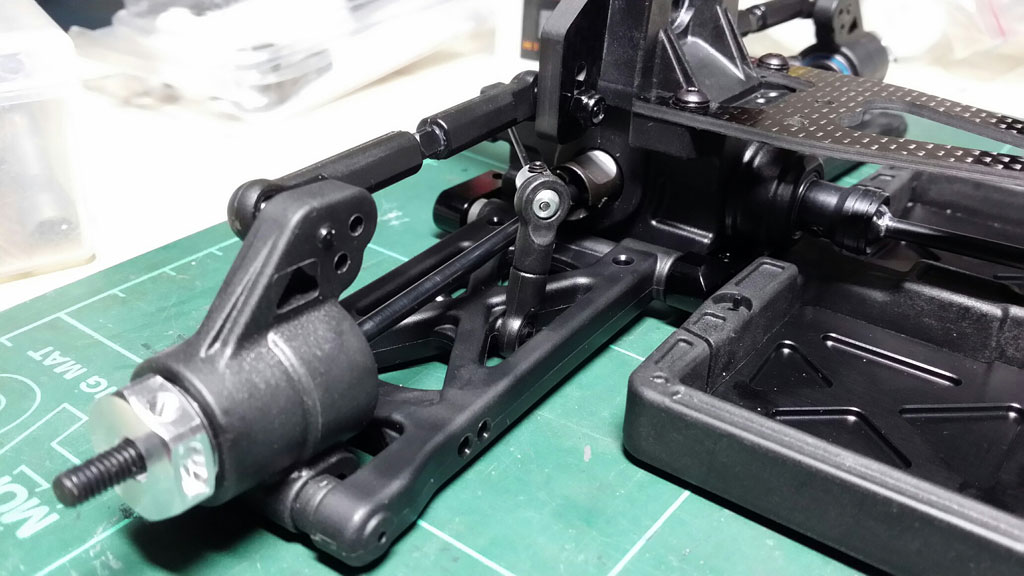
Here's a picture of the completed rear end. Everything fits well and looks beefy enough for the rough and tumbles of 4WD racing.
Here is the front end assembly. Take note that my outer steering rodends are assembled wrongly. the "kink" in the rodend should skew inwards rather than outwards as I've assembled it. I'll update the picture later. Again, the entire setup looks stout enough and I look forward to testing on the track.

|
