|
- Team Losi Racing 22SCT - Build -
Gary Katzer
Site Content Specialist - Surface
Horizon Hobby, Inc.
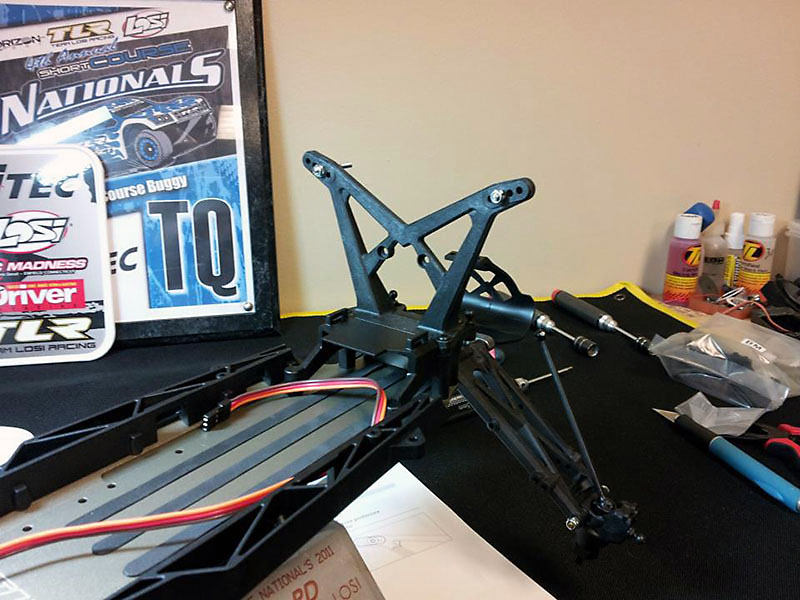
First few steps of the build
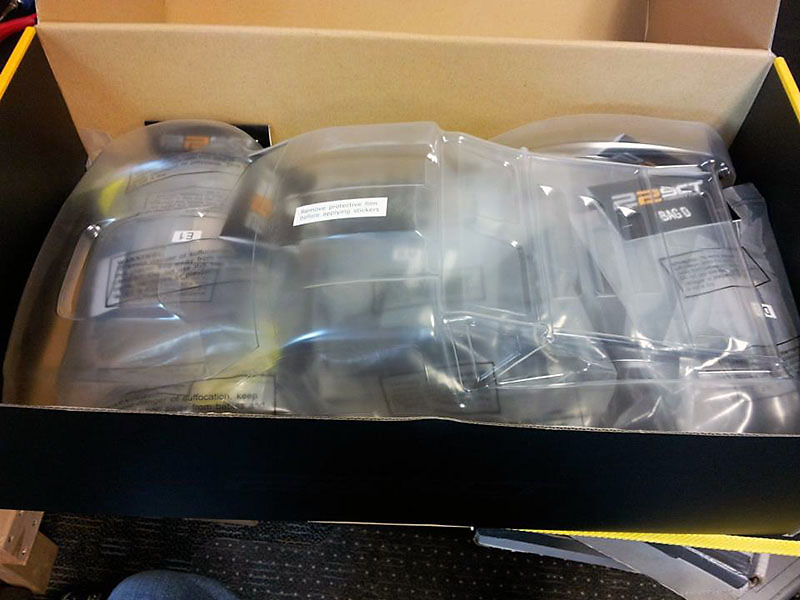
Inside the 22SCT box. Unlike the 22 and 22T the 22SCT only includes one body. This is because there is enough room under a short course truck body to accomodate both the mid and rear motor configuration.
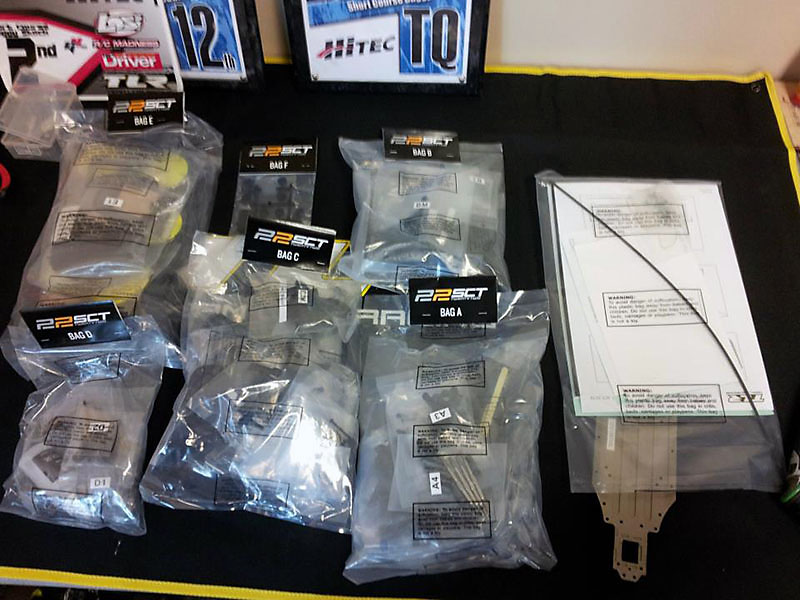
The parts for each assembly step are clearly bagged and labeled.
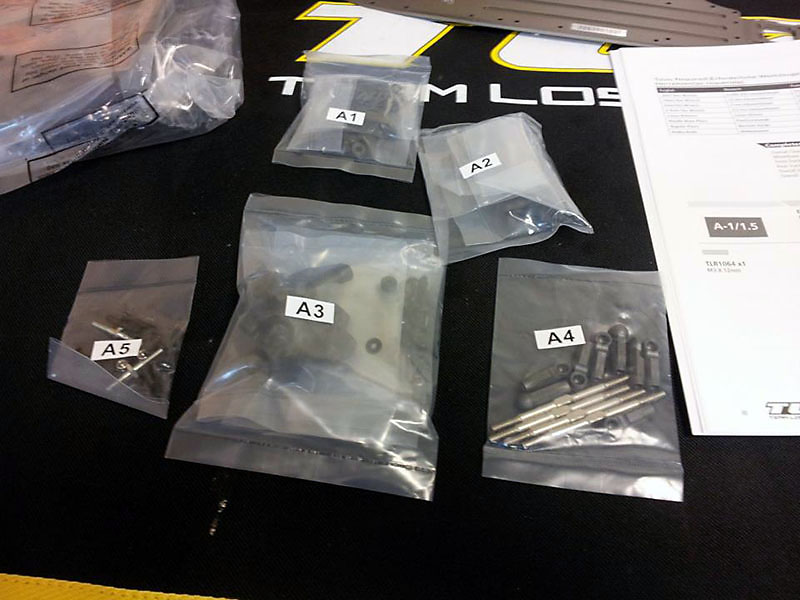
We're ready to start assembly step A
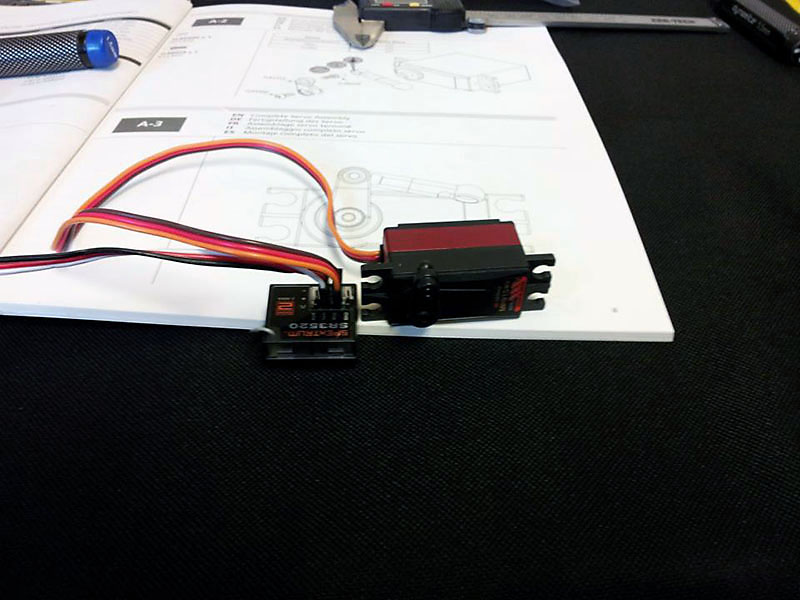
For this build I am going to use a new JR servo, the MP91SWV. This is a brushless servo, my first experience with such a servo. It has plenty of torque and speed to get the job done. Before installing it on the chassis I bound my radio to an SR3520 receiver and centered it.
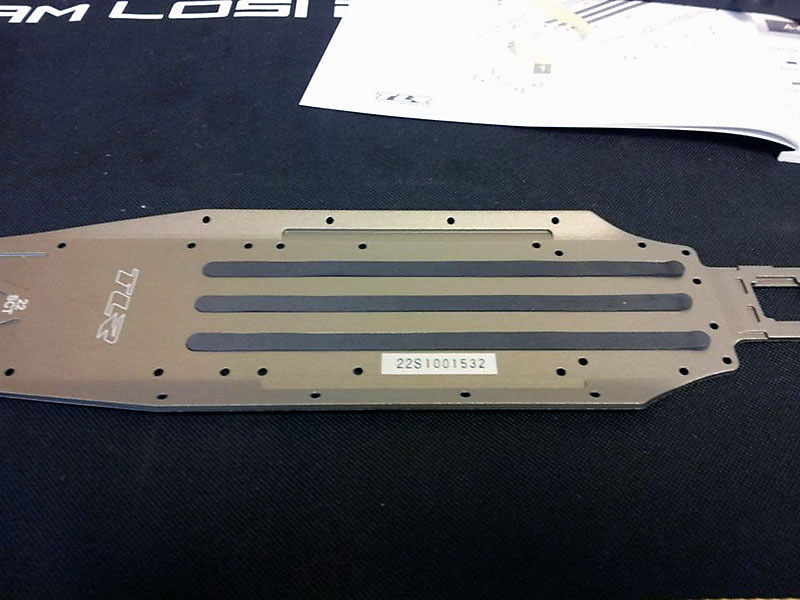
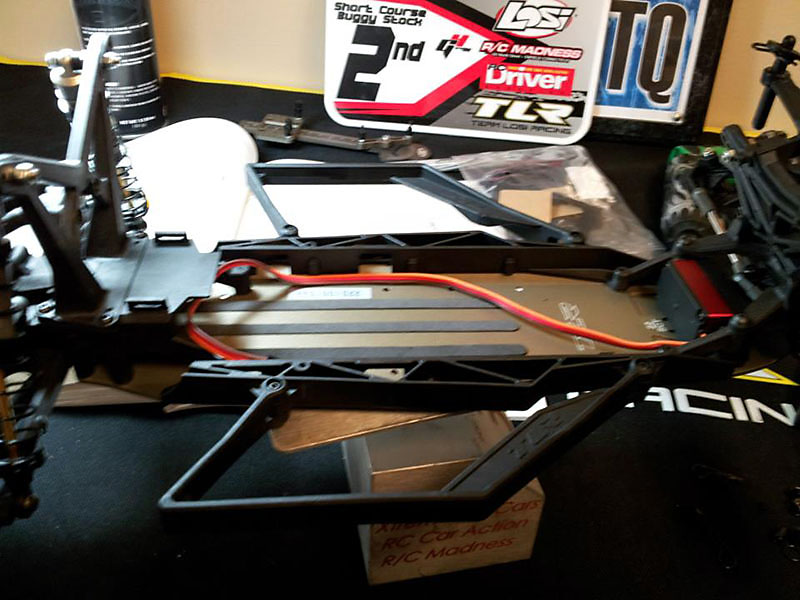
Like the 22 and the 22T three foam pads provide cushioning for your batteries

Side guards installed
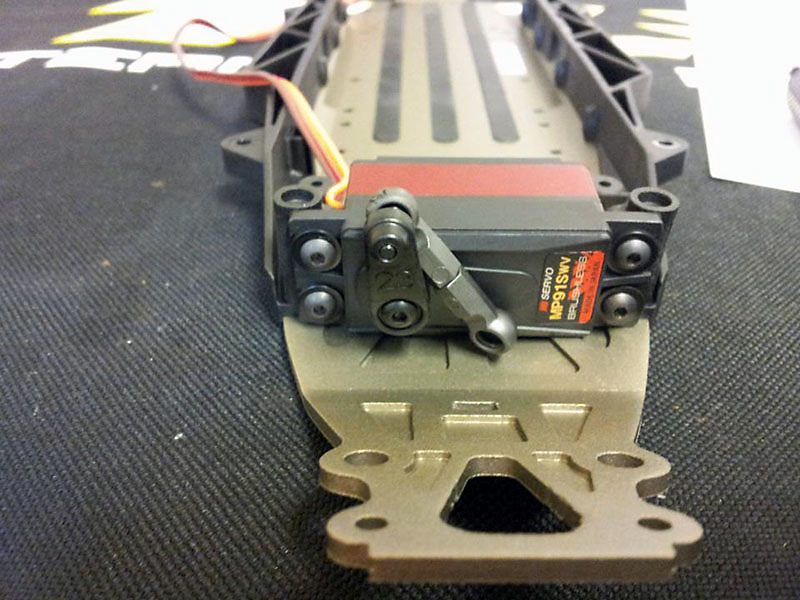
The JRMP91SWV servo installed. While the manual says JR Servos don't require spacers I may need to add some later as this is a totally new design.

The completed slider rack assembly
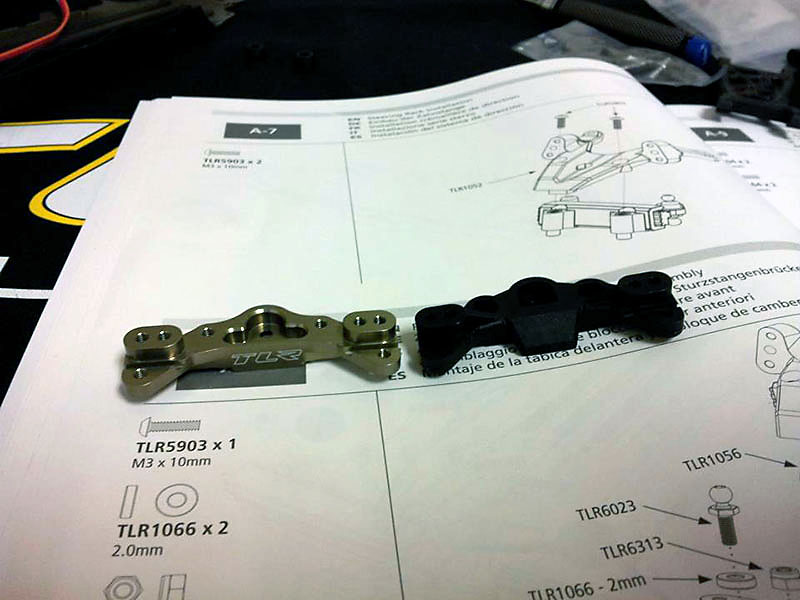
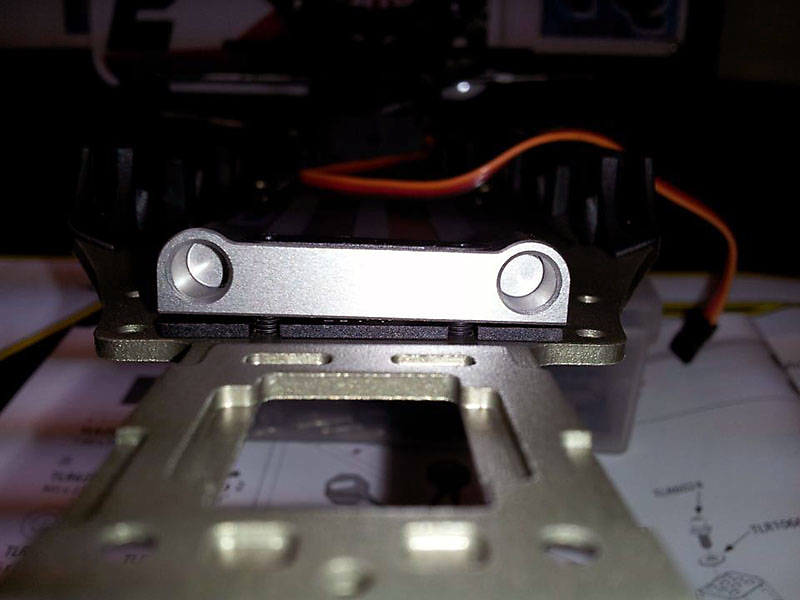
The front inboard camber block for the 22SCT is different than the 22 or the 22T blocks. They have added 2mm of spacing under the ballstuds out of the box. In addition there's an optional aluminum mount, part number TLR2062.
The front upper bulkhead with the steering rack installed
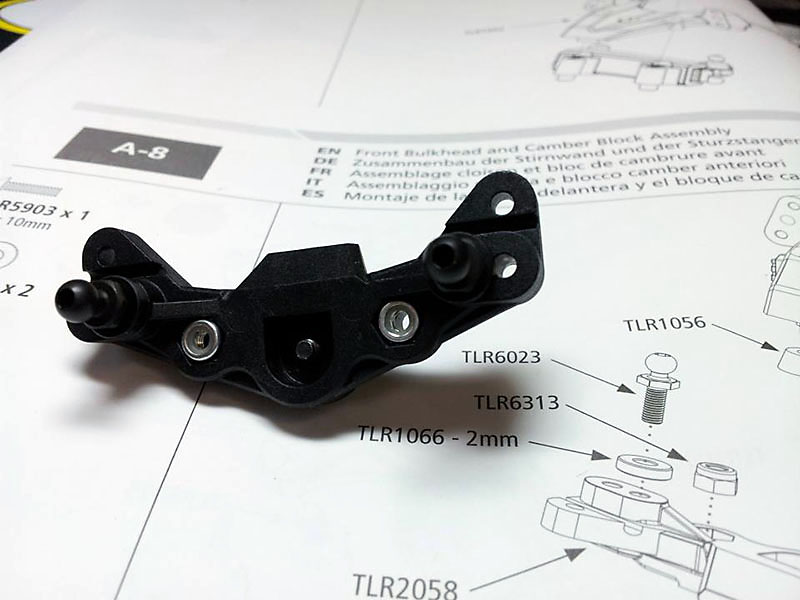
The stock camber block with hardware installed. You MUST install the nuts in the mount before mounting it under the front bulkhead.
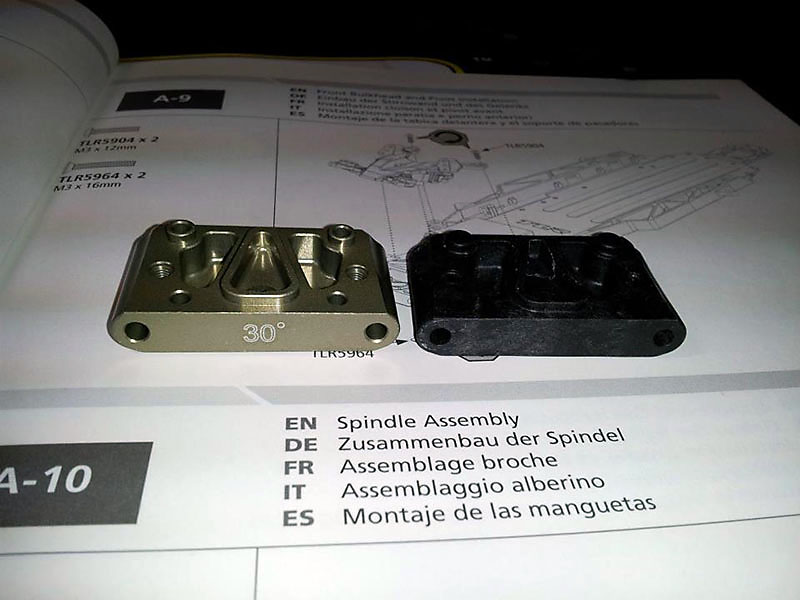
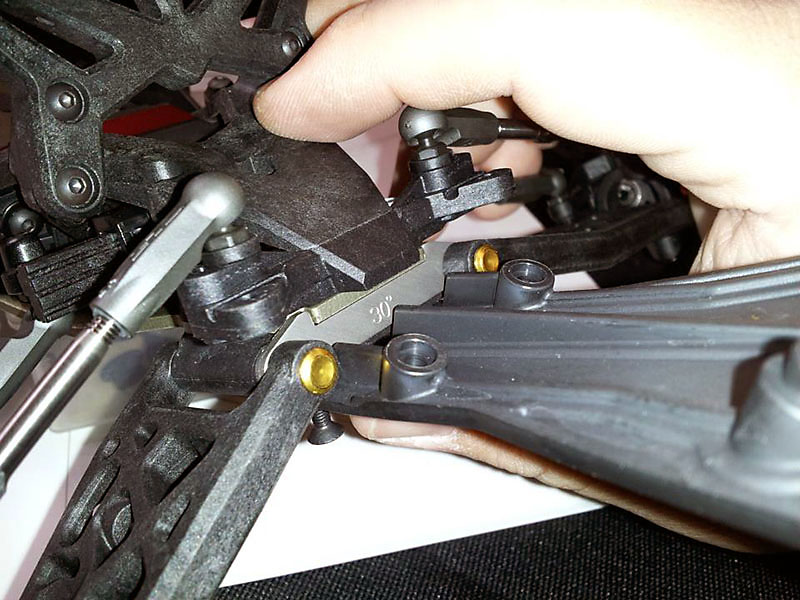
The 22SCT includes a 30-degree front kick plate. There's an optional aluminum one available too, TLR1105. We used this on the 22T and really liked the extra weight this added to the nose of the truck. Link below to the optional aluminum block.
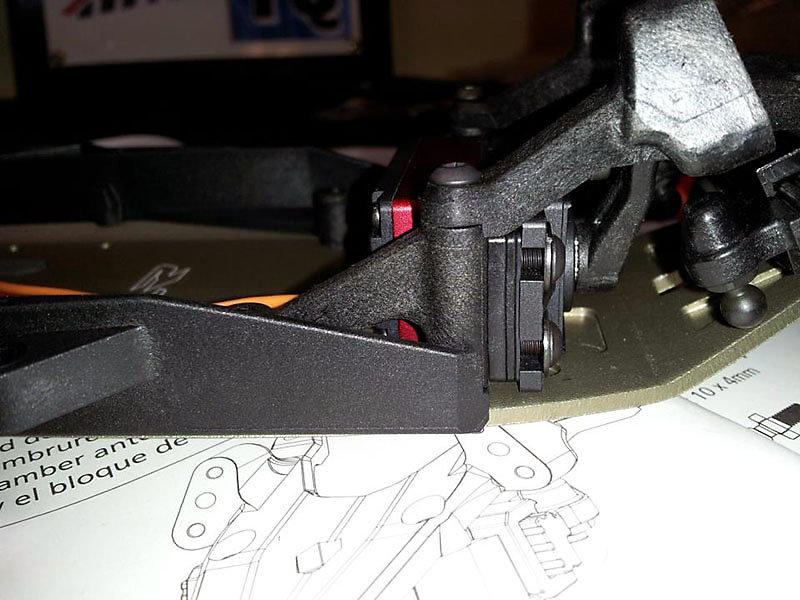
When attaching the front bulkhead to the chassis I did discover that I didn't have enough spacing between the servo arm and the upper bulkhead. I shimmed the servo forward by using the 2mm, 1mm and .5mm shims included with the kit.
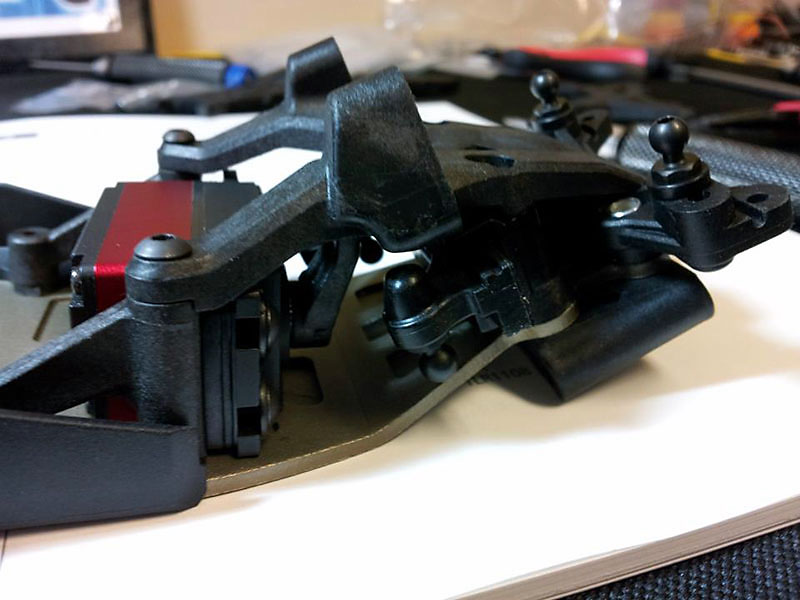
The front end assembly thus far
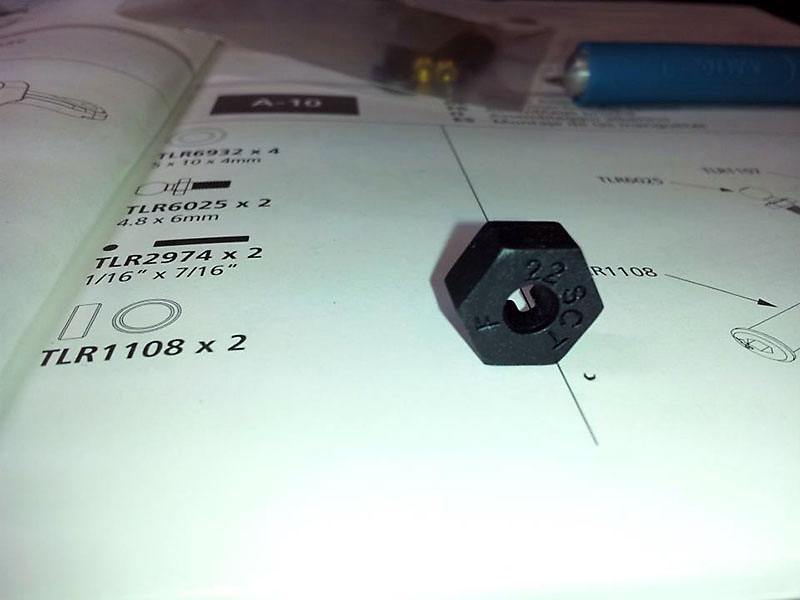
The font wheel hex is a molded piece. It even has 22SCT molded into it. Nice touch!
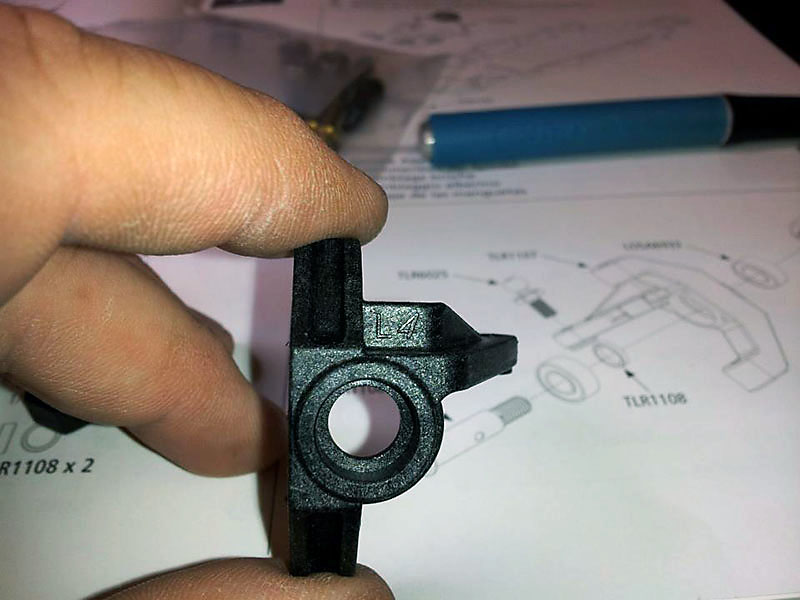
The front steering knuckles are labeled left and right above where you press the bearings into place.
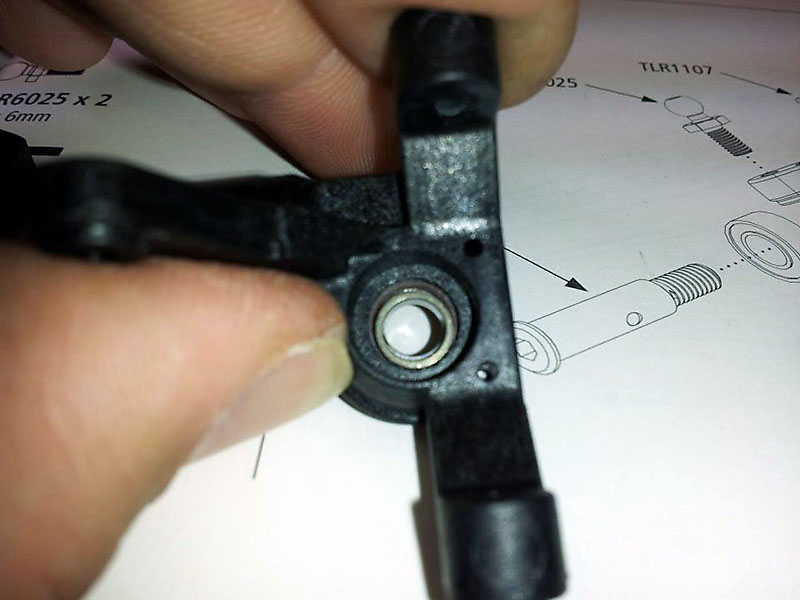
A small crush sleeve sits inside the spindle between both bearings.
Much like the wheel hex the axle is also labeled as for the 22SCT.
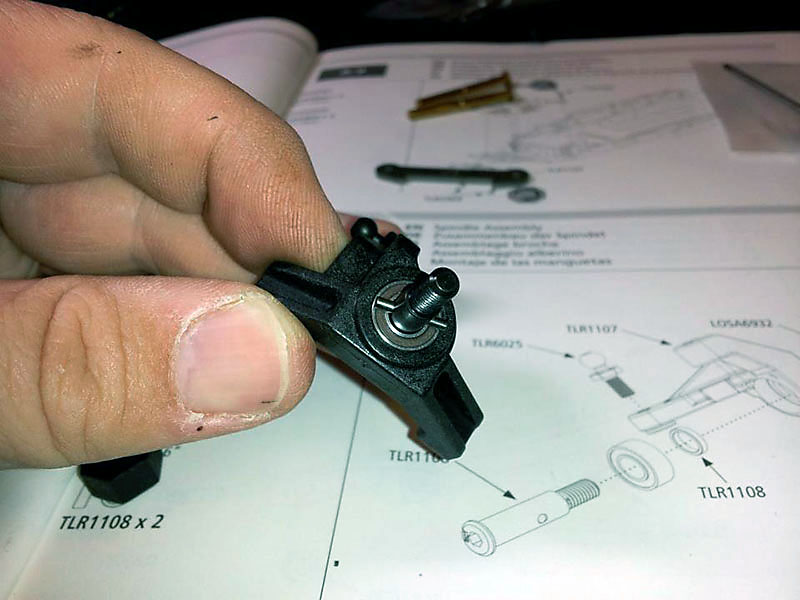
The roll pin is an actual pin; it is not one of those that is a pressure fit. Be careful if and when you remove your hex as it can drop out.
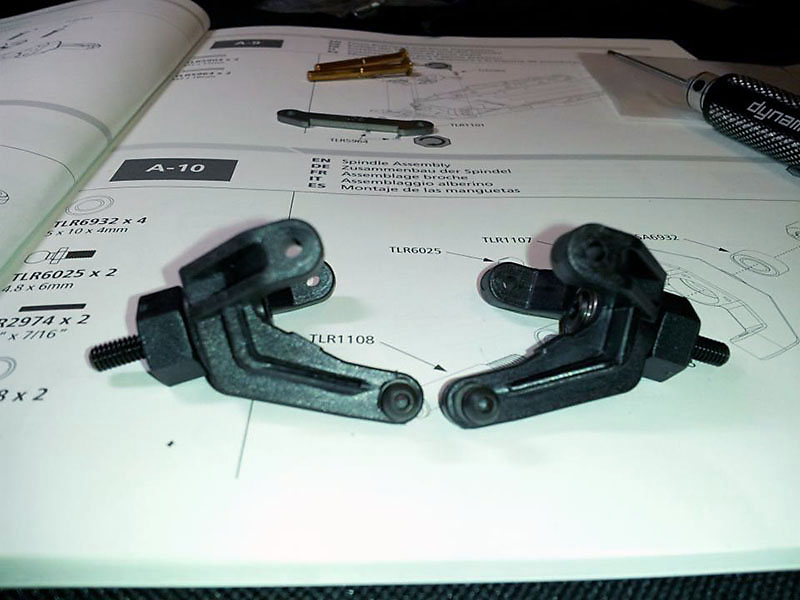
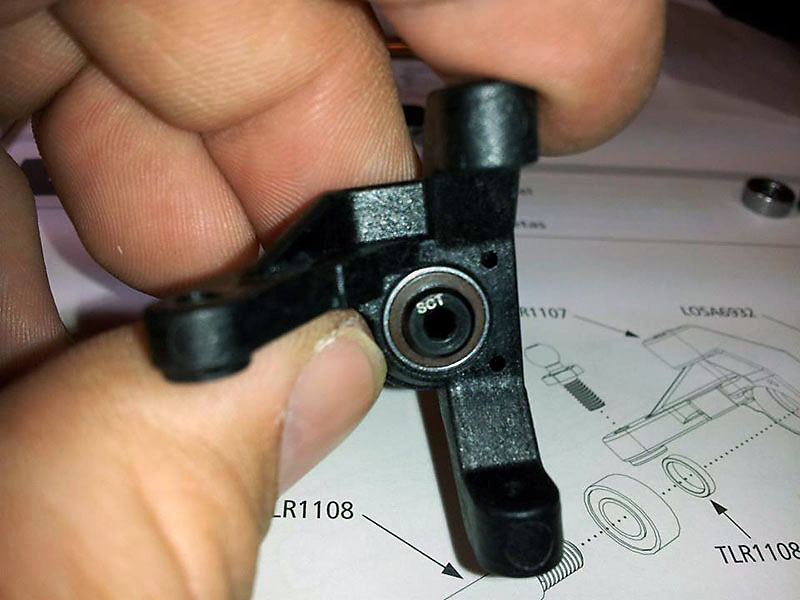
Left and right spindles.
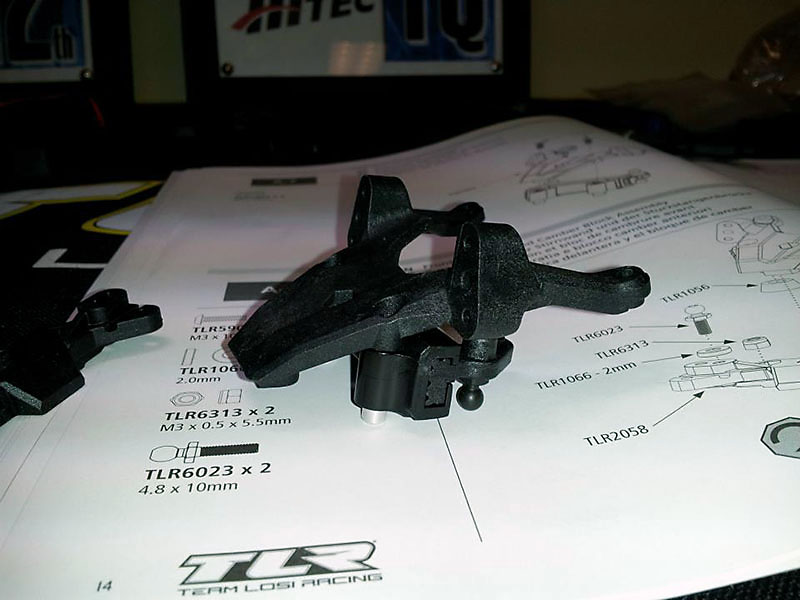
The 22SCT's front hubs have 10-degrees of caster in them.
Installing the front uprights onto the A-Arms. Note which direction the hubs are spaced and use the same spacing for both sides.
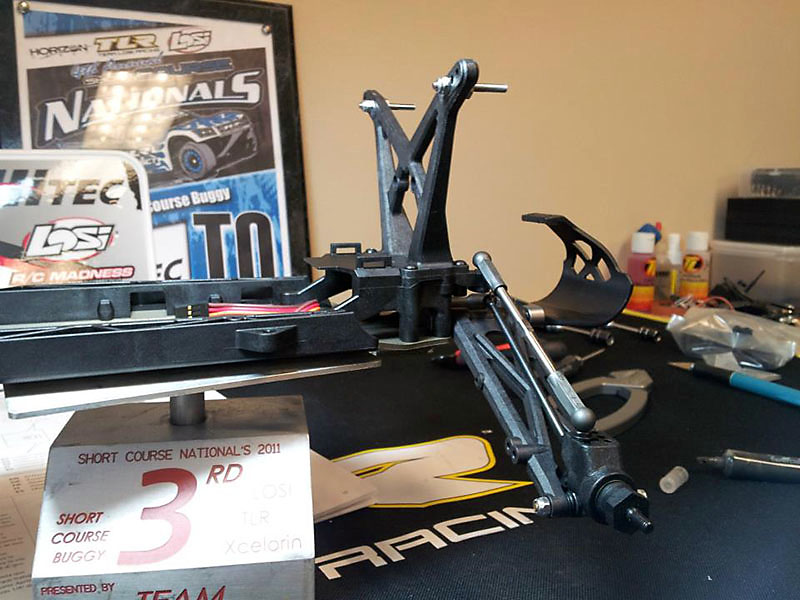
The front end with the A-Arms, C-hubs, Spindles and servo installed.
Completing Assembly Step A
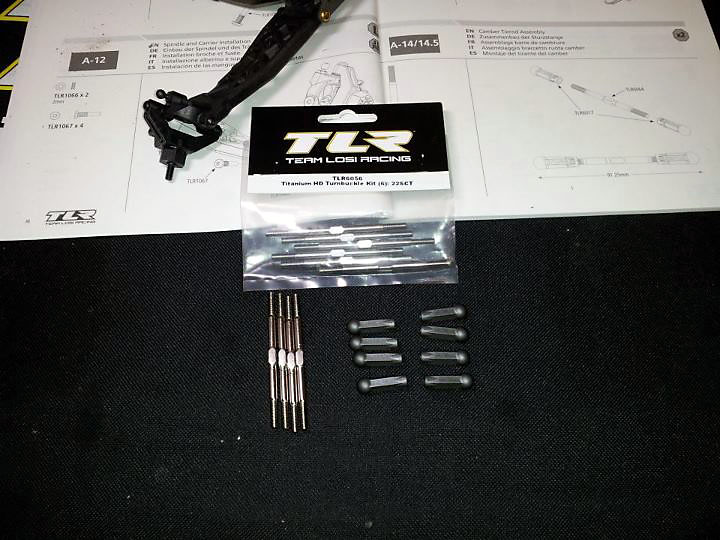
The 22SCT includes a set of adjustable turnbuckles. In addition there's a set of Titanium turnbuckles you can install. TLR6056 is the P/N
For Craig...
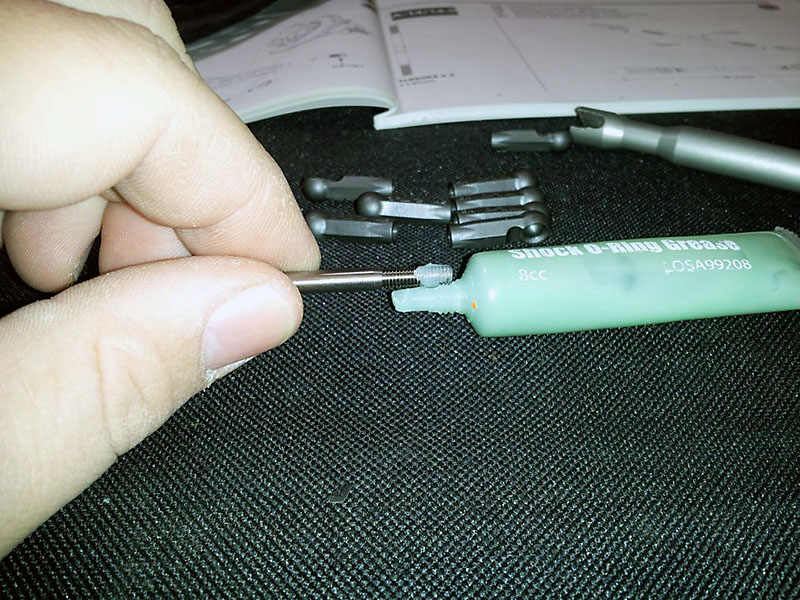
To make threading ball cups on easier I use a little shock and o-ring grease on the threads. This makes installing the ball cups so much easier.
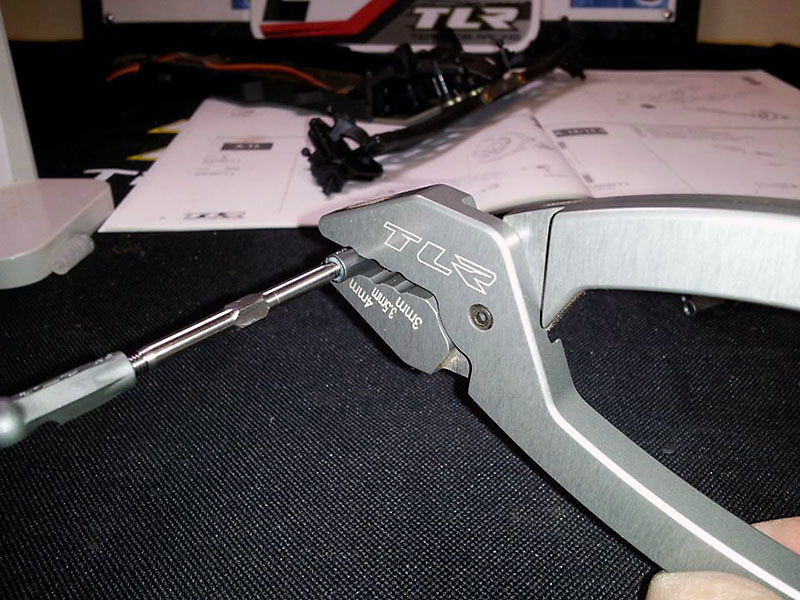
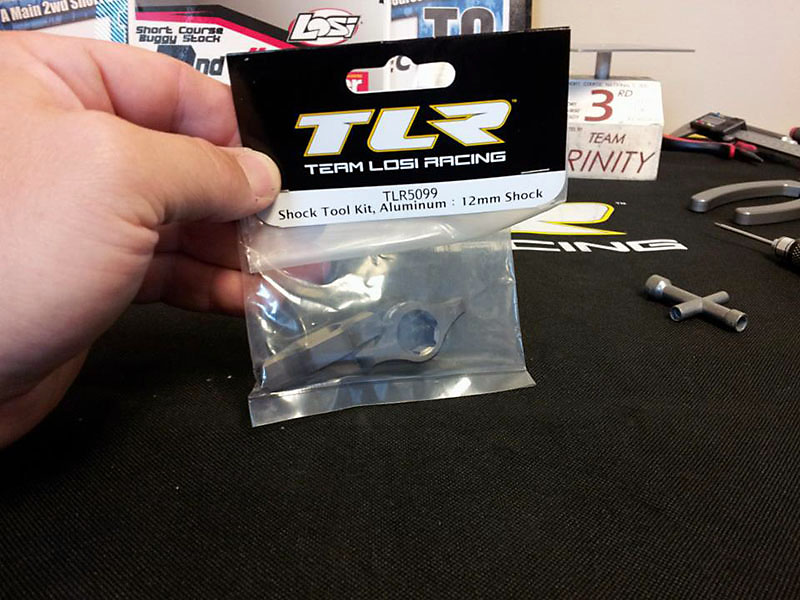
Another use for the Team Losi Racing Shock pliers... Holding ball cups without marring them!
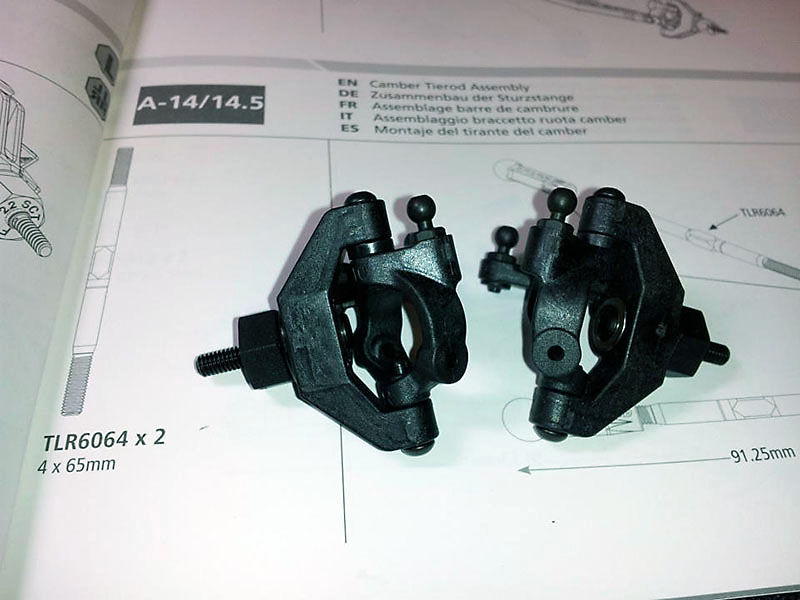
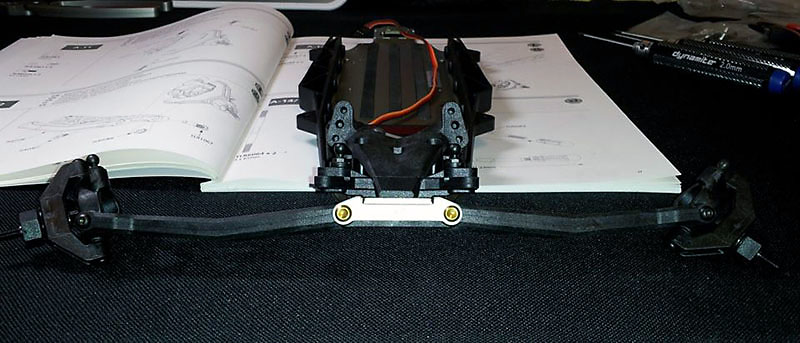
The steering turnbuckles
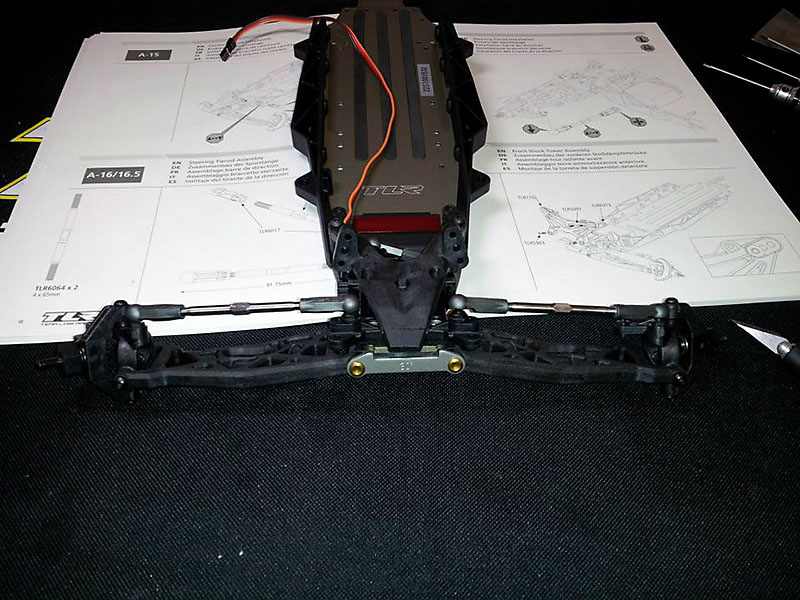
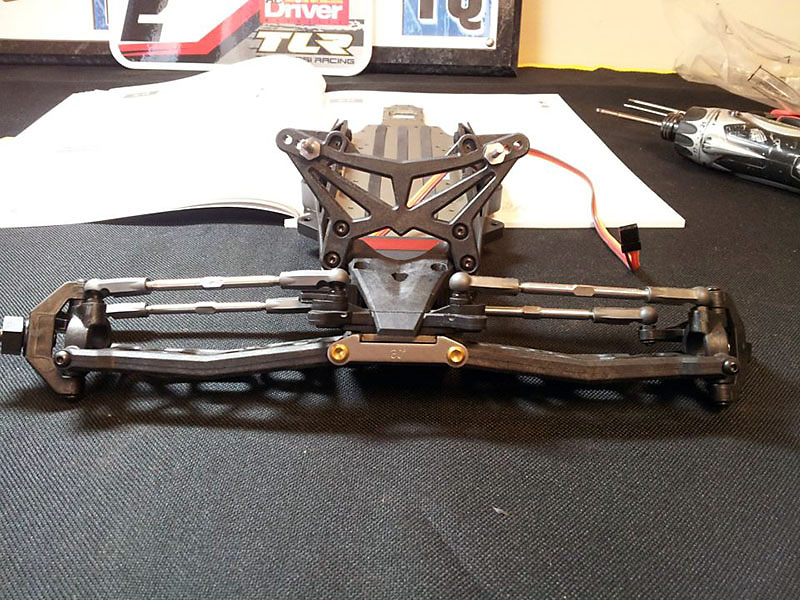
The front end with the steering and camber links installed

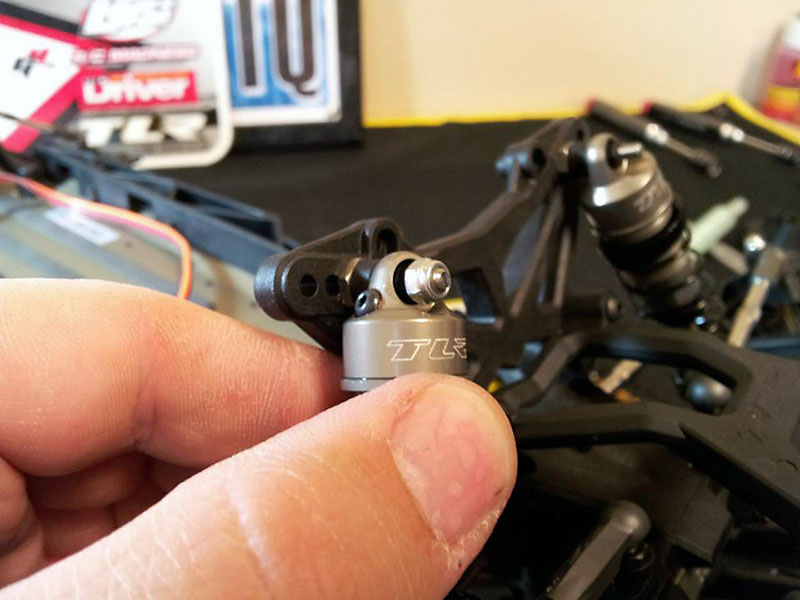
The upper shock mounts have been a favorite part of the 22 design of mine since it first came out. In addition to the stock steel pieces Team Losi Racing also has a set of Titanium Upper Shock Mounts. TLR4166 is the part number.
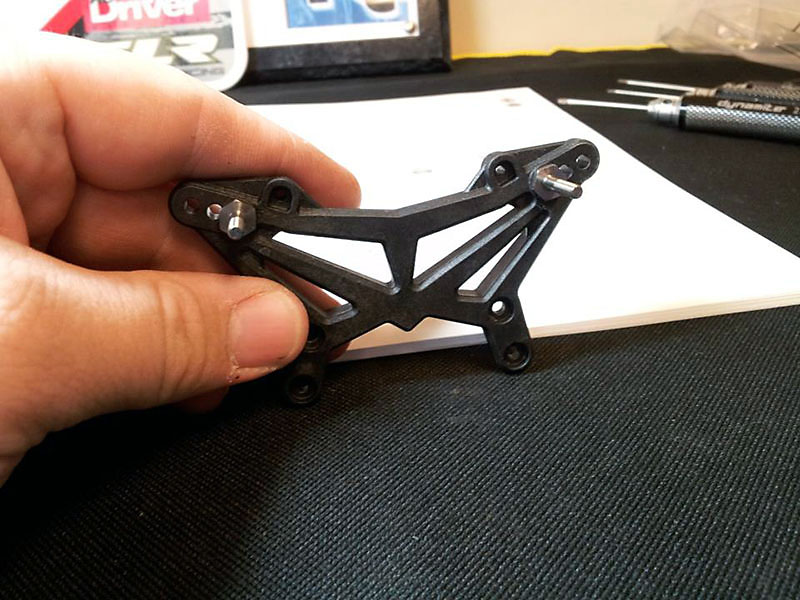
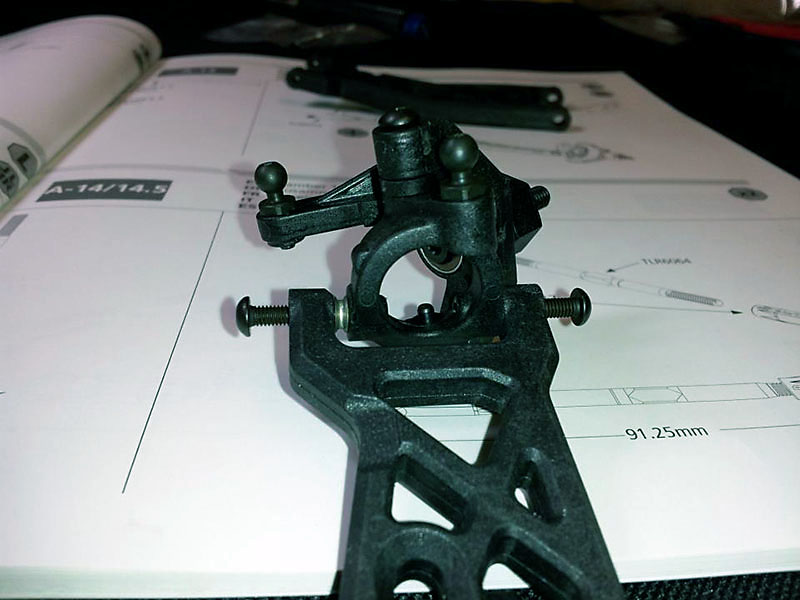
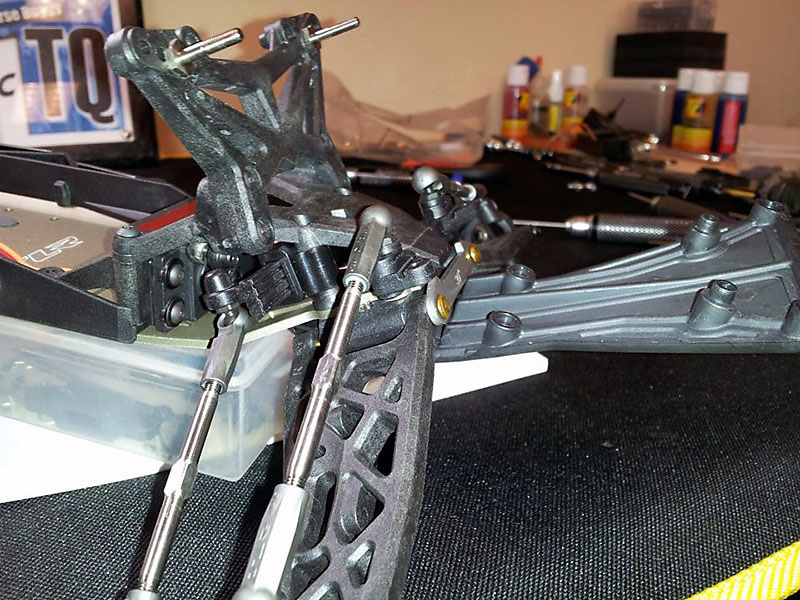
The front shock tower with the upper shock mounts installed.
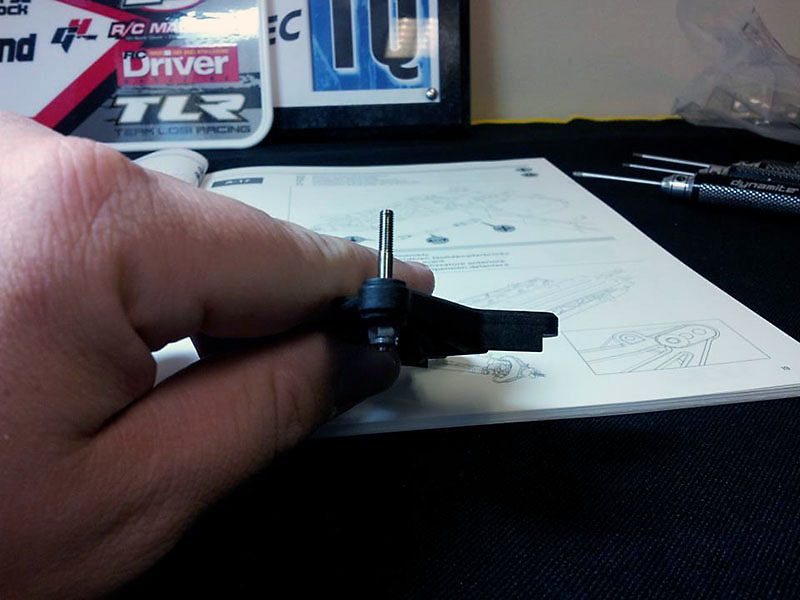
There is a right and wrong way to install the upper shock mount. The longest part of the thread should go forward.
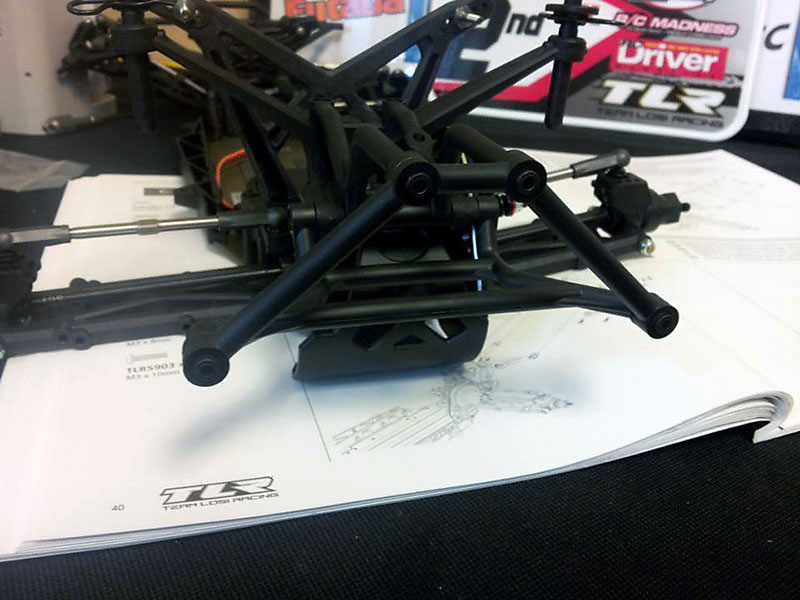
The front shock tower installed. Please note that the upper screws should not be installed at this point and are installed when you attach the front bumper.
I found a mistake I made in the build when attempting to install the front bumper. The hinge pin brace hit the ribbing on the bumper. Why you might ask? Because the brace needs to be installed between the arm and the suspension mount. Clearly I've spent way too much time with XXX-based chassis. You didn't need more clarification than this that the 22SCT is totally different than the XXX-SCT.
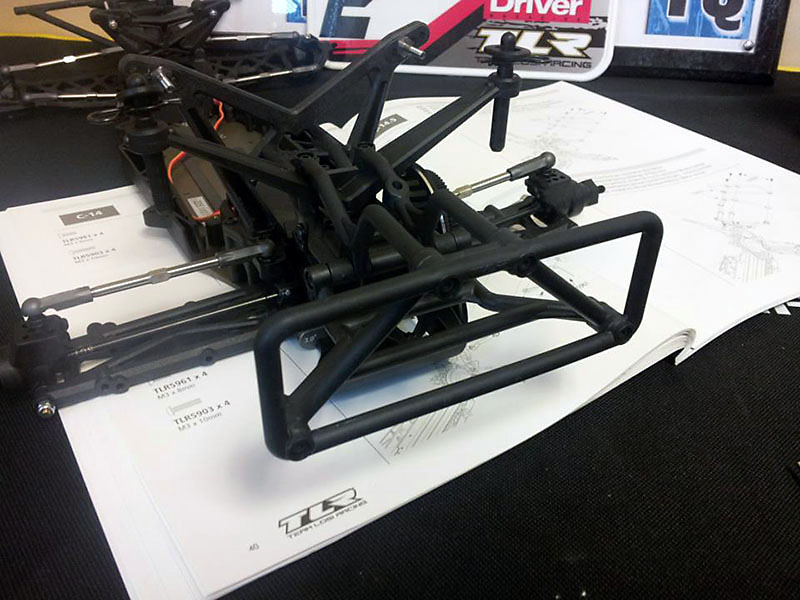
With the hinge pin brace in the proper location the bumper goes right on.
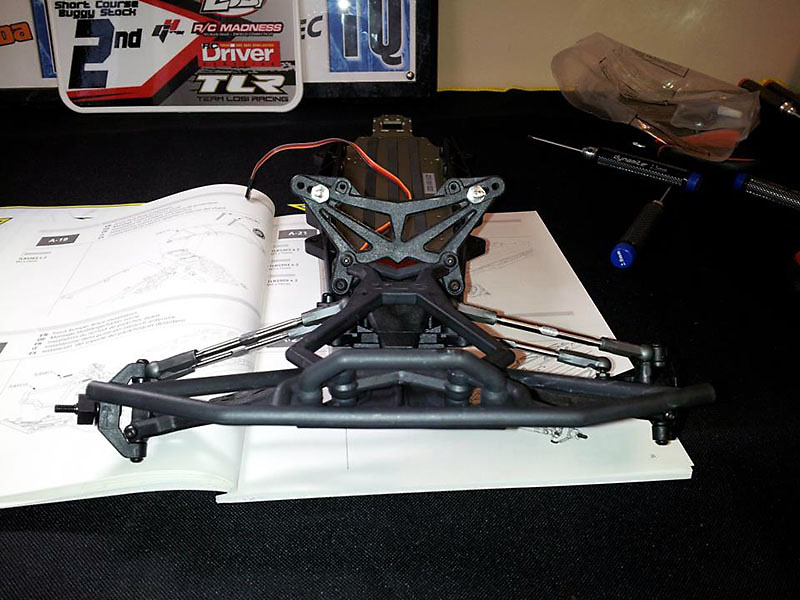
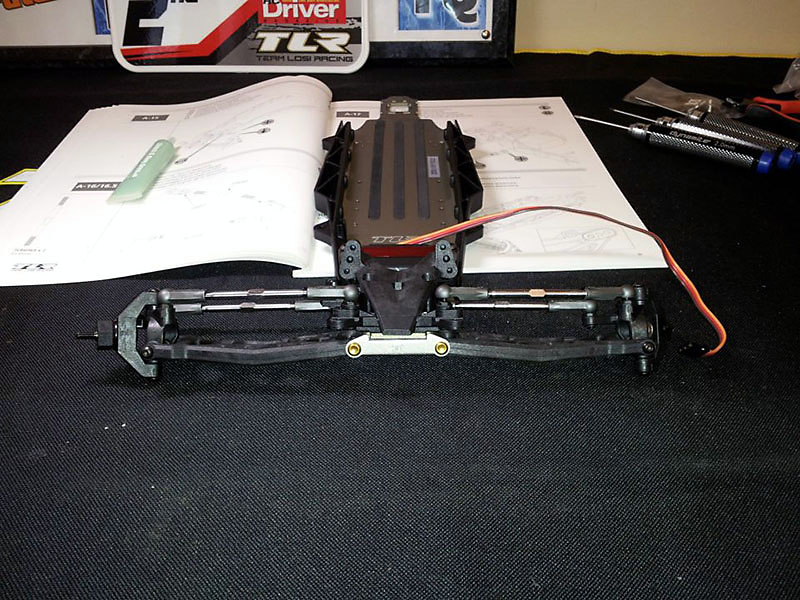
The front end of the 22SCT with the front tower and bumpers installed properly.
Bag B Completion

I had forgotten to mention the front Titanium Nitride front hinge pins. I like these because now I don't have to worry about whether the 2 king pin screws are aligned properly. TLR1043 is the part number.
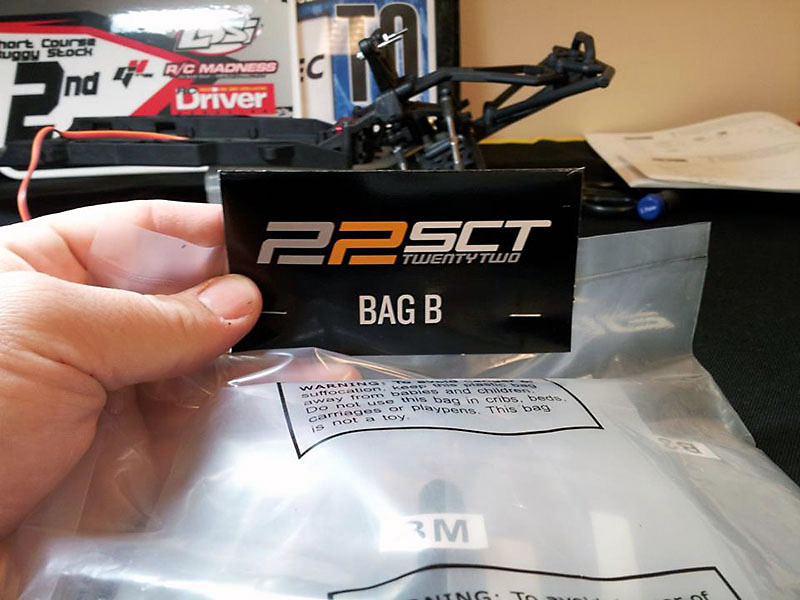
Time to start Bag B, the rear suspension assembly.
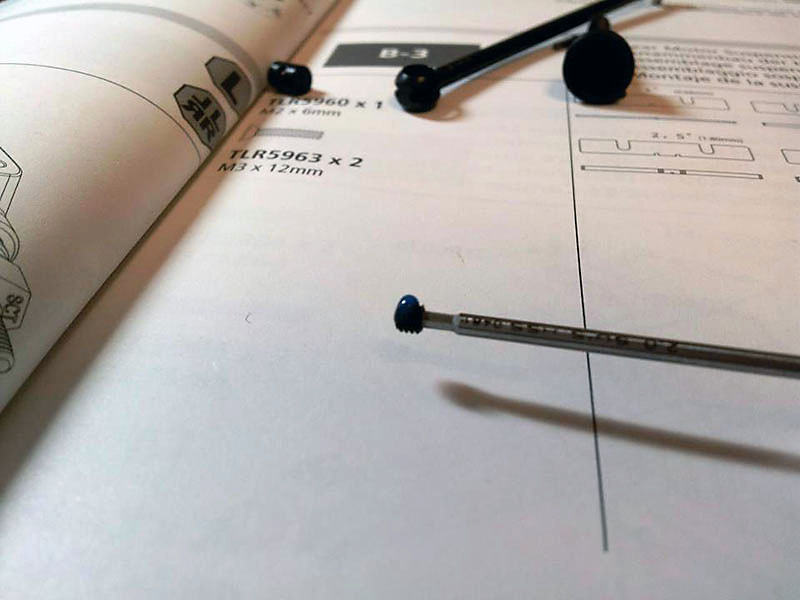
When assembling the rear CV-axles make sure you use a slight amount of Losi-LOK thread locker.
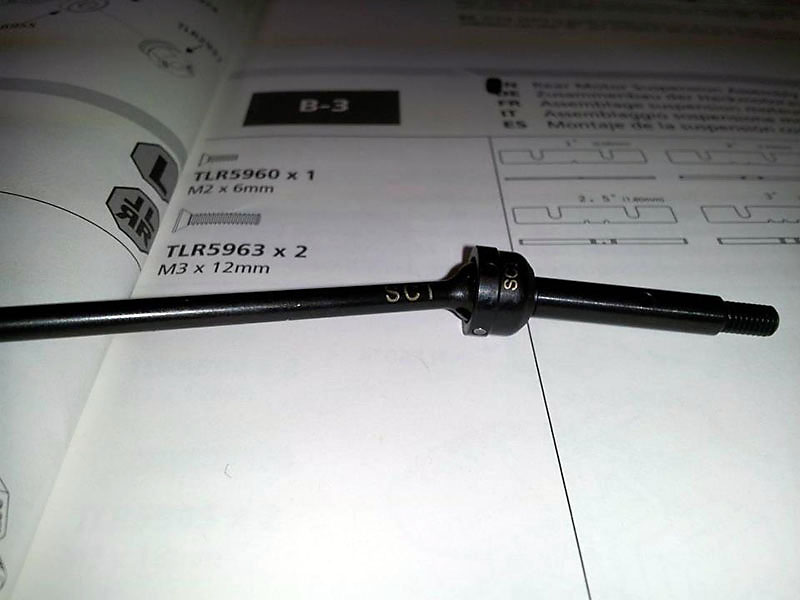
Both the rear driveshaft and rear axle are etched with SCT on them. Pretty sweet!
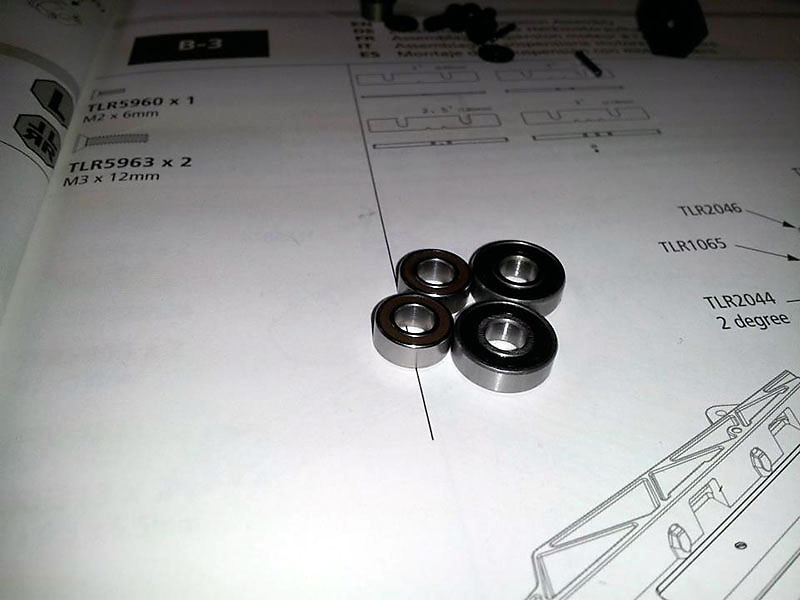
The rear hub carriers feature 2 different bearings. The smaller bearing is used on the inside while the larger bearings are used on the outside. This helps support the loads better without bearing failure.

An aluminum crush sleeve is provided to go between the bearings.
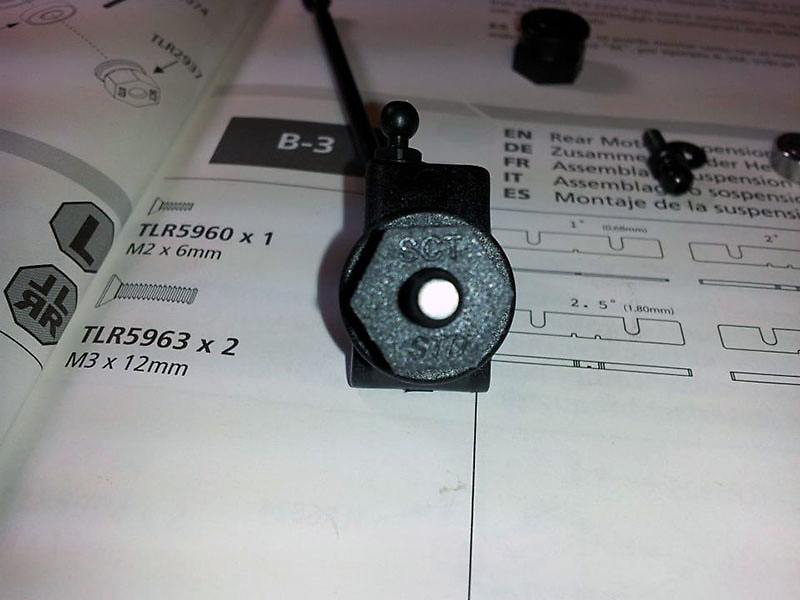
The wheel hex is molded with SCT STD in it.
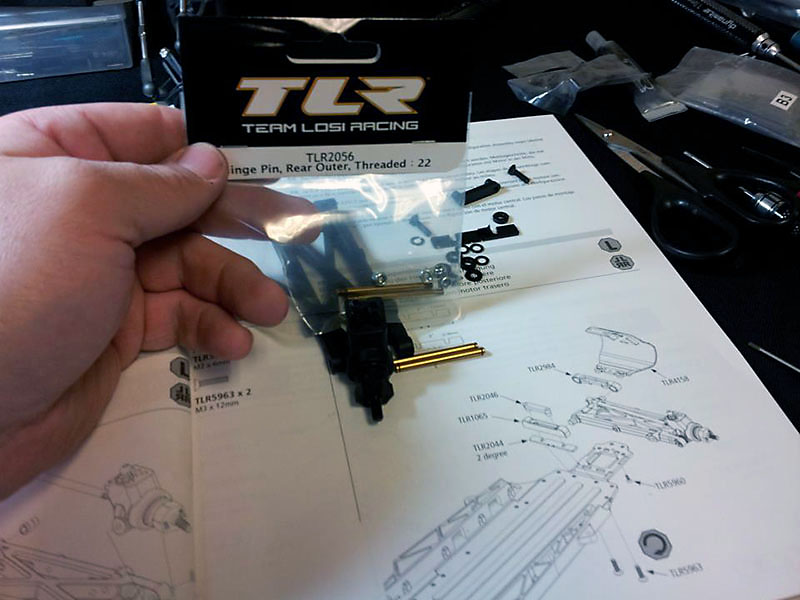
If you want to have a completely e-clip free truck you'll want to use the threaded TiNi outer hinge pin. TLR2056 is the P/N
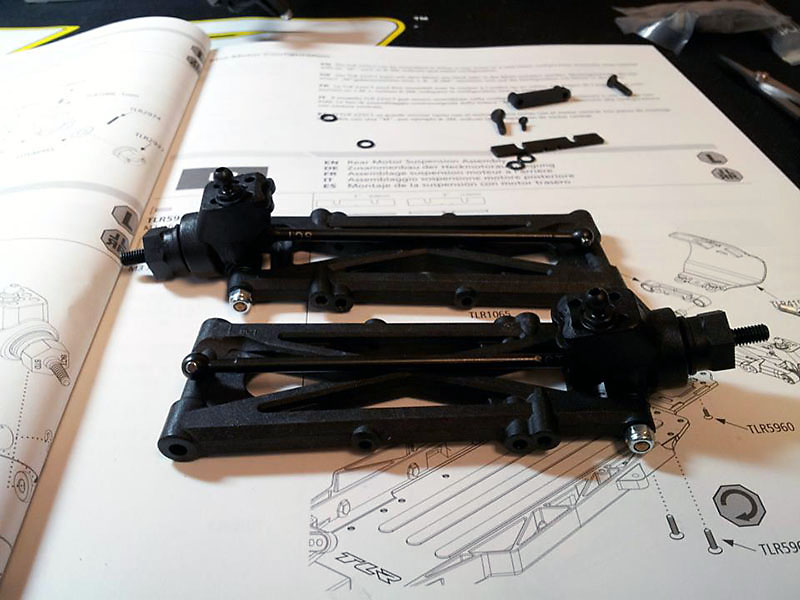
Both rear a-arms with the hub carriers, ball studs, driveshafts and hinge pins installed.
I like to install the front rear suspension mount on the chassis before installing the arms. I know the manual calls for mounting the suspension mounts and arms all at the same time. This method makes it easier since you won't be fighting to hold parts in-place.
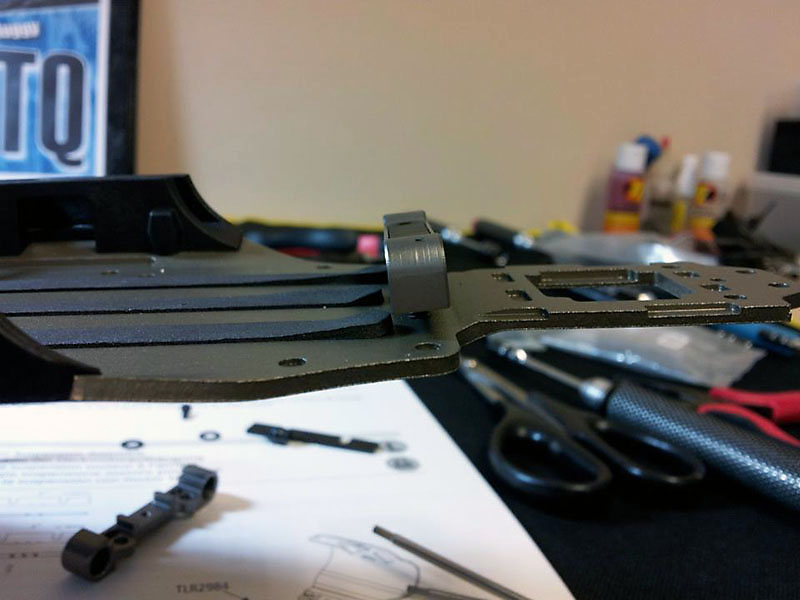
The 22SCT uses 2-degrees of anti-squat from the box. Install this shim with the openings rearward, this way you can swap them out easier by sliding the forward in the battery tunnel.
The rear arms on the chassis with the spacers on the hinge pins. The arms get shimmed forward for a shorter wheelbase.

I said it on the 22T build and I'll say it again here. This is the MOST useful screw on the truck. It keeps the rear suspension mount in-place while servicing the suspension.
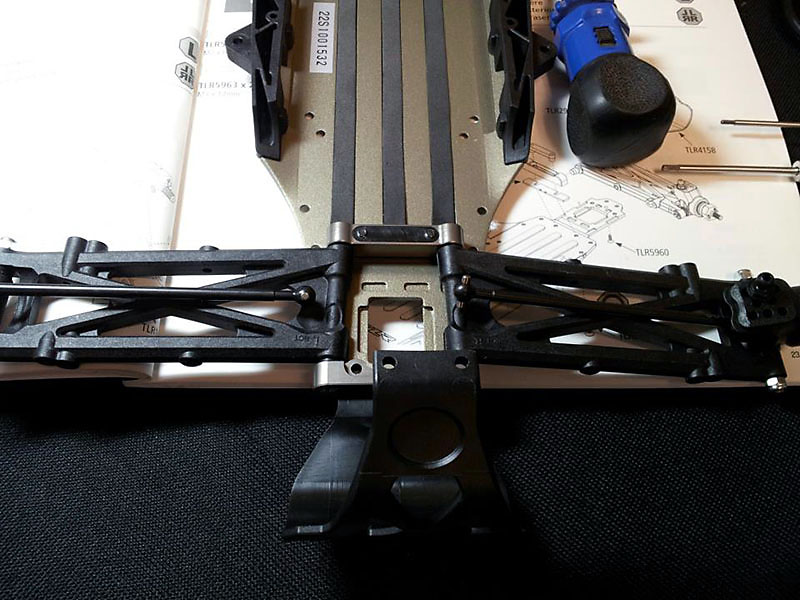
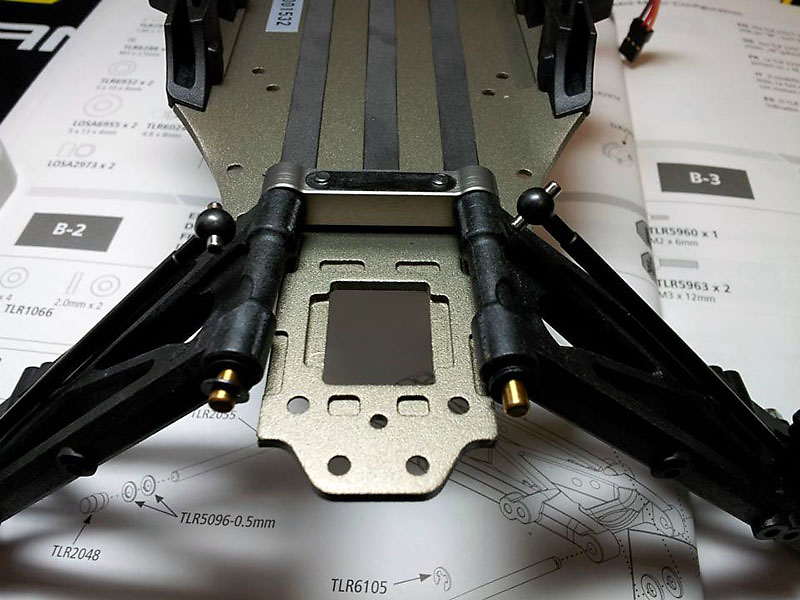
The rear arms mounted to the chassis.
The rear camber mount installed.
The rear shock tower installed

The rear camber links installed
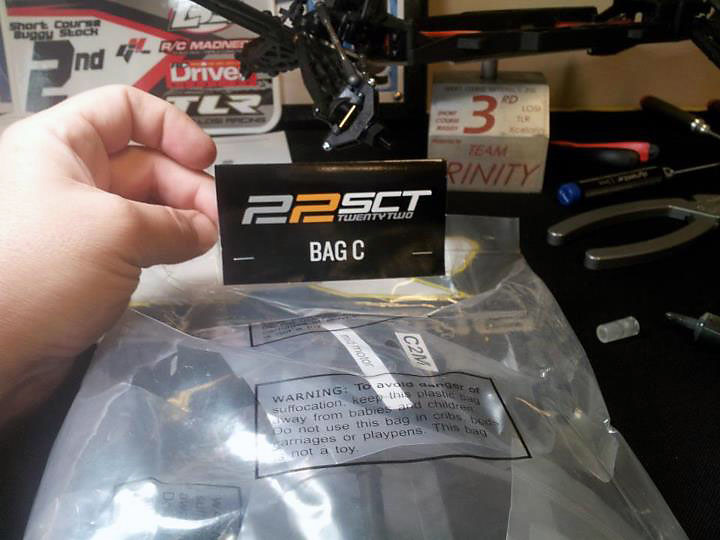
Bag C Completion
On to bag C which covers the transmission and the rear bumper/body posts.
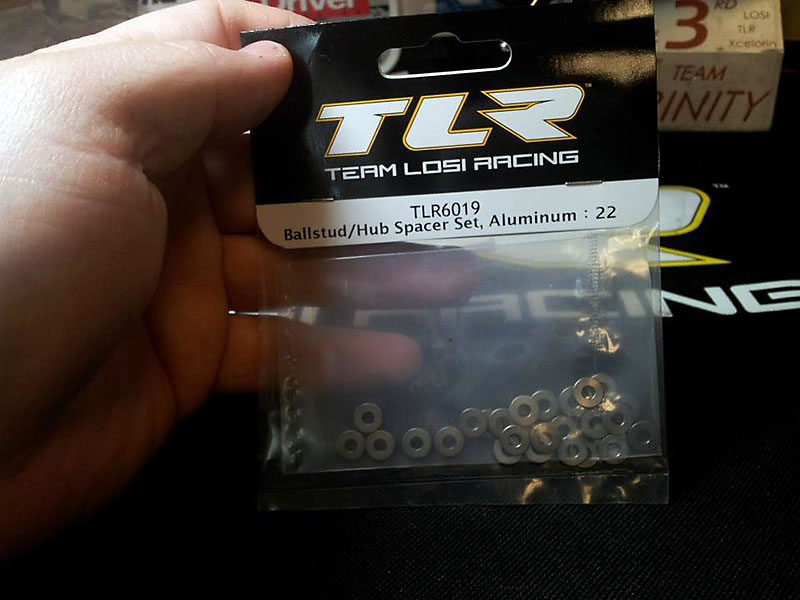
Someone had asked earlier what aluminum shims were available to replace the plastic ones. TLR6019 is an assortment of aluminum shims from .5mm to 2mm
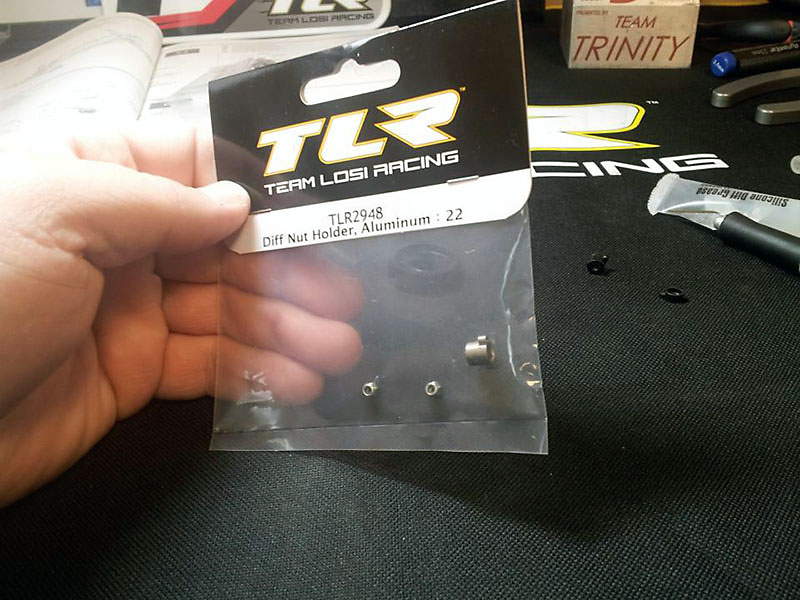
When building the diff there's a few options out there too. One is the TLR Aluminum Diff Nut Holder, P/N TLR2948

The diff outdrives. I don't recall the 22 or 22T outdrives having this cool etched sort of look on the outer diameter where the rings sit.
The thrust assembly. These are now CARBIDE thrust bearings as standard equipment!! Pretty sweet!

Ask and ye shall receive. The main bearings are also Carbide!
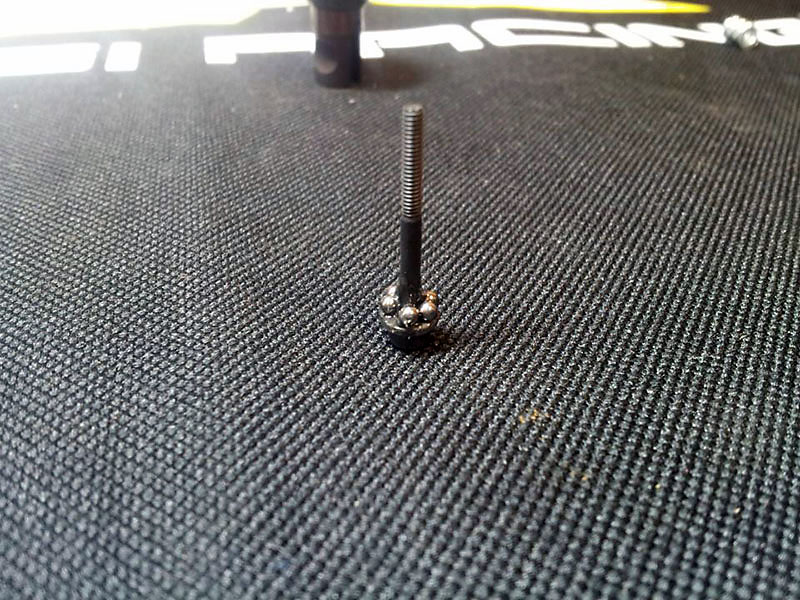
The diff balls installed in the diff gear. Do NOT use the head of an allen wrench to push these into place as that's a sure way to wreck the. Also more diff lube is not always better.
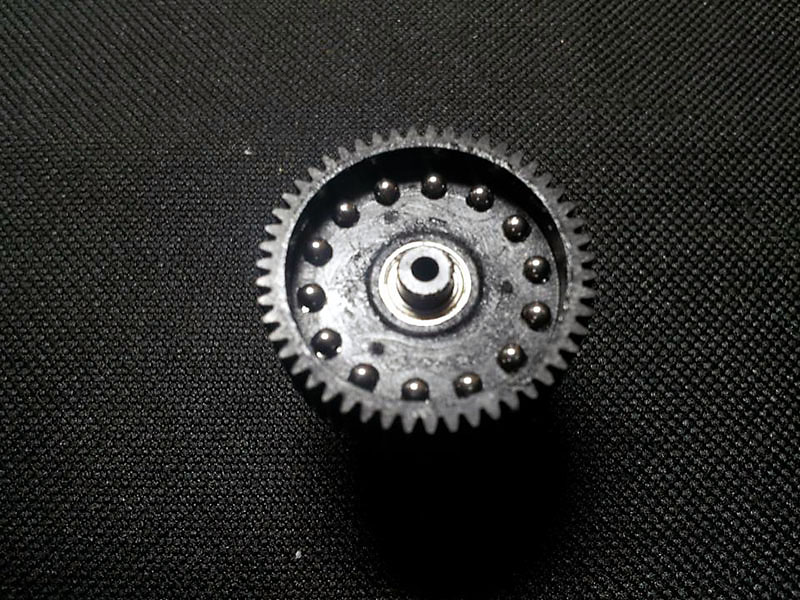
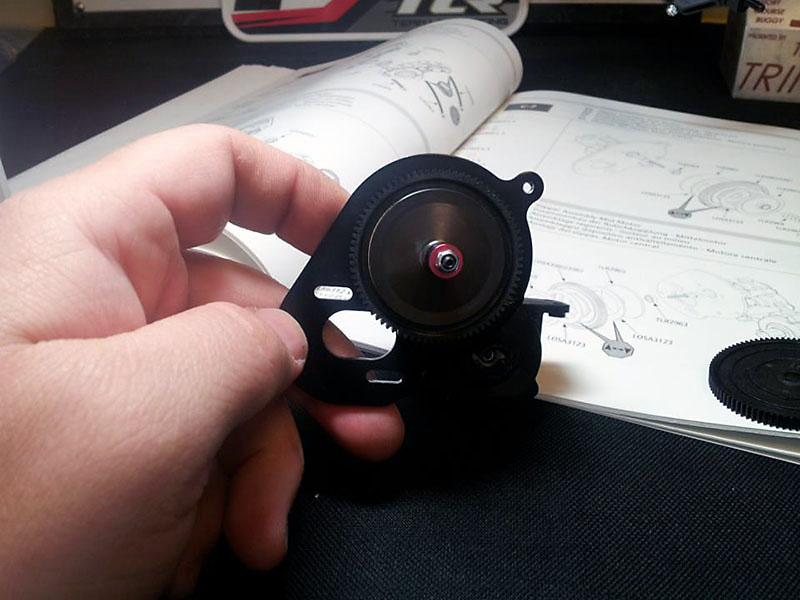
The completed diff
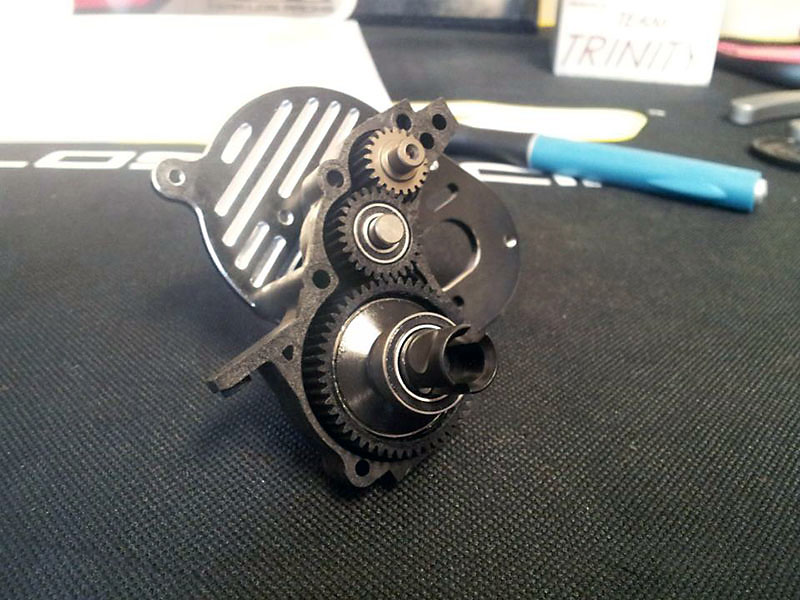
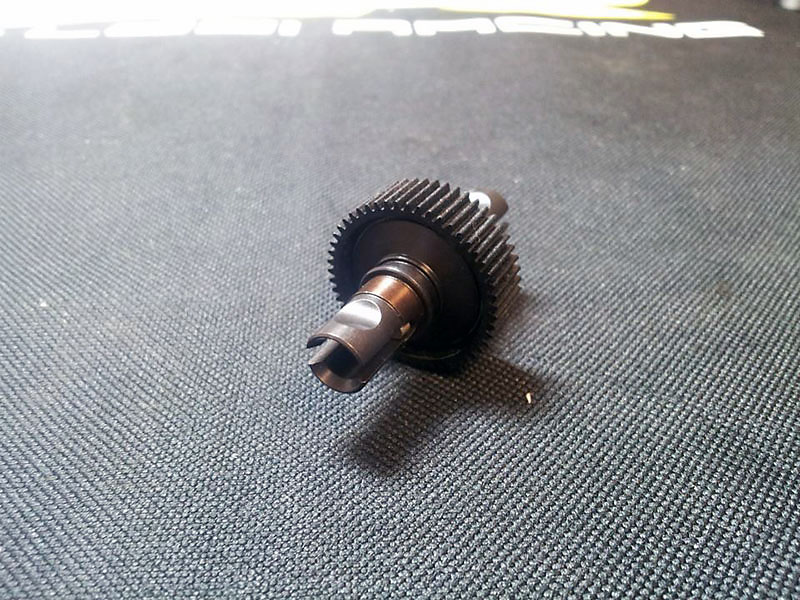
The transmission with the top shaft and idler installed. Note that the head for the diff adjustment should be towards the left side of the truck.
Don't forget to install the red shim/spacer on the top shaft!
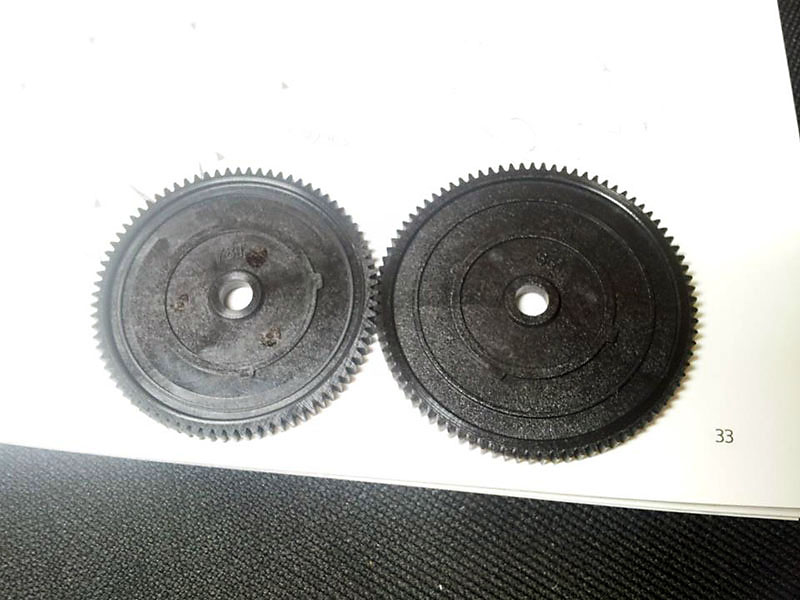
The 22SCT comes with two different spur gears. One for 17.5T/Stock racing with no timing or boost or a larger one for when you race in modified or with timing/boost.
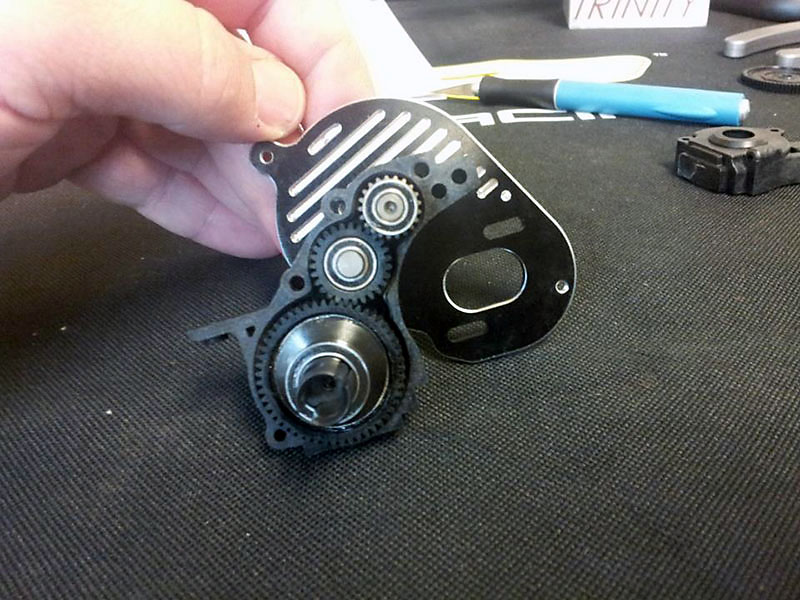
Our completed gearbox. Since I plan on running 17.5T Blinky I used the smaller spur gear.
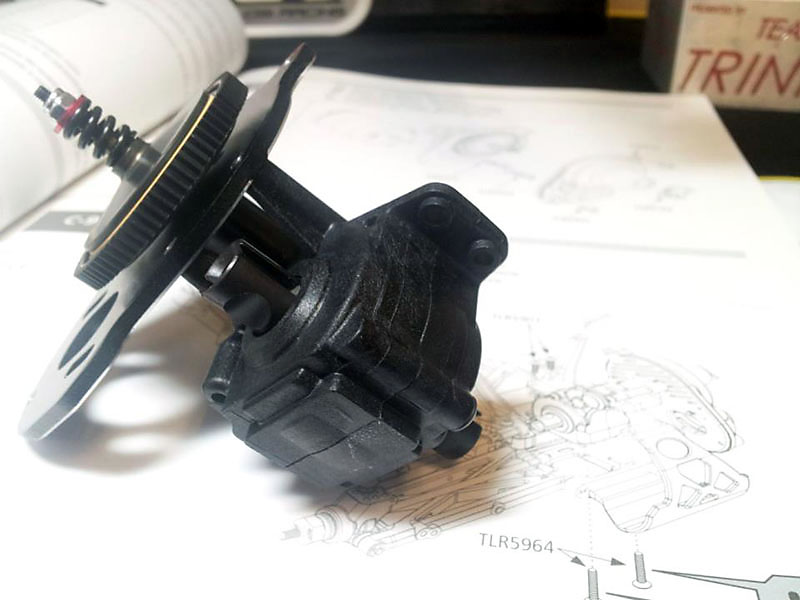
Much like on the 22 and 22T I am going to us the +1mm transmission modification. By this I mean I am going to raise the transmission by 1mm via the use of several shims. This delivers more traction than the stock location.
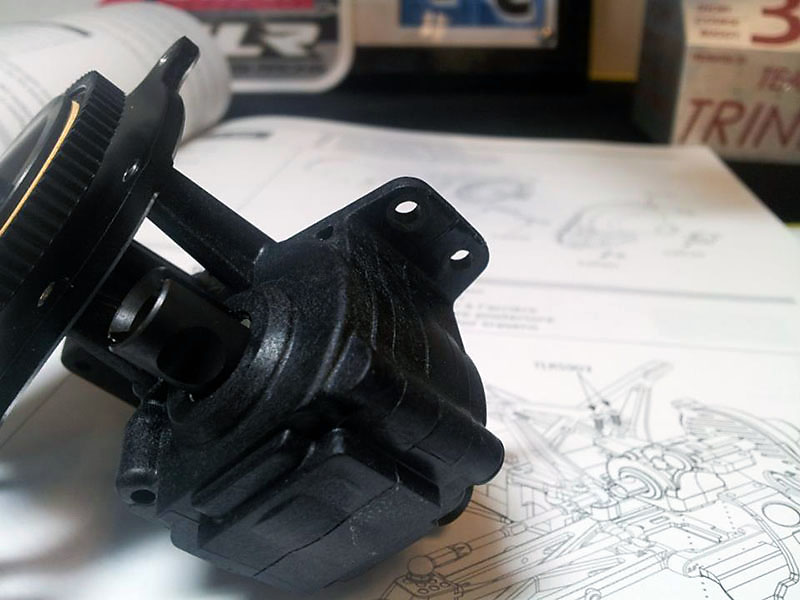
One of the first steps to raising the transmission is to remove the two nubs from the transmission case where it mounts to the rear camber block. I have done that here.
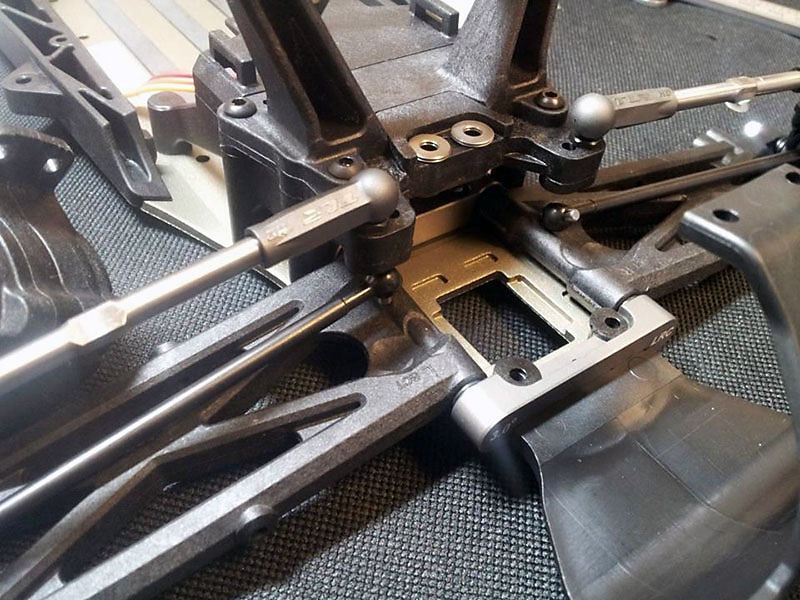
I have added 1mm of aluminum spacers to the top of the rear camber block and a 1mm spacer to the lower suspension mount.
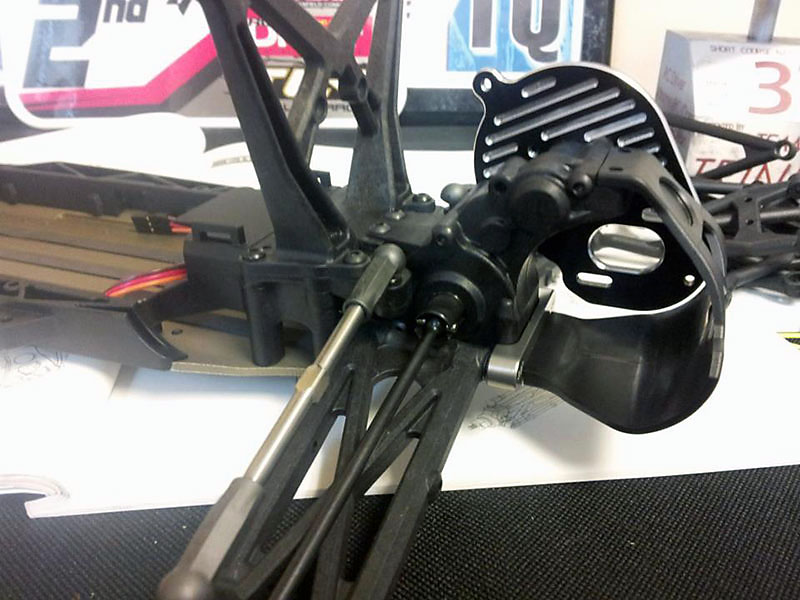
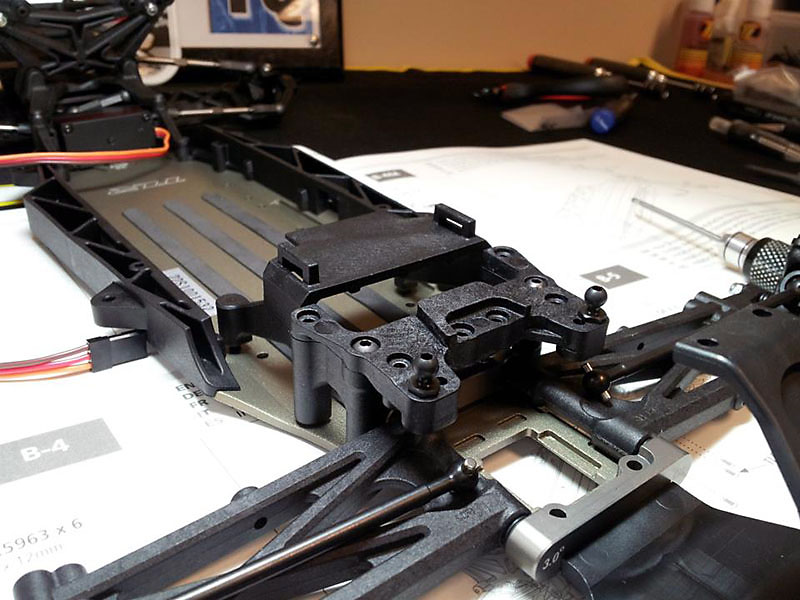
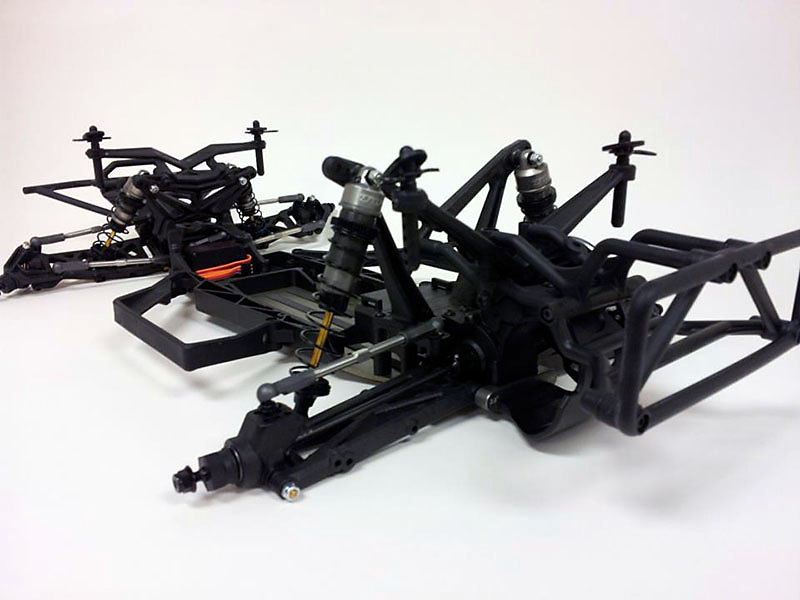
The transmission installed, 1mm higher than box stock.
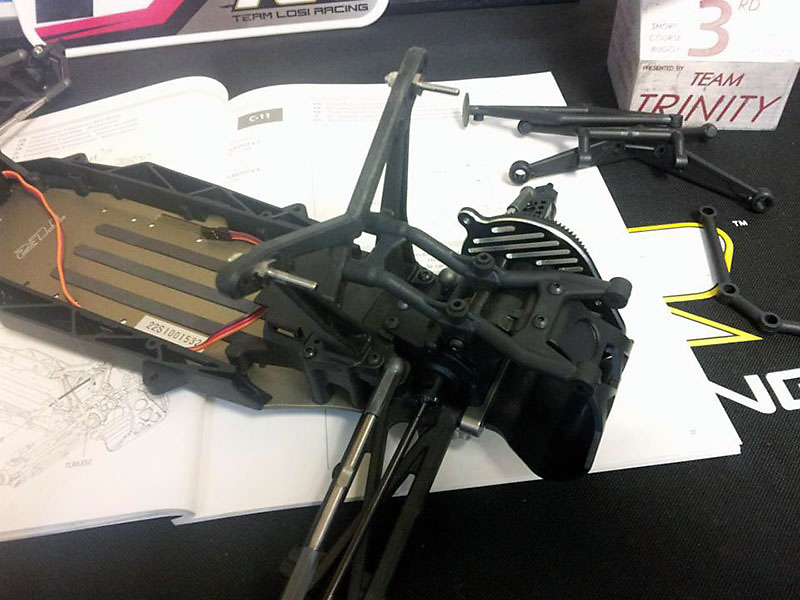
The start of the rear body mount/bumper brace installed.
The rear body mounts.
The body mounts installed on the rear bumper mount. There is a long screw that passes through the lower bumper mount. Do not tighten it down all the way yet.
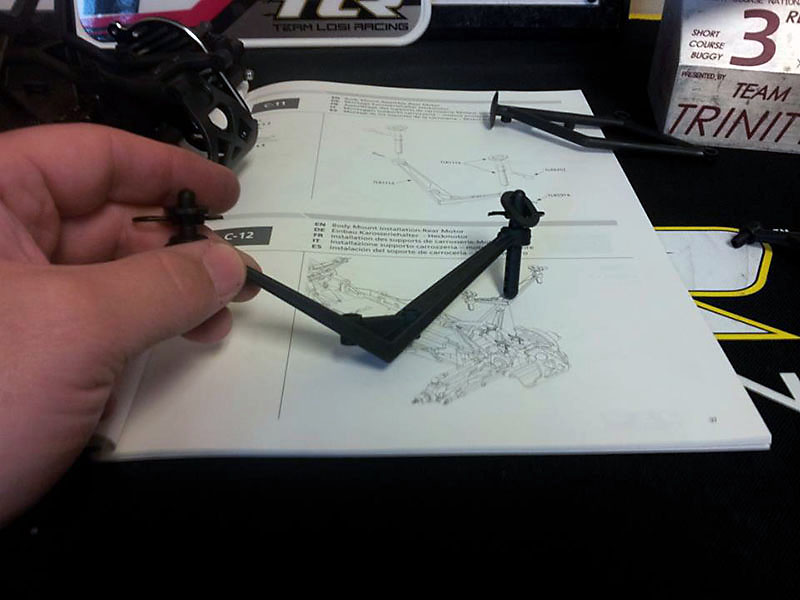
The rear bumper brace helps align all 4 bumper mount positions
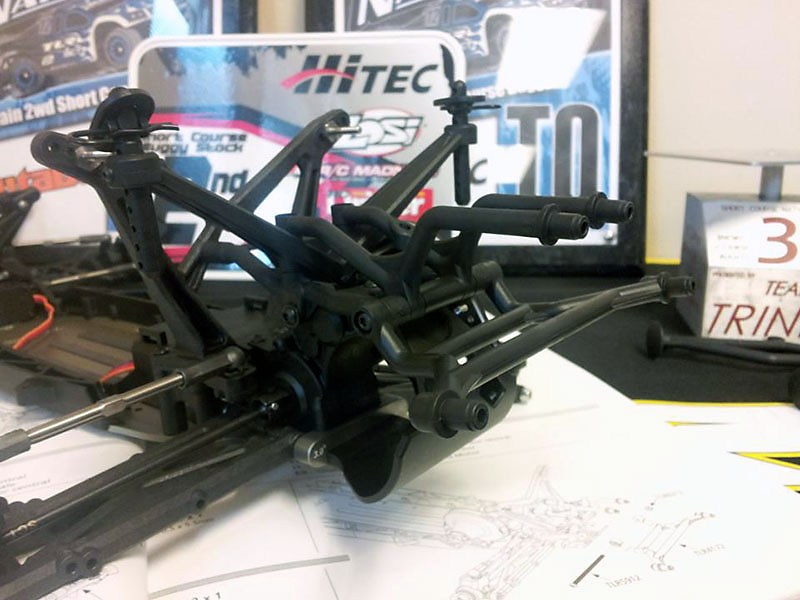
I have decided to build the truck with the minimal Racing-style rear bumper. Once these 4 screws are tightened you can go back and tighten down the one long screw that passes through the mounts.
Final steps
If you're looking for more rear grip many of the team drivers have started using the TLR4167 Brass Weight System. Each brass plate adds 7g of weight to the rear of your truck. This is also compatible with the 22 and 22T.
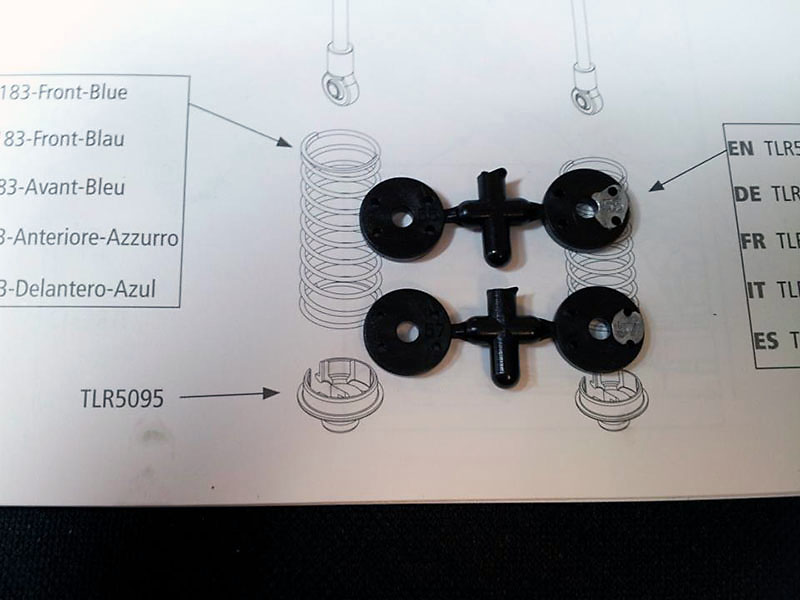
We used the low friction o-rings (TLR5074) when we built the 22T and we'll be using them here again on the 22SCT with a twist. We'll be using one of the low friction o-rings and one standard o-ring on each shock. This will reduce friction while extending the time between rebuilds.
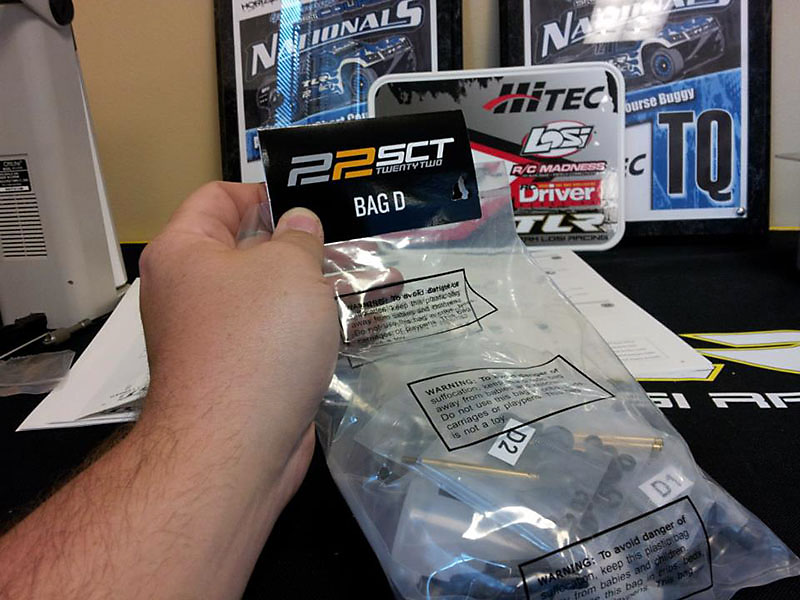
Bag D, the shocks!
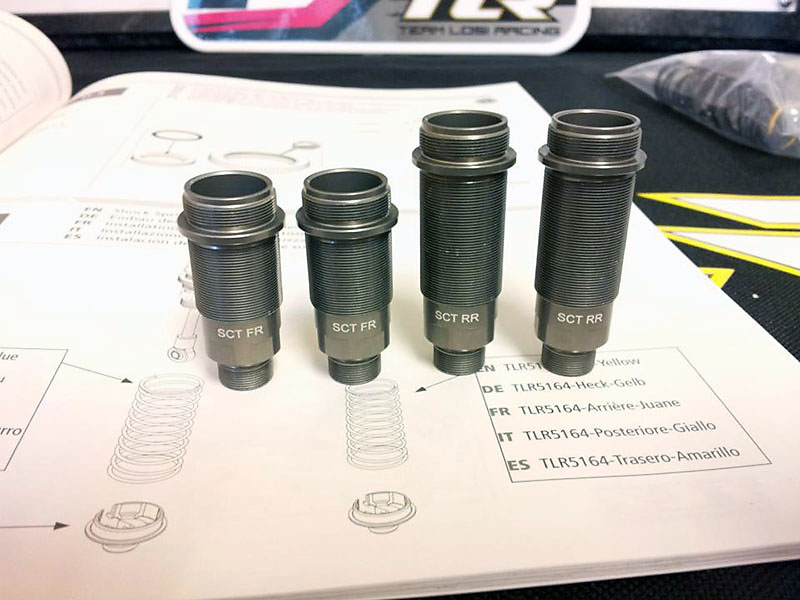
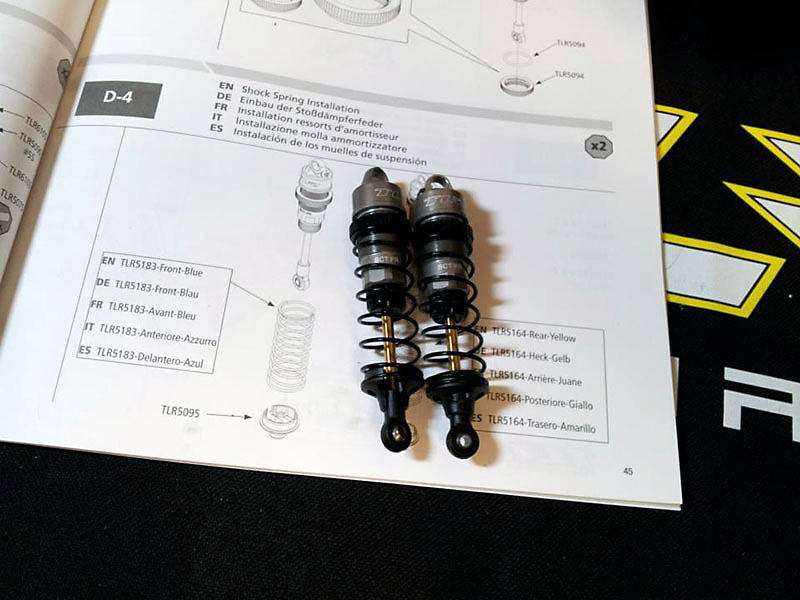
OK, this was a super trick surprise I didn't expect. The 22SCT shocks are marked for the 22SCT for both the front and rear. Dialed!
This is how we'll be loading everything into the bottom of the shock. First the low friction seal, then the plastic spacer, regular seal, plastic shim and the lower shock cap.
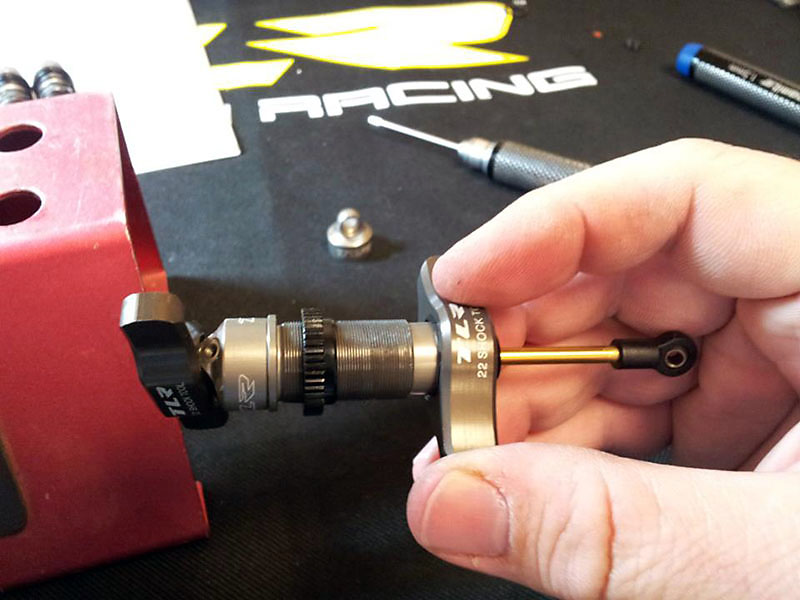
As I always do I used some Shock O-Ring Grease (LOSA99208) on each of the shock seals. This will help prevent the seals from being torn as you insert the shock shaft.
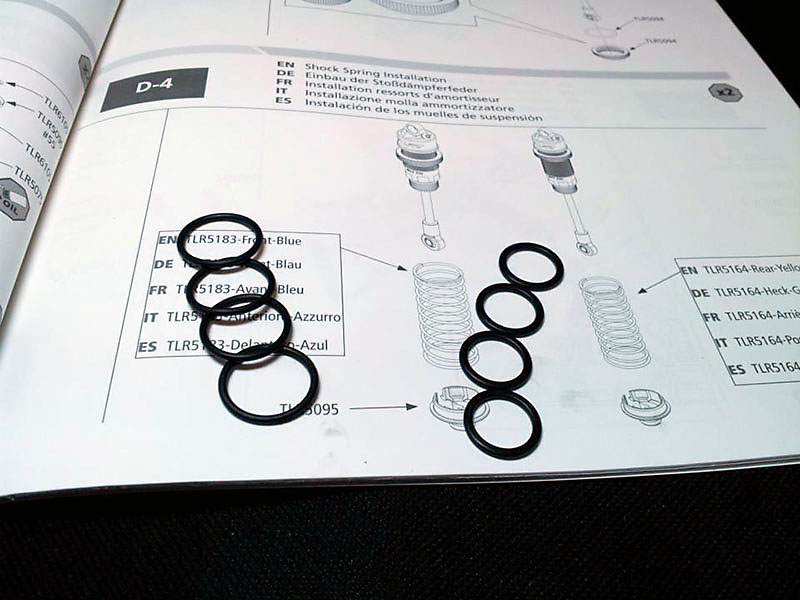
There are 2 sets of o-rings for on the shock body itself. One o-ring is used for the pre-load adjuster and the other is used between the shock body and cap.
Before inserting the pistons onto the shafts I use a silver Sharpie Marker to highlight the number on each piston. This way I know what piston is used and I can see it through the shock oil.
The completed front shocks.
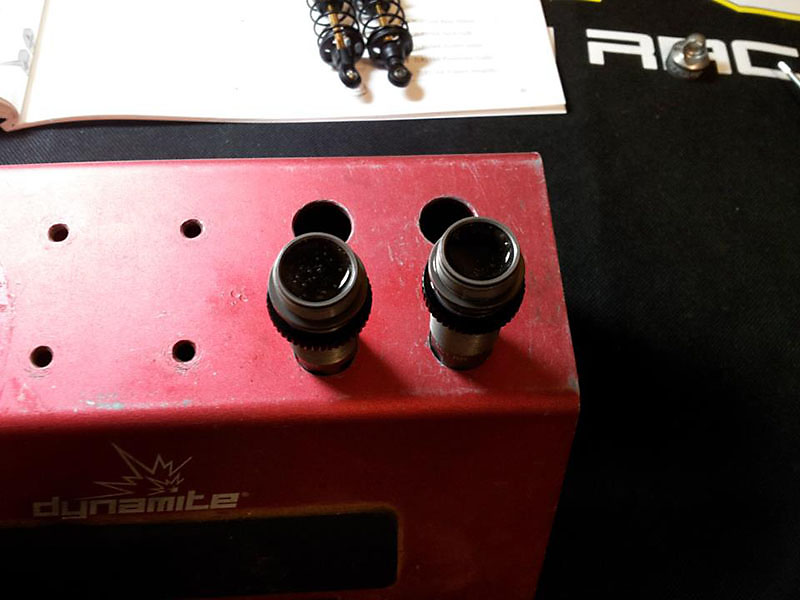
Bleeding the rear shocks. These shocks build and bleed so easily!
Tighten everything down and bleed the shocks via the bleeder screw. We're working on a video showing the exact process soon.
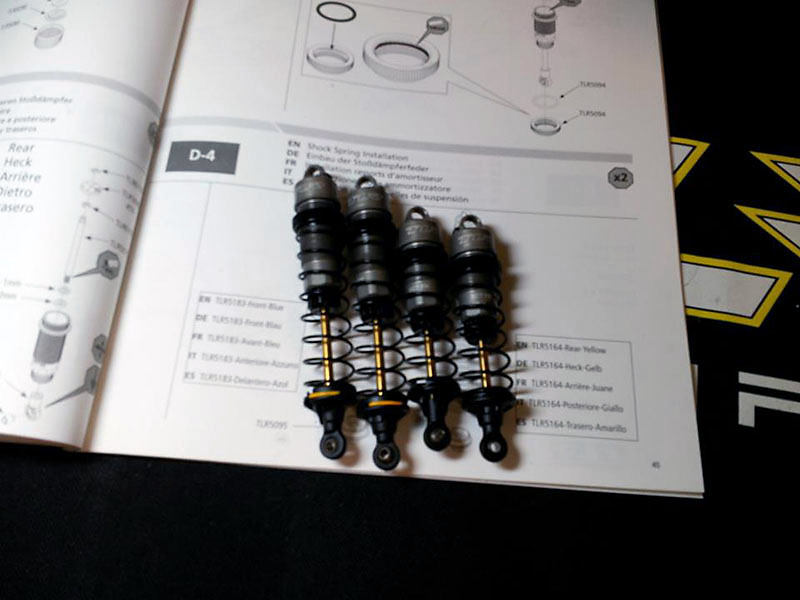
Front and rear shocks completed and ready to be installed.
When installing the shocks make sure you don't over tighten the screws or nuts. You should be able to rock the shock cap back and forth without binding. If there's any binding loosen the nut a 1/4 and test again.
With the box-stock setup the rear lower shock eyelet is mounted to the inside hole on the arm.
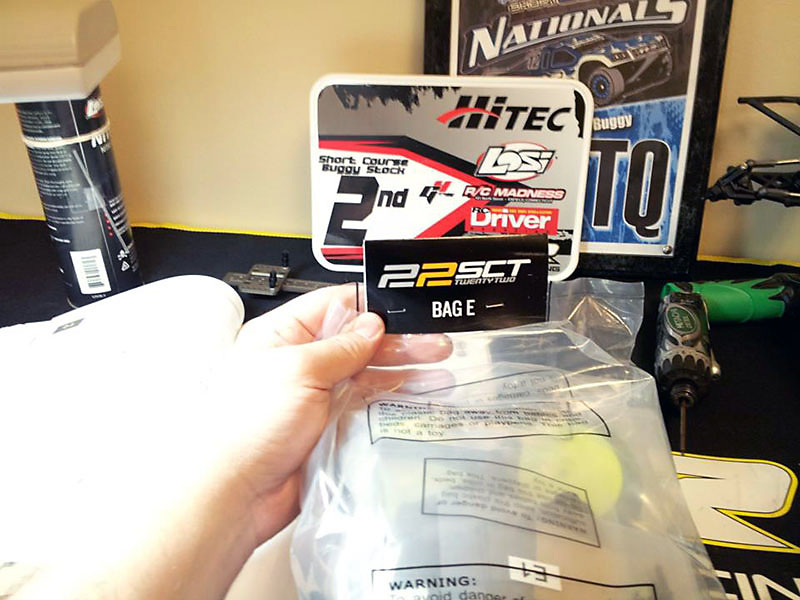
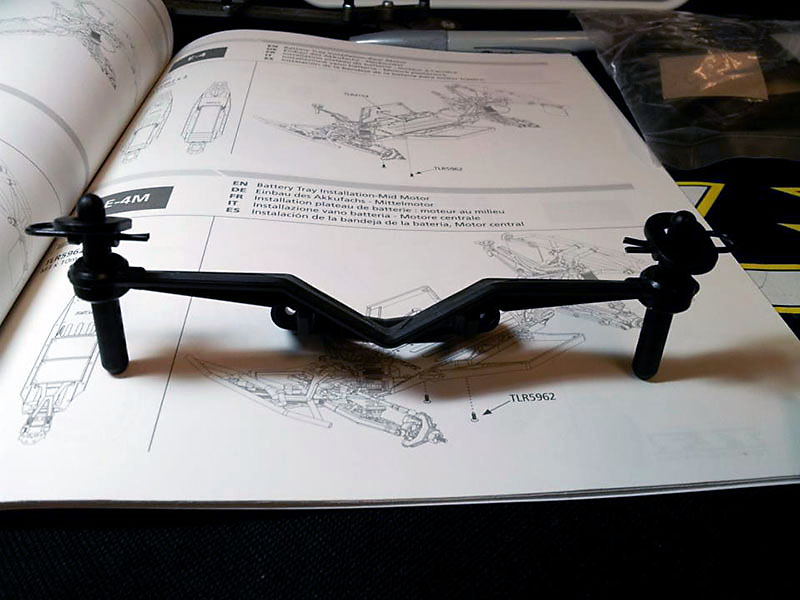
Bag E! This will include the wheels, battery tray and side guards.
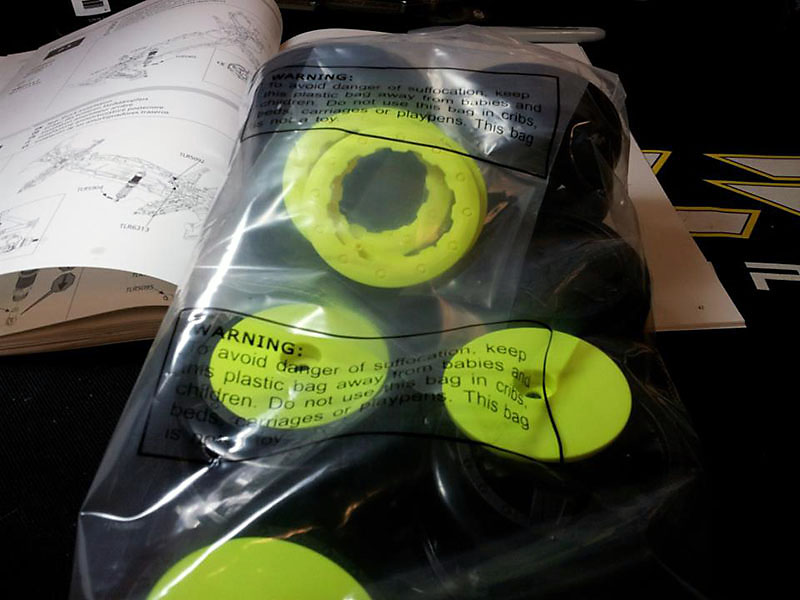
Wheels and wheels rings and wheel discs, oh my!
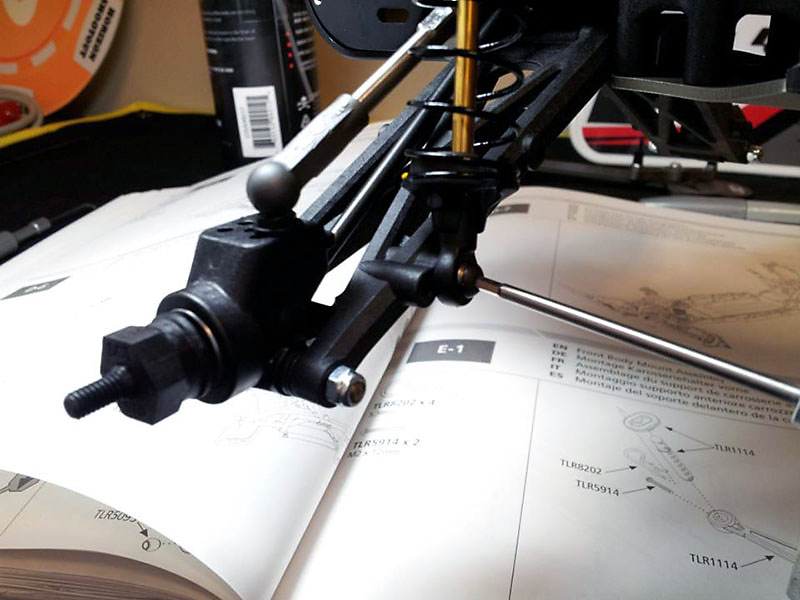
The front body mounts
When attaching the front body mounts to the front shock tower you need to use the 2.5mm screws, not the 3mm screws.
The front body mount attached to the shock tower.
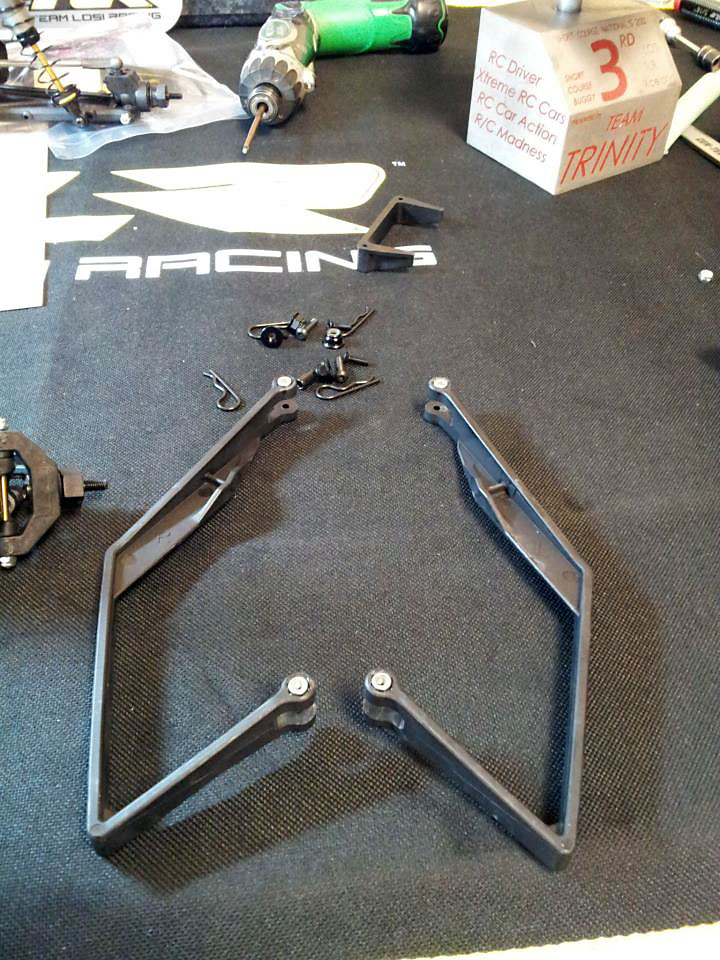
Press fit the lock nuts into the side guards before installing them on the chassis.
Side guards in-place!

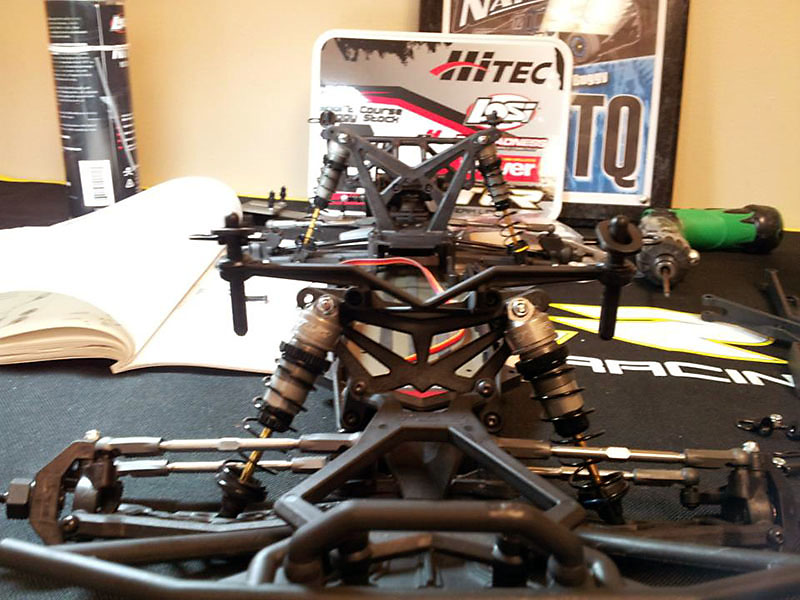
Ready for the electronics, wheels and tires.
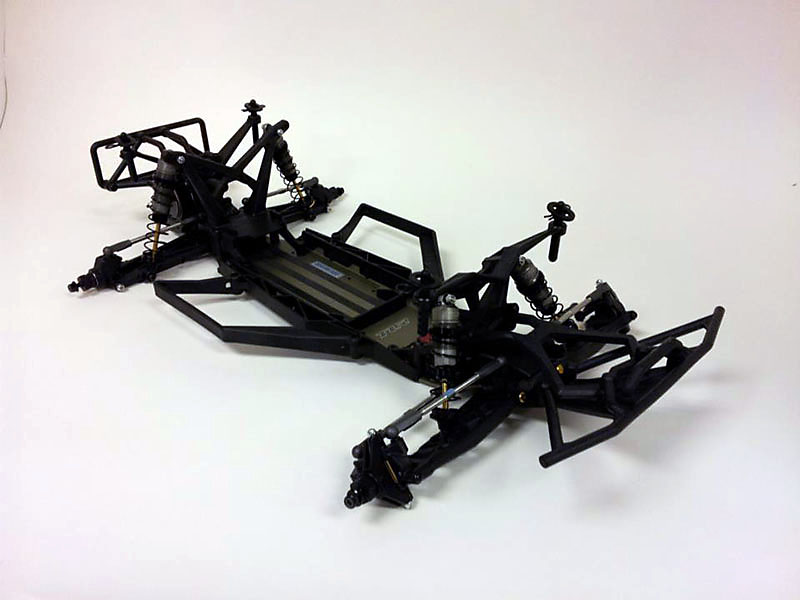
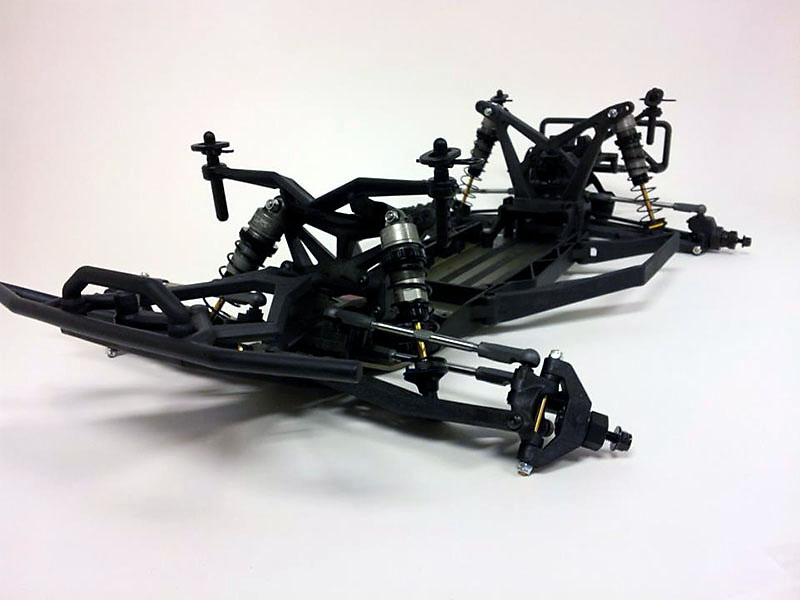
The finished truck
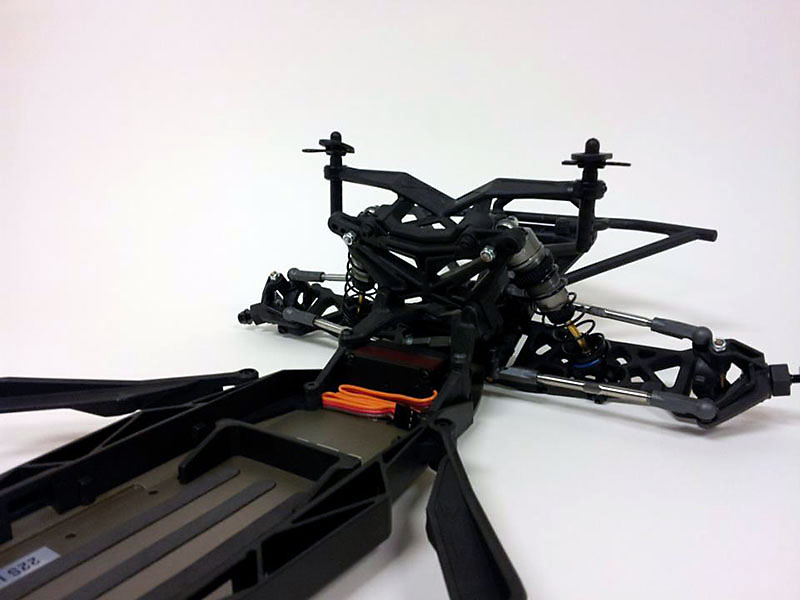
A look at the completed front end
The rear end of the 22SCT, a sight I think many who don't have this truck will have to familiarize themselves with!
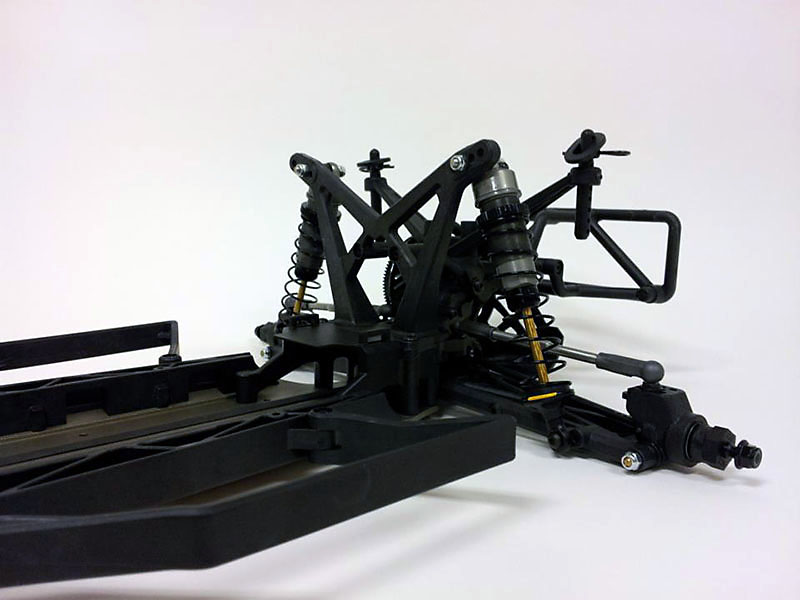
The rear shock tower, shocks and hub carriers.
A closer look at the front end
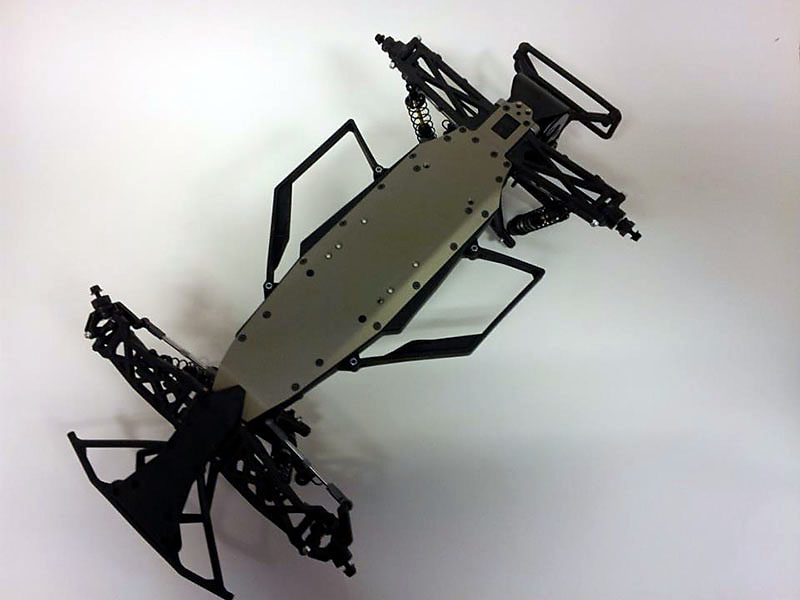
If it's one of my vehicles eventually you'll see this view on-track. The underside is clean and smooth

The 22SCT on the left, my XXX-SCT on the right. Yes, I run the XXX-SCB chassis on my XXX-SCT and have done so for over a year.
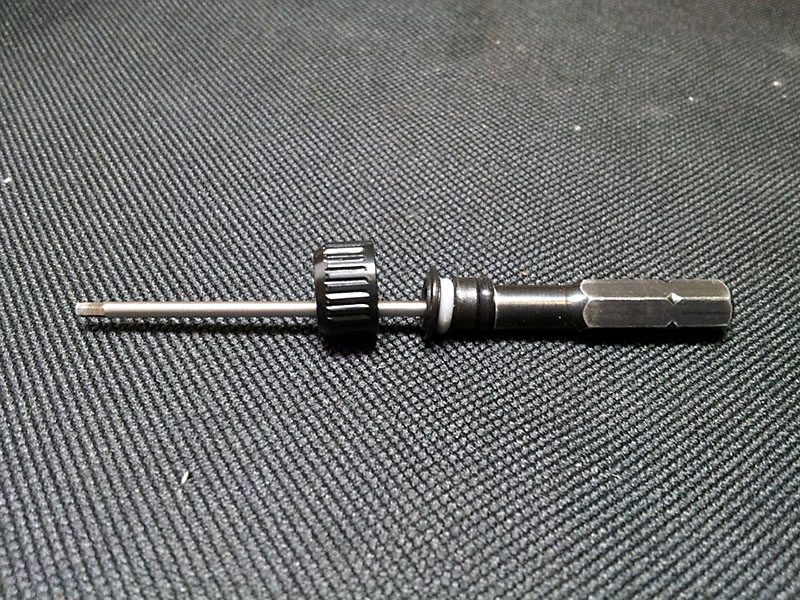
One final tip for our build. Team Losi Racing has a Diff Adjustment Wrench (TLR2950) designed to make it super easy to adjust your diff without having to pop off a ball cup or remove the left rear tire.

The 22SCT build is all but completed now. All that is needed is to mount the tires (Pro-Line Racing M3 Tazers for the front and M4 Holeshots for the rear), install the ESC (Team Orion R10 Pro) and motor (Team Orion 13.5T), bind the receiver (Spektrum SR3520) to my DX3R PRO Transmitter and paint the body. We hope you've enjoyed our build and thought this was the perfect image to end on. This was outside the main Horizon Hobby building tonight as I was leaving the office after shooting the last photo and completing the build. It just reminded me that from time to time it's good to stop and take in the wonders around us. Thanks everyone for following along and look for our review soon.
Source:
Gary Katzer - Site Content Specialist, Surface - Horizon Hobby, Inc.

|
