Here is a step by step run through on how I build the new Kyosho Gear Diff to suit the all new ZX6 4wd platform.
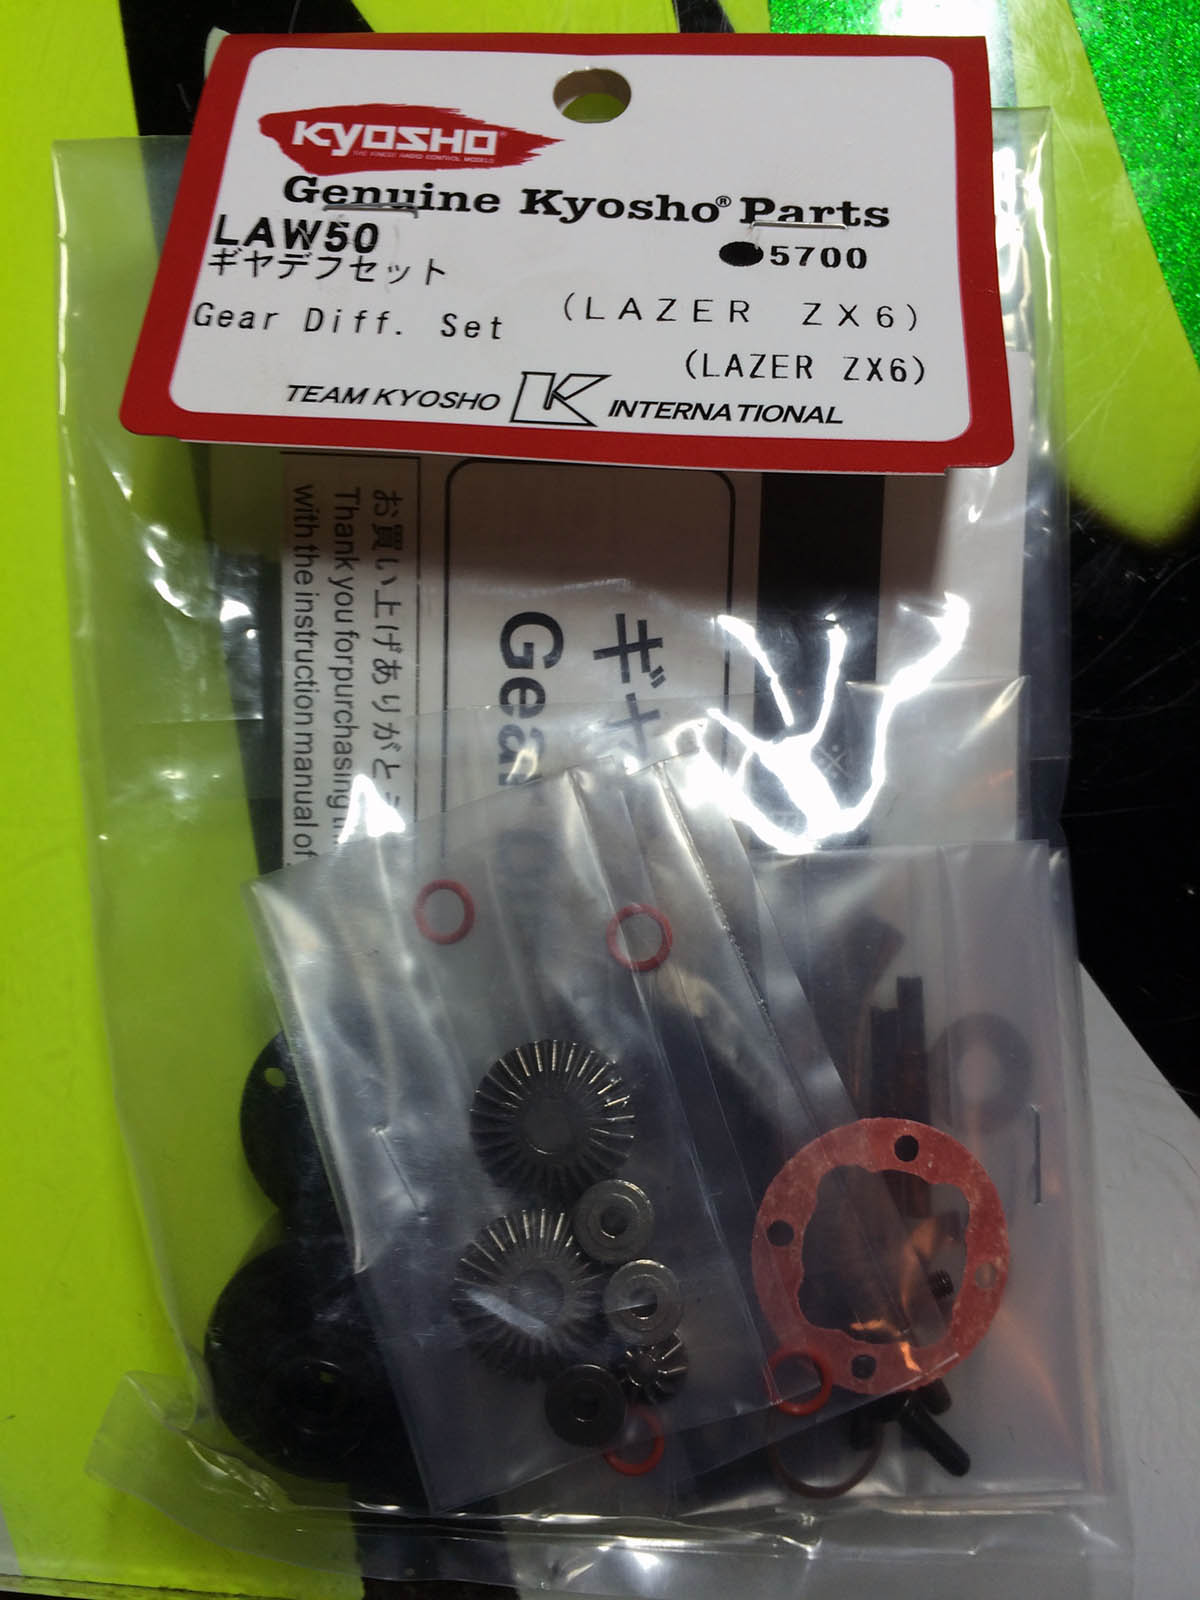
Once you have un packed all your contents of your diff and have them on a nice clean surface, its time to start!
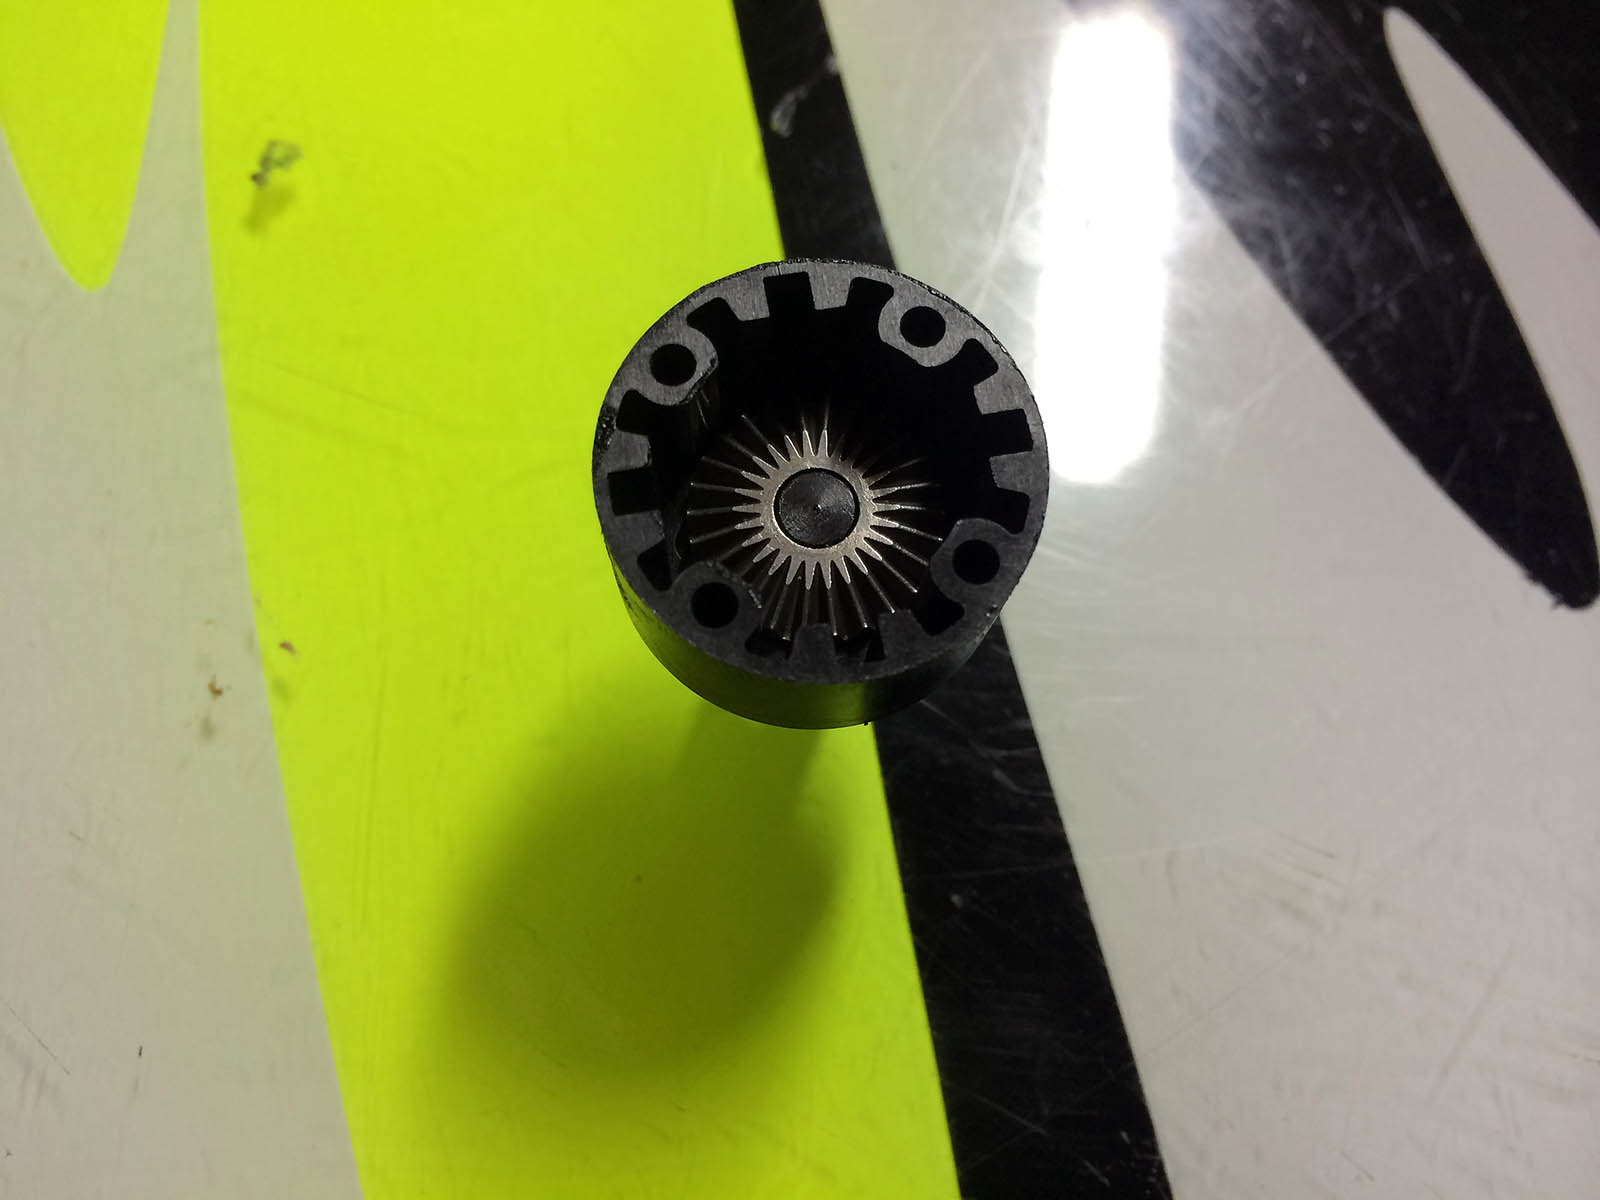
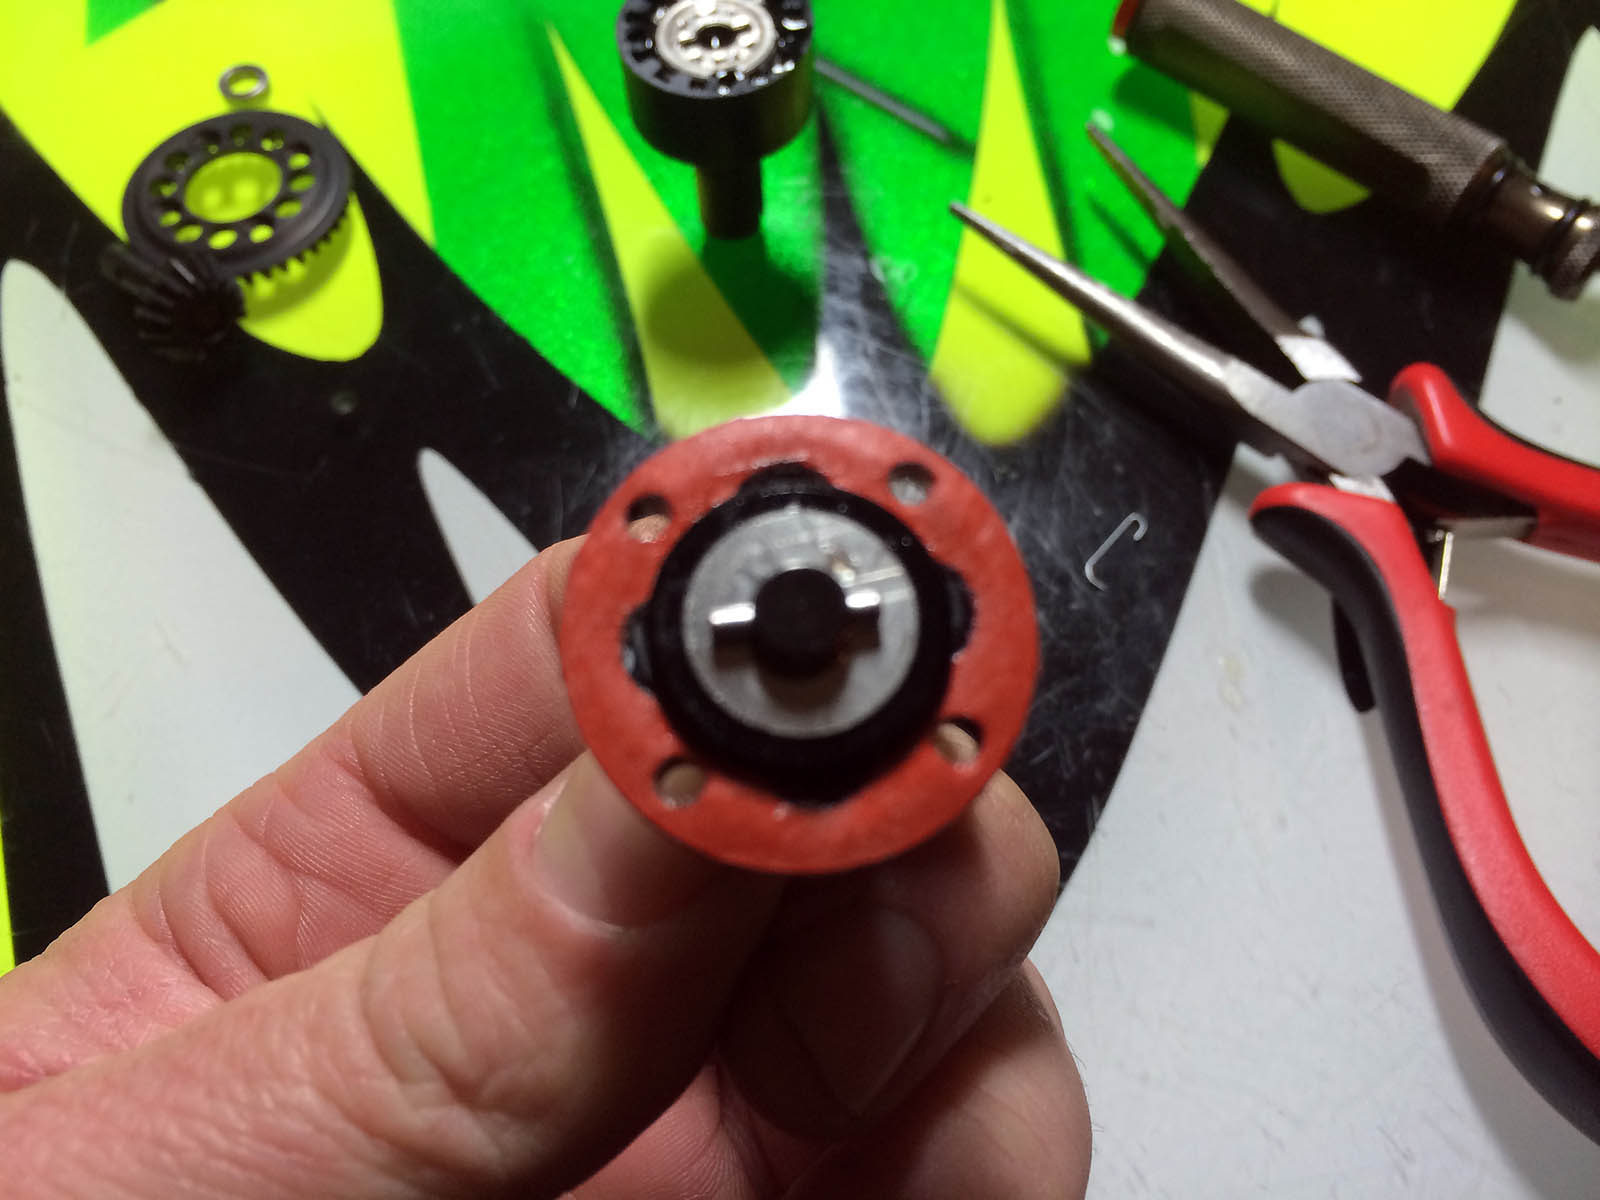
Add a little bit of Eureka Lube to the o-ring and place it in the lower diff housing.
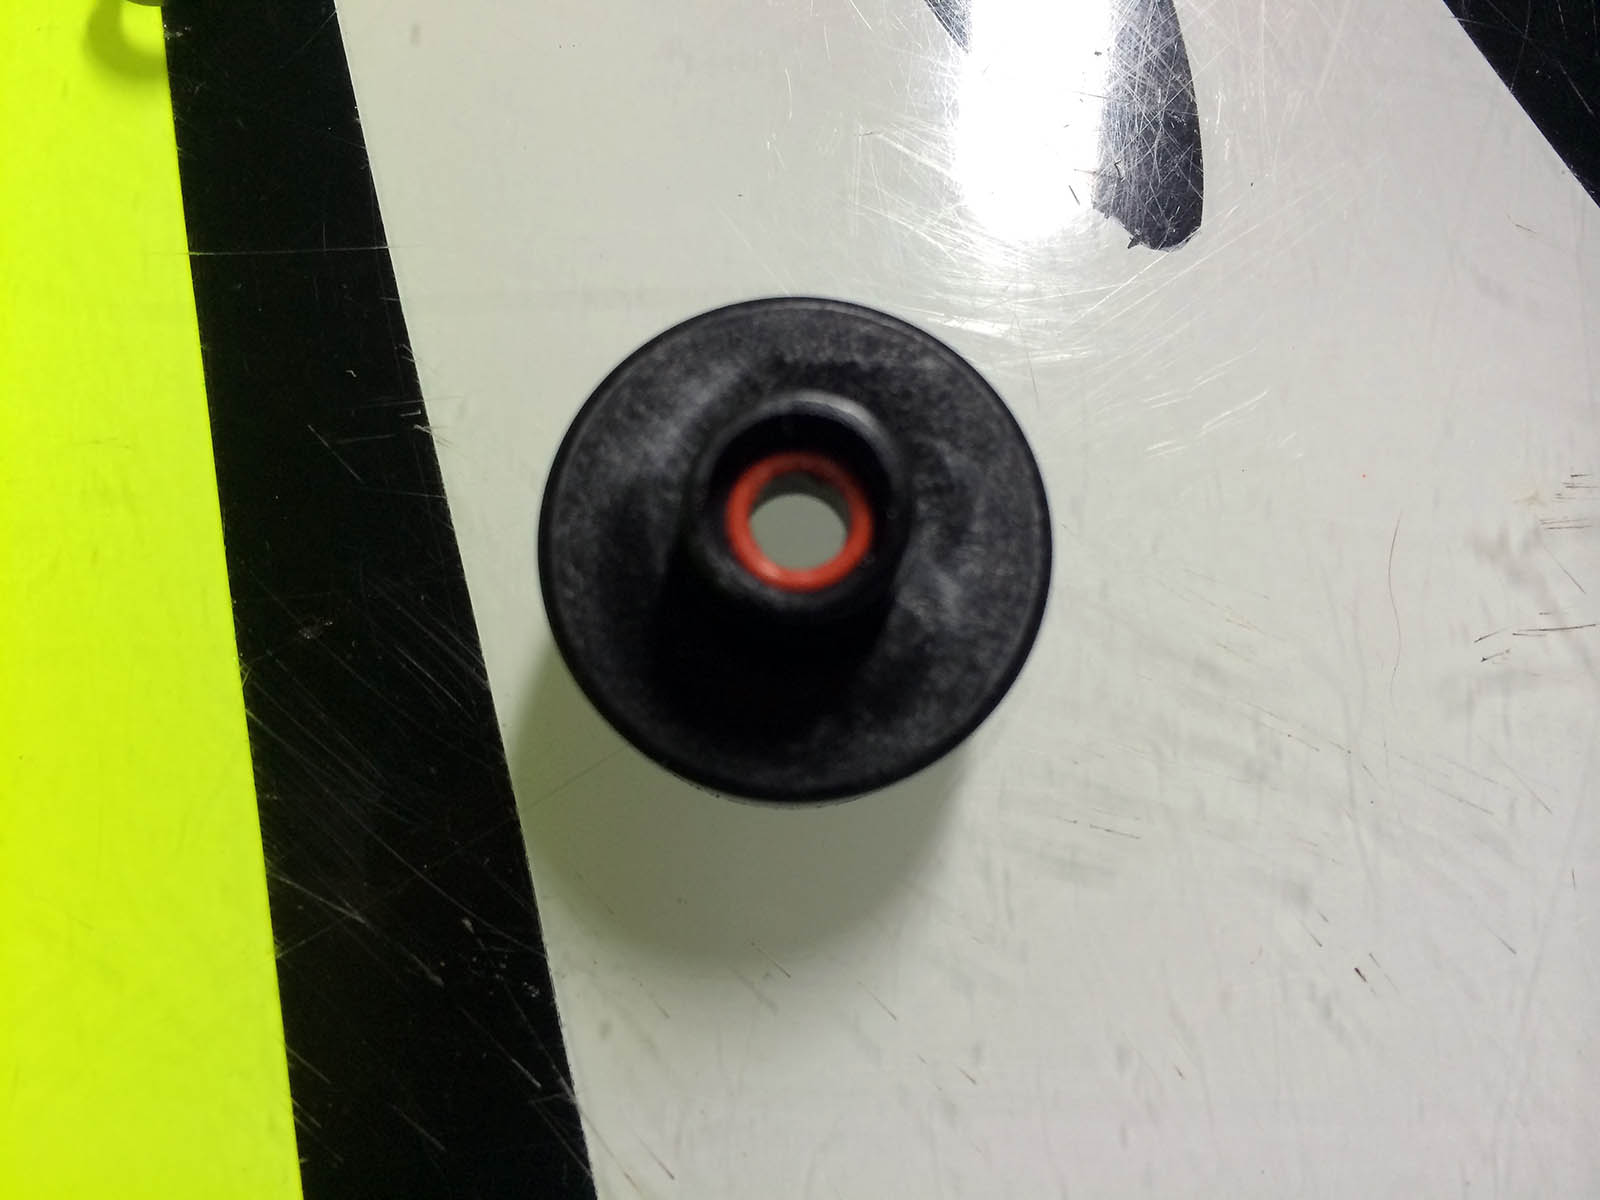
With the kit diff, your get two little plastic bushes, NOW heres a little trick I have learnt from the Kyosho diffs in the TF6 On Road car. We throw these plastic bushes out and add two 5x8x2.5 bearings. This gives the diff outdrives a lot more support in the diff casing, but you will find also that your diffs last 10 times longer as most of the binding from the plastic bush is now gone. Your diffs also run cooler and smoother. Make sure the o-ring is seated nicely in the casing once the bearing is inserted and is not pinched.
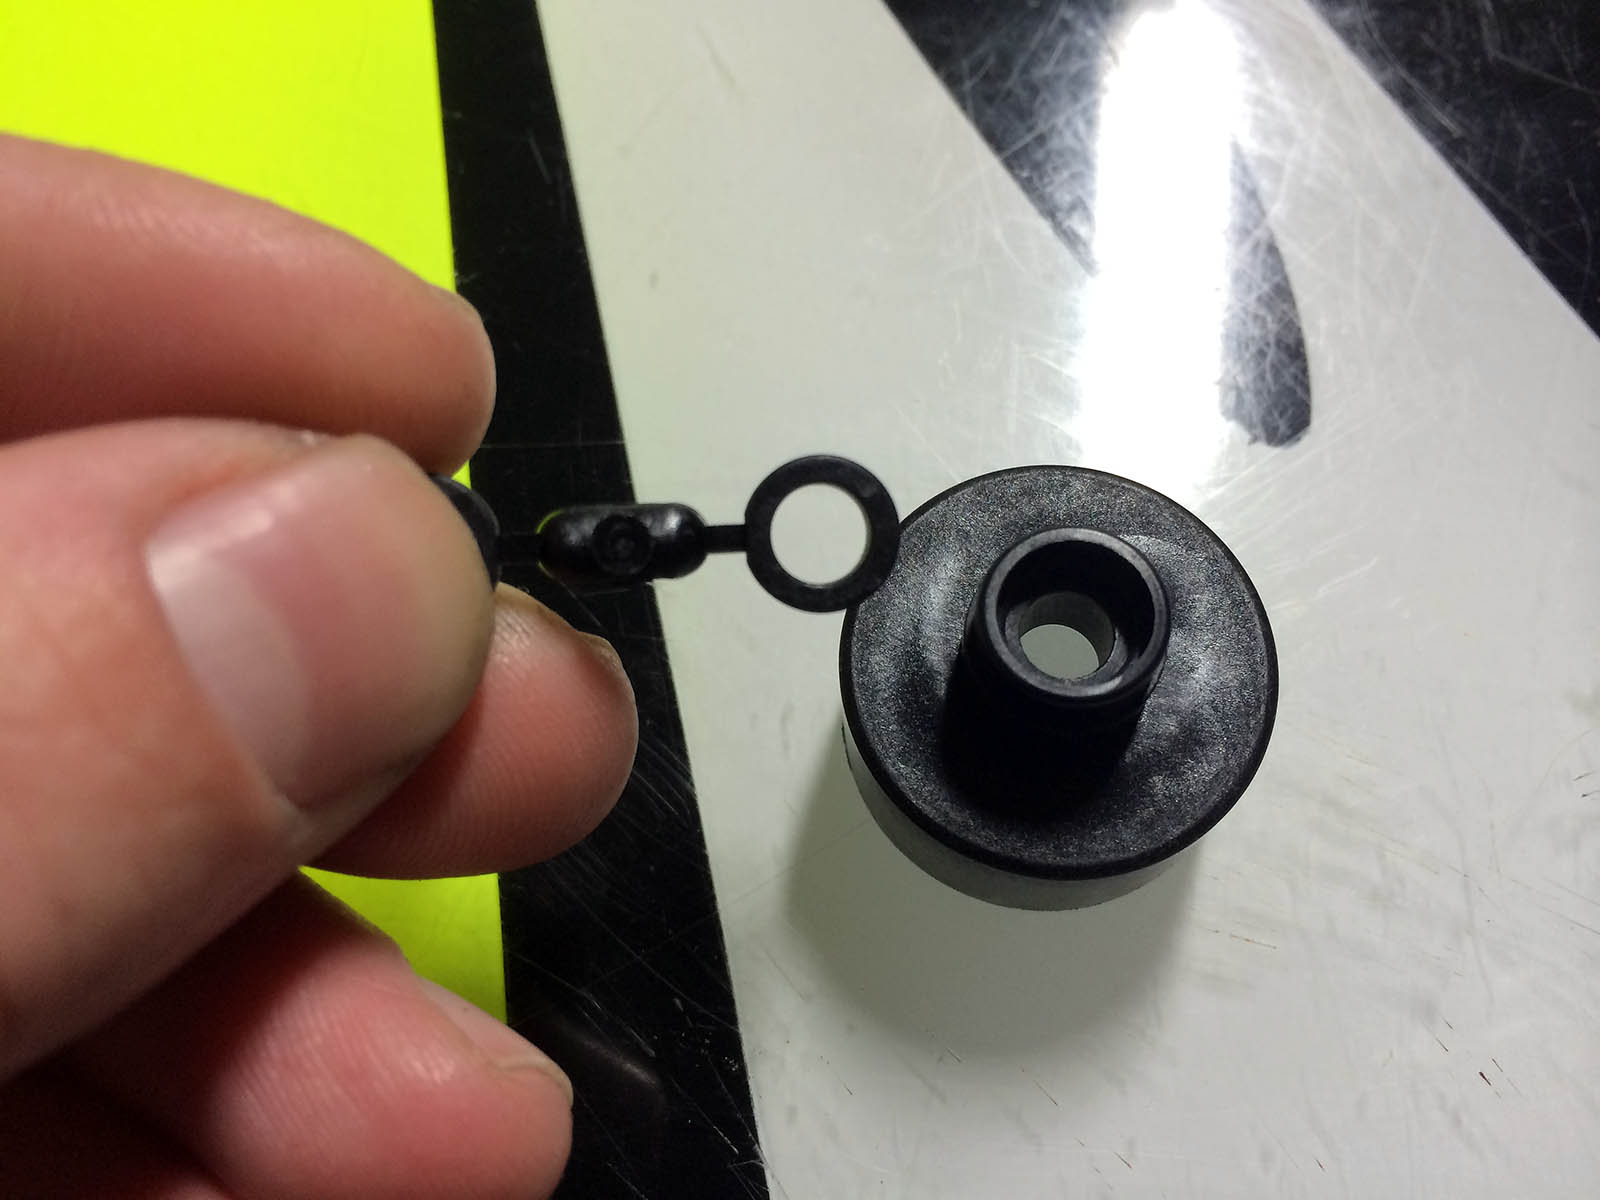
Add a small amount of grease to the outdrive and slide into the casing.
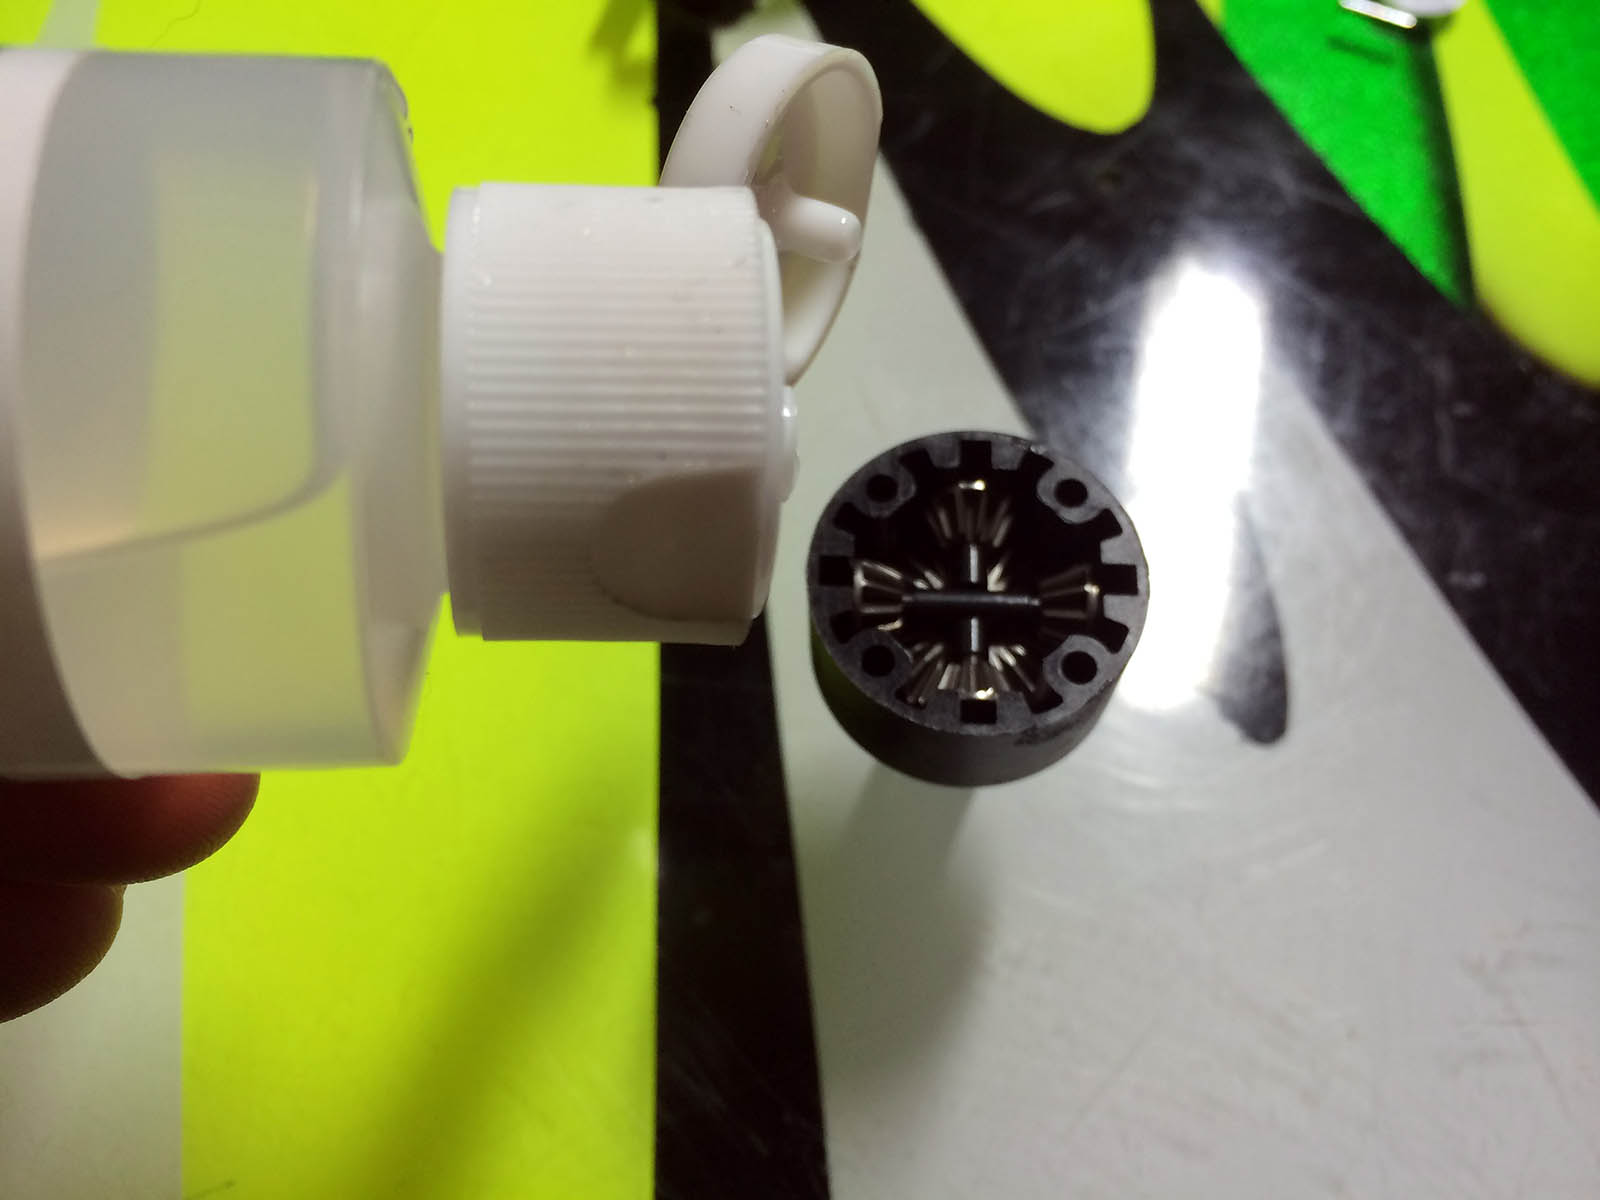
Now, again grease the o-ring for the internal part of the shaft and seat it. Put the thin washer supplied with the diffs on and slide the pin in.
Install the lower bevel gear and then add your spider gears.
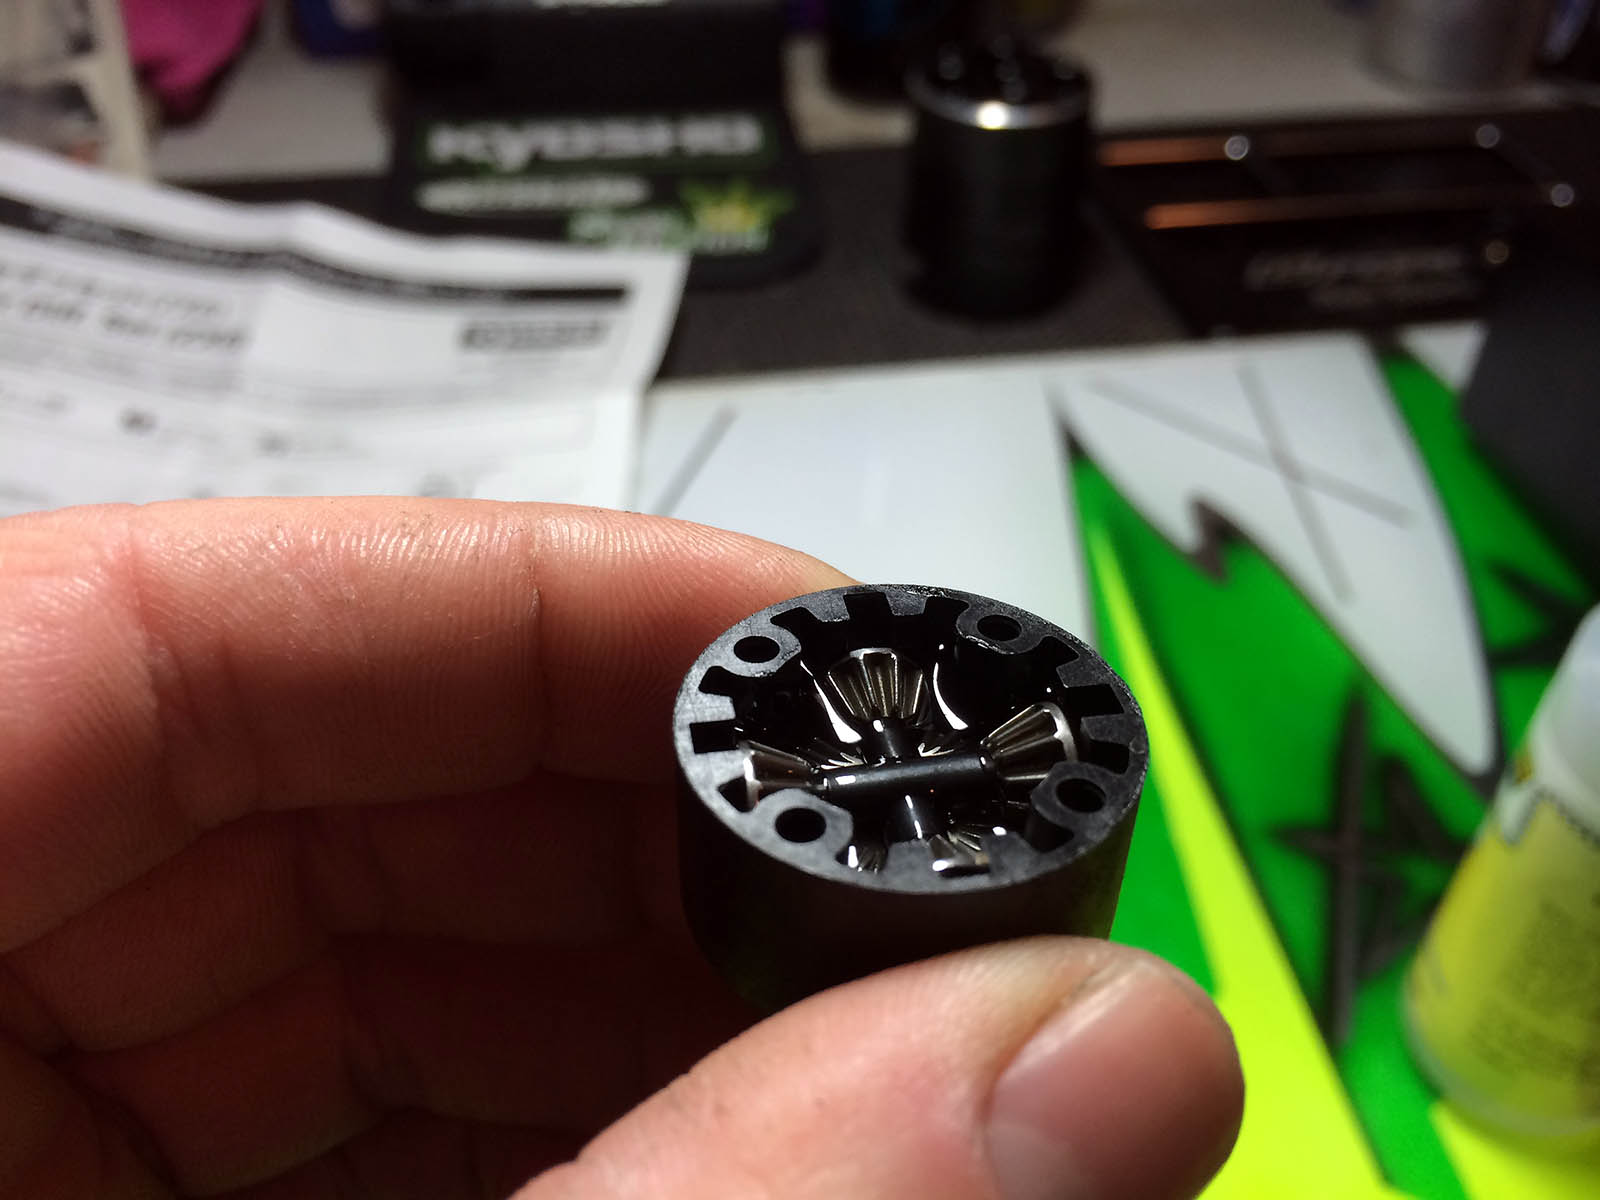
Its now time for the oil. This can be a little tricky getting the level of oil right as the top bevel gear sits about 3mm down into the case. What I like to do is add oil so that the spider gears are covered just so the oil creates a cupped shape. Now add the top gear and add a little more oil so the oil is flush with the gear (not the diff case). As I said the oil should sit about 3mm below the top of the diff case.
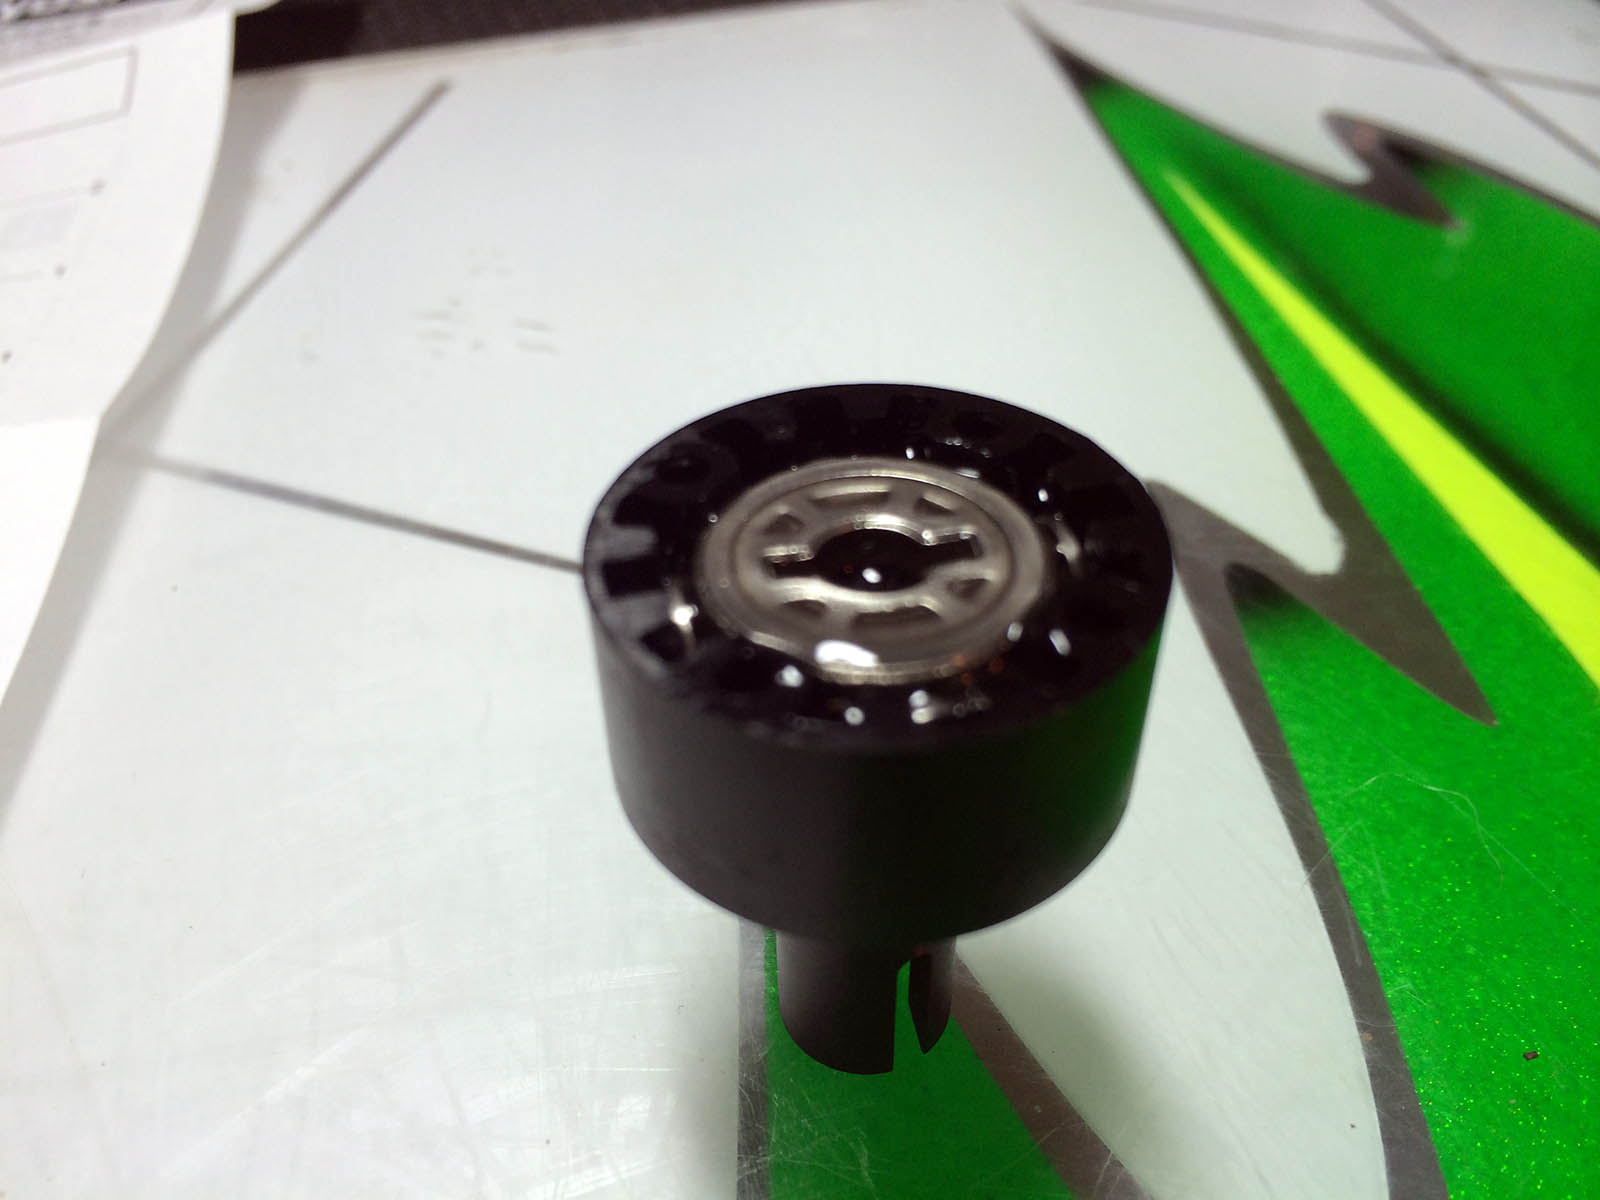
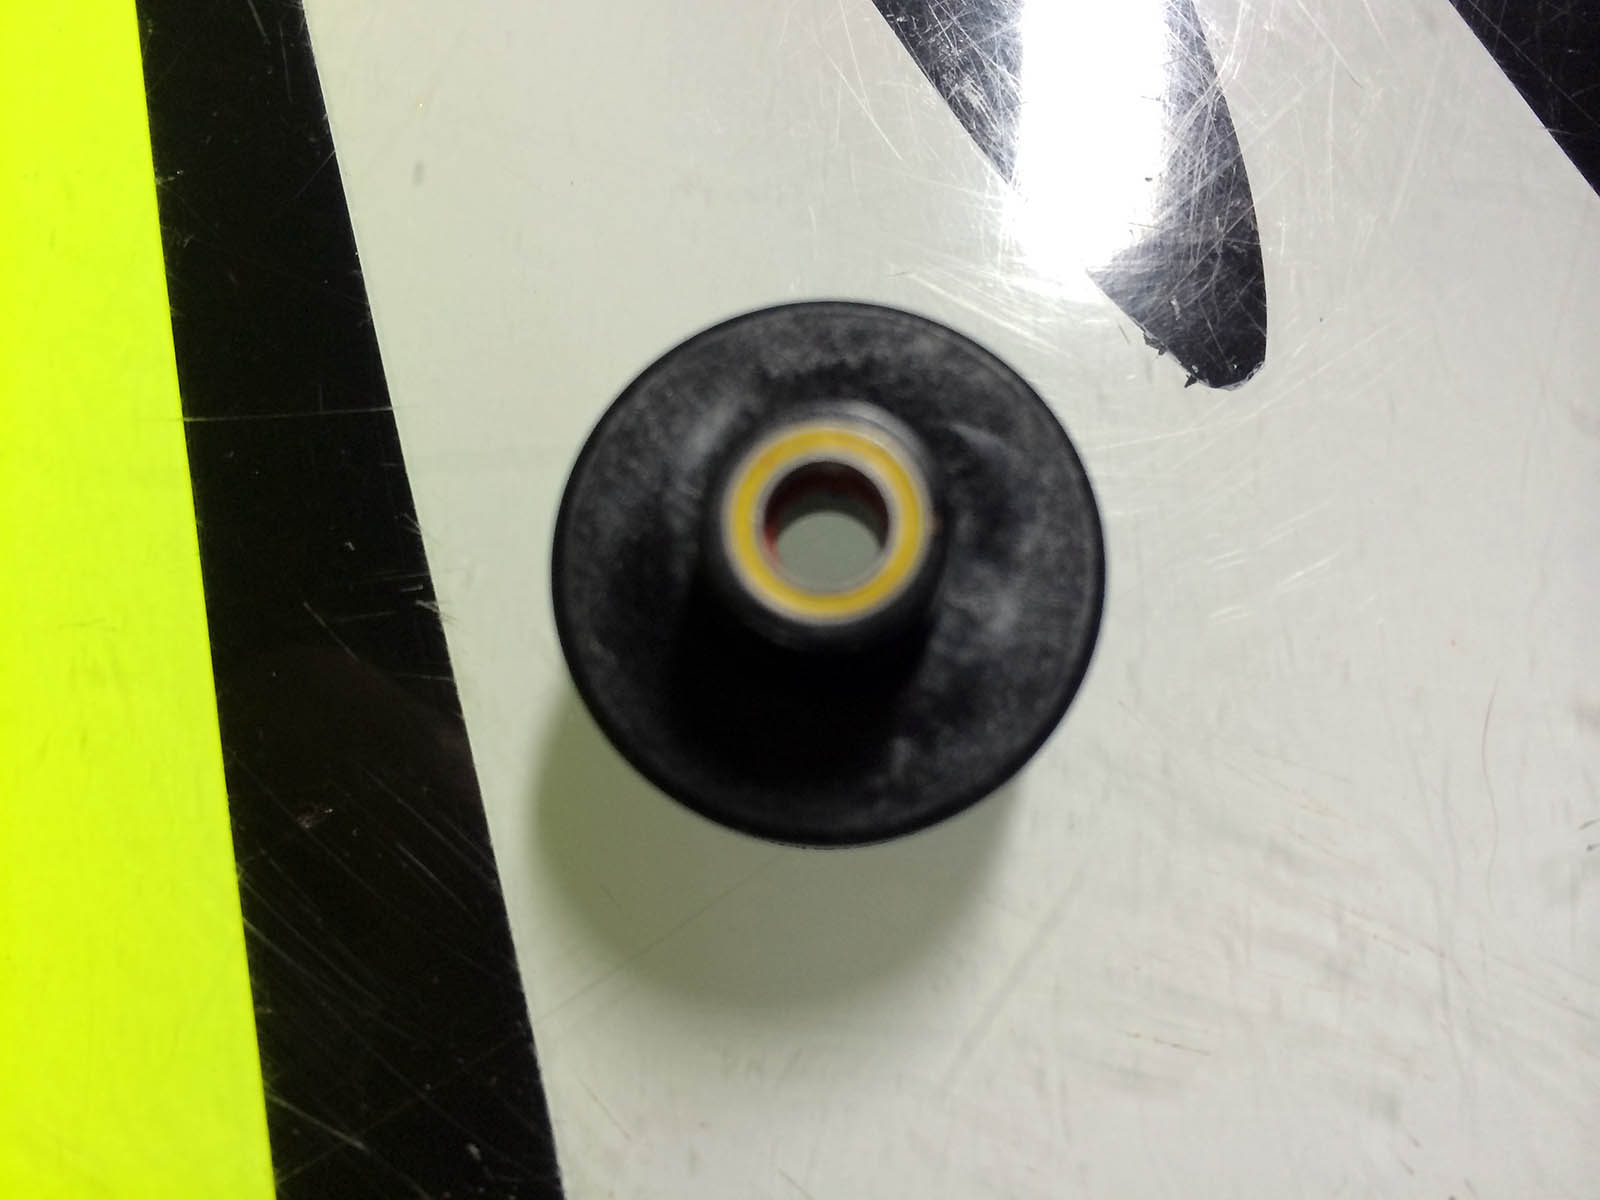
Now repeat the o-ring and bearing process etc for the top part of the case.
With the diff case I put light smear of grease on both sides of the gasket, just to help it seal. Seat it on the housing and make sure to be careful and line up the holes.
Line the pin up so the case will go together smoothly and meet up with the bevel gear already installed.
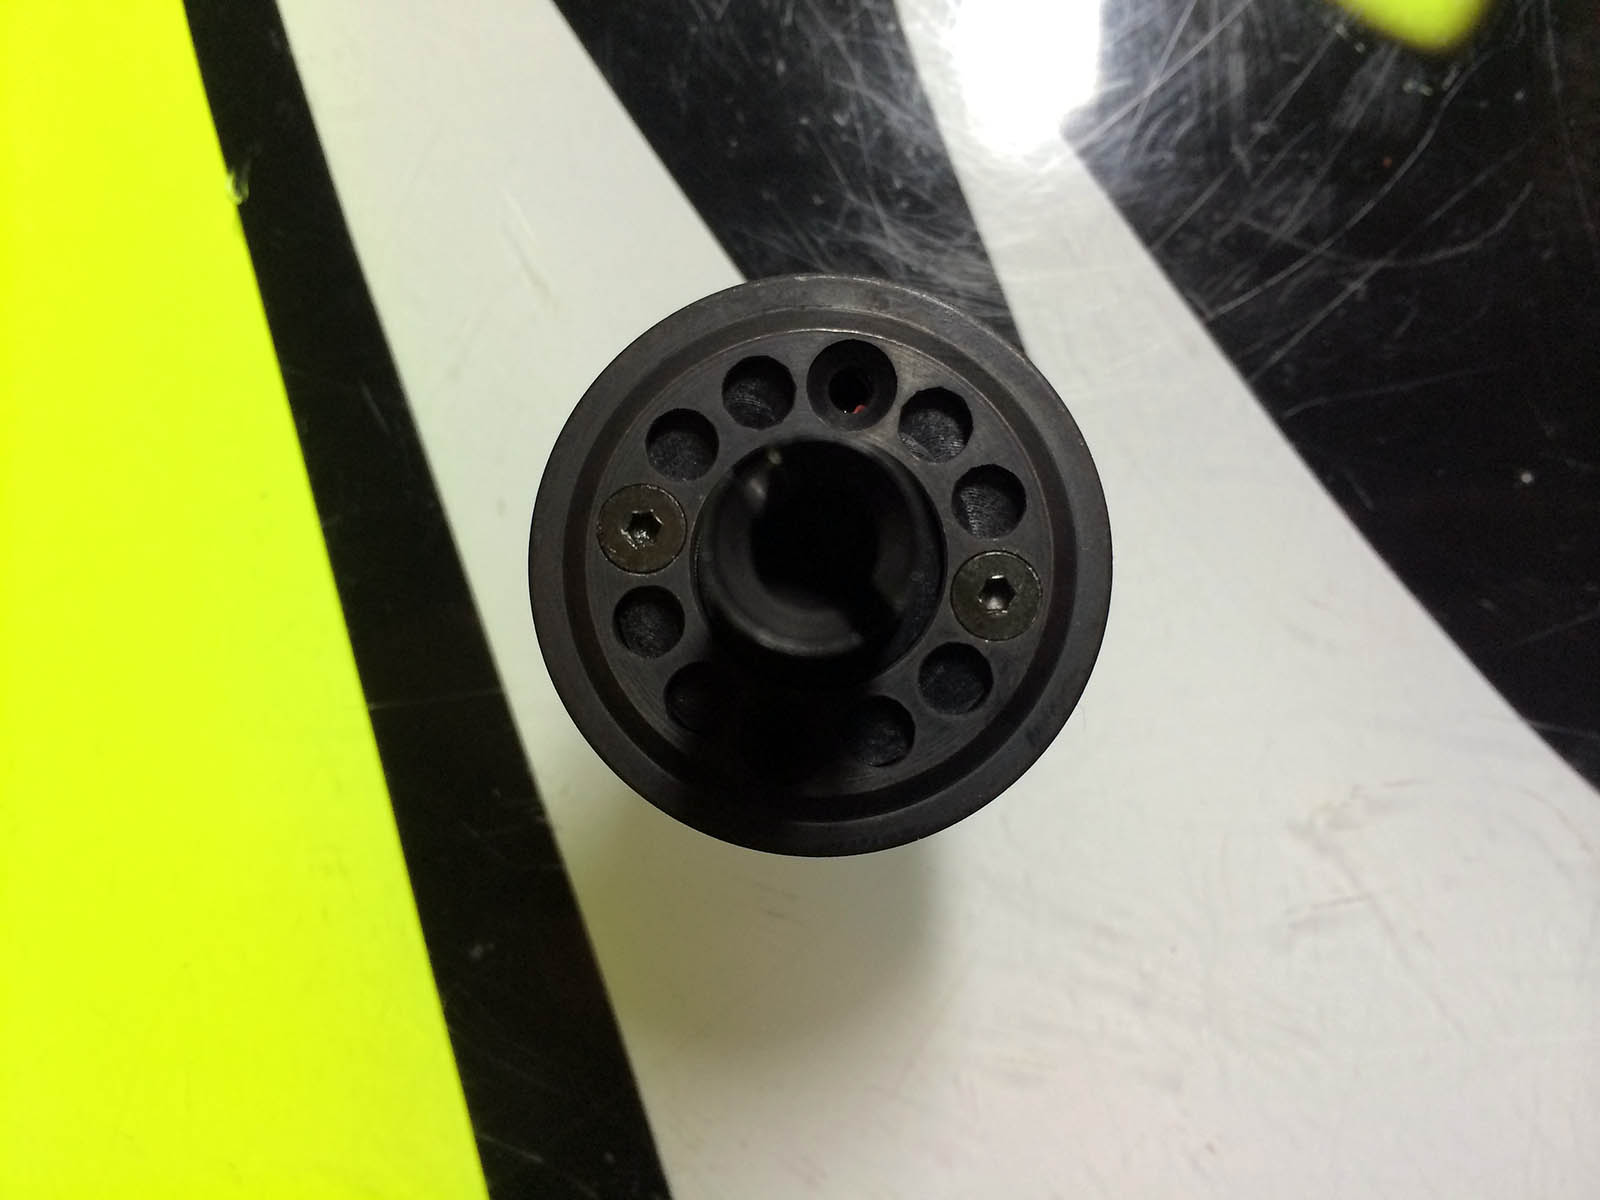
Fit your Crown gear and screw two screws in, nearly all the way. Give the gear and house a little wiggle left to right to make sure it is seated properly, then tighten down the two screws adjacent to each other. Once they are down tight install the other two and your done.
Now these diffs do feel a little ‘notchy’ when brand new, I find they take a run or two to free up and smooth out. I also suggest that after the first race meet with your diffs, you pull them down and put some fresh oil in and they should last quite some time without changing.
Hope this has helped! Thanks for reading.
