In this guide we show you how to build the Team Durango shocks that feature on both the DEX410 and the DEX410R models. These shocks are available seperately as part numbers:
TD230010 – Front 1/10 Electric Shock Absorber Set
TD230011 – Rear 1/10 Electric Shock Absorber Set
A well built set of shocks will ensure consistent handling and reliable performance. Here we show you how we recommend building your shocks to ensure consistency and repeatability when buiding your shocks.
Assemble the piston on the shock shaft. The first step is to place the small washer on to the shaft.
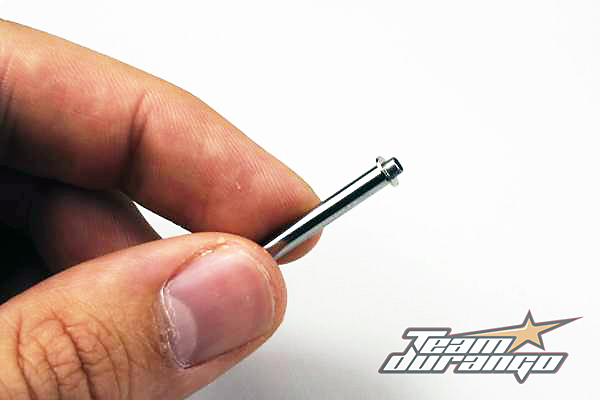
Place the small washer onto the shock shaft.
Then place the piston on the shaft making sure the piston is the correct way up. Now put the screw in to hold the piston in place. We recommend using thread lock on this screw to ensure it does not come loose in use. If using Team Durango red thread lock you only need a small amount, if you use too much the screw may be difficult to remove.

Use a small amount of thread lock on the screw to hold the piston in place.
The piston you need to choose will depend on the surface you are running on. Please check the set ups in our set ups section on our website here for good starting points for which pistons and oils you will need.
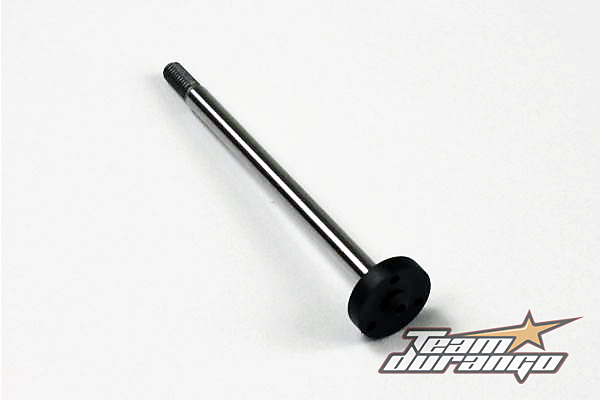
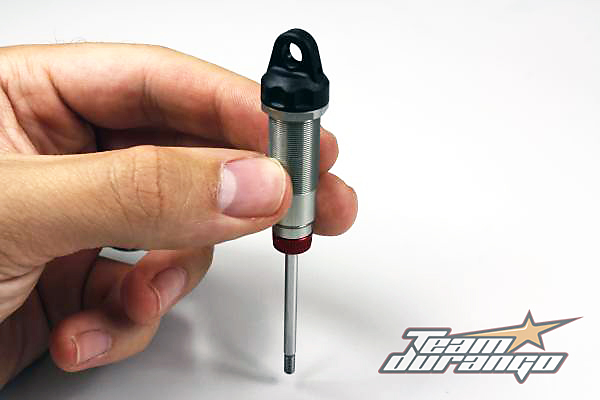
The assembled shock shaft and piston.
Now assemble the shock seals inside the shock bodies. We recommend lubricating these parts with shock oil as you assemble them. You need the thin black plastic spacer first, making sure that the flat surface will face the o-ring.
Make sure the flat face of the first plastic spacer is facing up to where the o-ring will sit.
Then place an o-ring, the thick black plastic spacer, another o-ring and finally the wide black plastic spacer. The flat face of the wide spacer needs to be facing the o-ring. When the parts are in place screw on the shock seal cap.
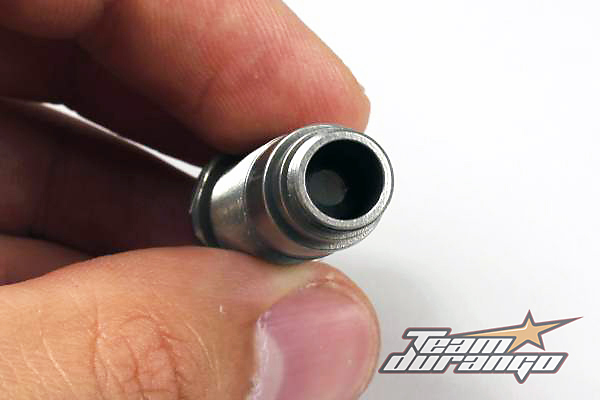
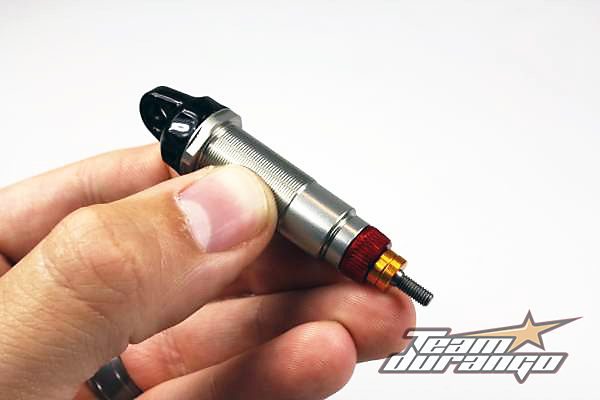
The assembled shock body.
Now you can put the shock shaft in place. You must take care when doing this so that you don’t damage the o-rings. Some set ups require internal limiters to be placed in the shocks. If you intend to run limiters inside the shocks then you need to put these onto the shock shaft now before you push the shock shaft into place. Having placed any limiters onto the shock shaft you should now place a few drops of shock oil on the threads of the shock shaft and then carefully push the shock shaft through the shock seals.
A small amount of shock oil on the threads of the shock shaft will protect the o-rings.
Now put in place the shock cap o-ring. It is easier to do this now than when the shock is full of oil.
Now you are ready to fill up the shocks with oil. Fill the shock bodies so that the oil is level with the top of the shock body. Then slowly move the piston up and down to allow air bubbles to escape from behind the piston. Stand the shocks up for a while to allow any more air bubbles to escape.
When all the air bubbles have escaped from the shock you may be required to top up the oil. The oil should be level with the top of the shock when the piston is at the bottom of the shock.
Now with the shock fully extended you need to screw on the shock cap.
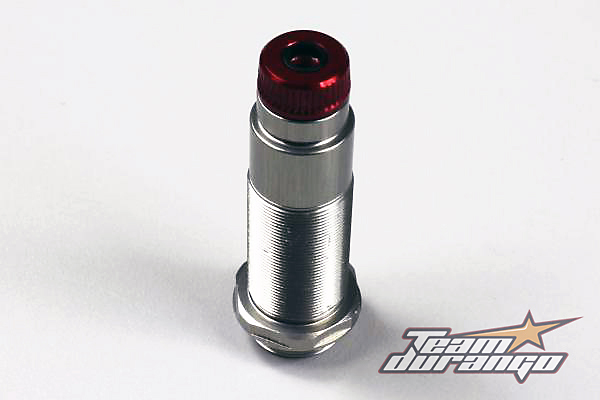
The assembled shock is now ready to be bled.
With the shock cap in place you need to bleed the shock. This process removed excess oil so that the shock piston can move all the way inside the shock body without becoming hydraulically locked. During this process you can tune the rebound of the shock. Here we give a good starting point that will work well in most situations.
Place 4mm of spacers over the shock shaft and push the shock shaft into the shock body until there is 4mm between the bottom of the shock body and the top of the chamfer where the shock shaft starts to reduce in diameter.
With 4mm of spacers you can see where to push the shock shaft to.
Wipe off any excess oil that has come out of the bleed screw hole and screw in the bleed screw into the shock cap.
Now fit the bleed screw.
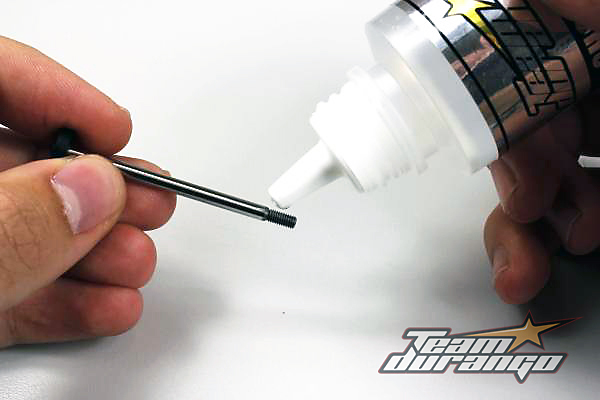
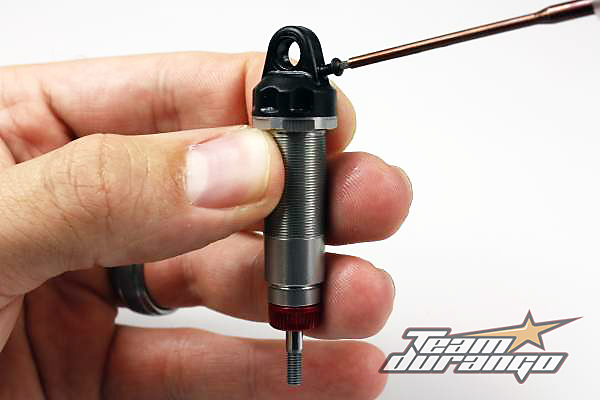
Now you need to fit the shock rod end to your shocks. To do this you need to hold the shock shaft without marking its surface. This can be done by holding the shock shaft with non-serrated pliers with a piece of paper in between the shock shaft and the pliers.
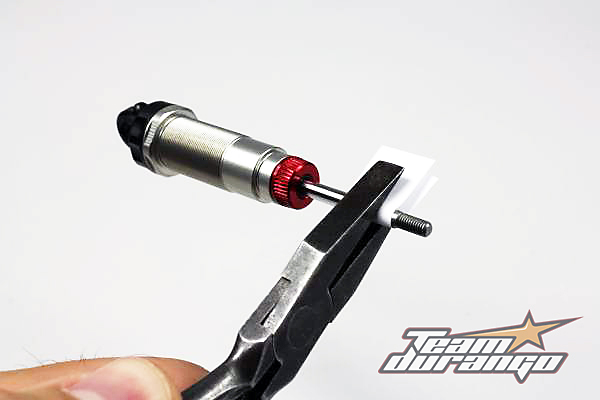
Hold the shaft with non-serrated pliers so you don’t mark it.
When you have hold of the shock shaft you need to screw the rod end into place. At this point you need to set the length of the shock. One method of measuring the length of the shock is to measure the gap between the shock seal cap and the top of the shock rod end, this is a very accurate way to measure your shocks to ensure that you have equal shock lengths on both sides of your car.
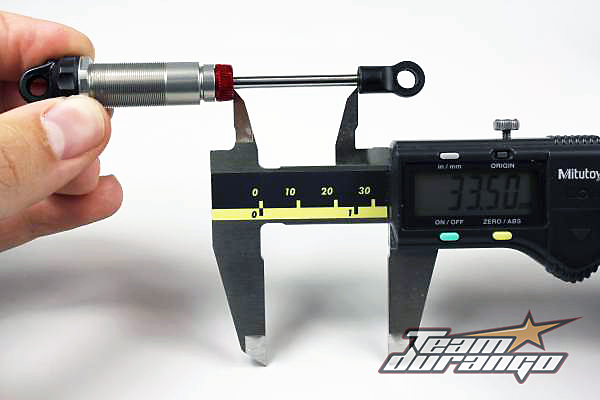
You can measure the shock lenght like this.
Please see the set up sheets on the Team Durango website for recommended shock lengths.
When you have done this you can screw on the shock nut. This has an o-ring inside of it to stop it from adjusting by itself. Push the o-ring into the groove and screw the shock nut onto the shock body. We recommend screwing this all the way to the top of the threads, then mark the nut inline with the hole in the shock cap. Then you will be able to count the number of turns of the shock nut accurately when making adjustments to your ride height.
Mark the shock nut so you can make set up changes quickly and easily.
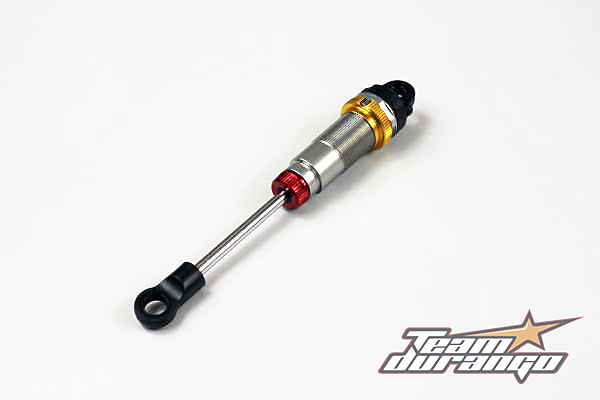
With the shock nut in place you can put the spring on to the shock and then the spring retainer.
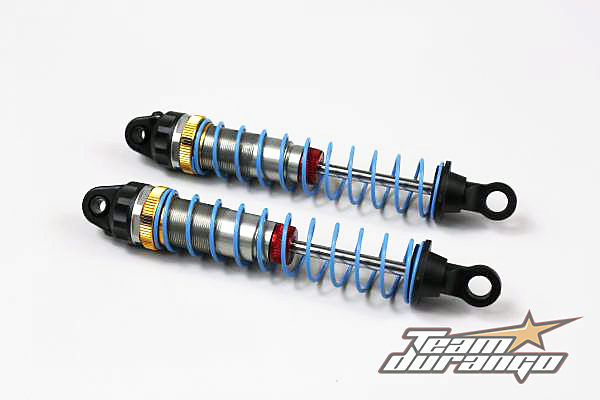
Ready for installation on your car.
Now all that needs to be done is to push the pivot balls into the shock cap and the shock rod end and your shocks are ready for installation on to your car.
