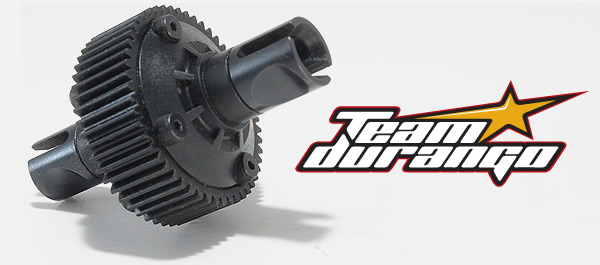
The optional gear differential TD210034 – for the DEX210 and other ’210 based vehicles such as the Stadium Truck DEST210 and Short Course DESC210, provides extra tuning possibilities and a longer life between rebuilds.
The gear differential is tuned by varying the oil viscosity used. The oil slows the differential action down, which makes it tunable over a wide range of settings when compared to the ball differential – which needs to be in a very precise range to avoid damage.
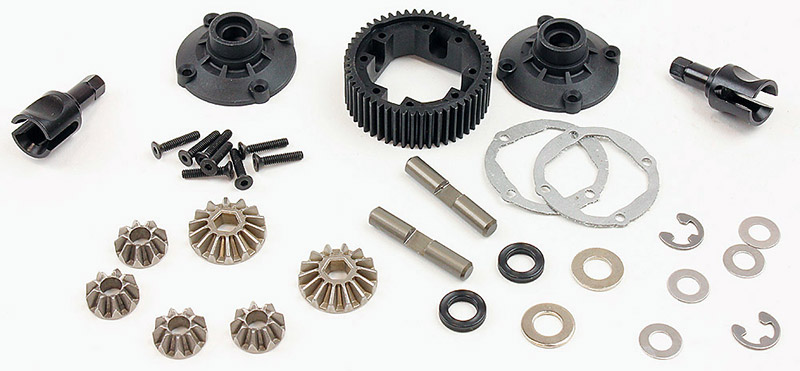
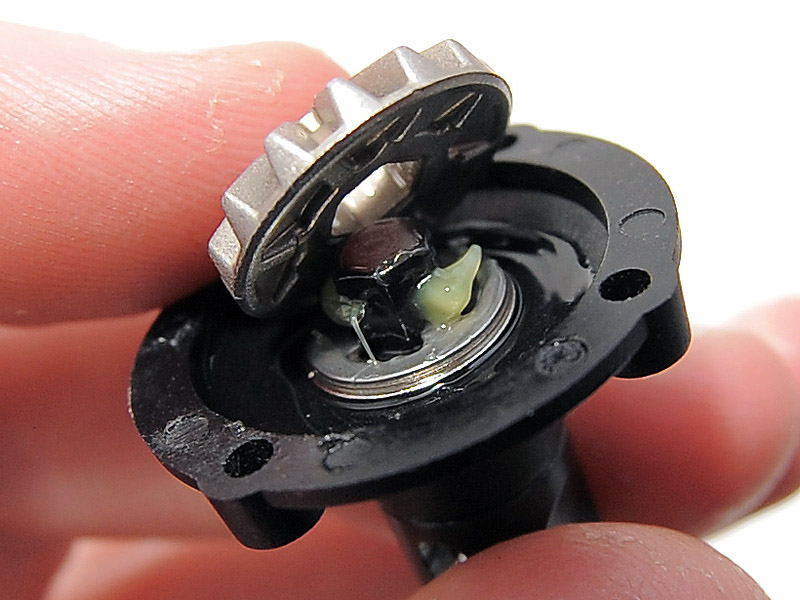
The gear differential is, at first sight, quite complex – with lots of gears, shims, seals and other parts. Getting the build right however is relatively simple and straight forward, as long as you take your time and follow the guide below.
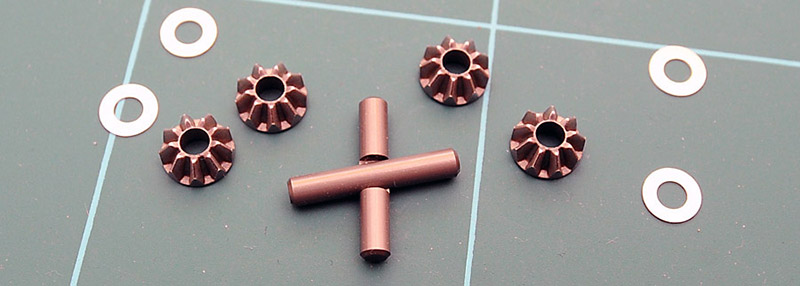
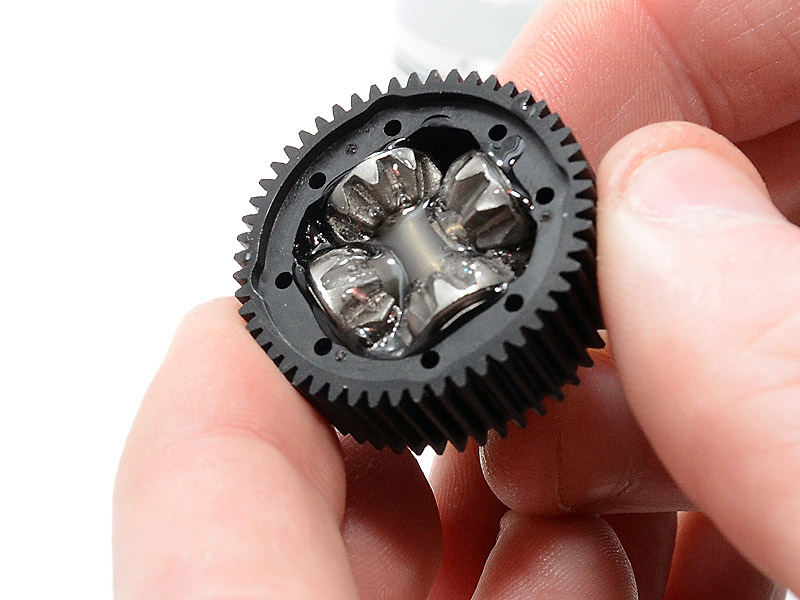
The first job is to assemble the spider gears onto the cross shafts and place them into the diff gear itself. The shafts are recessed in the centre to allow them to sit at the same level when assembled. Place a gear over either end of the shaft and follow it up with one of the supplied shims. It’s a good idea to put a little diff oil onto the shafts when placing on the gears and shims to keep everything in place and allow easier install.
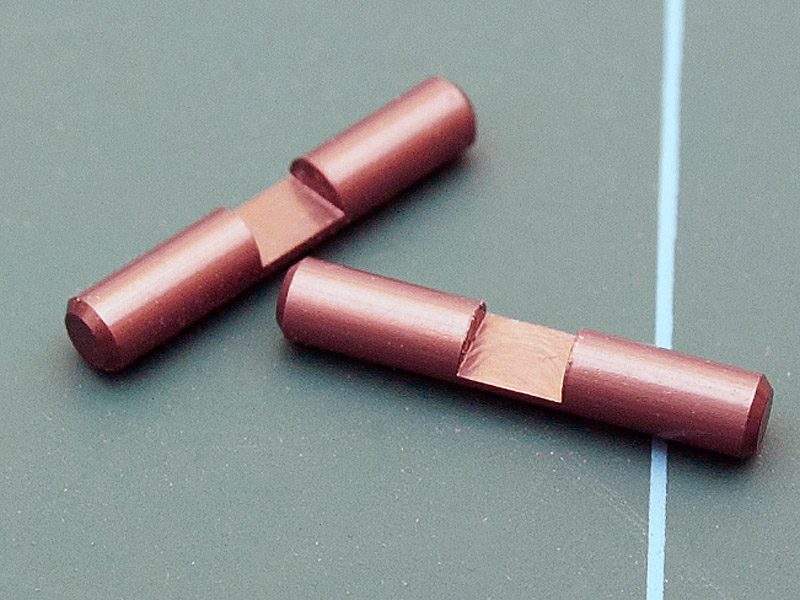
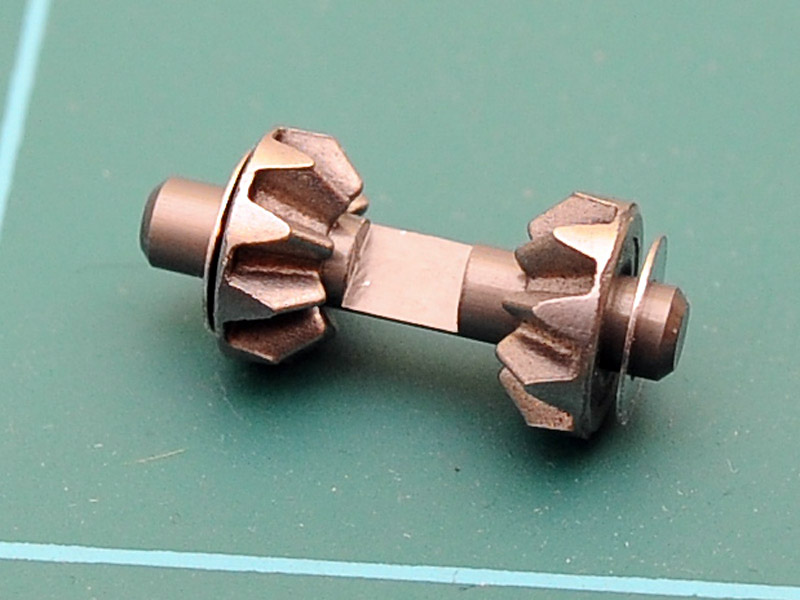
The main gear is sided – so the cross shafts will only insert from one side. Carefully drop the first shaft in taking care not to drop any shims or gears, and line up the shaft so the centre flat faces upward. Drop the second shaft into the diff gear with the flat spot facing down so it engages with the flat spot on the first shaft. Place the gear on your work bench for now whilst you build the sides.
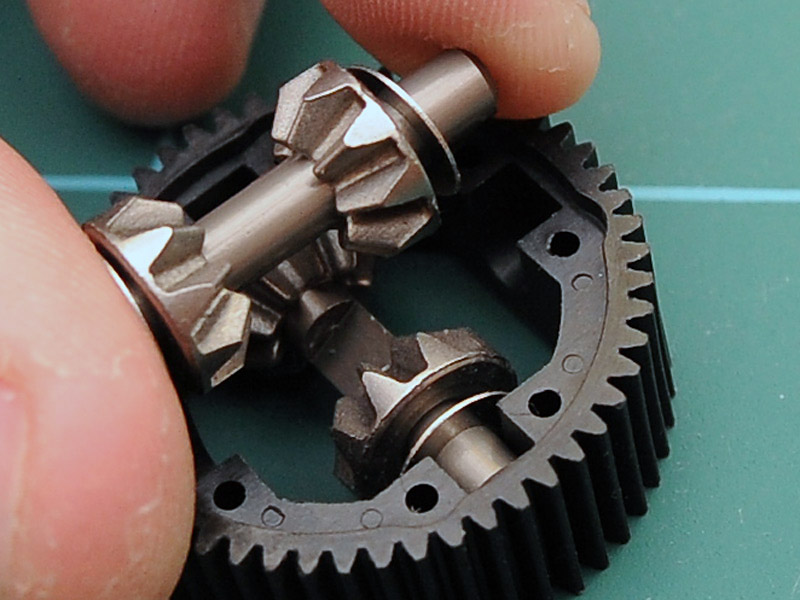
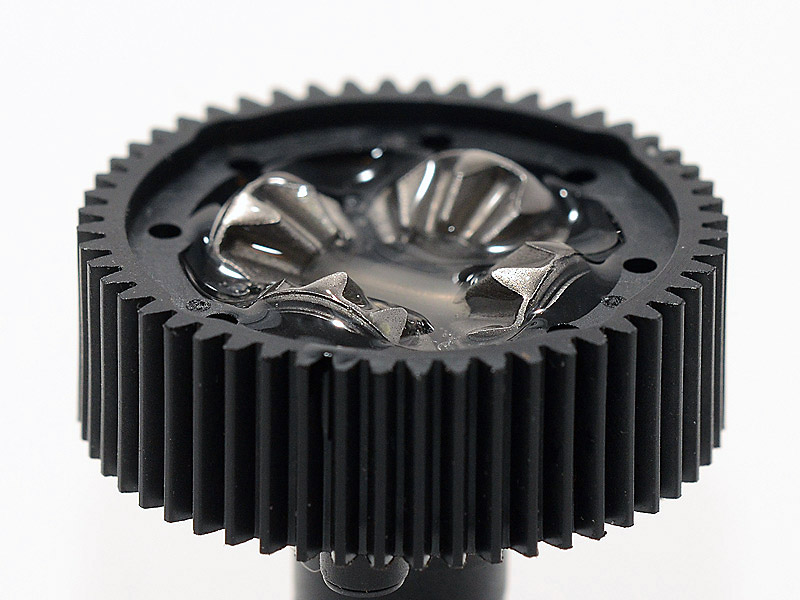
Line up the cross shafts and drop them into position
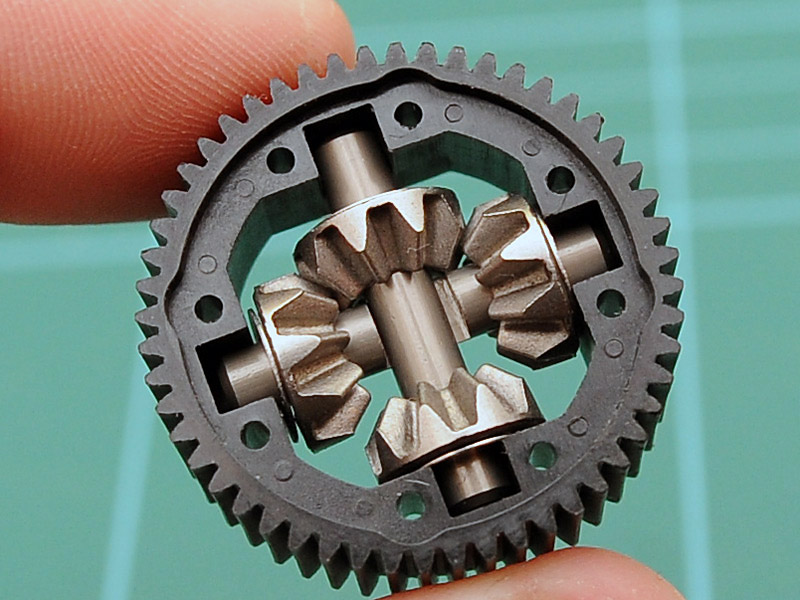
This is what it should look like!
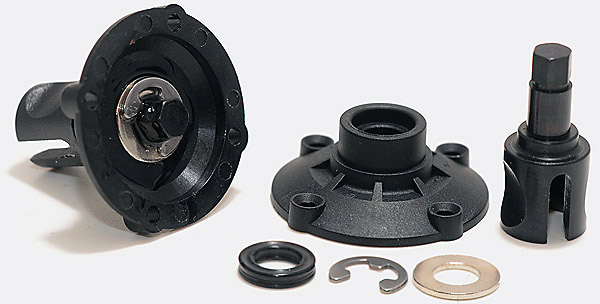
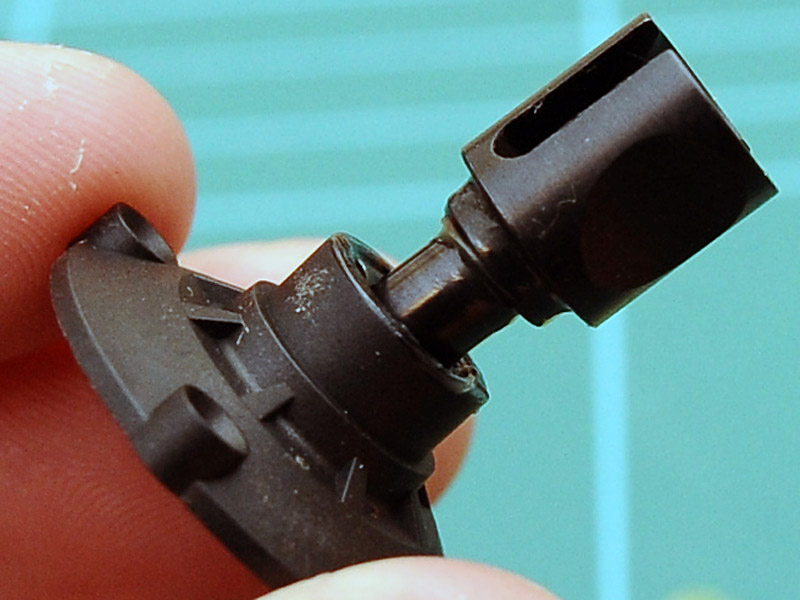
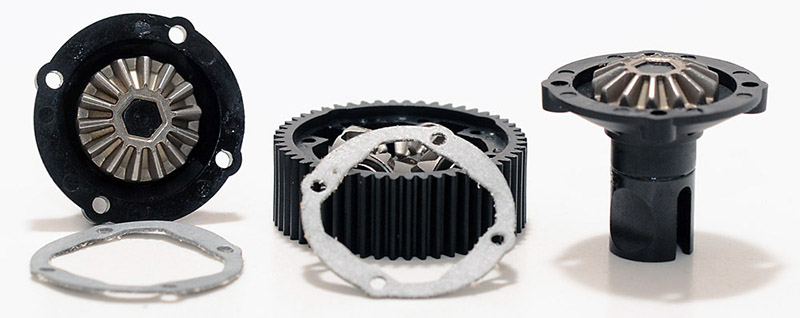
The sides of the differential consist of moulded covers which house the outdrives and seals.
Grease the outdrive shaft and insert it into the plastic diff side.
Put a few drops of diff oil onto the shaft from the inside and slip the x-ring seal and thick silver washer over – and push these down until the seal is sat down properly.
Grease the shaft well
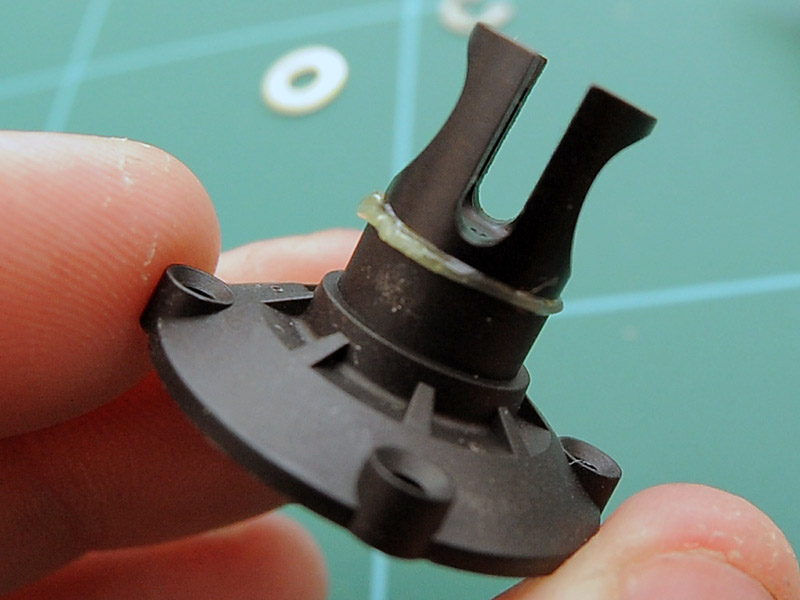

Put diff oil onto the shaft before adding the seal
Push the seal into position
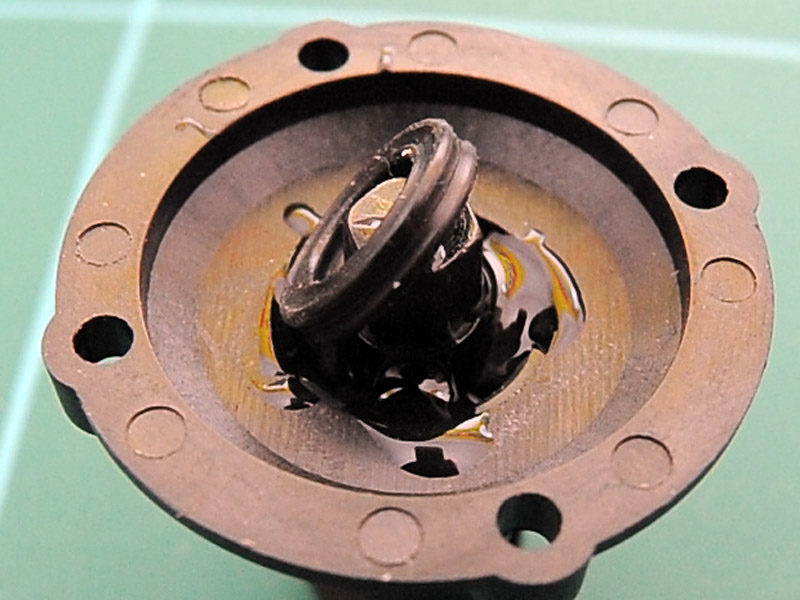
An e-clip secures the shaft in place – use a flat bladed screw driver or pliers to click this into place. ?Put a few more drops of oil over the hexagonal shaft of the outdrive and slip the 14T gear over the end. It should just slide into place – don’t worry if it feels a little loose as this won’t matter once the diff is assembled. Both sides are identical.
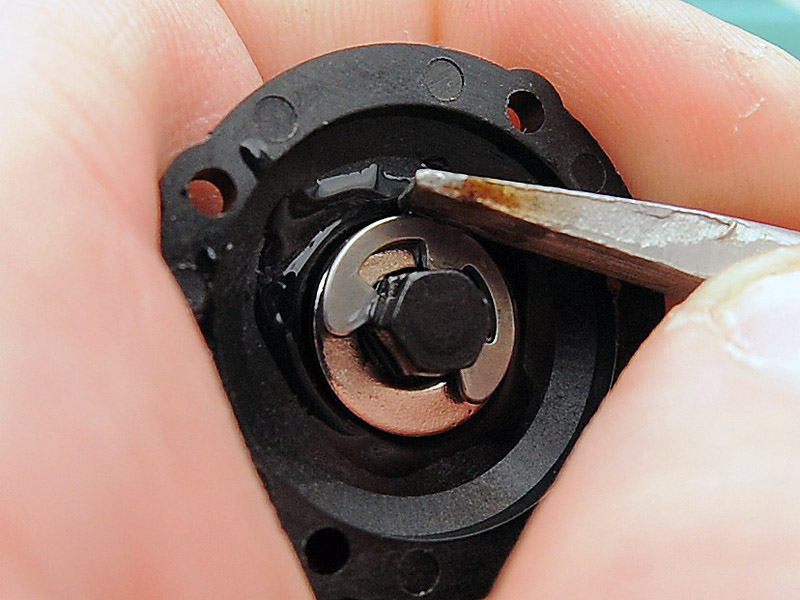
Add some more oil before placing the washer and e-clip over the seal
Push the 14t gear over the shaft
To fill the differential with oil you first need to attach one side of the assembly – fill with oil and then attach the other side. Gaskets are used to seal between the main gear body and moulded sides. Carefully line up the first gasket over the side the cross shafts and gears were inserted – make sure the tabs on the gasket line up with the indents on the main gear.
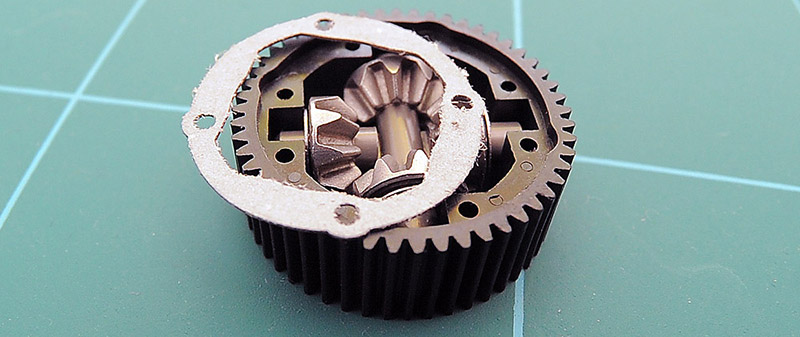
Line up one of the diff sides with outdrive and 14t gear attached – taking care that the gear doesn’t fall off, place it over the main gear. You may need to spin the outdrive back and forth to move the gears around and let everything settle in place.
Four small countersunk screws attach each side moulding to the main gear. The screws should be tightened in a cross pattern to make sure the side attaches squarely. Screw each one in with finger pressure only. You may find it helps to back each screw off a turn and re-tighten in a cross pattern. Don’t be tempted to crank down on these screws – you could warp the gear or moulded sides and actually cause the differential to leak / perform poorly.
It’s a good idea to mark up this side of the differential at this point. This will help identify which side gives you access to the gears. Knowing which side is which is helpful when it comes to maintenance, since opening up the other side means you’ll not have to worry about the gears moving or falling out, and you can just place it upside down to allow the oil to drain before re-filling with your chosen viscosity.
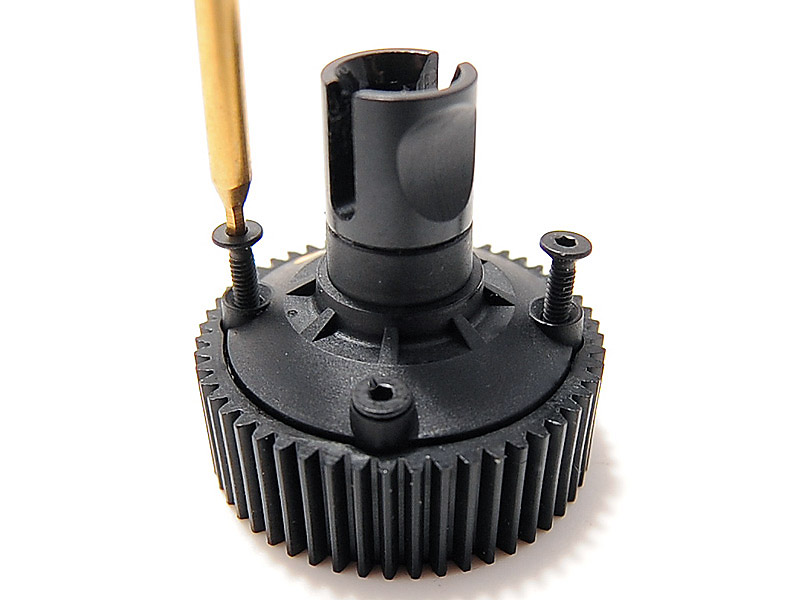
Tighten the screws gently
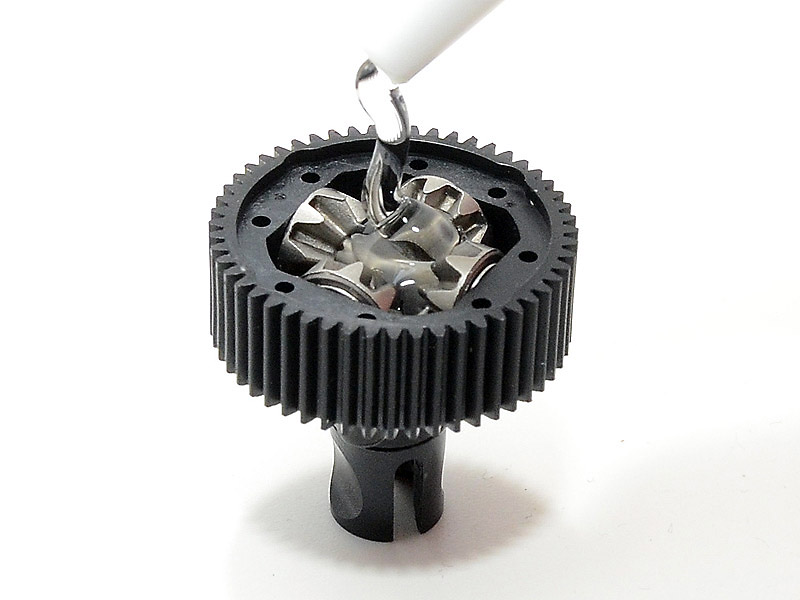
Fill the diff slowly
Before you can attach the other side you need to fill the differential with oil. Fill the oil until the cross shafts are covered. Don’t fill it to the top, as the 14T gear still needs to sit down in the differential. Attach the gasket and tighten the remaining side of the differential just like the first one. You’ll probably find a small amount of leakage if the differential was over-filled. Remember not to crank on these screws and damage the mouldings.
You can help the oil settle by gently turning the gears
Probably a little too much oil, but you can always adjust the level
Once the differential is together, check for any leaks that might have occured whilst tightening. If you’ve put a couple of drops of oil too much into the diff then it’s natural for this to escape whilst tightening – just clean it off with a rag. If the gears feel notchy, they should soon bed-in when the vehicle is driven.
The gear differential for the 210 buggies and trucks is a great tuning aid and lasts longer between rebuilds.