Having links pop-off during a heavy crash on the race track is frustrating but understandable – having them pop-off during adjustments however is possibly even more frustrating but it’s something you can prevent. This guide is to help users build their turnbuckles to minimize the chances of them popping off during adjustments.
Adjust settings without taking the link off
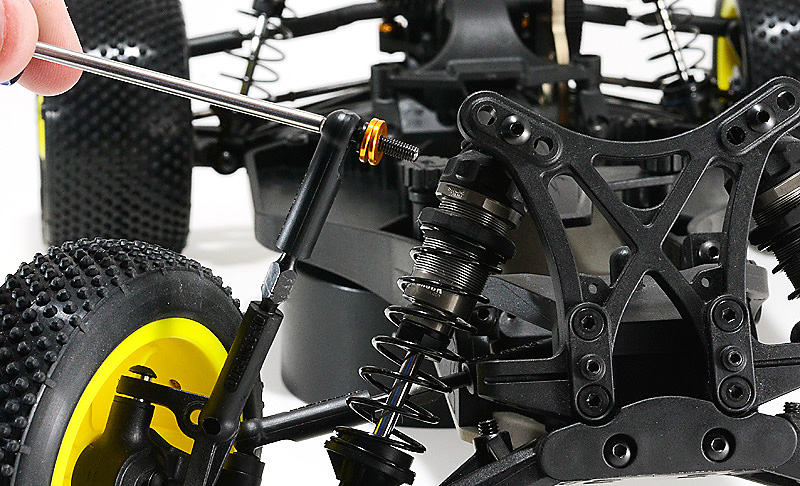
The steering and camber link ball cups on all 10th scale Team Durango vehicles have holes to allow adjustments without popping-off the link and it’s good practice to always use this method when making adjustments.
Every time you pop-off a link it gets a little looser and easier to pop-off next time – which could be during a crash or when making adjustments. A 2.5mm hex driver can be simply poked through the ball cup to unwind the ball stud and reposition it in the desired location or to add/remove shims.
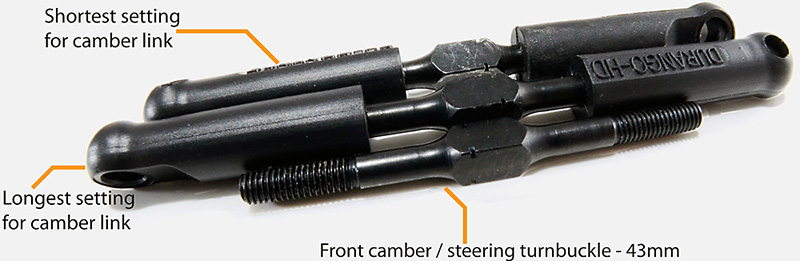
DEX210 front camber link:
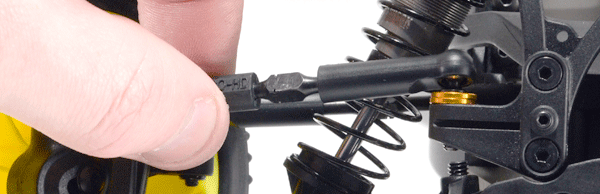
Locking the link with hex tools will stop it popping off when adjusting.
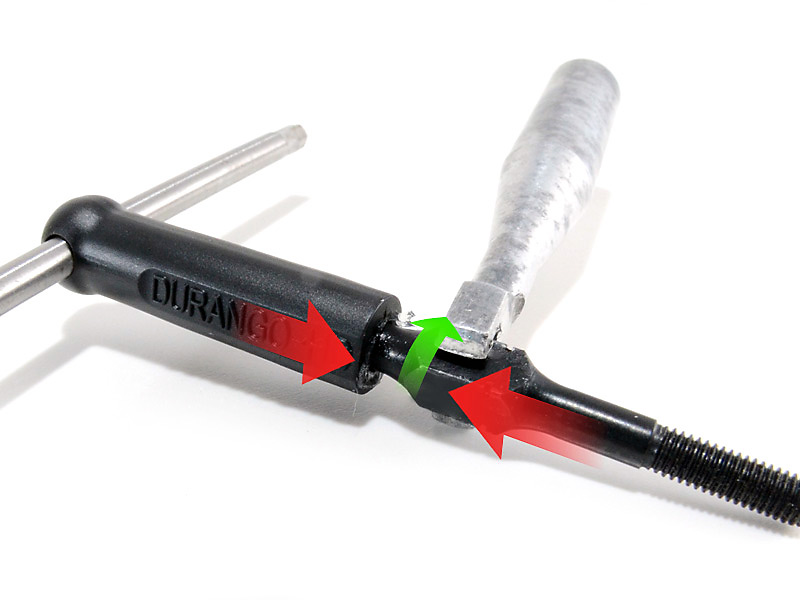
The reason the links can pop-off during adjustment is due to the turnbuckle having too much friction inside the ball cup.
A quick fix to stop the links popping off during adjustment is to put 2.5mm allen keys / hex drivers in each end of the link – locking the link and stopping it turning and popping off. This works well for really tight links but isn’t a real long-term solution.
Thread the turnbuckle in and out a couple of times to help future adjustments.
To make adjustments easier first grease the threads of the turnbuckle – and then wind it fully in and out of the ball cup a couple of times to free things up. You want the grease the inside of the ball cup where the threads are – so make sure the grease gets inside and isn’t simply wiped-off when assembling the link.
An easy way to build the links is using a 3mm driver shaft placed through the ball cup to hold it in place whilst you turn the turnbuckle (or turn the ball cup whilst holding the turnbuckle). Don’t use anything with a smaller diameter as it might deform the ball cup. The combination of the greased threads and running the turnbuckle in and out of the ball cup should make future adjustments a lot easier.
A small dab of grease on the turnbuckle
Threaded all the way in
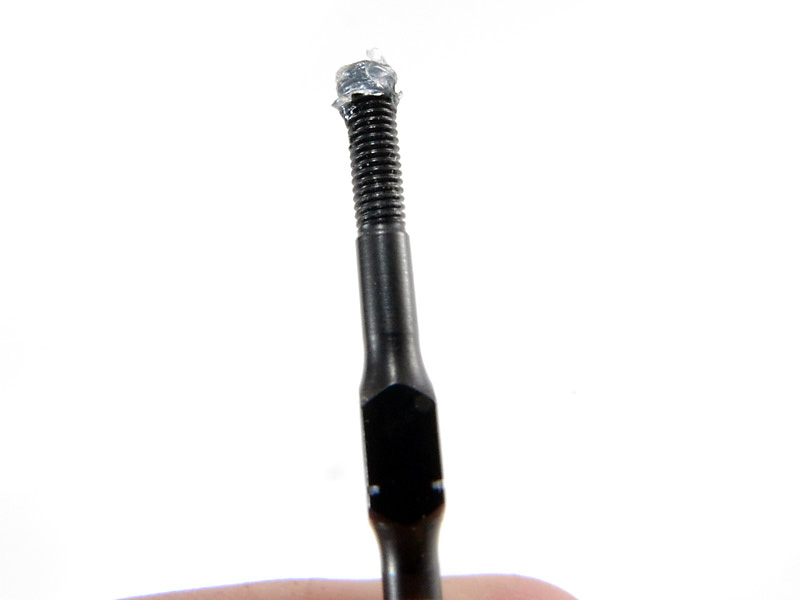
Using the DEX210 as an example – both the front camber and steering links are built with 1 or 2mm of un-threaded turnbuckle inside the ball cup, depending on setup – this makes adjustments hard even with the aforementioned preparation. On the shortest possible front camber link setting, there’s a substantial length of un-threaded turnbuckle going into the ball cup, making adjustment less easy.
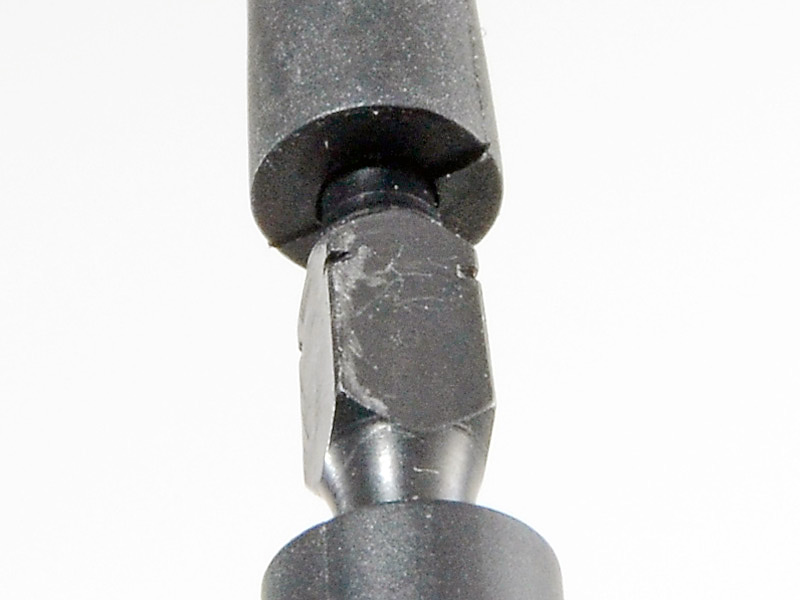
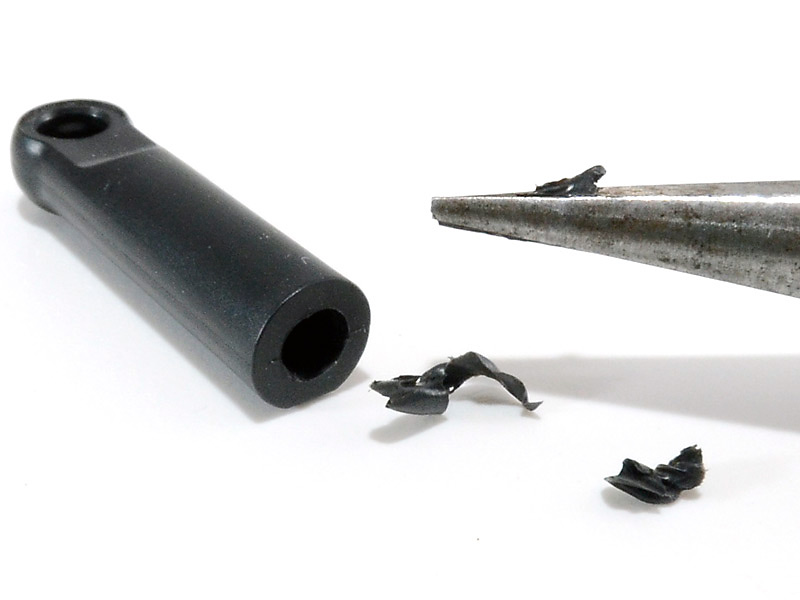
The standard HD ball cup has no real accommodation for the un-threaded part of the turnbuckle
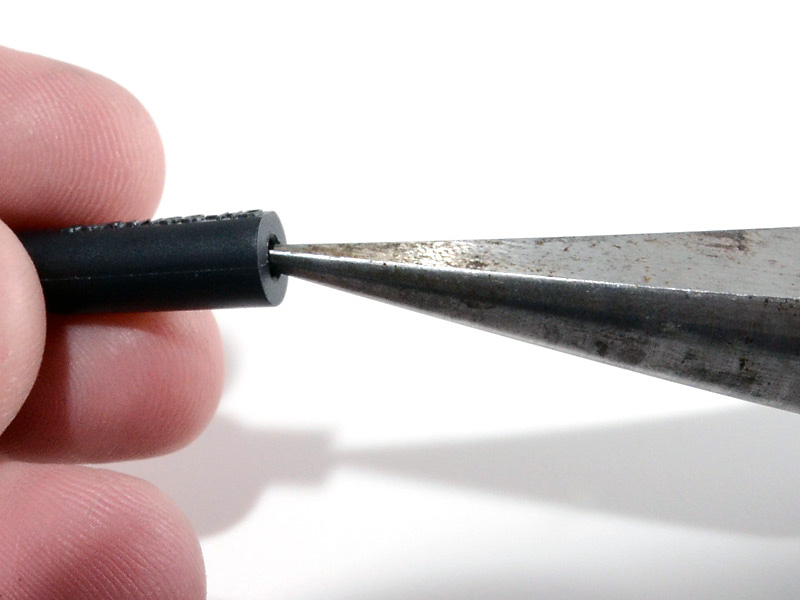
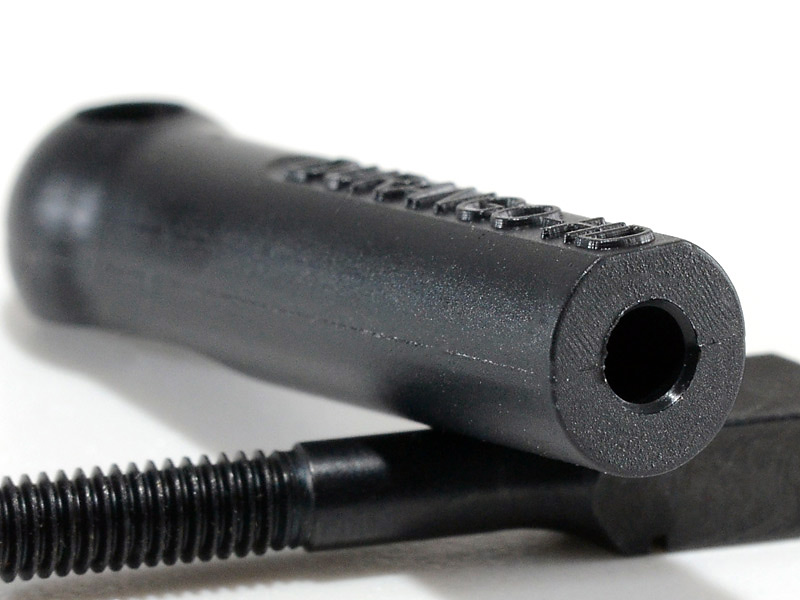
You can use a reamer to open up the ball cup a little
When building the links you can open them up slightly with a reamer to accommodate the slightly wider un-threaded part of the turnbuckle. Don’t take out too much – you just want to make it less restrictive around the opening, which shouldn’t have any real impact on the hold of the threads which will be further inside than the reamer will travel.
You don’t need to take out lots of material
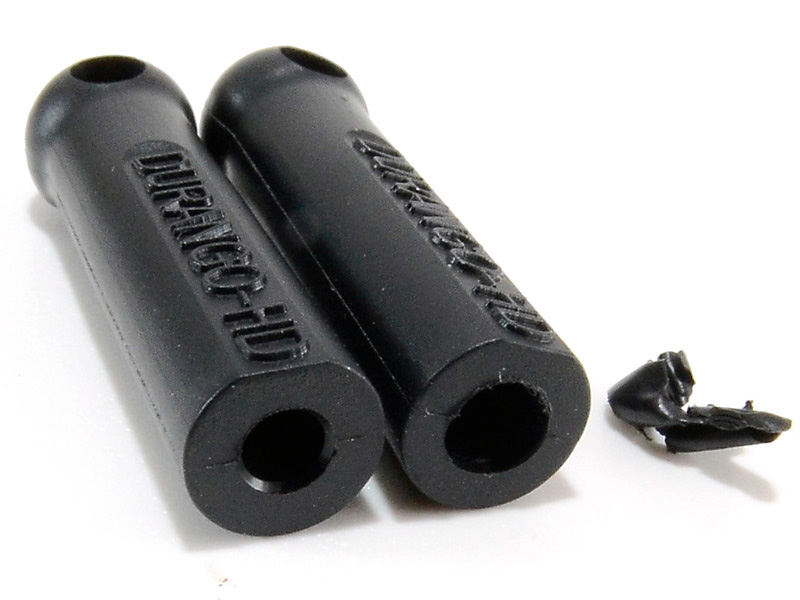
Standard ‘HD’ ball cup left and reamed-out ball cup right.
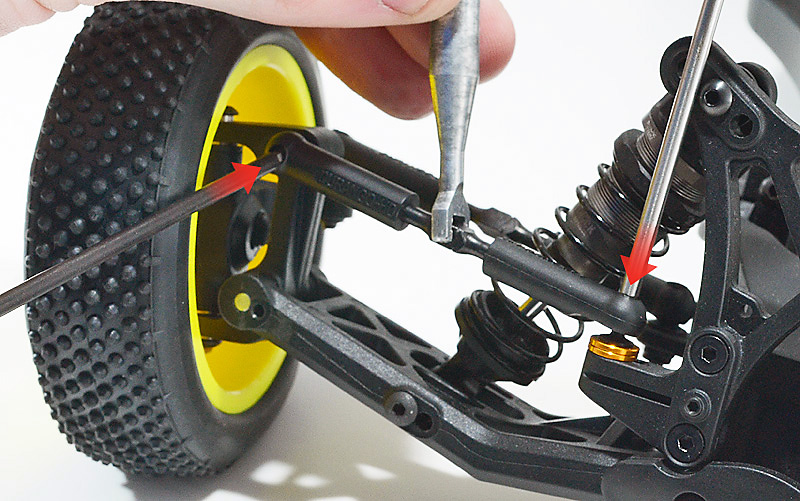
Something often overlooked is having each end of the link centred so it’s free to move smoothly during normal operation. If you adjust the links off the car and attach them, chances are the link will be mis-aligned.
Building the links in this way, using grease and winding the settings in and out – along with opening up the end of the ball cup slightly – will help reduce the chance of the link becoming stiff enough that it’ll twist off when adjusting.
The links should have plenty of room to move smoothly if aligned properly.
Keeping things together and resisting the temptation to simply ‘pop’ off the links when adjusting / maintaining the car will prolong their life and reduce the chances of them coming off in a crash.