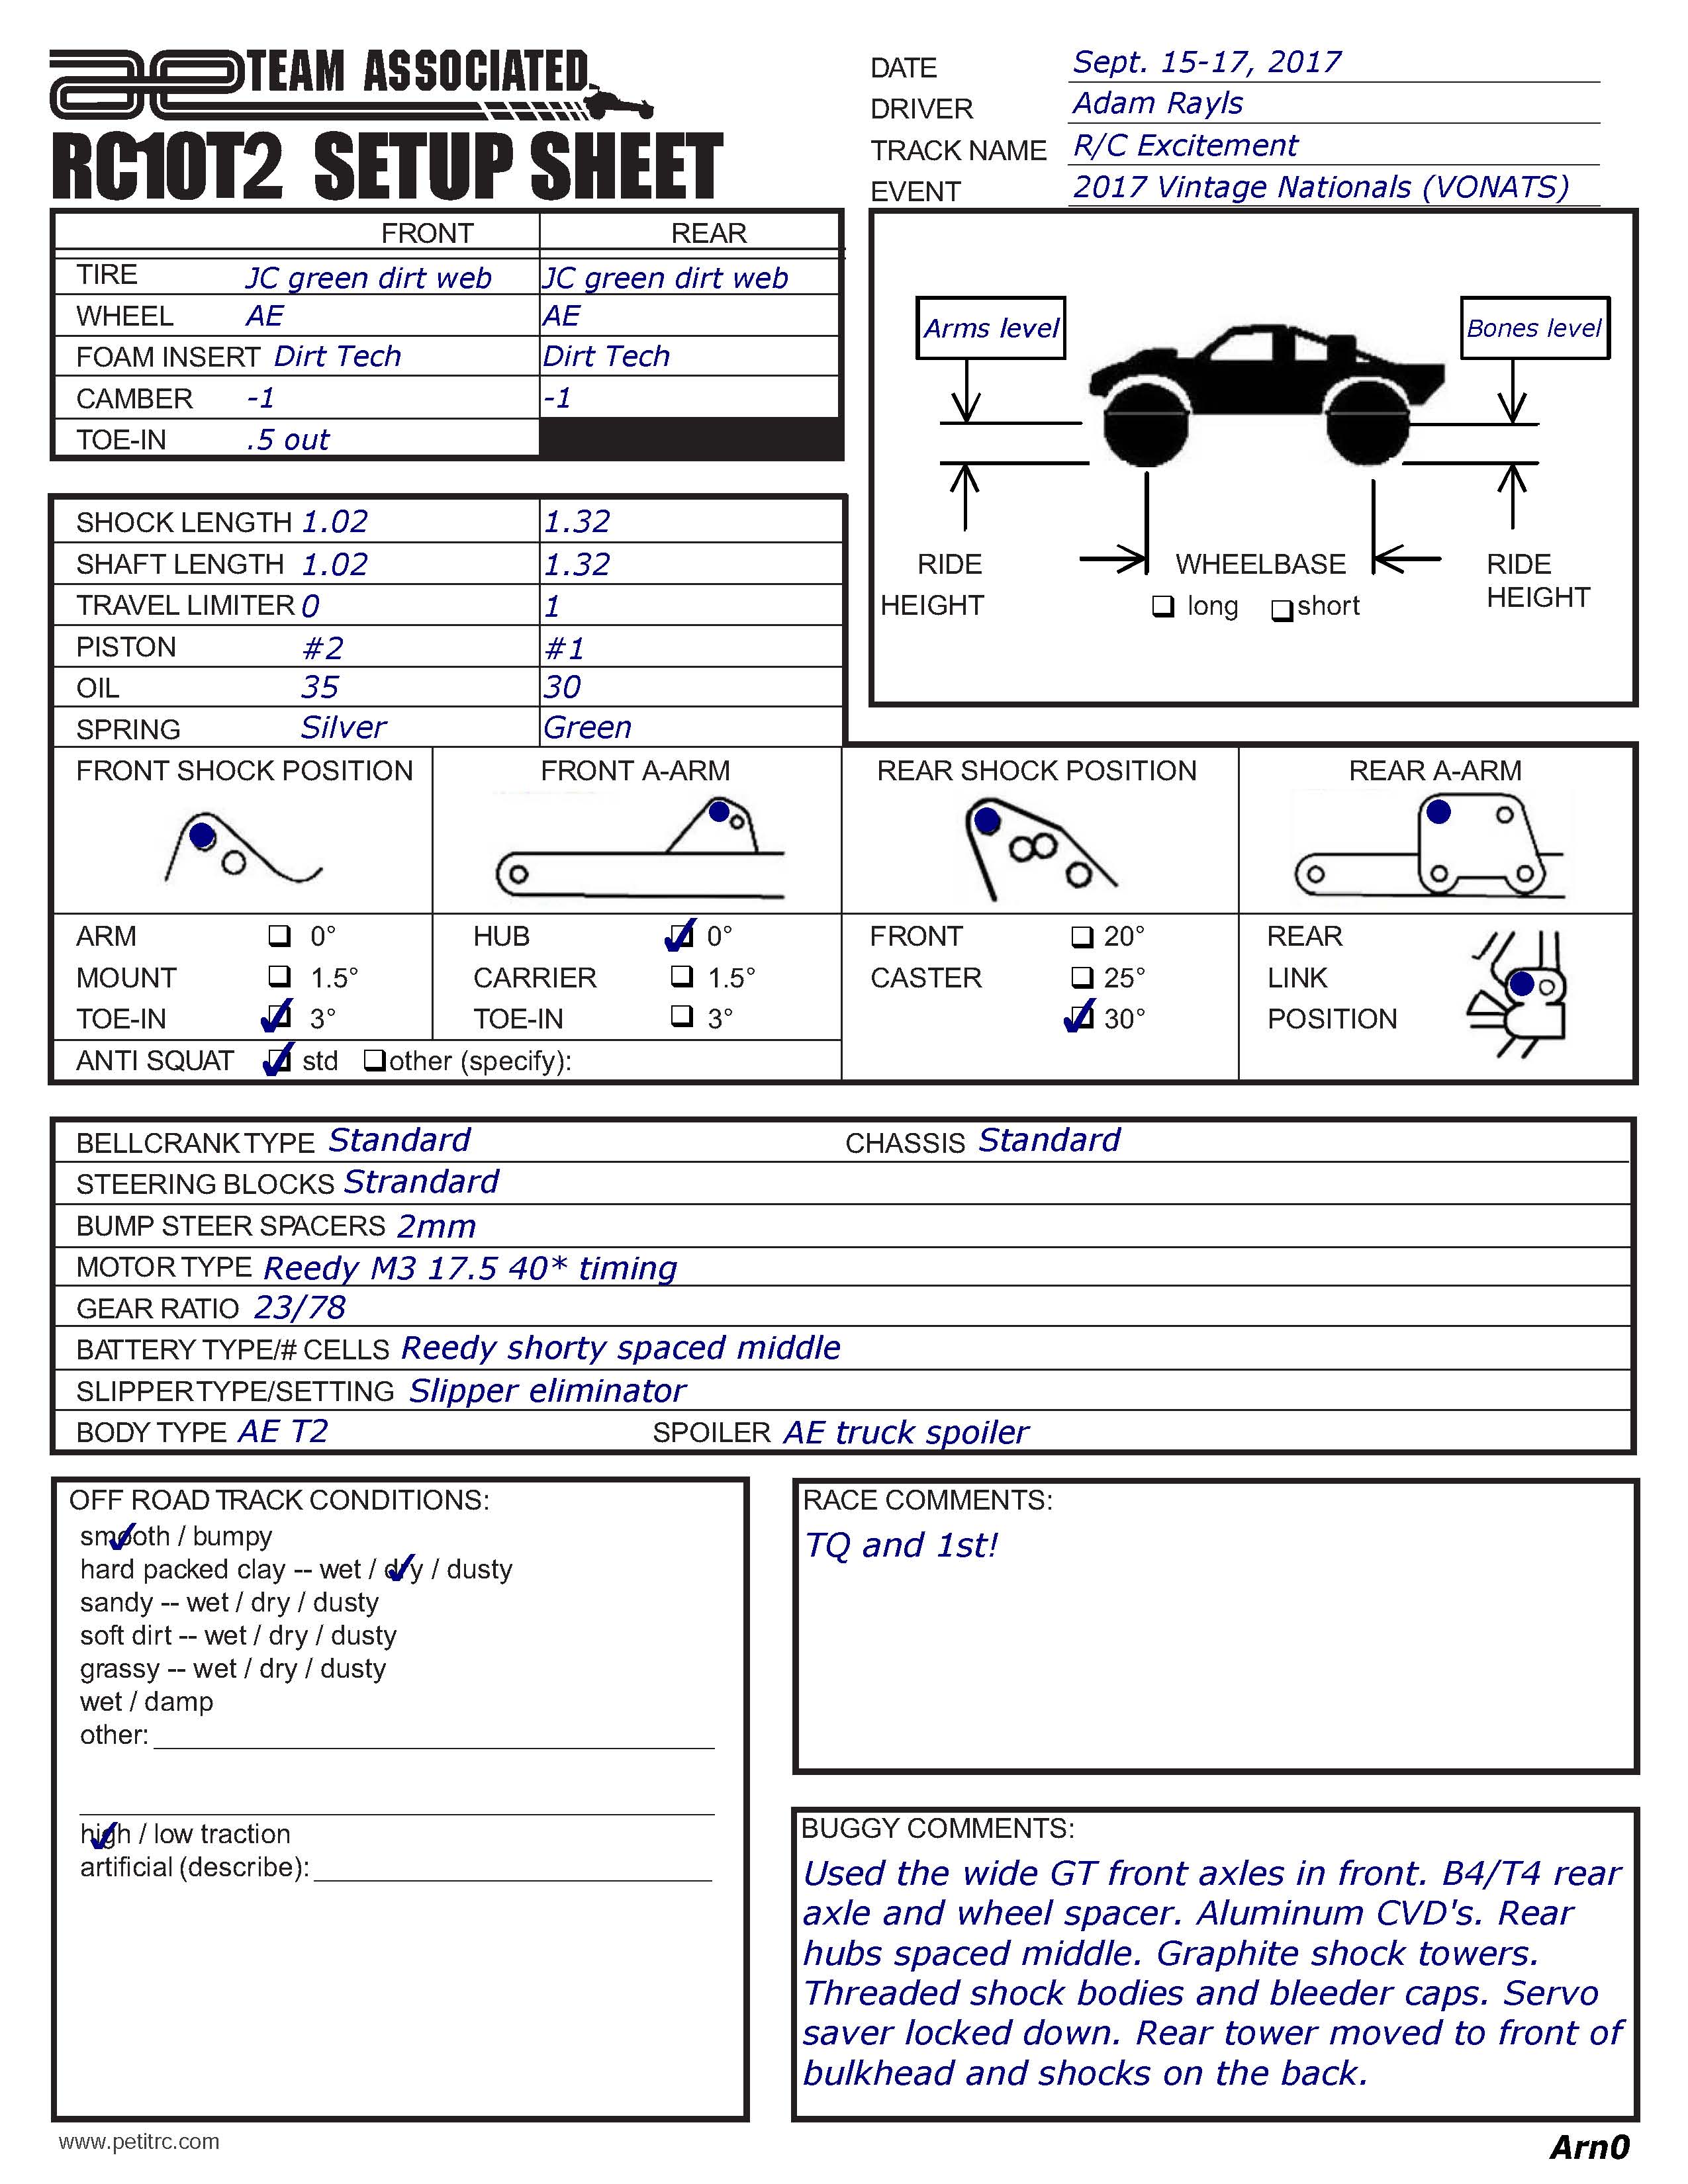
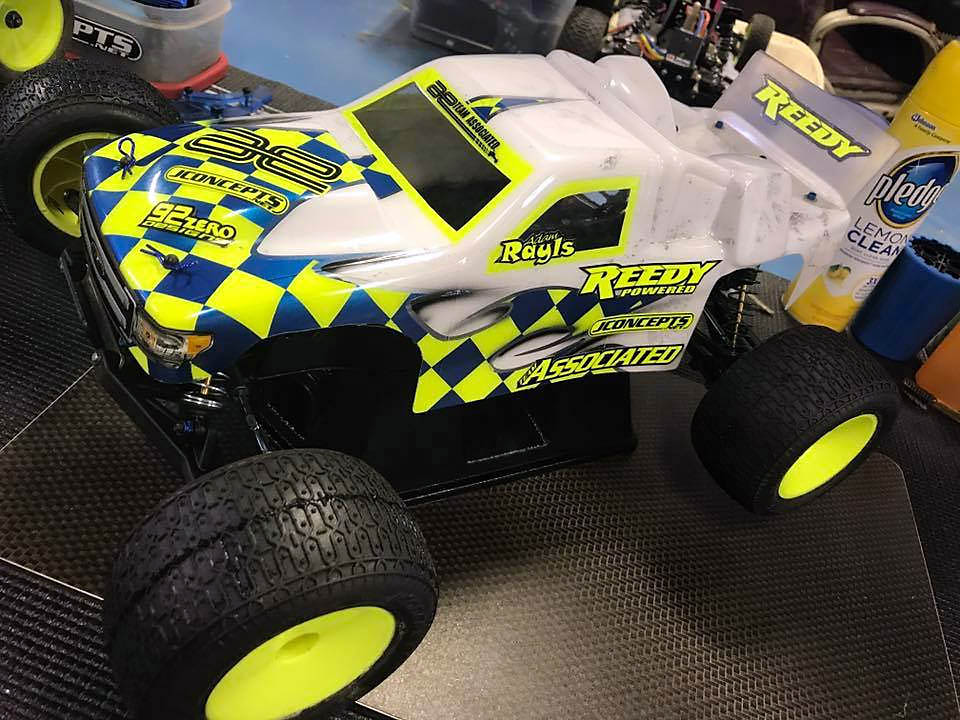
his is Adam's other rig that dominated the vonats, and is still in use. his t2 is close to stock just like his b2 buggy. very little done, kept simple, and used minimal modifications to make the truck drivable and durable as possible. great tips if you're considering racing your t2. you don't need all the fluff to make your truck go fast.
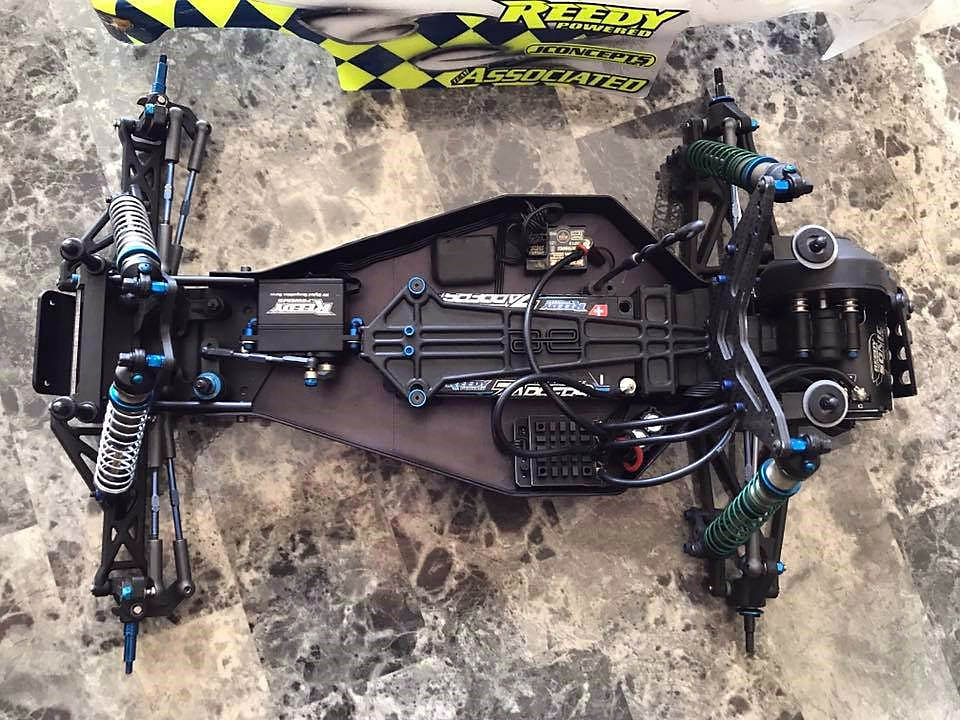
The chassis, nose plate, rear motor guard, and motor mount were all left alone. no milling or counter sinking. adam used a factory team blue screw kit for his whole truck. front end is all stock, with the exception of the front graphite shock tower. his hardware consist of stock hinge pins, titanium turnbuckles, and b6 ball cups with matching ball ends. just like his b2 buggy he used alloy shock mounts and V2 shocks. shock bodies and shafts are all stock lengths. pistons are stock. front caster is 30 degrees. front axles were updated with the GT extended inline units.
Bell cranks are stock. the servo saver is cranked down all the way. he's using an aluminum servo horn on his reedy servo, with aluminum servo mounts. STOUT. i asked him why he had his servo saver cranked down all the way , and if there was any fear of damaging his servo. Adam's response: "Not at all. We run the B6 without any servo saver. Alum servo horn and the steering rack is alum as well. The servos are very durable! I've never stripped one". i also asked him why that particular reedy servo. Adam: "Reedy RT1508 it's the full size torque version. I use the torque version in all my cars. The speed version is almost too fast!"
He did modify his battery strap to fit over his lipo. he had to trim the inside pieces a hair. he used the optional front battery brace 6 cell stop so he could use 4 battery pads behind the battery. which would put the shorty lipo right up against the 6 cell stopper and a lot closer to the center of the chassis. i asked him if he had played with the battery's position during the vonats, moving it further back - up against the bulkhead? he told me that he did start off with a full size "stick pack" at first in his t2. BUT earlier in the day he tried a shorty pack in his b2 buggy and that improved the buggy's handling right away. so taking the weight off the rear was a logical thing to do, and did it to his t2 in the last practice pack of the day on friday. the t2 handled instantly better. he hasn't gone back to the full size stick pack since. it's shorty pack from now on.
His electronics are the same units that he used on his b2. reedy 410r speed control, airtronics receiver, reedy M3 17.5 motor, and reedy servo. snuggled up against his receiver is his transponder.
On his b2 buggy he commented as saying that the stock chassis and chassis components as being equally stiff as today's buggy's. i asked him if his t2 truck could use more flex or less flex on today's race tracks. Adam's response: "The trucks only ever had the softer arms so you got what you got. It makes the truck easier to drive but not as responsive as it could be. It also makes them extremely durable which is awesome."...
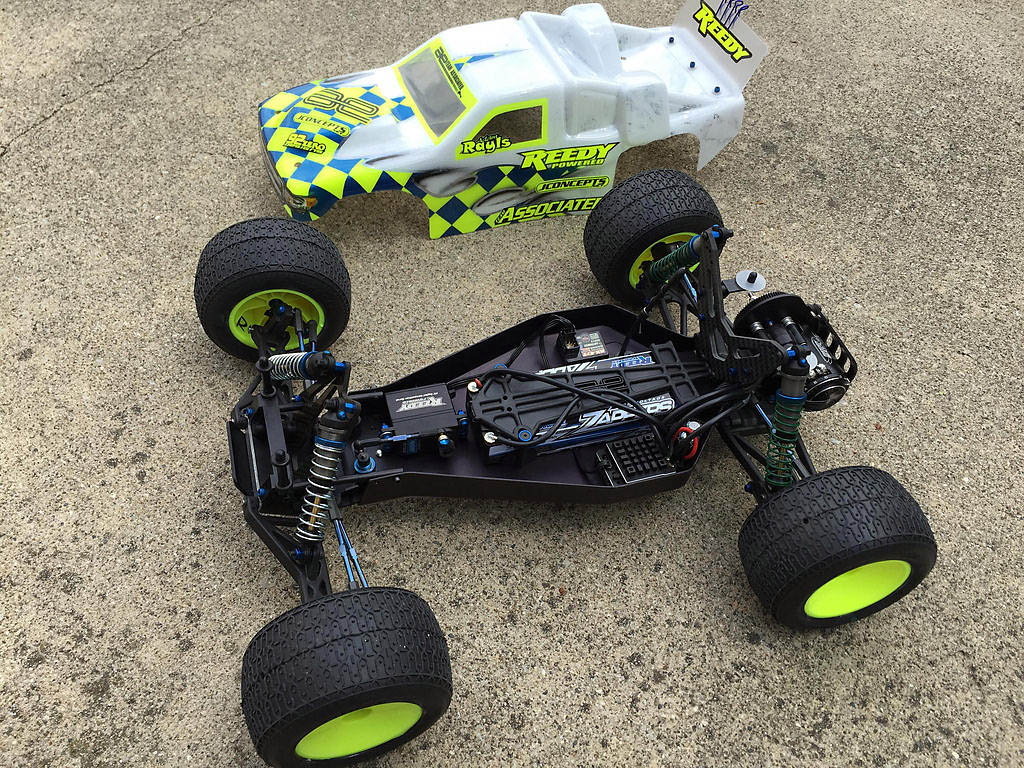
With that said, he moved his rear graphite shock tower to the front of the bulkhead and placed the shocks locations to the rears of the shock tower and lower shock mounts. to reduce rear arm flex. which adam says makes the rear end feel more free. adam easily modified the lower portion of his rear shock tower to accommodate his battery brace. he used 2 large associated thick shock downstops (#6466) to replace the shock tower's former location. since he moved the rear shock tower to the front of the bulkhead he came up with a set of very easily made extended body mounts. he used an extended bolt with 4 thick shock downstops, bolted right up against the stock body mounts. very simple but effective. just a side note if you want to replicate this body mount... you could tell by the condition of his body that adam is a seasoned racer. he's not too worried about crashing a lot. use this particular body mount at your own caution. there are other ways outlined in the following thread.
If you want to replicate this t2 rear shock tower modification, more information about it could be found inthis thread.
The rear end on adam's truck is stock but with a few upgrades. graphite rear shock tower, alloy shock mounts, V2 shocks (shock bodies, shafts, and pistons are all stock), b6 ball cups with matching ball ends, titanium turnbuckles, 0 degree rear hubs, and RPM rear suspension mounts in 3 degrees. his reason for using the rpm units versus the stock suspension mounts? Adam: "Pretty much the only weak point of the T2 was rear arm mounts. RPM, not gonna break". stock hinge pins round out the suspension.
He's using aluminum cvd t2 bones coupled to a b4/t4 axle. he's also using the wheel spacers on his axles, just as he did on his b2 buggy. the reason for the alloy cvd bones? less rotating mass in a heavy truck, with a 17.5 motor, helps a lot.
Transmission is all stock with the exception of the b4/t4 top shaft. he did use a slipper eliminator, just like his b2, at the vonats. he's currently using a stock b4/t4 clutch. the aluminum transmission plate spacers are from factory works. rpm gear cover rounds out the truck.
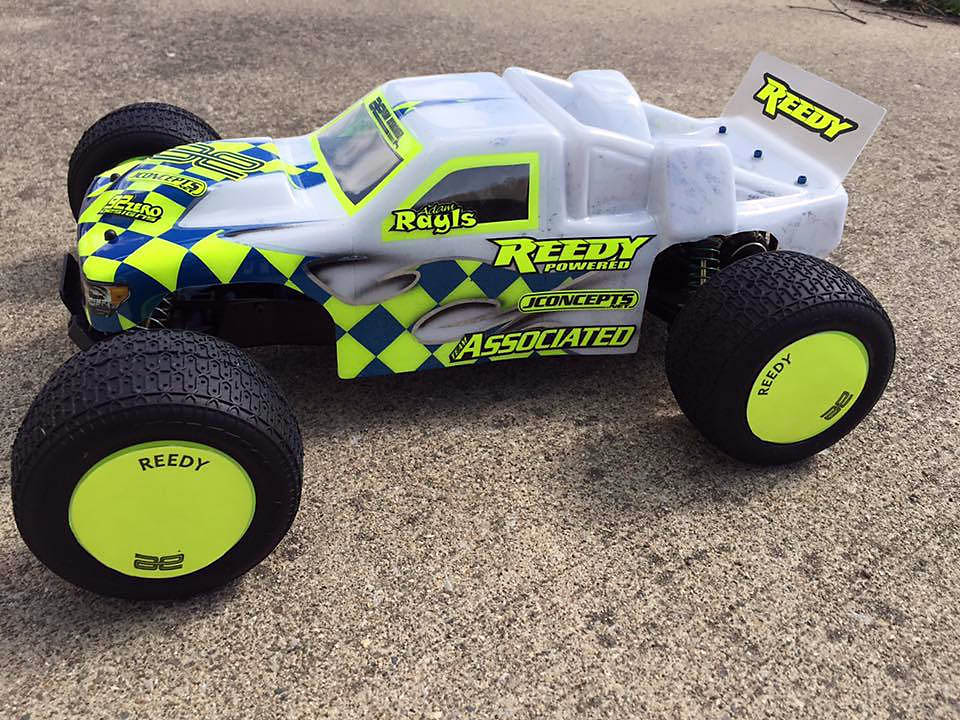
Body is stock and is fitted with an associated truck spoiler. for wheels he uses a set from the t4 (#7850 and 7851).
A couple of last details to point out. adam likes to tune his shocks, so taking them off and on, the bolt wears out the shock mounts on the arms. what is a good remedy for a widely used bolt in that area? he uses a 4-40 nut to hold the lower shock mounts to the shocks. he does this for both the front and rear shocks. if you look closely at the rear - top portion of his bulkhead, he also used two 4-40 nuts to hold down down the bolts. this makes the bulkhead more durable.
|