The Build – Part 6
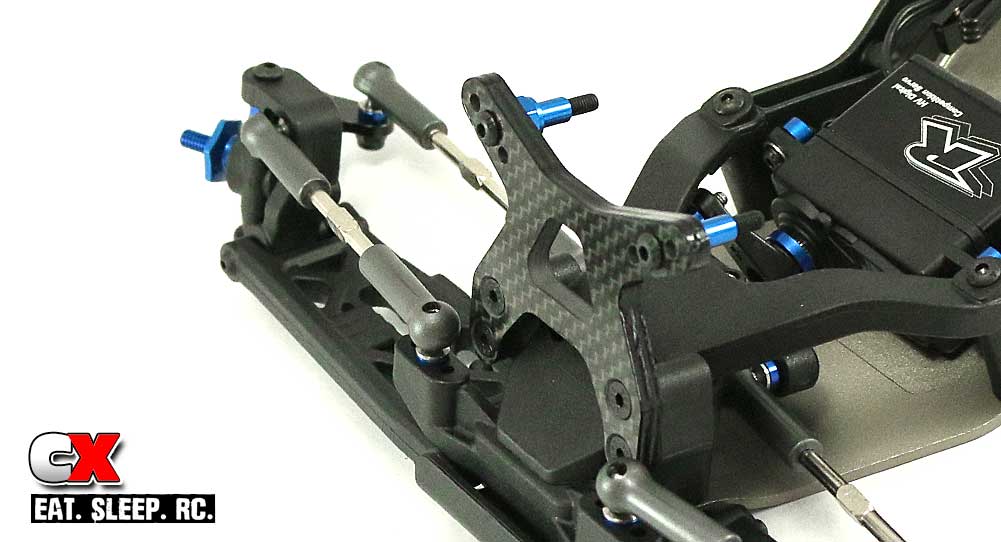
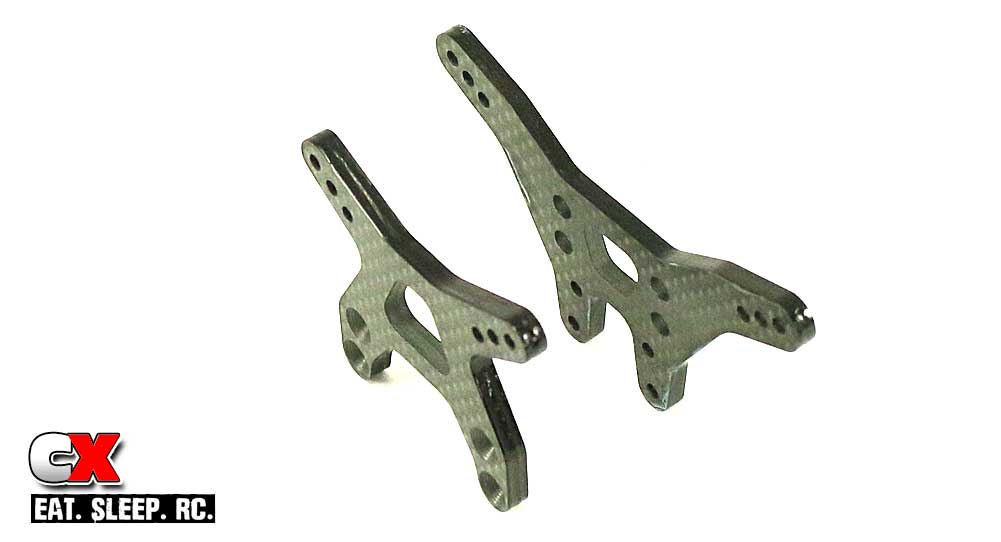
The Team Associated B6D has been upgraded to carbon fiber status, giving us both front and rear woven shock towers. These really look great and certainly give the buggy a more racer look!
Build Notes:
▶ The upside of the carbon fiber shock towers is they look awesome and are super rigid – the downside is that they are exposed to crashes that could delaminate them. I sealed the edges of my towers with super glue to help protect them – you can see our carbon fiber prepping article here: How to Prep Your Carbon Fiber Parts.
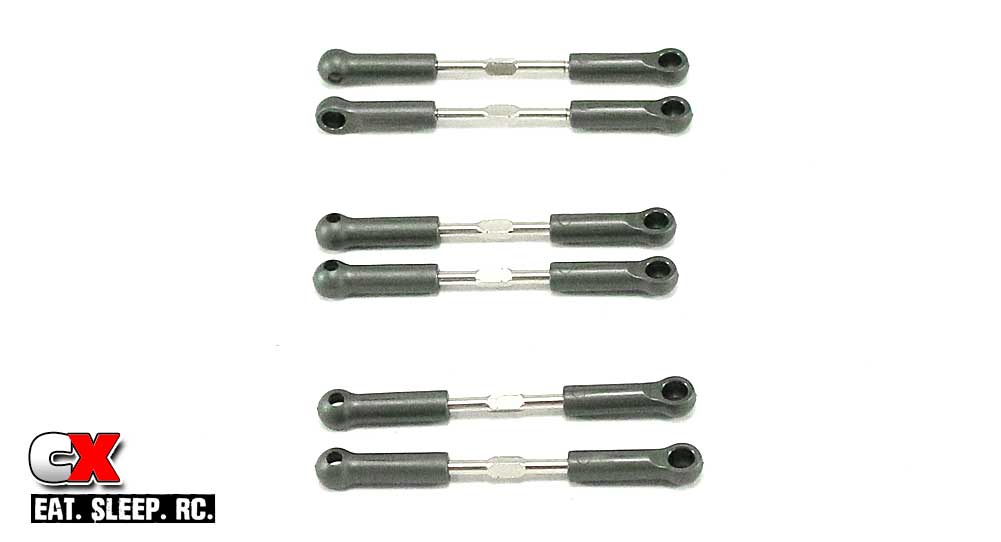
Build the three sets of turnbuckles per the manual; the lengths are all about spot on. Yes, my turnbuckles aren’t quite built correctly but they are correct on the car. Shush.
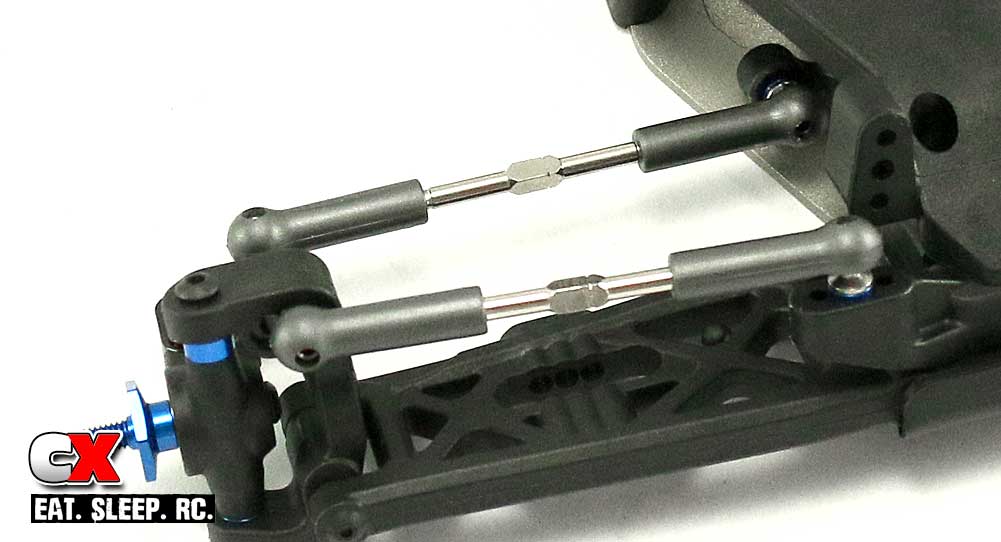
Attach the left and right steering and camber turnbuckles, making sure the little ‘notch’ is facing the same way. This makes adjustment side-to-side much easier.
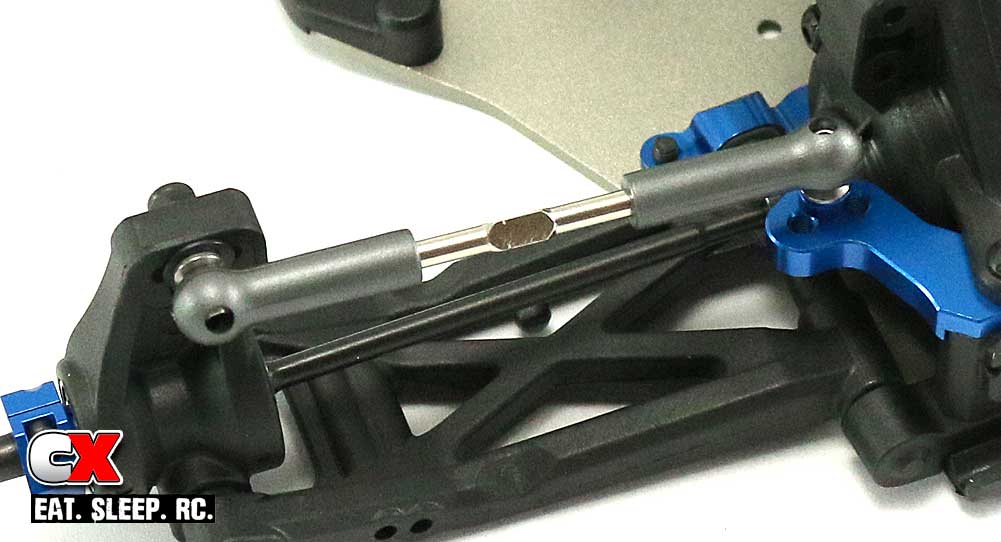
Same with the rear camber links. Make sure you insert the CVA bone into the outdrive before popping the links on.
I sealed both the front and rear shock towers prior to installation. It only takes about 5 minutes and the final result looks much better.
Install the shock mounting hardware in the middle hole of the tower (note orientation), then attach the tower to the front bulkhead.
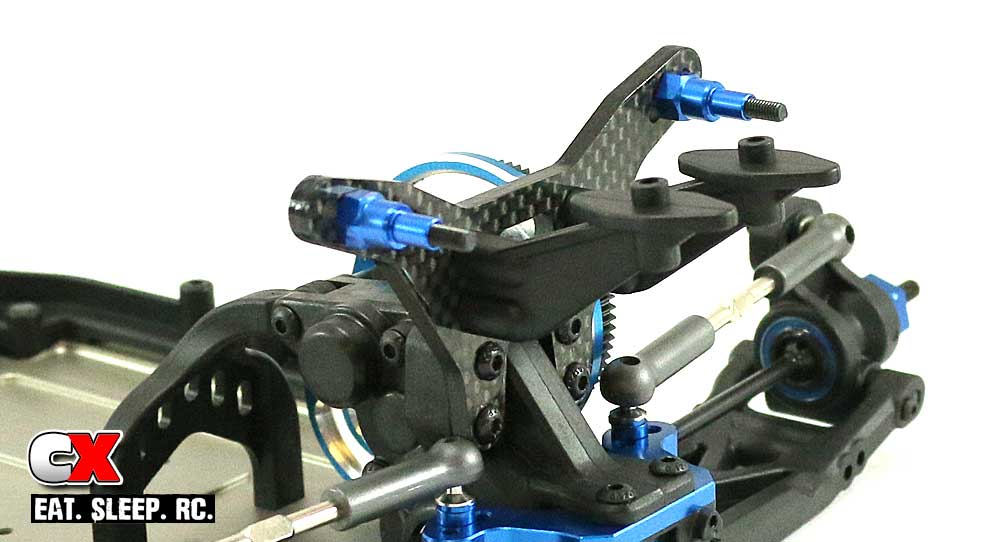
Install the shock mounting hardware and wing mounts to the rear tower, then attach the tower to the gearbox.
Six easy steps, now it’s on to the shocks.
