The Build – Part 6 - Top Desks
In this step we’ll be installing the front and rear top decks to the Team Associated B44.3 Buggy.
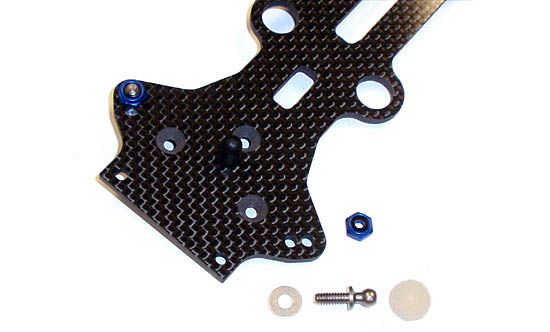
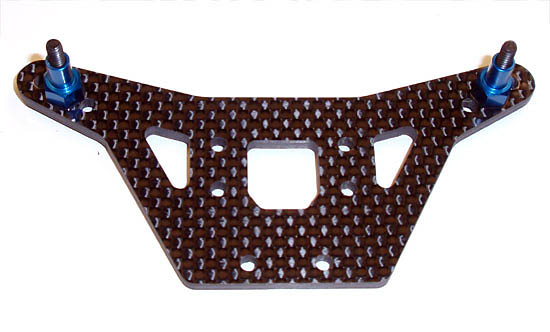
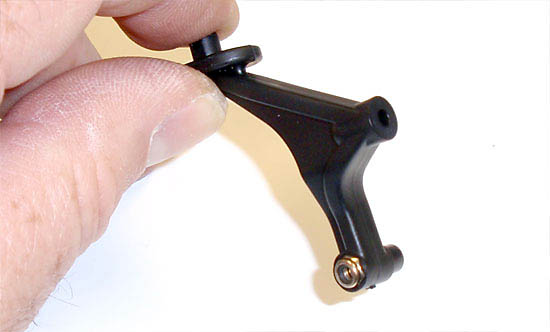
Step 64 - Find the front top deck and attach both the front body mount and inner camber link studs to it. The top deck is directional and has a top and bottom side, so make sure you’re assembling it correctly.
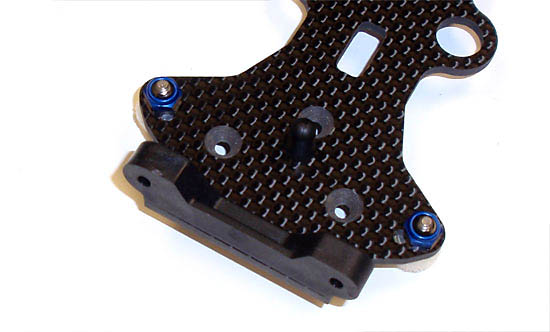
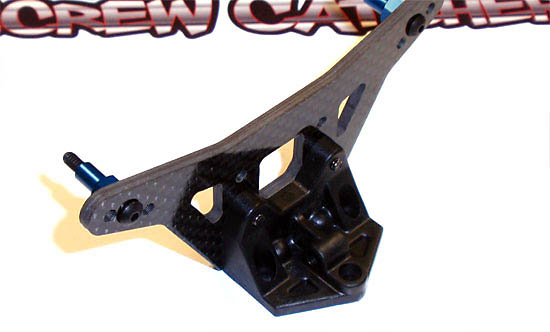
Step 65 - Attach the shock tower mount to the top deck.
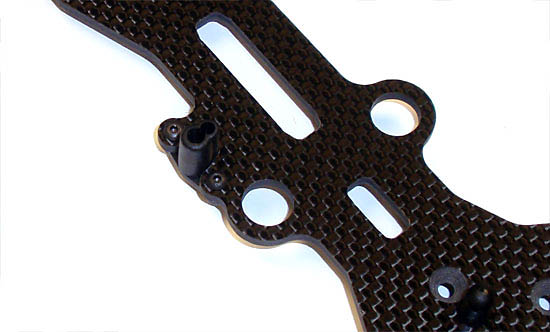
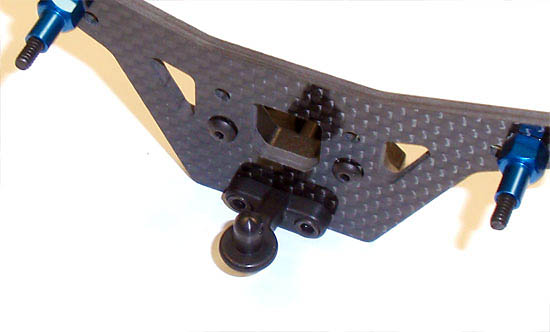
Step 66 - Now attach the antenna mount to the top deck. Notice the antenna hole is on the outside of the mount. This helps located the hole in the body that we’ll be putting in at a later time.
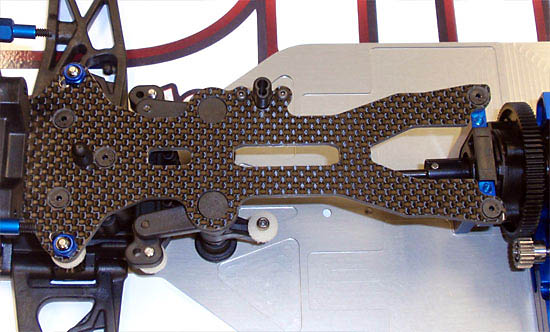
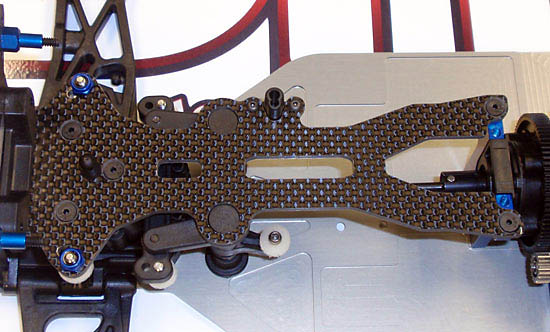
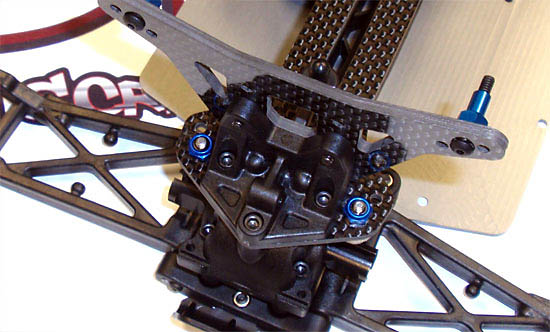
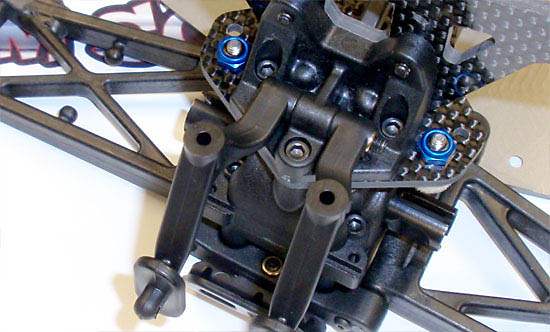
Step 67 - Now attach the assembled top deck to the chassis. Add a light dab of threadlocker to the screws that go into the center bulkhead.
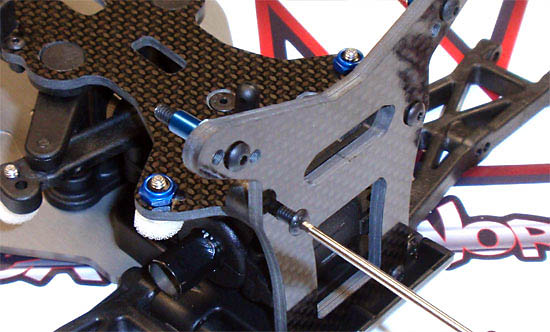
Step 68 - Attach the front shock tower to the tower mount on the top deck.
Step 69 - Find the rear center top deck and attach the inner camber link ball studs to it as shown. Again, this deck is directional and has a top and bottom side. Make sure you are building it correctly.
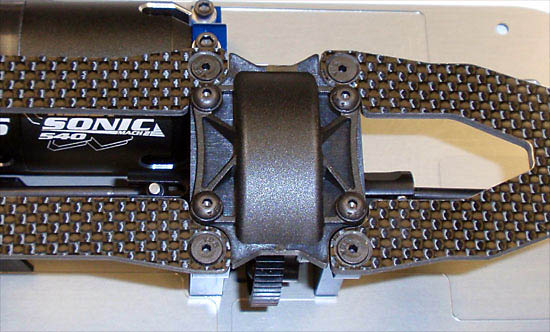
Step 70 - Attach the rear top deck to the car. Apply a dab of threadlocker to the screws that attach to the center, aluminum bulkhead.
Step 71 - Assemble the rear shock tower by adding the upper shock mount screws. The tower is not directional so it doesn’t matter which side you start with.
Step 72 - Attach the plastic tower mount to the tower as shown.
Step 73 - Attach the rear body mount to the tower.
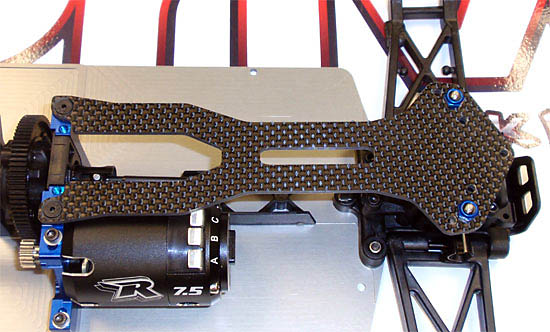
Step 74 - Now attach the rear shock tower assembly to the chassis.
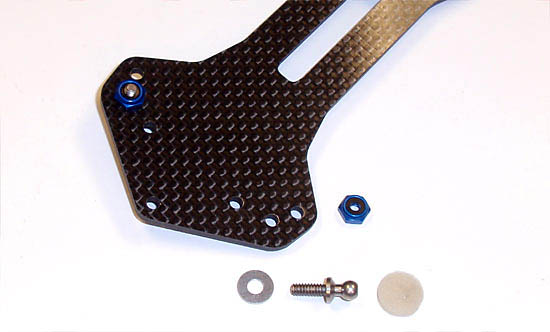
Step 75 - The rear wing mount is next, but note that the two pieces are not the same. Take the one with the ‘hex’ in it an press a locknut into place.
Step 76 - Place both wing mounts into position and secure with the 7/8? screw. I swung the wing mounts down to make them easier to deal with.

Step 77 - Now swing both wing mounts up and attach to the rear tower.
Step 78 - Finally, set the center bulkhead cap into place and secure. Add a dab of threadlocker to these screws.
Part 7 – Assembling the turnbuckles and driveline.