|
- Fenix Racing Imola - Instructions -
Step 1
Assembly the WRC joint sphere, make one using the central metalic one
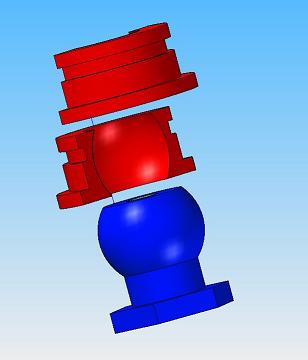
If you're going to use a 3 ball setup, best is to use 3 metallic one, o/w make one metalic and 2 plastic. Make sure that are on the same level.
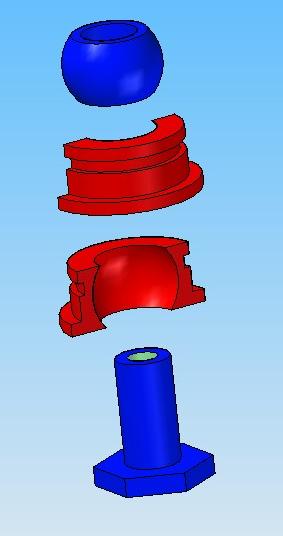
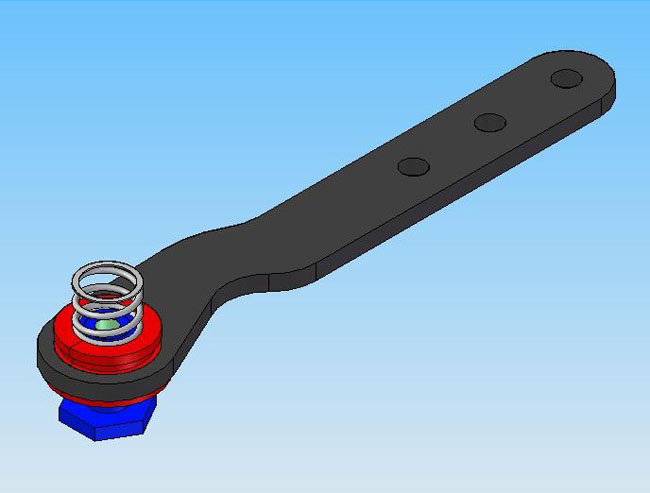
Step 2
Link... make 2 set, one mirrored to the other.
You'll 2 chances, w/o the spring or with the spring. We suggest you to start w/o the spring. Will be easier to set up, with less parameters. Fix the sphere joint with the WRC springs.
Note: The 10mm is rather precise, you might want to make the slightly bigger. Use a little bit of wet/dry paper to enlarge it, test until the sphere movement is smooth and free.

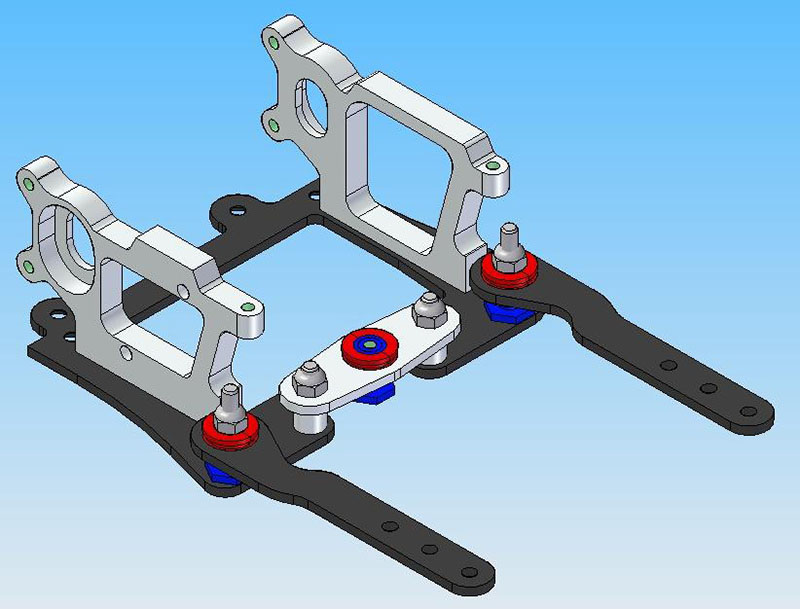
Step 3
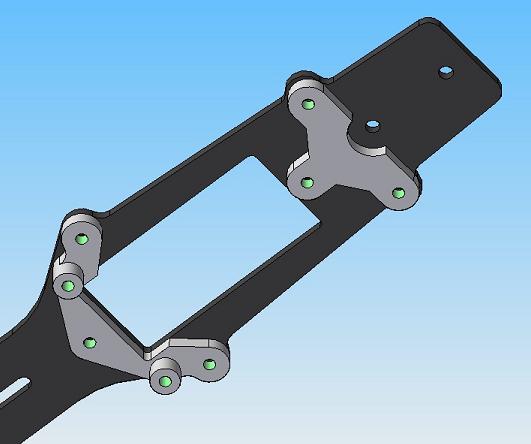
Center joint
Snap the sphere in the carbon fiber plate and set it.Use some spacers (not included) to keep the carbon fiber leveled...
Step 4
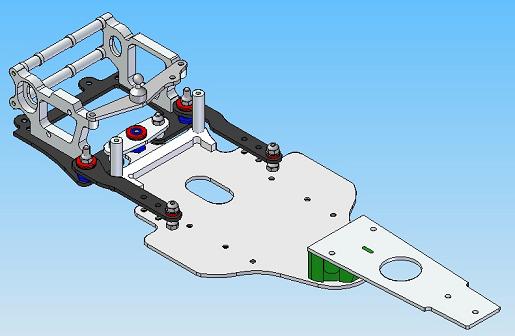
Assembly the rear end of the car as follow.
You should get something like this.
Keep everything leveled...
Like this...
Step 5
For the most rearward battery position (called "zero") you should use the original tray post from WRC and cut (carefully...) the original battery holder as show. Don't throw away the remaining parts... you'll need later!
Make 2 parts and install them in the most rearward position on the chassis. For front "zero" use the WRC battery holders.
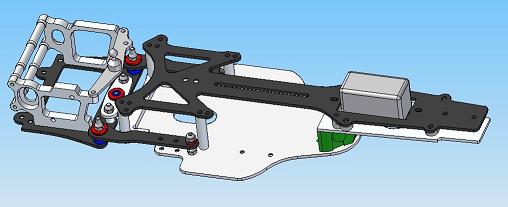
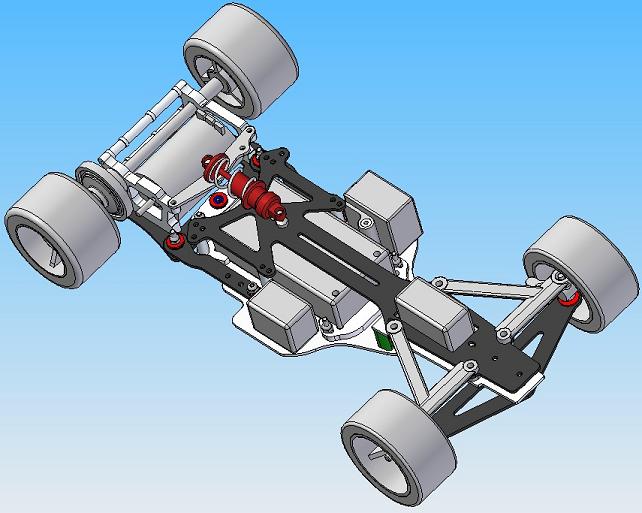
The chassis at "zero position" the chassis should look like this one:
Here the chassis with "+10" battery holder.
We suggest you to start with this battery position as default.
Step 6
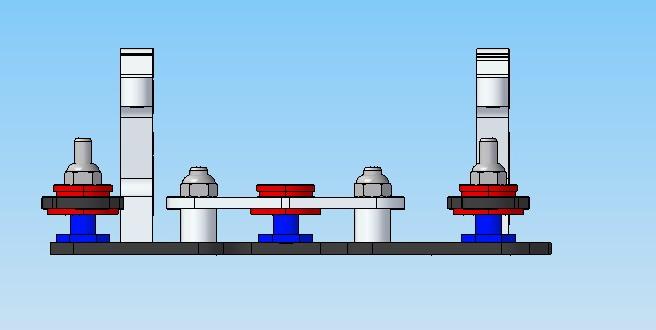
There are a lot of variables in the rear suspension... Start to play with the "front" options, keeping the "rear" (i.e the in-line spheres) as basic option.


Position E (and F) are my personal basic choice...

Position M and N are showing the variables. Position M show the use of a spring instead of the Orings and Position N, show the use of a spring over the sliding rear pillars. This 4 springs set up is the preferred option of some fast driver.

Position O is achievable using the optional carbon fiber battery holder. This part will allow the use of side springs (WRC or any any other market available - Note: you will have to setup custom rear tray post)
Step 7
Use the short upper deck and the step nose from the WRC kit. Assembly them as per WRC instruction.
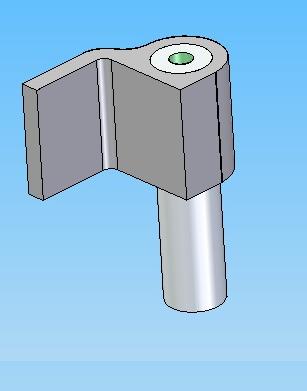
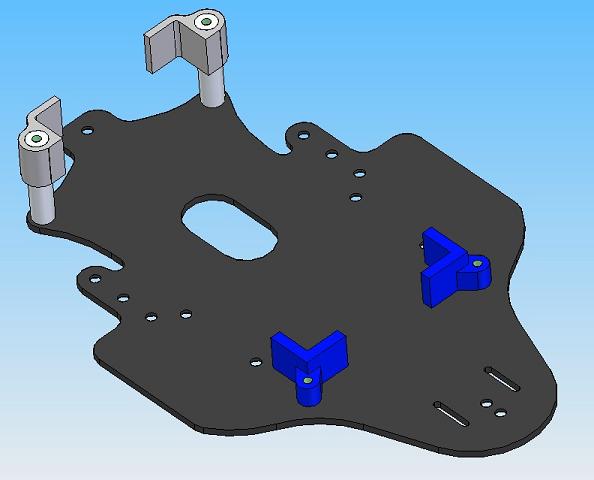
Step 8
Assembly the caster block to the upper deck
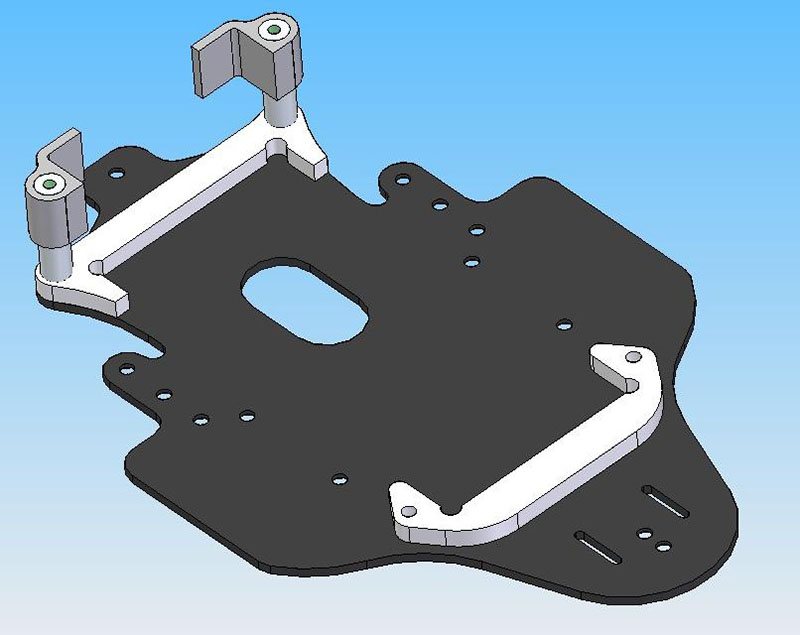
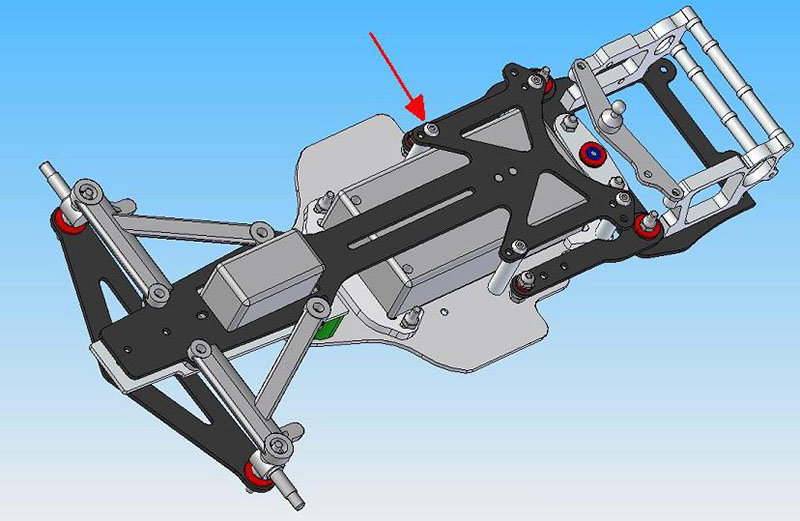
Install the servo and servo holder to the upper deck, then install the upper deck over the main chassis
Note: the upper deck can be assembled with 2 or 4 screw (see the red arrow). Doing so you chance the handling of the chassis
Install also the front arms
Step 9
Car is almost done.... You have to use the remaining part from the WRC battery holder, to make a removable esc holder. Follow the red arrow... Cut roughly a 20mm by 25mm (something like 7/8 of an inch). Fix it over a tray post.Use some double side tape to fix the esc.
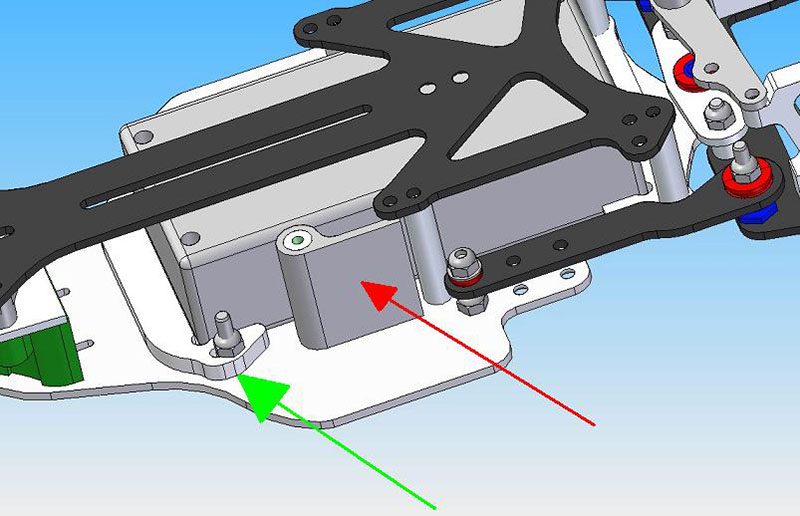
Note the green arrow. It show the front battery holder. Can be slipped to adapt to the different batteries.
Note: To remove the battery, you have to remove both, the esc holder and the battery holder.
Electrical installation
We normally use the ESC on the left side of the car, attached to the movable esc holder. Receiver can be fix direcly over the chassis, best is to use a twin double side tape, to keep the receiver well insulated from the carbon fiber.
Source:
|
