|
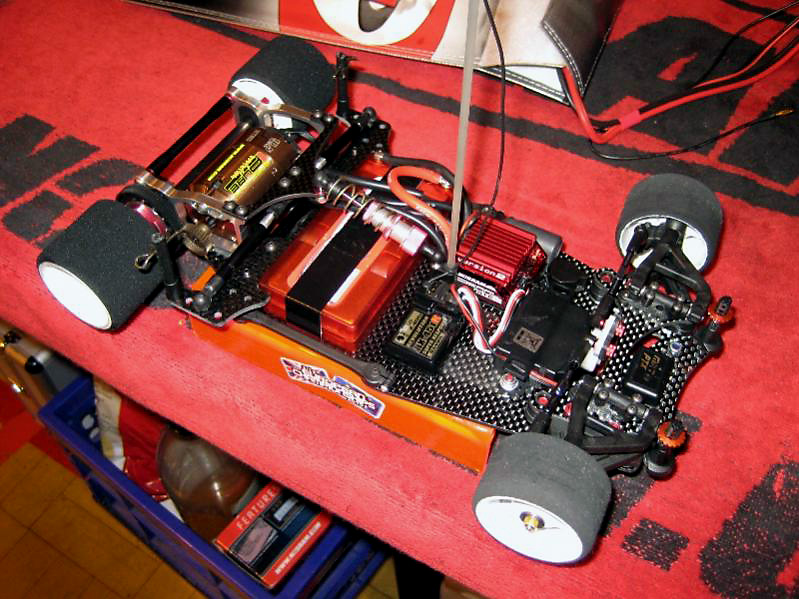
- V-Dezign Carpet Ripper 5.0 - Andy Griffin - Starting setup -
The set-up should work pretty well at all tracks and conditions You will always need to fine tune your set-up a little depending on grip levels and type of carpet used, but normally changing the tyres and playing with the side springs and damping will solve any problems you need to over come The basic set-up shouldn't need to be changed much at all
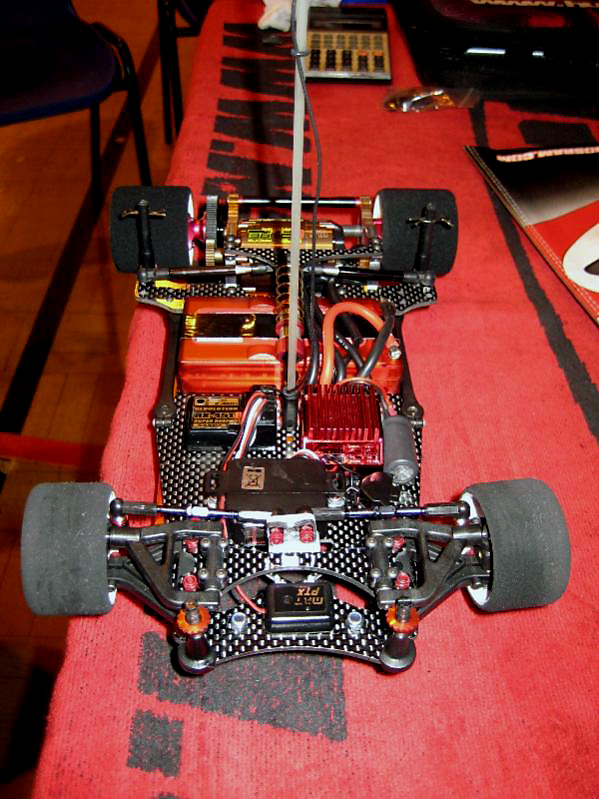
Front end
3mm spacer on the bottom of the wishbone
0.50 springs
Associated black grease on the king-pins
5 degree caster blocks
long top wishbone
1 washer at the front, 2 at the back
trailing axle's
2 washers inside the wheels
3.8mm ride height
CRC magenta tyres 41mm
85% lock
Servo flat
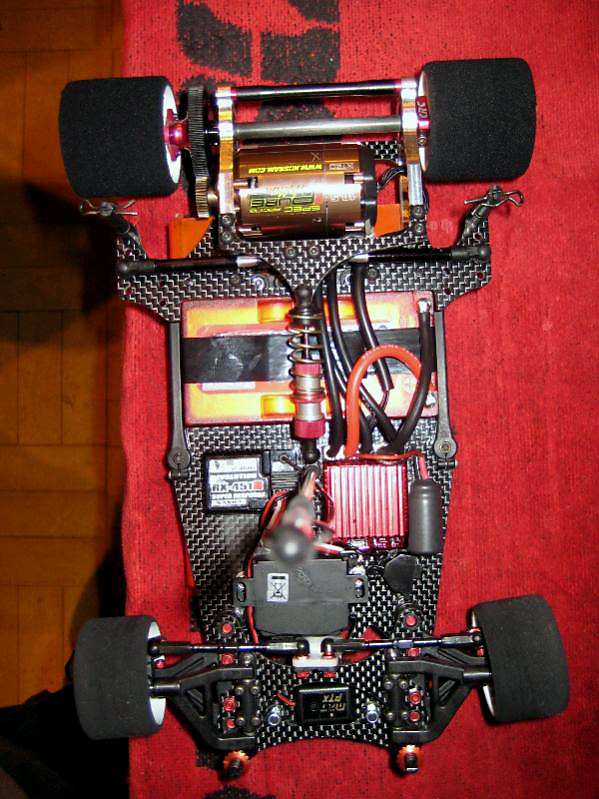
Rear end
Associated blue side springs (no pre-load)
Associated gold centre spring
30 wt oil
1mm droop
CRC blue damper syrup in side dampers
shock in back chassis position
cell back
lowered pivot balls front and rear of link and centre pivot
3.8mm ride height on back of chassis
4mm ride height on back of pod
CRC yellow rears 43.5mm
AMR bodyshell
Build tips
The upper pivot ball in the CRC front end tends to be quite tight when built for the first time, even without the screw cap in at all, so to free this up, I build the ball into the block and put the screw cap in, but don't tighten up fully, then put the thread in a dremal and spin it up while moving it through its normal movement. The block normally gets a little warm at this point, so take your time and be careful not to burn yourself after its been run for a while you should be able to feel the ball free up, then just adjust the screw cap until the slop is taken out of the ball, but the ball still moves freely
Next adjust the king pin so there isn't any free play, but there isn't any pre load on the spring either, this may need to be adjusted through a meeting if you suffer some compression of the spring during the race day. The lower ball should be adjusted with the screw and lock nut, so it moves freely but has the minimum up and down movement possible.
Once the front end is built up, just check that the king pin falls through the pivot ball under the weight of the front end assembly and that there isn't any binding when you turn the steering left and right without the servo attached. It's important that everything is free and doesn't bind up, so if you do feel some resistance, you may need to check it out and re-adjust the cap screw.
It's also important that the rear pivots are all free, sometimes the Associated links can be to tight on the pivot balls, even without any screws in, this seems to vary a lot, so you will have to see once you get them. If they are tight, remove the small screw and put a big flat head screw driver in the slot, then twist the driver, to force the link end to open, then pop the screw back in and adjust it until the ball is just tight, I then fit a screw into the bottom of the ball, and back off the adjusting screw until the ball and screw will fall under there own weight, I do the same set-up for the centre pivot, this should make the ball move free, but with the minimum amount of up and down movement.
It is also critical to make sure that the rear pivots are lined up, as this has a big effect on the way the car handles. If you have a big crash during a race, or the car feels like it's sliding the rear end in the corners, then it's a good idea to check the rear pivot hasn't gone out of line To set-up the pivot, you really need to remove the whole rear pod and cross brace, this will make it easier to feel when you have the pivots set correctly. The rear pivot should feel very free, when it's been knocked out of line, you can feel a lumpy movement when you go from centre to either side, you can also sometimes have the rear feeling smooth but a little tight, this is also not good, the rear should feel smooth but also very loose to move when set-up correctly. This can be quite hard to get right and normally needs a little bit of patients, but the car will work a lot better if you spend the time doing it I normally try to get it set as close as I can, then just nip up one side and have the other side just off tight, so you can push it with a little bit of effort. I then move the looser side around bit by bit, until I find the sweet spot, then slowly tighten the screws up little by little, while keeping a check on the pivot, to make sure it hasn't moved. The screws don't have to be totally tight, as this tends to cause the pivot to bind a little, so just make sure they grab enough to hold it in position
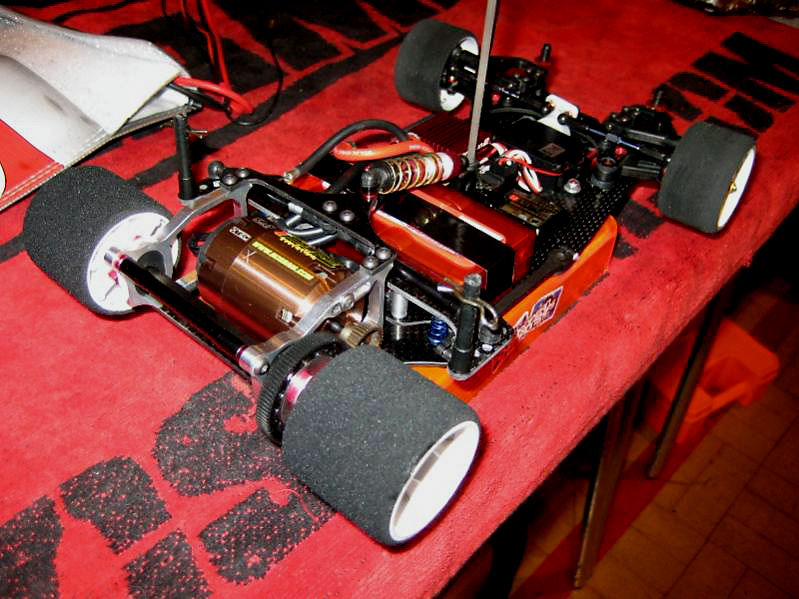
I would also spend some time preparing the chassis with sand paper and super glue, as this will keep the chassis in good condition for longer.
Andy
Source:
RedRCRaceChart

|