|
- T.O.P. Photon EX - Presentation -
by Jim Mitropoulos
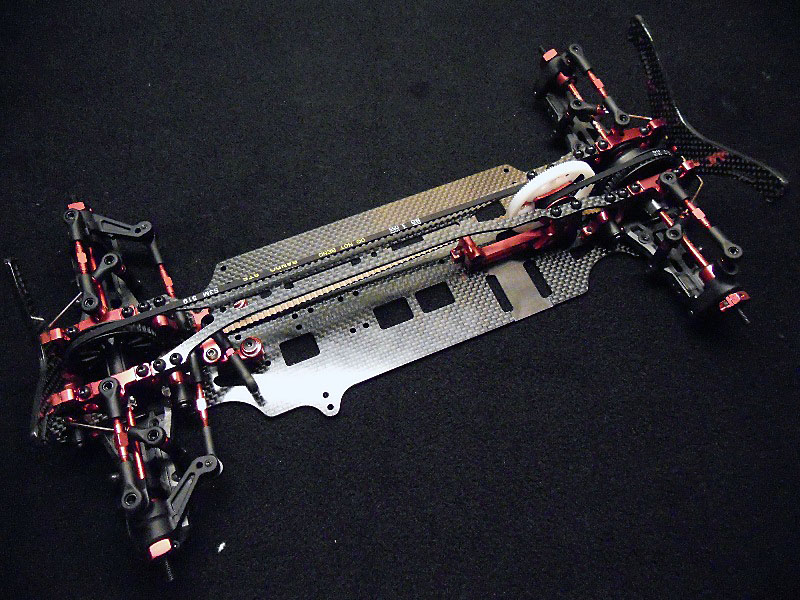
I recently moved to T.O.P Racing team Greece so as to compete to the Greek National EP Touring Car Championship with the all new Photon EX. I received a brand new kit along with some optional partsfrom www.rcring.eu and started building it step by step.
In normal conditions, without taking photos, but paying attention to everything, it should take 8 to 10 hours to build the kit, install all the electronics and trim a bodyshell, thus making the car ready to race.
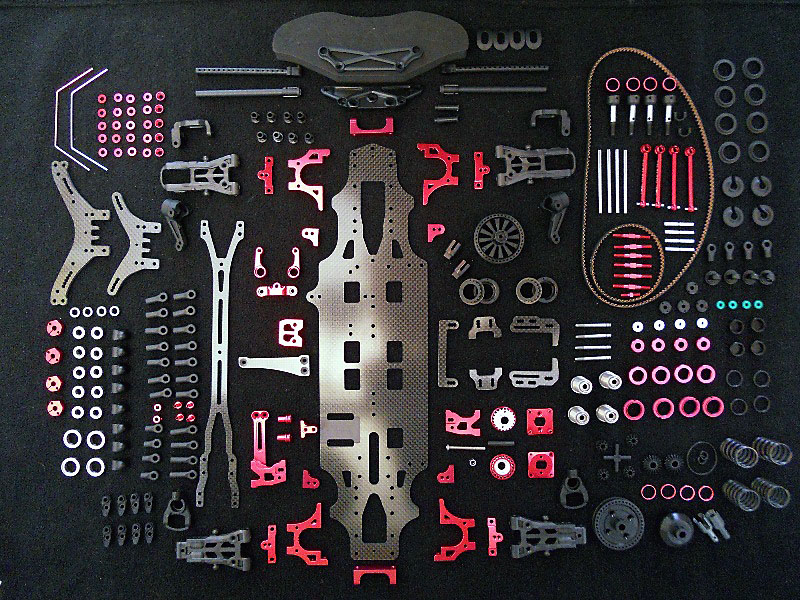
1. All standard parts
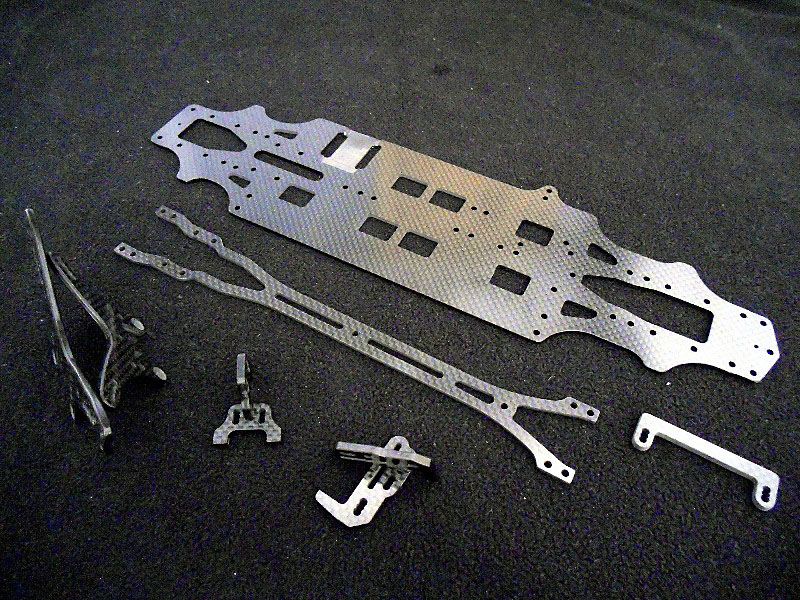
2. Being started – carbon parts preparation
As known, all the carbon parts should be trimmed with a sand-paperto smooth the edges and a small amount of CA will strengthen and protect them from braking.
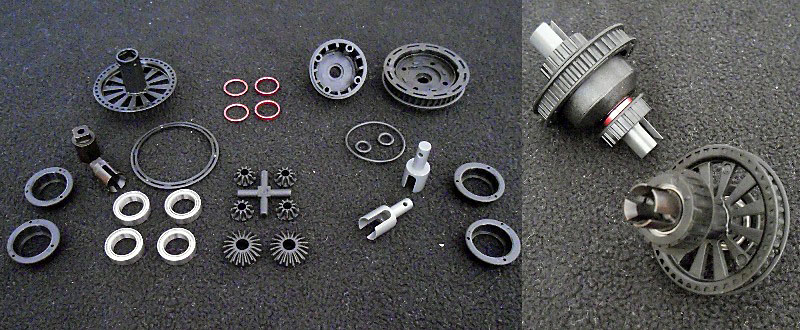
3. Front spool – Rear Gear Diff
The spool for the front is made of plastic, and has steel outdrives. In theory, this layout provides a little bit more steering due to the flex of the plastic part and enough durability do to the steel outdrives.
The Gear Diff is made of premium quality parts that all fit together perfectly and the diff turns super smoothly in your hands when building it. T.O.P has recently released steel outdrives for the gear diff, but I preferred to test the std ones first to see if there is need to change them with the steel ones.
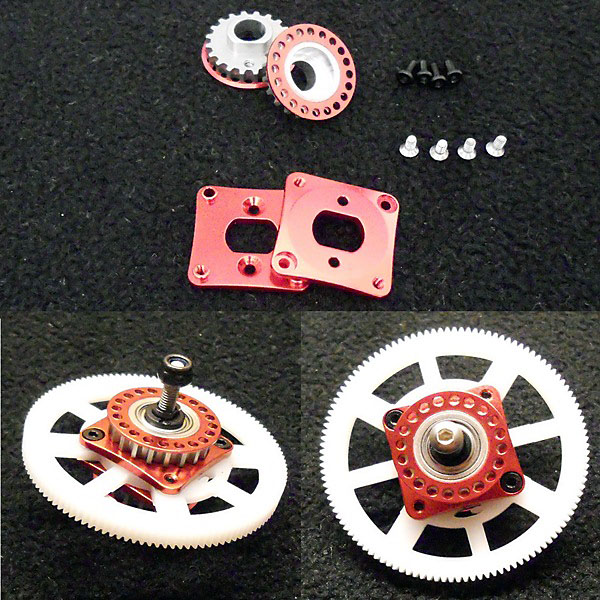
4. Center Pulley
The center pulley is the first thing I purchased as an optional. The plastic pulleys (std part) should provide smoother transmission, but with the aluminum ones, I won’t have to worry about the wear and change them from time to time. I also installed a panaracer 64pitch spur gear witch runs very smooth and consistent.
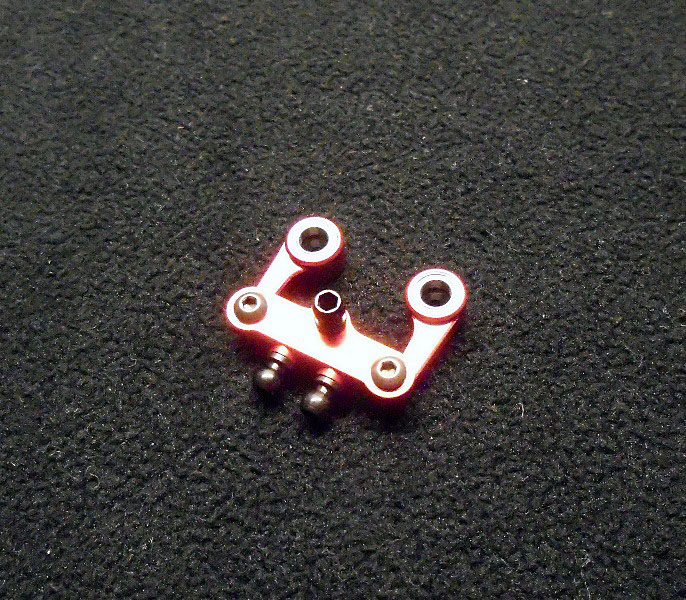
5. Steering crank
This was the first part that I was worried about, as at many cars I had noticed a big gap at the crank. I had may tests and came up with some different spacers and screws as you can see in the picture. Now there is only a tiny slop which is more than acceptable, so my worries have gone away.
6. Suspension mount holders, bulkheads and motor mount assembly
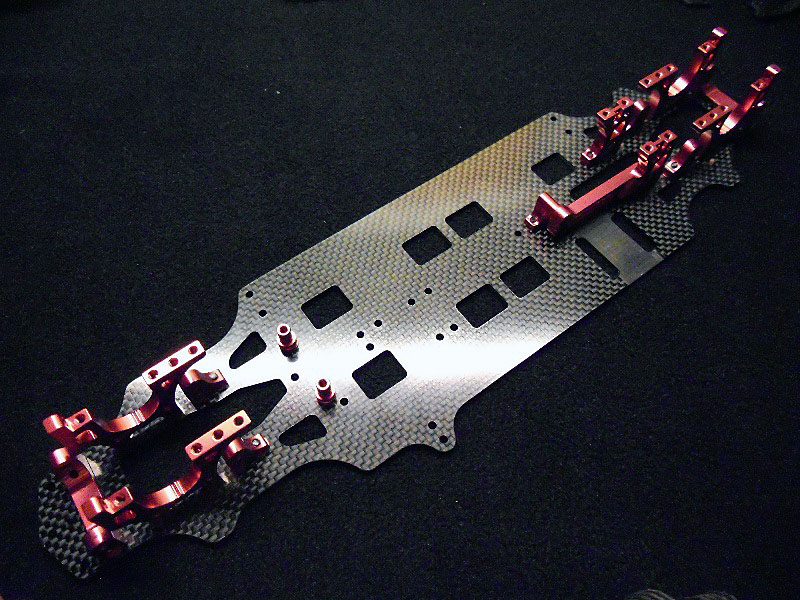
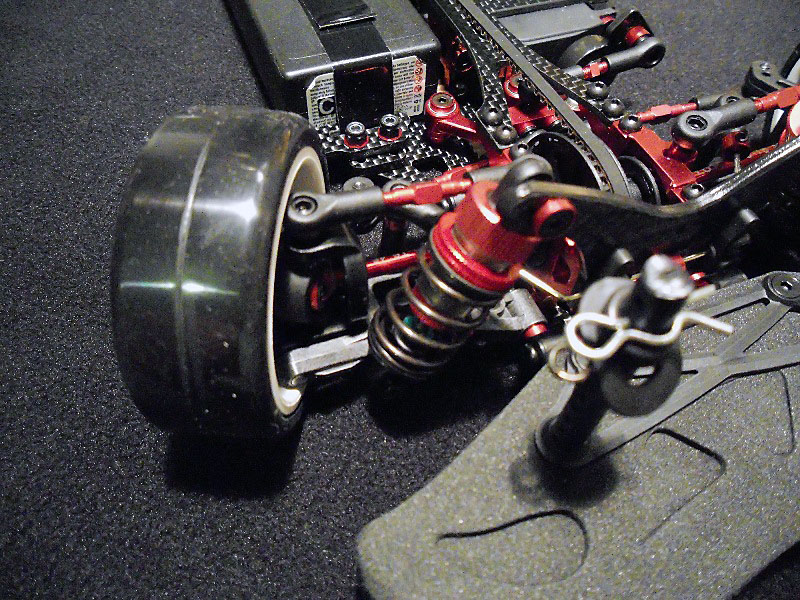
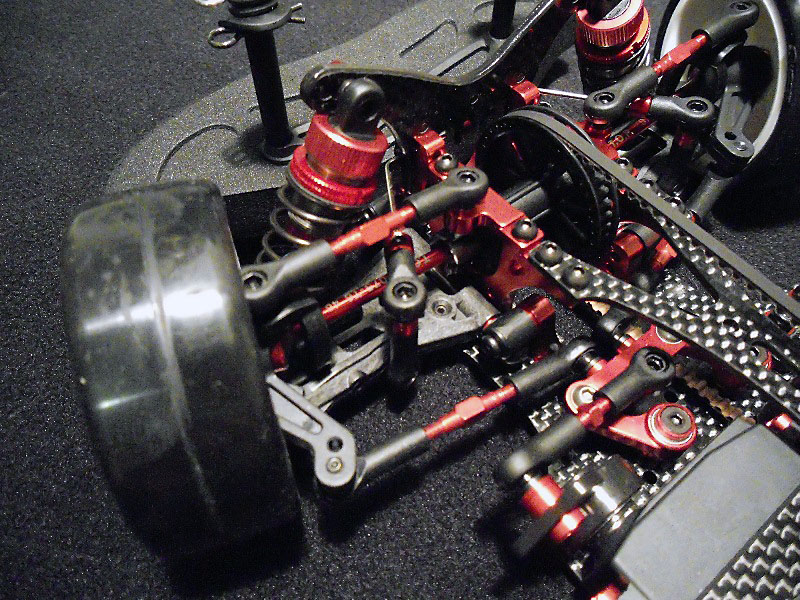
All the aluminum parts come in red (or magenta!) color, and are of premium quality. They fit perfectly on the chassis with all screws fasten free of small particles andgoing 0.5mm inside the chassis, so they won’t be scratched at any time.
7. Drive train assembly
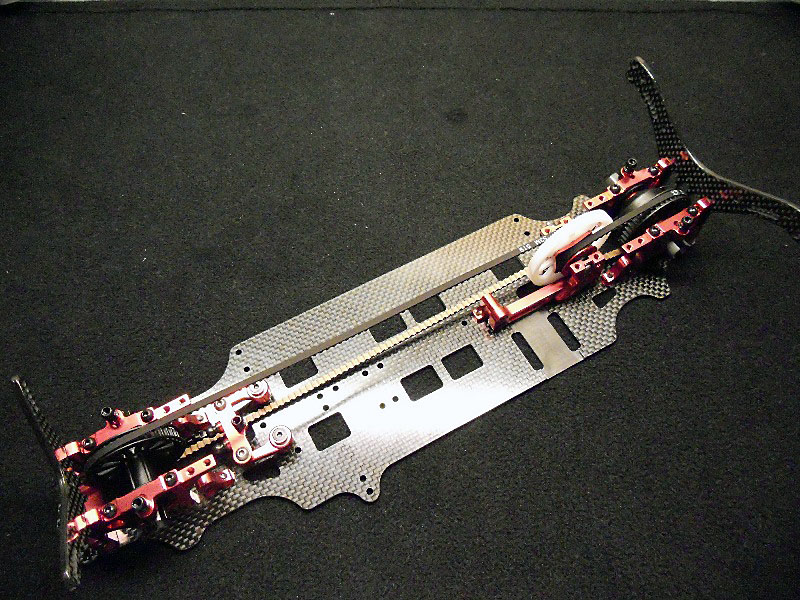
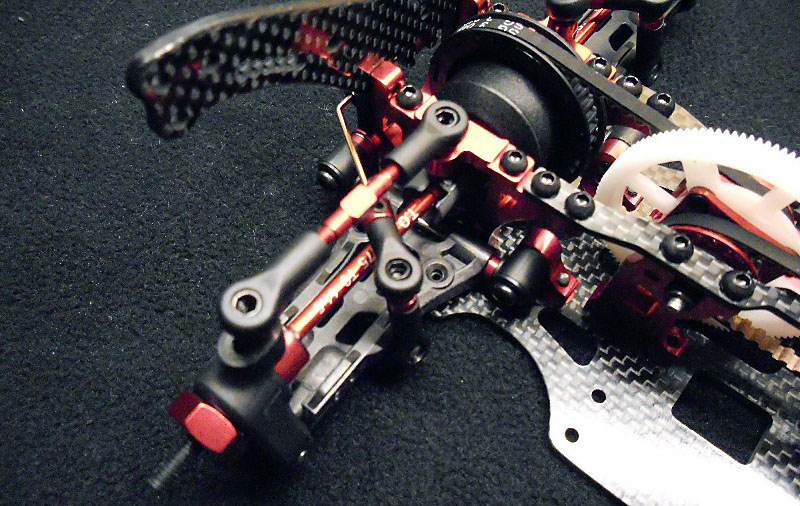
With all parts ready, it was time to install them in their place. The center shaft slides into the slots at the motor plates and with the 30mm screw and nut it is being secured in either the standard, or the upper position.
There are two BANDOO belts included in the kit, so there is no need of any other low friction belts. The belt tensioners at the spool and the diff are of great quality plastic and again fit exactly into the bulkheads. The only bad thing is that you should tap and hold both the spool and diff before securing them with the camber link plates as they teen to get off place.
Both shock towers fit perfectly on the bulkheads, so if anyone needs to change a diff or spool, he only has to unfasten the four screws of the camber link plates.
8. Suspension arms
The suspension arms are another optional part for me. I changed the std plastic arms with the optional carbon-fiber ones, as they are half weight and feel stronger. I haven’t tested the std ones, so I can’t say if they are not so strong, so I don’t think this optional part is really necessary .
The arms of course are left/right symmetrical and revisable, which means more shock positions available.
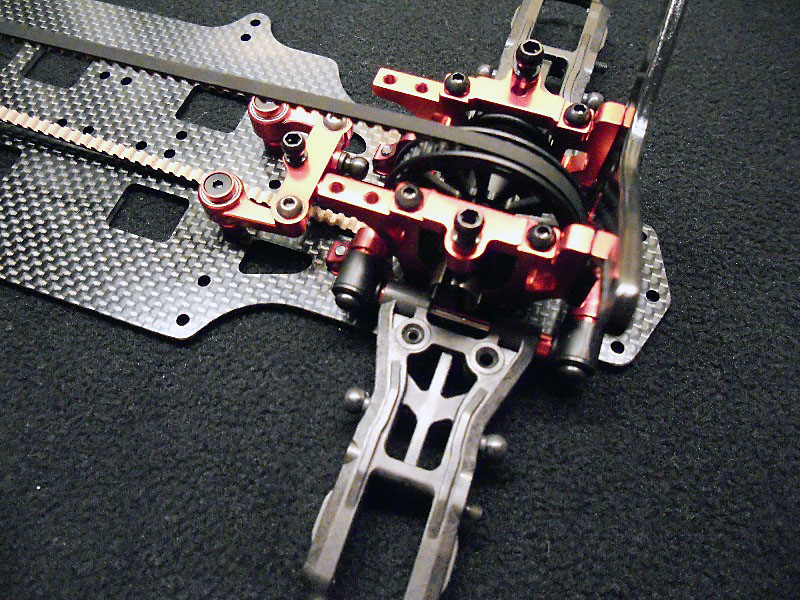
Only thing needed when assembling the suspension arms is to add a 0.3mm shim in front, or behind the arm to zero out the slop. This needs to be added in both front and rear arms.
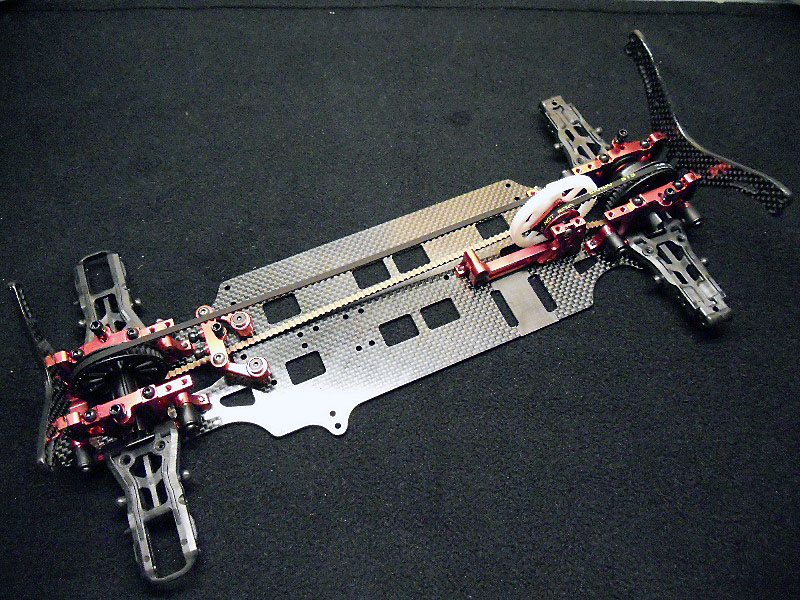
9. Front and rear Axles
All the std bones are made of aluminum. The front ones are 46mm long and the rear 44.5. The option part I purchased for the axles is the red aluminum collars. These can provide easier maintenance, as now there is not a set screw, and in theory smoother transmission especially in the front. This option part is again not so necessary as I think T.O.P will soon produce double joints for the front made of steel, so we won’t have to worry anymore about the front axles wear and smoothness.
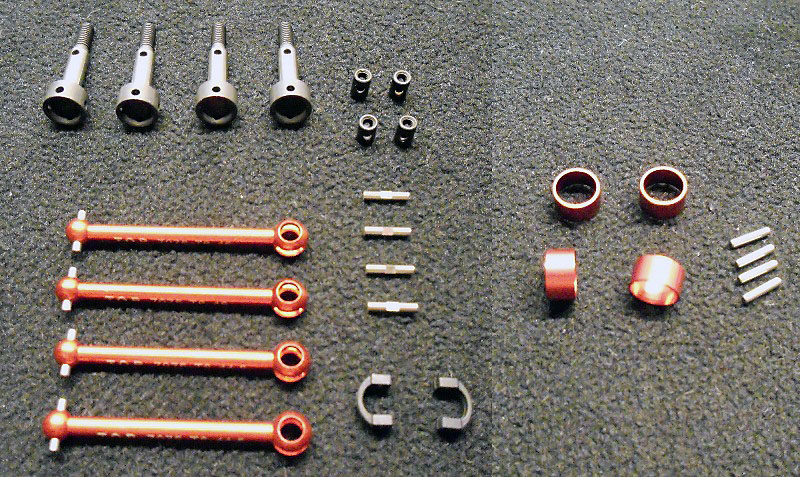
Axles Ready
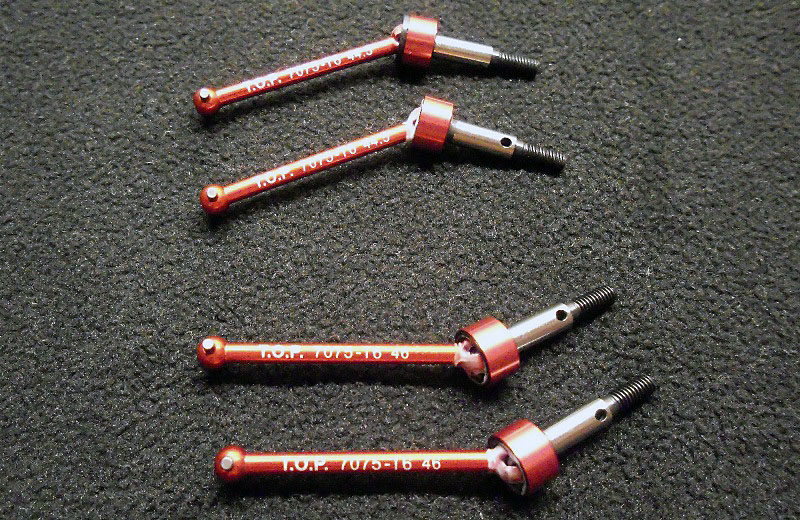
10. Front and rear wheel hubs
All the wheel hubs and the C-hubs are made of plastic. The quality is very excellent again, and only the front spindles need a 0.1mm sanding to fit and rotate perfectly into the c-hubs.
Installing them there is a need of a 0.2mm shim between the c-hub and the arm and zero slop again! For the rear nothing extra is needed.
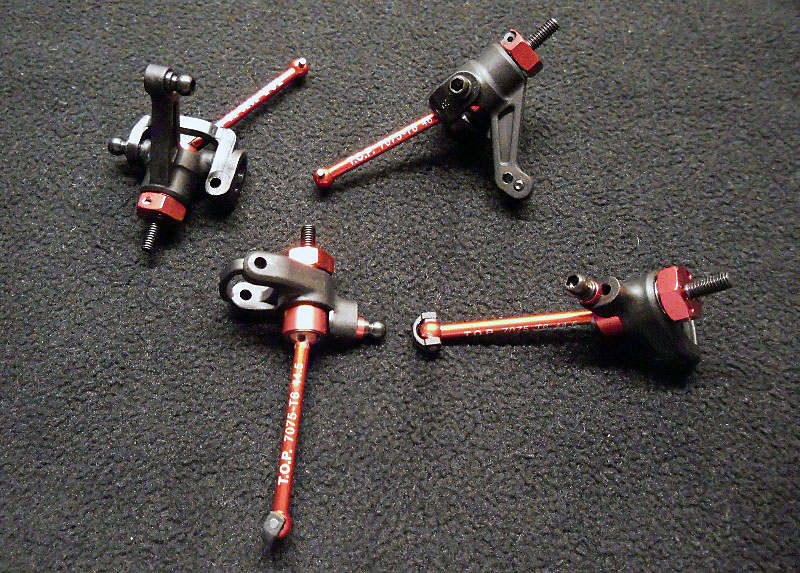
11.Linkages and Stabilizer bar installation
For the linkages, I also purchased the optional red aluminum tie rod set. I just wanted to check the durability of the aluminum ones, as I have never tried aluminum tie rods in the past. The std steel tie rods will for sure be stiffer, but the aluminum ones are a bit lighter.
Assembling the links I found that the very good plastic ball cups would fit tightly on the ball studs, so I decided to remove a very tiny amount of plastic using my reamer. This made them all fit perfectly on the ball studs with no slop but free!
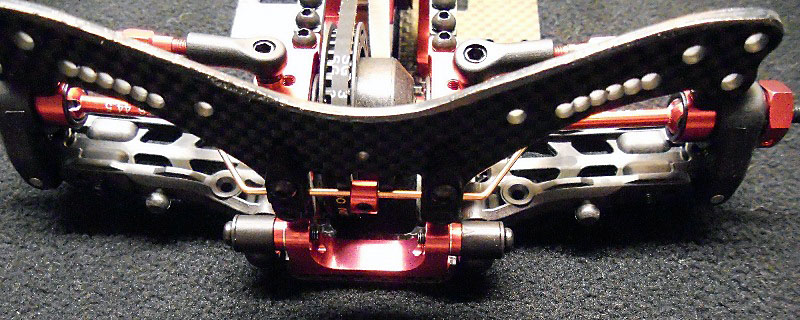
Now let us talk about the stabilizer bars. Many people don’t like them on their photons, but the effect of stabilizer bars is not something you can gain with a different way. From the beginning I was sure that I was going to install them, and so I did.
1.4mm for the front and 1.2 for the rear of the car is a setup I use to have for the past 8 years, so I am ok with the stabilizer bars provided in the kit. They have a perfect fit, and the stopper also helps a lot the bar not moving left/right. It is also very nice to have different stabilizer mounts (small and large) to fit exactly the bar you want.
The linkage is well known and I think most manufacturers use this type where you can easily adjust the height. I use spacers to be sure about their height.
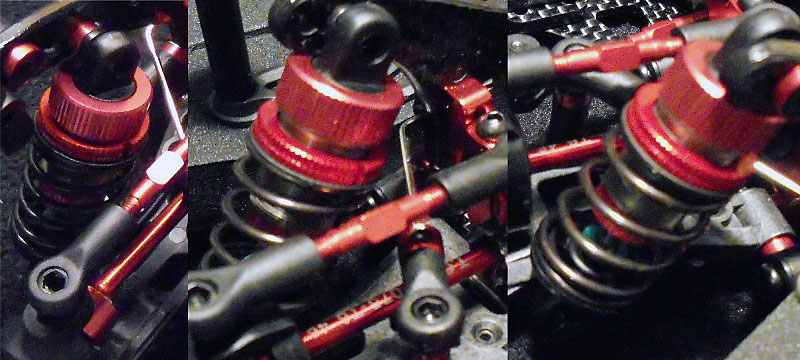
12. Shock absorbers
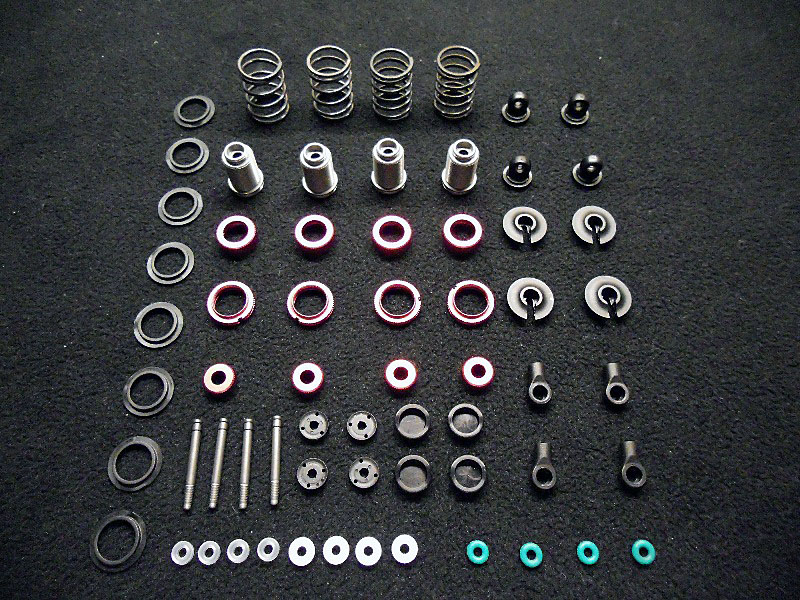
Next thing to do is the shock absorbers. Their quality is again excellent, along with the updated shock spring adjusters that T.O.P provided free of charge. The only thing to change is the std o-rings with the kyosho x-rings that everyone suggests. I will test the std o-rings as well to come to a conclusion myself. There are 4 different types of pistons provided, 2 or 3 holes of 1.0mm or 2.0mm. I used the 3 hole-1.2mm ones and will test with 500 muchmore shock oil. The piston has a unique design which provides a super smooth action on both bounce and rebound. Between the pistons and the e-clips I used a 0.2mm shim to zero out any slop. All four shocks seal perfectly and were easily made exactly the same in both bounce and rebound!
The springs are nice shiny black with their number printed on the first coil, so it is easy to find what you want, when trying to fine tune the car. Anyway, with the kit springs, it should be ok.
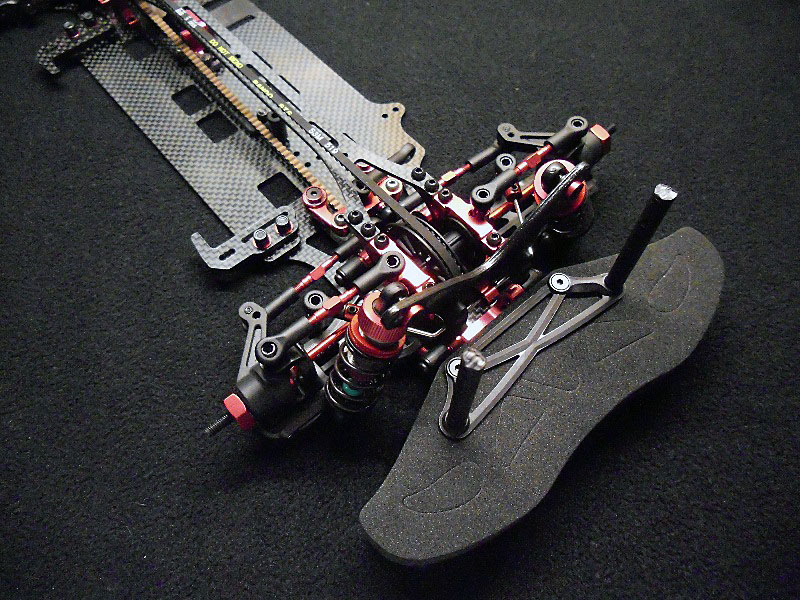
13. Bumper and body posts and Battery Guide Installation
The lower bumper and body posts are all made of the same very good plastic as the other plastic parts of the car and are easily installed on the car that is almost ready. The bumper is strong enough to protect the front of the car and has some cuts that can be taken off for the bumper to have more flex.
Concerning the battery, these carbon braces hold the battery in the wright position so as not have to worry in case of an incident. They are adjustable front/rear/left/right for fine tuningthe weight distribution of the car.Also the center carbon stopper is a great way to protect your belt.
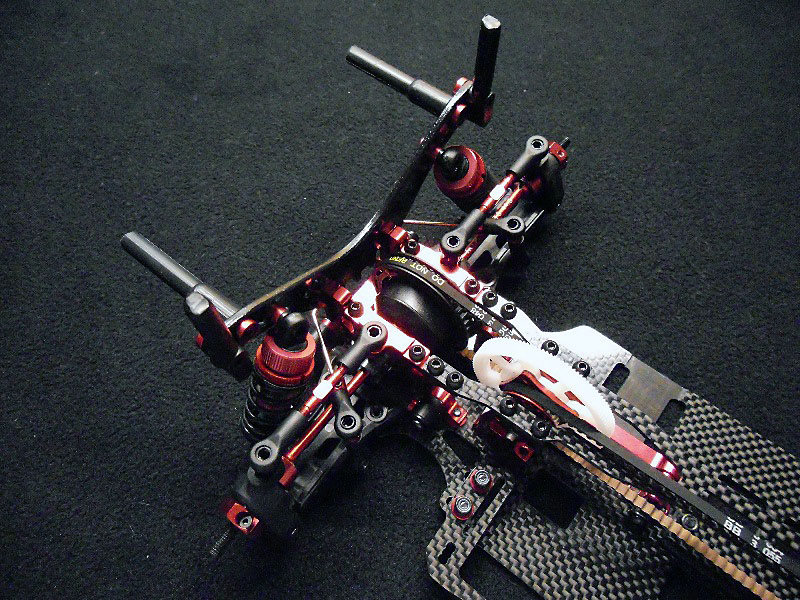
The body posts mounted on the rear shock tower and facing backwards are very useful, holding the bodyshell in place in case another car hits you from behind, and are the cheapest option part someone can buy!
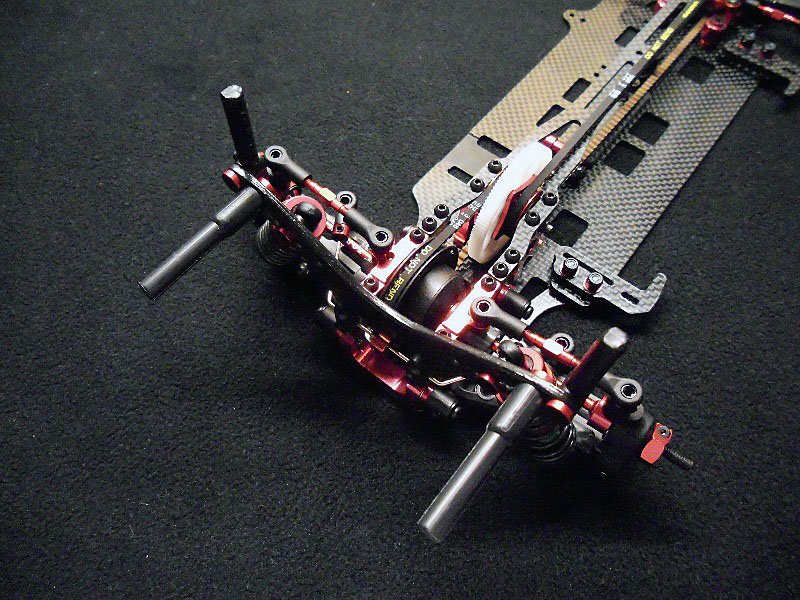
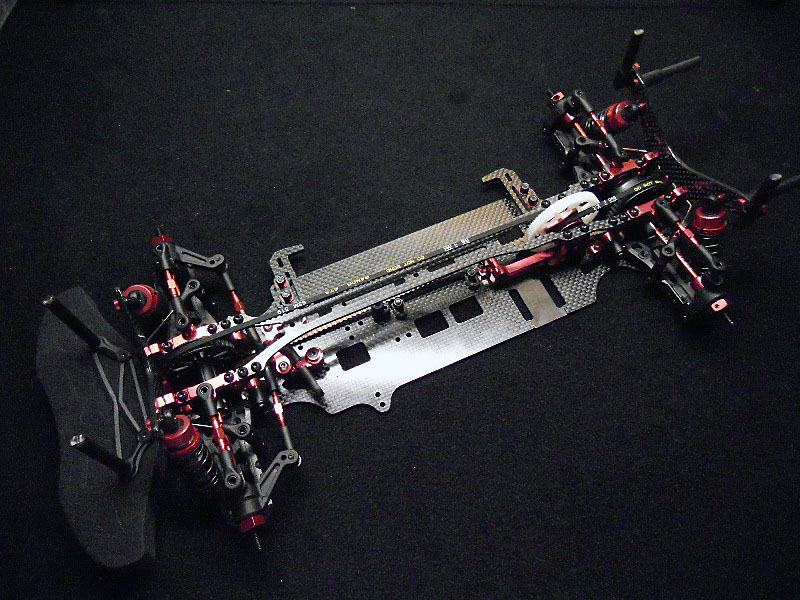
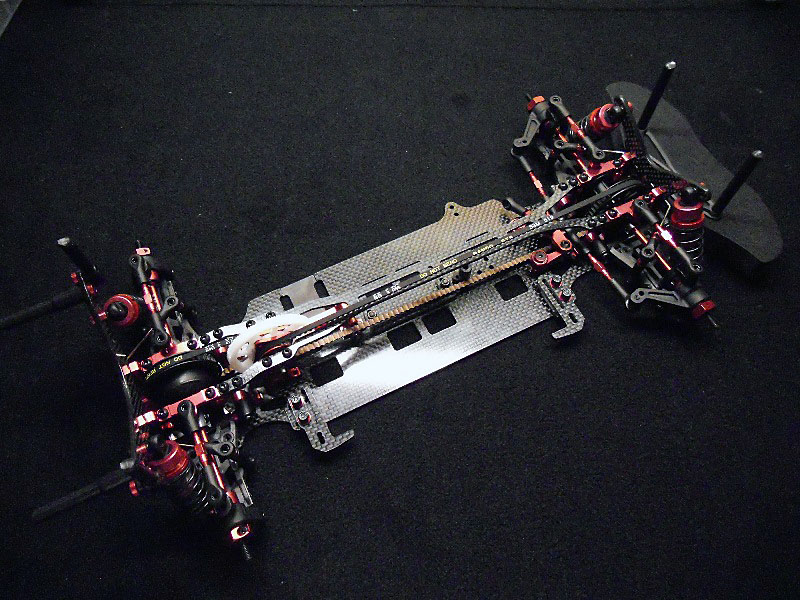
14. Servo Installation.
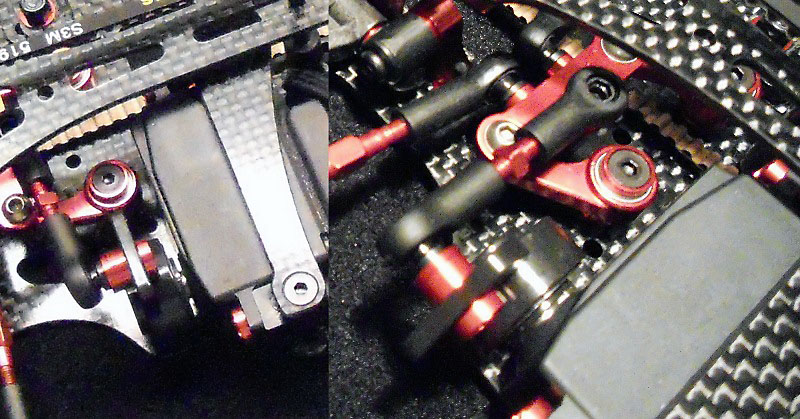
Here is the best option part I purchased with the car.
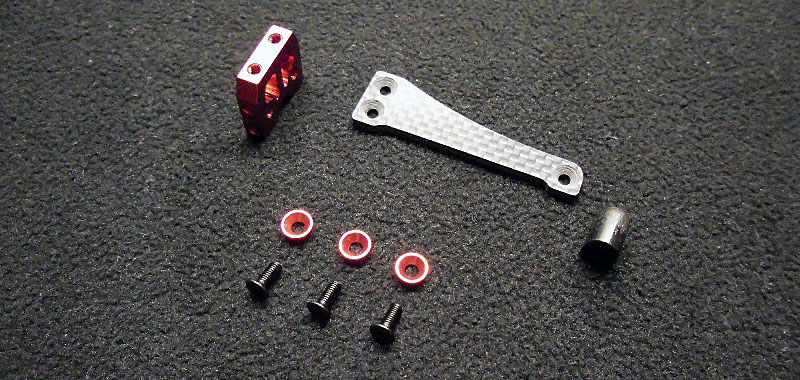
It’s the new one piece servo mount, which almost all manufacturers are testing. It is of course very nice to see and provides equal flex left/right for the chassis. I will try this at first and then try the traditional layout to see the difference.
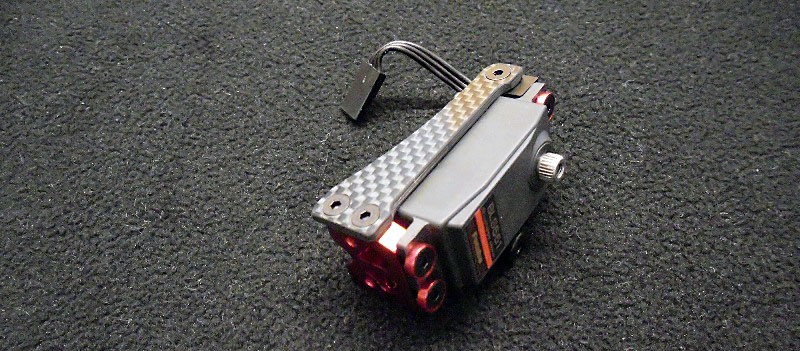
The traditional servo sever provided by T.O.P is made by kimbrough and is of great quality, and for sure more safe than the servo horn.
15. Belt Tensioners
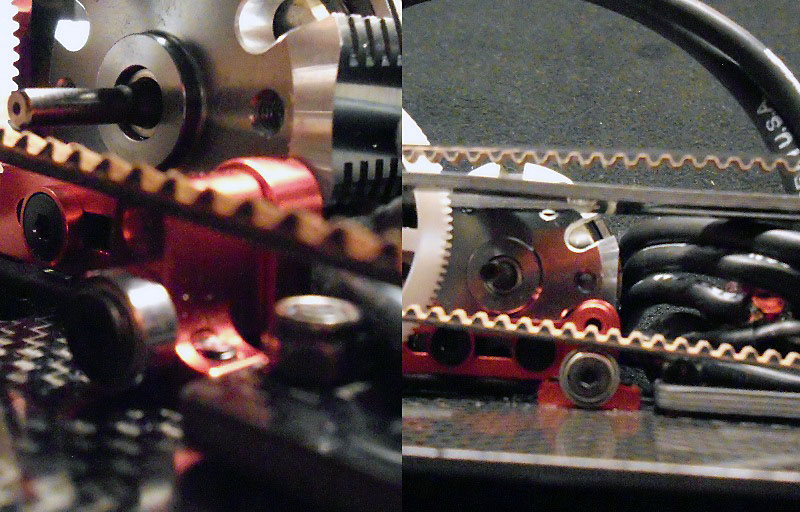
When I finished installing the servo, I suddenly realized that there were no belt tensioners in the kit. But that didn’t seem to be a problem. I had some spare ball bearings, some red shims, and two smaller servo mounts provided in the kit. For the main belt tensioner I used a small servo mount with 2mm shims under to raise it a little, a long 3mm head screw, two .5mm shims(just to be red!) and two small ball bearings (3x5x3). My first tensioner was ready!
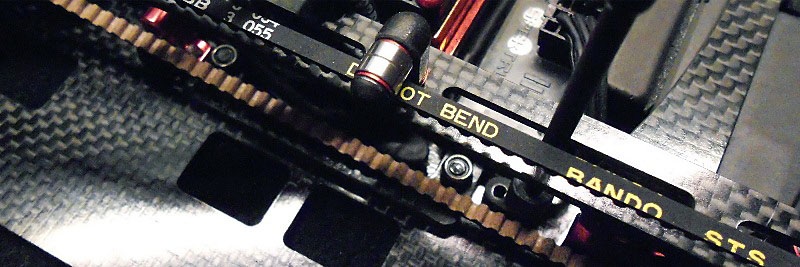
The second one was again easy to fit, as there was “spare thread” at the motor mount brace. For this one I used a 4x6x5 bearing and a 3x6 countersunk screw. Some Loctite is necessary so as not to tighten the screw and destroy the ball bearing. The second belt tensioner was also ready!
16. Electronics
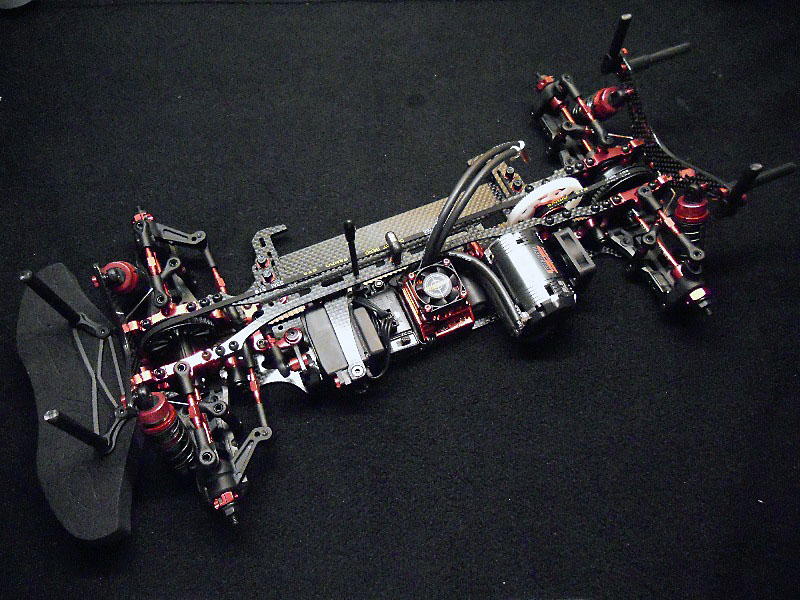
As the layout of the car is pretty much the samewith my TCX, I just reinstalled my transponder, receiver, esc, motor and fan the same way as before and my car is ready to race!
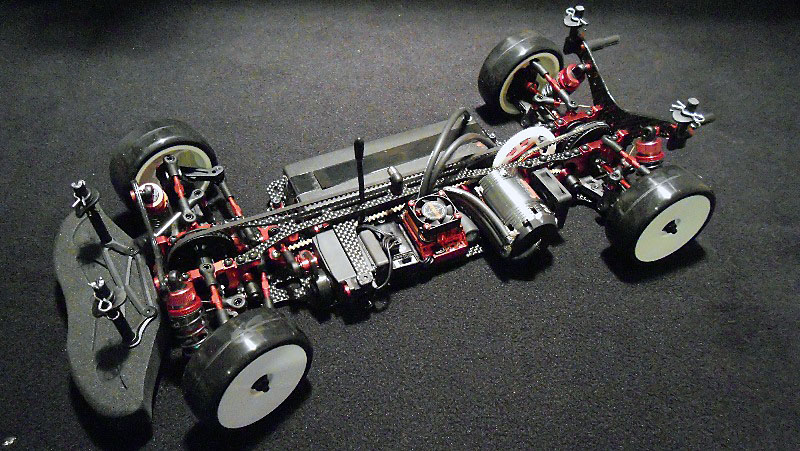
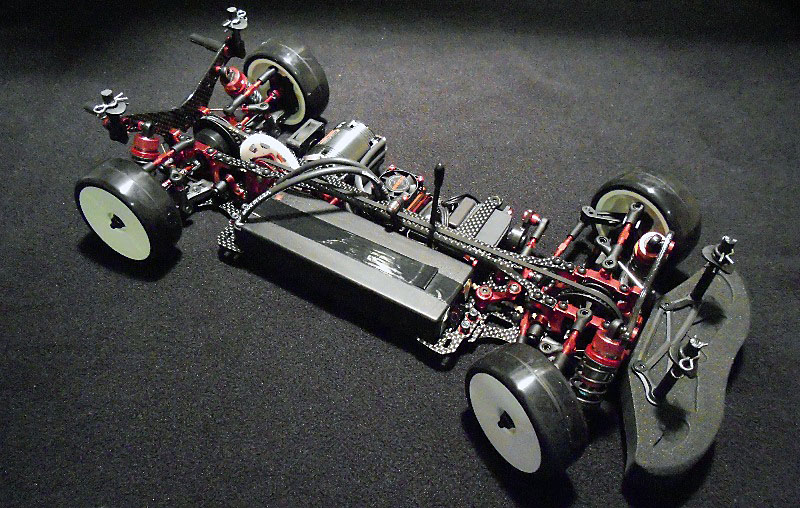
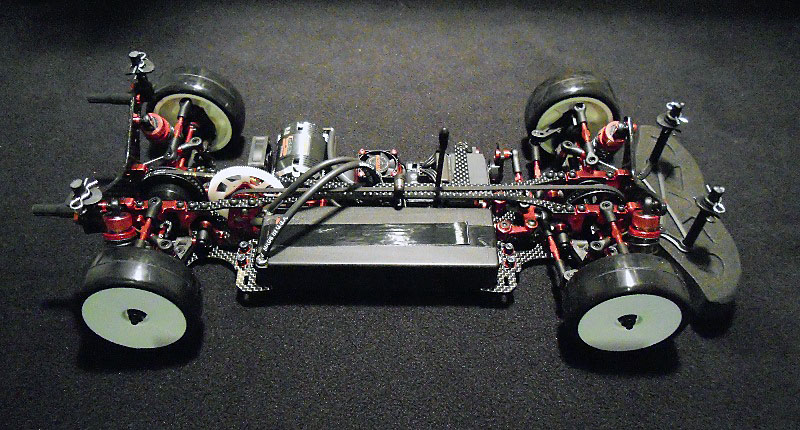
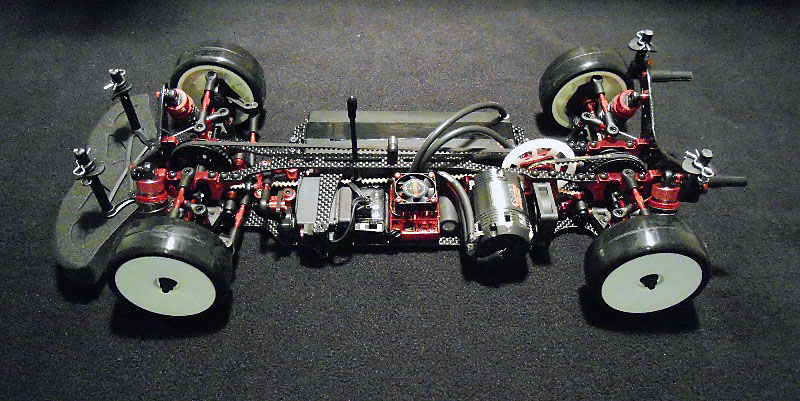
Final thoughts.
In terms of quality the Photon EX is one of the best ‘high end’ kits in the market, it is made in Japan, and at last it is quite “cheap”, which is very important nowadays.
The kit is not only for the experts, but requires good knowledge of assembling technics, or some tips from an expert. The inexperienced hobbyist won’t damage the kit before it is even used on the track, and the expert will find it interesting to assemble and fine tune.
Positives:
Quality
Fit and finish
Tuning options
Same left/right/front/rear suspension blocks
Same left/right/front/rear bulkheads
Extra screws, nuts etc that may be lost or damaged during assembly
Manual presentation and quality
Support from T.O.P Racing and www.rcring.eu
Negatives:
Manual could have a bit more detail on some assembly stages
Some anodized parts have a little different color than the rest
T.O.P doesn’t provide double joints yet (but I think they will soon be ready)
Last Sunday the weather didn’t allow for some testing and I can’t wait till next Saturday!
Source:

|
