Already received the TRF417X almost 2 weeks ago but due to being super busy with work etc. it took a while to get the thing built, especially as never want to rush the building of a TRF kit. Well, the 417X has been completed since last weekend but again work takes most of my time and energy during the week so no time to take photos and post something.
Anyway, here I will post some pictures with comments added.
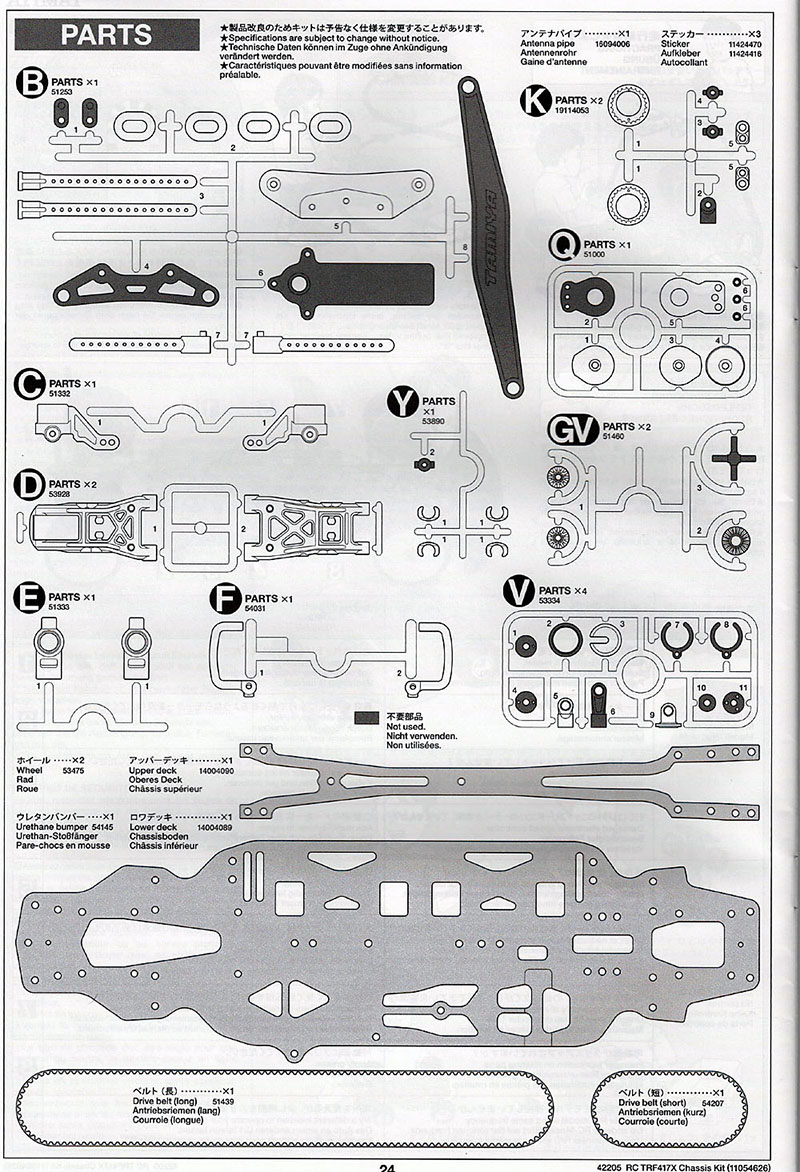
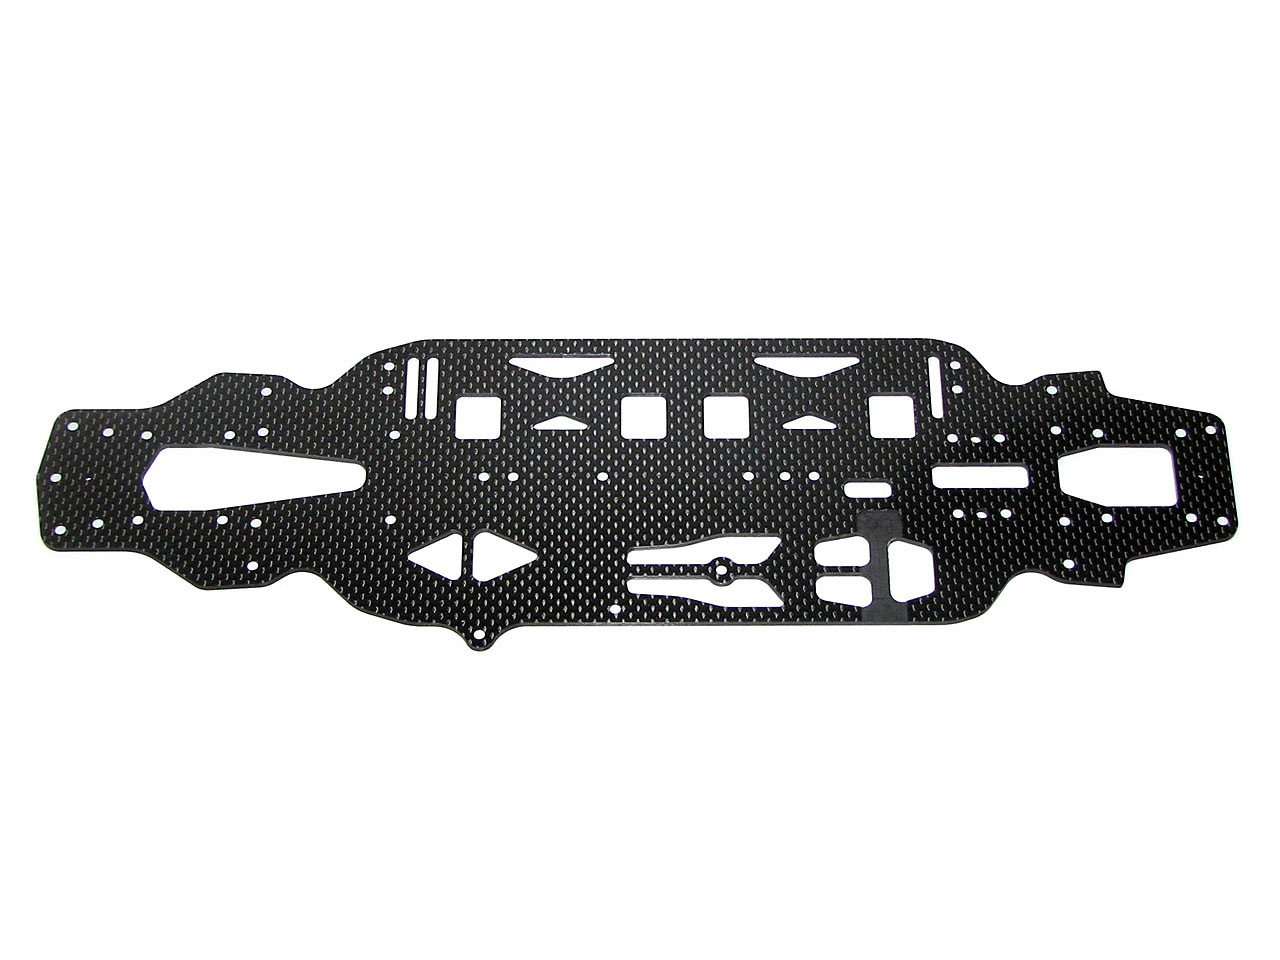
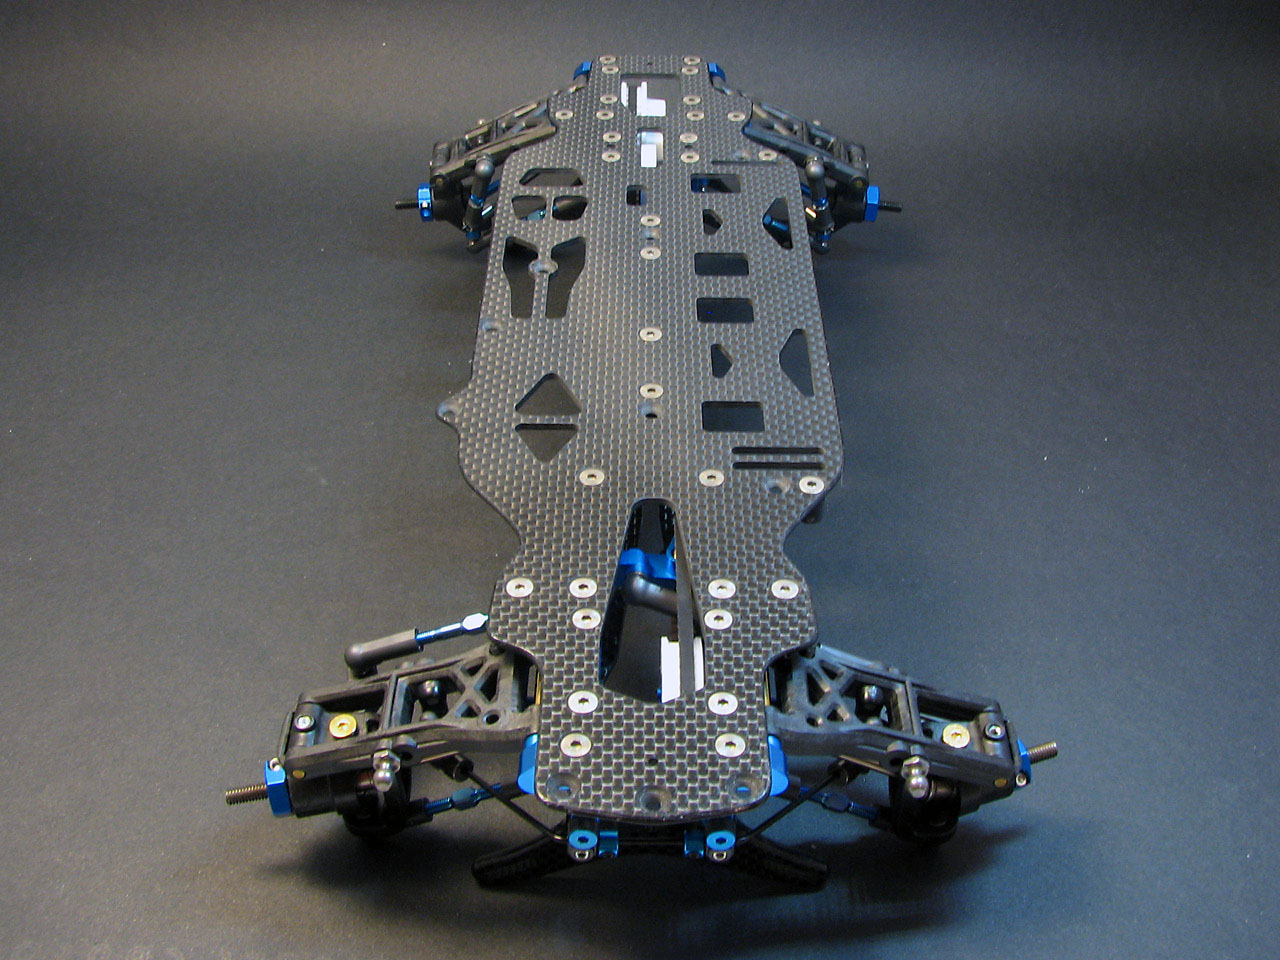
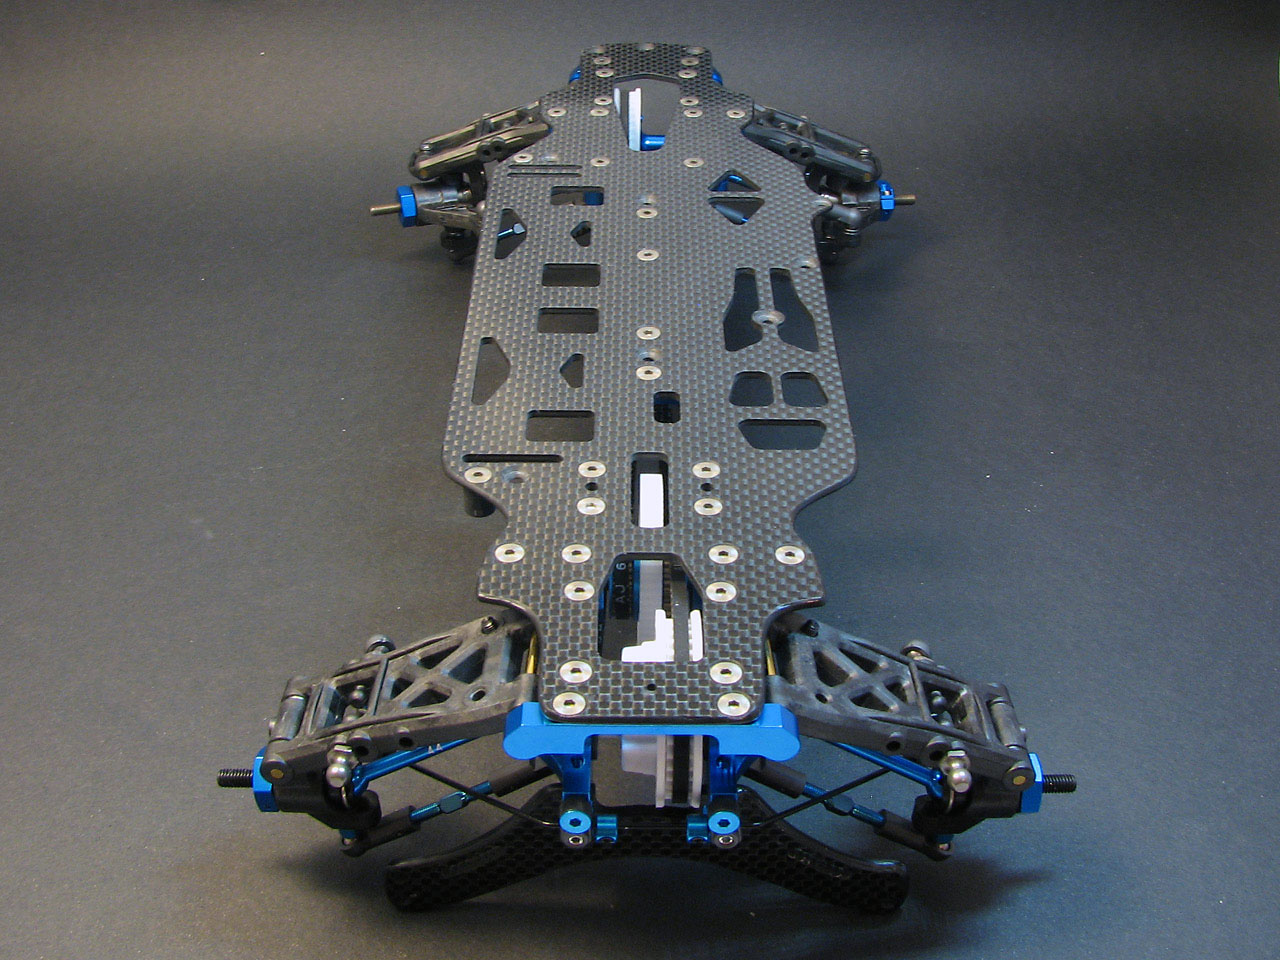
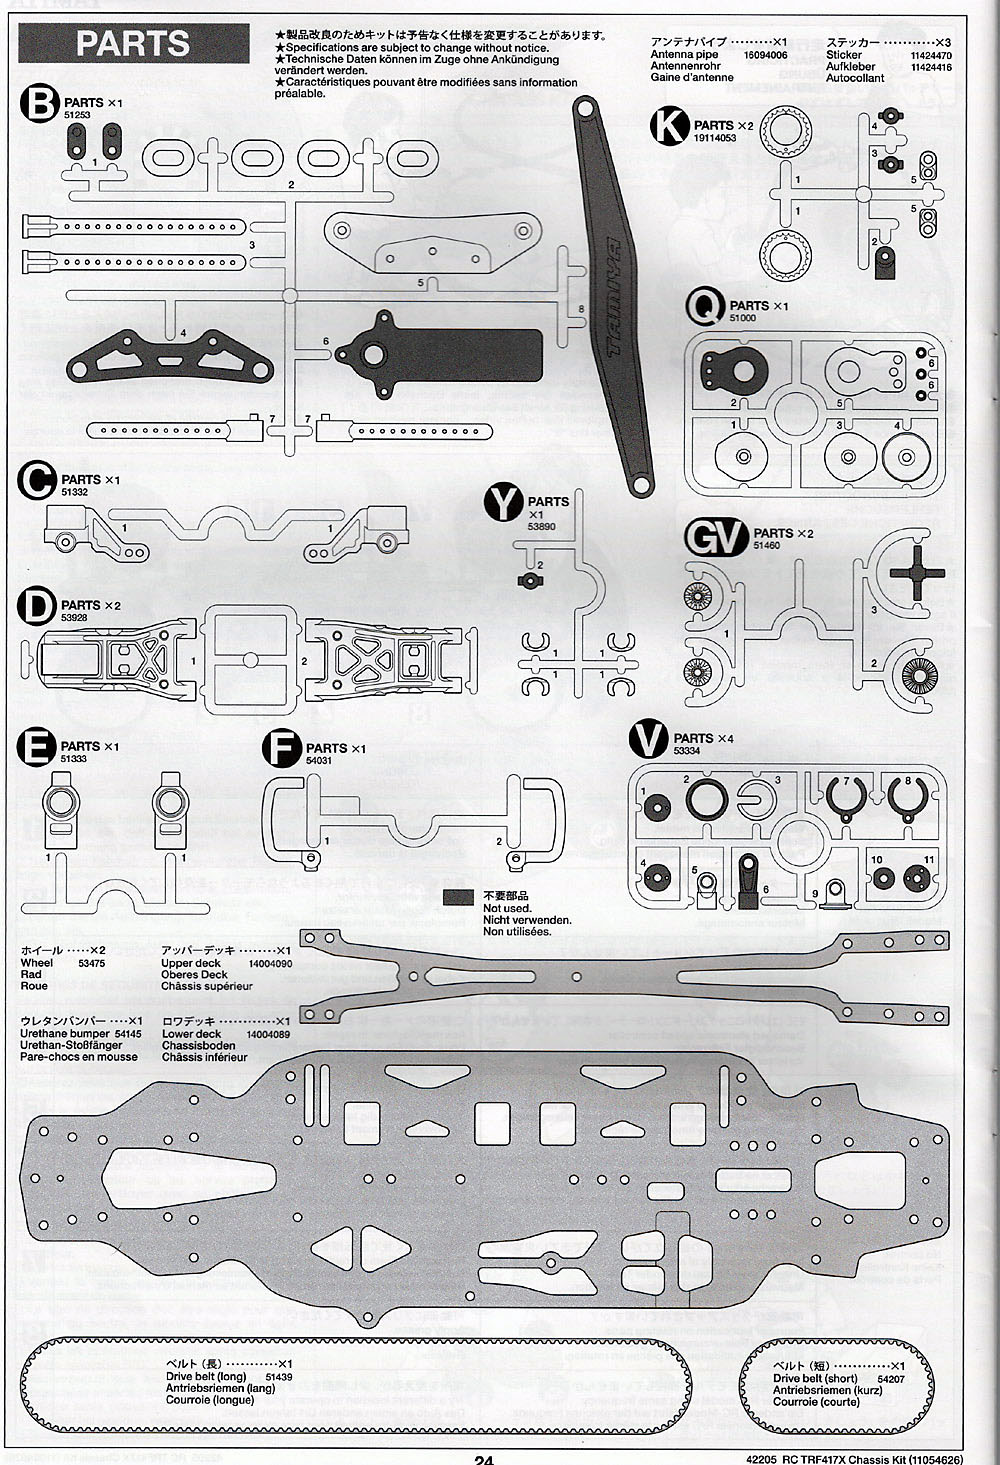
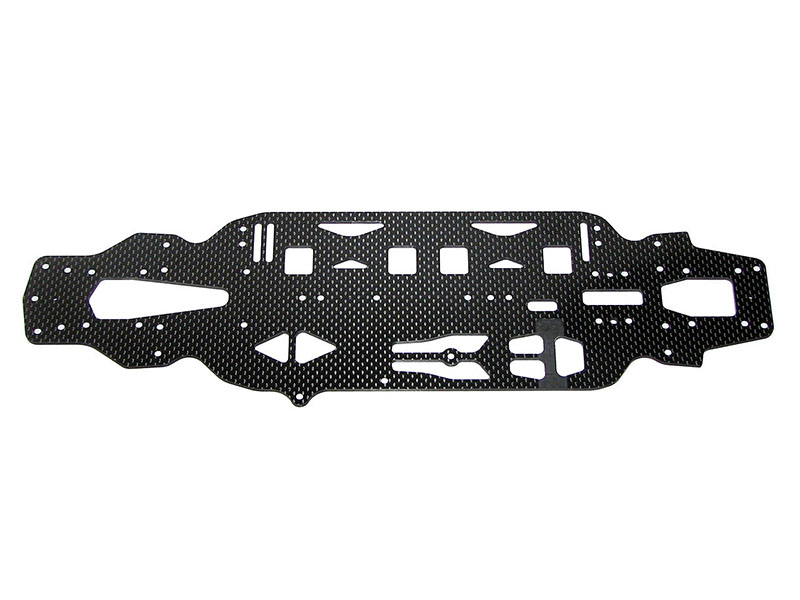
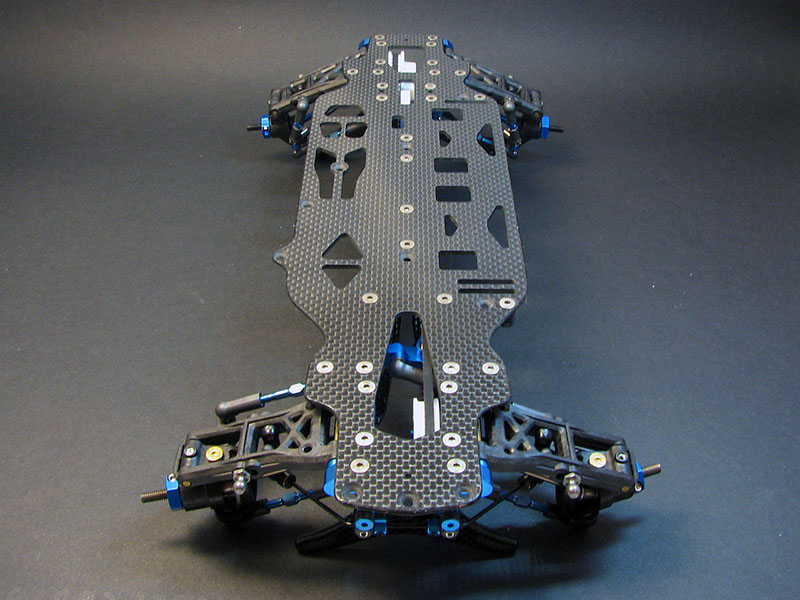
This is the lower deck as it comes out of the box. A lot of material removed and @90mm wide it's 4mm narrower than the original TRF417 chassis. I do not like the shape of the chassis in front of the servo/battery as well as behind the motor/battery. Therefore I modified the shape to a more eye-pleasing shape when sanding the edges. This will be seen in later photos.
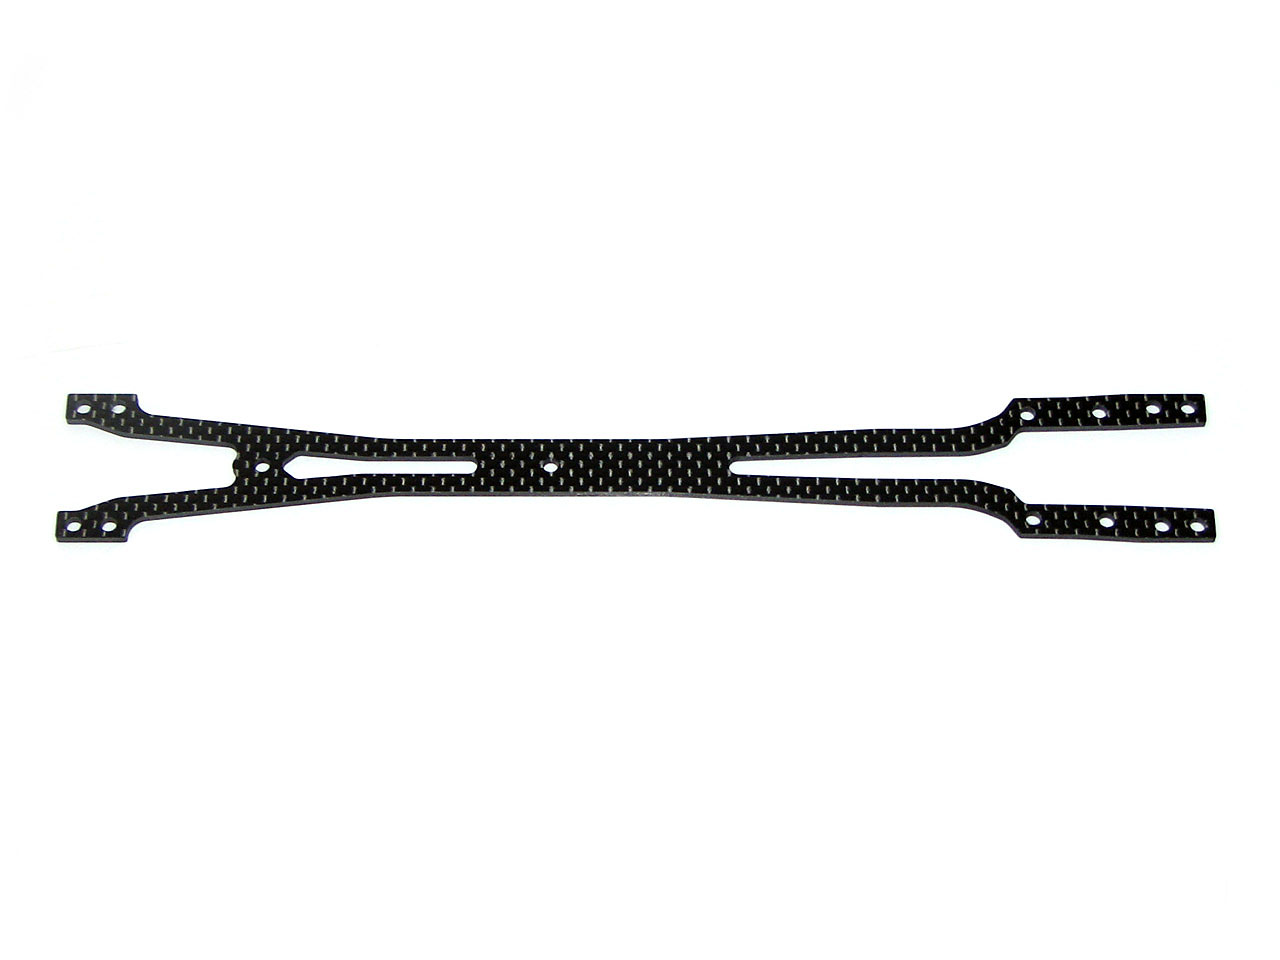
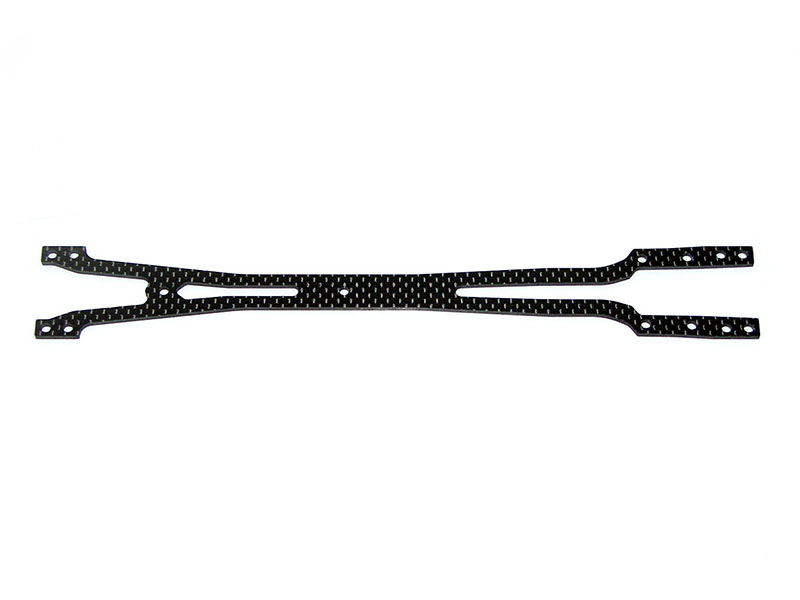
The upper deck is more flexy with the front and rearmost section removed, similar to what we did on the 417 already. Otherwise the upper deck appears similar to the original 417.
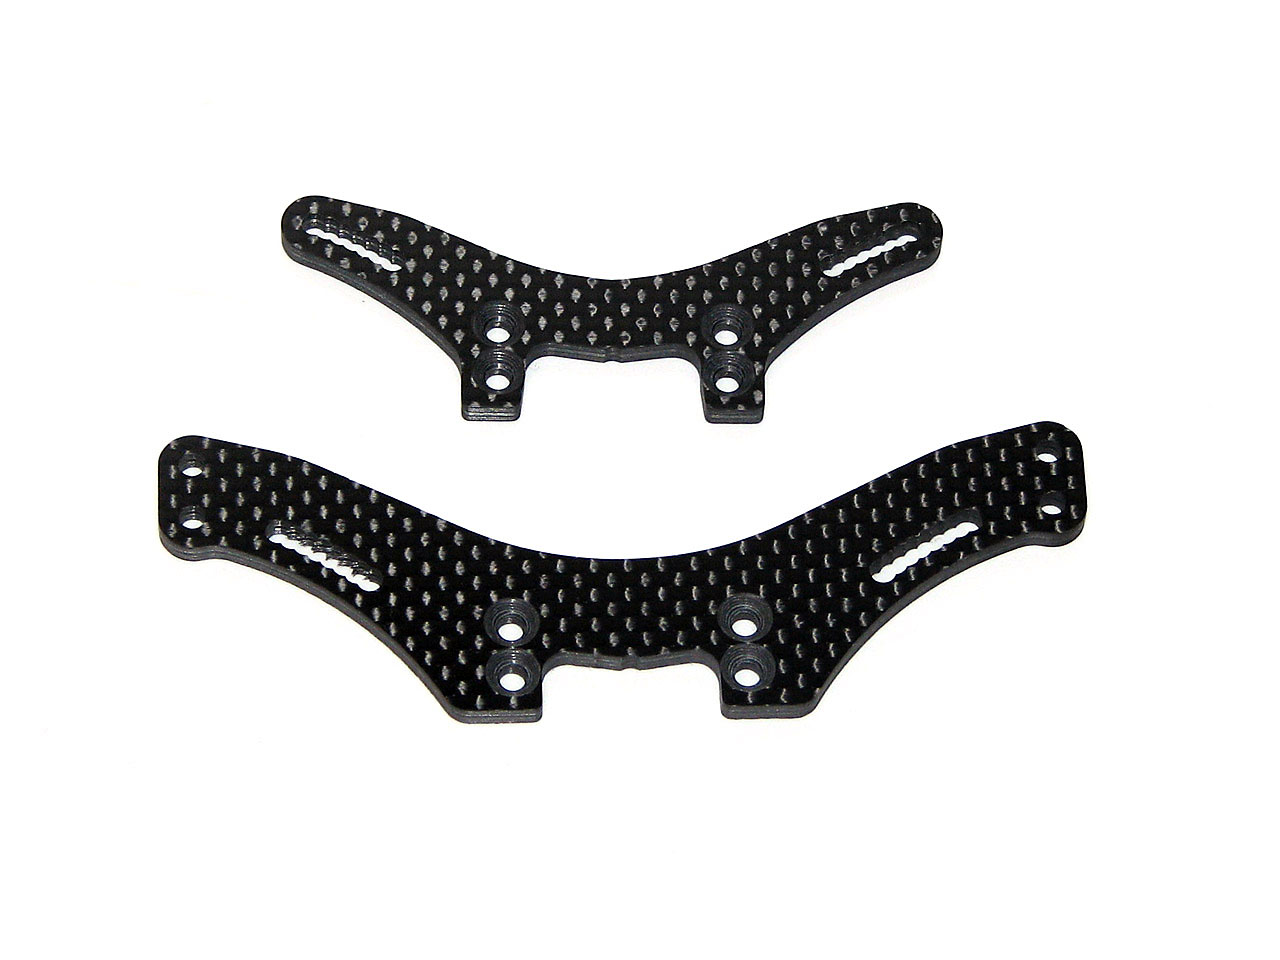
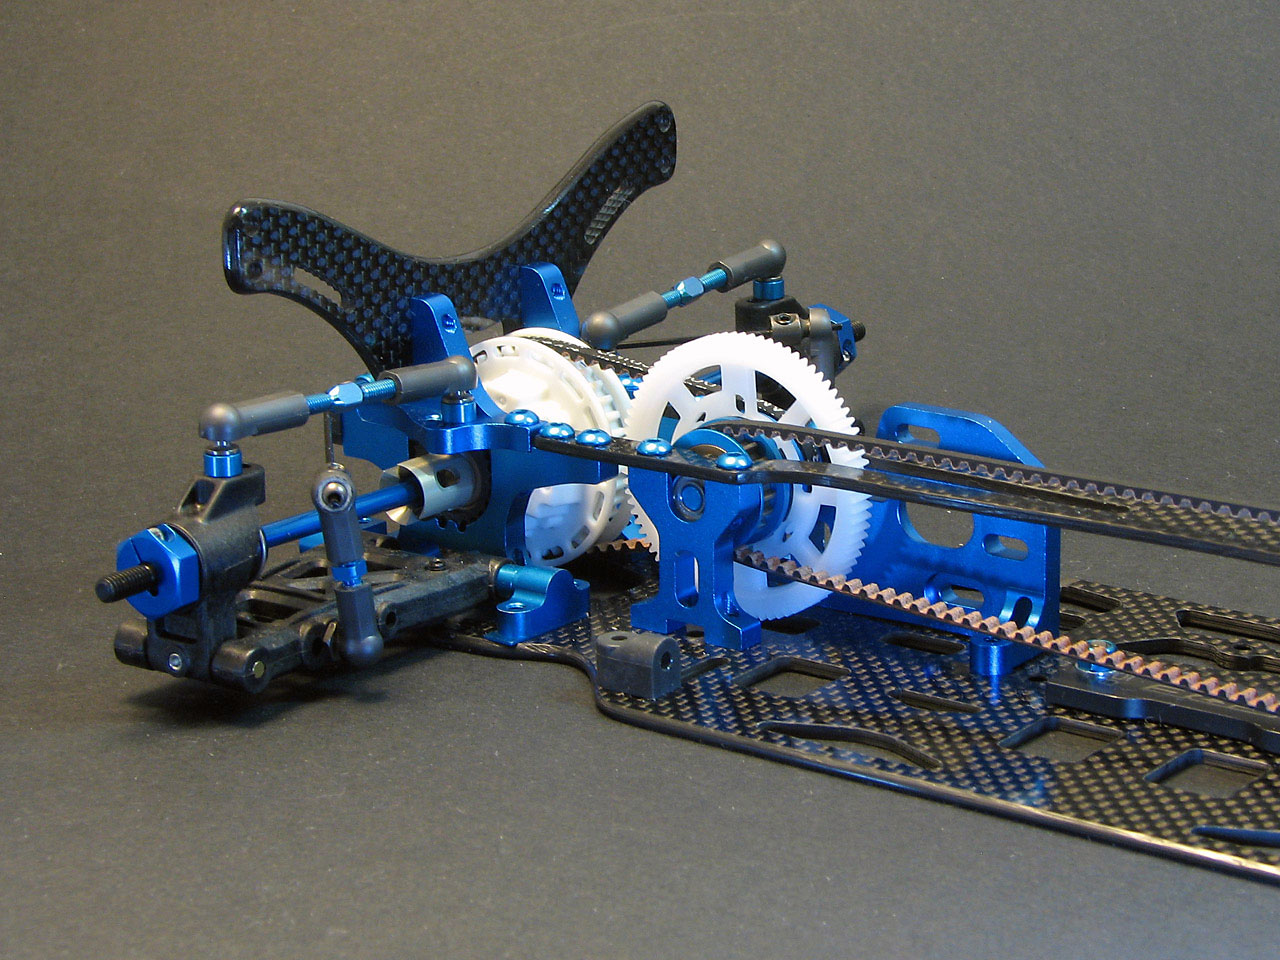
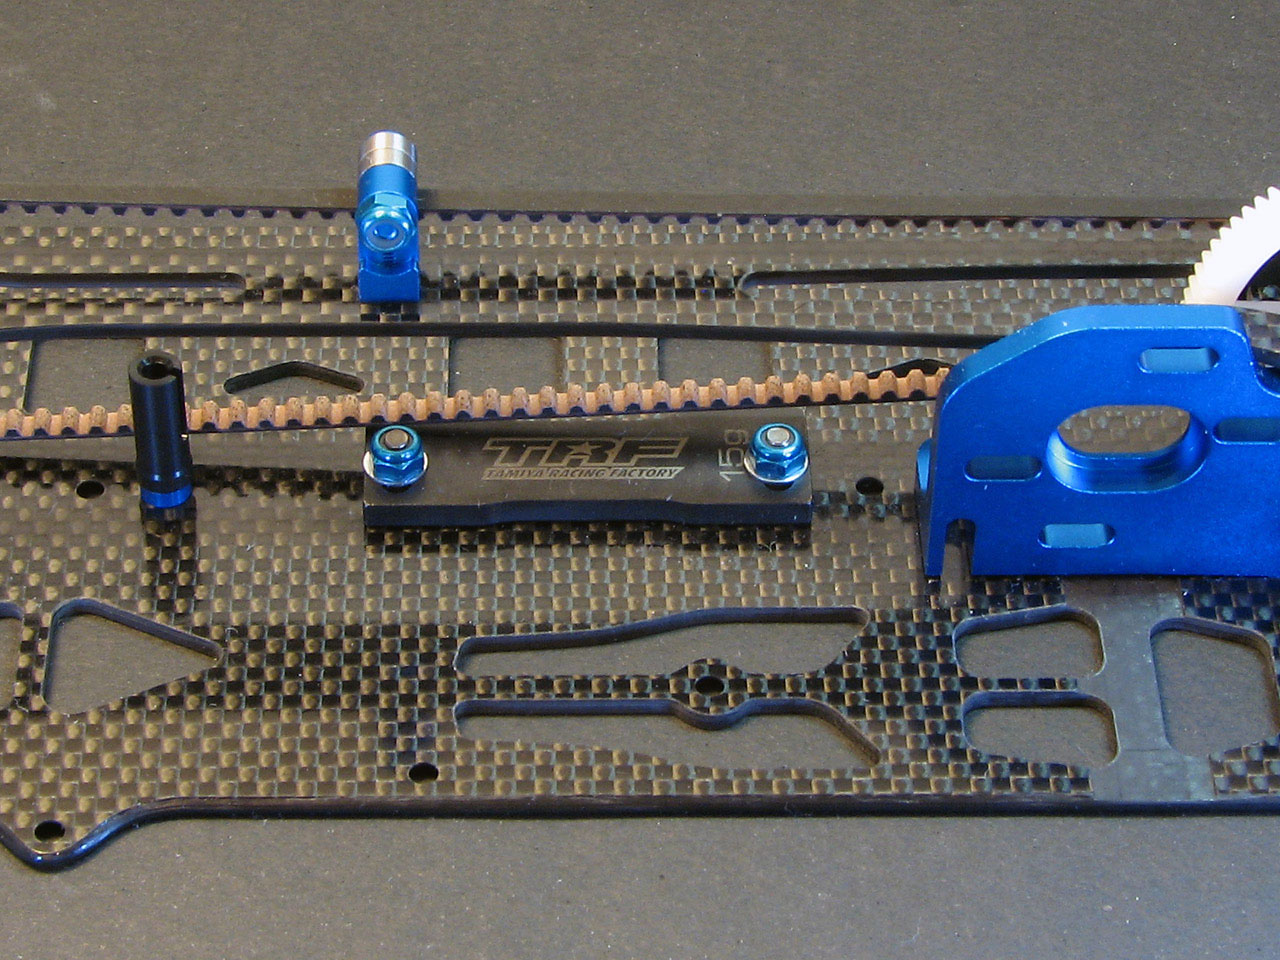
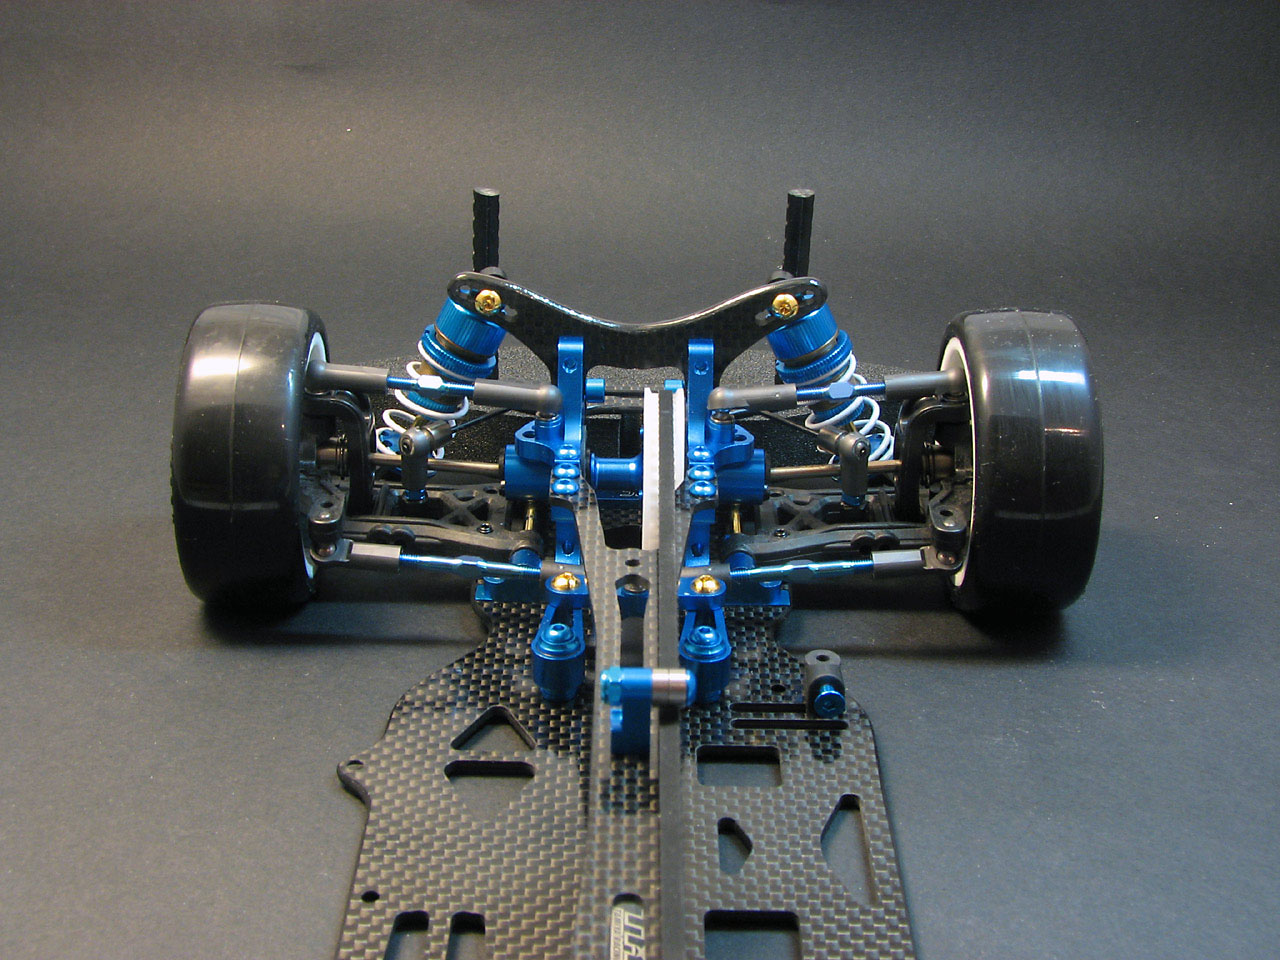
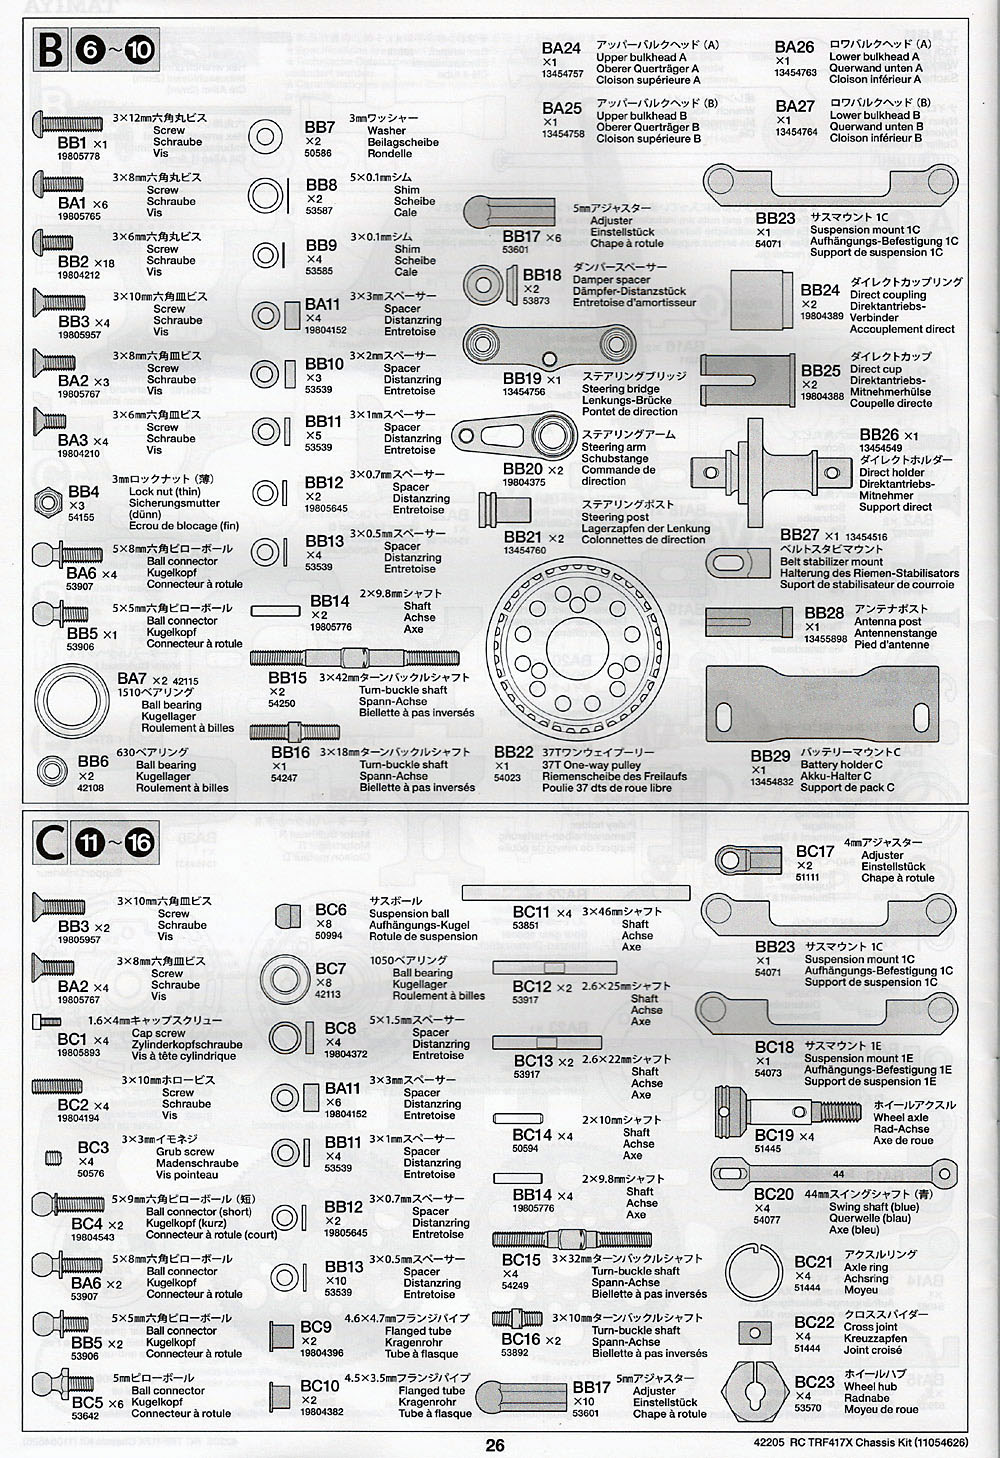
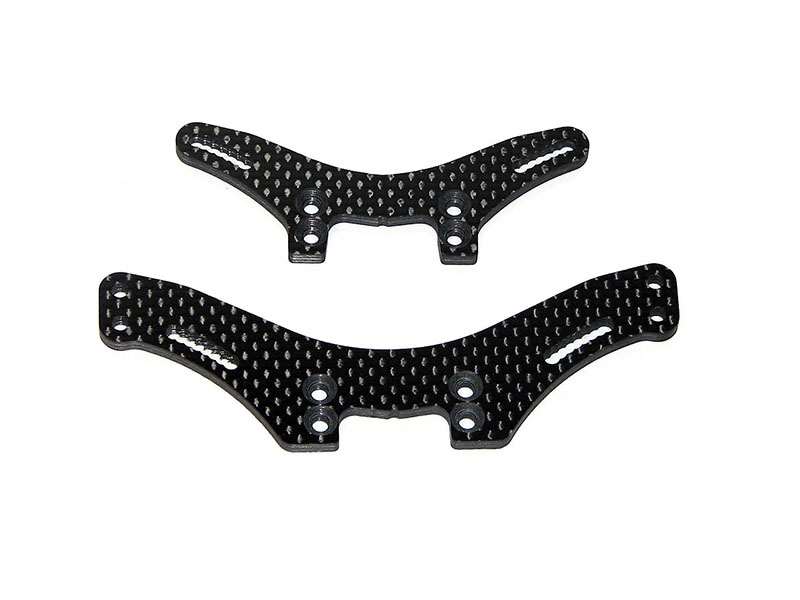
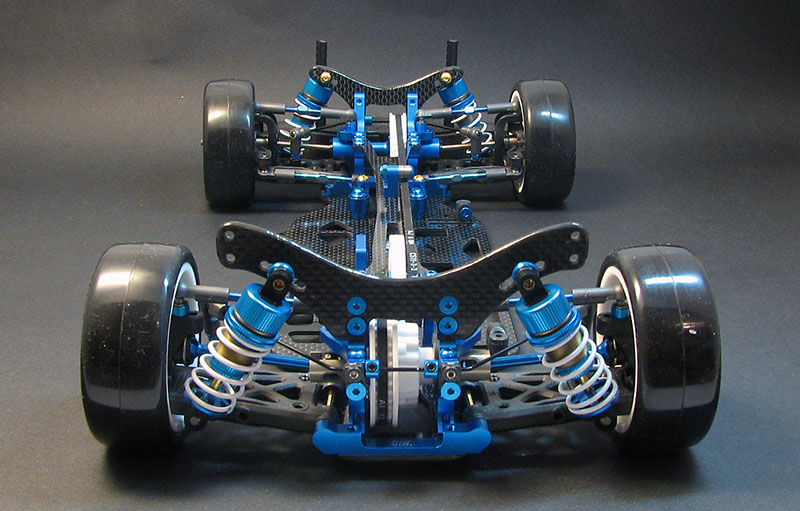
New damper stays for the TRF417X, with additional damper mounting holes between each previous hole for finer adjustment. To remove any chance of this part flexing under load (which create very much unwanted traits) the thickness was increased to 3.5mm.
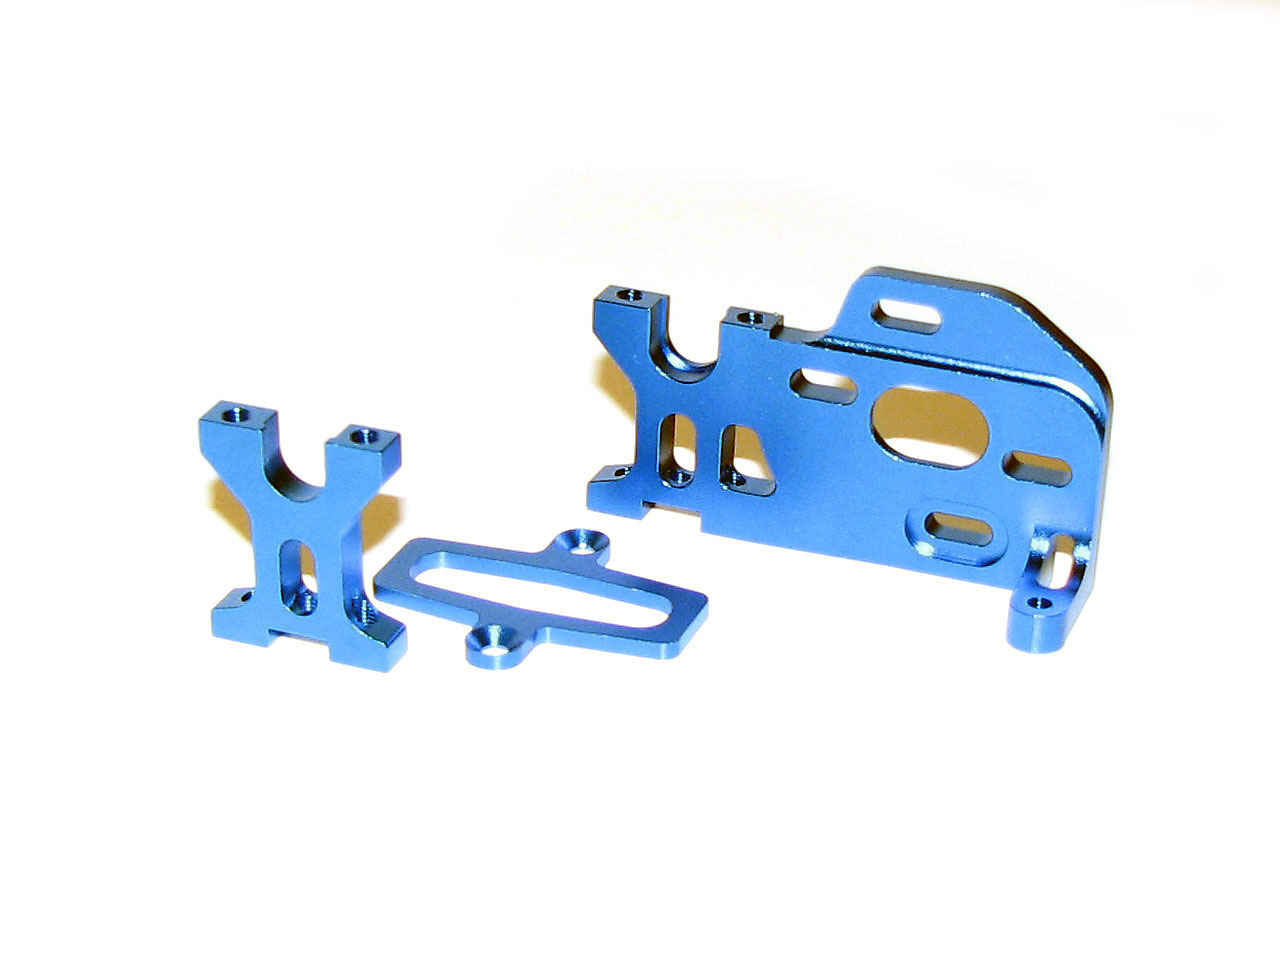
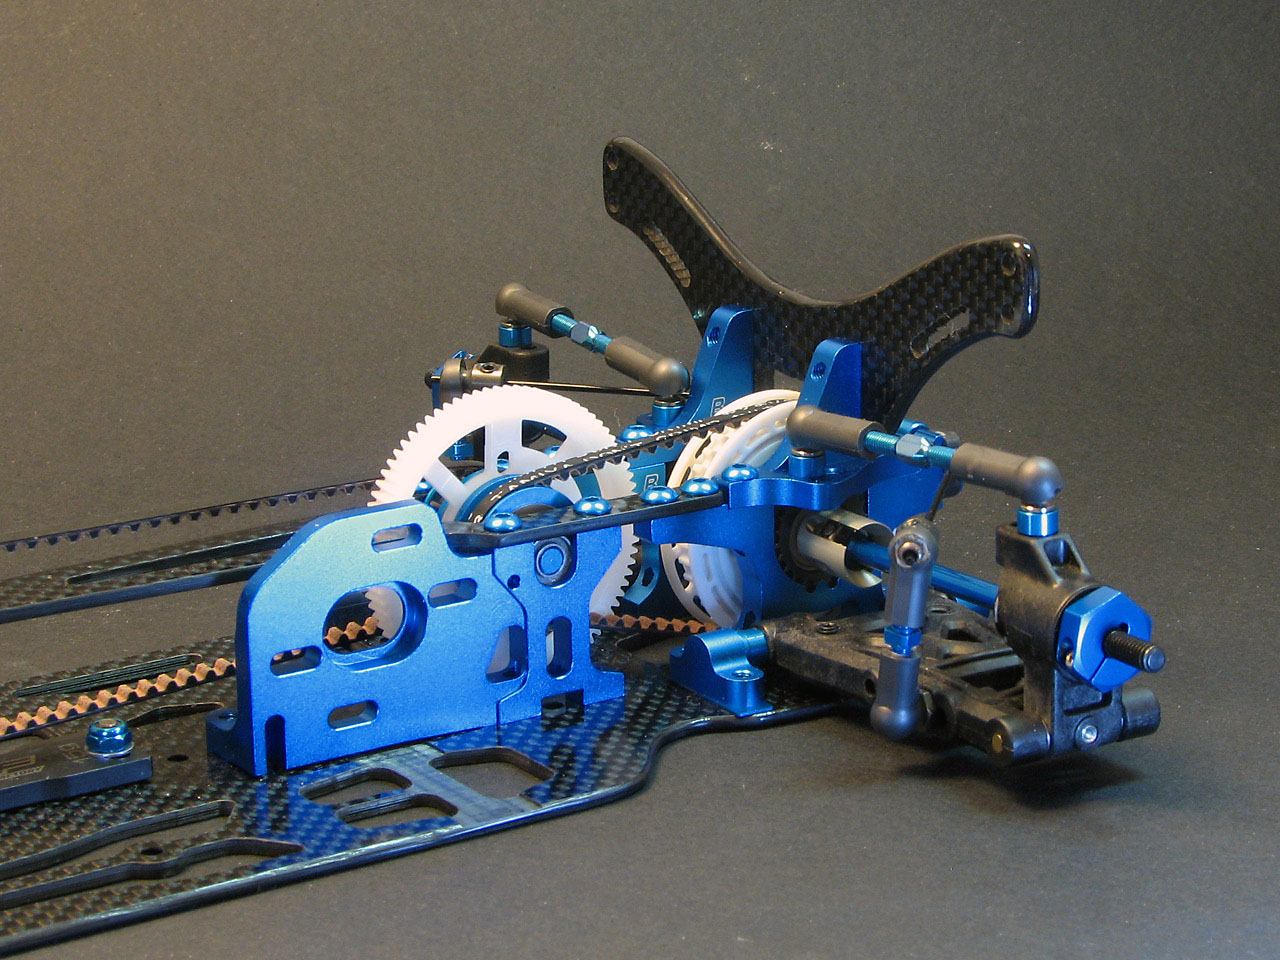
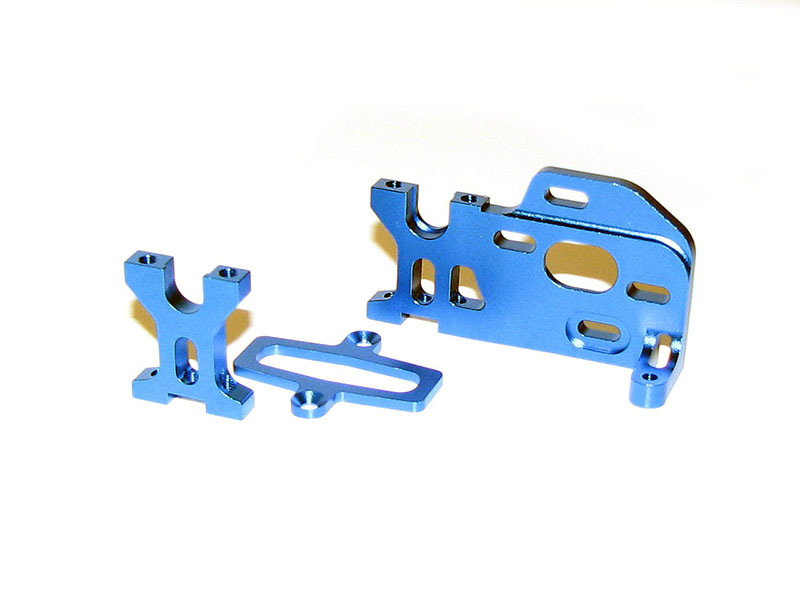
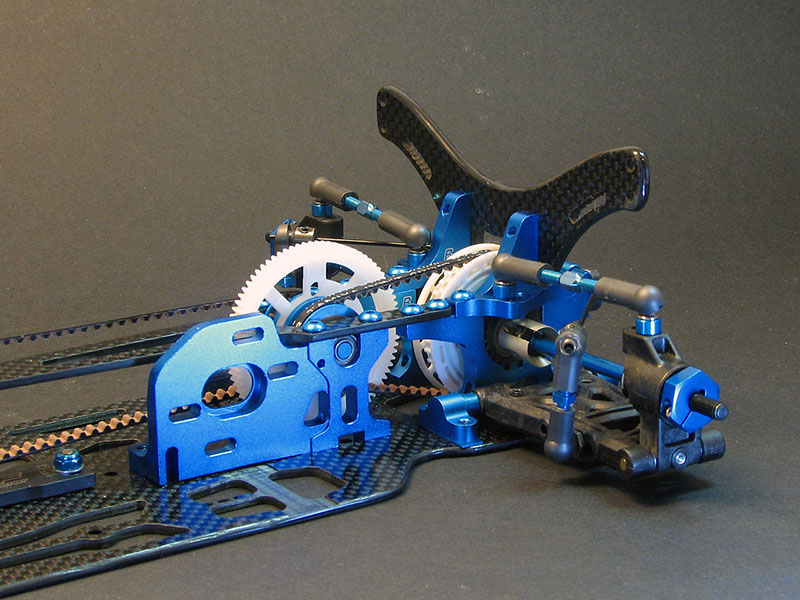
Another of the small but significant change for the 417X is the new motor mount/center bulkhead. While the one-piece mount on the TRF417 was a very nice part it was quite early noticeable that cutting the mount (making it effectively a conventional 2-piece center bulkhead) made the car better under most conditions.
Therefore the parts are split on the TRF417X, while it retains the possibility to link them together via a separate piece screwed from the bottom with countersunk screws. The other change to this part is the addition of 2 motor screw holes in the conventional up/down locations. Again a very welcome addition as mounting the motor/setting the gear mesh could be a major hassle with certain gearing combinations on the original 417.
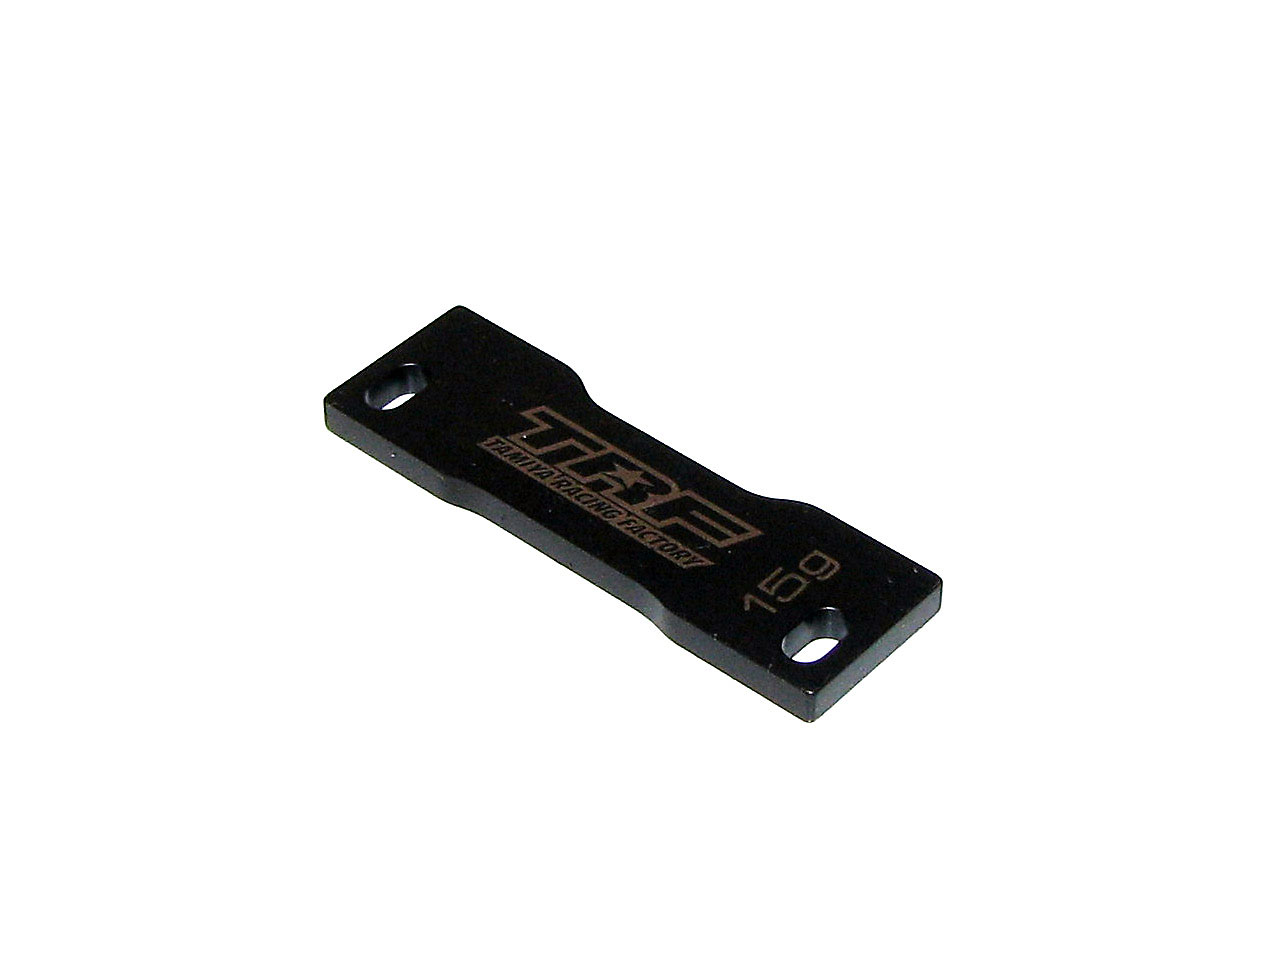
The battery holders included on last years cars were simply not up to the normal TRF standard and have therefore been replaced by brass pieces coloured black vith the weight of each piece nicely etched. Although much better I will still not use the outer holders as I don't want heavy pieces so far our toward the edges/wheels and they just look clumsy and wrong.
The center piece is very useful though as it is adjustable left/right and adds 15 g right in the center at the same time. With the car last year usually around 40-50g underweight 15g will fit nicely here.
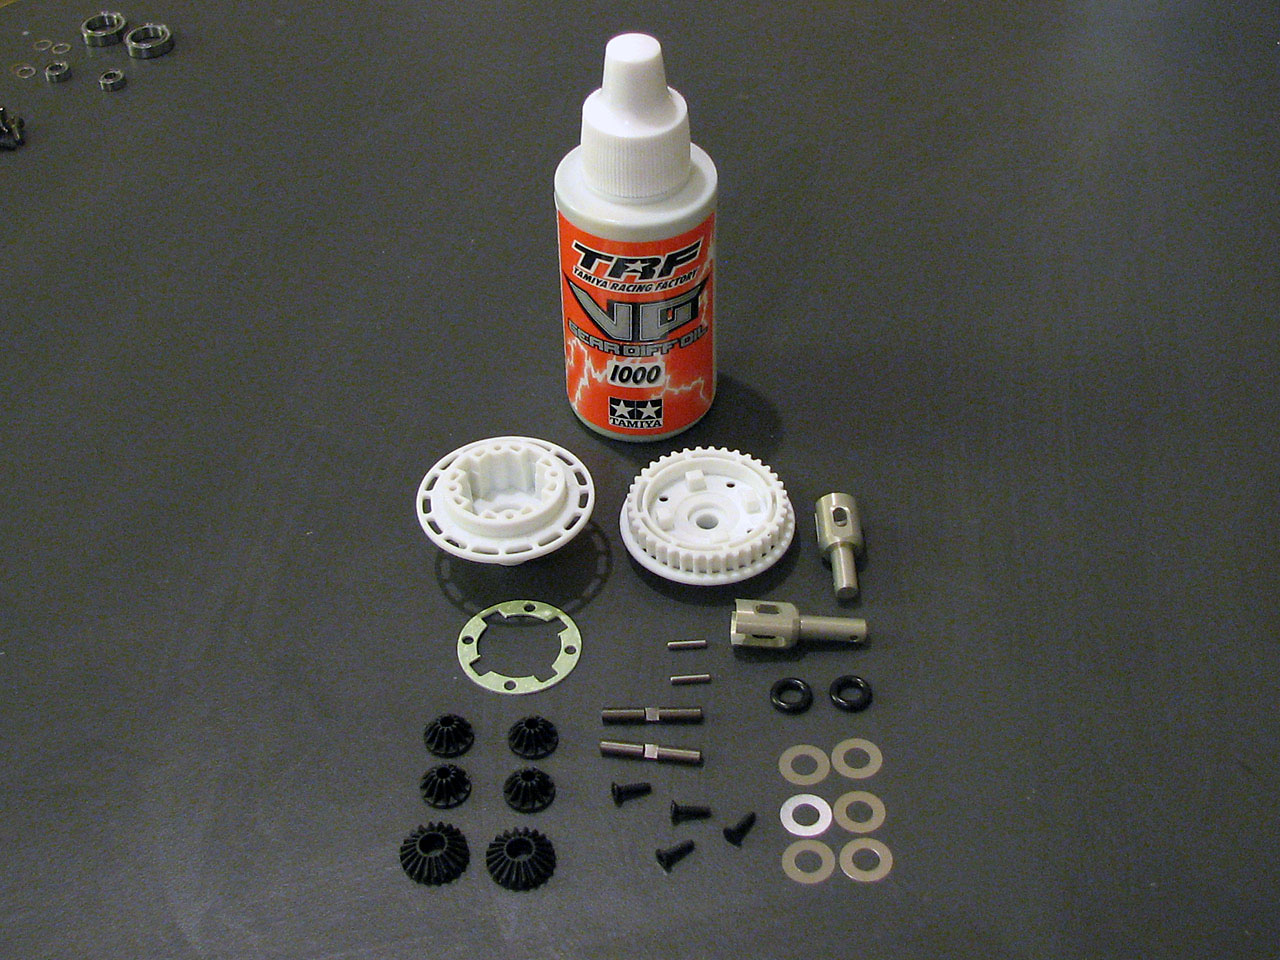
For the TRF417X the TRF Gear Diff Unit II (42197) is included instead of a ball diff on the 417, although it has to be mentioned that this was already included in the second production 417 (#42200). As this piece is already familiar and used since last spring there's not much to add. 900 weight silicone oil is included but I used the mineral based TRF oil (same as X-Gear (original) and Yokomo). I used 1000 weight oil for the initial build.
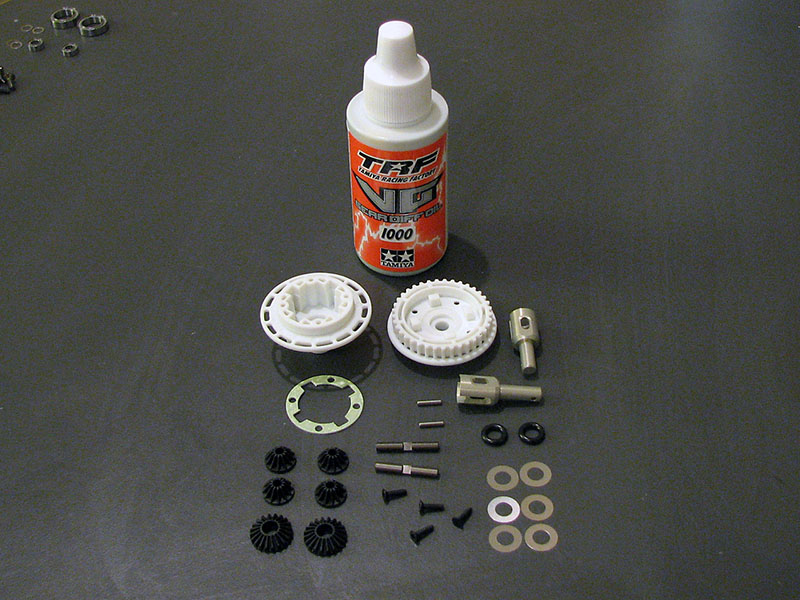
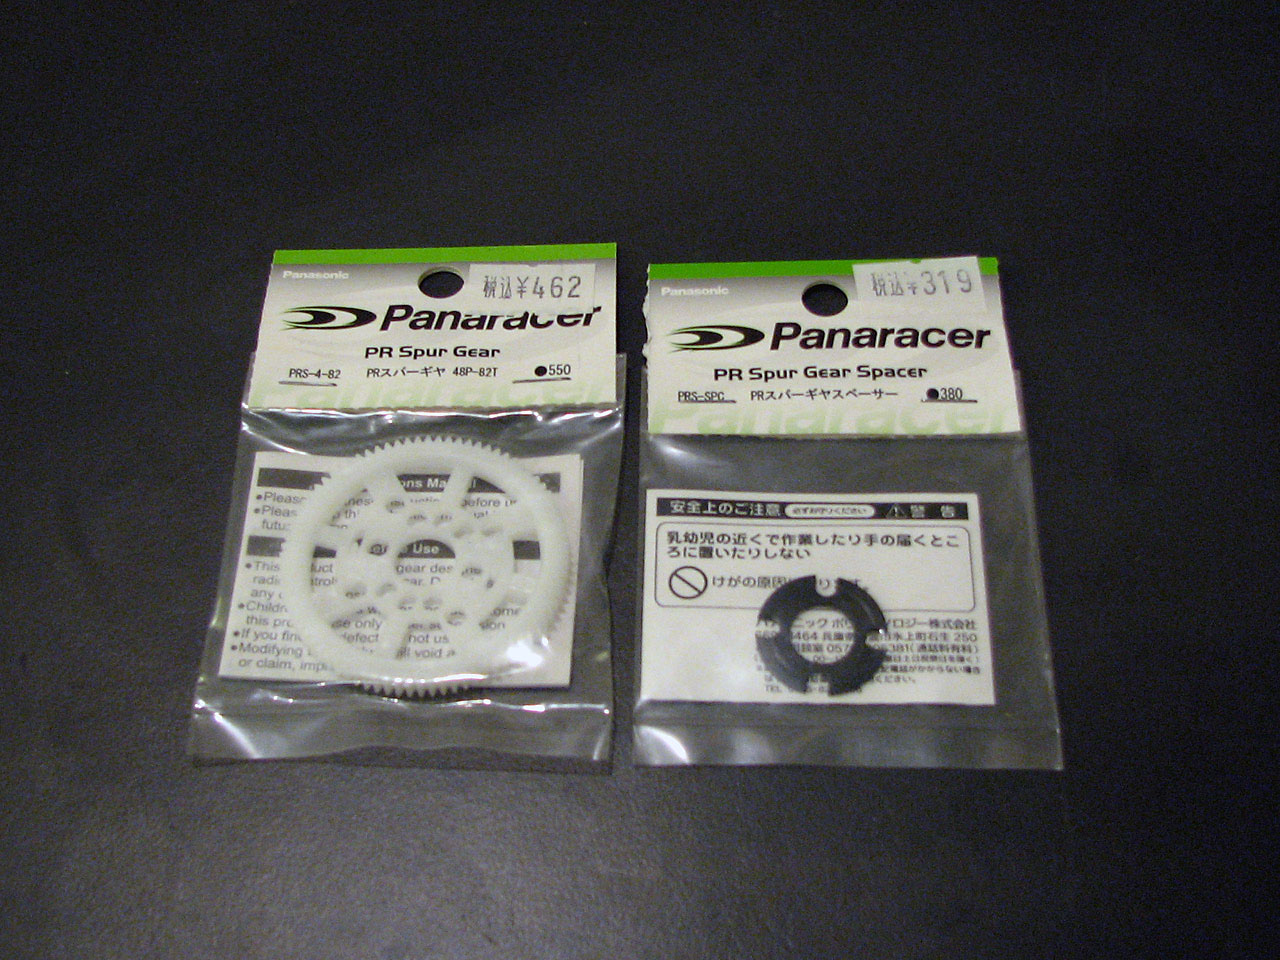
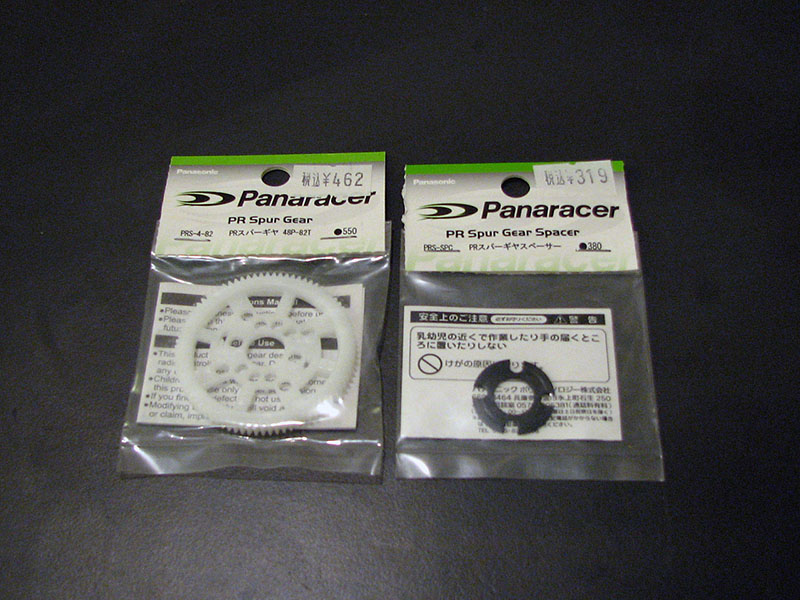
I used a Xenon/Panaracer spur gear as well as their newly released spur gear spacer (PRS-SPC) for the 417 to match this spur gear which has a very narrow centre section.
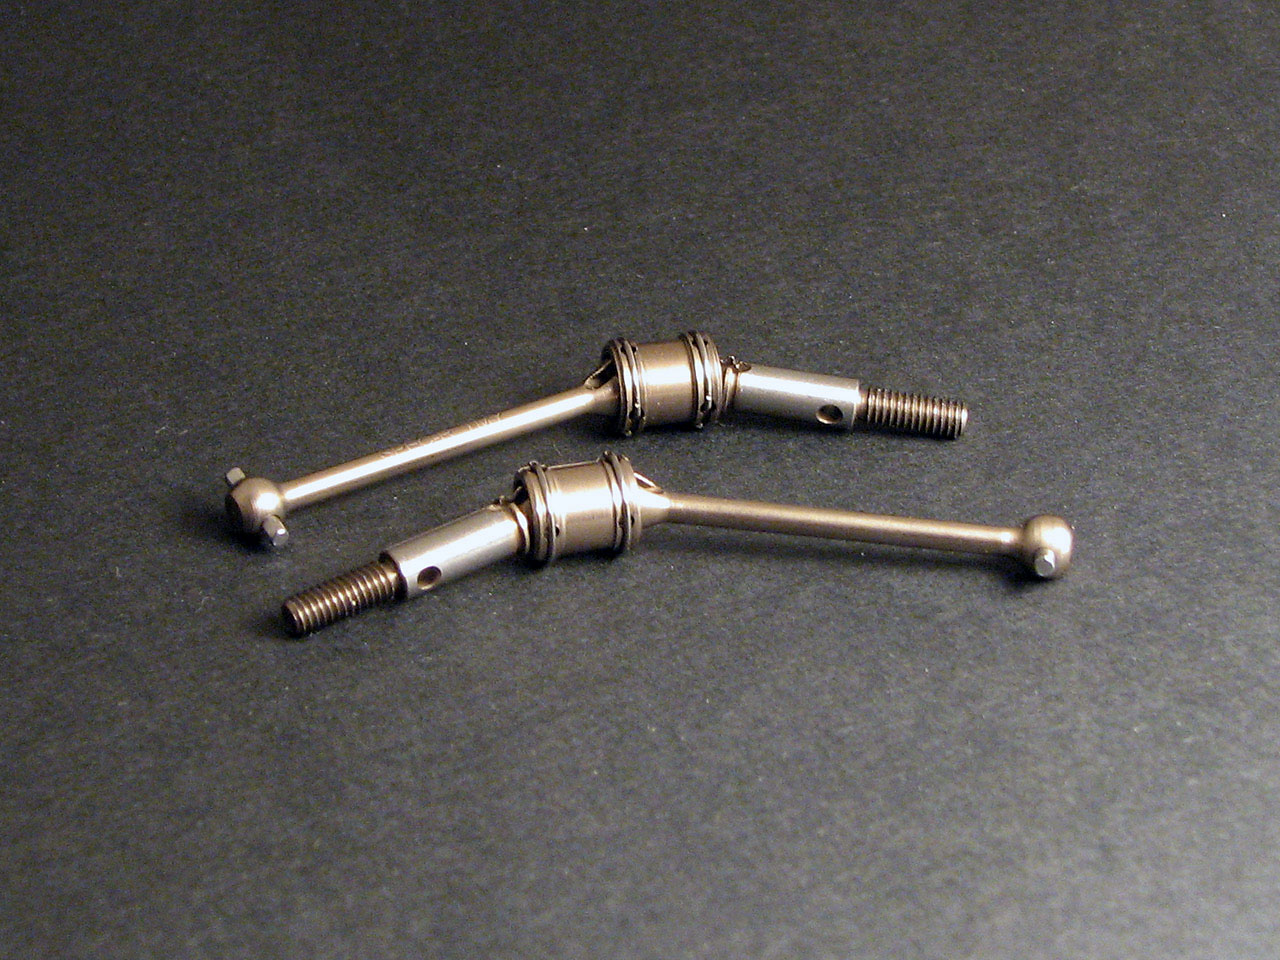
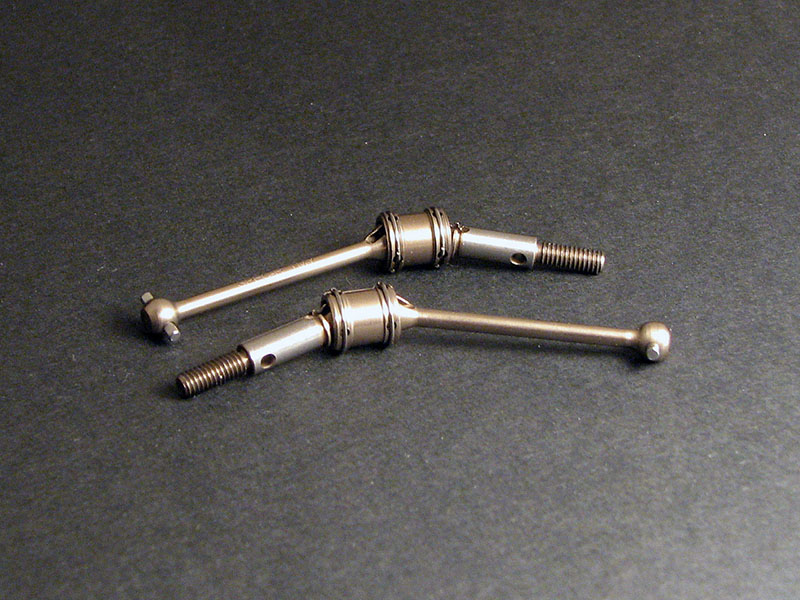
For the front driveshafts I use the Spec-R V2 double-joint shafts (SPR001-TMY2) and use the additional set of original Tamiya alu driveshafts as spares for the rear. This new V2 Spec-R shaft I have not tried yet but the V1 version worked well this summer.
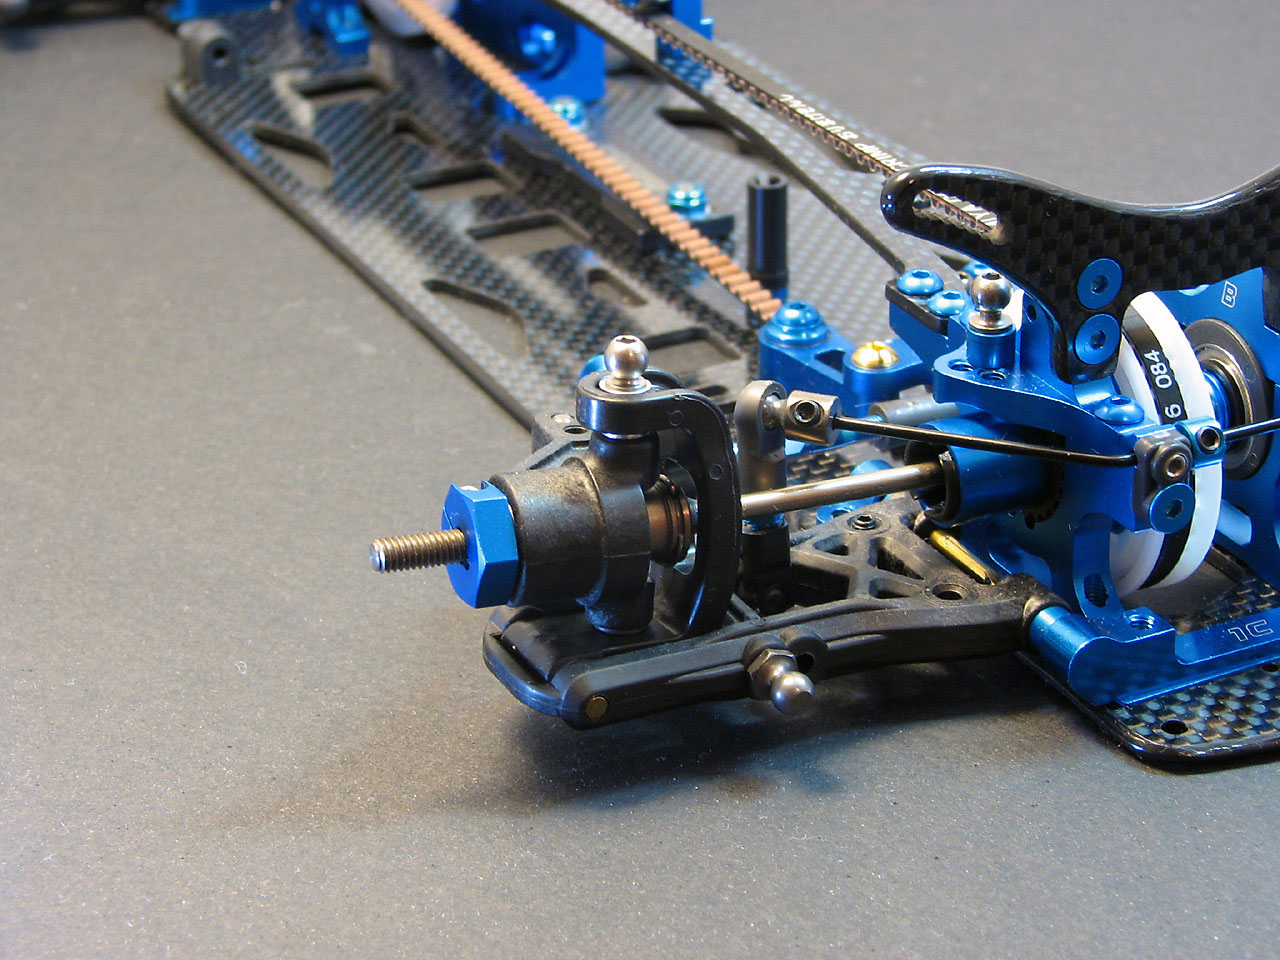
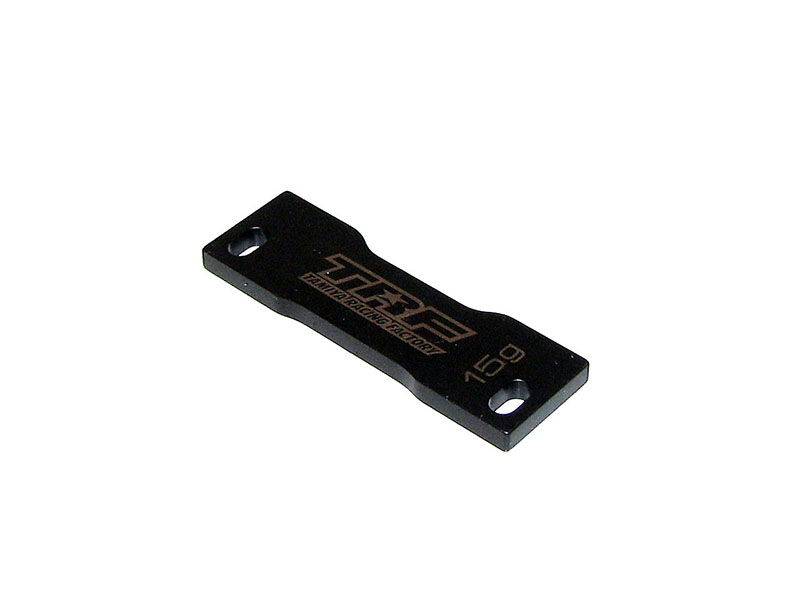
I belive I have mentioned all other new parts for the 417X already, so this is the final small change. The upper kingpin ball connector has been lowered by 1mm, meaning that the actual ball on this part is 1mm lower compared to the threads. All the other kingpin parts, uprights and c-blocks have remained the same. Lowering the kingpin gives more options for roll-centres/upper link positions.
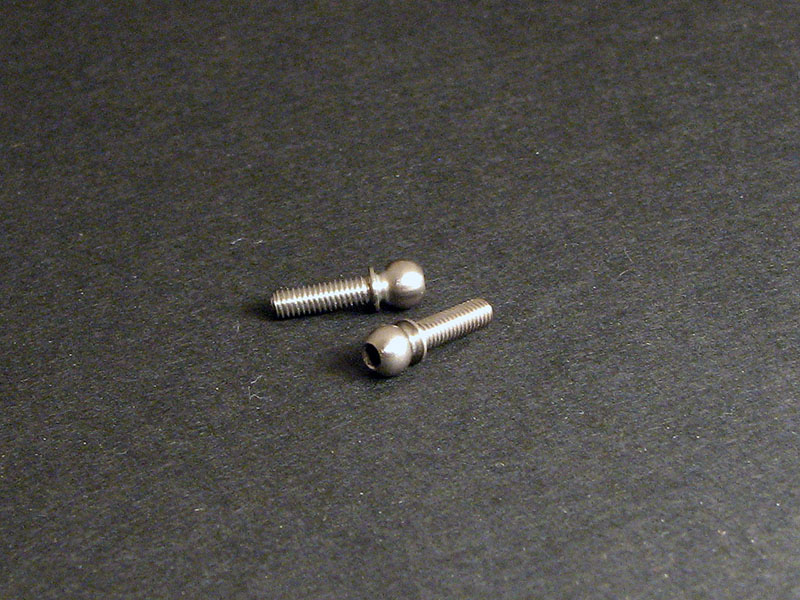
Here is the new kingpin with 0.5mm added under it according to the manual.

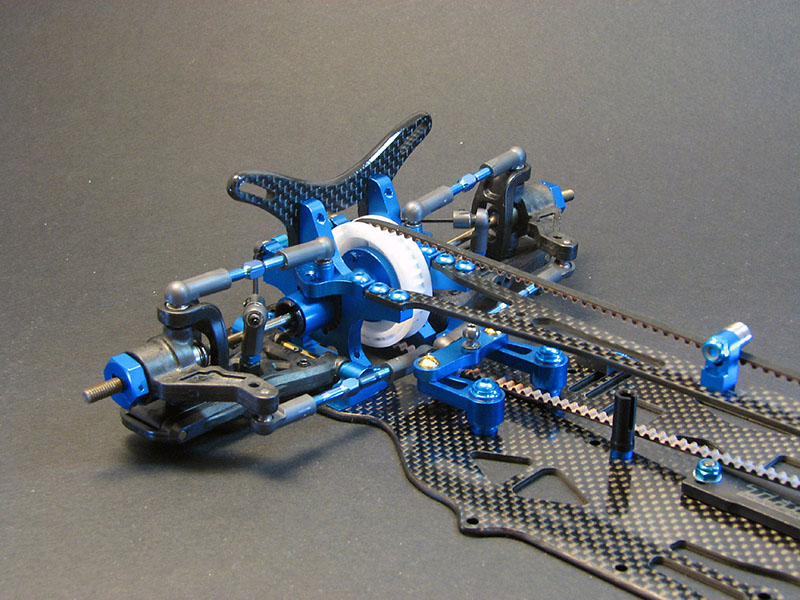
New left motor bulkhead mounted with the additional motor mounting holes visible as well as the right motor bulkhead. These can be joined together with the alu lower mount seen above.

Motor bulkhead from the left side.
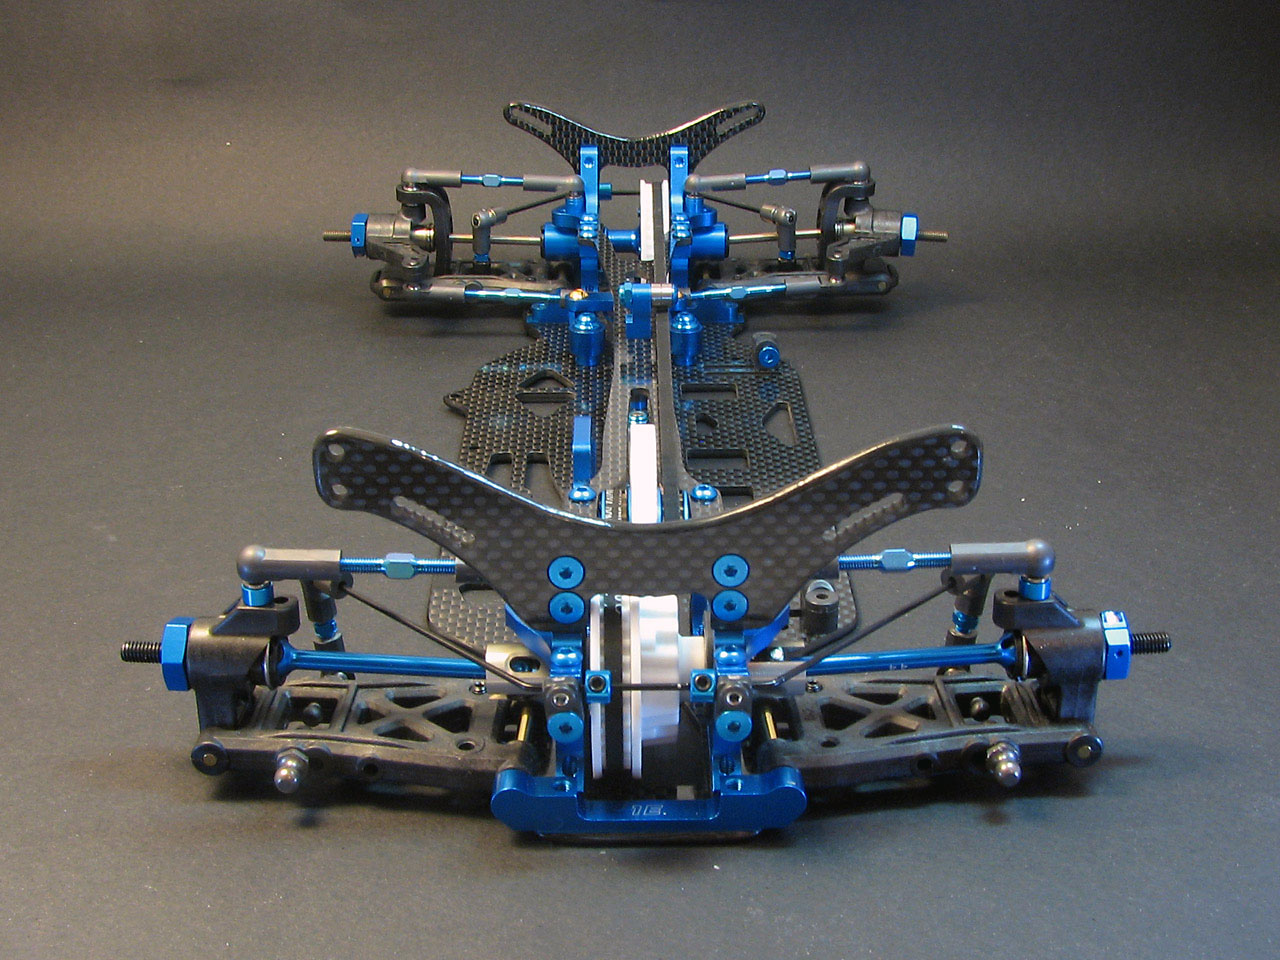
As you can see I used the separate type suspension mounts when building the car but the choice between the one-piece or two-piece is very much a tuning aid.
Adjustable centre weight/battery holder mounted in car.

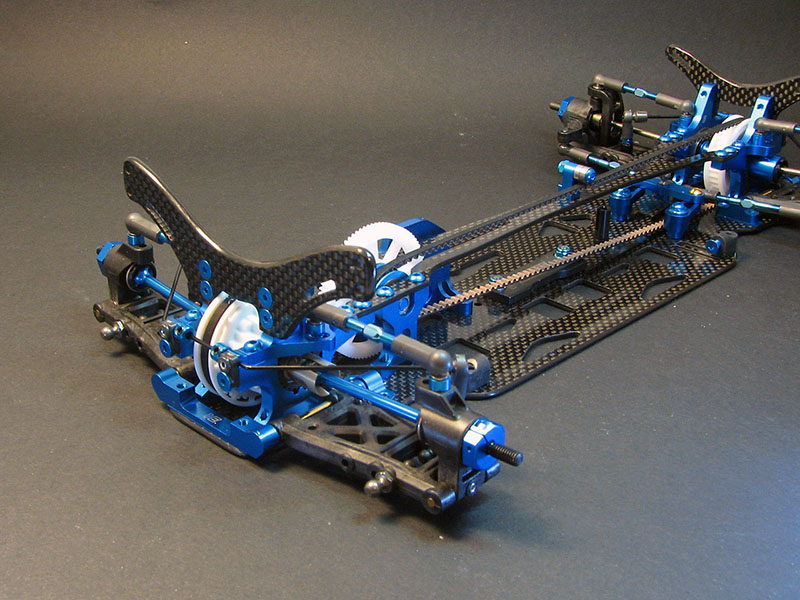
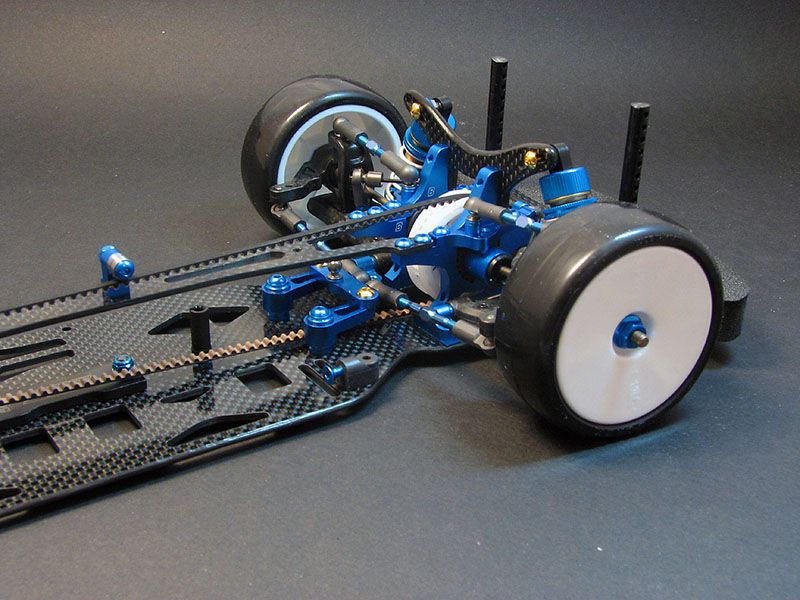
Front end and steering. The carbon stiffener above the steering posts is gone on the 417X and replaced by the same damper spacers used between the damper stays and dampers. The carbon brace from the 417 can be fitted if you have one again to tune the flex towards the front of the chassis.
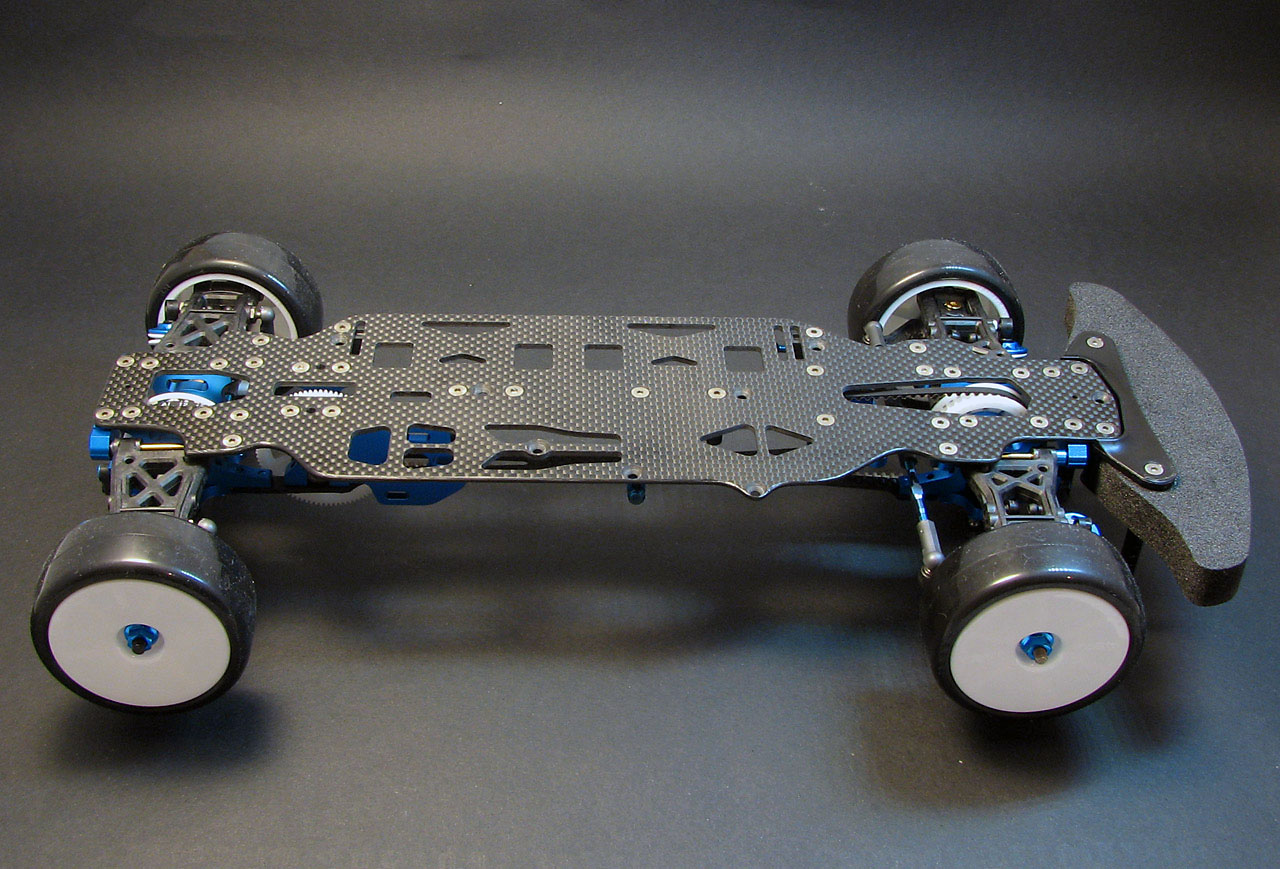
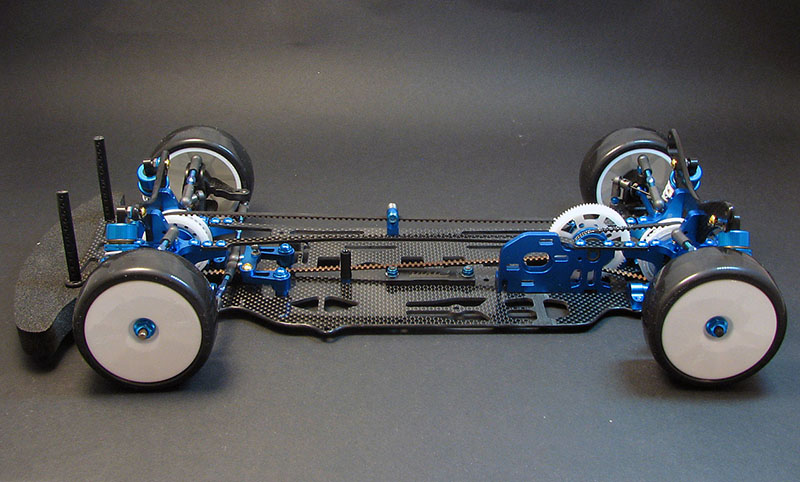
Front view.
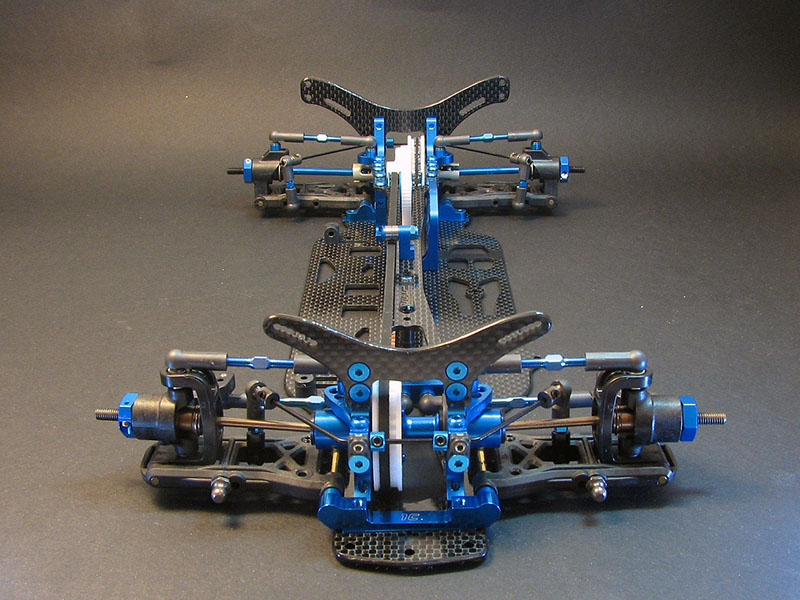
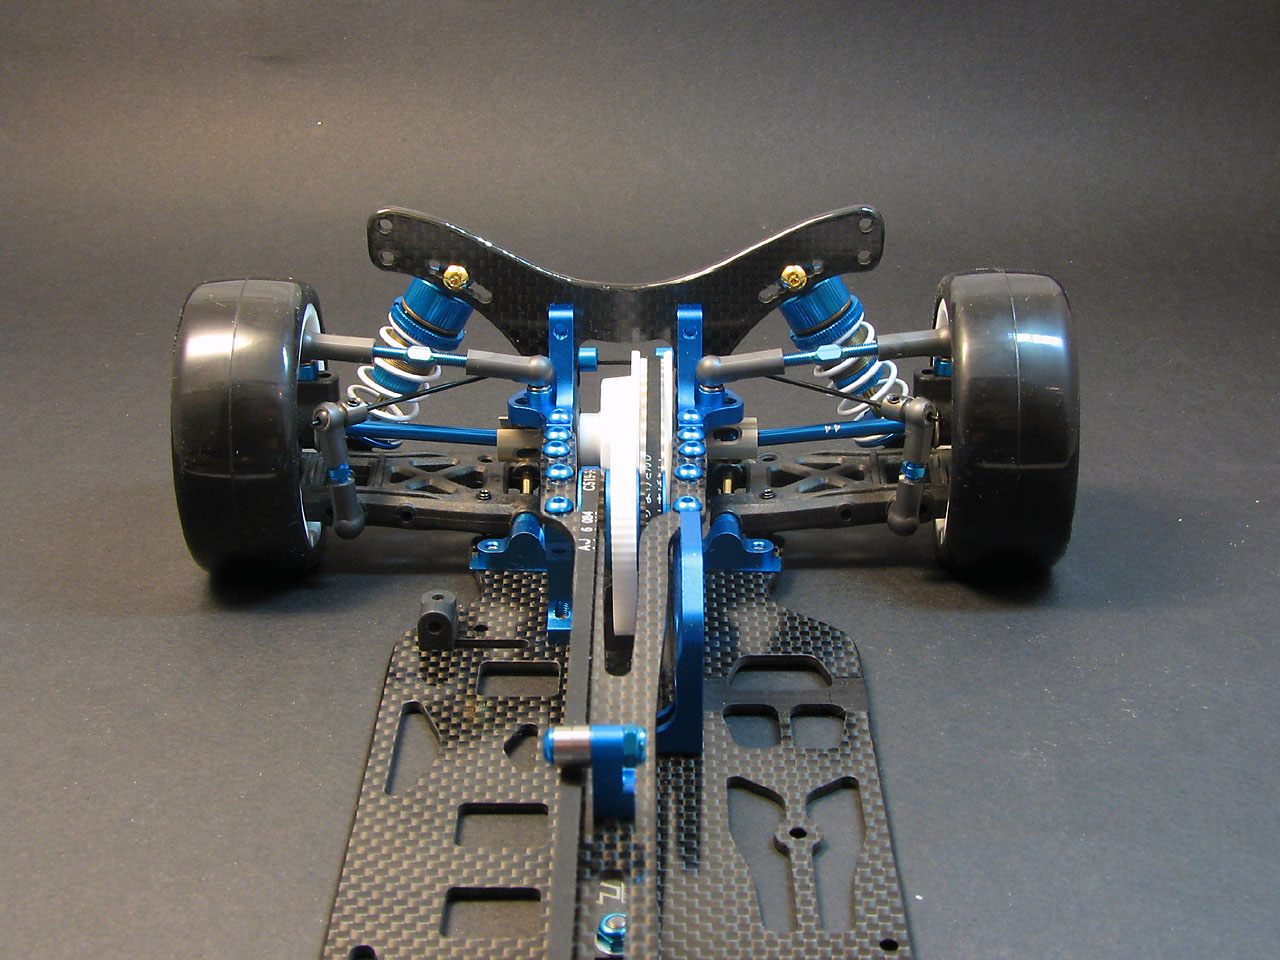
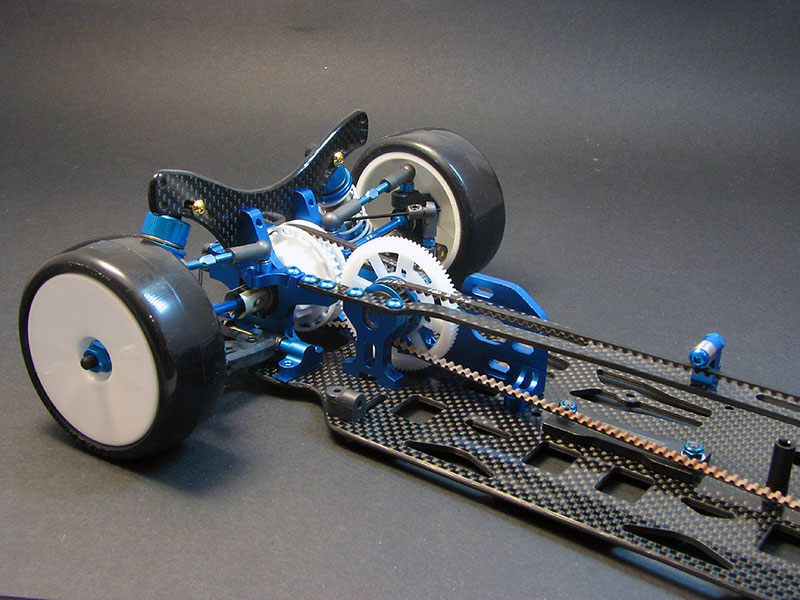
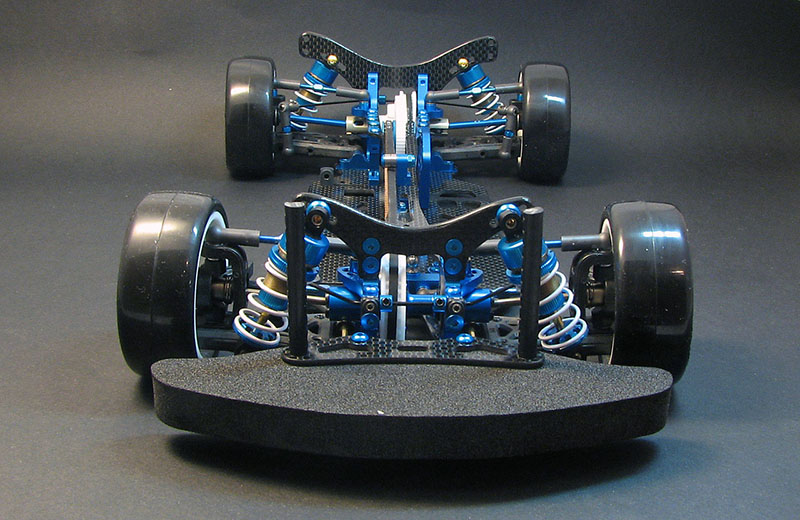
Rear view.

Rear suspension.
Front underside view. Here you can see the changes I made to the shape ahead of the droop screws and ahead of the servo/battery.
Rear underside view. Again I made small changes to the shape behind the droop screws and behind the motor/battery.

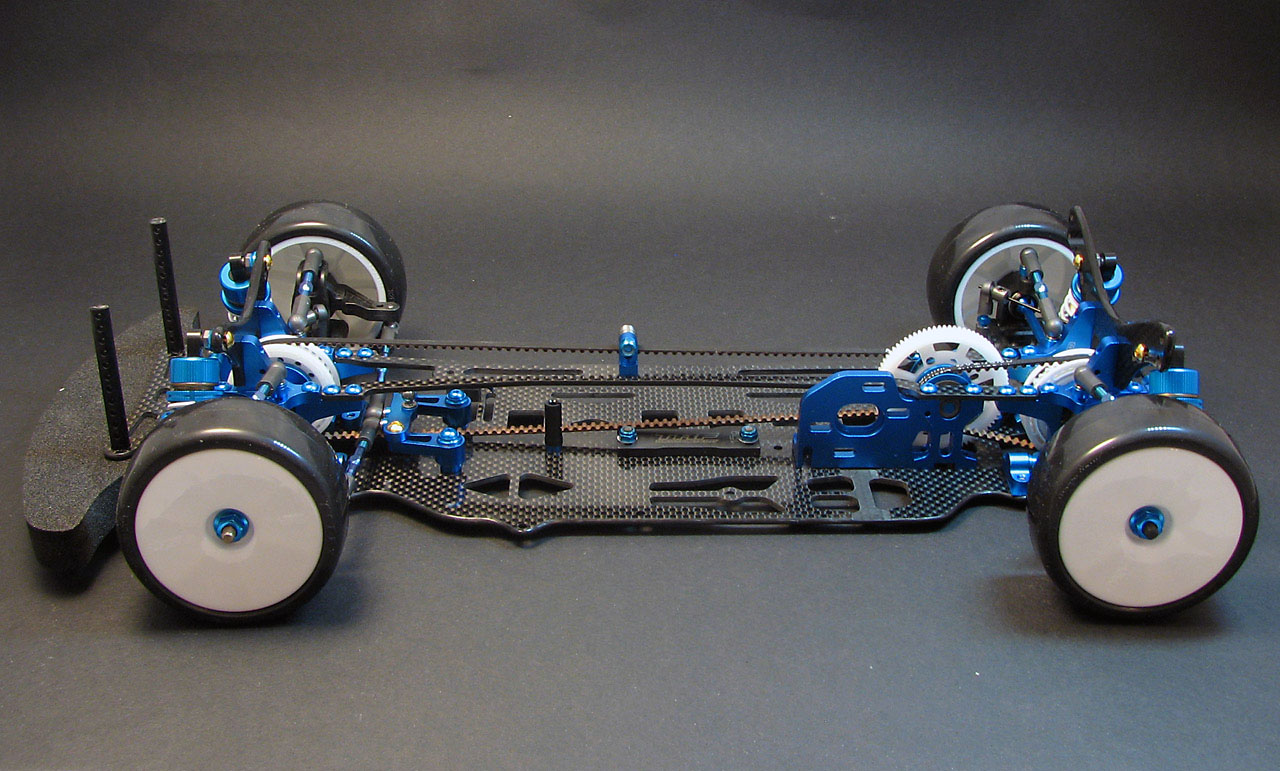
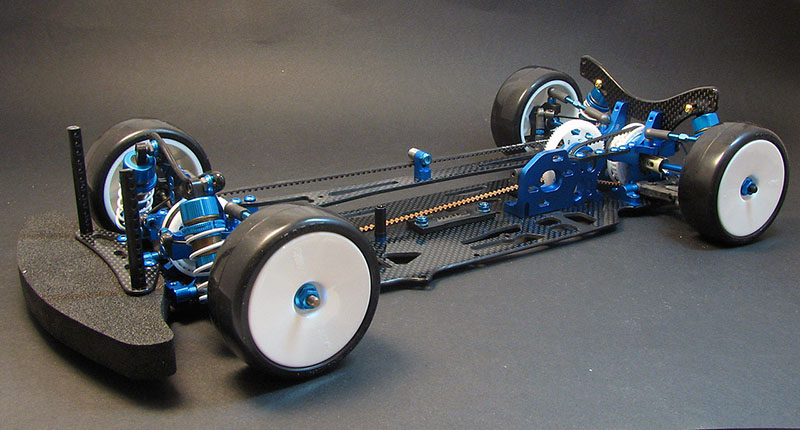
Finally some photos of the completed TRF417X.
Believe the only thing not yet mentioned seen here is the adjustable lipo holders made out of the plastic servo mounts from the "K" parts tree but not used in this kit. Together with a countersunk screw either in front or behind the battery you can finely adjust the position while it provides some security to the battery mounting. Just make sure to leave a little room so that the battery does not bind up the chassis. This is a simple solution that has been seen on the TRF drivers cars for some time already.


Can you explain how do you finish the chasis border?
I think this is the best guide really: Advanced Carbon Fiber Chassis Preparation
If you want a more shiny finish you can either carefully do a final layer of CA and not sand after that, but it's difficult to get a smooth finish like that. The safe option is; after the CA and sanding with fine grit paper, spray a bit of CA activator on a cloth and once wipe the edge; this will give you a bit of shine back...
what is the part number for the balance weight (15g)?
The balance weight is included with the car, you can see part# here:
your battery holder, looks good, what exactly are these blocks? Is there an ordering?
The battery stoppers are just servo mounts and a screw, these are un-used parts from the K parts tree included in the kit.