|
- Tamiya TA06 build -
by Jimmy Wright
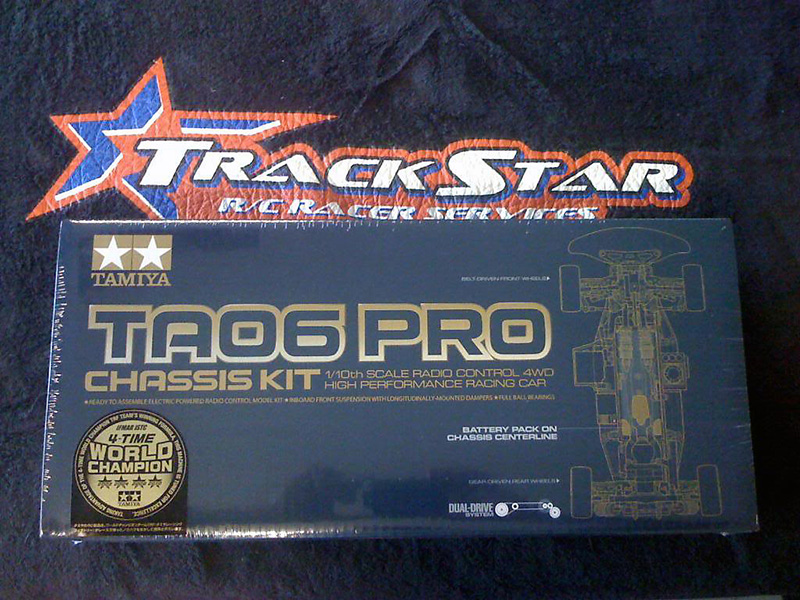
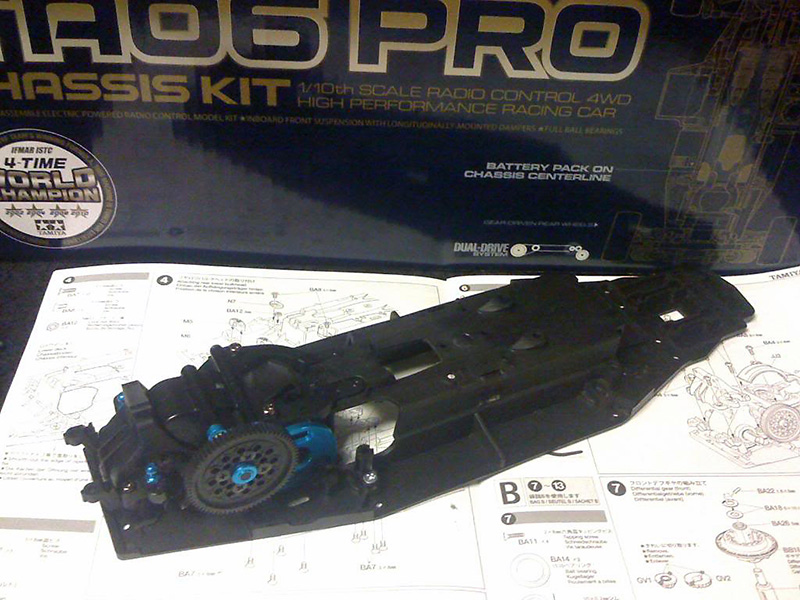
6/22/11 - Track Star HQ was just paid a visit to by the man in brown and gold. He brings gifts of speed and newly revised handling...... The Tamiya TA06 Pro kit. With this delivery it will more than likely shelf one of the greatest budget touring cars that I have ever driven; my Tamiya TB03R. Well enough emotional stuff lets get to building the TA and get it on the track!
Firstly I would like to mention the box. Why? Because the box and its art have been a tradition of Tamiya's that I have always liked no matter the car inside. The TRF units and the Pro kits always build anticipation of what is yet to be built inside. (OK so I'm an R/C geek) But there are alot of us even older than I am. :)
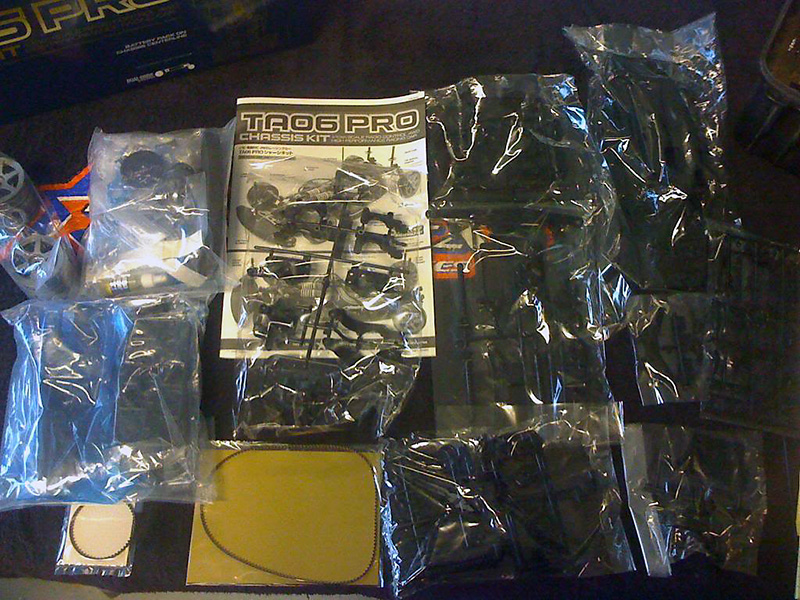
So as previously mentioned lets get the parts out and start building.
The first step as with most AWD or 4WD kits is the front diff and front assembly. Not so with the TA06. You start with the rear diff, gearbox and work your way forward.
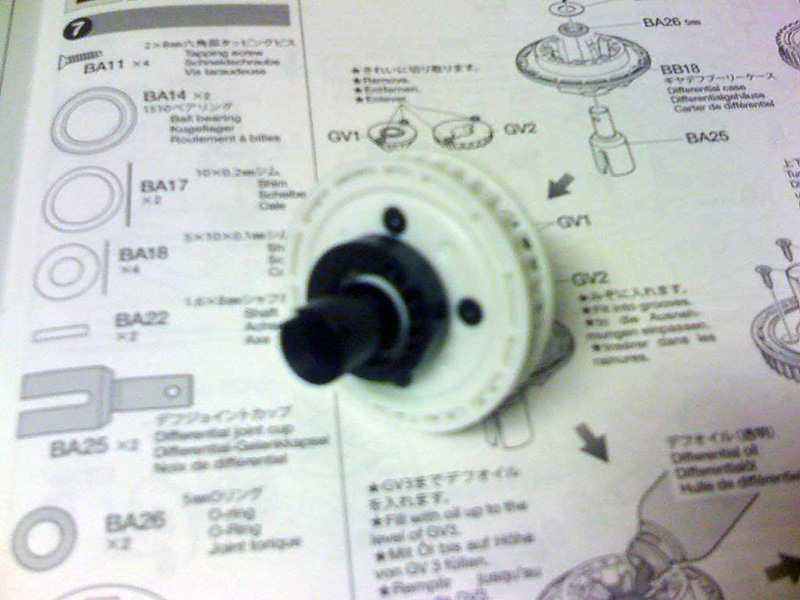
(by the way... I grabbed the wrong fluid bottle for the picture, I used 1K for the rear diff. )
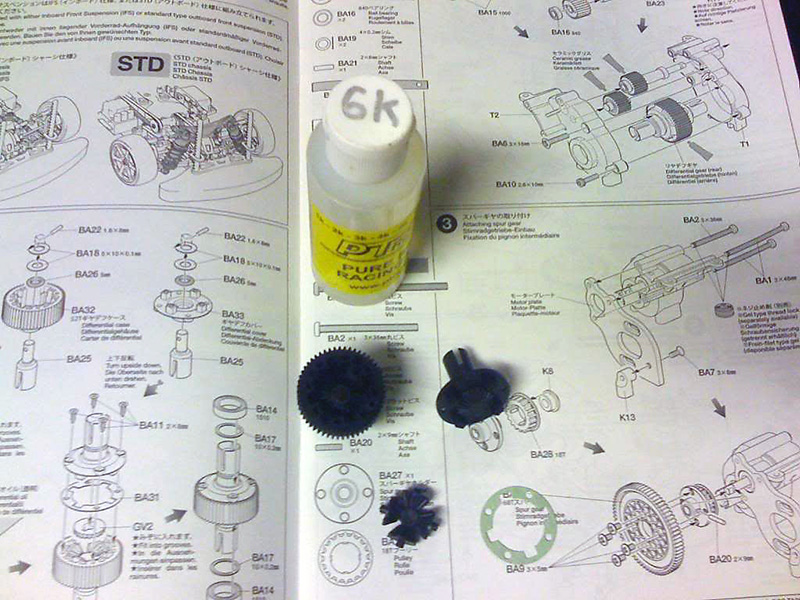
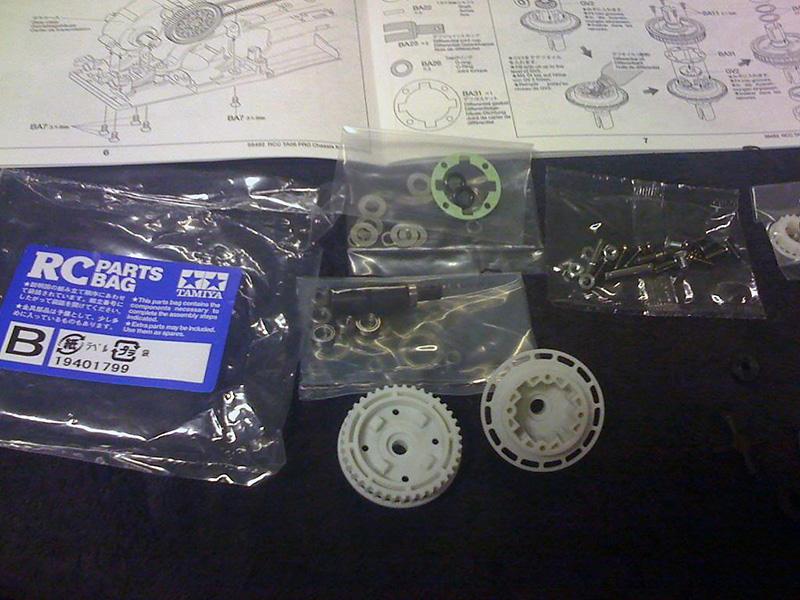
The diff build is very straight forward as per instructions. For the rear diff I suggest using three of the supplied shims behind each sun gear pin and not two as instructed in the manual. It tightens things up nicely.
The gear box assembly is also easy to understand until you start looking for the top shaft spacer. It's located in the "K" parts tree with the battery door.
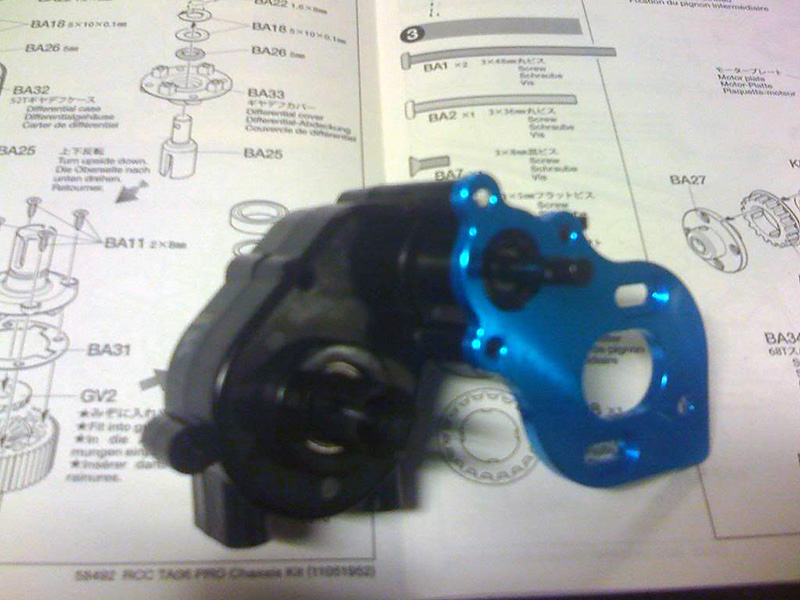
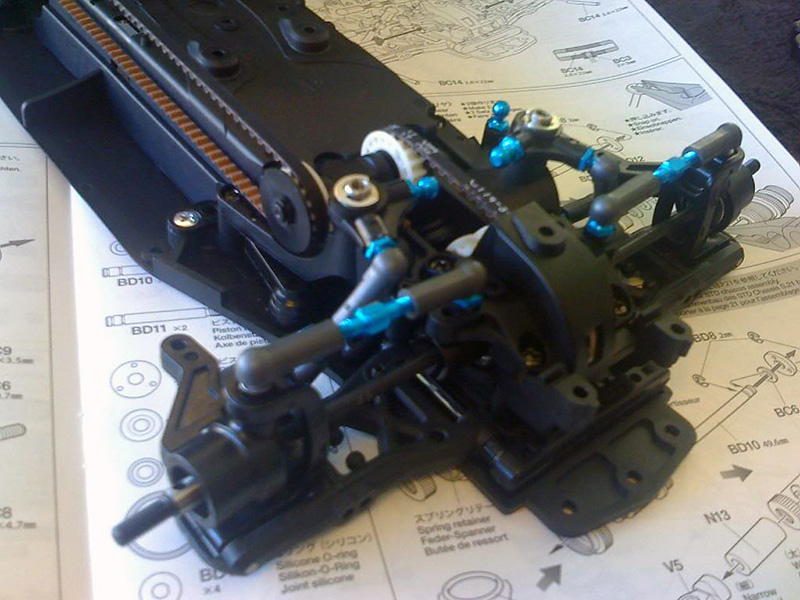
Now we grab the chassis and start fitting assemblies to it. The first thing is the gear box and mounts. Again very straight forward per the manual. (You will notice I opted to leave the gear cover off)
Front diff parts and assembled unit. I can't stress enough how easy these parts fit together. Again in the front diff I suggest using all three shims under each sun gear pin. (I started out with 8,000cst in the front diff but since testing the car and racing it I am currently at 50,000cst)
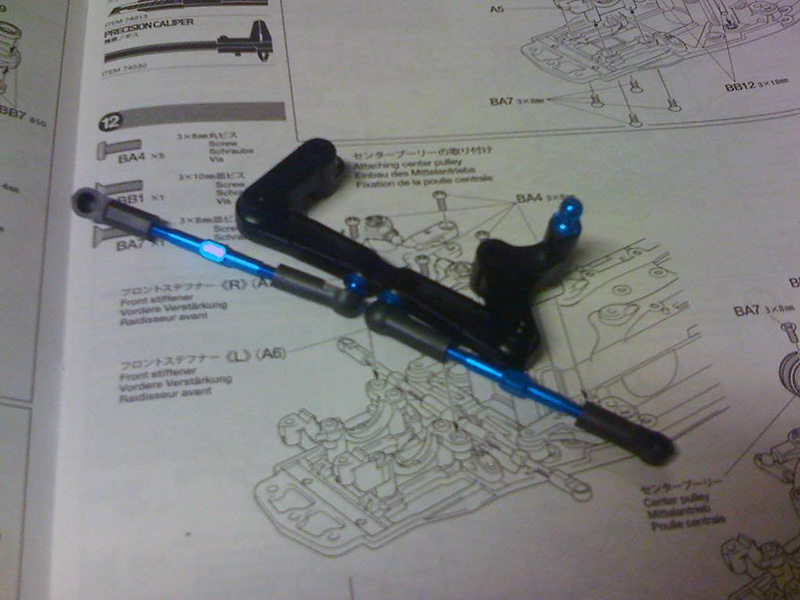
The next step in the assembly is the steering rack. This one is not straight forward. Pay close attention to the screws being used. The pivot screws have a very shallow head on them to allow the tight clearances of the rack to chassis. (If you remember the screws that you installed the spur gear with they are identical to those)
Once you locate and use the correct screws tighten them down snug and back them off in small increments until the bell crank rotates freely on the rack. (do this for both bell cranks)
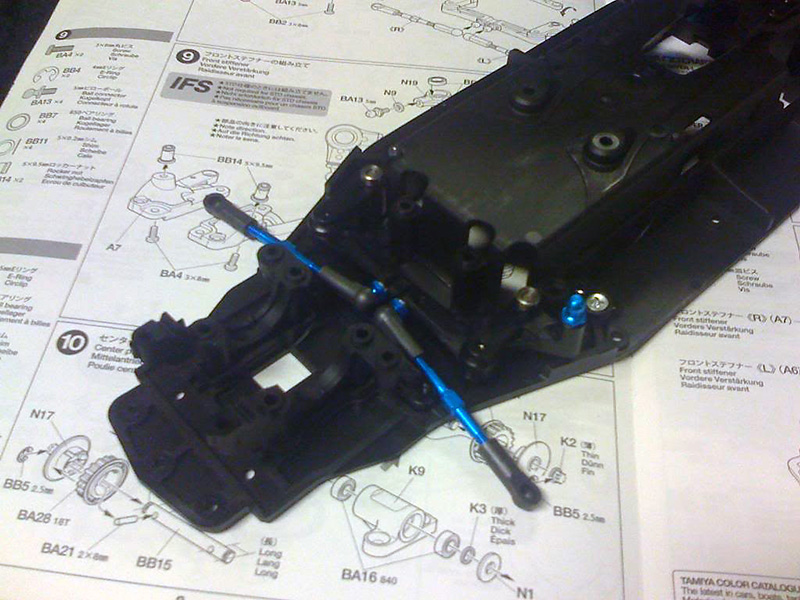
Next is the IFS mounts..... (If you have never driven an IFS car and are use to a stand up shock I implore you to try it!) In my opinion the IFS allows for more precise adjustment and allows the car higher corner entry speeds. Straight forward assembly though I again recommend to use all three shims under each rocker to keep the bearings snug.
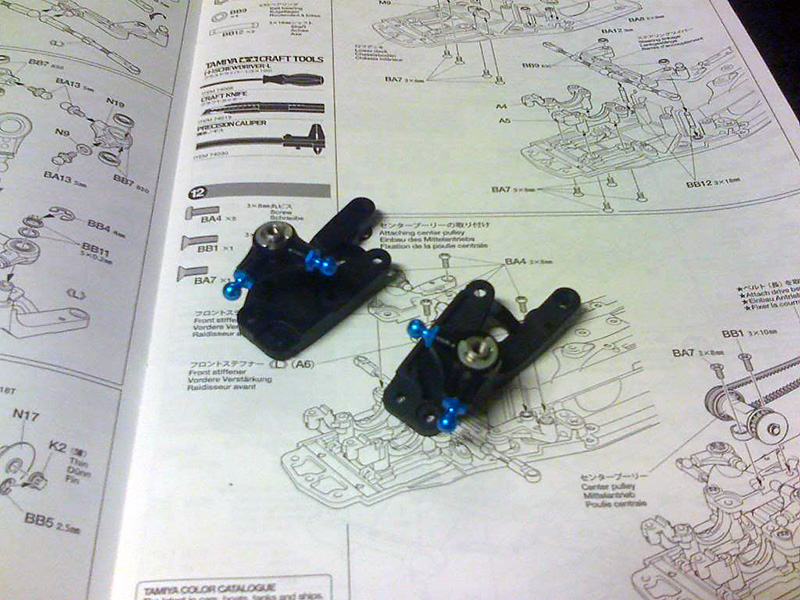
Next assembly to build is the jack shaft and pulleys. Here you need to make sure washer #2 and #3 don't get mixed up. Again build per manual instructions. And then we will take the assemblies from steps 4,5 & 6 and install them on the chassis. Mind the screw dimensions for each assembly attachment AND in the next steps that involve ball studs watch for those as there are three different types. The manual does show you which go where but sometimes it's easy to over look it.
Now we install the front diff assembly and diff mount/cover.
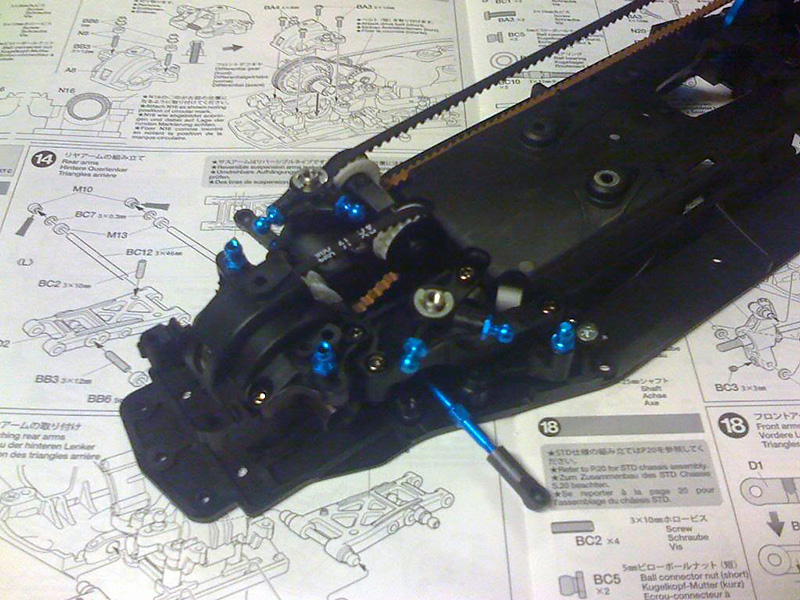
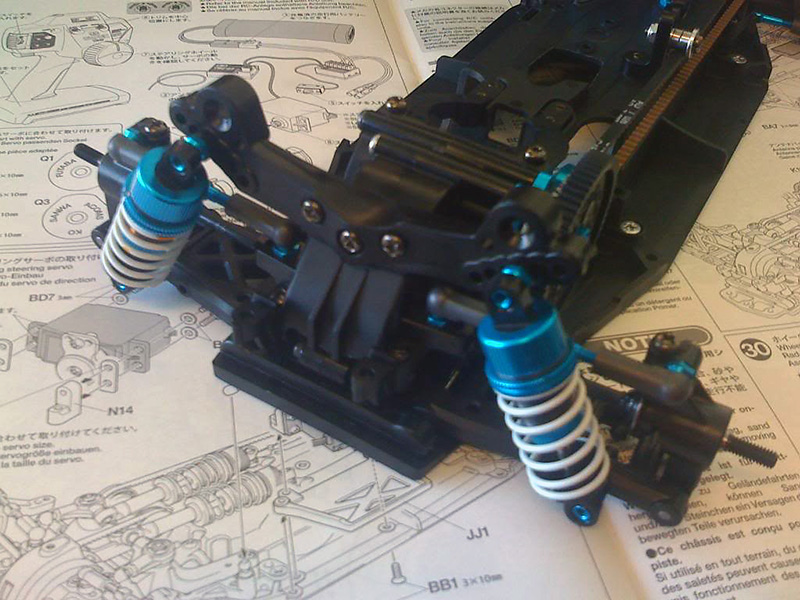
Now we move on to the rear & front suspension. If you are familiar to Tamiya's TC's you will recognise that the arms, pins, hubs, drive shafts and knuckles are from the TB03, TA05, 416/417 cars that have been hugely successful and remain so on the TA06. Installation is again straight forward of course minding the shims called out in the instructions.

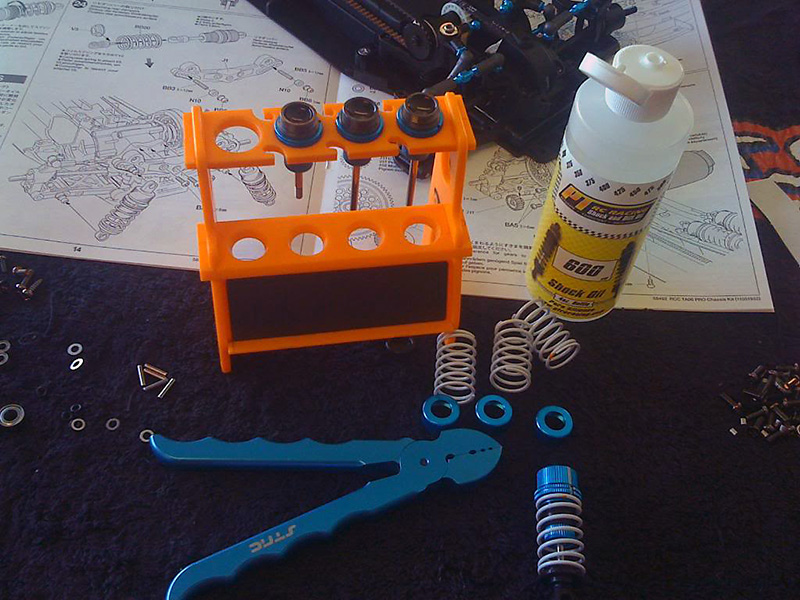
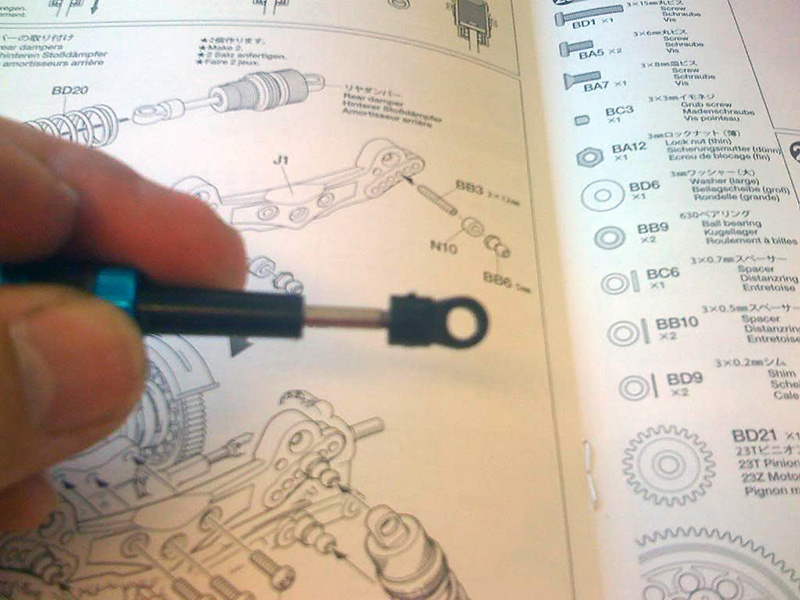
Now we move on to the shocks. The TRF shocks that are included in the Pro kit are again the same World Championship winning units found on other Tamiya models and are hailed to be THE best shock still on the market today. Building them is easy and straight forward for the rear. The front however I have a few notes. One is when selecting the shim that resides under the piston make sure you use the correct one. Its a small OD aluminum shim. Once installed if the piston has any free play up and down on the shaft you probably used the wrong shim. Also when installing the bottom plastic eye/mount it will not screw tight nor will it (or supposed to) cover all of the threads as in the picture below. Be extra careful not to over tighten this or you will possibly ruin it. (In these assemblies front and rear I used 600cst fluid)
And now installed.....
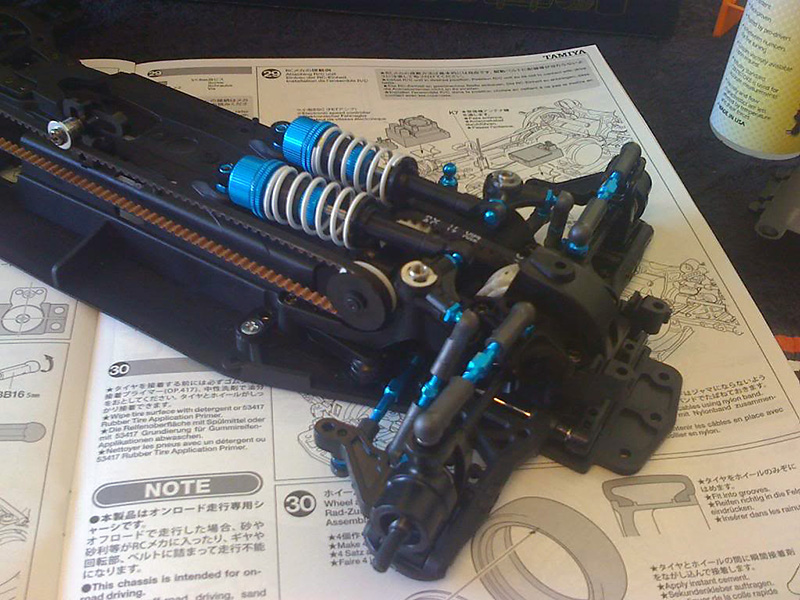
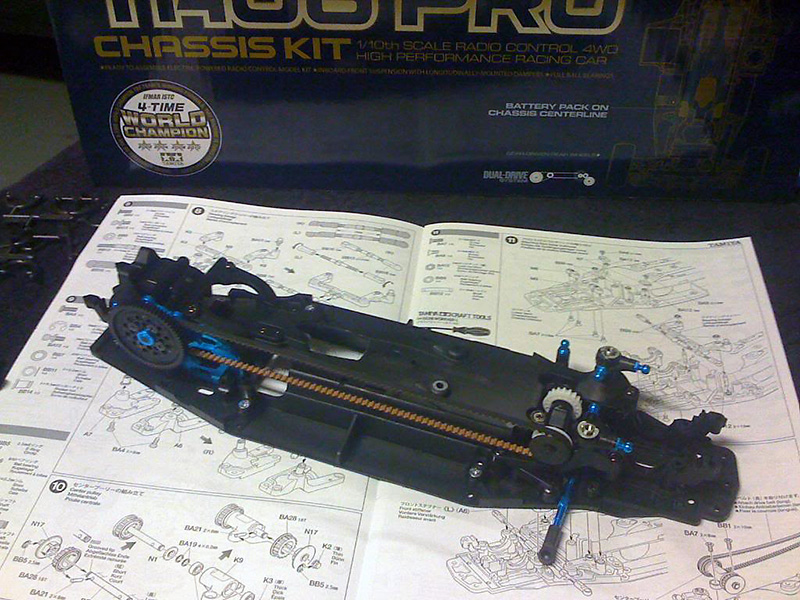
At this point the kit is 90% finished. All that is left is the installation of the body mounts and bumper along with your electronics, mounting your favorite tires and body and you are ready to put a hurting on your competition.
Out of the blue here but.... The only bummer for the TA06 kit has been the rear body mounts. They are not only thin with no fillet for the post but the material is a little on the brittle side.
I found this out the hard way during my testing last Thursday where I rolled the car over and slid backwards into the board. It wasn't hard enough to make you cringe let alone think anything would be broken but both body mounts snapped right at the base.
The Pro kit (and I'm almost certain the std kit) comes with the mounts for the rear we have all become accustomed to. They will NOT bolt directly on. But it is very easy to make them work with about 2 minutes with a dremel.
#1 Find your extra posts and the thick spacers for them. You will also need two 3x12 to 3x15 Cap (or button) head screws and two 3x6 (or so) washers.
#2 Remove the body mounts. Take a 3mm drill and slot each body mount hole in the shock tower straight down about 3.5mm. If you take the spacer and insert the pin of it into the shock mounting hole right below this body mount hole you will see exactly how far you need to go and can use this as a reference.
#3 Install washer on the new mount screw and mount new body post on the left. For the right you will need to dremel/ sand / cut the bottom of the post that faces the spur gear in a 45 degree angle. Only trim off what is needed for clearance. Now install the right post.
During this weekends race I was unfortunate enough to be taken out HARD! So hard that it broke the servo. The body posts were however not. :)
Source:


|