#1- the WIRING the ESC & why the space is so limited?
Due to inline layout, Roche P12V has limited amount of space to mount especially ESC. To keep in mind, this car is a race car, no compromises made what comes to performance, so had to squeeze the space for desired wheelbase which makes it so tight on space.
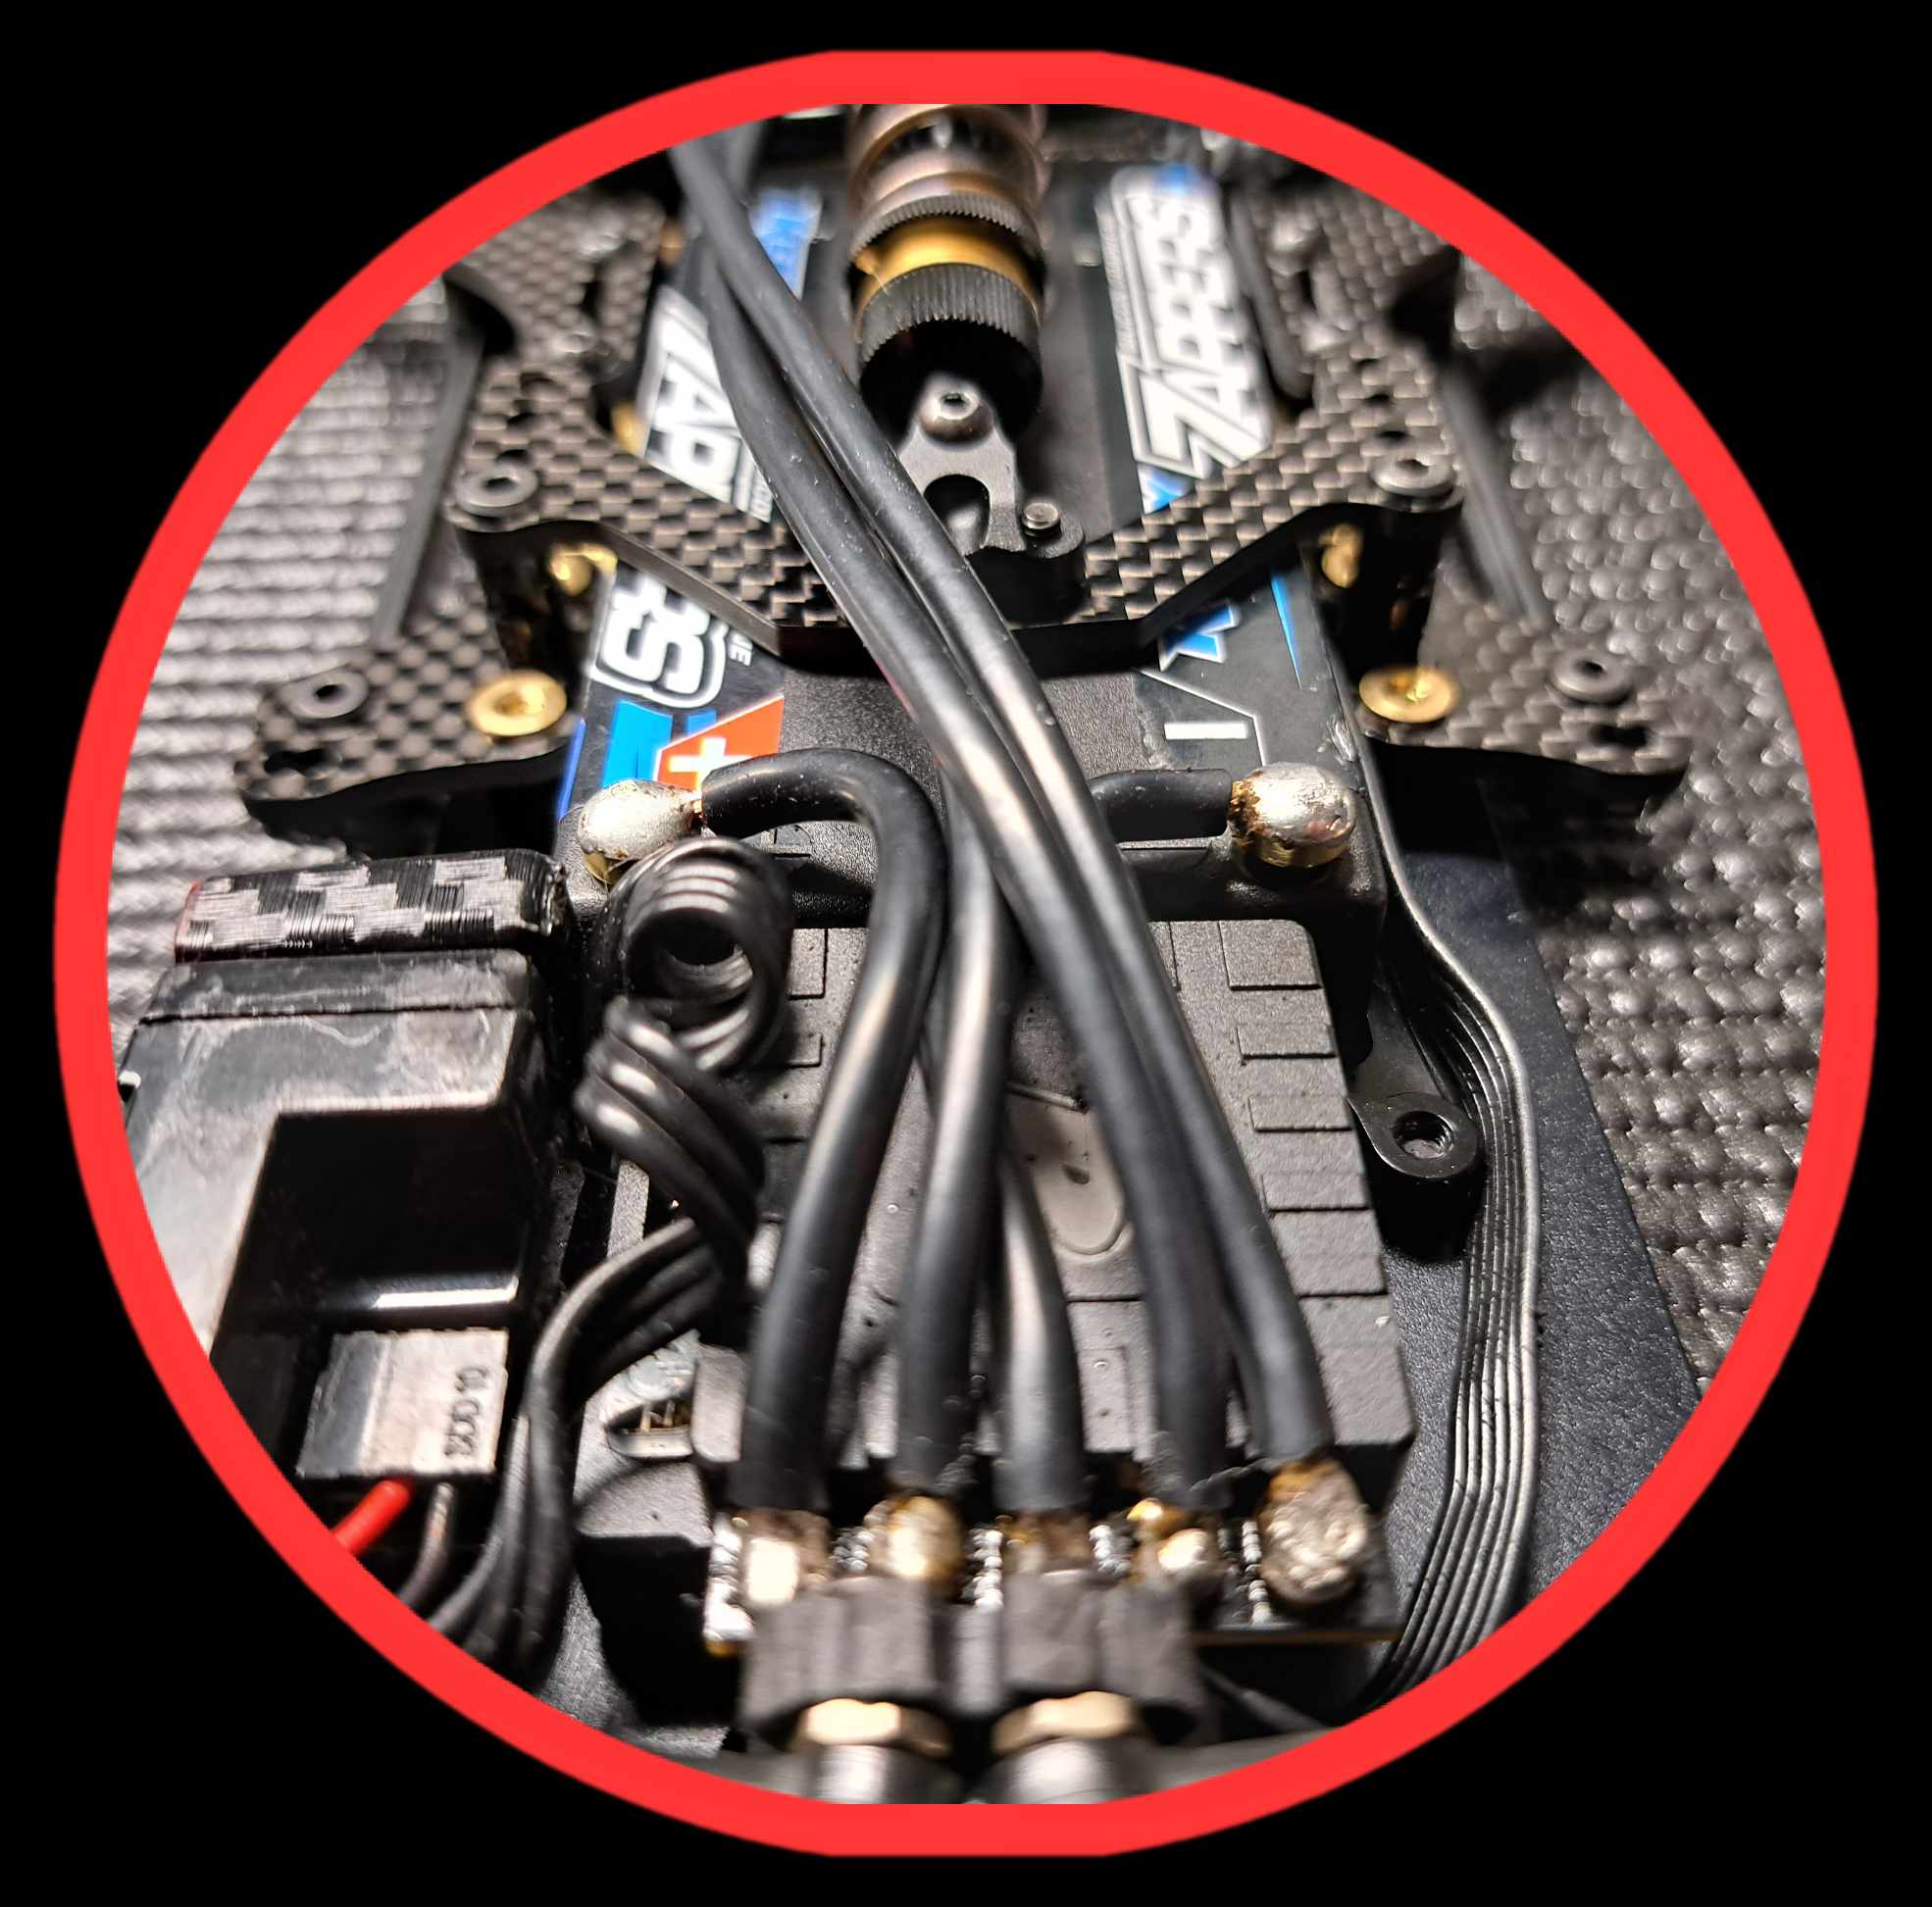
TIP 1: Mount ESC so that the wires go easily over the front section of the lipo to allow lipo coming out easily. It helps when you mount ESC so that the solder tabs are pointing forward. This requires longer sensor wire unfortunately, i use 200mm length.
Other option is to solder wires pointing up, not flat as usual, just to allow the lipo to rise from lipo tray. As if you solder the wires so that they flat on lipo and tabs pointing back, solder makes the wires hard on around the solder tabs and that "locks" the lipo on tray and you cannot lift it up easily.
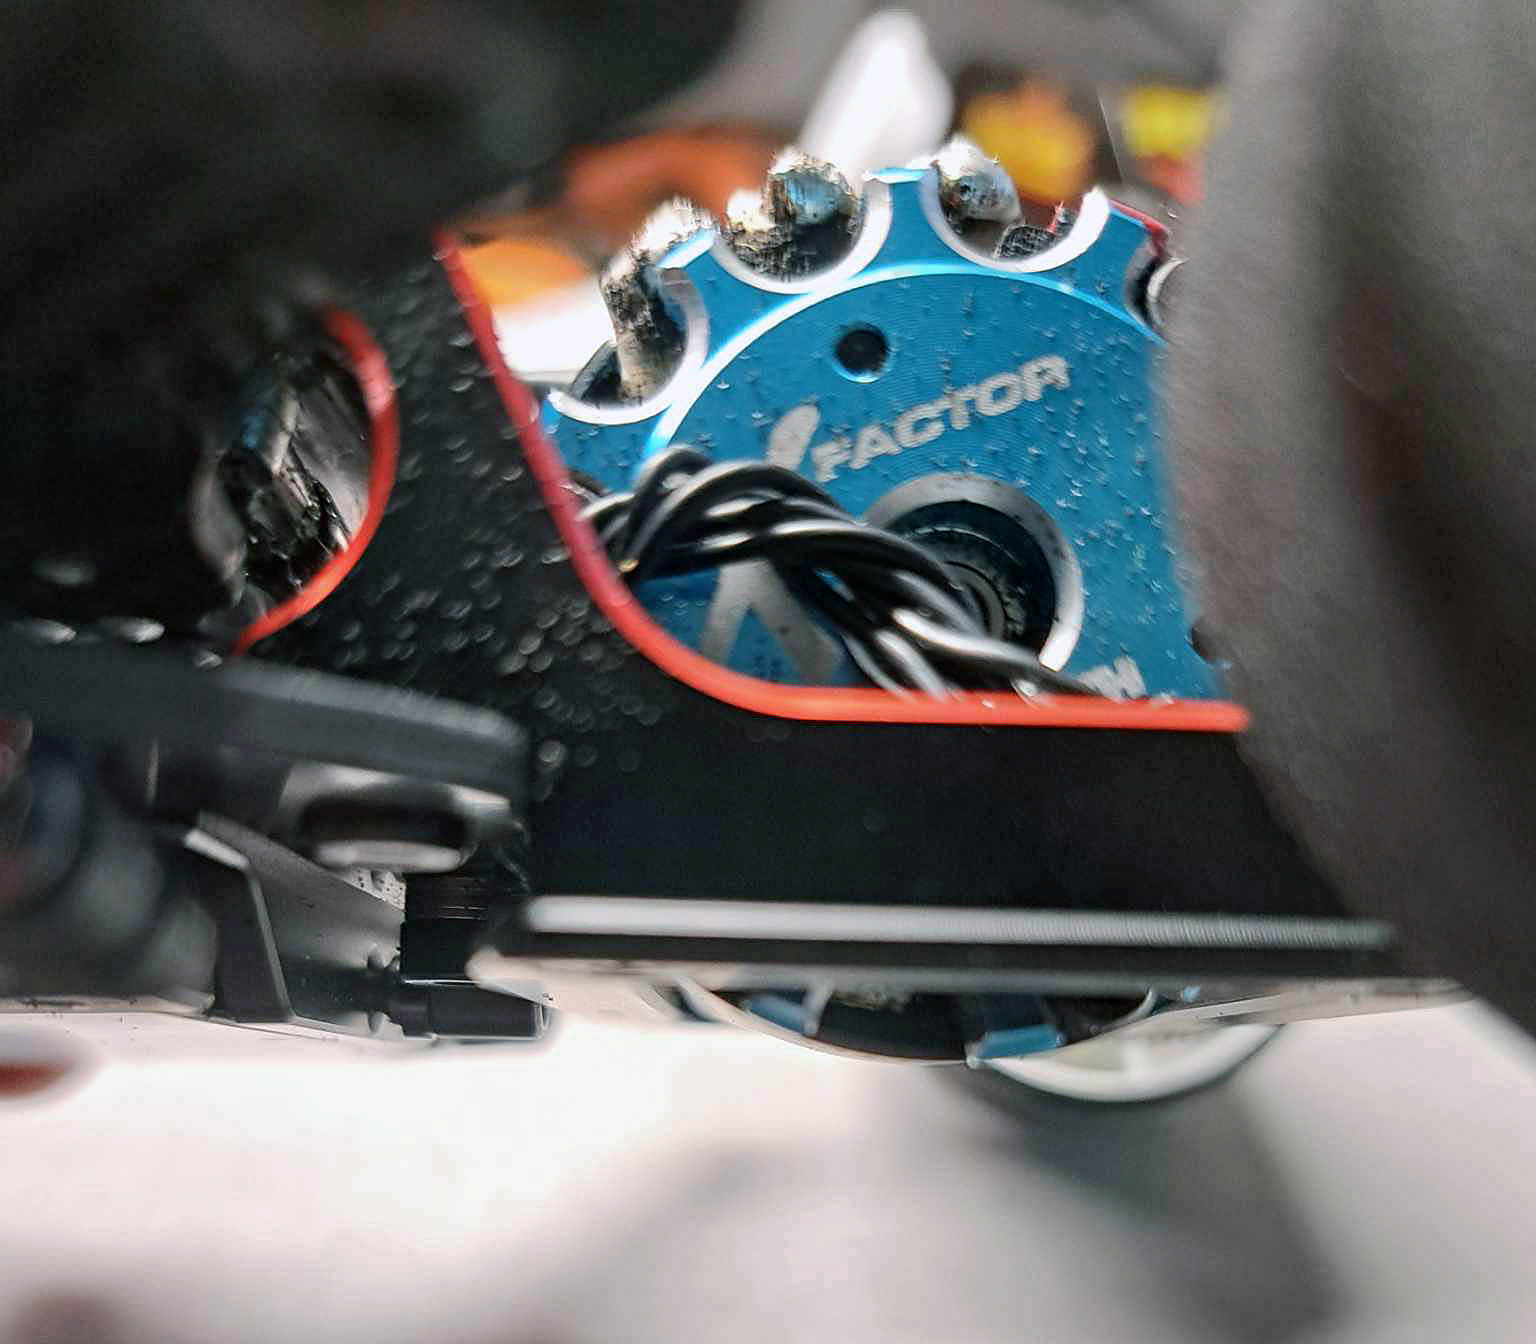
TIP 2: Route for wiring is recommended to put as pictured, on the right side of the shock.
TIP 3: For LMP body classes, I recommend mounting RX48X type receivers like pictured, for example. Or 180 degrees from what shown to avoid receiver to touch the body.
TIP 4: I recommend using TQ Wire TQ1000 always when wiring 1/12 car - it is the softest and most flexible cable in market.
TIP 5: I use Xray X-stiff servo saver. There is optional parts in market that are thinner than the standard Xray saver is but they work with xray parts combined. That gives little bit of extra space. But all current HW, Reedy and similar size ESC's do fit. It is tight to fit but they do fit. So this is not design flaw, I was aware of it all the time but it is also race car with some compromises. We at Roche will have an option for this also in near future, stay tuned 😉 |
|
|
|
|
|
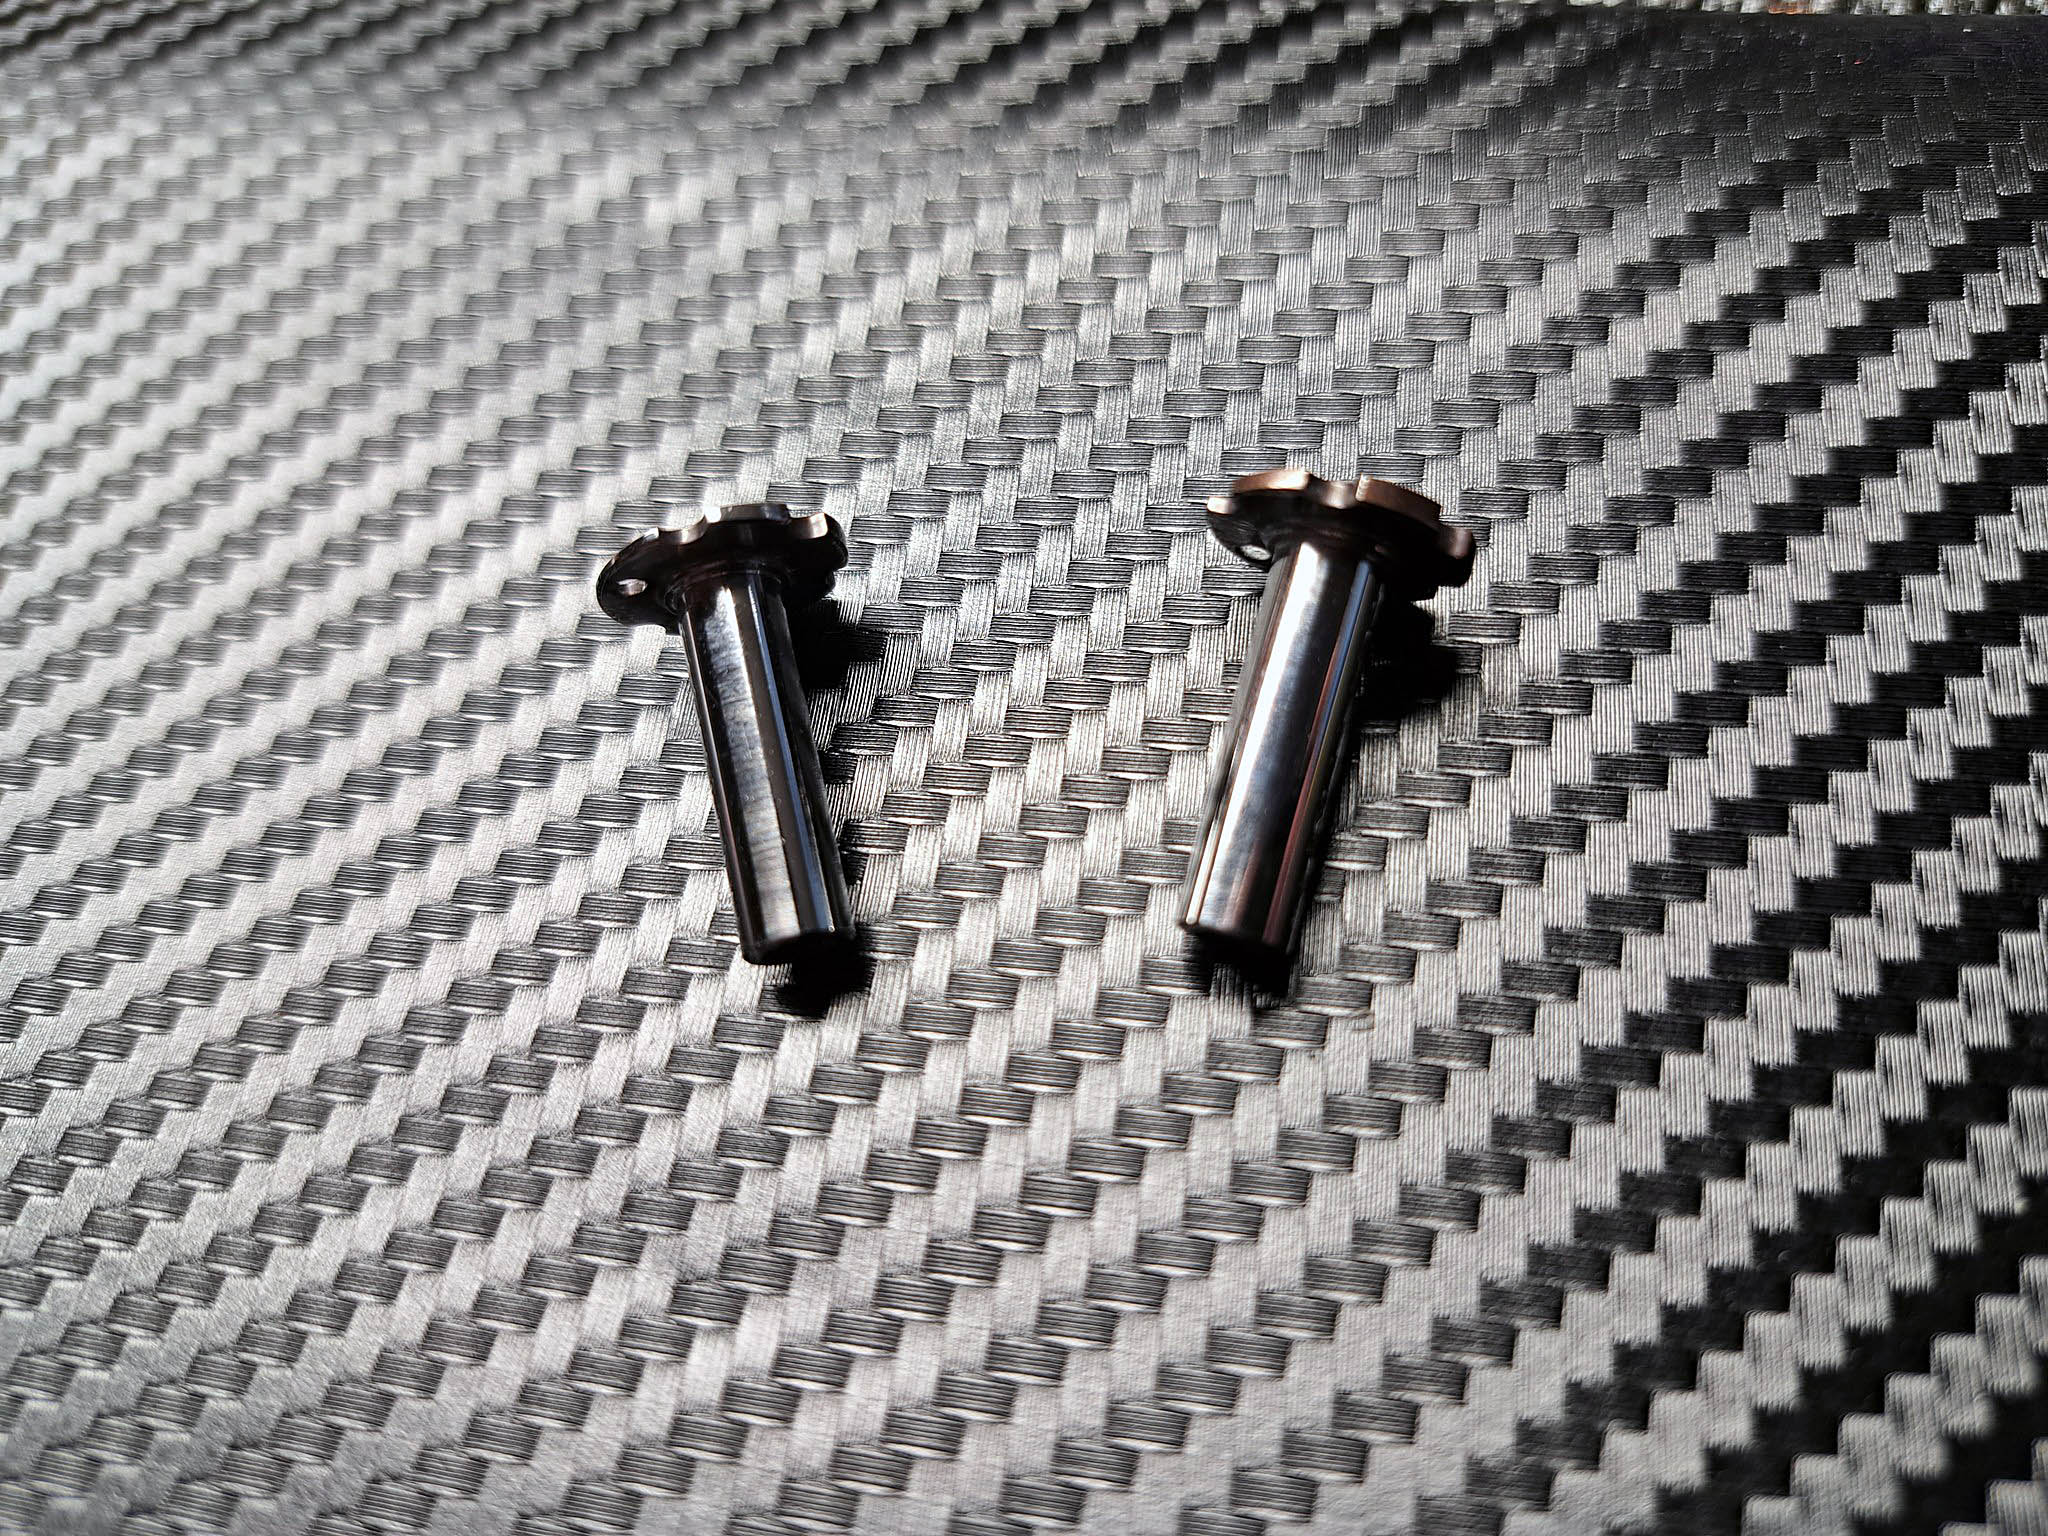
#2- KINGPINS - Polish 'em!
Kingpins and how they work are one of the most important part of the Roche P12V - just as any 1/12. However, there is something I strongly recommend doing to maximize the performance of the car at track and also while tweaking and setting it up at the pit.
Due to king pin material is Bruce Springs... I mean spring steel and the steering knuckle is aluminum, we of course have some more friction between those two parts. Even it is recommended to use some diff grease type of stuff on on kingpins, which makes it move a lot smoother, affecting the steering characters at the same time, to ensure the best possible, so called optimized performance, I used a small piece of 1200 sanding paper together with polishing paste and bolted M3x8 set screw into my Dremel and screwed the king pin in that for polishing operation. I used plenty of paste, and wrapped the small piece of sanding paper around the kingpin and run it for like 10-15 seconds at mid speed. It is important to move the sanding paper up and down the kingpin while doing this to ensure the whole length of it gets polished. Next i put some more polishing paste on a piece of cloth and run it for like 10 seconds while pressing the cloth around the kingpin and moving it up and down.
OK now you're almost done. Just remember to clean it well with brake cleaner or something, in a well ventilated room or rather outside.
Now they are ready to rock and i guarantee they do operate smoothly even without grease on them. BUT - I recommend using 5-15K diff grease type of stuff, Kyosho for example has some good stuff, but also some other types work as well. Remember if your using regular diff oil in there, it requires more maintenance as it tends to 'leak out'. Just apply small amount of grease inside steering knuckle hole and drop it in to the kingpin.
I personally use Kyosho 5K diff grease, I always find harder grease makes the droop settings more difficult to measure and control.
I hope you find this tip useful. Like said, this operation is strongly recommended to do for every P12V before going to the track. It does not take long and it for sure pays off! If you don't have the actual polishing paste, you can also use some oil you already have in your pit box or at home. |
|
|
|
|
|
#3- Motor pod assembly & adjusting rear ride height
Some more information about the Roche P12V here for you guys & girlds. Some info behind the design and how I like to set it to get it dialed.
I have got many questions about this and I have also explained this to few people before they asked to see how they understand it.
OK, so what do we actually have in the Roche P12V motor pod, what's so special about it? Why is the lower plate now at the chassis level?
The structure is very simple and rigid but needs little explanation. Let's have a look.
**************************************
1* Aluminum Rear Axle Holder (or Rear axle tube like i call it)
This 'tube' is a one-piece bearing holder to keep the bearings aligned for smoother bearing action and higher top speed also. I recommend using those O-rings around the bearings that come with the kit, they work also as dampers as metal against metal is pretty hard if they get any hit at the track. Yes, I know, they are little tricky to put on. Use some 1,5mm tool tip to wrap it around the bearing, I try to make some short video clip about it if I manage with my phone.
The tube has 1mm offset for axle, so that means you can adjust the pod with and wheelbase by 2mm by just loosening those 2 screws and taking the axle out and putting back together. I like using the short pod/wheelbase option, but i recommend trying both to see which suits your driving style and the grip level.
Thanks to oval insert design the whole motor pod is very rigid and also easy to build and setup.
2** Lower pod plate
This part is aluminum and has the center line markings in it. Make sure the part is mounted right way. It does fit the pod both ways but you notice that the very small holes that are used for measuring the rear pod width per side should be in center line of the car.
This plate is mounted 1,5mm higher from the bottom line of the chassis to allow motor to sit even lower than normally as its the heaviest component of the car. This really makes difference! More about it below.
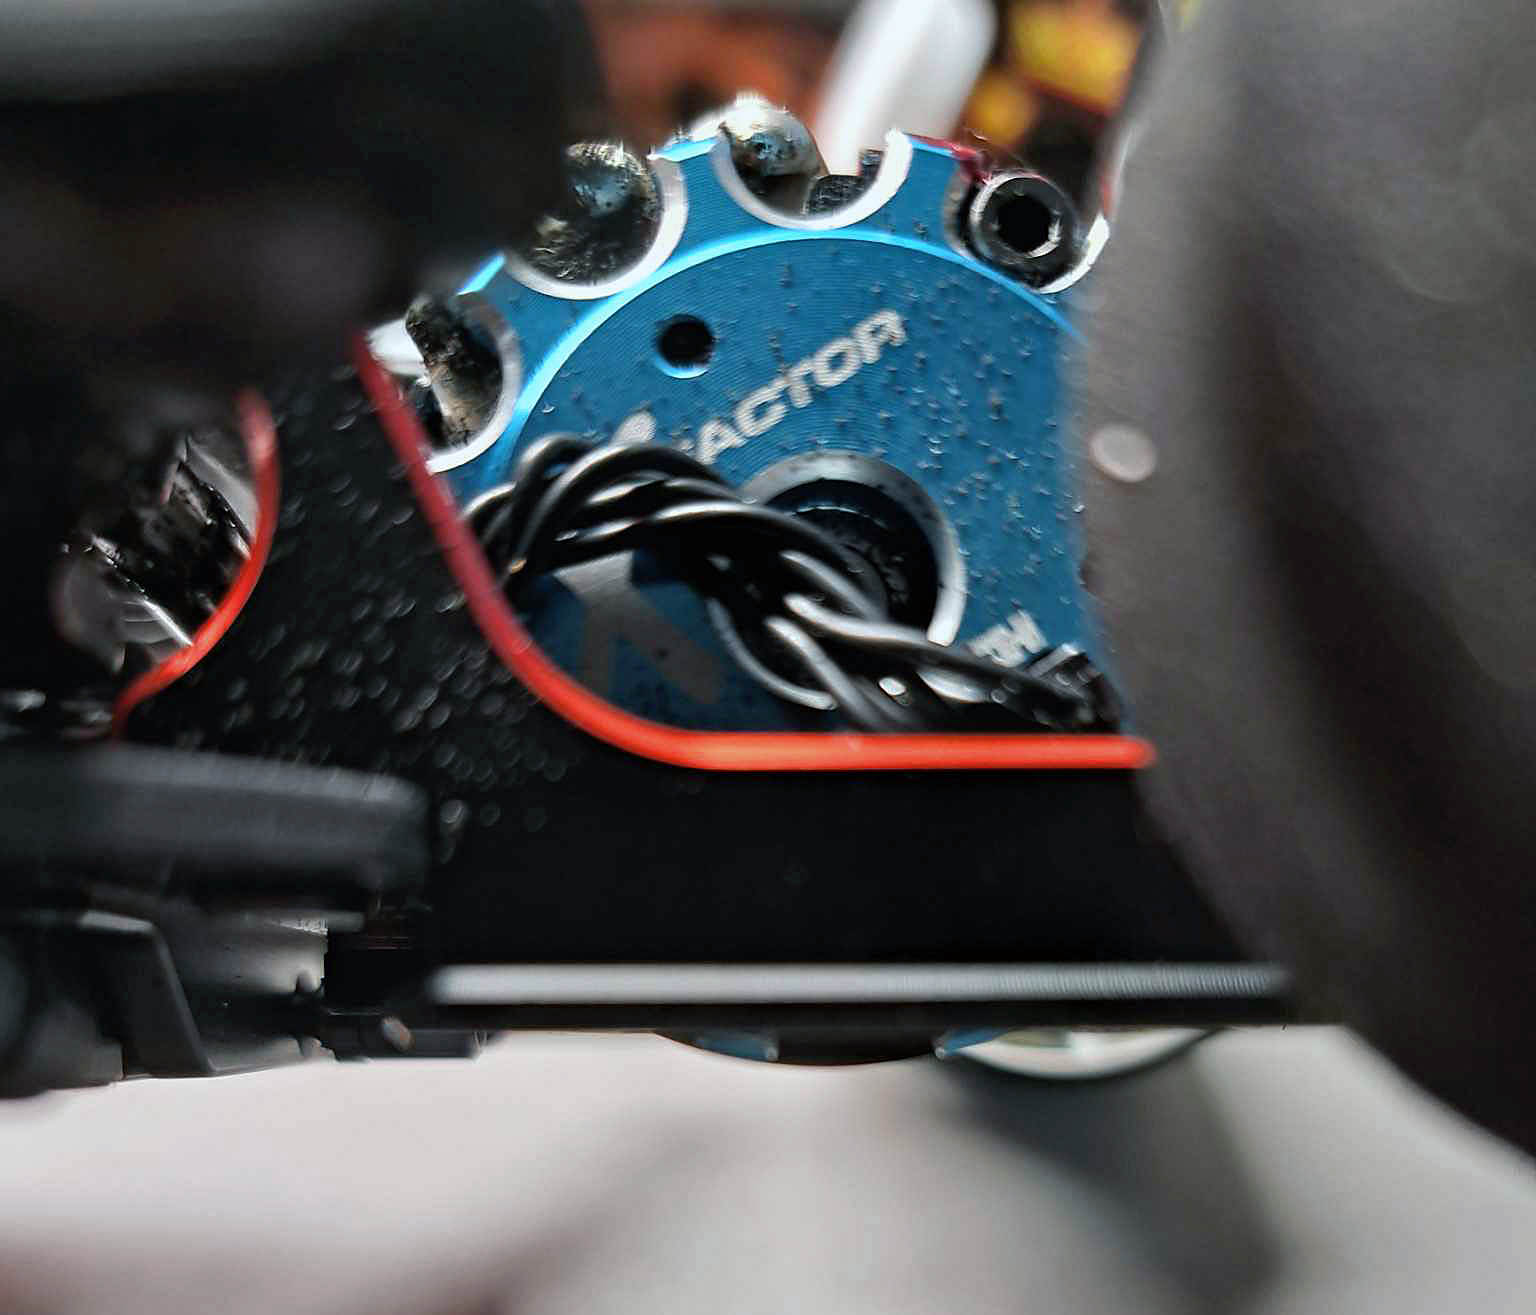
3*** Mounting motor
You might have already noticed this if you have a P12V already that by turning and sliding the motor mount screws in motor pod slots while setting the gear mesh, the motor also moves up and down.
So what a heck, is this just a design flaw or made on purpose?
Let's talk little about race cars and center of gravity to begin with.
All the common 1/12 cars that have the motor pod lower plate mount as low as possible have one thing in common - motor is always higher than the bottom level of the lower plate due to few reasons:
- There is always some tolerance on motor mounting slots and motor tends to hang so its kind of unwanted feature to let the motor hang below that lower plate as it is common way to measure the ride height from that plate, am I right? So if motor is accidentally lower than motor pod lower plate you can easily get DSQ at the tech.
- The other thing is that when the motor pod lower plate is mounted on the chassis level, and the car has side links, especially when lipo is transverse and sidelinks are mounted with around 103-105mm wide, the lower plate 'wings' that the sidelink pivot ball is mounted on, grabs the carpet and it is covered by rubber after the run. Am i right? This is very unwanted feature and thing to happen as it slows you down.
- One more thing is that when you have some bumps on the track and the car bottoms, the rear pod leans forward and the front edge of the lower pod plate 'wings' will grab and touch the carpet even more
So what's the gain we have in P12V instead? We got lower CoG with the heaviest component of the car (motor) sitting like 0,5mm or more lower than in most of the cars in market when race ready.
I want to make one thing straight - do not measure the rear ride height from Roche P12V from motor pod lower plate! Even the difference is 1,5mm, depending on how low the motor is mounted, bottom of the motor can be higher or lower than the number i can give to you.
Simply, always measure the rear ride height into bottom of the motor. This can be done with many tools or simply just with 3mm plate or 3,2mm plate depending on how low you want to run it. I recommend 3,2-3,3mm or so.
If you like/are able to run with big tires at your track, meaning 41mm rear or bigger, you may need extra set of ride height shims (230317) to be able to use big tires and have 3,3mm ride height when motor mounted so that the bottom line is 1-1,5mm below that lower plate. This is actually a lot more simple to understand when you try it yourself to see how much the motor can move up and down.
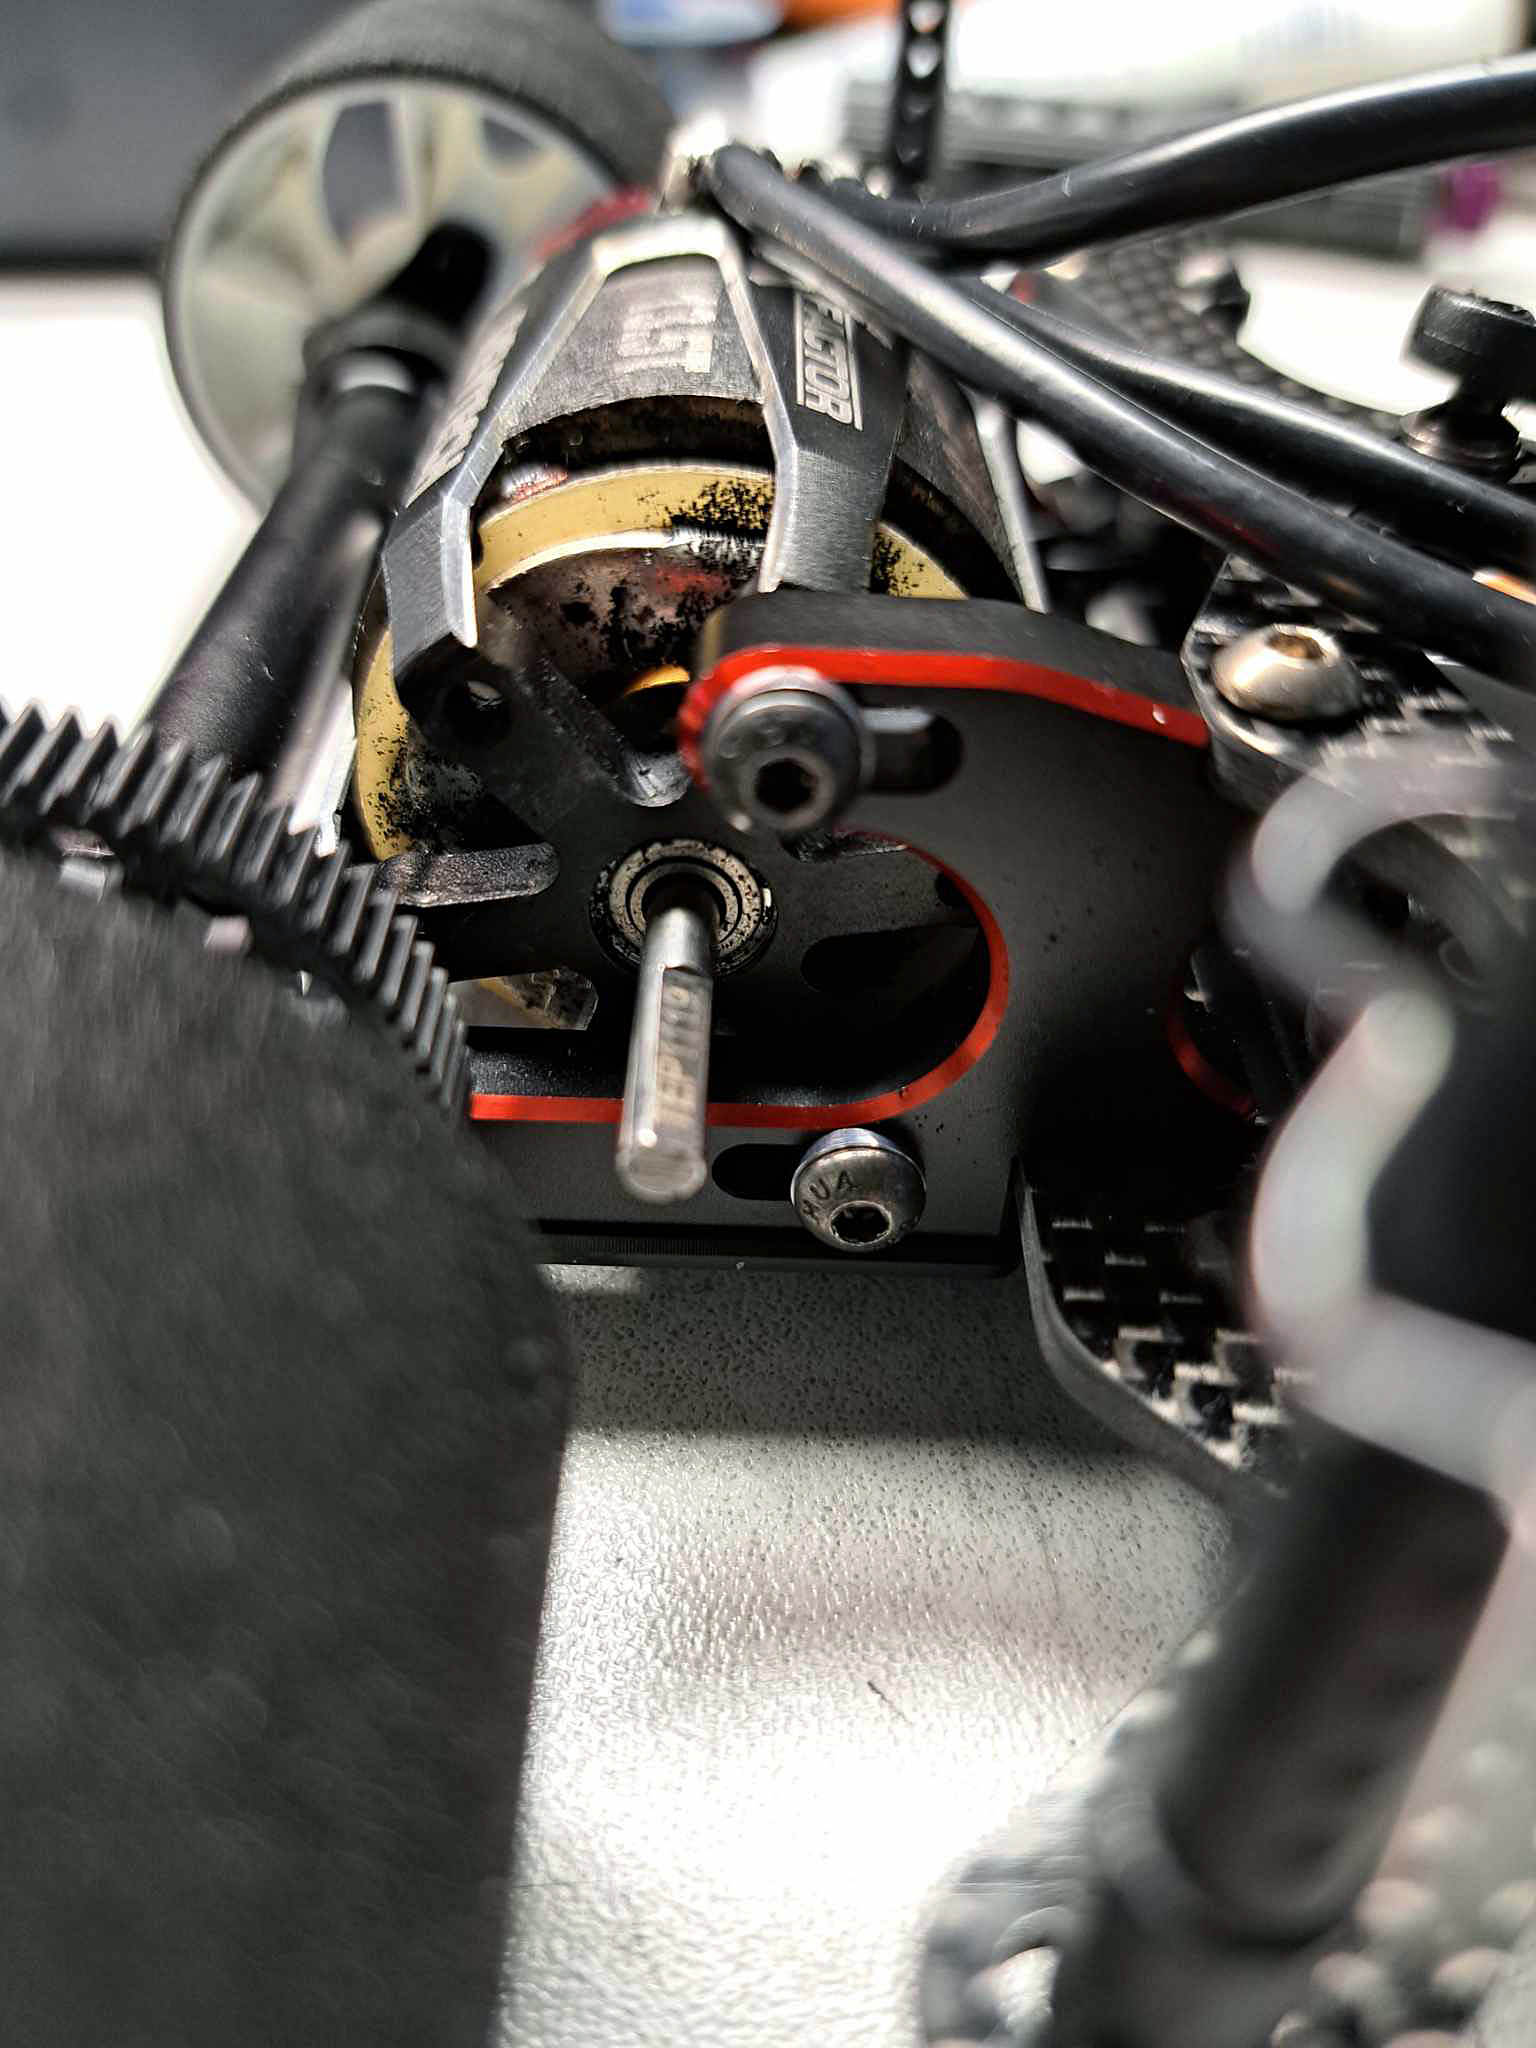
4**** Motor mount screws + washer
I often see drivers mounting motors without having a washer with the screws - never do it without the washers! As when you tighten the motor screws, and not have washers there with the screws, the motor tends to move along to right when you tighten the screws so desired gear mesh is harder to reach. This is a beginner tip, just wanted to make sure everybody use washers with their motor mount screws in EVERY car they have 🙂
**************************************
I attached a short video clip and few photos to make it easier to understand what I am talking about. The supposed way is to have the motor screws at the same end of the slot - in upper and lower slot - that's when its at the height its supposed to be 1,5mm below the bottom of the lower plate. When i turn the motor, you see it coming lower.
|
|

|
|
|
|
|
|
|
|
|
|
Source:


|