- Roche Rapide F1 Evo - Markus Schmidt - Build & Review -
Roche Rapide F1 EVO 1/10 Competition F1 Car Kit
Formula 1 RC kits have held a fascination for me since I first saw them, and although I've been in and out of our beloved hobby for almost thirty years now, I never bit the bullet and bought one of these delicate looking racing machines. This actually continues to be true, because the latest addition to my small RC collection was an early birthday present!
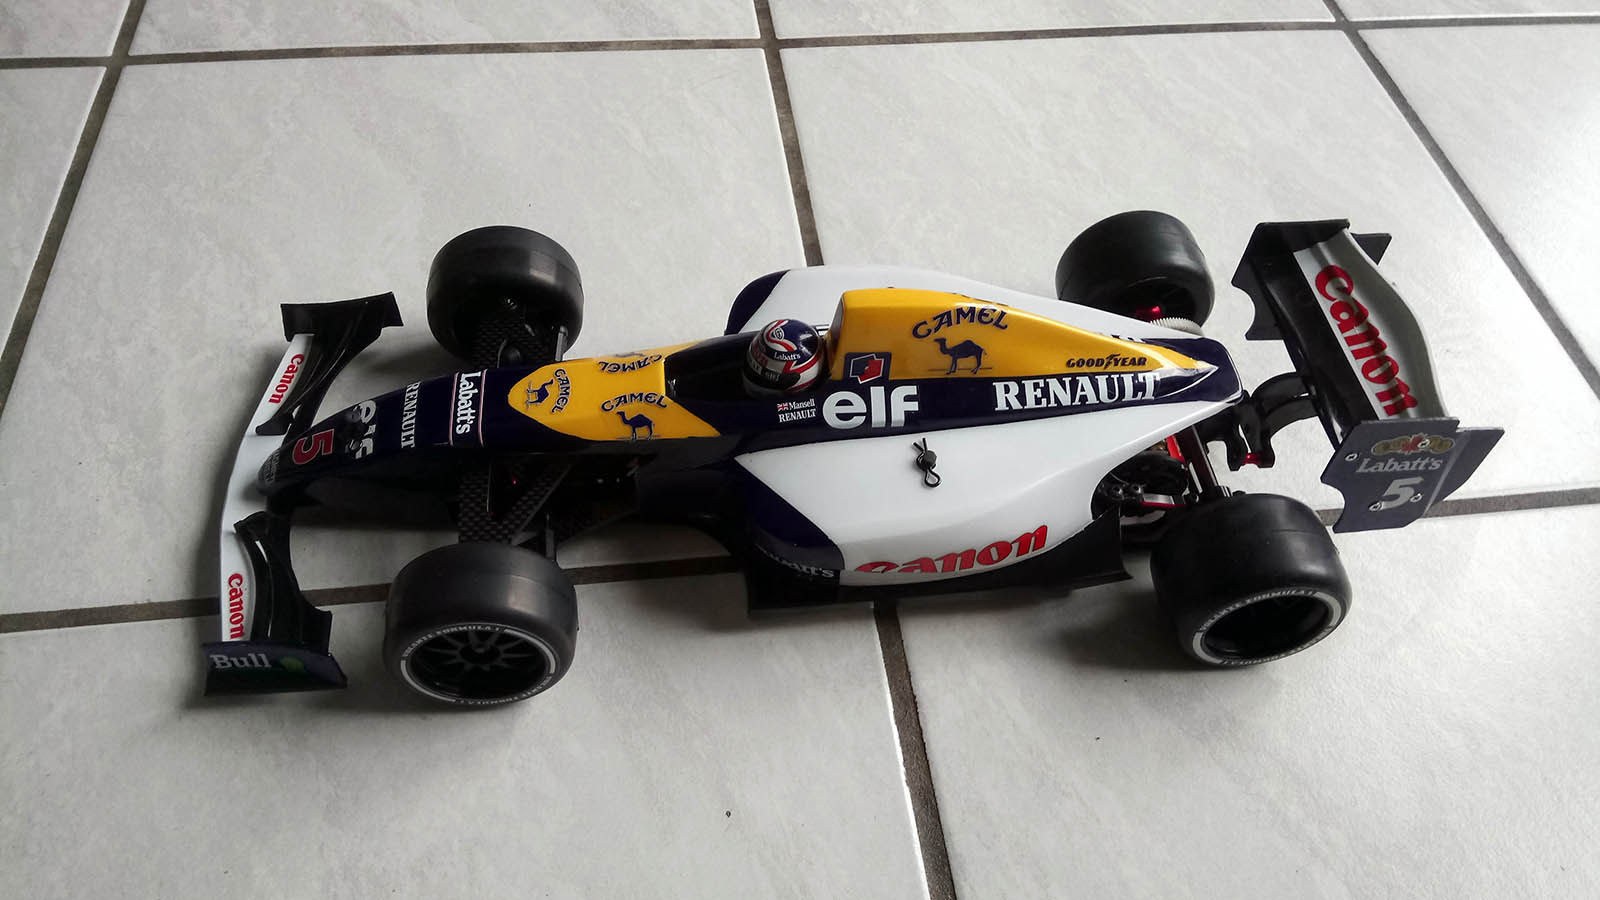
In the past, Formula 1 RC cars with rubber tyres used to be notorious for understeering under power, but as I've been told, times have changed with the latest breed of kits and tyres. When I saw a youtube video of a Volante tyre test run featuring the Roche Rapide F1 EVO, and I was intrigued. Following the press release one or two days later announcing the 2016 1/12th scale champion's latest competition F1 car kit, I knew it was time to take the Williams FW14 decal sheet out of the cabinet that had been sitting there for several years, patiently waiting for its time to shine on a sleek F1 body shell...
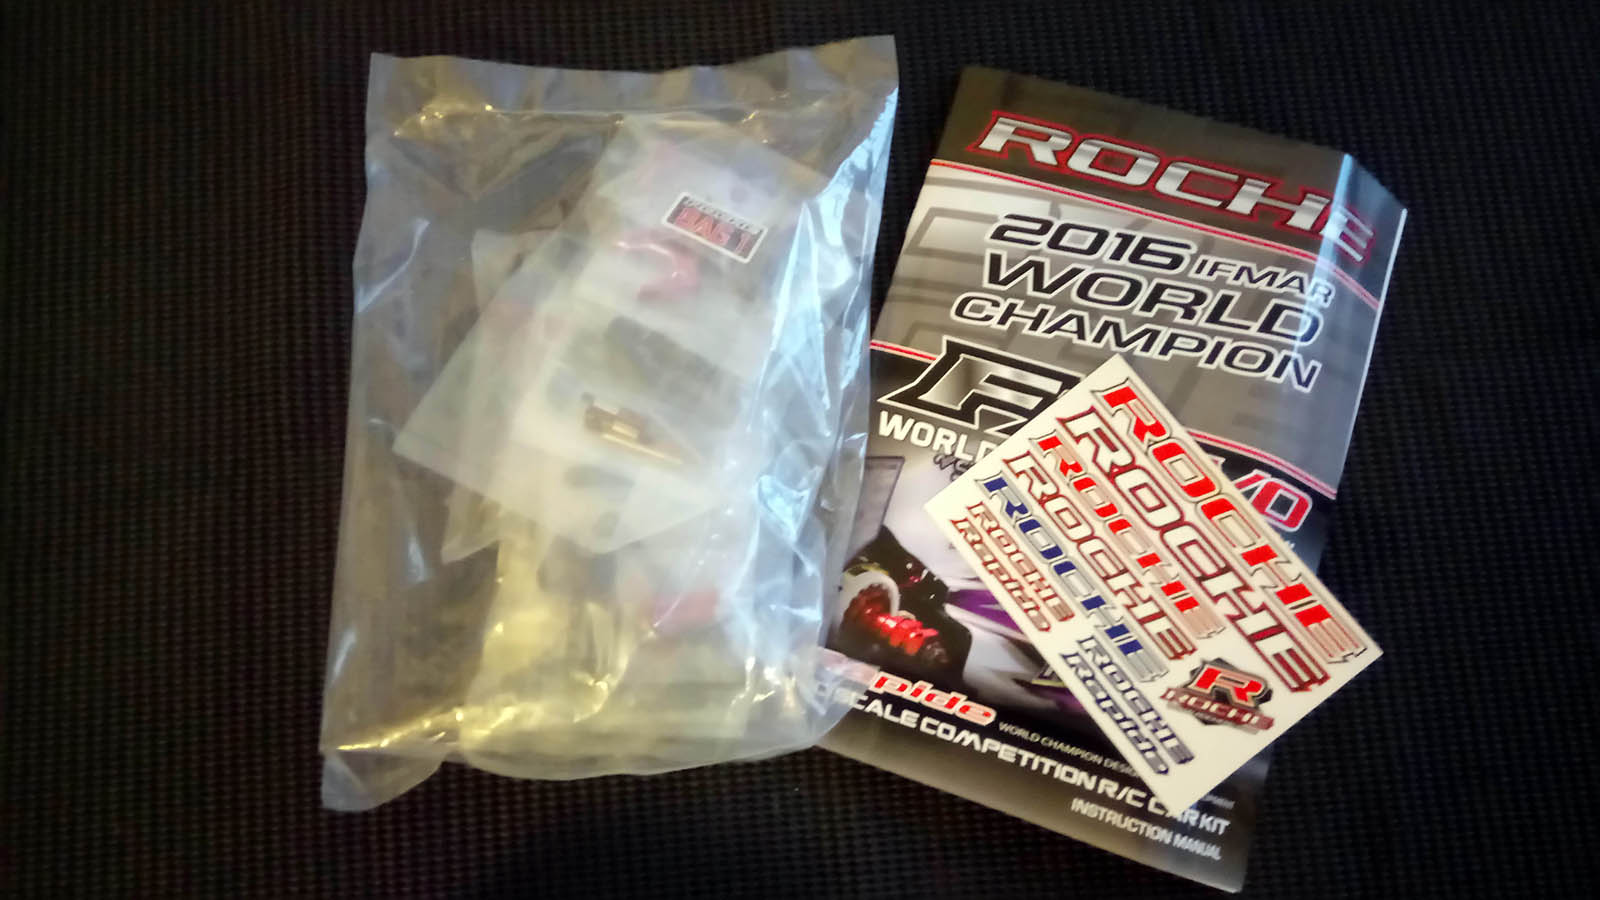
Speaking of which, just like every other competition F1 kit out there, the F1 EVO does not come with body, wings and tyres. For a veteran buggy racer like me, there hardly seems to be anything inside the tiny package, but the few items that are inside the neat cardboard box are made of some of the finest and materials the RC industry has to offer, with a great finish and choice of anodising colours to boot. Before it comes to building the lightweight race car, however, giving the manual a thorough read is always a good idea.
Reading the manual in advance helps getting an idea of the car's design and function. Also, you can identify any steps that may not be clear to you at first, and of course find out what tools and accessories you may require to complete your kit. In the case of the F1 EVO, you'll have to purchase the items mentioned above plus 450 cst and 10,000 cst oils for the centre shock and the tube dampers, some ball differential and thrust bearing grease, thread lock, double-sided tape, polycarbonate paint, a motor with pinion gear, electronic speed controller, transmitter, receiver and servo, a shorty LiPo battery pack and a charger. For the test car, I chose a F17 body (017-003), 2017 ETS front wing (017-006) and rear wing (015-007) by Montech, Volante carpet tyres (VF1-FM/VF1-CRS) and a Tamiya driver's helmet (300225055). On the electronics side, there is my trusty Futaba 4PKS-R with 614FS receiver and S9571 low-profile servo, a Muchmore Fleta Stock ESC (ME-FLSK) and a Fantom FR-1 V3R 21.5 turns motor (FAN19415T) powered by an Intellect 6000 mAh battery (IP-BG2S6000HV2). The package is rounded out by a choice of Arrowmax pinions and a set of Radtec's clever servo mounting washers (AC-10023). As for tools, you'll need 1.5 mm, 2 mm, 2.5 mm and 3 mm 2 mm hex drivers, 5 mm, 5.5 mm and 7 mm socket wrenches, a 4 mm turnbuckle wrench, some needle nose pliers, and for the first step some fine grit sandpaper and CA glue.
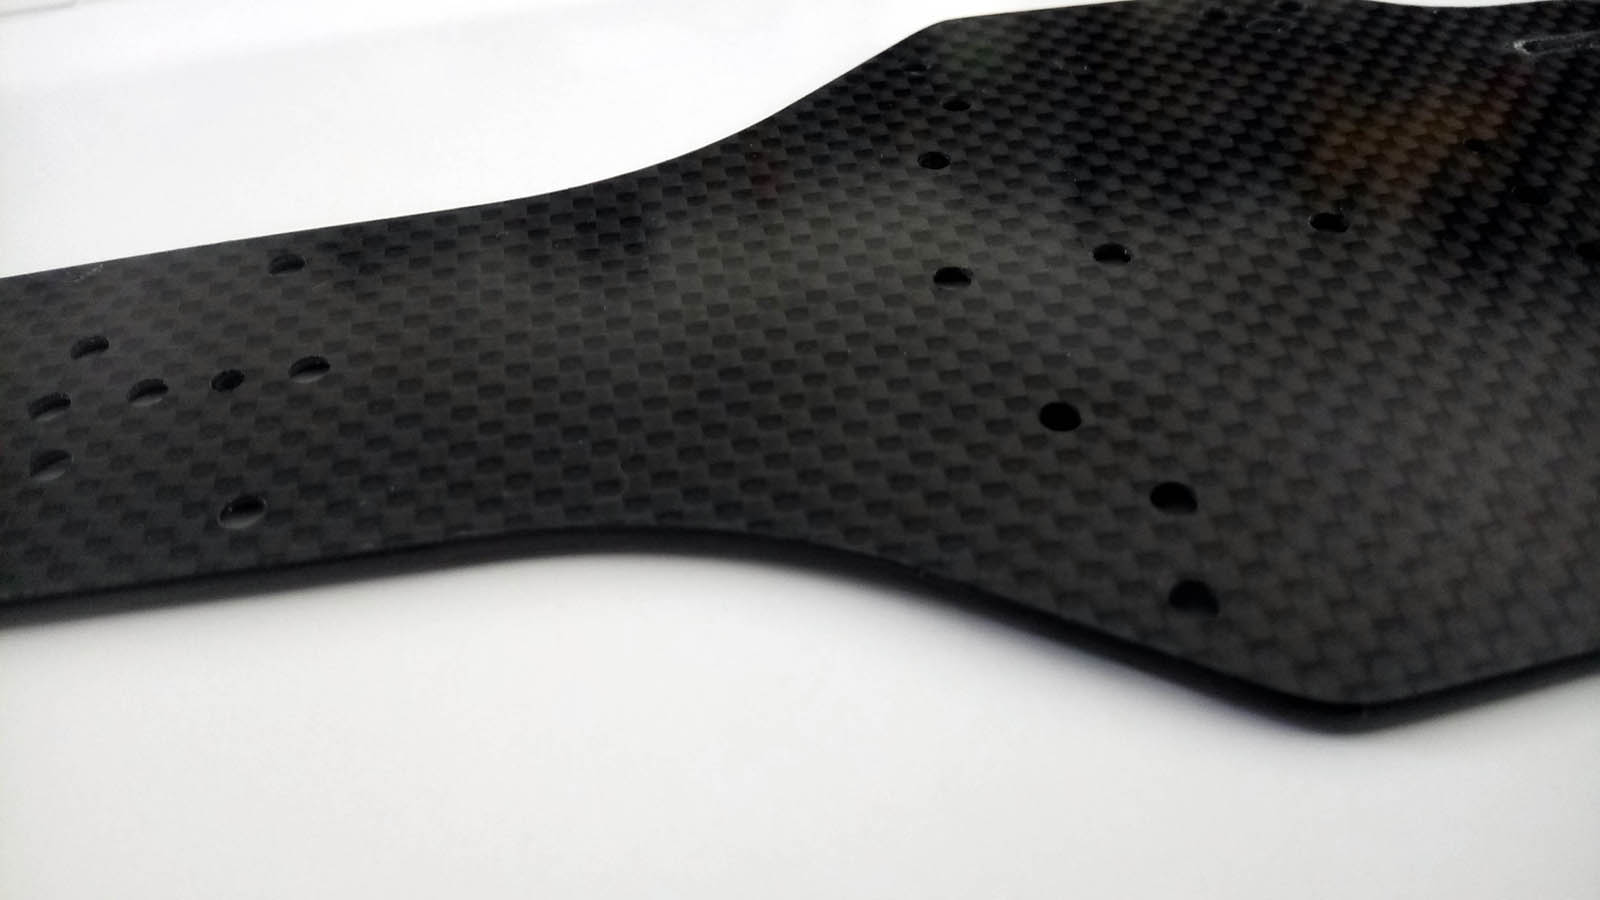
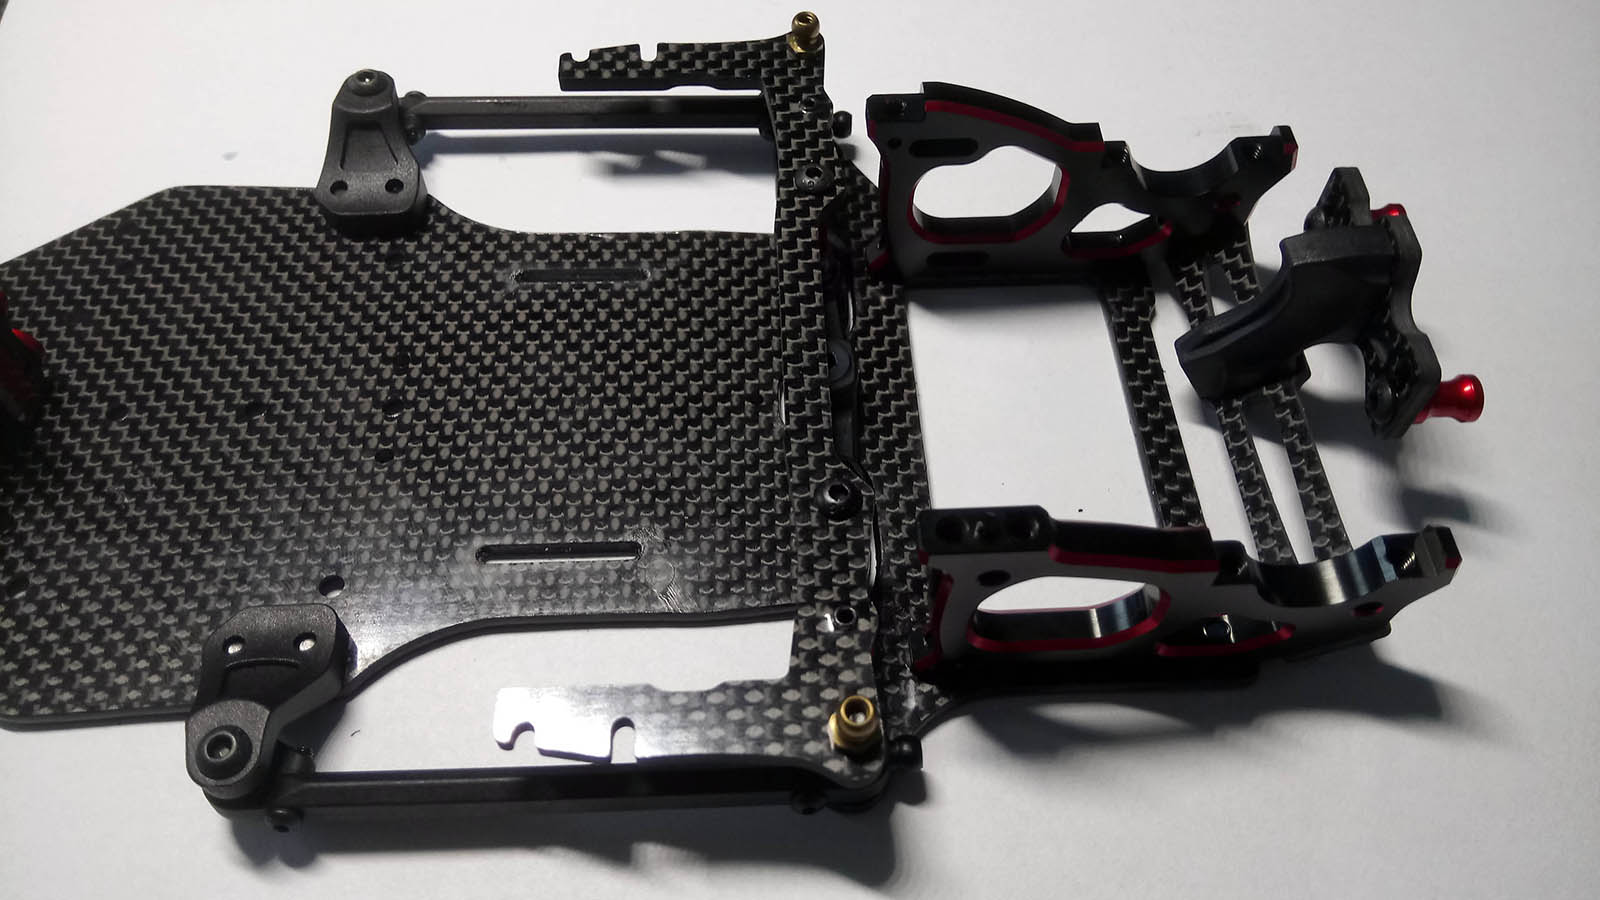
Let's get on with the built! In the first step, the manual suggests sanding and sealing the edges of the graphite chassis and lower power pod plate, and I willingly obliged. There are quite a few racers who don't think this is necessary, but I prefer to be on the safe side.
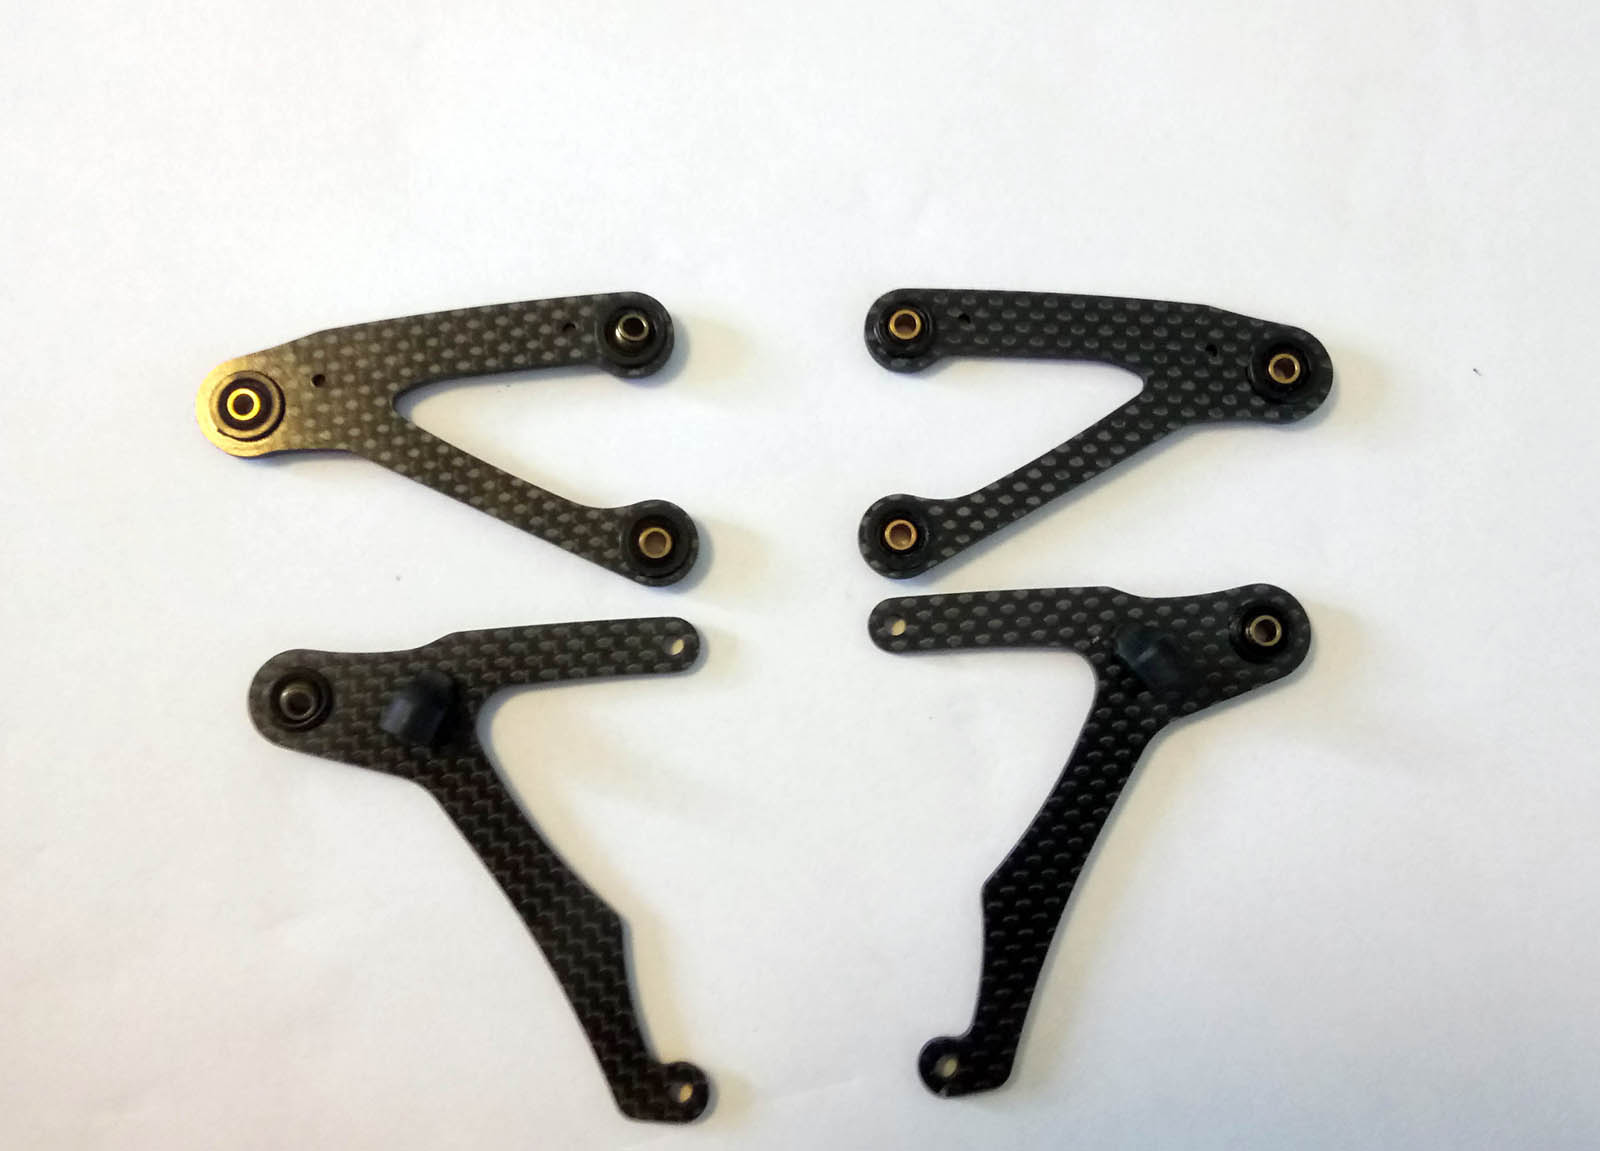
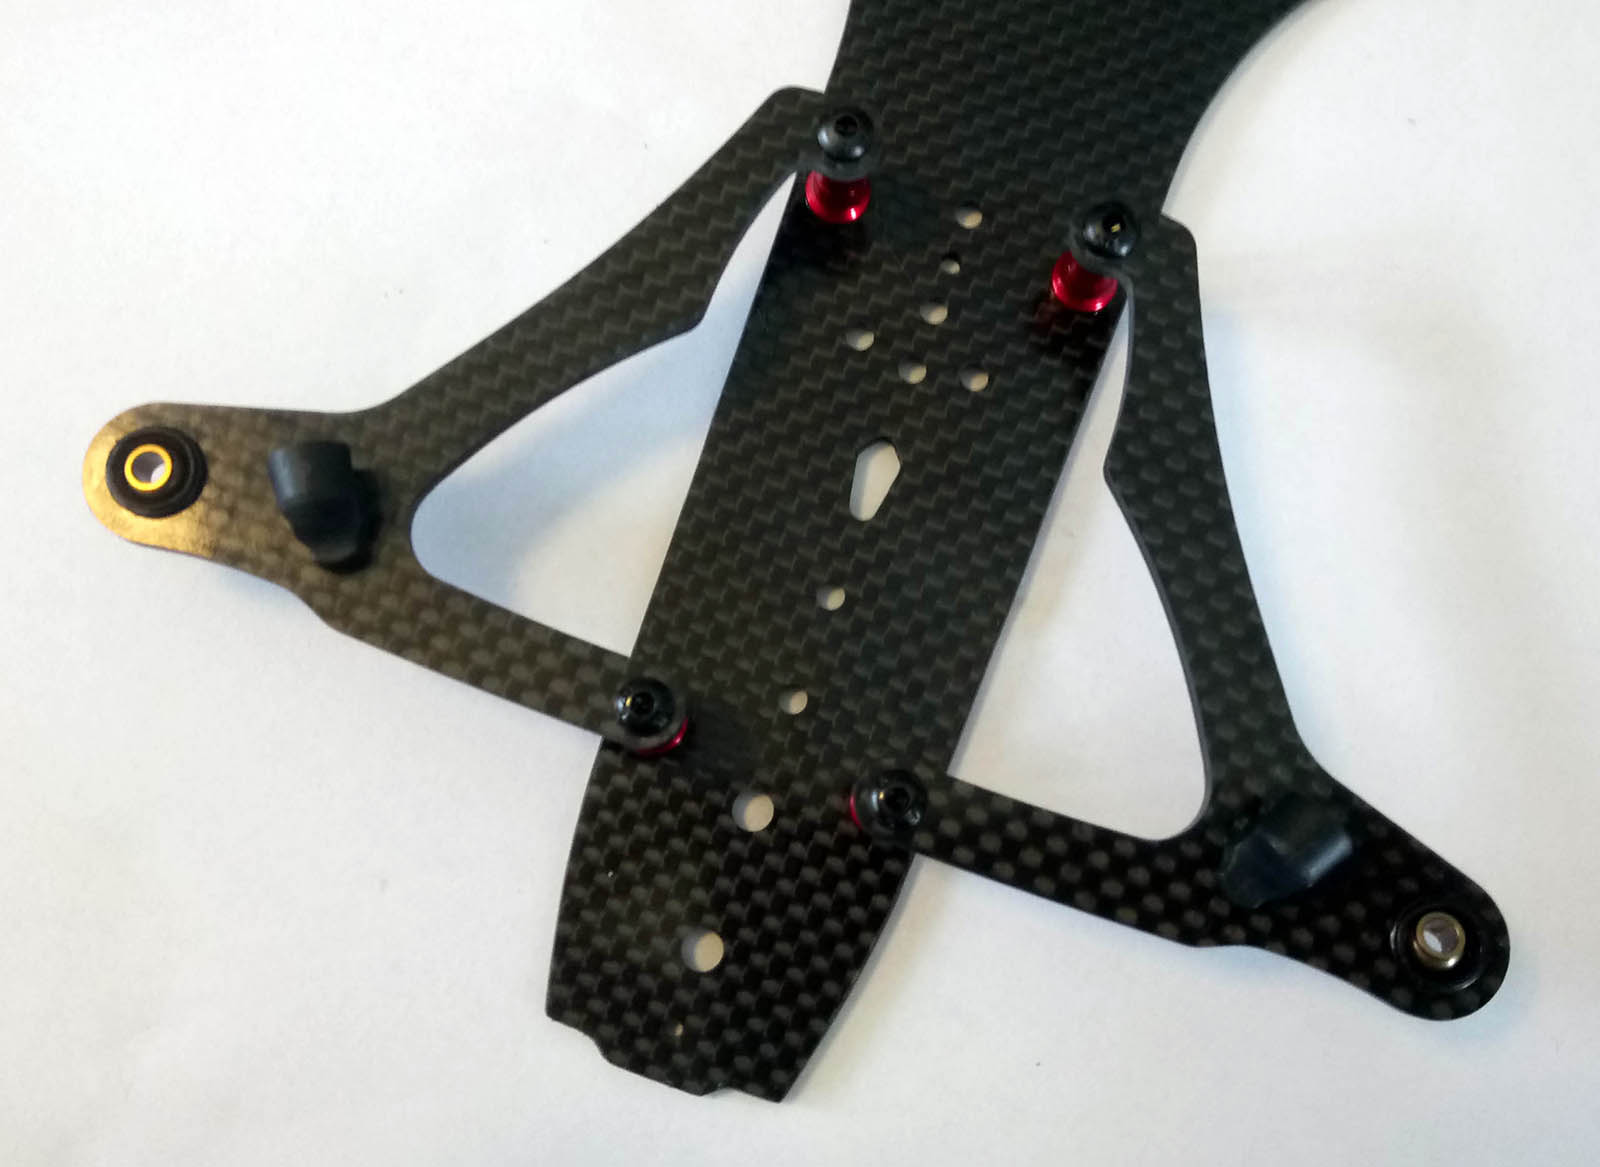
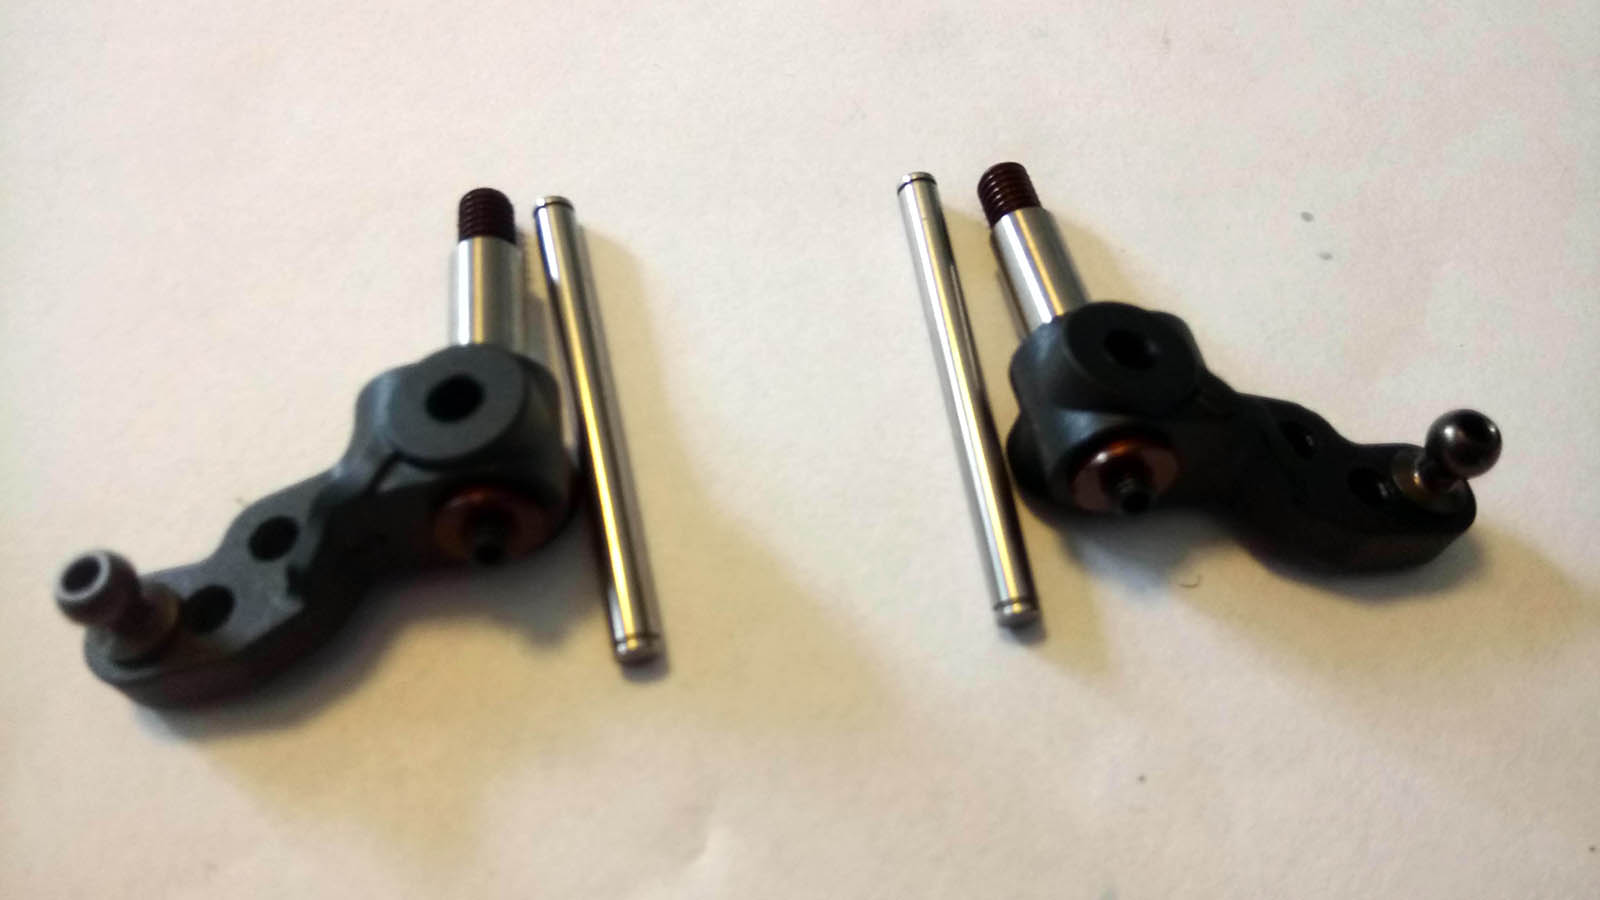
The second step sees the assembly of the carbon fibre front arms. There are no pins involved, the upper arms pivot in metal balls resting in plastic inserts, which are held in place by O-rings. The lower arms accommodate plastic steering stoppers that limit the amount of turn-in. To manual suggests to ensure free movement of the pivot balls, but does not tell you how to best achieve this. After some trial and error, I figured out that it is best to insert the balls into the plastic bushings and give them a squeeze with some sturdy pliers. If you make sure that no pivot ball rockets through the air only to land behind a book shelf, you may accomplish this step without swearing so much that it might make a sailor blush...
In step 3, the lower arms are mounted onto the chassis using red-anodised 11.8 mm aluminium standoffs, which used to be one of the most-wanted option parts on the 2016 car. The longer standoffs are available for less than 10 euros if you want to add them to your parts box, great pricing!
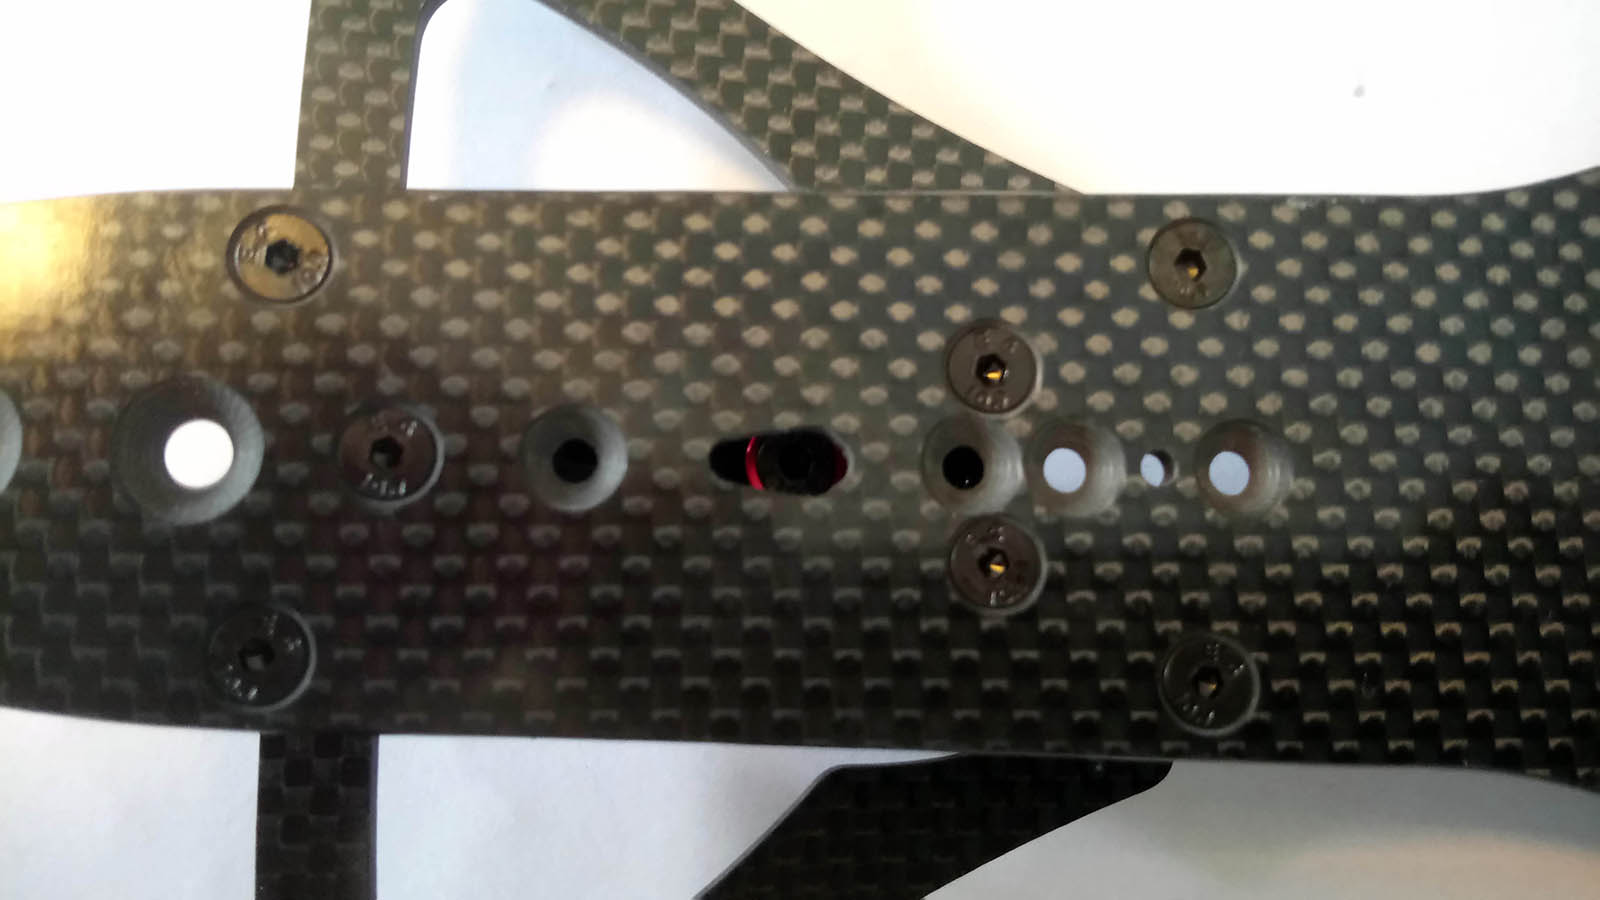
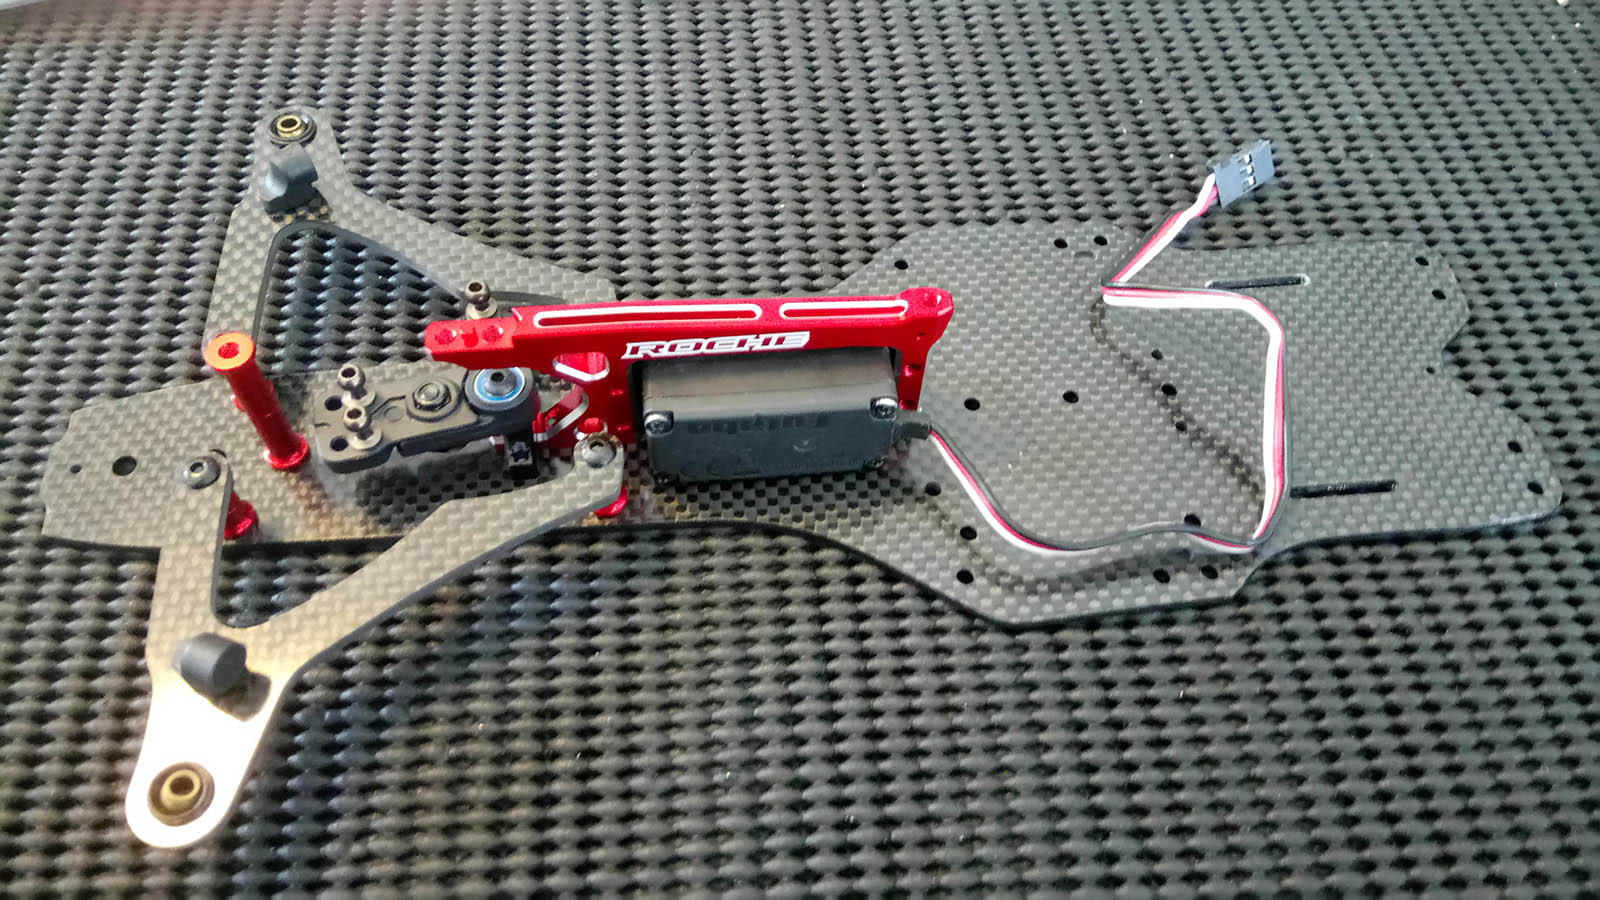
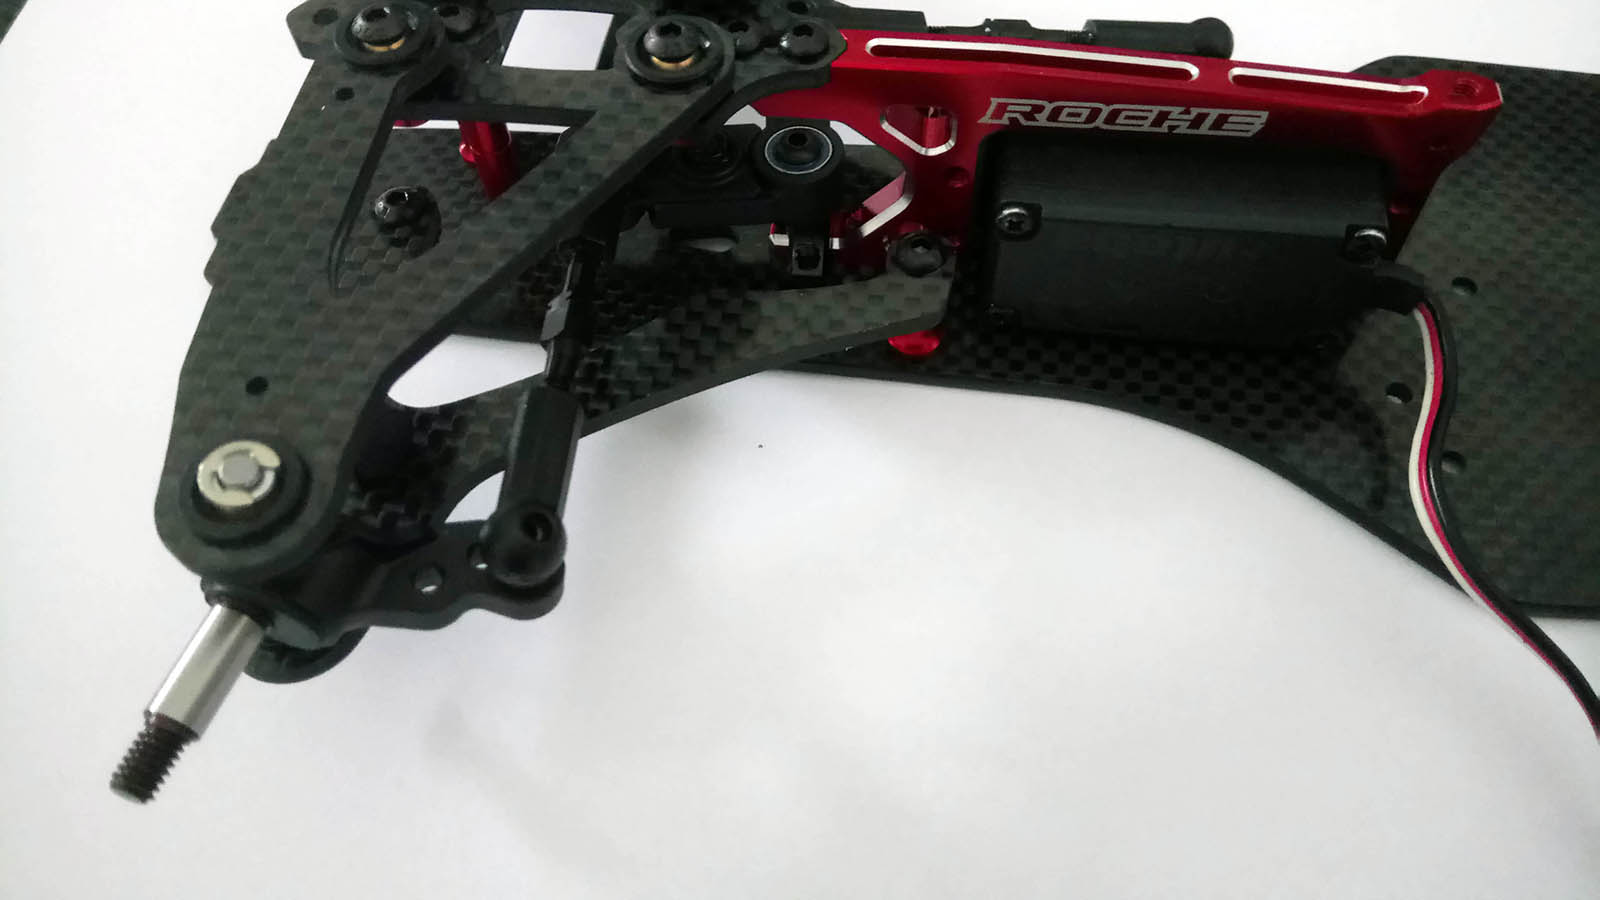
I was pleasantly surprised by the adjustable steering arm in step 4. In addition to choosing between two mounting positions for the black aluminium steering pivot, a clever two-piece construction allows for quick Ackerman adjustments through a hole in the chassis plate. An aluminium version of the steering arm is available as an option part.
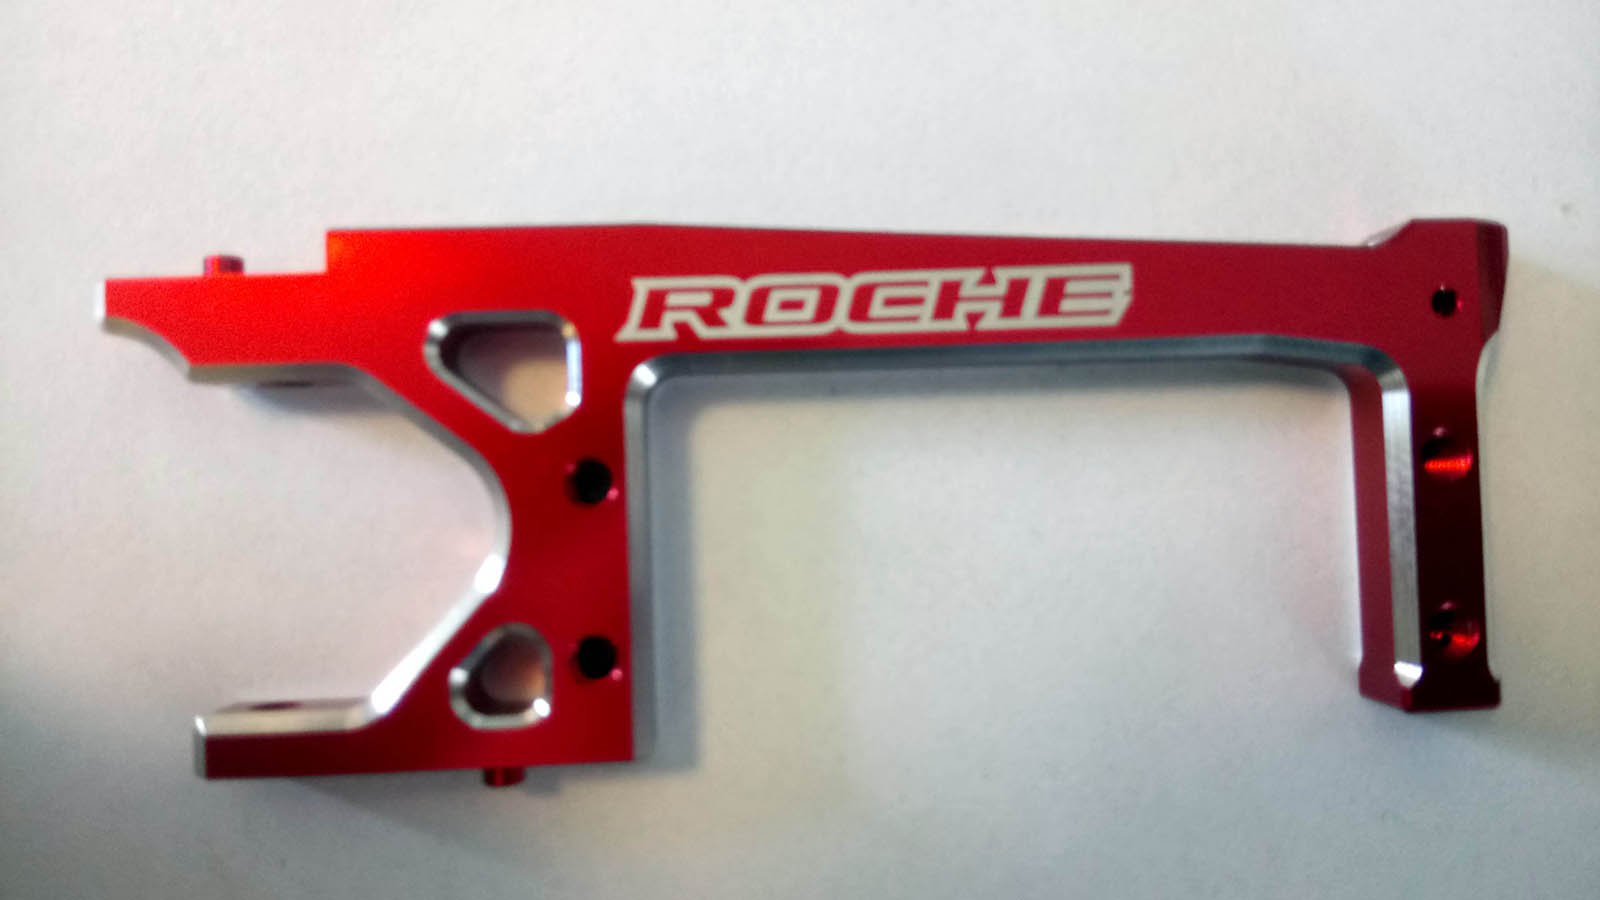
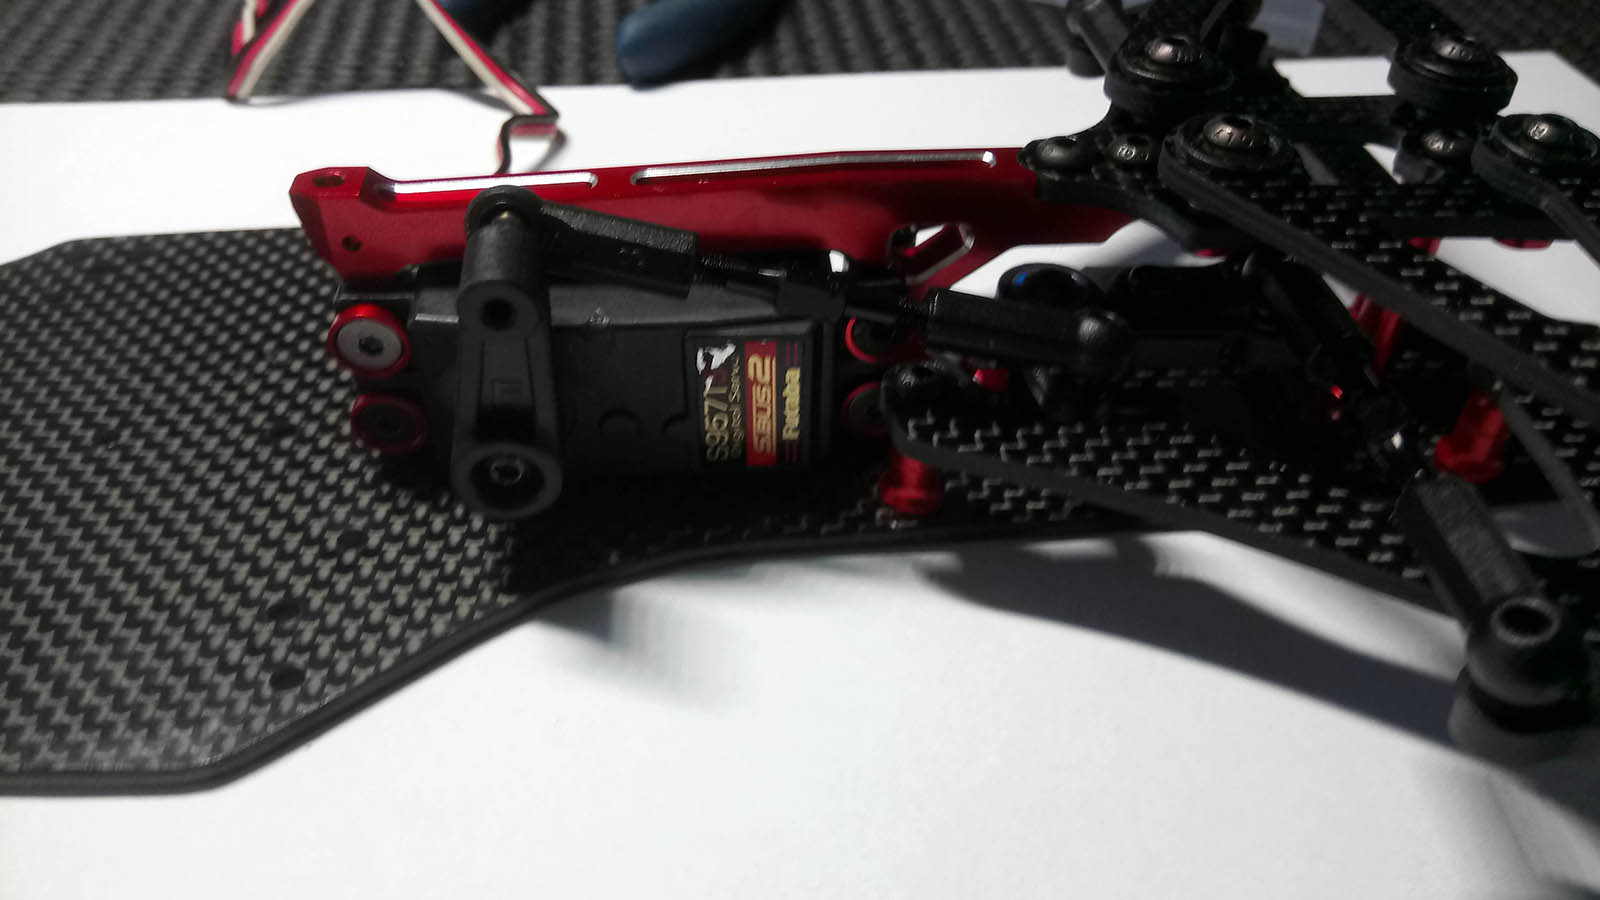
Next there is one of Roche Rapide's signature features, the combined front bulkhead and servo mount. With its red anodising and chamfered silver edges, it looks quite stunning, but it can also be used to tune chassis flex by using it as a floating or non-floating servo mount.
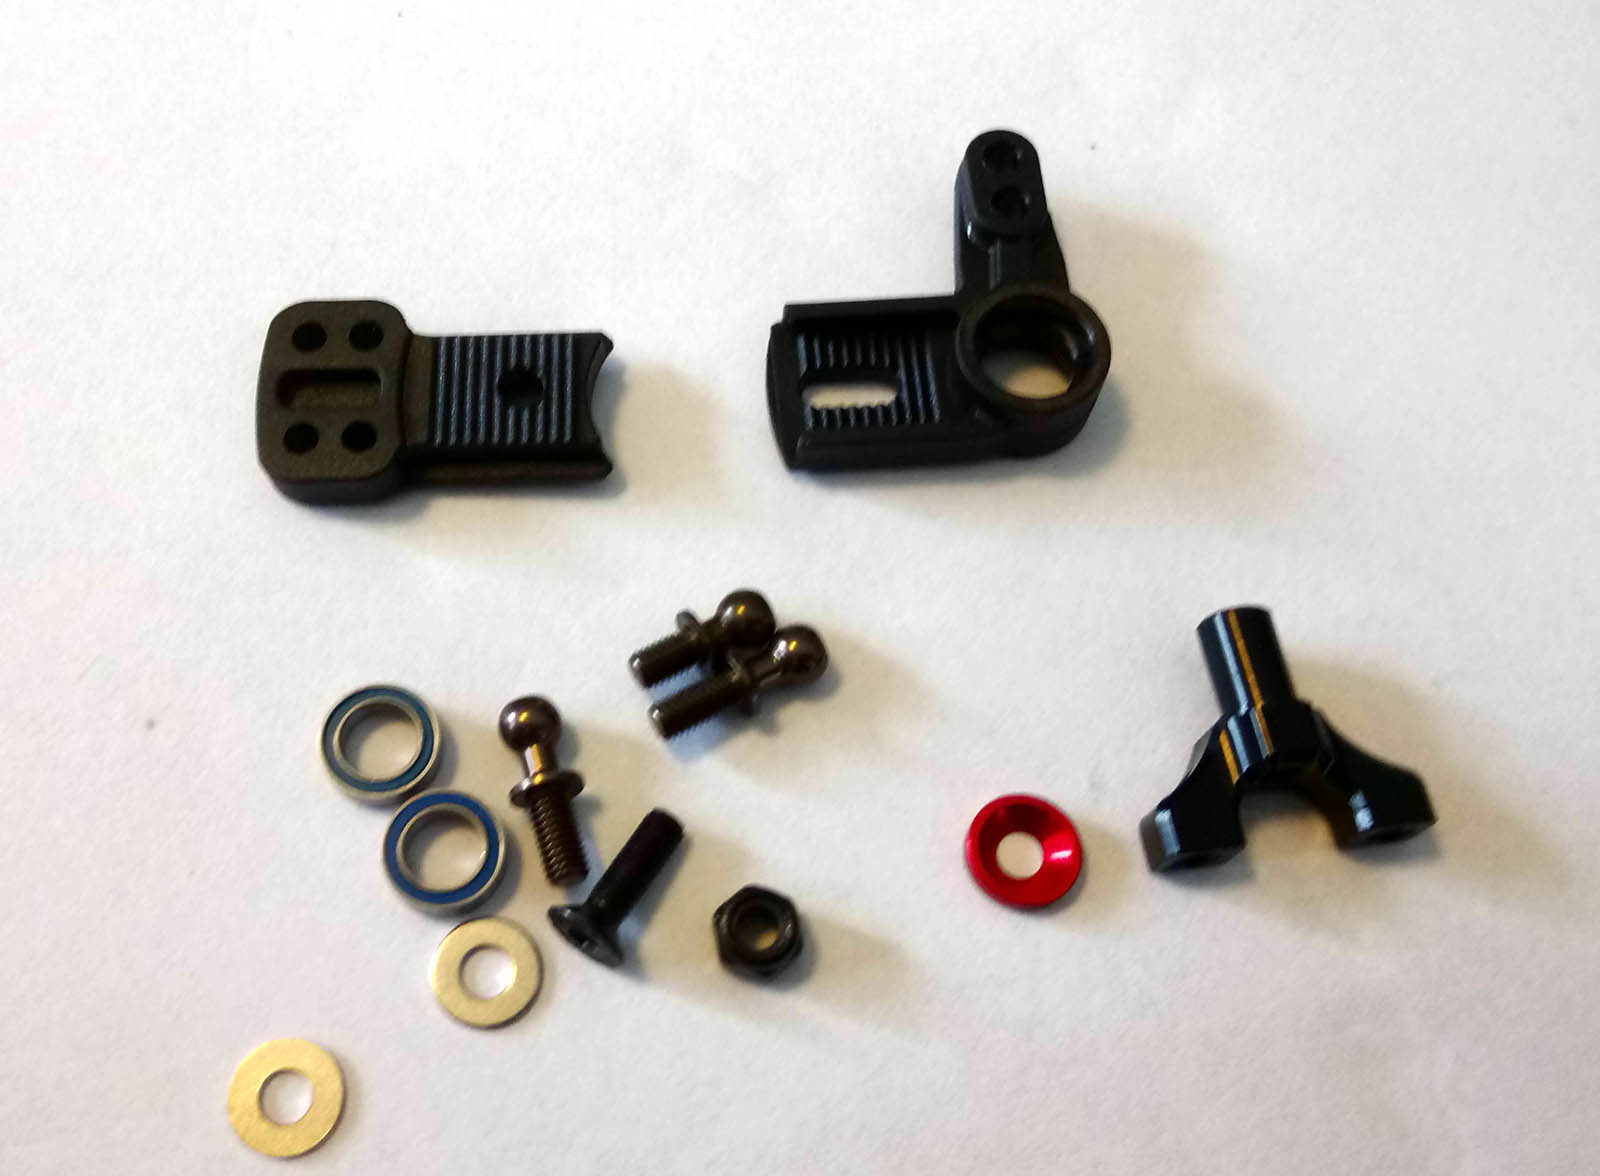
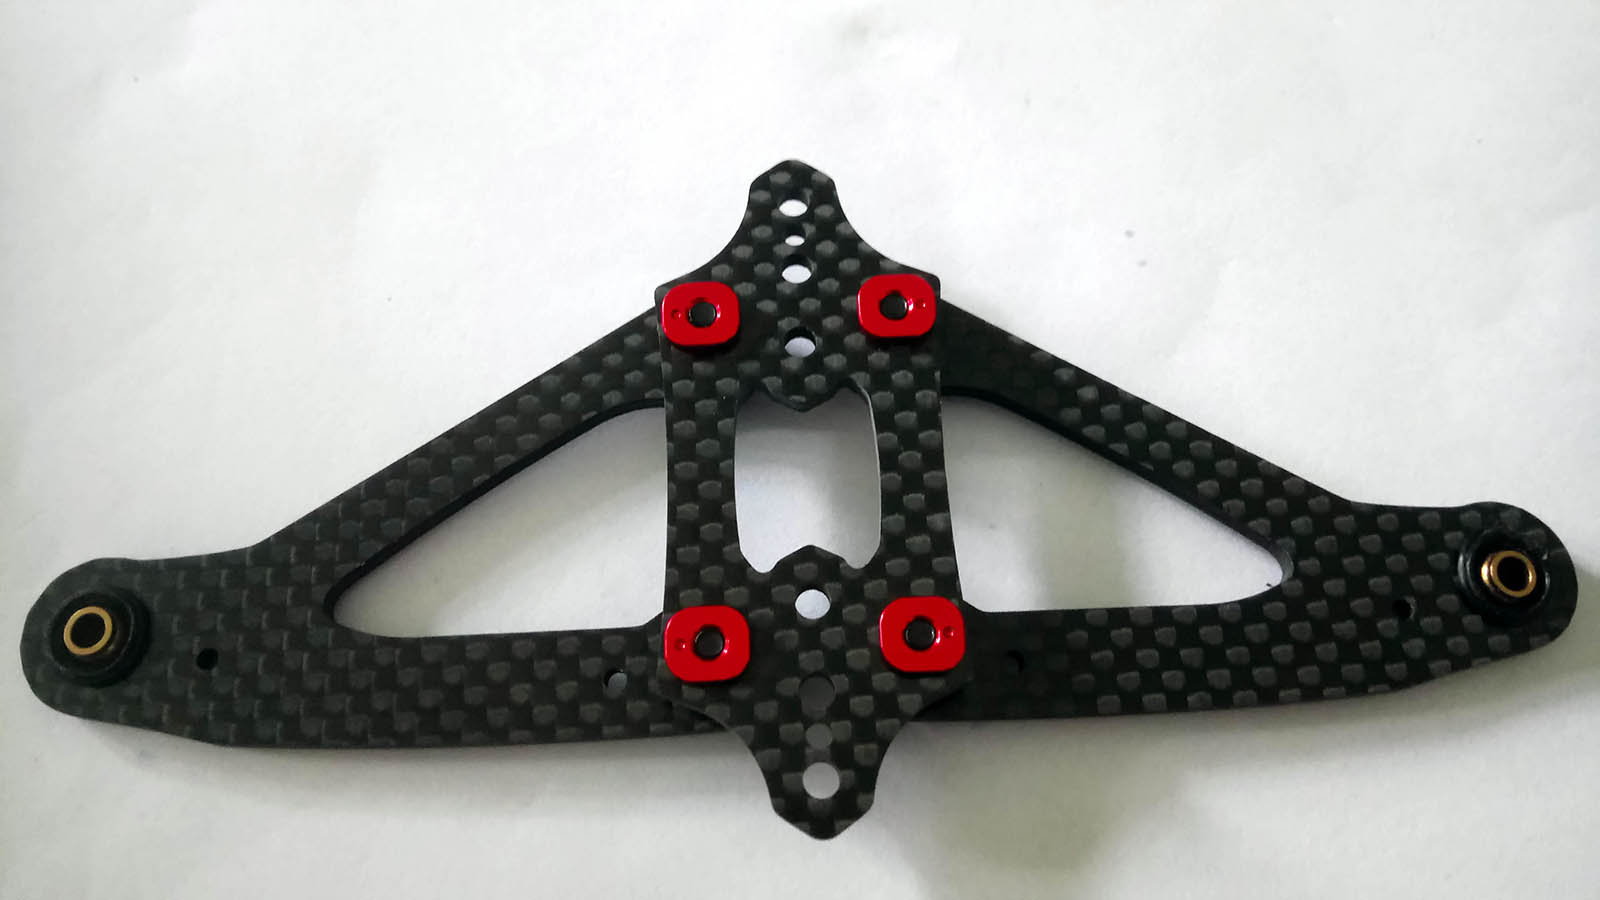
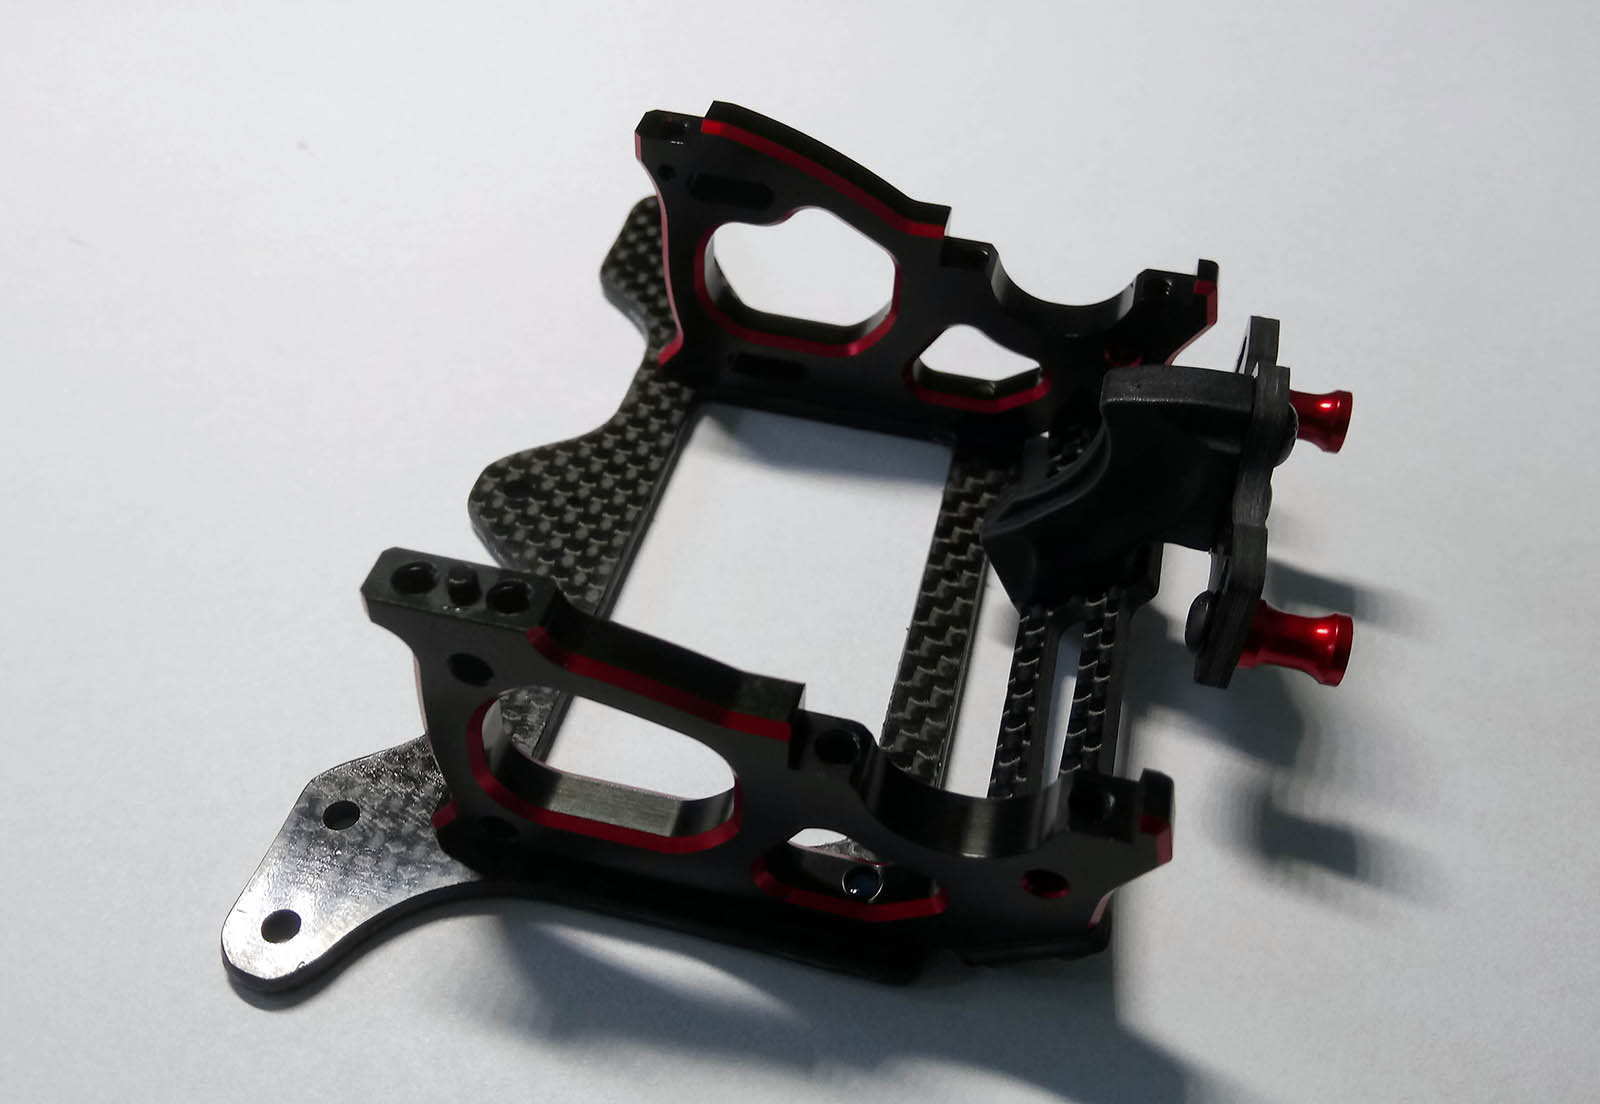
Whereas the steering knuckles are nothing unusual, the upper arm mount again offers an interesting feature.
Depending on which arm mount plate and aluminium bushings are used, camber and caster can be adjusted in four and two steps respectively with the kit parts. As I am totally new to pan cars, I went with the recommended settings. By adding the two sets of optional aluminium bushings to your spares box, you'll be able to adjust camber in five steps from 0.5° to 2.5° instead of choosing between 1° and 2° only.
Black aluminium turnbuckles are used for the steering. As many modellers I would prefer titanium turnbuckles, and fortunately the Roche Rapide option parts range has me covered.
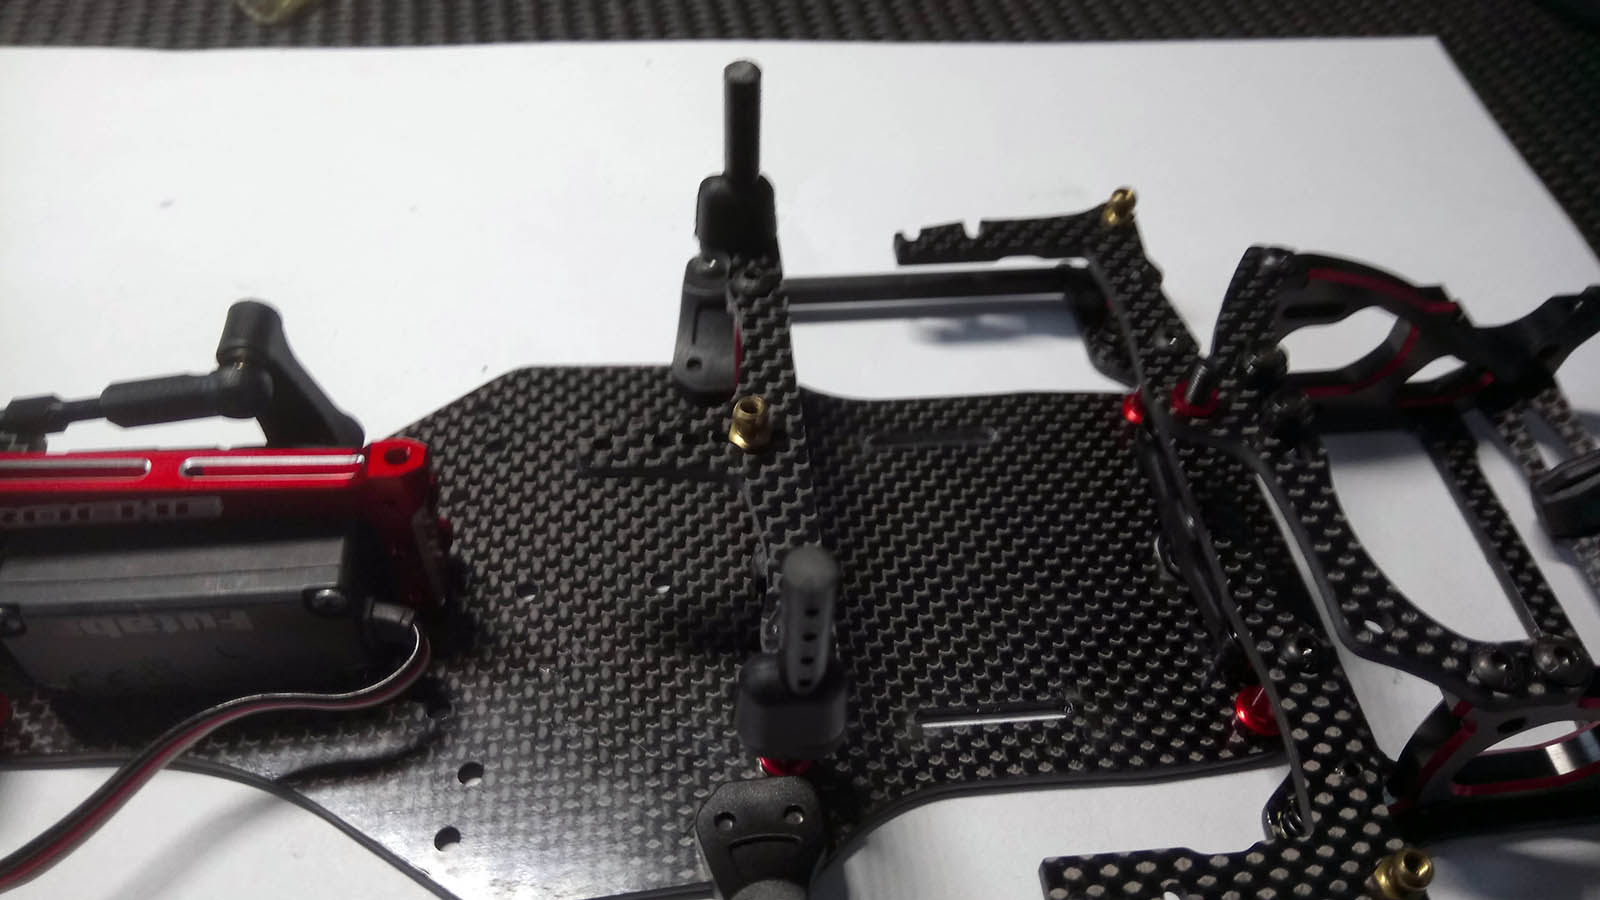
Following the installation of the servo horn, the front of the F1 EVO is almost complete. I am about to add a Ruddog servo horn, which is not only made of red-anodised aluminium that nicely complements the kit's blingy parts, but also clamped down with a small screw to ensure a tight fit. Ruddog Products offers servo horns in a variety of colours and off-sets at a decent price, there should be the right one for every racer!
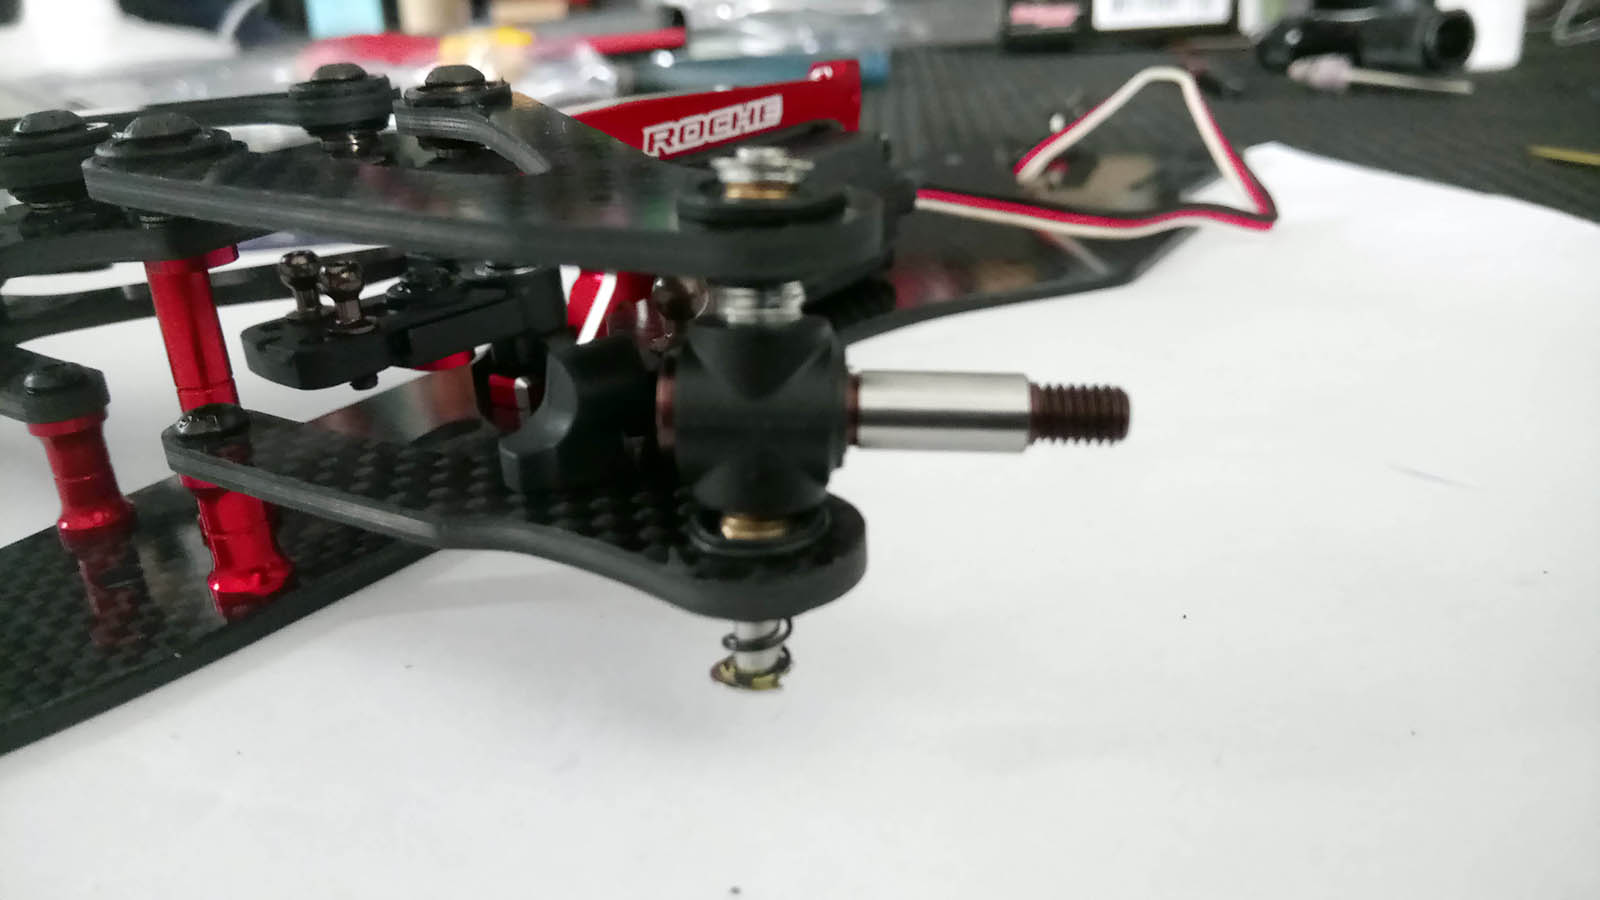
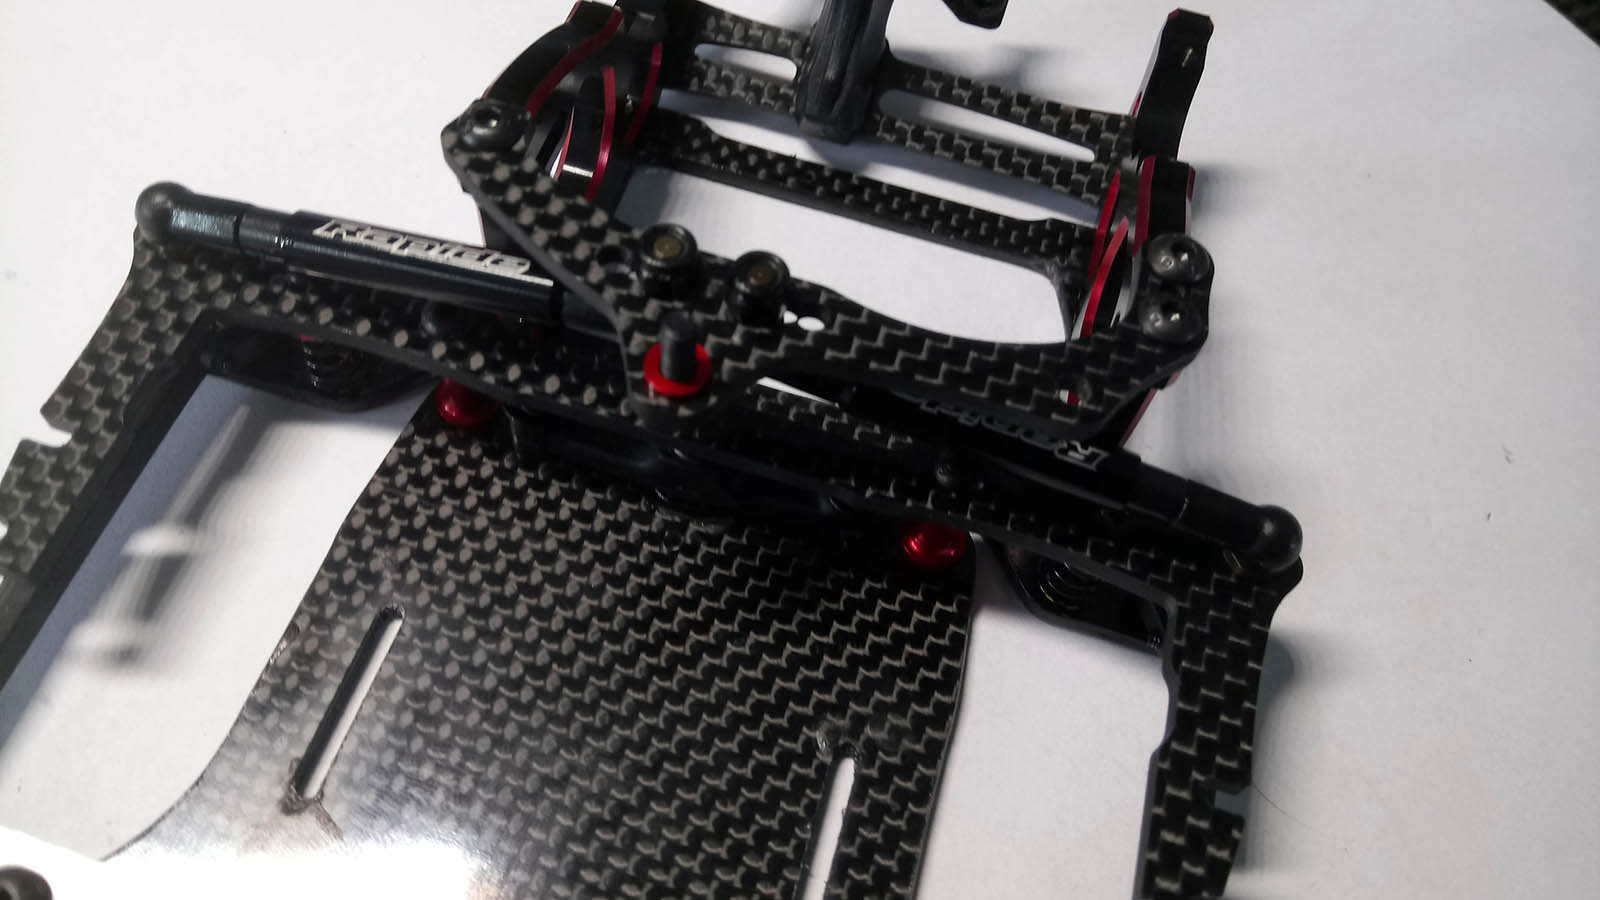
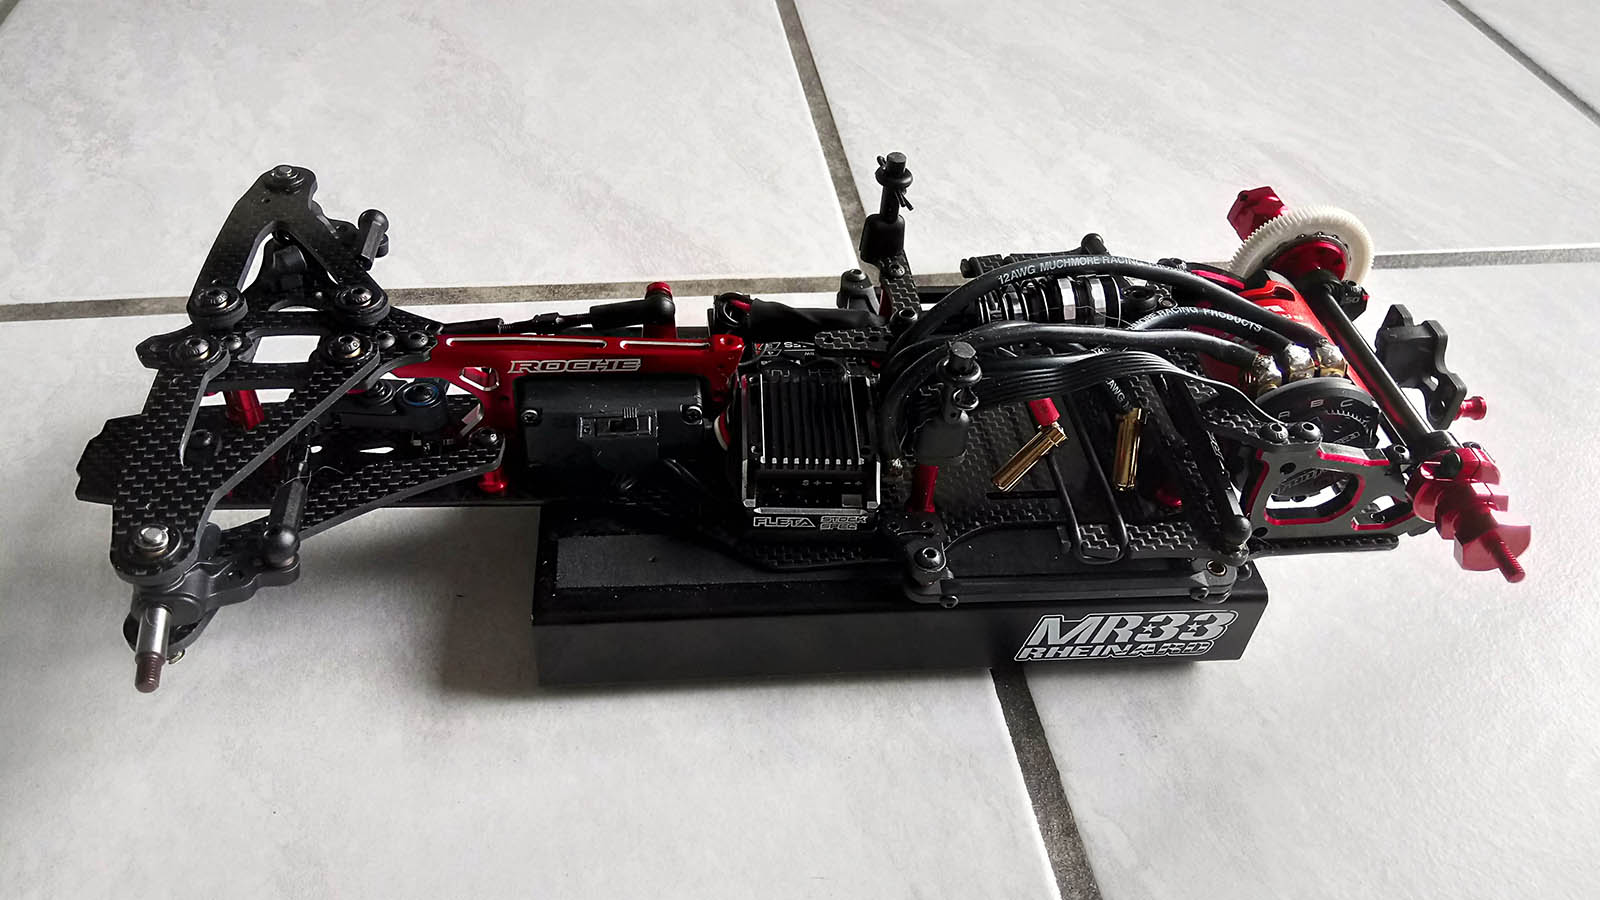
Step 13 combines some of the nicest looking aluminium parts I have ever seen with carbon fibre to make the power pod. Red-and-black aluminium bulkheads are screwed onto the lower pod plate and accommodate the adjustable rear wing mount with five mounting positions.
The power pod is attached to plastic links with pivot balls on the sides and a pivot brace in the centre. If you want to add some more aluminium to your car, check out the optional aluminium pod link mount set. Both the side links and the centre pivot ball assembly have been revised after the manual was printed and before the kits were sent out to the dealers. Everything you need to know to install these improved parts is explained on a small yellow leaflet included in the manual. Roche actually seems to care more about constantly improving their product's quality than about making an extra dollar. If only the manufacturer of one of my last off-road kits would think the same way instead of continuing to release new revisions every year with the same flawed hardware from the first kit version...
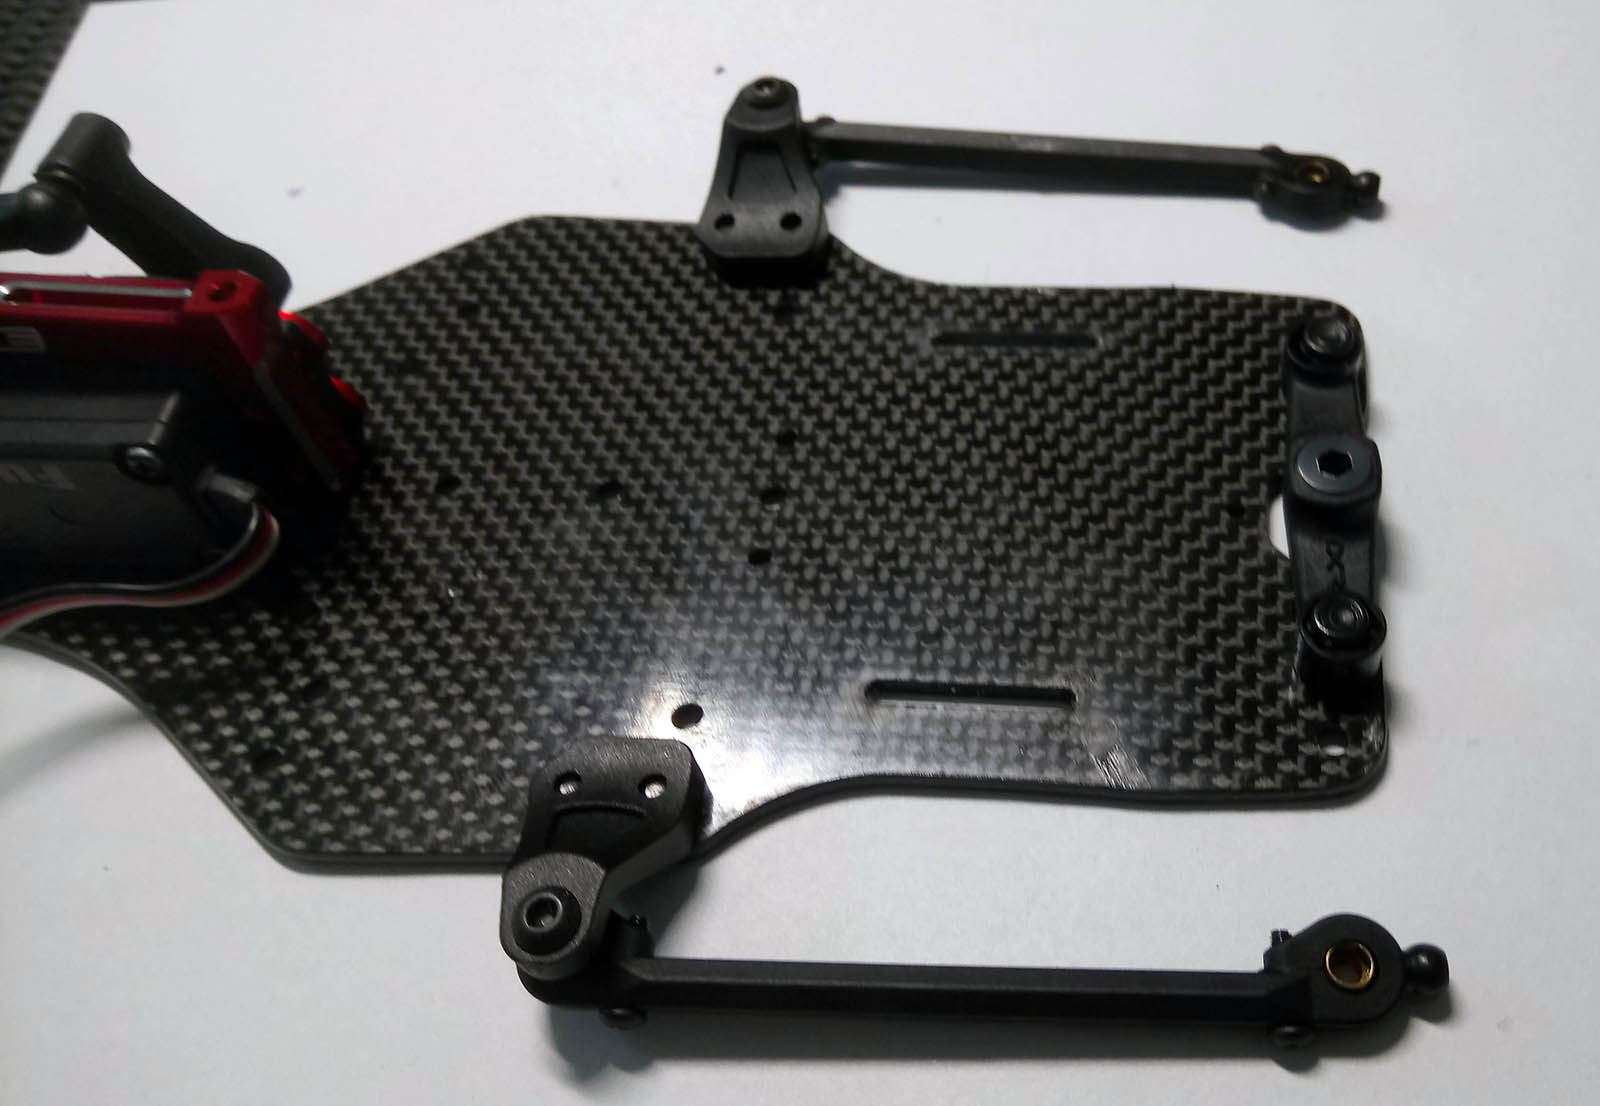
After ensuring that the lower pod plate pivots freely, the transversal chassis brace holding the side springs is installed. Together with an O-ring, it doubles up as a battery mount and does away with the need for battery tape.
Once bag 2 has been opened, the built continues with some smaller assemblies. The upper pod plate is followed by the rear body mount and a battery stopper, and the chassis begins to look way more advanced than the T-bar cars of old.
Side-roll damper tubes attach to the chassis brace and the upper pod plate in step 20. Roll resistance can be fine-tuned with various high-viscosity differential oils, 10,000 cst is suggested as an initial setting.
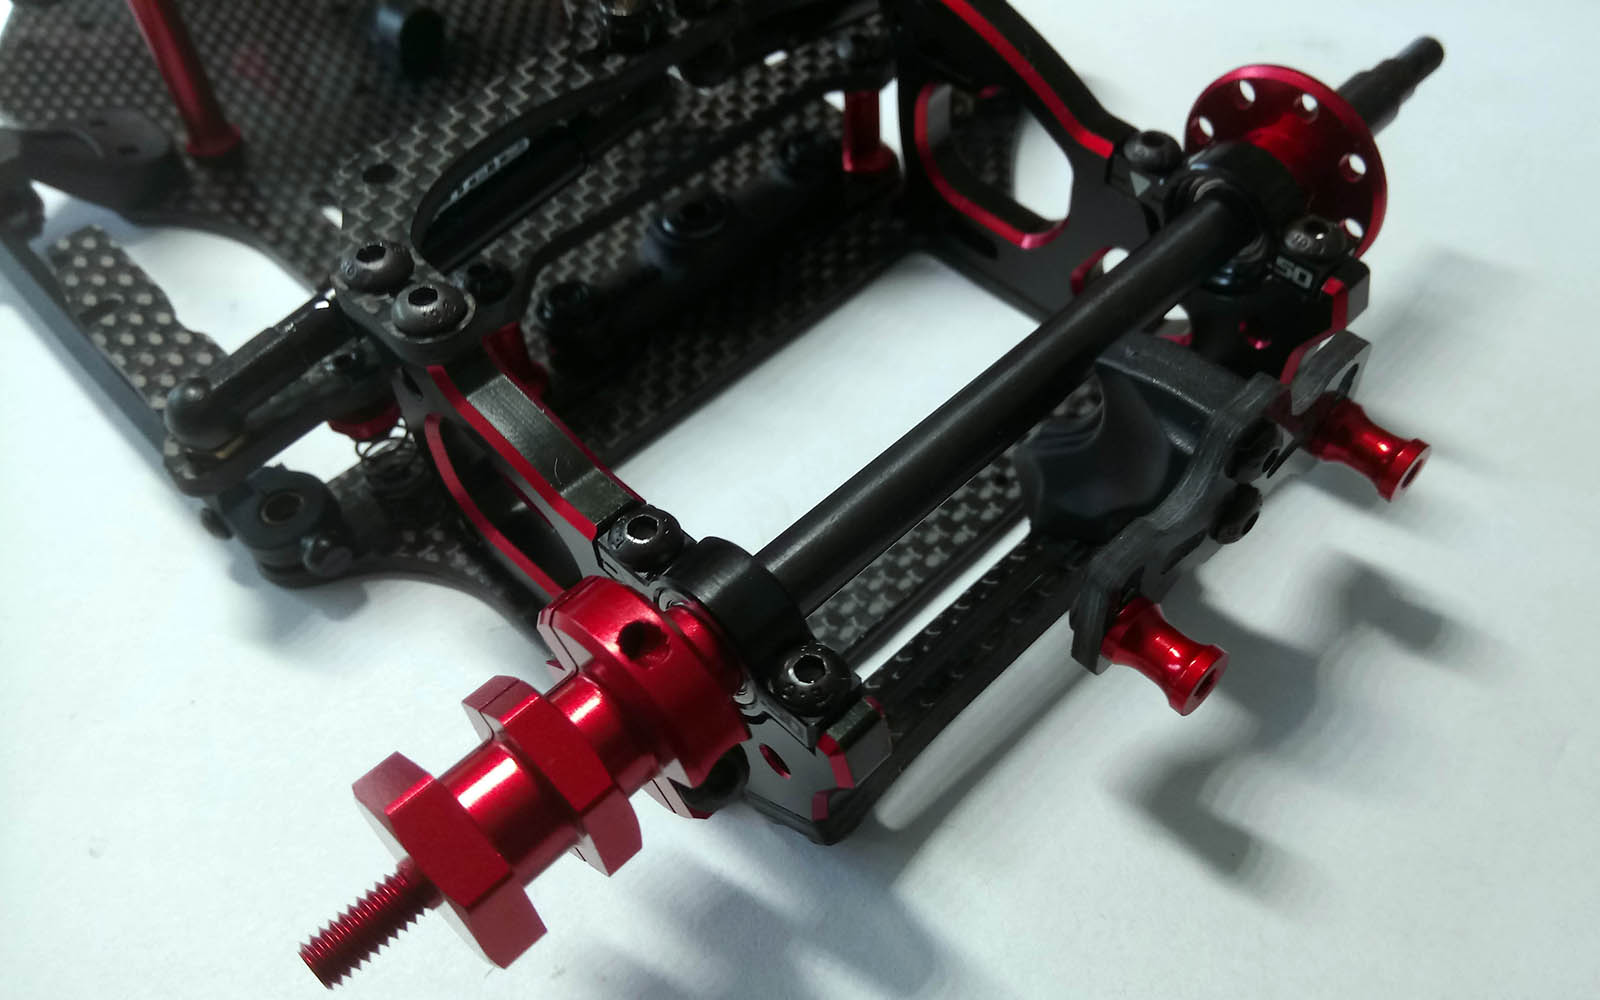
Step 21 features the rear axle mounts. Ride height and wheel base can be adjusted by turning the included parts around or using optional items. For more information, Roche Rapide provides a QR code leading to a handy guide.
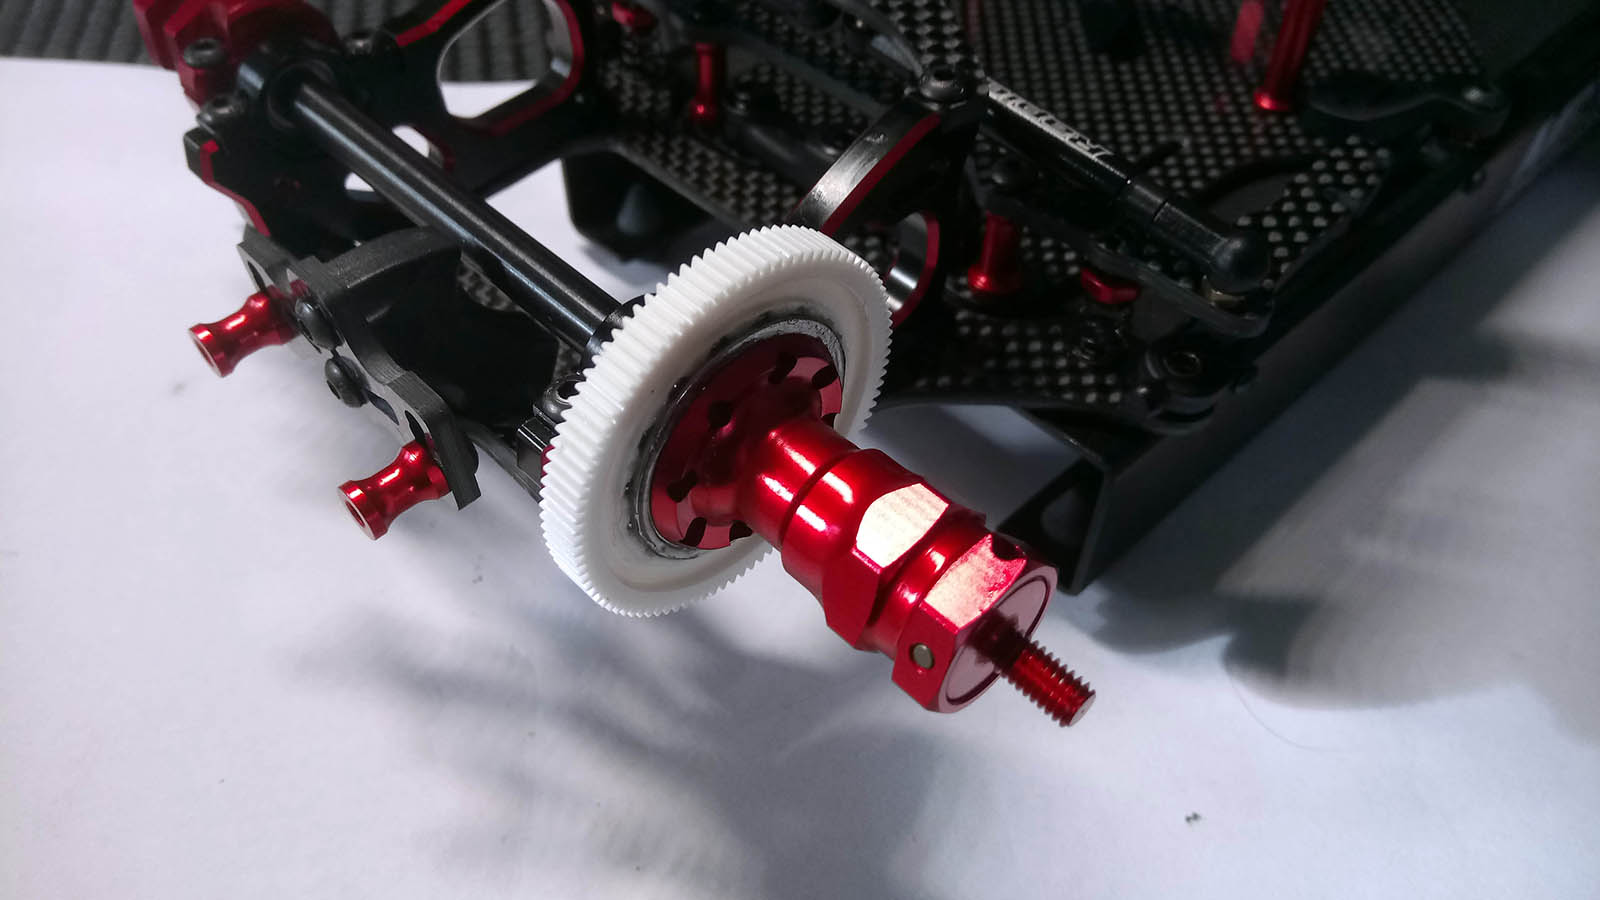
Bag 3 includes the hollow steel rear axle (optional carbon axle available) and the ball diff assembly. Roche Rapide includes a 93-tooth 64-pitch spur gear by Xenon Racing. As it turned out, the spur gear included in my kit did not spin as true as expected and was a bit noisy. Keyed differential plates are a nice feature as is the caged thrust bearing. The rear axle is completed by the right wheel hex that can be easily removed for adjusting the differential. Unlike other designs, changing tyres on the F1 EVO will not affect your diff settings.
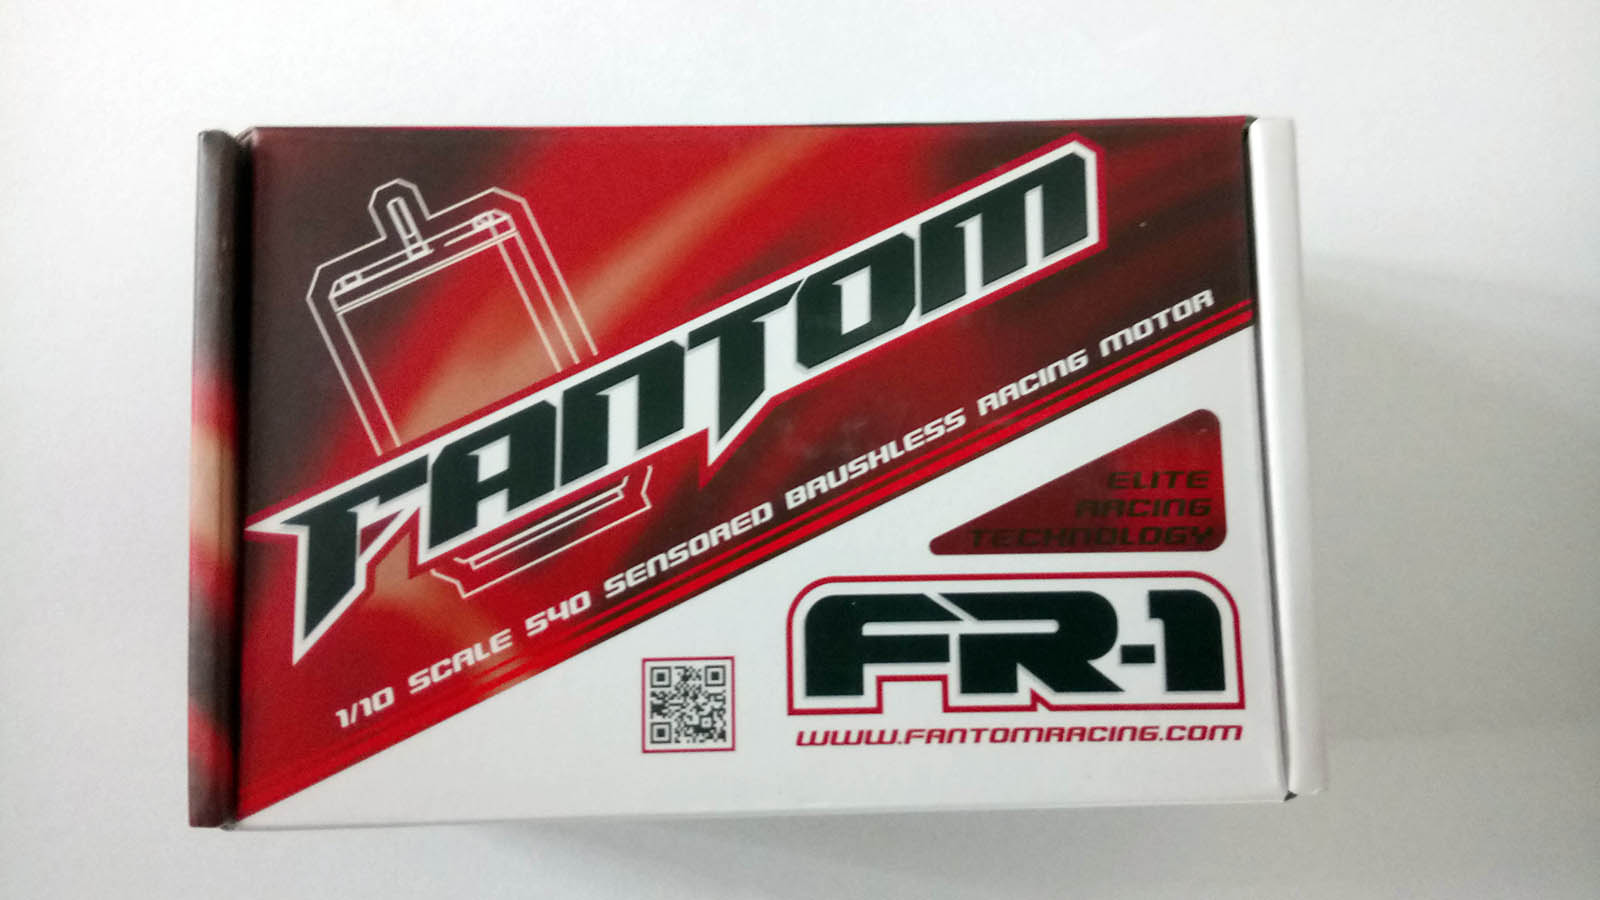
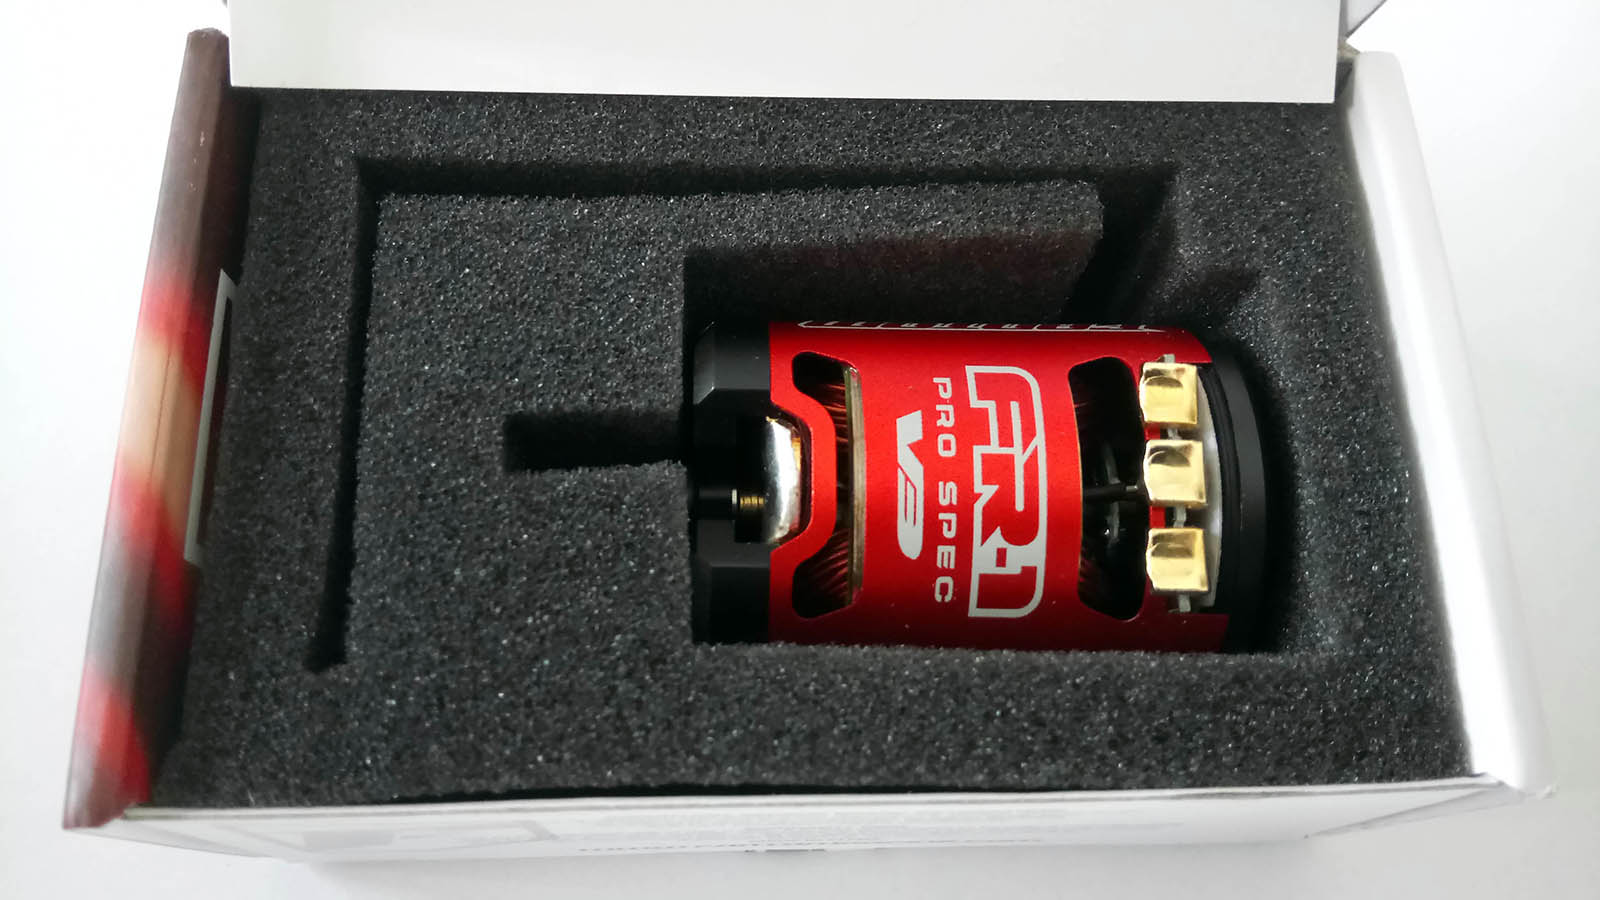
Detail view: Fantom Racing FR-1 Pro Spec V3R
This motor is actually the second one I bought for this review. As I will most likely be ending up building a duplicate of this chassis for my son, I wanted to save and purchased a budget-friendly motor of another manufacturer. Unfortunately, I was not impressed by the finish and accordingly returned it.
Although Fantom Racing has been around for more than twenty years, the brand is relatively unknown in Germany today, most probably due to the distribution situation and the nature of the domestic spec racing scene, which is dominated by control motors. In my humble opinion, our racers are missing out on some of the nicest motors available. Of course, I cannot comment on the V3R's performance compared to the other options out there, but if I am any judge design and product quality is spot on. Although the can is not as flashy as the intricately machined Muchmore Racing Fleta V2, its looks are easily on par with the rest of the competition. In my book and considering the chosen field of application, the red anodising also is a big plus, although it does not completely match the colour of the Roche Rapide parts.
The FR-1 Pro Spec V3R is packaged in a sturdy, full colour cardboard box with foam insert. Everything is where it is supposed to be, and a 180 mm ribbon-style sensor wire is included, which should be long enough to get you going in all types of vehicles. If you want to advertise the motor you are using to give your competitors a run for their money, you'll be happy about the included sticker sheet.
As mentioned above, my first impression was a good one, and I was looking forward to the first roll out. When I turned the motor shaft between my fingers, I was surprised by the rotor's strong magnetic field. I do not have access to a Gauss meter, but I am sure the supplied 12.5 mm HT ULTRA select rotor is the strongest of all brushless motors I have had so far.
The advertised specifications and manufacturing details sound just as good as the motor looks, and Fantom's service does not disappoint either. If you have any questions with regard to their products, White Pigeon, Michigan is just an E-mail or a facebook message away. As pan cars in general are new to me and my motor of choice was a brand new version, I reached out to the Fantom support and was taken care of. Troy Schroeder himself made sure that we were talking about the same motor, and based on my set-up and track advised me to start with 55° timing, a FDR of 3.7 and ensure temperatures of between 70 °C to 75 °C (155 °F to 165 °F) after running. Here is a big shout out to Fantom Racing. Thank you again, Troy!
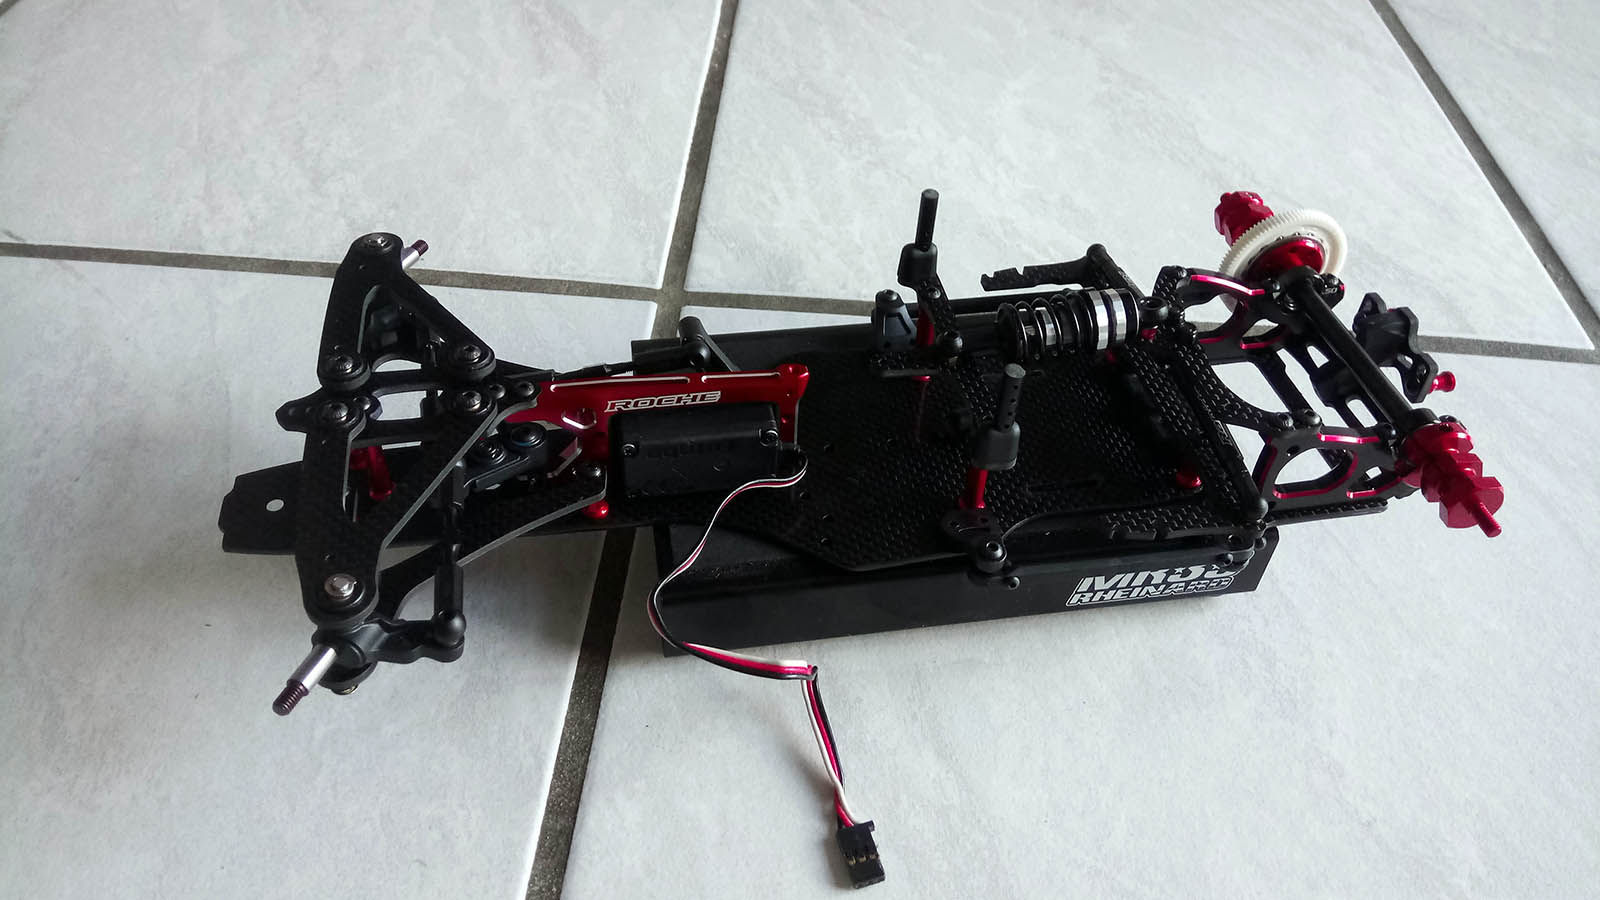
After building and installing the centre shock, the box is almost empty. While space for electronics is at a premium on the narrow chassis, the battery can still be mounted either in the longitudinal or the transverse direction. I went with the 'cross-chassis alignment' as suggested as a basic set-up.
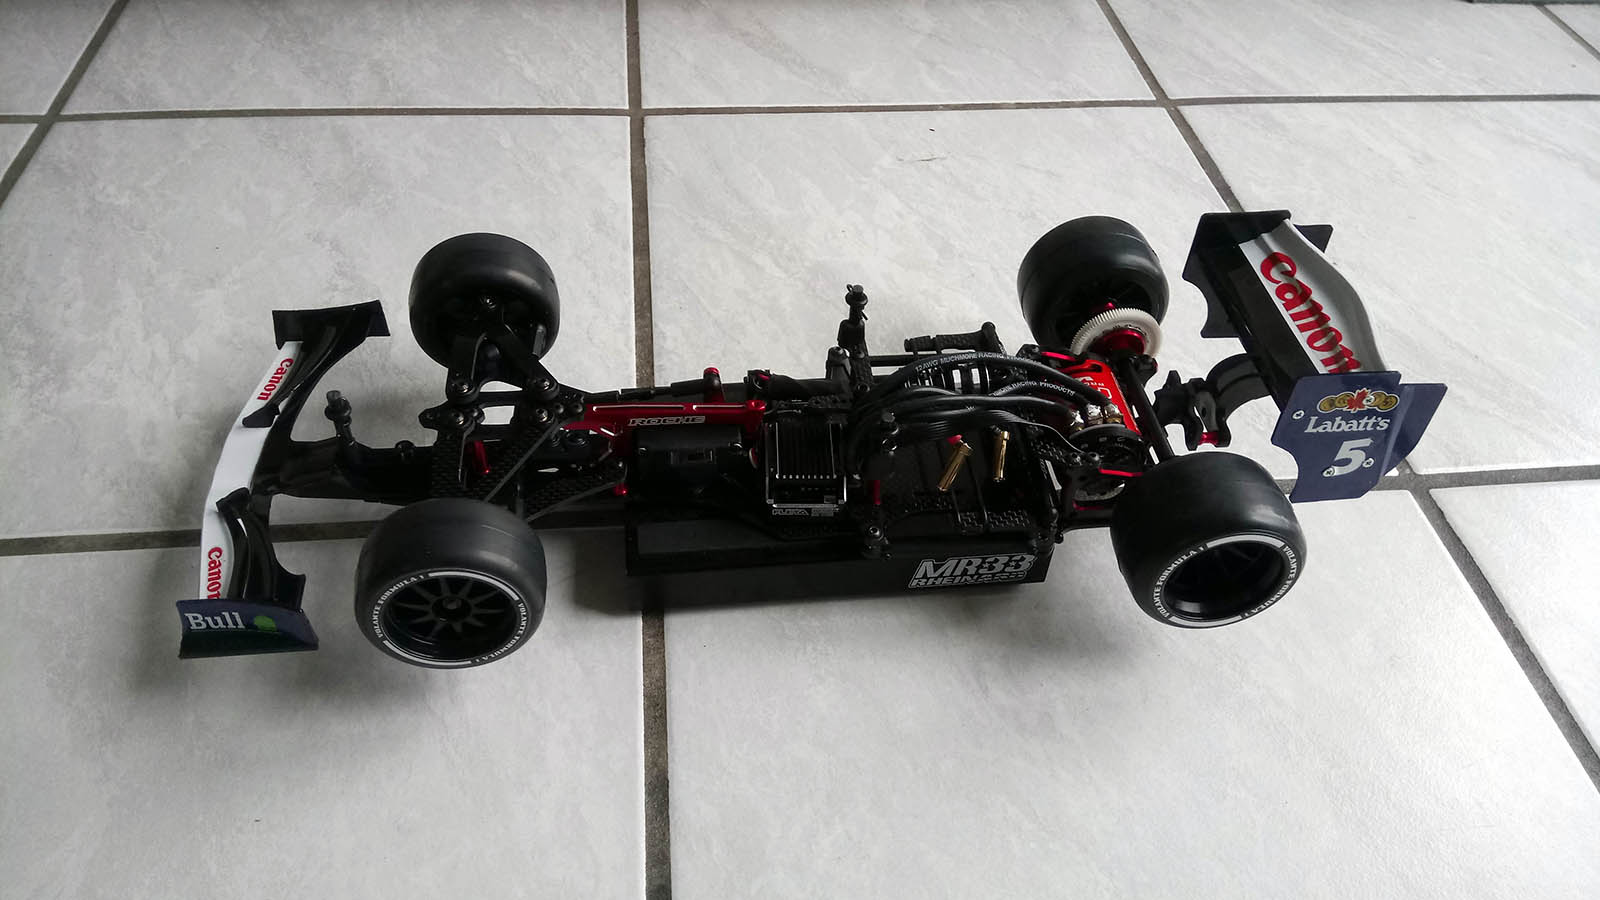
The wings and tyres are screwed to the rolling chassis in the final two steps. As the Montech front wing mounting section seems to be thicker than the wing used in the manual, I had to use a longer screw for the body mount and add some 4 mm nuts on top. That's about it!
So how did I like the building experience? Initial pivot ball issues aside, I was very happy. Although the manual could be more customer friendly by giving more information on the parts and tools required to get the job done and by including some tips to people not accustomed with pan cars, fit and finish of the Roche Rapide parts are top-notch, some spare hardware is included, and the finished product speaks for itself. After building the kit I am confident, that in more capable hands than mine, the F1 EVO will definitely not be the limiting factor when it comes to making a podium.