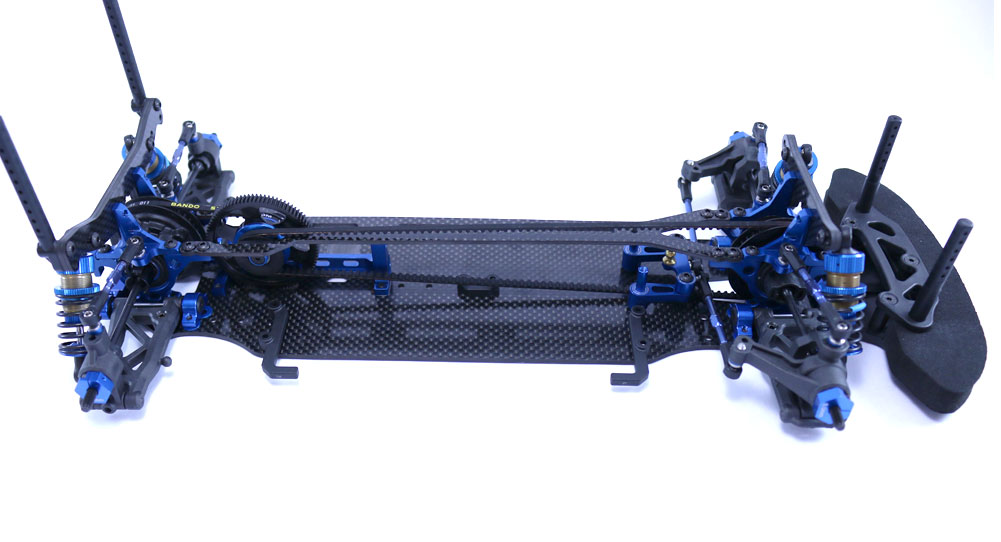
The Build – Part 6
In Part 6, I will be attaching the shocks, front bumper and battery mounting parts. Easy peasy.
Build Notes:
- There was a rumor floating around that any body used on the TC6.2 would be a direct fit on the TC7, however Team Associated has updated their body mounts, making them slightly thicker than before. This is great, but when I tried to fit my TC6.2 body on, I had to flex the body to make it fit. If you really want to make your TC6.2 body fit the TC7, the easiest solution is to swap out the body posts. Otherwise you’ll need to hog out the holes in the body. No bueno.
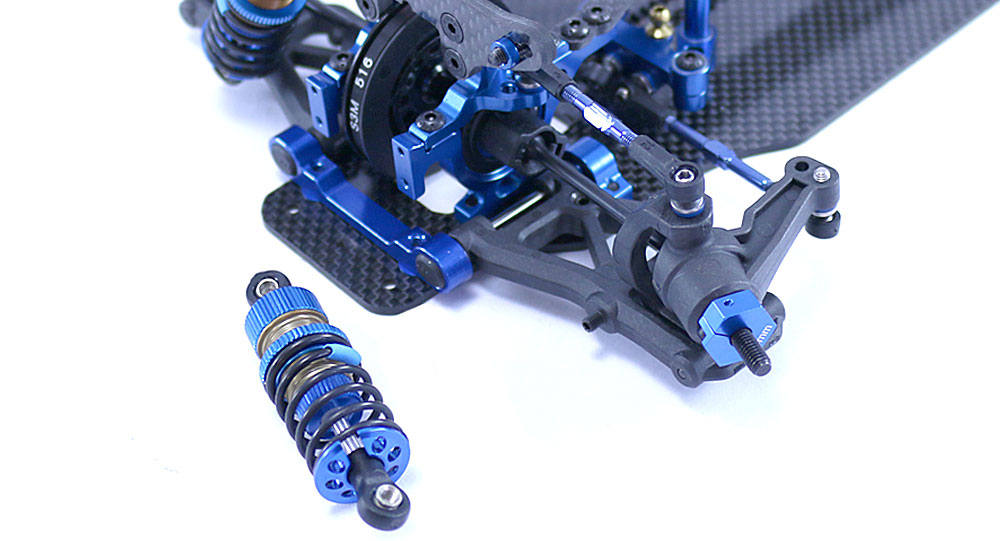
Step 1:
Attaching the front shocks is a pretty simple process; insert the 3x8mm screw into the tower (stock hole is the 3rd hole in), add the 2mm shim and screw into the shock. I suggest using a 3.0mm wrench to ‘hold’ the opposite side of the shock to make sure it’s nice and tight. You’ll need to use that same 3.0mm wrench to attach the lower part of the shock to the suspension arm.
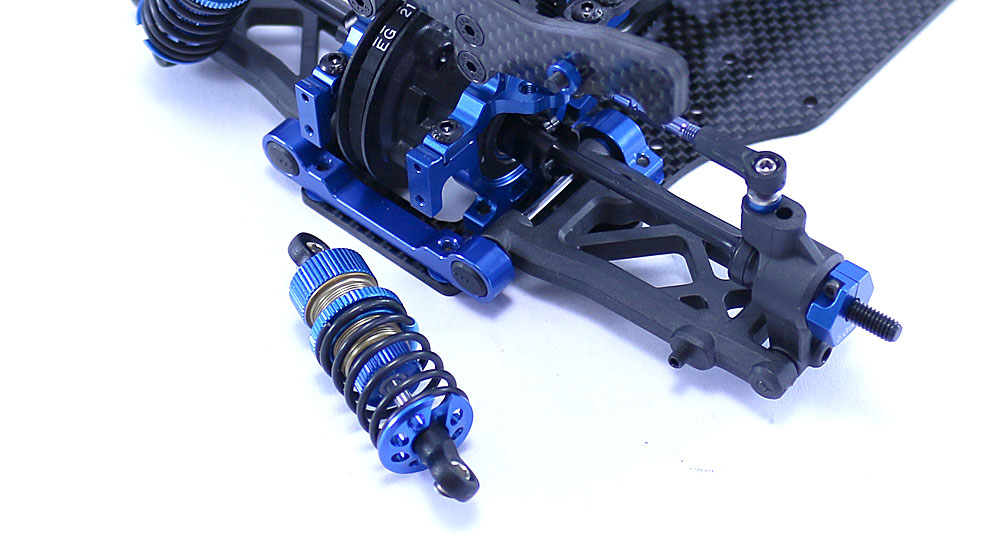
Step 2:
Use the same method to attach the rear shocks, using the 3rd hole in on the tower as well.
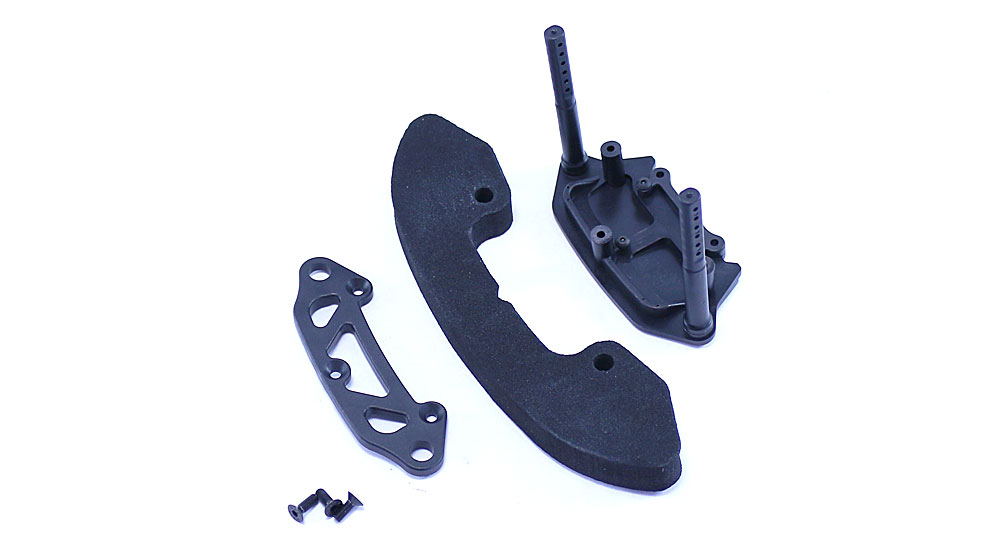
Step 3:
Assemble the front bumper as shown…
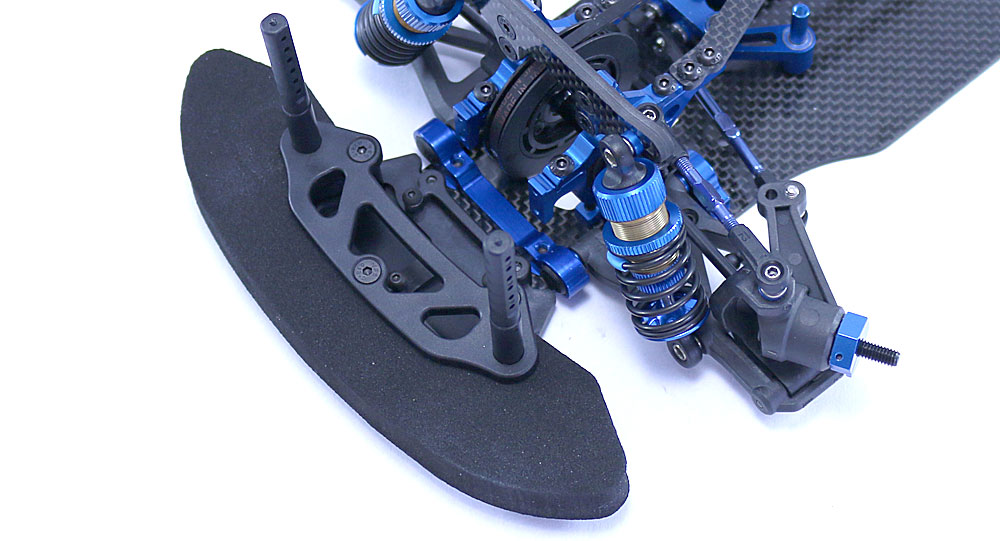
Step 4:
…and attach it to the front of the TC7.
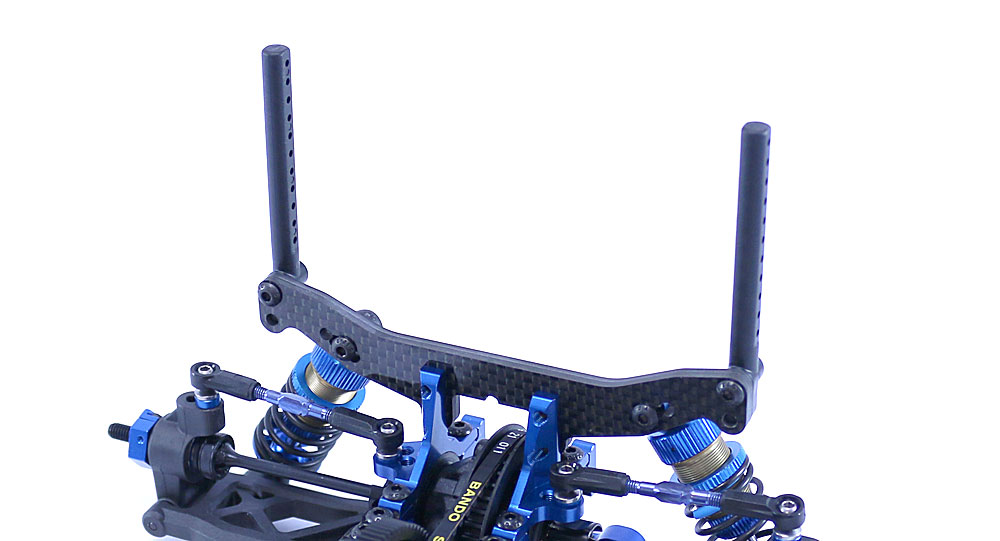
Step 5:
Attach the rear body mounts to the rear shock tower.
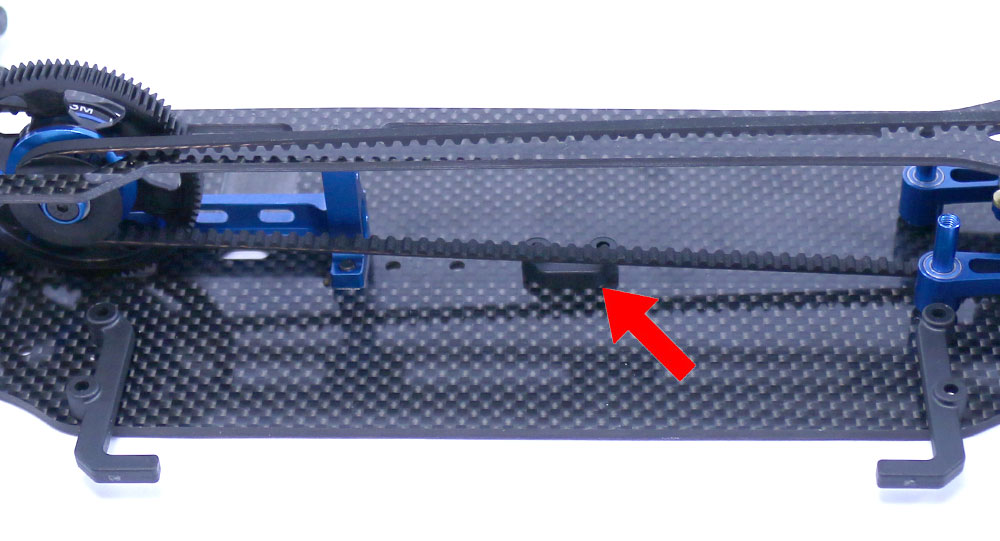
Step 6:
Finally, install the battery tray components. The front and back ‘braces’ are different – the rear one has a slight offset to it for clearance. The red arrow shows the installation of the inner LiPo bumper.
Quick and easy, right? Getting closer – just two more steps to go!
Next: Anti-Roll Bar