|
- 3 Racing - How to build the perfect SAK-65/V2 3 Racing Ver 2 Gear Diff -
You will need following items from 3 Racing in addition to your Version 2 Gear Differential.
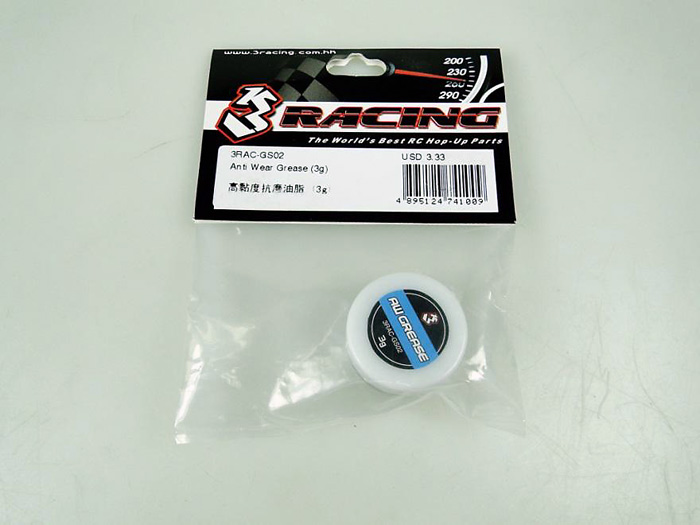
3RAC-GS02 Anti Wear Grease
3RAC-SW05 5mm Spacers

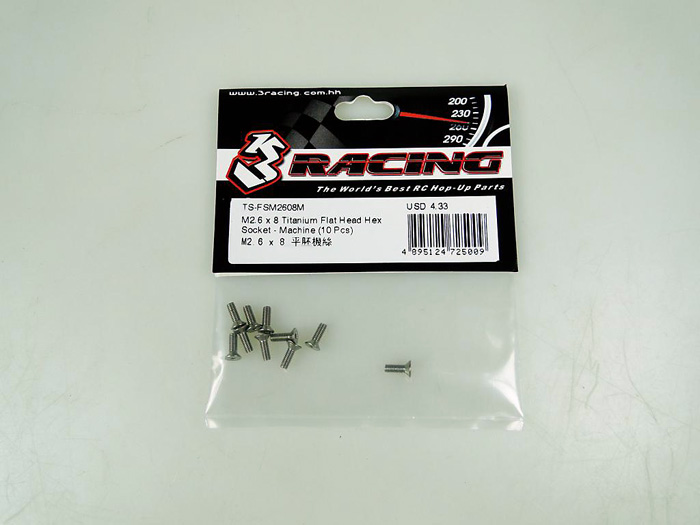
TS-FSM2608M M2.6x8 Titanium Flat Head Hex Socket Screws
M2.6x0.45 Screw Tap available in most local or online hardware stores
Step 1:
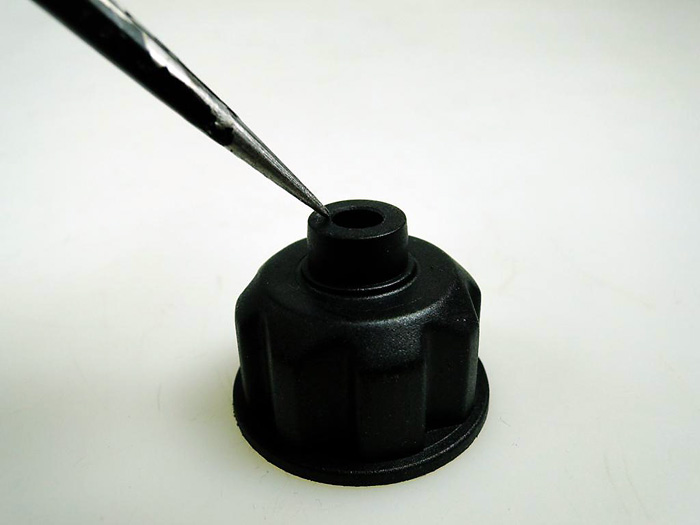
Using the M2.6x0.45 screw tap tool, create screw threads in all four screw holes of the differential case by screwing in the tap tool in aperpendicularangle. Recommend that you do not need to create threads all the way to the end of the hole, create only enough threads for the screw to be easily fasten in a perpendicularangle.
Step 2:
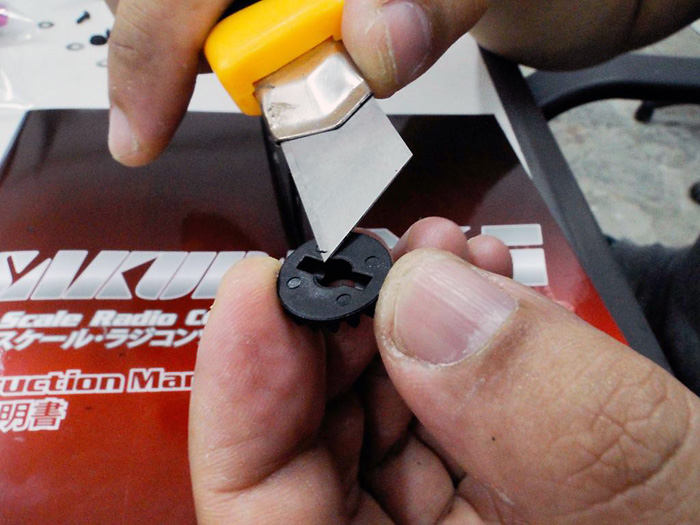
Checking for flashes
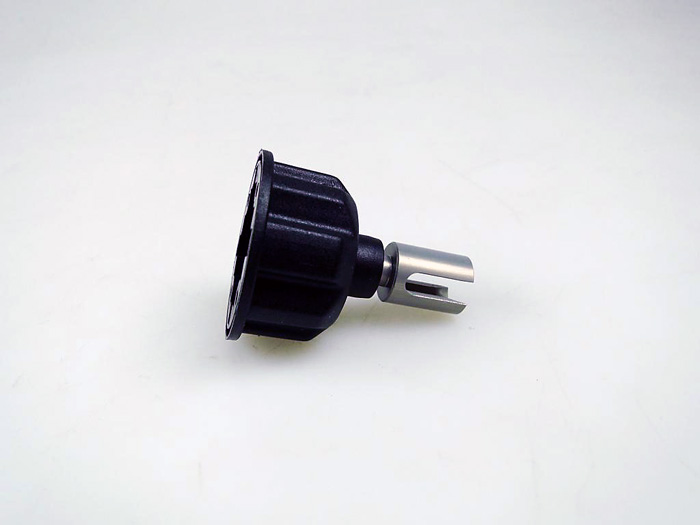
Insert the Outer Differential Joints into both halves of the differential case, check if Outer Joints can spin smoothly and remove any flashes that’s interfering with the Outer Joint using a hobby knife.
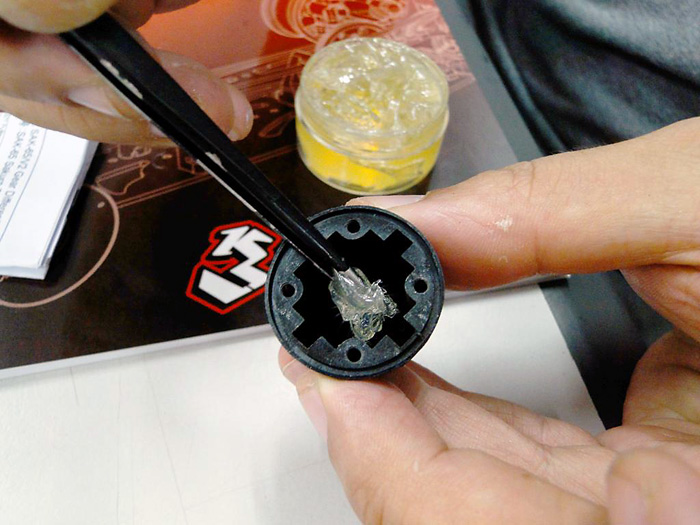
Step 3:
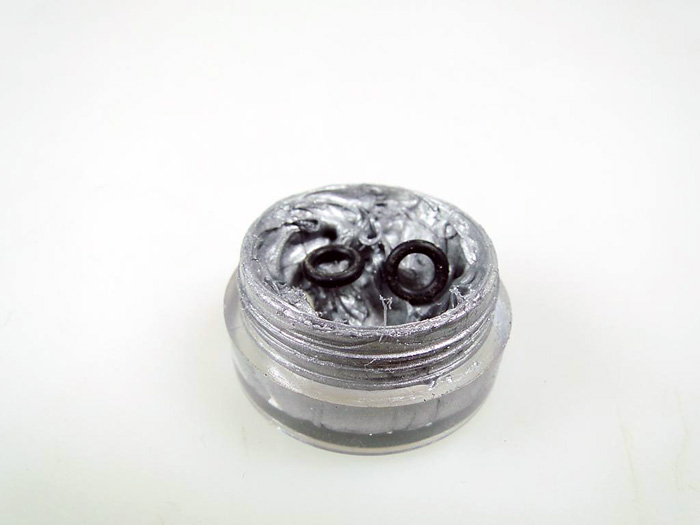
Apply the 3RAC-GS02 3 Racing Anti Wear Grease to the Outer Joint O Rings covering the entire surface with grease as shown in photo.
Step 4:
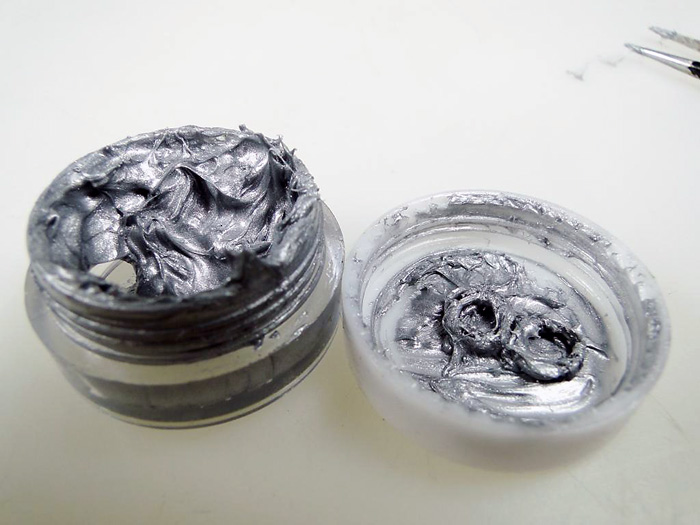
Apply sufficient Anti Wear Grease to surface of the gasket seal and the tunnel where the Outer Joints will be housed. Generally Anti Wear Grease should be applied to all surfaces that will be subjected to any form of abrasion.
Step 5:
Adjusting Outer Joint Spacing
Start by inserting two 5x0.3mm shims from your pack of 3RAC-SW053 Racing 5mm Shim Spacers onto both Outer Joints as shown. Insert the Outer Joints into the differential cases as described in the Car Kit Instruction Manual applying the Outer Joint O Rings before inserting the three M5.1x15.4x0.3 shims to each half of the differential case as shown in photo. Insert the 2mm pins into the Outer Joints as shown, should the 2mm be difficult to insert, try removing one of the previously applied 5x0.3mm shims from the Outer Joints and the 2mm pin should now be easily inserted into the Outer Joints.

Step 6:
Removing gear flashes
Using a Hobby knife, remove any flashes from the bottom of the differential gears as shown. Alternatively you may use a piece of fine sand paper atop a hard flat surface such as glass and work the bottom of the differential gears until all flashes are removed and the bottom is smooth.
Now Apply the Differential gears to each half of the differential case as shown and check if Outer Joints can spin smoothly, if not, remove another 5x0.3mm shim as outlined in Step 5.

Step 7:
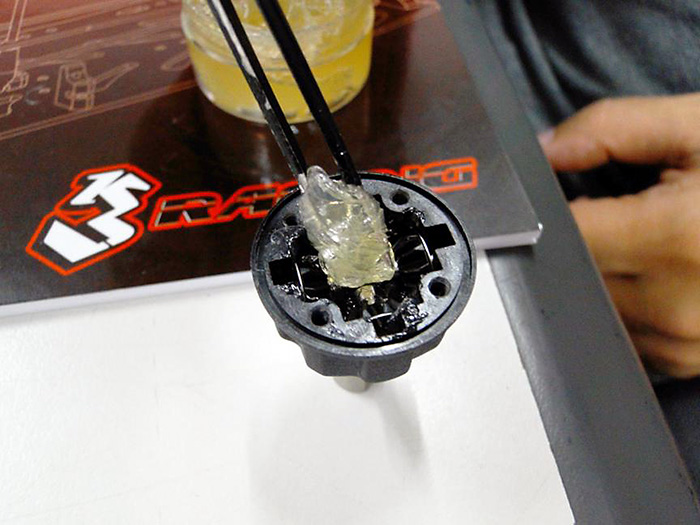
Applying Differential Oil
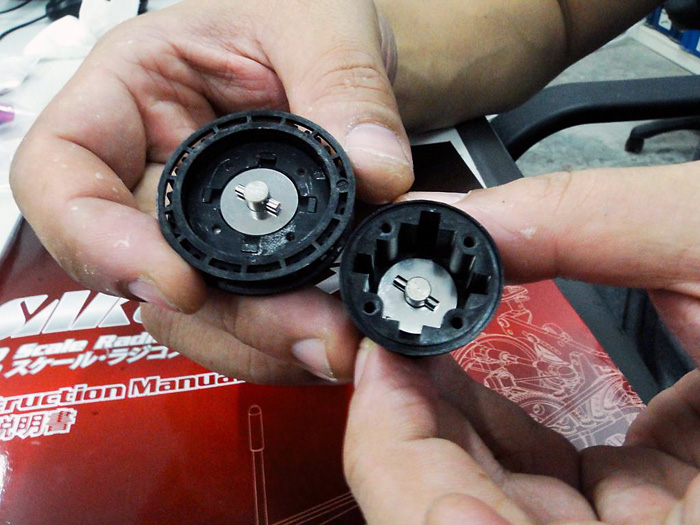
Always fill the differential slowly with high quality differential oils, there’s no need to overfill the differential, to maintain consistency always fill the differential until the oil slightly covers the center cross pins.

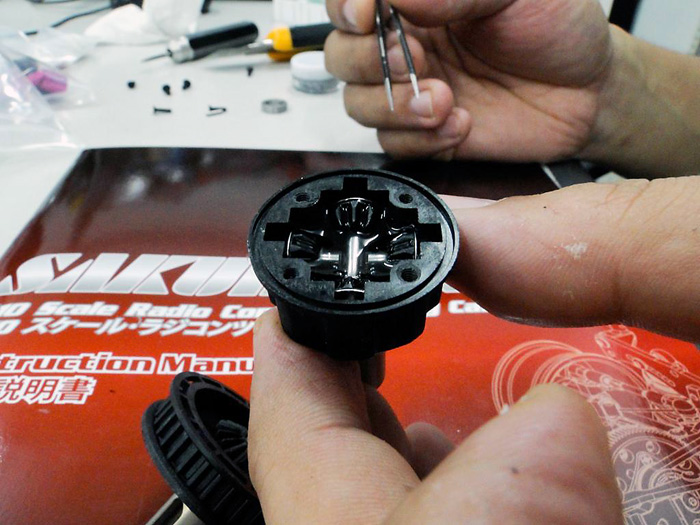
Building a Front Gear Differential using 3 Racing Ultra High Viscosity Gear Diff Oil 3RAC-GS03 which gives your differential viscous characteristics that’s in excess of using any 500,000wt oil.
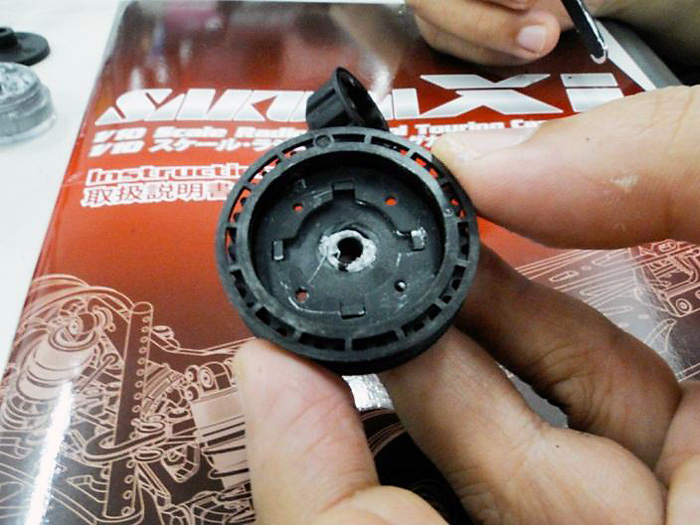
Before assembling the 4 smaller differential gears as per the Car Kit Instruction Manual to the bottom half of the differential case, apply a moderate amount of the 3RAC-GS03 Gear Diff Oil to the inside of the differential case as shown.
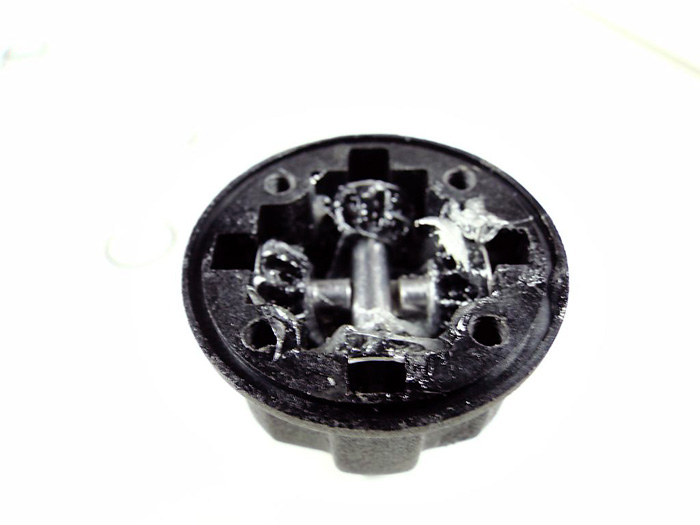
Insert the smaller diff gears as shown and then apply another moderate amount of the 3RAC-GS03 Gear Diff Oil to the differential case without overfilling it, slightly covering the cross pins will suffice.
Step 8:
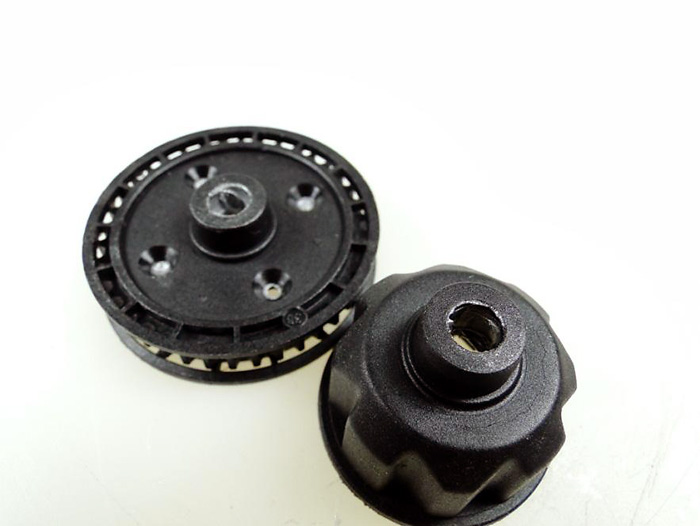
Assembling the Differential.
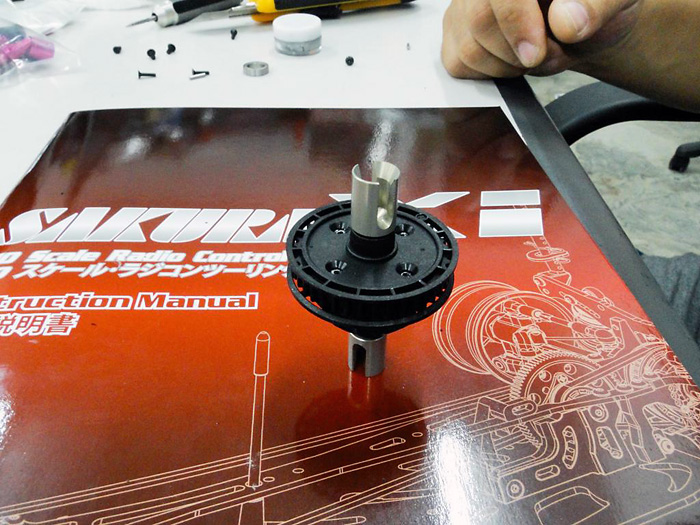
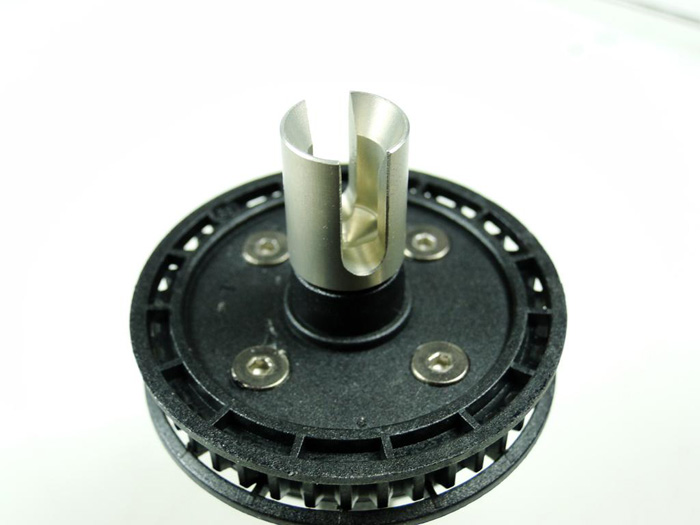
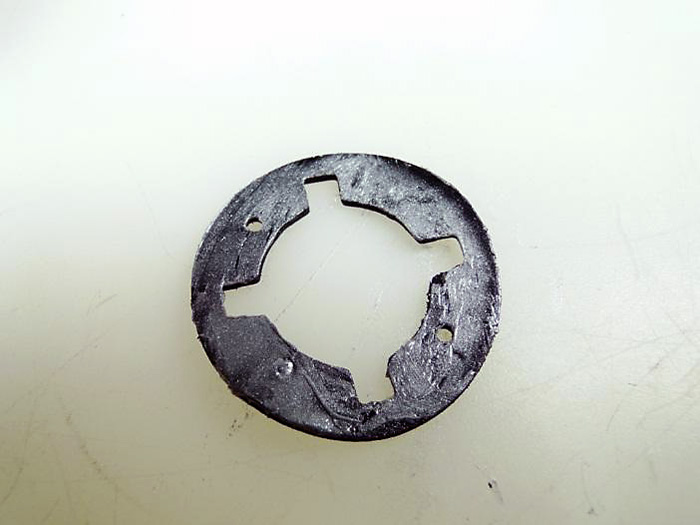
Attach the pulley half of the differential case onto the bottom half as per the Car Kit Instruction Manual with the gasket seal in between the 2 halves.
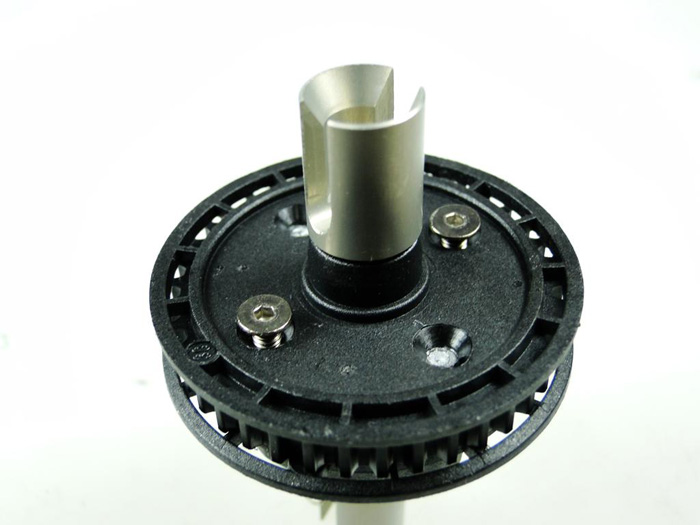
Align the differential case screw holes with the gasket seal’s screw holes and apply the TS-FSM2608M 3 Racing M2.6x8 Titanium Flat Head Hex Socket Screws. Fasten the first screw at the 12 o’clock position until its fully screwed in but without tightening, then apply the next screw to the 6 o’clock position follow by the 9 o’clock position both fully screwed in but without tightening, apply the last screw to the 3 o’clock position until fully screwed in and slowly tighten, pay attention to the pulley as overtightening may result in a warped pulley. Now proceed to slowly tighten the 9 o’clock screw followed by the 6 and then the 12 o’clock screw. Once all four screws have been fully tighten, check if the differential can operate smoothly and if there’s any warp in the pulley.
By following these simple steps, your gear differentials should run as smooth and as reliable as the pros.
Source:


|