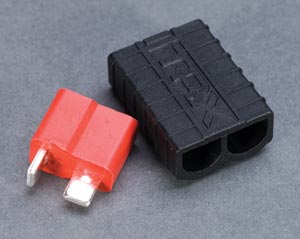
| 1 - The most
important part in this install is the plugs themselves. Get good
quality plugs like those offered by Deans, Traxxas or other top
manufacturers.
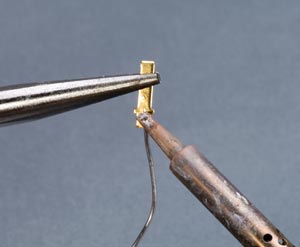
2 - Start by "tinning" or
applying solder to the posts of the plugs so that they have a good
surface of solder to bond the wire to.
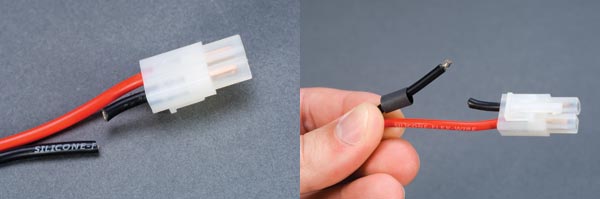
3 - Next, cut off only one wire (to
prevent shorting your battery) at a time and slide the included
shrink wrap down over the wire, moving it as far out of the way as
possible.
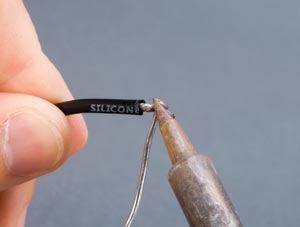
4 - Splice approximately 4mm of the
wire's insulation away and tin the tip of the wire with solder as
well.
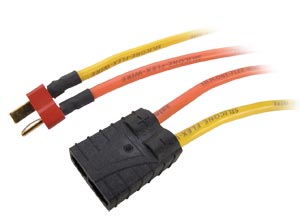
ADAPT TO ANY SITUATION
With so many types of battery plugs on the market, it's a good
idea to build yourself an adapter so you can charge any type of
pack you come across. An adapter with your standard "Tamiya"
plug, the plugs you use, a plug for micro batteries, and one for
receiver packs should cover it. I use a Deans plug as my common
plug on the other end and solder each plug to it so I can charge
anything, anywhere, any time.
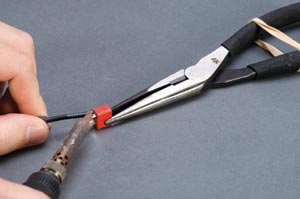
5 - Now, with your plug firmly held
in a pair of pliers with a rubber band holding the pliers closed,
solder the tinned wire to its appropriate post on the plug. At
this point your shrink wrap should be well away from the soldering
area to prevent it from shrinking in the wrong place.
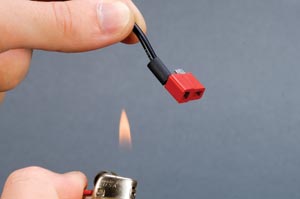
6 - Your last step is to slide the
shrink wrap into place and, with a lighter, shrink it to protect
and insulate the solder joint.
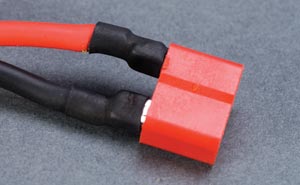
Repeat these steps for the other
wire.
Conclusion
See how easy that was? Something to take into strong consideration
when swapping out your plugs is polarity. Be sure that your
positive lead is always on the same pole from battery to battery
and to the ESC. Your newly installed plugs will be more efficient
and durable. The ten minutes it should take to complete the above
steps and the low cost involved make this the best upgrade you can
and SHOULD do.
|